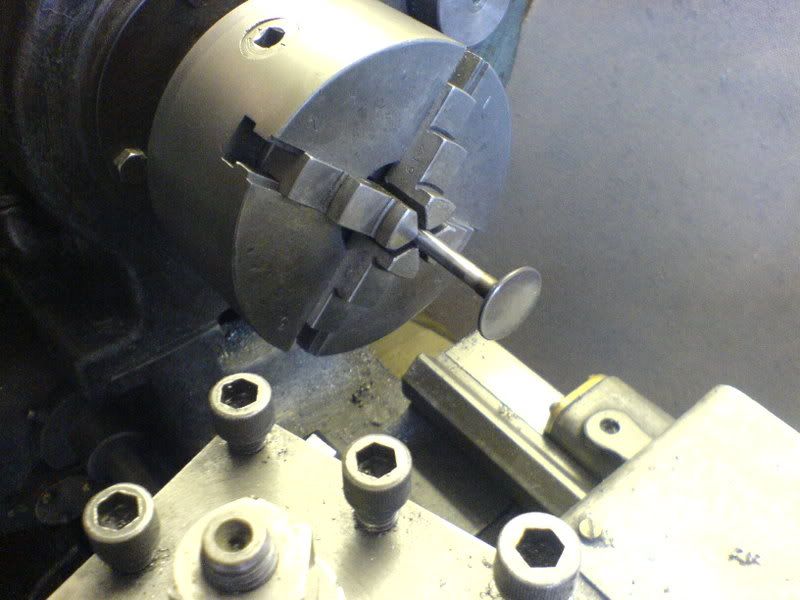
Here it goes. This is the restoration process in full! Here goes nothing!
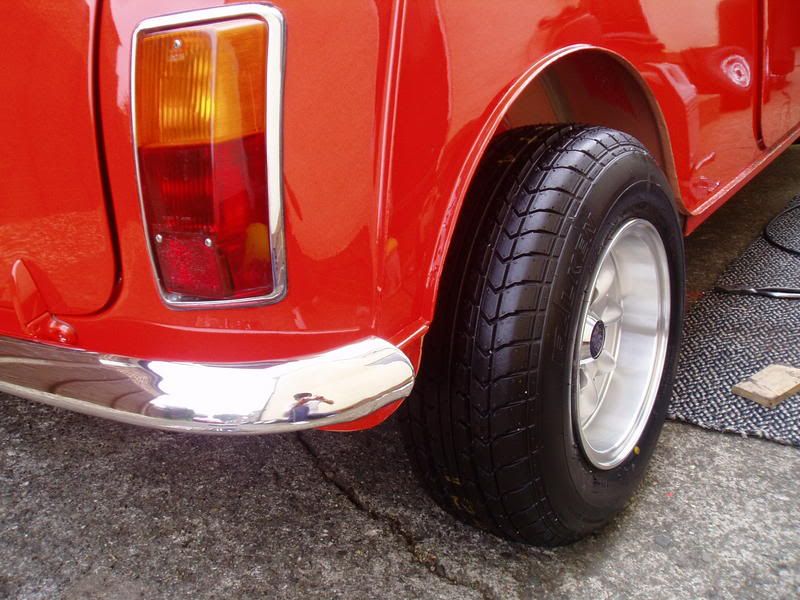
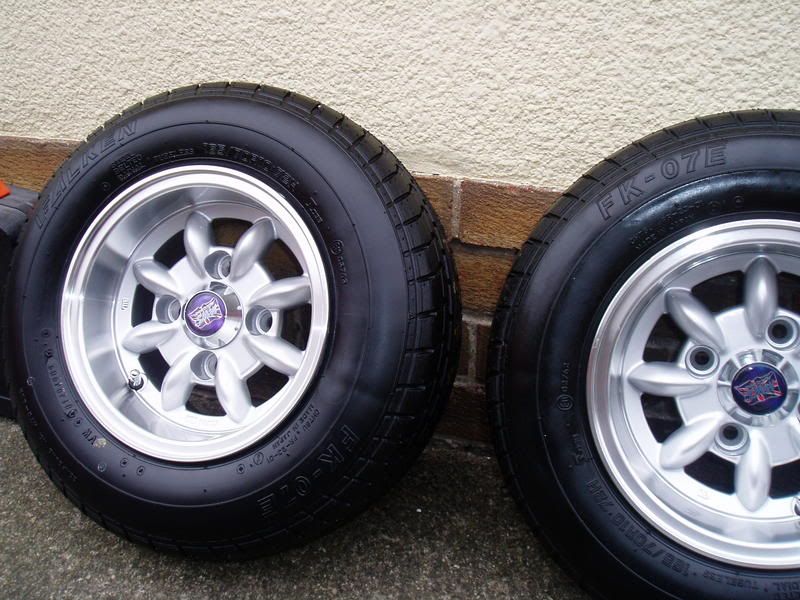
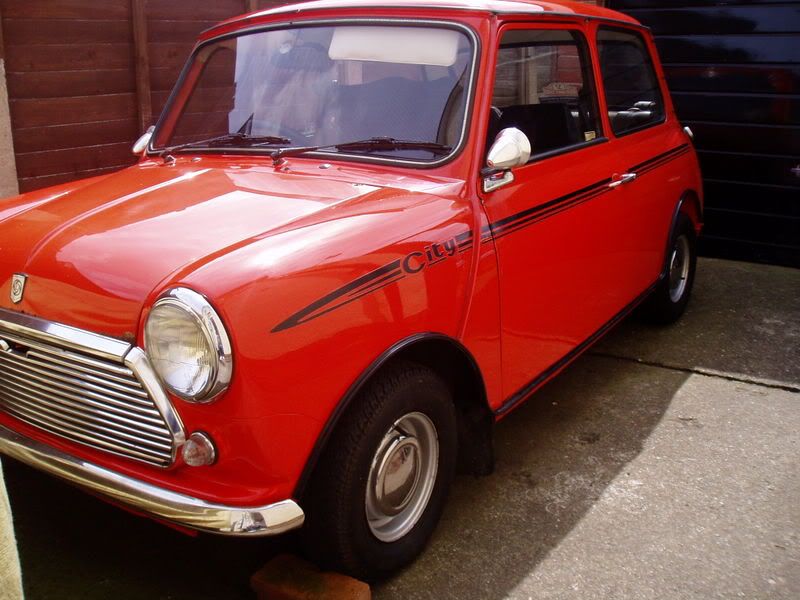
Back from bodyshop and with an empty wallet:

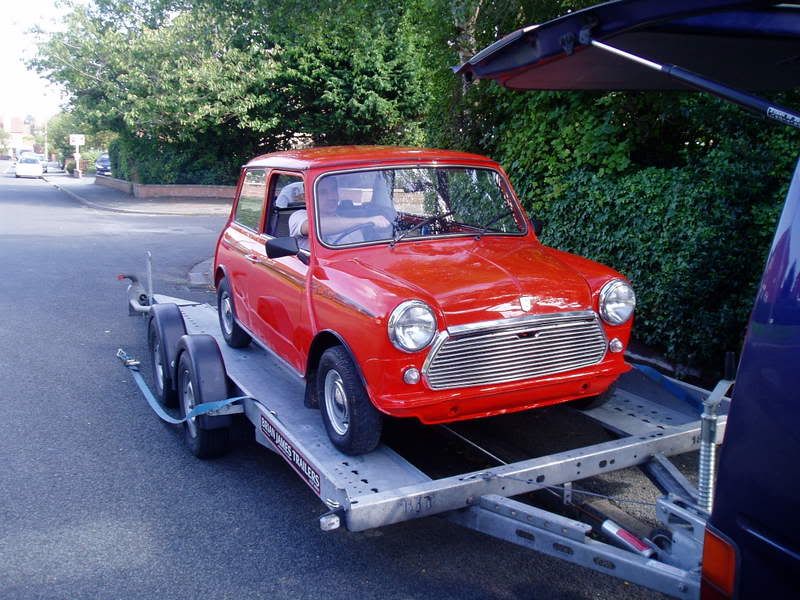
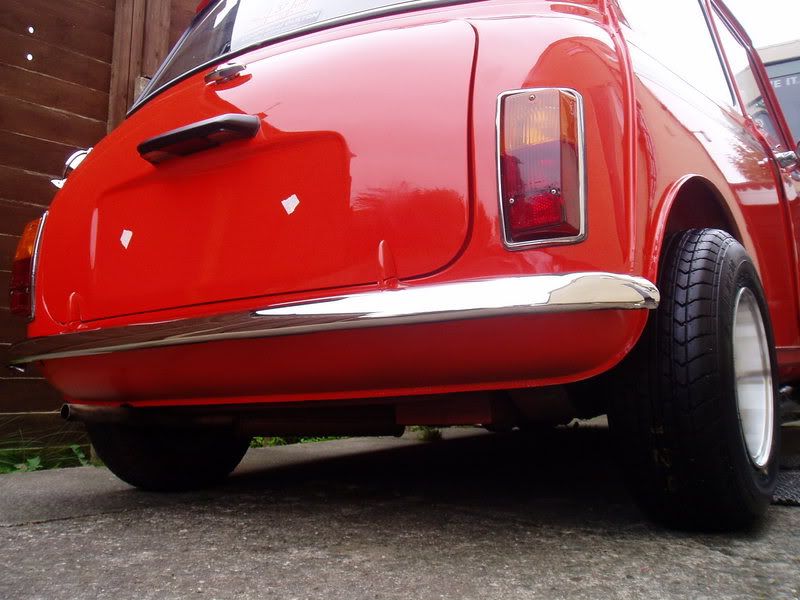


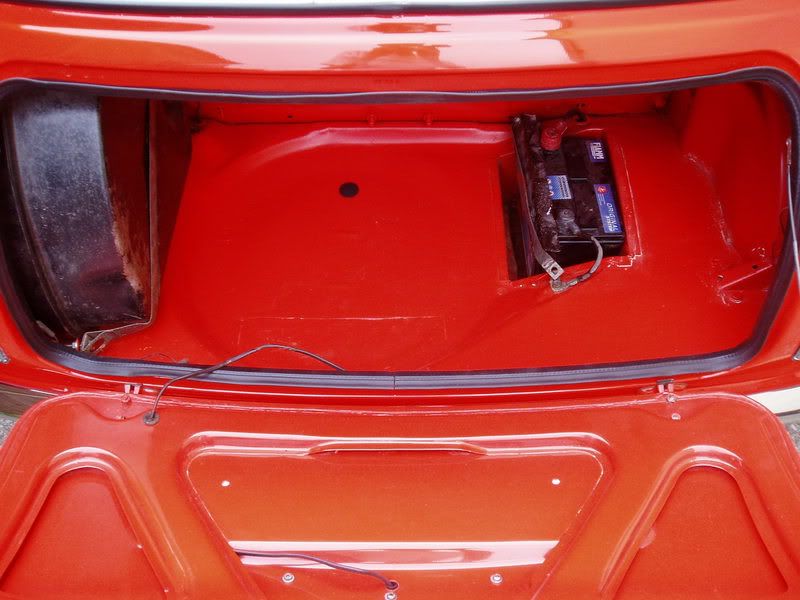


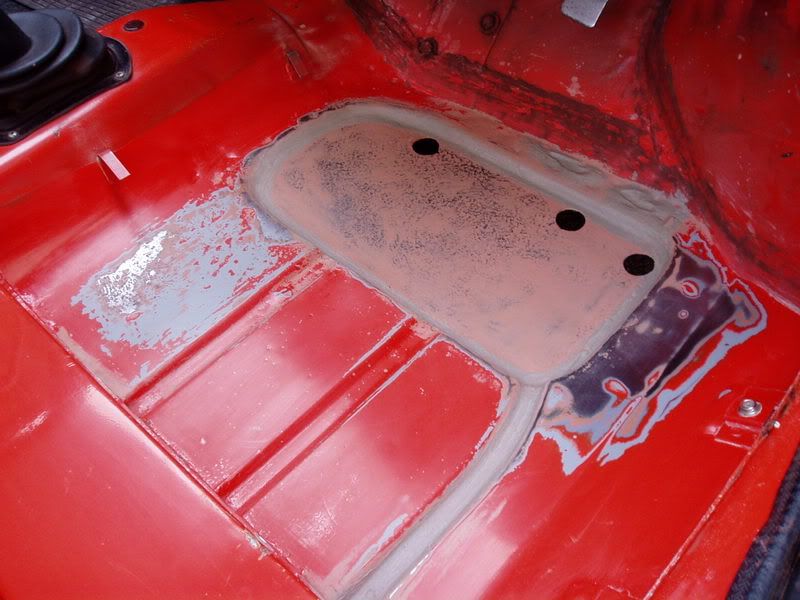
Floors needed doing as always!
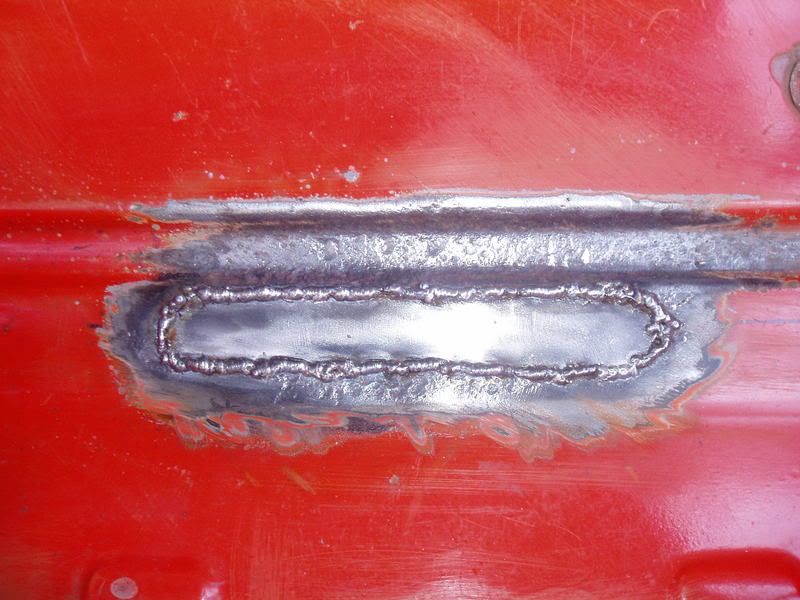
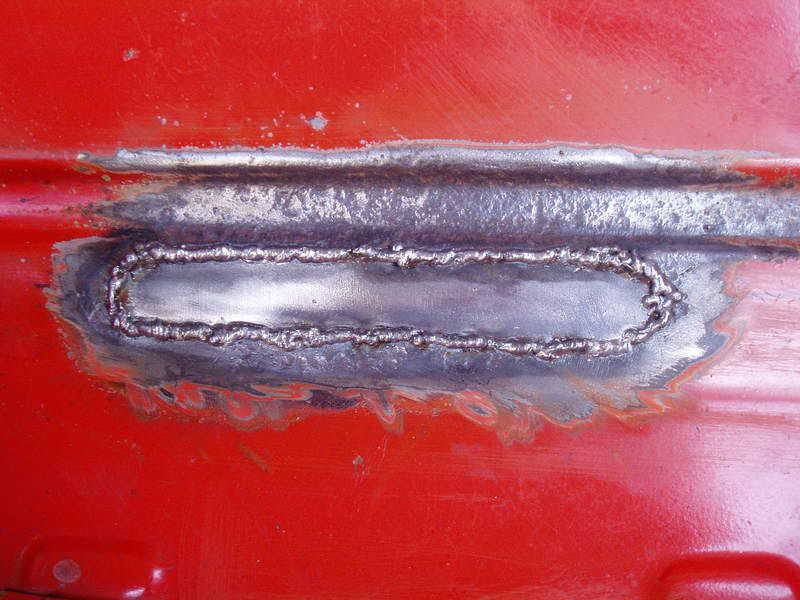
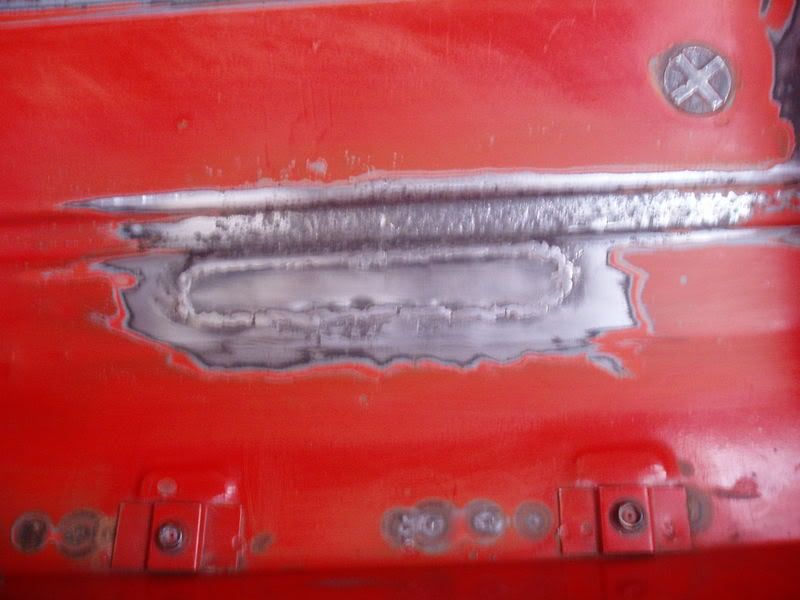
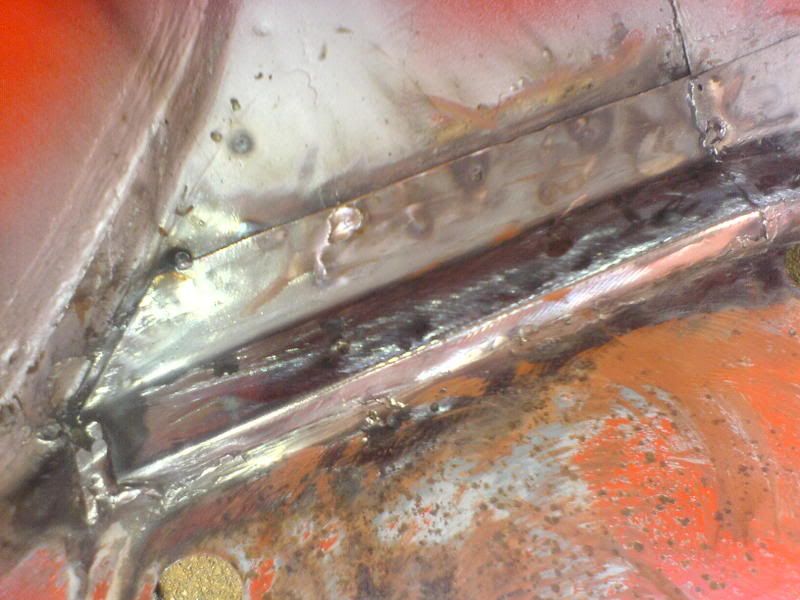
Cut out the rust and welded a new plate in its place (Drivers side):
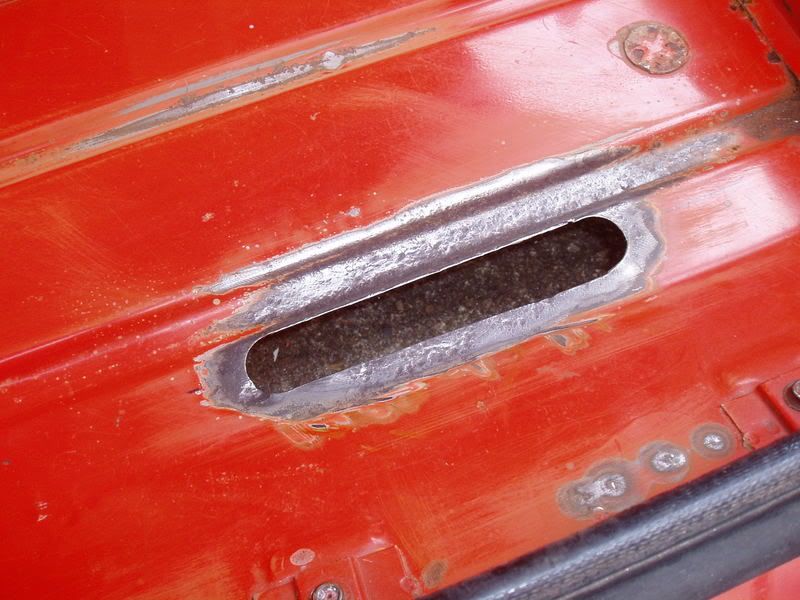
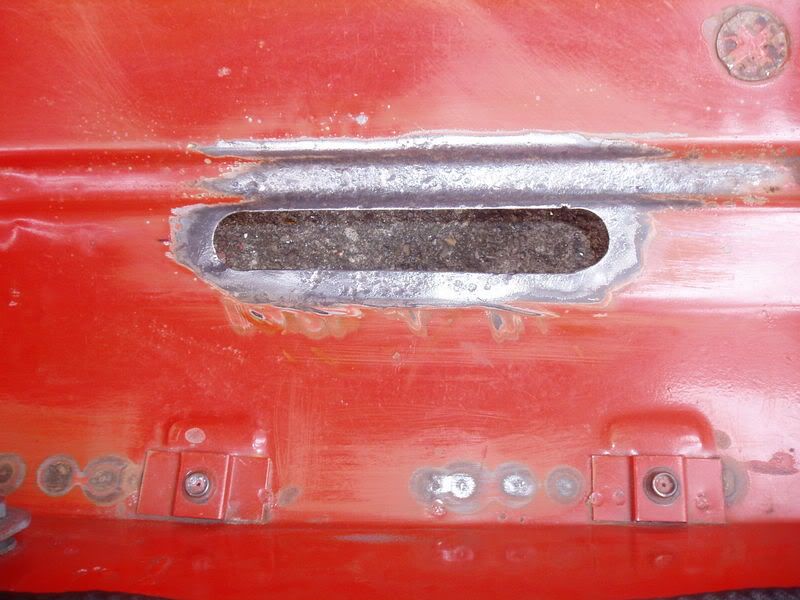
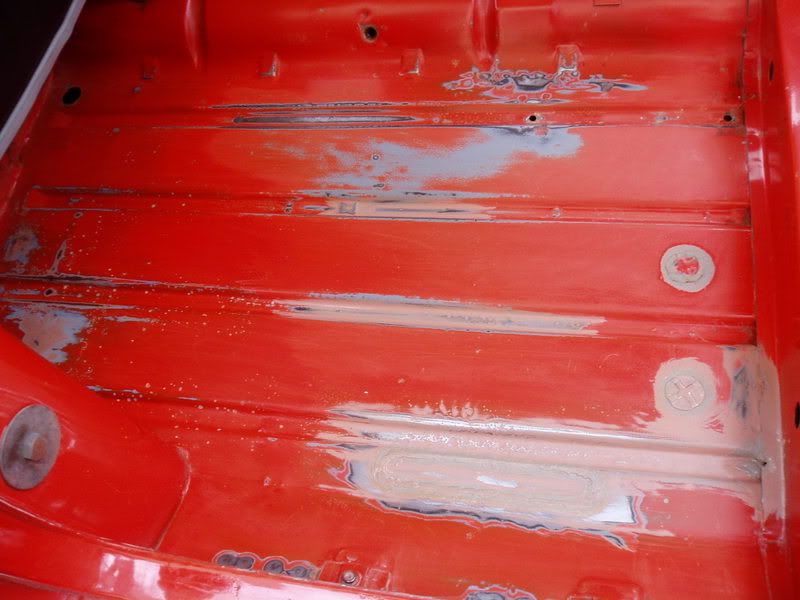
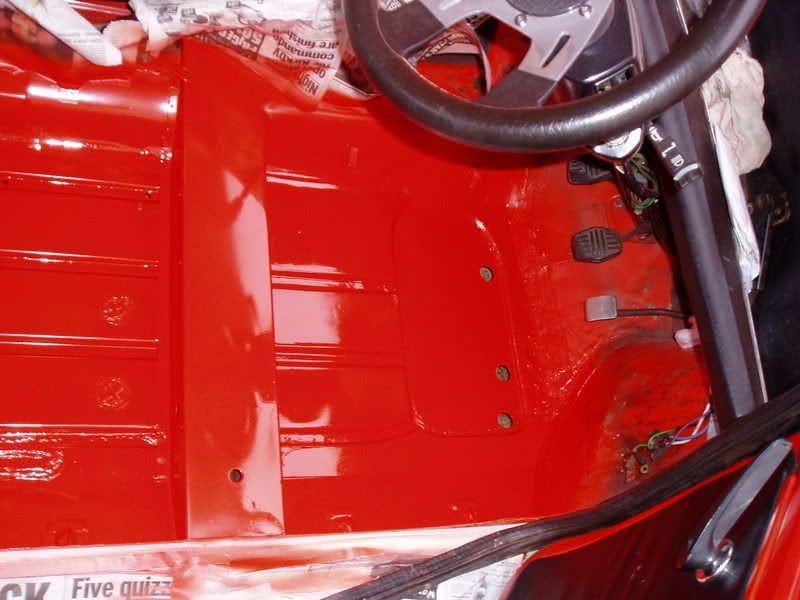
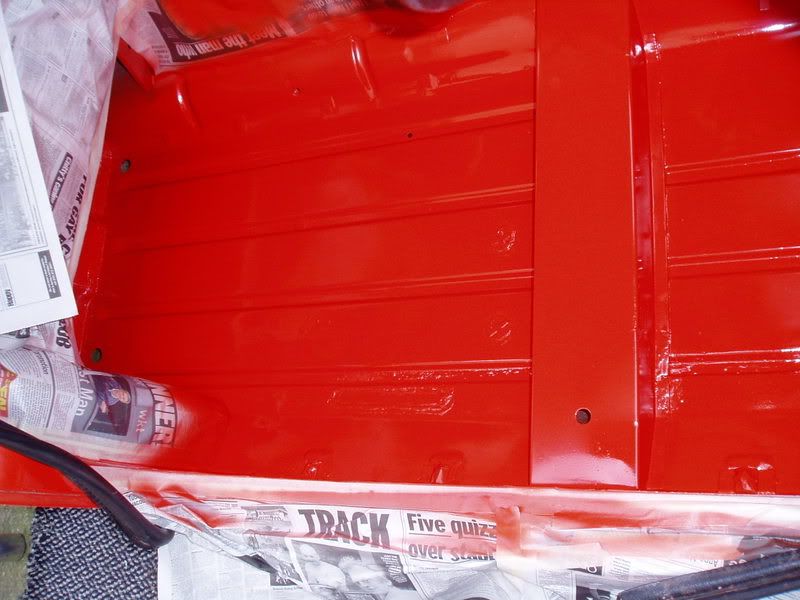
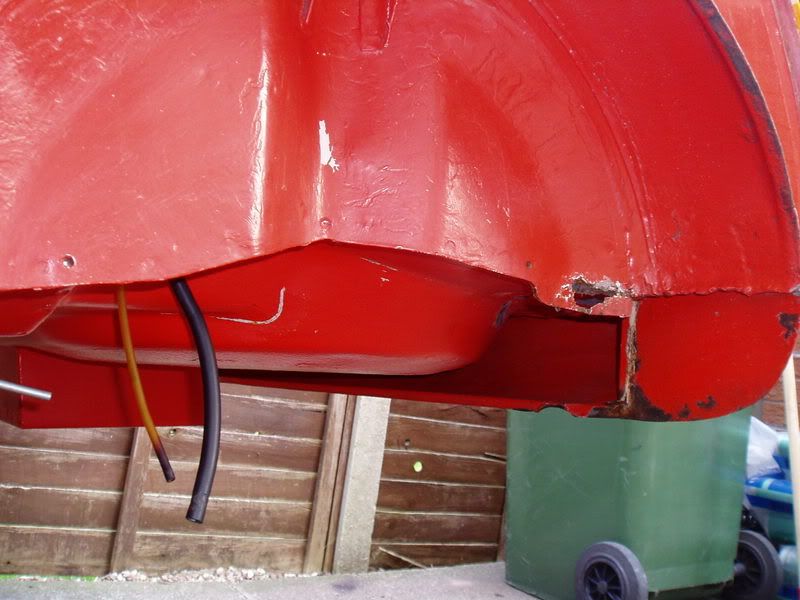
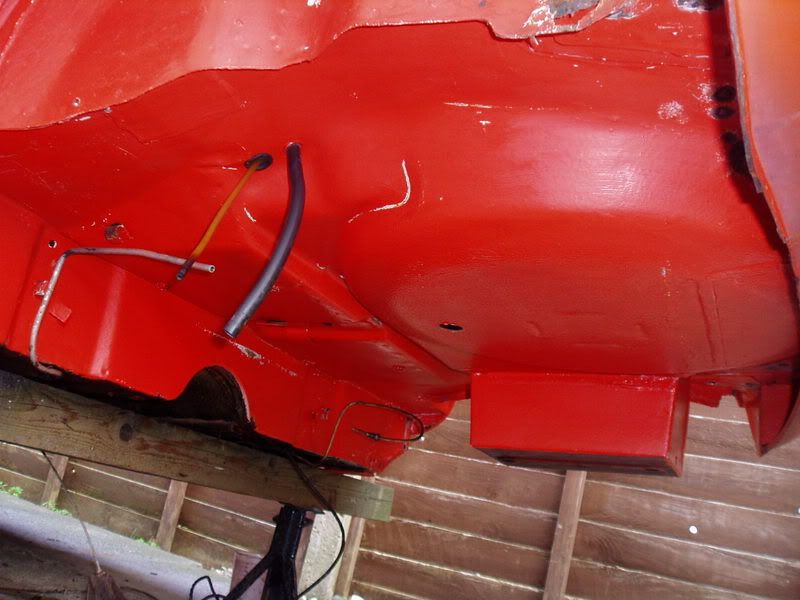
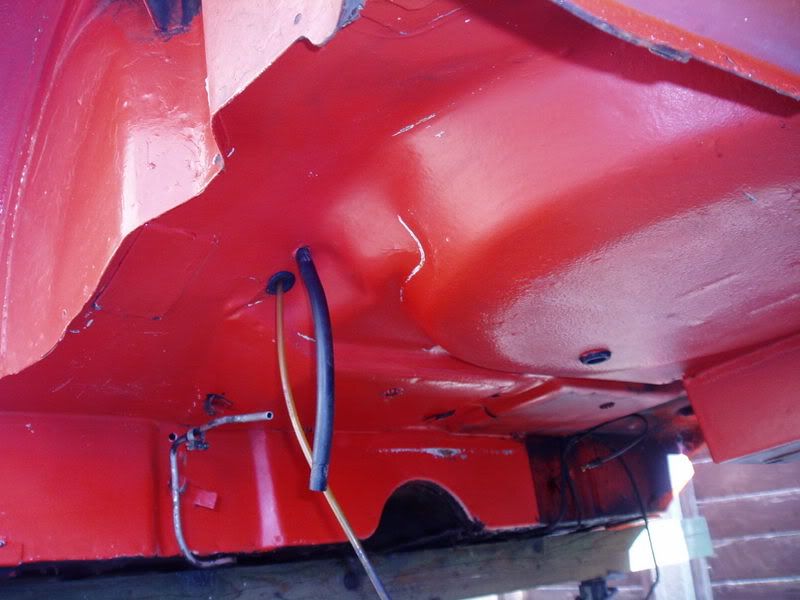
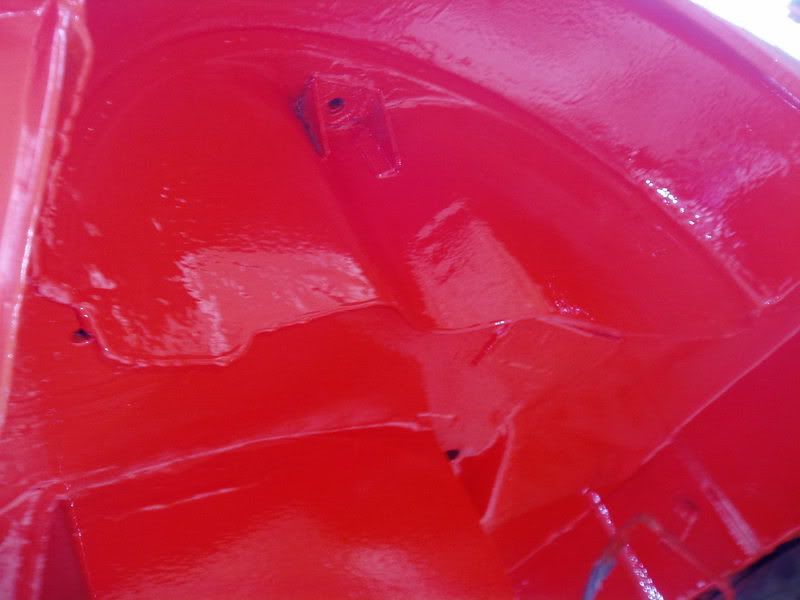
Painted underneath in enamel paint, and under the arch:
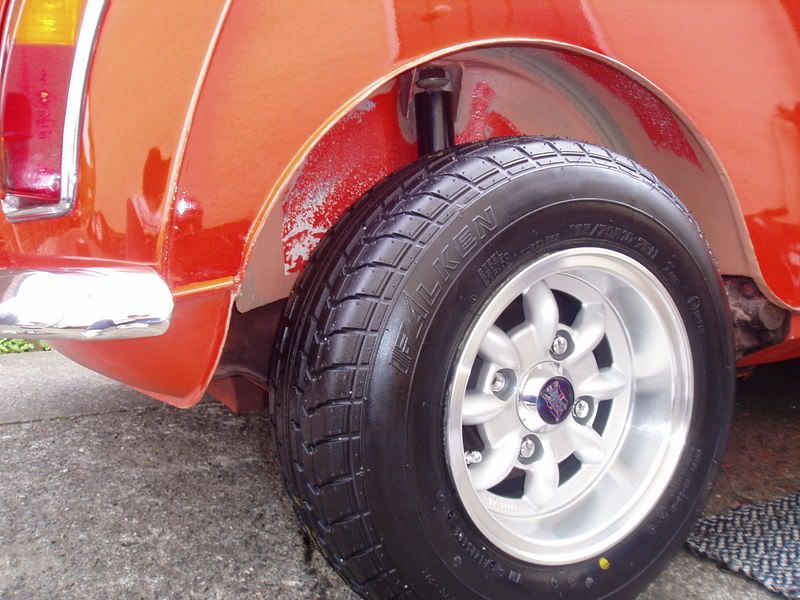
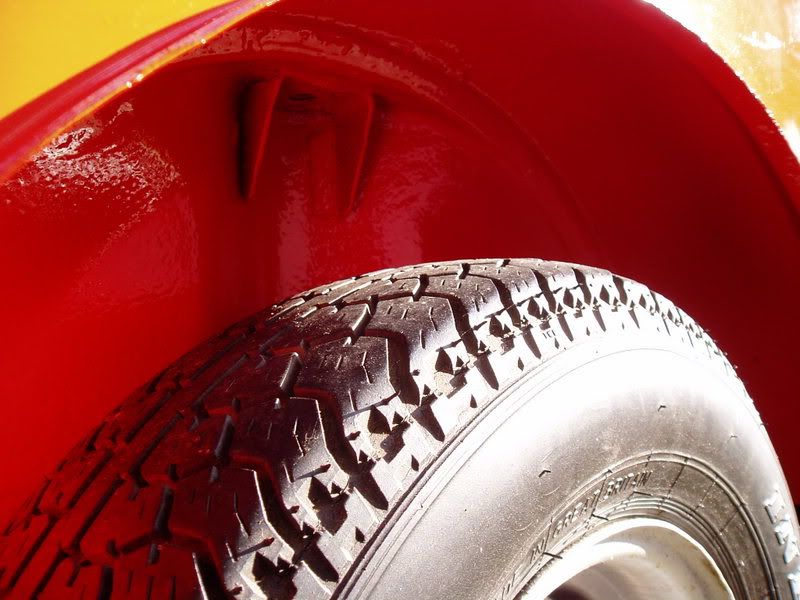
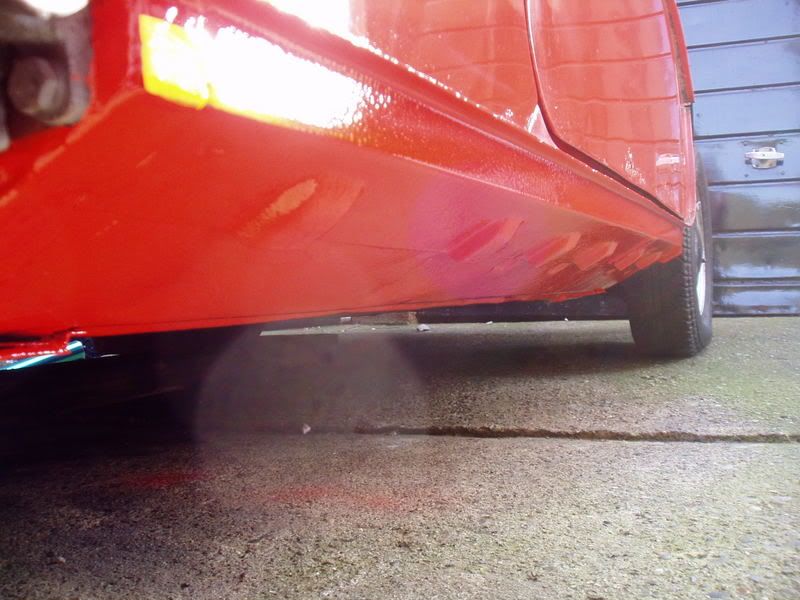
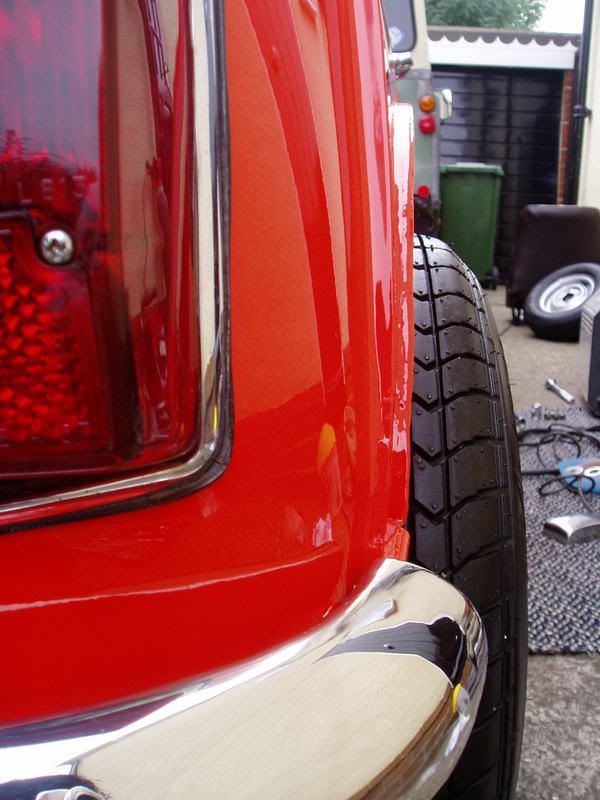
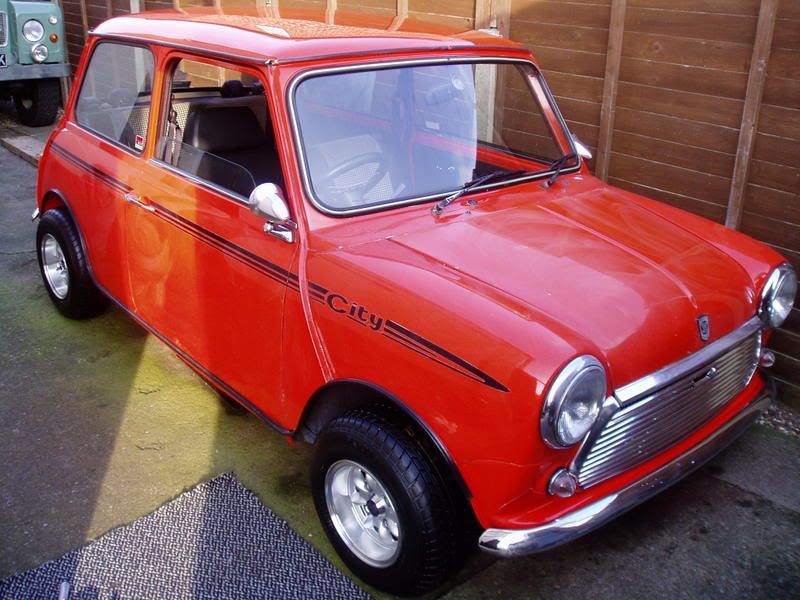
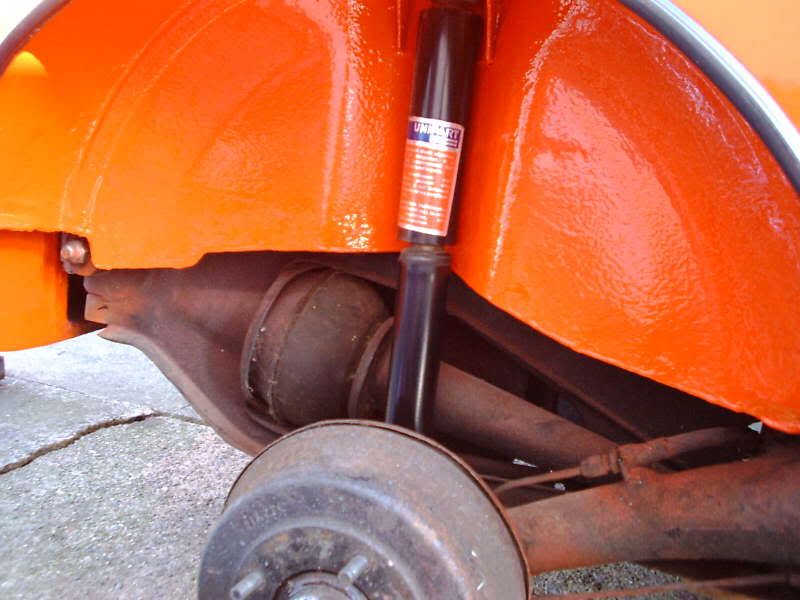
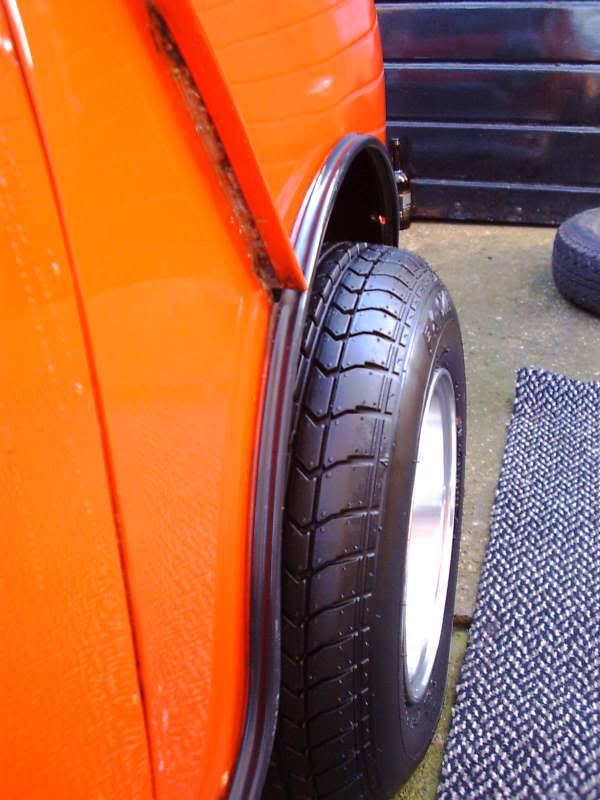
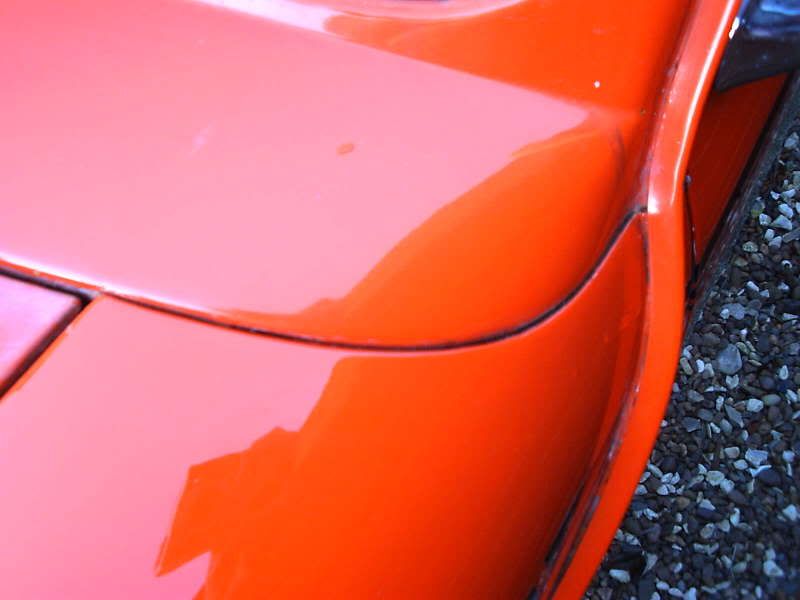
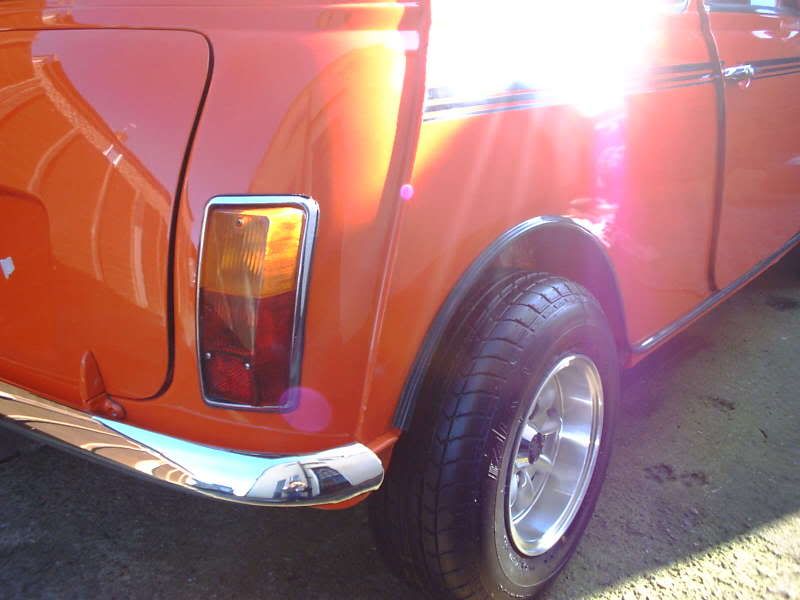
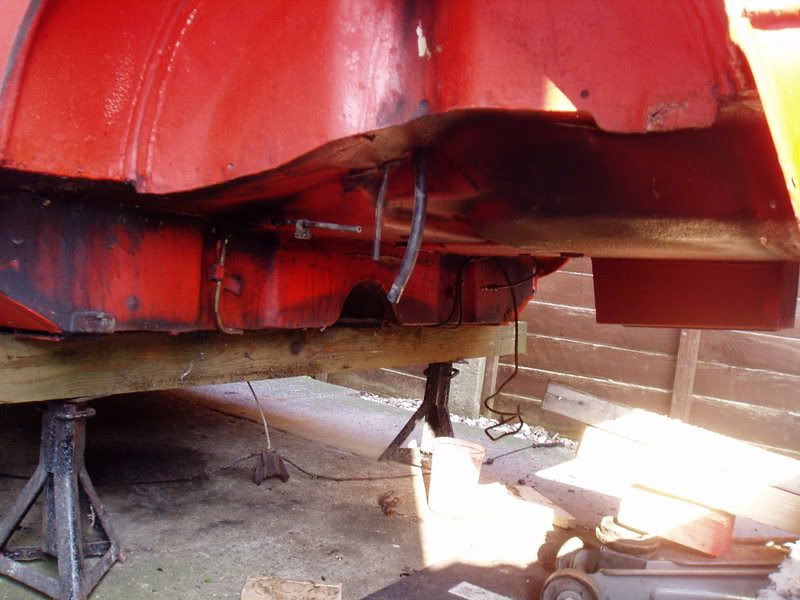
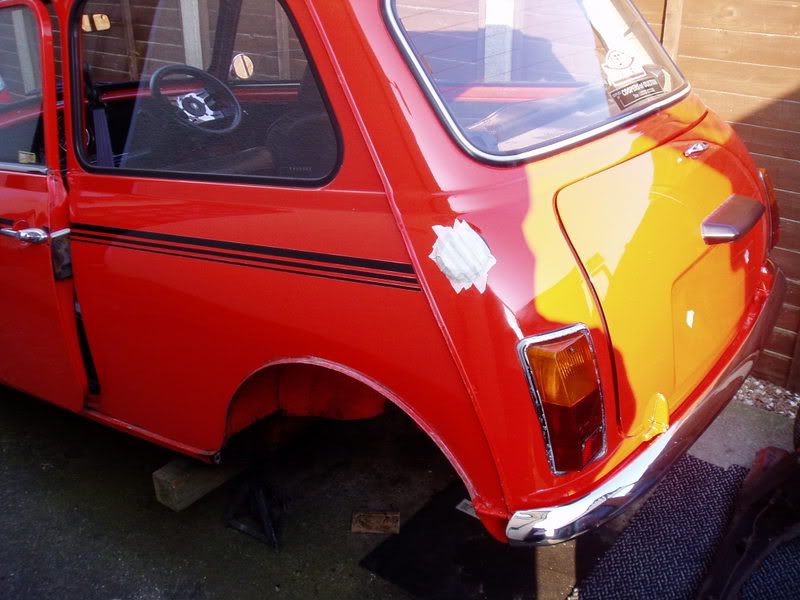
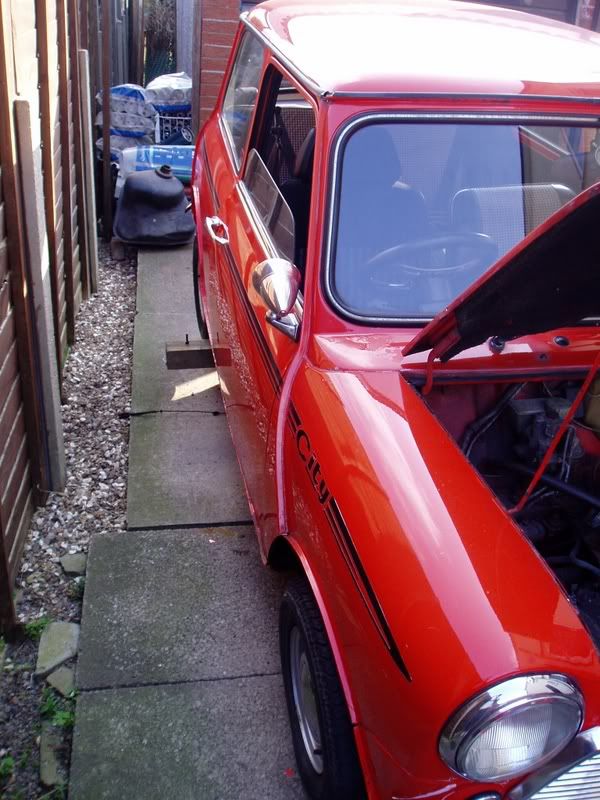
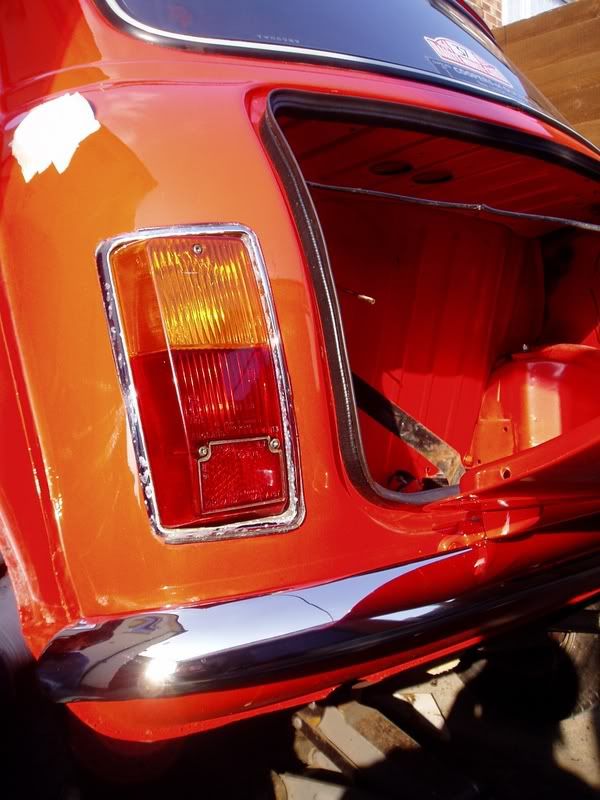
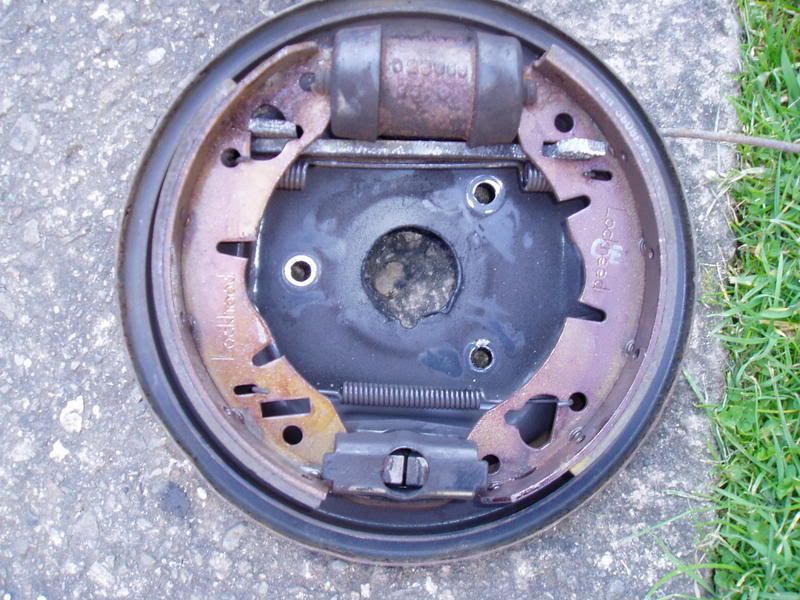
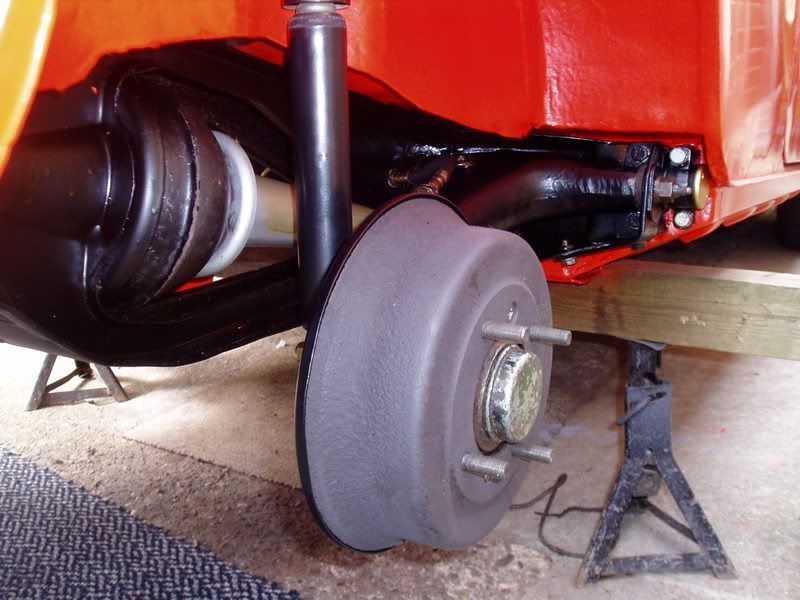
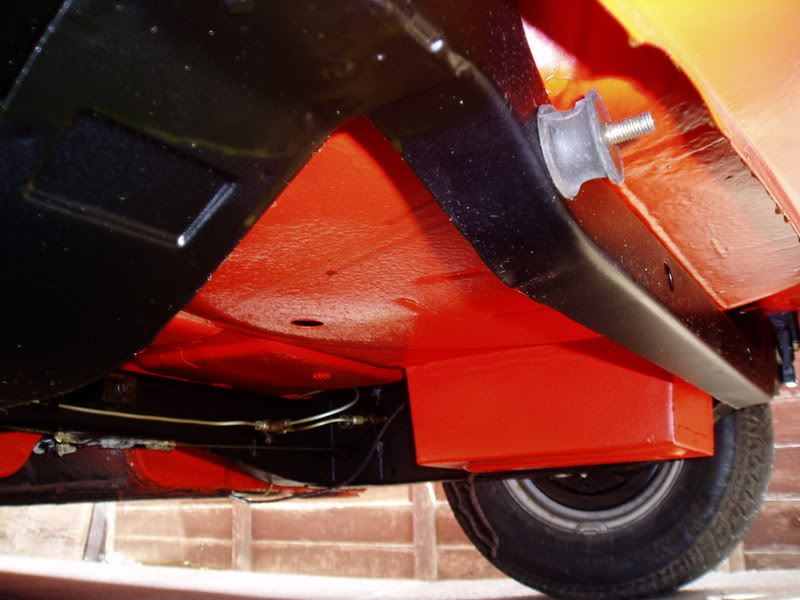
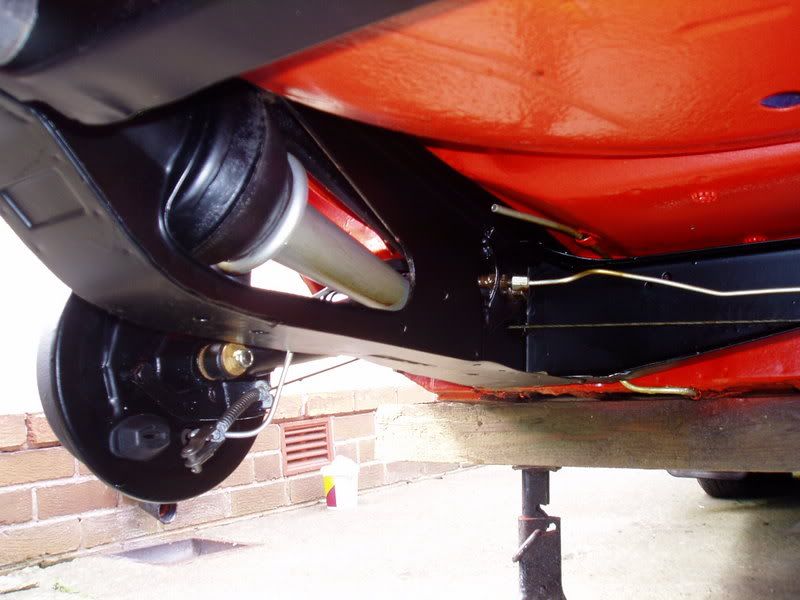
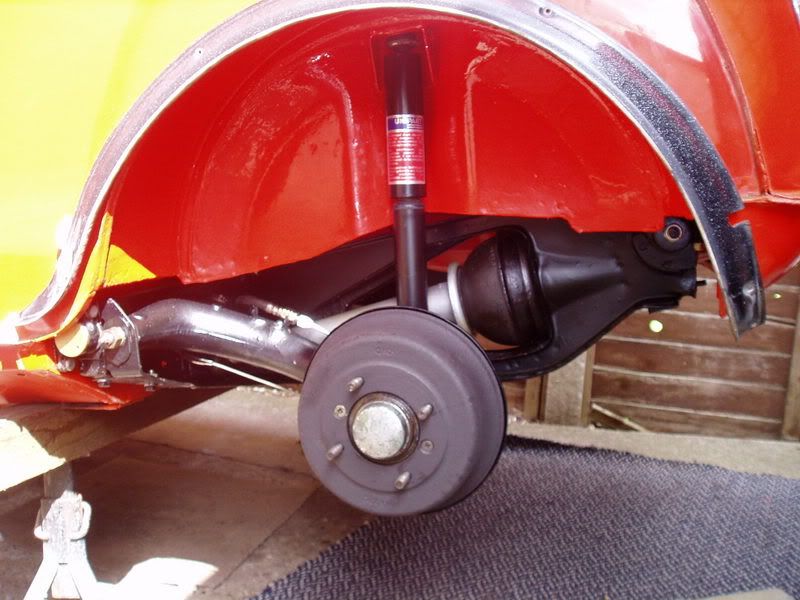
Anyway, more progress has been made on the Mini! Taken of the subframe and I am concentrating on the rear underside of the vehicle, under the rear wheel arches, the heal, the underside, rear valance, all subframe components etc etc. The rear brakes are being tidied, got 2 good condition back plates, for a fiver cant go wrong :idea:
Heres the flock of pics!
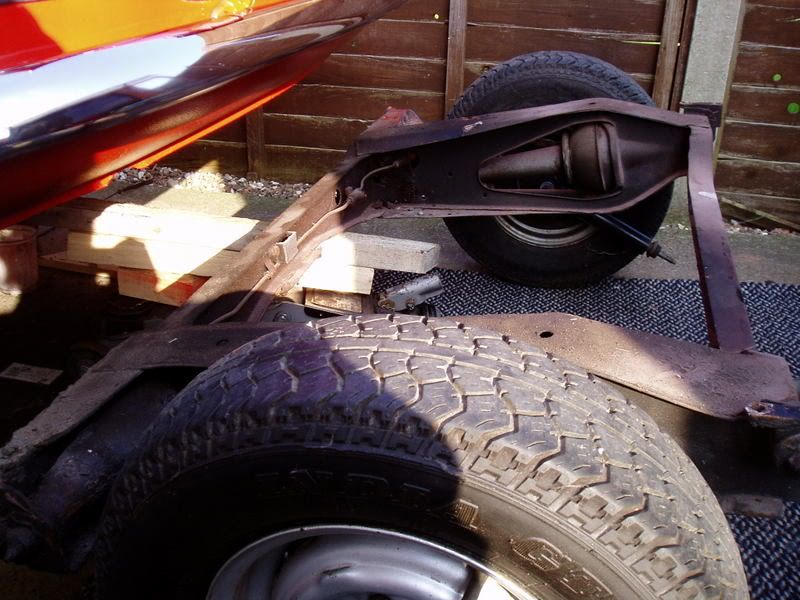
Removing the subframe:
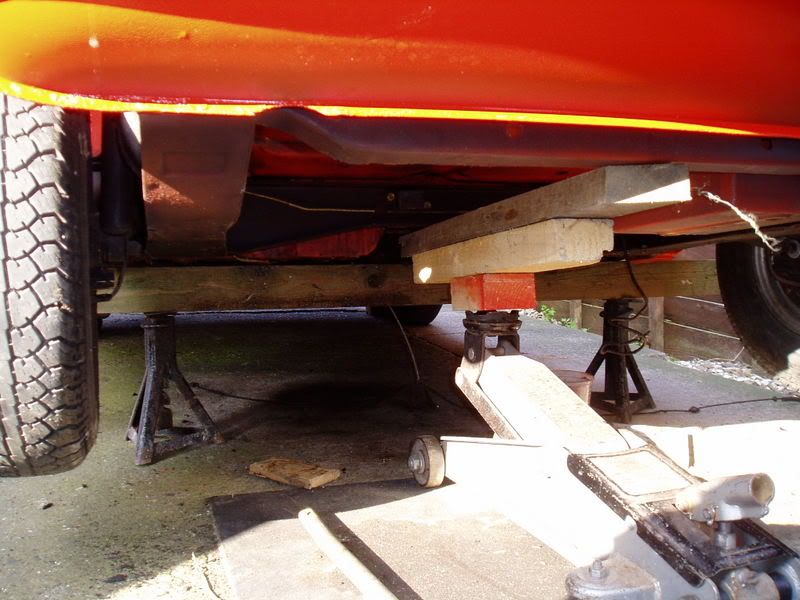
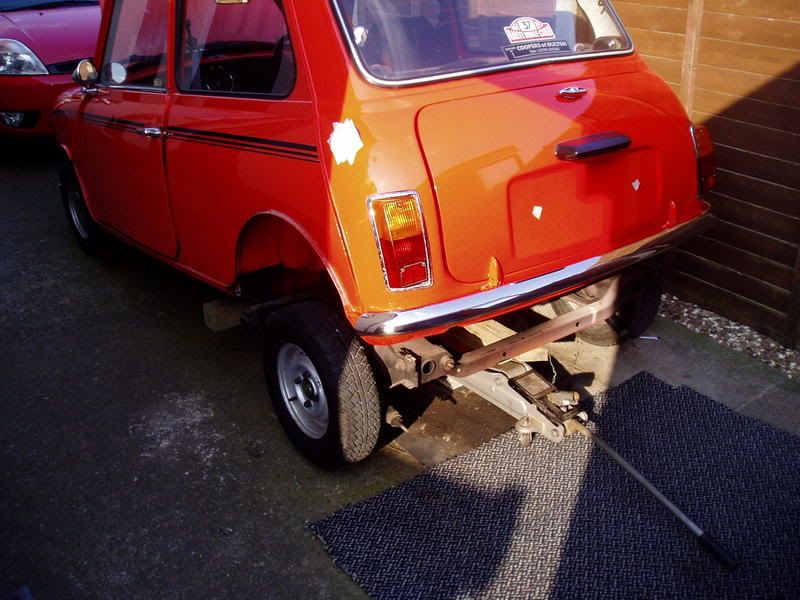
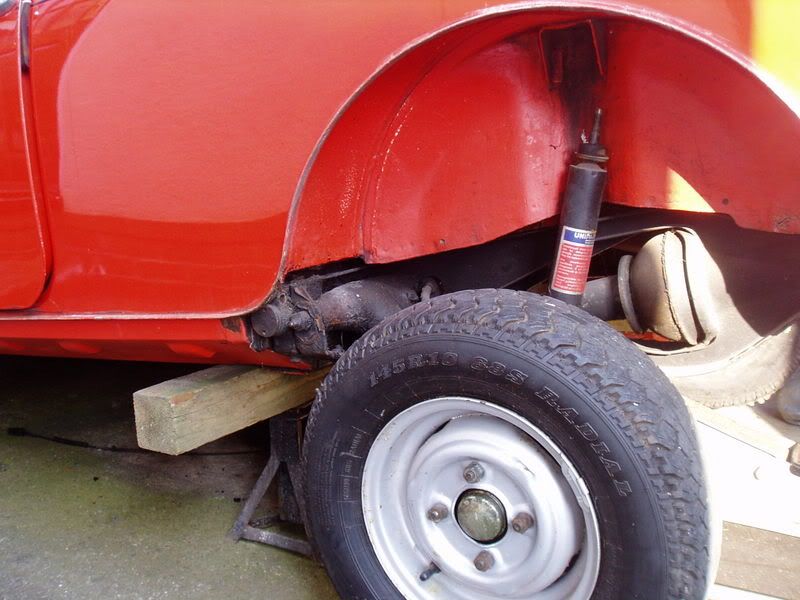
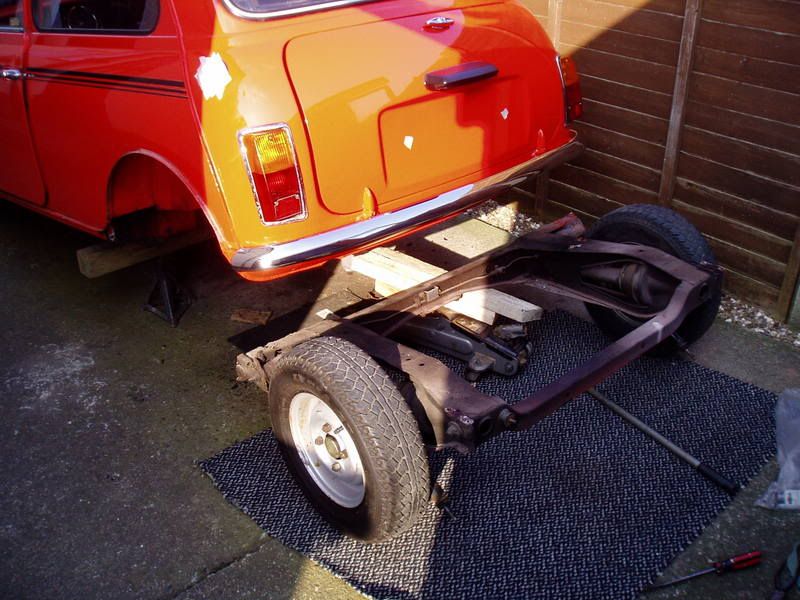
Sanding down:
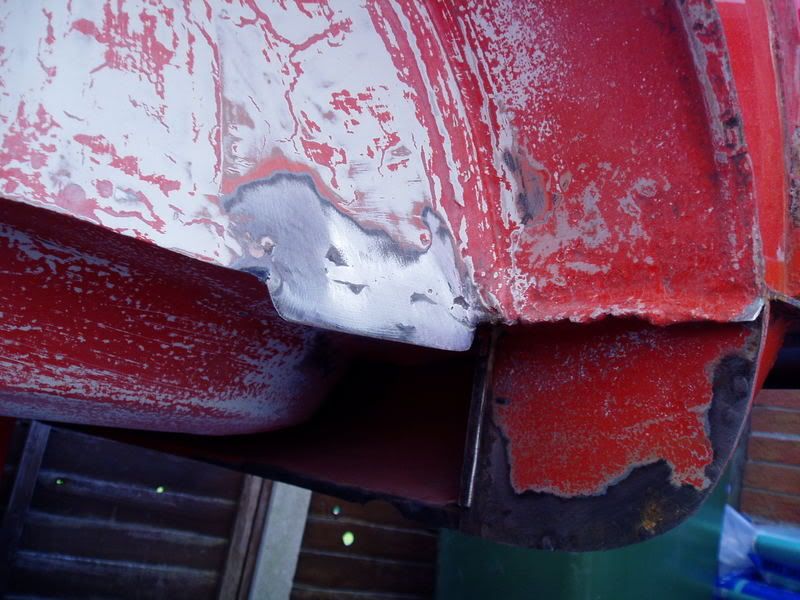
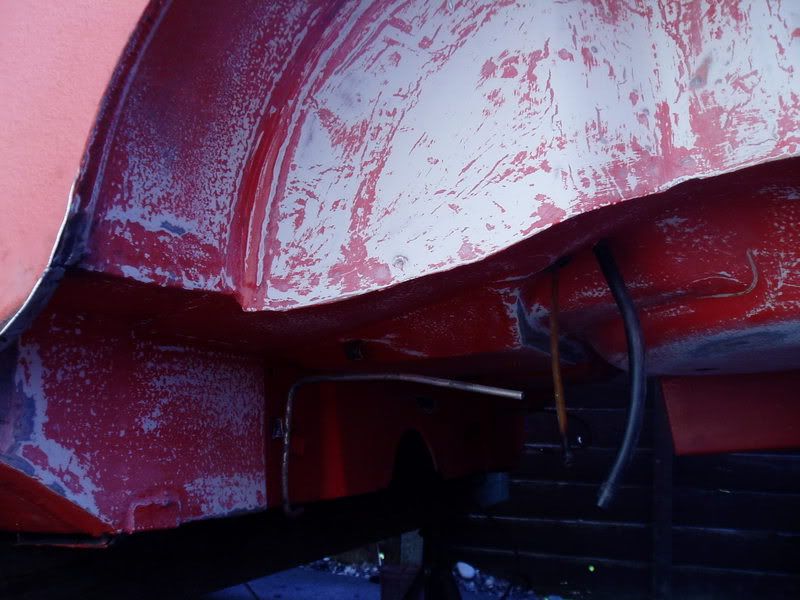
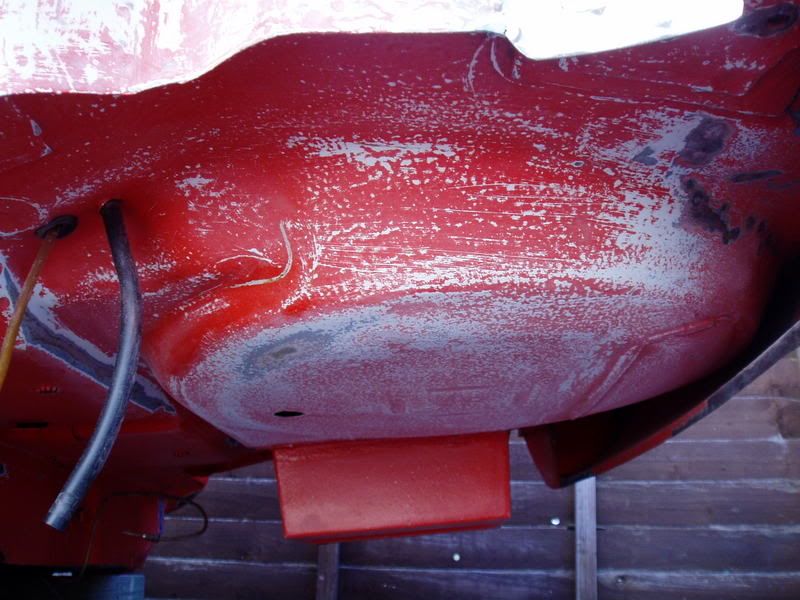
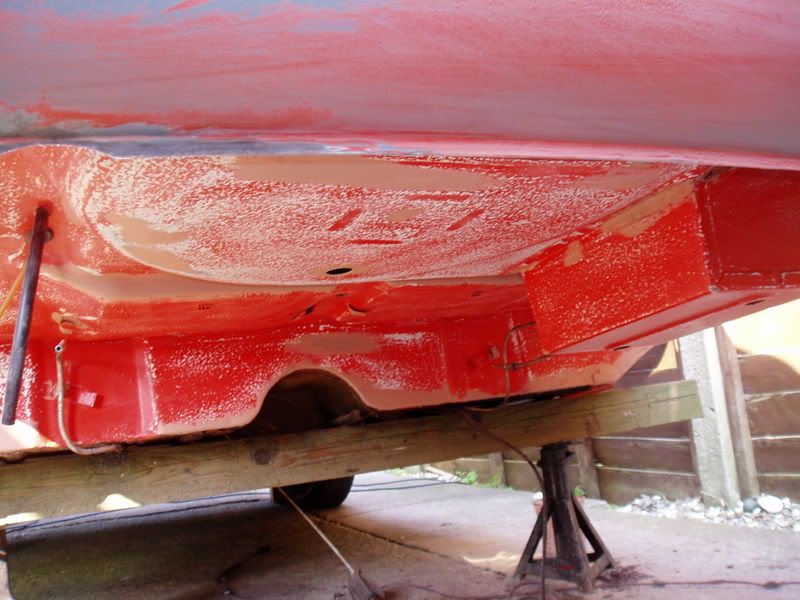
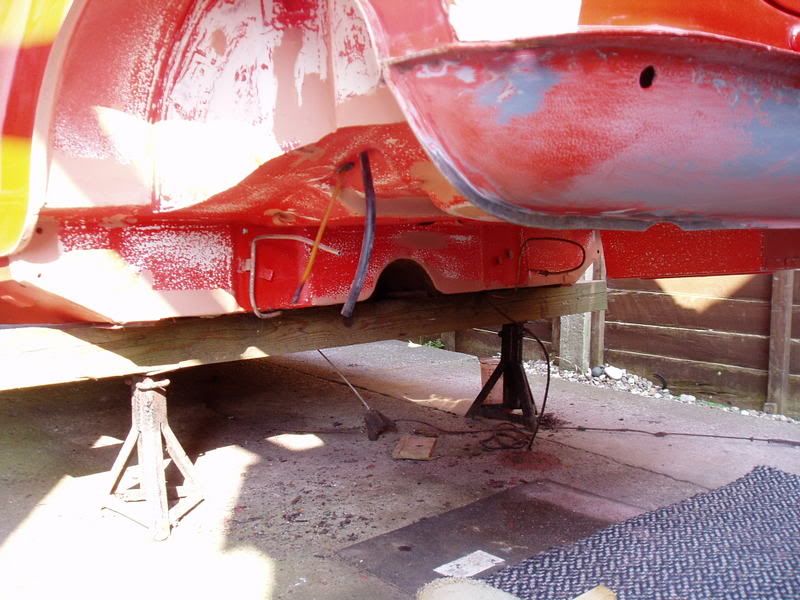
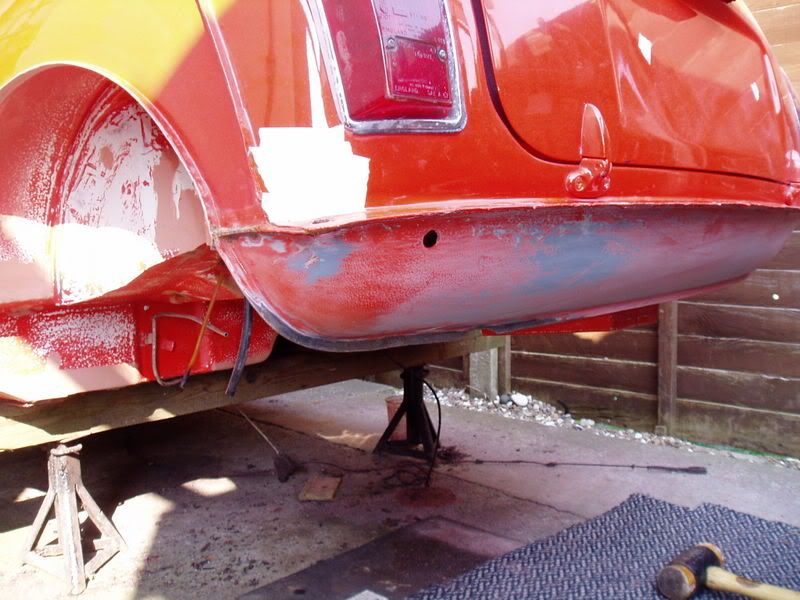
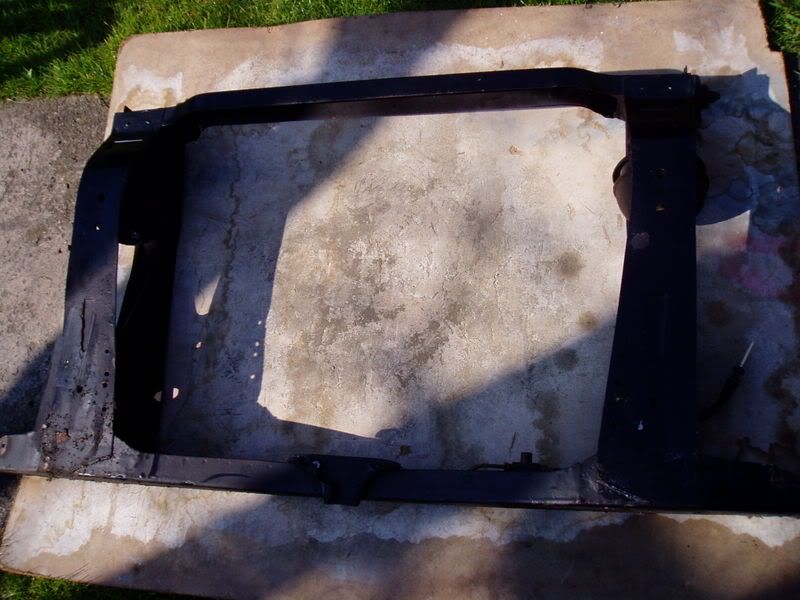
Subframe as it came out!
One of the backplates:
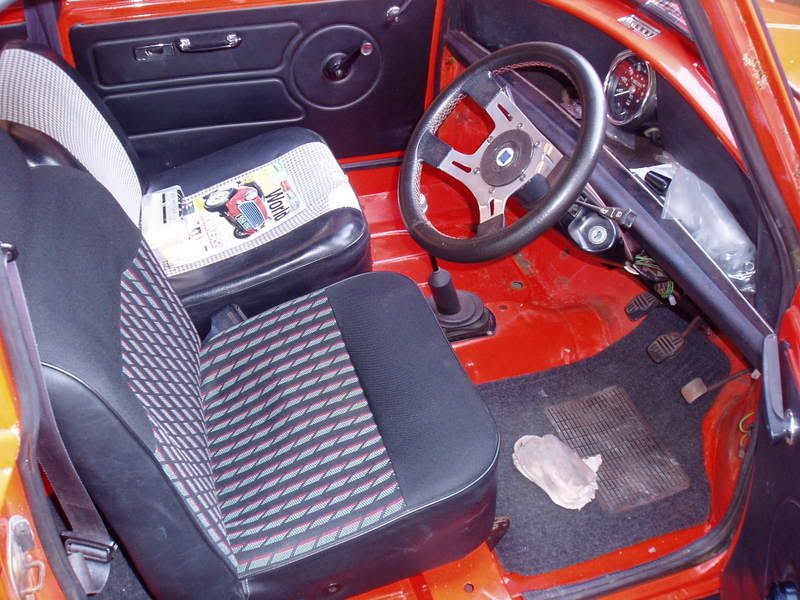
Also, bought the rest of that cooper/checkmate interior:
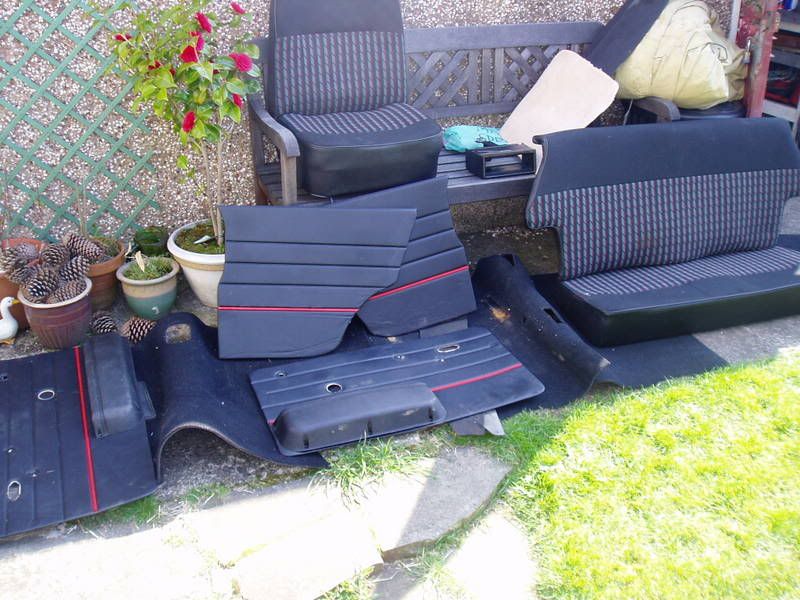
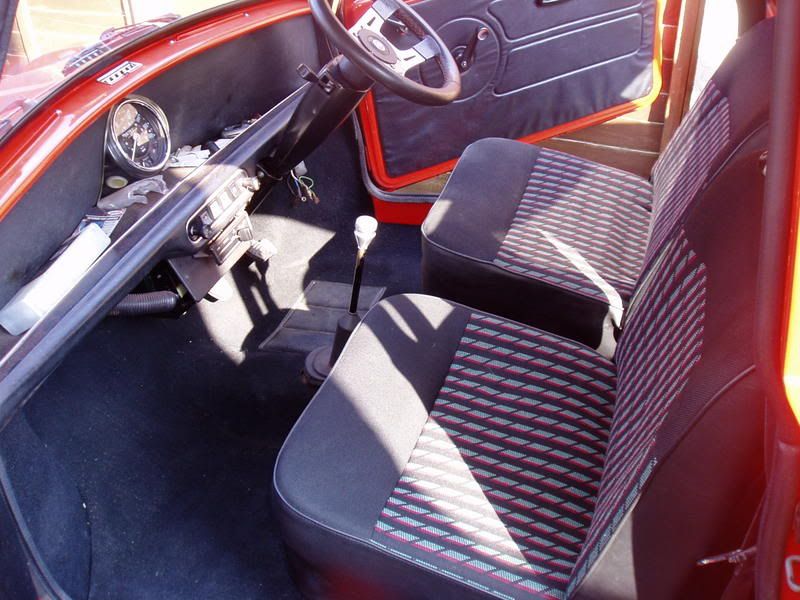
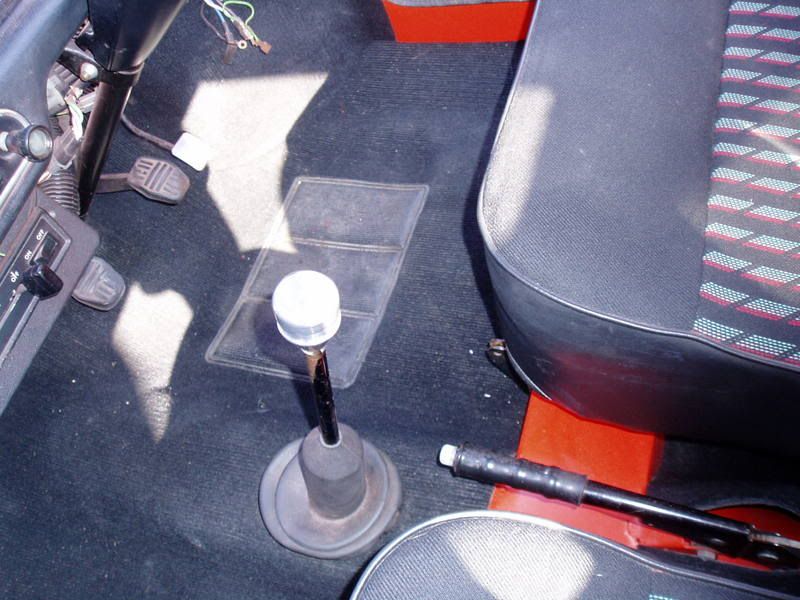
And the small bore:
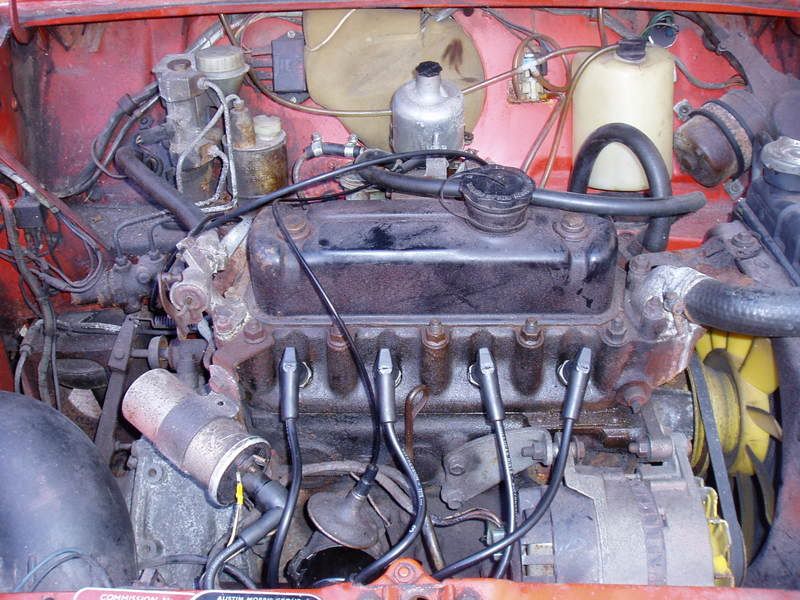
Sanded down some more, brushed in some seam sealer here and there, all going well:
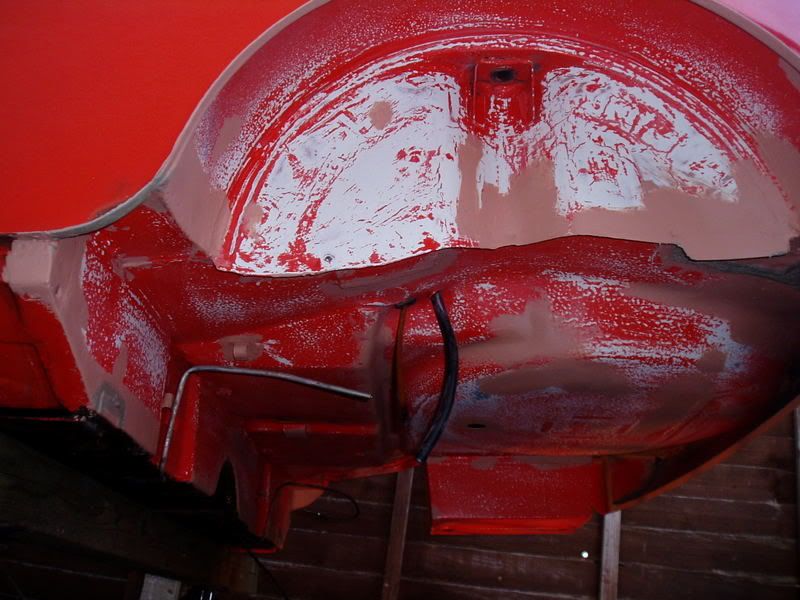
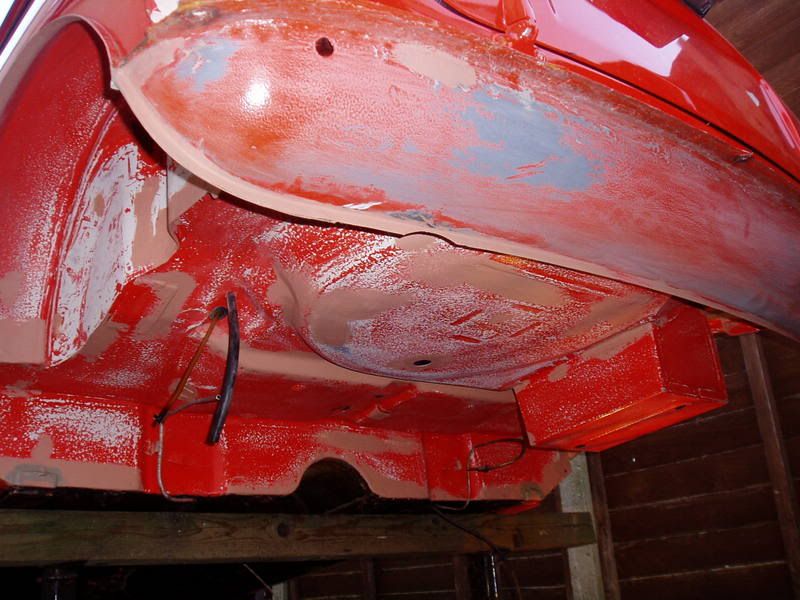
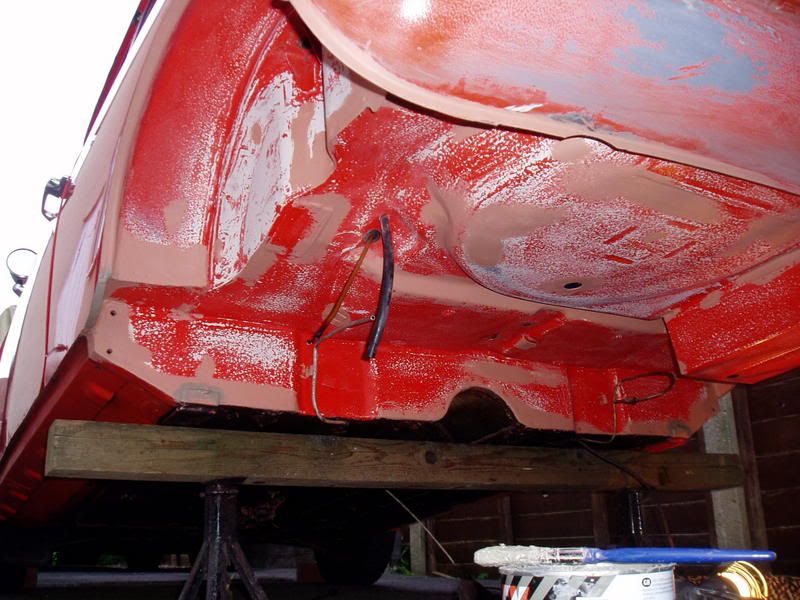 Paint preparation:
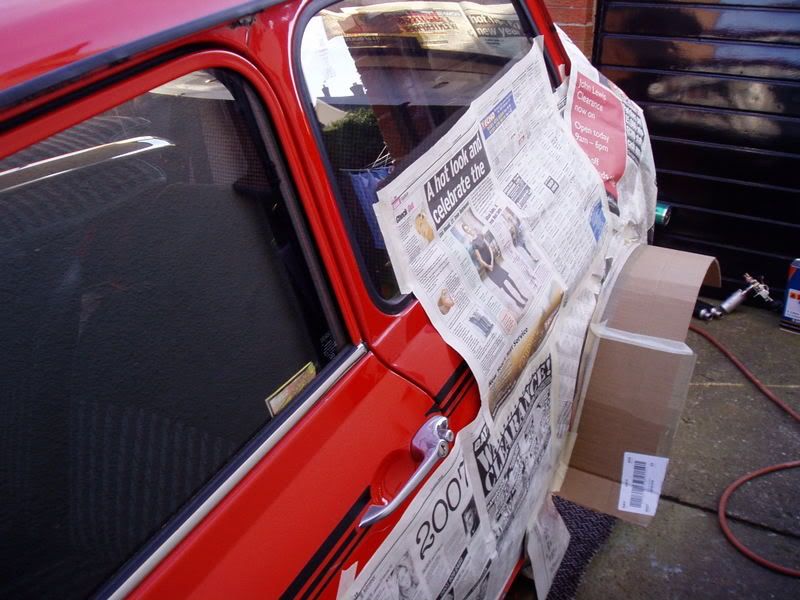
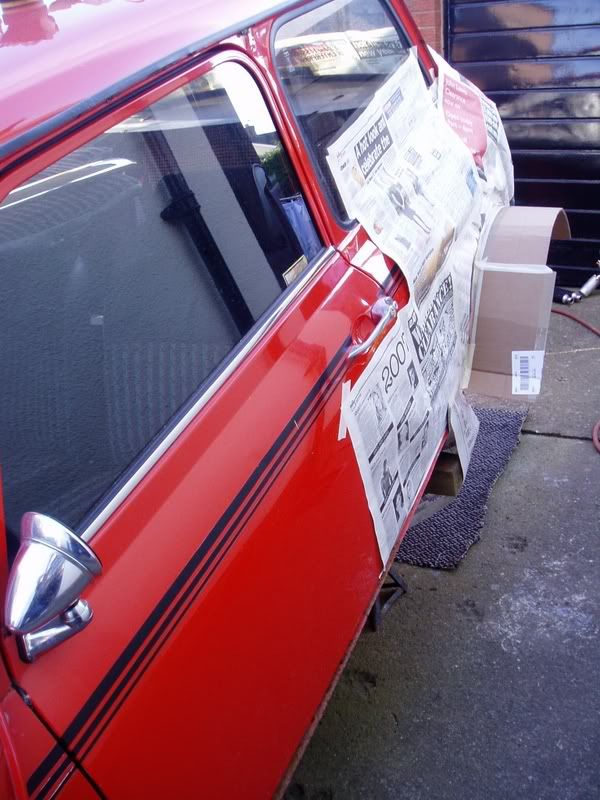
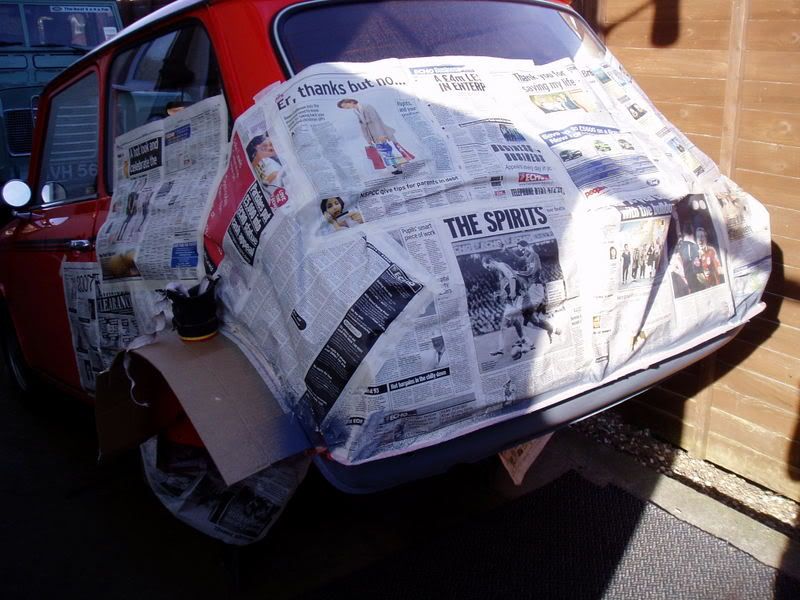 Grey stone chip:
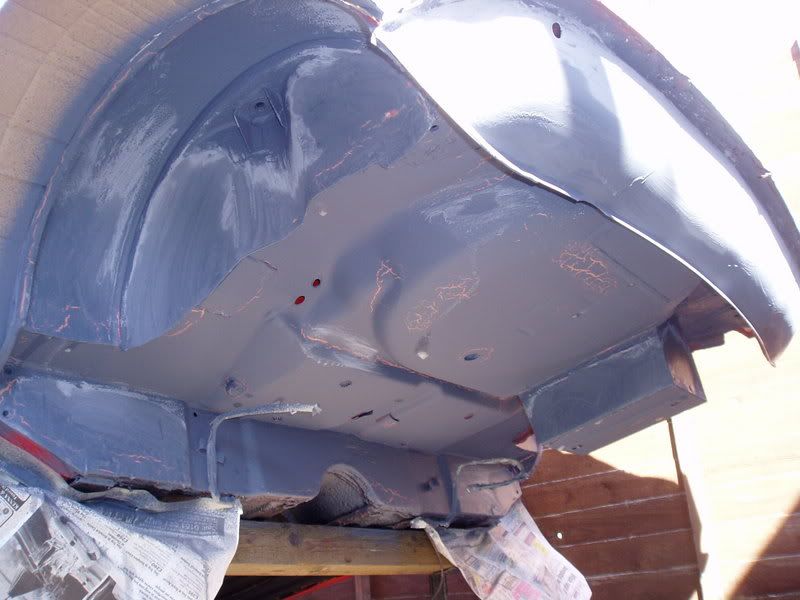
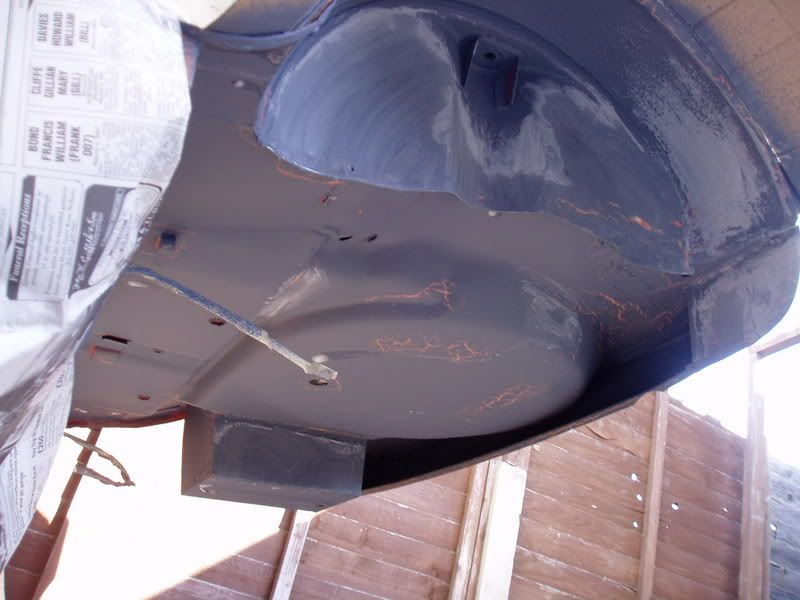 Sprayed Vermillion:
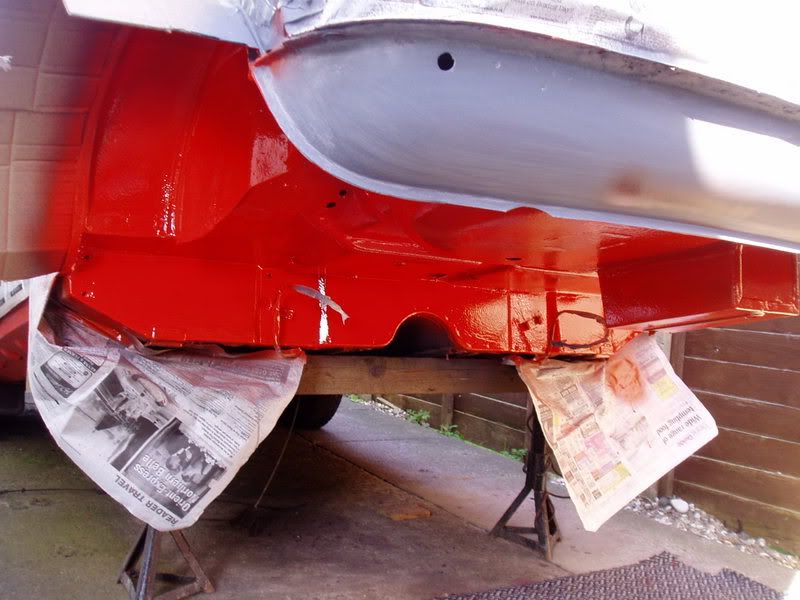
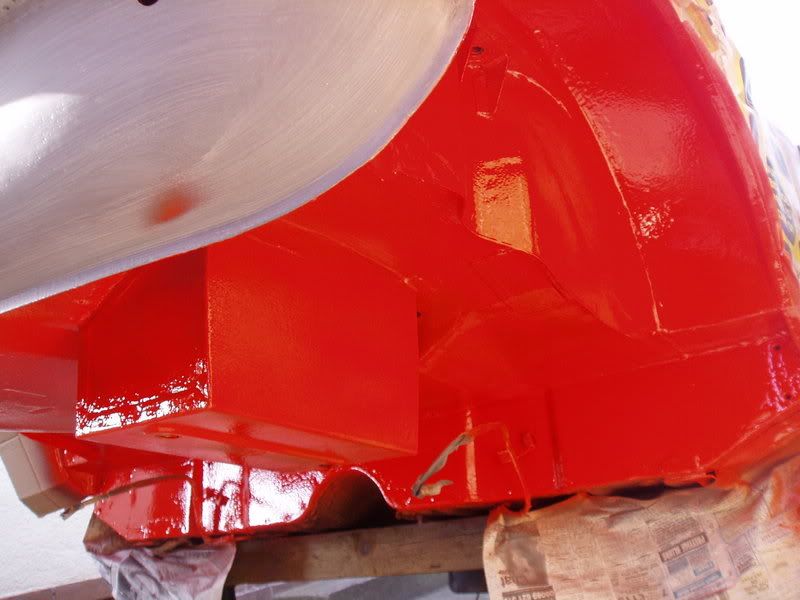
Sanded down the rear subframe, using a mouse sander, the bit which couldnt be reached had to be done by hand :teehee: Painted the subframe in a coating of red oxide paint
Also given the floor its top coating of vermillion red! :proud: That grey stone chip takes alot of covering! Will use white stone chip next time I think, oh well, at least i know that its well protected underneath
Rear Valance has also been painted in cellulose vermillion, can polish and buff it up nicely!
The radius arms have been cleaned up and restored ready for painting as with the brake backplates.
Here are the pictures of the progress so far
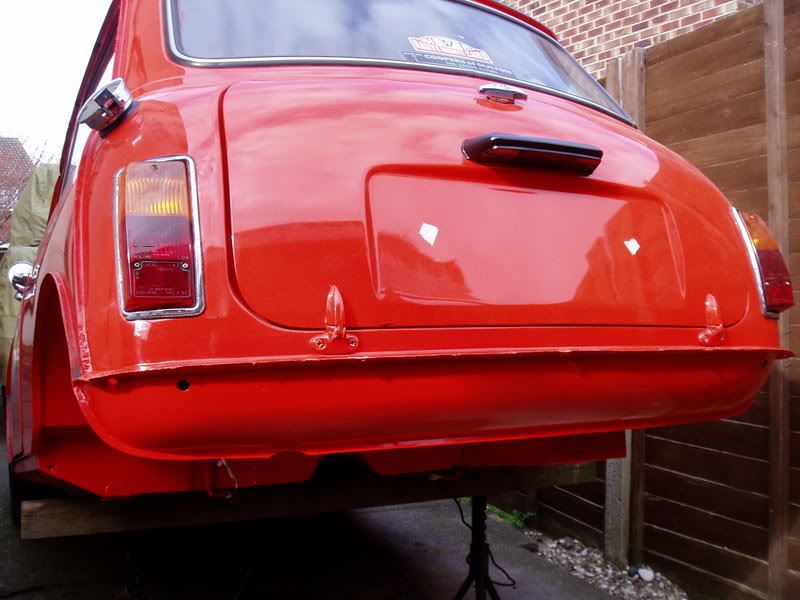
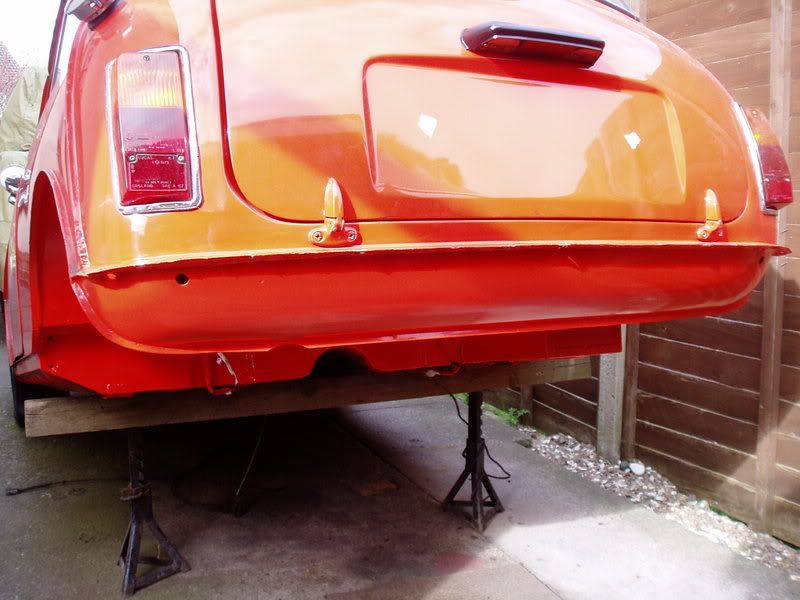
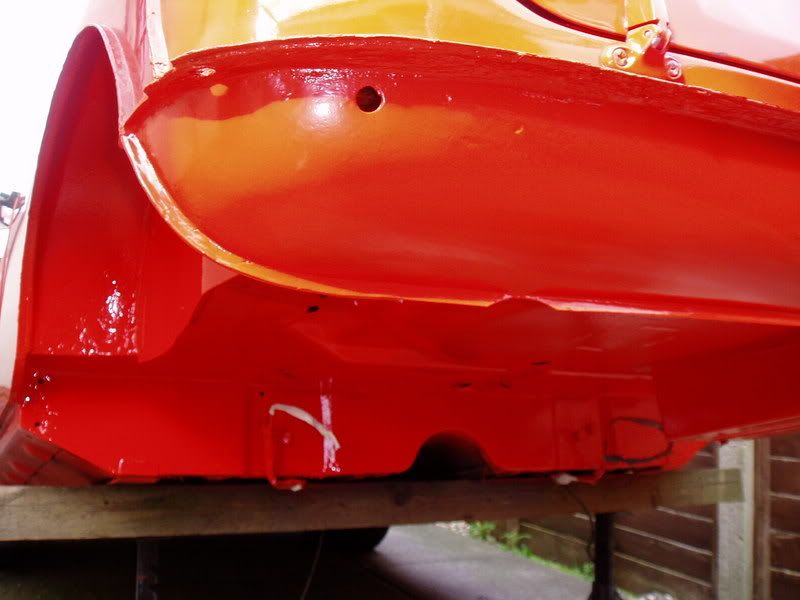
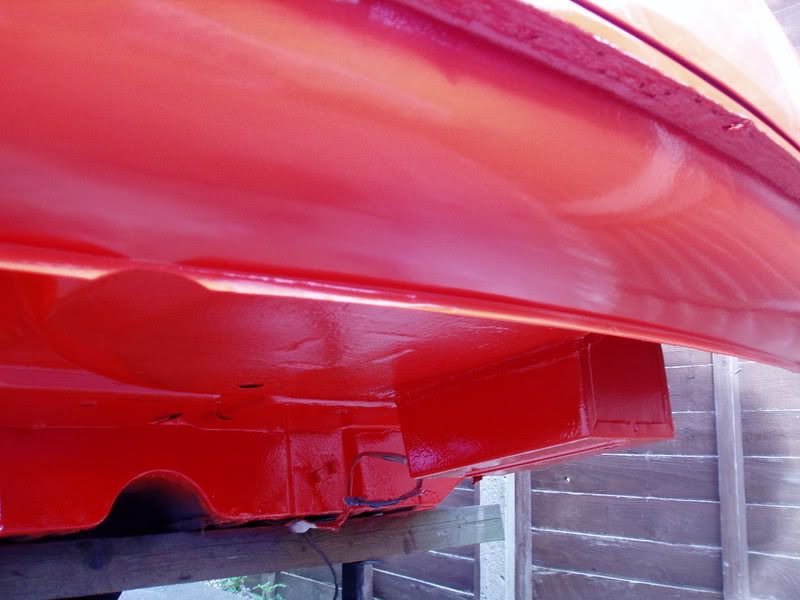
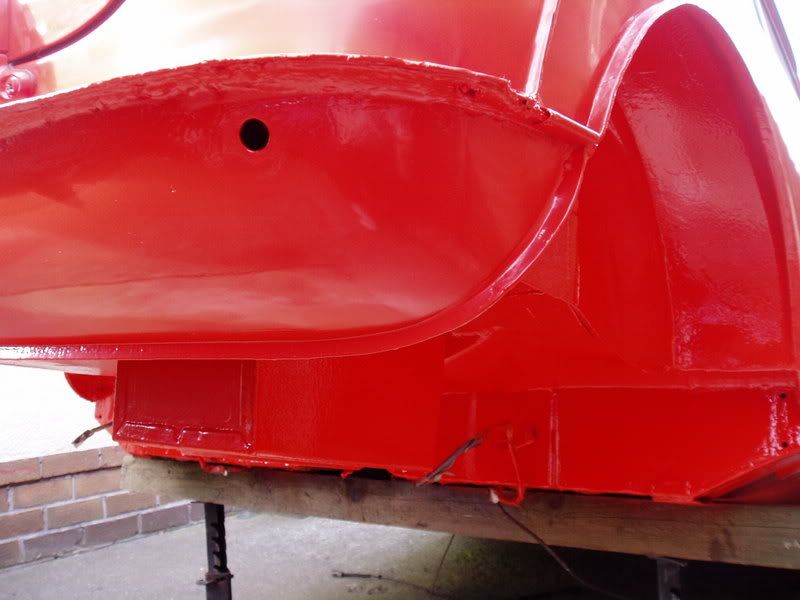
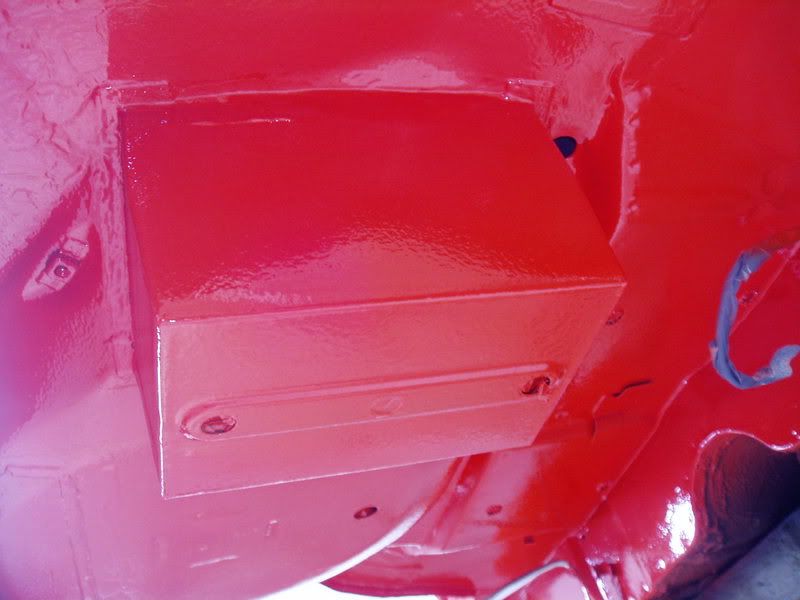
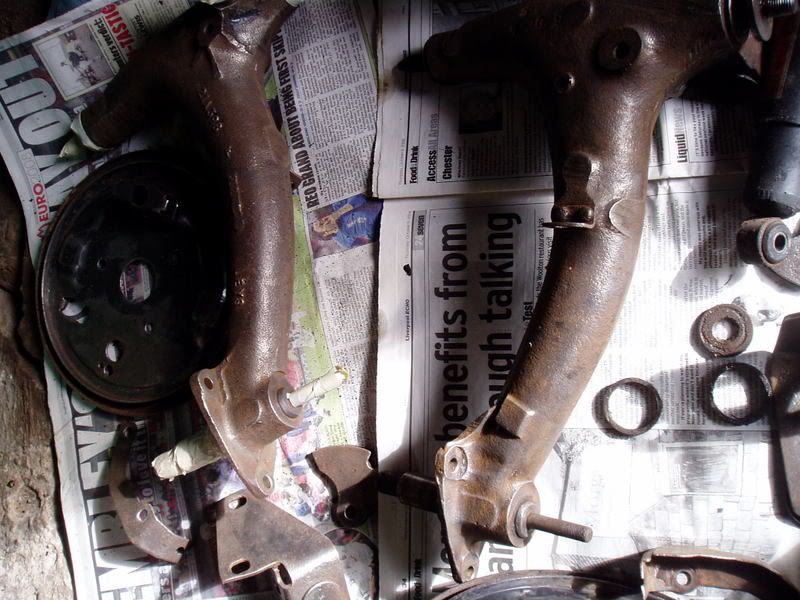
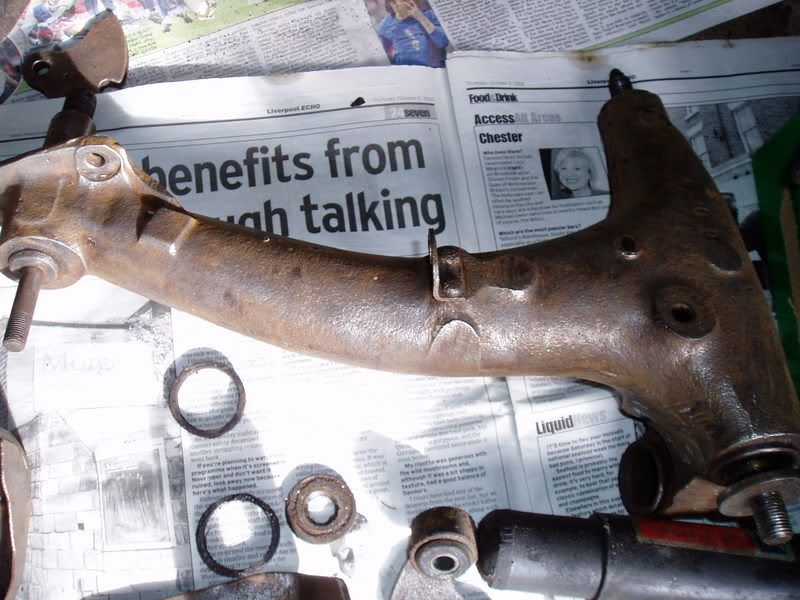
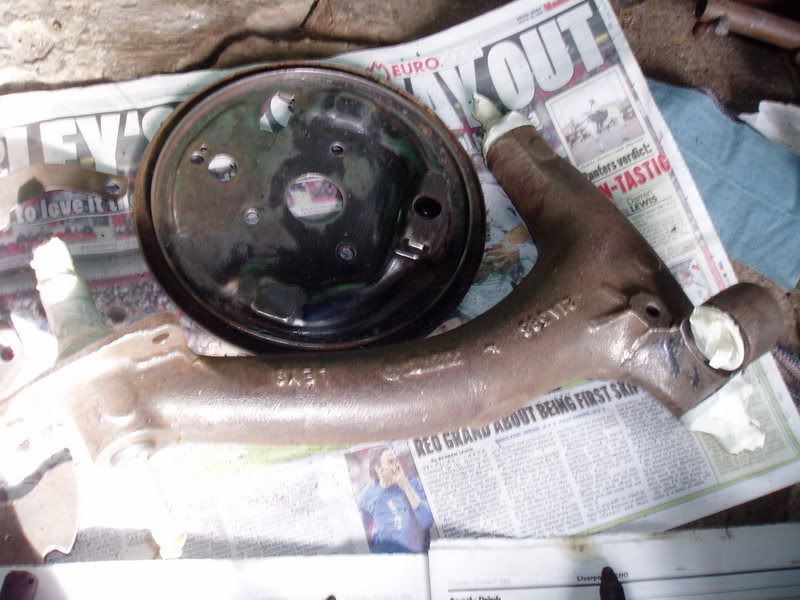
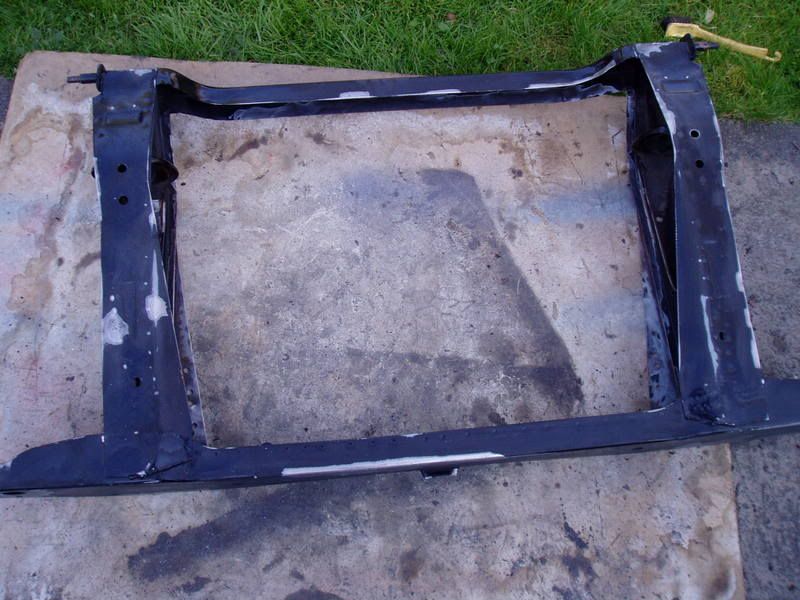
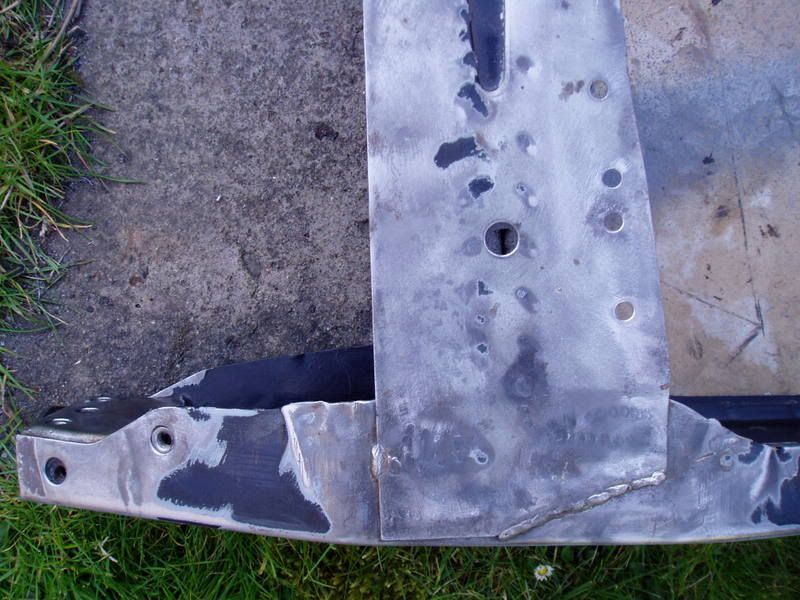
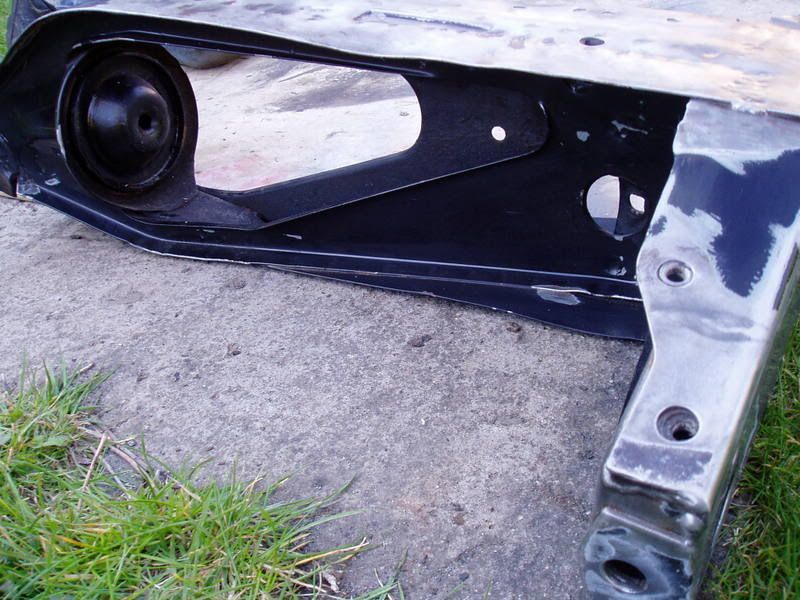
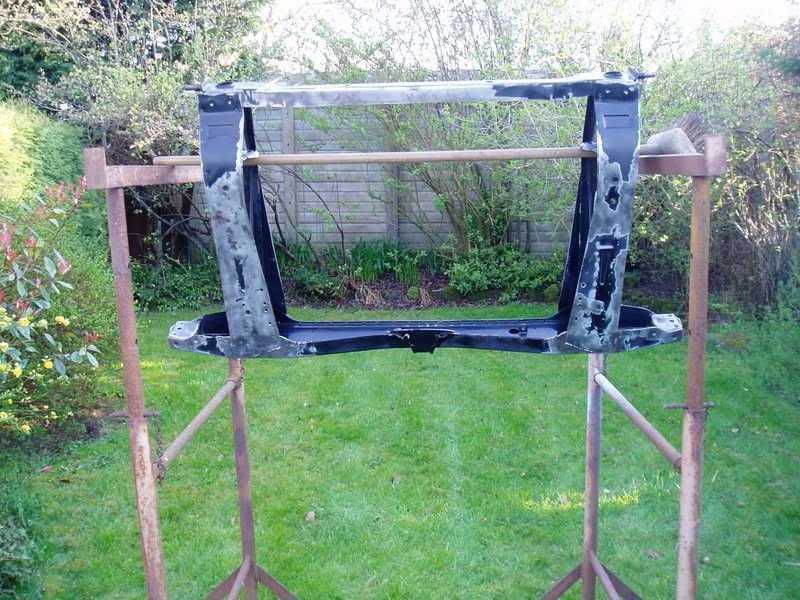
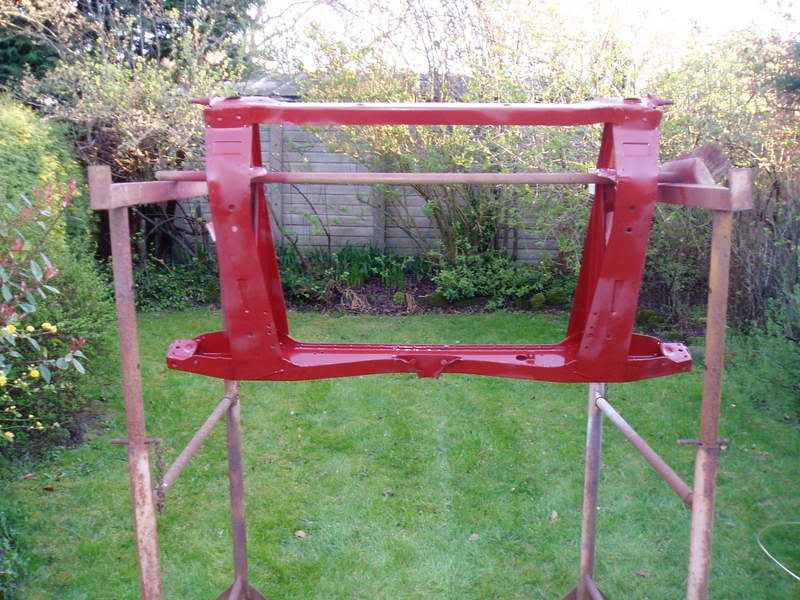
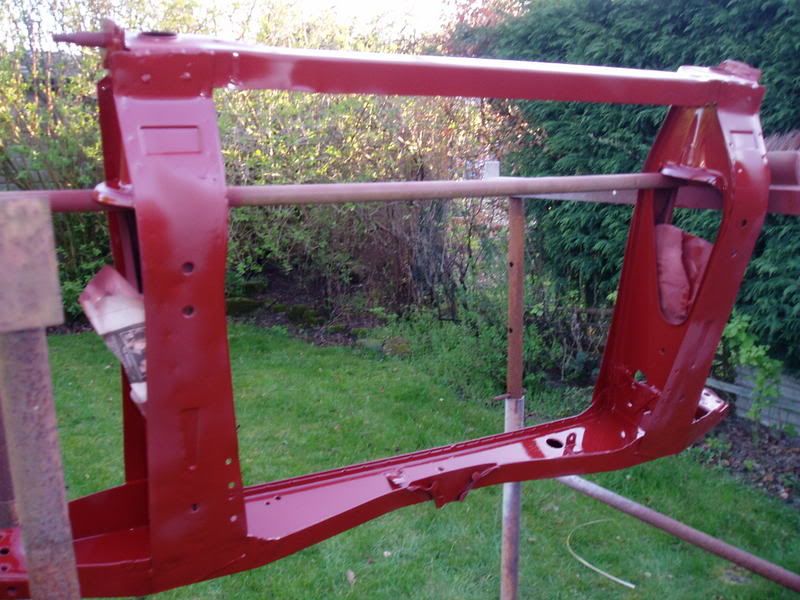
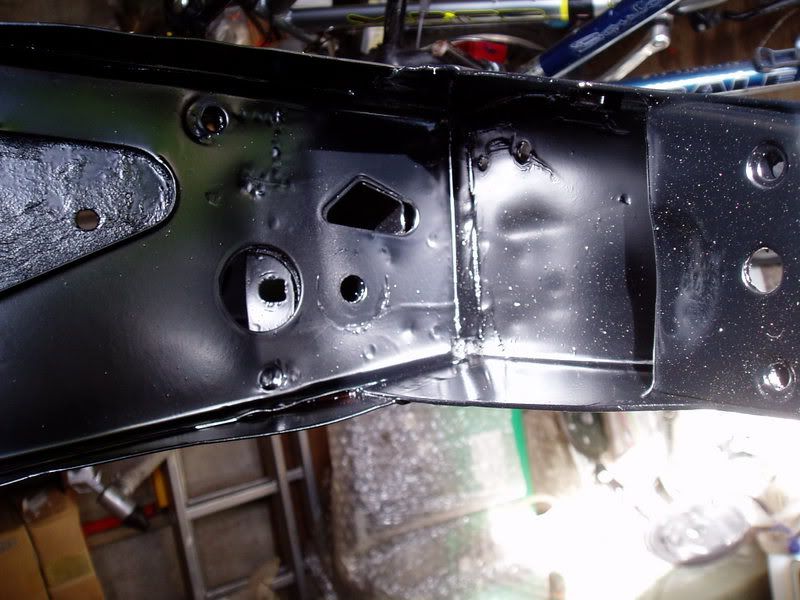
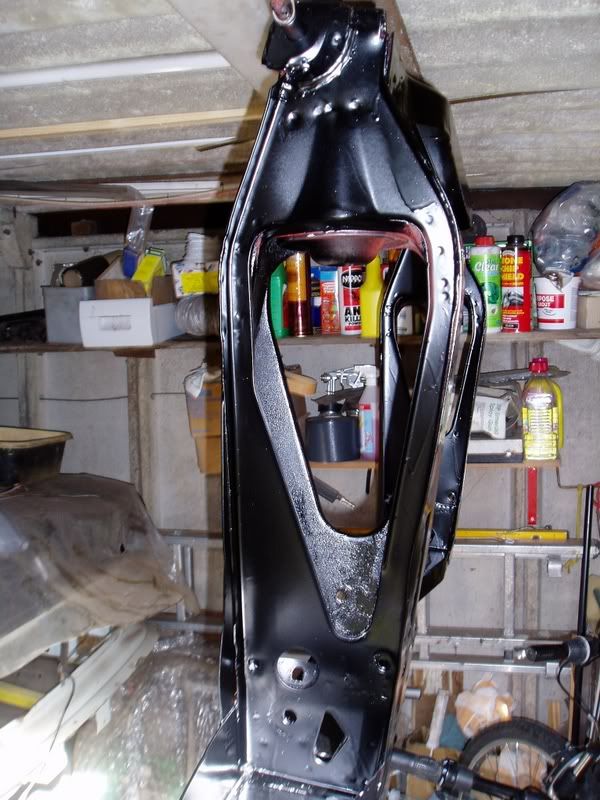
Red oxide all the components:
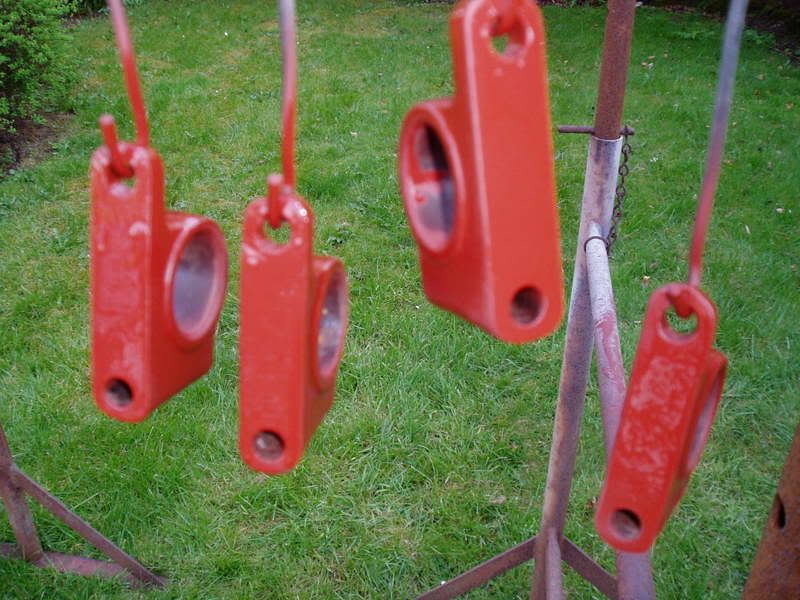
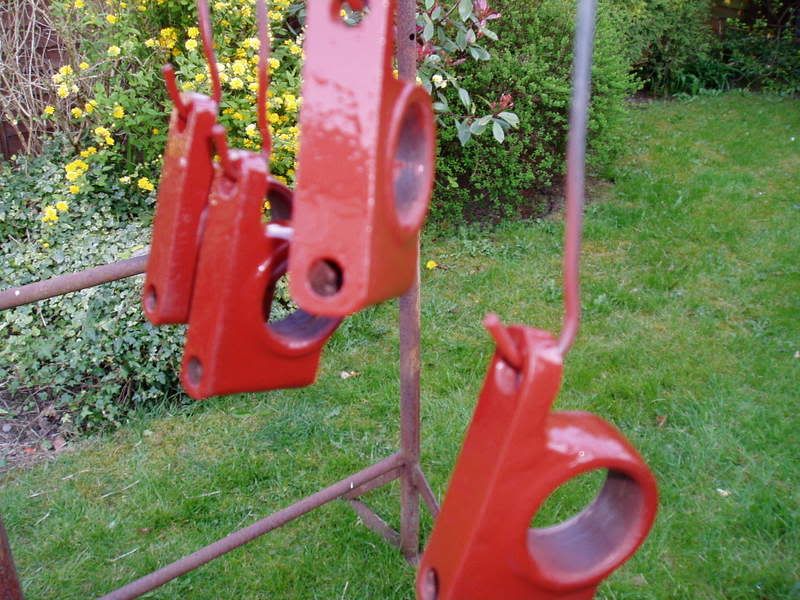
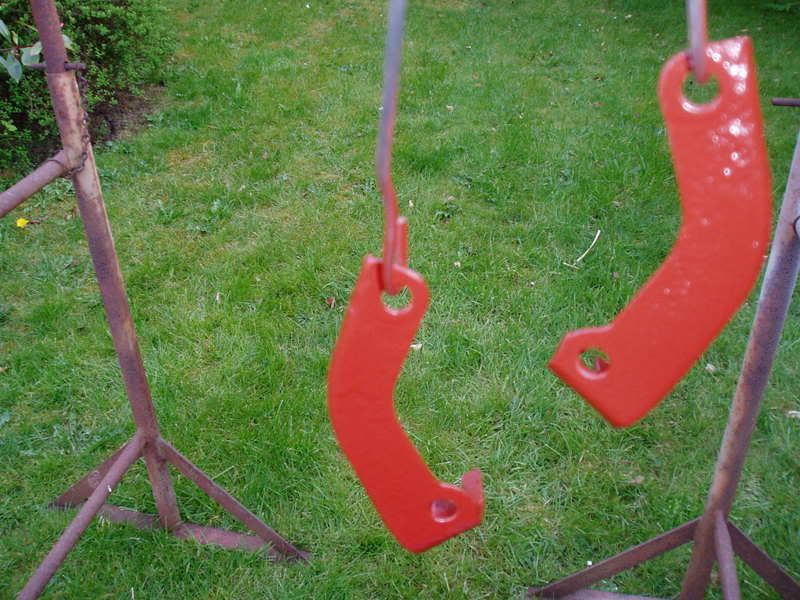
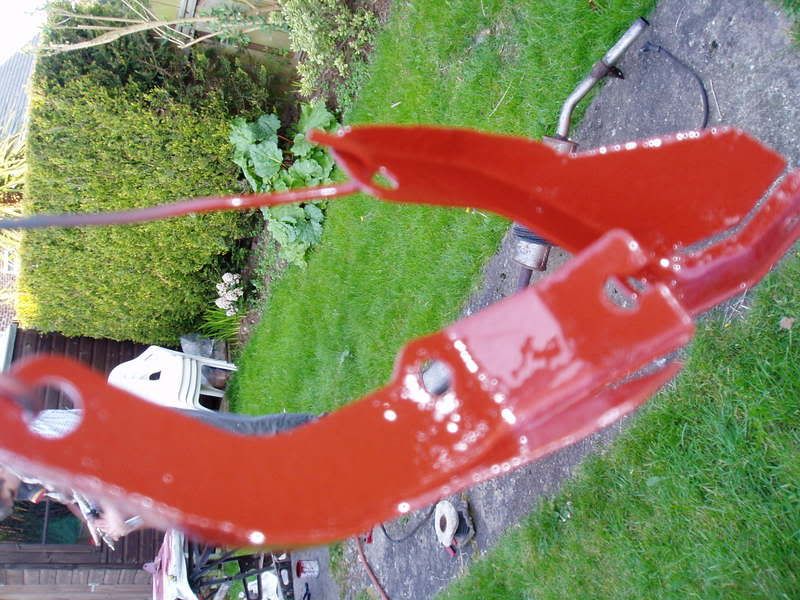
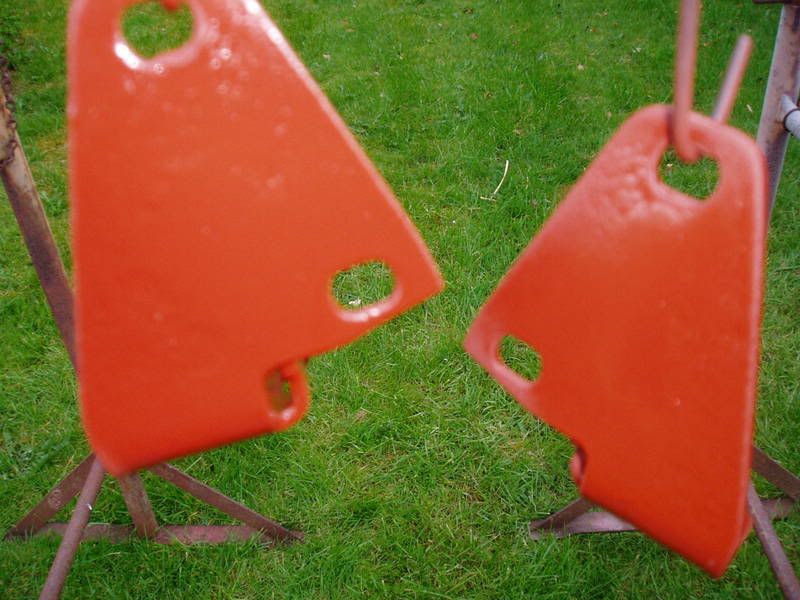
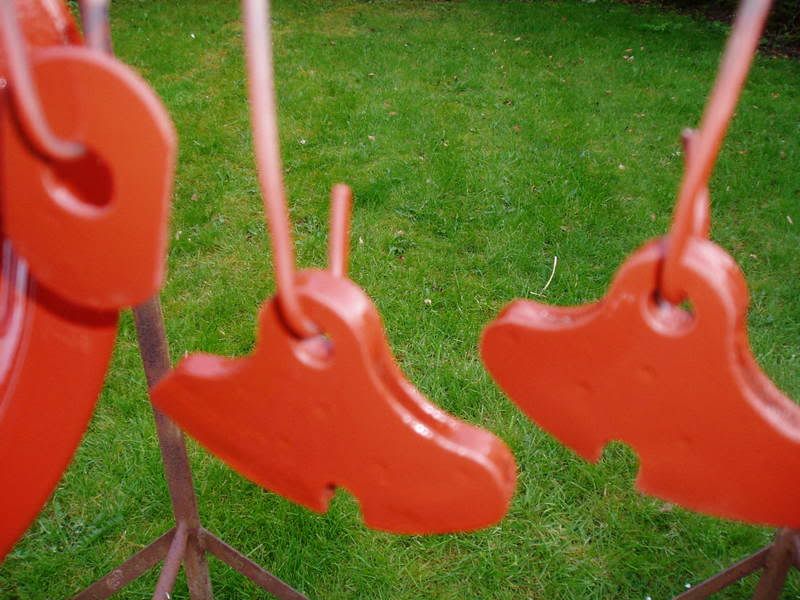
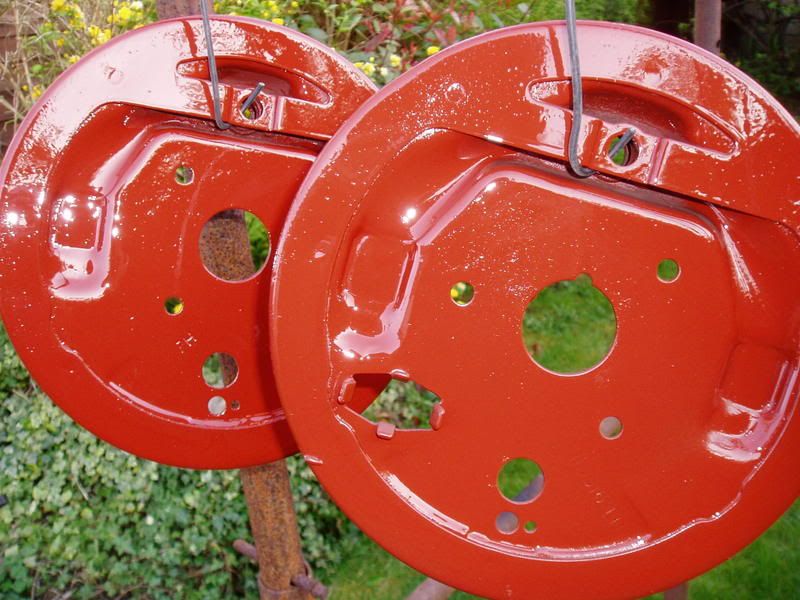
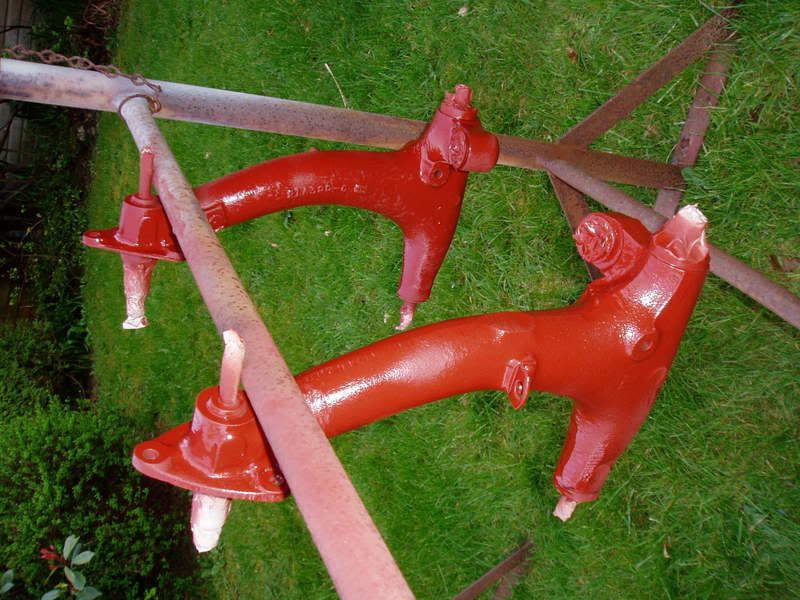
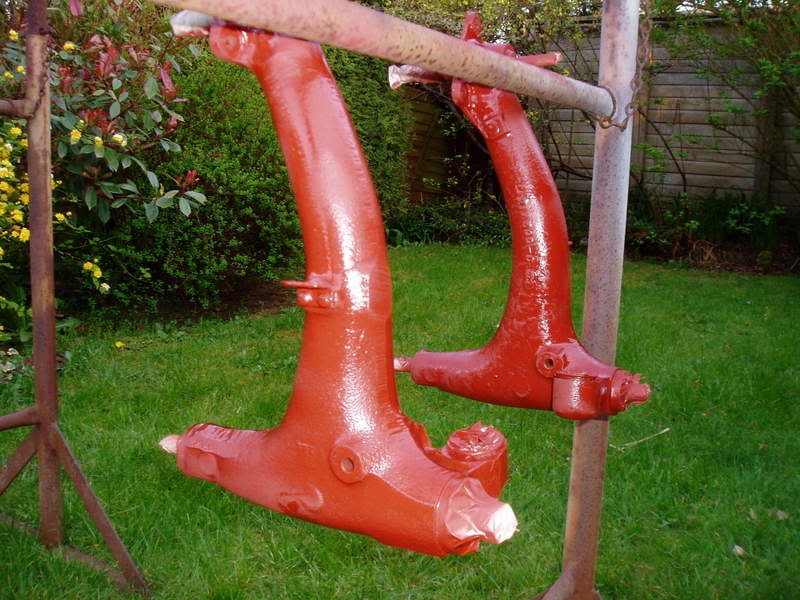
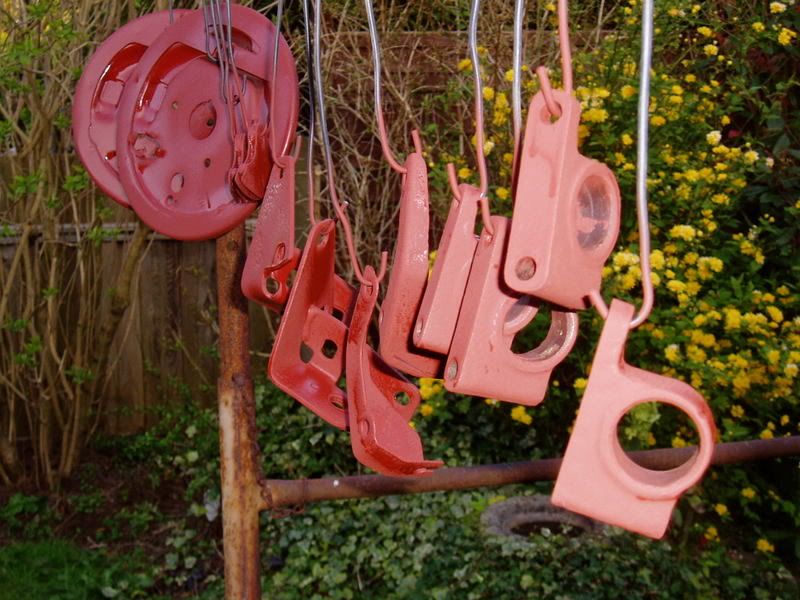
Fully wax-oiled the floor using '3M' attatched to the compressor. Also fully waxed the subframe and components, Its not as shiney now >_< , but it will protect it so I guess thats what matters! :thumbsup:
Here's the pics: (
Note: Gold painted subframe pin, I had to do something different! ;D)
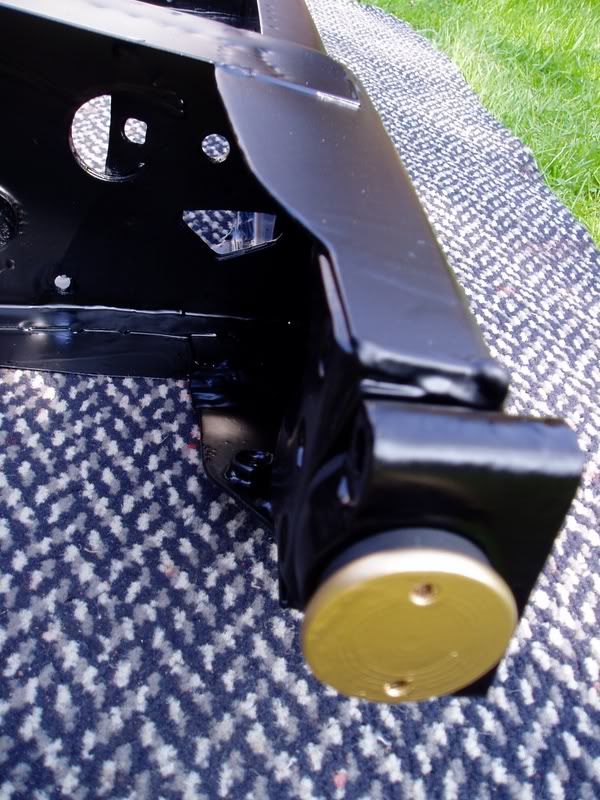
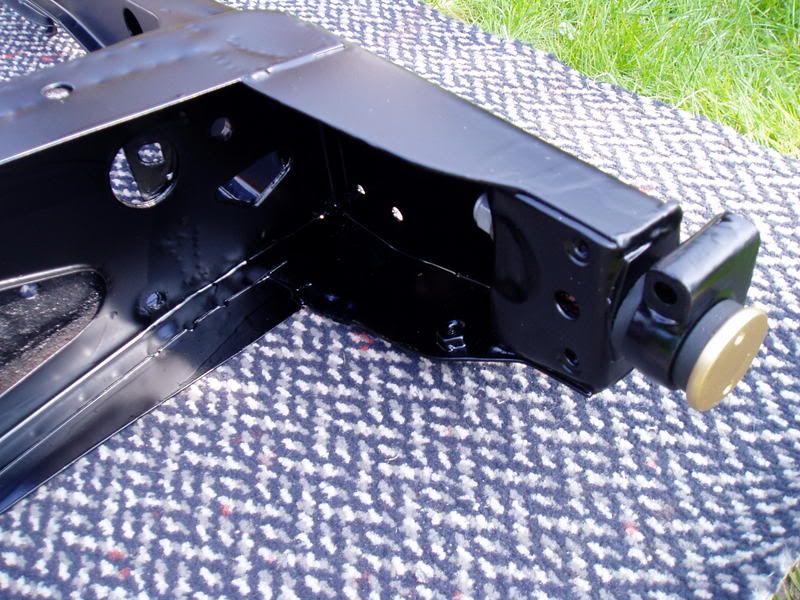
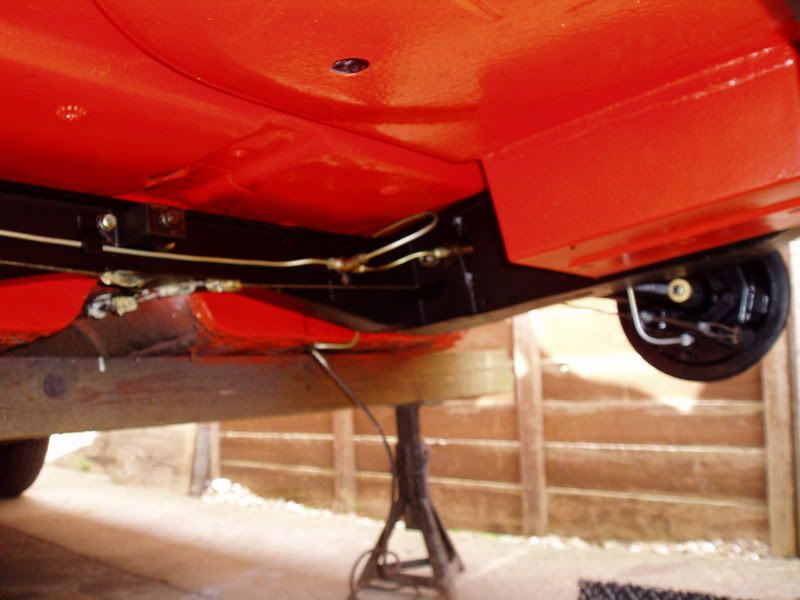
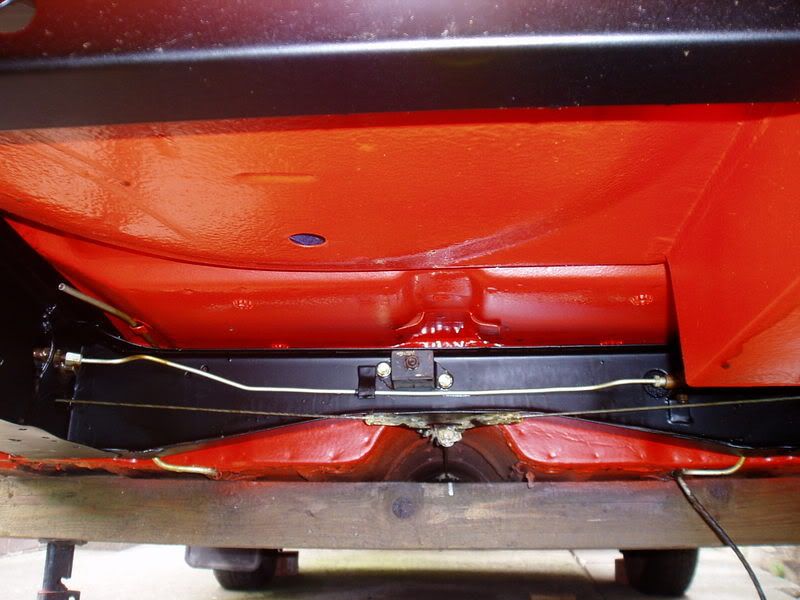
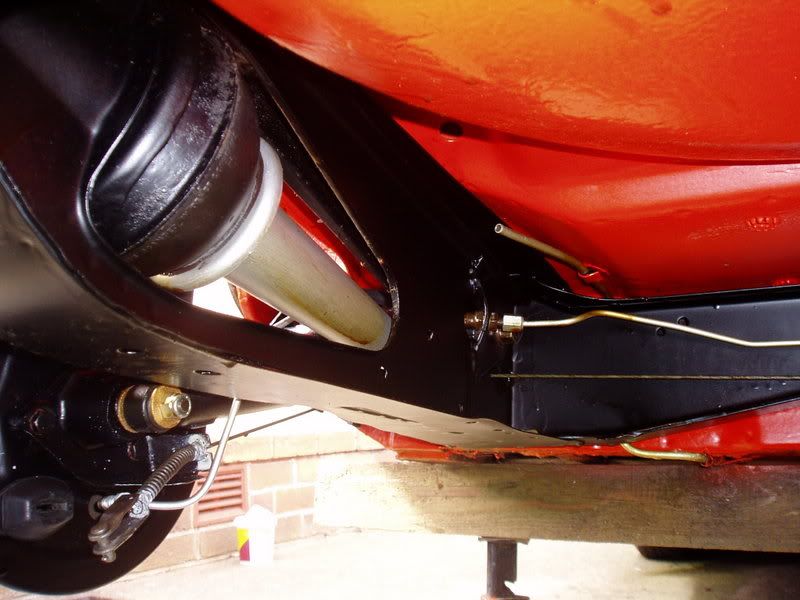
Subframe back in place:
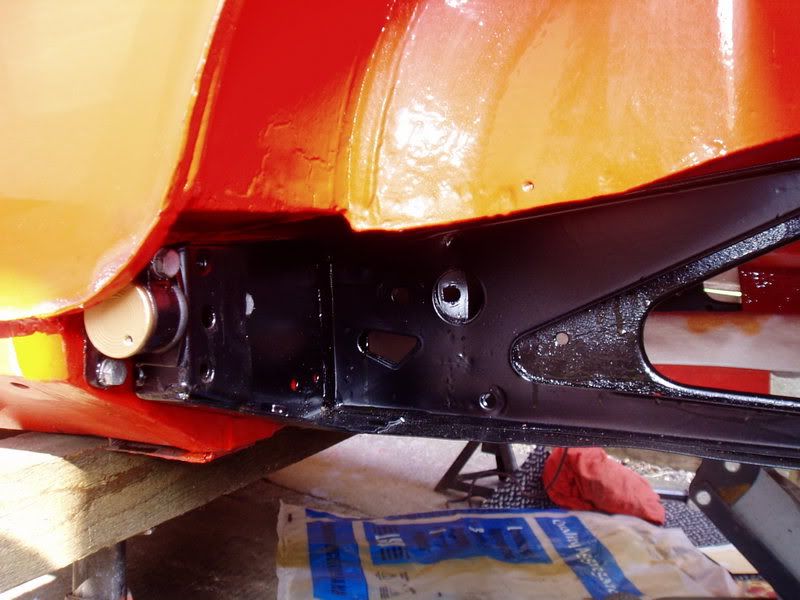
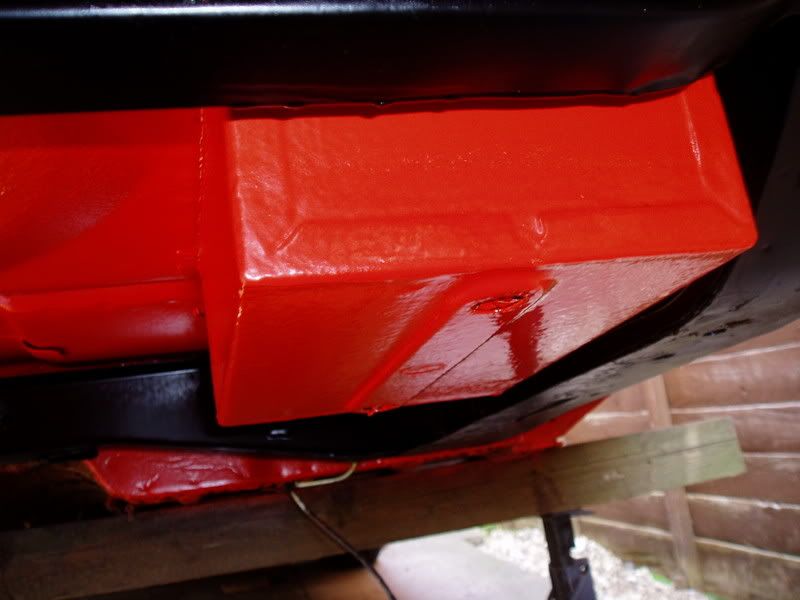
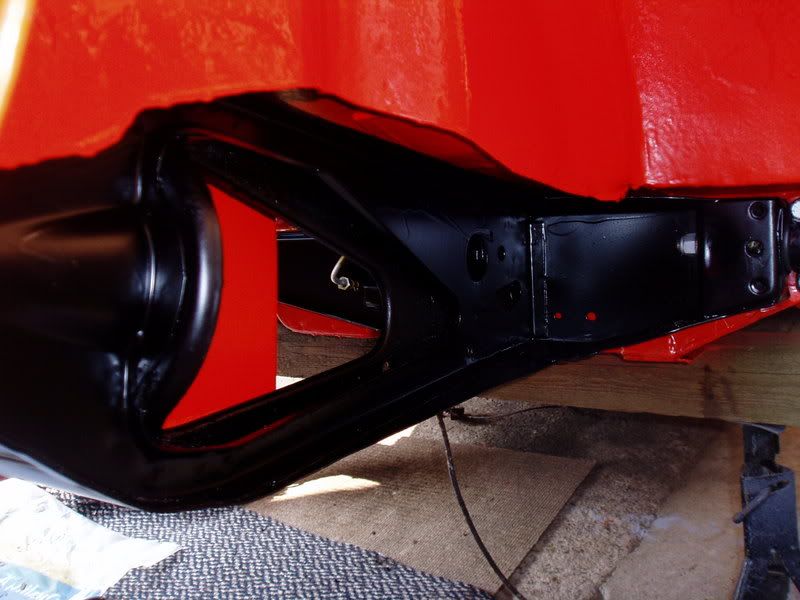
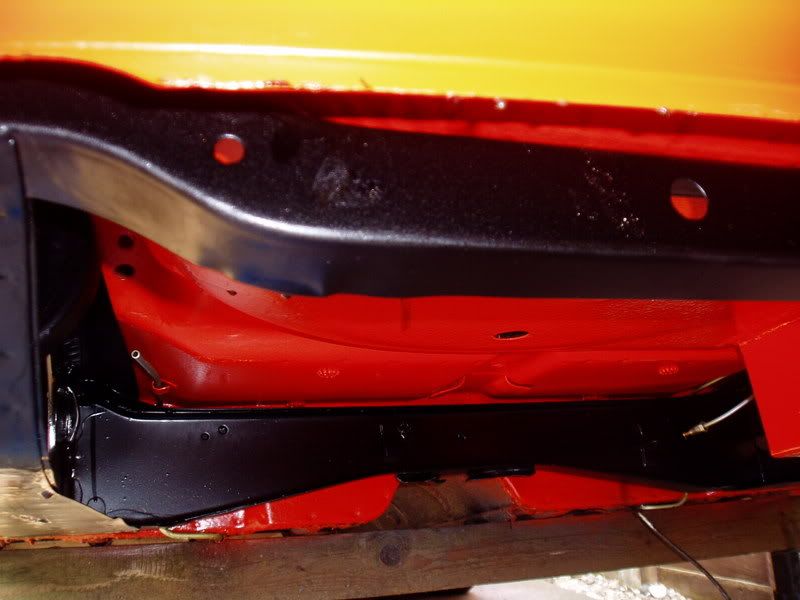 As you can see, the subframe touches the floor of the Mini, I guess this was due to the accident, when everything was thrown out of line:
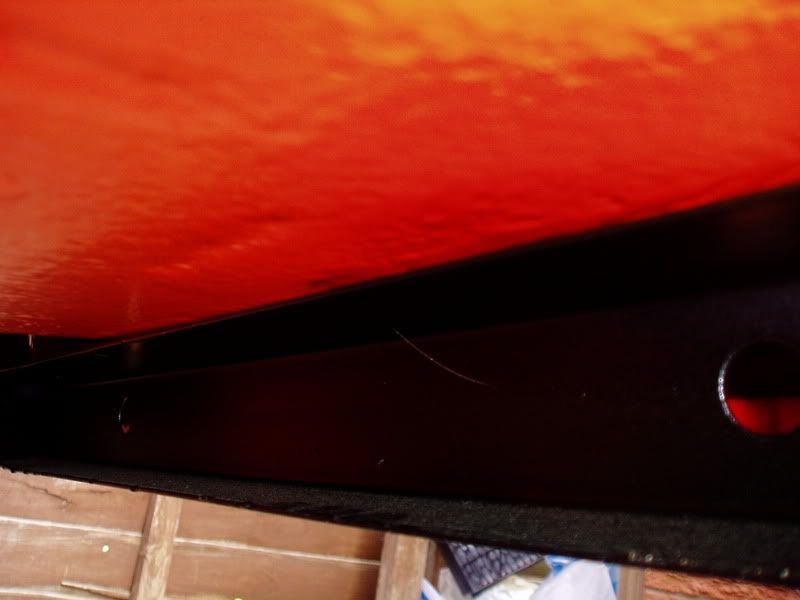
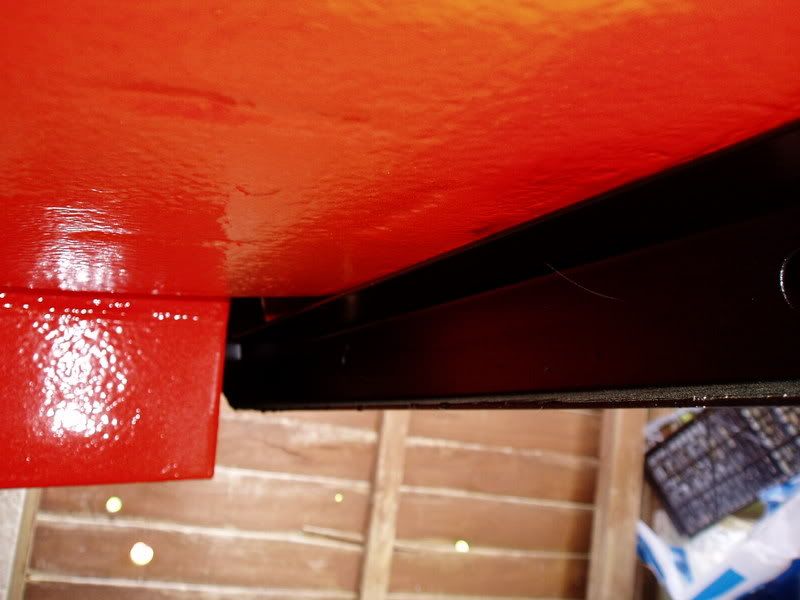
>
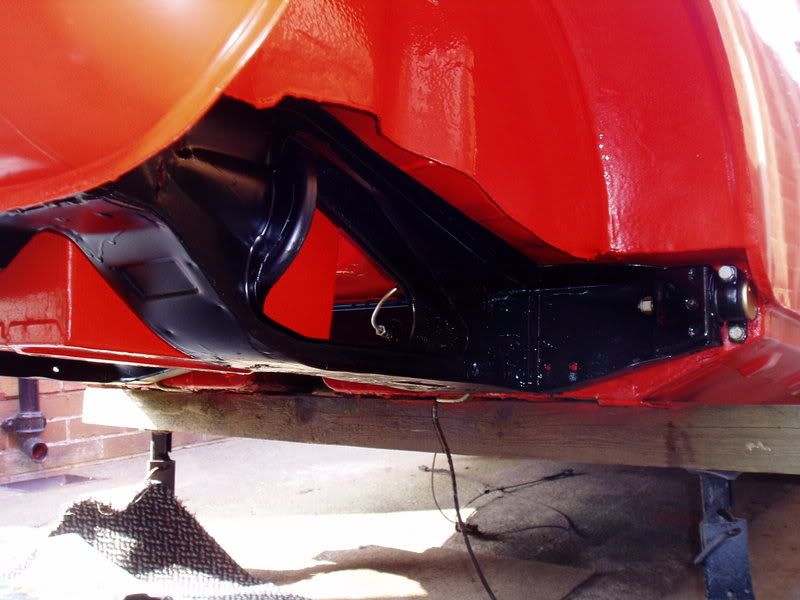
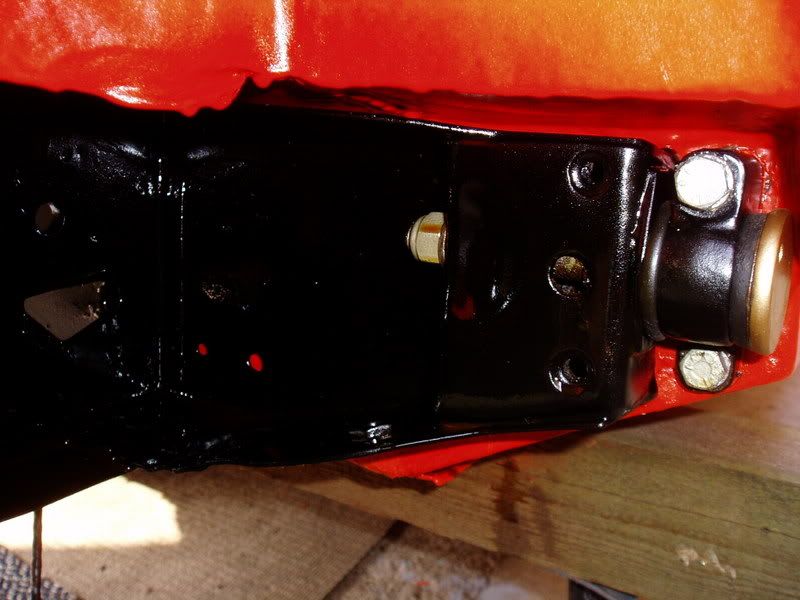
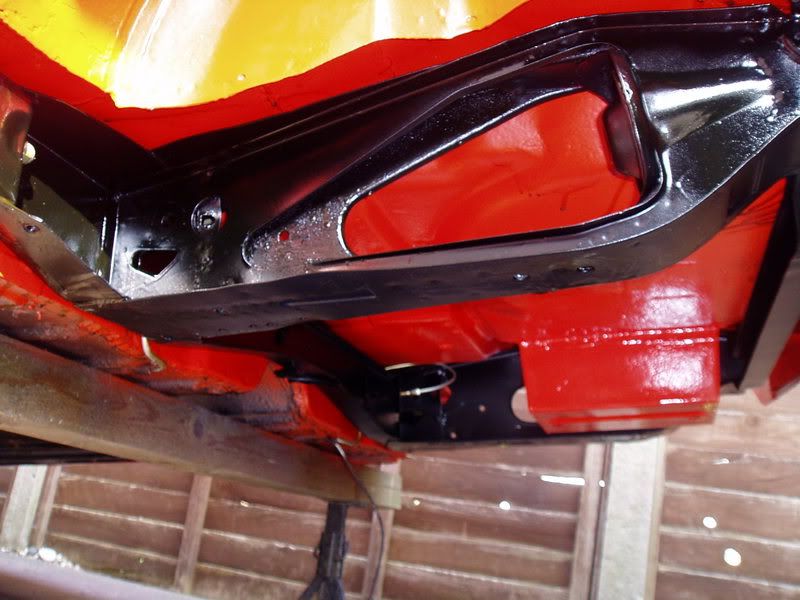
Pictures speak more than words:
Passenger floors:
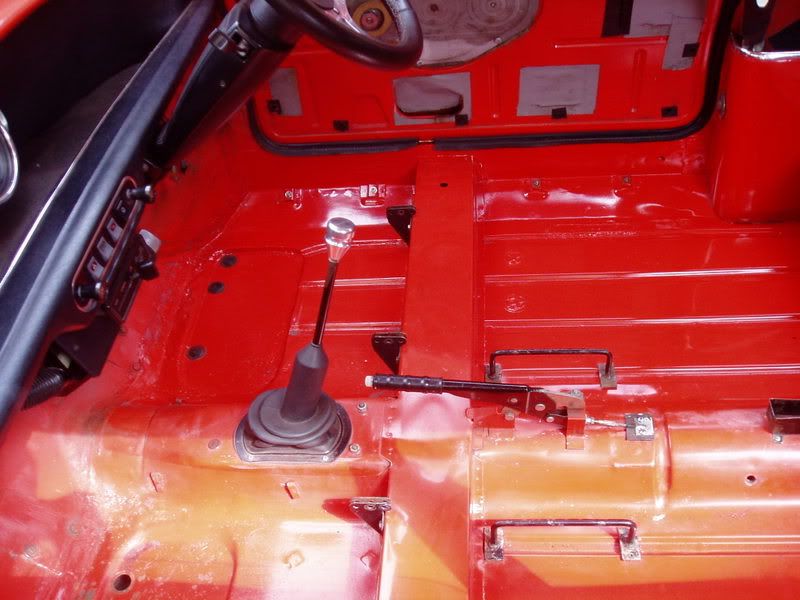
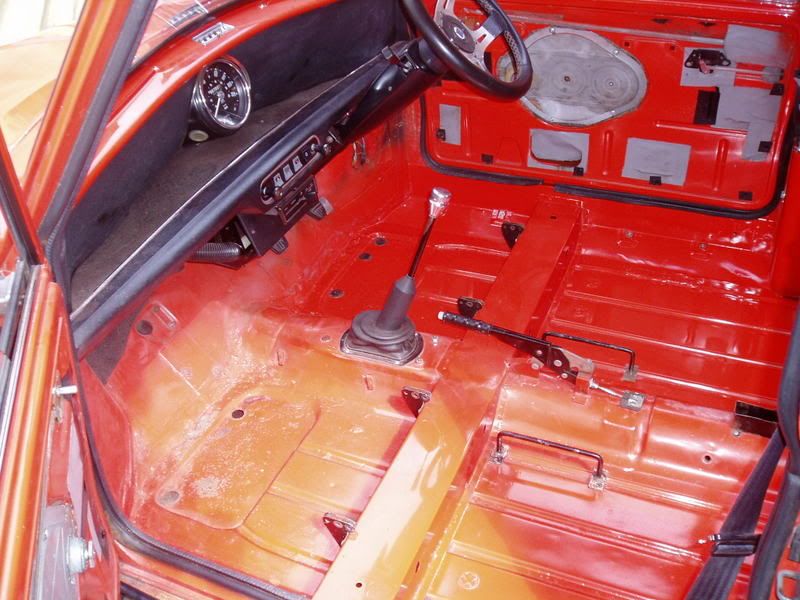
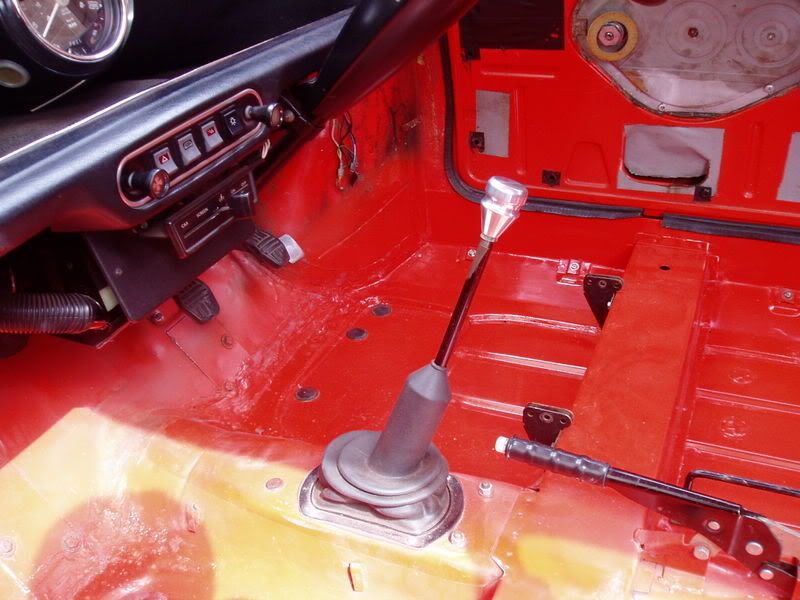
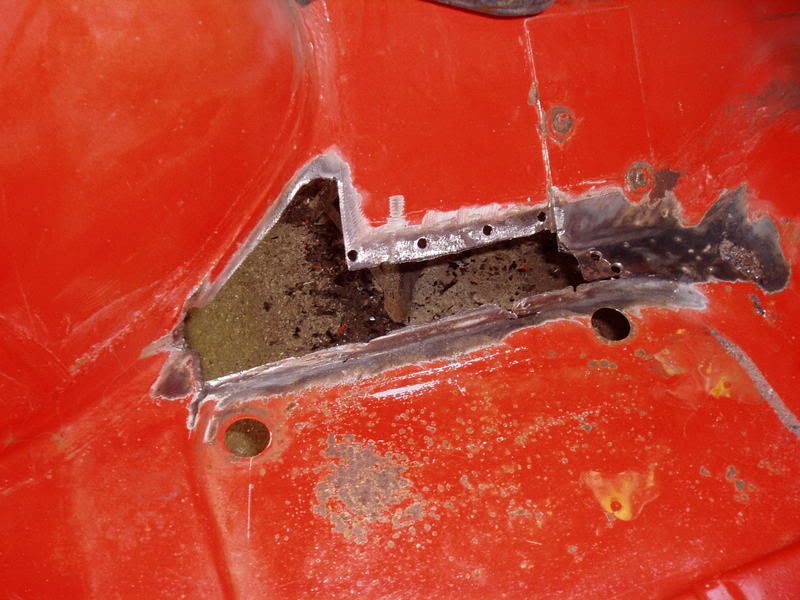
Currently doing the passenger floor, cut out alot of rot and made some pieces to button weld in place, which is much stronger than welding all around the edge!

As it stands =]
Passenger floors:
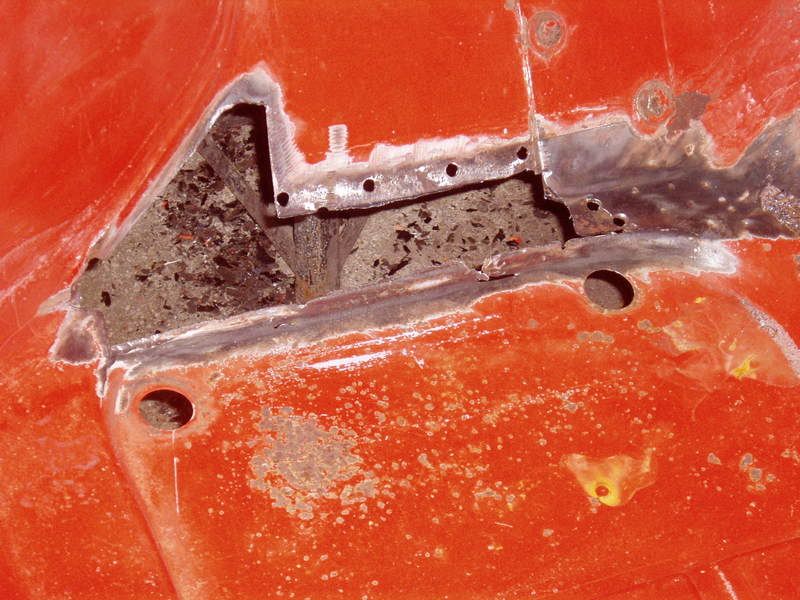
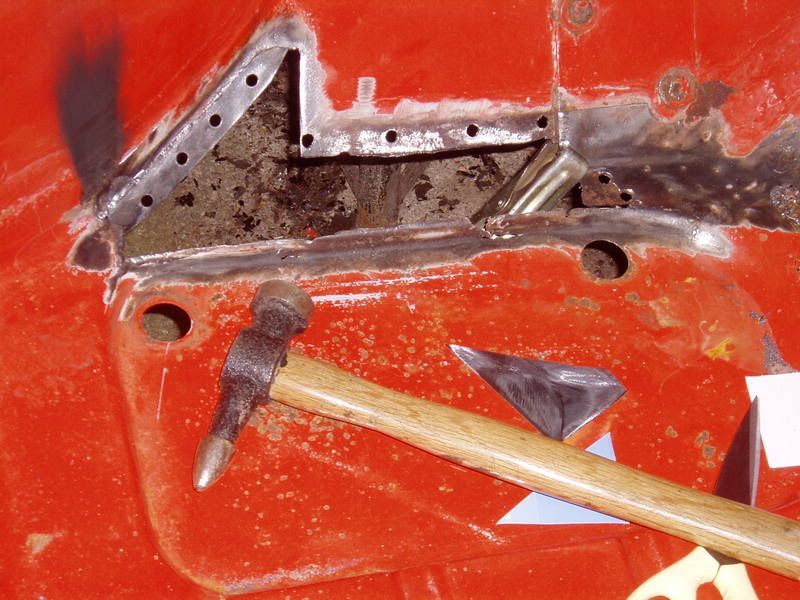
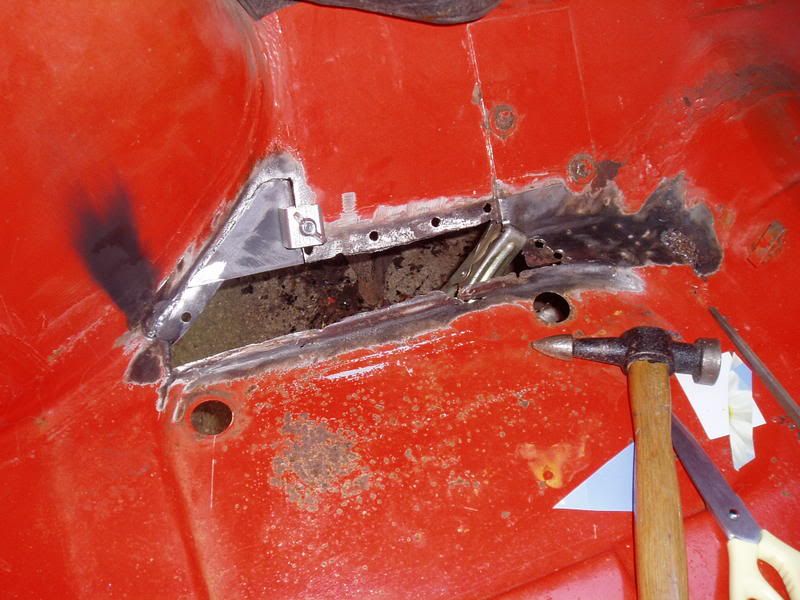
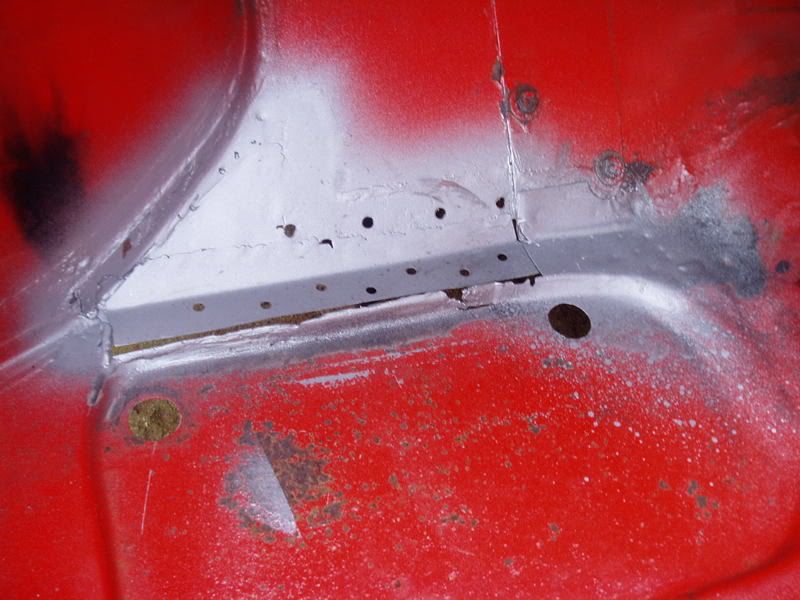
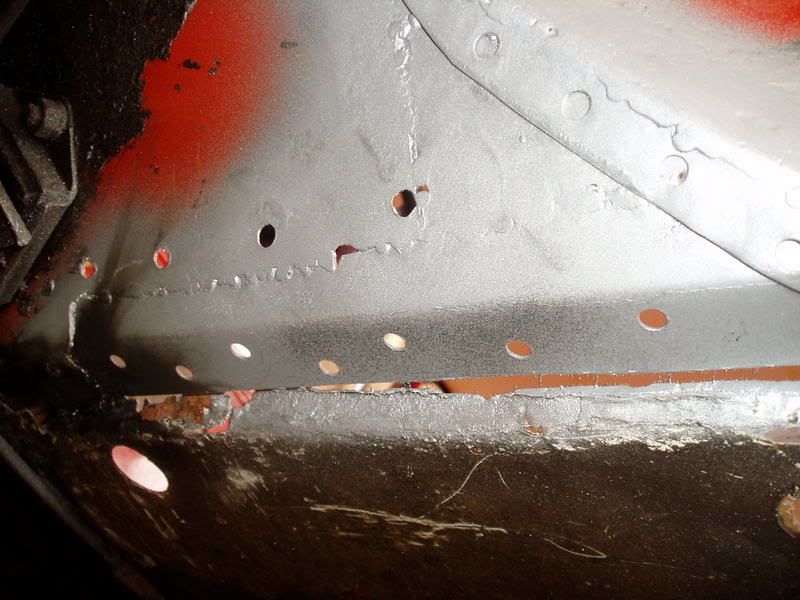
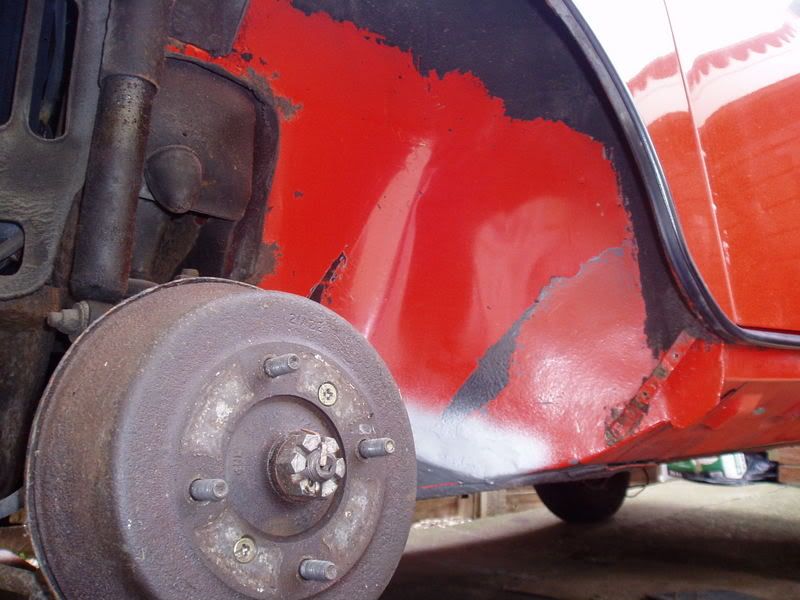
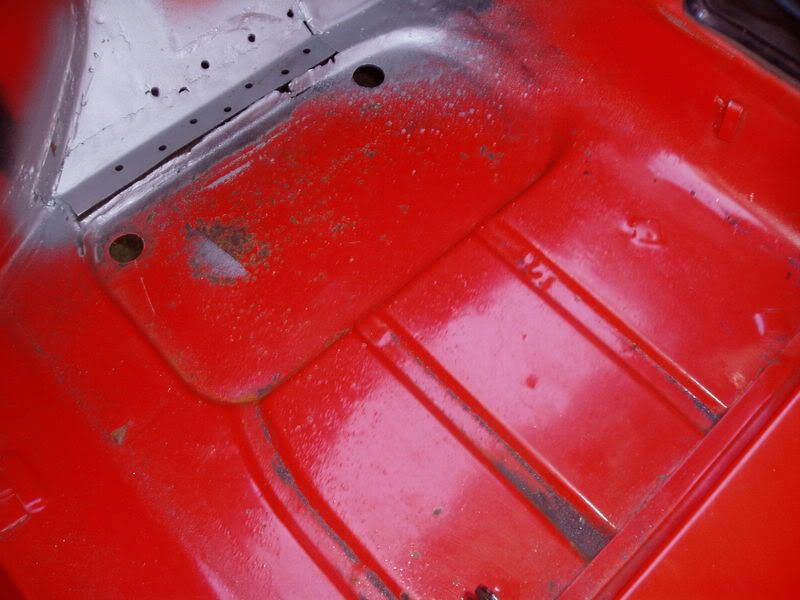
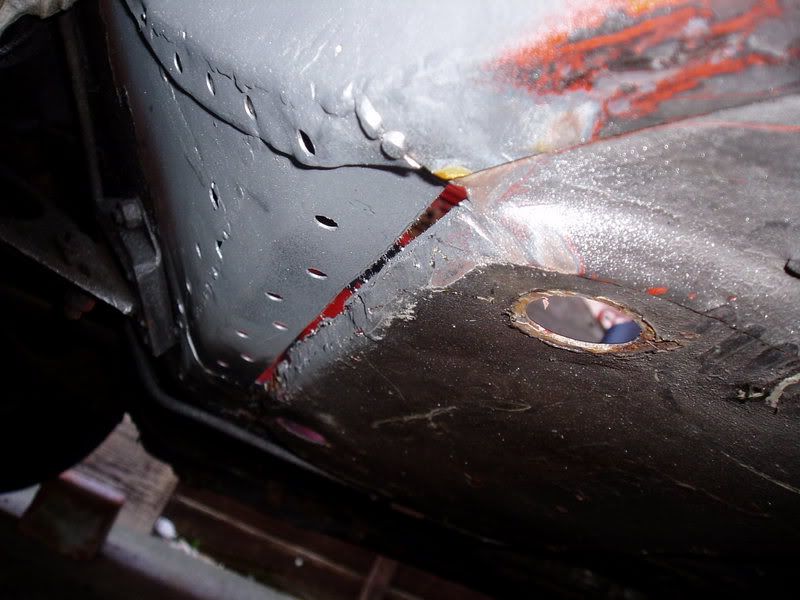
Some more progress has been made on the passenger floors
made a piece out of metal, cut it formed it and bent it in place, cut out some weak metal from the floor pan and then bent a lip on the metal, to form the floor pan. The next step now is to weld it in place.
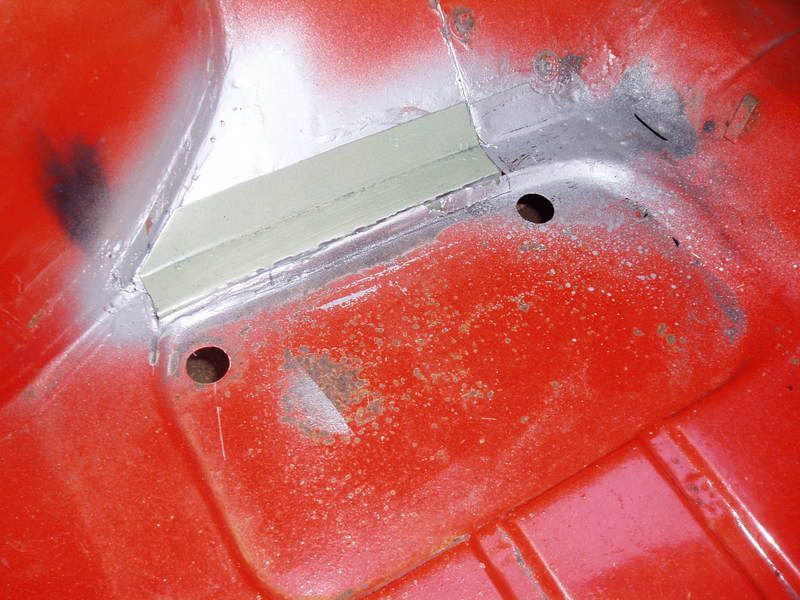
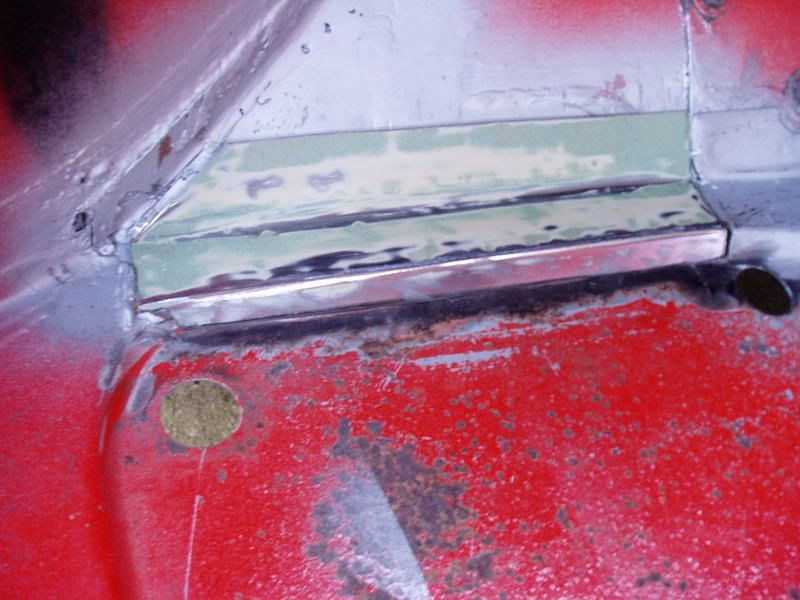
** Update **
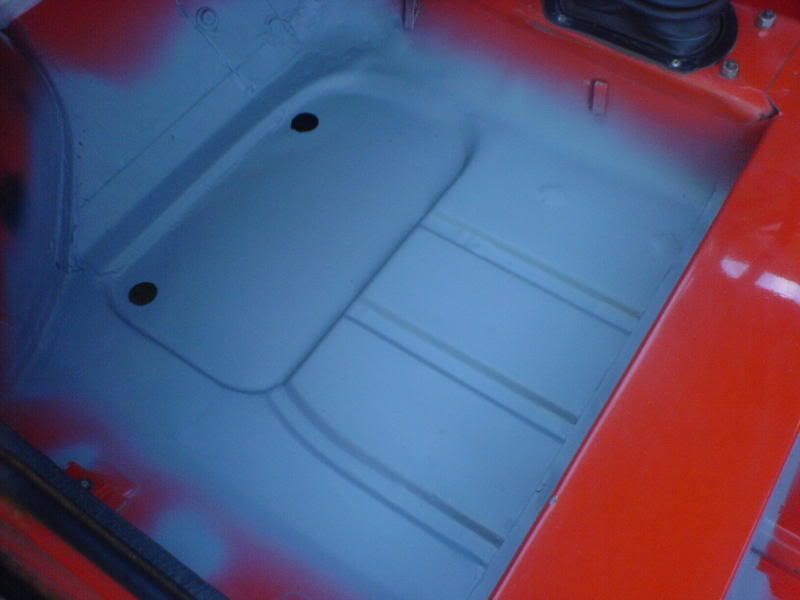
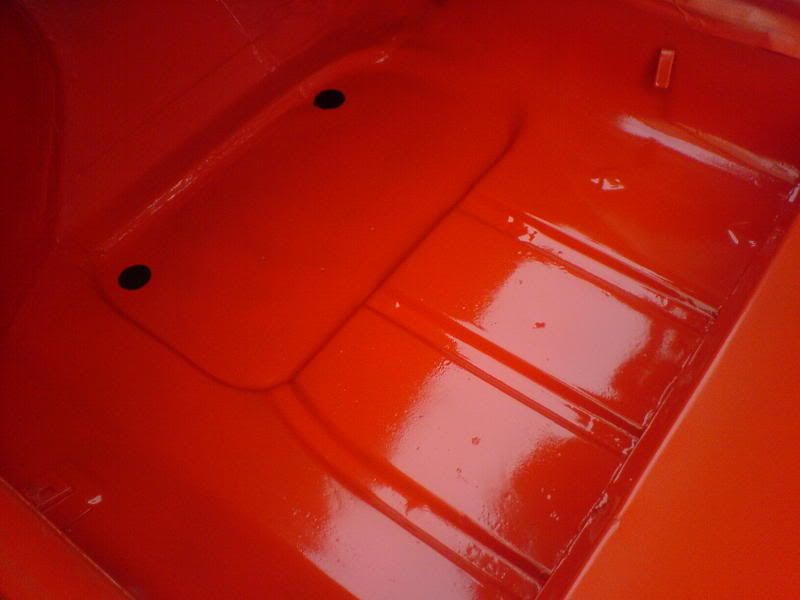
Before:
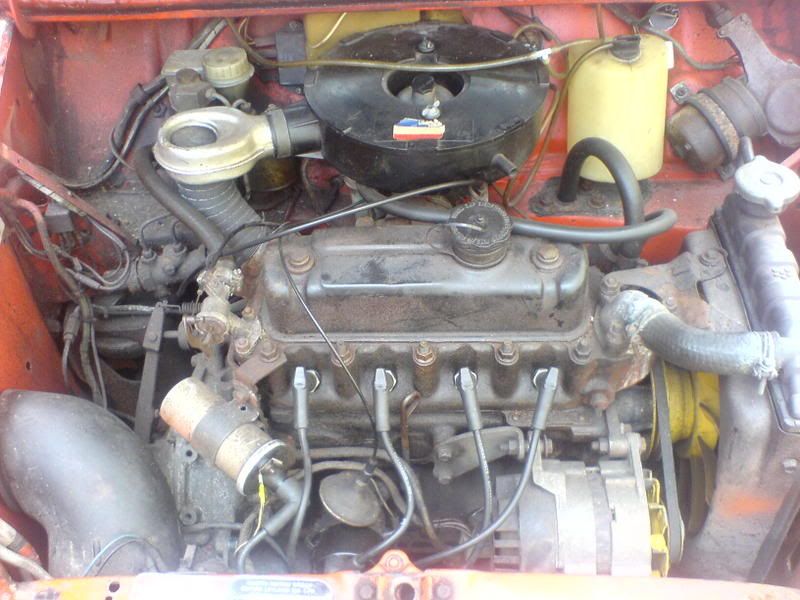
After:
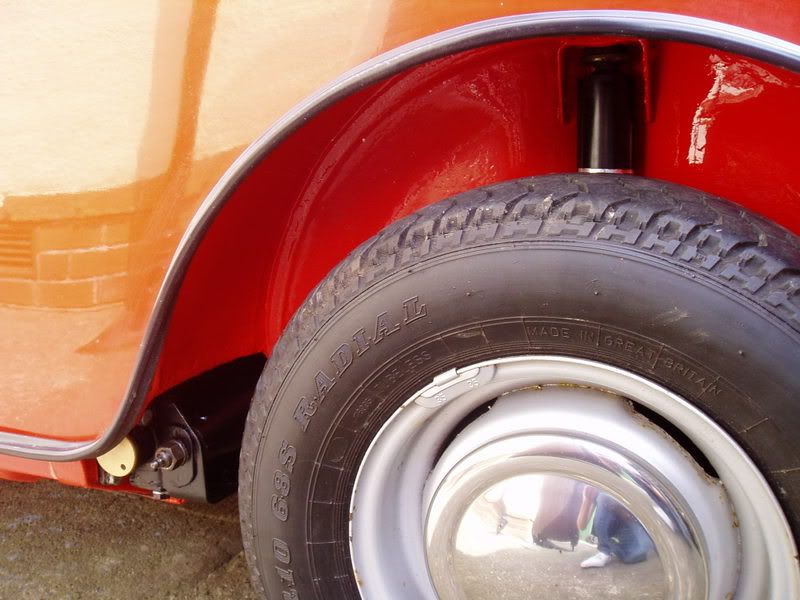
Was a hole under the wing, right where the shock mount was!
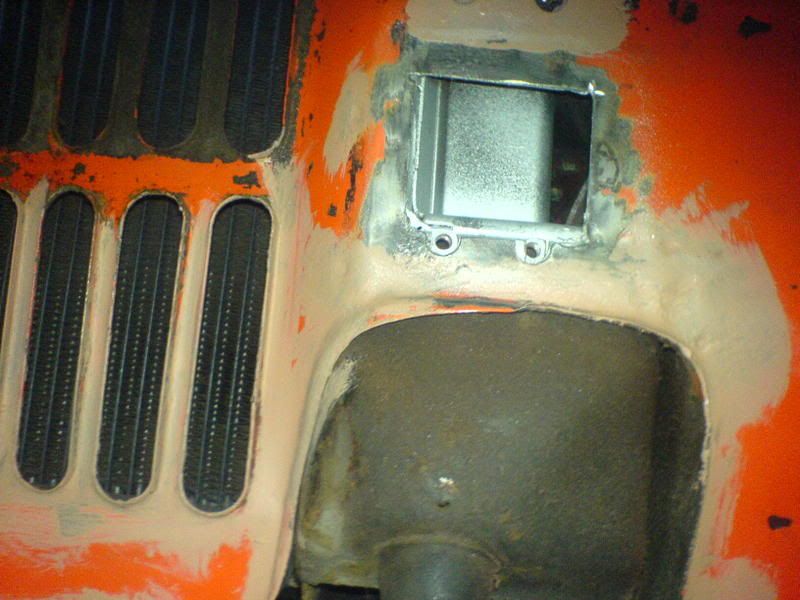
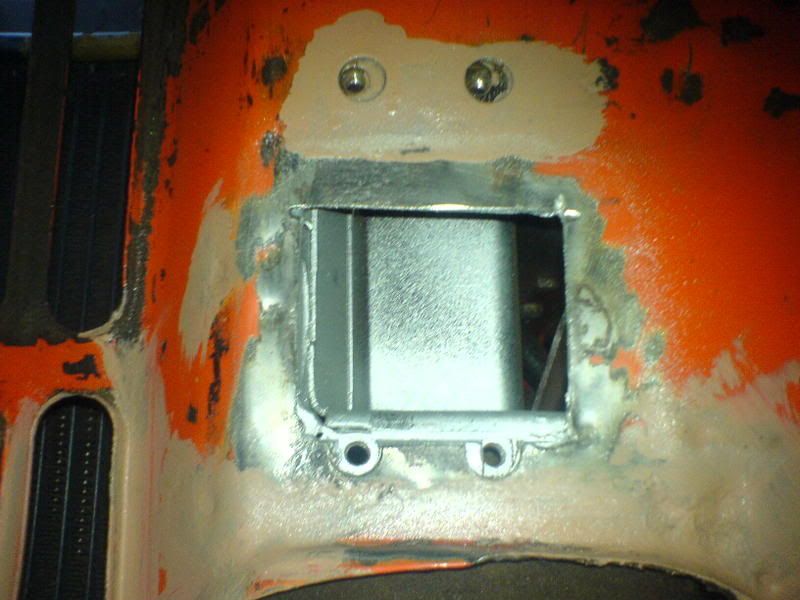
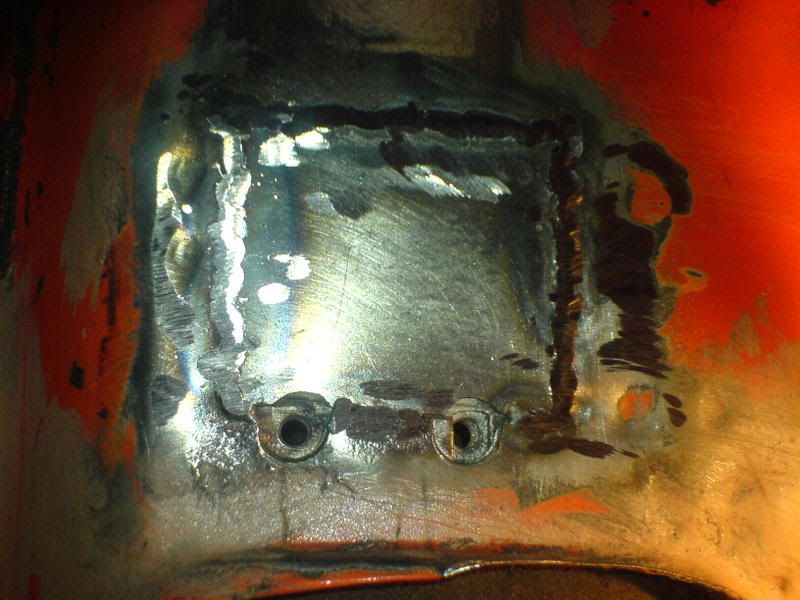
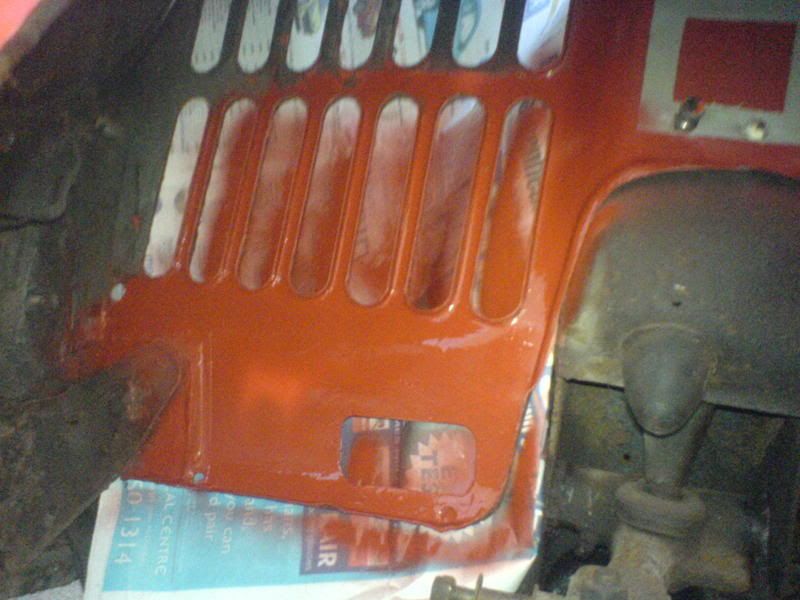
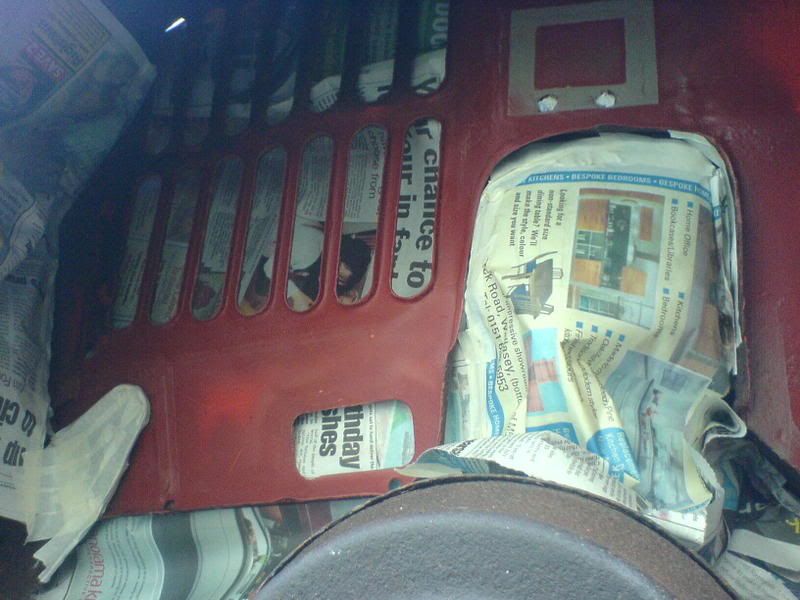
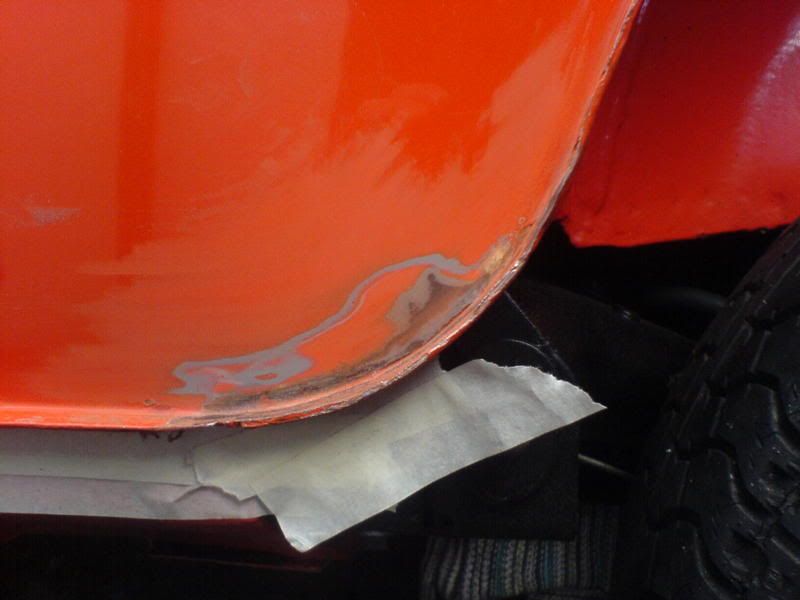
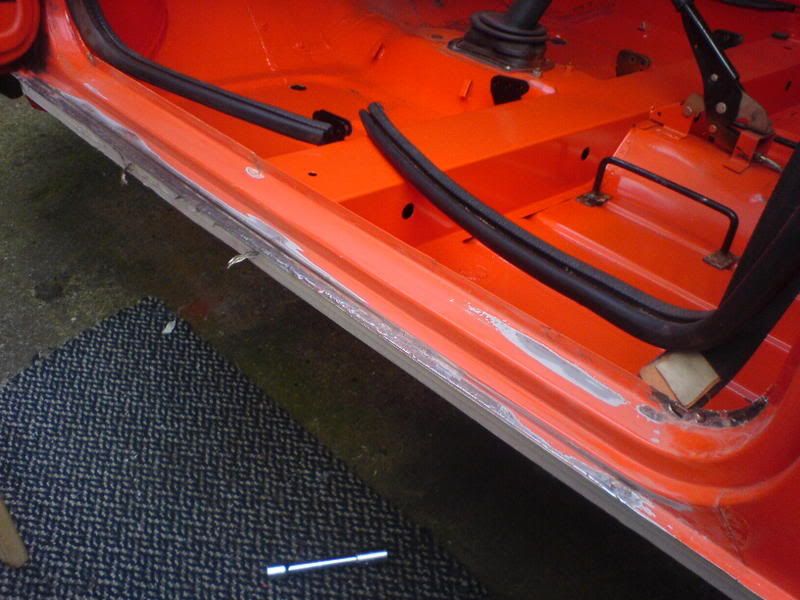
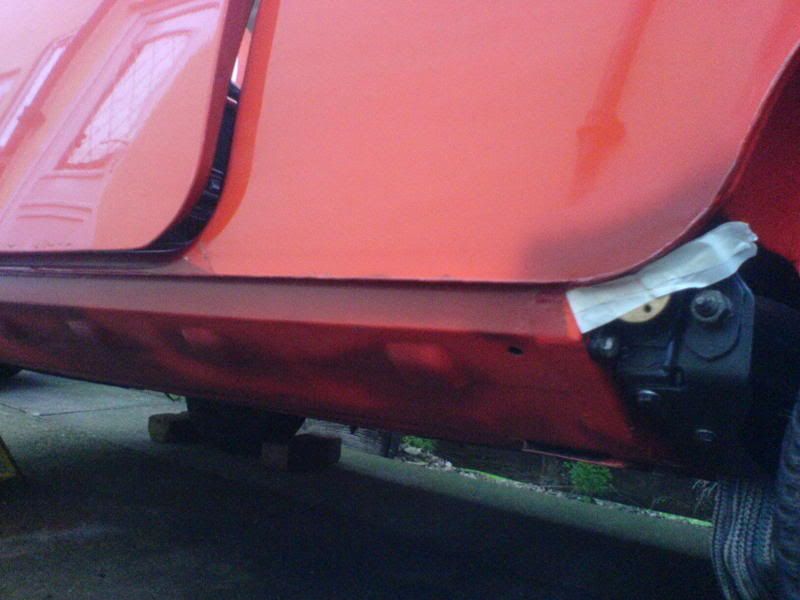
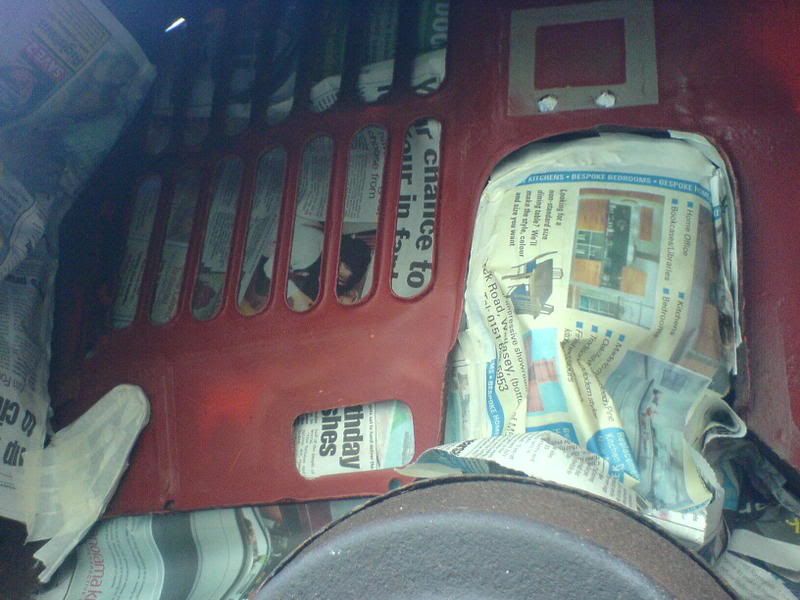
Stone chipped:

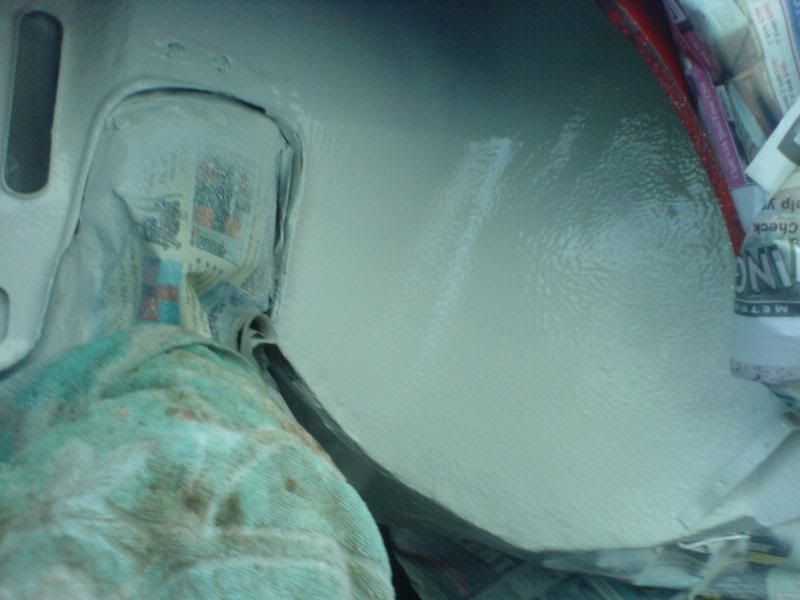
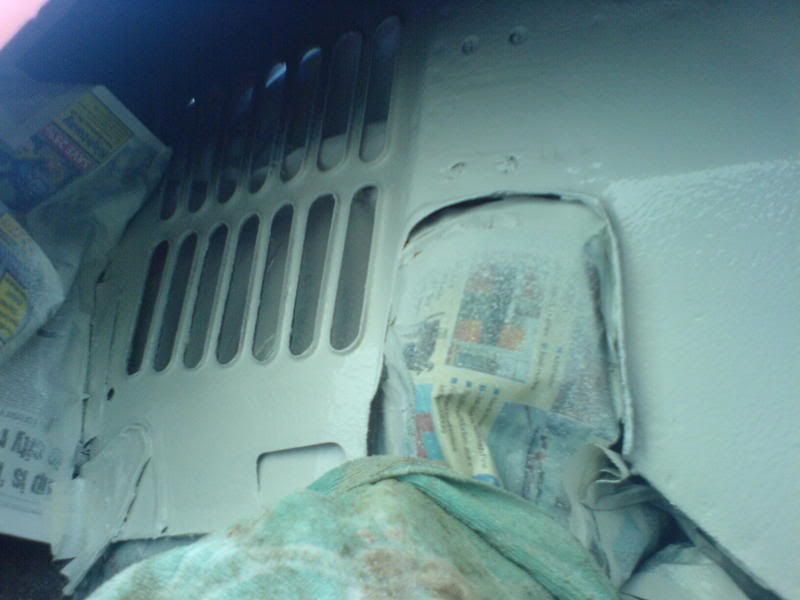
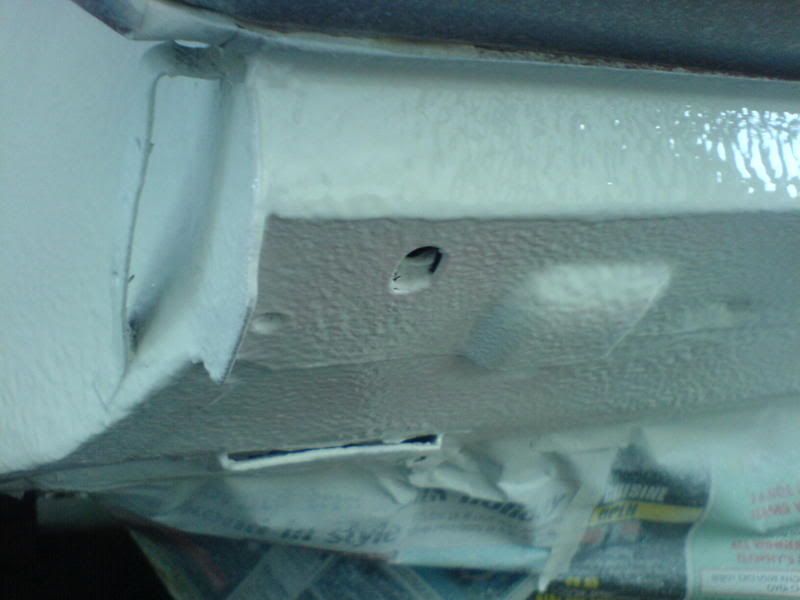
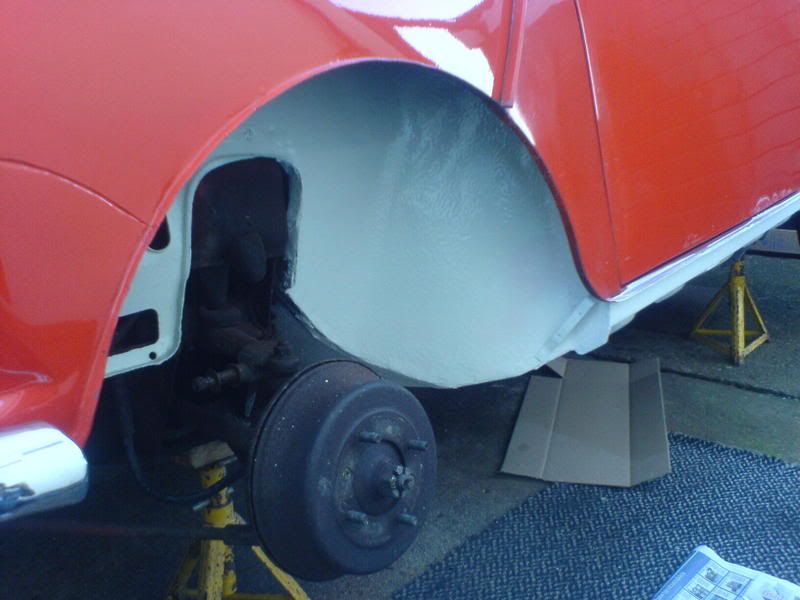
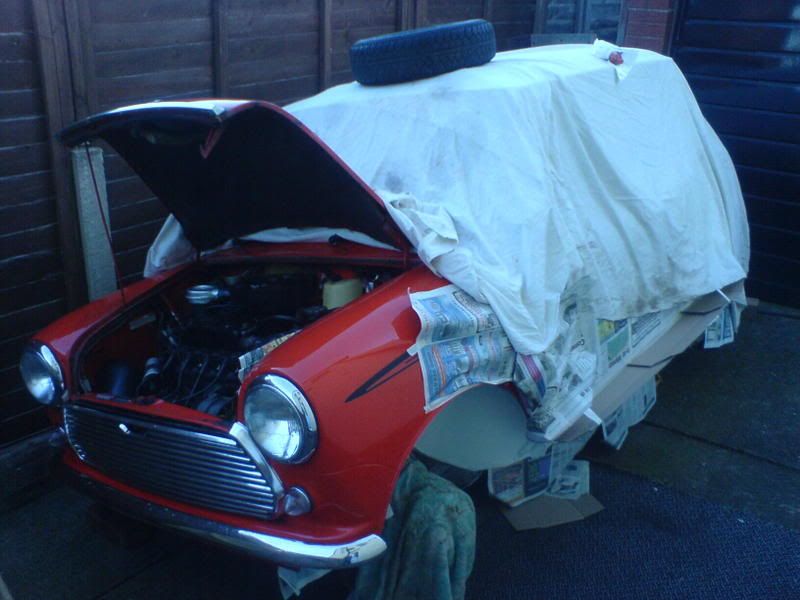
Roof guttering was shot:
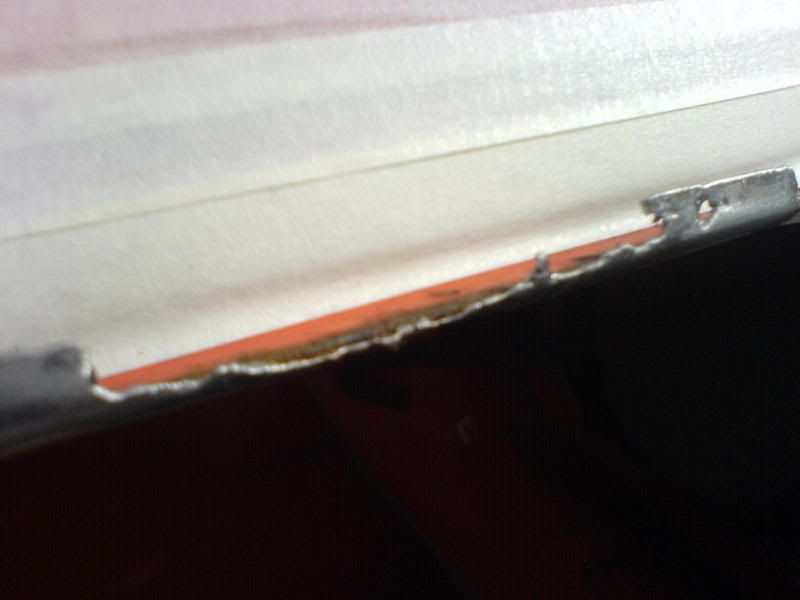
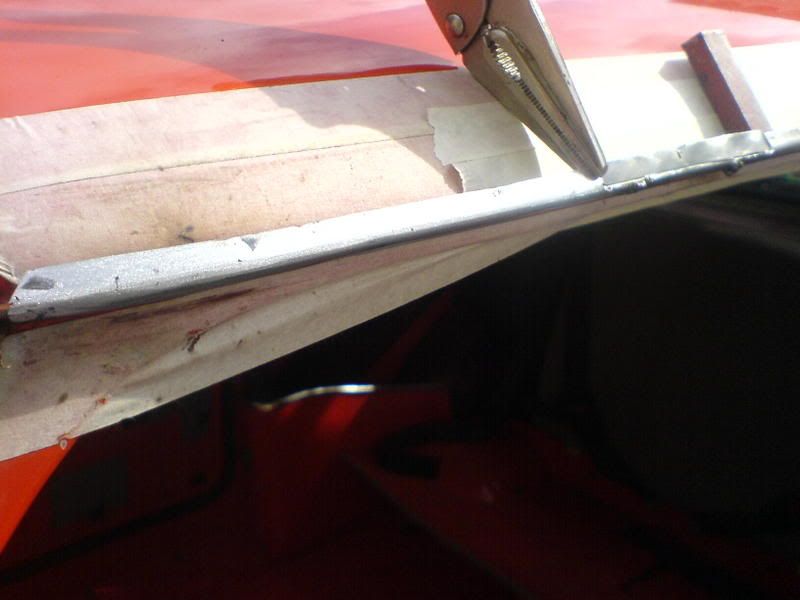
Pretty self explanatory.
*At this point in time I then passed my driving test*
Fully waxed and stone chipped the floor of the mini, the tunnel etc in black. Painted the passenger size rear panel and around the door, painted the guttering also and seam sealered the guttering. Repaired paint scabs and imperfections! So its all looking really good!
=]
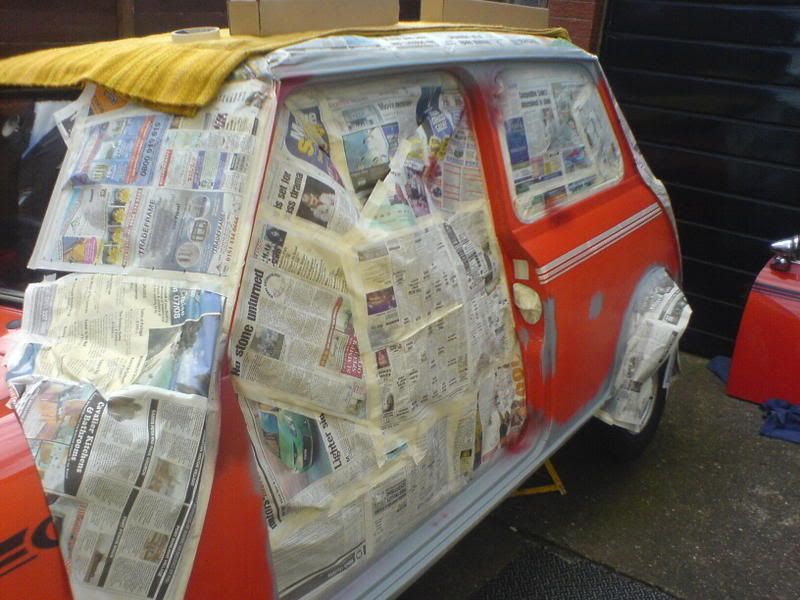
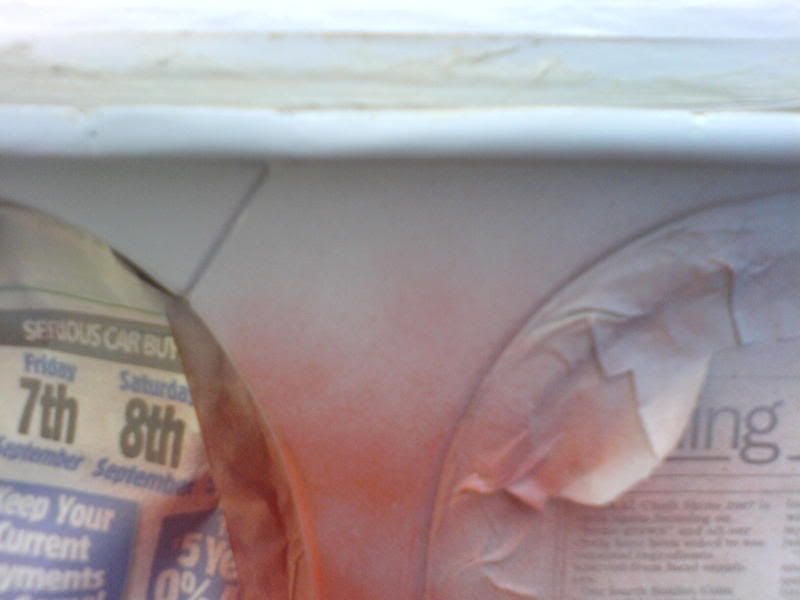
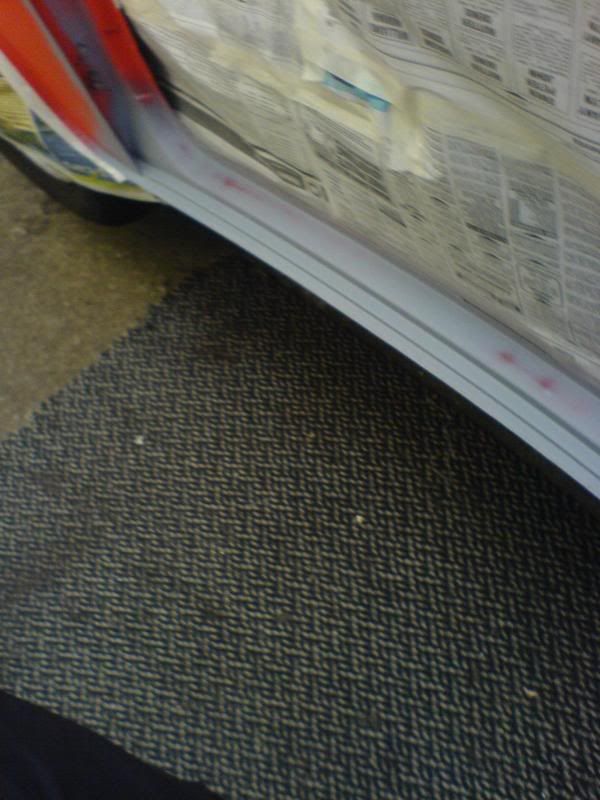
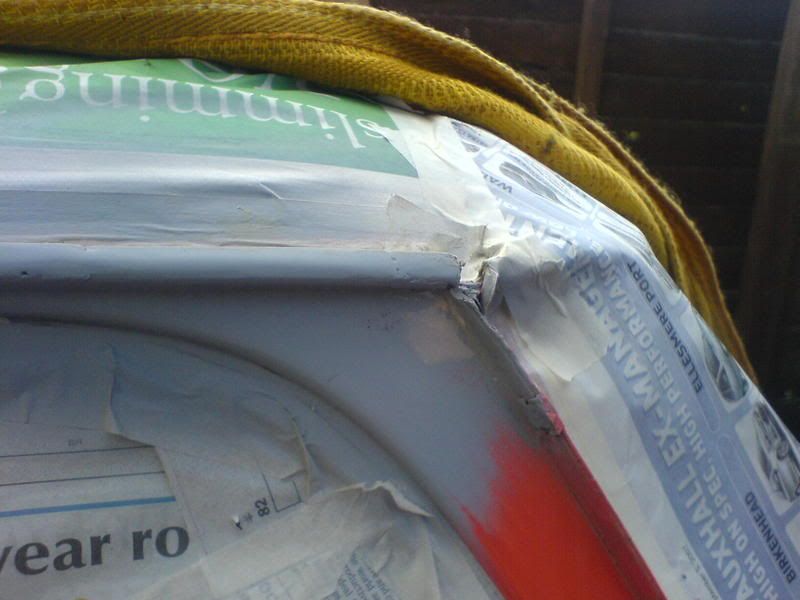
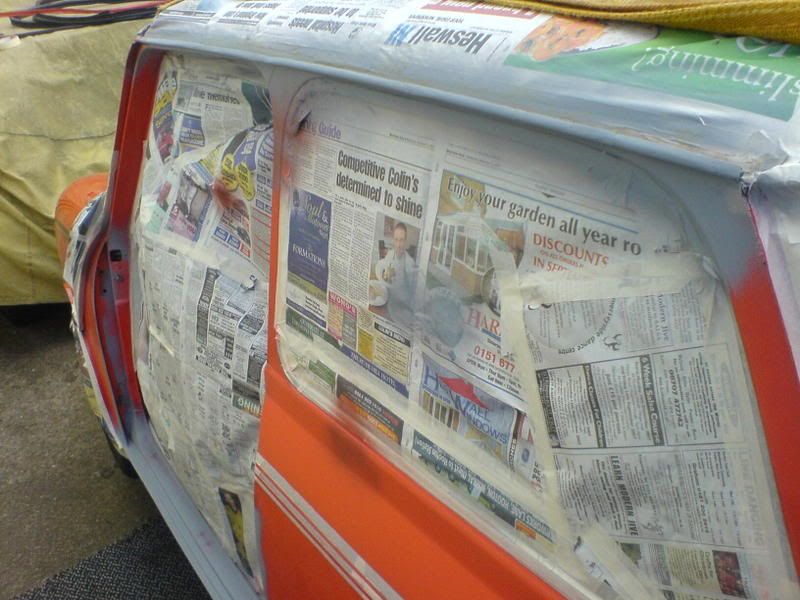
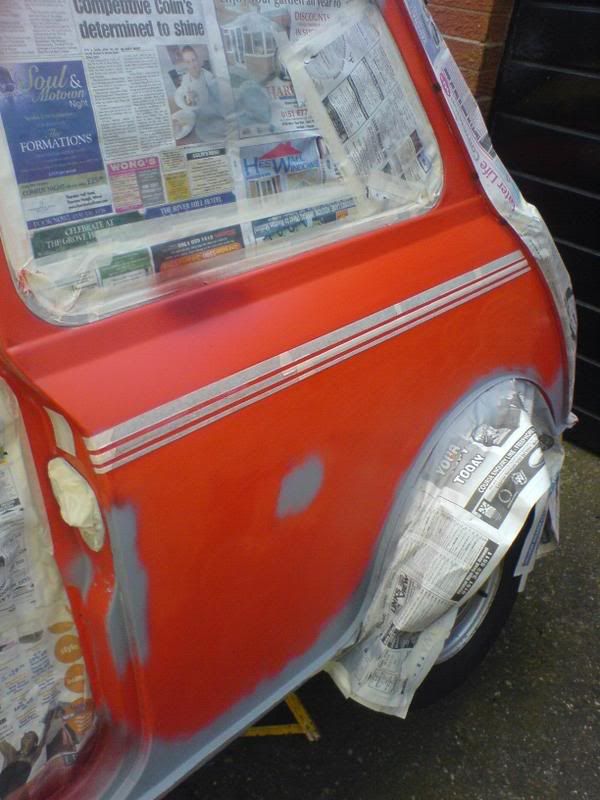
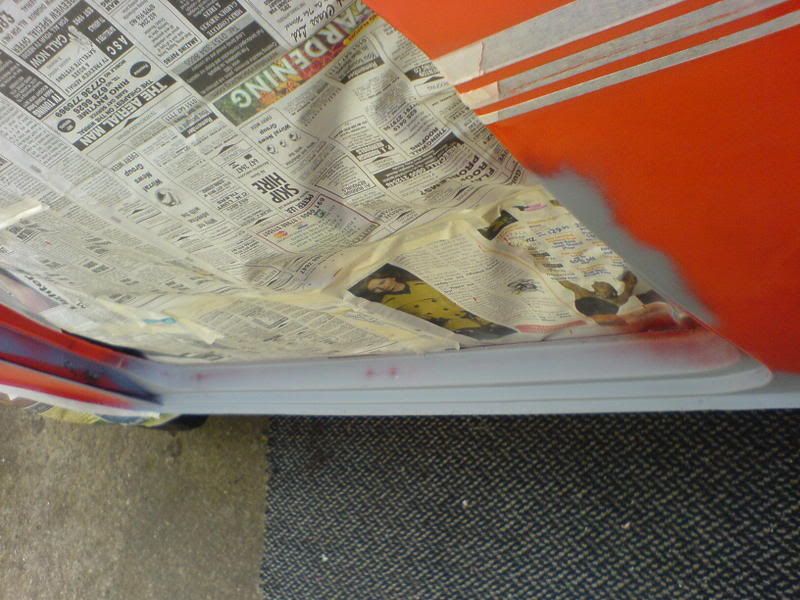
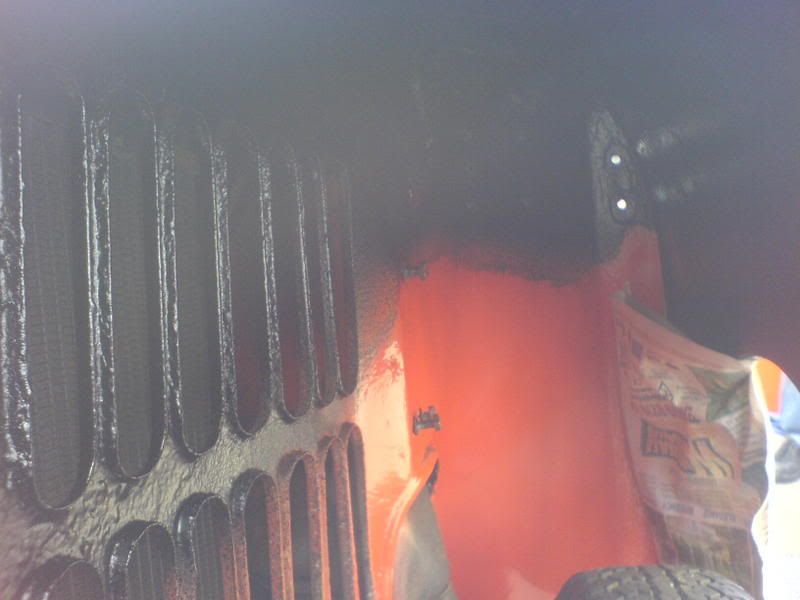
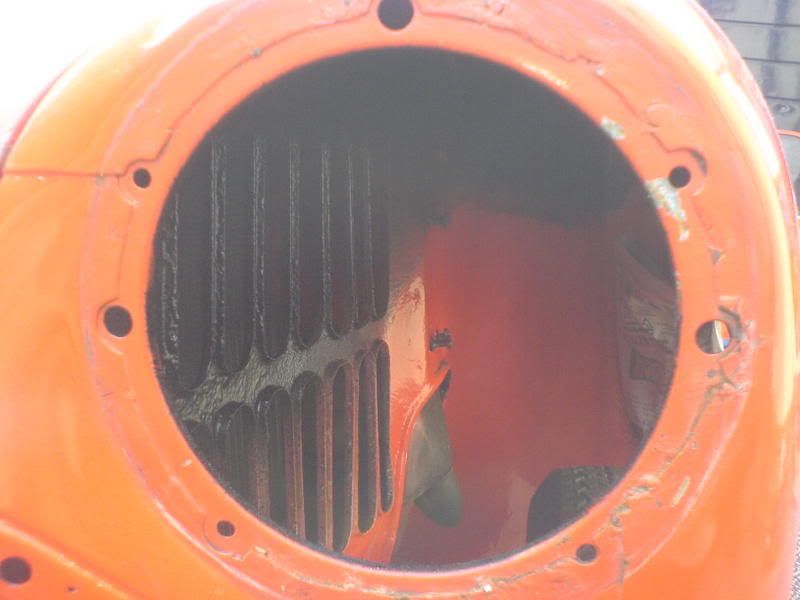
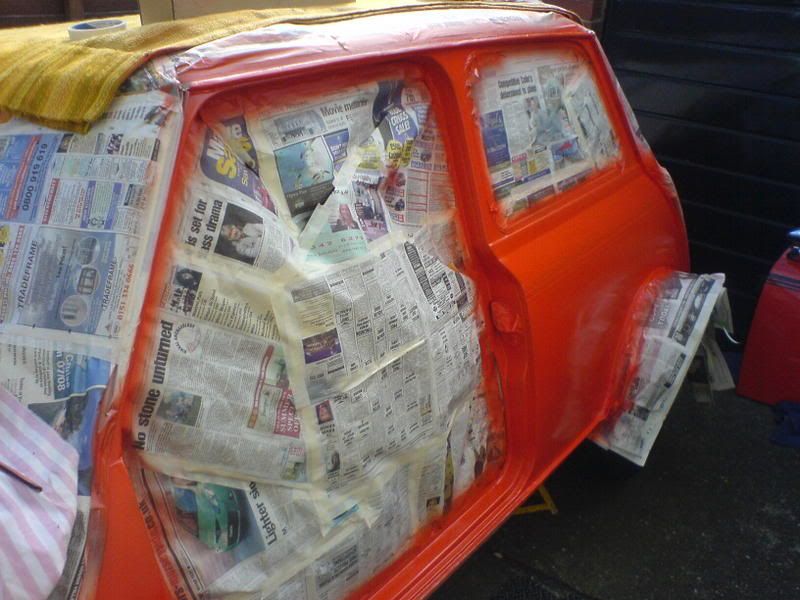
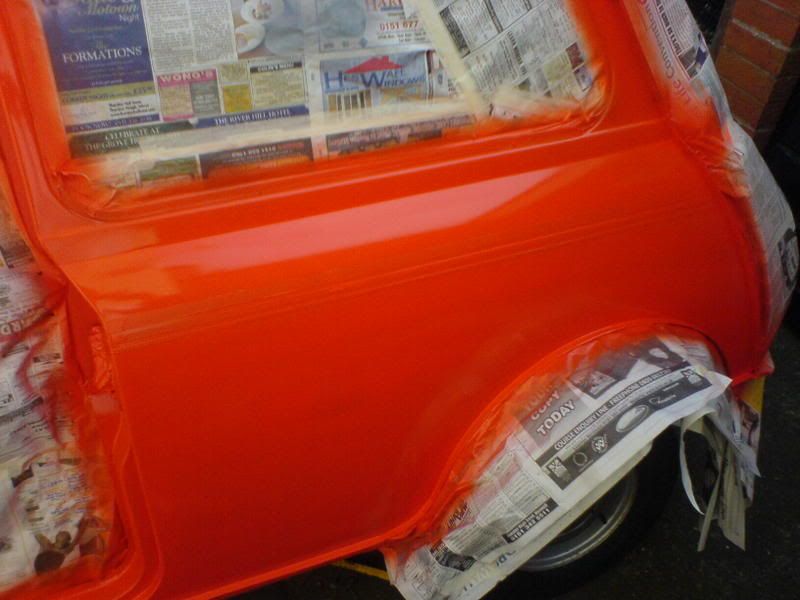
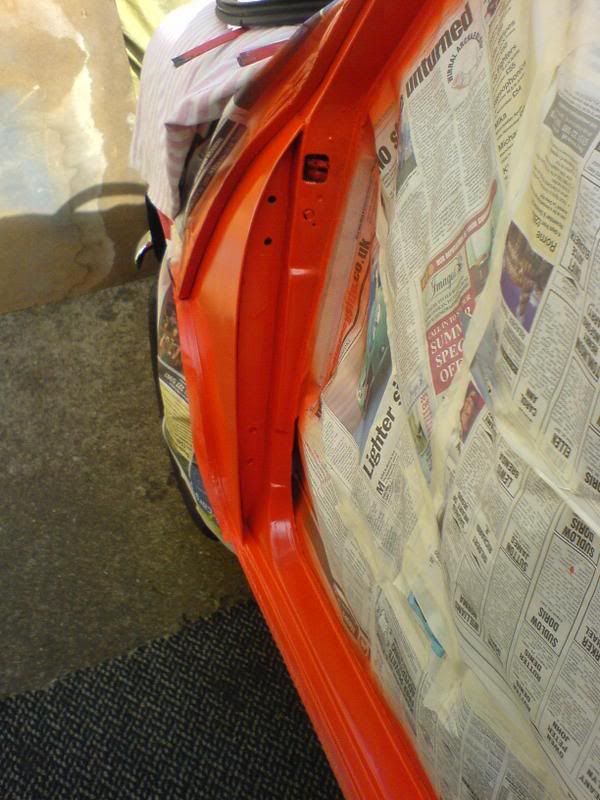
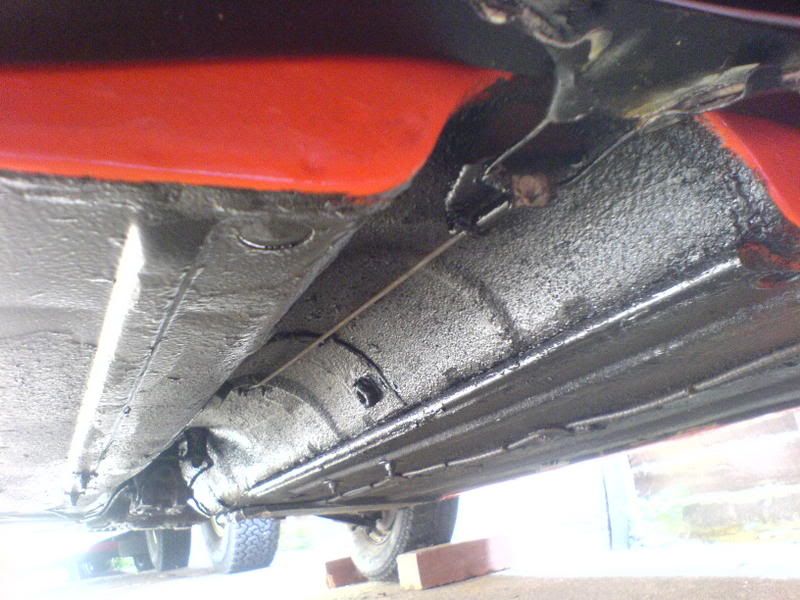
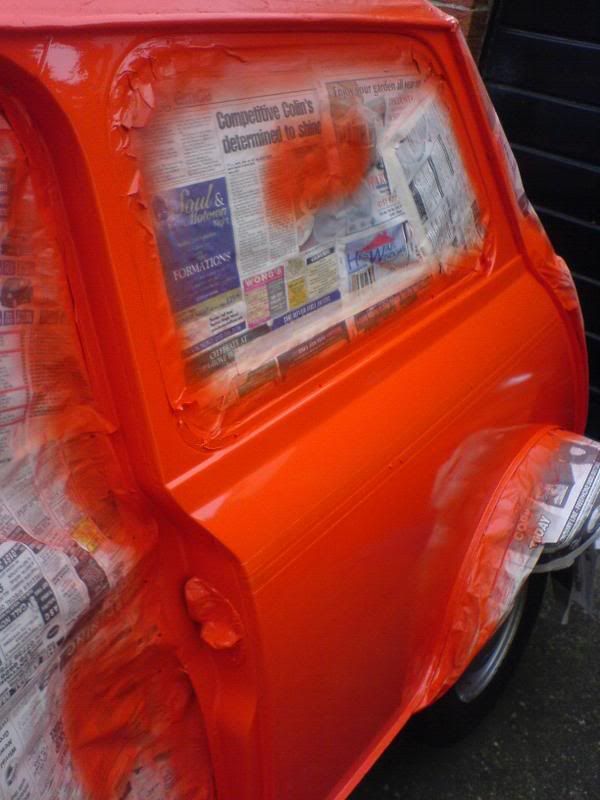
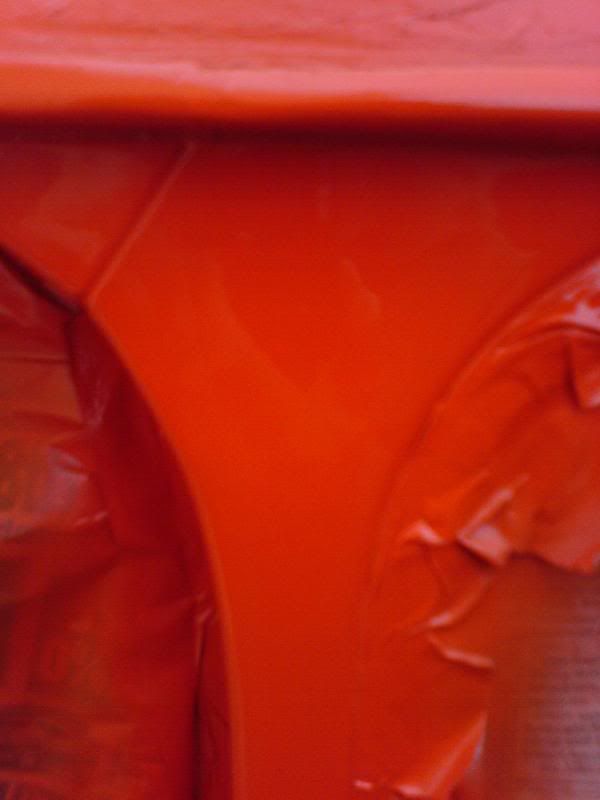
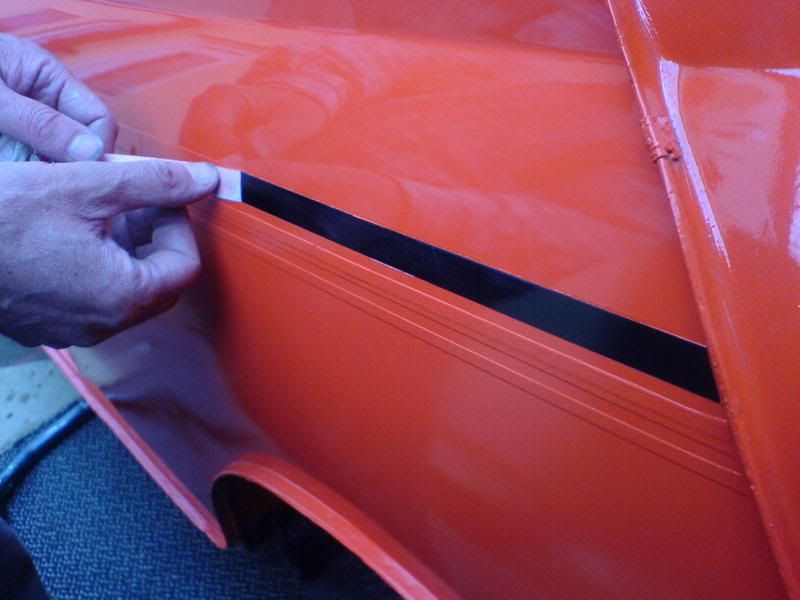
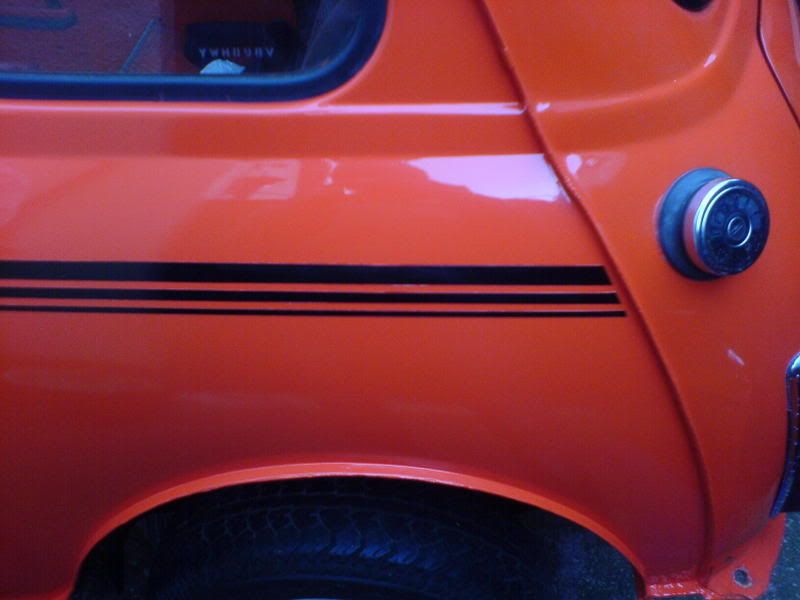
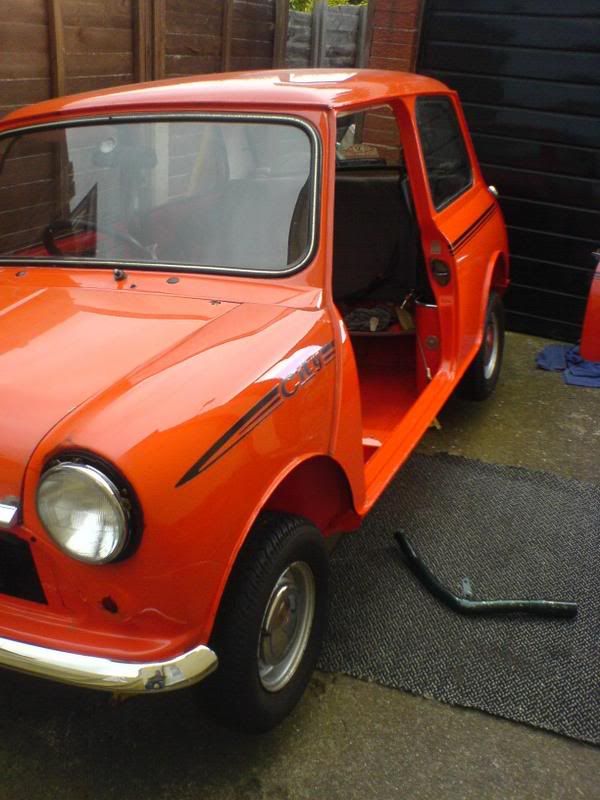
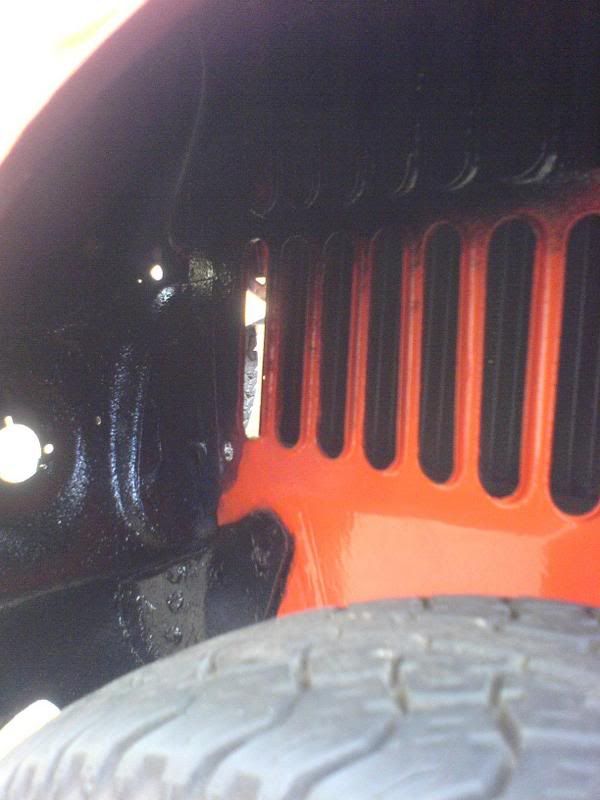
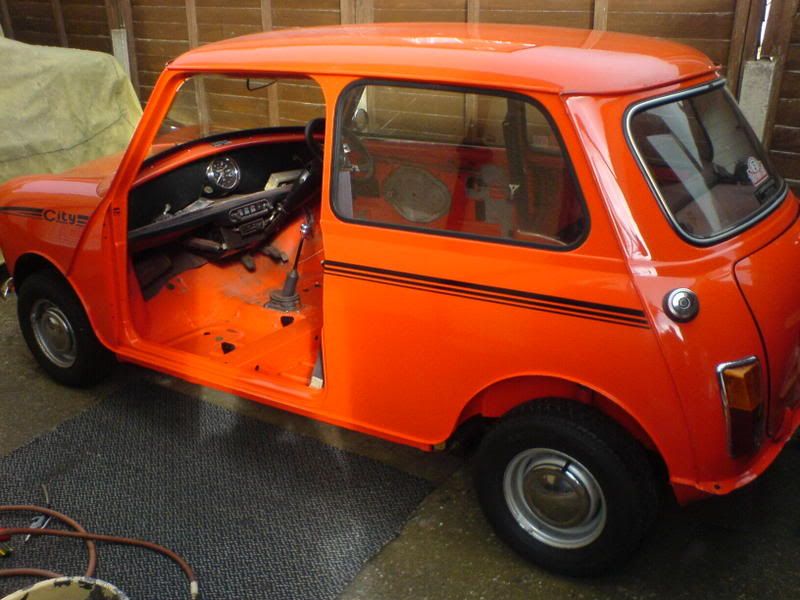
Getting there!
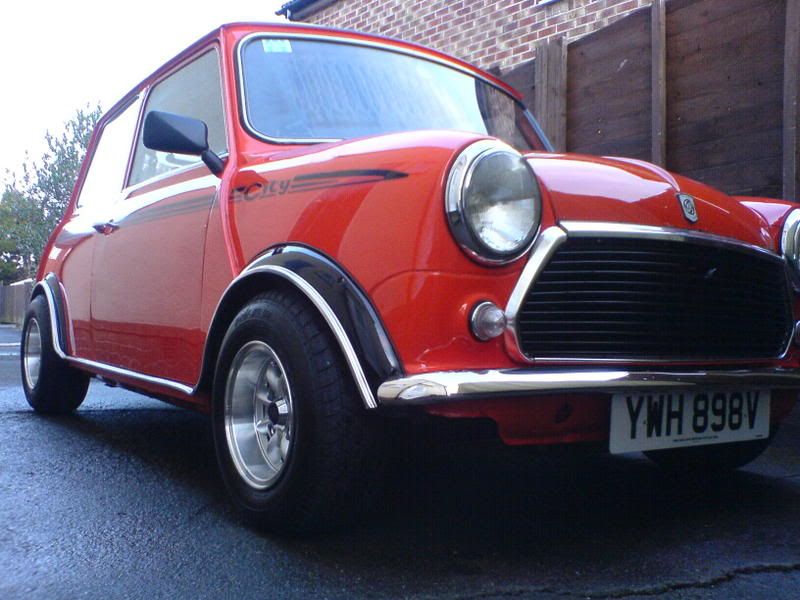
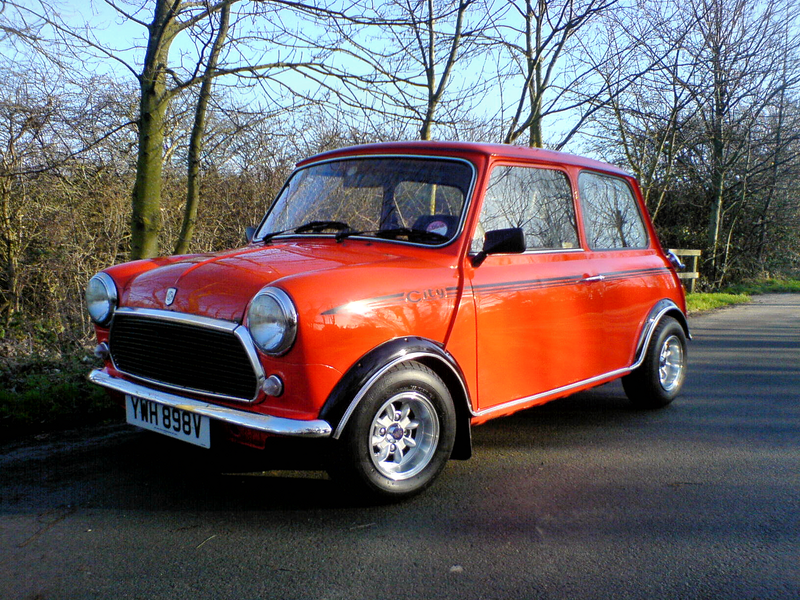
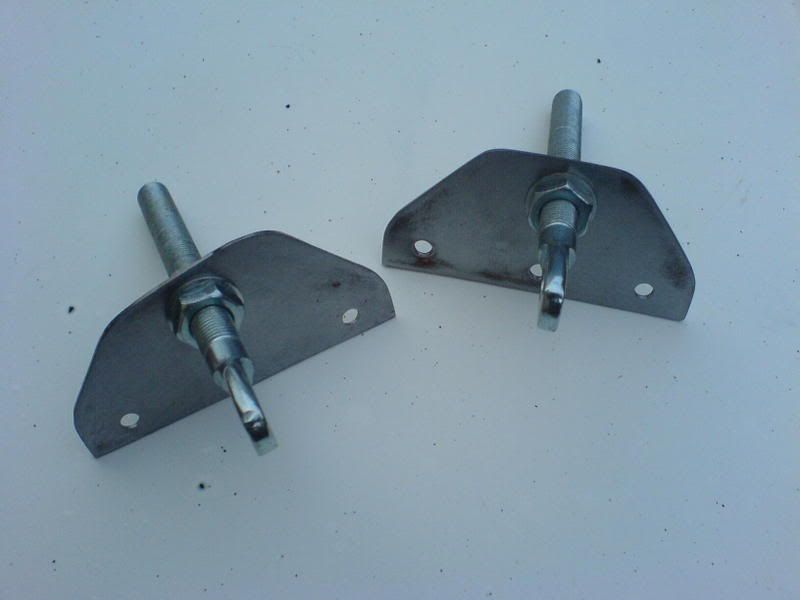
Started fitting the fibreglass bonnet today, made up some brackets and shaped them to fit, without fouling the radiator. (Left-hand bracket shaped to miss the radiator)
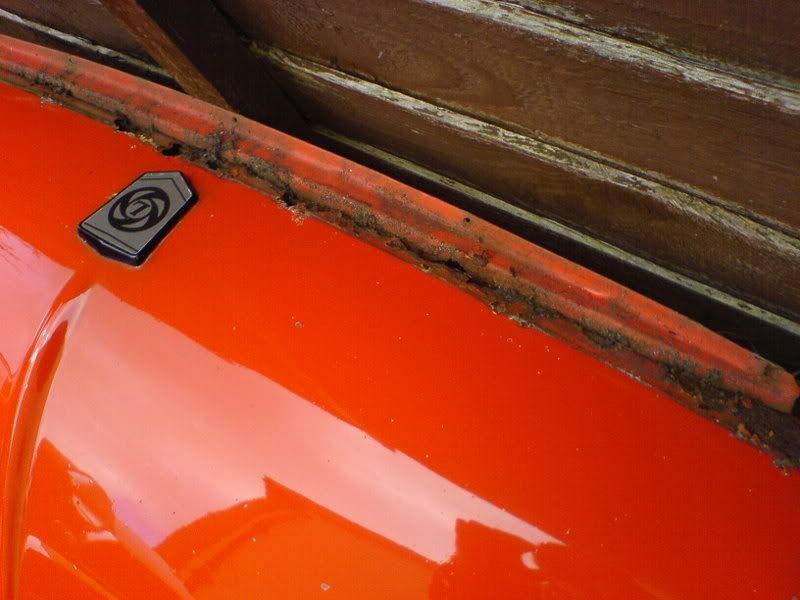
As you can see, the old bonnet was completely shot!
As the fibreglass bonnet will be hinged, I have put the bonnet pins towards the top middle section of the bonnet:
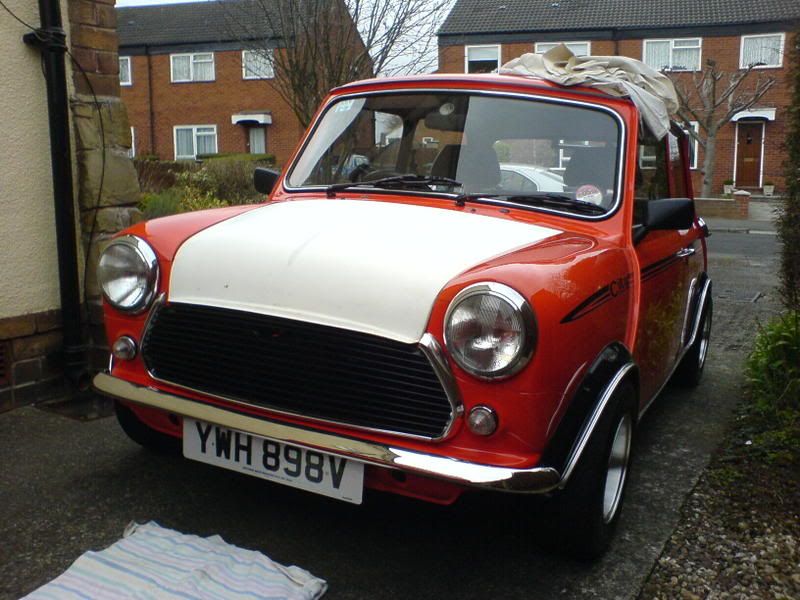
Not such a bad fit:
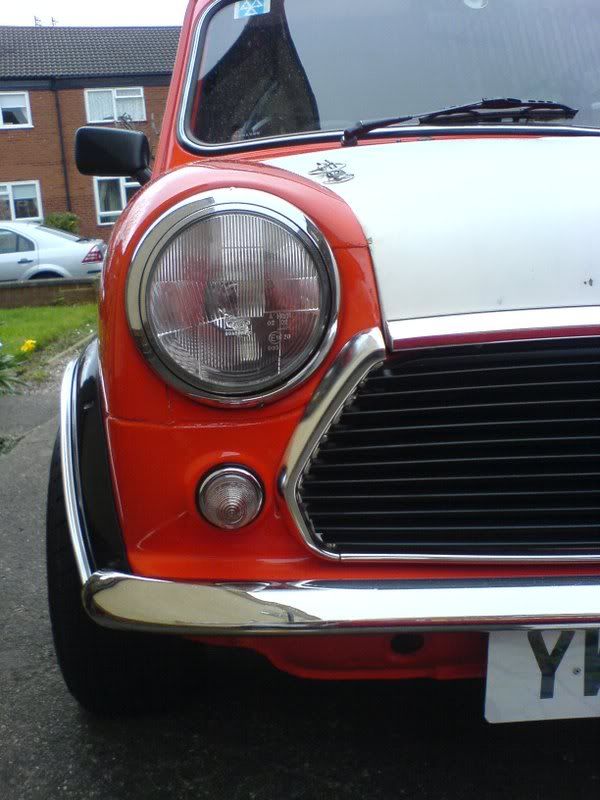
Need to give it a light sand, align the pins and drill the hole and give it some paint.
Completed more work on the fibreglass bonnet today, painted the brackets gloss black and rivited them to the wing gutters.
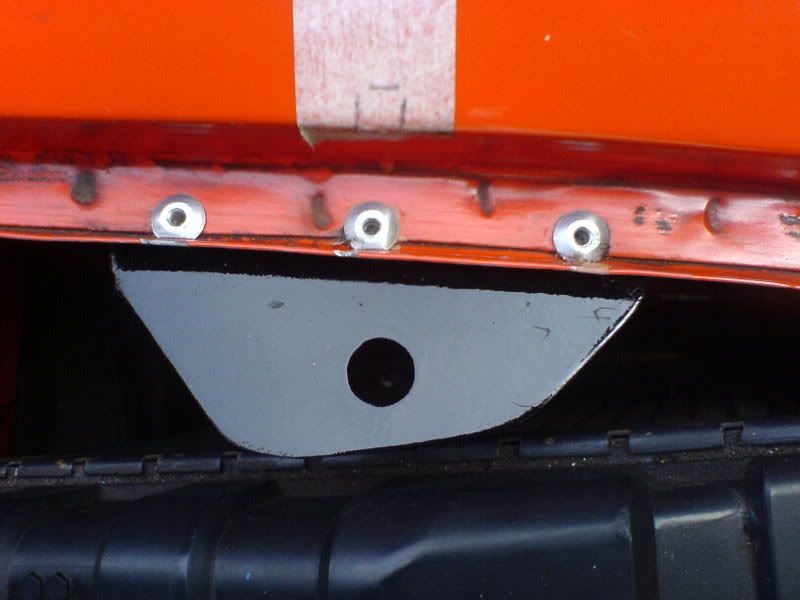
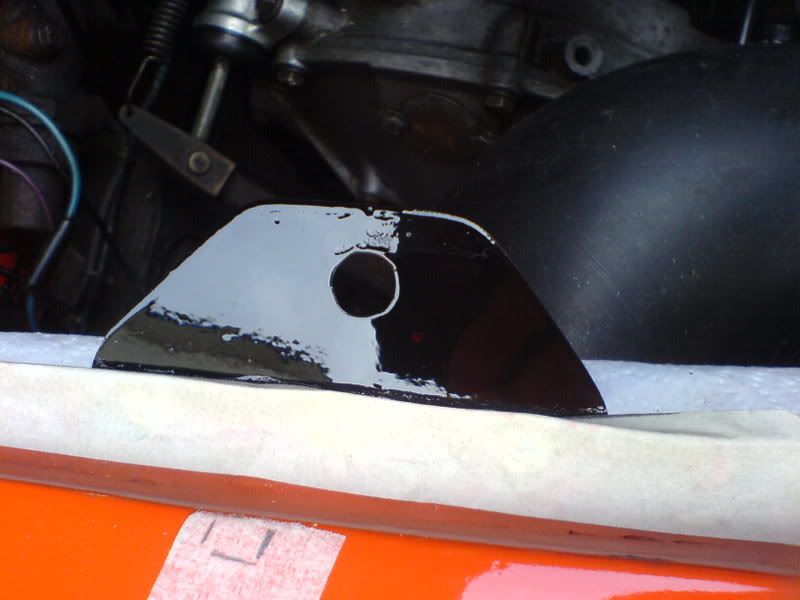
Aligned the bonnet pins and bolted them to the brackets, fiddling with them to align them correctly. To mark the holes where I needed to drill i brushed a small amount of paint onto the tops of the pins, lowered them to the maximum, and closed the bonnet.
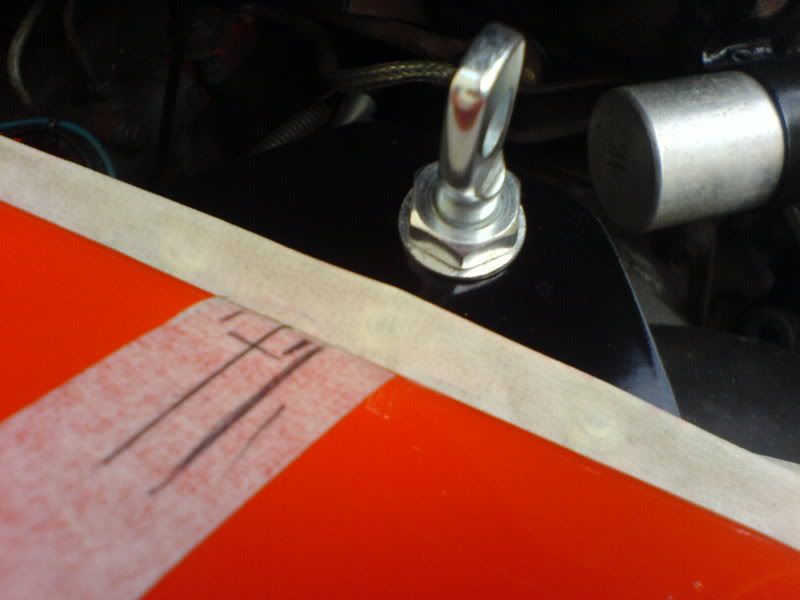
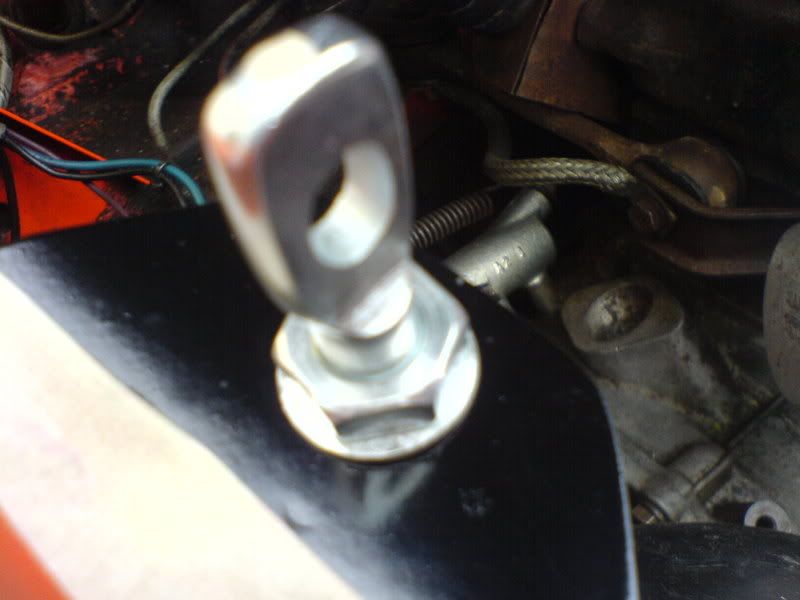
The paint then marked where I needed to drill the hole for the pin to fit through. I then filed out a rectangular hole large enough for the pins to fit through.
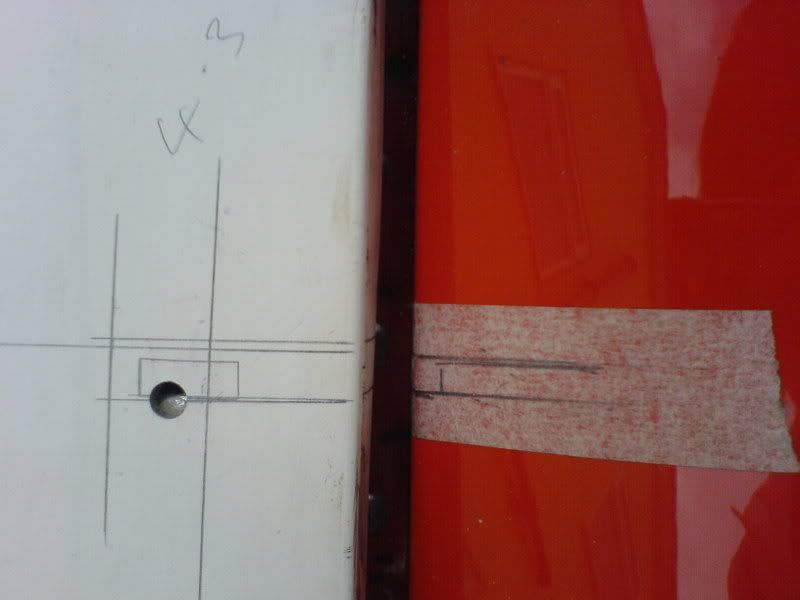
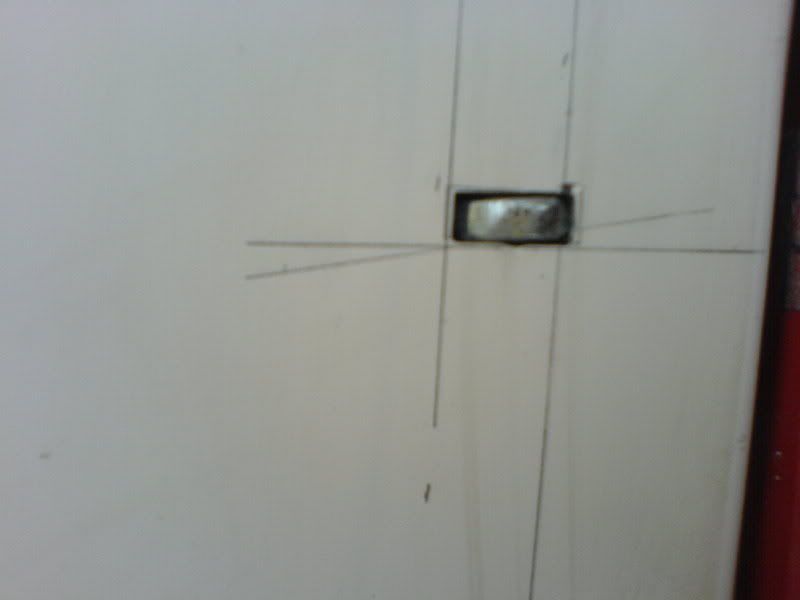
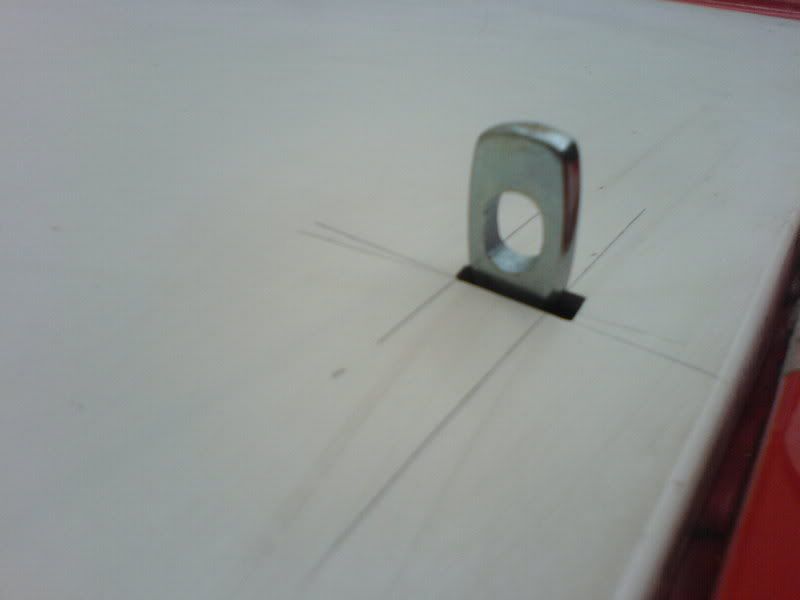
The bonnet was lightly sanded and the pins were then fixed to the bonnet.
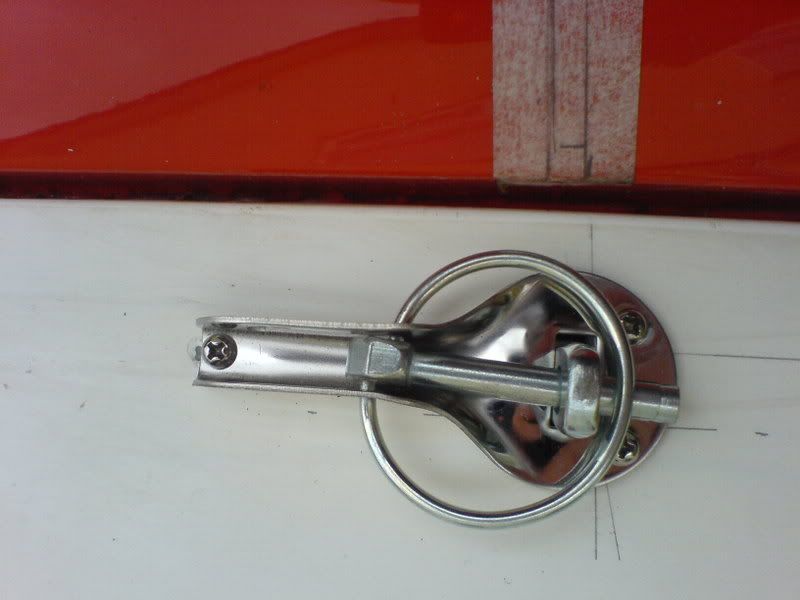
End result:
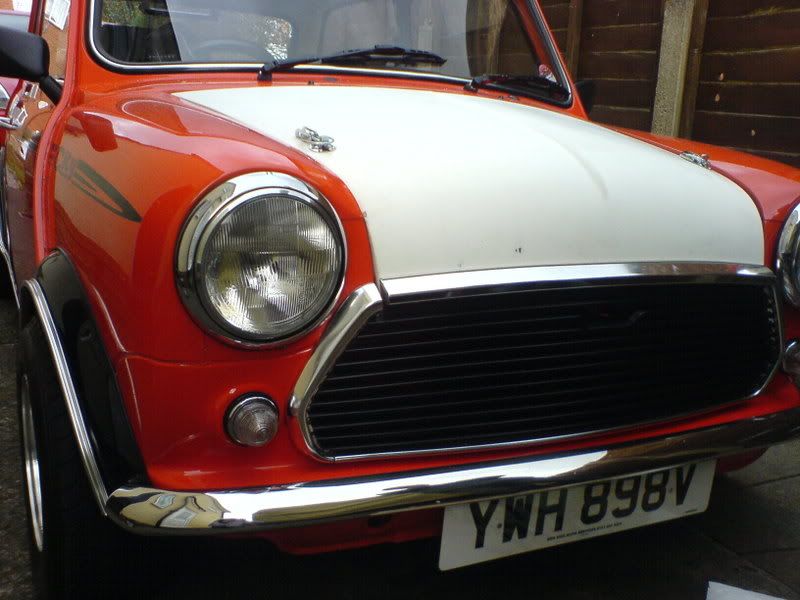
The bonnet needs filler in places and a light sand to bring it upto scratch. Now I shall pray for some good weather so that I can spray the bonnet vermillion. So for now, I have a white bonnet!
Another small update!
Spent most of the day making a speaker board for under the rear seat. Drew up a template out of cardboard and then created an MDF (12mm) cut-out. Used a jigsaw to cut the MDF and speaker holes.
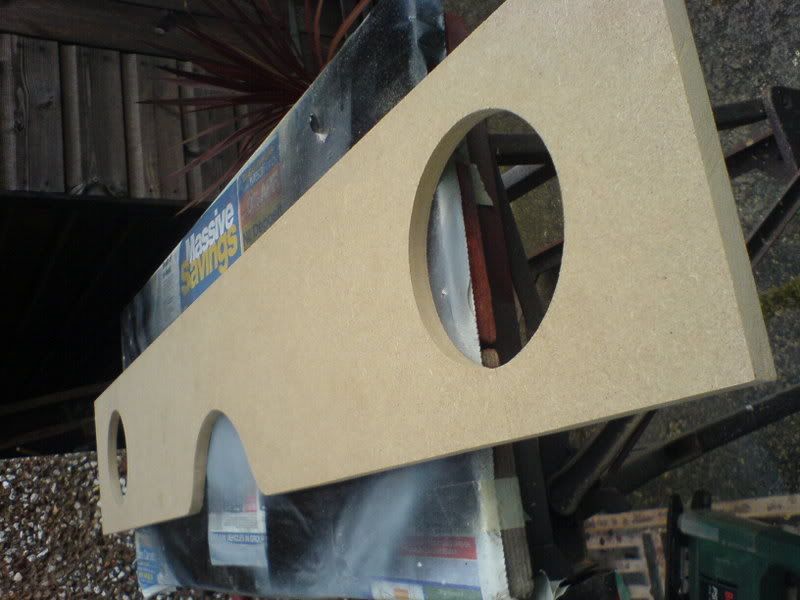
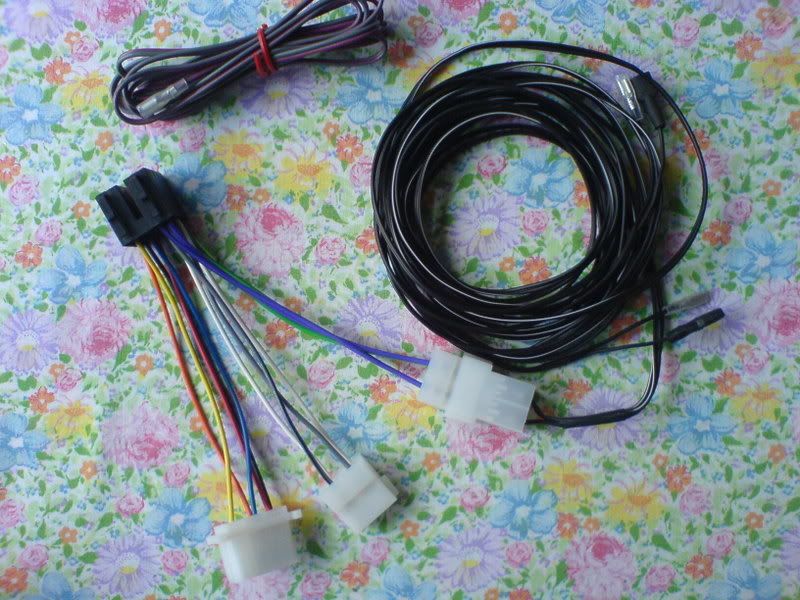
I have adapted all of the wiring to make it right for a mini! - Which is sadly lacking some music!
I tried the speaker in the holes and drilled the holes for the speaker fixings.
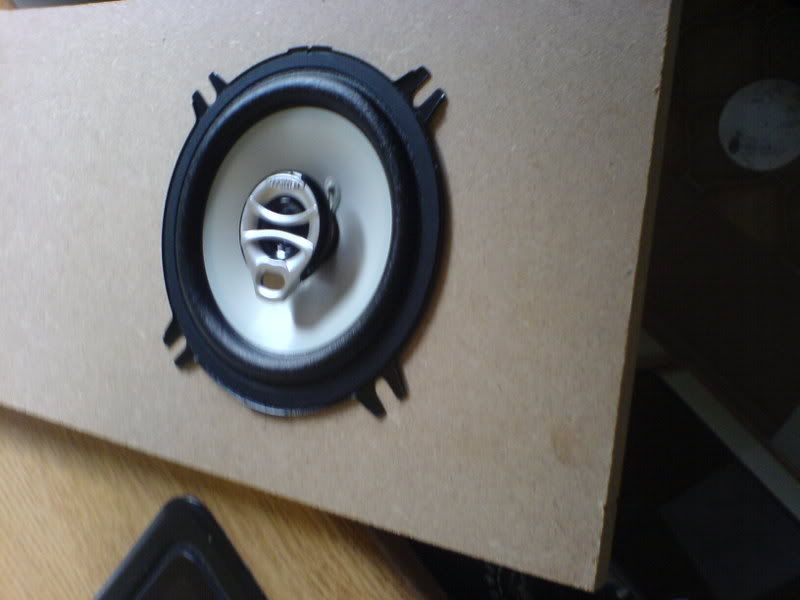
After measuring up and cutting the speaker board, I sealed the MDF with PVA and water to help the paint stick and not soak up into the wood. After applying 2 coats and giving it a light sand, I applied some grey primer paint. After 2 coats of primer I lightly sanded the board again and applied a matt black cover of paint, which gives textured/mottled finish effect - rather than gloss black.
I need to give the speaker board another final coat of paint, will comeplete this sometime during the week.
Fitted the standard Rover radio housing and mounted my CD player.
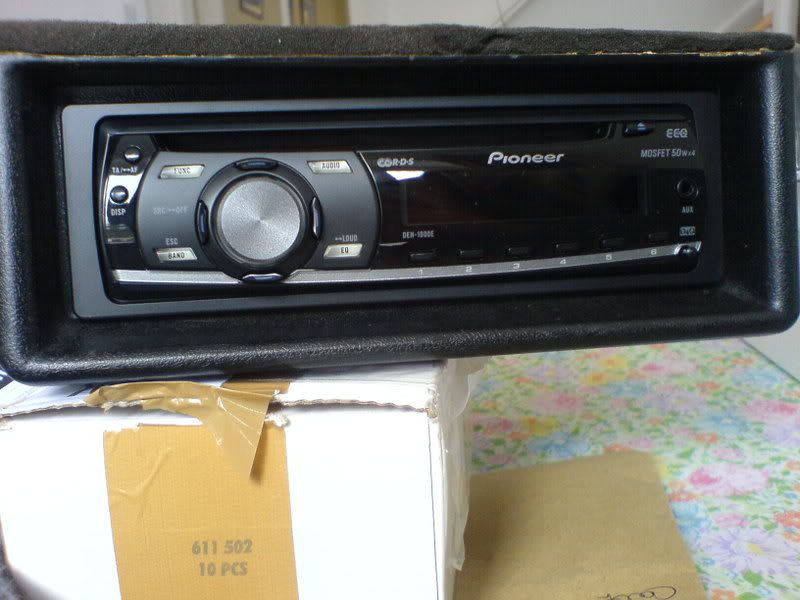
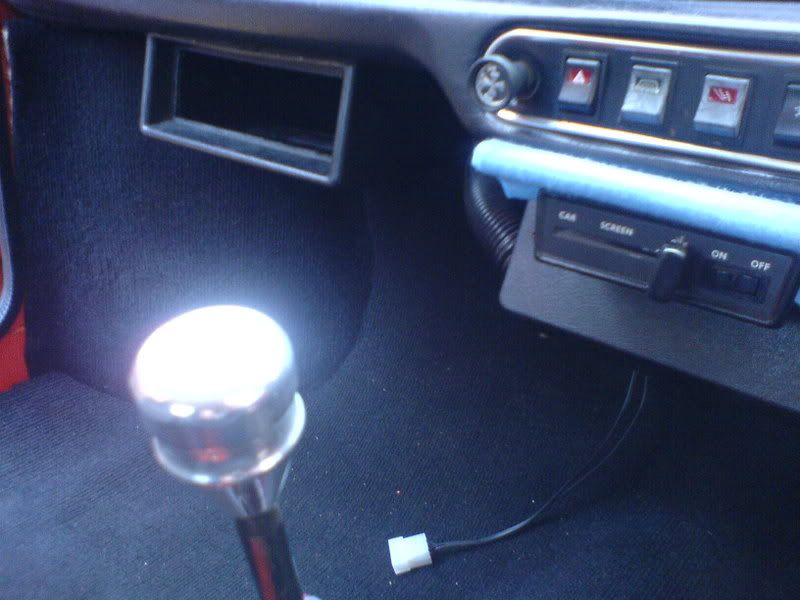
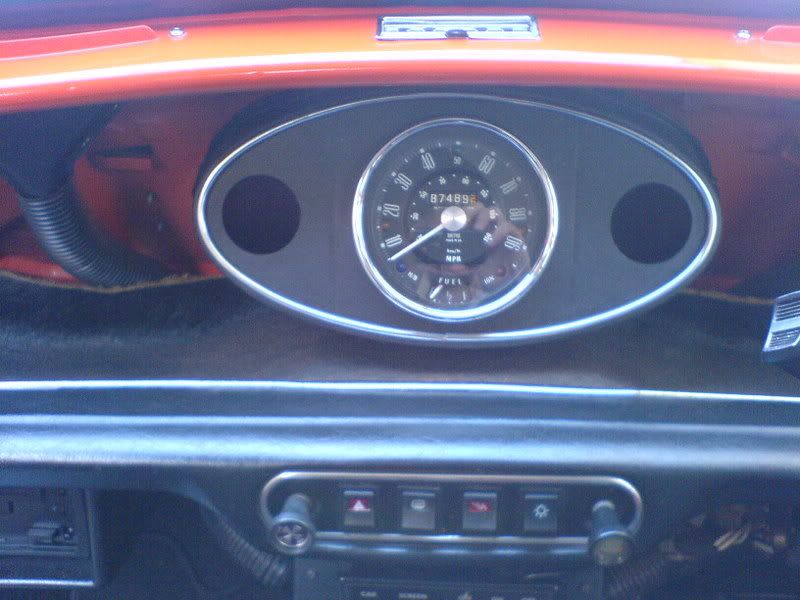
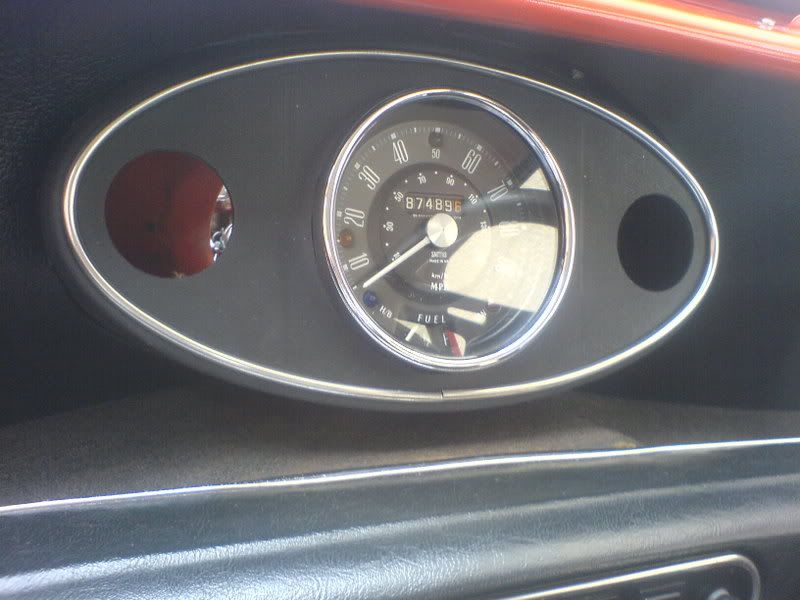
Shes running well, so far so good! Will be equipping her with electronic ignition this weekend and then will be getting her properly timed and set up, hopefully on the same day. I changed the standard centre clock housing for the Cooper style pod. I havent put any clocks either side as of yet. I quite fancy a Smiths Vacuum gauge and clock. The dash cards are a b*tch to fit! >_< Once they're in they're in, so wont be adding extra guages for a long while yet I don't think!
I can hear the carb sucking in the air from the standard filter, as the pod is less sound deadening! :ears: Sounds really good, as if I was running something special...but its merely the 850 :angel:
Anyway heres the pics:
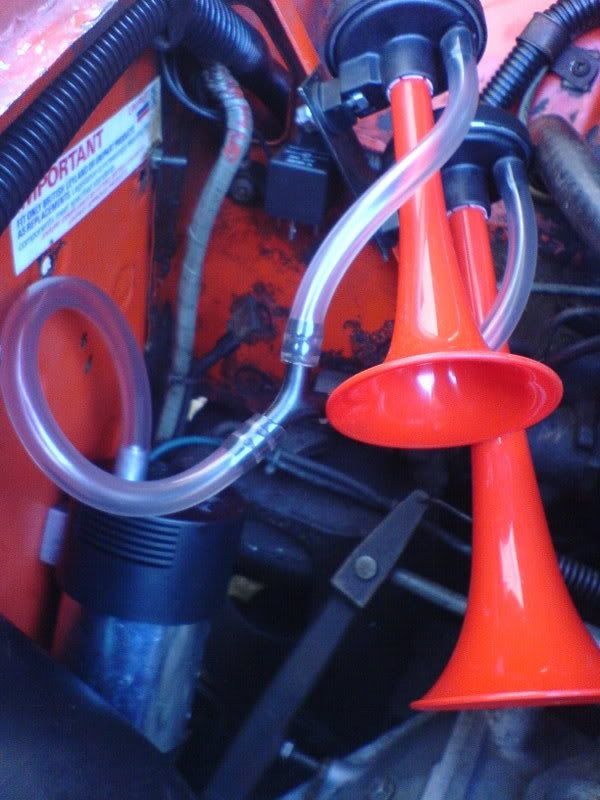
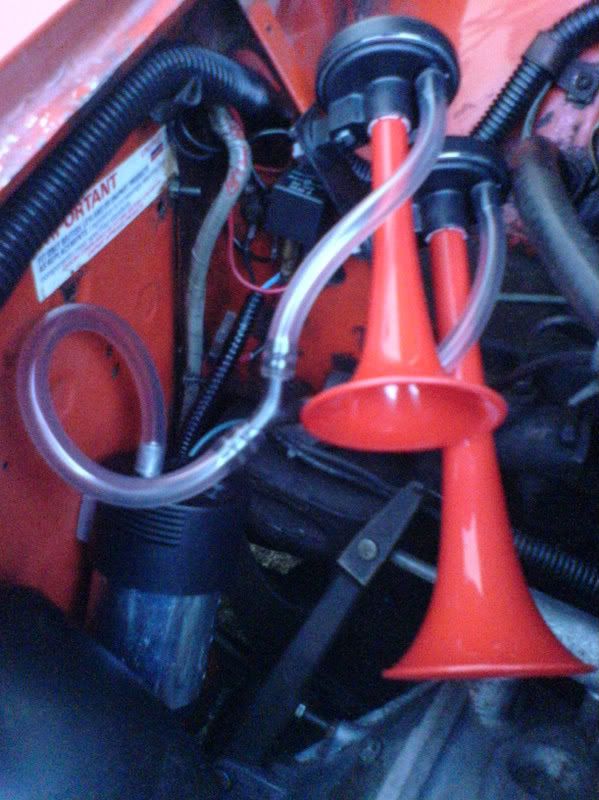
Fitted my airhorns today, finally got round to doing it, took out the old wiring for the spotlights, and replaced the relay and fitted my airhorns. They are extremely loud! Anyone who cuts me up or jumps out in front of me is going to get a blast!
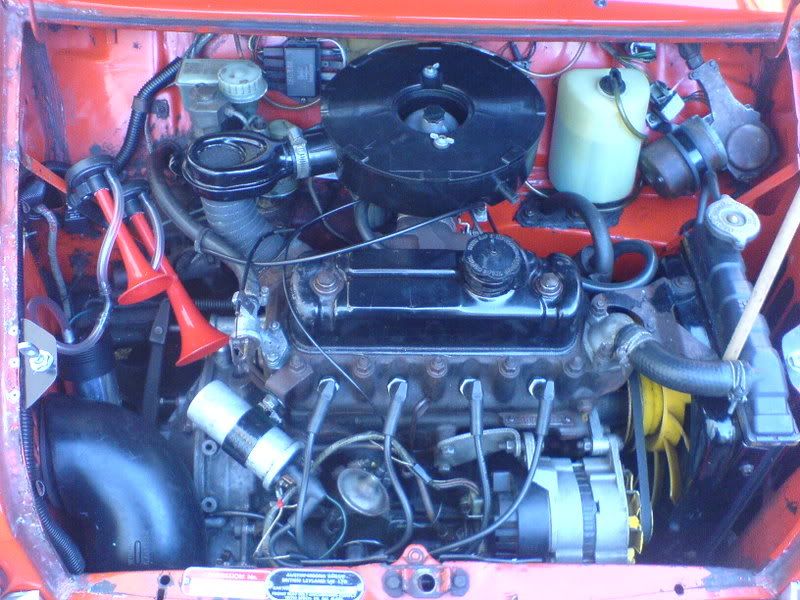
Wired in:
Since its been nice weather, finally managed to get my bonnet prepped and sprayed!
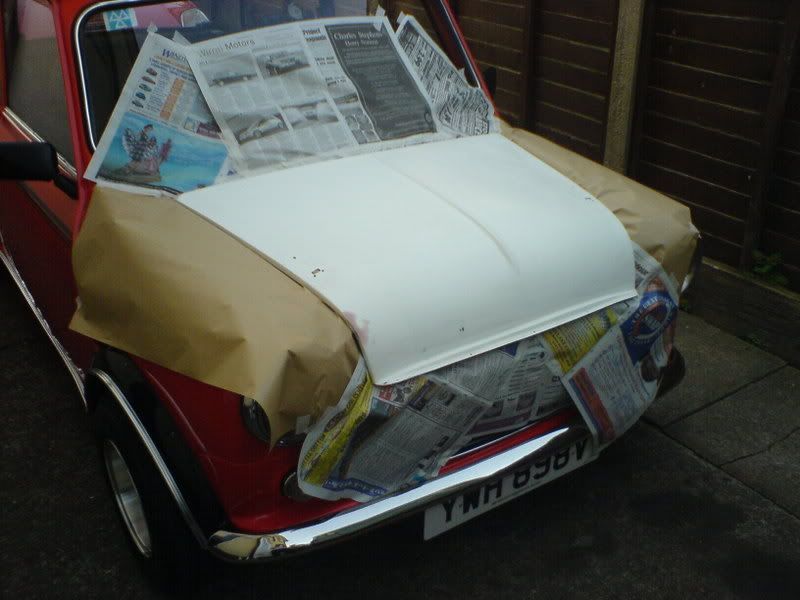
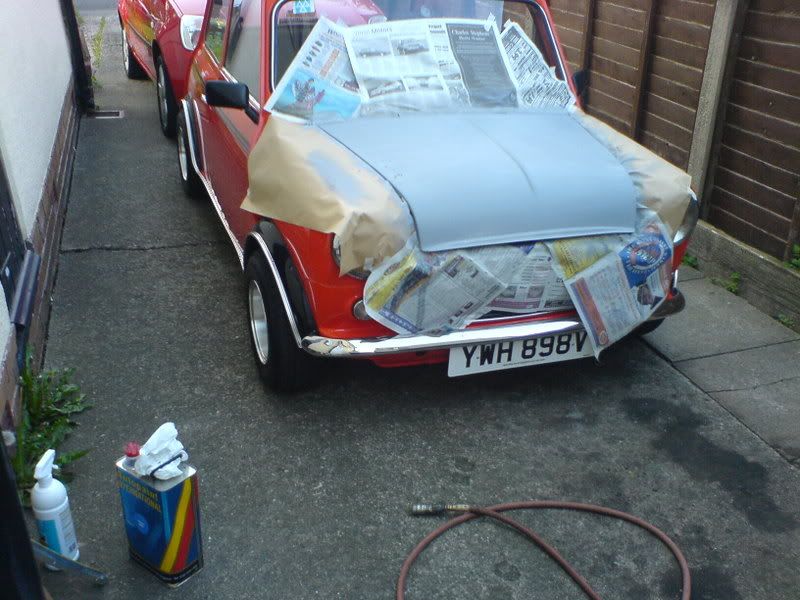
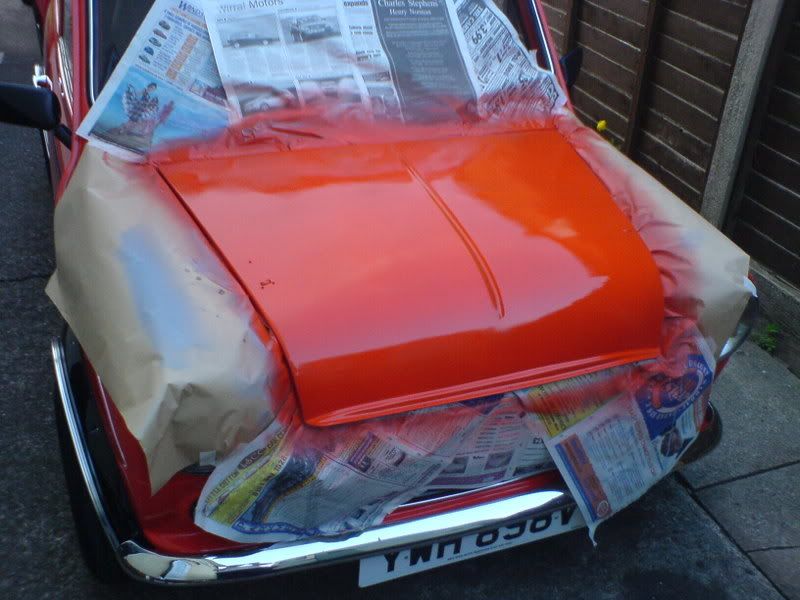
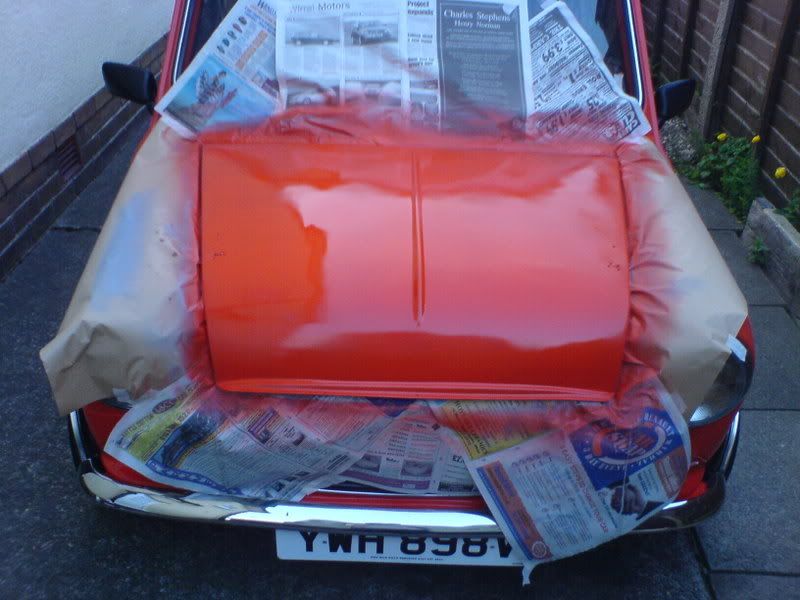
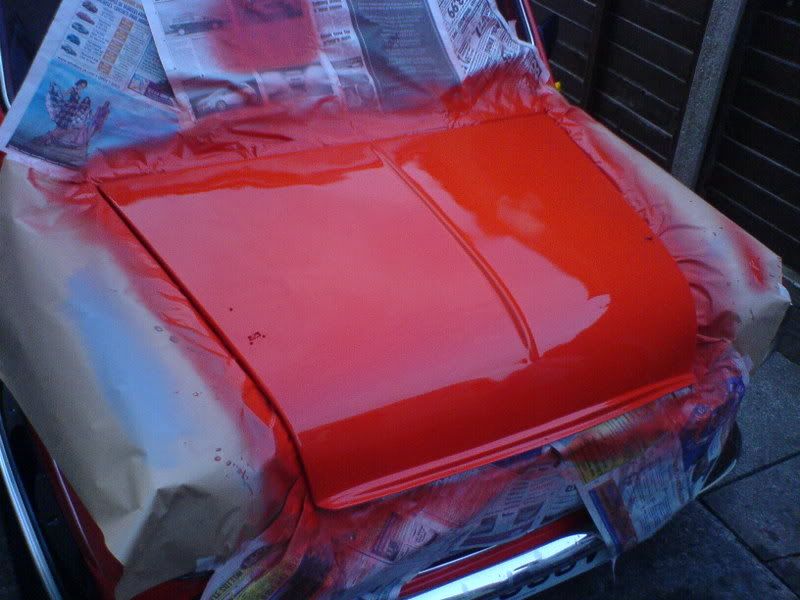
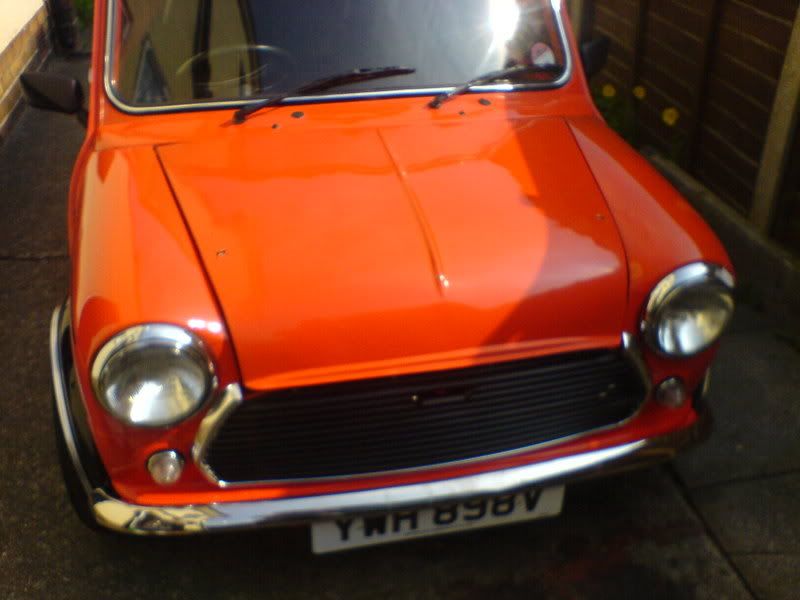
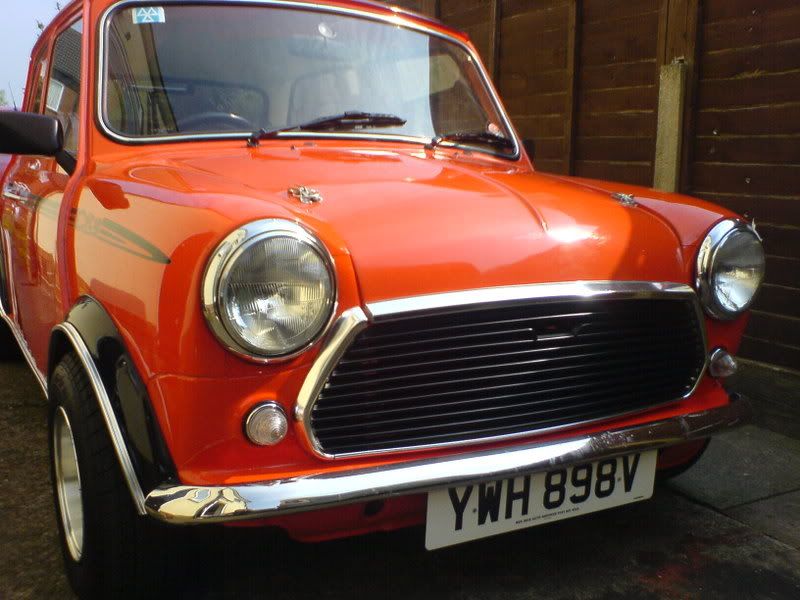
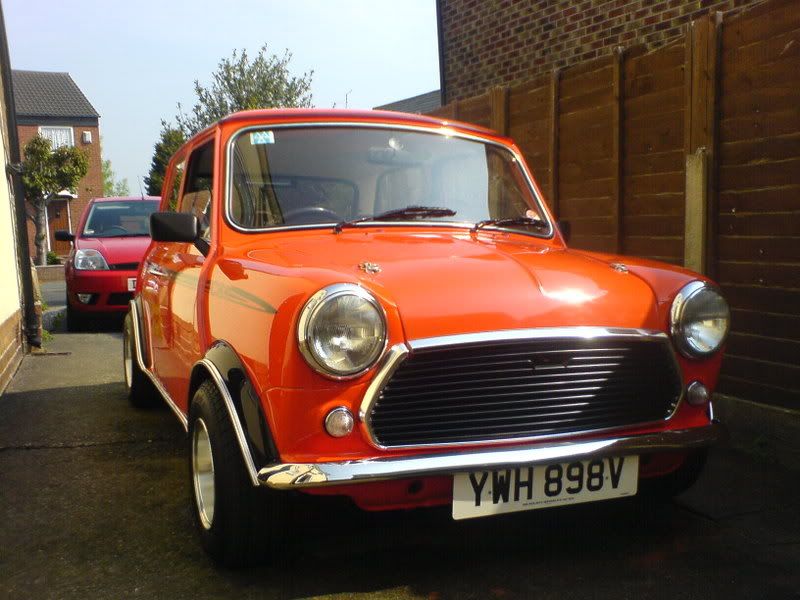
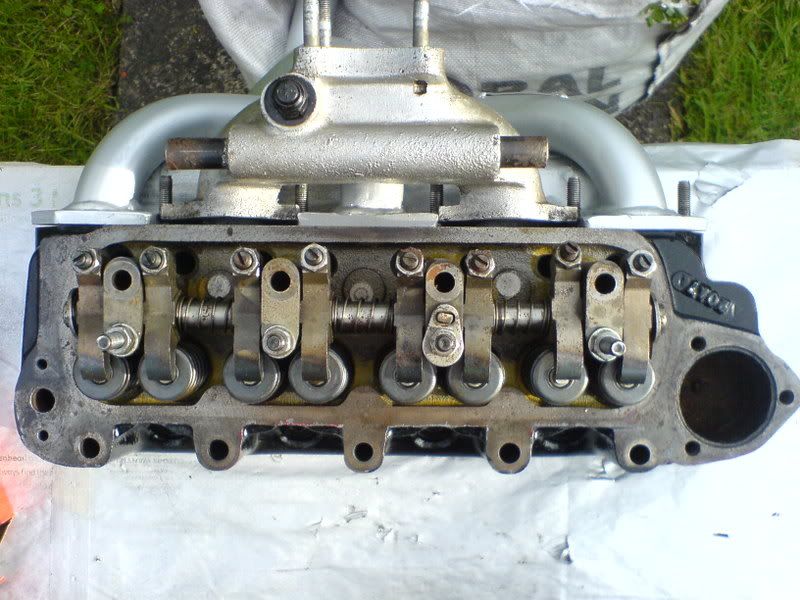
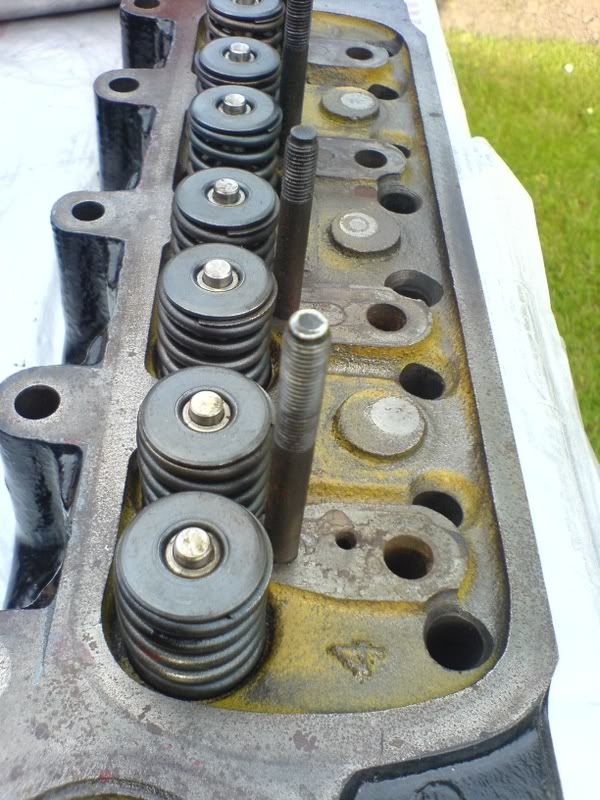
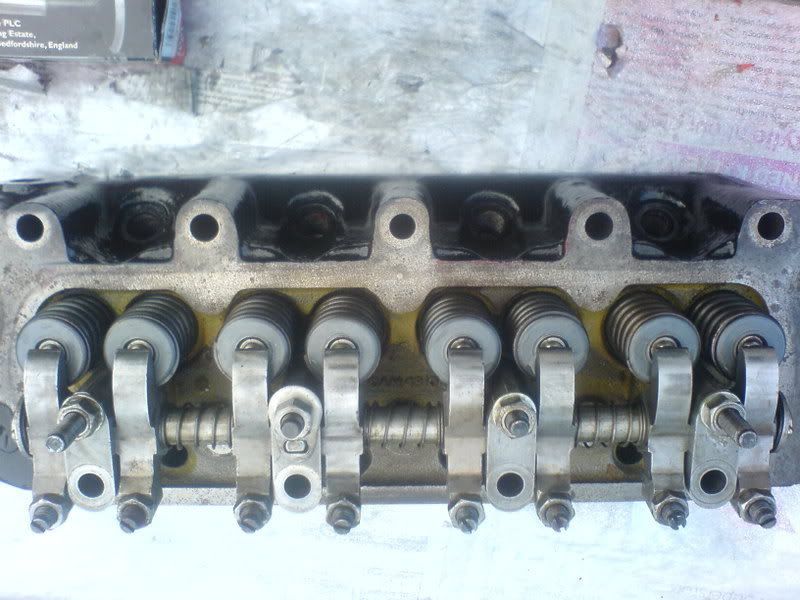
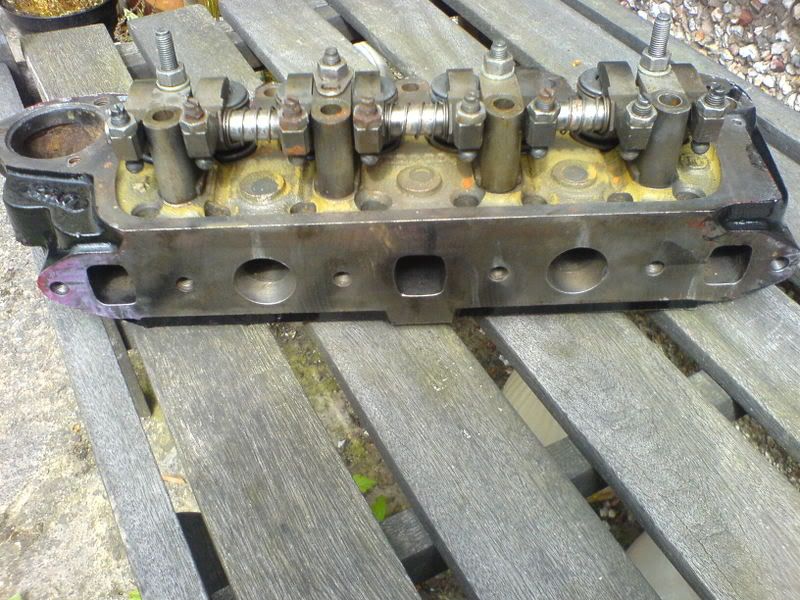
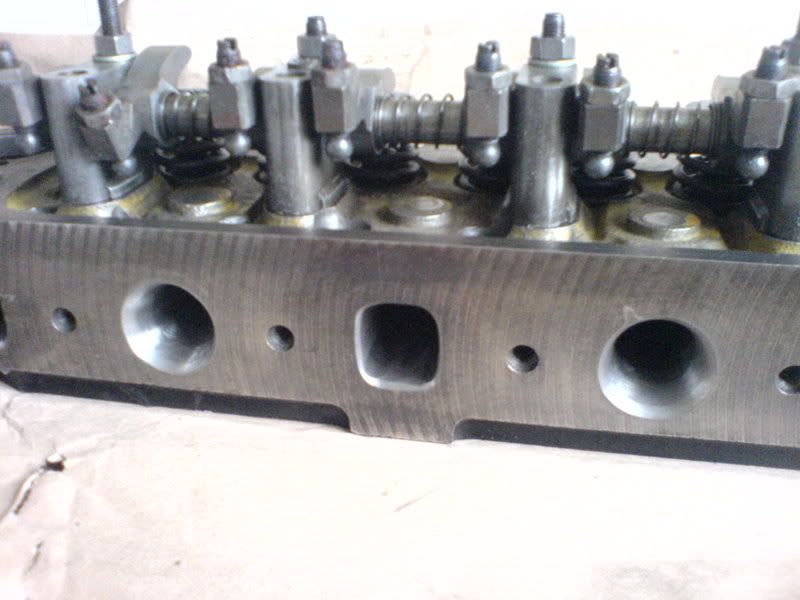
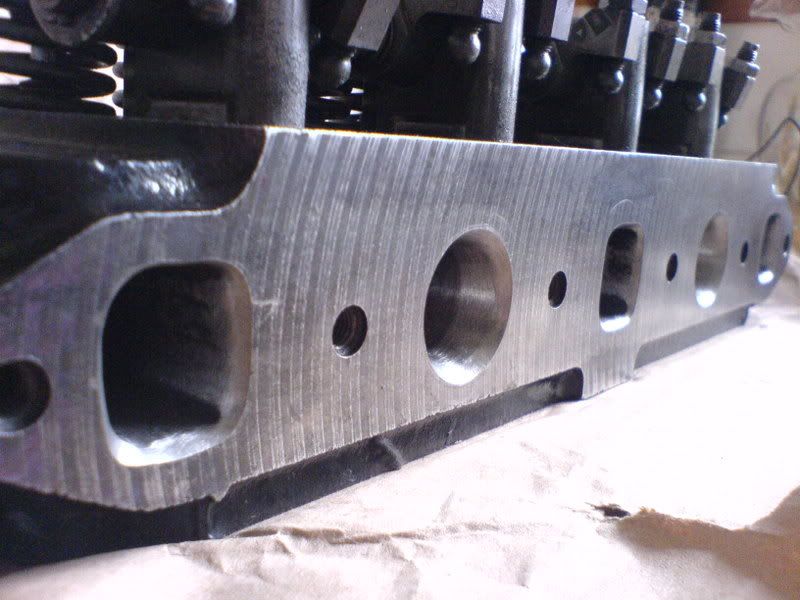
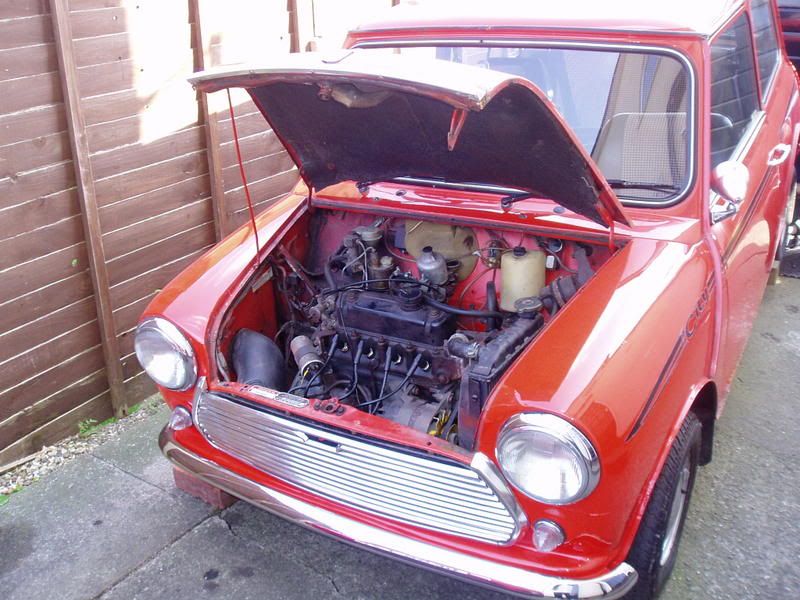
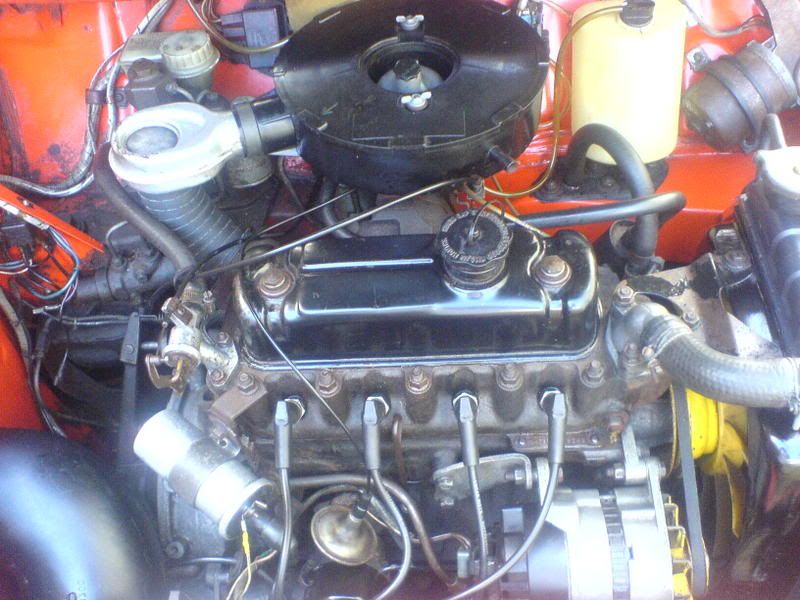
I have had the Unleaded head skimmed, and have now painted it gloss black replacing the red that it was before. I also painted my rocker cover gloss black at the same time. I'm waiting for a Cooper freeflow and alloy inlet manifold, and will fit it all at once. I'm hoping the valve seals are all in good condition.
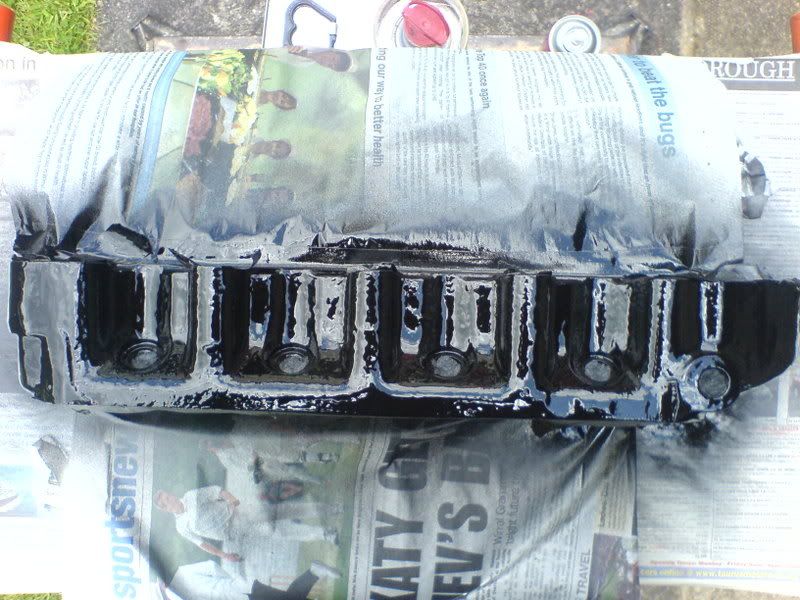
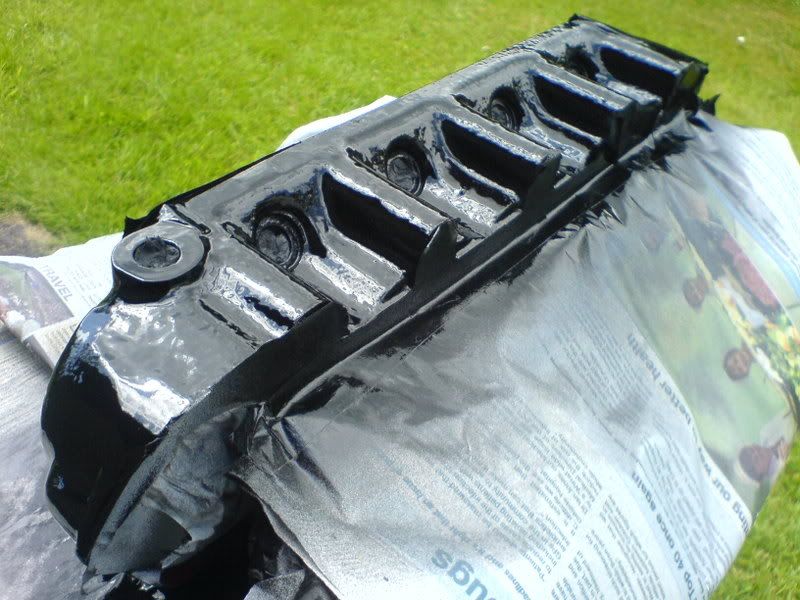
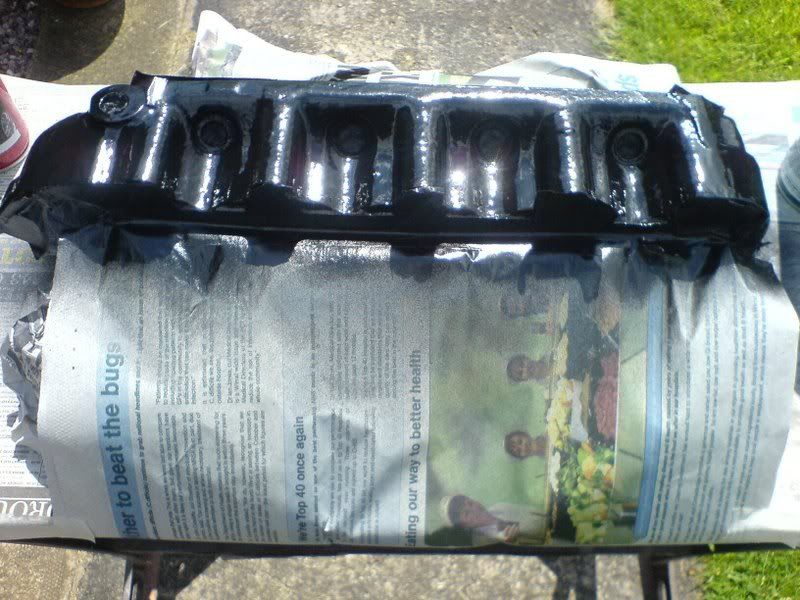
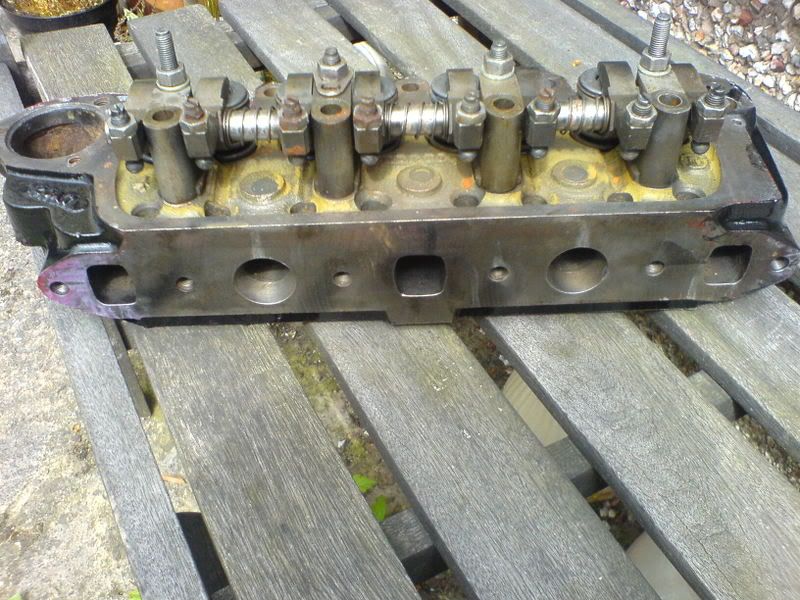
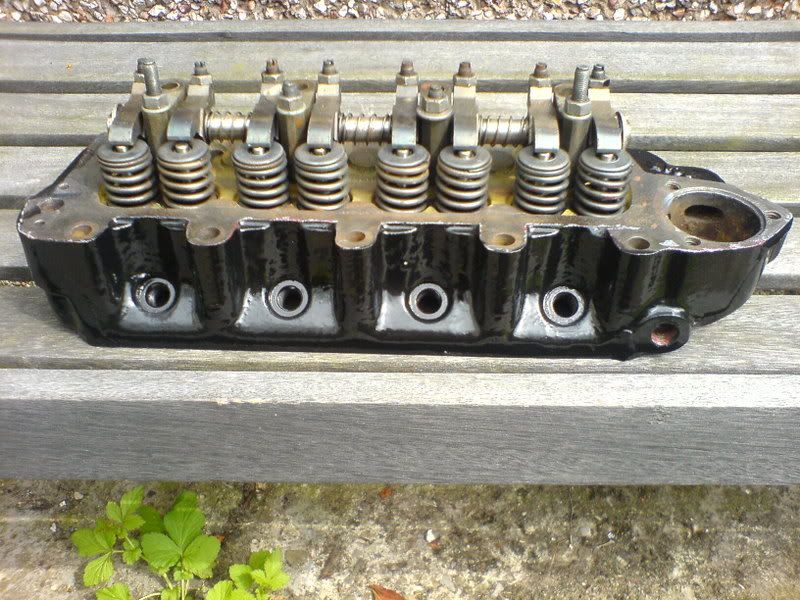
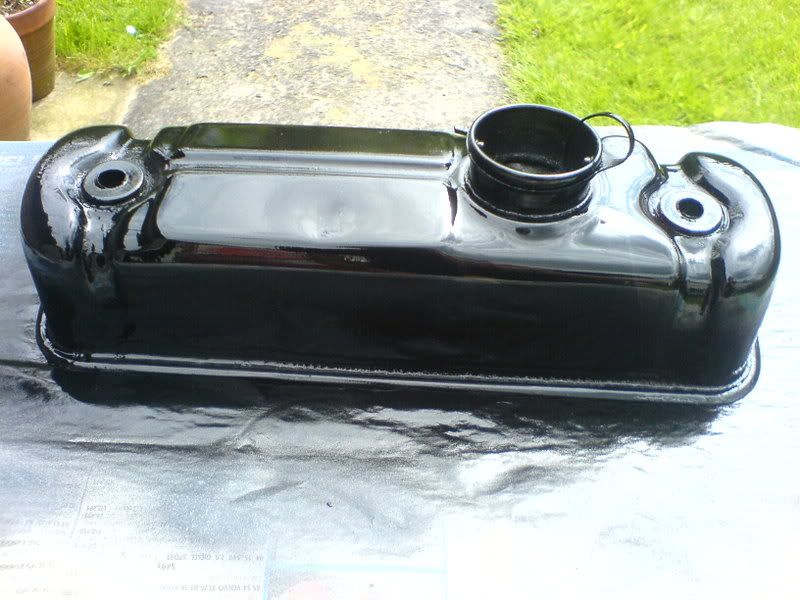
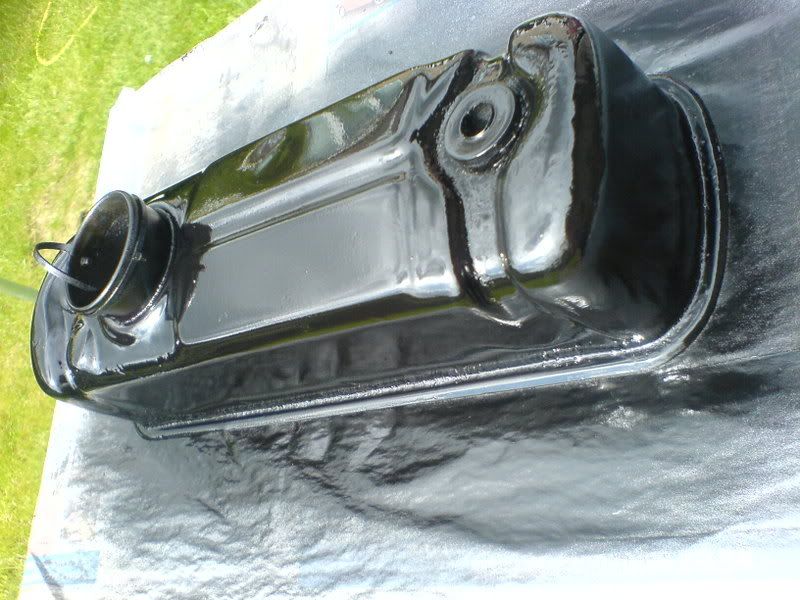
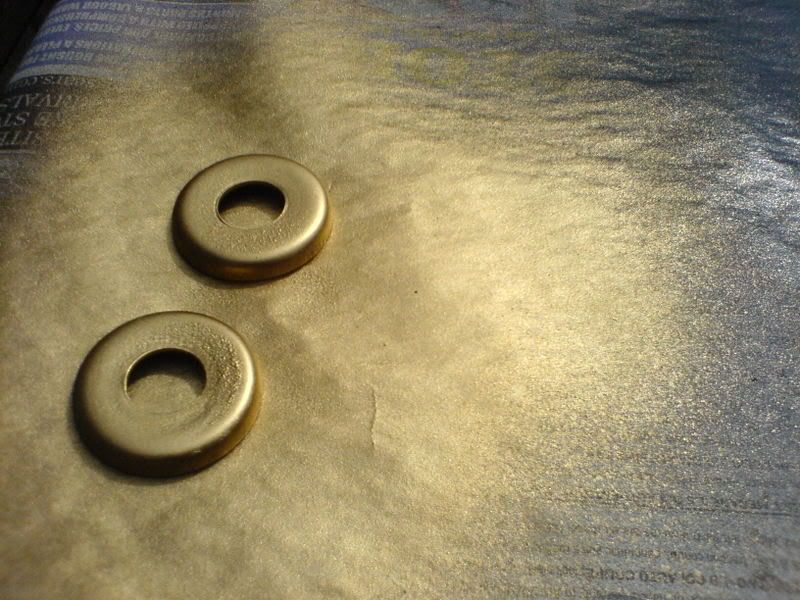
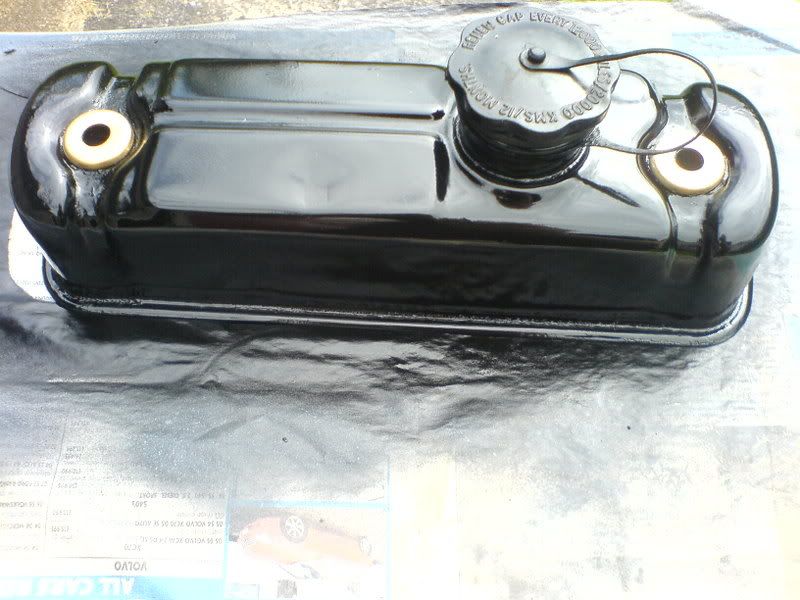
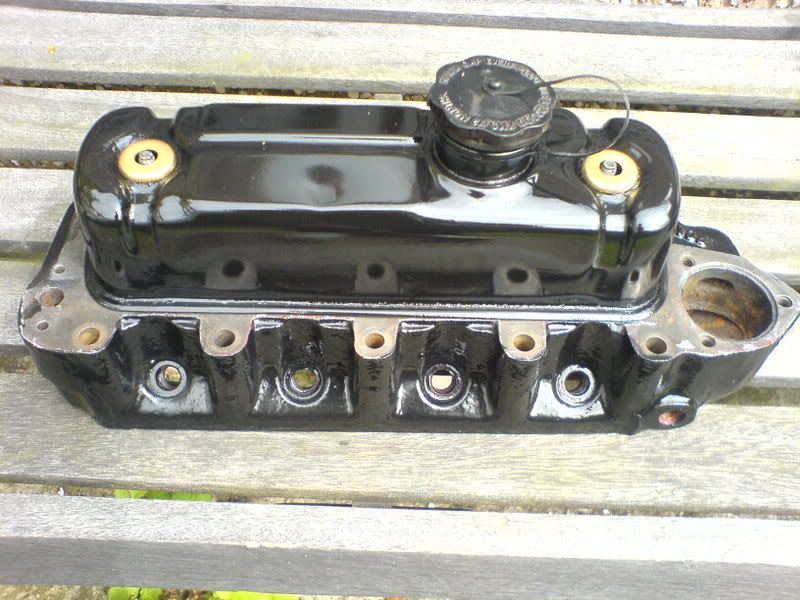
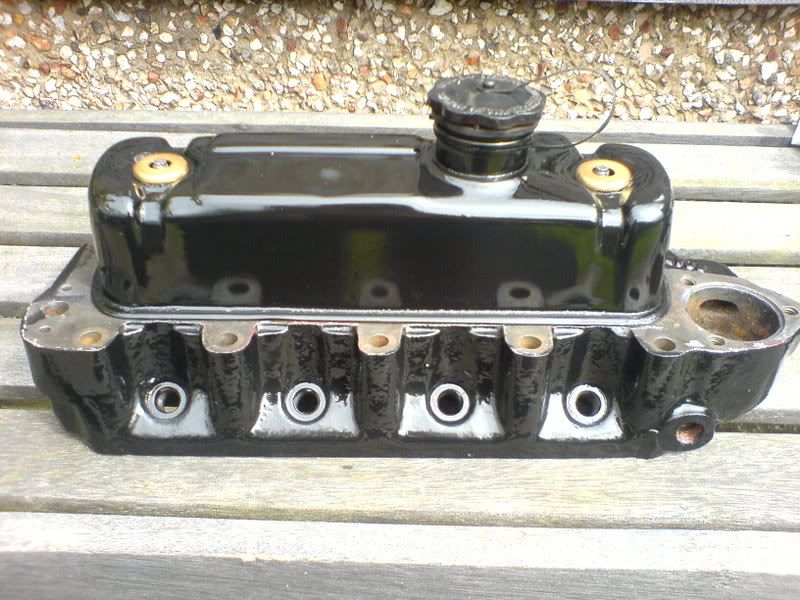
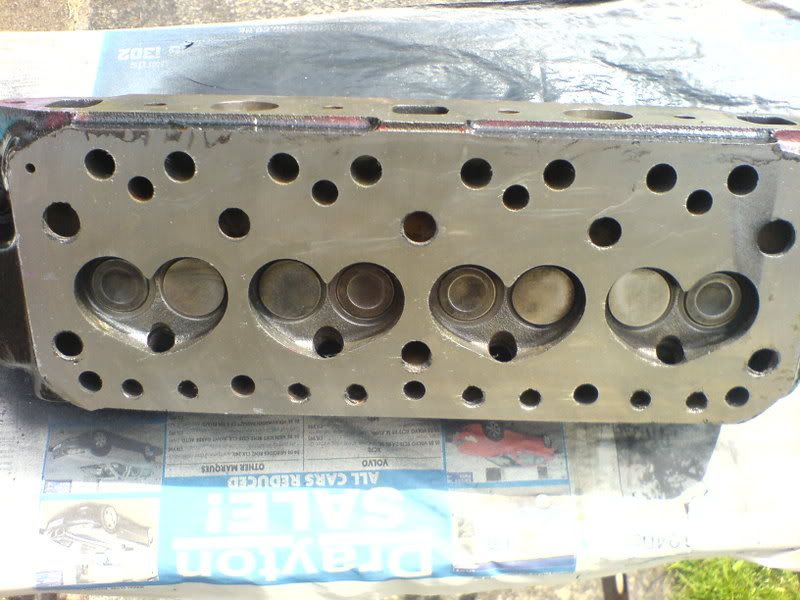
Smart.
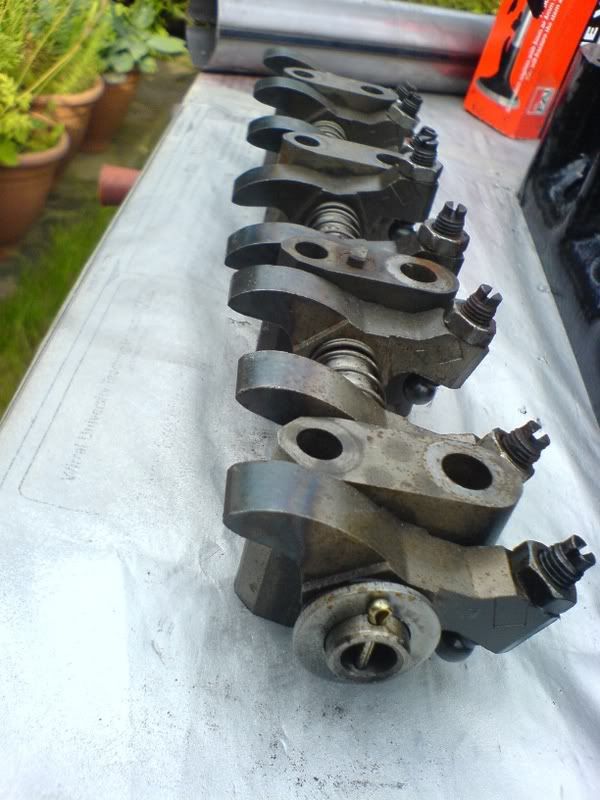
Started taking out each valve one-by-one yesterday as I found the valve compression tool in the depths of the garage. Will need to grind in and clean up the valves, the top hats look fine and can be re-used, so quite happy about that. My alloy inlet manifold has arrived, just waiting for my cooper freeflow manifold to arrive, along with a new coil. When I have it all I will proceed to take off the old head and de-coke the pistons, and build up the top engine with my new performance bits.
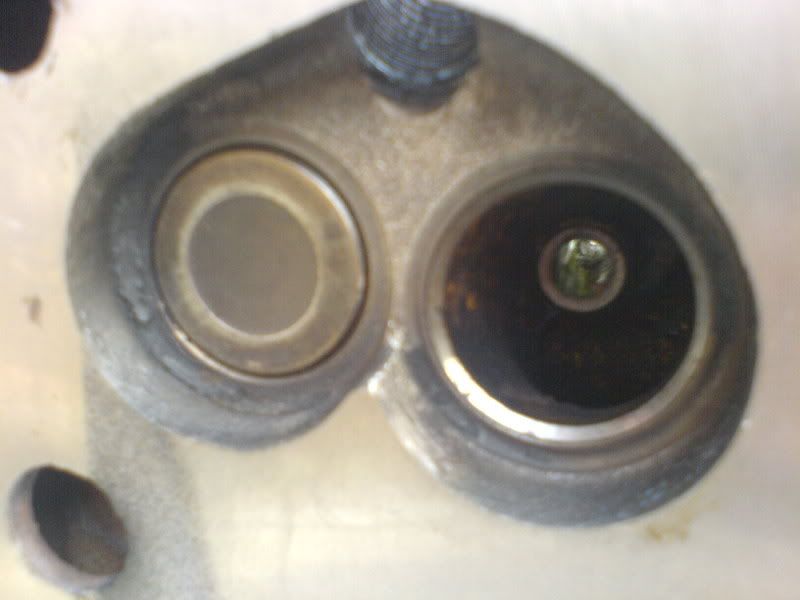
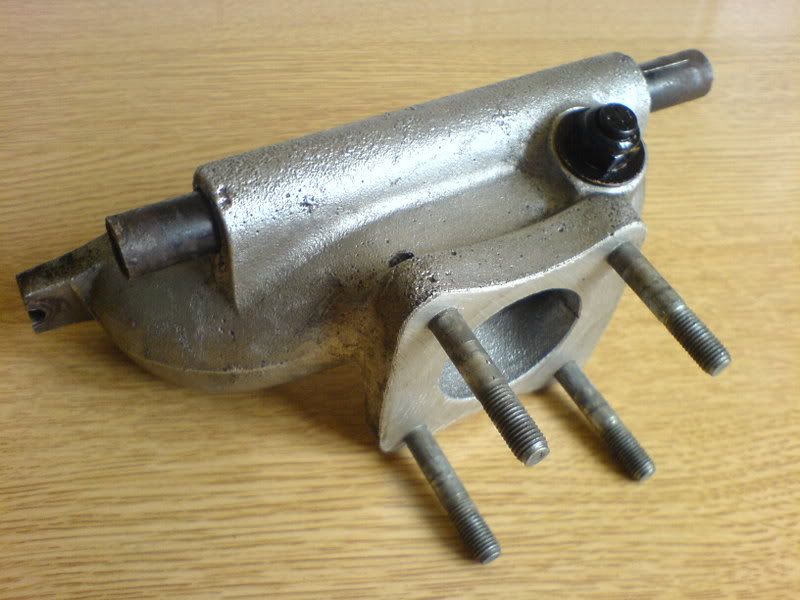
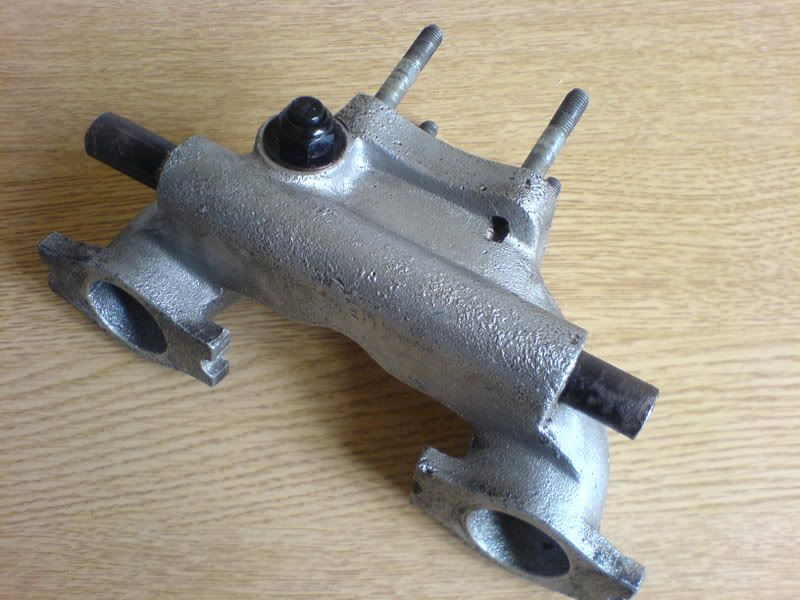
Cooperfreeflow, choke (gone through about 3 in 2 months) and coil arrived today:
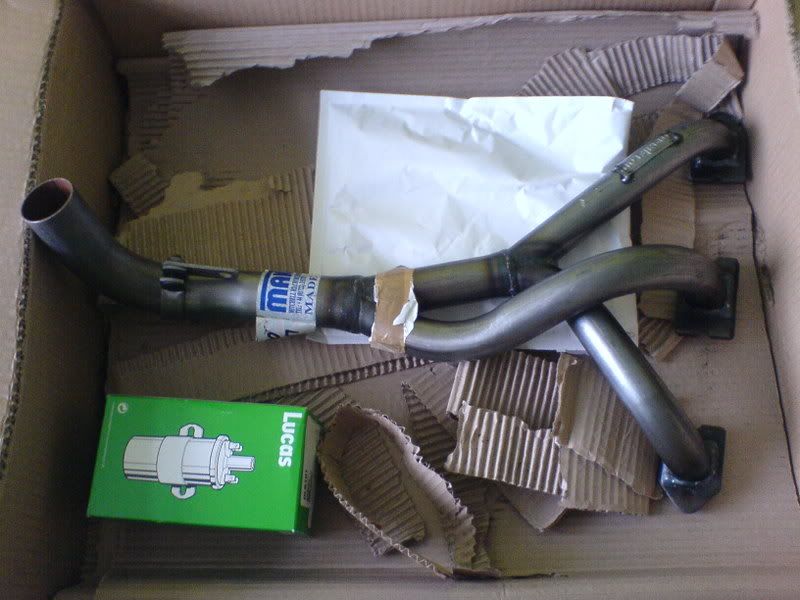
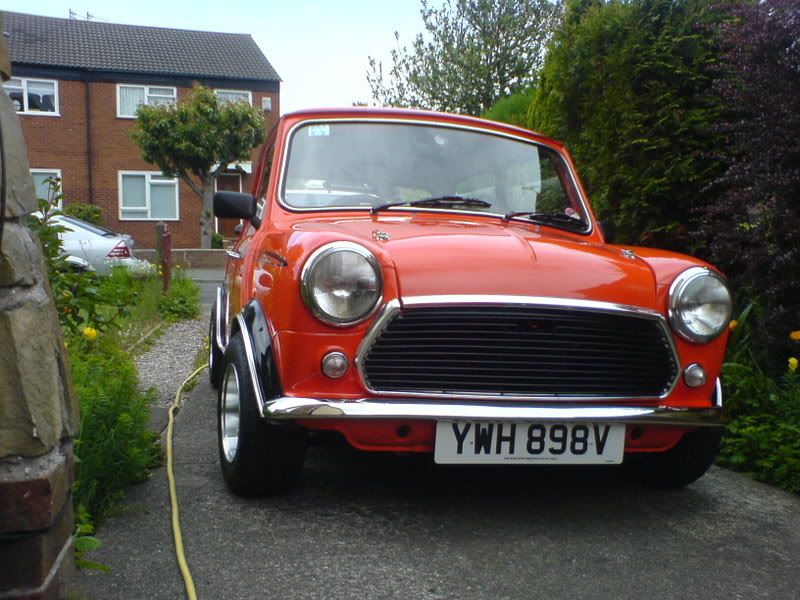
Just washed:
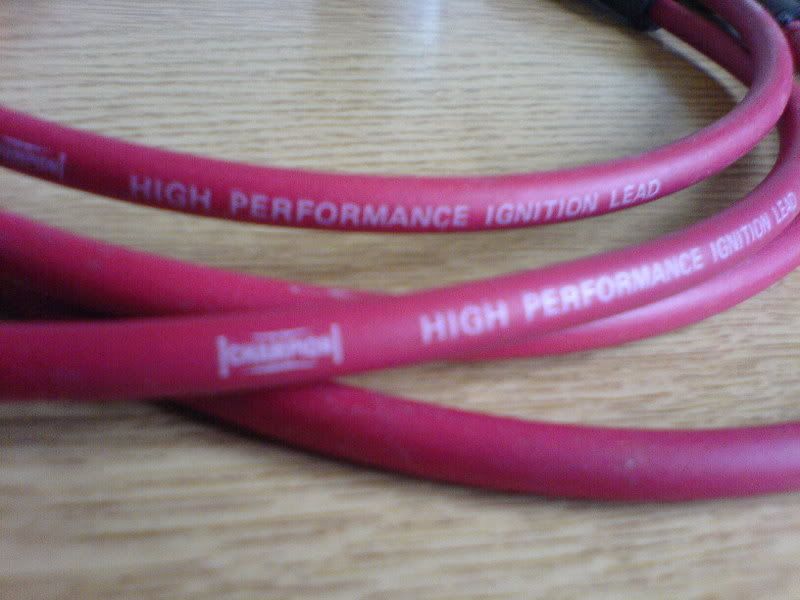
Found a nice set of Champion High Performance Ignition Leads in the shed, so decided to clean them up and number them with cable ties. Do they really give any better performance? I also fitted the new coil for now.
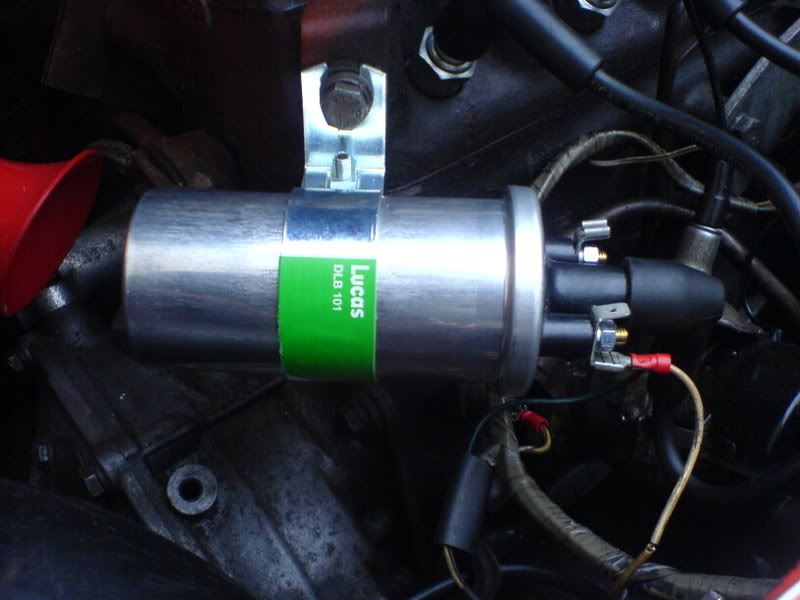
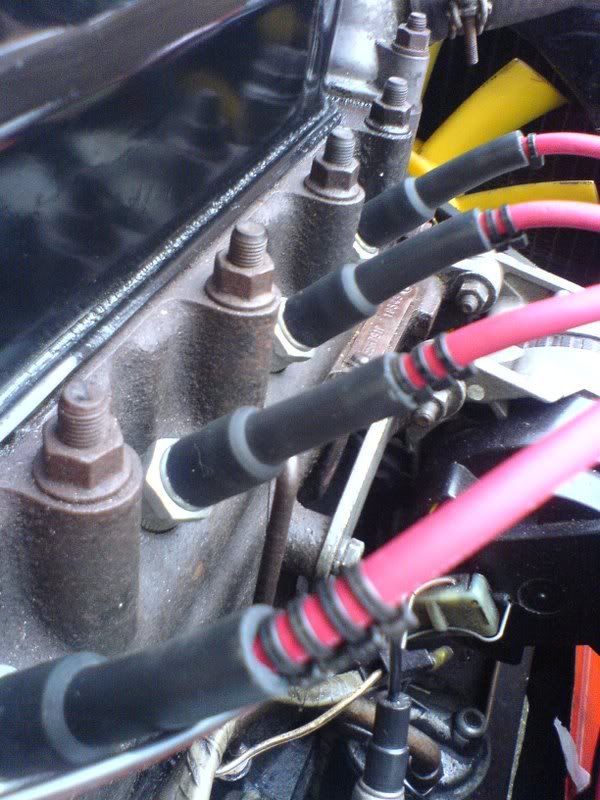
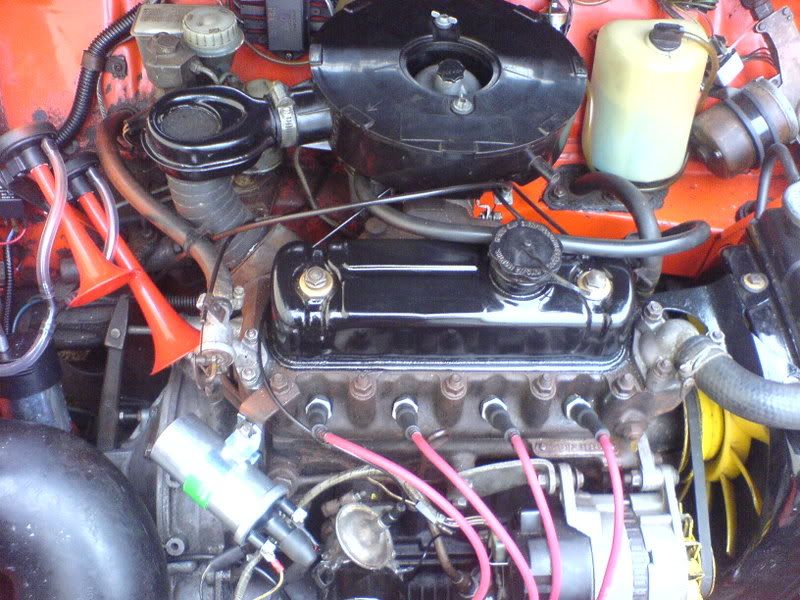
Getting there!
I know, the wiring to the coil is poor >.<
I have sprayed the freeflow manifold in high temperature paint. This should help it last abit longer!
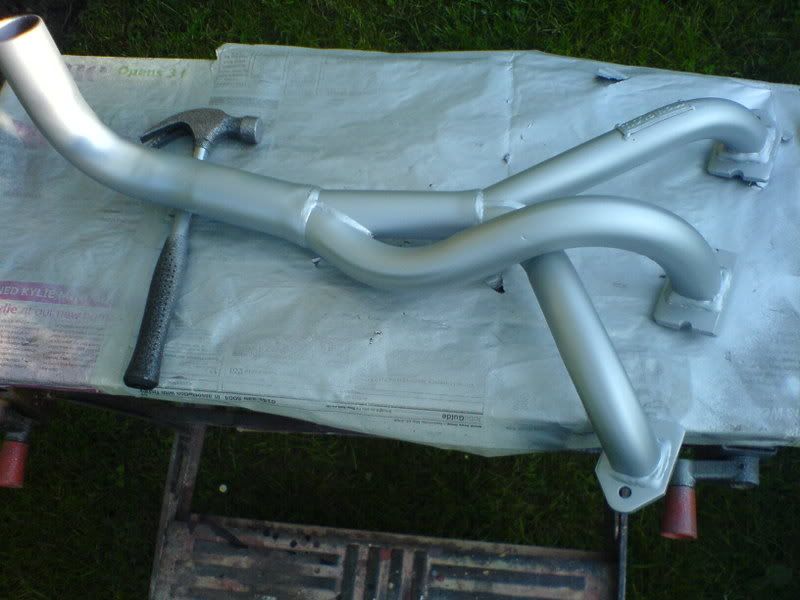
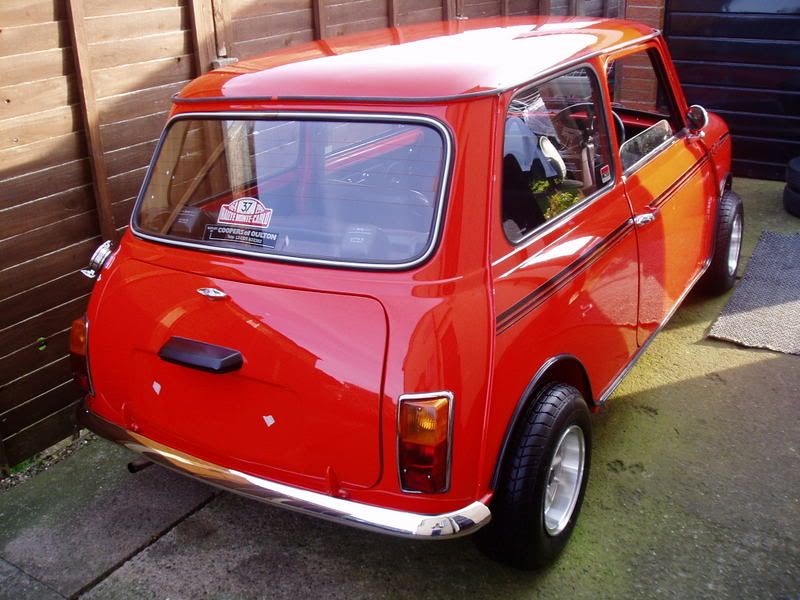
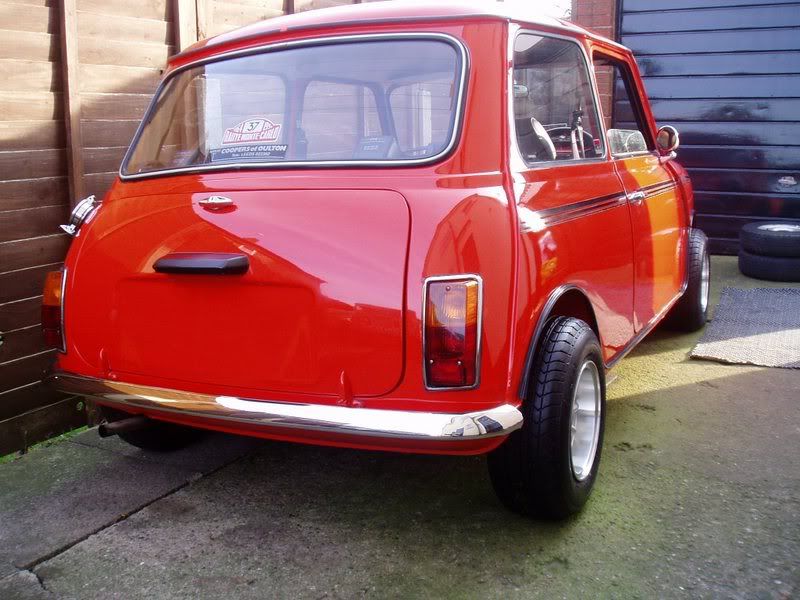
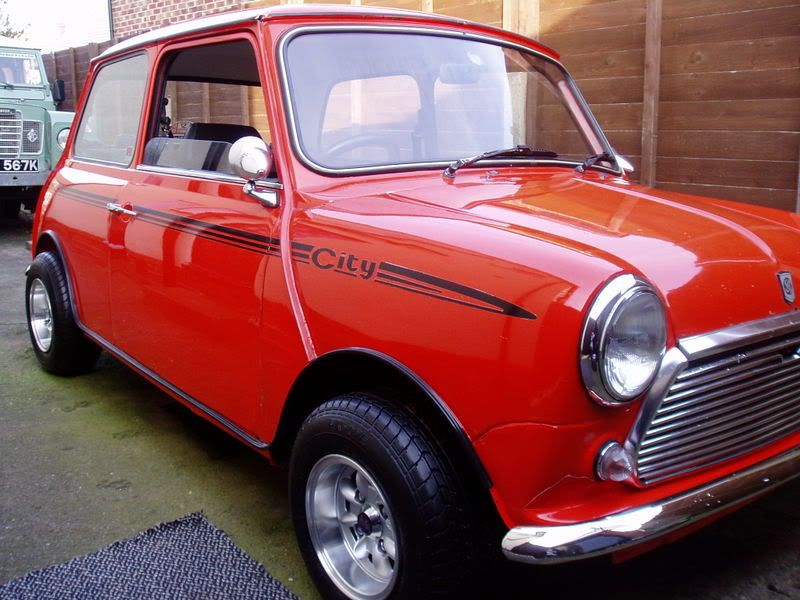
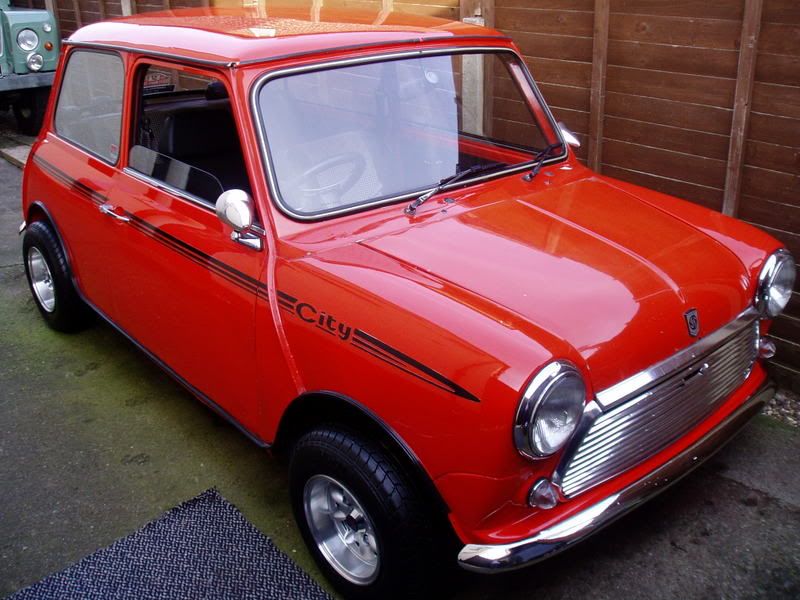
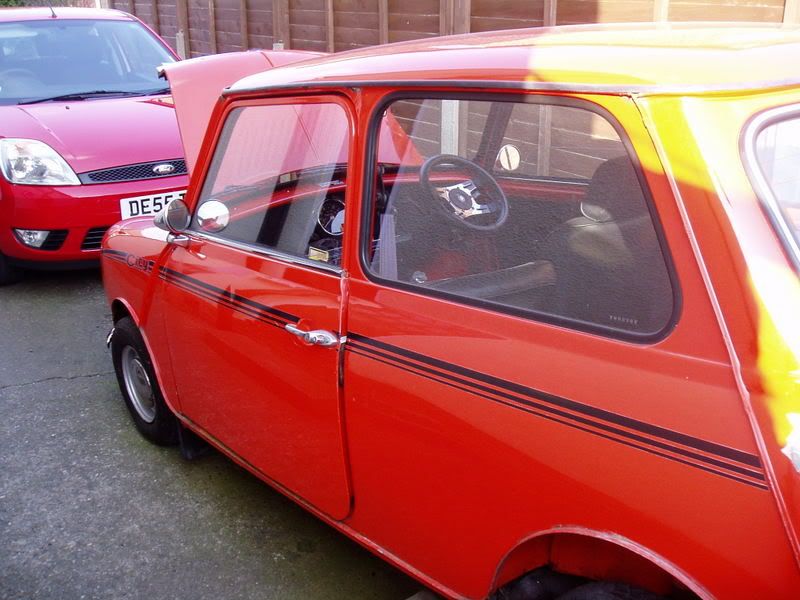
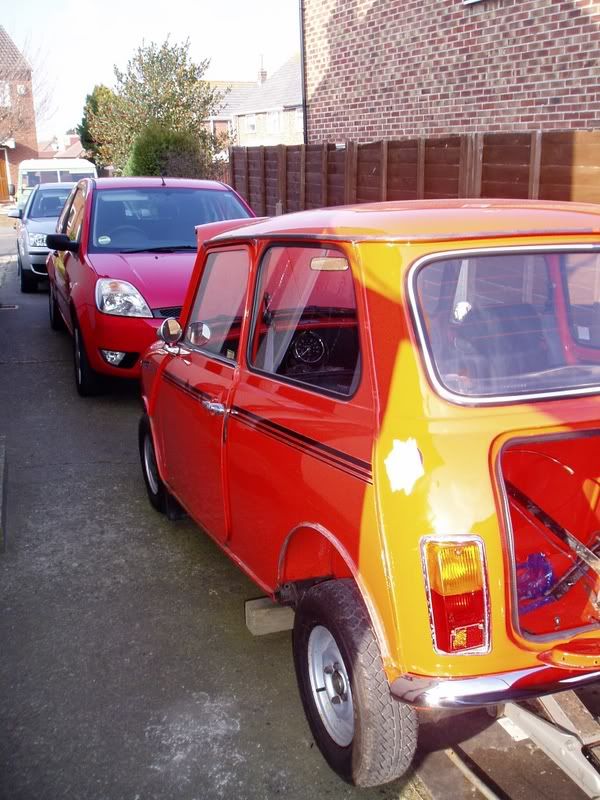
And here we are, to date. This is the stage I am currently at.
Tom


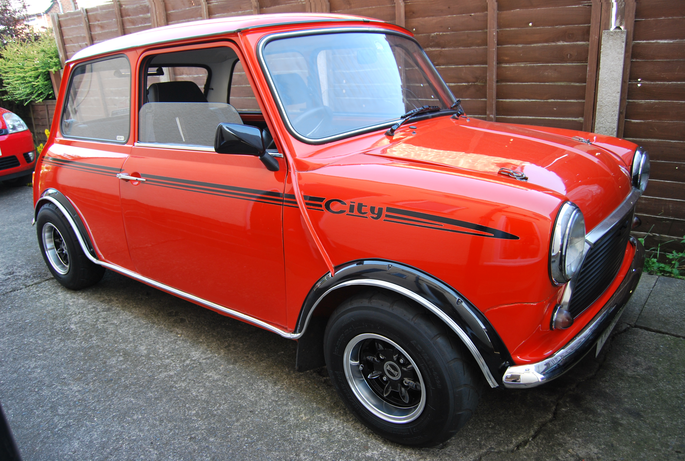




 are you on tmf? I'm sure I recognise your mini from there


 [/CENTER]


