


 [*]
[*] [*]
[*]

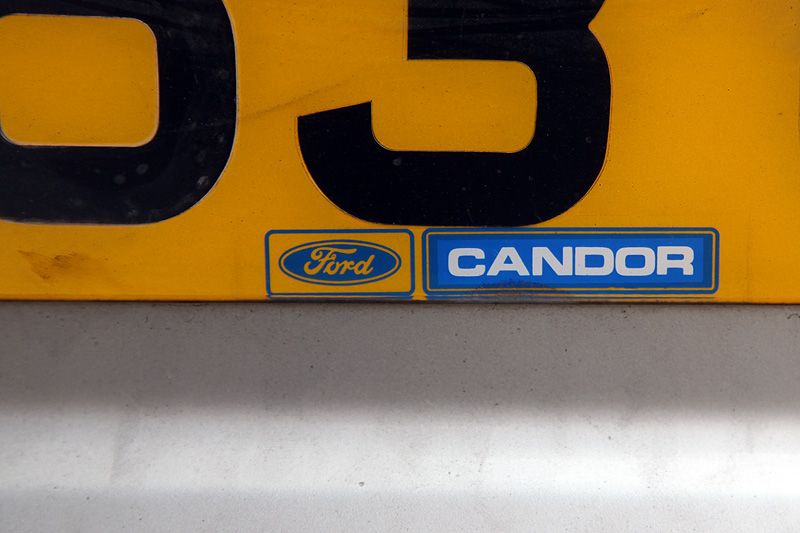
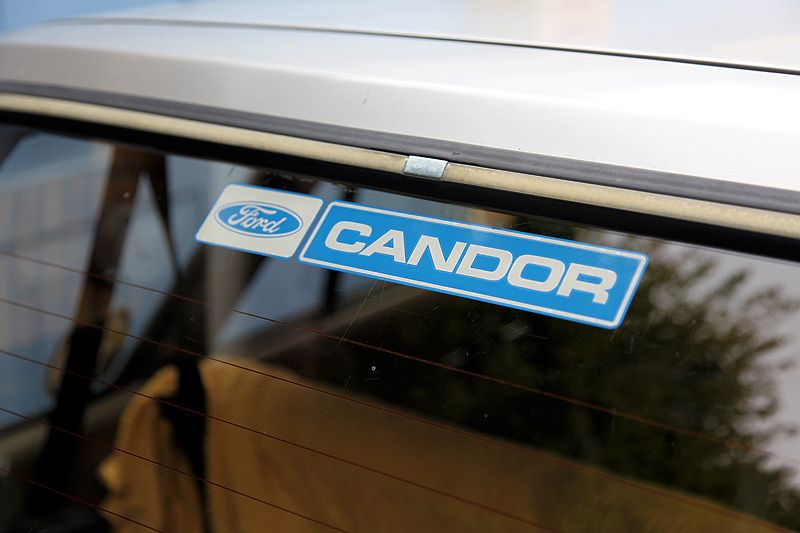
So you're car still has one of the original dealer logo plates on....always a good sign.
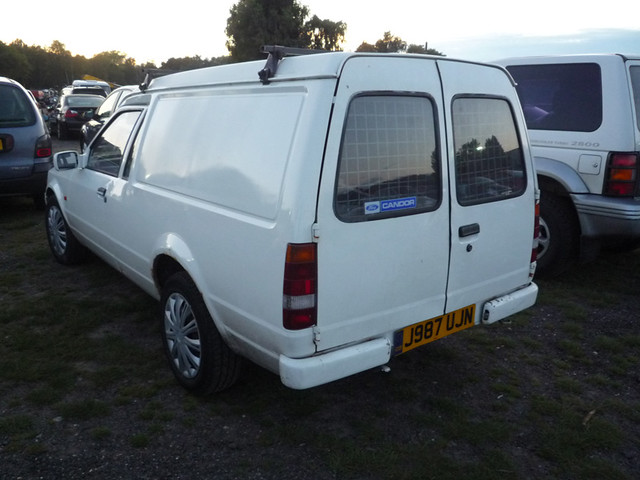
In the rear window is some residue from what looks like the outline of an old dealer logo....how cool would it be to have that old logo back again?
I did some research and found that Candor Ford (from Colchester) is now Dovercourt and has been for some time. No chance of ringing them up and grabbing some stickers from them then....even if the design was the same all these years later. No point dwelling on that, time to get stuck in.
After some searching on the internet I found this photo on Flickr of a Candor dealer sticker which was in the back window of a Ford Escort:
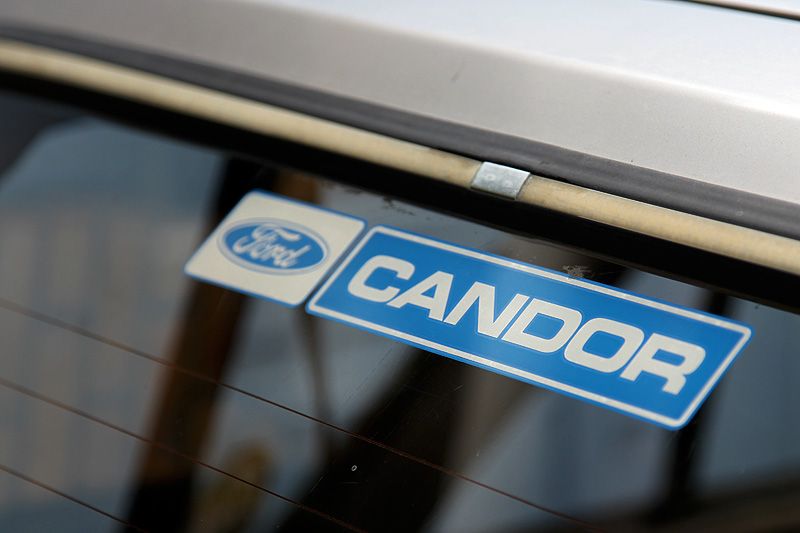
The photographer also very kindly had snapped a close-up of the logo too:
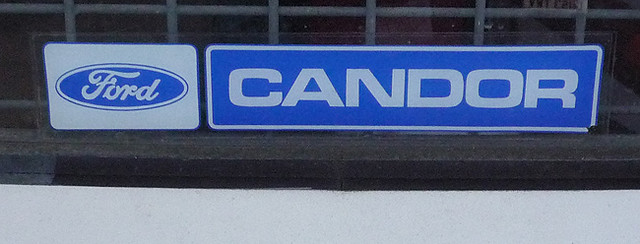
I know I could have used the one on the registration plate as a template but it's very small and not that well defined. Having this photo of the actual sticker was a better starting point.
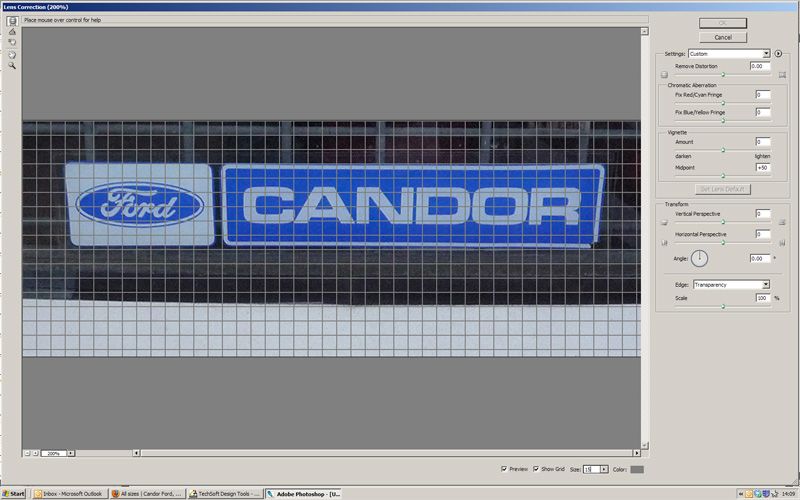
Load into photoshop
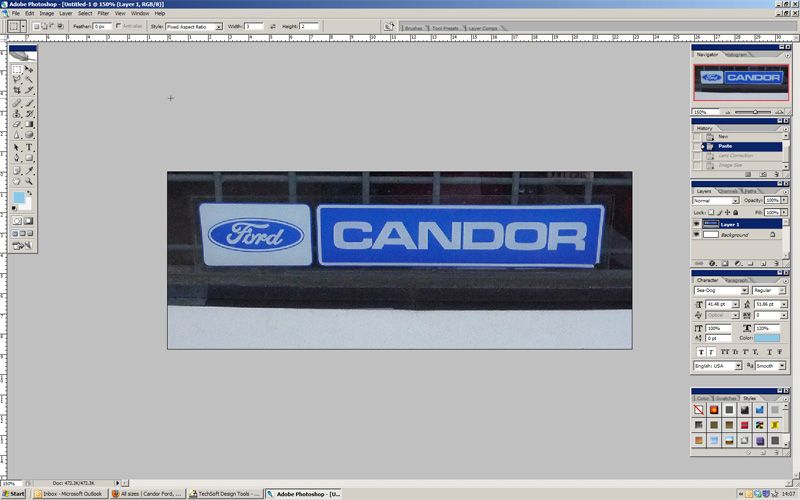
...and then into Lens Correction. This is because the photo was taken at a slight angle and has some perspective to it. I need it to be as flat and straight as possible.
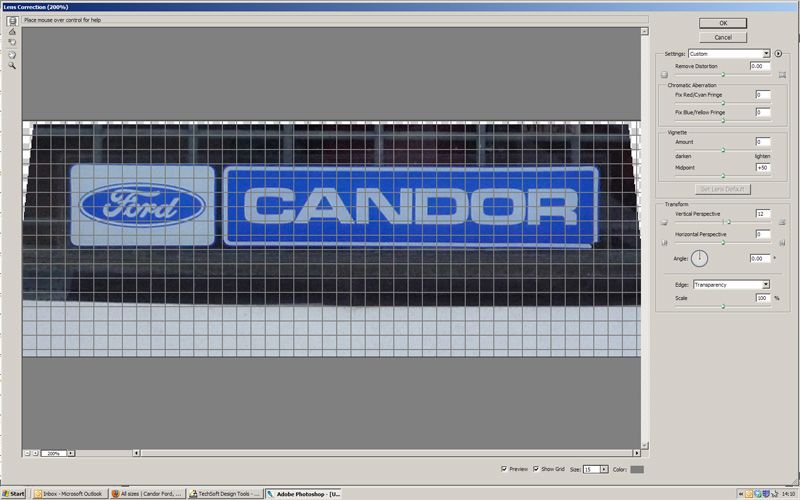
A few tweaks later I've got it as straight and true as I can get it.
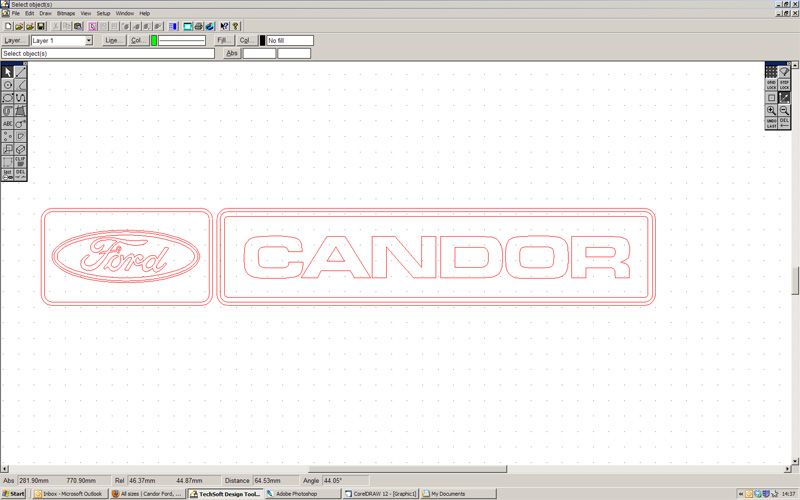
Open it up in CAD and spend a few hours recreating the exact profile as a vector. Luckily I'd drawn the Ford logo a few years ago so already had that to drop into place. After some searching I found out the Candor logo is a modified version of the Eurostyle font. A little while later I'd modified it suitably to be a fairly accurate replica of the delaer logo. Accurate enough for me anyway....

What a lot of people don't understand with logos is that if you want one making as a sticker, you can't really just scan it and make a sticker from it. Vinyl cutters don't understand Jpeg and instead need a cutting path for the knife blade to follow. This comes in the form of a vector - a series of lines that are drawn to replicate the outlines of the logo. This can be VERY time consuming. There is software available to convert logos to vectors, but I have yet to find one accurate enough for my liking, so instead I carefully recreate the whole logo by hand. Some complicated logos can take many, many hours, even days! This one took me about three hours but some of that included finding the font (it would have been only slightly longer to draw the font lettering from scratch in this case)
The finished logo as a vector path:
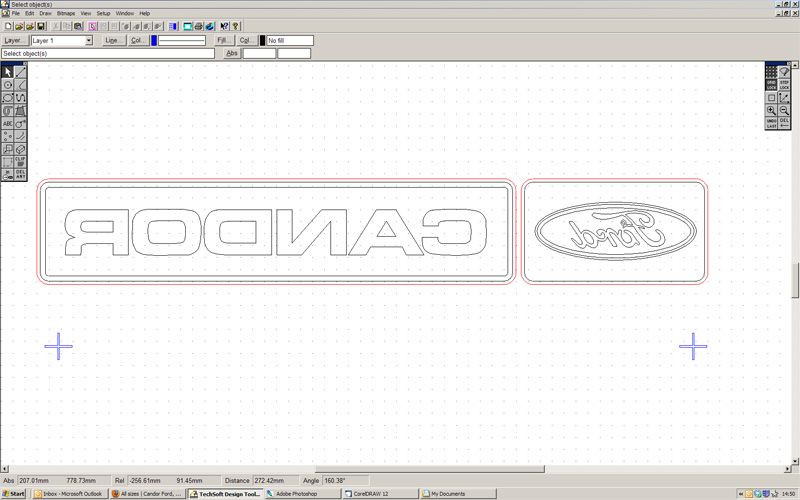
For the dealer sticker, the logo has to be cut in reverse because it's going on the inside of the window. Also, because it's two colours and a vinyl cutter only works by cutting individual colours, I have to make two stickers (one in white and one in blue) then stick them together. The two crosses under the logo are the registration/alignment marks. These are used to line the two colours up as accurately as possible when it comes to putting the sticker together.
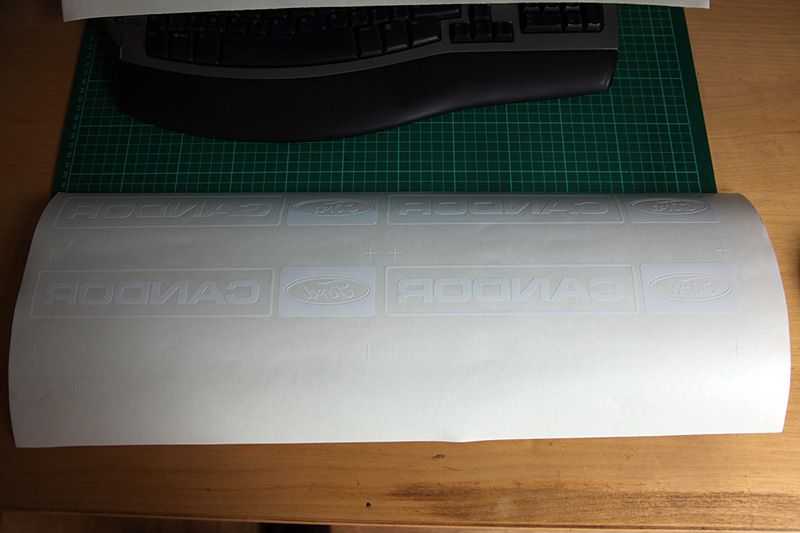
CUT!
The bottom two logos are a test run to check the accuracy/quality of the cut and that everything comes out how I wanted it to. The top 'blocks' of blue are the actual sticker. The easiest way to make the sticker is to have the entire background blue then have all the detail in white. It'll all make sense in a mo...

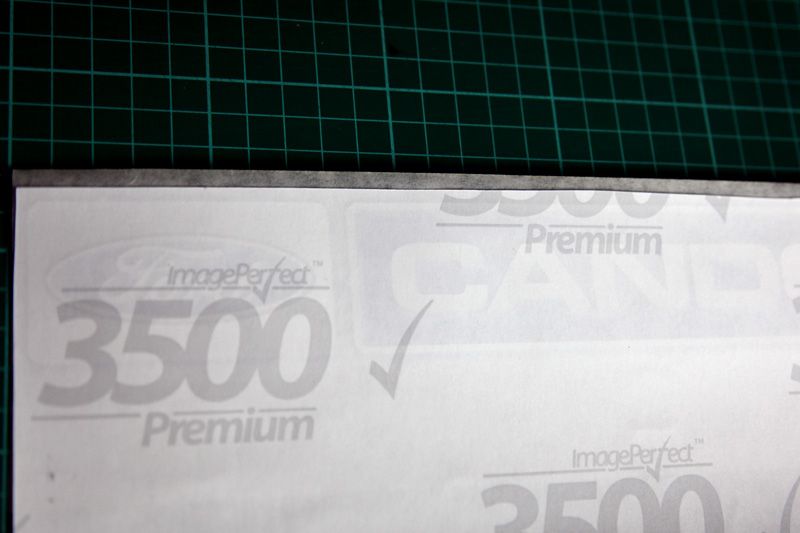
The white sticker cut. You can't really see the registration marks on these, but they are there. The blue background sticker will be stuck over the top of this white sticker....
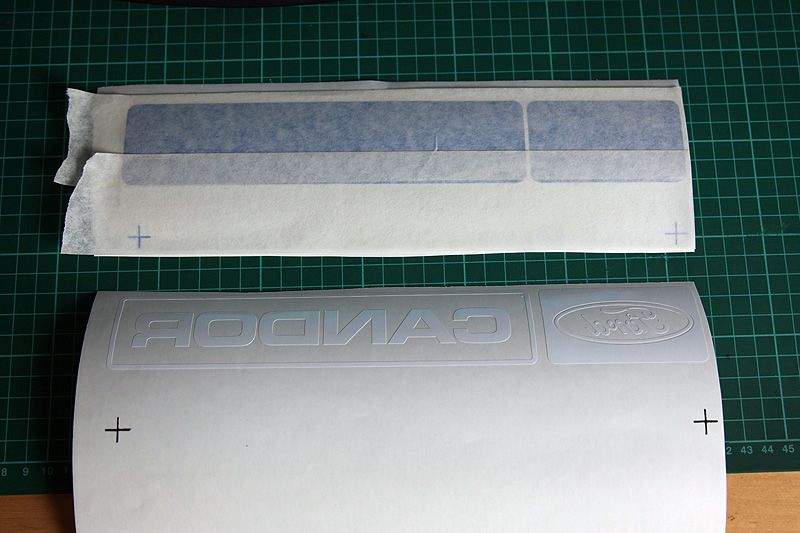
Transfer tape put over the blue background sticker ready to apply it to the white sticker. The registration marks of the white sticker have been coloured black with a sharpie. This is because they'll be almost impossible to see otherwise once the blue sticker and transfer paper go over the top of it.
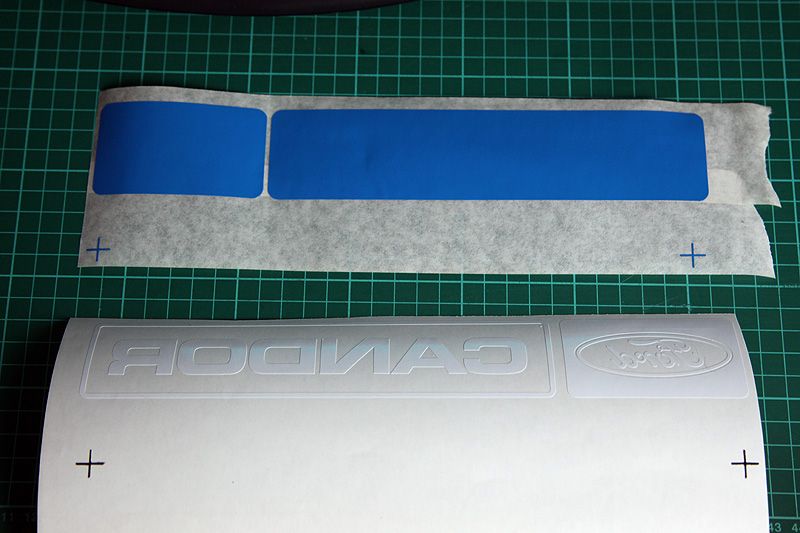
The blue sticker about to go onto the white. The registration marks will be lined up perfectly first before sticking the blue down.
This is the trickiest part....getting it lined up. You only really get one shot at it, and with a logo like this where the outlines/borders are very fine around the edges, if it's off by even a millimetres it'll really show up (the outer border is only 1.5mm wide!). Accuracy is all important so being able to see the registration marks is essential.
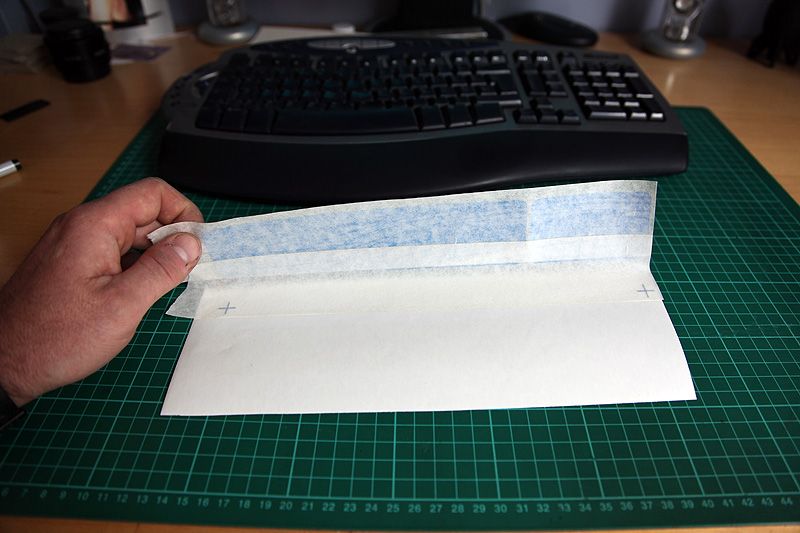
And it's done.....no going back! If it's out of alignment the sticker will look bad and will pretty much be scrap. Failure rate can be fairly high if you're not very careful.

You can just make out some of the sticker through the backing paper. You won't ever really get to see the sticker in full effect until it's put in place on the car.
OK, so it's a repro, but it's better than not having one at all. It's about as accurate as I can make it and I doubt you'd tell the difference even if you held an original one up against it, except maybe for the shade of blue, I had to use whatever vinyl I had and this was the nearest shade I could find. It's pretty close and I think even a Ford fanatic would have a hard time telling it's not a proper dealer sticker!
As Bizzle always says, the devil's in the detail. I even stuck it slightly 'off true' to follow the exact line of where the original sticker had gone. Sad I know, but it's one of those things that I reckon just makes it work that much better....
In the rear window is some residue from what looks like the outline of an old dealer logo....how cool would it be to have that old logo back again?
I did some research and found that Candor Ford (from Colchester) is now Dovercourt and has been for some time. No chance of ringing them up and grabbing some stickers from them then....even if the design was the same all these years later. No point dwelling on that, time to get stuck in.
After some searching on the internet I found this photo on Flickr of a Candor dealer sticker which was in the back window of a Ford Escort:
The photographer also very kindly had snapped a close-up of the logo too:
I know I could have used the one on the registration plate as a template but it's very small and not that well defined. Having this photo of the actual sticker was a better starting point.
Load into photoshop
...and then into Lens Correction. This is because the photo was taken at a slight angle and has some perspective to it. I need it to be as flat and straight as possible.
A few tweaks later I've got it as straight and true as I can get it.
Open it up in CAD and spend a few hours recreating the exact profile as a vector. Luckily I'd drawn the Ford logo a few years ago so already had that to drop into place. After some searching I found out the Candor logo is a modified version of the Eurostyle font. A little while later I'd modified it suitably to be a fairly accurate replica of the delaer logo. Accurate enough for me anyway....
What a lot of people don't understand with logos is that if you want one making as a sticker, you can't really just scan it and make a sticker from it. Vinyl cutters don't understand Jpeg and instead need a cutting path for the knife blade to follow. This comes in the form of a vector - a series of lines that are drawn to replicate the outlines of the logo. This can be VERY time consuming. There is software available to convert logos to vectors, but I have yet to find one accurate enough for my liking, so instead I carefully recreate the whole logo by hand. Some complicated logos can take many, many hours, even days! This one took me about three hours but some of that included finding the font (it would have been only slightly longer to draw the font lettering from scratch in this case)
The finished logo as a vector path:
For the dealer sticker, the logo has to be cut in reverse because it's going on the inside of the window. Also, because it's two colours and a vinyl cutter only works by cutting individual colours, I have to make two stickers (one in white and one in blue) then stick them together. The two crosses under the logo are the registration/alignment marks. These are used to line the two colours up as accurately as possible when it comes to putting the sticker together.
CUT!
The bottom two logos are a test run to check the accuracy/quality of the cut and that everything comes out how I wanted it to. The top 'blocks' of blue are the actual sticker. The easiest way to make the sticker is to have the entire background blue then have all the detail in white. It'll all make sense in a mo...
The white sticker cut. You can't really see the registration marks on these, but they are there. The blue background sticker will be stuck over the top of this white sticker....
Transfer tape put over the blue background sticker ready to apply it to the white sticker. The registration marks of the white sticker have been coloured black with a sharpie. This is because they'll be almost impossible to see otherwise once the blue sticker and transfer paper go over the top of it.
The blue sticker about to go onto the white. The registration marks will be lined up perfectly first before sticking the blue down.
This is the trickiest part....getting it lined up. You only really get one shot at it, and with a logo like this where the outlines/borders are very fine around the edges, if it's off by even a millimetres it'll really show up (the outer border is only 1.5mm wide!). Accuracy is all important so being able to see the registration marks is essential.
And it's done.....no going back! If it's out of alignment the sticker will look bad and will pretty much be scrap. Failure rate can be fairly high if you're not very careful.
You can just make out some of the sticker through the backing paper. You won't ever really get to see the sticker in full effect until it's put in place on the car.
OK, so it's a repro, but it's better than not having one at all. It's about as accurate as I can make it and I doubt you'd tell the difference even if you held an original one up against it, except maybe for the shade of blue, I had to use whatever vinyl I had and this was the nearest shade I could find. It's pretty close and I think even a Ford fanatic would have a hard time telling it's not a proper dealer sticker!
As Bizzle always says, the devil's in the detail. I even stuck it slightly 'off true' to follow the exact line of where the original sticker had gone. Sad I know, but it's one of those things that I reckon just makes it work that much better....


 will come back in a few days after i get back to work and take a pic or 2


 must be the classic typeface of the Eighties. It seems to have got everywhere. I vectorised some screen overlays for an old arcade machine to get them reproduced and most of the lettering on that was Eurostile too.
