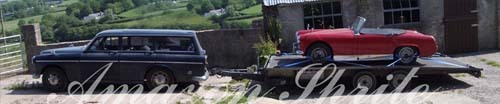
Here is a quick runthrough of what you'll need.
ToolsWire Cutters
Wire Crimper/Stripper
Stanley Knife
Flat Blade Screwdriver
Hammer (for crimping the halfords terminals)
Soldering Iron
Pliers
Drill and 4mm bit for mounting relays
Parts4x RelaysI used 40A SPNO relays bought from Maplins.
www.maplin.co.uk/Module.aspx?ModuleNo=37526They are designed for automotive use, have a neat mounting bracket, and a cheap £10.80 for 4.
You can wire the headlights up to just 2 relays (one for dipped beam, one for main beam). This works out cheaper. However if a wire falls off or something breaks, you'll lose both headlights. I think its worth spending the extra few quid to make sure this doesn't happen.
2x Headlight PlugsYou can dis-assemble your old headlight plugs to do this. However for an extra couple of quid it makes it a lot easier just to buy a couple of new ones. You just crimp the wiring into the connectors, push them into the plug, then snap the lid on.
4x Battery ConnectorsI used Halfords large crimp on connectors, which are about £1.30 for 2. You could use the yellow size crimp on ring terminals.
Crimp on Spade ConnectorsYou'll need about 12 yellow size and 6 or so blue size.
CableYou'll need about 3m of 10/12 gauge and about 50cm of 10/12 gauge in a different colour for earths. Cheapest thing to do is to buy some amplifier power cable from a stereo shop.
You might also need a short piece of black wire to create an earth to the relays. I just chopped a section out of an old wiring loom.
Lets get on with itDetermining which wire is whichThe first job is to get a multimeter/test bulb/wiring diagram out and find out which wires on the headlight plug do what. On a standard plug you should have a power wire for the dipped beam, a power wire for the main beam and an earth. This all depends on what type of headlights your car has.
Wiring in the Relay switchChop the headlight plug off as close to it as possible. Strip the wires, then crimp some blue spade connectors on. You may need to create another earth, or join an extra wire into the exisiting earth.
Connect the power for the dipped beam onto terminal 85 of one relay, and an earth to terminal 86.
Do the same with the power for the main beam and earth on another relay.
If you now flick the headlight switch the relays should click on.
Wiring power to the relayYou've now got an electronic switch. The next job is to send power to it from a source. This can be from wherever is easiest I.e battery, alternator, starter motor etc etc. I chose to run the wires right to the battery, mainly because it is always static therefore you can keep the wires tight to prevent chafing. The method is the same whichever source you choose.
First get your 10/12 gauge cable and use the stanley knife to strip the sheathing off the last cm or so. You now need to crimp on a battery connector. With the halfords ones I find it easiest to squeeze them with some pliers, then hit them with a hammer and screwdriver until they're tight.
Roughly place this near the power source you are using, then measure out enough to get it to the relay position you want to use. Remember to leave some slack if your power source is on the engine.
Chop the wire at the correct length, then crimp on a yellow spade connector. Connect this wire to terminal 30 of the relay. You will have to create a power cable for each relay, making 4 in total. Secure any wires with cable ties to prevent chafing.
I should mention that it is best to fit an inline fuse into each power wire as close to the power source as possible.
Wiring power to the headlight plugThe next job is the most fiddly. First strip the sheathing off some 10/12 gauge cable. You then need to crimp the end into one of the connectors that came with the new headlight plug. Its quite a tricky job. I found that laying the wire in, crimping the parts together with pliers, then squashing them flat with pliers worked well. I secured the wire with a couple of blobs of solder but you don't need to.
You will need to do this 3 times for each headlight plug. 2 with power cable and once with the 10/12 gauge earth cable. Place the wires back into the plug in the same order as they were on the original plug.
Fit the headlight plug back onto the bulb. You can then measure the lengths of wire needed to reach the relays. Once this is done, chop the wires, strip the ends and crimp on a yellow spade connector. The wire for the dipped beam needs to go to terminal 87 of the dipped beam relay, and the wire for the main beam to terminal 87 of the main beam relay.
The earth needs to be mounted to a clean bit of metal somewhere. The easiest way to do this is to wire it to the nearest earth point.
Nearly there nowYou are now almost ready. All that is left to do is to connect the power cables to the power source.
You can then secure the relays using the small mounting brackets. I just drilled a hole in the bodywork and nut and bolted it through the inner wing. You could use self tappers. I then wrapped the connections on the relay with electrical tape, though heat shrink tubing would be better.
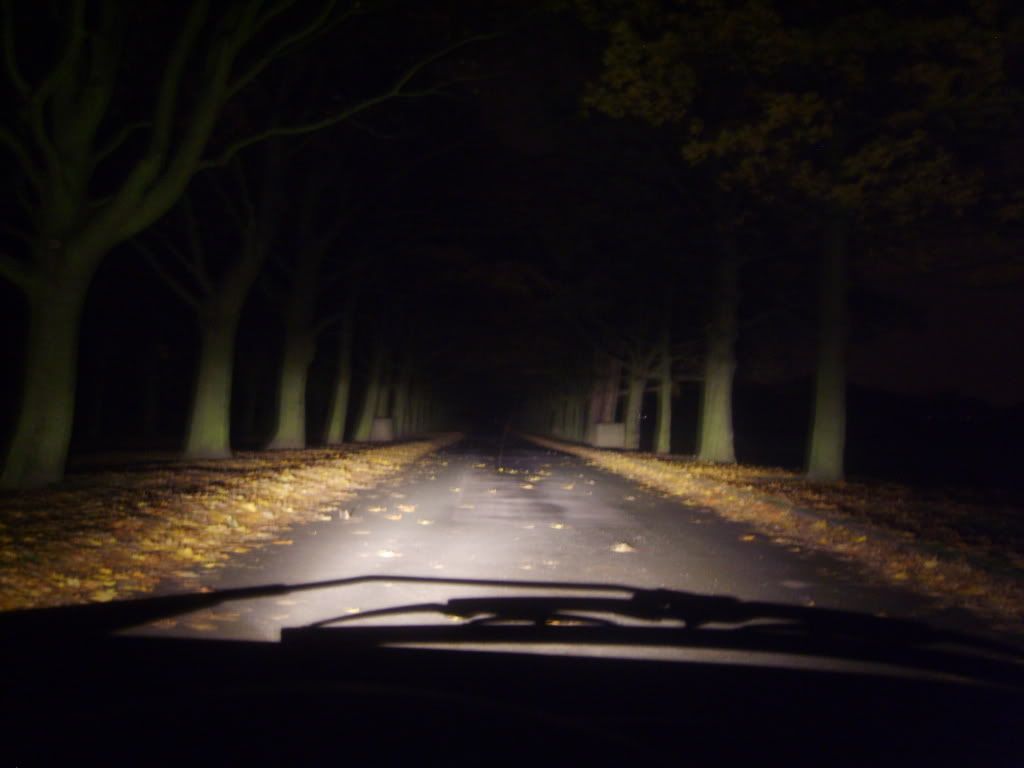
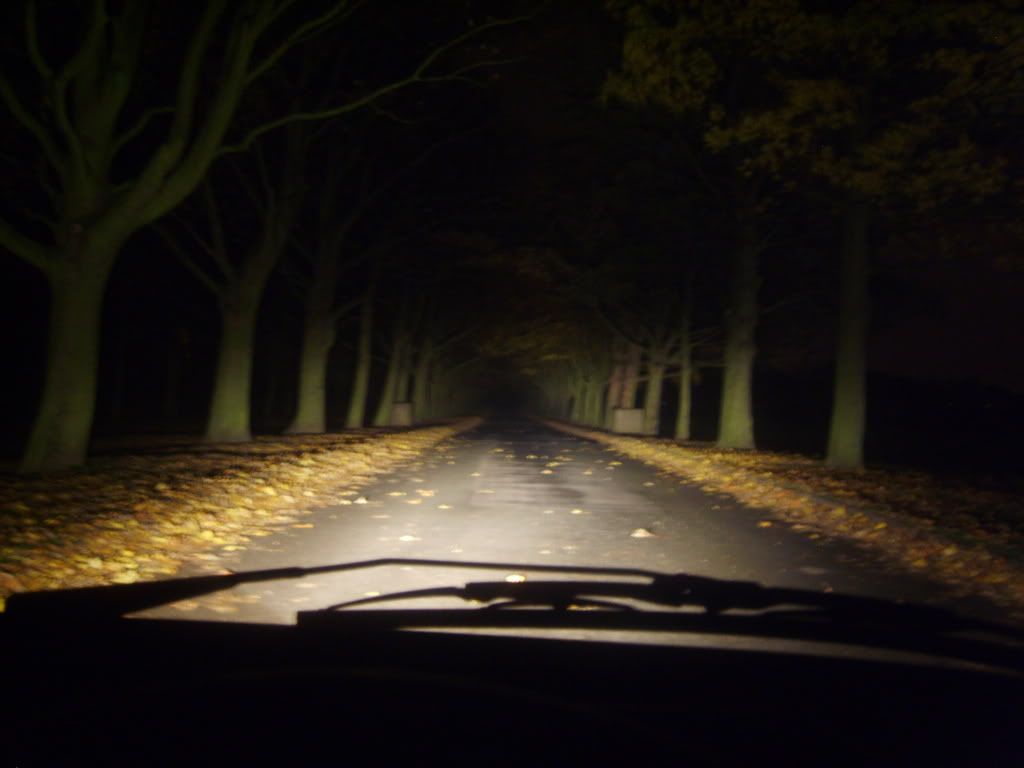
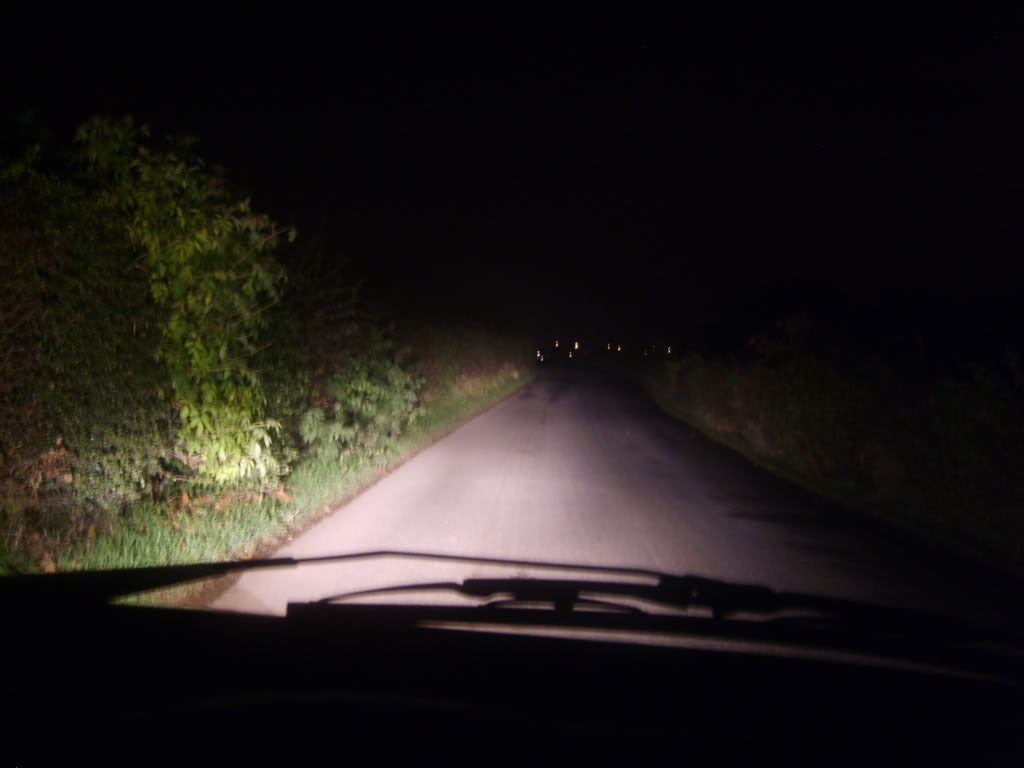
Done!All the lights should now turn on when you flick the switch. Even with standard bulbs you should be able to see that the light is now much "whiter" and much brighter than standard.
The best thing to do now is to go and buy some better bulbs. Halfords are doing some good "Buy 1 get one free" deals on Ultra Brilliance bulbs, which will improve the light output immensely.
I am using rally bulbs as i'm mainly driving on private roads

. They're not road legal though so do it at your own risk, but now country lanes are like driving in daylight.
Hope this guide is OK. If anybody has any questions please let me know.
Matt