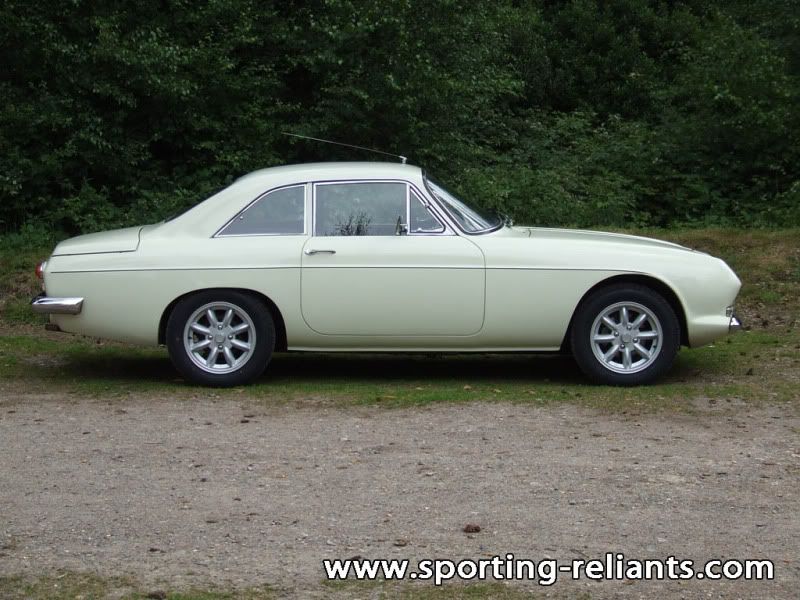
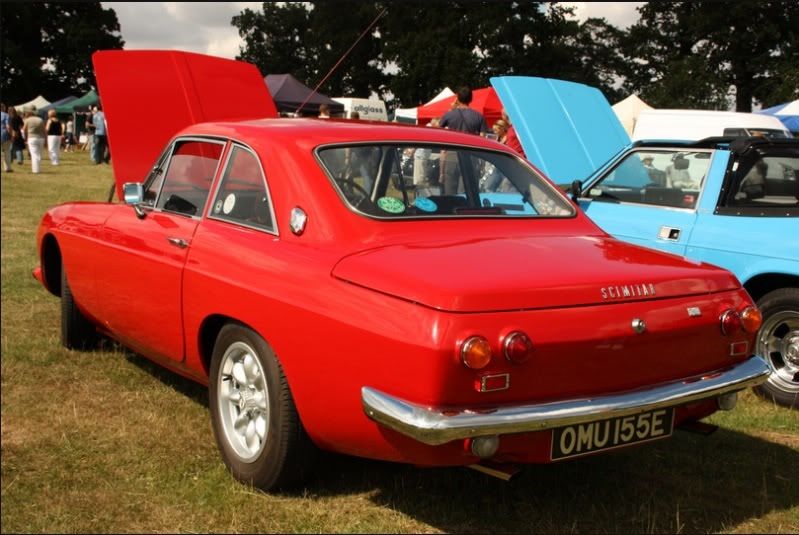
Righty-ho! This here be a record of my plans, and updates, on my 1972 (tax exempt! woo!) Reliant scimitar! 
I've had it since the start of January, but I then had to go back to uni the next day, so naff-all's really been done on it... until last week!
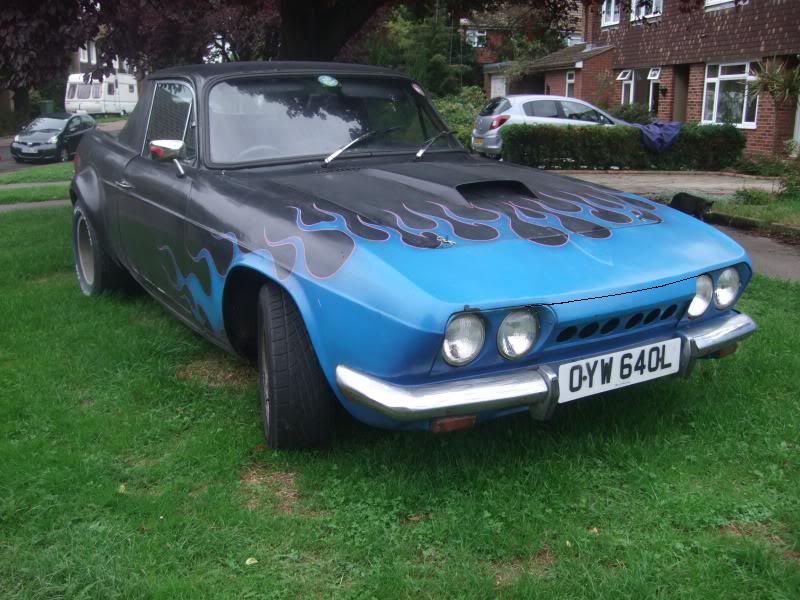
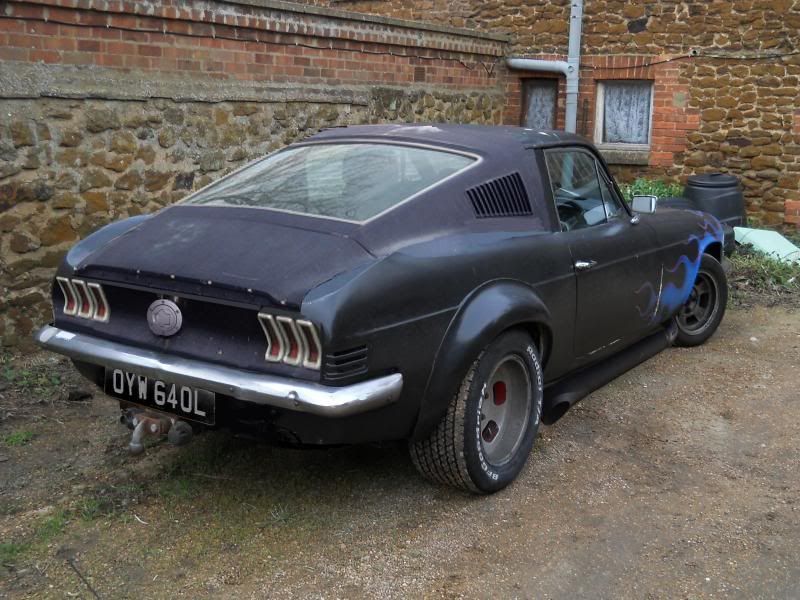
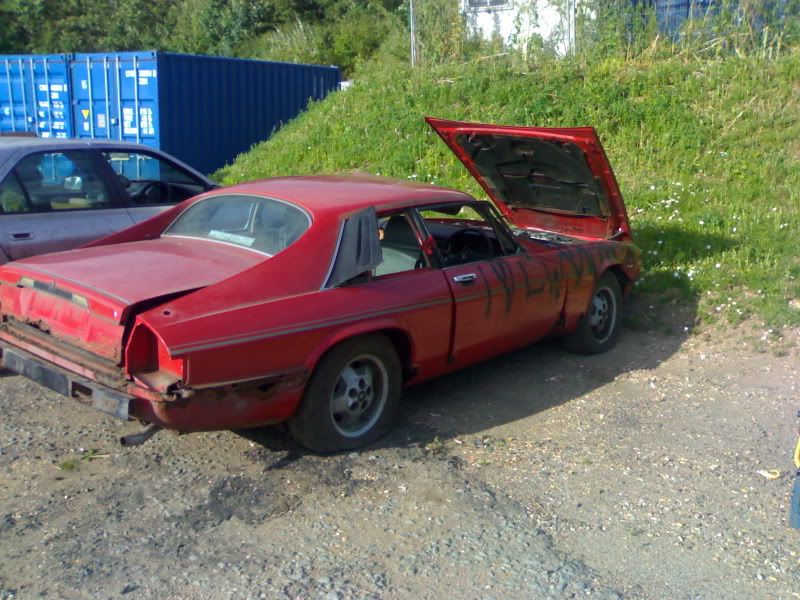
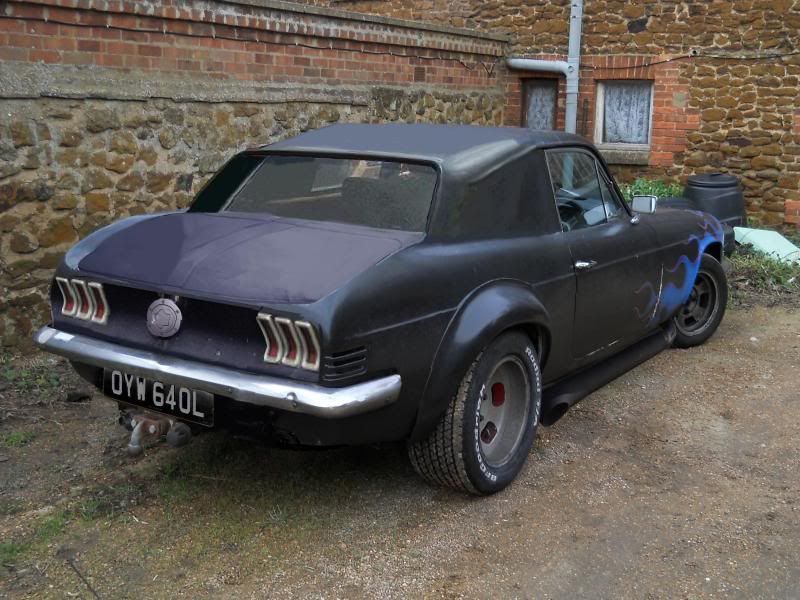
This is the beast/wreck as it was advertised:
and the two videos that he put up, to let me "look" at it
Cue a 150 mile train trip, then a return drive of 150 miles, in the dark... in a car I'd only seen pictures of, and didn't really have the time to have a good walk-around (it was chuffing FREEZING!)
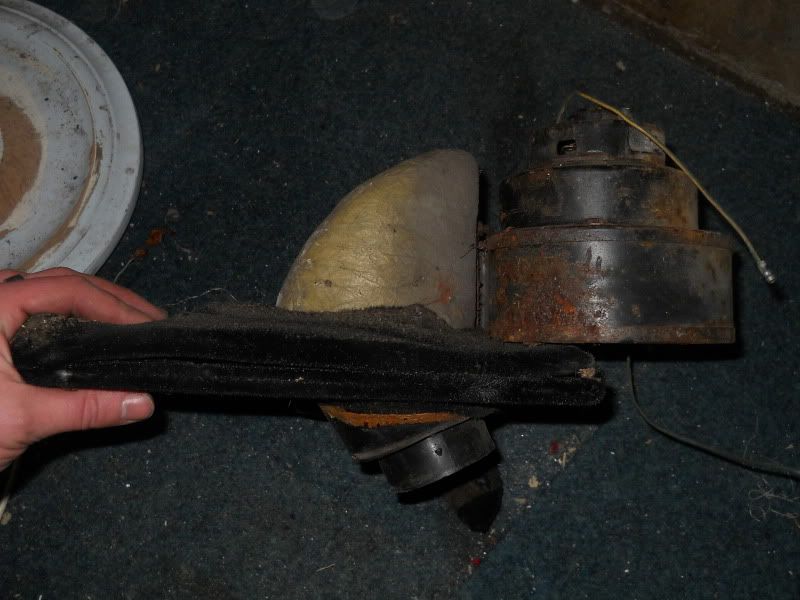
After the 3 minute drive to the closest petrol-station, I promptly ripped out the heater-blower, from the driver-side footwell, as I simply couldn't fit my foot between the brake pedal and it, to reach the throttle!
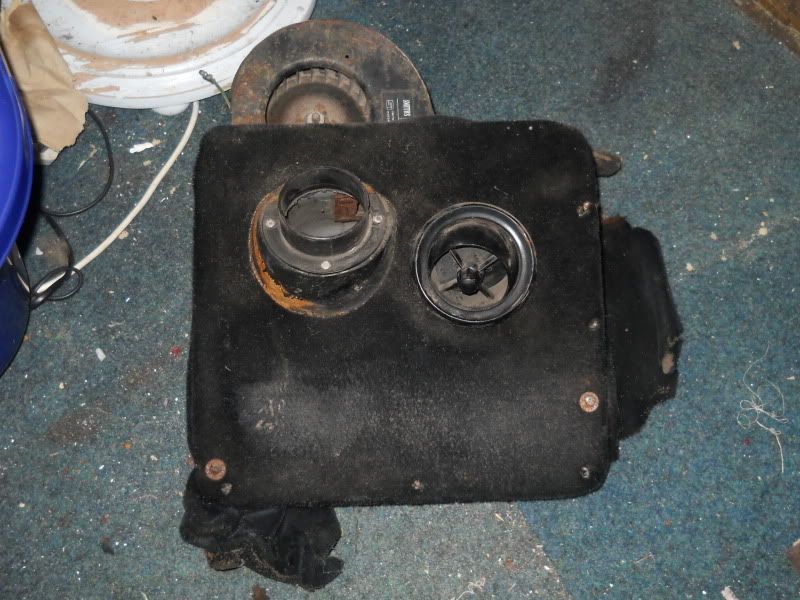
That now gave rise to another problem... I had wind-chill at -3 degrees on my feet, for 4 hours When I eventually got home, at about 11pm, I was frozen to death, and my hearing was pretty much gone, as it was FAR too loud inside the car!
So, fast-forward 4 months, to last week, and I finally had a chance to give it a few tweaks to make it more driveable.
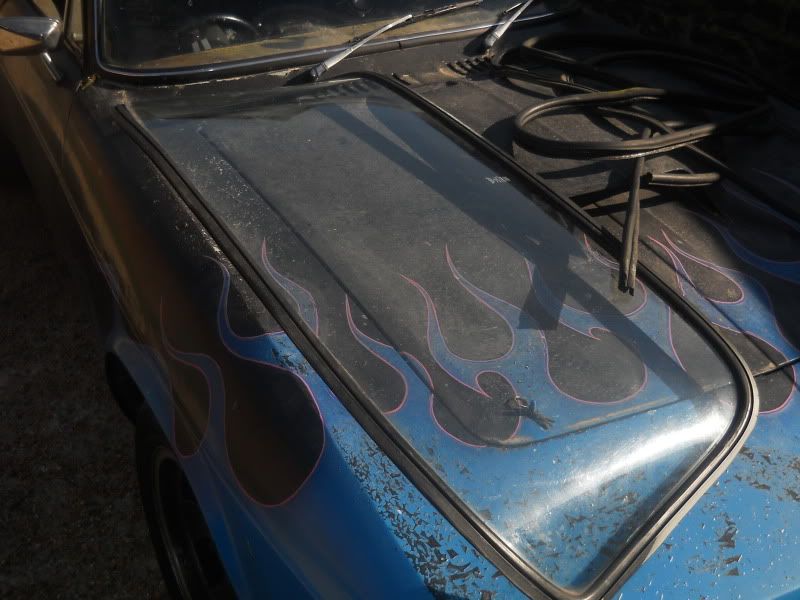
The paint hadn't faired too well, and is now gauranteed to be totally removed, and renewed (shame, as I liked the flames)

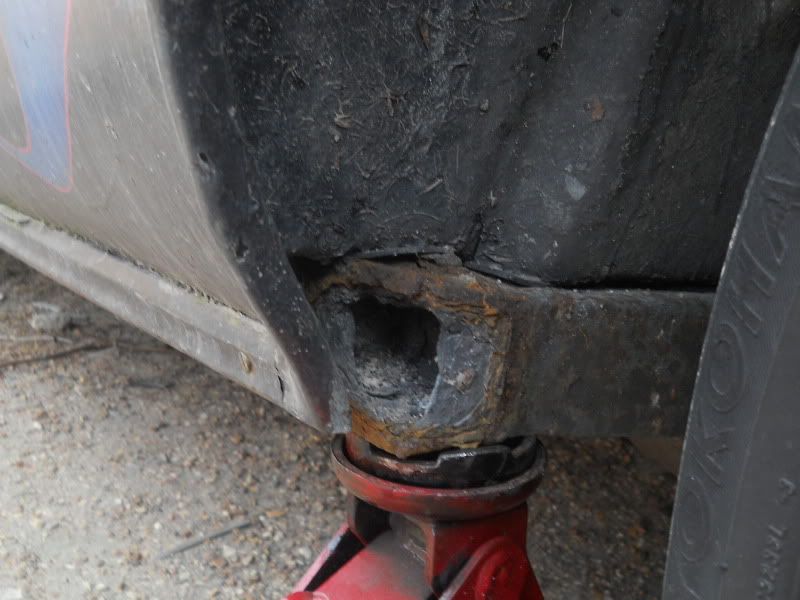
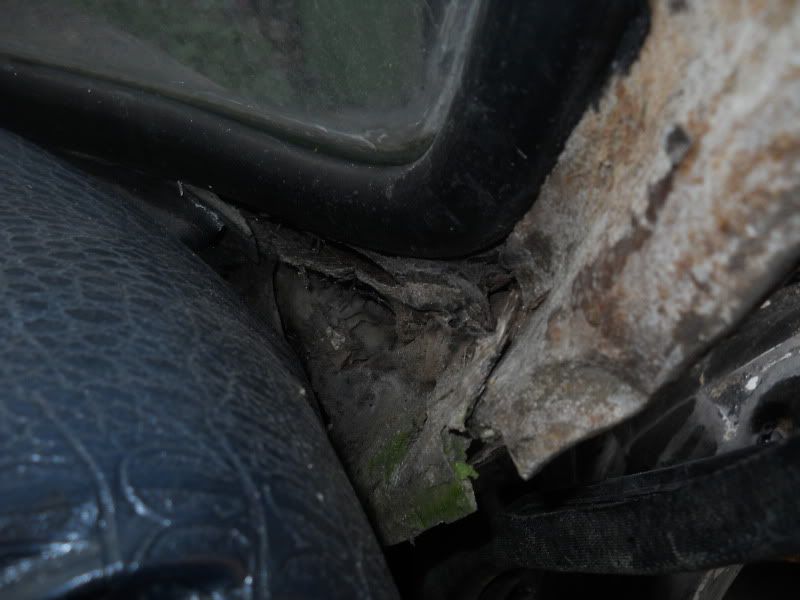
Giving it a quick once-over revealed it all looks quite solid! The only patches of rot I've noticed, are on the end of the outriggers, at the very front

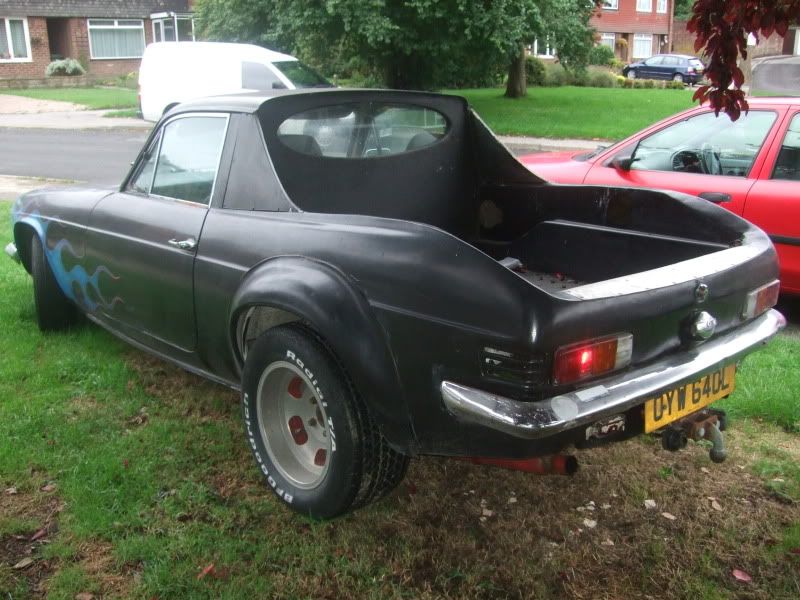
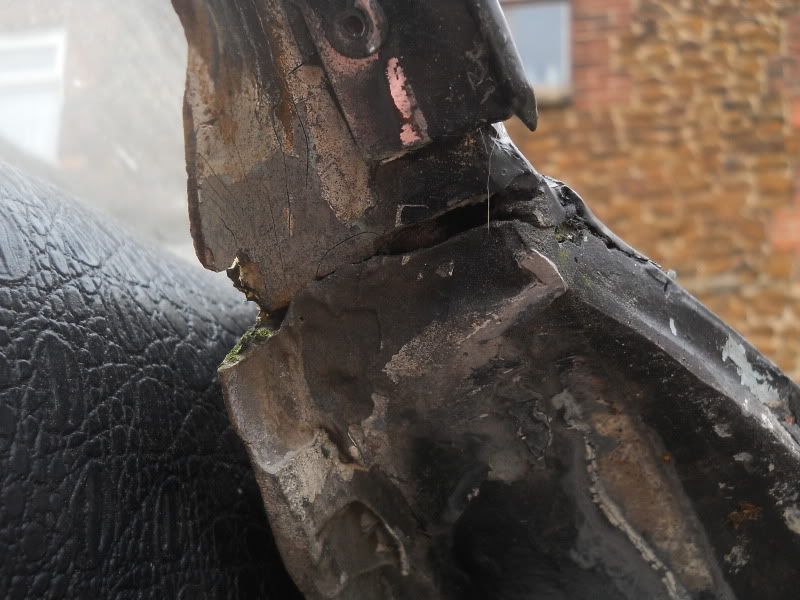
The roof at the rear, was apparently crushed in the past, hence the pickup conversion. I've also found some evidence of that impact at the front too...
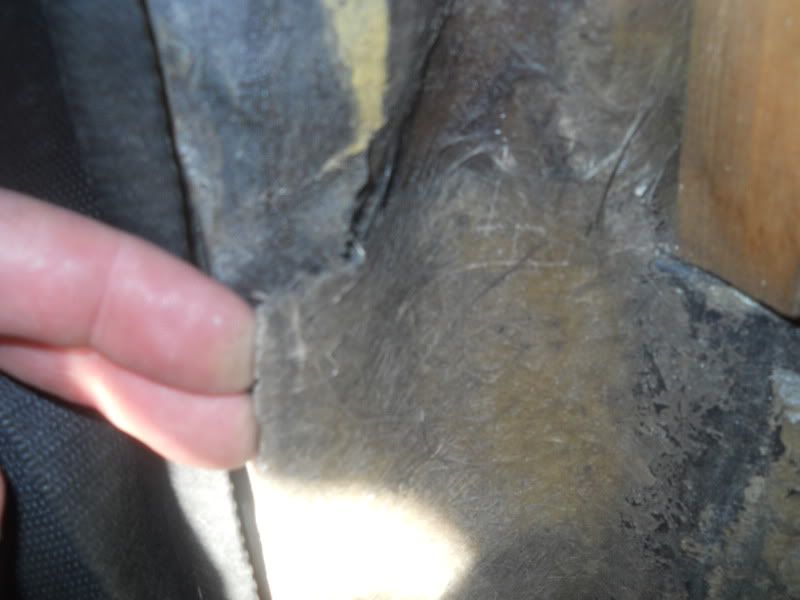
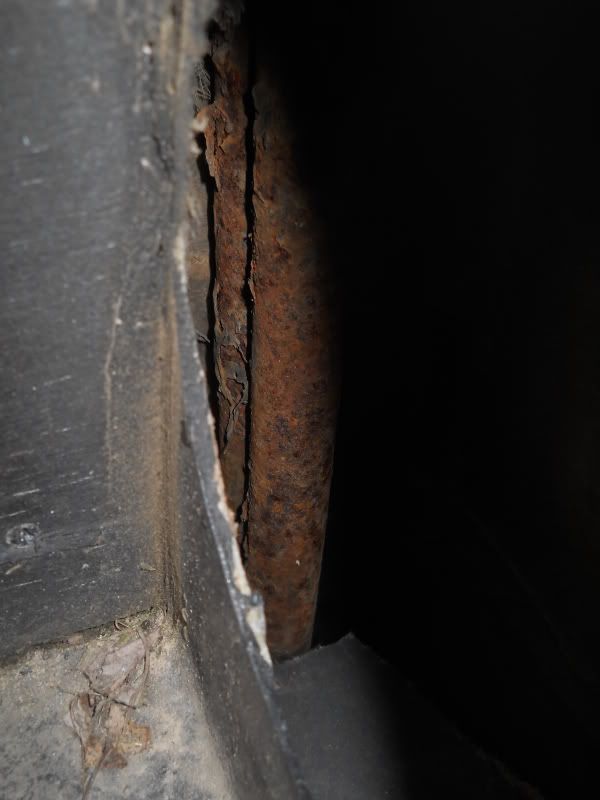
Spotted this bit of iffyness...
so thought I'd have a closer look
bumcheeks Not sure if that damage has spread to the internal steel support, but it'll be whittled down with the grinder, and rebuilt!
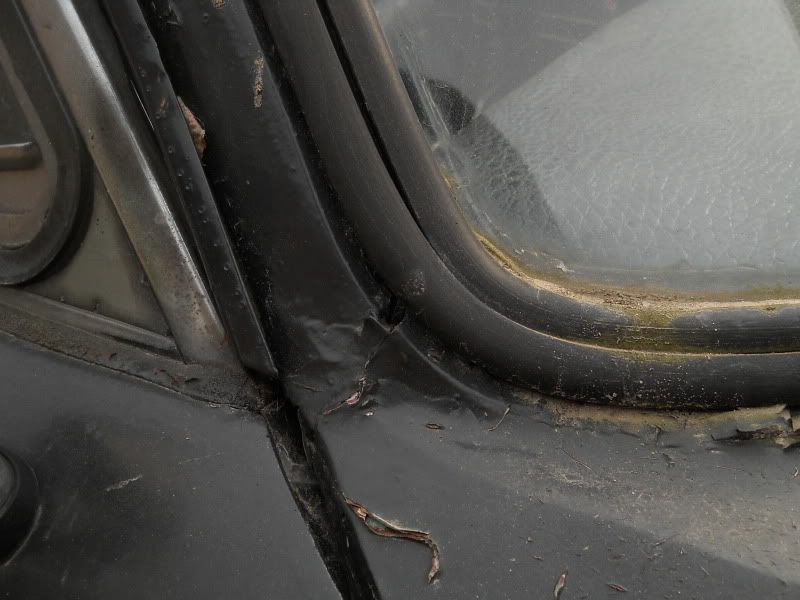
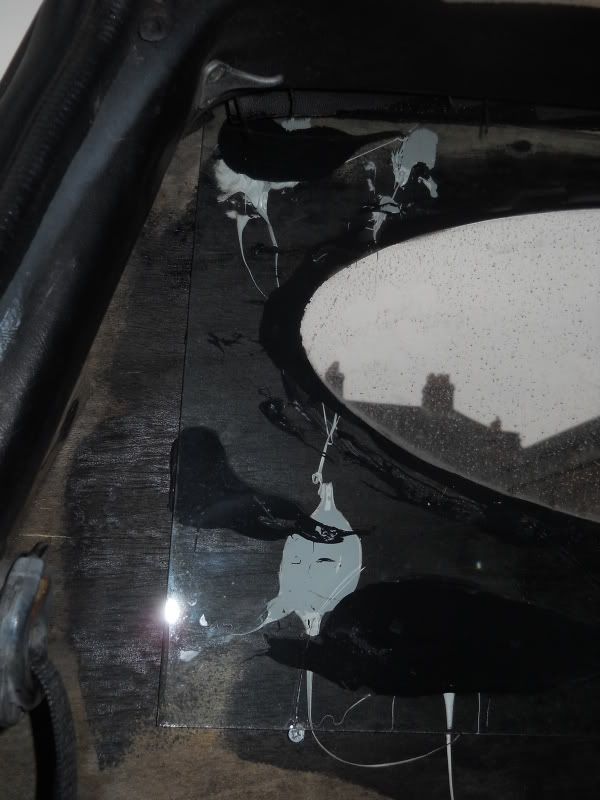
A bit more damage was obvious on the B-pillar too, but thankfully nowhere near as bad
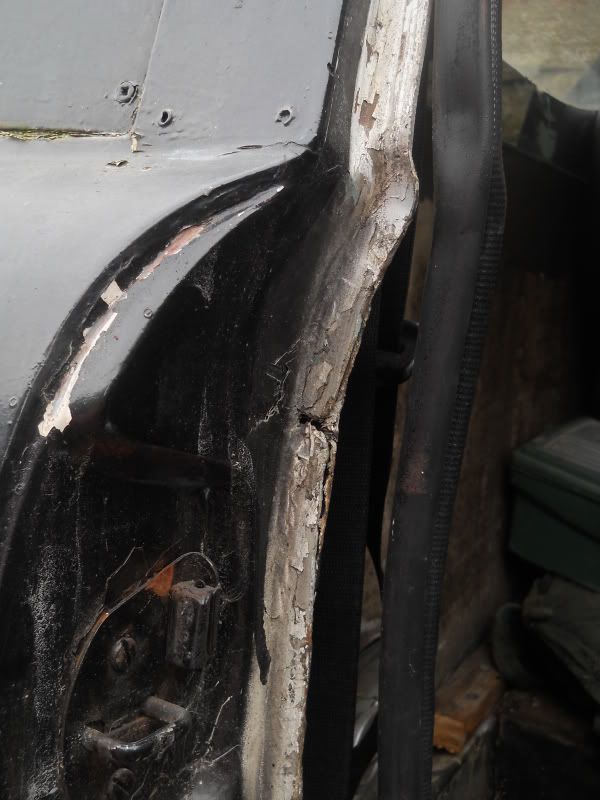
and an internal "repair" which hadn't bonded.. gotta love proper surface preparation eh?
At this point, I noticed how secure the rear (plywood) cab was

The rear screen was a particularly nasty affair, being made out of what looked like an old coffee table, wedged into place with screws and mastic
About as rain-proof as a sieve too
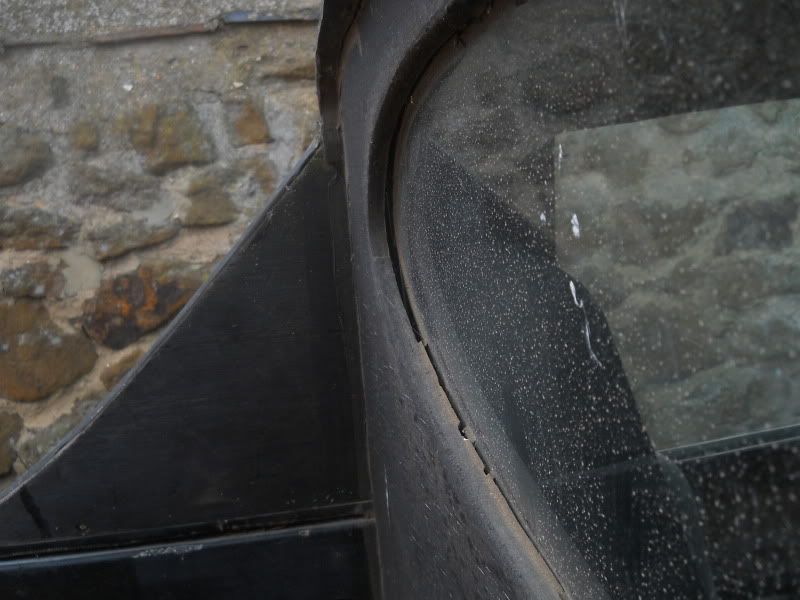
The doors never really inspired confidence when you looked at them, but they did the job... for the most part
The hinges didn't look particularly healthy
a quick grope around the back, and this lot fell off:
Yups, those are the heads of the bolts that are supposed to be holding the door to the hinge. well at least it explains why the door sags
This section had a pathetic attempt at a repair, as it was cracked rather badly. The splot of repair was only bonded to a small area, and was only adding weight
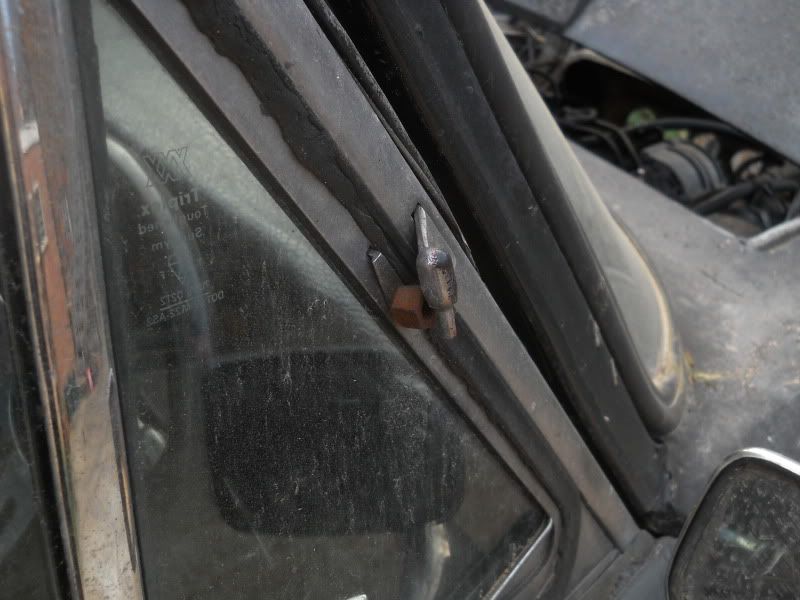
Only at this point, did I realise that the 1/4 lights at one point, actually opened! But when you saw the hinge, it was rather obvious they hadn't done so, in quite a while..
The bushes, all generally looked a bit tired and worn-out, but nothing majorly dead (yet!)
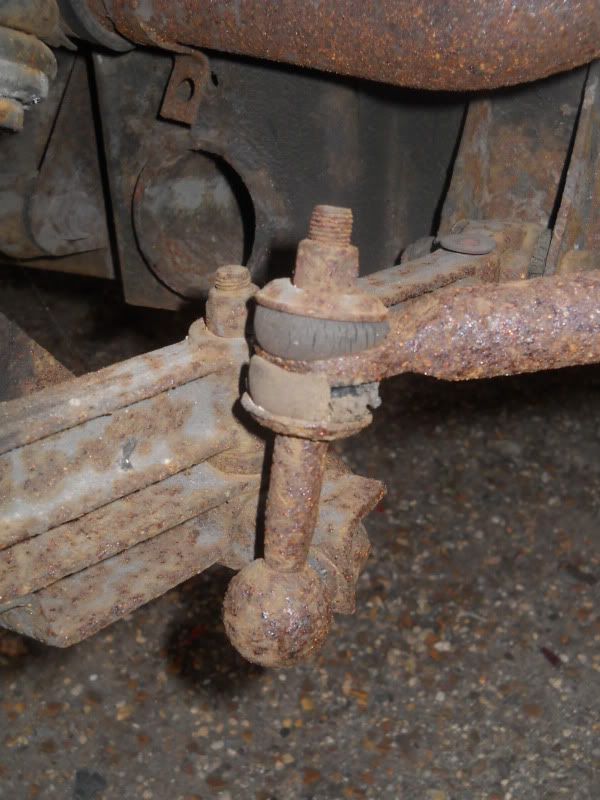

A quick peek under the back let me see the glorious jag-based diff, and the watts-linkage!
But what's that, on the lower arm?
oh cock it. Not sure how it'll affect it though?
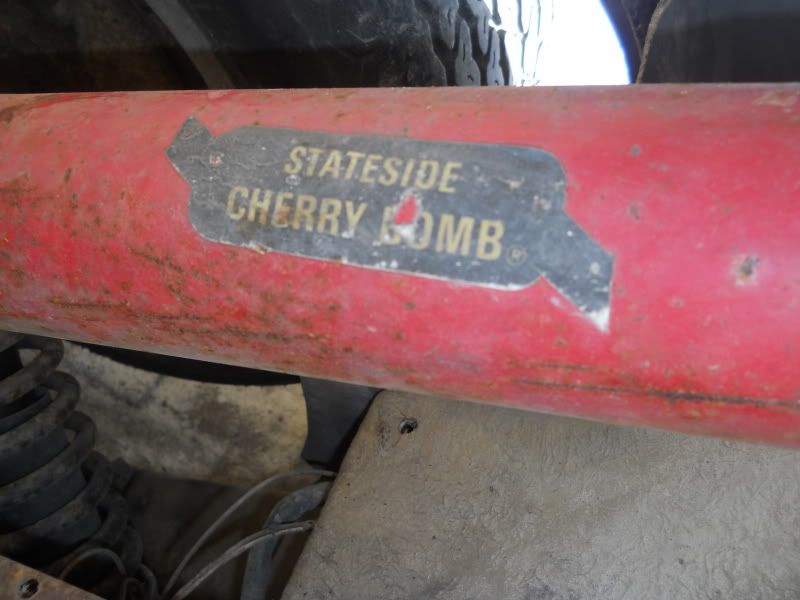
also noticed why the exhaust was so deafening - the downside of having a low car, around speedbumps I'm guessing..
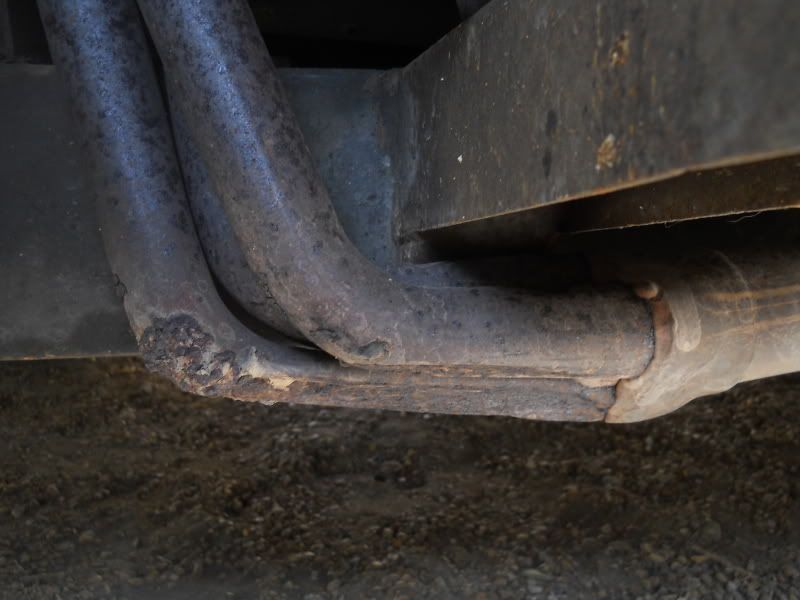
top two pipes on each header was fine, it was the lower one which was kinda.... non existant
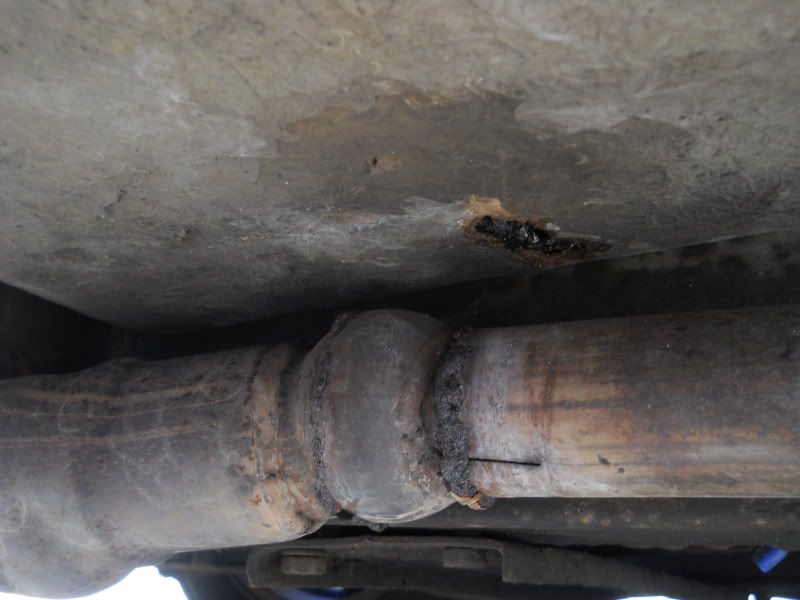
A full compliment of these didn't really help with what stayed in the pipes either

Some of the welding on the exhaust, and the choices of pipe was "interesting" too..
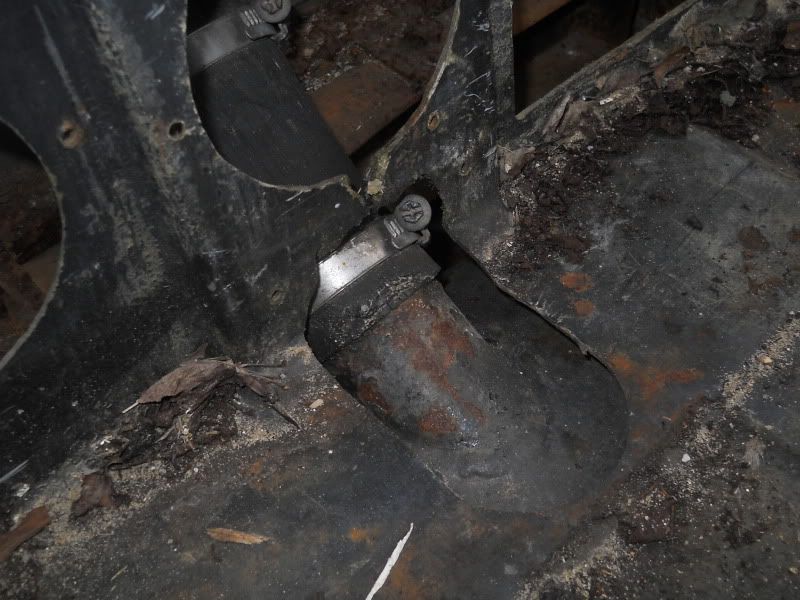
Whilst I was in the area, I had a peek at the filler neck on the tank, as these have a habbit of rotting out. and considering that this one had been left open to the elements, it was in quite good nick!
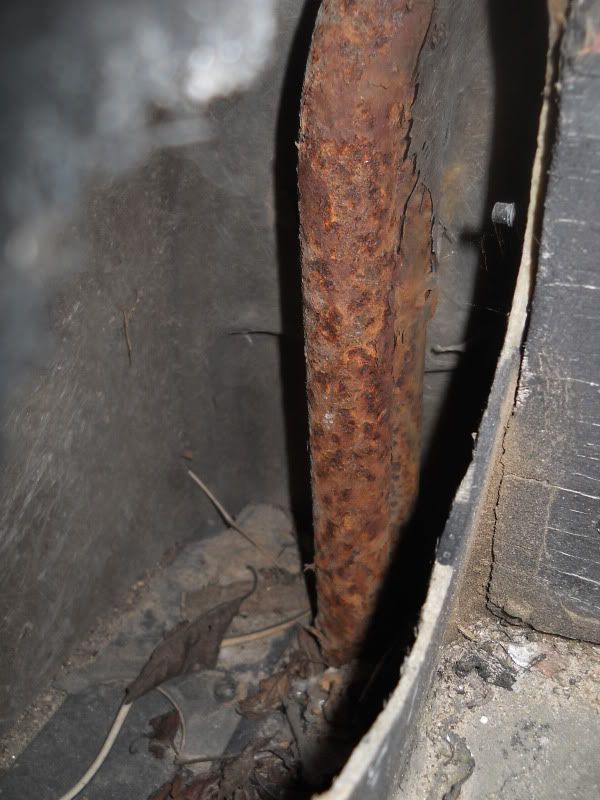
The rollover bars, which bolt to the chassis, and hold your seatbelts in place, and stop you getting smushed if you rollover, are a common MOT failure, as the bottoms rot out. But I'd checked online, and found out these were an old failure, and had been repaired
so, as crusty as they look, these should be fairly solid
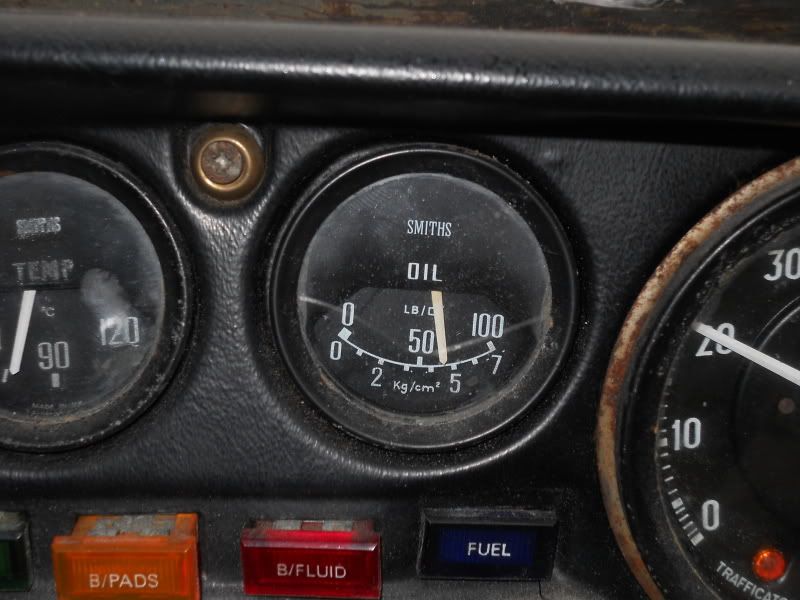
Topped up the oil, and it gives a nice healthy amount of pressure at all revs too, which is a nice result!
So, as we can all see... it's halfway between reasonable, and a total lemon. but enough of the "how it turned up", let's get on with the interesting bits.. REPAIRS! ;D
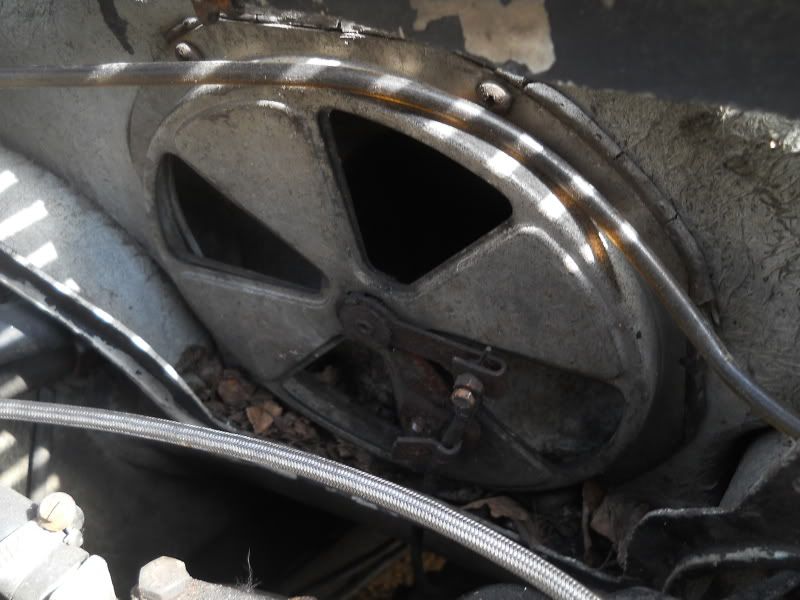
One of the first jobs, was to make driving vaguely possible, as leg-room was at a premium! The first job, was to swap over the steering wheel, for a spare I had, which was 1" smaller
The wheel as fitted:
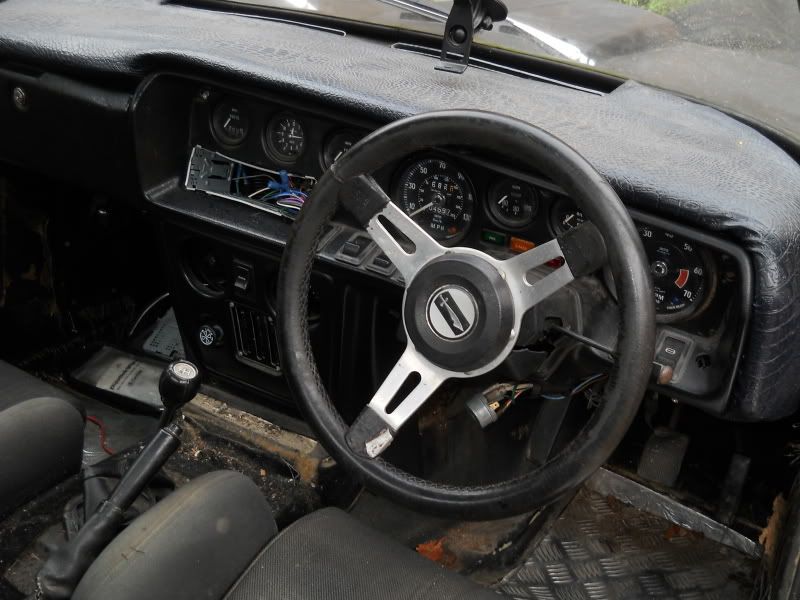
Note, how it's touching my damned legs! Not exactly safe, or comfortable
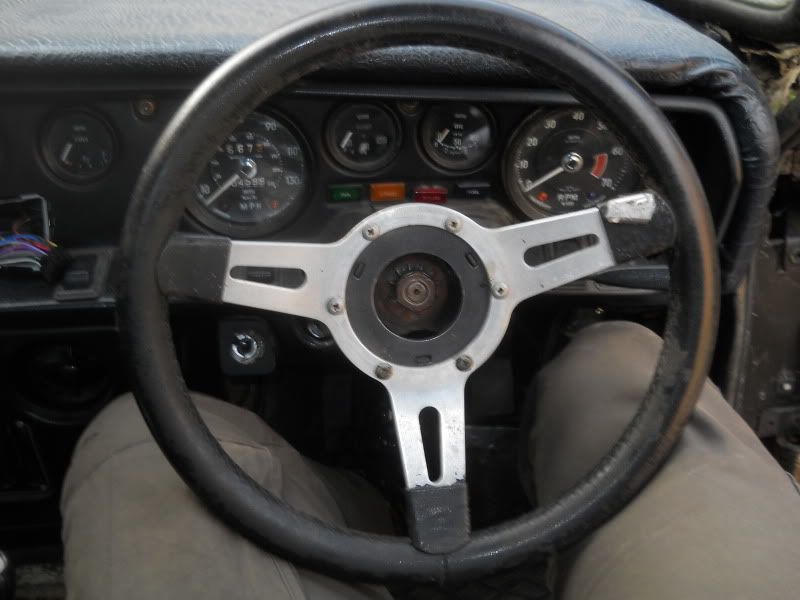
With a cheeky little homemade hub boss adaptor, by the previous owner

Then, made a few mods to allow me to rotate the ignition barrell to the BOTTOM of the column, so it rested between my knees
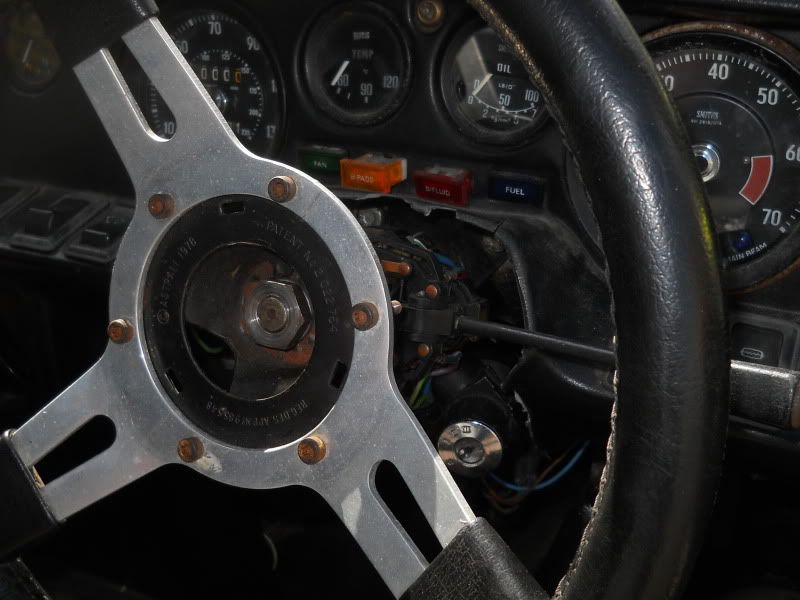
and moved the overdrive switch to a random hole in the dash (now been swapped to a smaller switch too)
Right, so now I could at least drive without getting deep vein thrombosis!
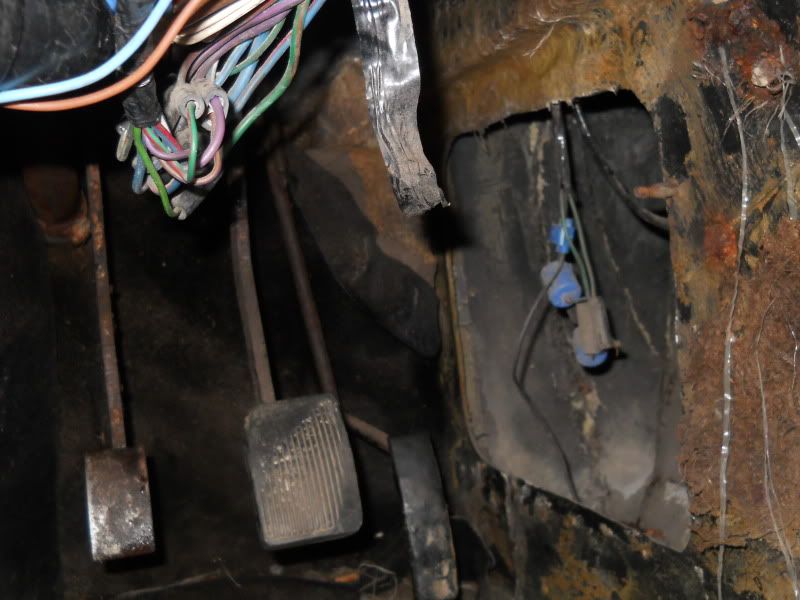
Whilst I was in the area, I whipped off the dashboard to sort a few electrical niggles (like, none of it works)

In the above pic, you can see I removed the ever-so-tastefull snakeskin leatherette gack that was glued to it. But they used a non-drying glue, and rather than try to clean it off, I just ripped the aging, cracked, vinyl and foam surround off
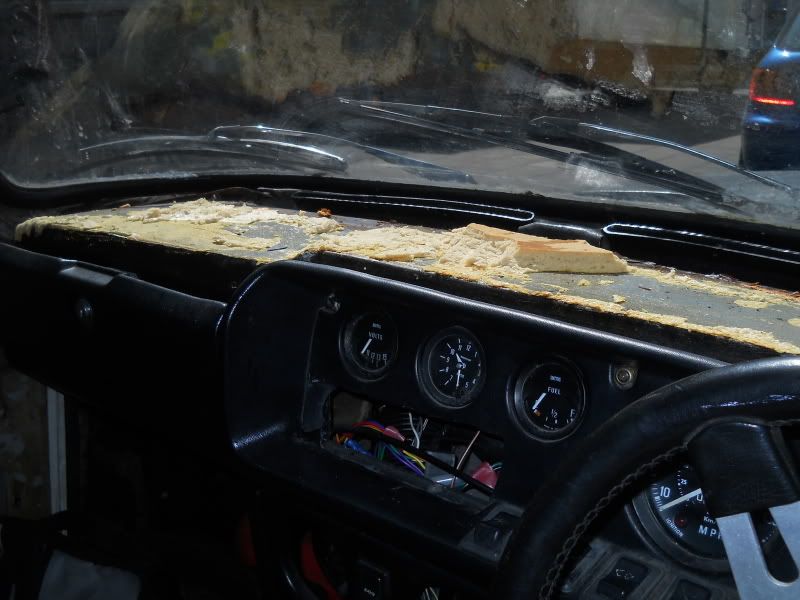
TBH, it makes life easier too
The indicators stopped working too, do ya think this had anything to do with it?
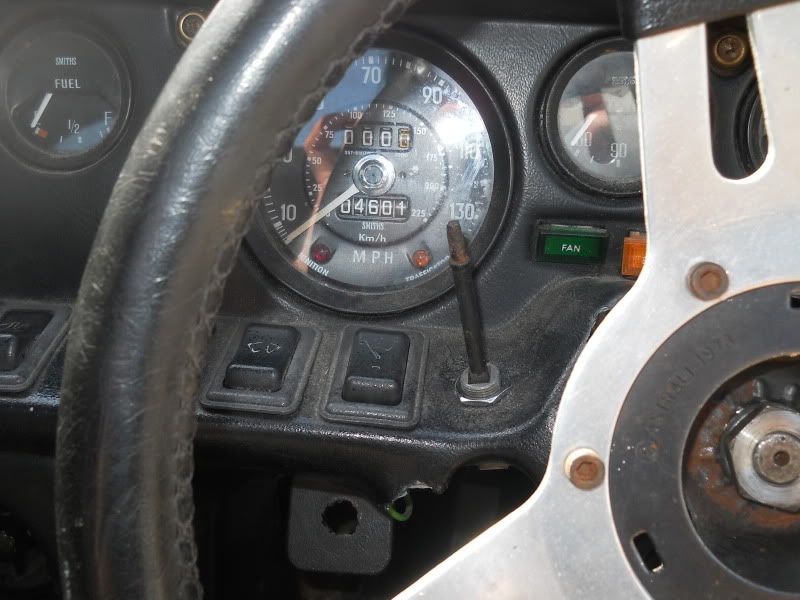
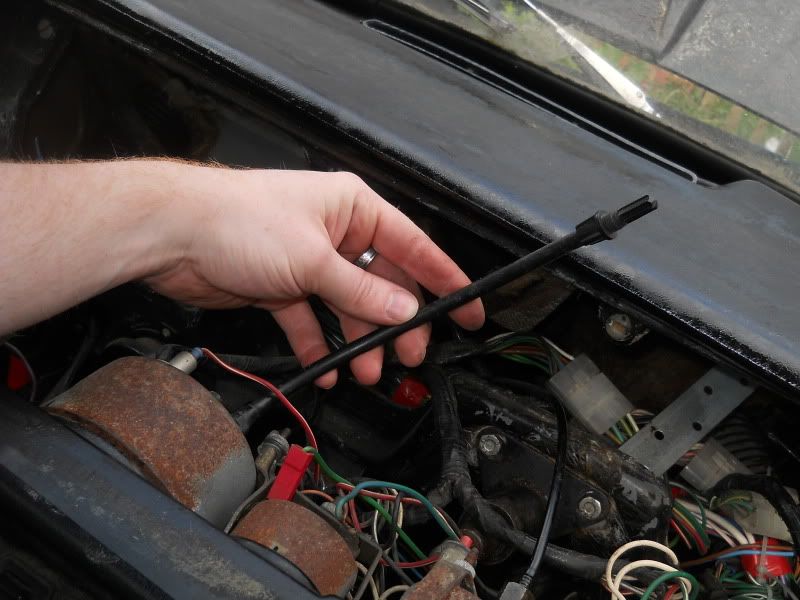
There's a very curious addition to the speedo on this car too, a small length of black cable, with a twisty bit on the end. I gave it a twiddle, and it reset the odometer??? (instant clocking anyone??)
Makes no difference to me mind you, as it's going to be replaced with a much nicer looking set of clocks from my old jag XJS V12 ;D
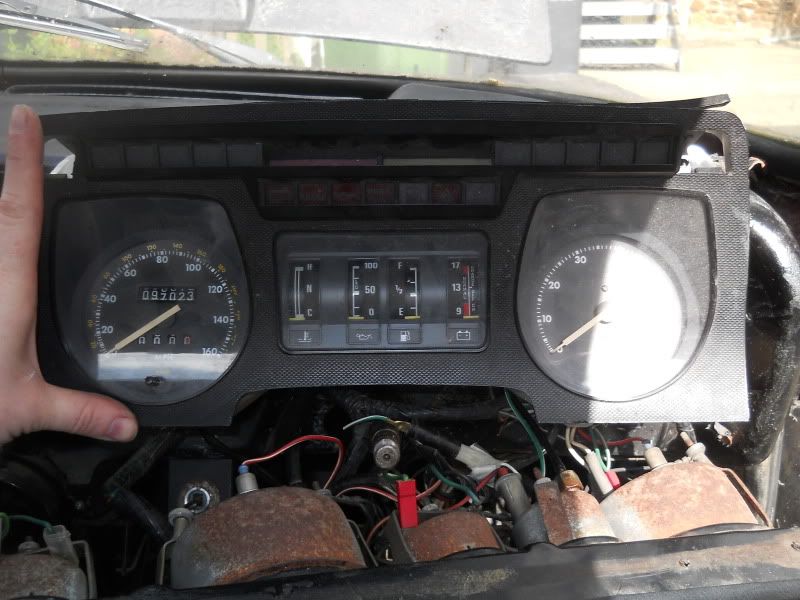
Also means all the extra gauges spaced across the dash are not required, which makes for a cleaner finish
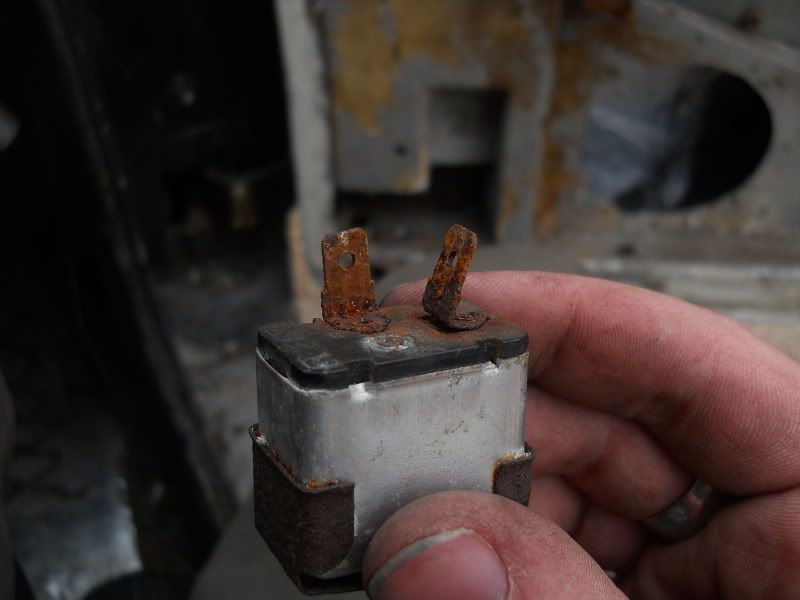
Next job: sort out the vent for the heating system. This was closed, and the controls were non-responsive - after a bit of tugging, I figured that the cable which controls it, had rusted internally
so, I did what I needed to, ripped it off, and just left it open
Job done
The throttle control was as sloppy as a granny eating lumpy soup - not particularly useful considering how delicate the throttle control on the carb is at low openings. it resulted in me revving the titties off the engine, just to try and find the biting point to move off! The cable had run out of adjustment, so something was wrong there anyway. But as this engine only needs to work for a couple of weeks, I have no quarrels doing a few temporary bodges
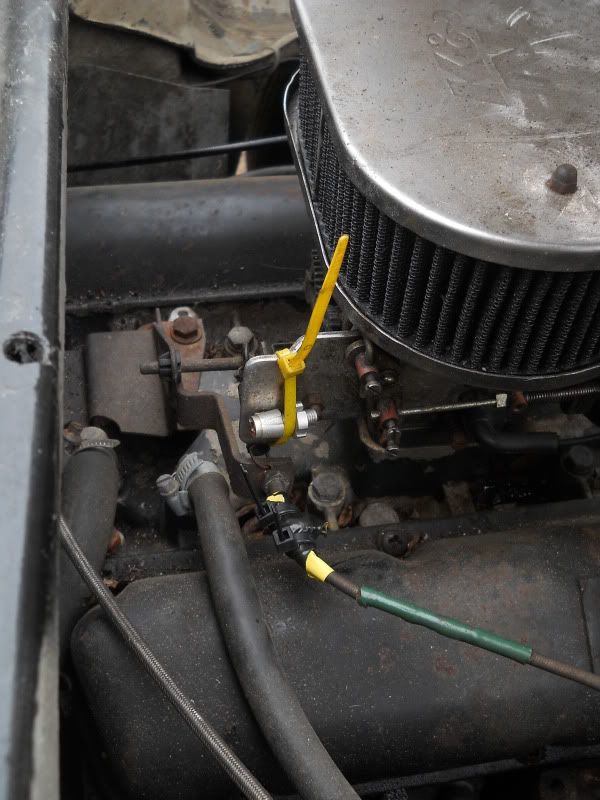
Cable-ties, and electrical tape, to hold the choke cable in place, and the space the throttle cable out that little bit extra. It works. So I don't care, lol.
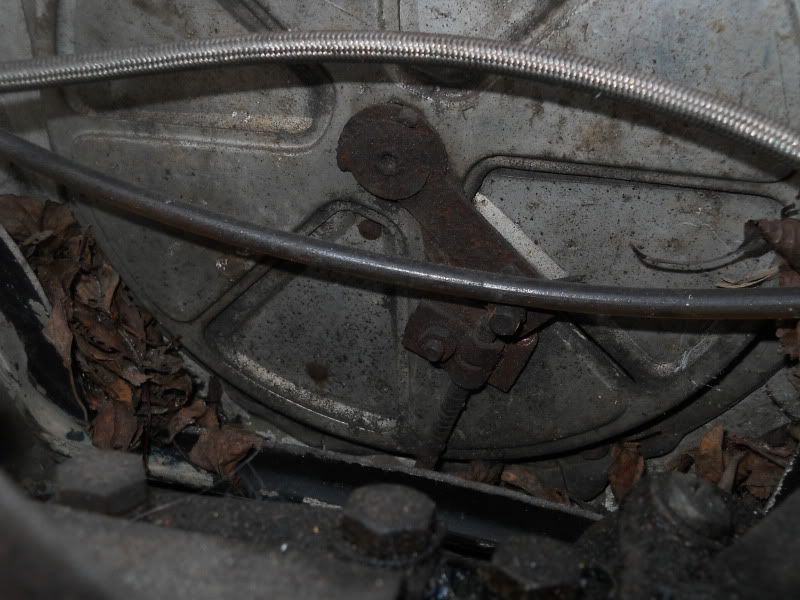
Next up, was the gearchange. AS you have to put quite a bit of effort into pushing the stick to get into reverse, the fibreglass mounting points obviously had suffered with age.
In neutral:
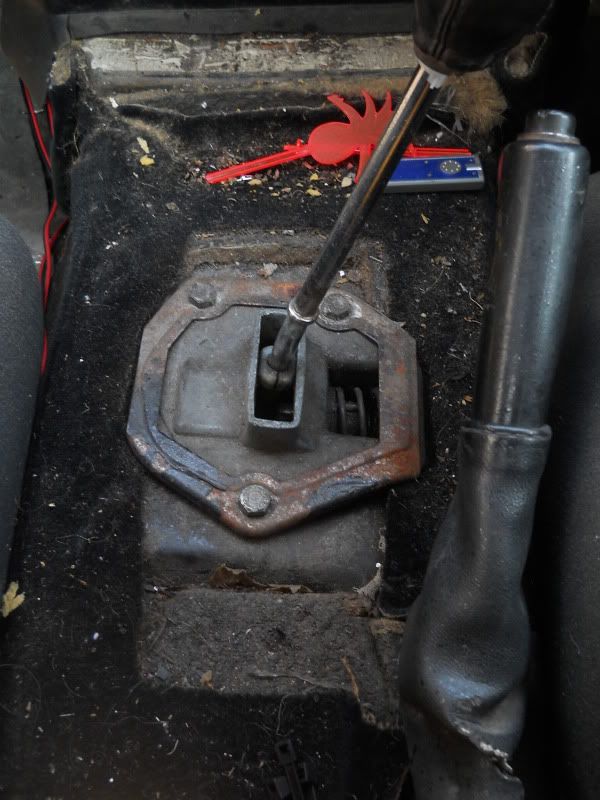
trying to get reverse:
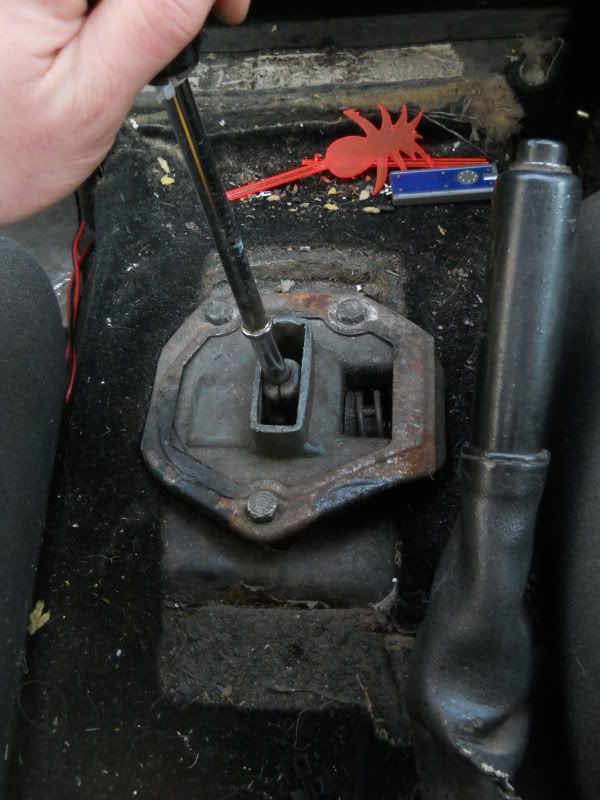
The whole thing lifts up by a good half an inch!
Looming underneath, it's clear this was an existing problem, and the previous repair had only helped so much
So, I just did the same for now, and made some bigger spacers... as this gearchange will soon be replaced with a much more modern setup..
But I think the new gearstick may need shortening a tad ;D
The plan is, to remove the 3 litre V6 boat-anchor engine, and replace it with a pug XUD 2.1 Td engine, out of a citroen XM. The car in question, is being GIVEN to me, which is a rather nice result!
Now, it was only ever fitted as a FWD setup, which for my car, is totally useless, as I need RWD. A bit of poking around, reveals that every pug XU and XUD engine, have the same bellhousing pattern, and that a 1.9 non turbo XUD engine, was fitted into the LDV pilot, in RWD format
yoink
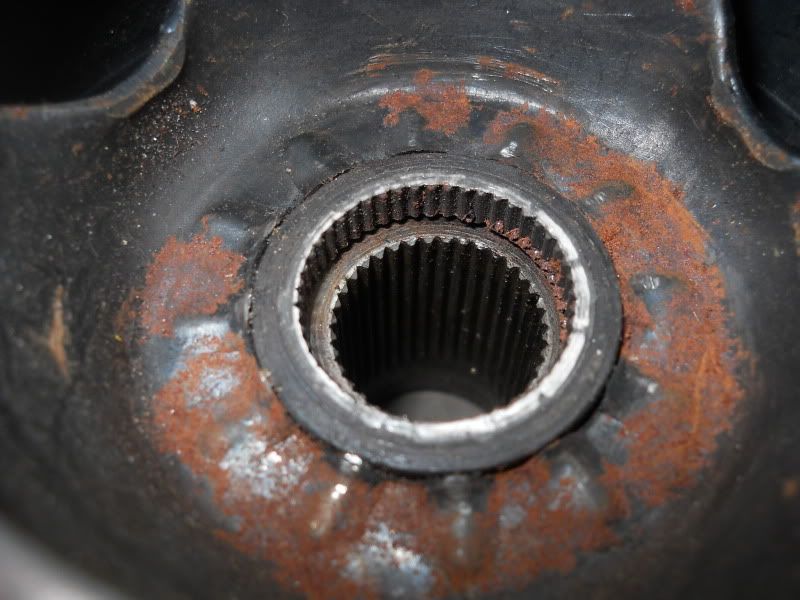
Bit more digging, and it's actually an R380 gearbox, so good for 380Nm of torque (or pretty much, 300lb/ft in english) and as it's a ford gearbox, I'm hoping the propshaft will bolt straight upto it!
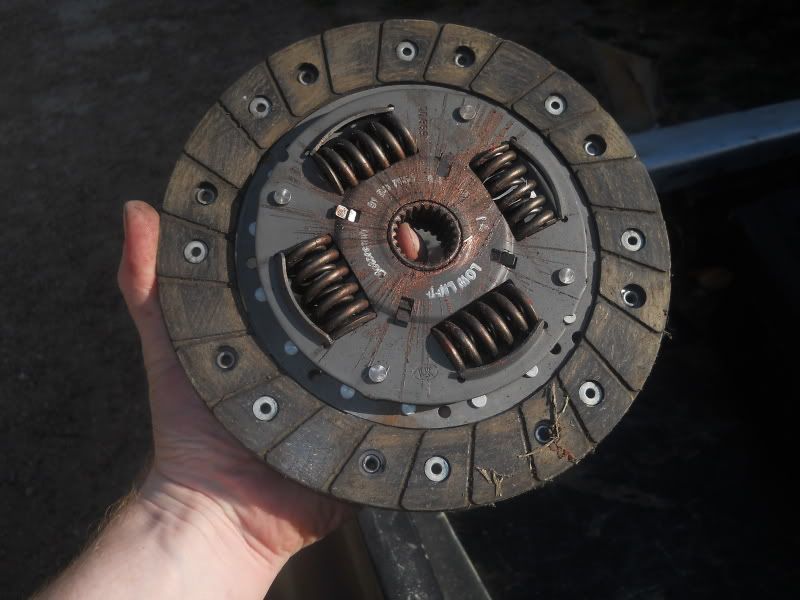
One slight problem I have, is that the non turbo 1.9 XUD engine, uses a smaller clutch than the Td versions, and the splines on the gearbox was different to the normal pug clutches. A shuffle through the Quinton Hazel clutch catalogue, shows that a capri, 1300 or 1600 pinto, or any 2L capri clutch, are the correct size, AND spline count!
But just to make sure the splines were the right shape, and not just the same amount, I threw on the old clutch that came with with scimitar, onto the gearbox
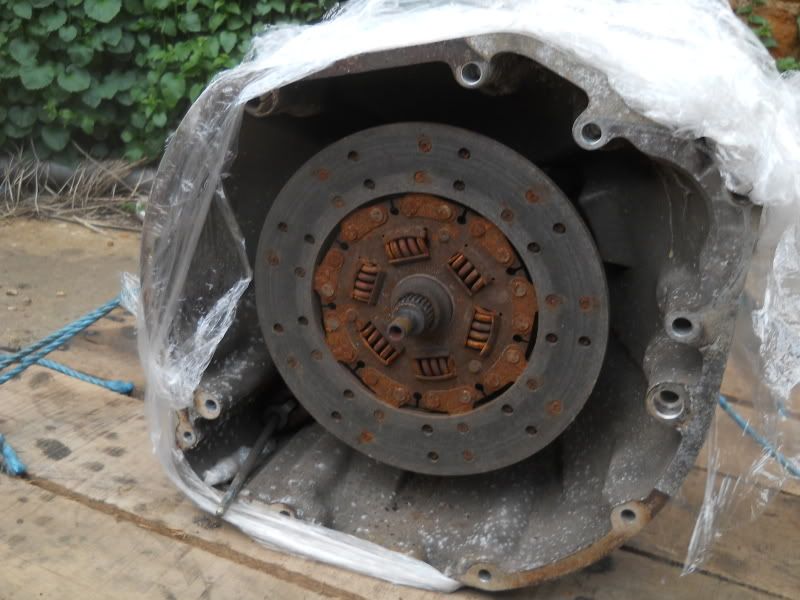
yup's, I'm onto a winner! (the scim clutch is far too big mind you, but the splines fit!)
Now I've been chatting to Stueyt on here, and we came to a deal. He takes my engine and gearbox, and in exchange I take some tat off his hands
Que one 120-mile round trip to his in a much comfier scimitar!
my haul included:
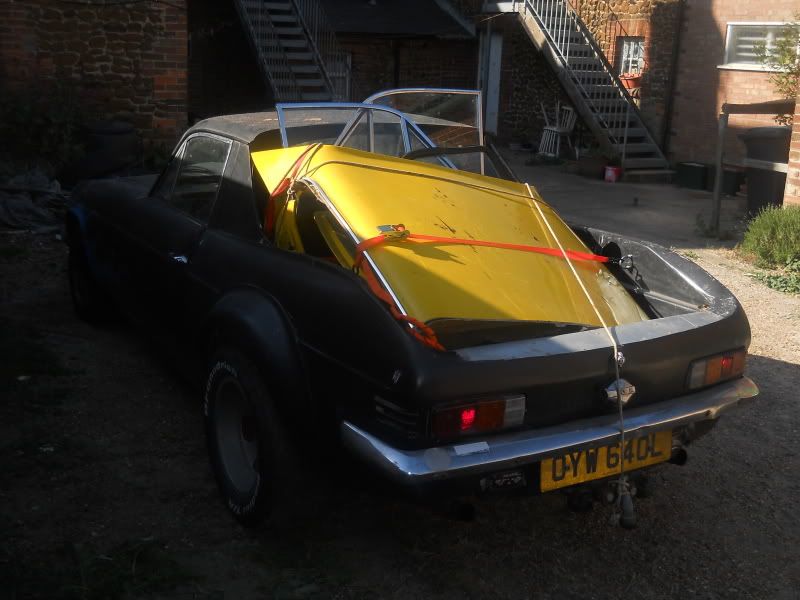
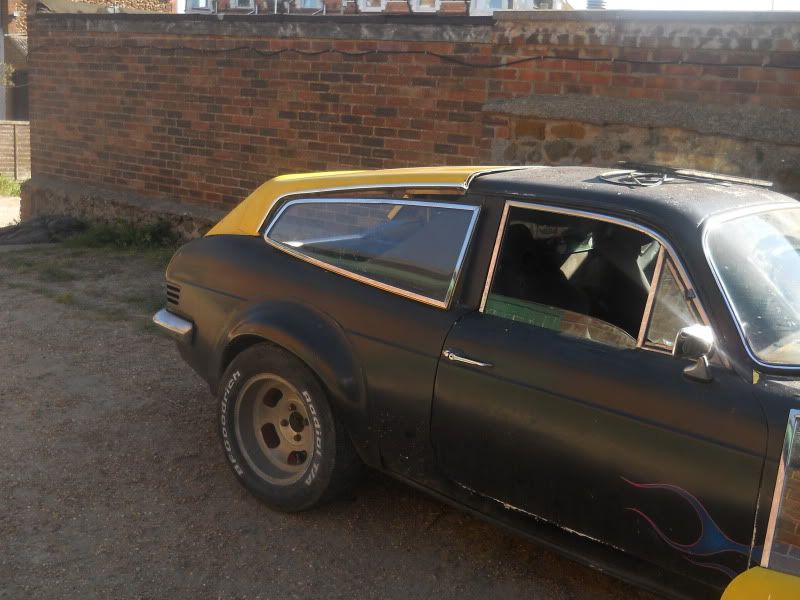
big chunk of roof (having a pickup is only practical if carrying big things, for doing shopping/etc, it's rather useless)
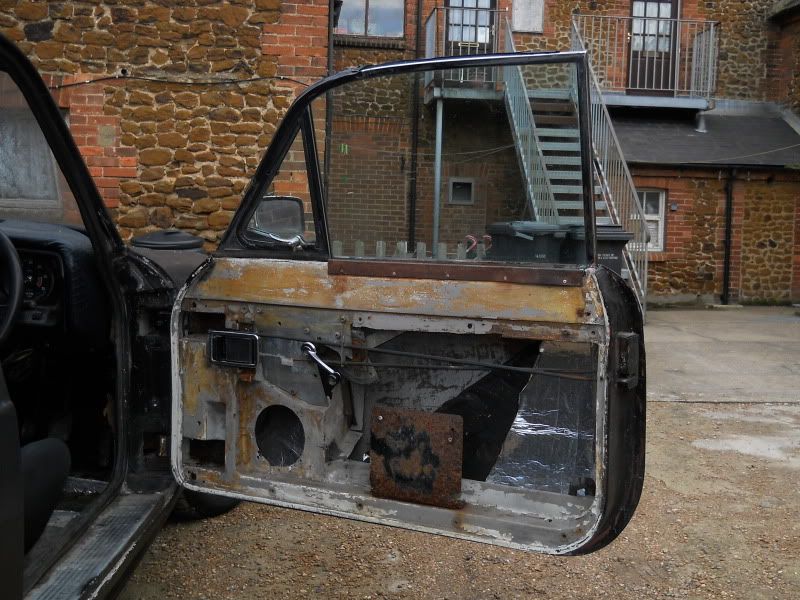
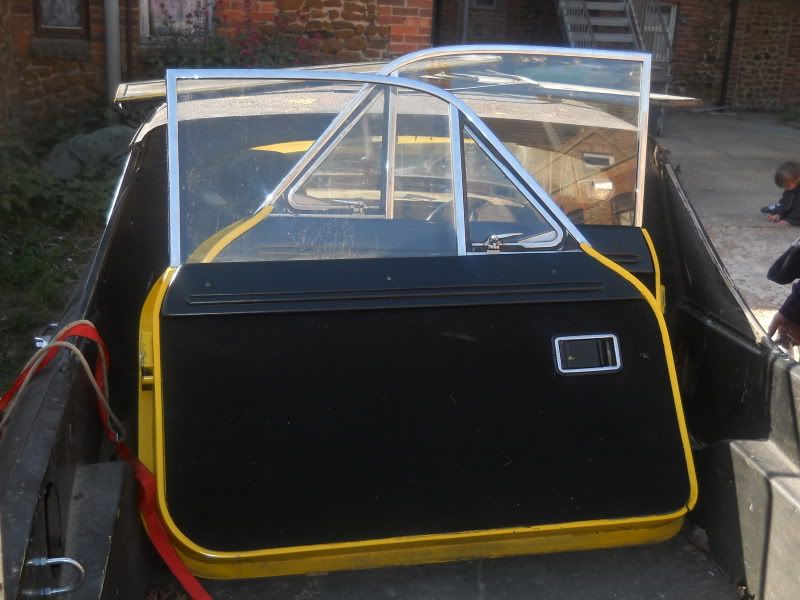
A pair of GOOD doors, with electric windows, and doorcards!
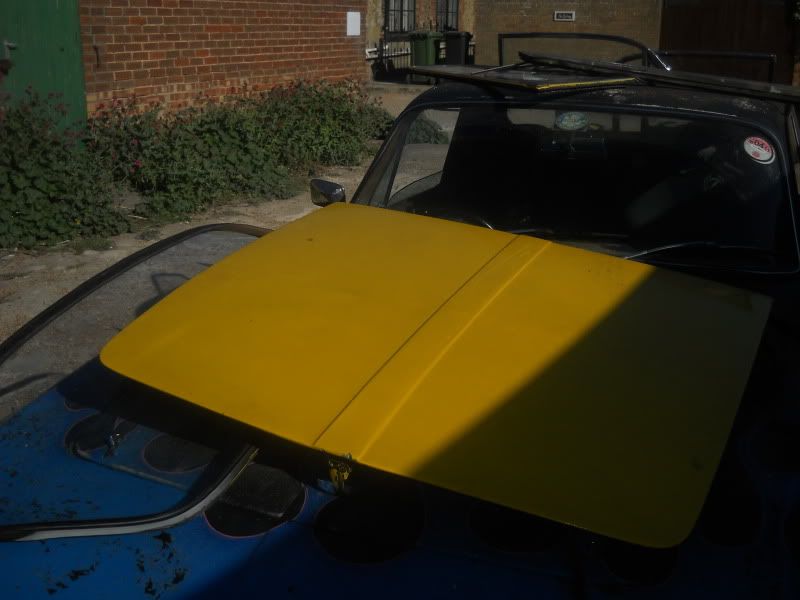
spare bonnet (I have plans for this)
and most of the glass for the car too
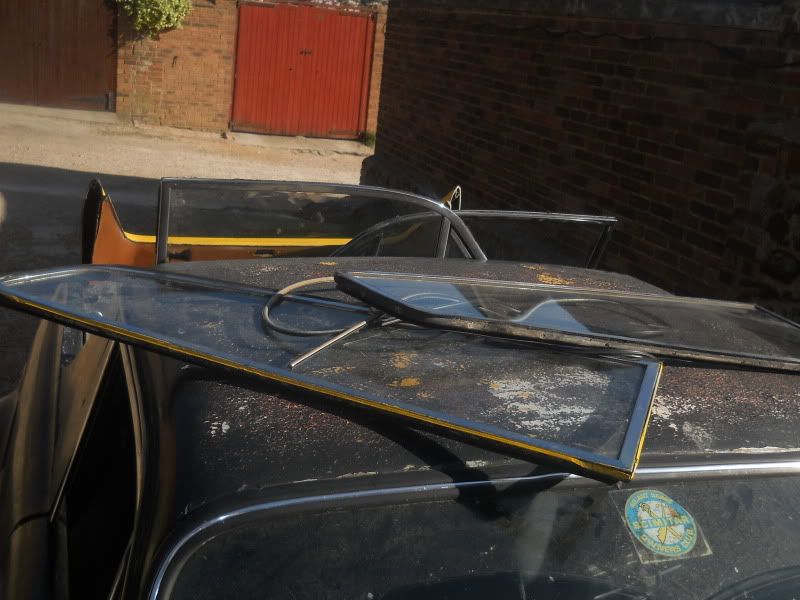
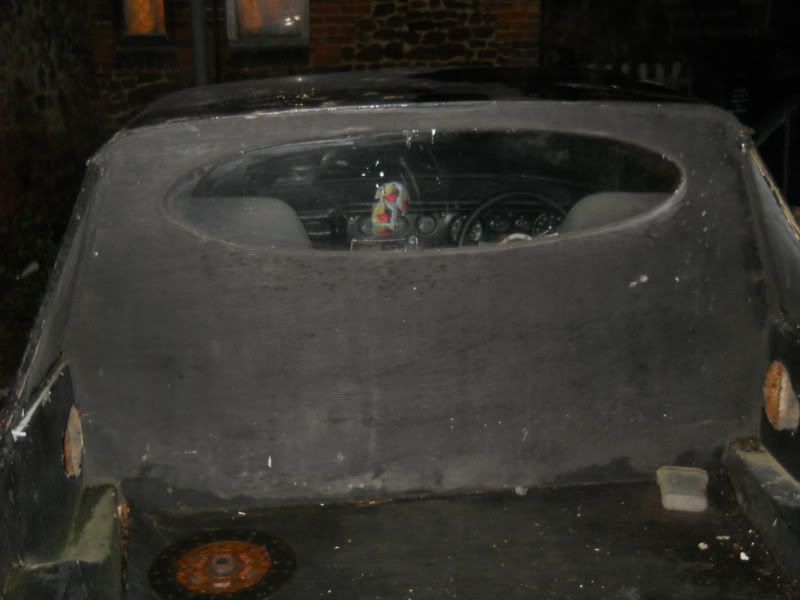
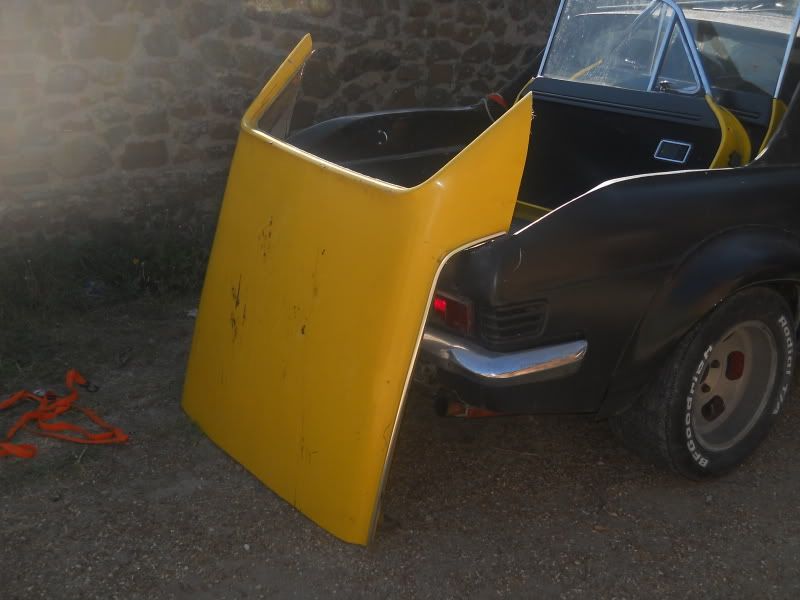
As a bit of fun, I threw the roof and rear glass into place
errr.... no thanks reliant, you can keep that shape for yourself
But a VERY nice suprise, was that he had the exact clutch I was after!
So once I pick up the engine, I have 90% of the parts needed to fit it in!
Right, that's enough typing for me tonight, will possibly write up some of the "plans" for it tomorrow night, along with the photochops I've made of it too... it looks verrrrrrry nice

I've had it since the start of January, but I then had to go back to uni the next day, so naff-all's really been done on it... until last week!
This is the beast/wreck as it was advertised:
and the two videos that he put up, to let me "look" at it
Cue a 150 mile train trip, then a return drive of 150 miles, in the dark... in a car I'd only seen pictures of, and didn't really have the time to have a good walk-around (it was chuffing FREEZING!)
After the 3 minute drive to the closest petrol-station, I promptly ripped out the heater-blower, from the driver-side footwell, as I simply couldn't fit my foot between the brake pedal and it, to reach the throttle!
That now gave rise to another problem... I had wind-chill at -3 degrees on my feet, for 4 hours
 When I eventually got home, at about 11pm, I was frozen to death, and my hearing was pretty much gone, as it was FAR too loud inside the car!
So, fast-forward 4 months, to last week, and I finally had a chance to give it a few tweaks to make it more driveable.
The paint hadn't faired too well, and is now gauranteed to be totally removed, and renewed (shame, as I liked the flames)
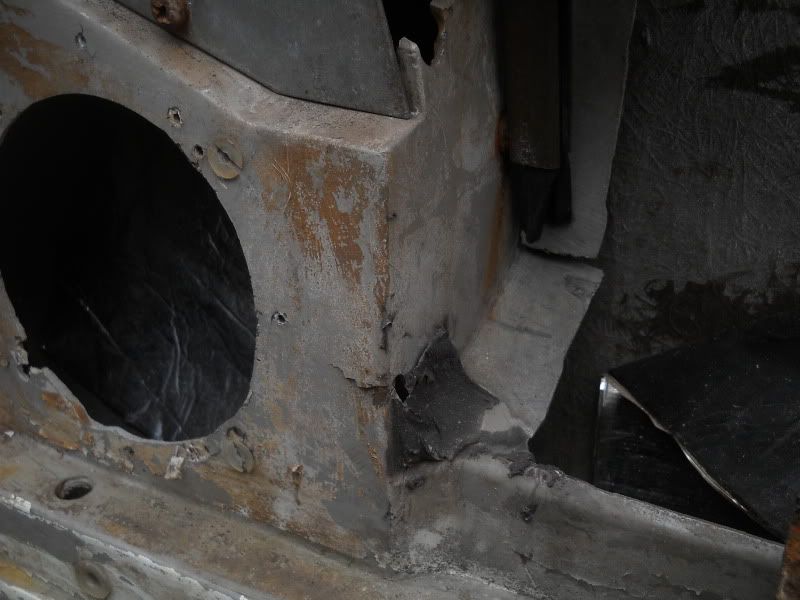
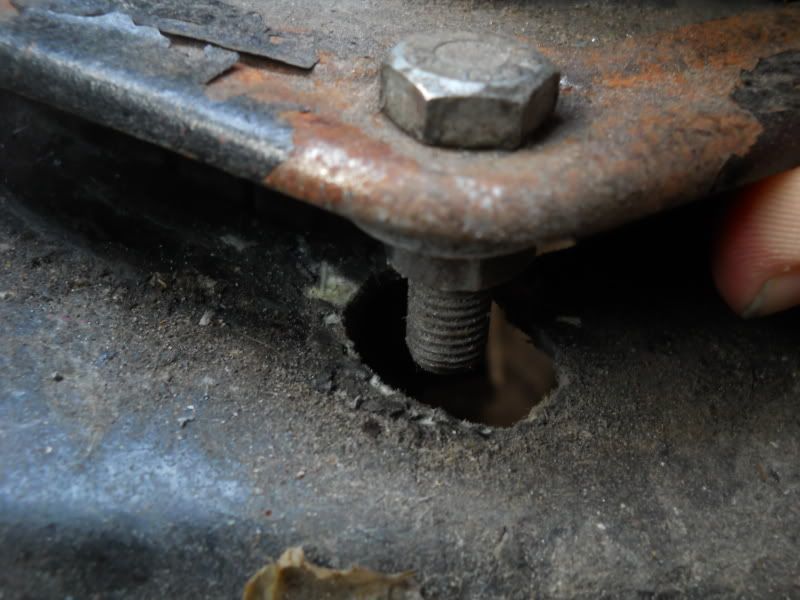
Giving it a quick once-over revealed it all looks quite solid! The only patches of rot I've noticed, are on the end of the outriggers, at the very front
The roof at the rear, was apparently crushed in the past, hence the pickup conversion. I've also found some evidence of that impact at the front too...
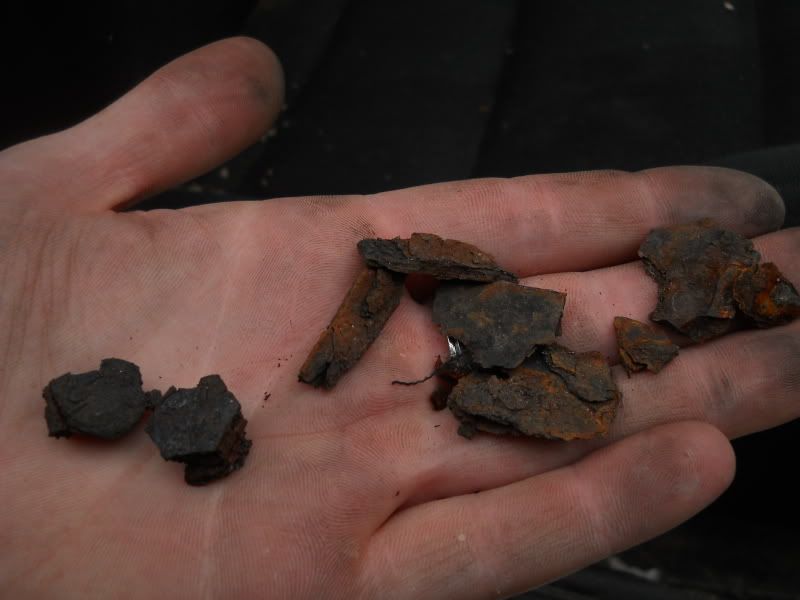
Spotted this bit of iffyness...
so thought I'd have a closer look
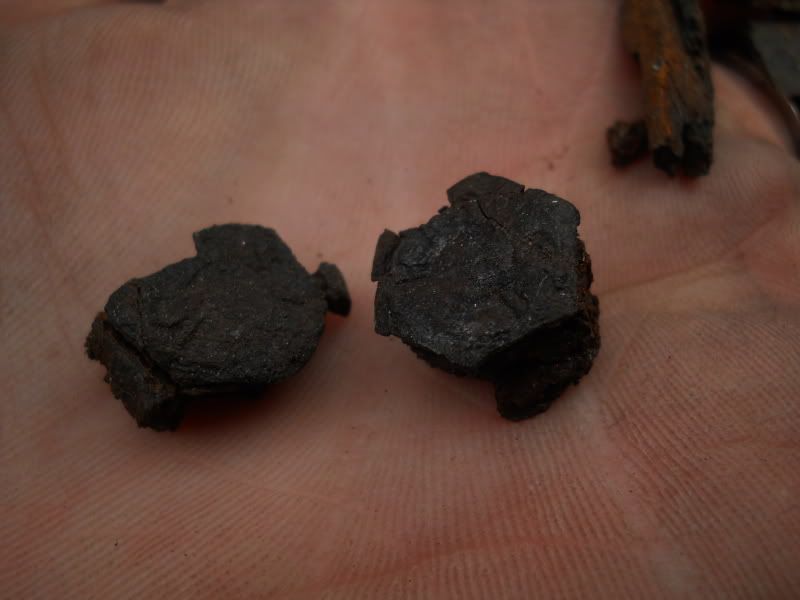
bumcheeks
 Not sure if that damage has spread to the internal steel support, but it'll be whittled down with the grinder, and rebuilt!
 A bit more damage was obvious on the B-pillar too, but thankfully nowhere near as bad
and an internal "repair" which hadn't bonded.. gotta love proper surface preparation eh?

At this point, I noticed how secure the rear (plywood) cab was
The rear screen was a particularly nasty affair, being made out of what looked like an old coffee table, wedged into place with screws and mastic
About as rain-proof as a sieve too
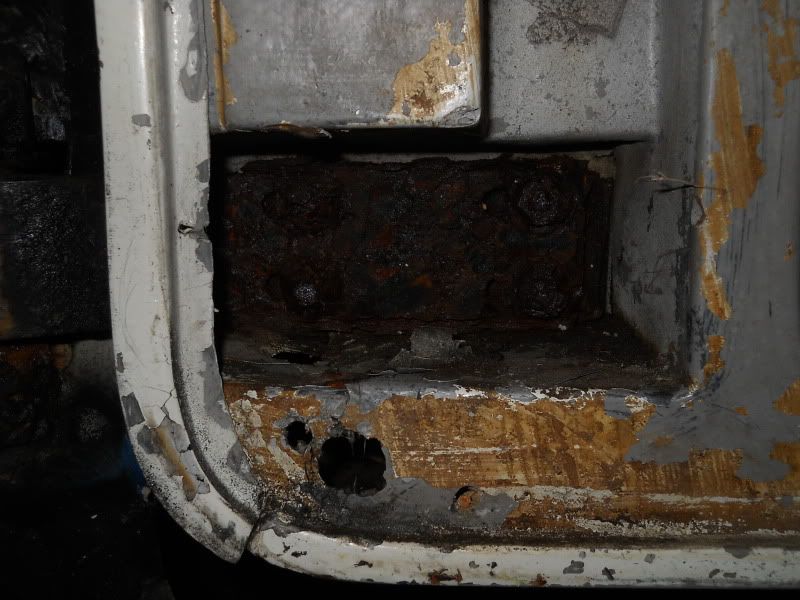
The doors never really inspired confidence when you looked at them, but they did the job... for the most part
The hinges didn't look particularly healthy
a quick grope around the back, and this lot fell off:
Yups, those are the heads of the bolts that are supposed to be holding the door to the hinge. well at least it explains why the door sags
This section had a pathetic attempt at a repair, as it was cracked rather badly. The splot of repair was only bonded to a small area, and was only adding weight
Only at this point, did I realise that the 1/4 lights at one point, actually opened! But when you saw the hinge, it was rather obvious they hadn't done so, in quite a while..
The bushes, all generally looked a bit tired and worn-out, but nothing majorly dead (yet!)
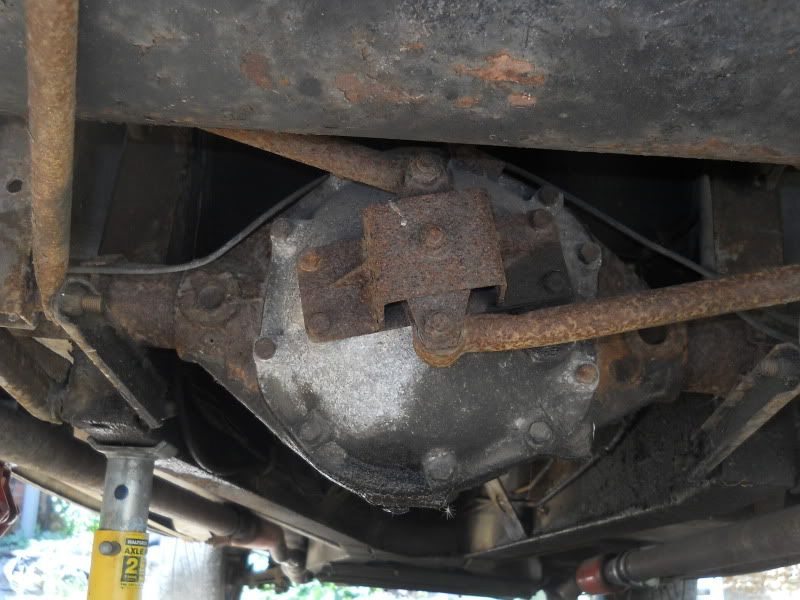
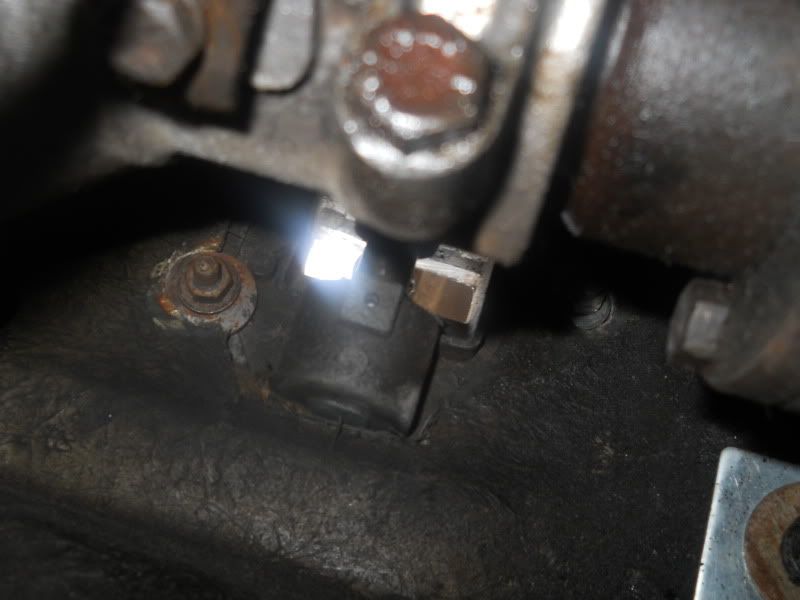
A quick peek under the back let me see the glorious jag-based diff, and the watts-linkage!
But what's that, on the lower arm?
oh cock it. Not sure how it'll affect it though?
also noticed why the exhaust was so deafening - the downside of having a low car, around speedbumps I'm guessing..
top two pipes on each header was fine, it was the lower one which was kinda.... non existant

A full compliment of these didn't really help with what stayed in the pipes either

Some of the welding on the exhaust, and the choices of pipe was "interesting" too..
Whilst I was in the area, I had a peek at the filler neck on the tank, as these have a habbit of rotting out. and considering that this one had been left open to the elements, it was in quite good nick!
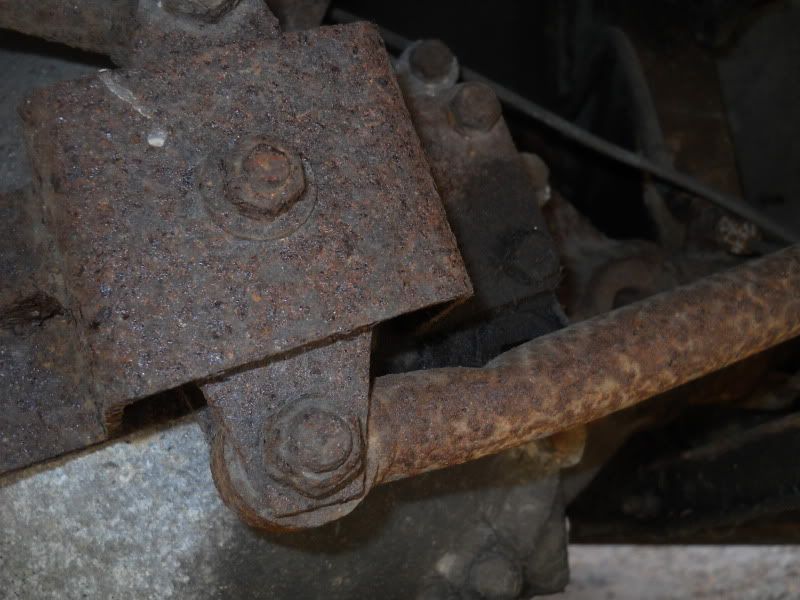
The rollover bars, which bolt to the chassis, and hold your seatbelts in place, and stop you getting smushed if you rollover, are a common MOT failure, as the bottoms rot out. But I'd checked online, and found out these were an old failure, and had been repaired
so, as crusty as they look, these should be fairly solid
Topped up the oil, and it gives a nice healthy amount of pressure at all revs too, which is a nice result!
So, as we can all see... it's halfway between reasonable, and a total lemon. but enough of the "how it turned up", let's get on with the interesting bits.. REPAIRS! ;D
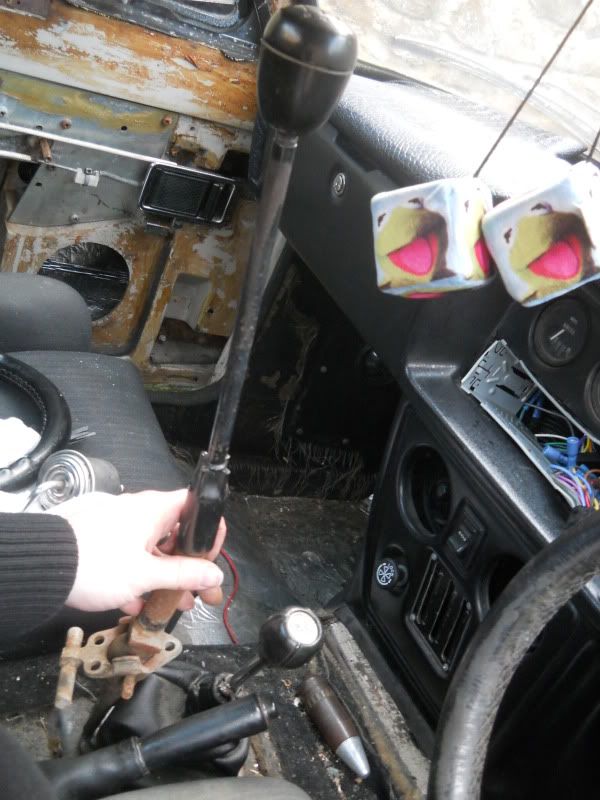
One of the first jobs, was to make driving vaguely possible, as leg-room was at a premium! The first job, was to swap over the steering wheel, for a spare I had, which was 1" smaller
The wheel as fitted:
Note, how it's touching my damned legs! Not exactly safe, or comfortable
With a cheeky little homemade hub boss adaptor, by the previous owner
Then, made a few mods to allow me to rotate the ignition barrell to the BOTTOM of the column, so it rested between my knees
and moved the overdrive switch to a random hole in the dash (now been swapped to a smaller switch too)
Right, so now I could at least drive without getting deep vein thrombosis!
Whilst I was in the area, I whipped off the dashboard to sort a few electrical niggles (like, none of it works)
In the above pic, you can see I removed the ever-so-tastefull snakeskin leatherette gack that was glued to it. But they used a non-drying glue, and rather than try to clean it off, I just ripped the aging, cracked, vinyl and foam surround off
TBH, it makes life easier too

The indicators stopped working too, do ya think this had anything to do with it?
There's a very curious addition to the speedo on this car too, a small length of black cable, with a twisty bit on the end. I gave it a twiddle, and it reset the odometer??? (instant clocking anyone??)
Makes no difference to me mind you, as it's going to be replaced with a much nicer looking set of clocks from my old jag XJS V12 ;D
Also means all the extra gauges spaced across the dash are not required, which makes for a cleaner finish

Next job: sort out the vent for the heating system. This was closed, and the controls were non-responsive - after a bit of tugging, I figured that the cable which controls it, had rusted internally
so, I did what I needed to, ripped it off, and just left it open
Job done
The throttle control was as sloppy as a granny eating lumpy soup - not particularly useful considering how delicate the throttle control on the carb is at low openings. it resulted in me revving the titties off the engine, just to try and find the biting point to move off! The cable had run out of adjustment, so something was wrong there anyway. But as this engine only needs to work for a couple of weeks, I have no quarrels doing a few temporary bodges
Cable-ties, and electrical tape, to hold the choke cable in place, and the space the throttle cable out that little bit extra. It works. So I don't care, lol.
Next up, was the gearchange. AS you have to put quite a bit of effort into pushing the stick to get into reverse, the fibreglass mounting points obviously had suffered with age.
In neutral:
trying to get reverse:
The whole thing lifts up by a good half an inch!
Looming underneath, it's clear this was an existing problem, and the previous repair had only helped so much
So, I just did the same for now, and made some bigger spacers... as this gearchange will soon be replaced with a much more modern setup..
But I think the new gearstick may need shortening a tad ;D
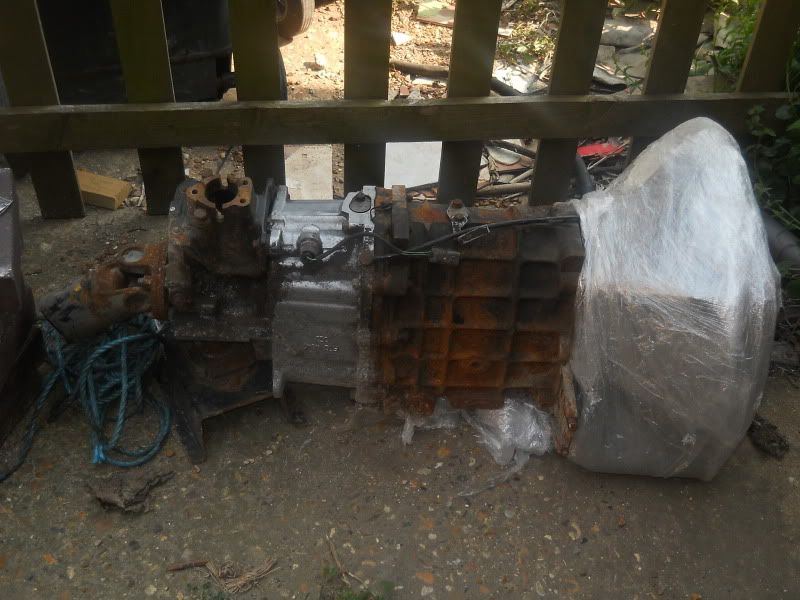
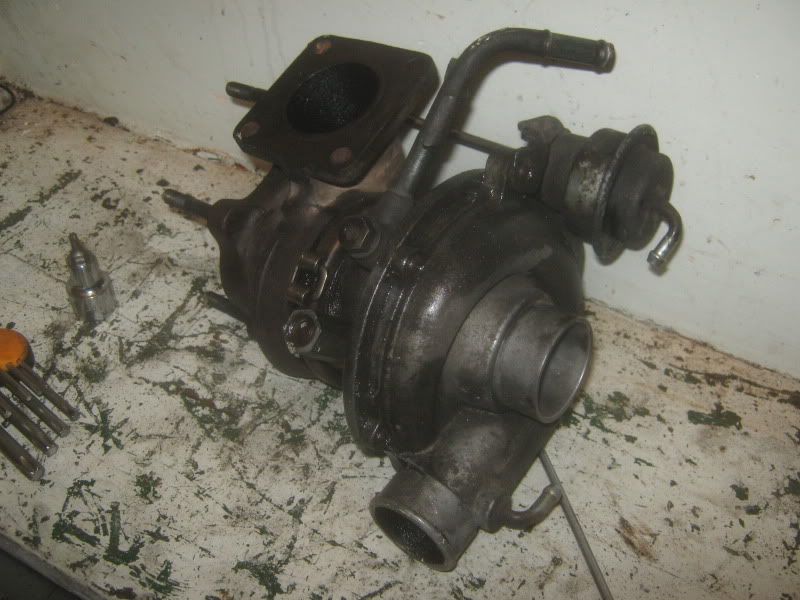
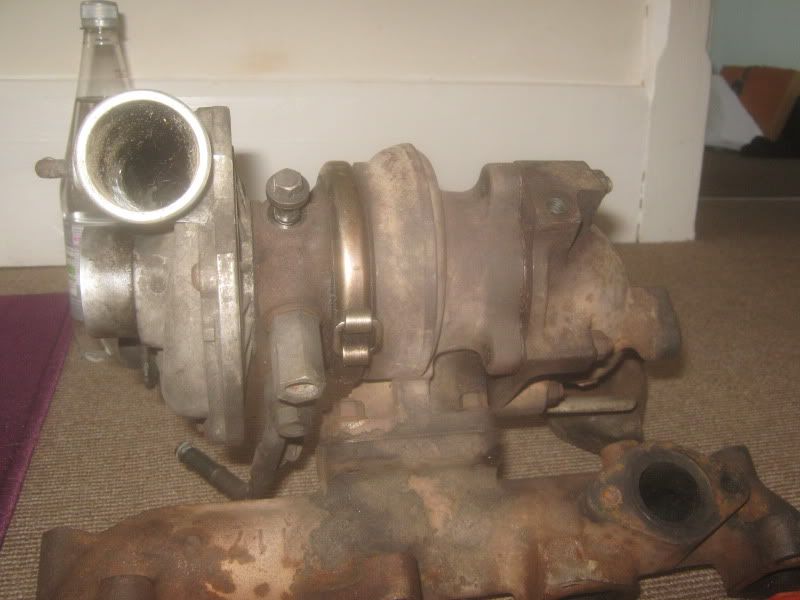
The plan is, to remove the 3 litre V6 boat-anchor engine, and replace it with a pug XUD 2.1 Td engine, out of a citroen XM. The car in question, is being GIVEN to me, which is a rather nice result!
Now, it was only ever fitted as a FWD setup, which for my car, is totally useless, as I need RWD. A bit of poking around, reveals that every pug XU and XUD engine, have the same bellhousing pattern, and that a 1.9 non turbo XUD engine, was fitted into the LDV pilot, in RWD format
yoink
Bit more digging, and it's actually an R380 gearbox, so good for 380Nm of torque (or pretty much, 300lb/ft in english) and as it's a ford gearbox, I'm hoping the propshaft will bolt straight upto it!
One slight problem I have, is that the non turbo 1.9 XUD engine, uses a smaller clutch than the Td versions, and the splines on the gearbox was different to the normal pug clutches. A shuffle through the Quinton Hazel clutch catalogue, shows that a capri, 1300 or 1600 pinto, or any 2L capri clutch, are the correct size, AND spline count!
But just to make sure the splines were the right shape, and not just the same amount, I threw on the old clutch that came with with scimitar, onto the gearbox
yup's, I'm onto a winner! (the scim clutch is far too big mind you, but the splines fit!)
Now I've been chatting to Stueyt on here, and we came to a deal. He takes my engine and gearbox, and in exchange I take some tat off his hands
Que one 120-mile round trip to his in a much comfier scimitar!
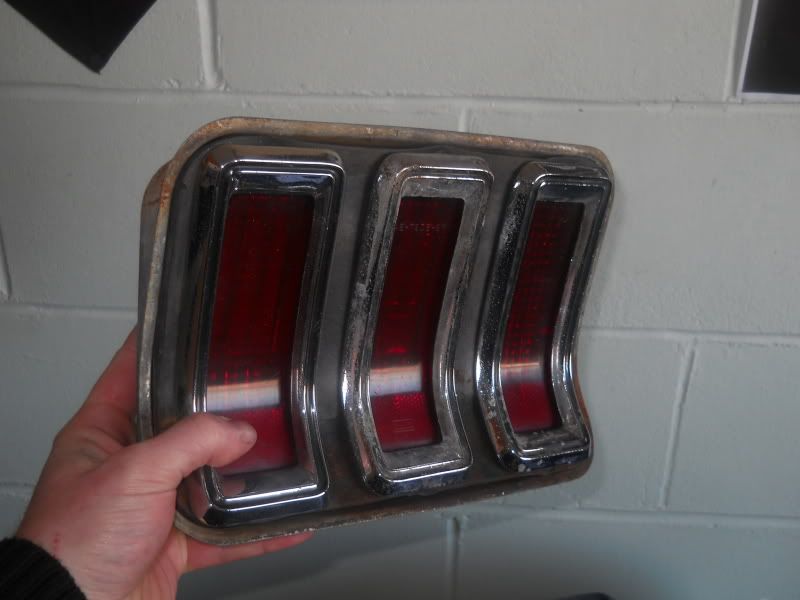
my haul included:
big chunk of roof (having a pickup is only practical if carrying big things, for doing shopping/etc, it's rather useless)
A pair of GOOD doors, with electric windows, and doorcards!
spare bonnet (I have plans for this)
and most of the glass for the car too
As a bit of fun, I threw the roof and rear glass into place
errr.... no thanks reliant, you can keep that shape for yourself

But a VERY nice suprise, was that he had the exact clutch I was after!
So once I pick up the engine, I have 90% of the parts needed to fit it in!
Right, that's enough typing for me tonight, will possibly write up some of the "plans" for it tomorrow night, along with the photochops I've made of it too... it looks verrrrrrry nice


 Hoping to have it done for next years PPC!