


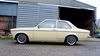
Hi everyone I thought I would introduce you to my latest acquisition - its a 1976 Kadett C estate for those that didnt know :roll:
Ive had it a couple of months now so decided it was time to get a project thread up.
Basic run down of the plan of action is restoration of the body back to its former glory and a more modern more powerful engine.
I'm going to go with the GM 1600 16v engine from the likes of the corsa B and astra F as they are readily available and its not to difficult to use most of the 1.6 corsa vxr internals in them and the turbo bolts up to them. Plus the fact they are lighter, cheaper and more readily available than the commonly used C20LET 2lt 16v turbo engine.
And of course I will be uprating the rest of the suspension, brakes, and drive train etc to suit the new motor.
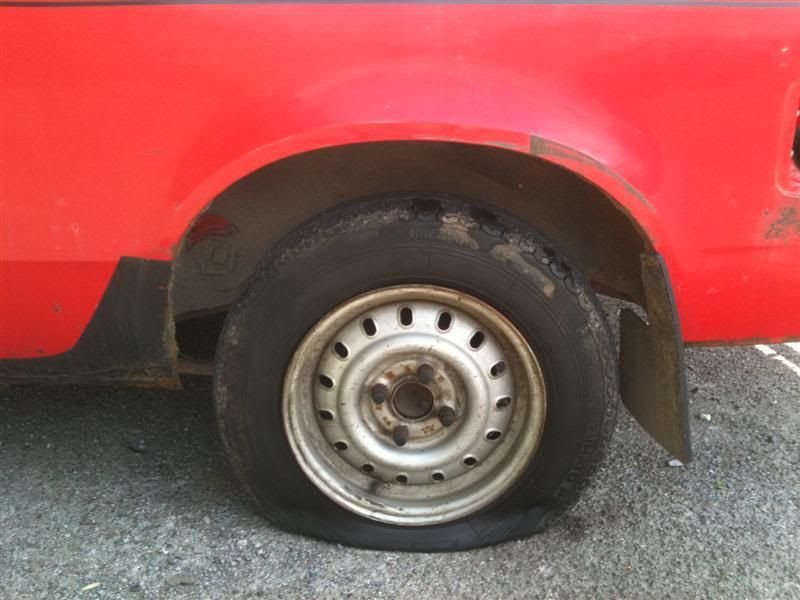
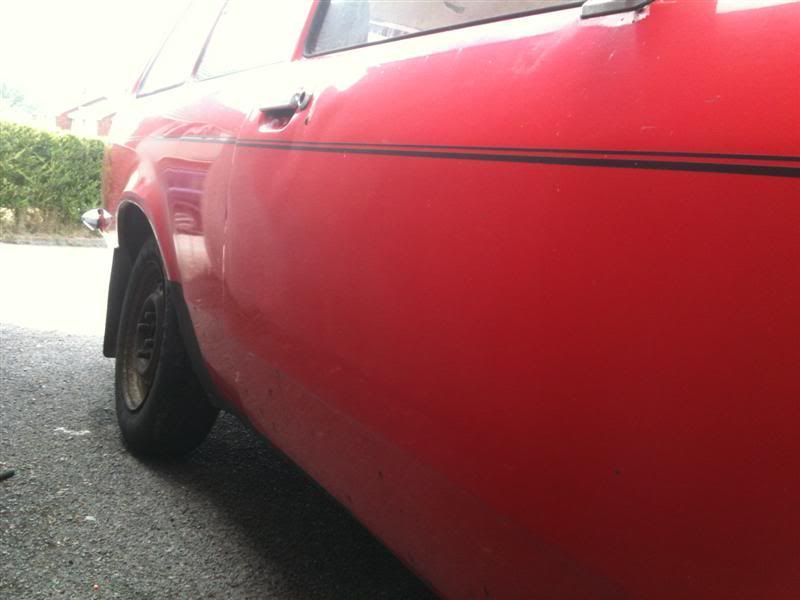
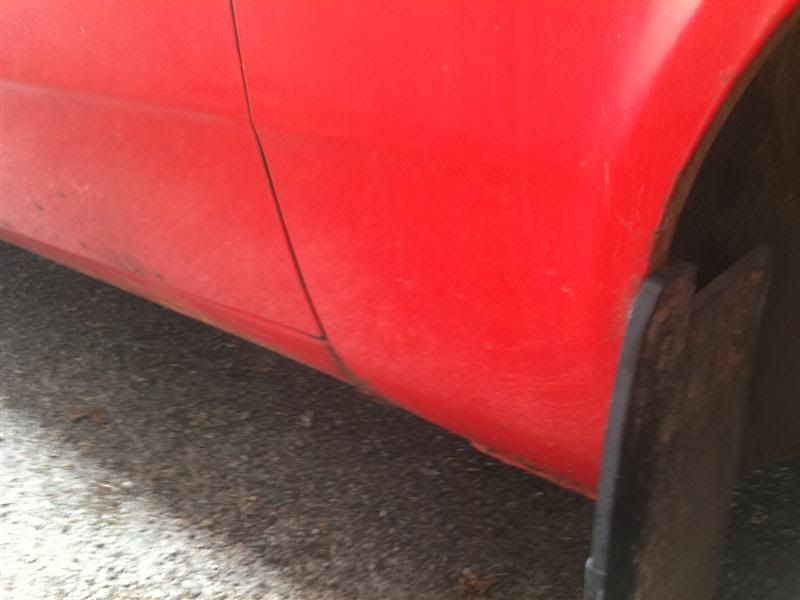
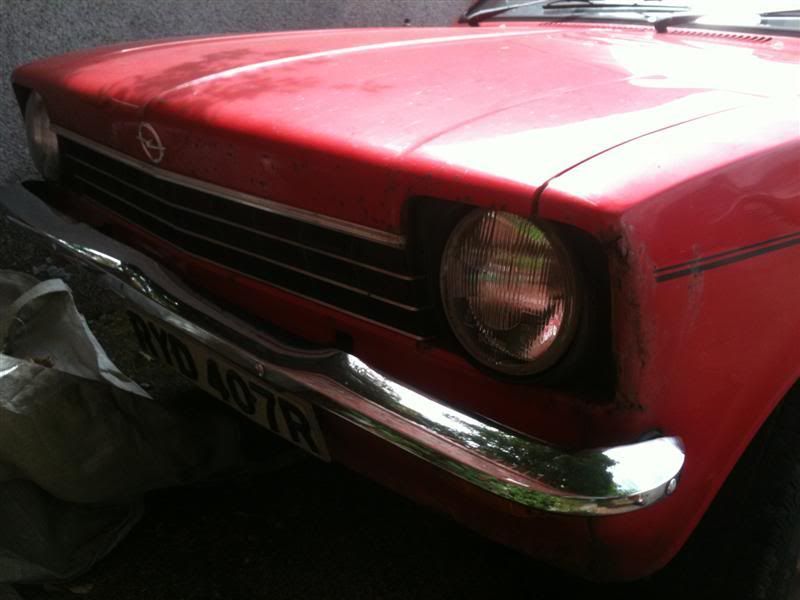
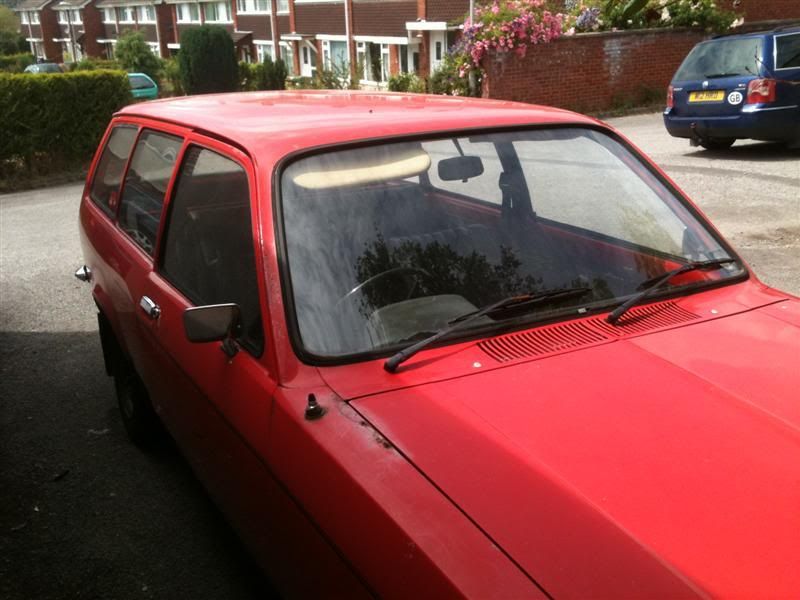
Firstly the shoddy mobile phone pics I took when I went to view it:
I'm not sure what's with the paint on the roof?
In need of a clean but solid
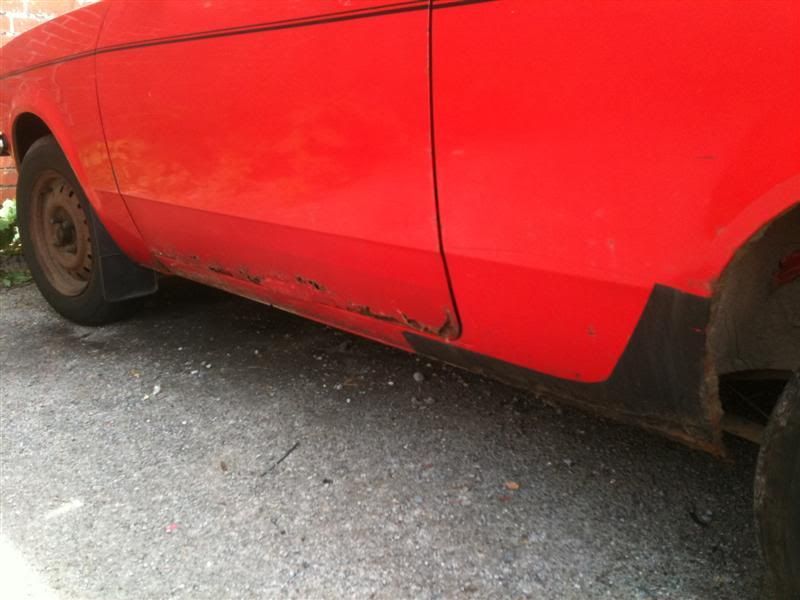
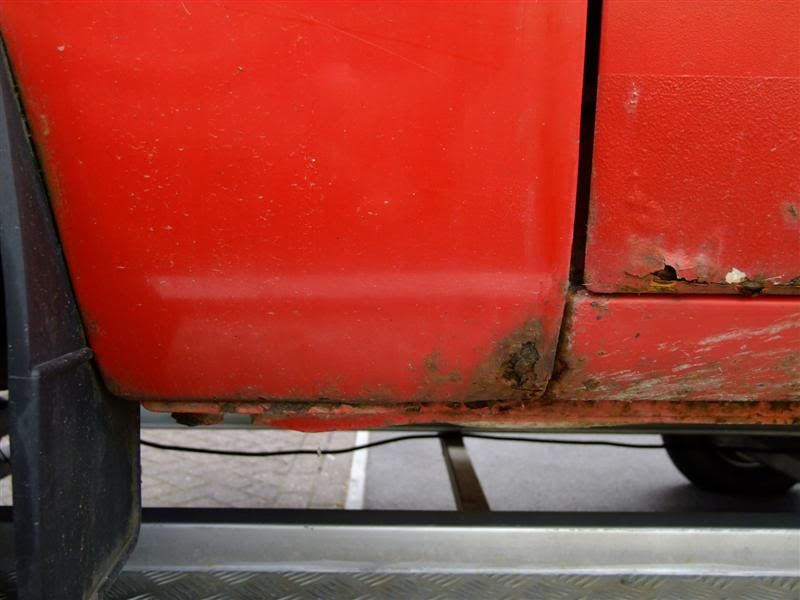
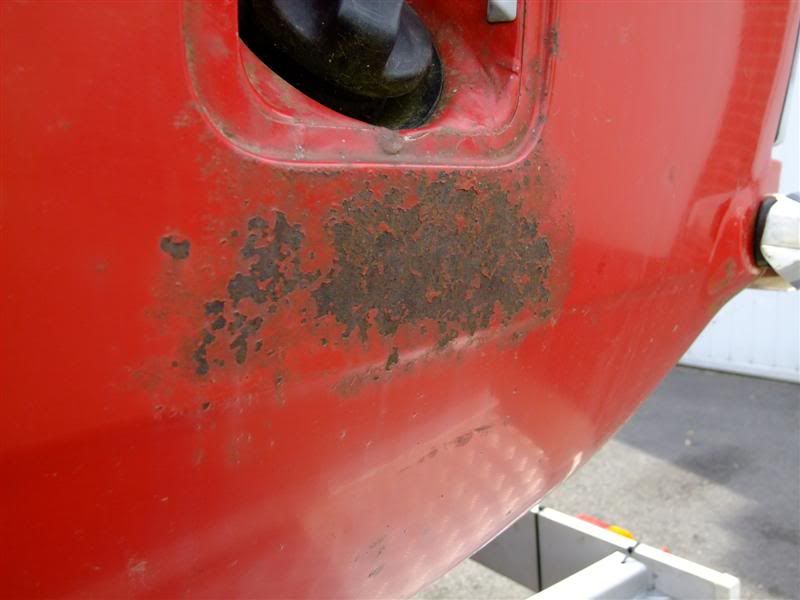
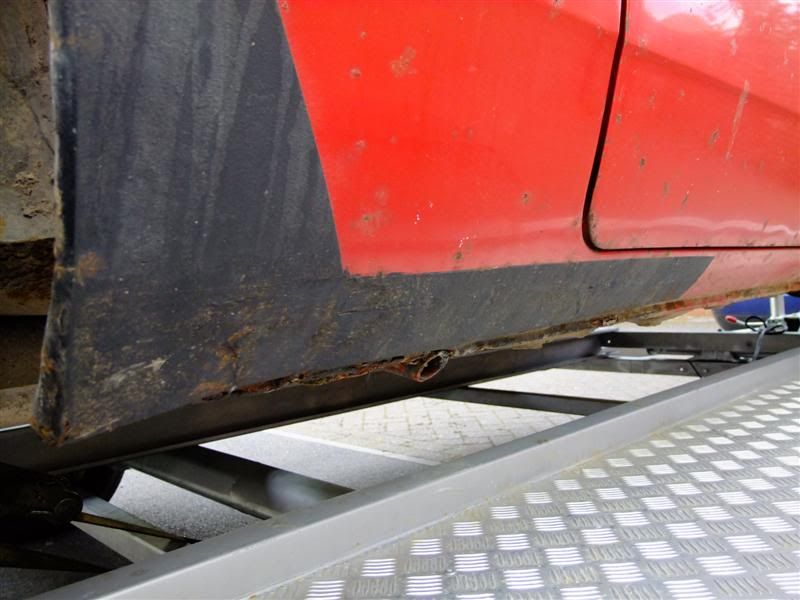
A poorly door and a grubby sill/rear arch on the N/S - nothing to alarming this is the worst side
A previous poor quality local filler repair on the O/S rear arch
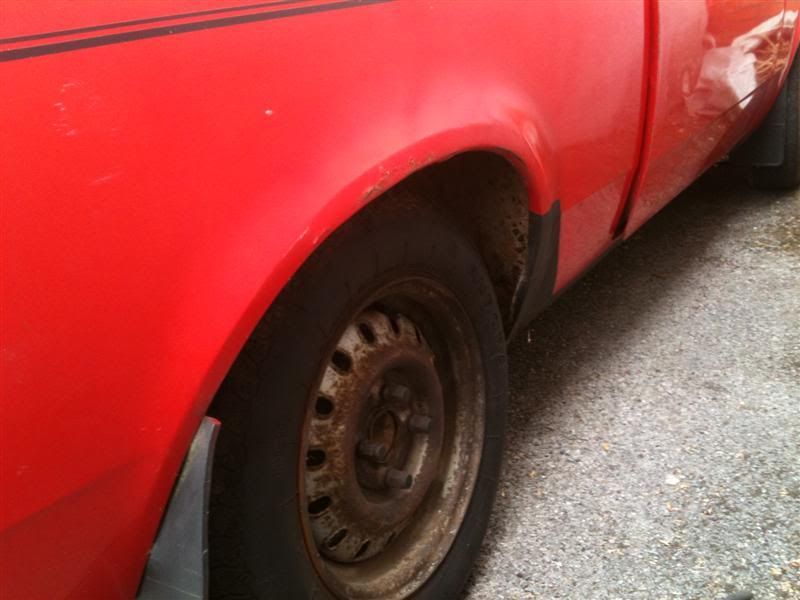
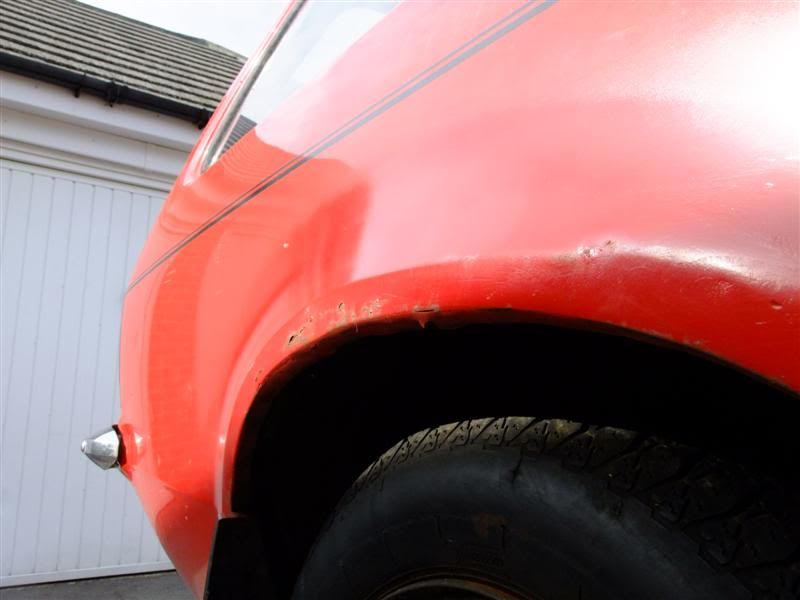
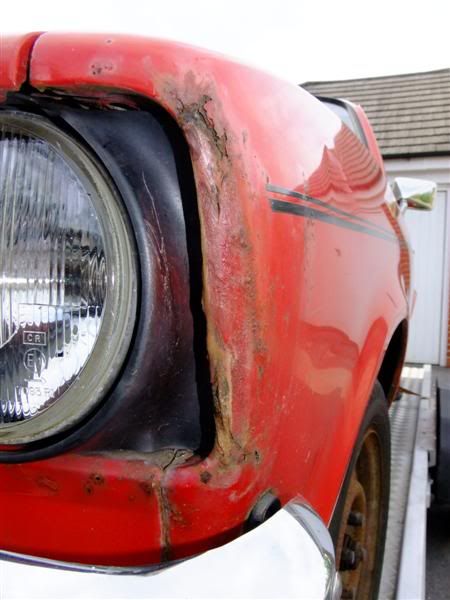
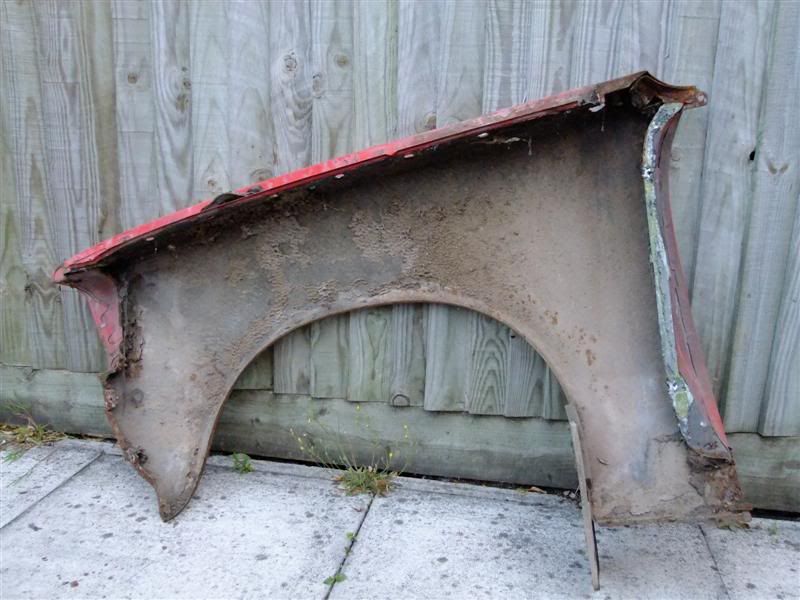
Both front wings have had repairs in the past and need repairing or ideally replacing
Bonnets there but has rust and stone chip issues

The underside looked and felt solid but until its up in the air who knows
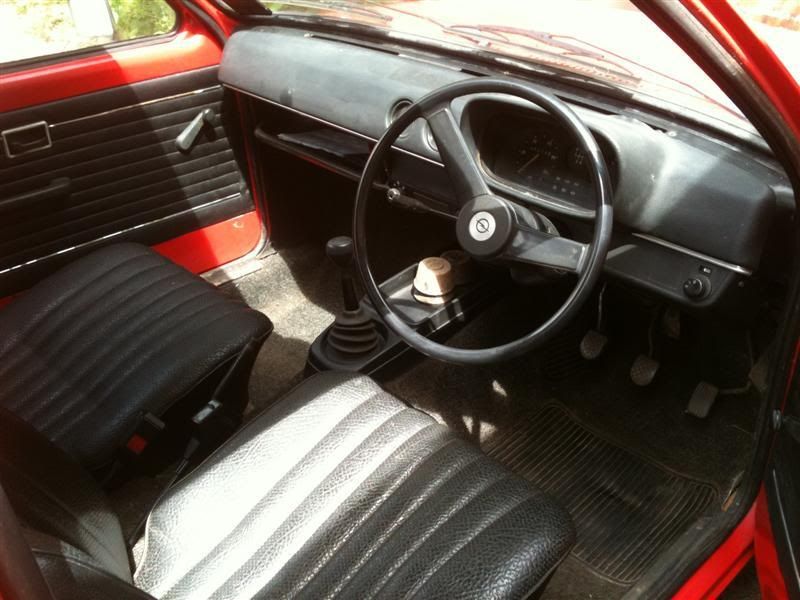
The interior is complete and in reasonable condition
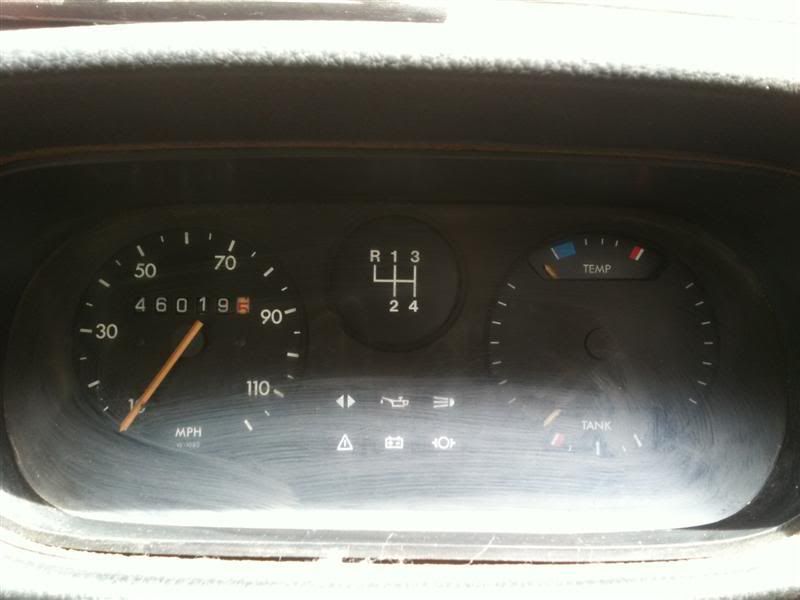
No way to verify the mileage other than the interiors condition
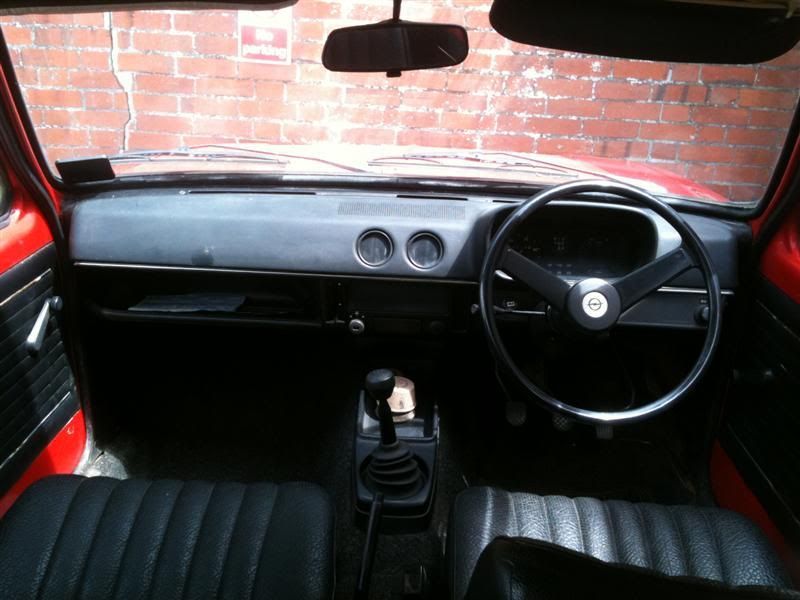
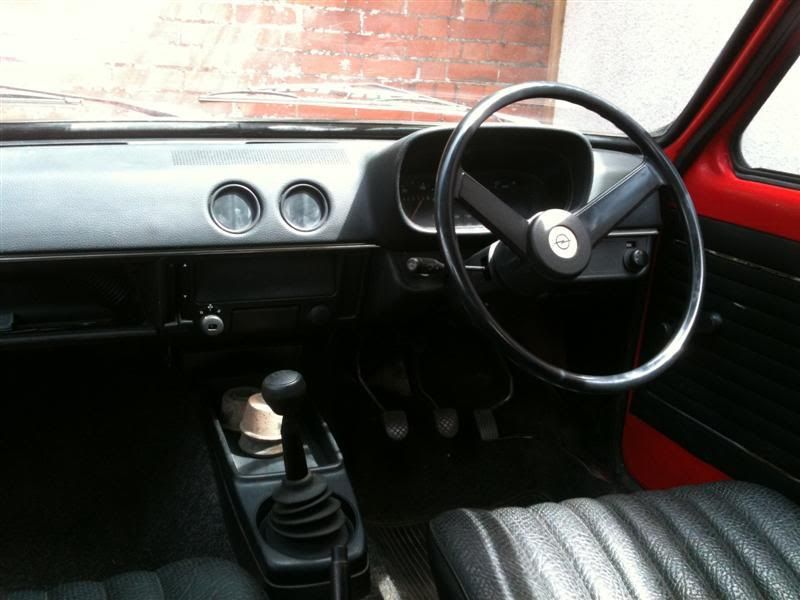
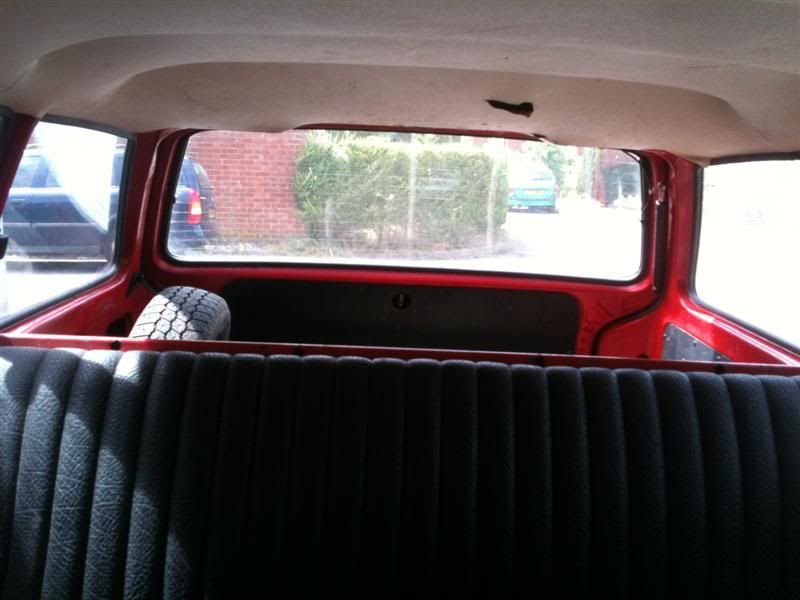
Other than a rip in the head lining :x
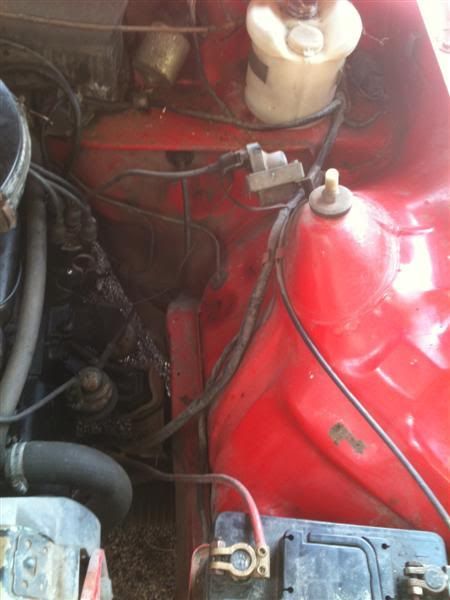
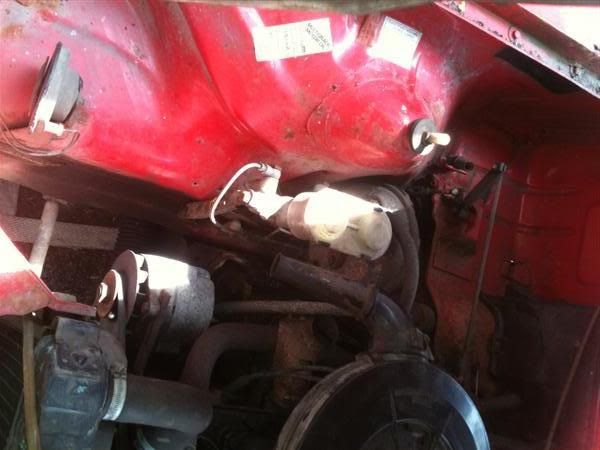
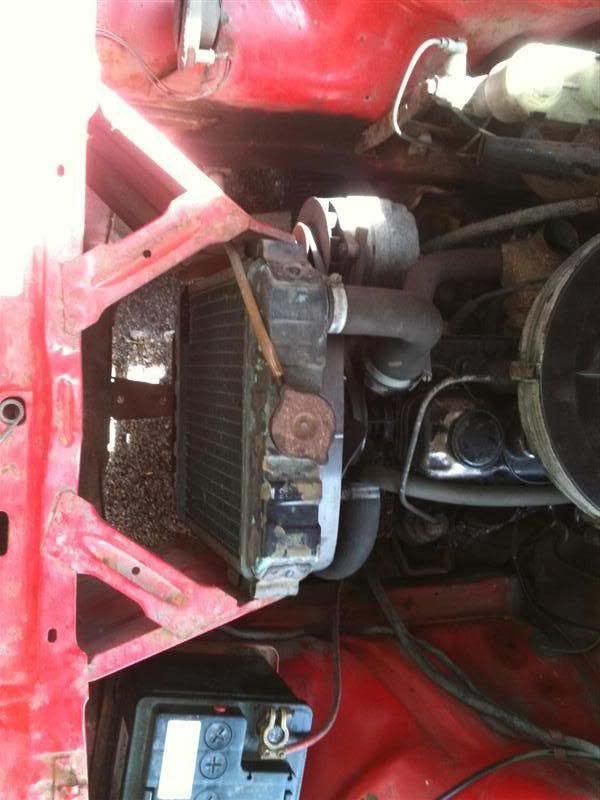
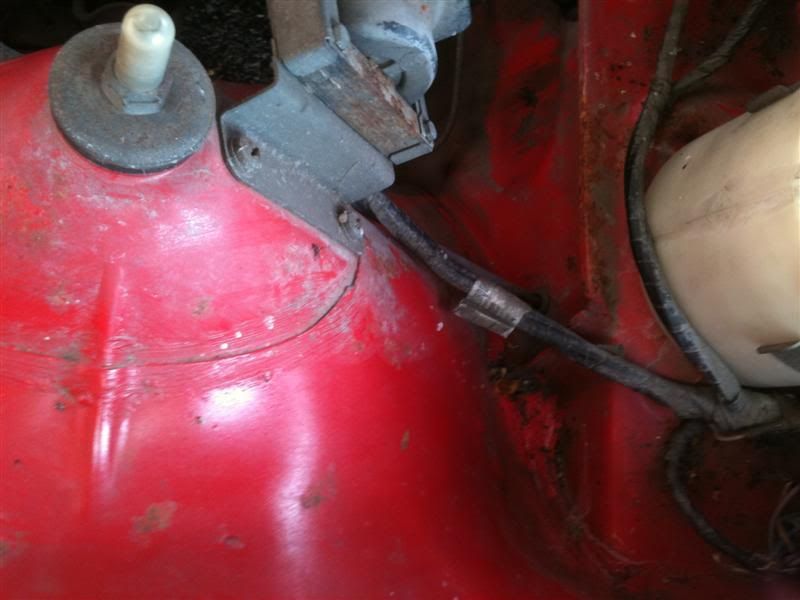
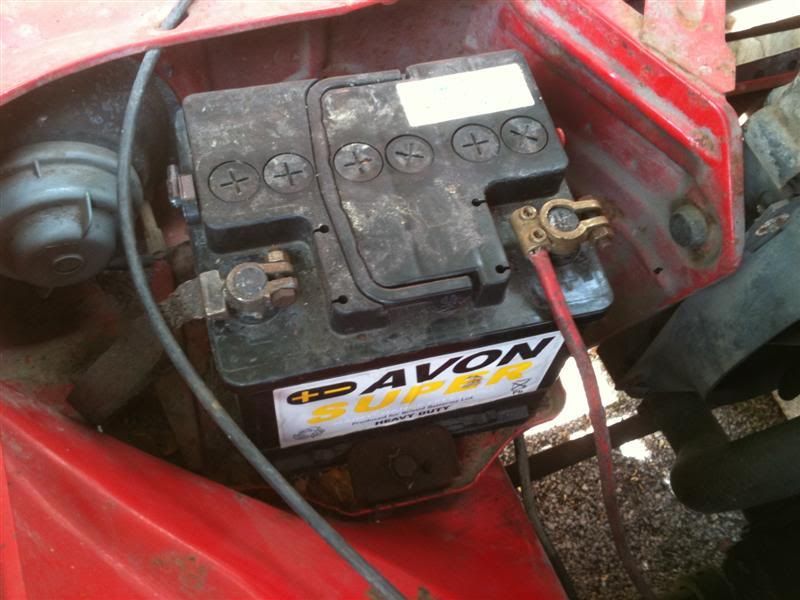
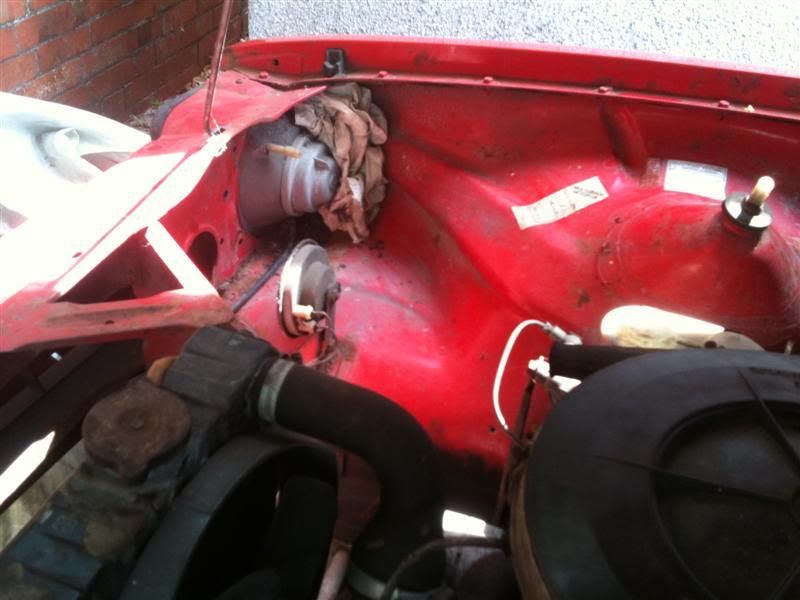
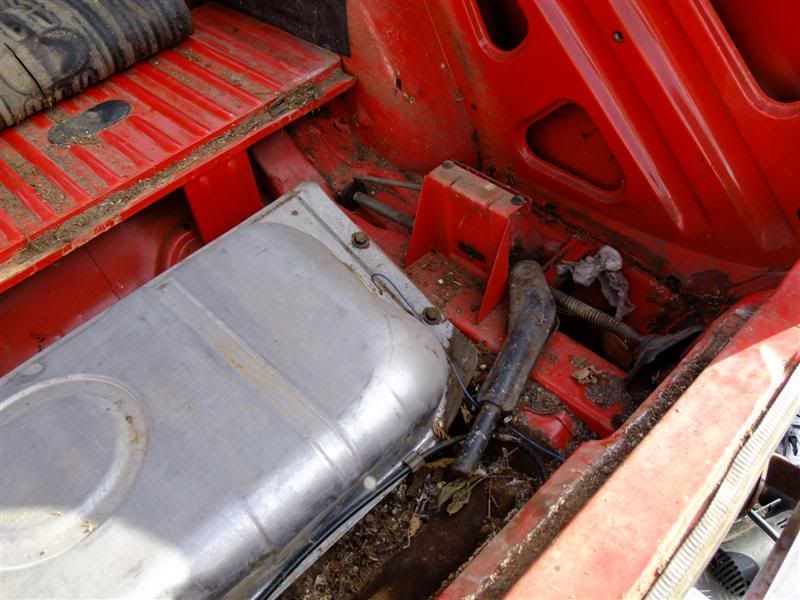
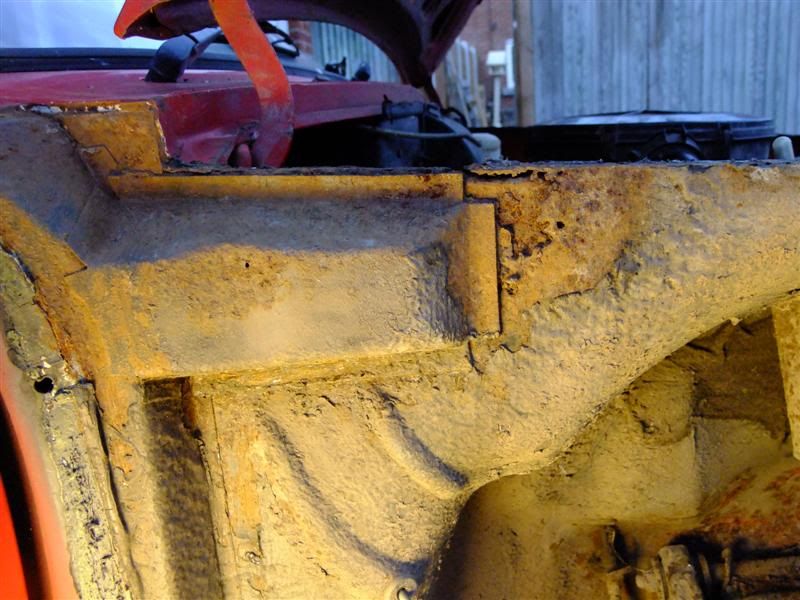
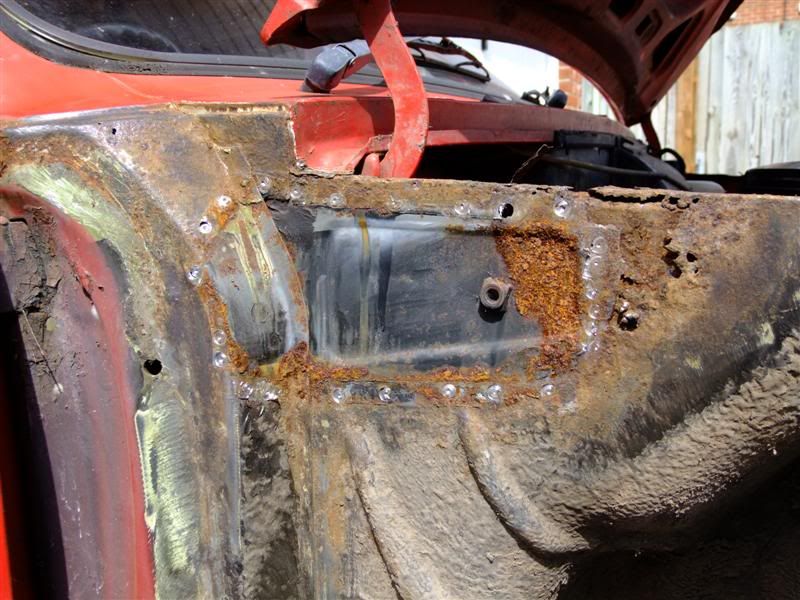
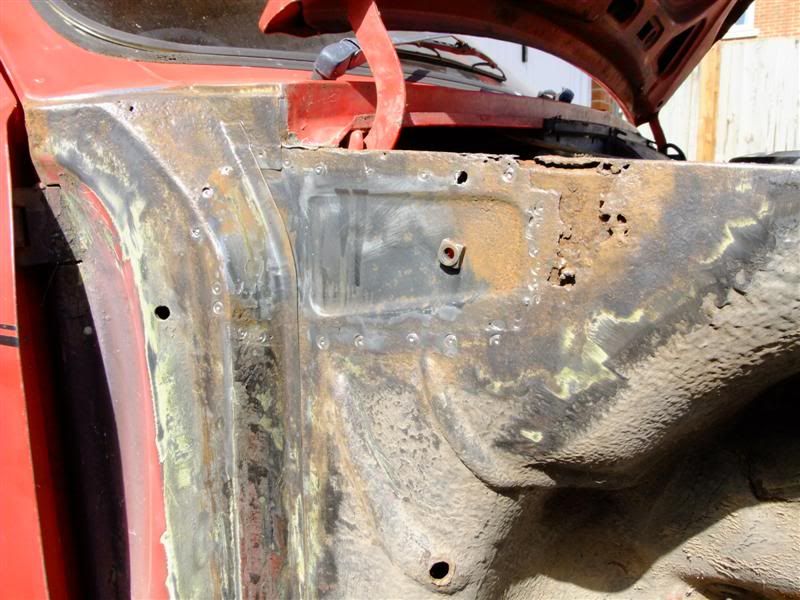
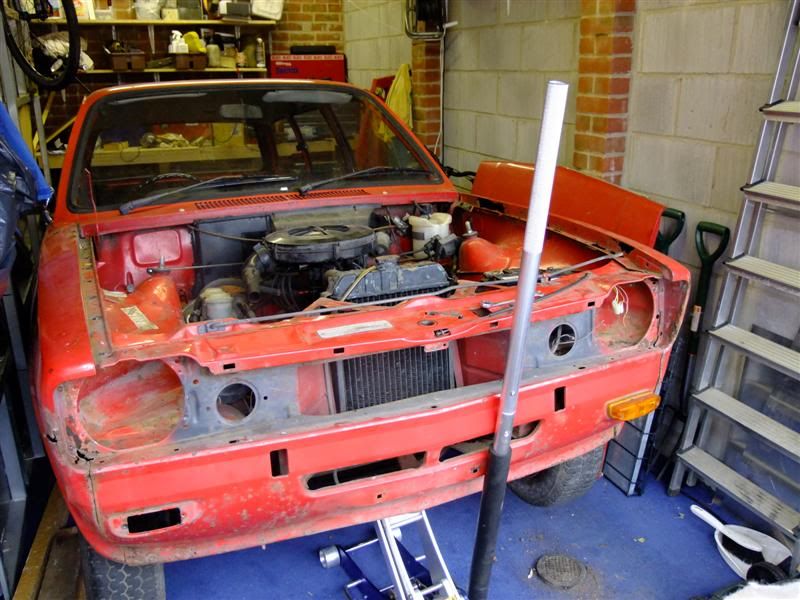
And finally under the bonnet

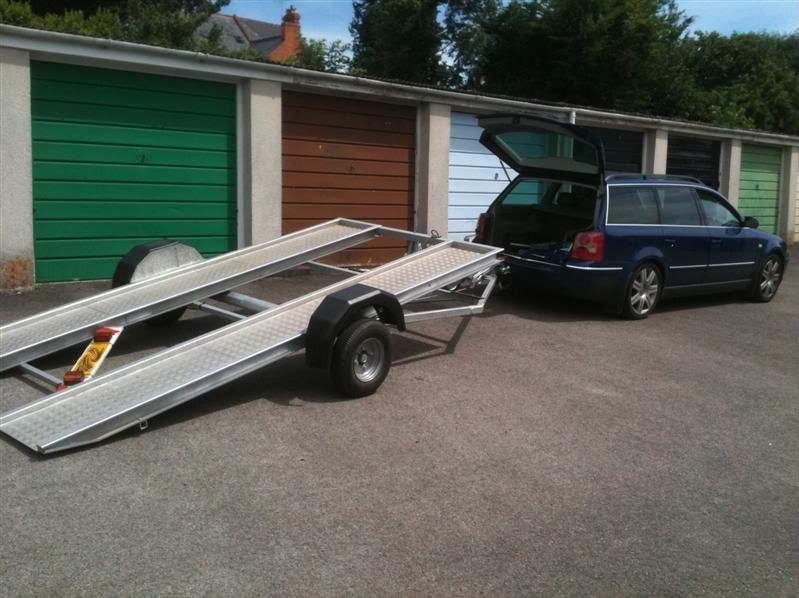
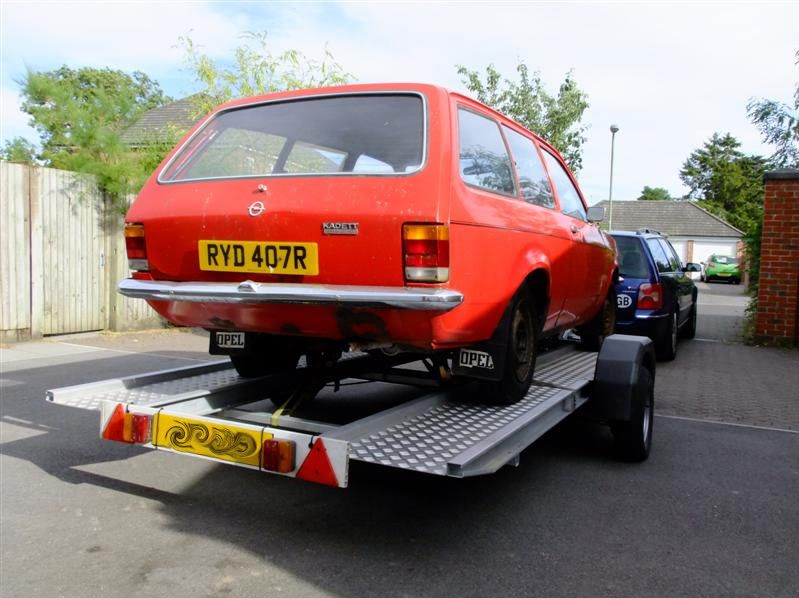
Then here are some pics from the day I collected the kadett.
Poised and ready for collection
It drove on to the trailer a treat
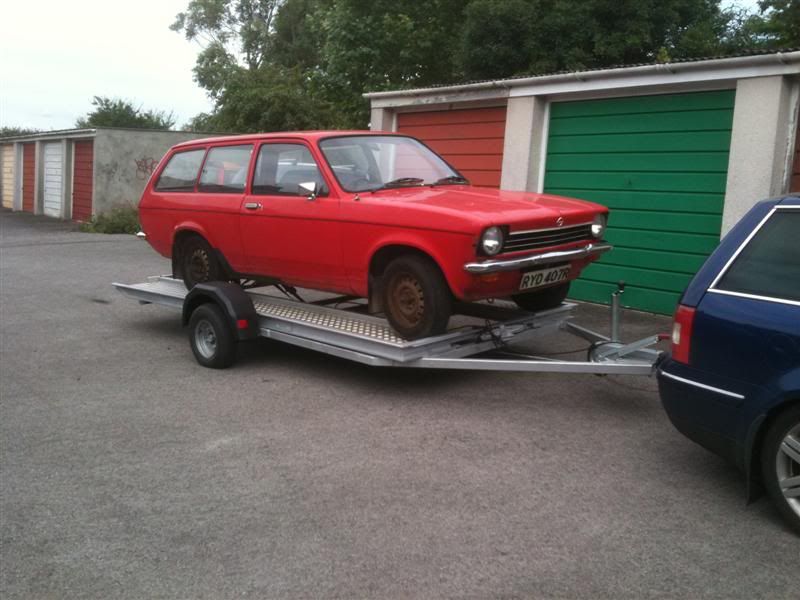
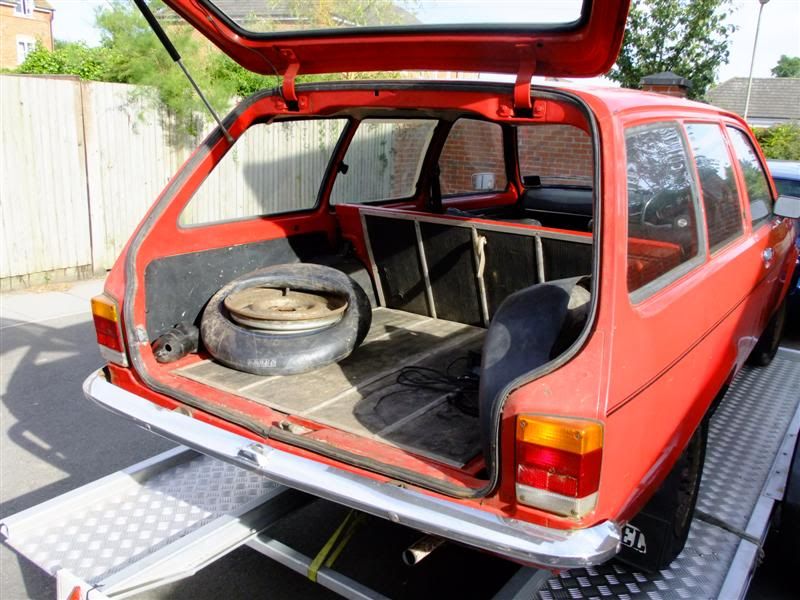
And back home after surviving the 60mile journey
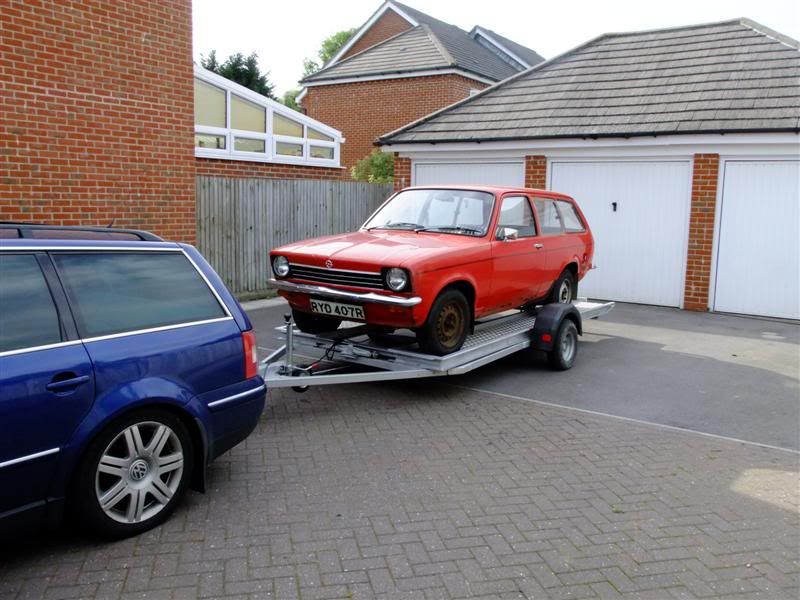
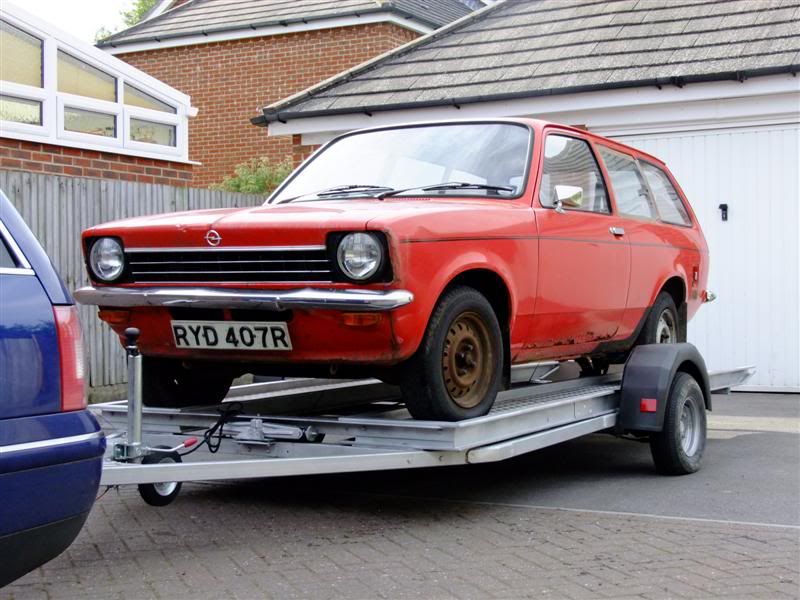
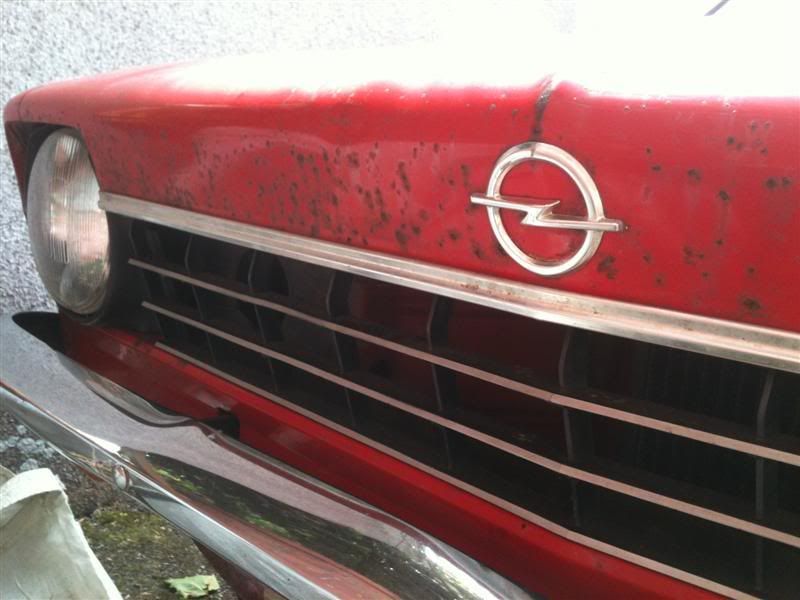
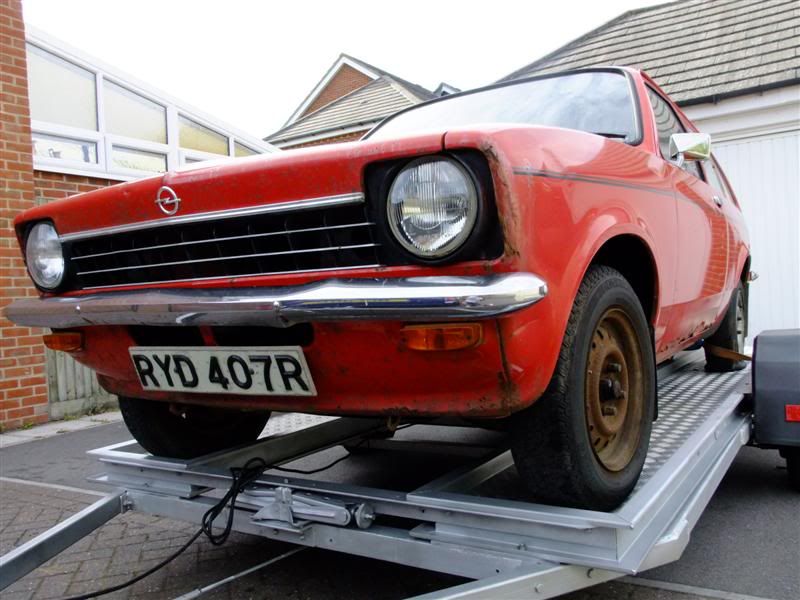
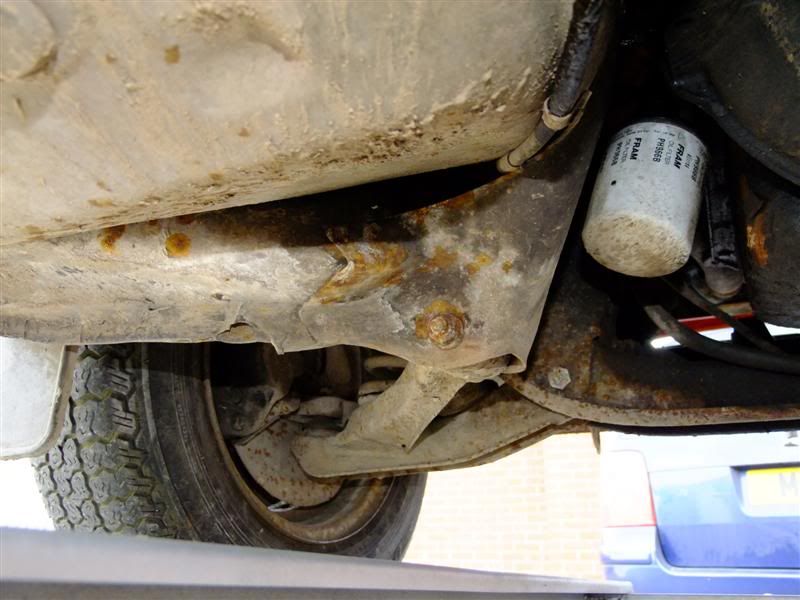
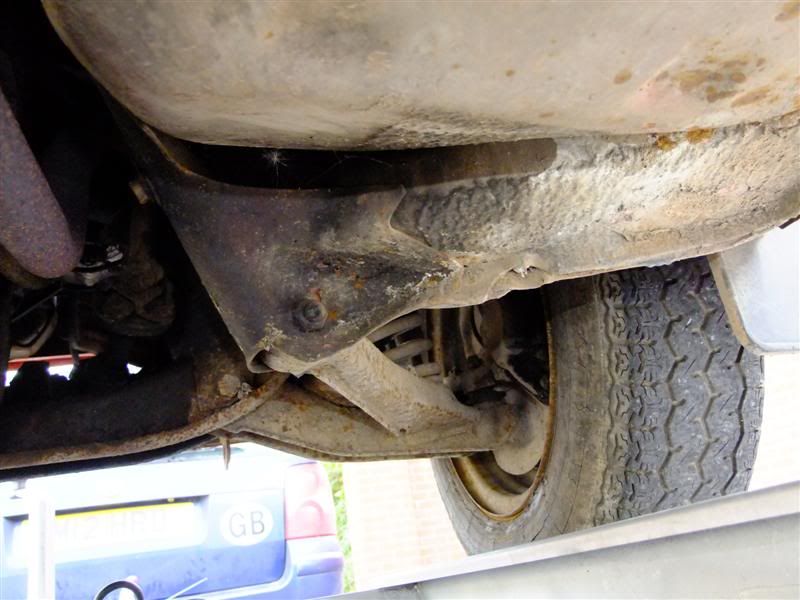
Some better shots from around the car and the grotty areas
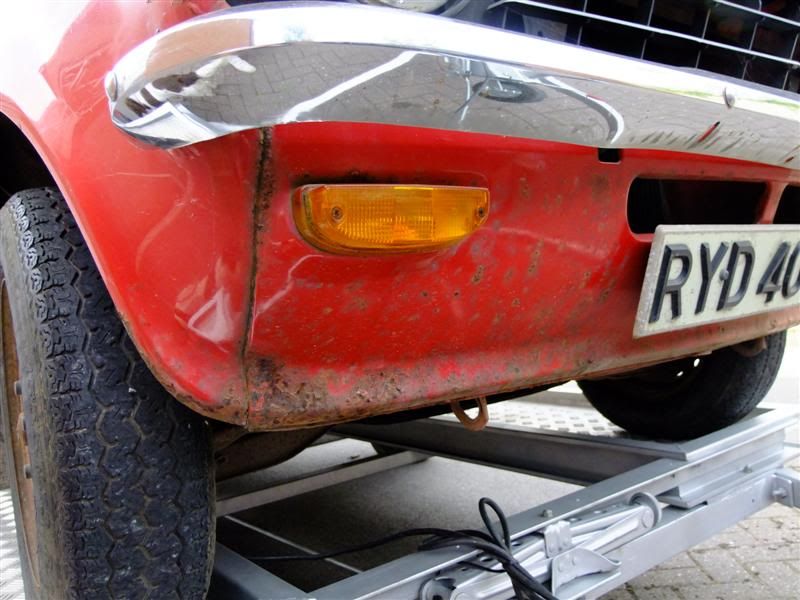
Front end
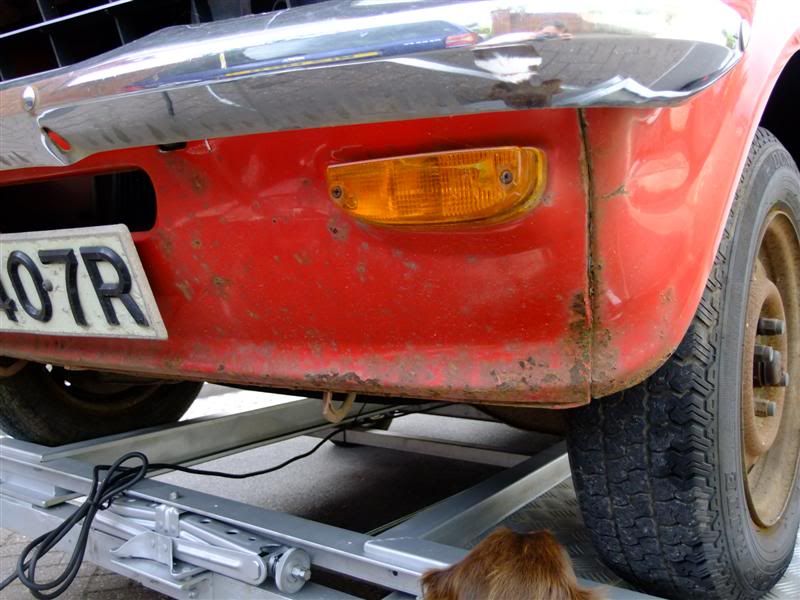
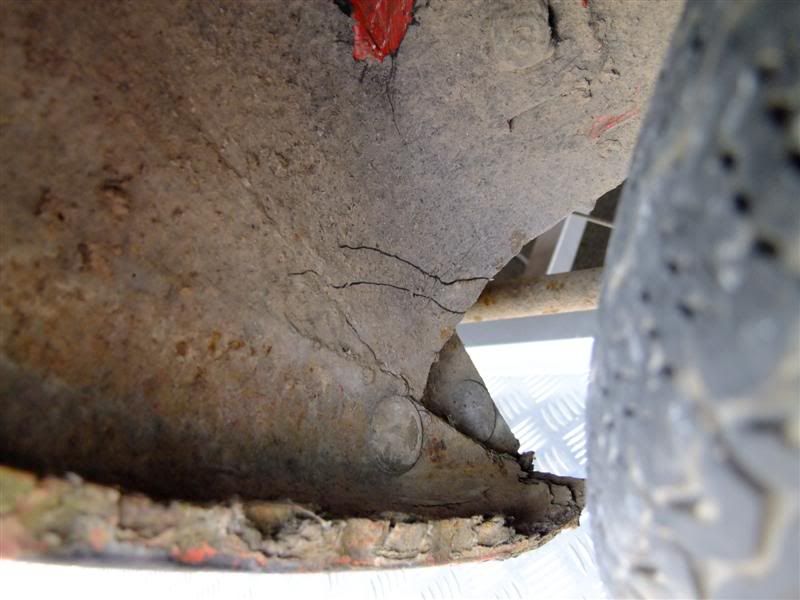
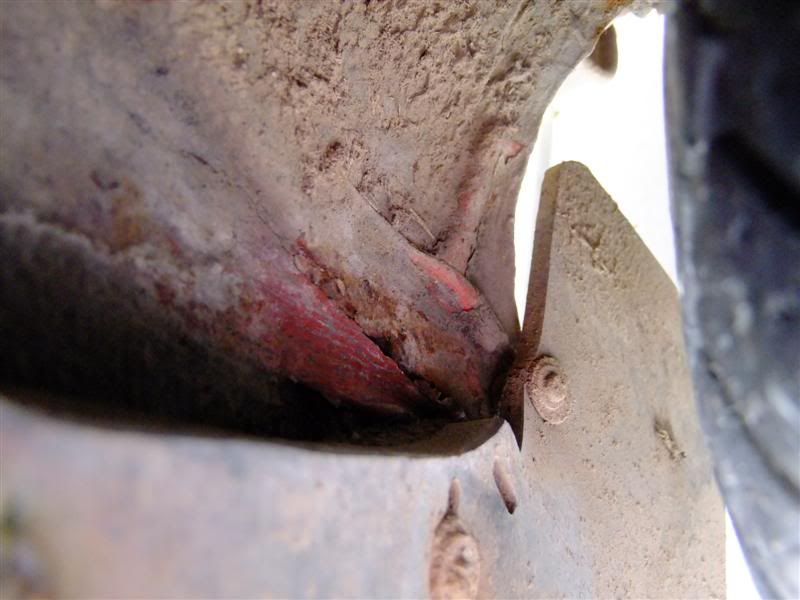
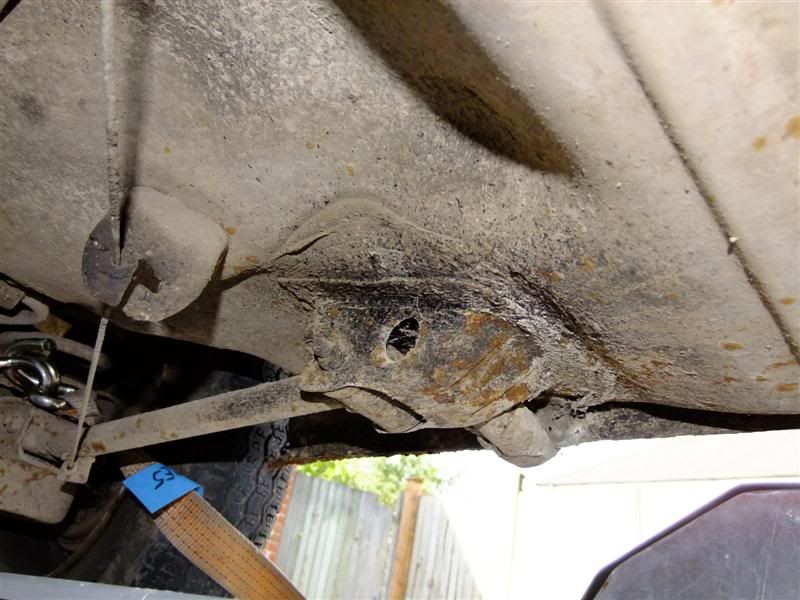
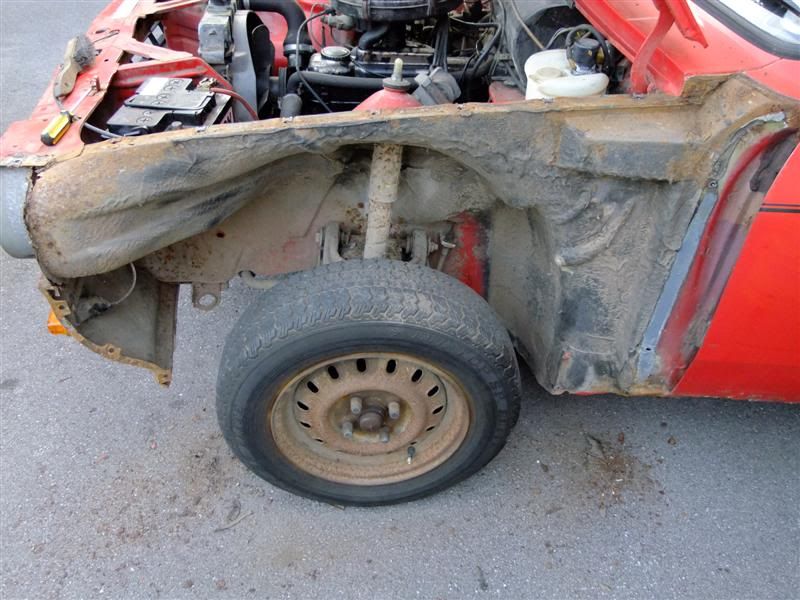
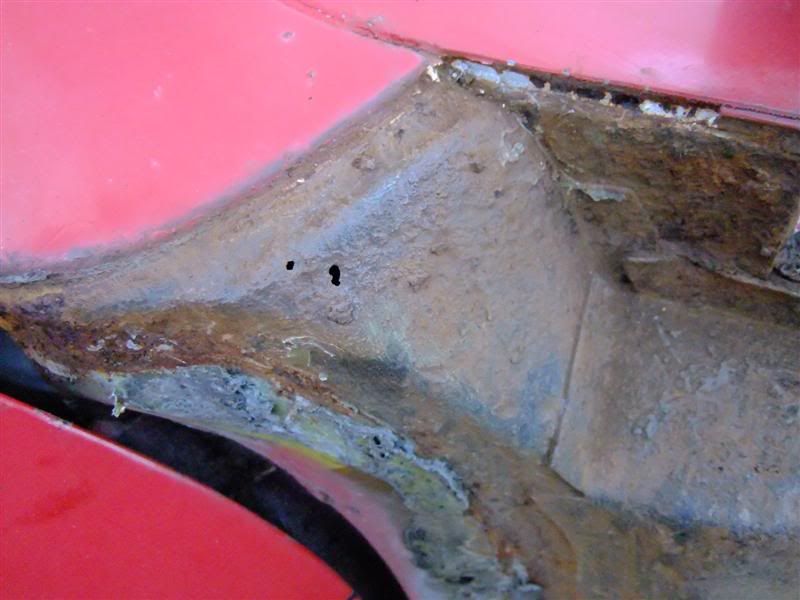
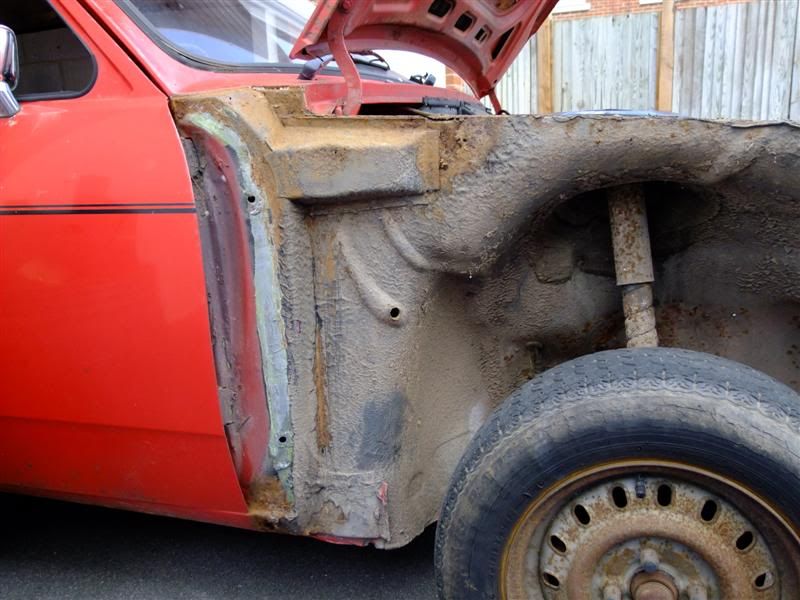
Under the front N/S arch
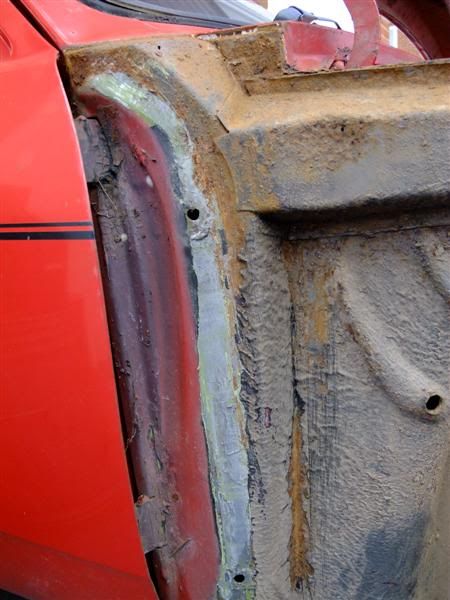
The N/S front arch, passenger door and N/S sill
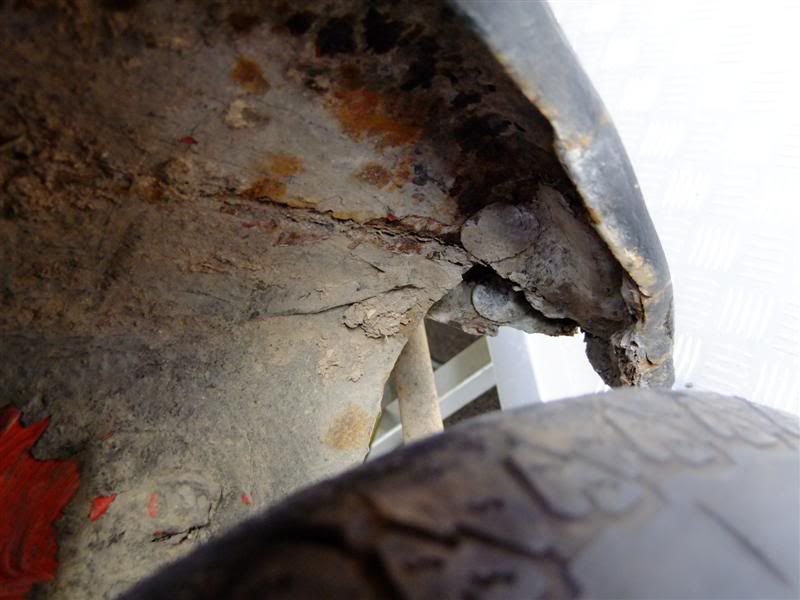
N/S rear wheel arch
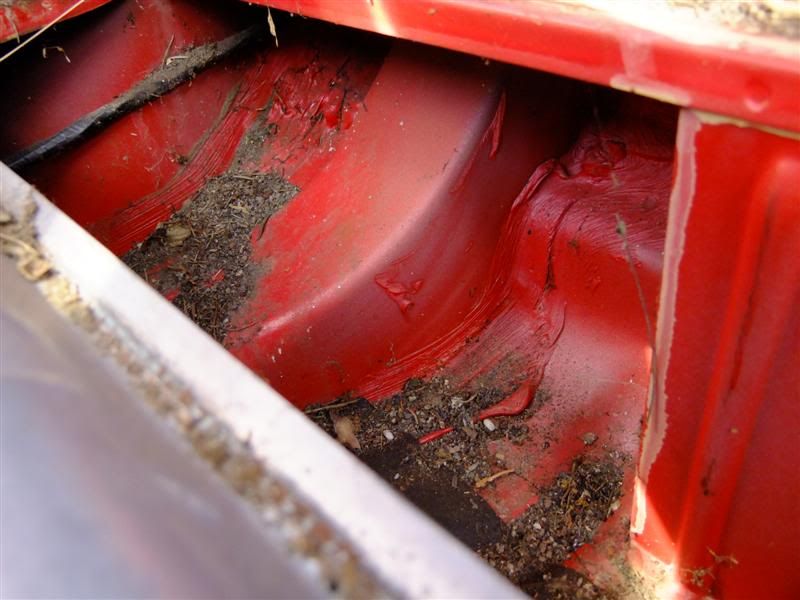
Under the filler cap...interesting
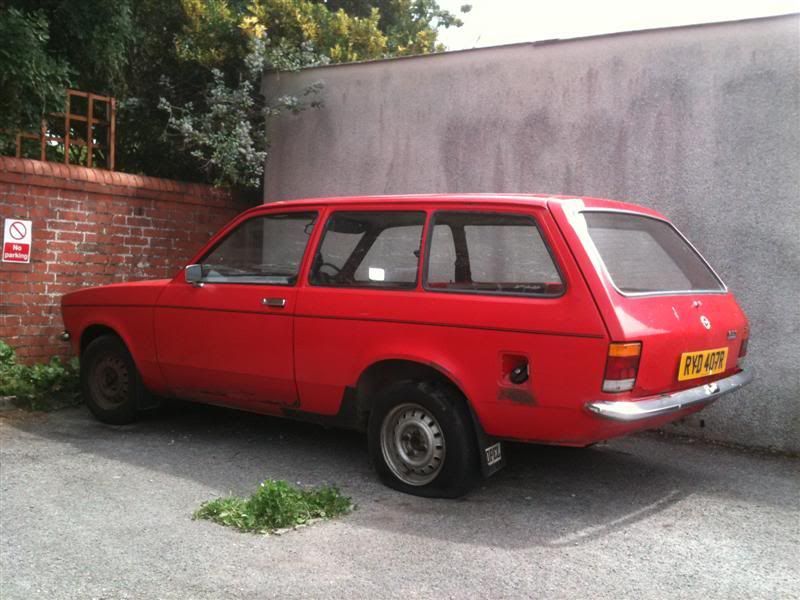
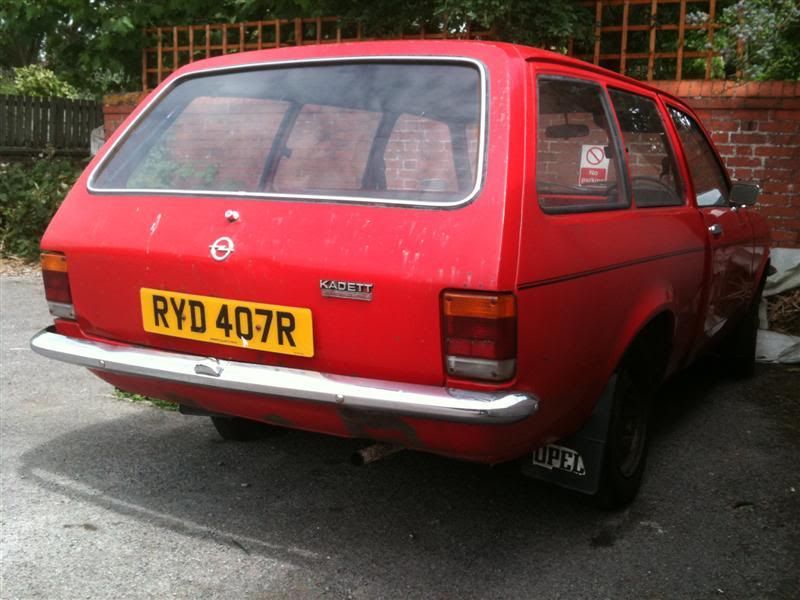
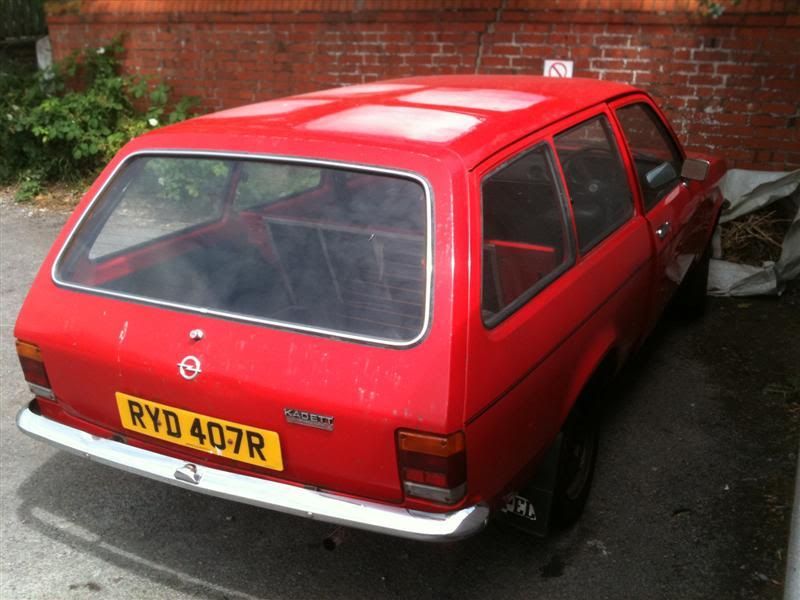
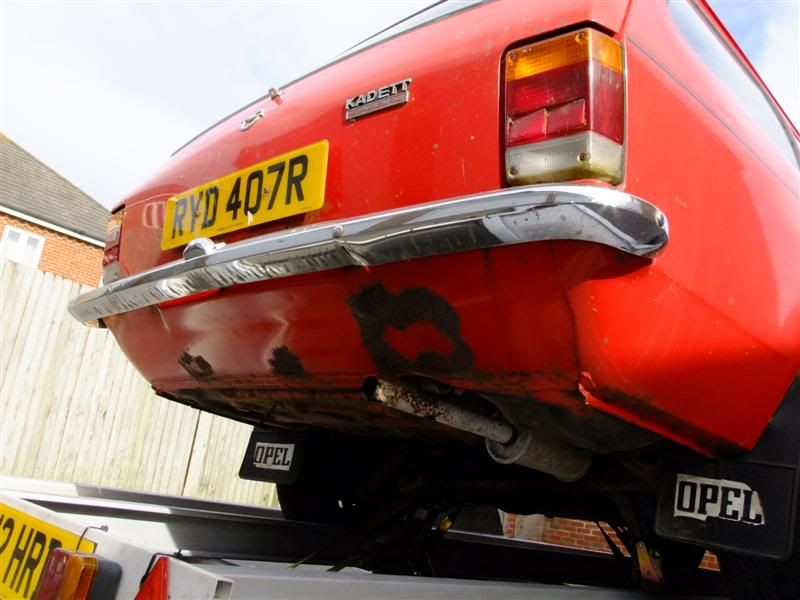
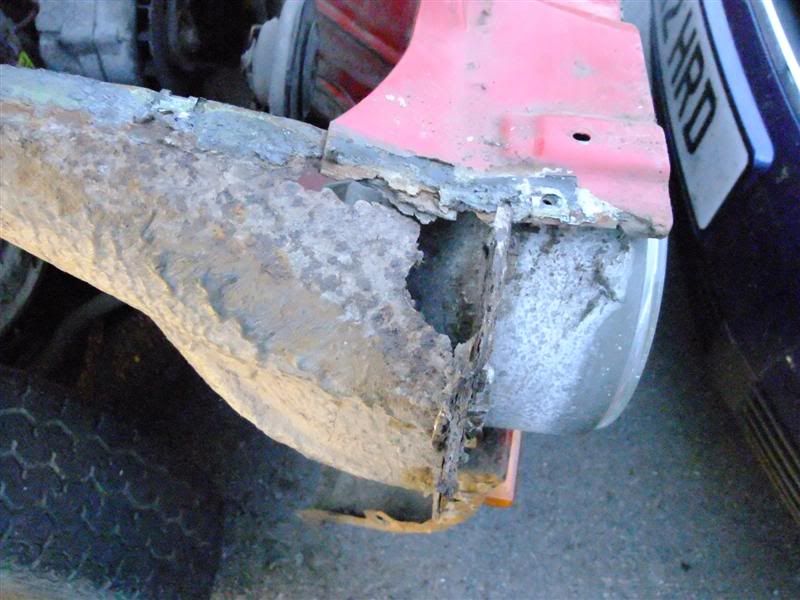
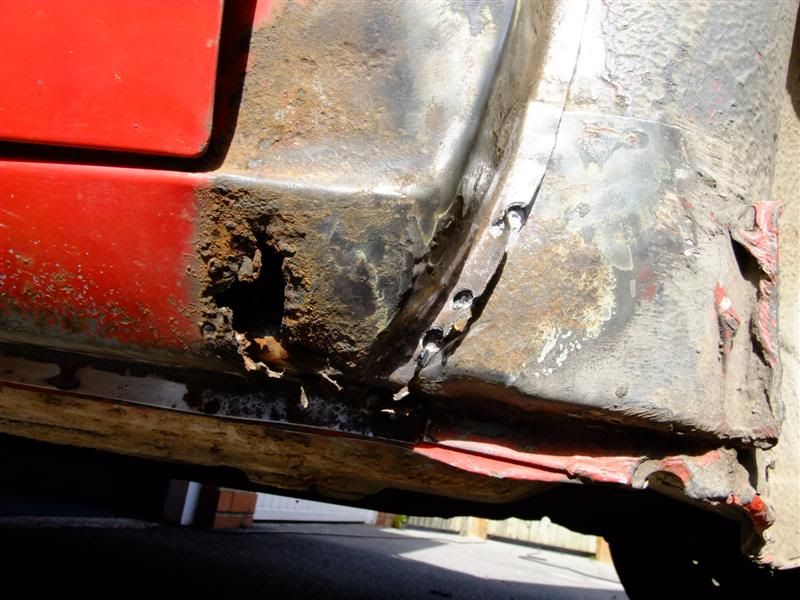
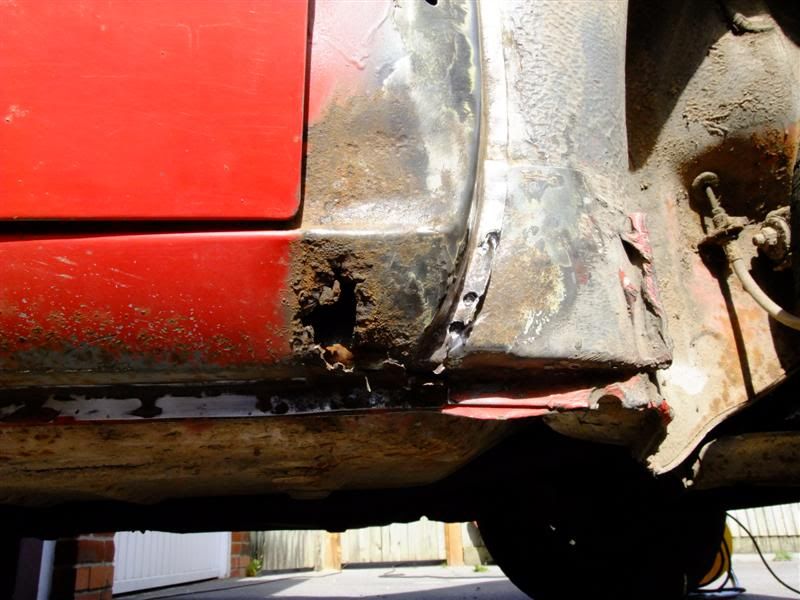
The rear end
And rear lower panel
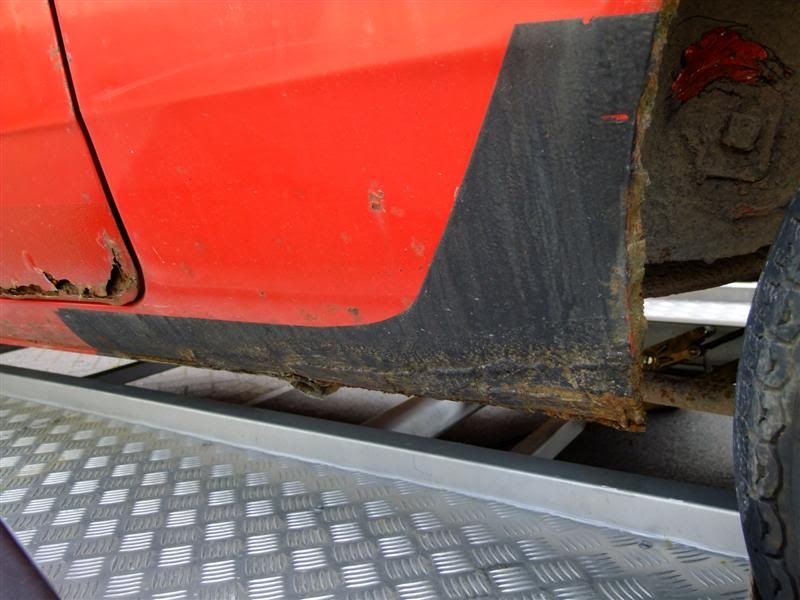
The O/S rear arch, and a poor quality repair
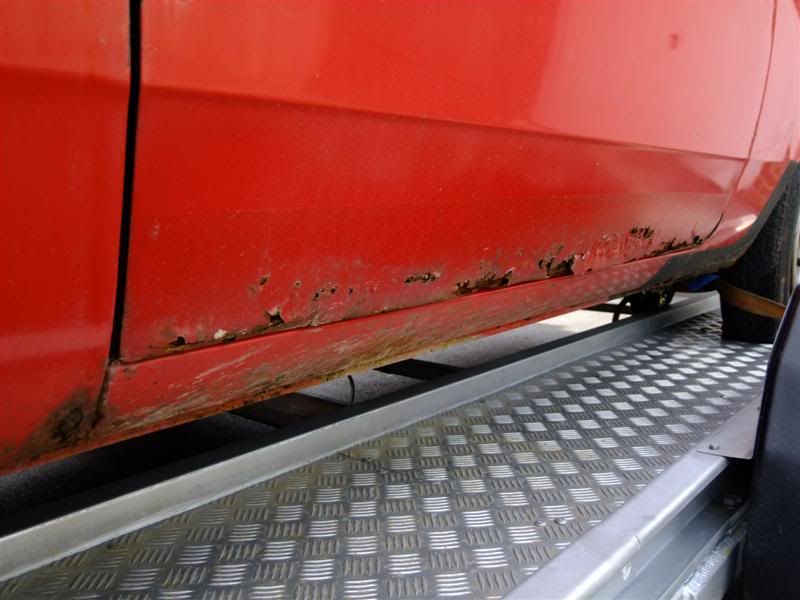
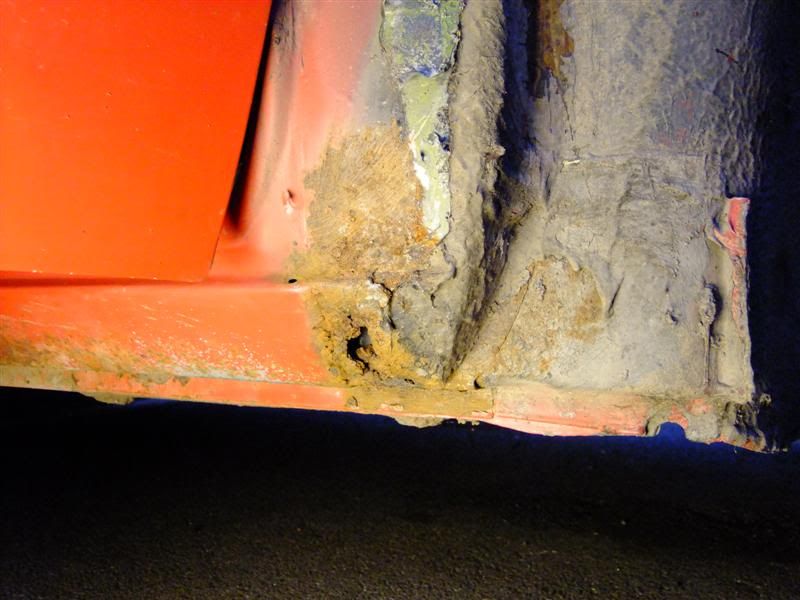
O/S sill
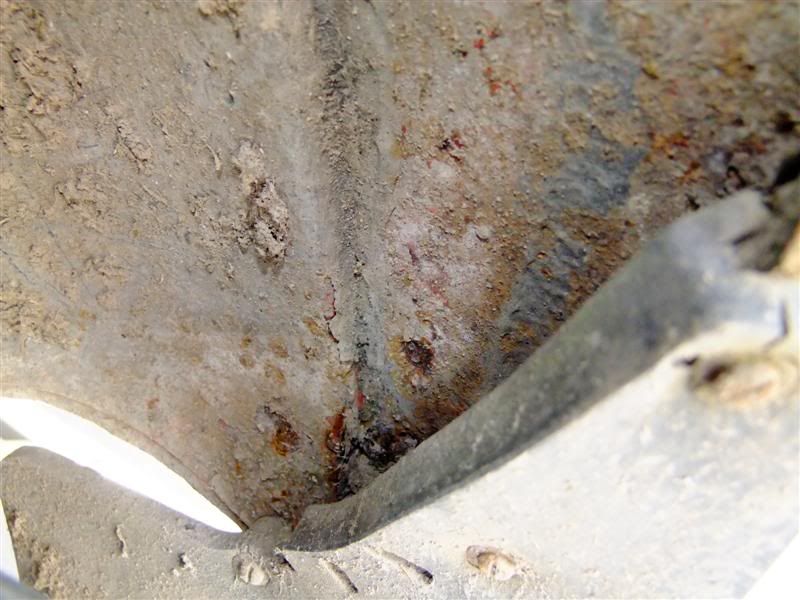
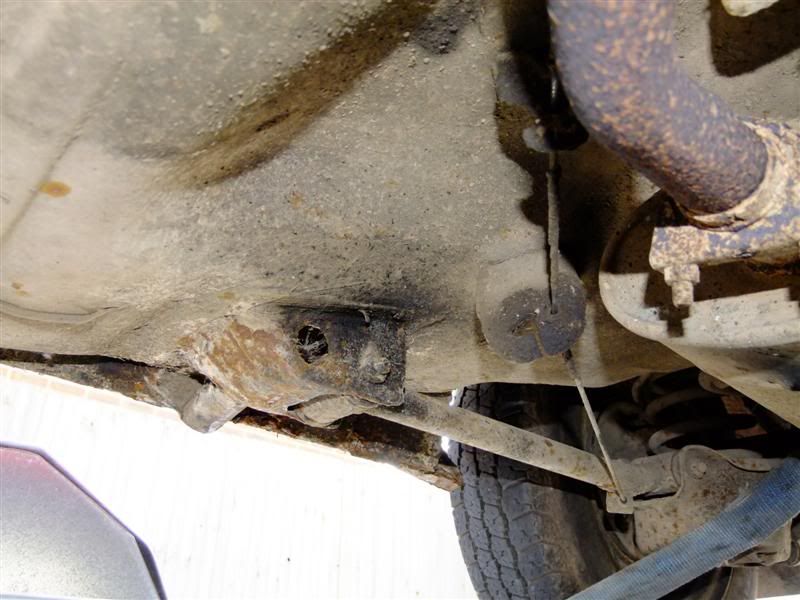
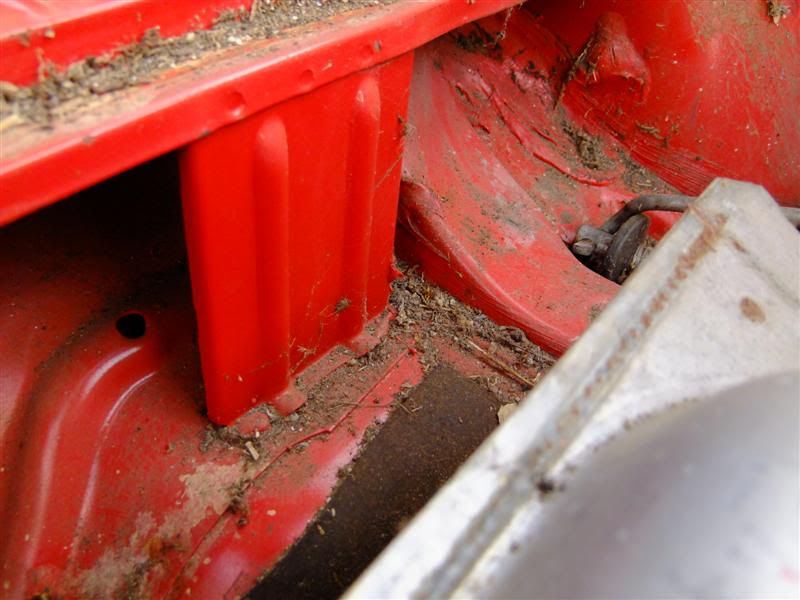
And under the O/S front arch
Here is another previous repair that wasn't done to the highest standard
Front wings...yet more repairs

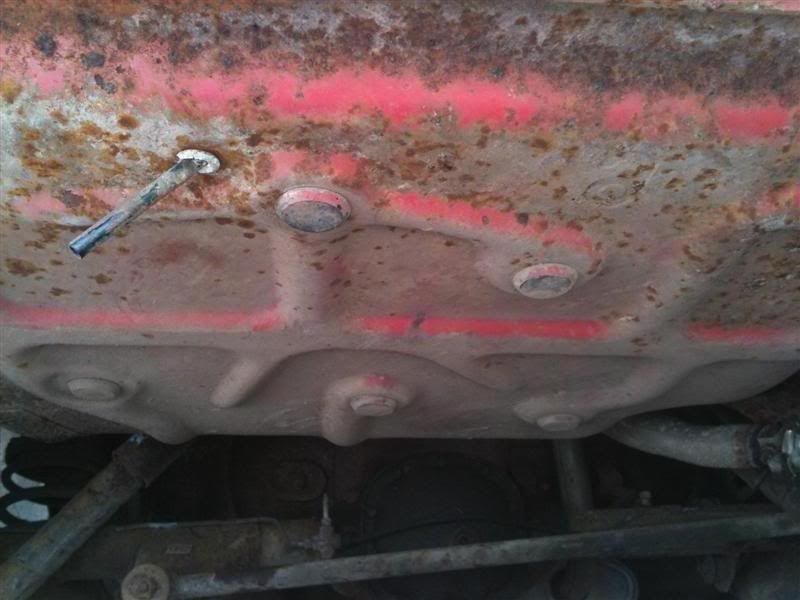
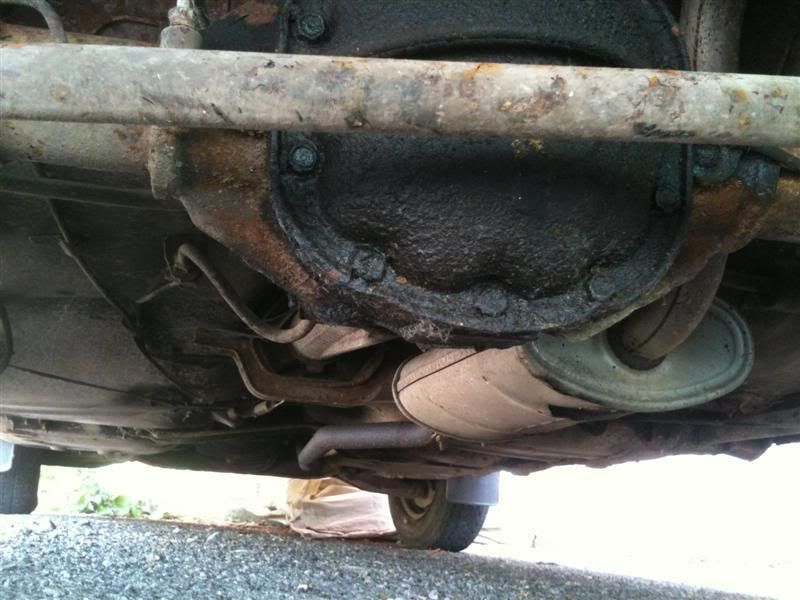
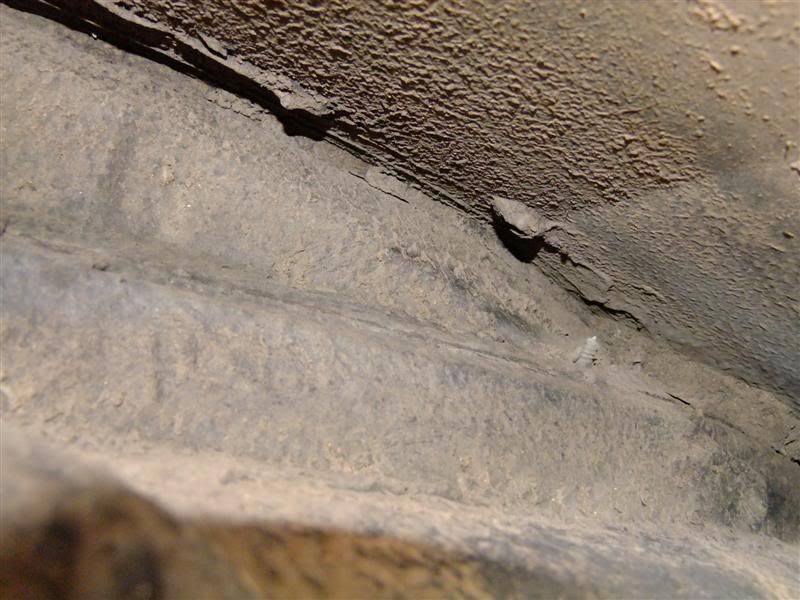
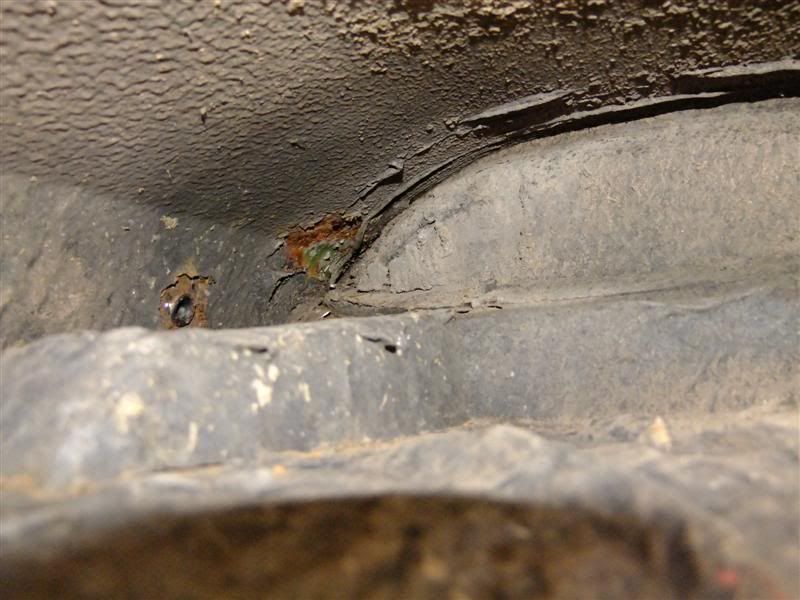
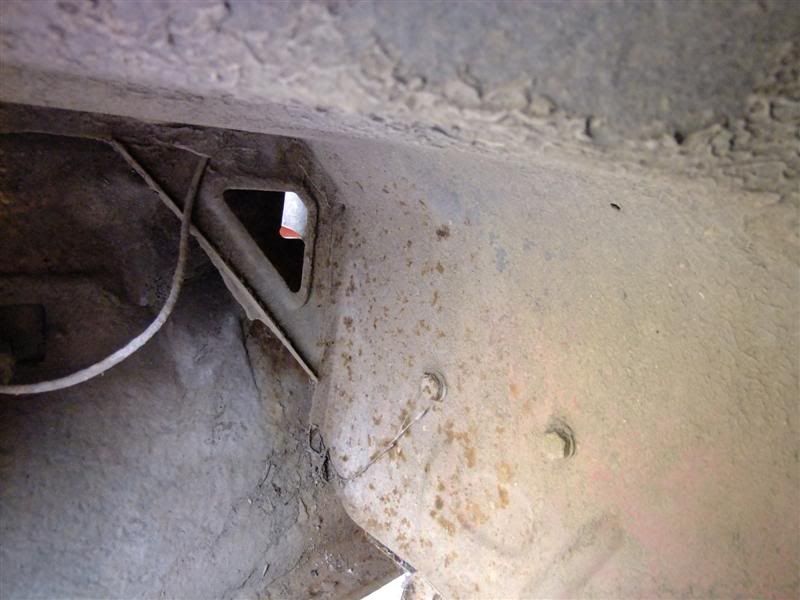
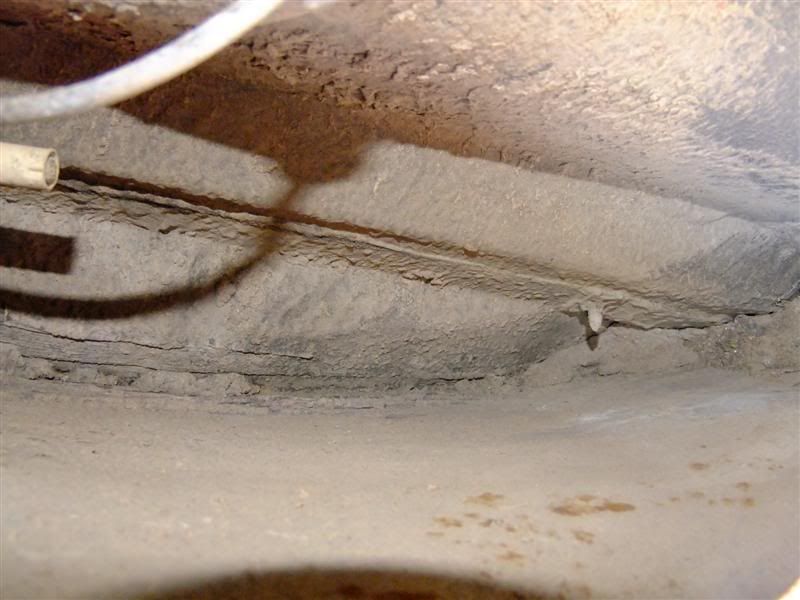
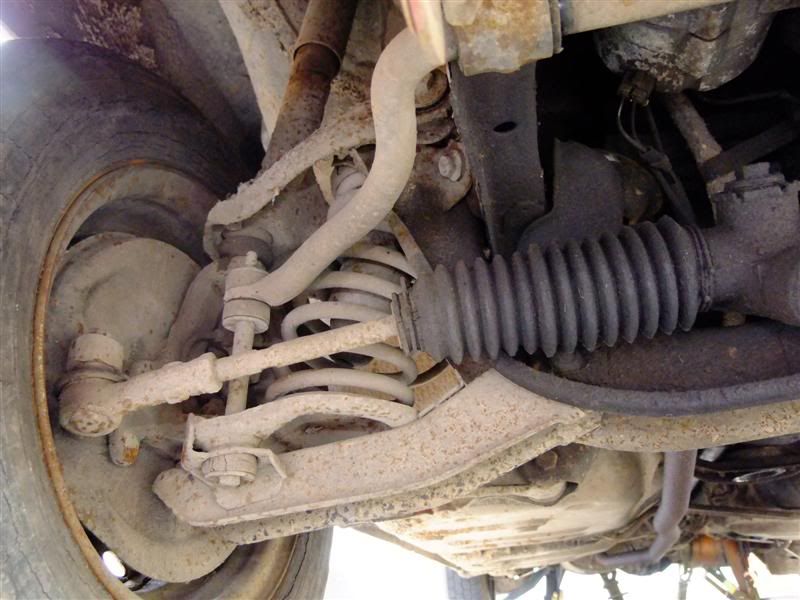
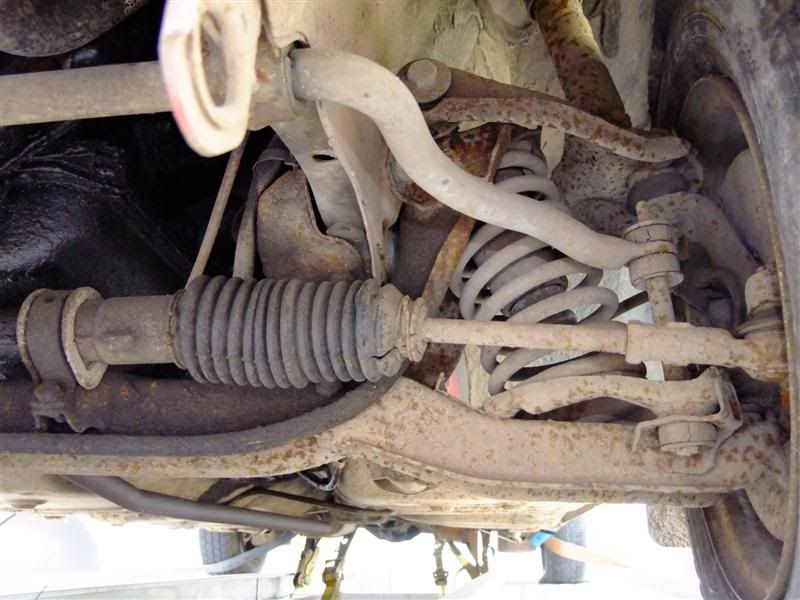
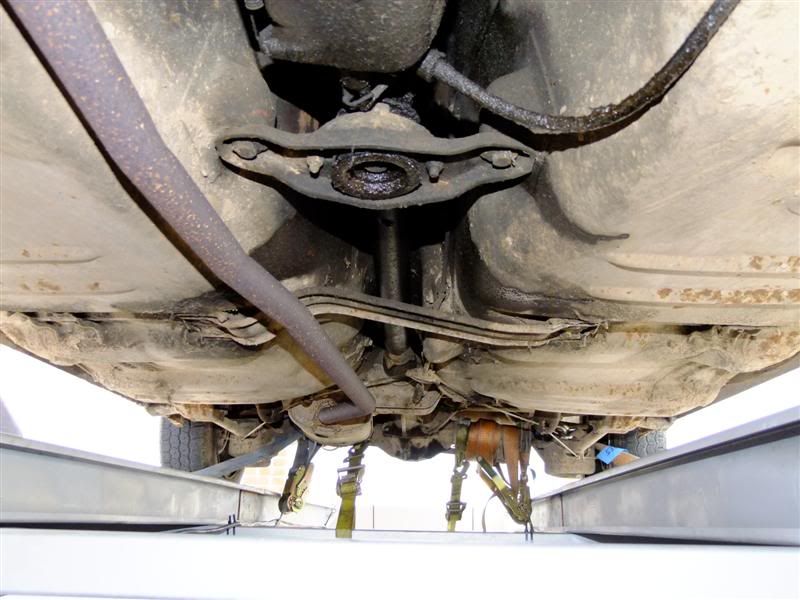
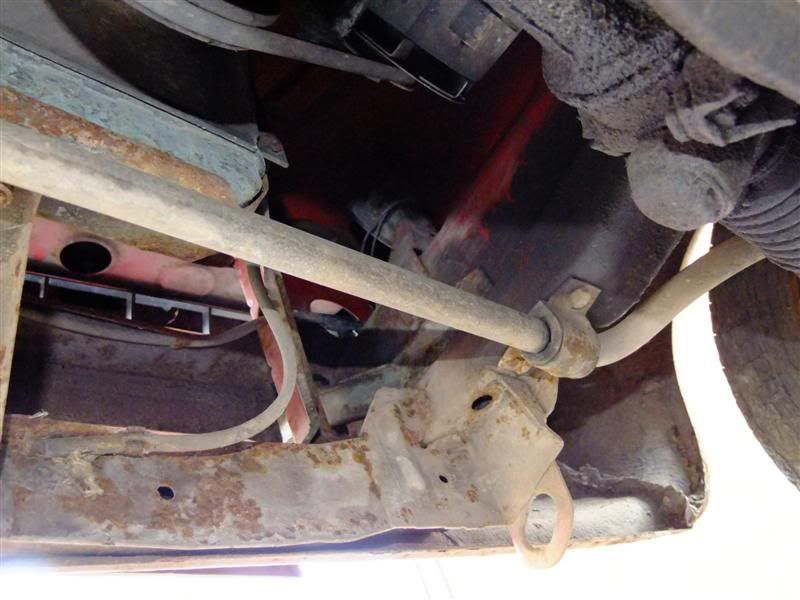
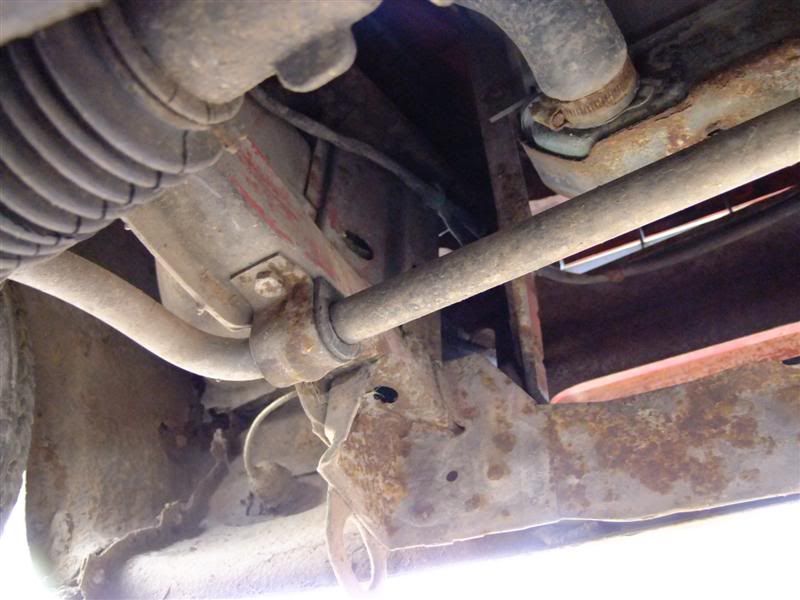
And while the car was on the trailer I thought I would be rude note to get some from underneath
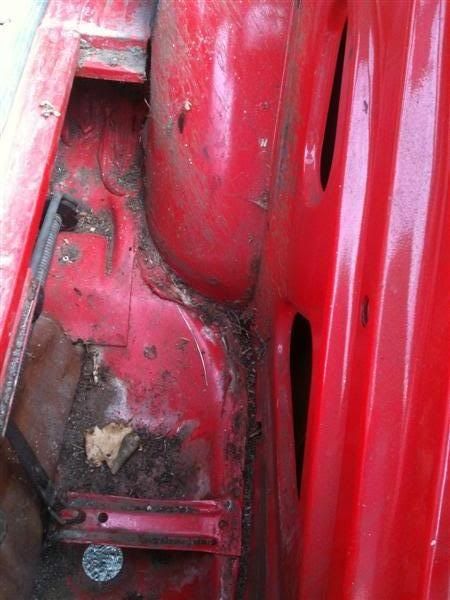
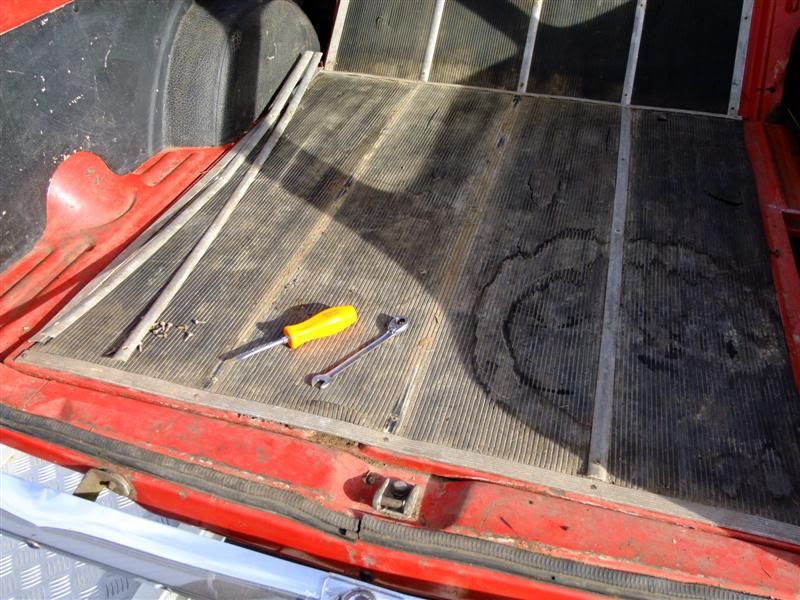
I continued my initial route around and decided to investigate what was under the rubber covering in the boot
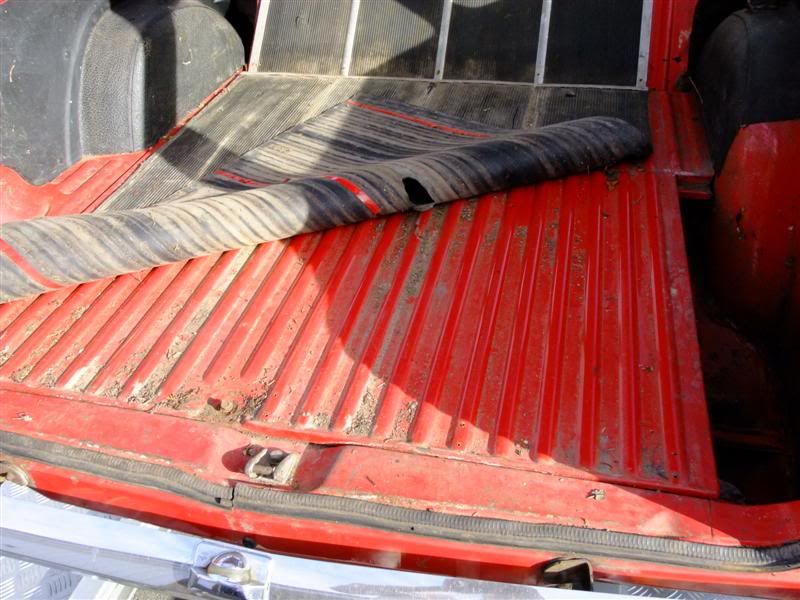
I think some thing has been living here!
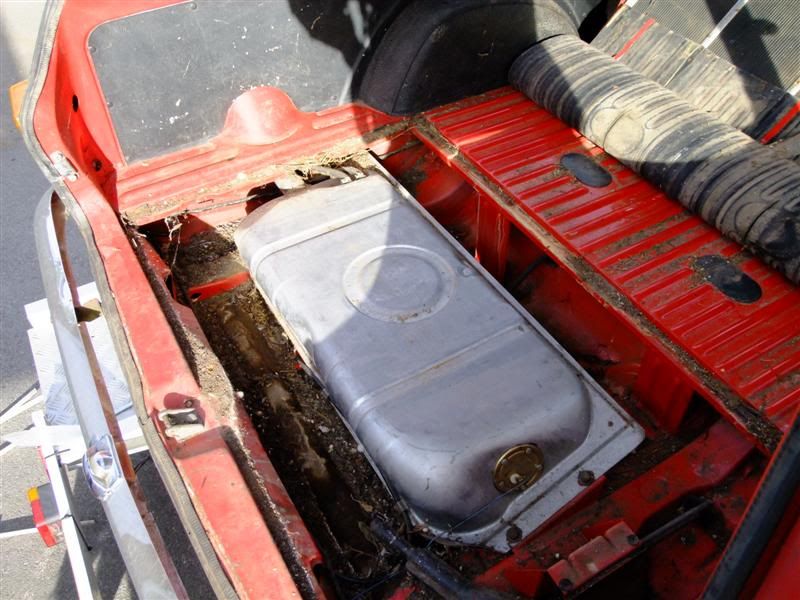
It looks clean enough
And of course Dotty the dog who appears to like my new investment
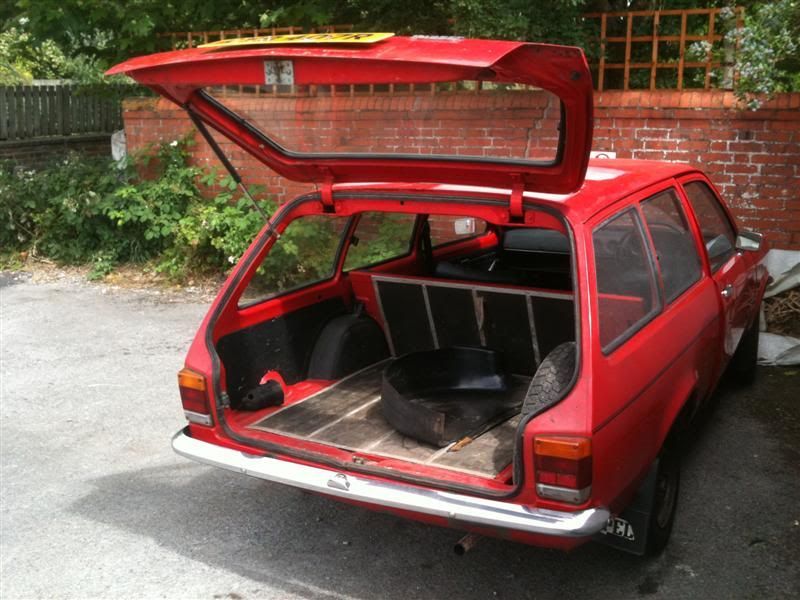
I was pleasantly surprised with the amount of space available with the seats down
Now I just needed to get all this including the trailer
In my single garage
Simples!
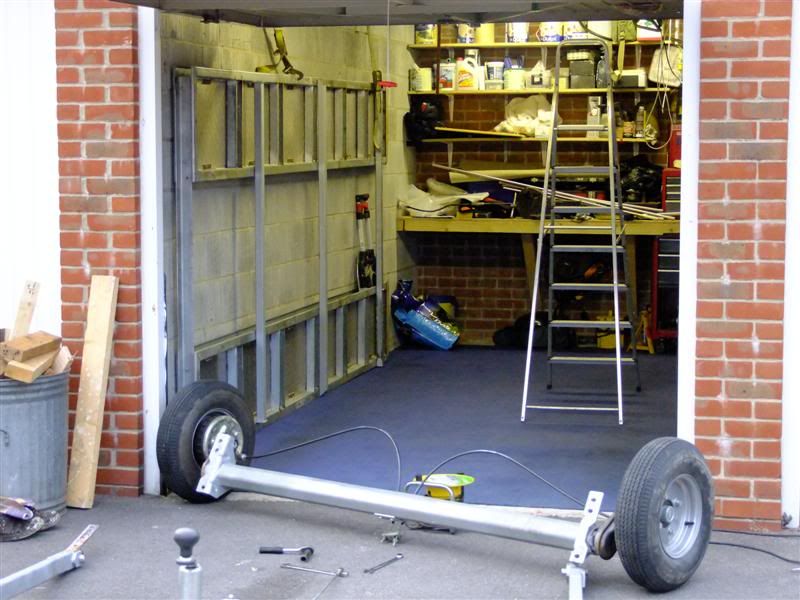
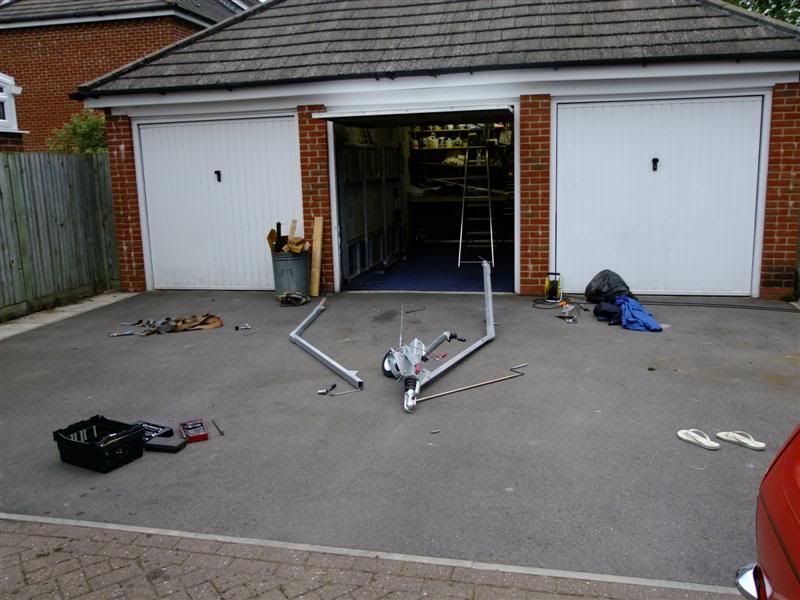
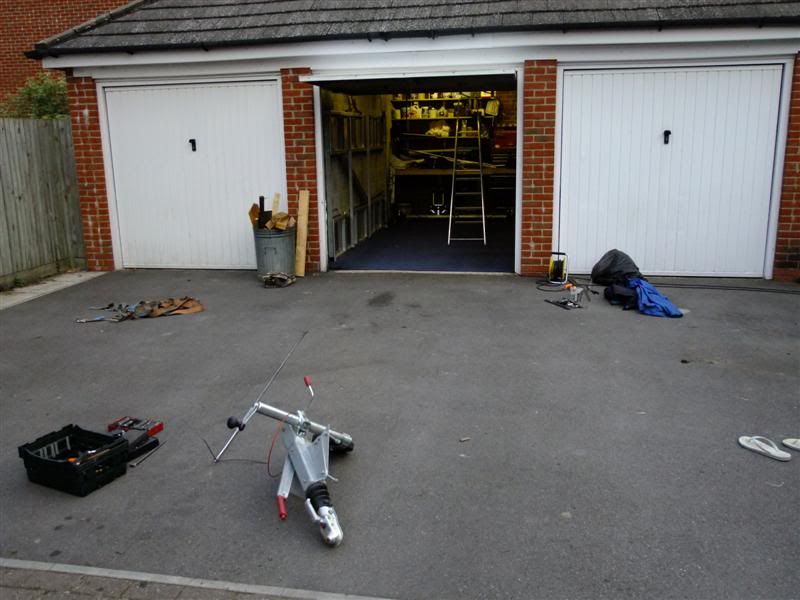

All swallowed
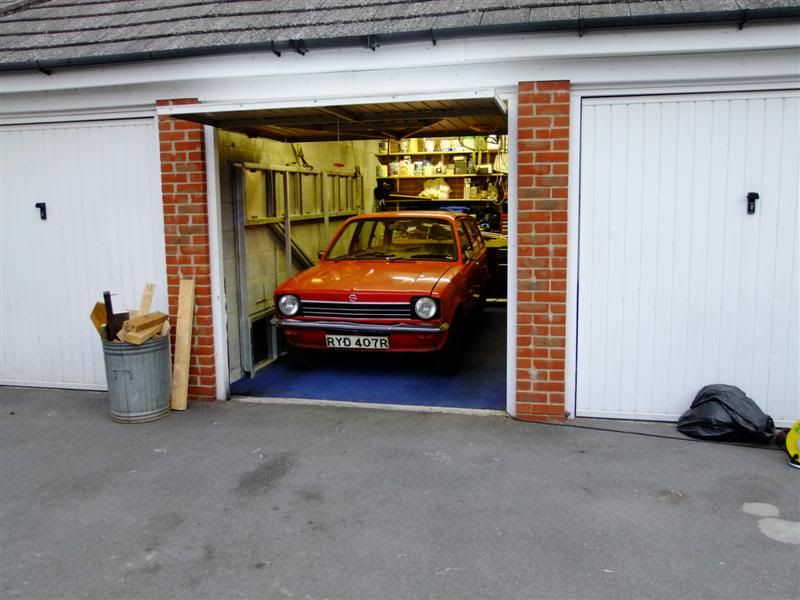
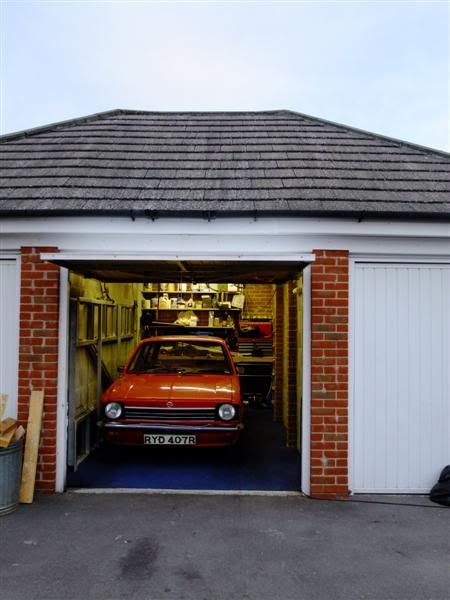
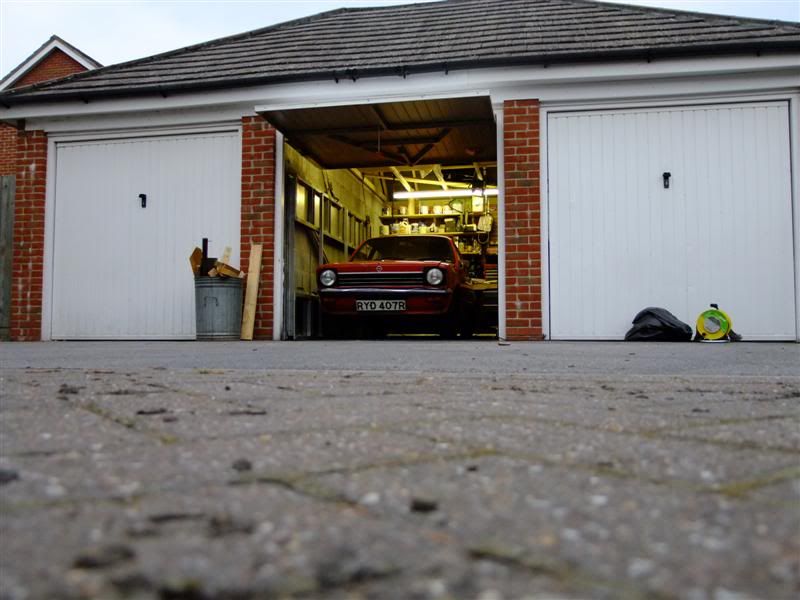
All in all I think it could be a lot worse
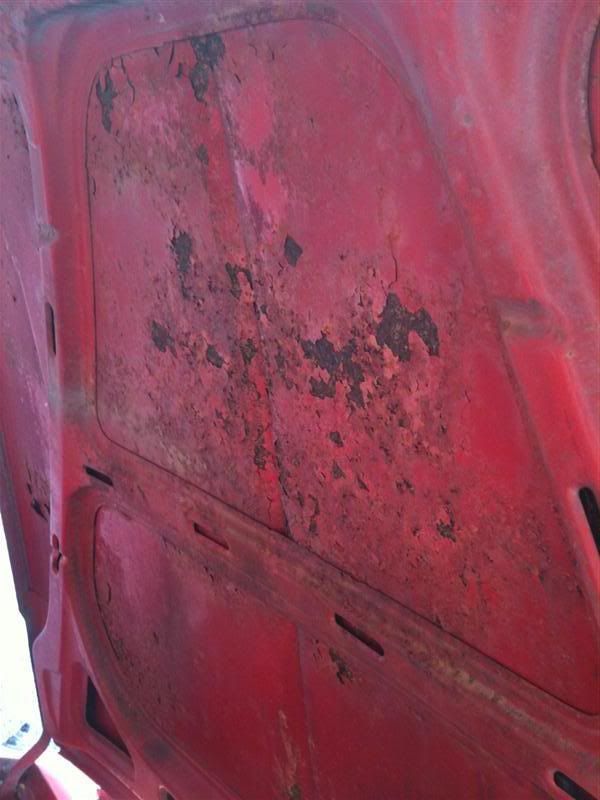
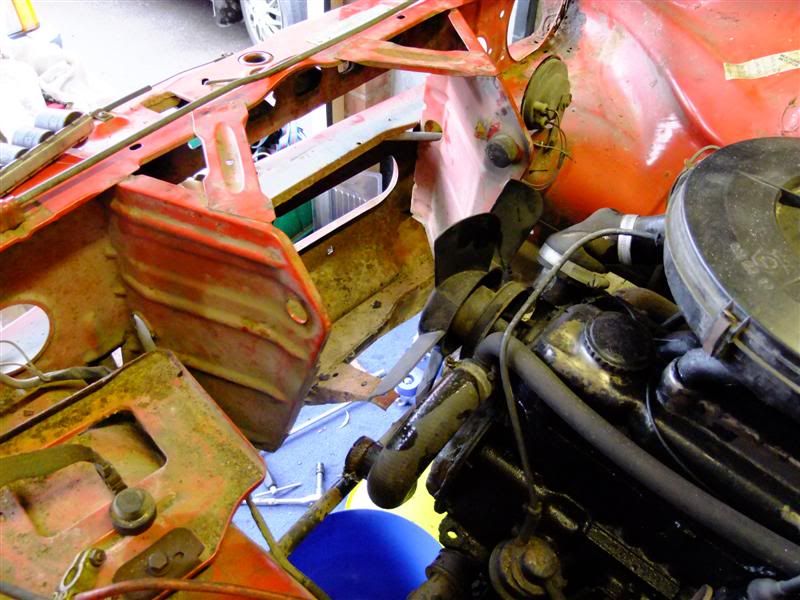
Once the Kadett was home and settled I decided to start having a poke around the car to see what was actually hiding and what I was going to need to fix it
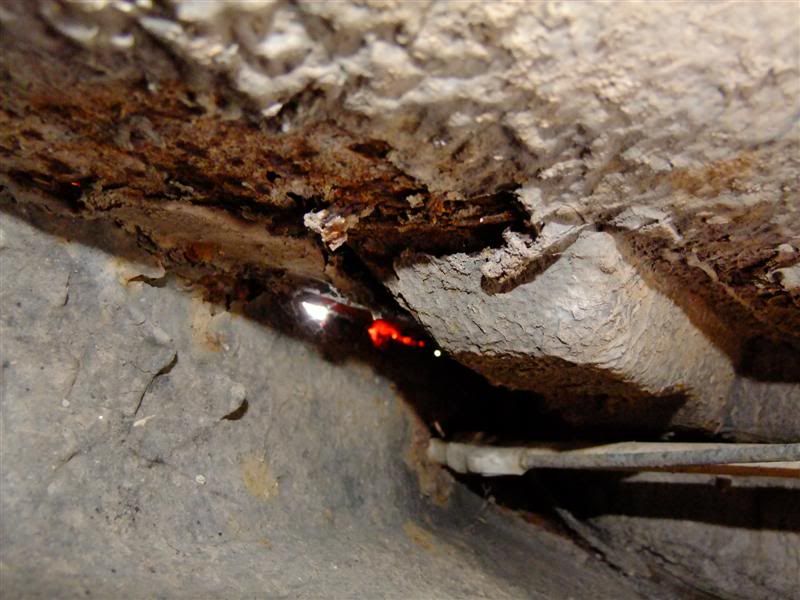
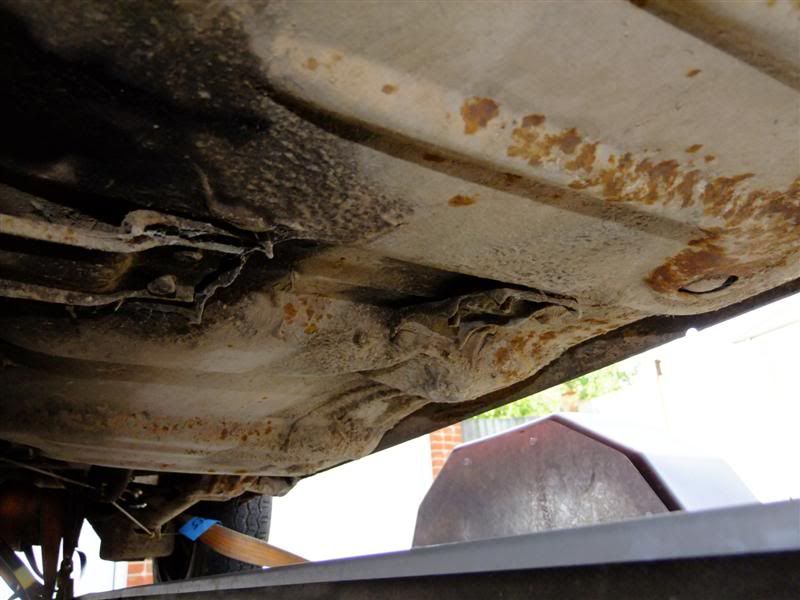
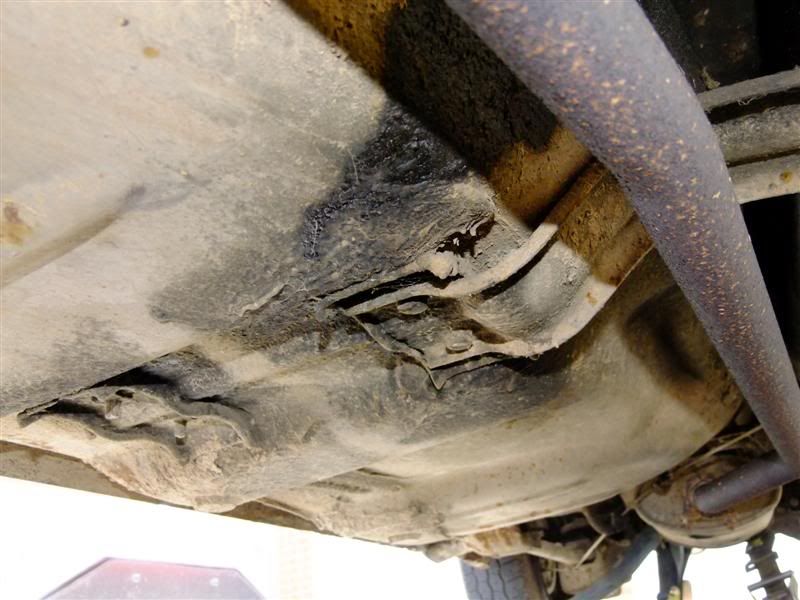
Initial signs of crispiness
Front bumper off
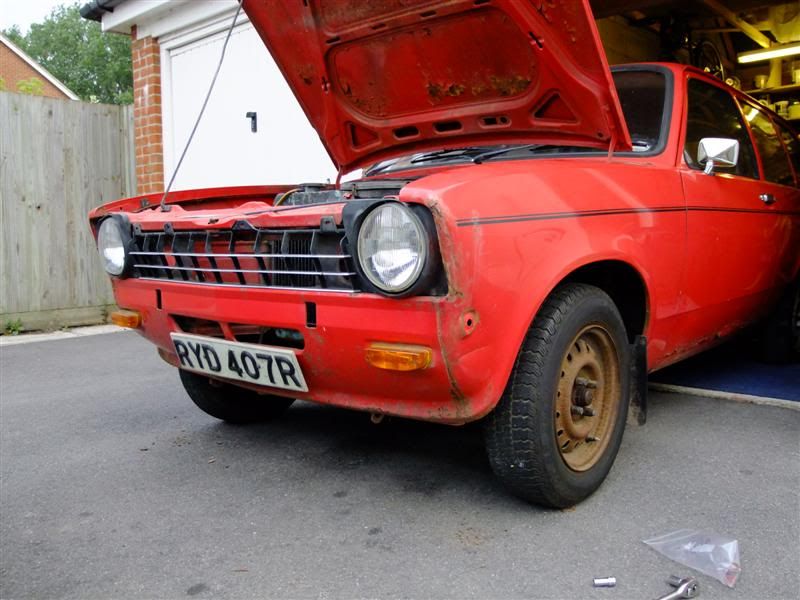
A look under the dash on the N/S as I was removing the wing bolts
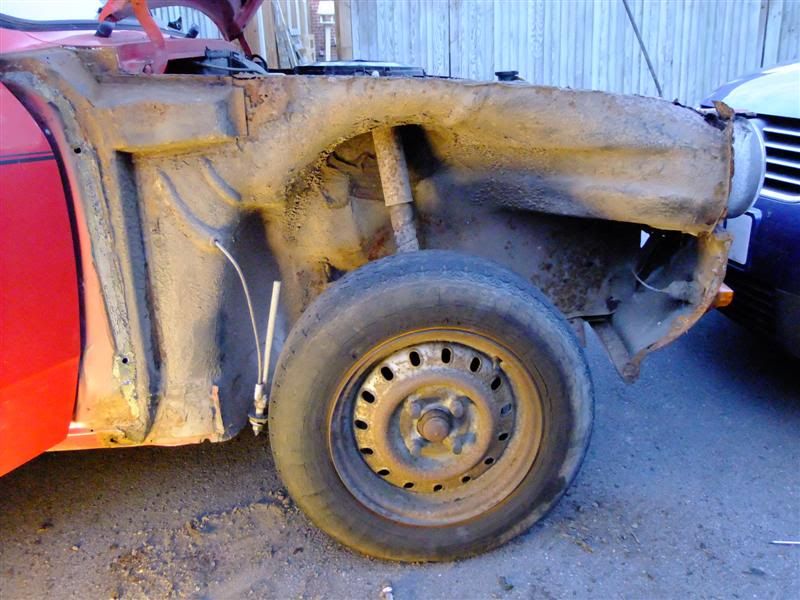
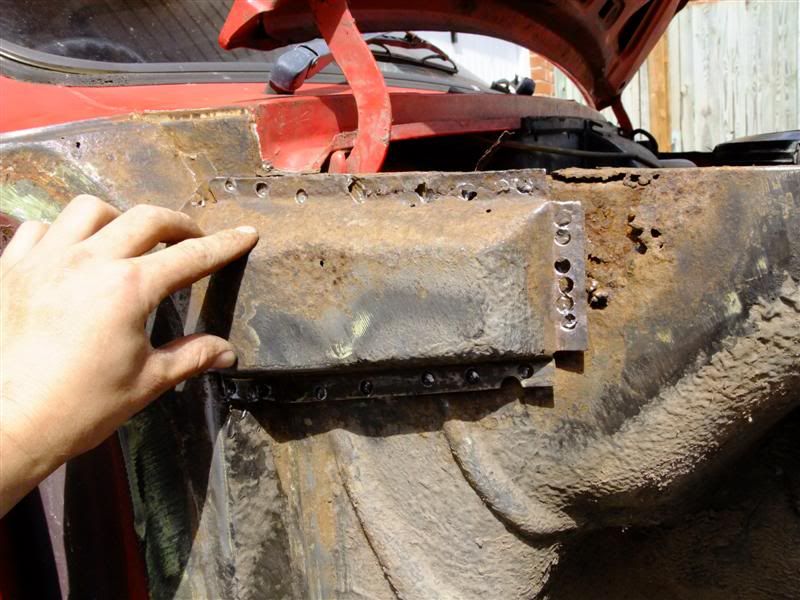
N/S wing off
A little curse word up the front here

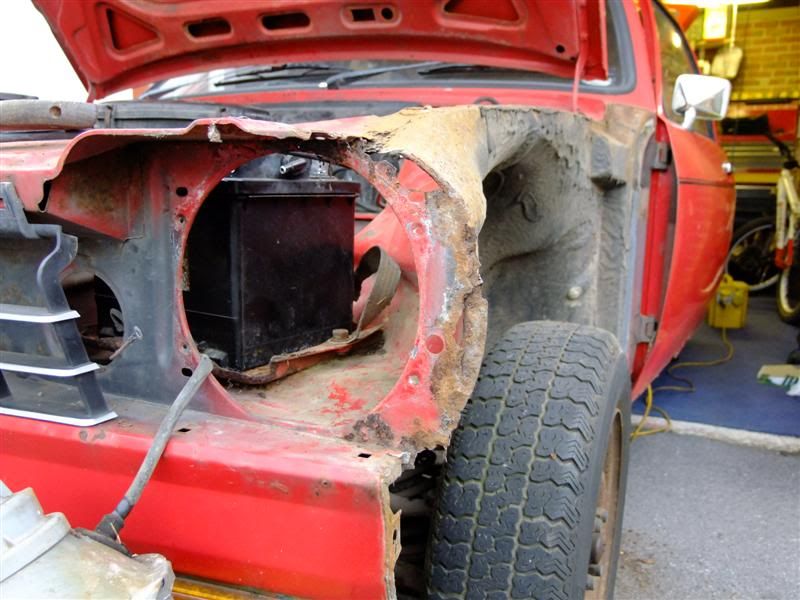
And a dead wing
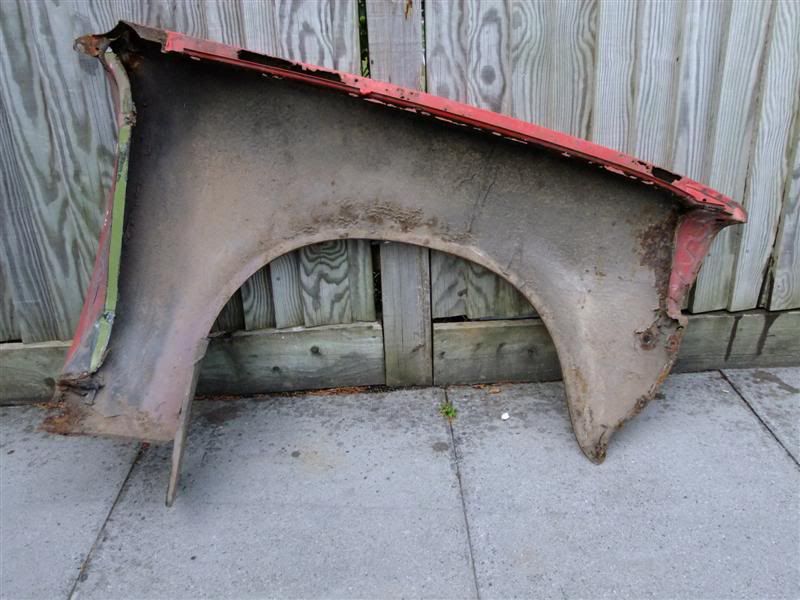
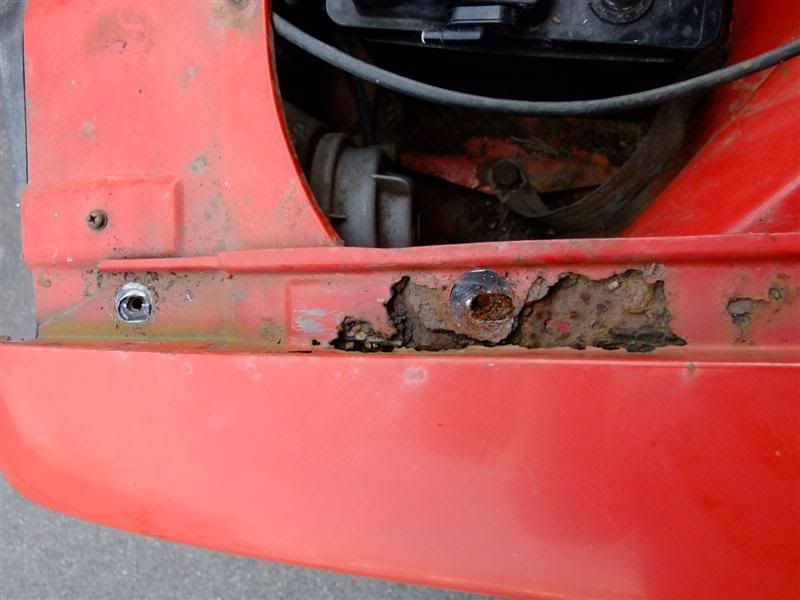
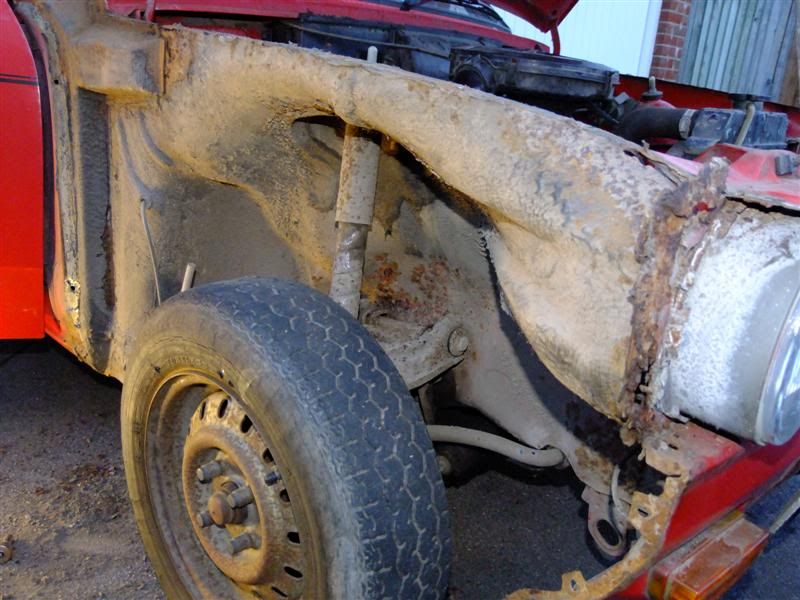
O/S wing off and a similar story here too
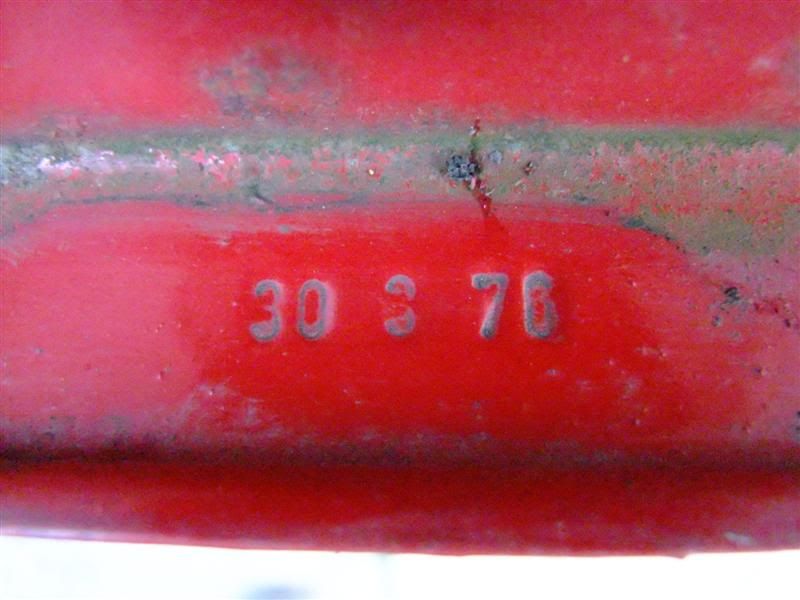
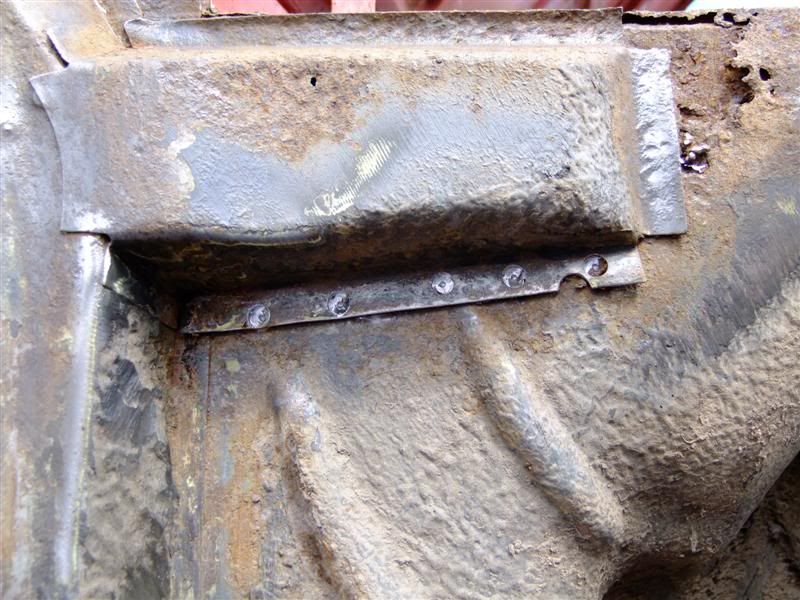
Not too bad considering the date of manufacture
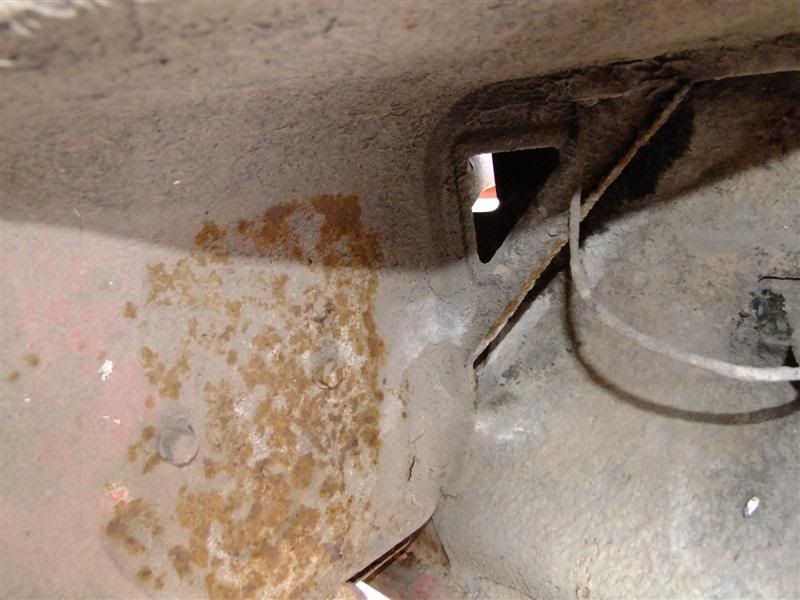
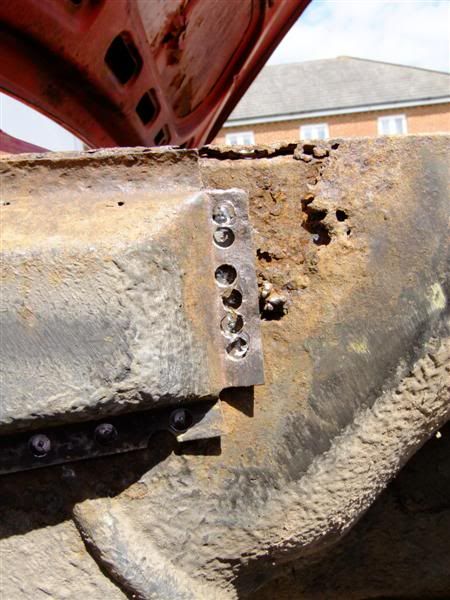
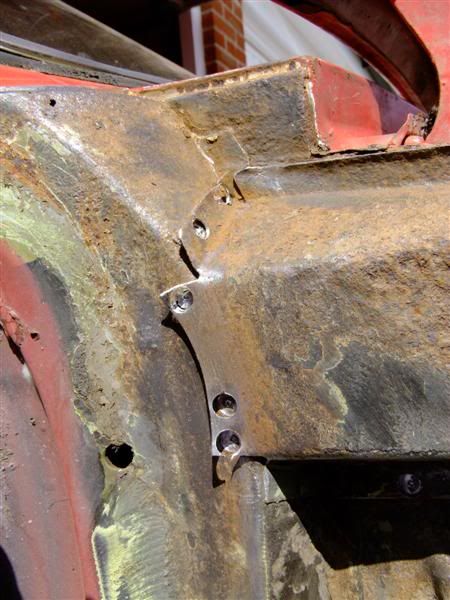
There were a few other areas hiding on the O/S under the wing but I had spotted them previously
Here
Here
Here
And there
Once I had sussed out exactly what was needed I started to strip the car down a little more (bearing in mind I space is tight so I cant go mad) and started removing rot.
Here are some pics
I started here
Removed the wing sealer
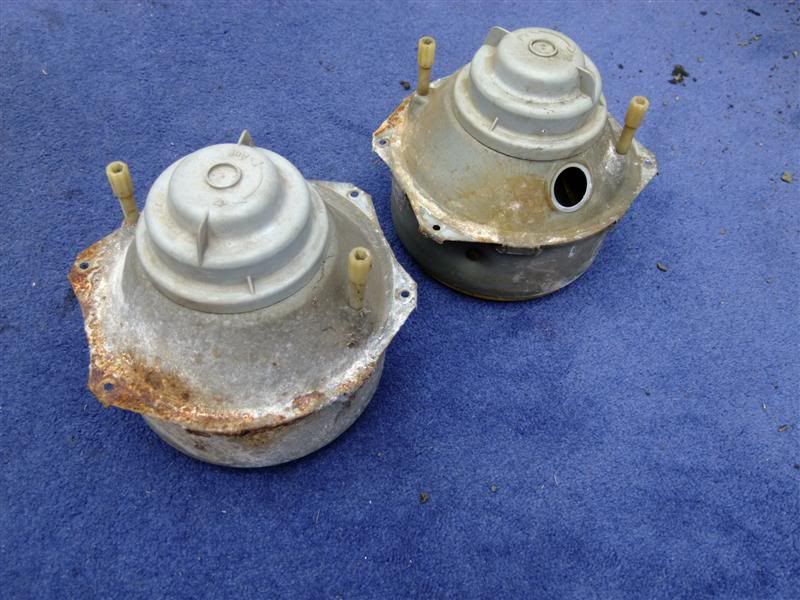
Head lights out ready to be cleaned up

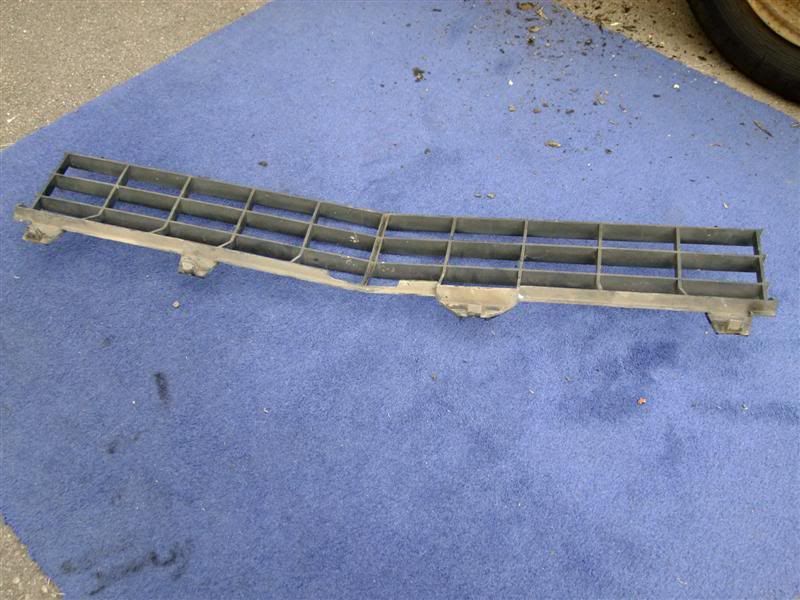
Front grill out without breaking any clips thankfully
Some wire wheel action to remove yet more crud etc

And on to attack the spot welds when I could find them that was as they were well hidden. Even rubbing the area back with sand paper, the wire wheel and a scotch brite disk didnt prove that helpful.
And off
Heres the area after a little more cleaning - no further nasties found

I started on the bottom of the sill too but unfortunately ran out of time
This then brings us up to last weekend when I got a good stint on the car.
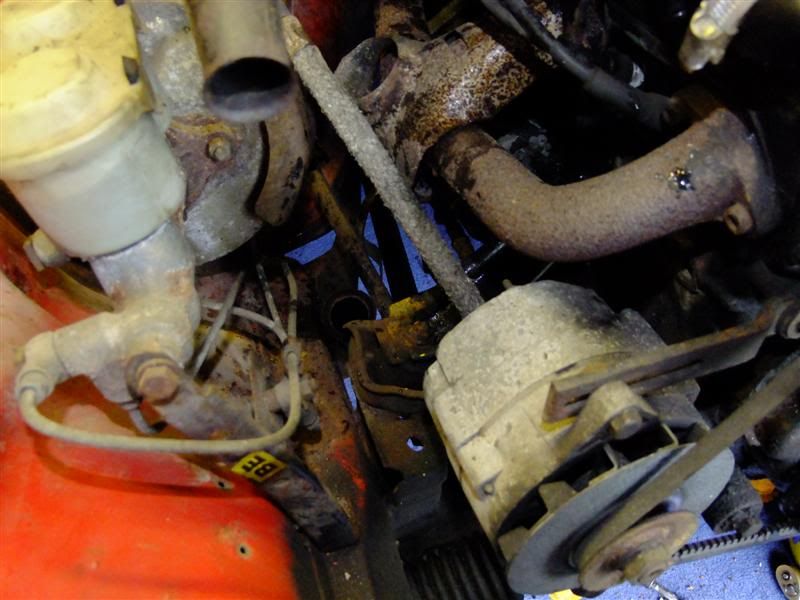
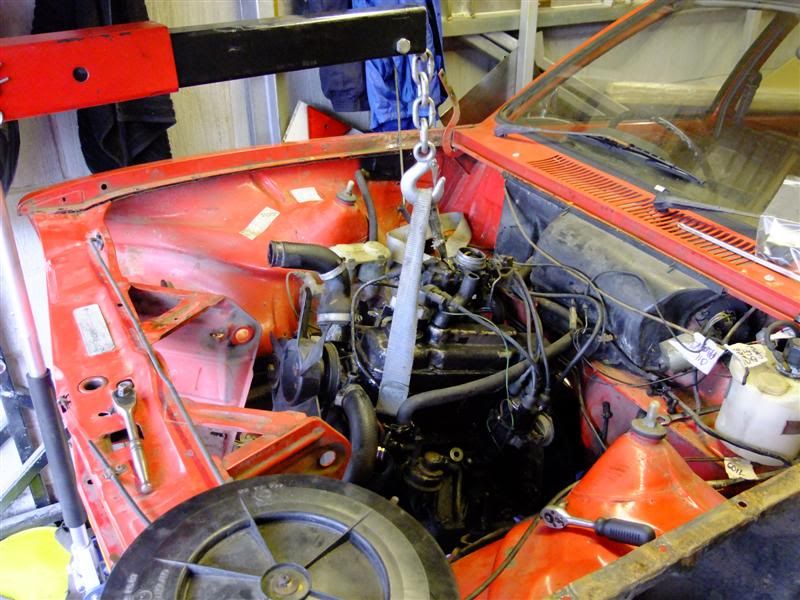
I got the car up in the air and started to strip the engine down
Coolant drained then rad out
Disconnected the few wire that there are
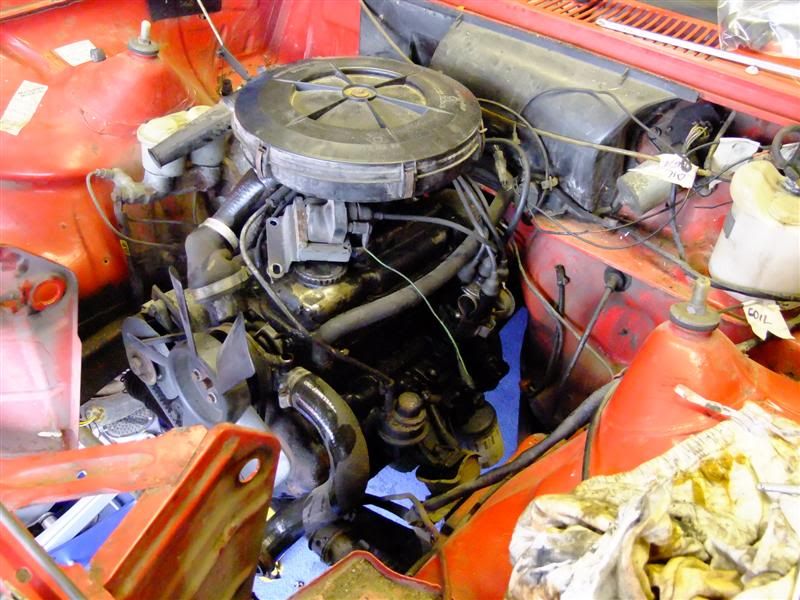
Exhaust off and gearbox disconnected
Then engine out
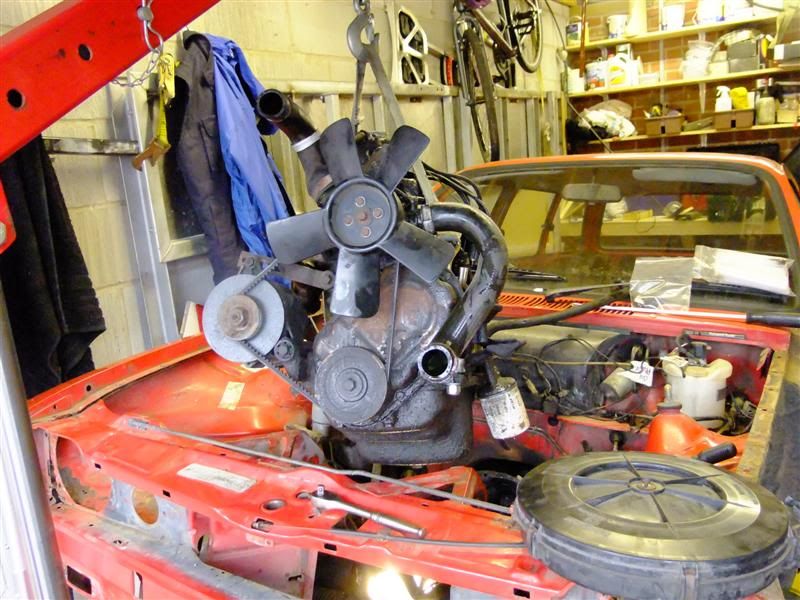
Leaving me with this
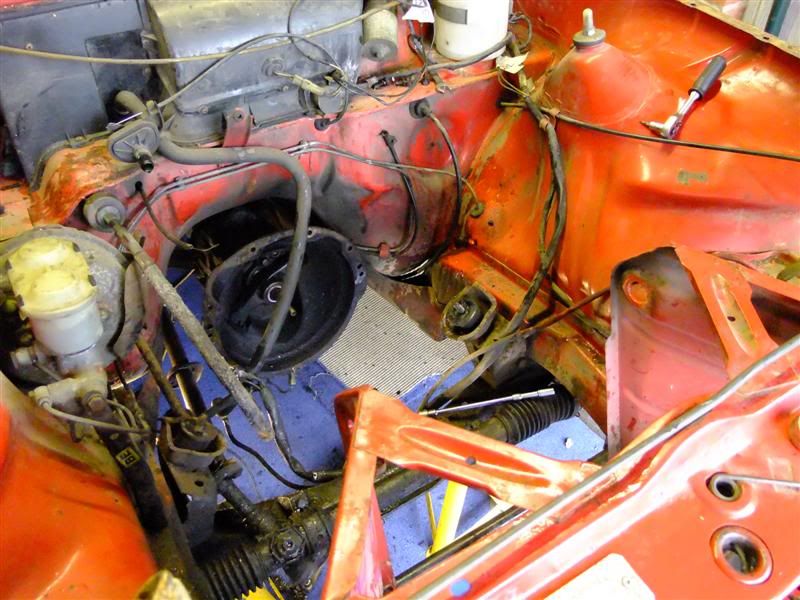
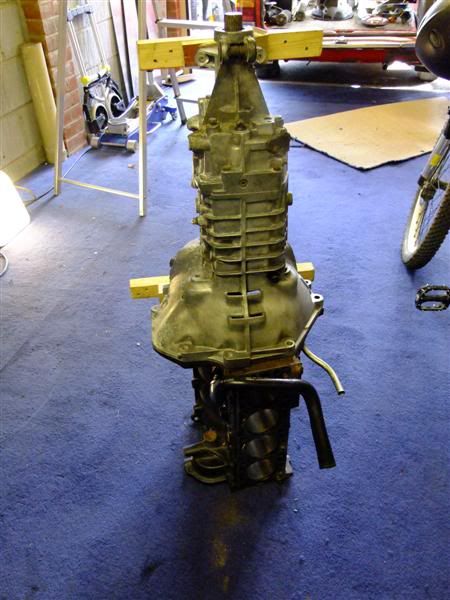
Next I set about box and prop centre section removal
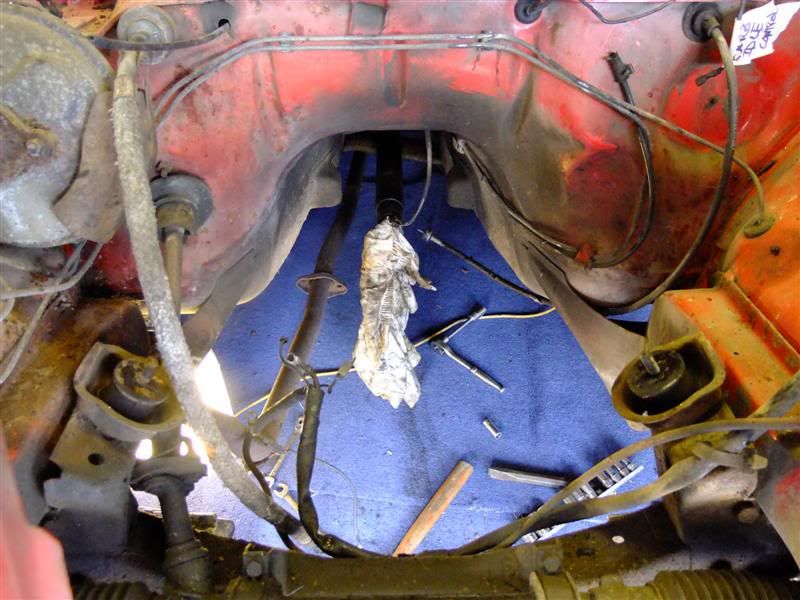
So I could make some space for the manta box below
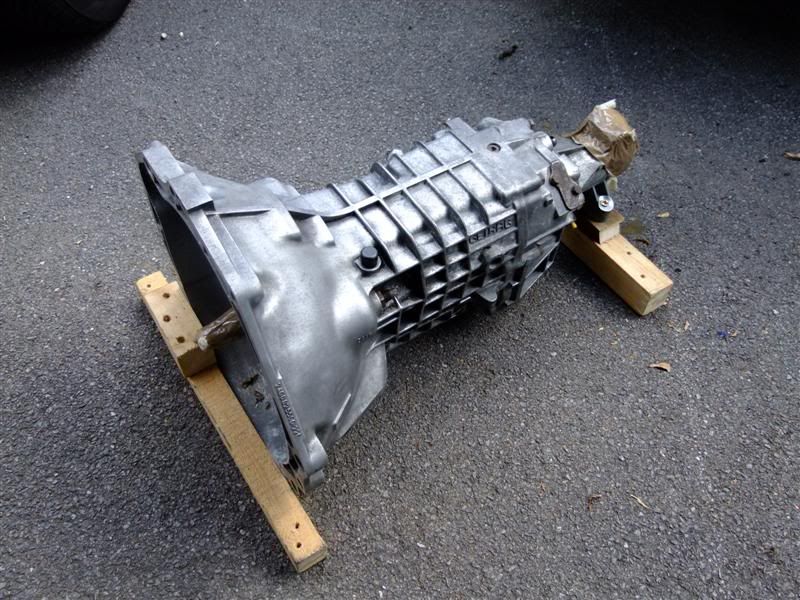
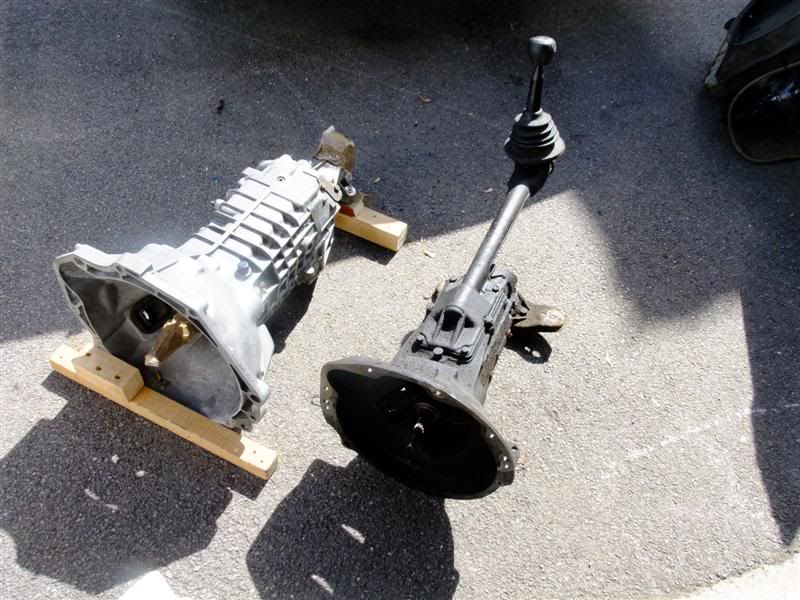
And a couple of comparison shots between the original and the manta box - the original looks tiny!
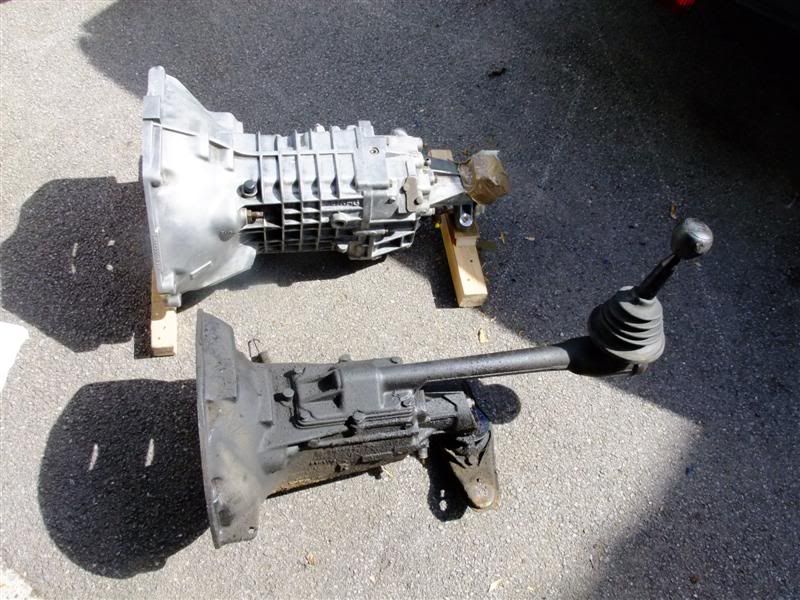
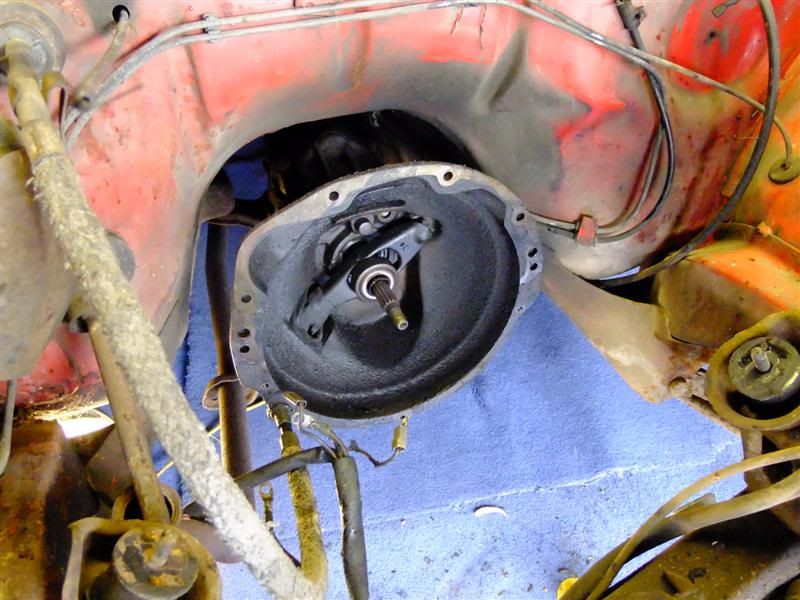
With the old engine and box out of the way (is anyone interested in taking then off my hands?) I decided to try the new engine and box together
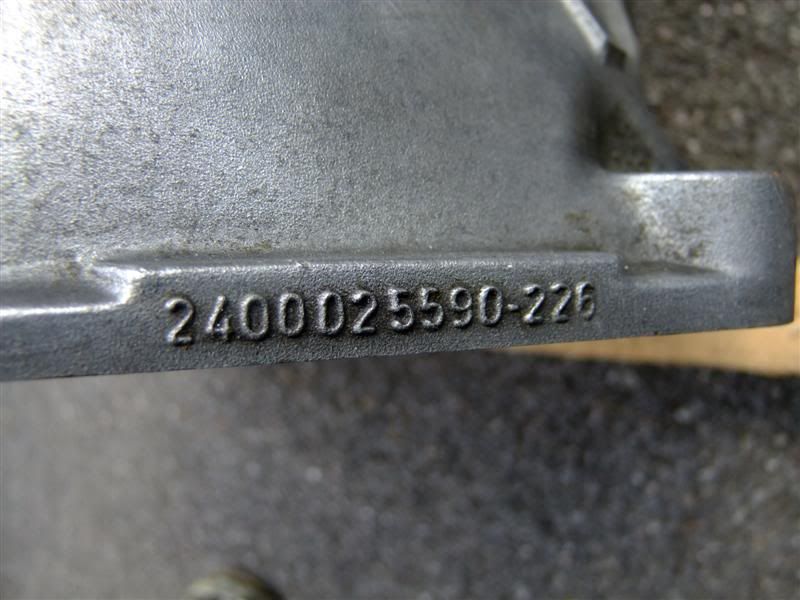
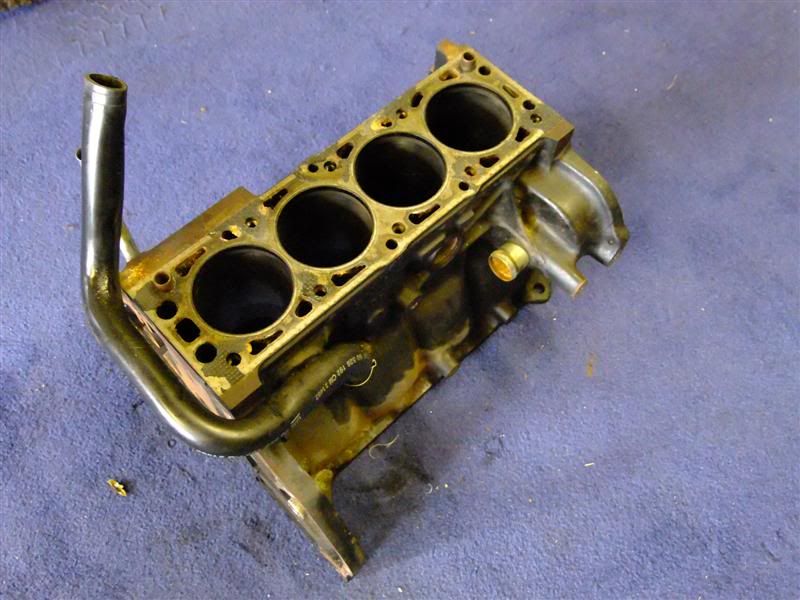
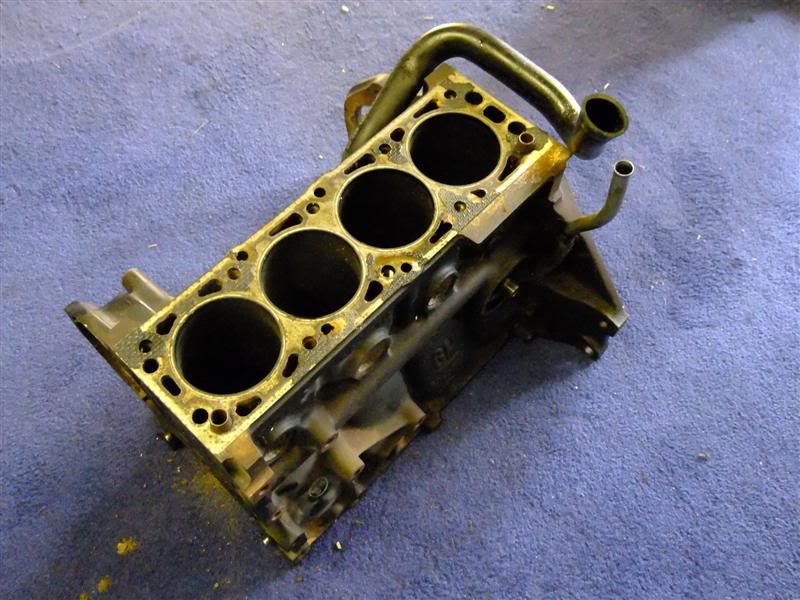
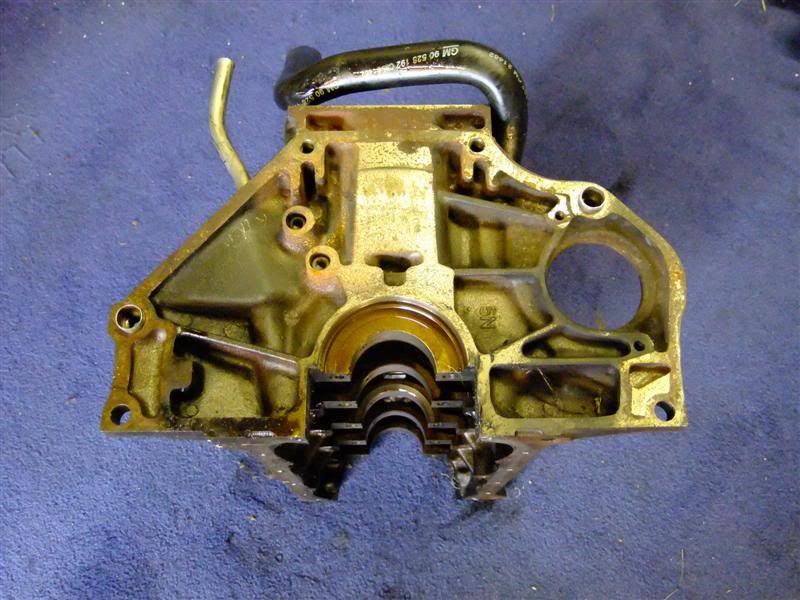
1600xe block
Block plus box - fits a treat

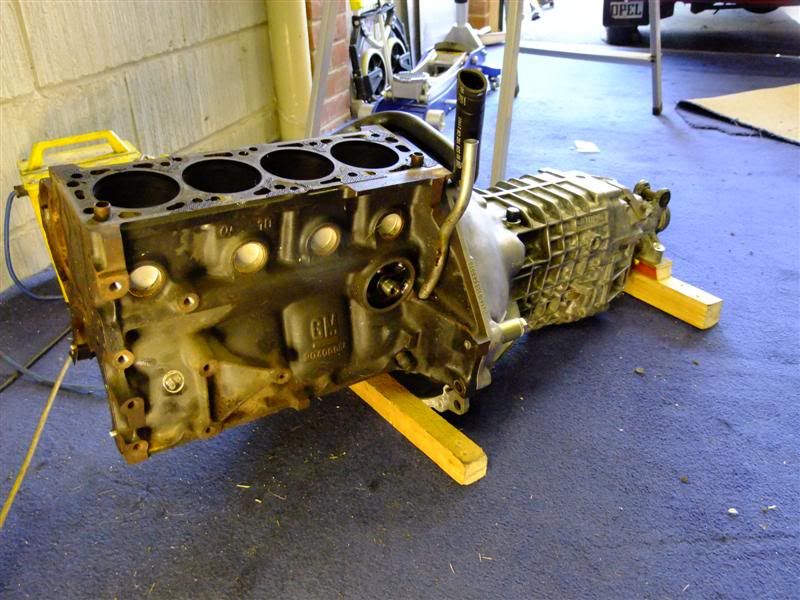
With the block and box together I couldnt resist trying it in the hole

I'm happy with the space around the engine and box
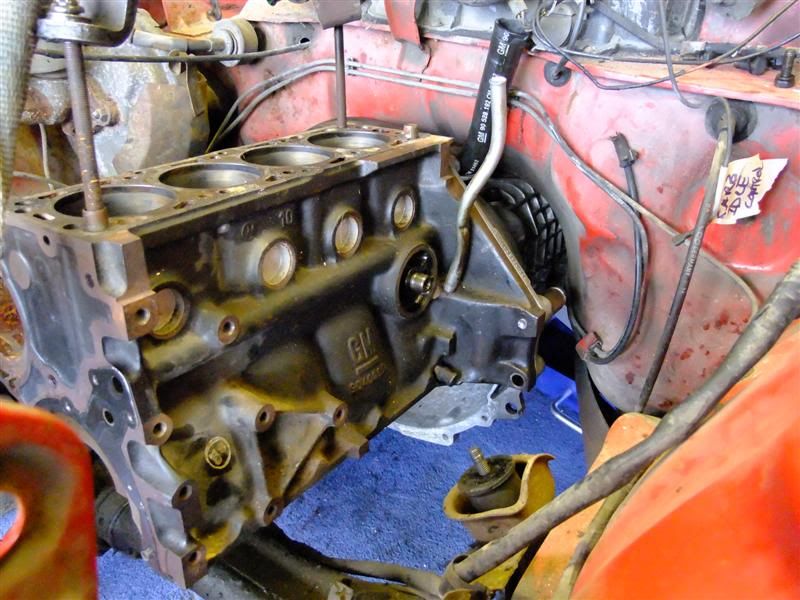
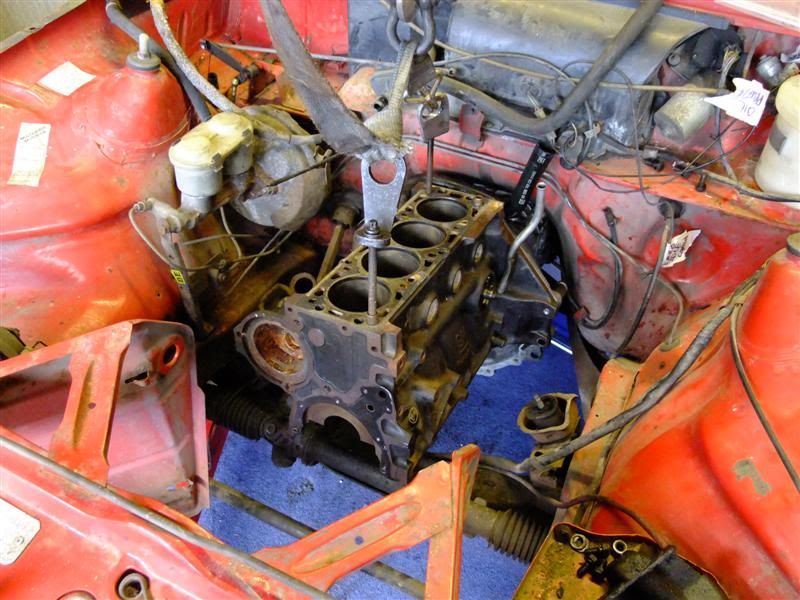
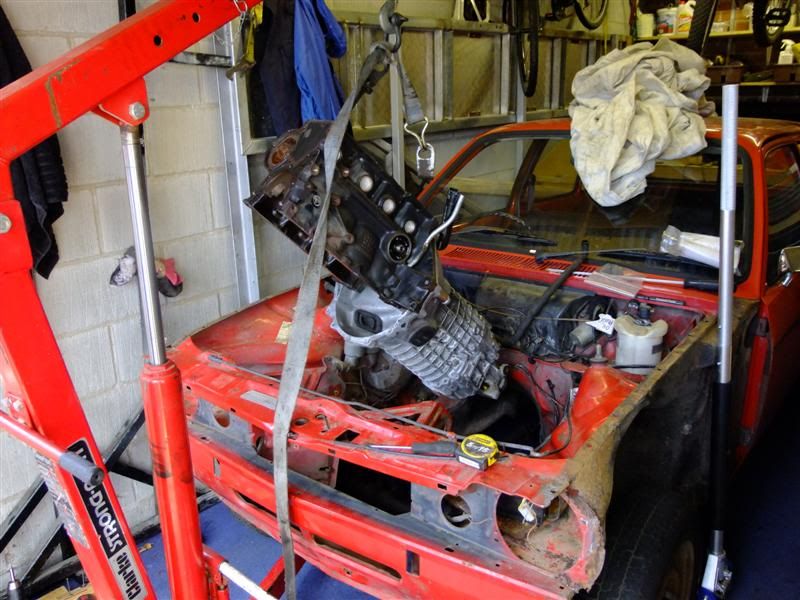
Given that the engine and box went in the hole with little issues I slipped it back out again and started on the engine mounting plates
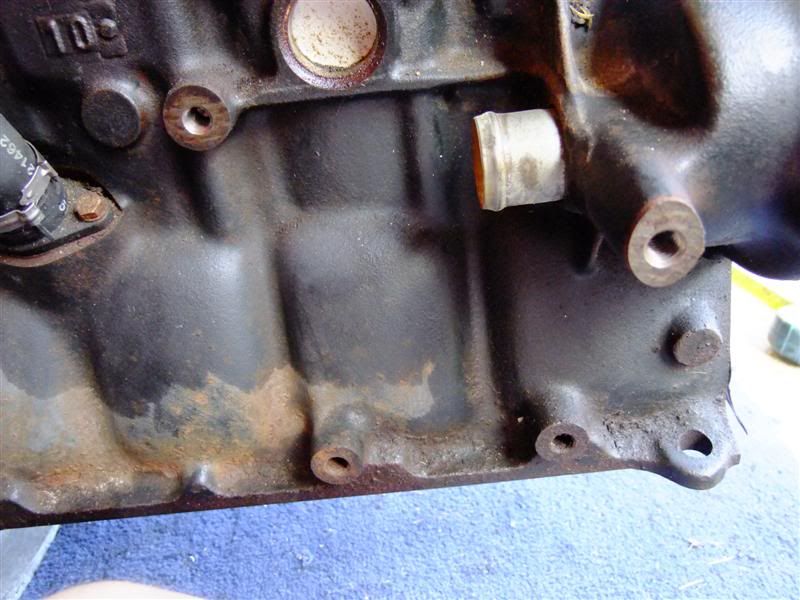
The easy side
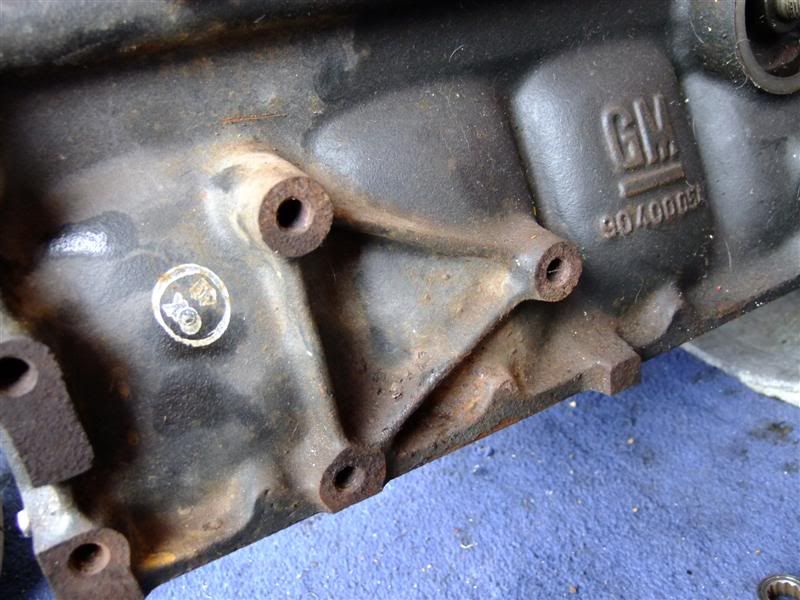
all mounting holes square and on the same plane
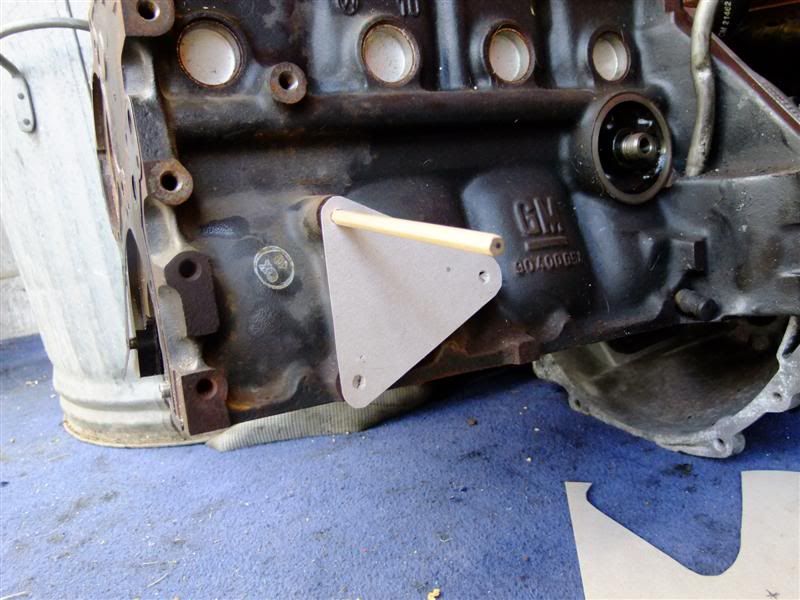
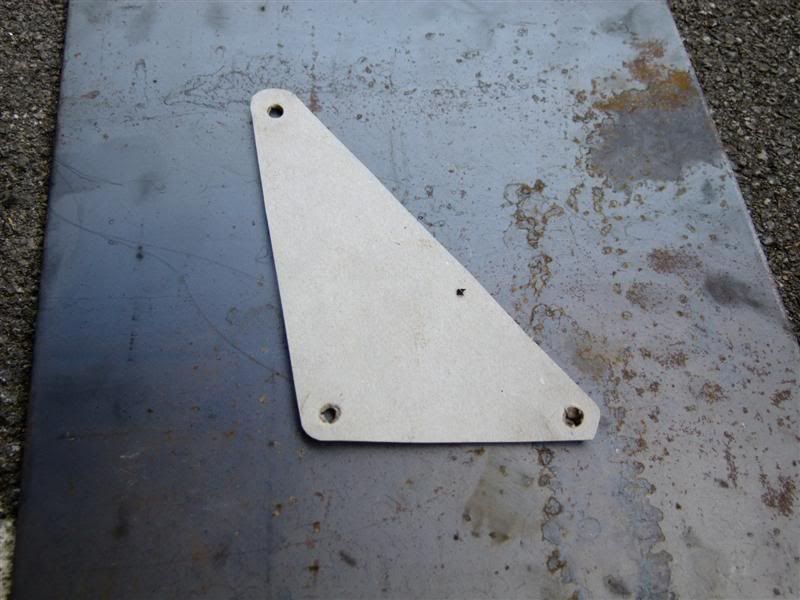
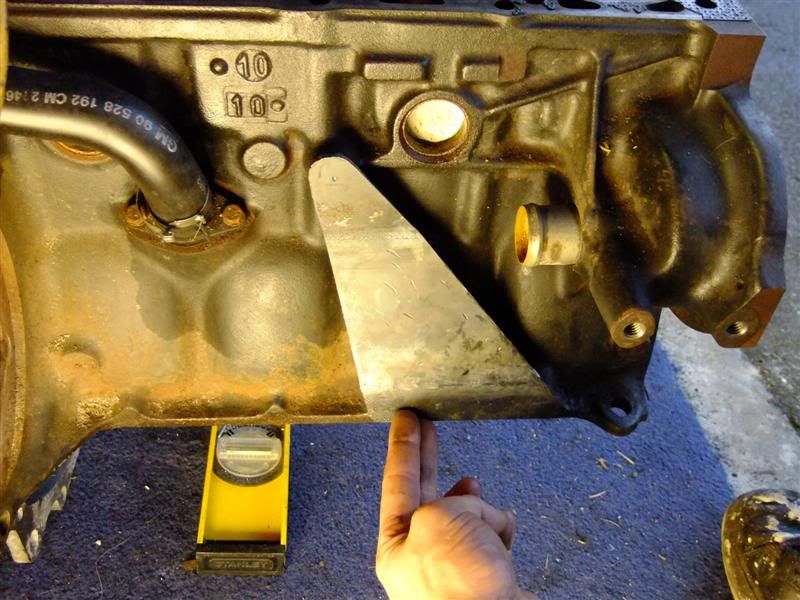
A little CAD (cardboard aided design)
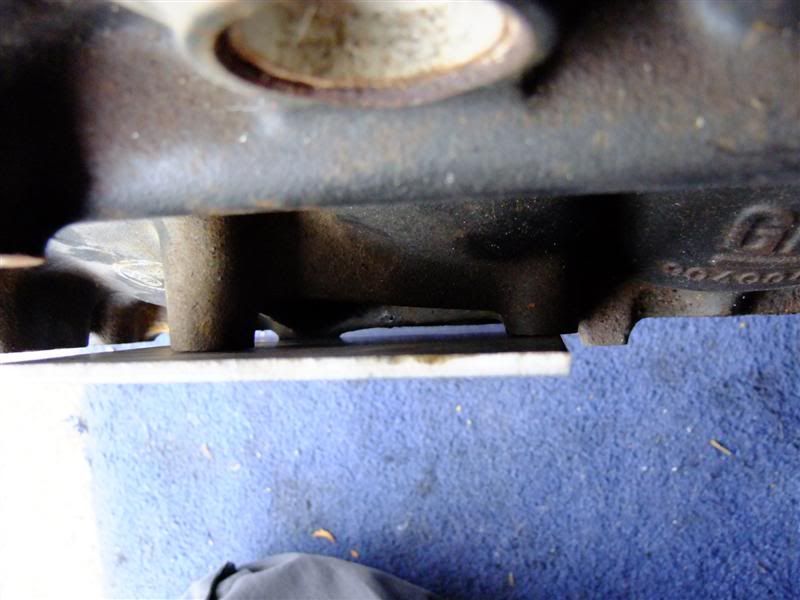
Next the other awkward side
35mm to make up

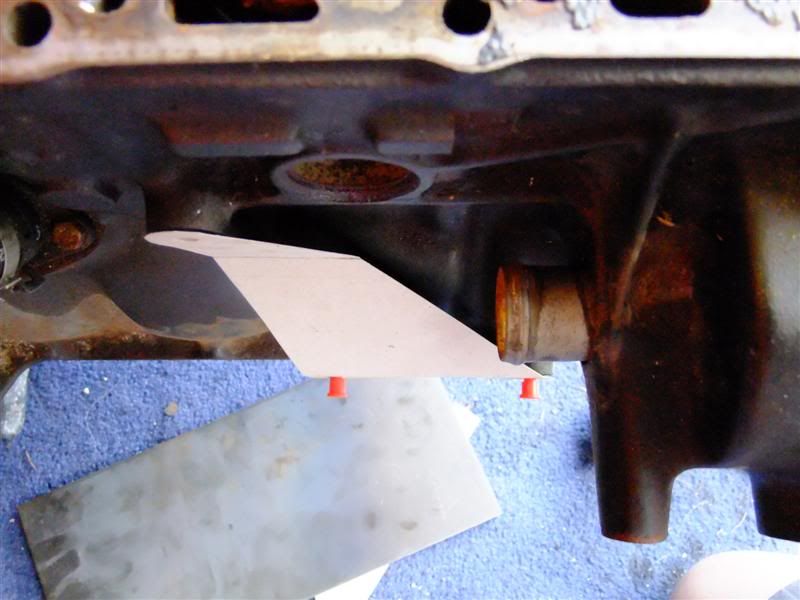
So I started with this after some measuring
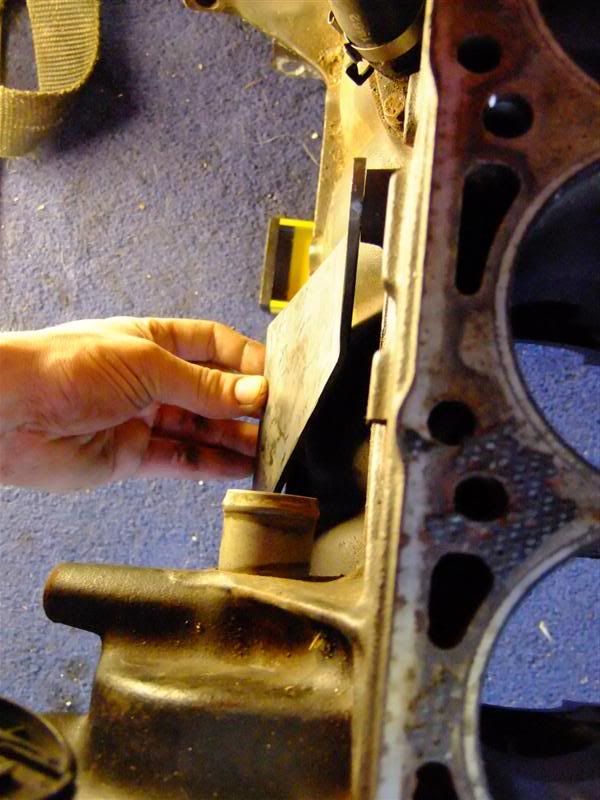
That turned in to this to stay close to the block and avoid the coolant pipe

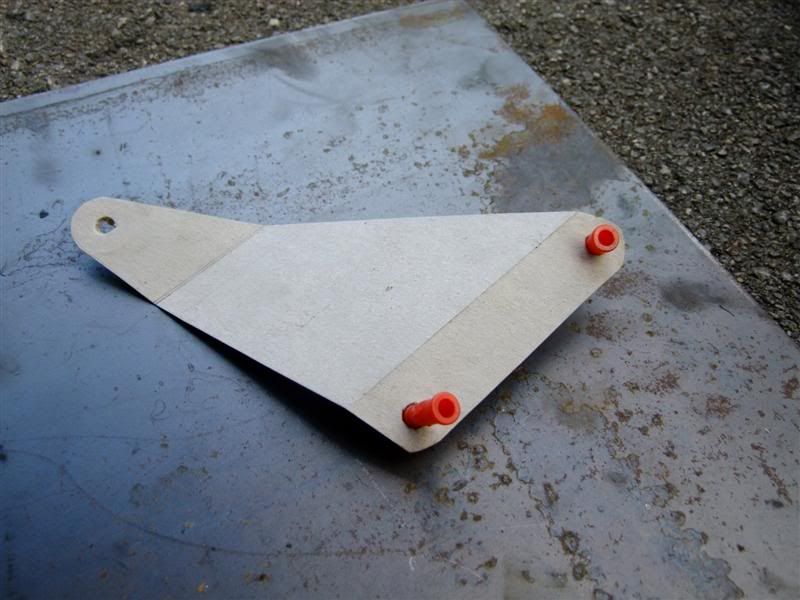
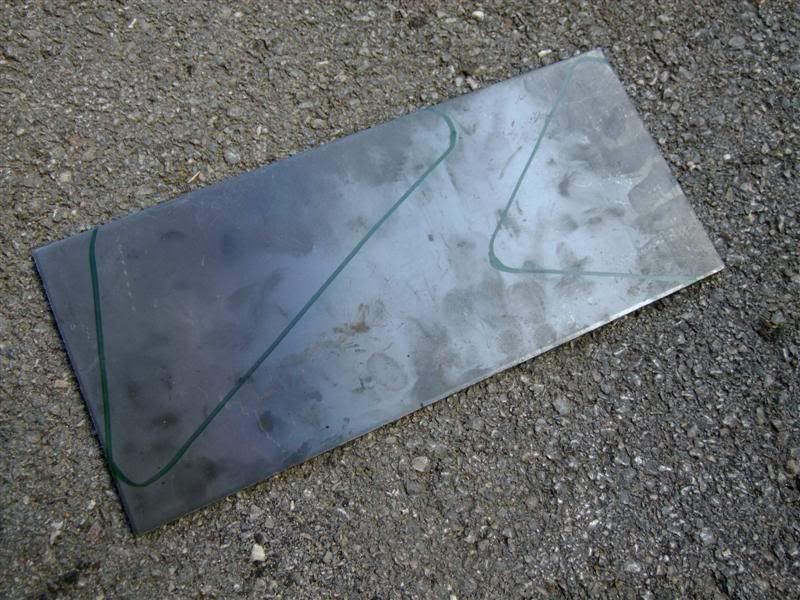
Once I was happy with the templates I decided to transfer them to metal
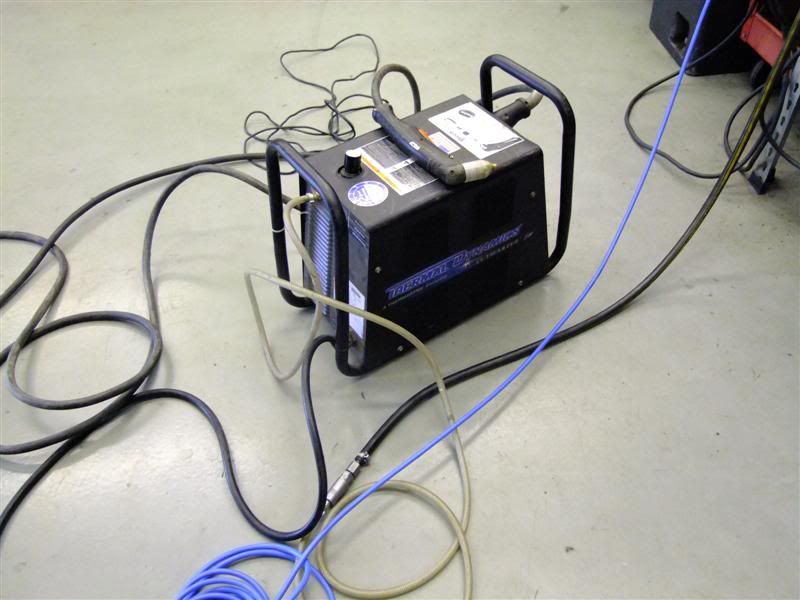
then up to the workshop and out with my newly acquired plasma cutter
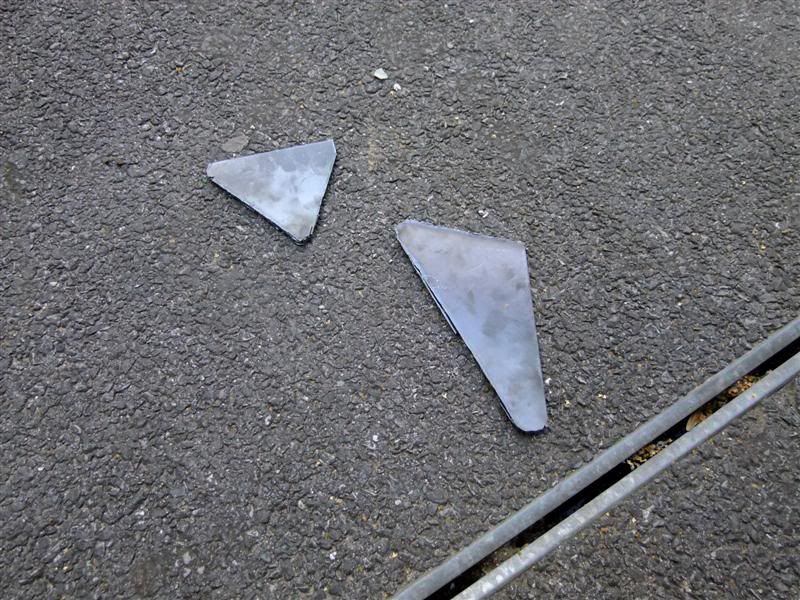
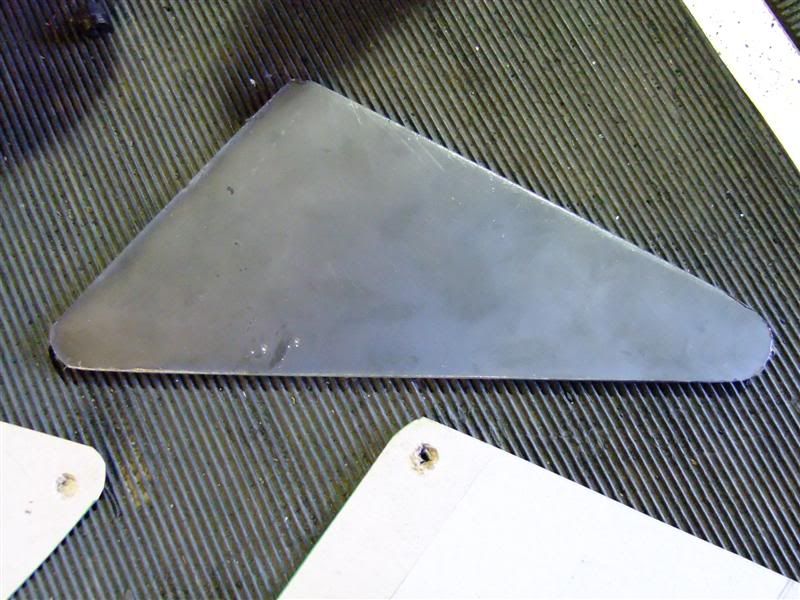
The first rough cut
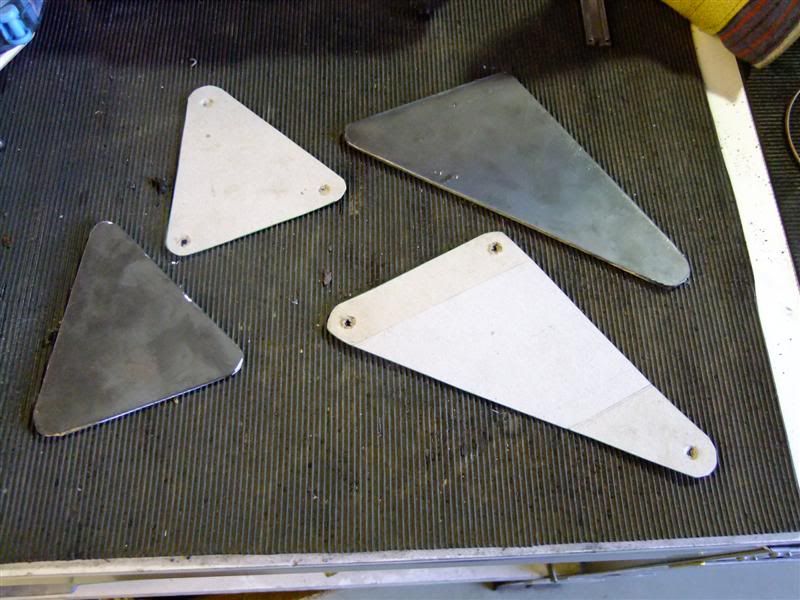
And after a tidy up

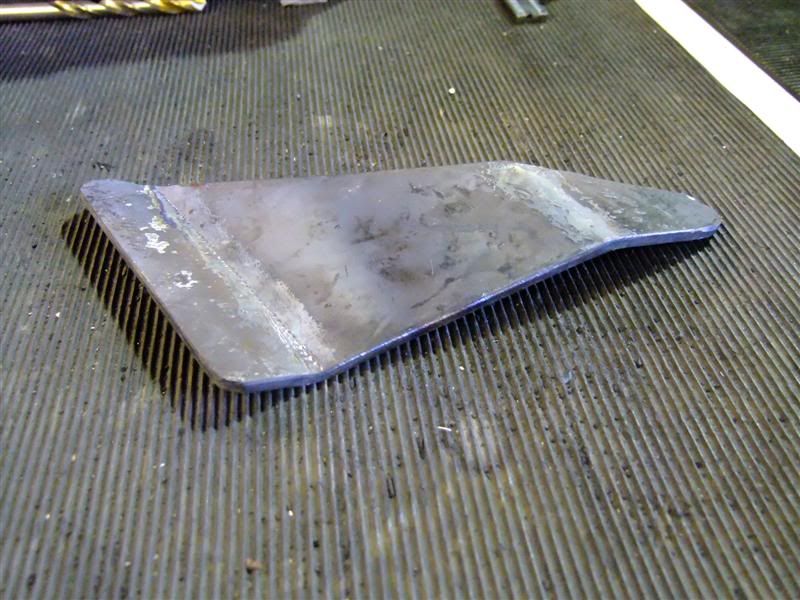
Annoyingly I don't have a bender so it was a case of heat and beat but it came out ok
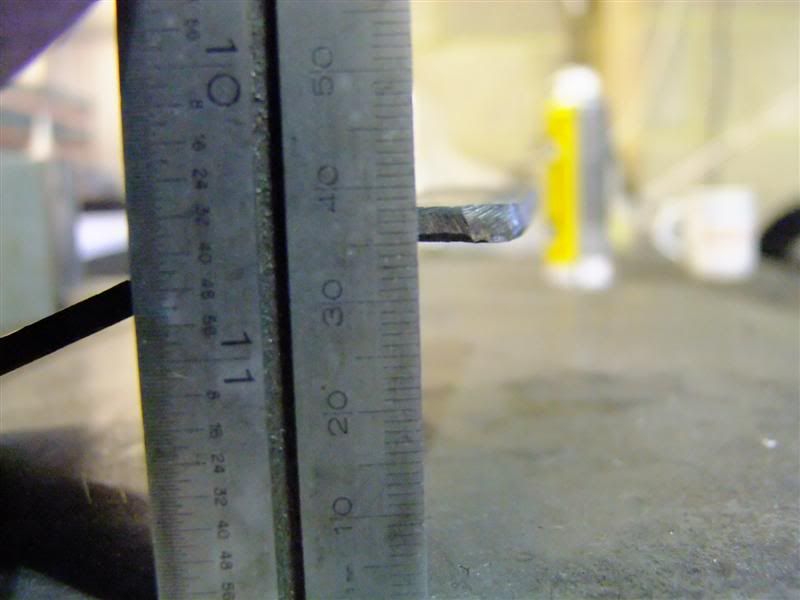
And I found the required 35mm
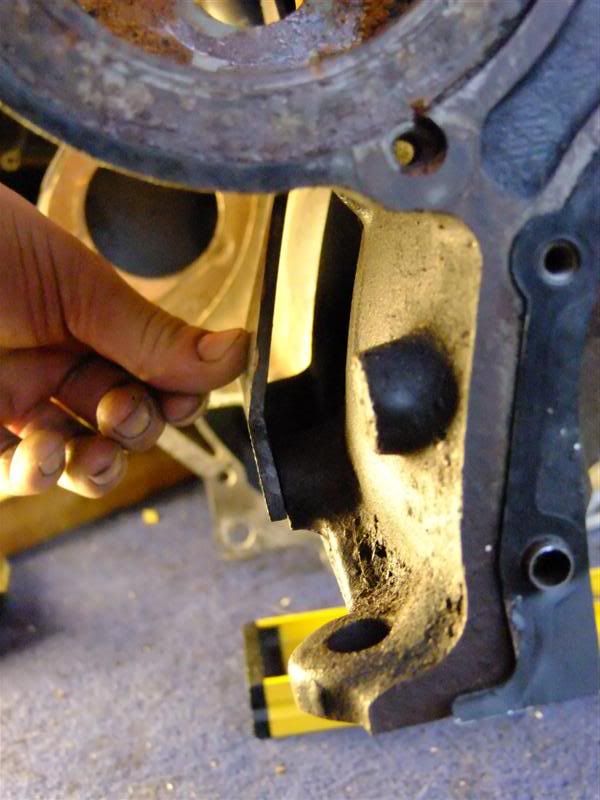
Not a bad fit either
Annoyingly I cant get it all welded in to the car as I don't have a gearbox shifter to get the exact position of the engine and box in the car
More next time
James
Ive had it a couple of months now so decided it was time to get a project thread up.
Basic run down of the plan of action is restoration of the body back to its former glory and a more modern more powerful engine.
I'm going to go with the GM 1600 16v engine from the likes of the corsa B and astra F as they are readily available and its not to difficult to use most of the 1.6 corsa vxr internals in them and the turbo bolts up to them. Plus the fact they are lighter, cheaper and more readily available than the commonly used C20LET 2lt 16v turbo engine.
And of course I will be uprating the rest of the suspension, brakes, and drive train etc to suit the new motor.
Firstly the shoddy mobile phone pics I took when I went to view it:
I'm not sure what's with the paint on the roof?
In need of a clean but solid
A poorly door and a grubby sill/rear arch on the N/S - nothing to alarming this is the worst side
A previous poor quality local filler repair on the O/S rear arch
Both front wings have had repairs in the past and need repairing or ideally replacing
Bonnets there but has rust and stone chip issues
The underside looked and felt solid but until its up in the air who knows
The interior is complete and in reasonable condition
No way to verify the mileage other than the interiors condition
Other than a rip in the head lining :x
And finally under the bonnet
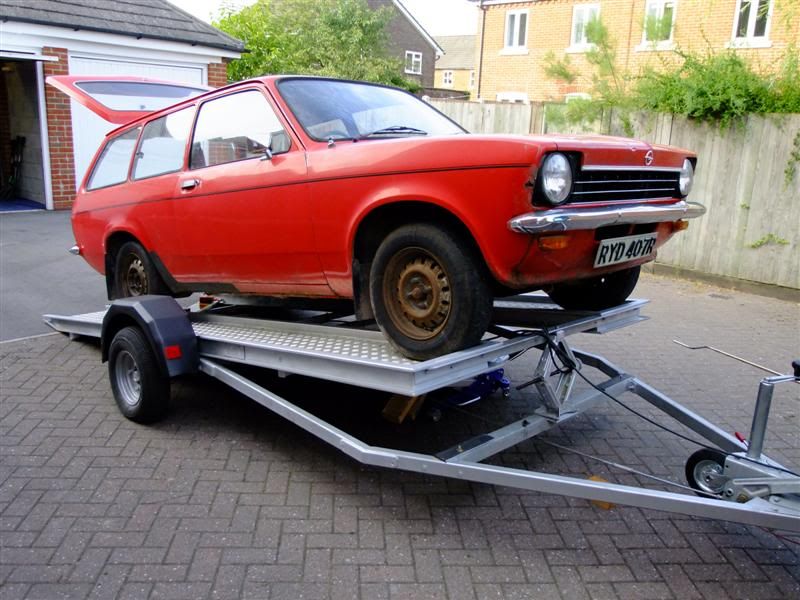
Then here are some pics from the day I collected the kadett.
Poised and ready for collection
It drove on to the trailer a treat
And back home after surviving the 60mile journey
Some better shots from around the car and the grotty areas
Front end
Under the front N/S arch
The N/S front arch, passenger door and N/S sill
N/S rear wheel arch
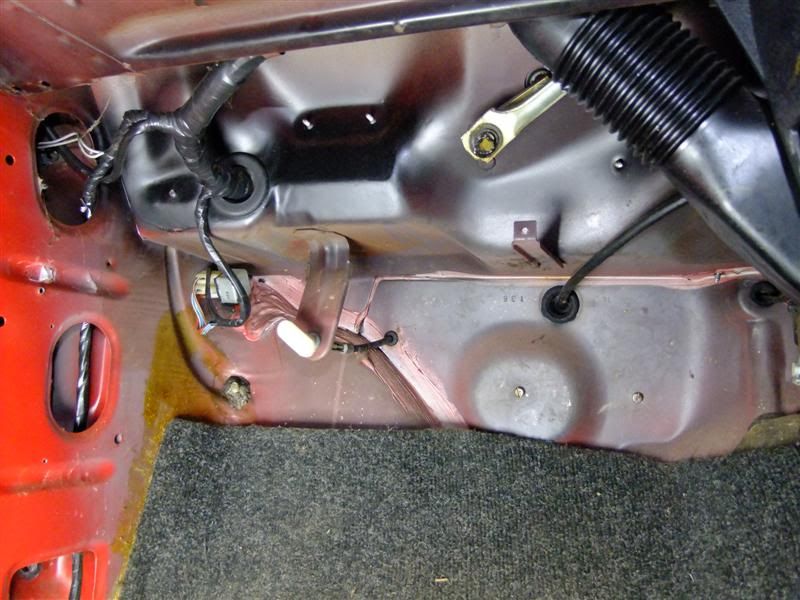
Under the filler cap...interesting
The rear end
And rear lower panel
The O/S rear arch, and a poor quality repair
O/S sill
And under the O/S front arch
Here is another previous repair that wasn't done to the highest standard
Front wings...yet more repairs
And while the car was on the trailer I thought I would be rude note to get some from underneath
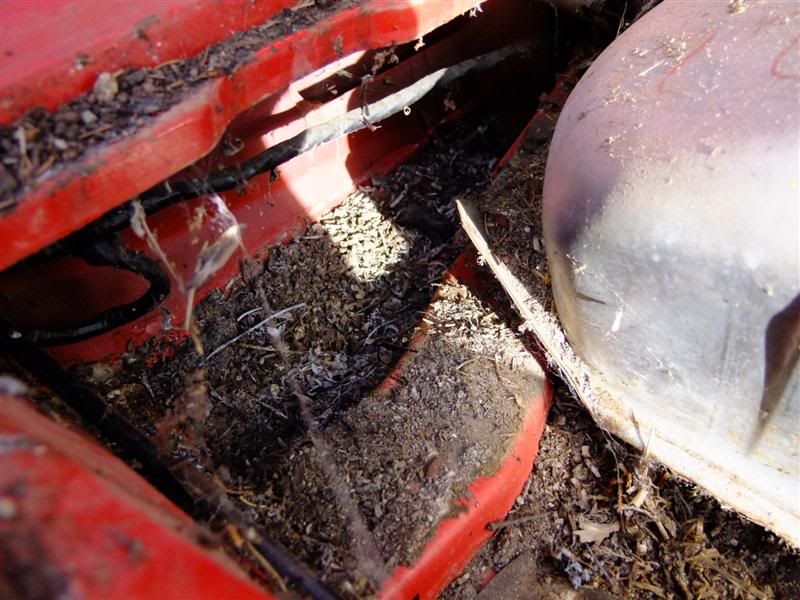
I continued my initial route around and decided to investigate what was under the rubber covering in the boot
I think some thing has been living here!
It looks clean enough
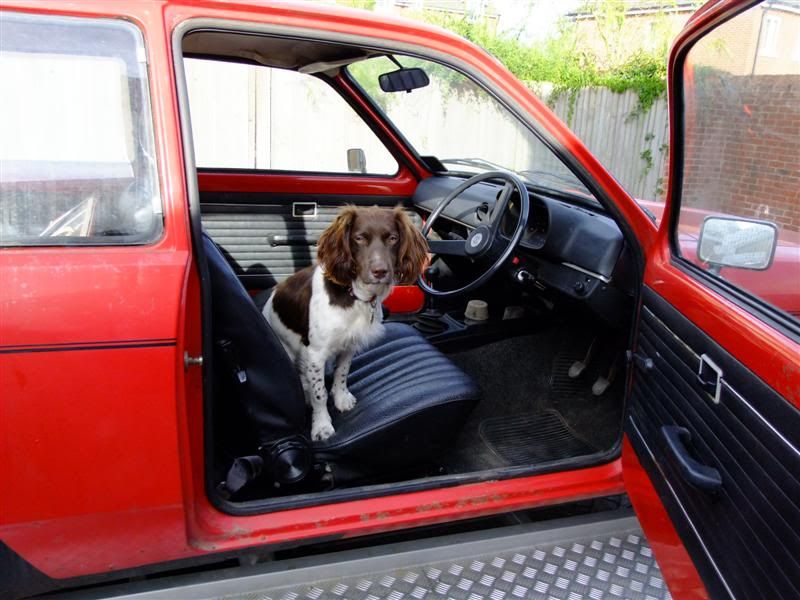
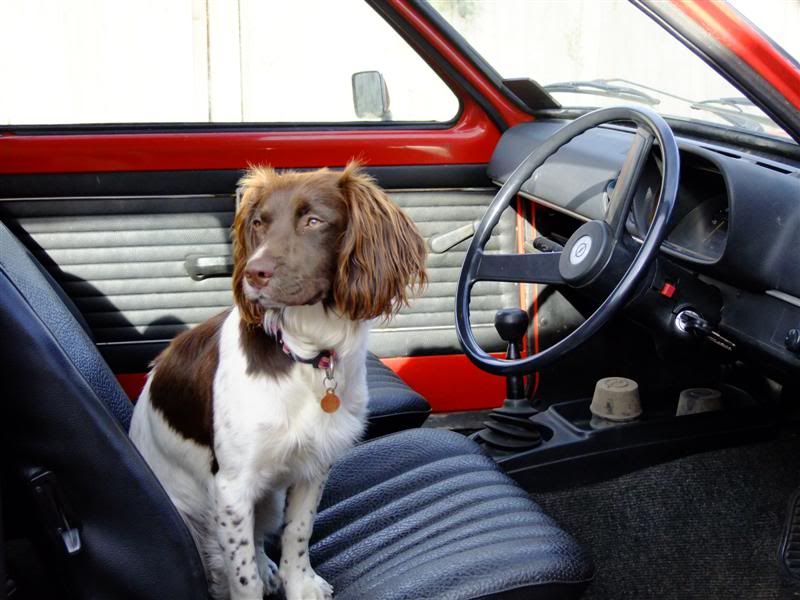
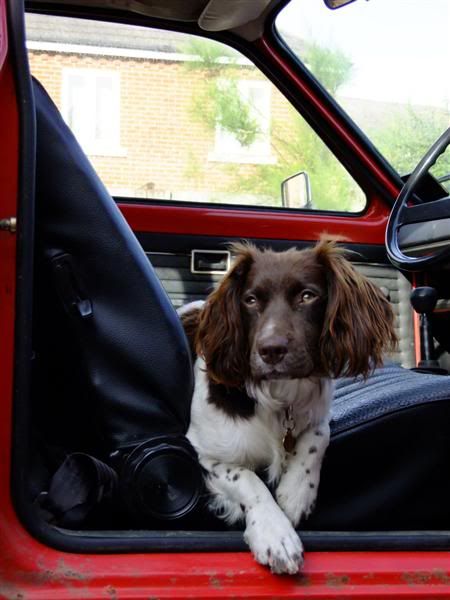
And of course Dotty the dog who appears to like my new investment
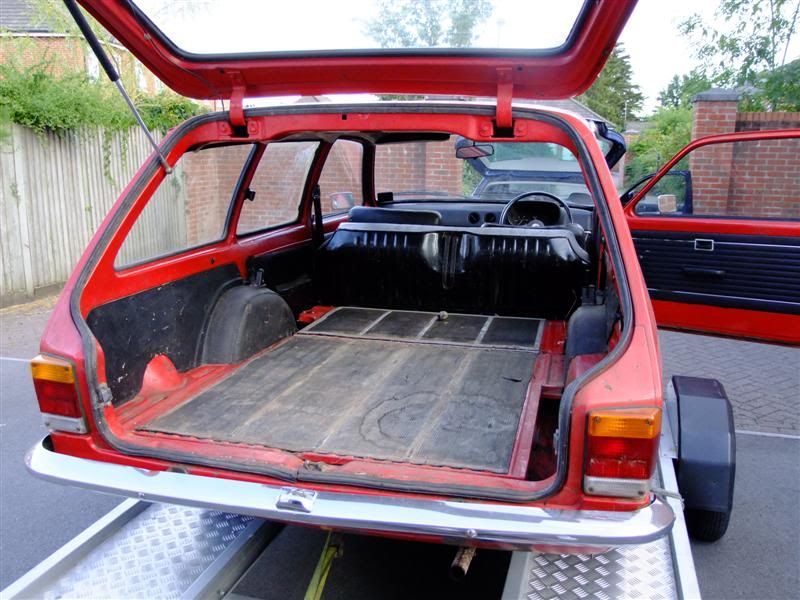
I was pleasantly surprised with the amount of space available with the seats down
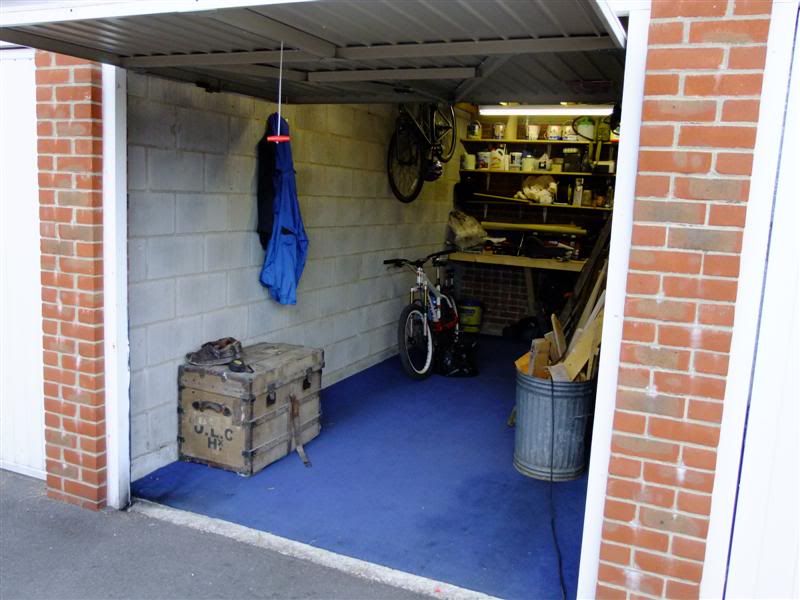
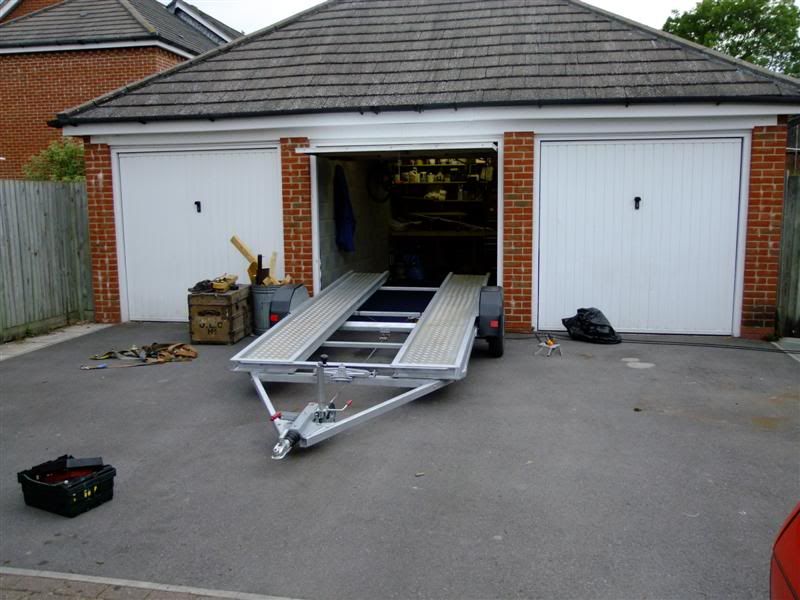
Now I just needed to get all this including the trailer
In my single garage
Simples!
All swallowed
All in all I think it could be a lot worse
Once the Kadett was home and settled I decided to start having a poke around the car to see what was actually hiding and what I was going to need to fix it
Initial signs of crispiness
Front bumper off
A look under the dash on the N/S as I was removing the wing bolts
N/S wing off
A little curse word up the front here
And a dead wing
O/S wing off and a similar story here too
Not too bad considering the date of manufacture
There were a few other areas hiding on the O/S under the wing but I had spotted them previously
Here
Here
Here
And there
Once I had sussed out exactly what was needed I started to strip the car down a little more (bearing in mind I space is tight so I cant go mad) and started removing rot.
Here are some pics
I started here
Removed the wing sealer
Head lights out ready to be cleaned up
Front grill out without breaking any clips thankfully
Some wire wheel action to remove yet more crud etc
And on to attack the spot welds when I could find them that was as they were well hidden. Even rubbing the area back with sand paper, the wire wheel and a scotch brite disk didnt prove that helpful.
And off
Heres the area after a little more cleaning - no further nasties found
I started on the bottom of the sill too but unfortunately ran out of time
This then brings us up to last weekend when I got a good stint on the car.
I got the car up in the air and started to strip the engine down
Coolant drained then rad out
Disconnected the few wire that there are
Exhaust off and gearbox disconnected
Then engine out
Leaving me with this
Next I set about box and prop centre section removal
So I could make some space for the manta box below
And a couple of comparison shots between the original and the manta box - the original looks tiny!
With the old engine and box out of the way (is anyone interested in taking then off my hands?) I decided to try the new engine and box together
1600xe block
Block plus box - fits a treat
With the block and box together I couldnt resist trying it in the hole
I'm happy with the space around the engine and box
Given that the engine and box went in the hole with little issues I slipped it back out again and started on the engine mounting plates
The easy side
all mounting holes square and on the same plane
A little CAD (cardboard aided design)
Next the other awkward side
35mm to make up
So I started with this after some measuring
That turned in to this to stay close to the block and avoid the coolant pipe
Once I was happy with the templates I decided to transfer them to metal
then up to the workshop and out with my newly acquired plasma cutter
The first rough cut
And after a tidy up
Annoyingly I don't have a bender so it was a case of heat and beat but it came out ok
And I found the required 35mm
Not a bad fit either
Annoyingly I cant get it all welded in to the car as I don't have a gearbox shifter to get the exact position of the engine and box in the car
More next time
James


