Lots of stuff has happened! Well, it might not seem like lots to some of you guys, but when you've never been near the inner workings of an engine before it definitely seems like a lot!
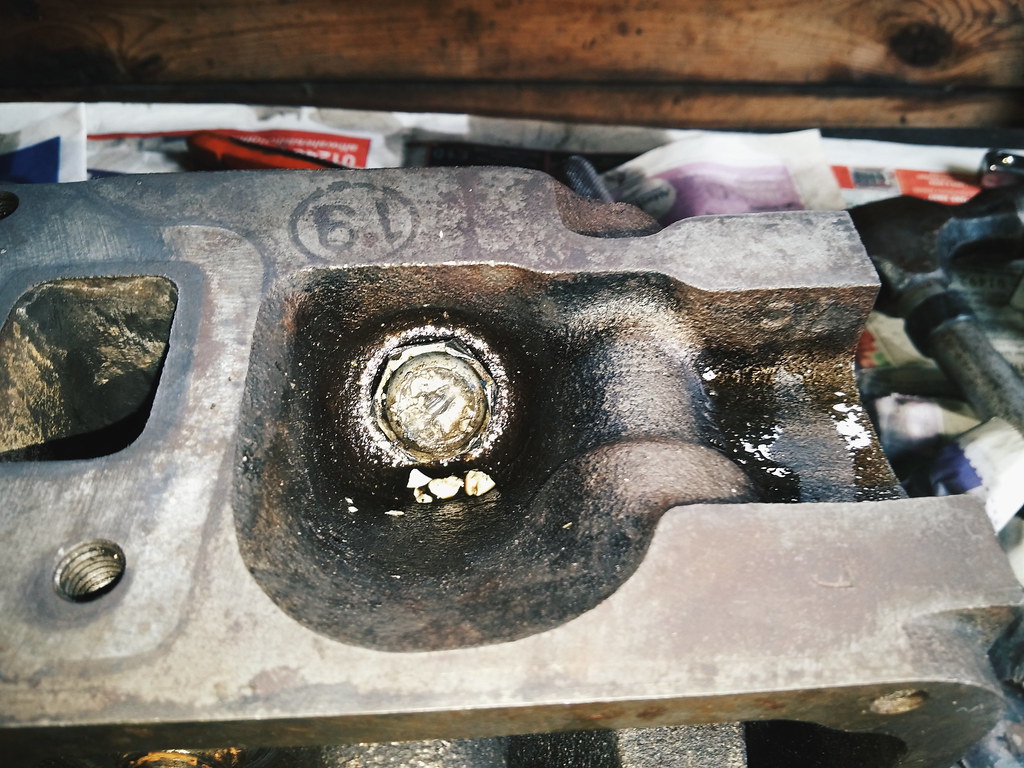
At the end of the last update I was ready to clean up the spare cylinder head, but first I had a sheared exhaust stud to deal with.
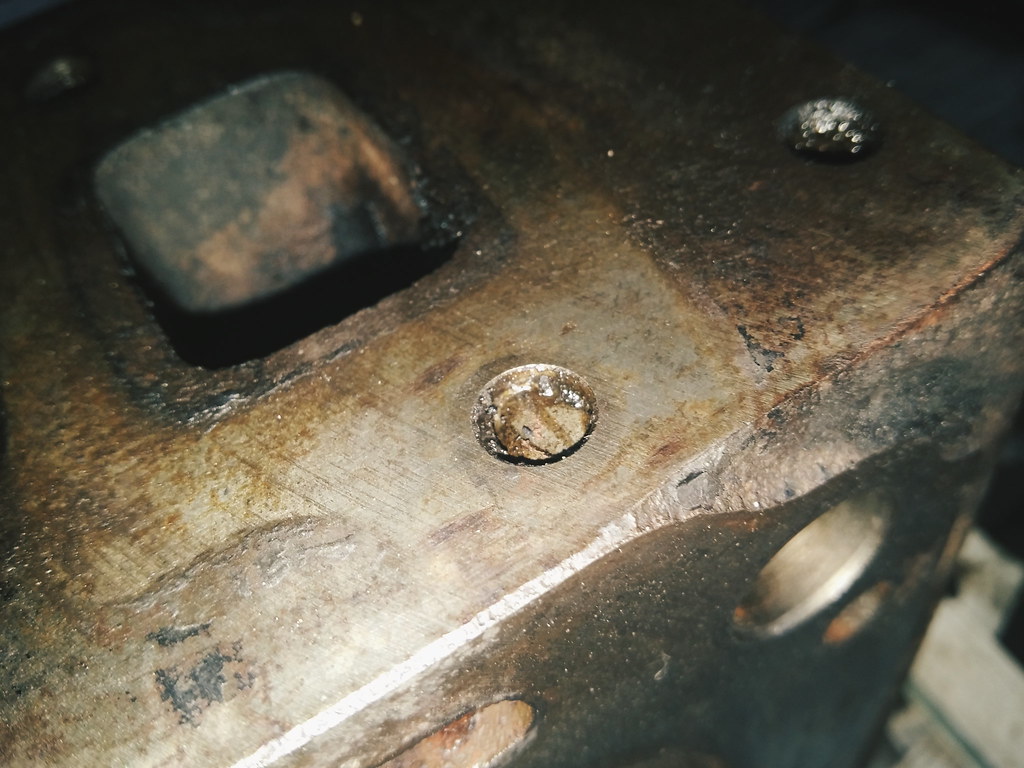
I wasn't sure how to tackle it at first, and had contemplated putting a nut over it and welding them together to try and turn it out, but I guessed it was too far below the surface to safely do this without welding the nut to the head. That would have been stupid. So instead I chose to drill carefully into the centre of the stud and try one of those reverse threaded extractors.
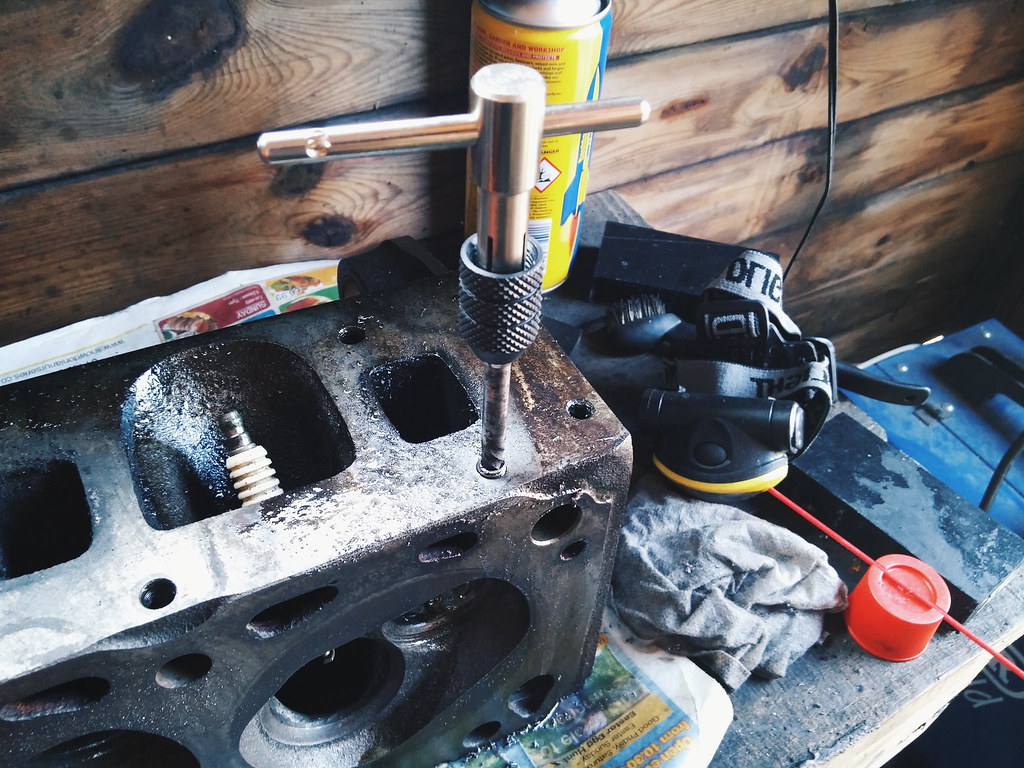
I've heard lots of people saying these things are useless, but for me it worked perfectly!
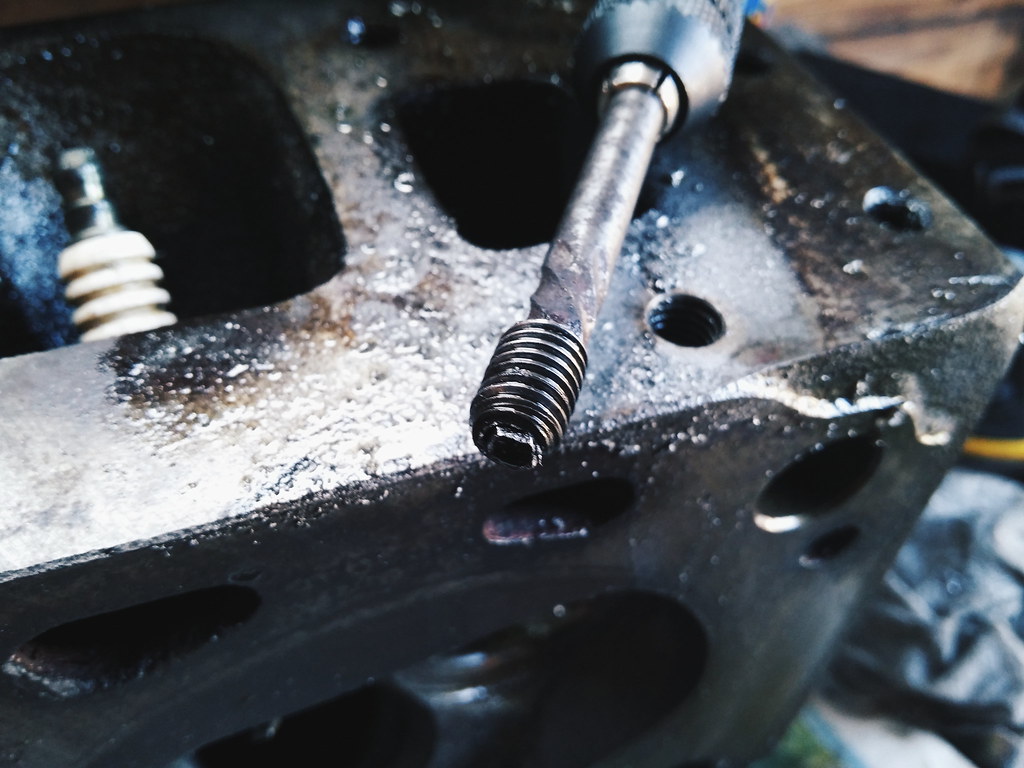
I felt like such a hero after doing this that I decided to extract the sheared off bit of the cam cover mounting post thing.
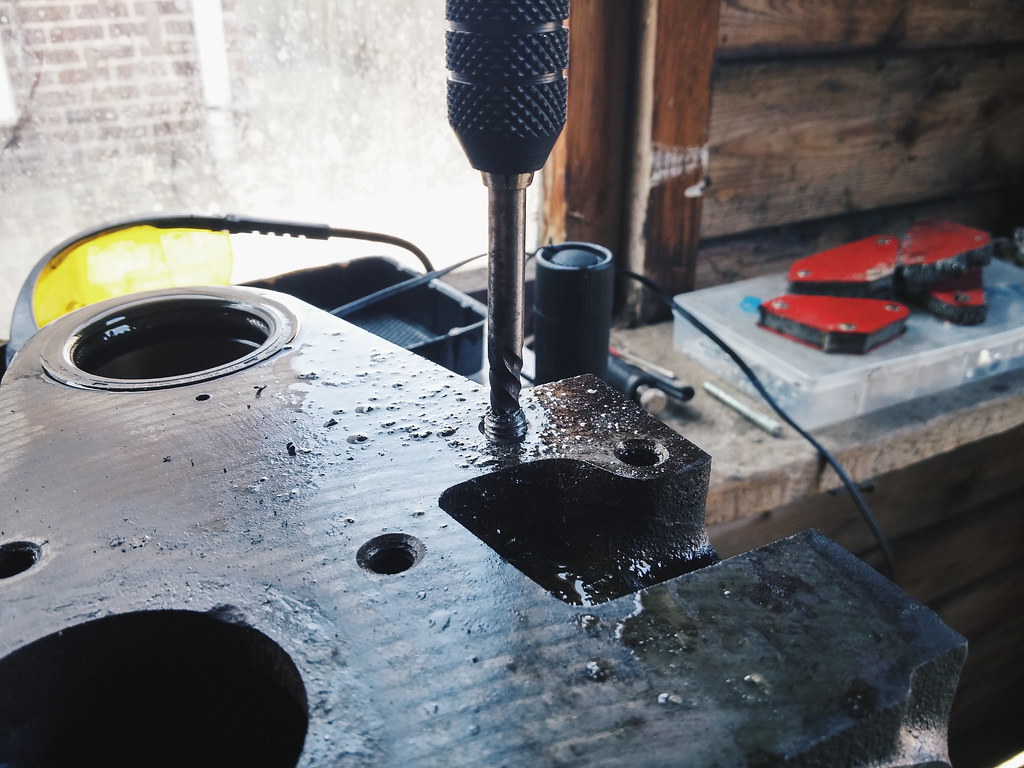
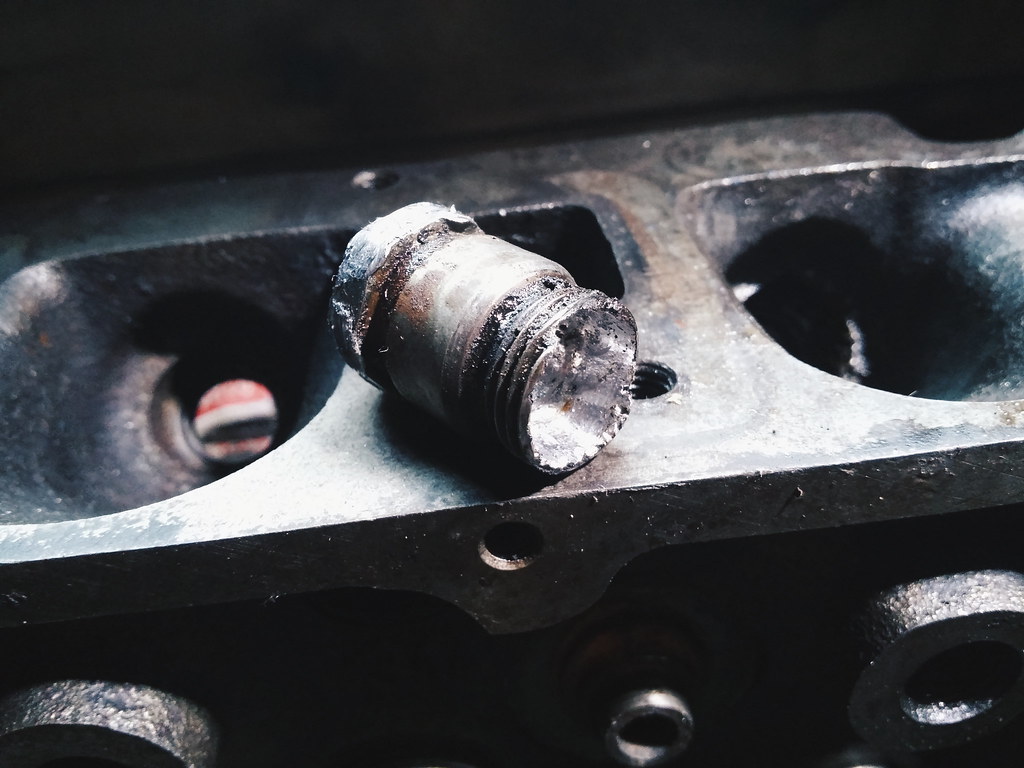
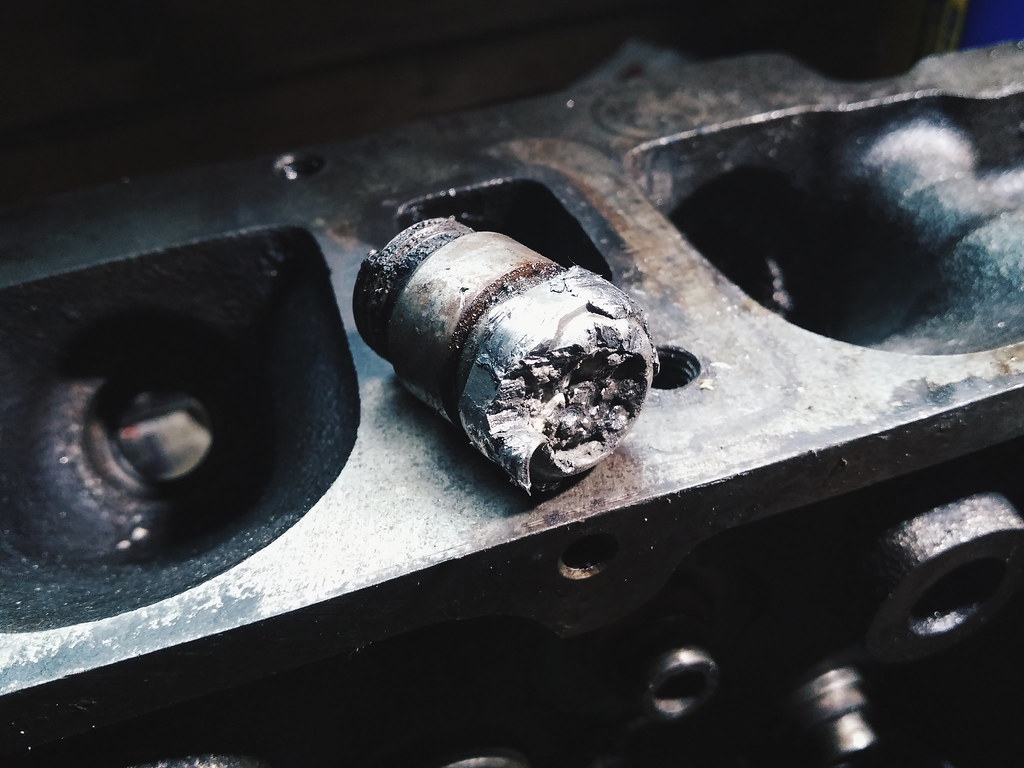
Easy peasy. Next up was cleaning the head and getting the old spark plugs out. I don't know how long the previous owner had left the plugs in there for, or whether they installed them with glue, but it's safe to say I had a little bit of trouble getting them out...
Yes, that's a snapped and thoroughly rounded spark plug. Balls. What I decided to do was destroy the plug until it gave up and let go, all whilst not touching the threads in the head. First I slowly and carefully bored out the threaded end of the plug with a carbide burr in a little Dremel, with the aim of thinning the 'walls' down so that the threaded area became weaker. Then I flipped the head over and drove a chisel into the plug at an angle to try and turn it counter clockwise. Eventually it gave up, but not without a fight.
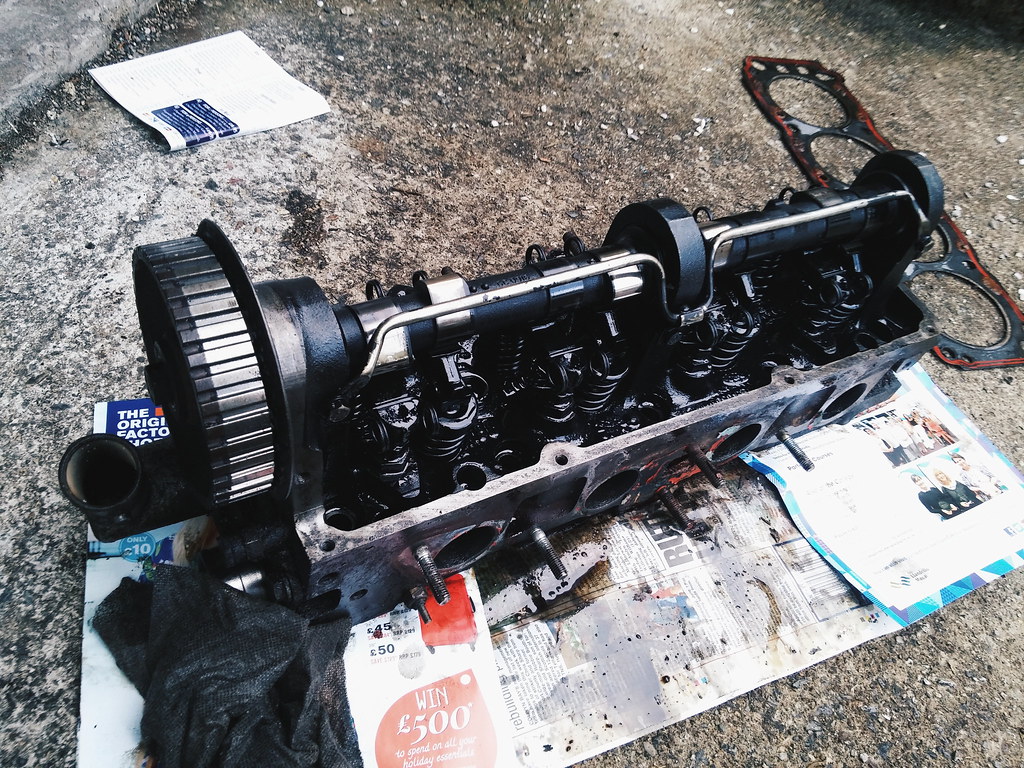
With the plugs so gracefully removed I cleaned the head again, lapped in all the valves, clean the head again, installed the valves and springs, cleaned the head again, painted the head, then installed the camshaft, followers, and all the other bits that make it function, all whilst carefully reading the Haynes manual and referring to various online how-to's. A tip to anyone doing this job themselves: Use a good valve spring compressor. Don't use a cheap one made of toffee like I did because it will take forever and you'll end up attaching various different tools together in bizarre ways in an attempt to make it work.
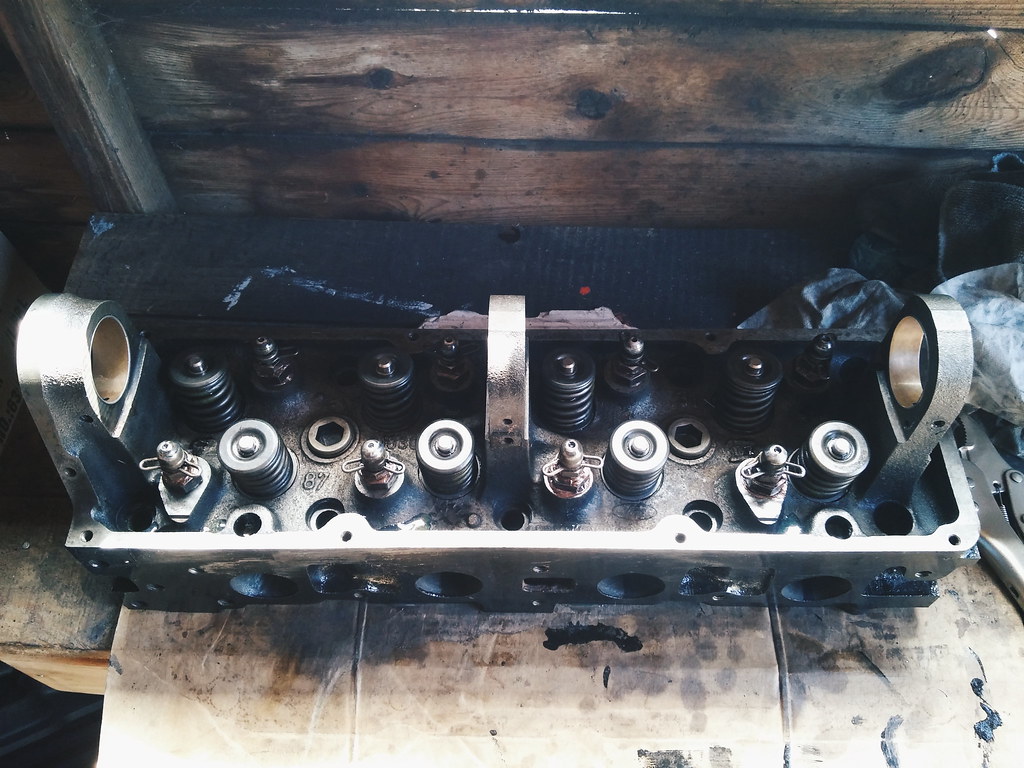
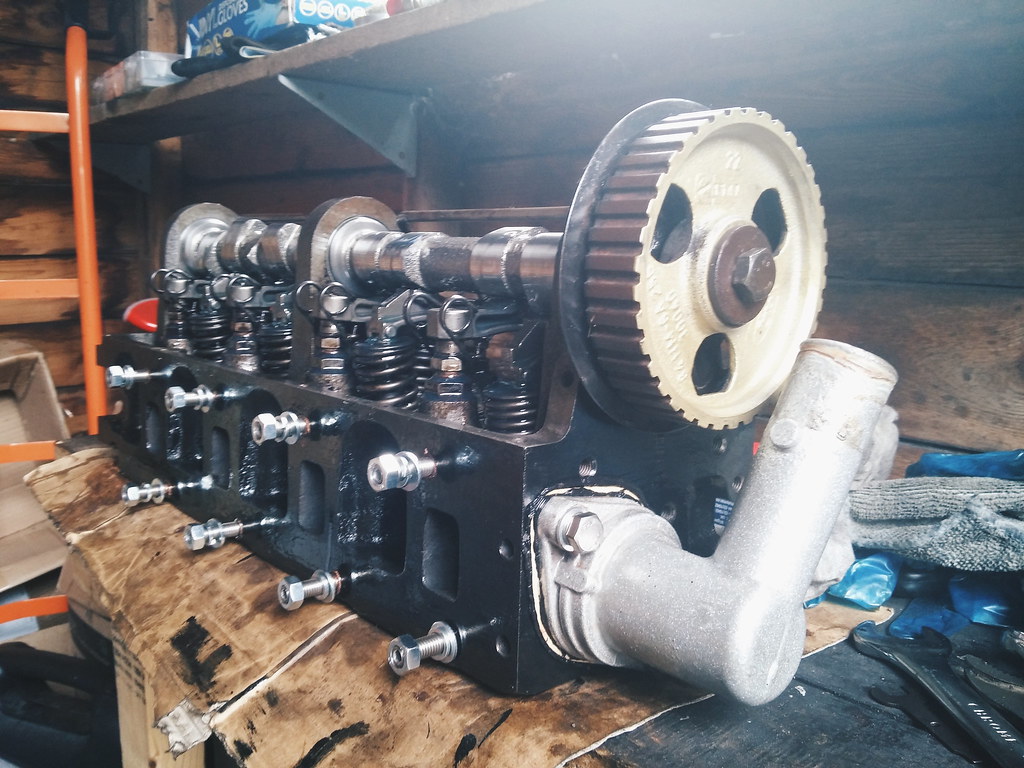
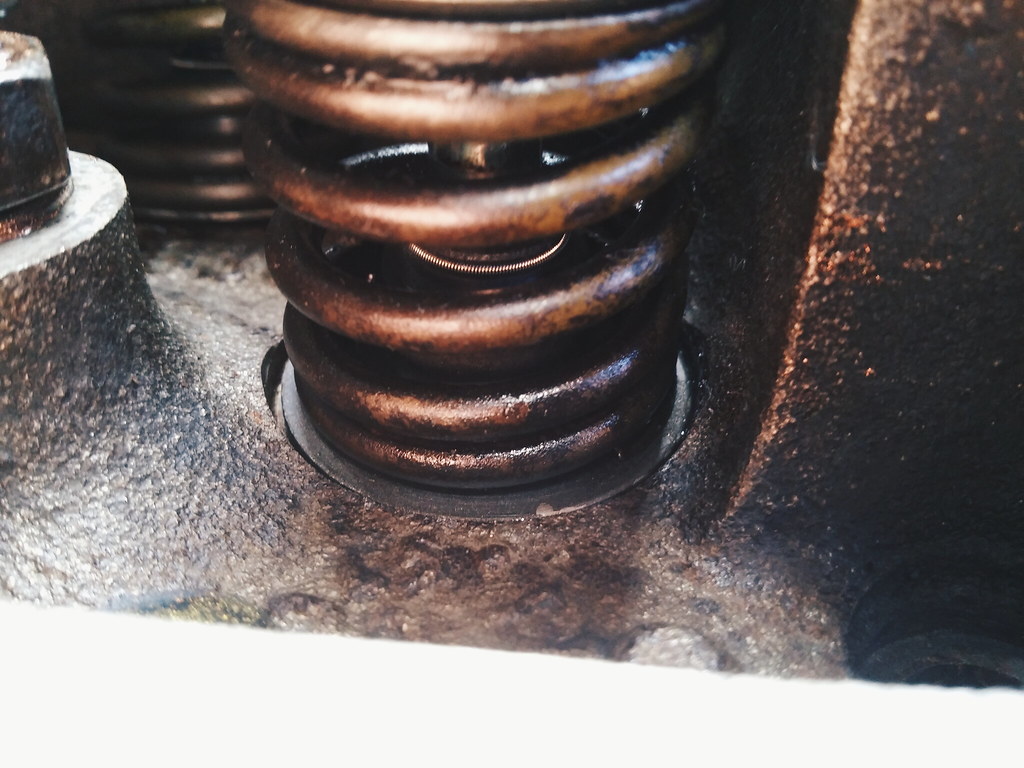
Shiny! Oh and I fitted some "top hat" style CVH stem seals instead of the standard Pinto ones, but forgot to take a proper photo. These apparently won't end up riding half way up the valve stem, so I thought I'd give them a go. You can kind of see one in here...
Before removing the old head and fitting the nice shiny one I thought I better do a compression test. All seemed fine, apart from cylinder #2, which was a fair bit lower than the others. Next job was removing the cylinder head that was still in the car. Not too difficult a task in an Escort I'd imagine, but leaning so far into the massive engine bay of a Capri whilst trying to lift the head was a bit of a struggle. Scuffed the top of the radiator a little, but I got it out!

I've never seen pistons in the flesh before, so I'm not sure how healthy these looked, but I had a good look around each bore and couldn't see any obvious marks or anything, which was a relief! Also tried giving each piston a wiggle, as I've heard that if there's too much wear they would show very slight movement, but it all seemed nice and solid. I was really curious to find out what state the old head was in, and to be honest I was hoping to find some issues as I didn't want all this work to be pointless!
What I found was three identical exhaust valves, and an odd one at #2. It didn't seem to seat as well as the others, looked to be a slightly different size, and was completely flat whereas the other three had a slightly concave middle. Maybe the source of the bad compression? I also found a few chewed up valve stem seals, and a few others that were riding their way to the top. That would explain the smoky starts!
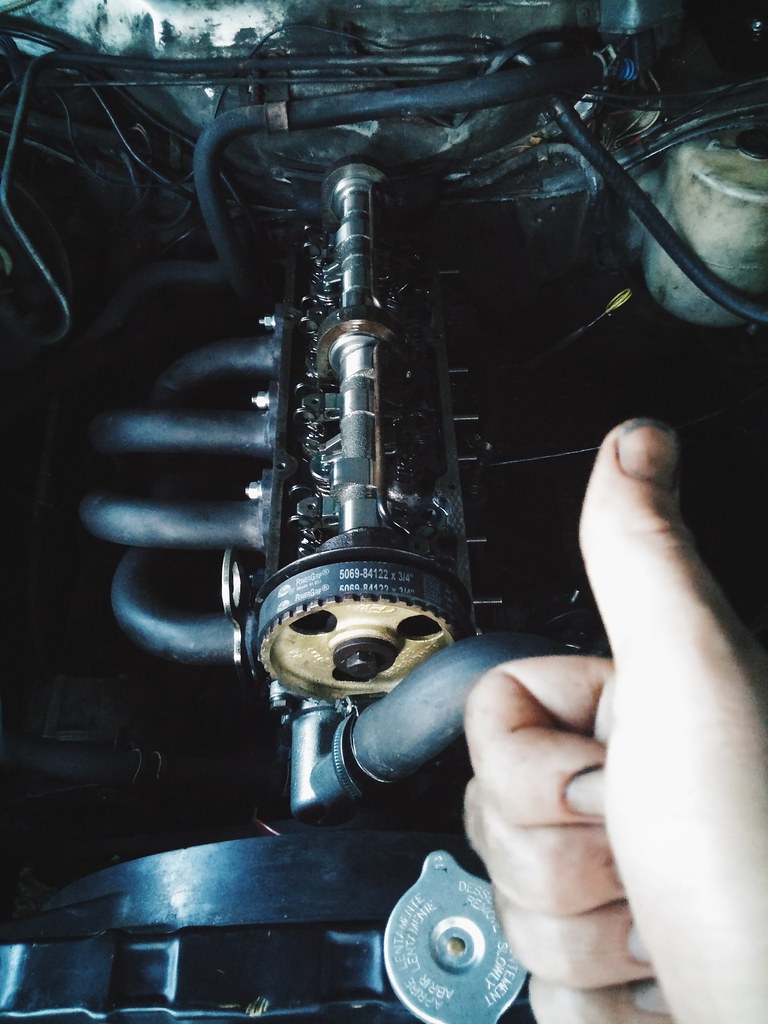
With the old head off, and the new one all built up and ready to go, there was only one thing to do!
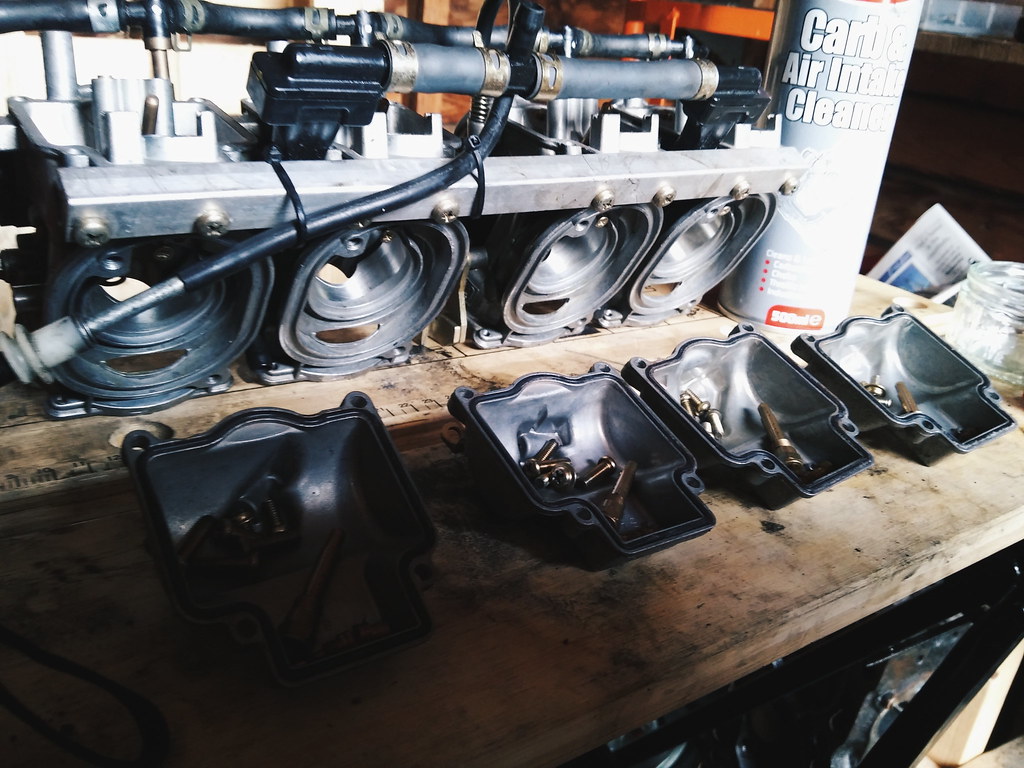
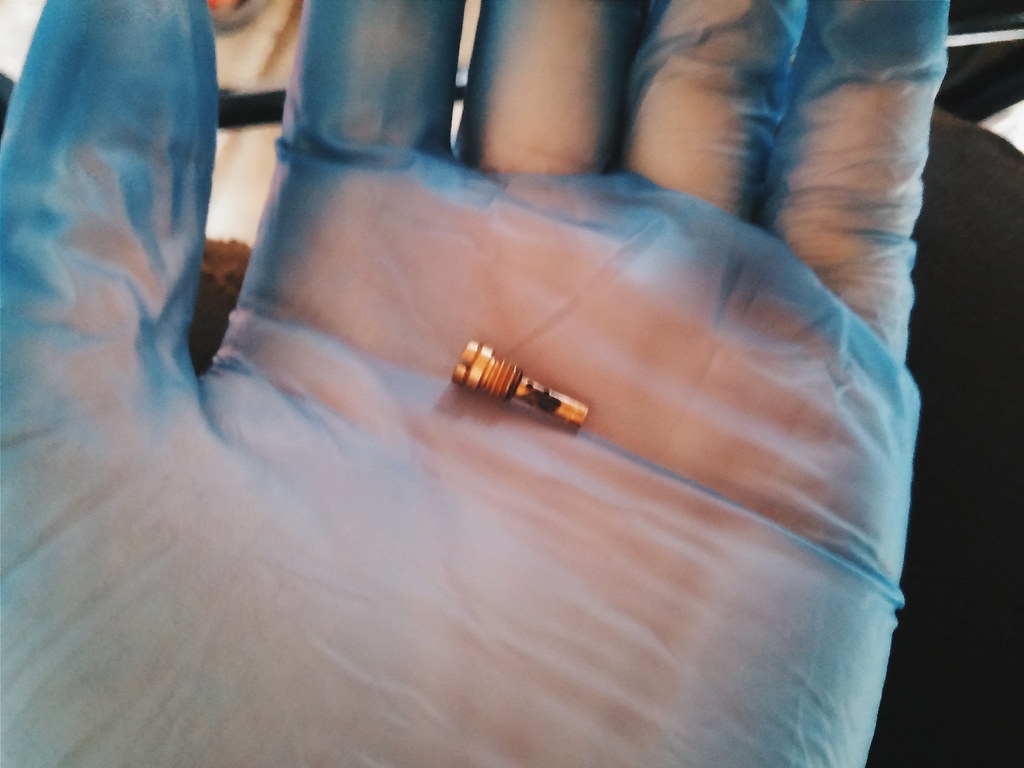
Success! Or so I thought... after getting all the static timing spot on, getting the car fired up (and sounding awesome!) it still had the issue of only idling on choke or at very high revs. Damn it. I couldn't think of what else could be wrong, so I started thinking laterally. If the carbs are from a YZF600r, I wonder if people have had this same issue with those bikes? After a quick search I found loads of people on various bike forums complaining of the exact same symptoms, with the fault being the idle circuit on the carbs (d'uh!!) in particular the pilot jets. Apparently they're very small and can easily get all gummed up with fuel and debris, eventually causing the same problems I was having. To quickly test if the carbs were the issue, I borrowed a spare set from the ever helpful
carlb1970, who happens to use the same carbs in his Celica. After a quick clean and balance, I popped them on and hey presto, it idled as smooth as butter! I won't be keepings Carl's carbs though, so I now have my carbs in the shed, ready to be dismantled for I think the 5th or 6th time. I don't think I've ever removed the pilot jets in the past, just blew some carb cleaner through them, but this time I'll be taking them out and giving them a good seeing to. Hopefully when I refit them I'll have a nice smooth motor again, this time with more horses from the new head! And then I'll have to get it MOT'd... forgot about that.


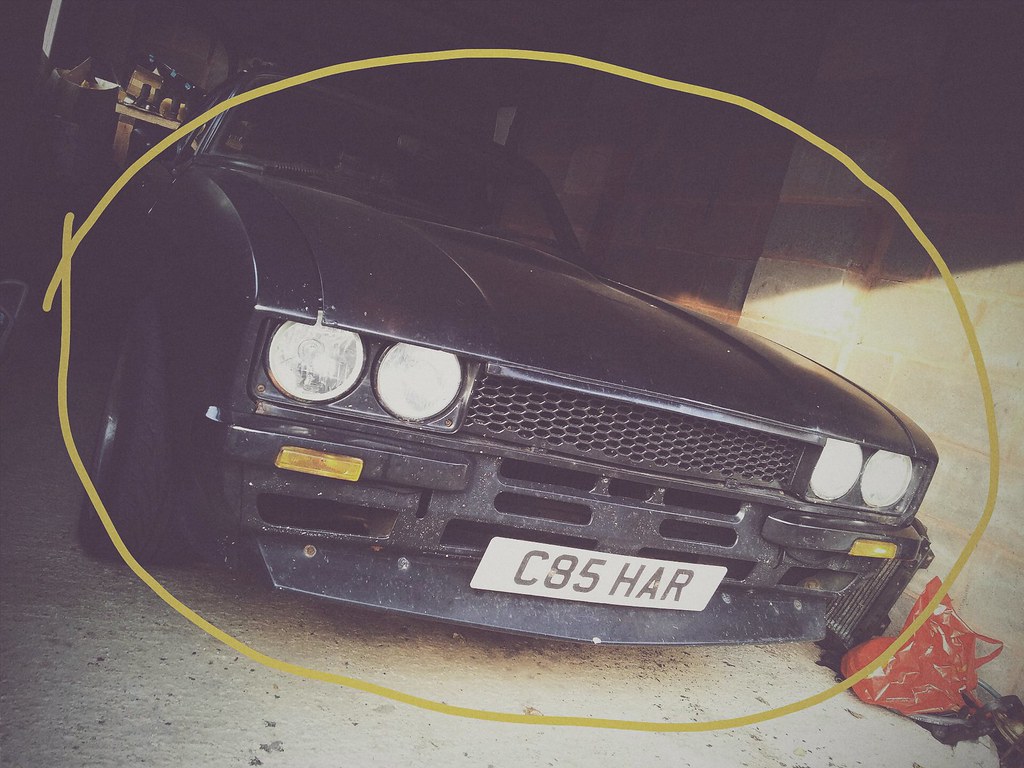
 Even when they're being a pain in the backside, these cars still manage to put a smile on your face!