So, tings is now serious.
We have touched some kind of solid ground in the rotting muck at the bottom of the pond, but we're still sinking. The amount of work still ahead became clear when I started wrapping up all the bits that weren't coming out and realised just how damned much wire there is spread through and around an FD engine bay!
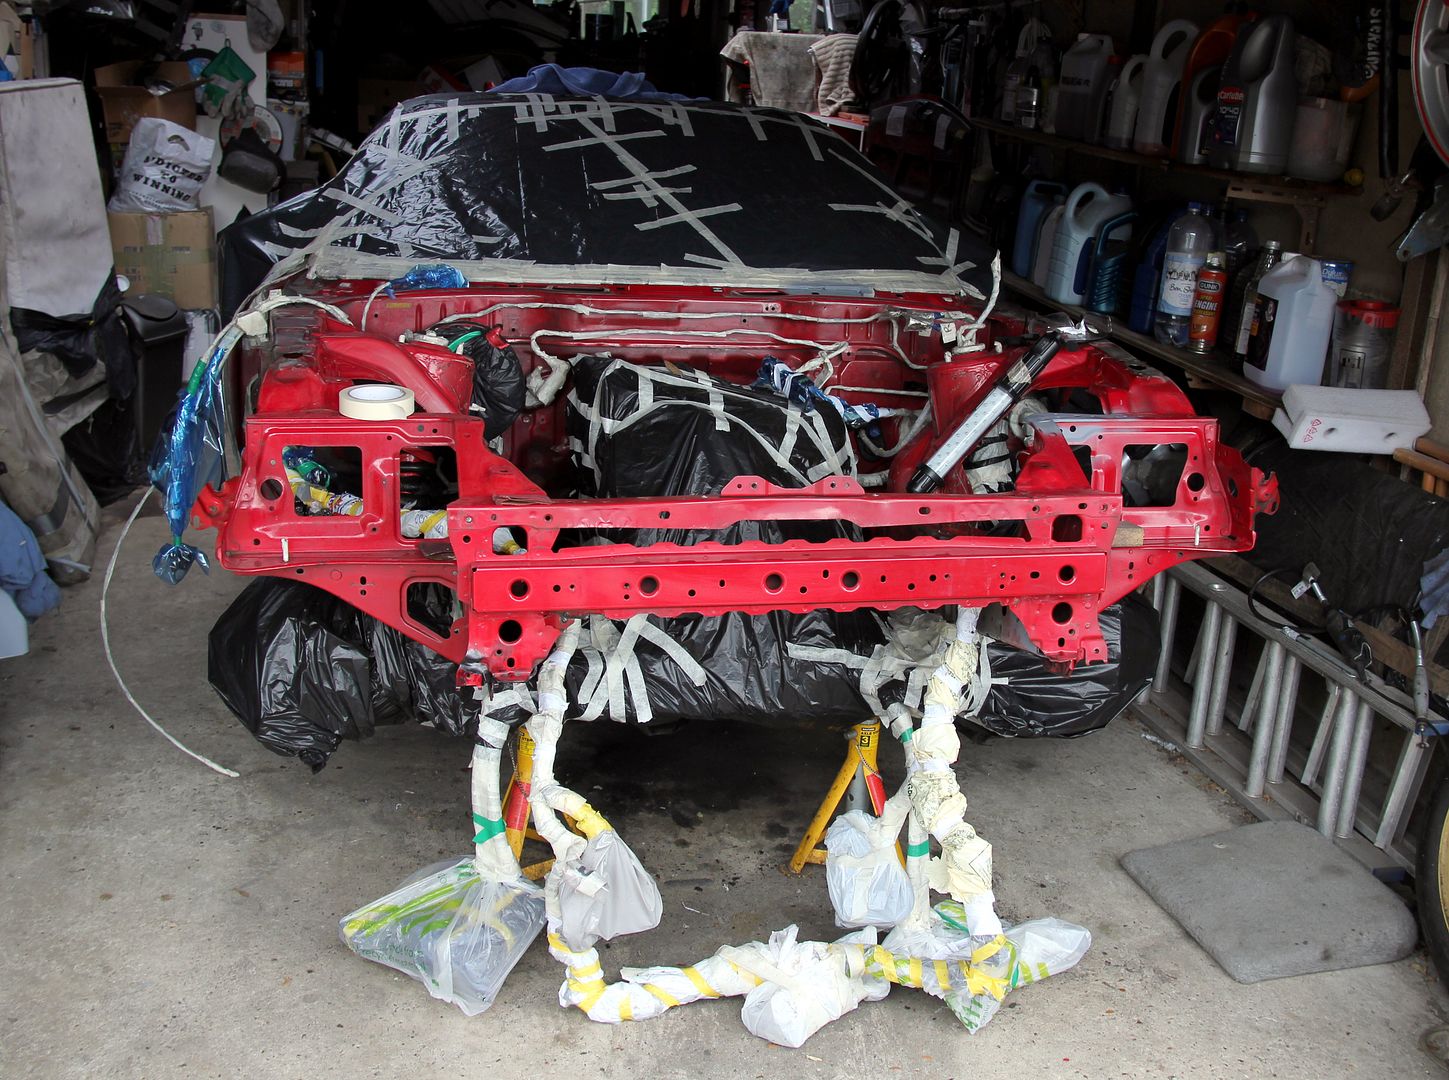
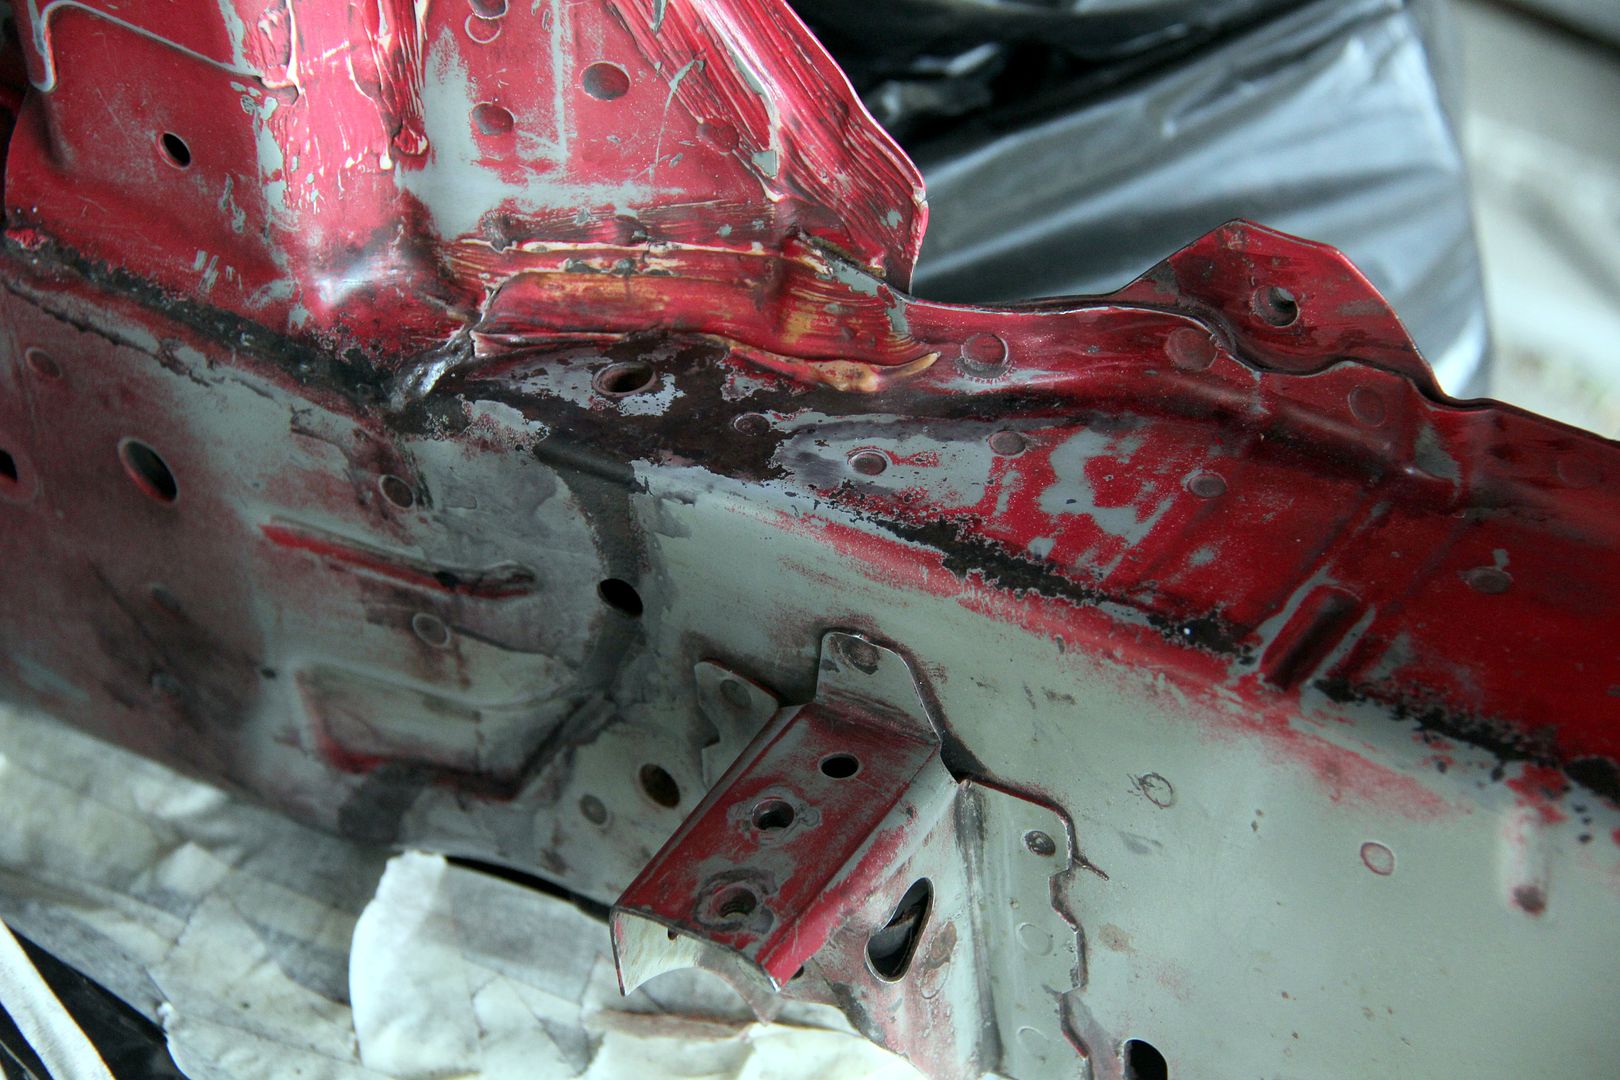
Now there was some clear space, the necessity for all this work was made plain though. The paint... where paint still clung on... was absolutely
knackered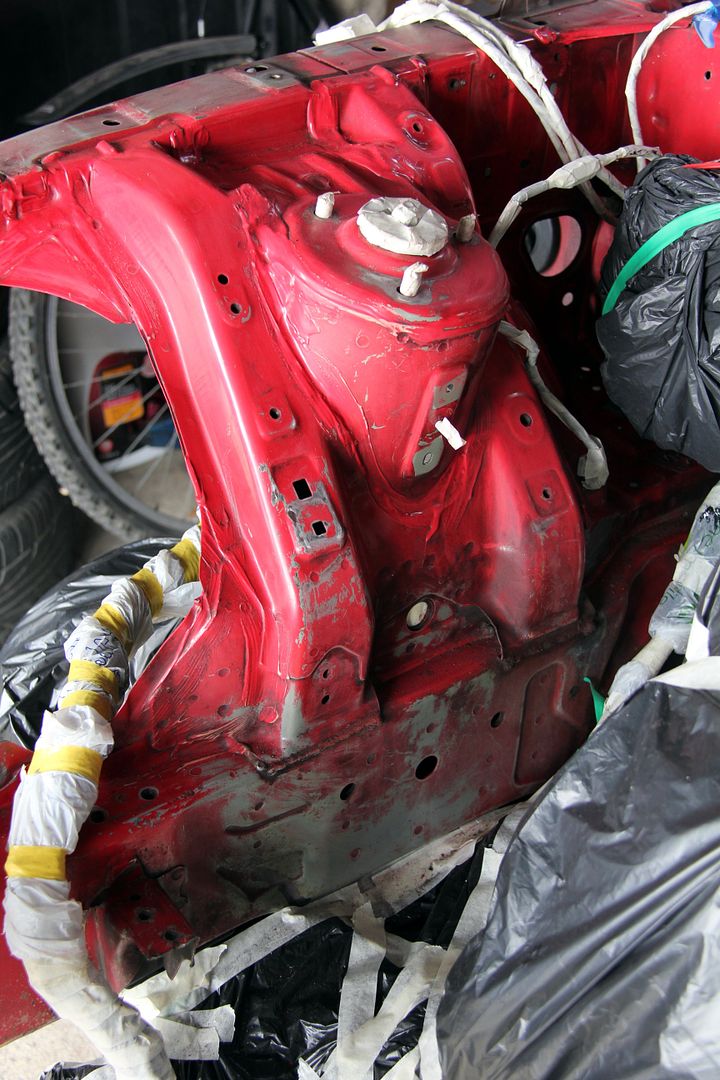
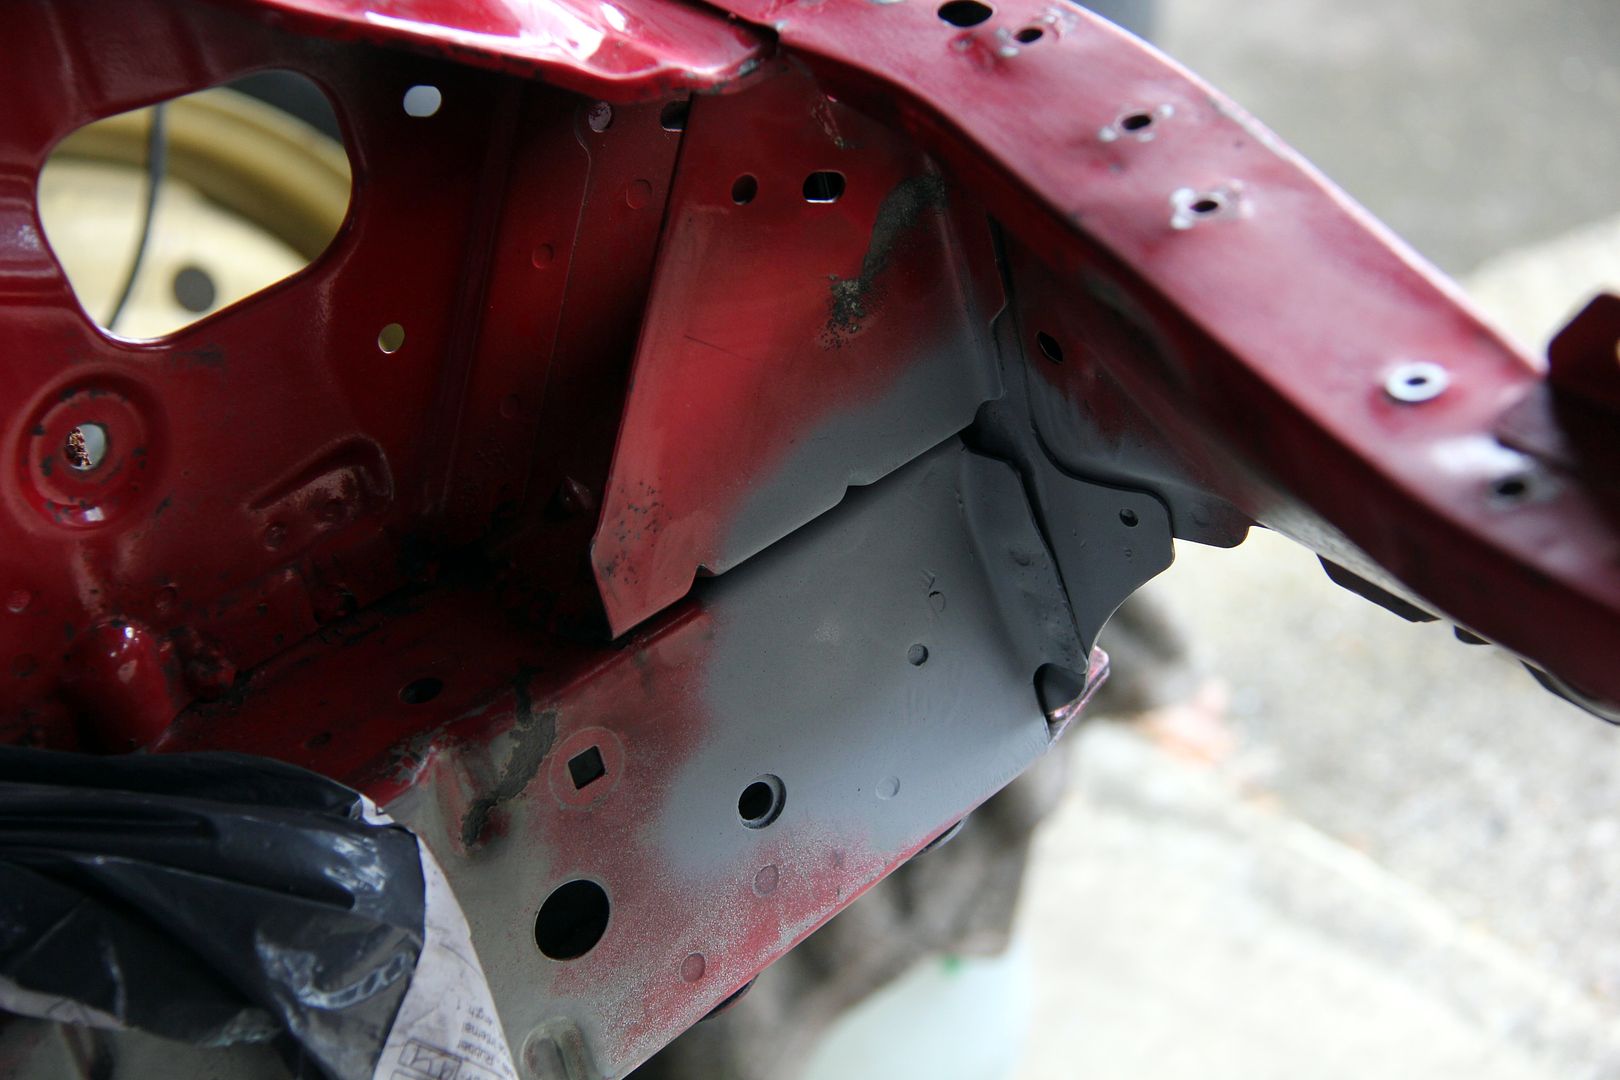
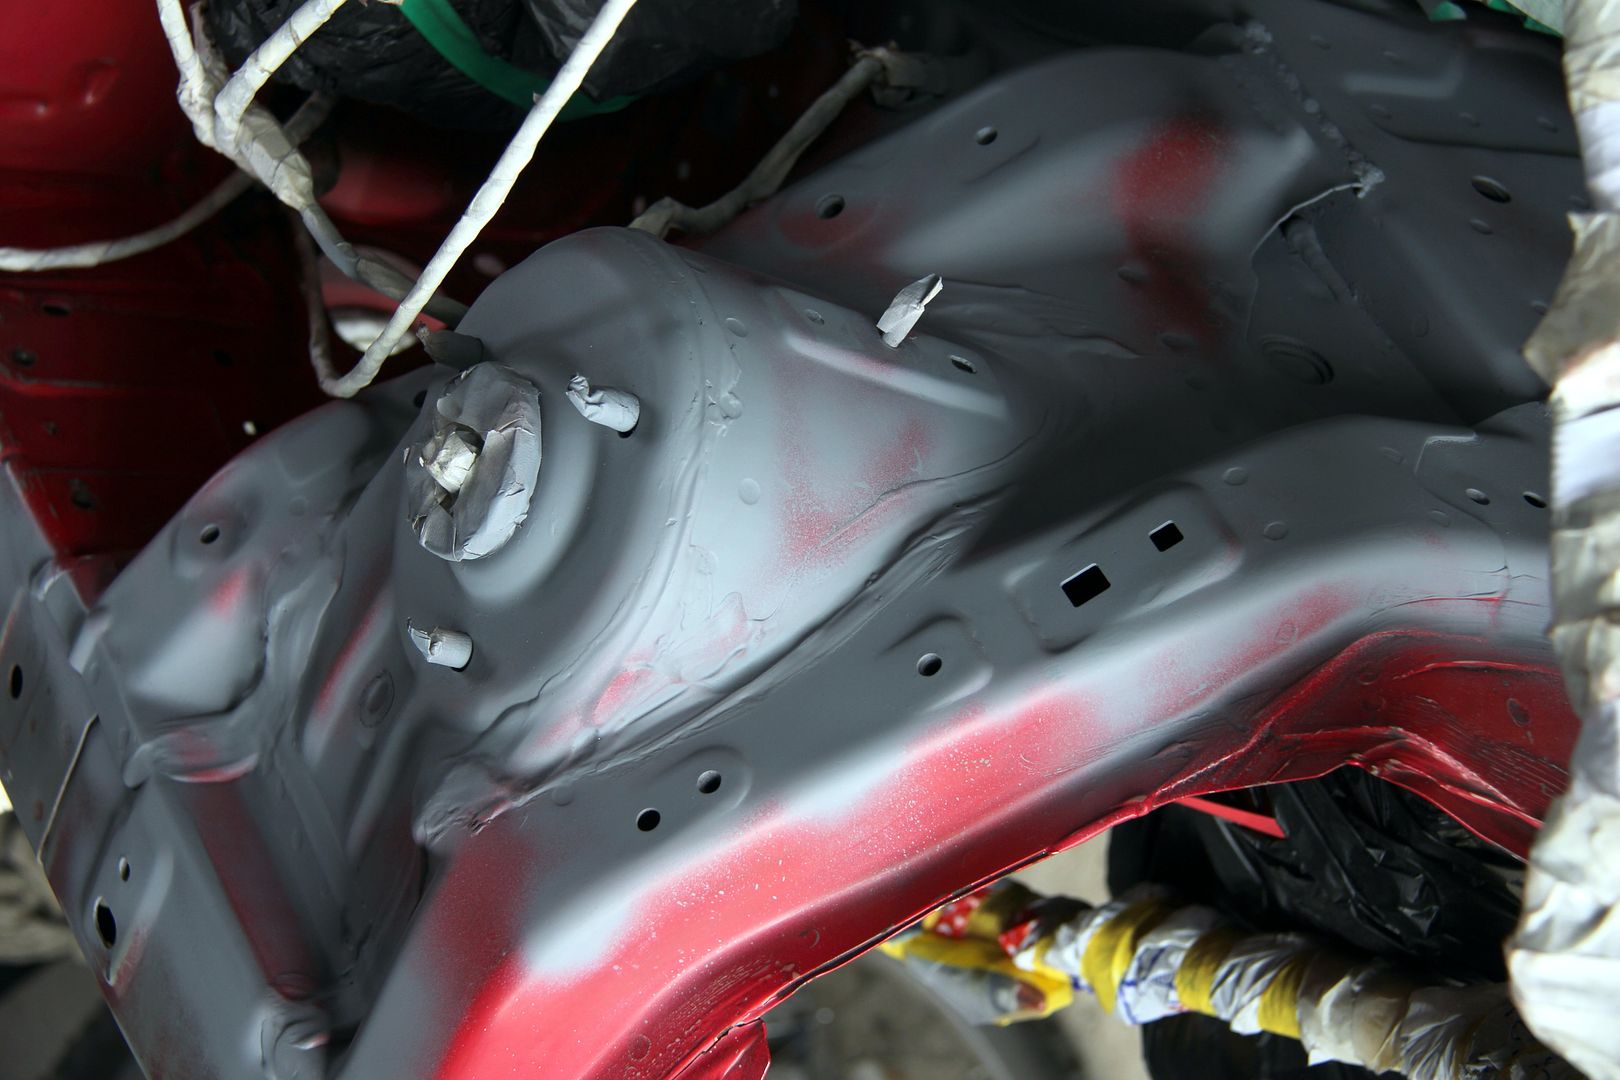
It looked as though there was a long haul still ahead, so I squirted a bit of etch primer on the worst bits, and areas where I'd gone back to metal such as removing the rad brackets. Nothing worse than cleaning everything up only for weeks to pass and when you go back to it it's all orange with surface rust
especially the N/S chassis rail really didn't any longer feature much in the way of paint. Historic acid scars from when the battery was mounted here, scrapes, wear, tear and rotary furnace heat had done a pretty efficient job of stripping it all off. The original primer still clung on bravely, but that was about it!
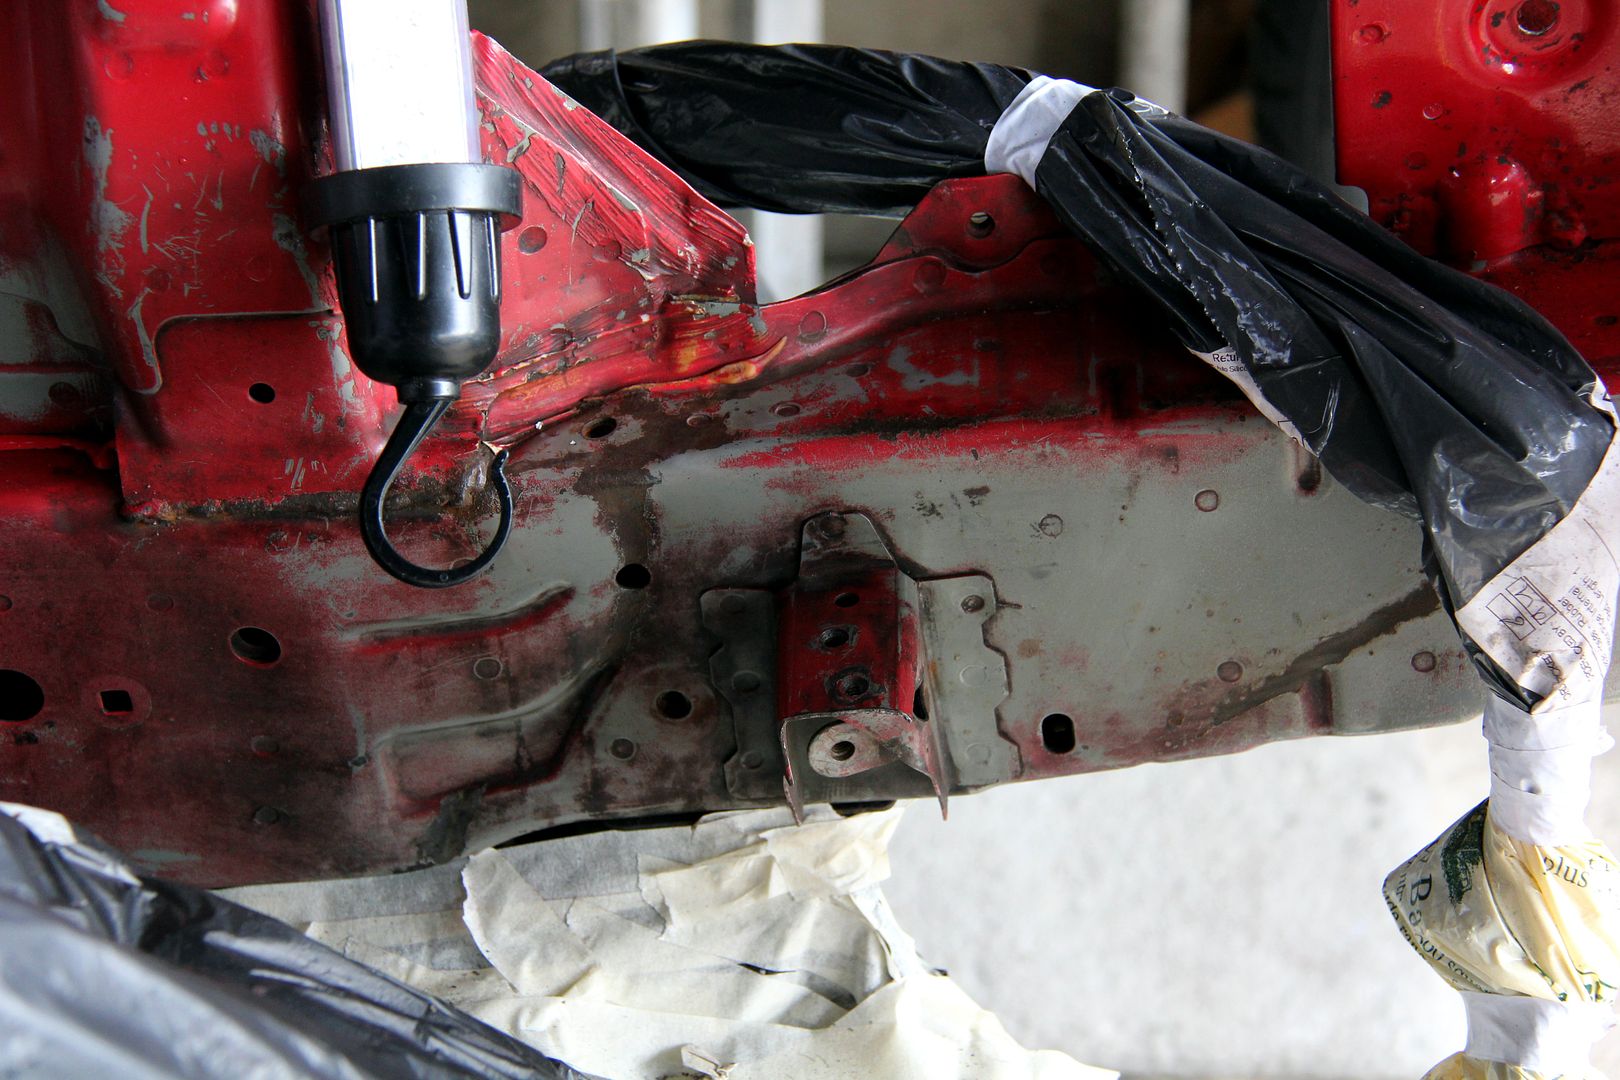
...even the relatively gentle cleaning with pre-paint (Gentle! Hah! Who am I kidding? Even the scrubbing with solvents so virulent they cause heritable genetic damage) was enough to remove what little was left. It
was cleaner, though
Some more bench jobs kept the mojo rising meanwhile. The headlight motors were refurbished with all new heatshrink, disassembled and cleaned out, all the metal parts POR15ed and then reassembled with all new stainless fasteners

In fact, shiny new fasteners were a recurring theme. Often as not, even where I'd previously replaced original Mazda eezee-rust tat with stainless ones, they'd since got manky and discoloured and it seemed as easy (if not as cheap) so just replace them as I went rather than waste hours (cumulative) cleaning old ones up. Kays Fasteners on eBay must have been just as fed up with me as Torques by the end of this!
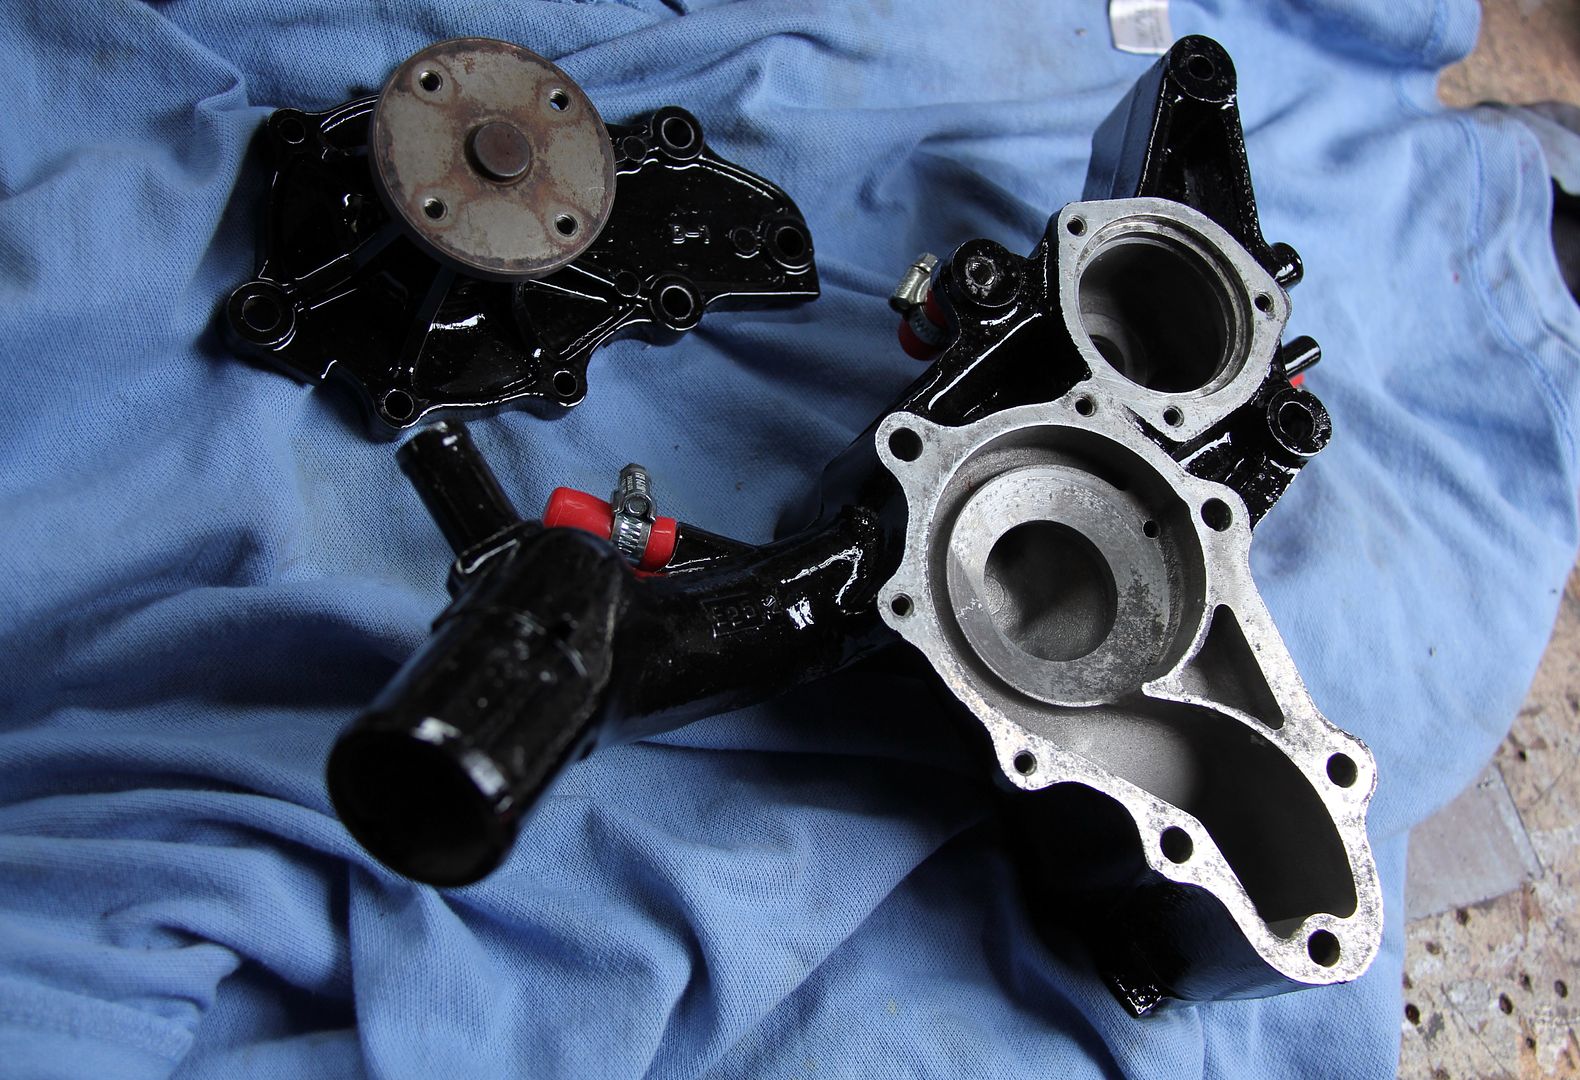
While the POR15 was open ... and this stuff sets so hard that if you haven't the foresight to put a layer of clingfilm over the tin before you seal the lid back up, you ain't getting that lid back off with anything short of a chisel, so I tend to store up jobs do do all in a oner... I gave the new cleaned-up waterpump housing a couple of coats
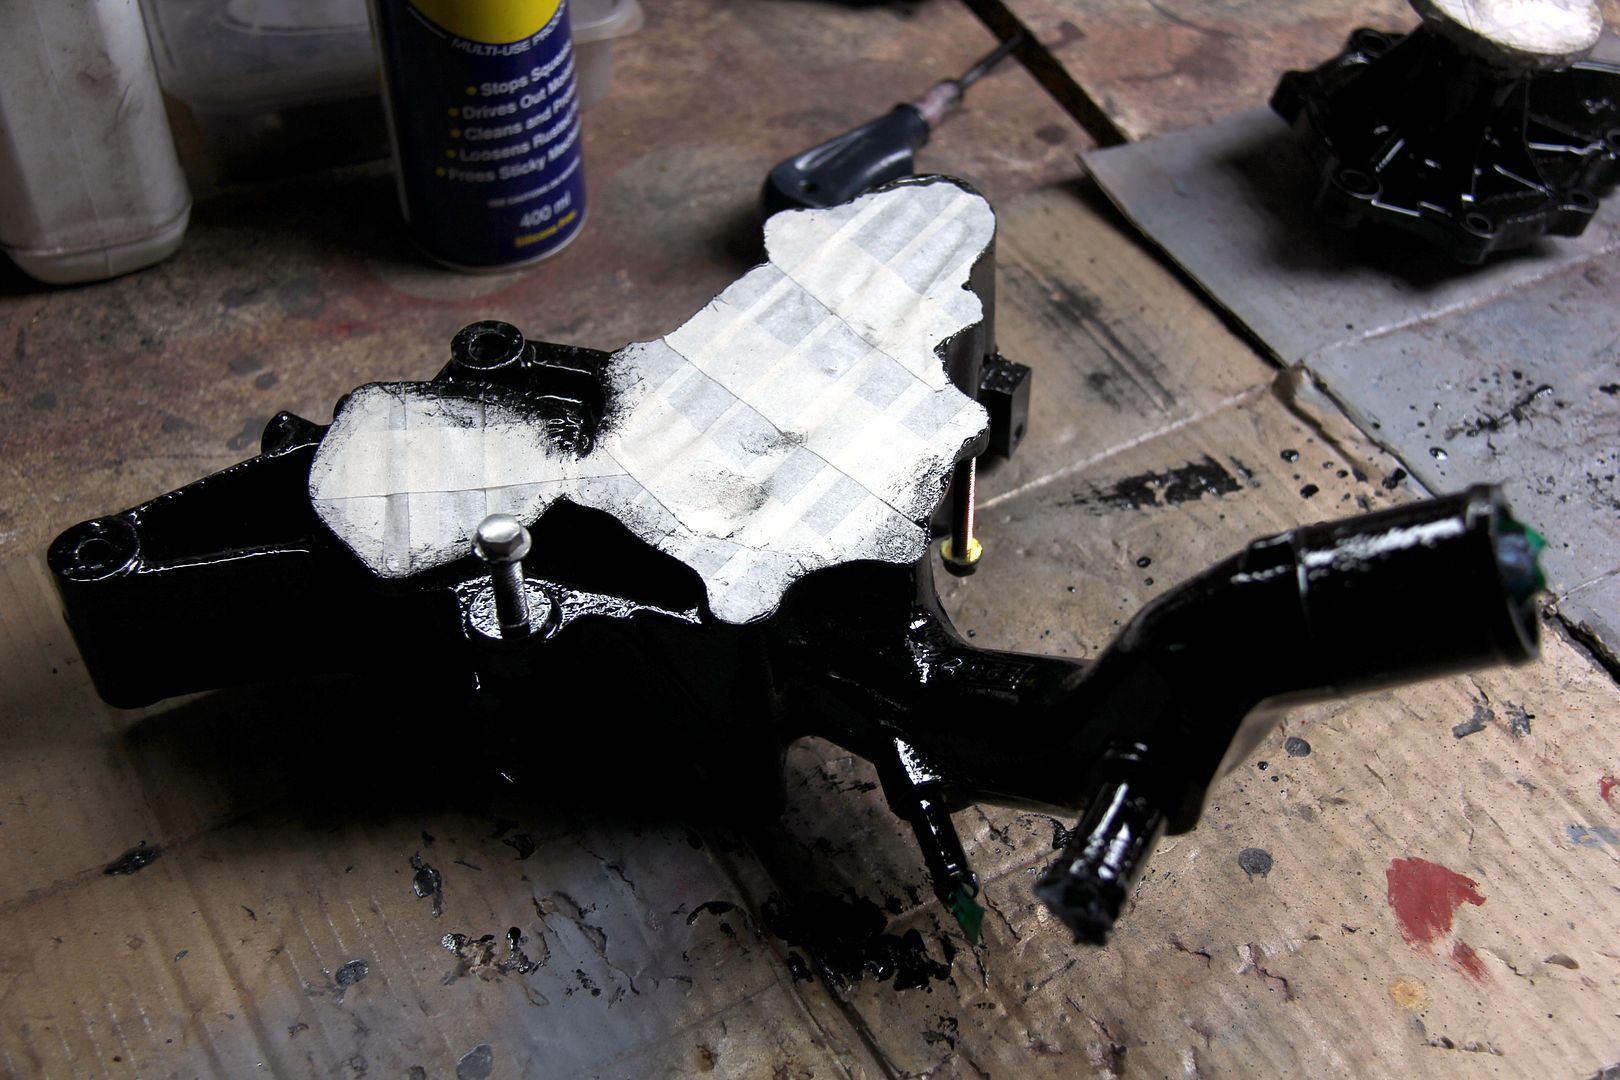
Likewise, it pays to mask up more intricate pieces like this when using POR15. It's runny like water, and if you let it dribble into inaccessible nooks and crannies you're going to struggle to clean it off again. A few minutes spent masking saves time and grief in the long run. When it dried, I fitted the sensors and bungs and hardware and felt it was pretty good, considering
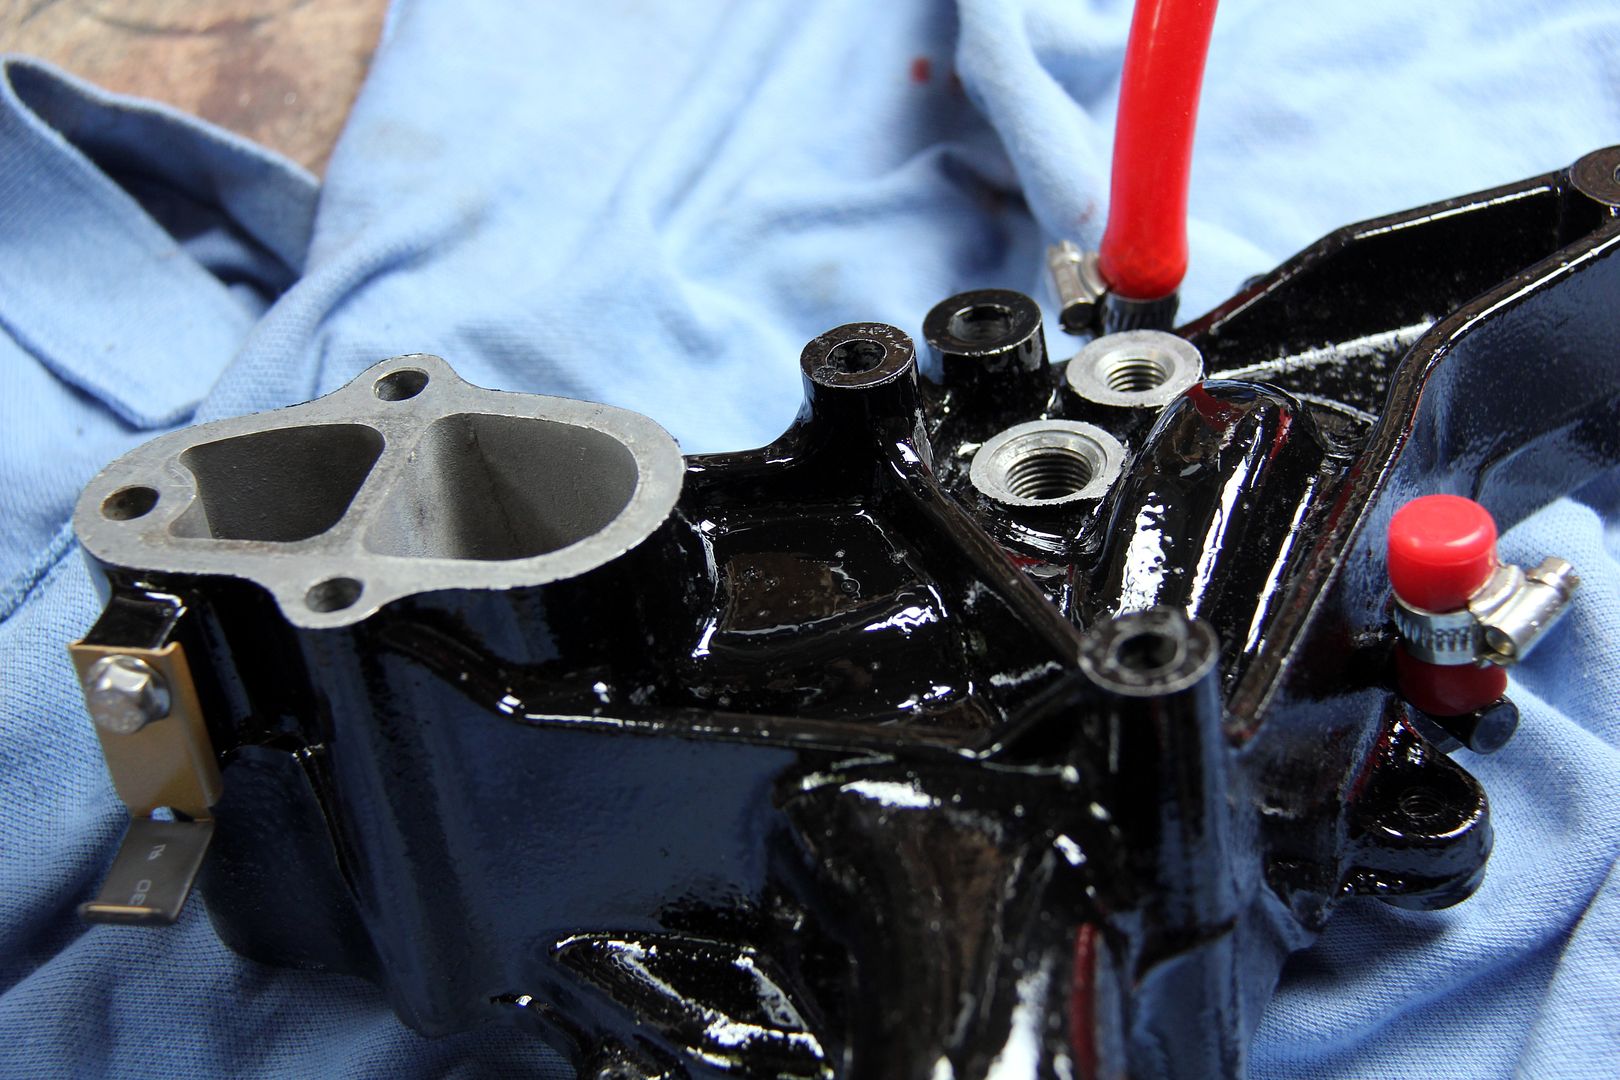
Speaking of sensors, a new temperature sensor was needed for the top radiator hose. I think this runs the stock dashboard temp gauge, which is kinda redundant since a) I've got a super-accurate Stack stepper gauge in the centre console and b) the stock one only moves to let you know your engine overheated an blew up fifteen minutes back up the road. But hey, without it there'd be a hole in the radiator shell and since the old one had snapped its electircal spade connector off I might as well go full mental and fit one that'd actually work. And heatshrink.
RED heatshrink. No, I'd not gone
that full mental. You'll see why in a bit!
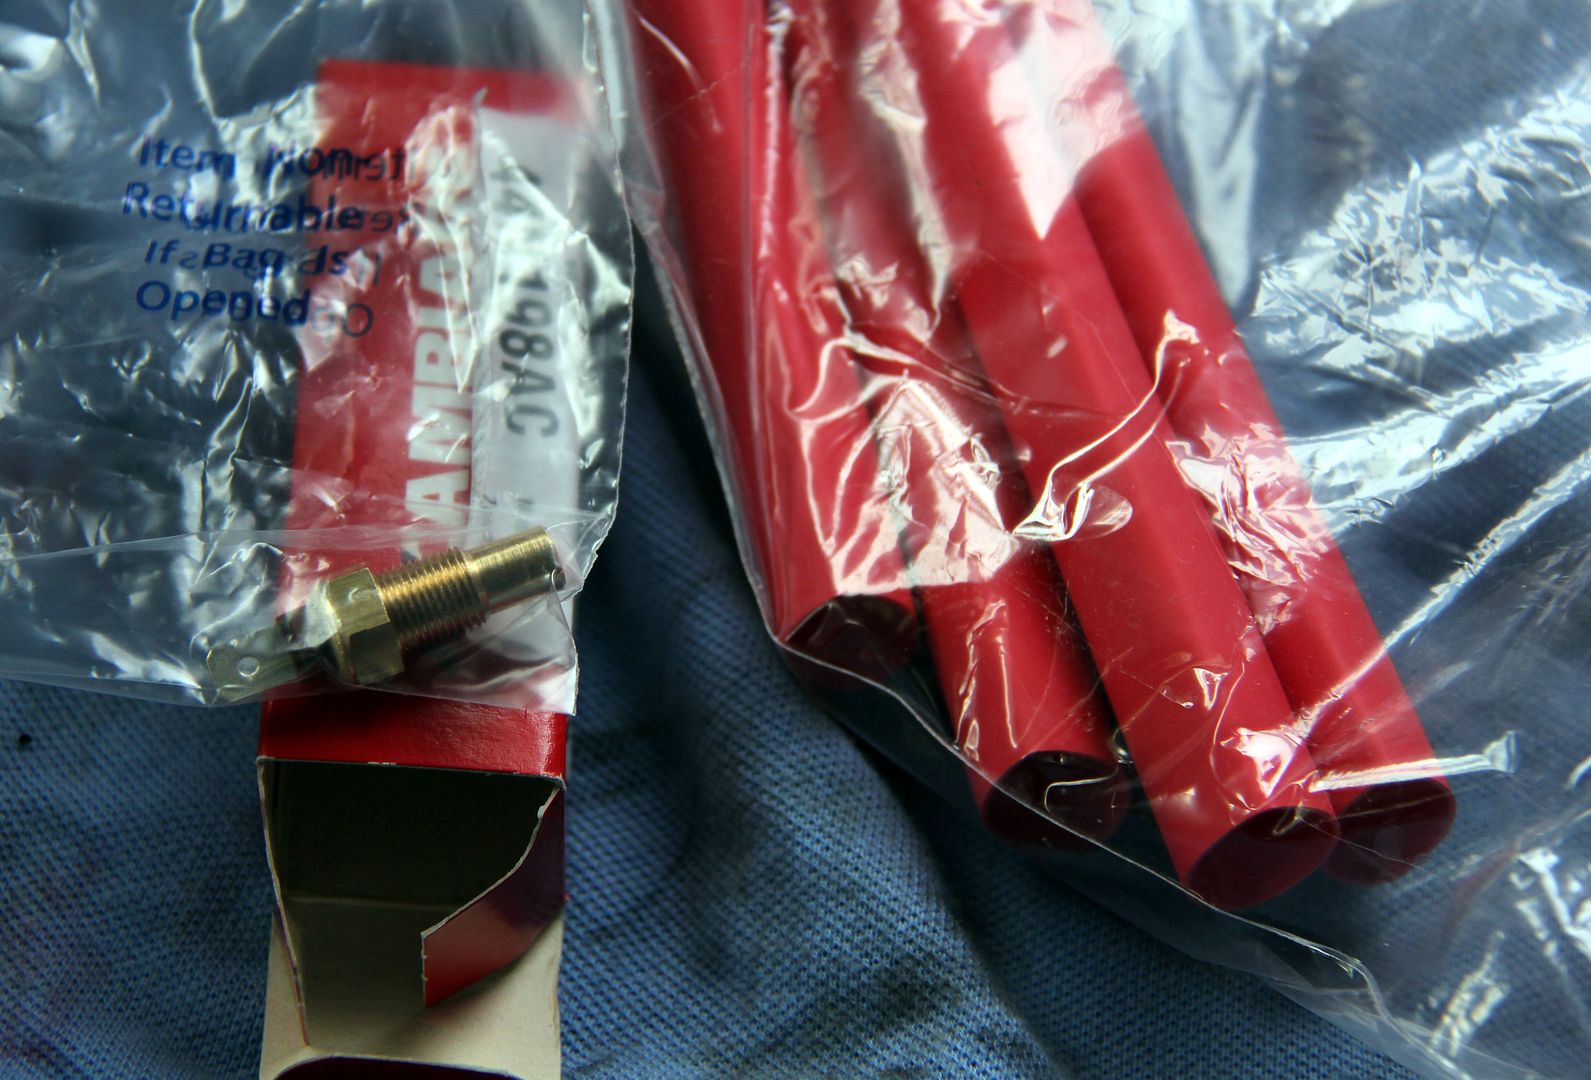
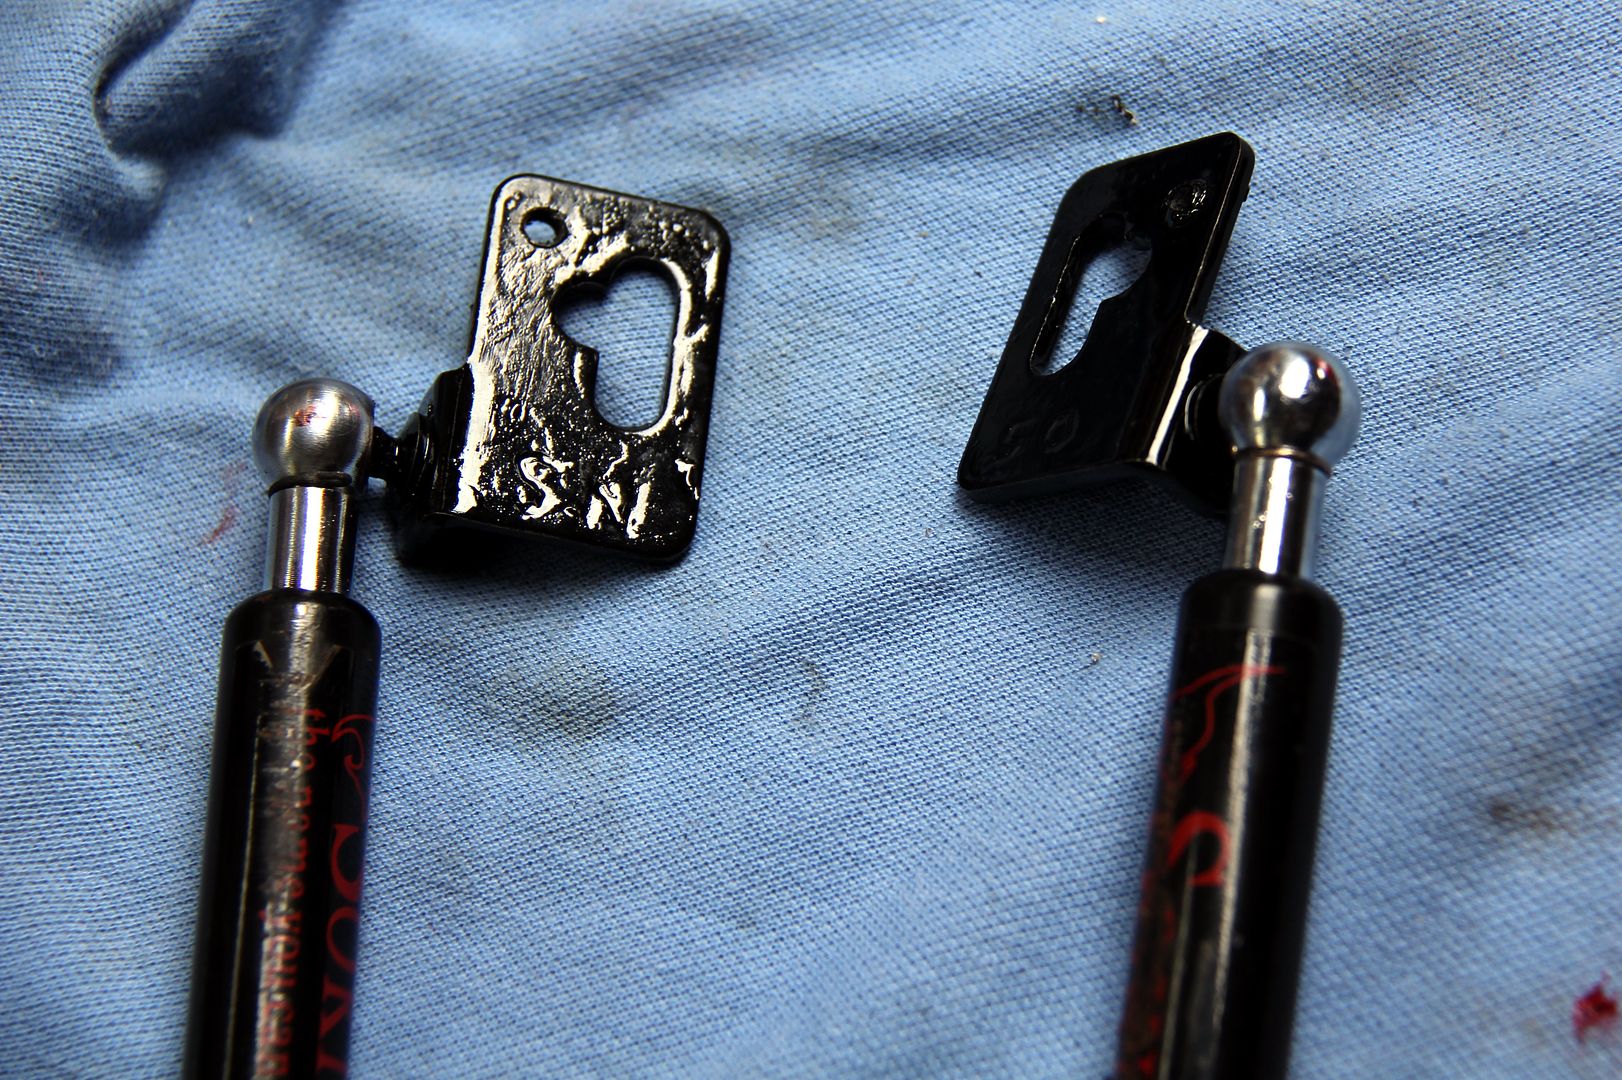
Oh, and the bonnet lifters were done. Like, they'd see the light of day again in about eight months...
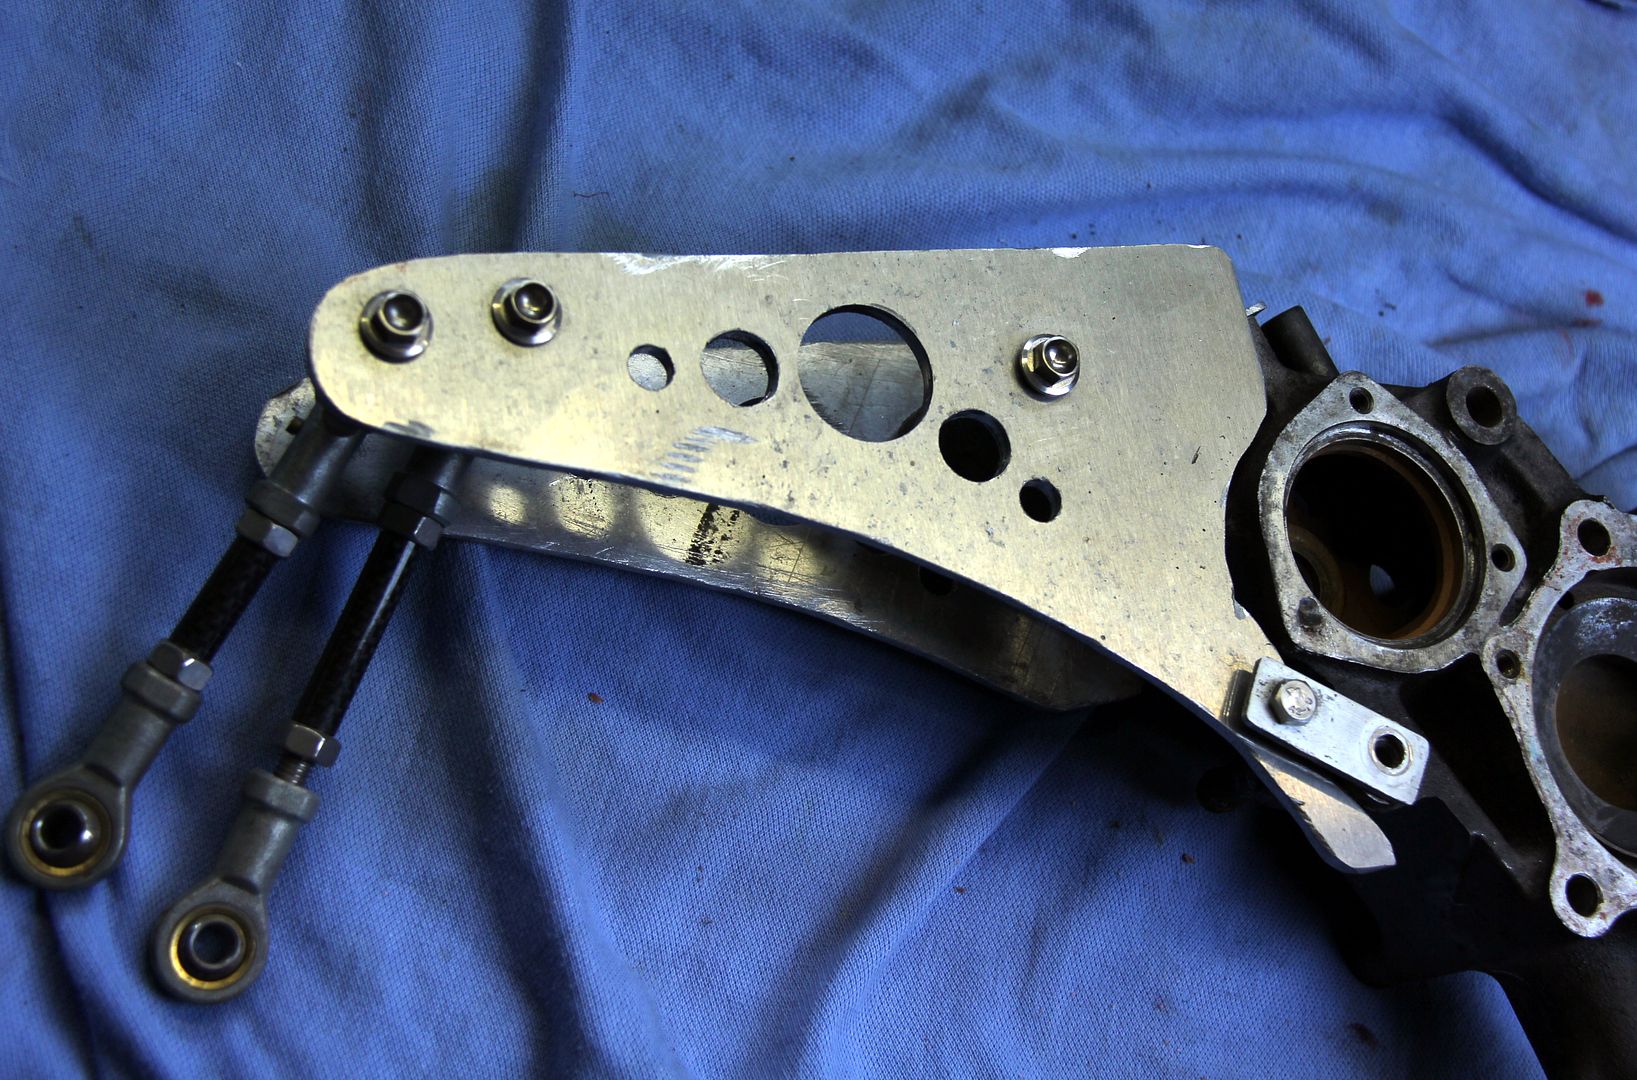
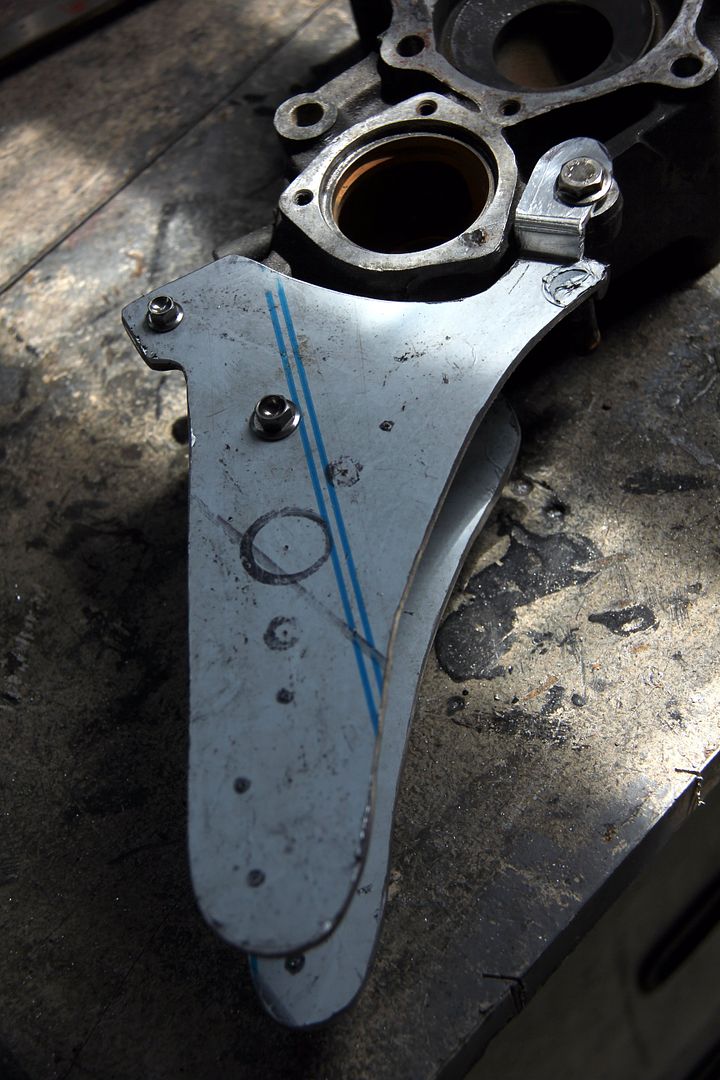
Sooooo.... there I was with a surplus to requirements waterpump housing cluttering up the workbench. It seemed this was an opportunity to put right something I'd never been quite happy with and use the housing as a build mule. Y'see, when I made my turbo brace I didn't really have as much time to finish it as I'd have liked, and it was almost done before I realised it'd need cross-fixing top and bottom to prevent the entire thing trying to rotate on its mounting bolt... and thus render the entire thing pointless. So I ended up with the thing being made, rather than out of the two main plates, those two plus two extra little bits of slightly effete alloy and this also meant extra fasteners and I slipped a couple of times with a flap wheel and not had time to polish it out ... and ... well, it just wasn't quite as elegant as I'd have liked.
This, for those who have no idea what I'm on about, is what it looked like;
I figured that I know what mistakes I made and with that knowledge, a bit more time, and a nice new Bosch angle grinder, I could do better. Fortunately, I had plenty of alloy sheets left over from other things, such as my fan shroud from t'other Rex.
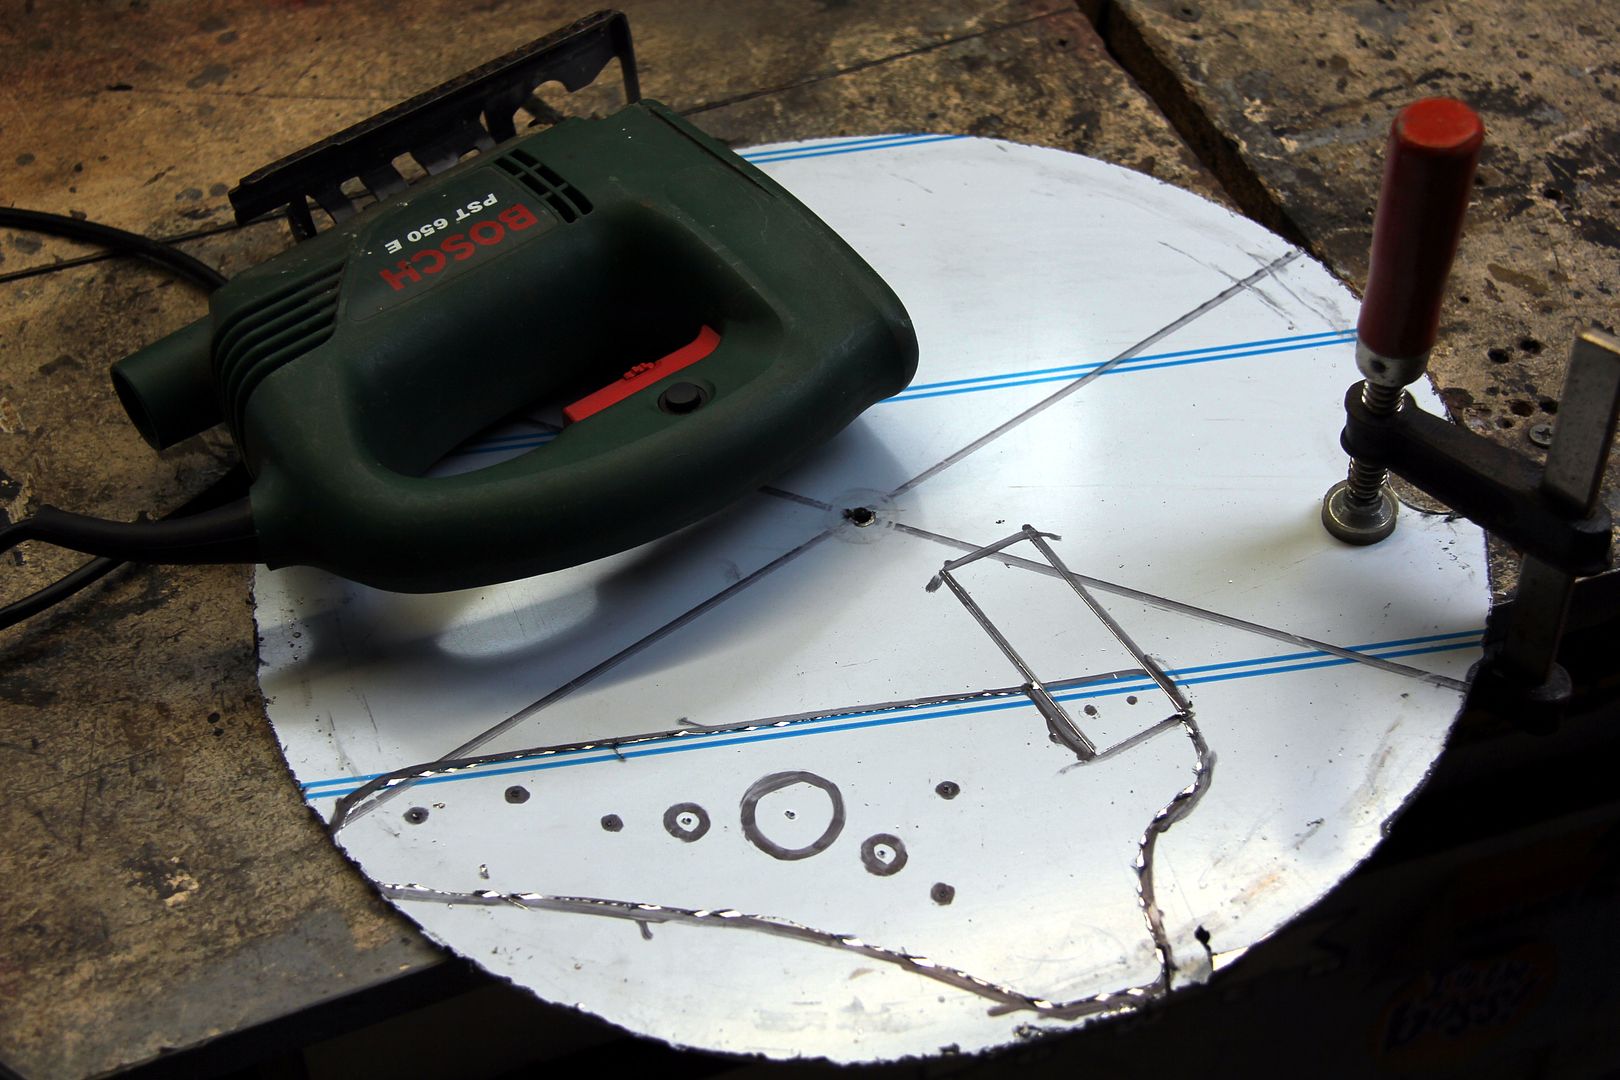
and we soon had the rough cuts of Turbo Brace V2.0 thrashed out. And yes, I
know that's a jigsaw in that photo. The angle grinder was for shaping after the broad cuts. Pedants!
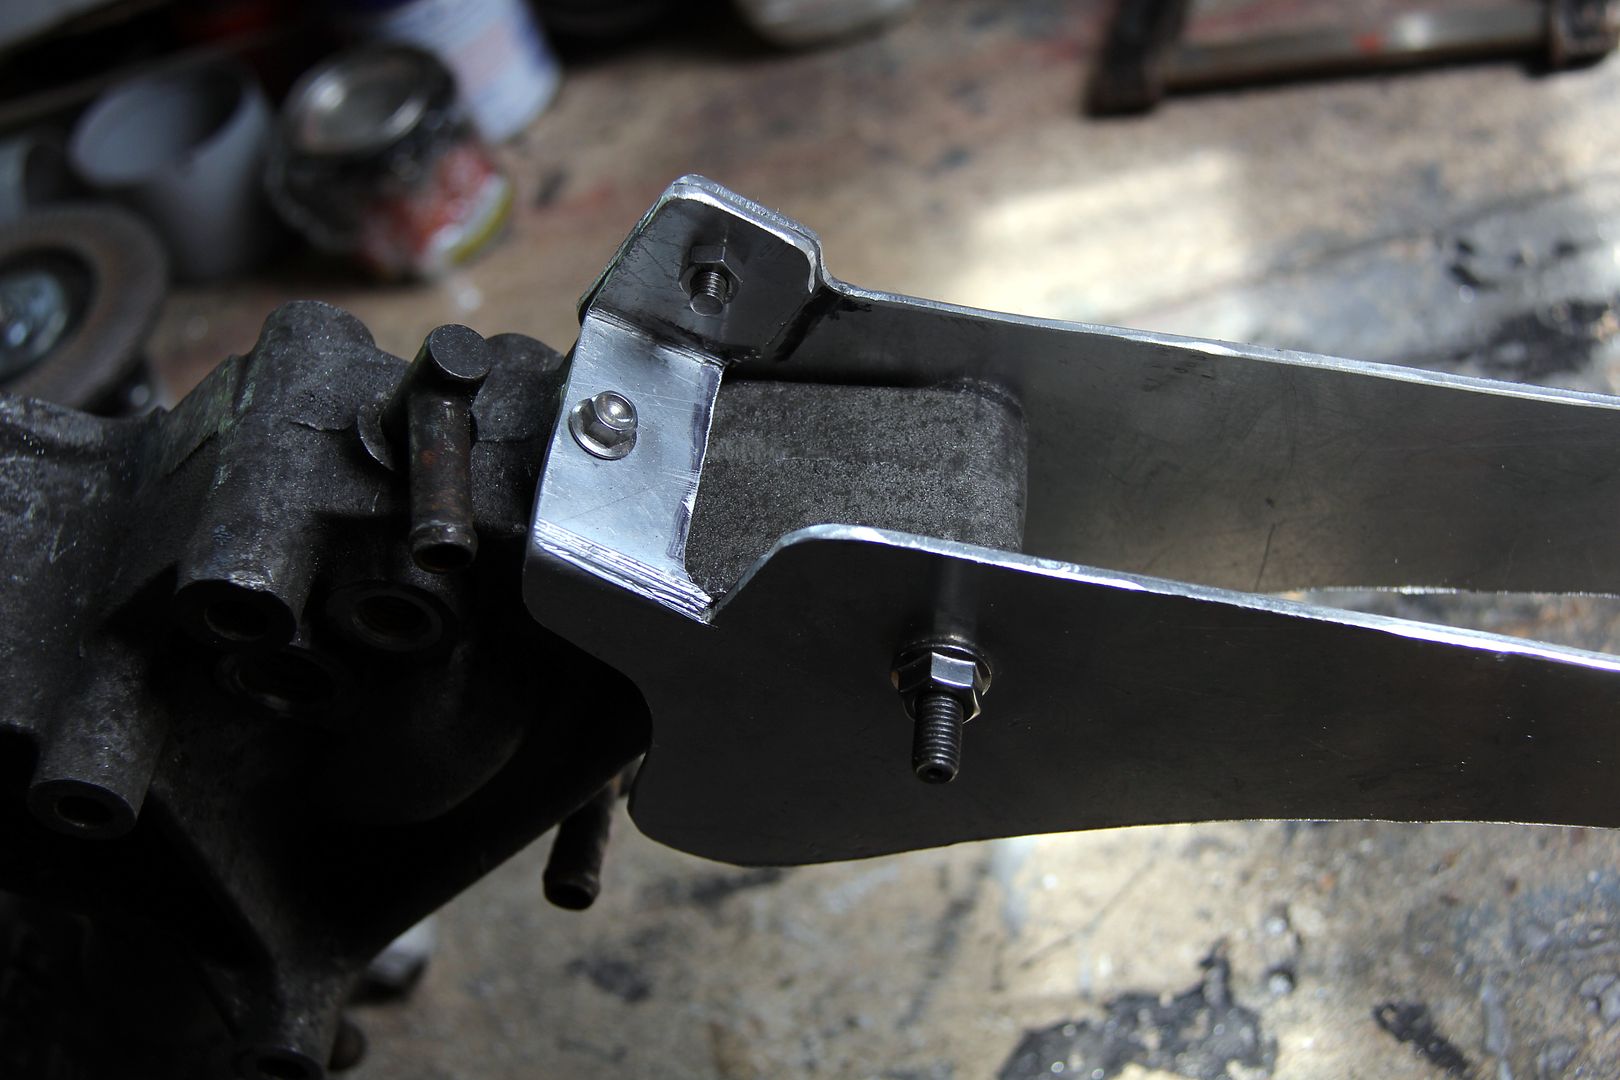
Rather than separate little bits of nicky nacky noo (technical term) bridging the halves, they were now all integral, eliminating several fasteners and making it all much more robust
A slightly different hole pattern was then drilled (like a vampire ... or was it a pope?... I can never cross the same river twice and wanted it to look different. Or maybe it's just OCD)
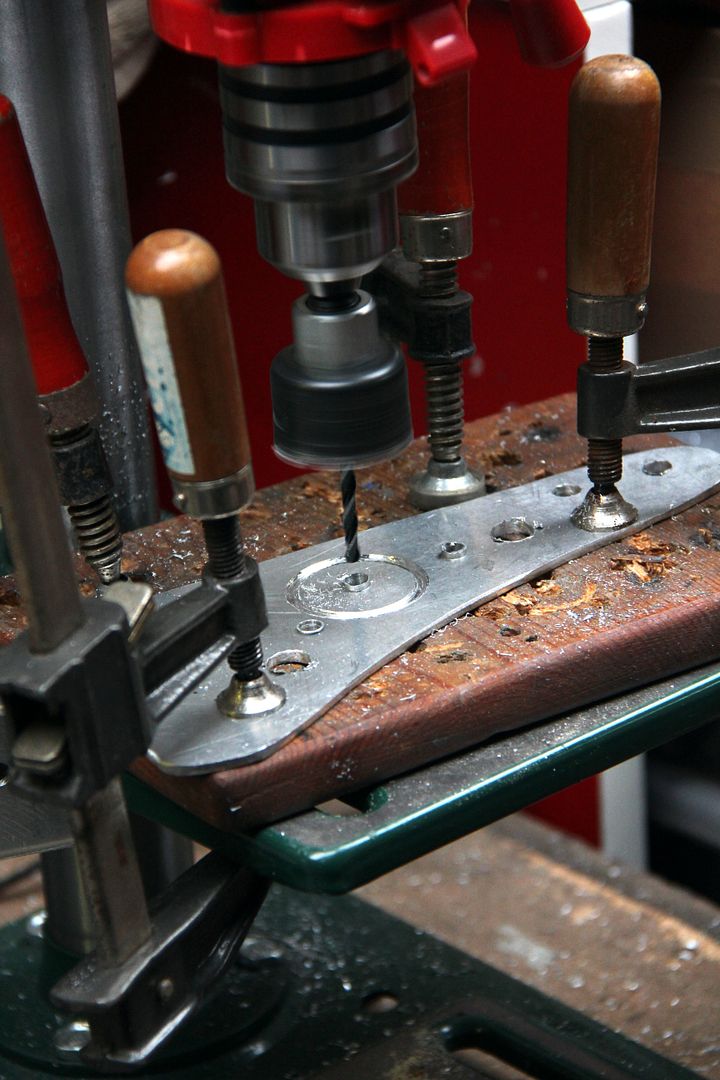
BTW, anyone who hasn't scored some schmutter from Lidl's occasional tool sale days is missing out. Things like their air tools are a bit of a pain cos they use non-standard fittings and are hard to find spares for, but things like the little drill press are excellent and it's one of those things I often wonder how I did without. And about a third the price of MachineMart. Sermon over.
So anyhooo, we now had Turbo Brace V2.0 in the finished article. Lovely
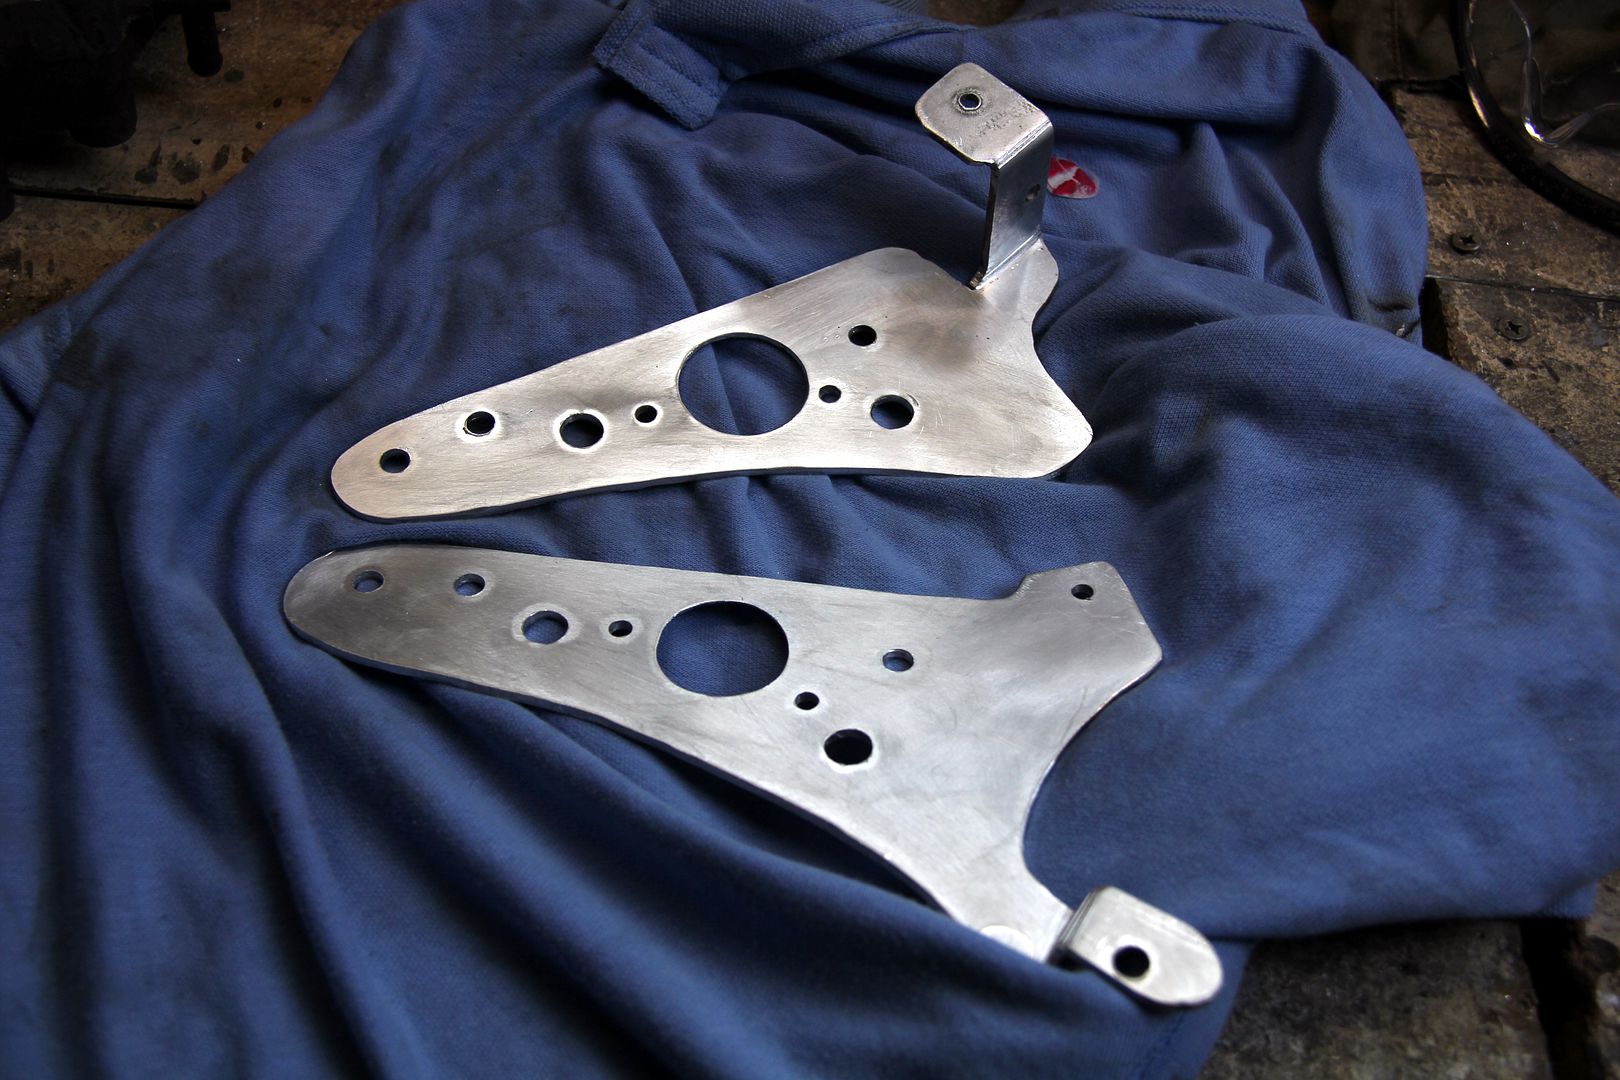
Orrrrrrrrr... was it?
Hmm. I kept looking at it and thinking it looked a bit, well a bit holey. And random. What it needed was something to draw it all together. Something like...
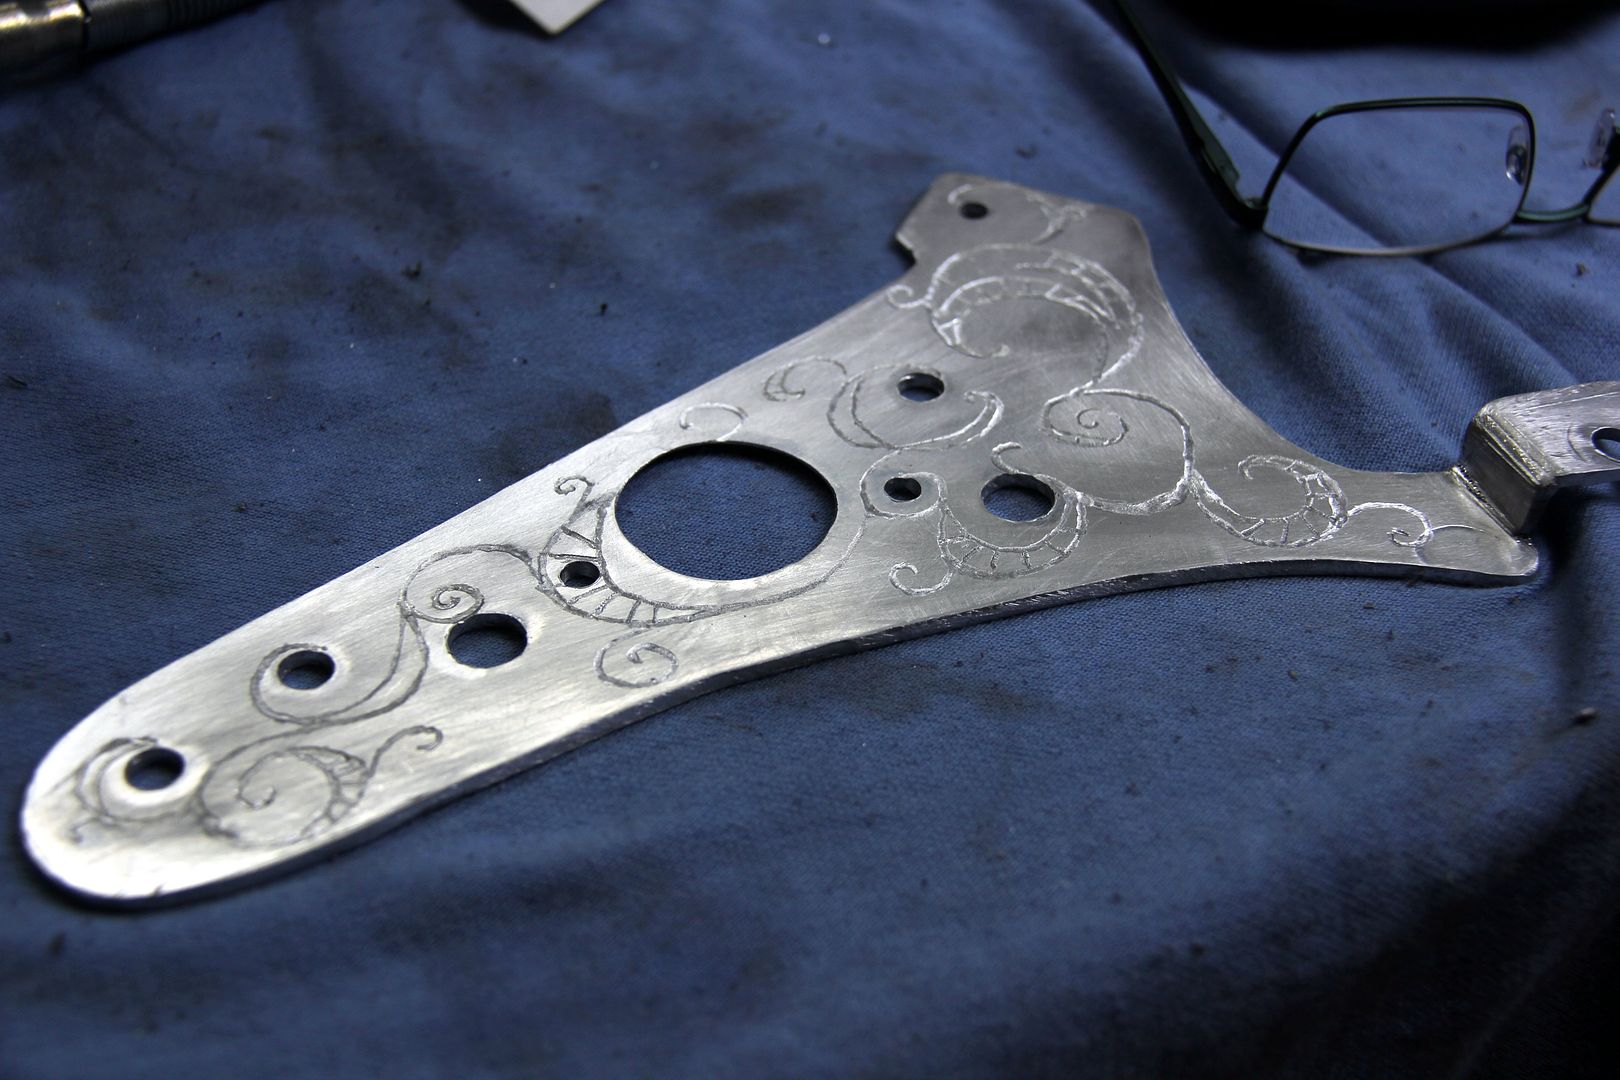
Well, it was a stupid idea but hardly my first one ever. Before you could say "tosser" it was masked up and I was doodling all over it
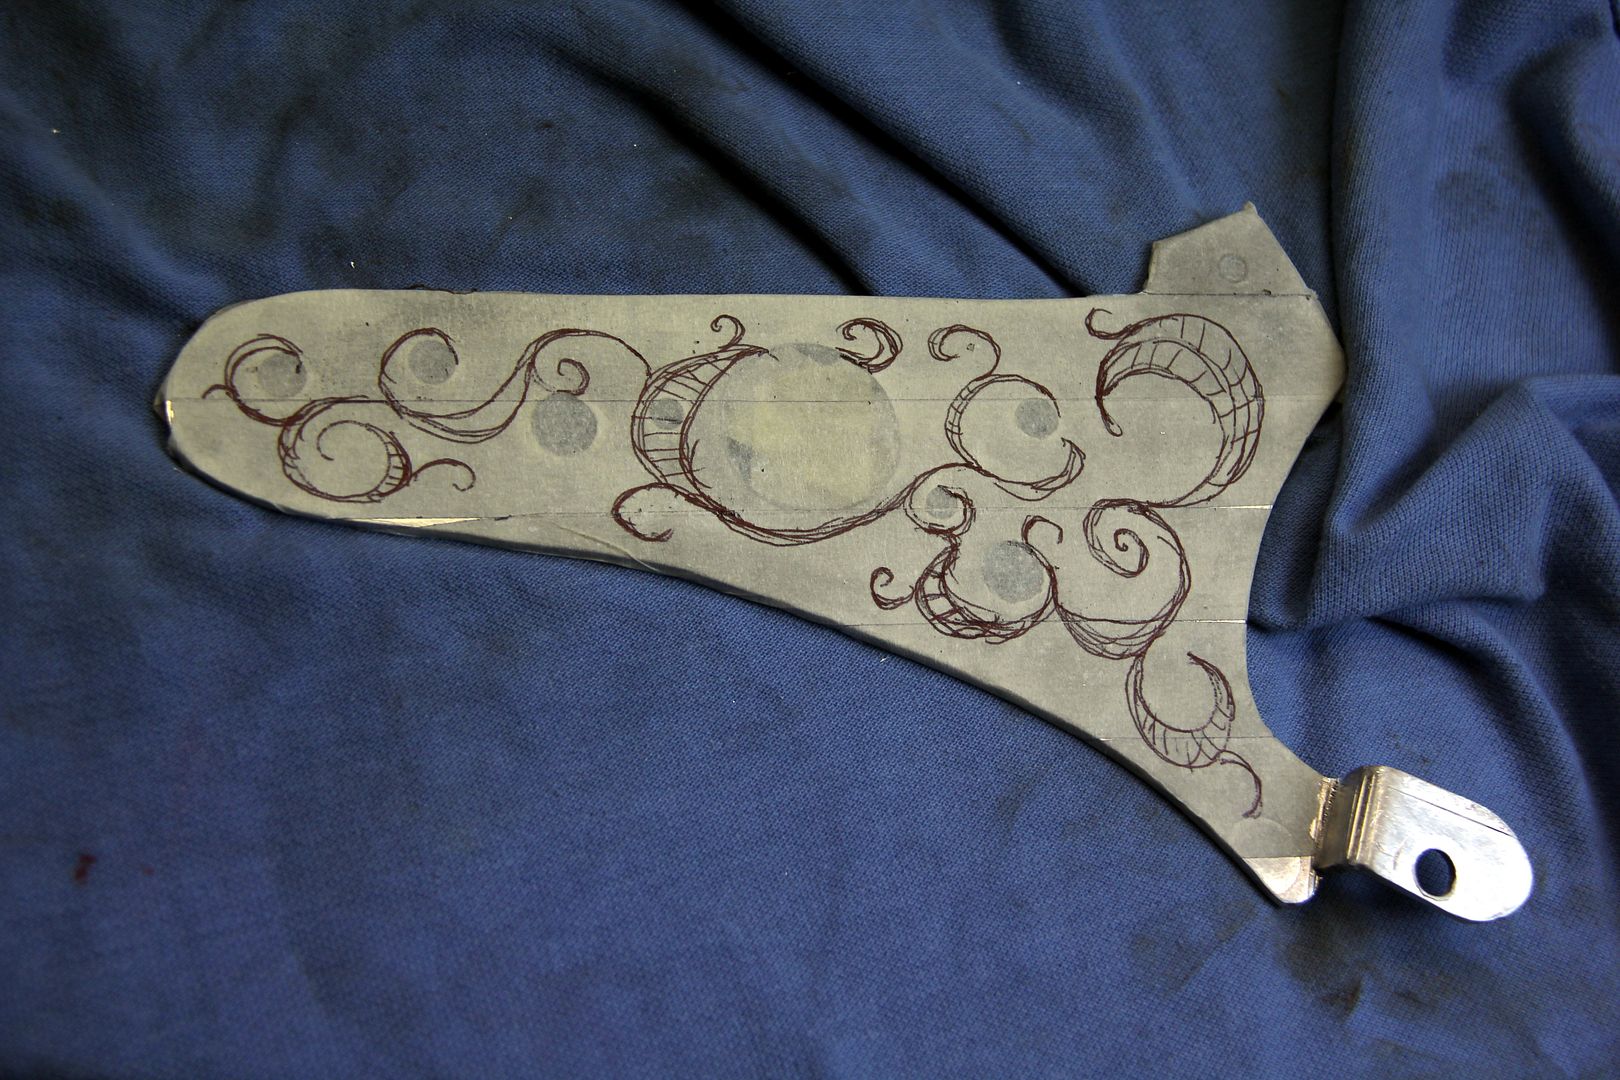
Yeah. That's it, right there. Now, if only there was some way to make it permanent. Well, of course there was and I wasn't about to let the mere fact I'd never done engraving on anything, ever, in my entire life, ever, deter me. How hard can it be?
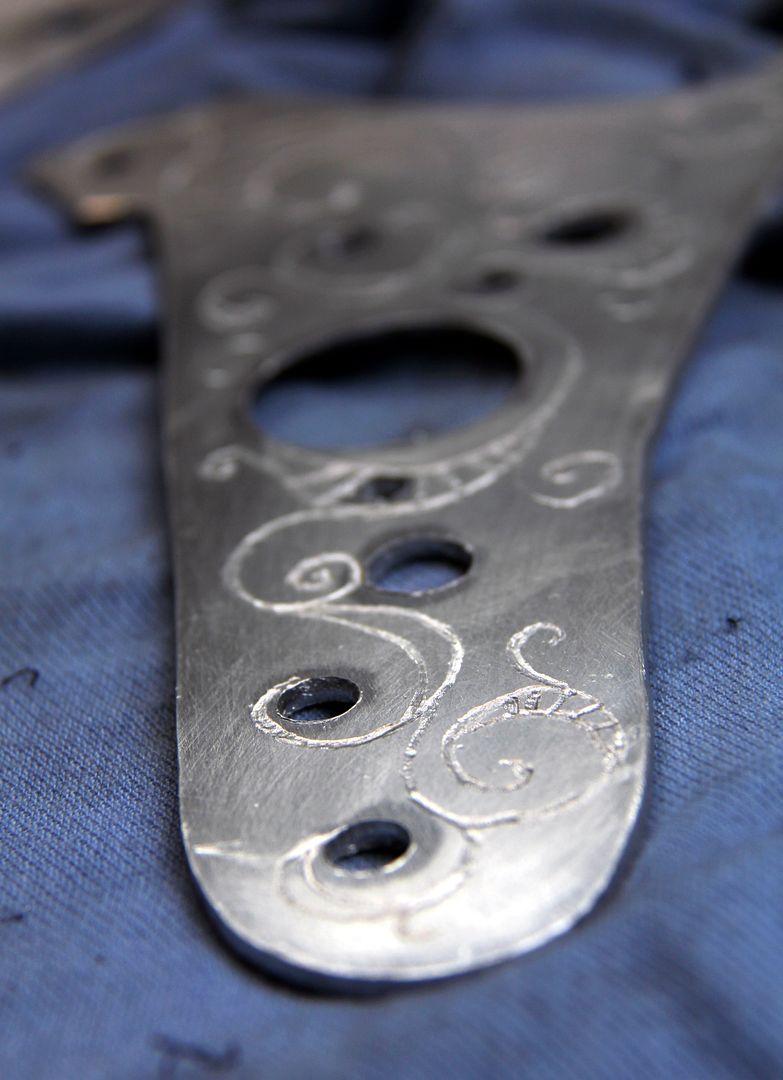
The Dremel was brought out, glasses on for a) safety and b) my eyes only work at greater than arms' length (and I'm sure my arms are getting shorter than they used to be, too) and MP3 player plugged in for chooon-based brave vibes
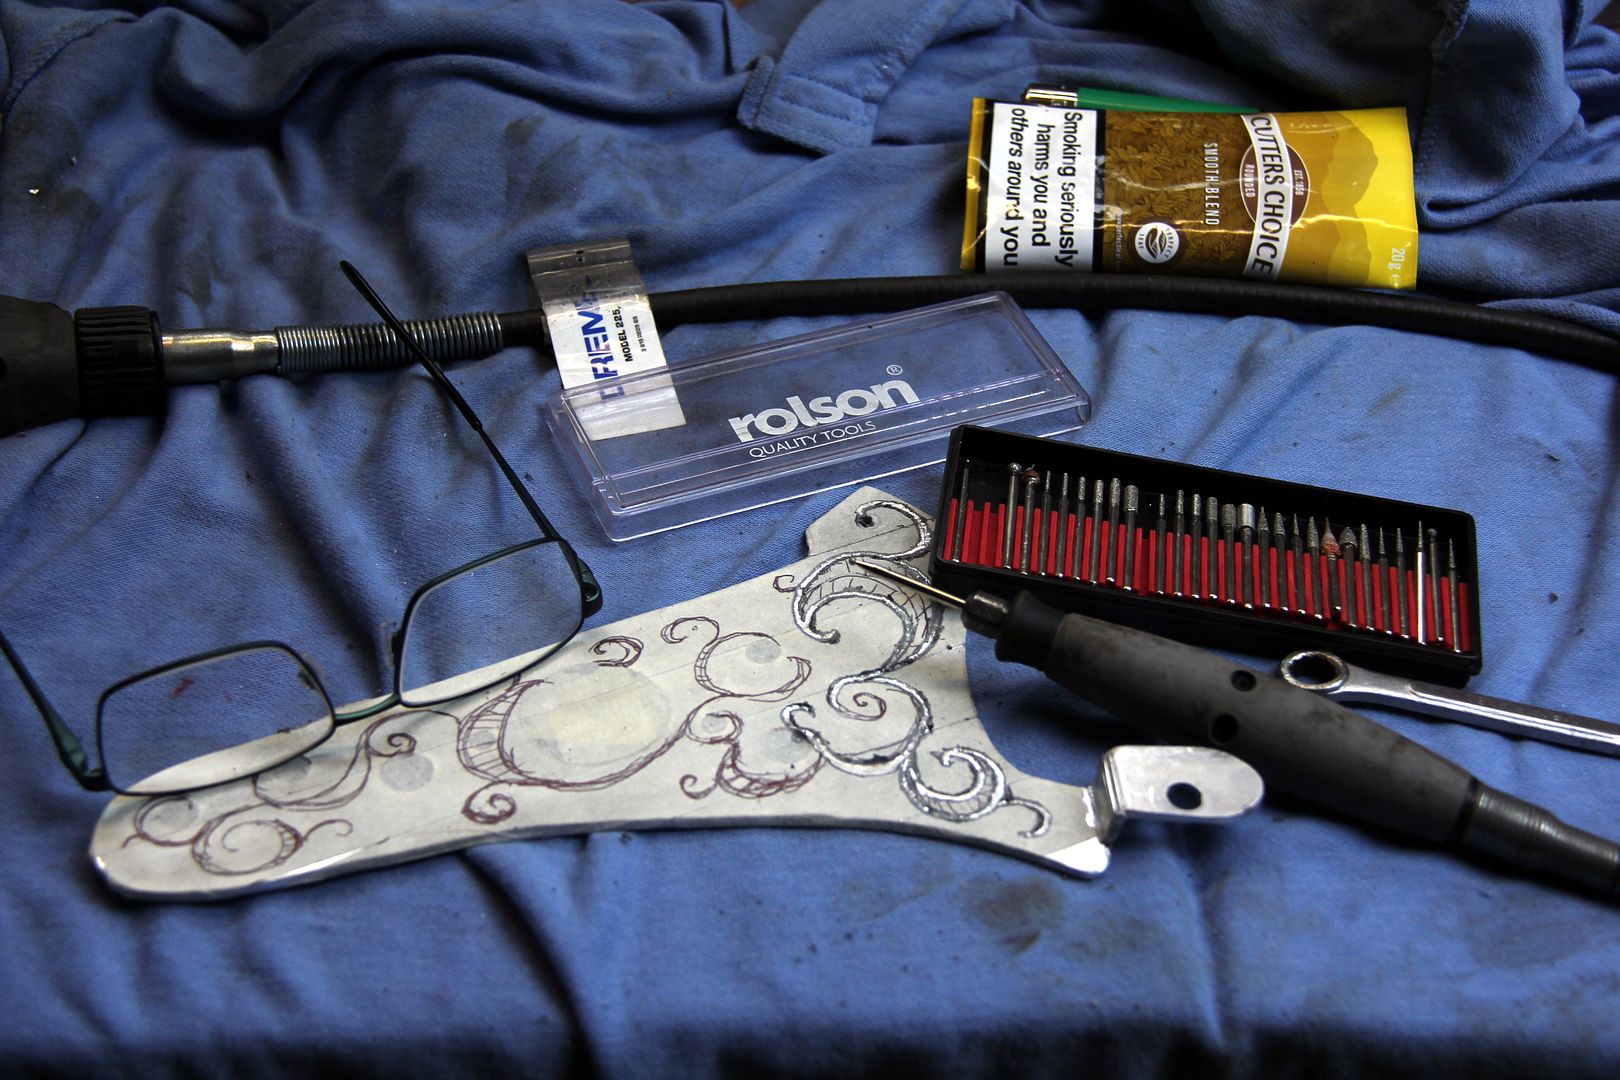
And boom! Engraving. Piece of the proverbial
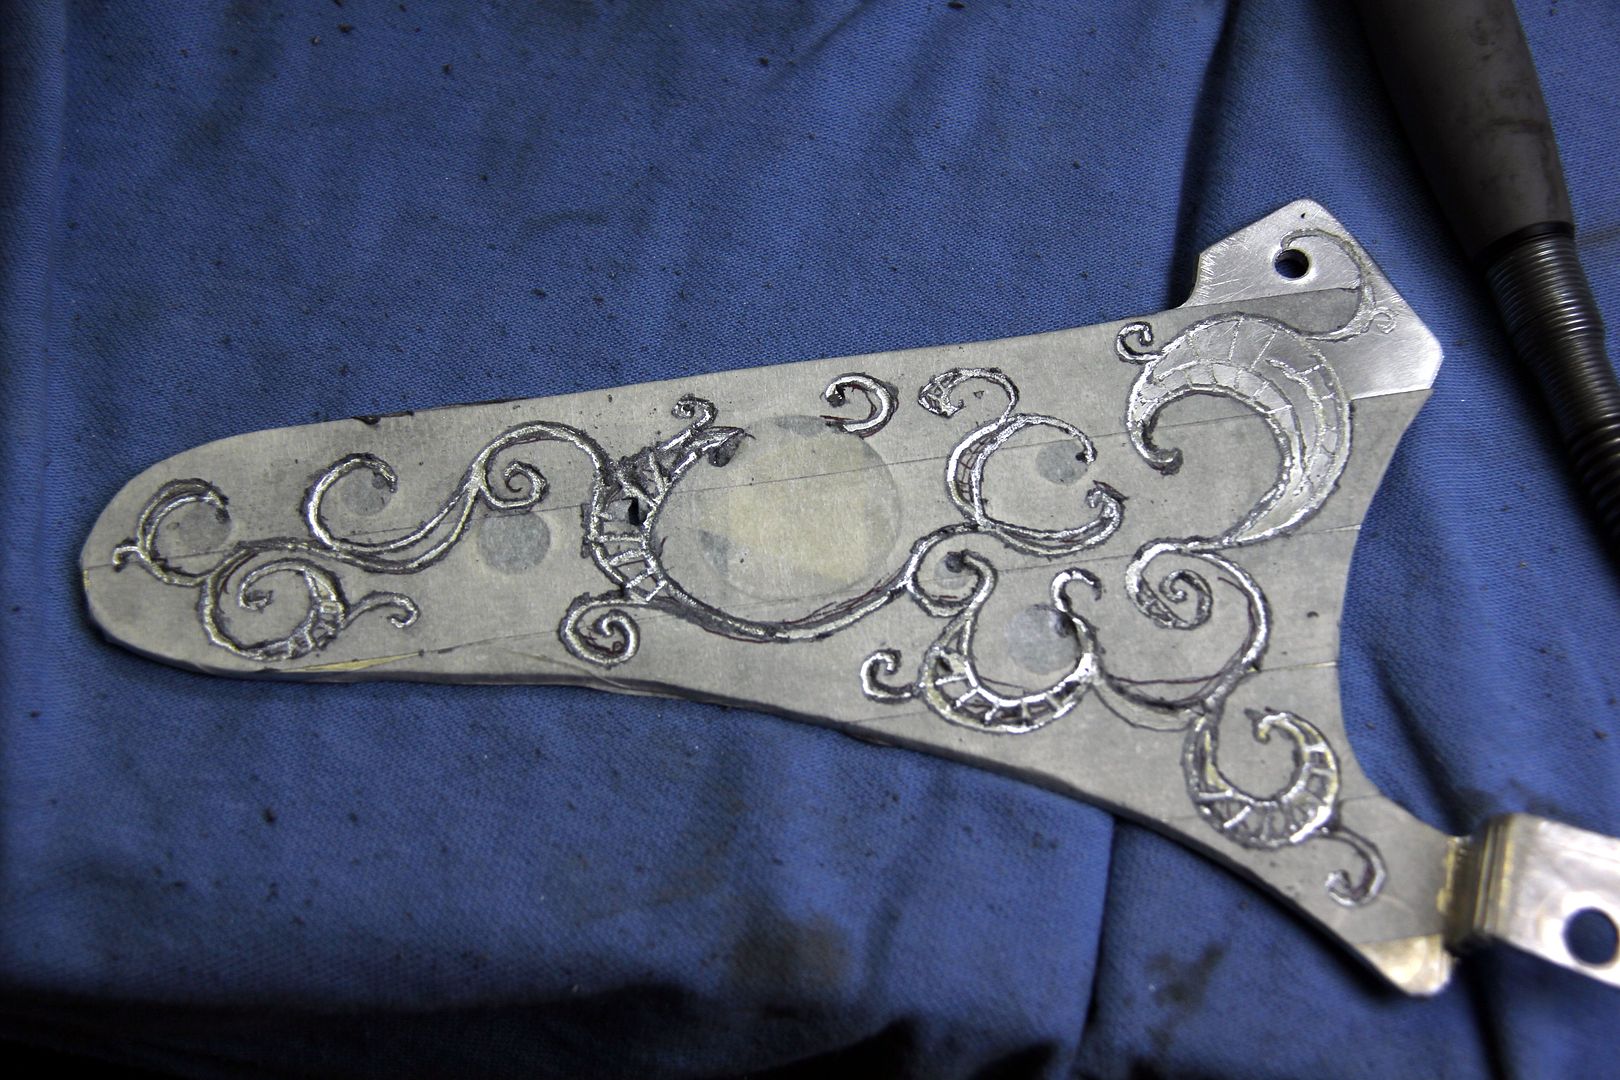
Except it still wasn't... just not quite... maybe needed errr....
Oh, I dunno...
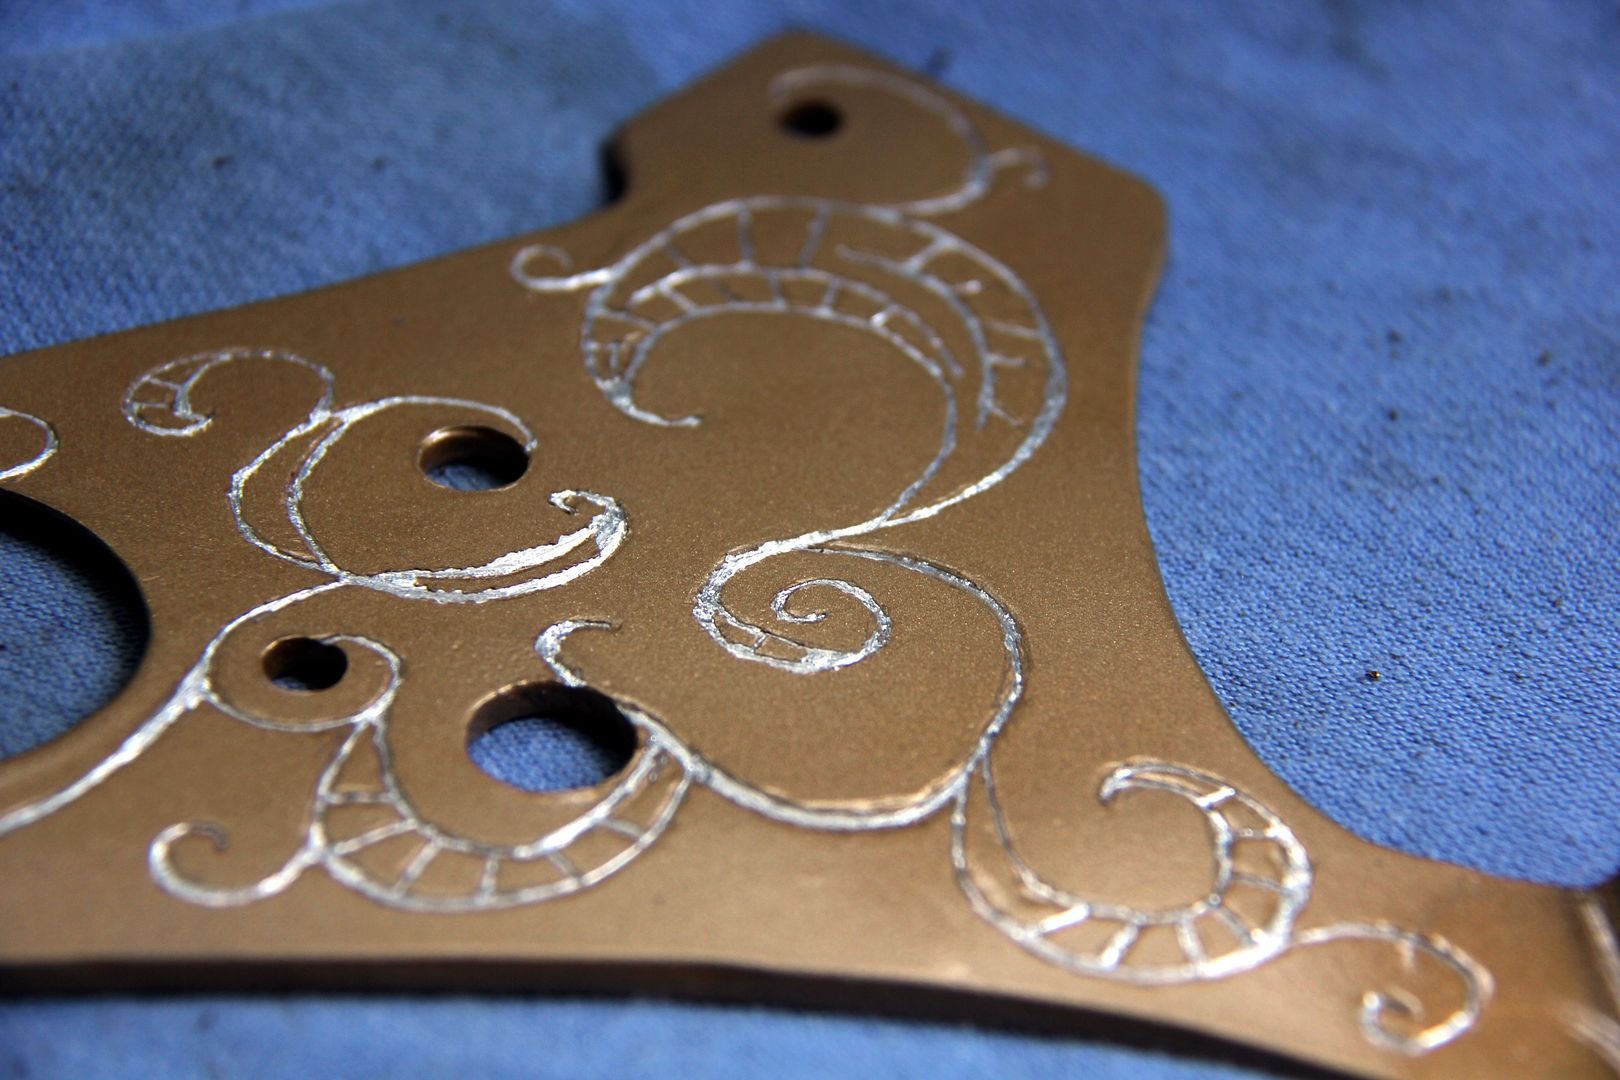
Ah yes! Jewish Racing Gold, of course!
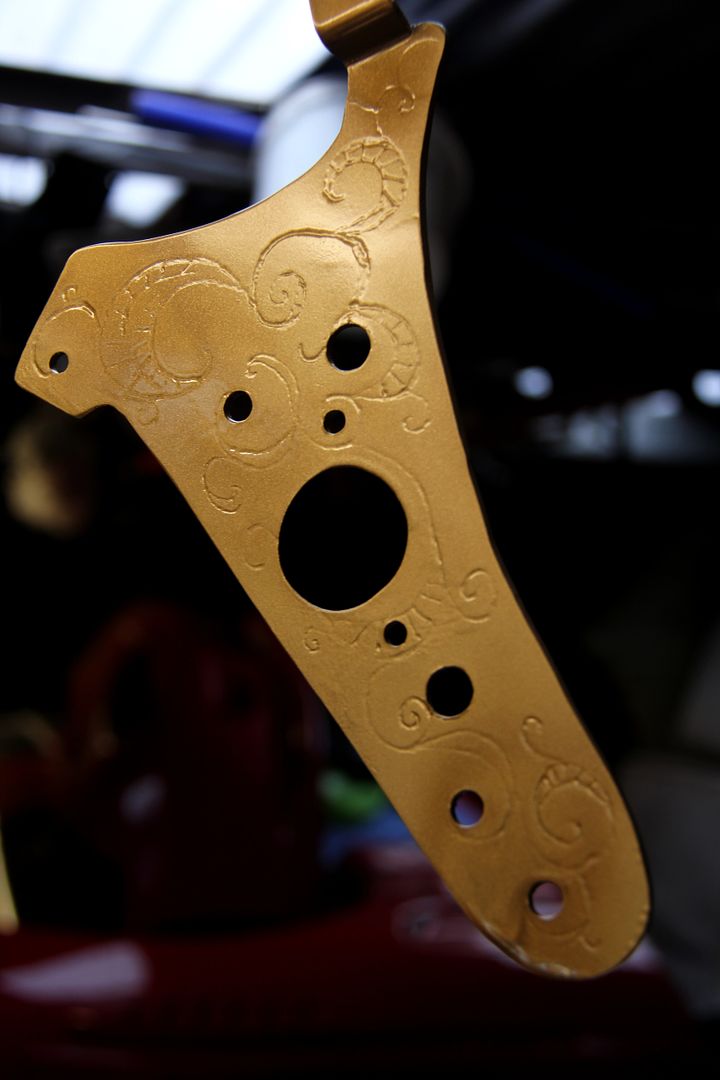
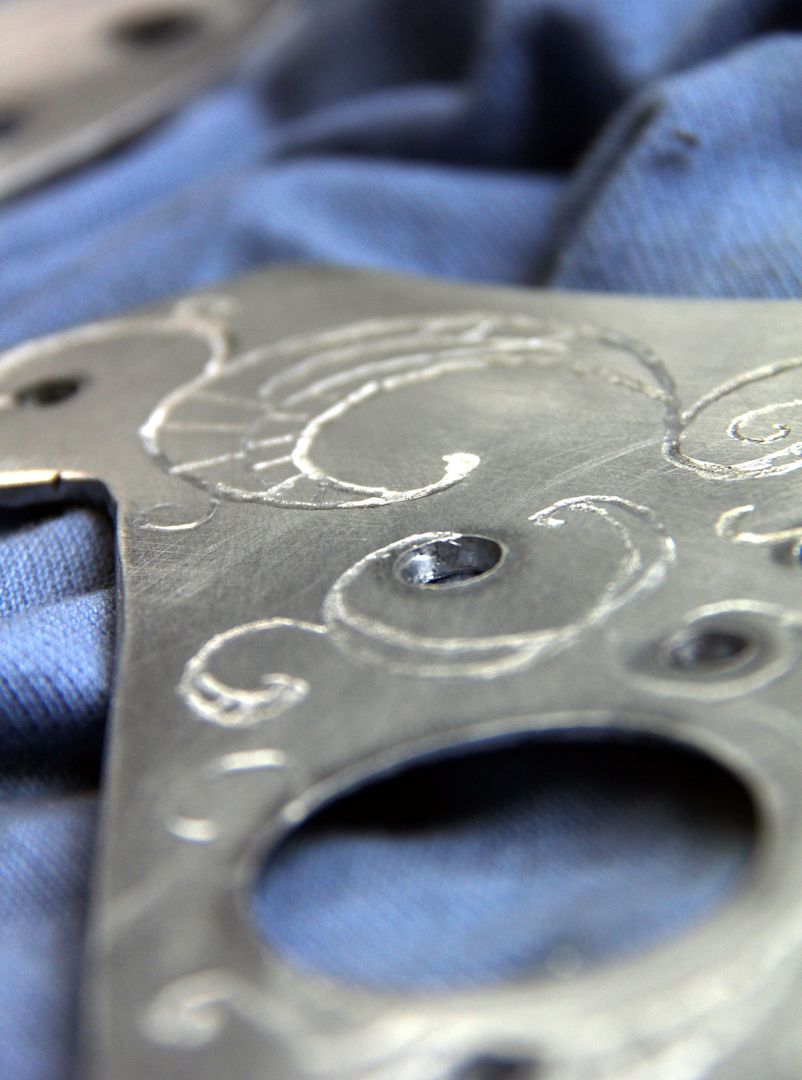
and then of course, it needed laborious scraping back of all the paint from out of the engraved lines to make them show up again.
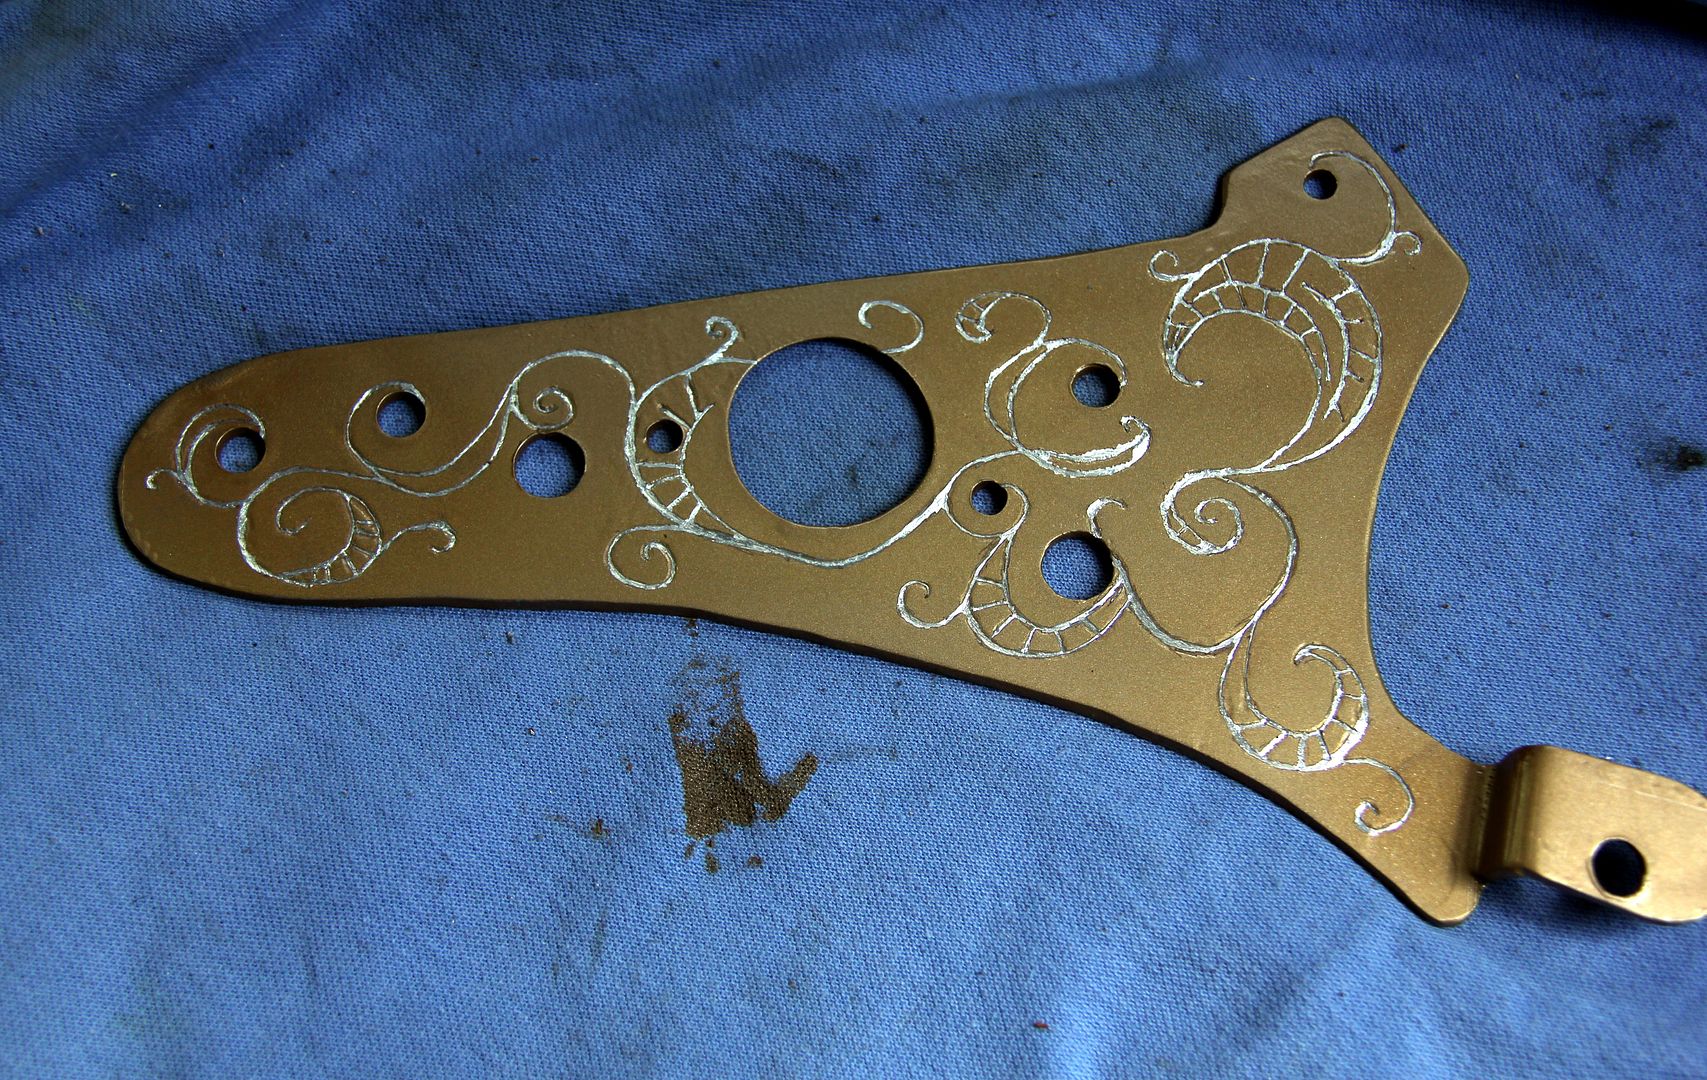
Ta-da. A few coats of lacquer, and TBV2.0 was done. Finally. And yes, if I had to do V3.0 I might well do it different all over again
I have to get a disclaimer out of the way now; I hate with a passion, hate hate
hate Earls/Aeroquip/Goodridge-style AN fittings.
Actually, that's not strictly accurate. I love how they look, I think they give a nonchalant aura of race-car-not-trying-too-hard motorsport cool chic to an engine bay. No, what I hate is trying to assemble the sodding things. Yeah, it should be straightforward and yeah, if you go on YouTube there'll be your choice of How To vids from your choice of presenter... from be-mulleted de-sleeved redneck hillbilly JoeBob in a moonshine shack somewhere in the mountains to a slick, oil-haired, full-sleeve Californian hot-rod shop Duuuuuuuude... showing exactly how much of one-tenth of a piece of proverbial they are to whizz together.
I never find it that way. Palms full of stigmata wounds from frayed overbraid, olives that slip from grasp just as you've got everything else lined up, hose that WILL NOT push into the %$*&@ing fitting no matter how hard you twist the curse word, flatted fittings that conform to no known size of human spanner-like tool... grrr. They tesssts us, my preciousss, nassty alloy fittingsses
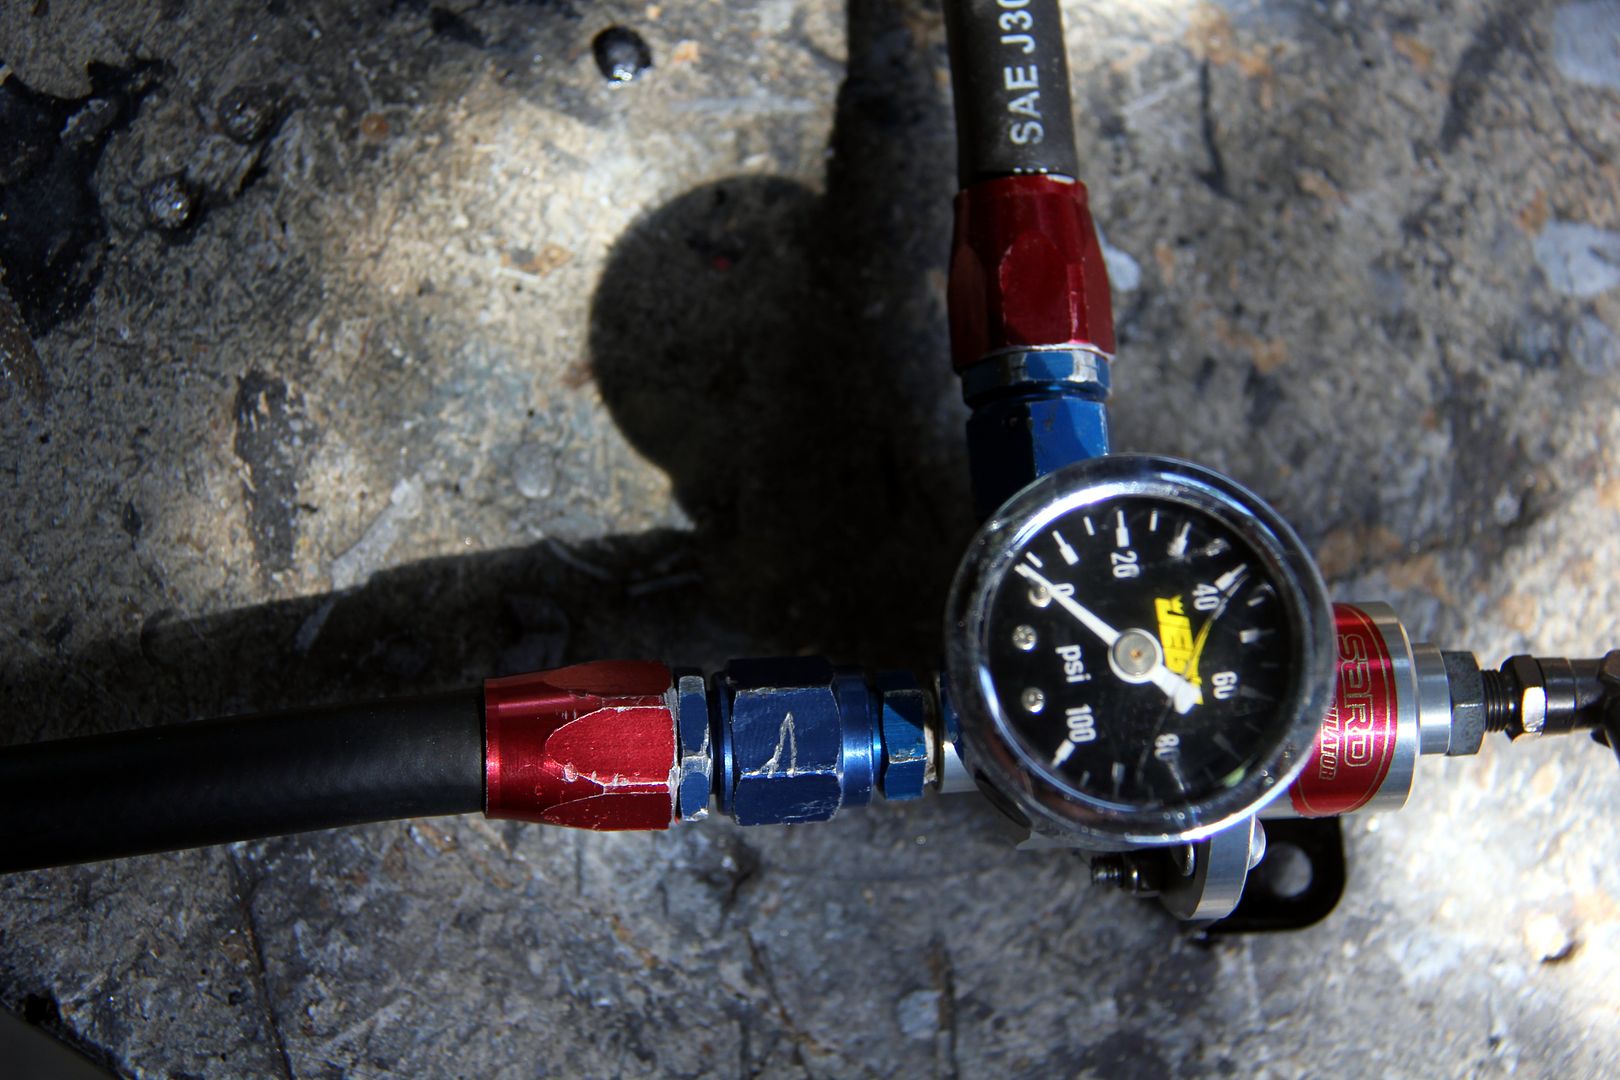
So you can imagine how overjoyed I was at the prospect of making up new fuel lines to replace the mutilated cracked museum pieces that I pulled out of my fuel pressure regulator. It had to be done, but it wasn't something I was going to enjoy. The actual fittings I took off the old hoses were in good order, and given how fearfully expensive they are, I thought I'd re-use them. After all, one of the selling points is that they're supposed to be infinitely recyclable, isn't it?
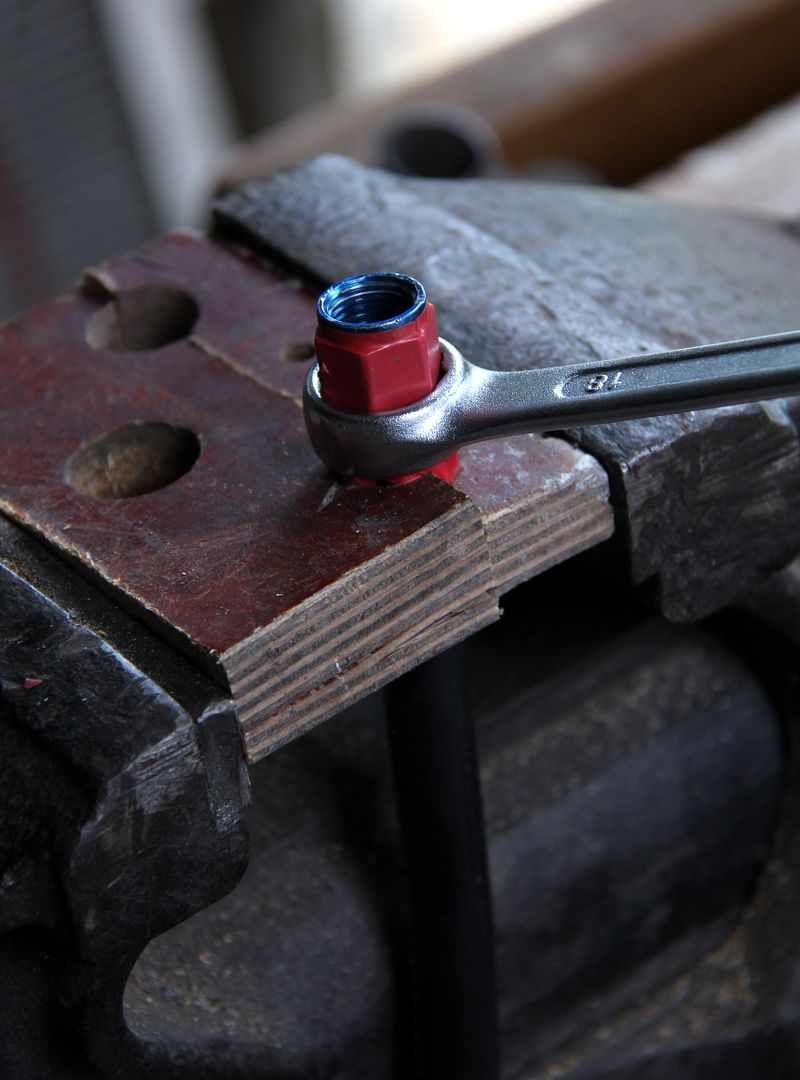
Needless to say, the nut parts seemed to be some obscure Yankee pounds feet and cubits style olde worlde Biblical measurements and I didn't have a spanner that fitted tightly enough to not chew them up. *sigh*
Quelle surprise!. What I did have was good ol' fashioned sideways thinking and native animal cunning. And an old knackered Workmate table...
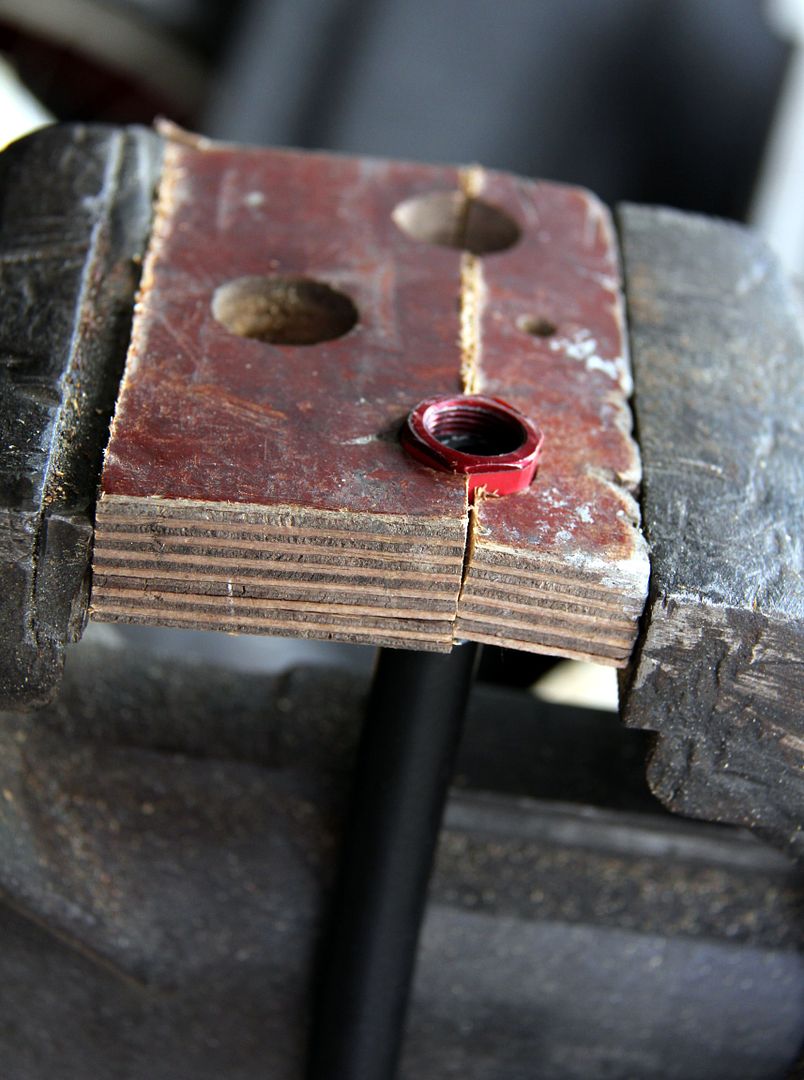
BillyJoeBob and his mullet, out there in the Adirondacks*, would have approved
*other mountain ranges are available. With or without you-shore-gawt-a-purty-mouth-boyh shack-dwelling inhabitants.
The wood and insulting tape held off the worst of the potential damage, and I could then use a spanner on the part which I
did have one to fit
Yayyy. New fuel hoses!
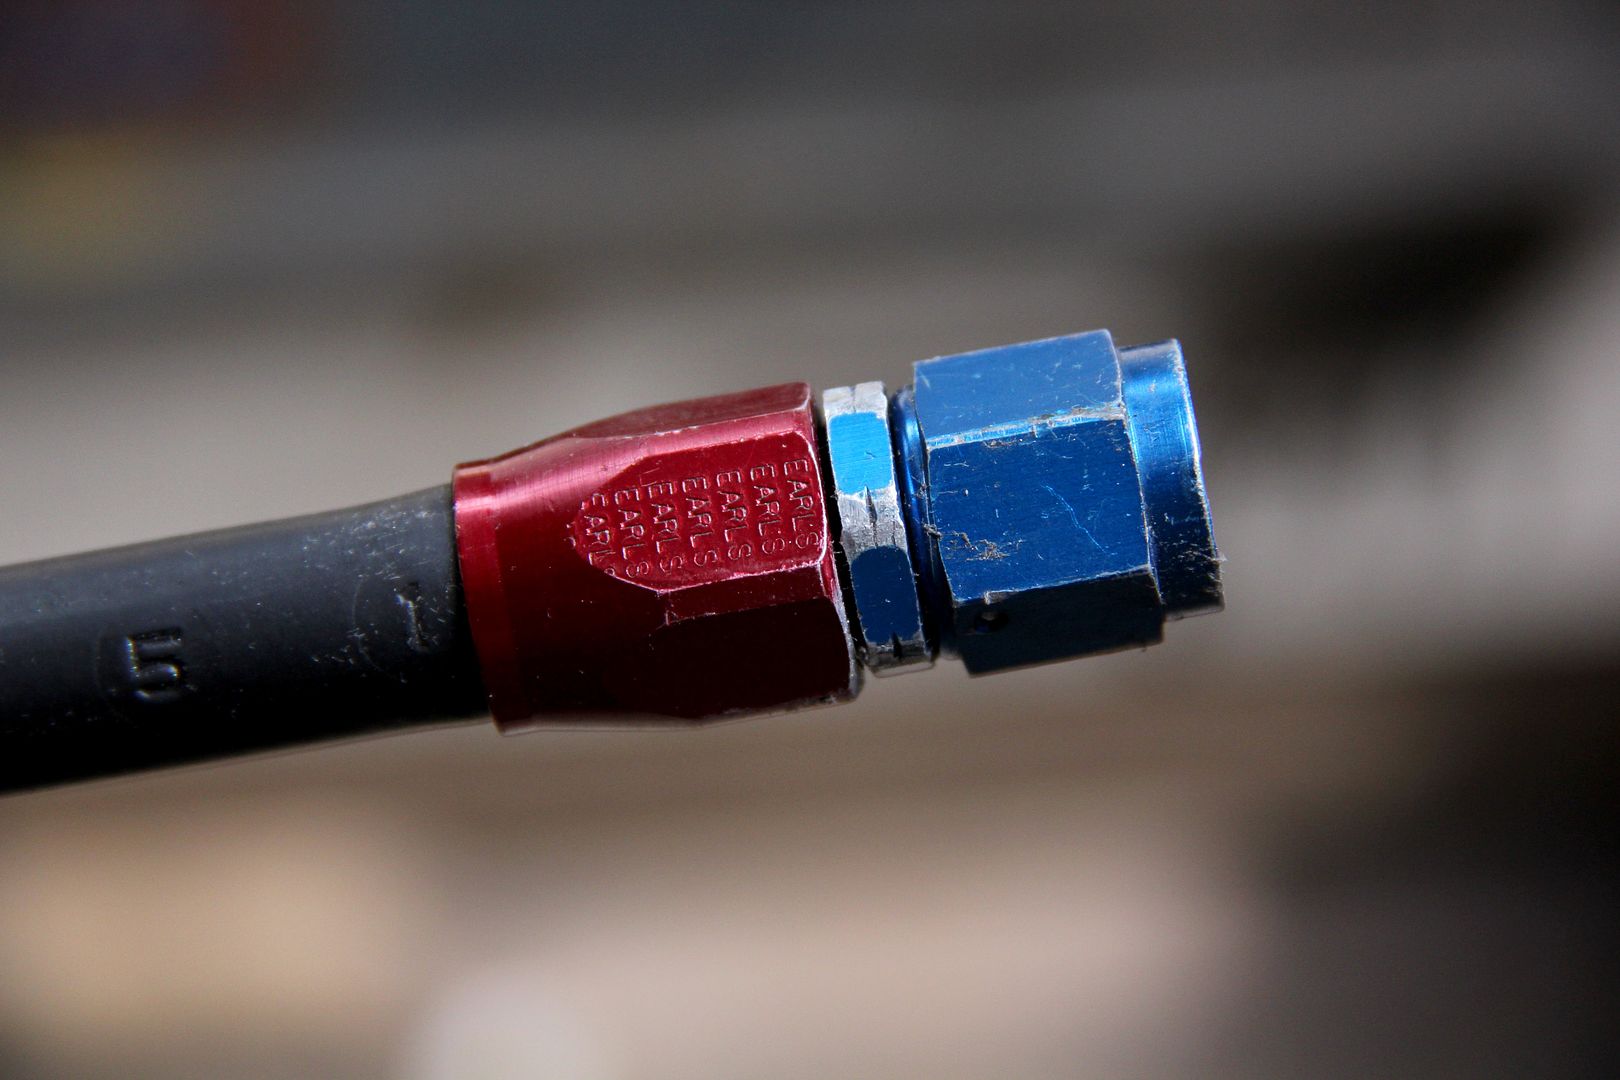
So that was the FPR reassembled in new non-leaky spec configuration, and one more job crossed off the list. Or would be, if I'd
had a list. Most of the scratches were there already, honest
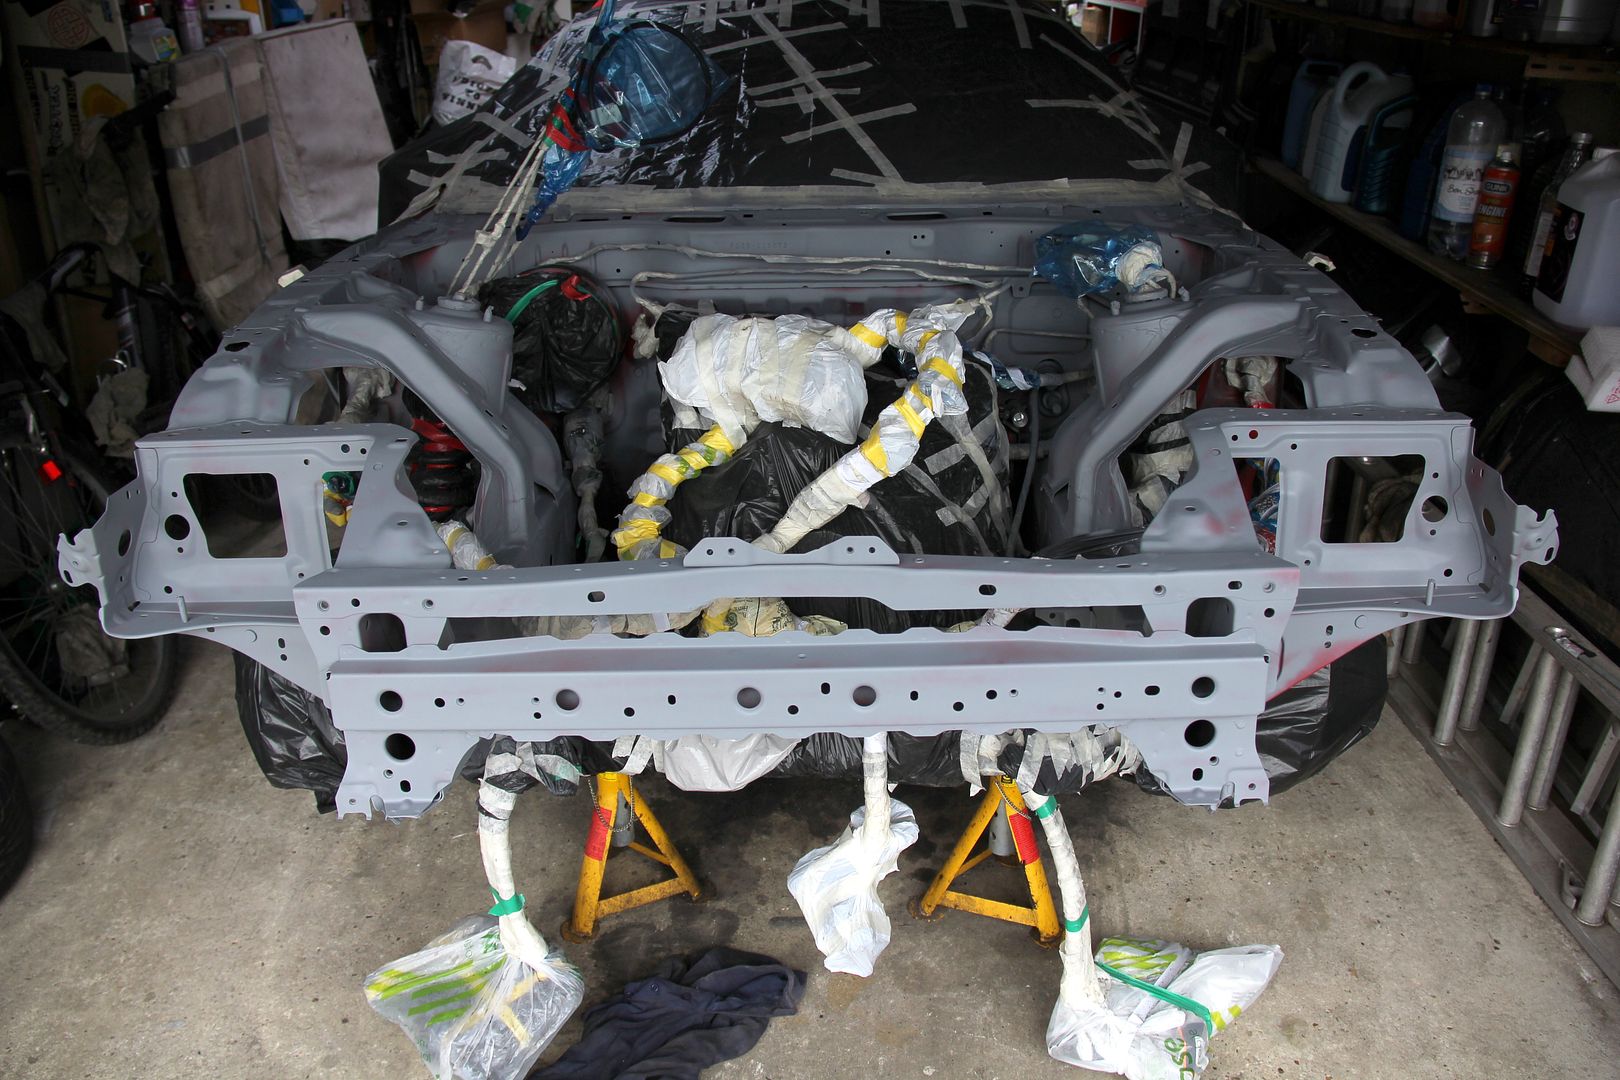
There was no putting it off any more. The year was drawing on, and the weekends and evenings were only going to get wetter, colder, and less conducive to decent paint finishes. More primer was applied...
...more masking off was done. Good investment, cheapy cheap autojumble-spec masking tape, ten rolls for three quid. Except it has the tensile strength of wet bog roll and it soon gets wayyy frustrating trying to stick down the flapping sheet of plastic you're trying to hold in place with the three extra hands you haven't got, only to find that the masking tape you were pulling has snapped off the roll
again after an inch and a half of lop-sided tearing. Still, we got there
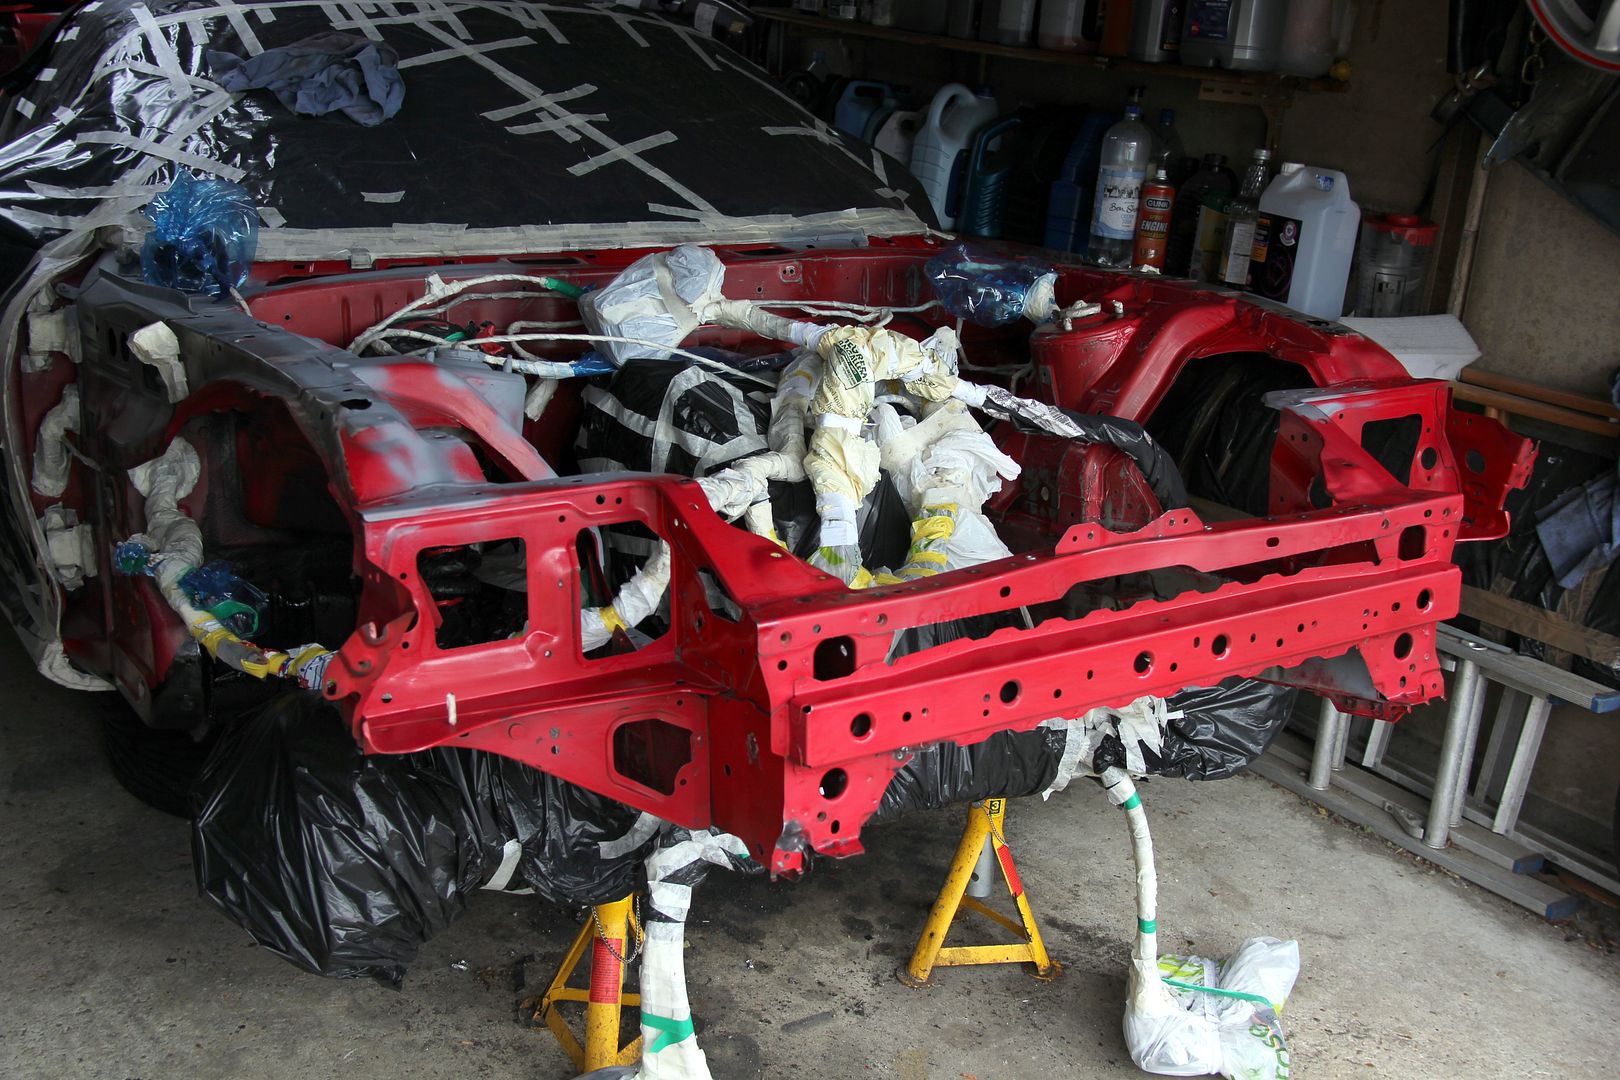
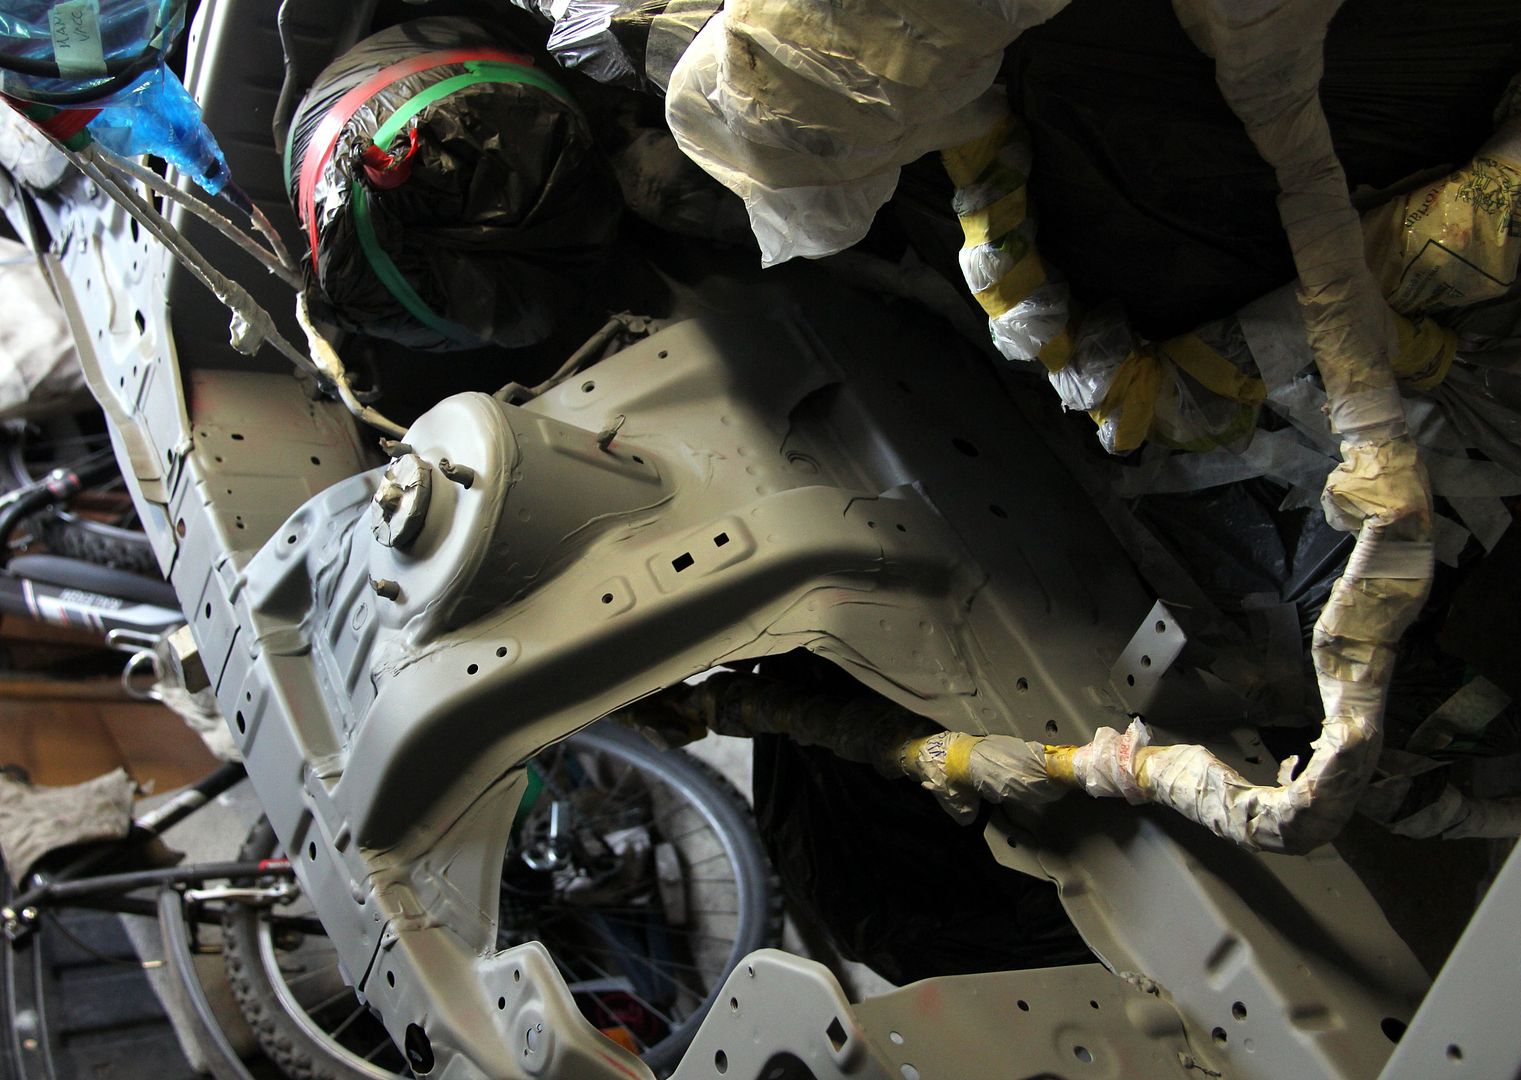
and soon enough, everything was starting to look uniform. Uniformly grey, at first
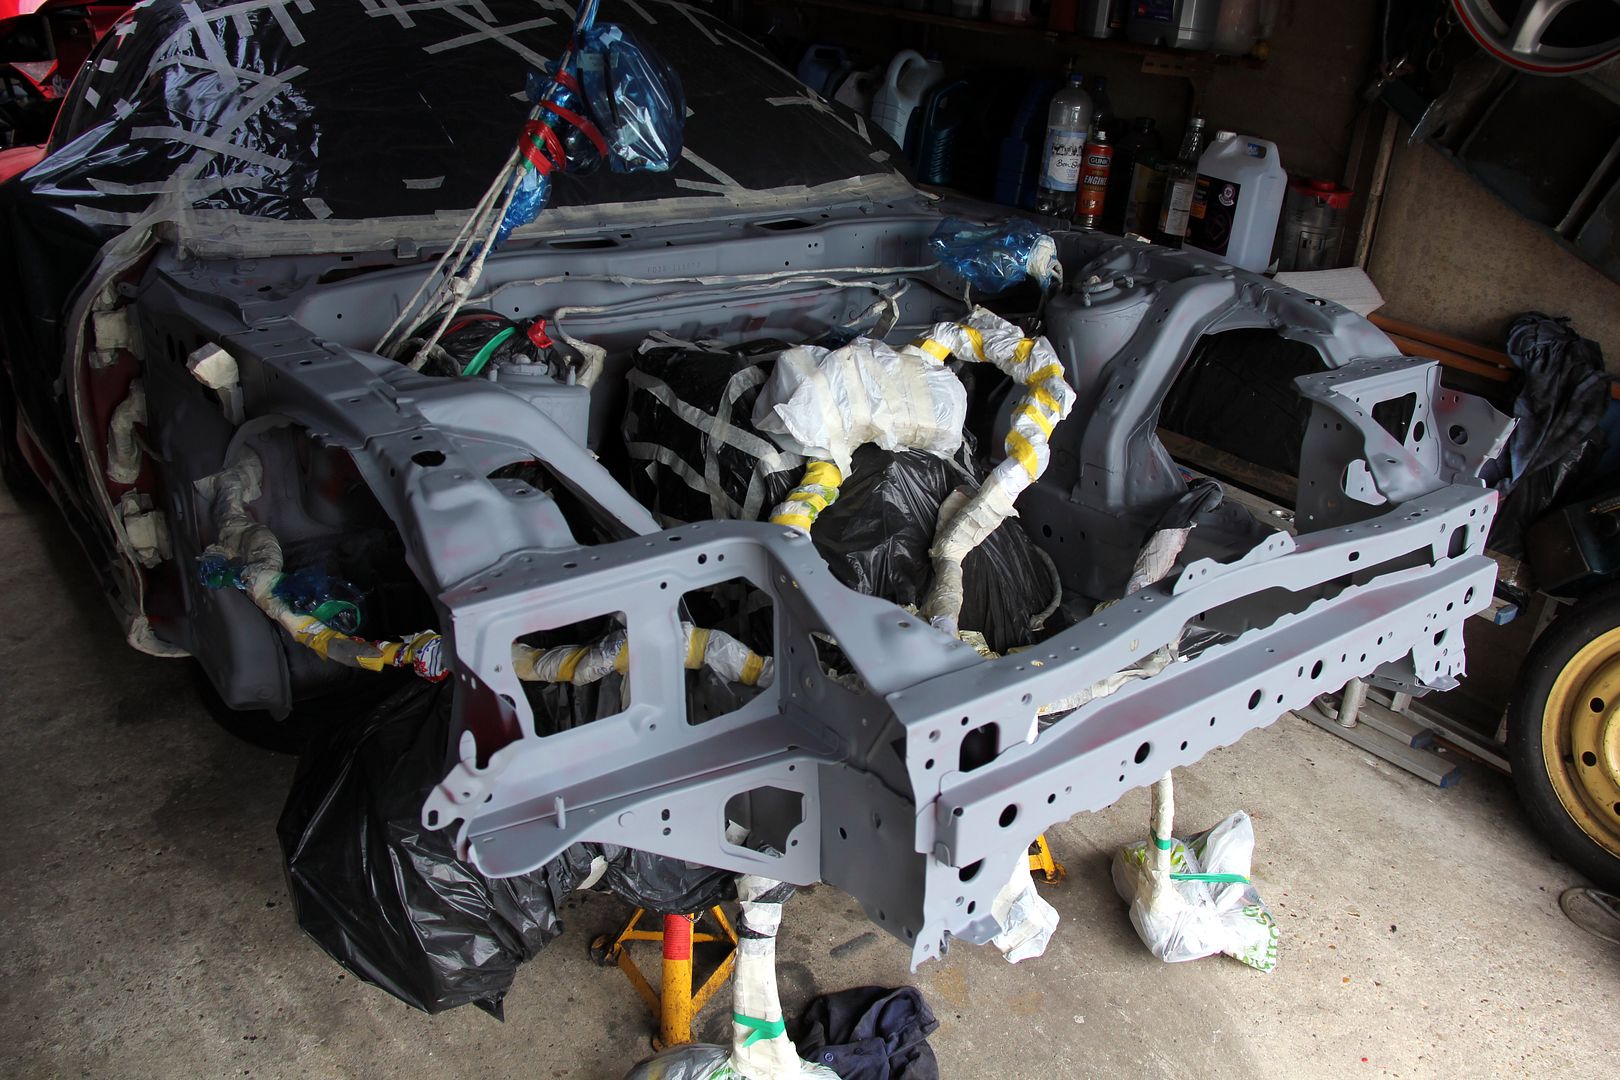
This was the furthest point away from how it started... as a whole car... and how it was going to (hopefully) end... as a whole car again. This was the point from which everything else would be progress. Or so I hoped
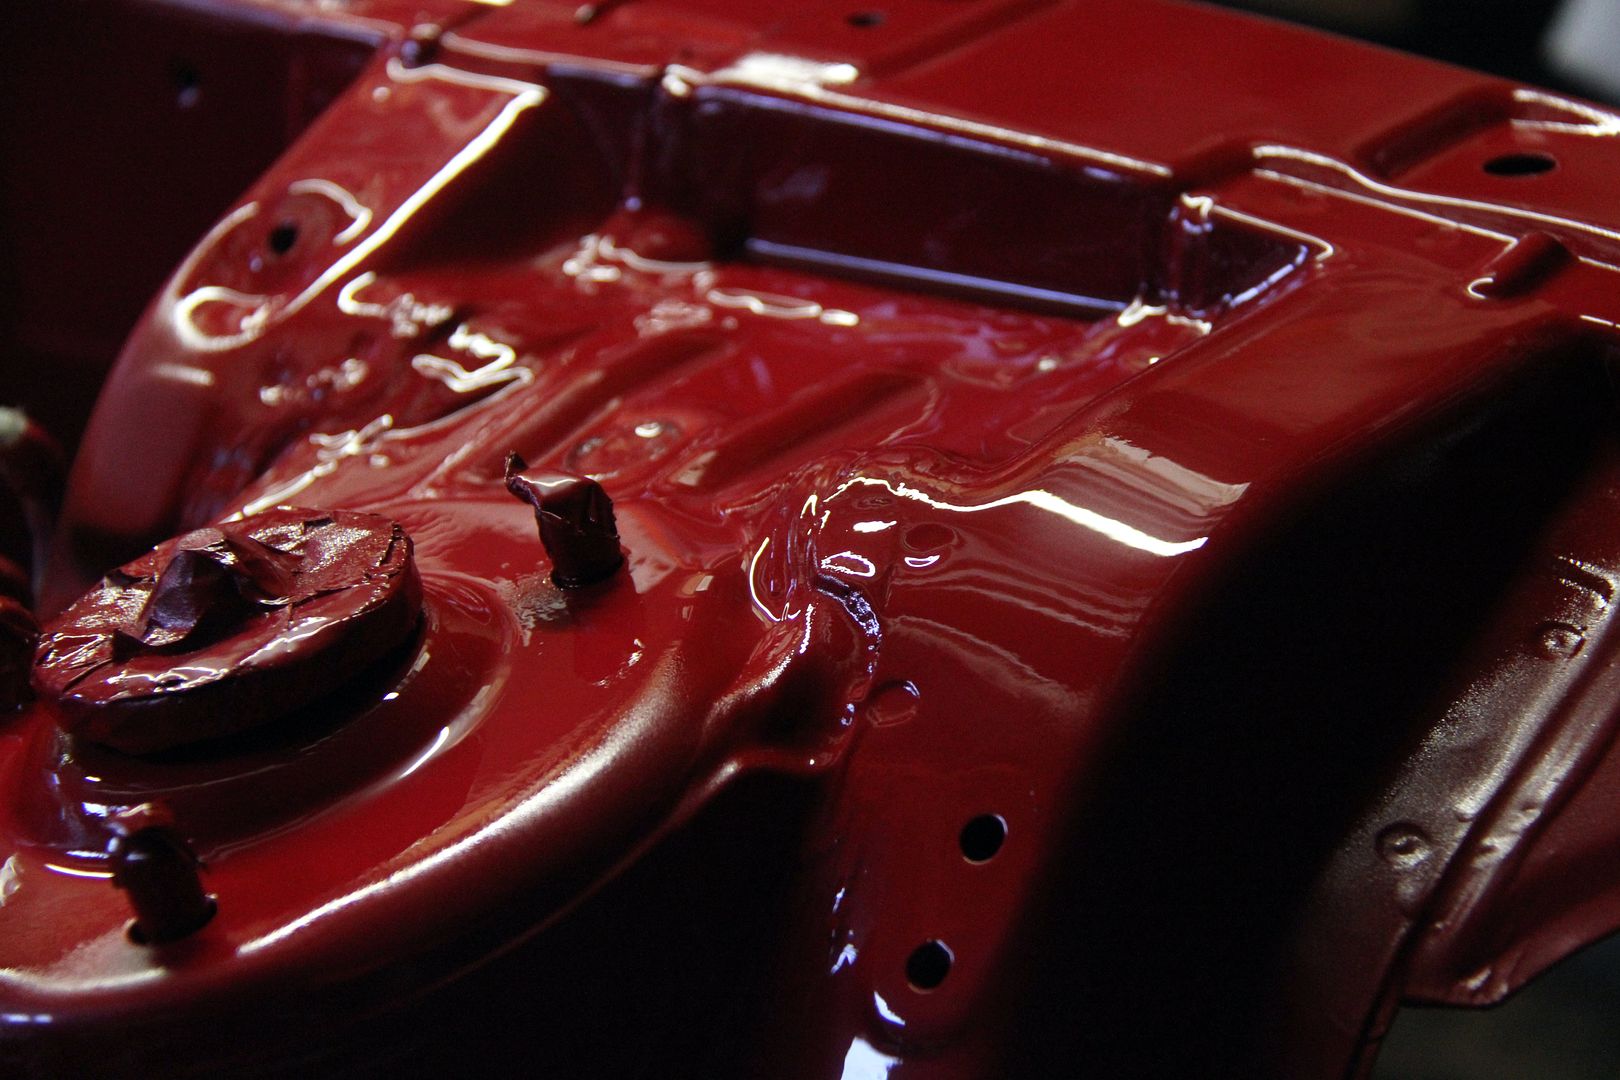
But soon enough, like the first buds of cherry blossom busting forth in the glorious celebration of Sakura, colour began to appear in amongst the dreary monotone
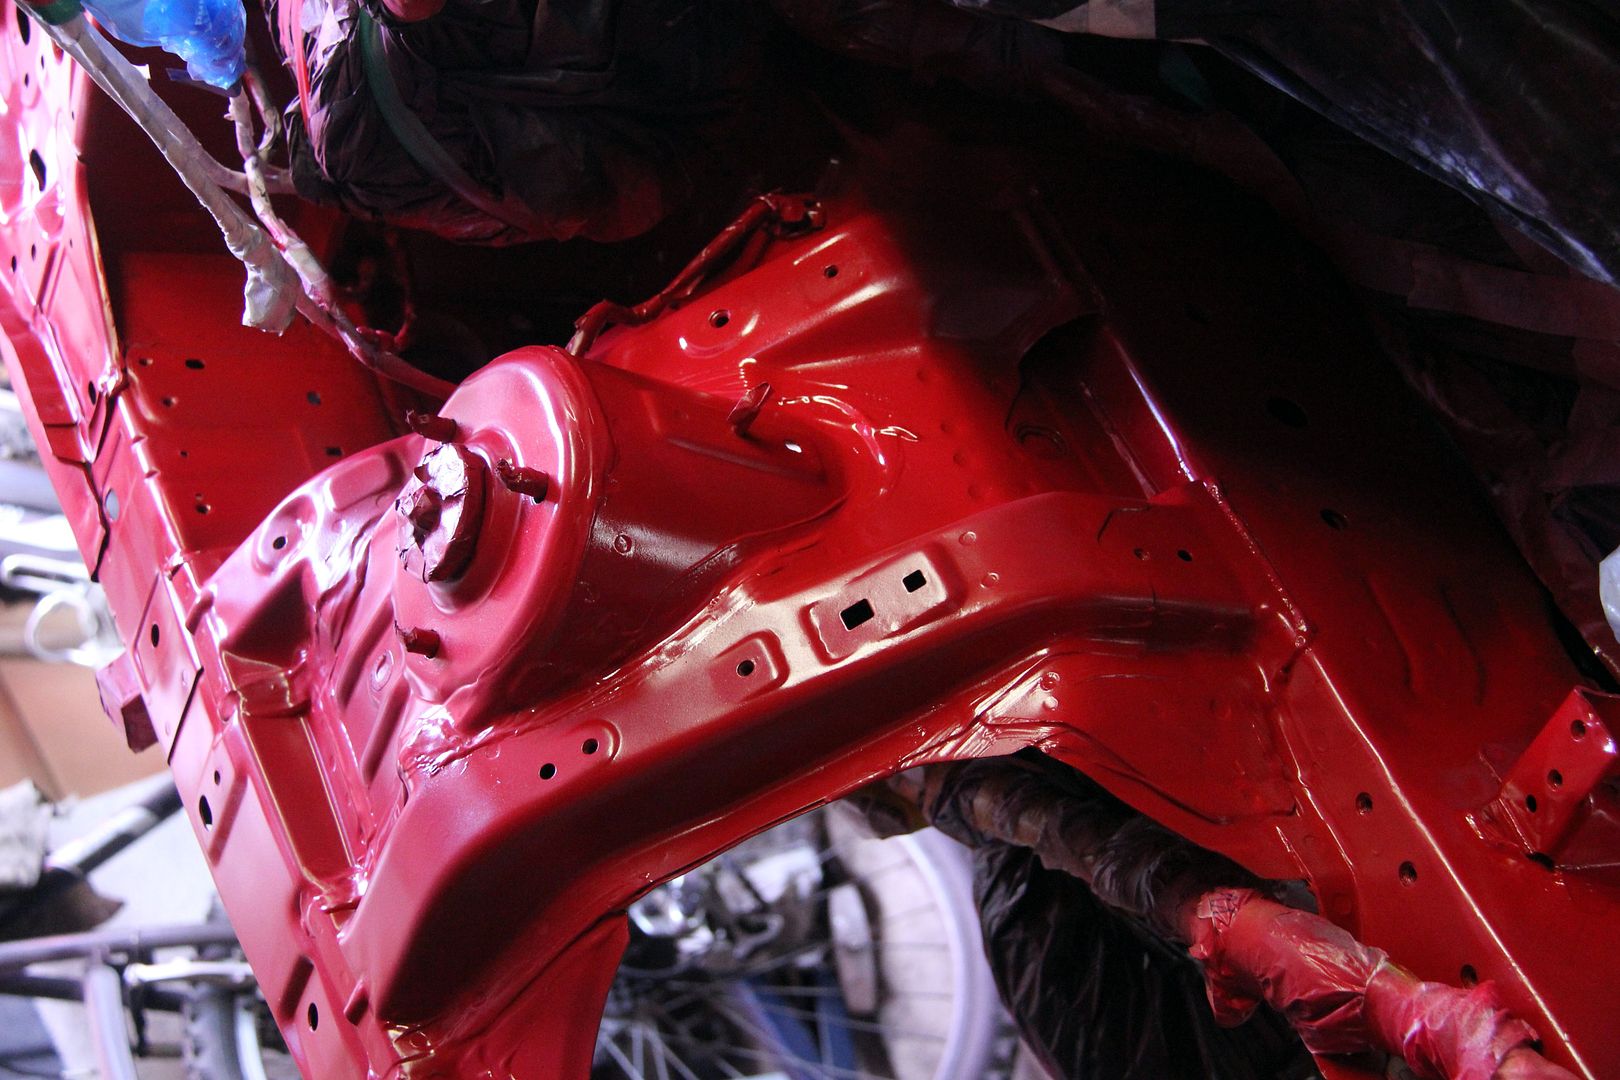
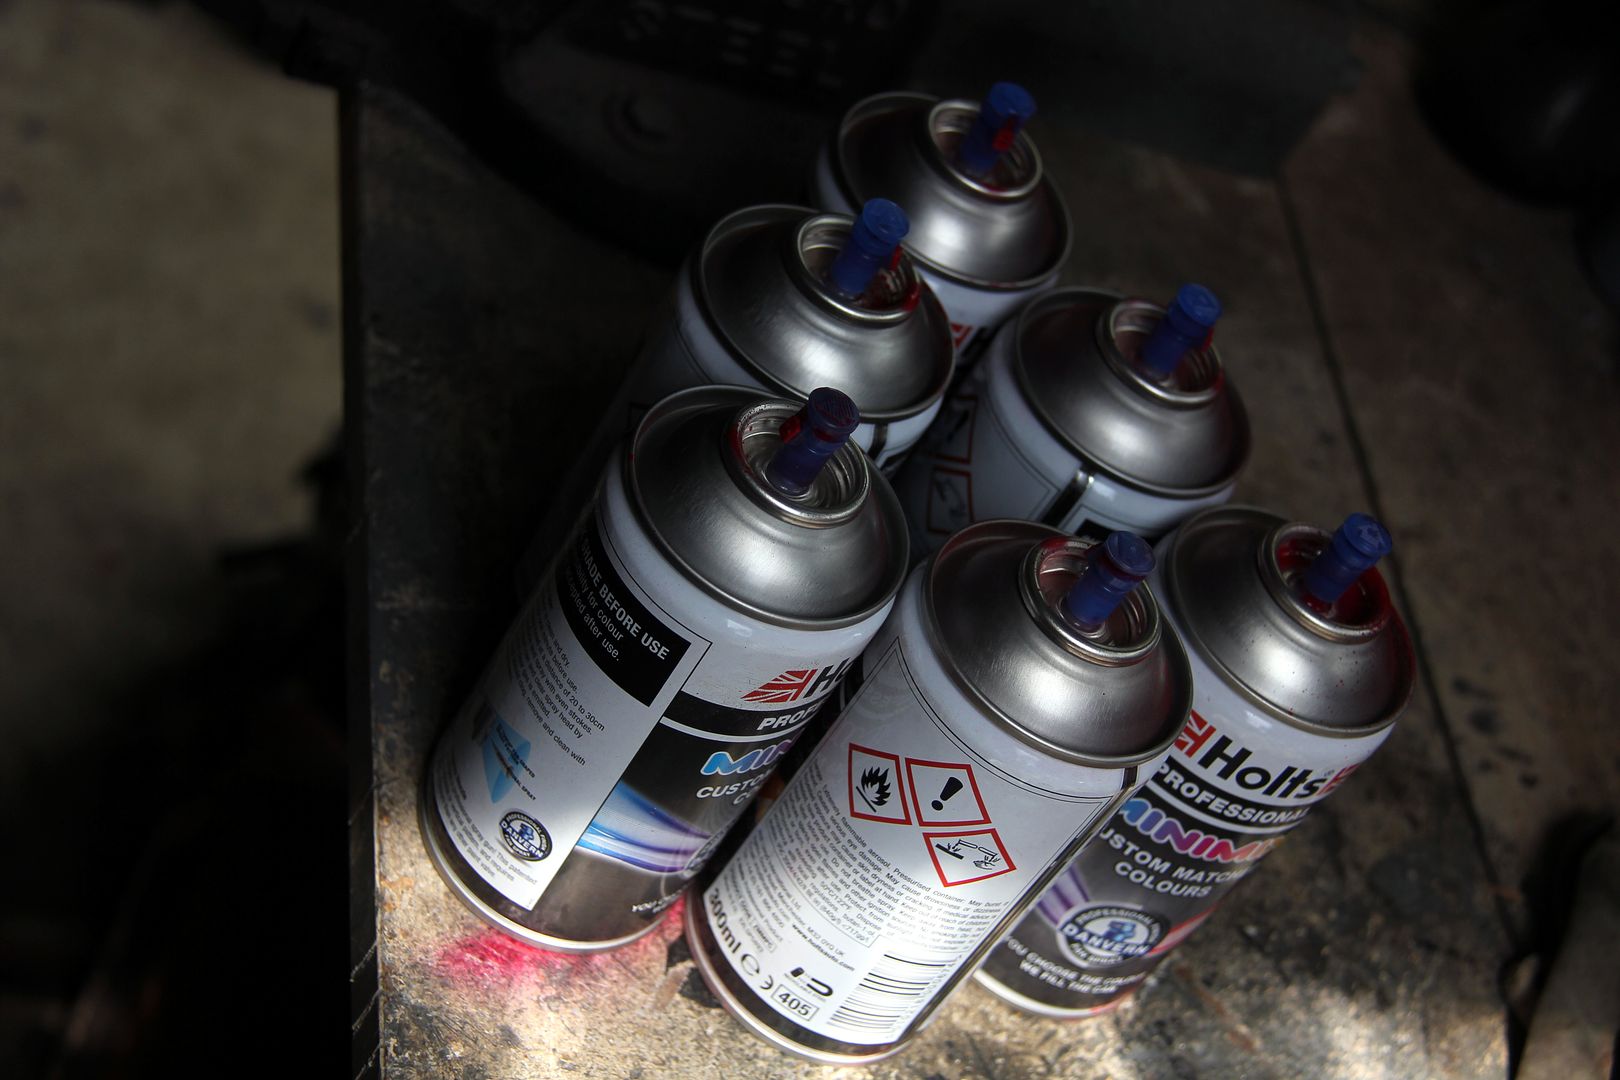
A considerable number of (comparatively well-priced) Halford's tins of finest colour matched Vintage red later...
...I felt that the coverage was good enough to call it painted, and gave it a bit of adesultory smoothing off before lacquer (I sooooooooo hate rubbing down paint, especially in something as awkwardly-shaped an still full of stuff as an engine bay). There were a couple of irritations, such as where wildlife set up home between paint and clearcoat sprayings and thus ended up commemorated forever in lacquer
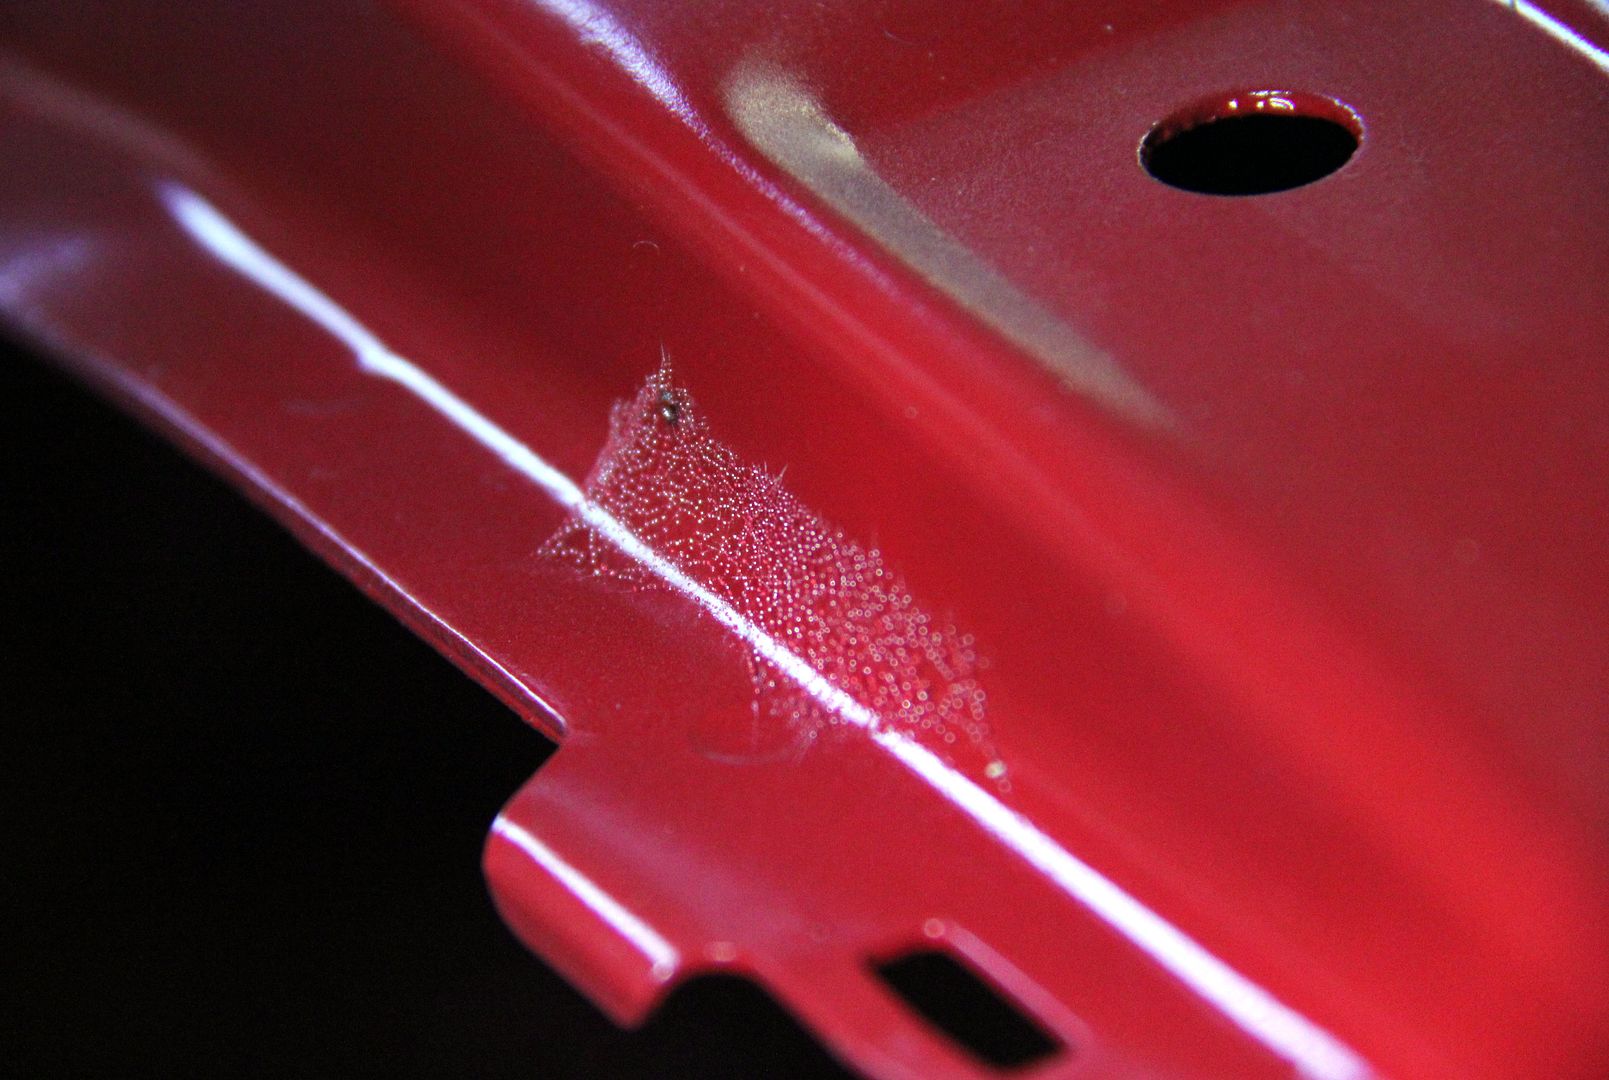
...but all things being equal, and taking into account I'm a hamfisted buffoon with no real expertise in, well, in anything really, using rattlecans in a dusty and damp garage, I felt fairly pleased with the final finish
And now I had the relatively easy task of persuading this giant Lego set kit of parts...
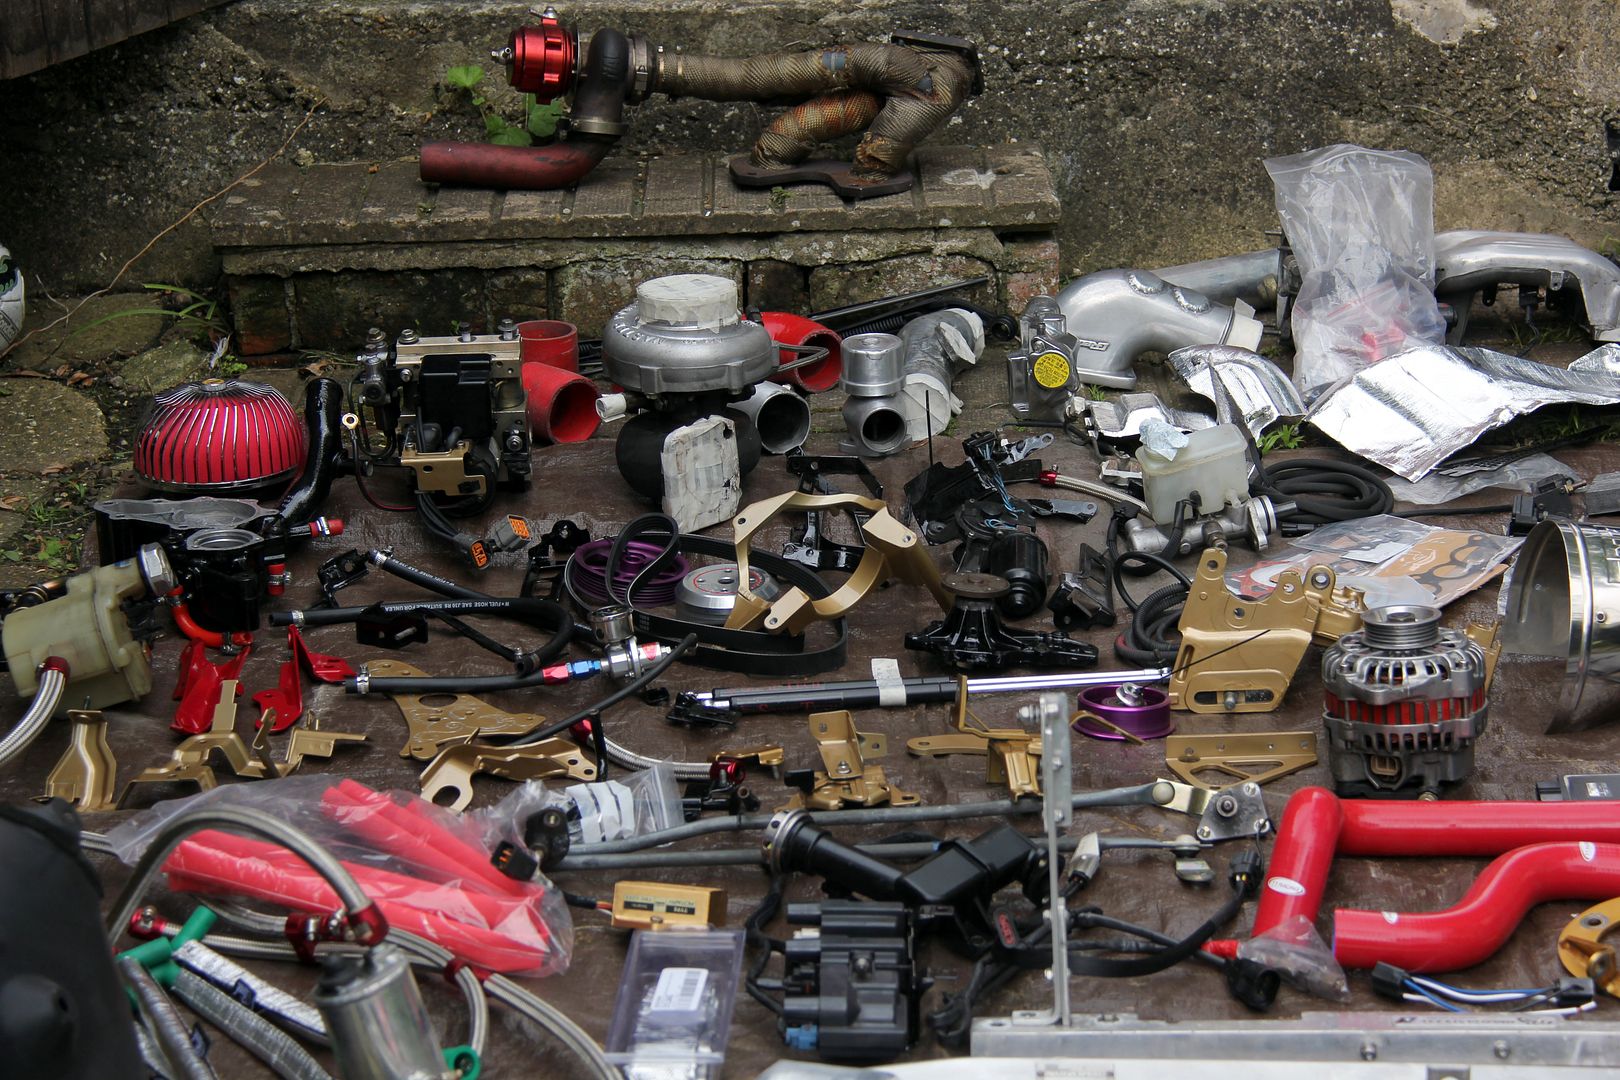
...to fit back into an unfeasibly tiny car.
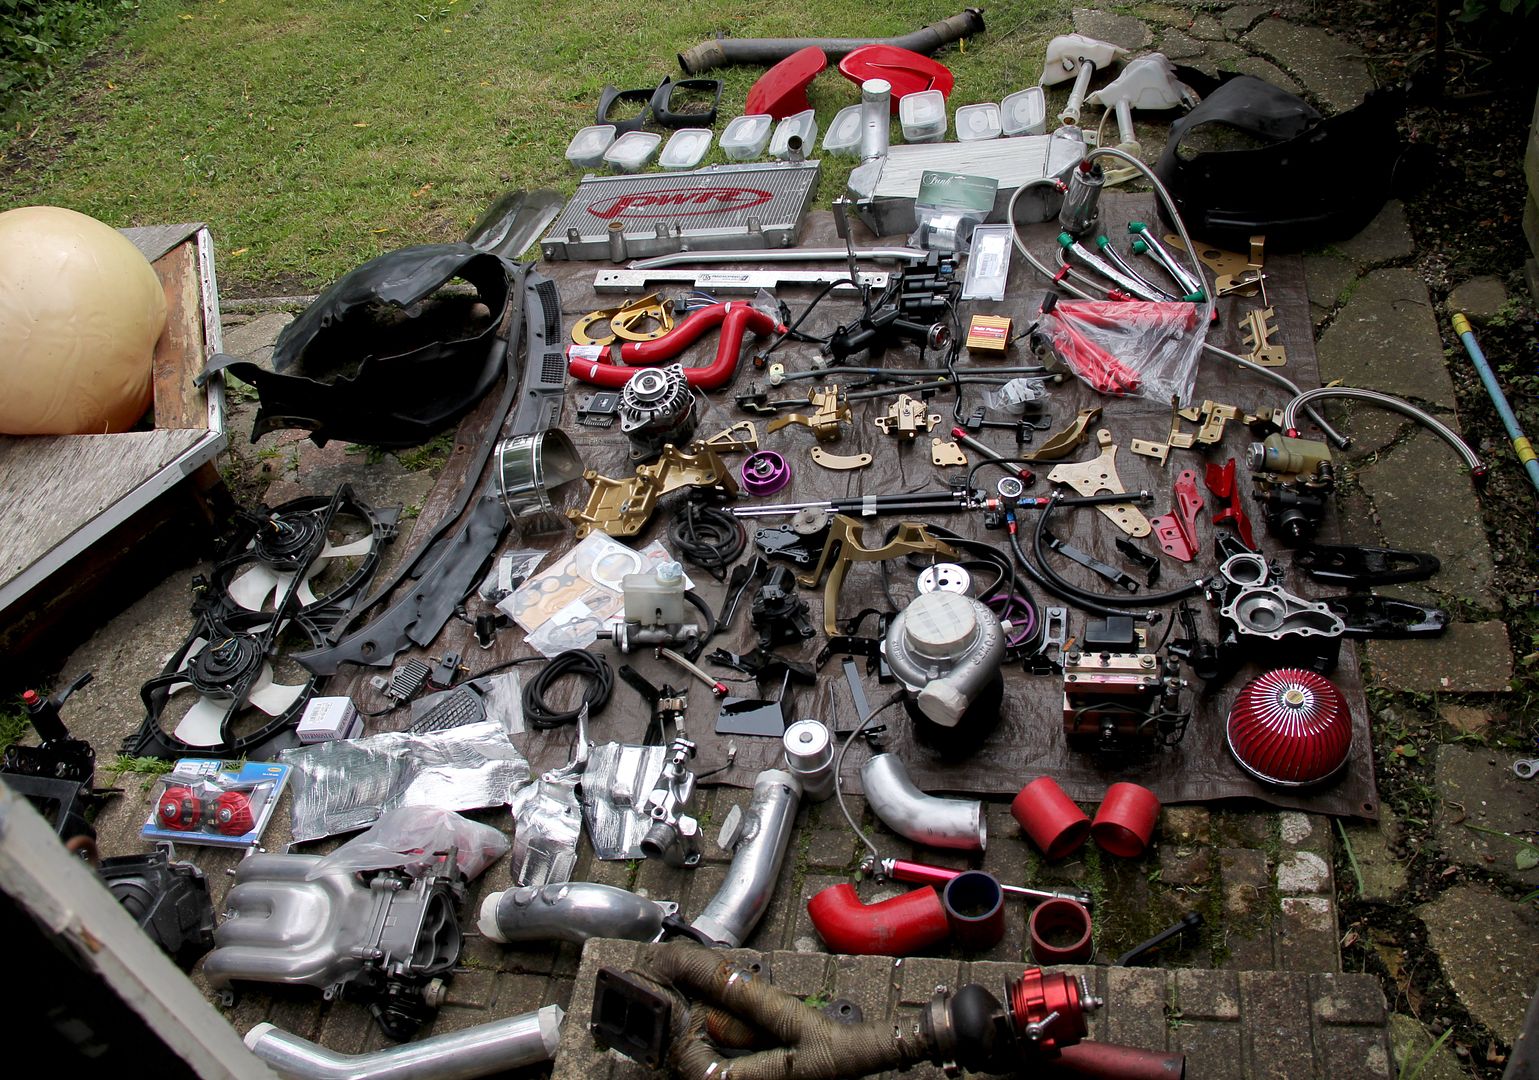
Easy! Though I decided I
might just leave out the SpaceHopper


 . There is no doubt that it will be worth it at the end and hopefully give you many many more years of faithful service.


 It's not a precise science. Costs a good deal less than some "brand" preparation from Frosts, though


 Even now, when paint was being flung about and you'd have thought the only way was up, I still managed to find bits that were in need of lurrve. For example, the scuttle panel trim cover thing doobrie that had come off to reveal rust on the windscreen surround... well, it wasn't too clever itself


 . God, how I hate wiring


 . A short hiatus (which always sounds nearly as rude as "flange" but disappointingly isn't) followed while the narrowest-headed bolt I could find was swapped for the standing proud hex-headed one


