|
|
|
Dec 29, 2012 10:37:16 GMT
|
Welcome to my second volvo 240 project thread ( my other one), more later, but basically i have had front wheel drive cars for a couple of years whilst working on my other 244, and whilst insurance prices have restricted what i can have. I have a couple of months to get it through an MOT and also get my polo ready for sale, so a few updates will arrive over the next month ot two which should transform the car into a damn tidy useable classic. Thanks to nick_ovlov who viewed the car and declared it good enough and paid for it on my behalf on his way down to stay for a week. I havent even seen it yet - it will be delivered on the 2nd January! 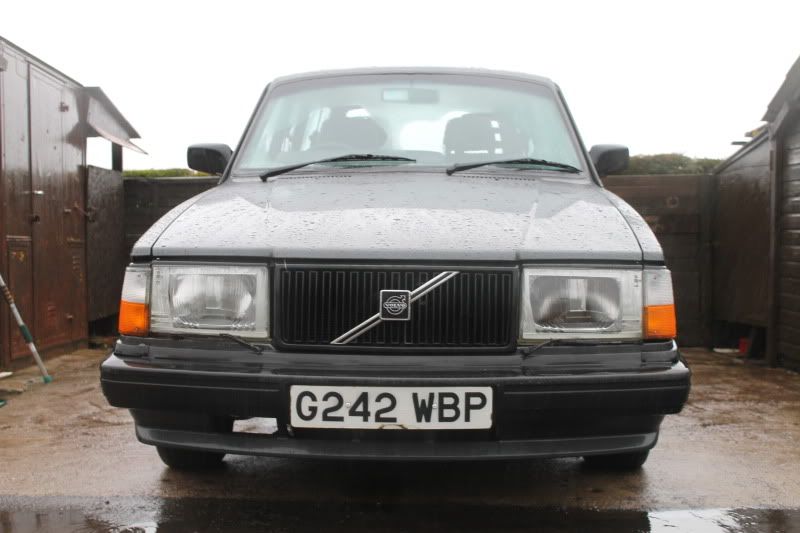 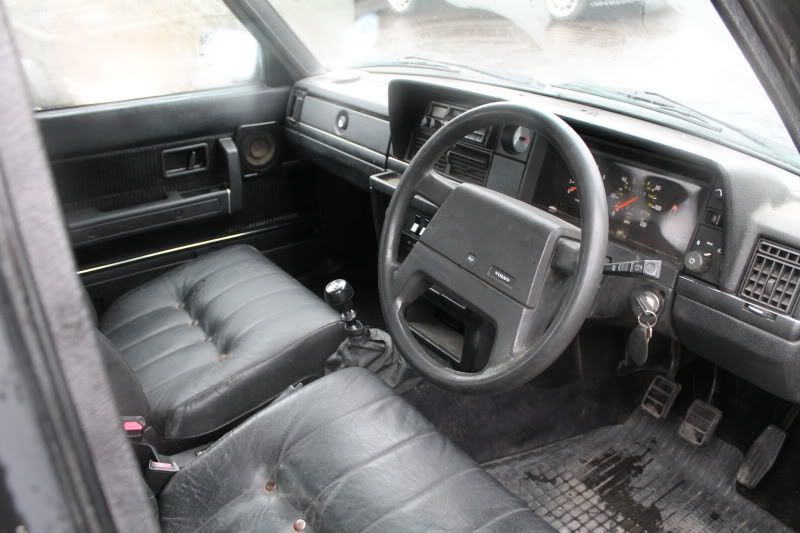 Steve  [/ |
| |
Thor: 1980 - 244DL - B21A - M45.  CLICK ON THE PICTURE BANNER FOR MY PROJECT THREAD! CLICK ON THE PICTURE BANNER FOR MY PROJECT THREAD! |
|
|
|
|
|
|
Dec 29, 2012 13:00:48 GMT
|
|
Looks tydiiiii....
Maybe tommorow I'll look into one but an early one... '76 in yellow...
|
| |
|
|
|
|
|
Dec 29, 2012 15:01:36 GMT
|
|
very nice car man, pity that number plate was G244. Anyway health to driving
|
| |
if you're gonna do it wrong, you might as well do it wrong properly
Gud välsigna det röda blocket
nissan cube - jdm toy
volvo 940 turbo - 22psi
FOR SALE 2002 NISSAN CUBE
|
|
|
|
|
Dec 30, 2012 15:39:29 GMT
|
|
|
| |
Thor: 1980 - 244DL - B21A - M45. CLICK ON THE PICTURE BANNER FOR MY PROJECT THREAD! |
|
|
|
|
Dec 30, 2012 15:40:22 GMT
|
|
Ive put together a list of things to do....
MOT:
welding to rear chassis rails (same as detailed in Johns 240 thread)
General check over (bushes, brake pipes etc)
PCV clean
Injector seals and set up k-jet with AFR gauge
Ignition components service
Fusebox cleanup
Headlight reflectors
(if needed, tailgate wiring)
Slight PAS fluid leak.
Afte MOT - stage 0 service:
Cambelt, tensioner, water pump.
New fuel pump relay and keep old one as spae
Remove pre-heater pipe
Fuel filter
Air filter
Oil flush and filter and change
Then things to fix/running upgrades (get as much done as poss before i start using it in march):
Galaxies to refurb and get tyres for as soon as i can afford.
Group A style eggcrate as per Antz's thread
Clear corners and side markers
LPG
Electric fan conversion
Fit CR 905 head unit and possibly obtain ipod lead
Upgraded door speakers
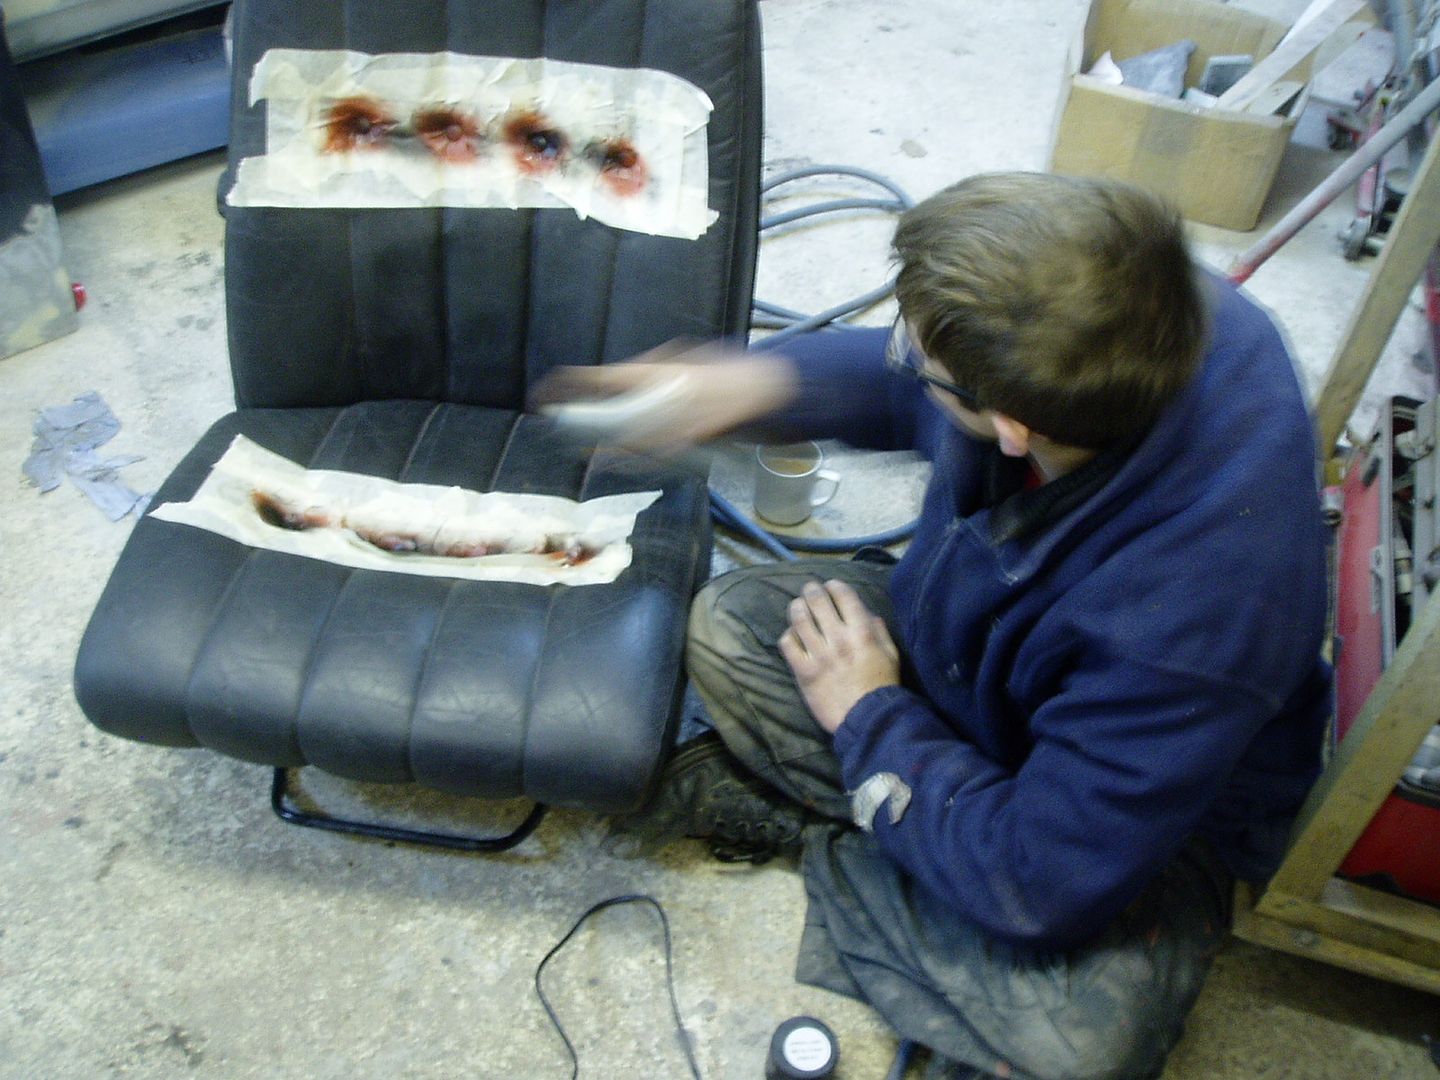
Fit refurbished front seats (already have - will update tonight)
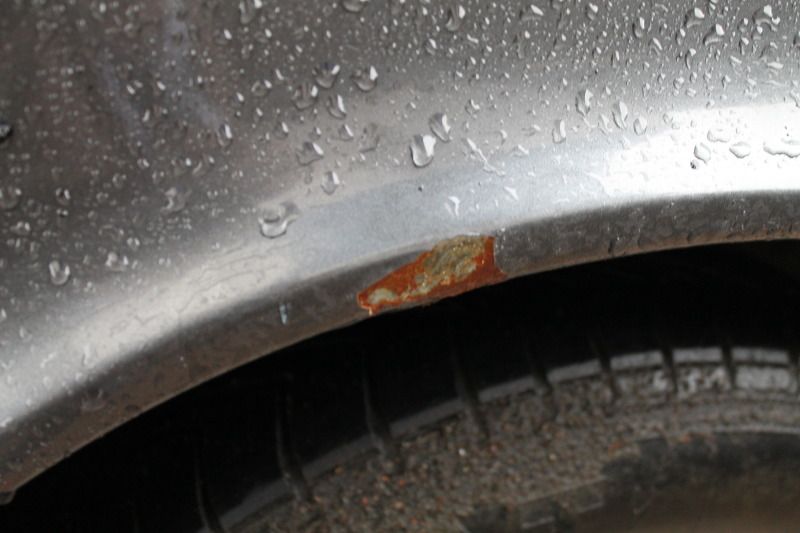
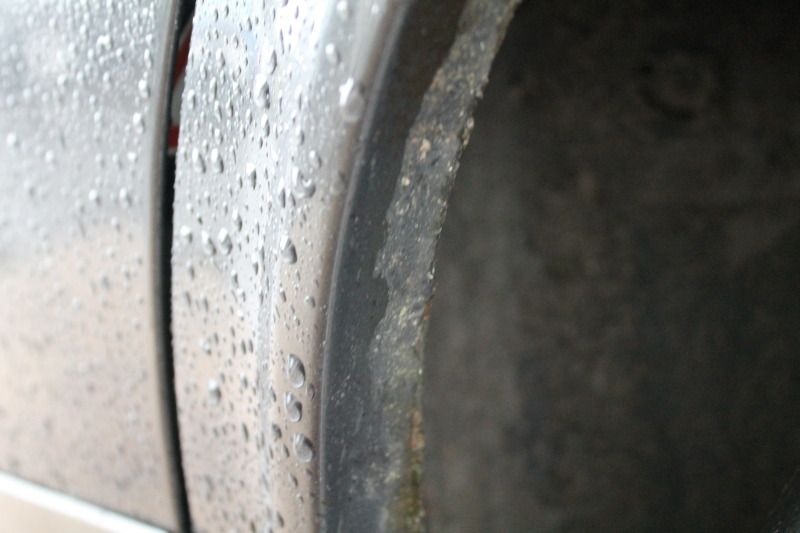
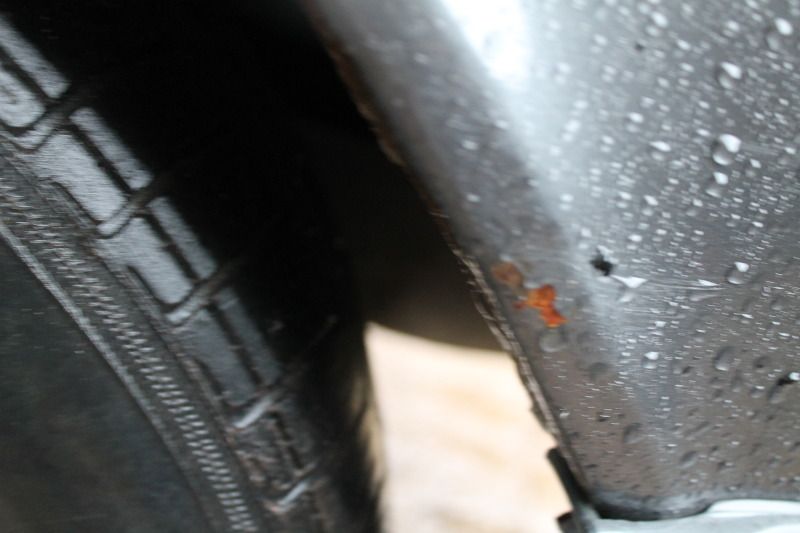
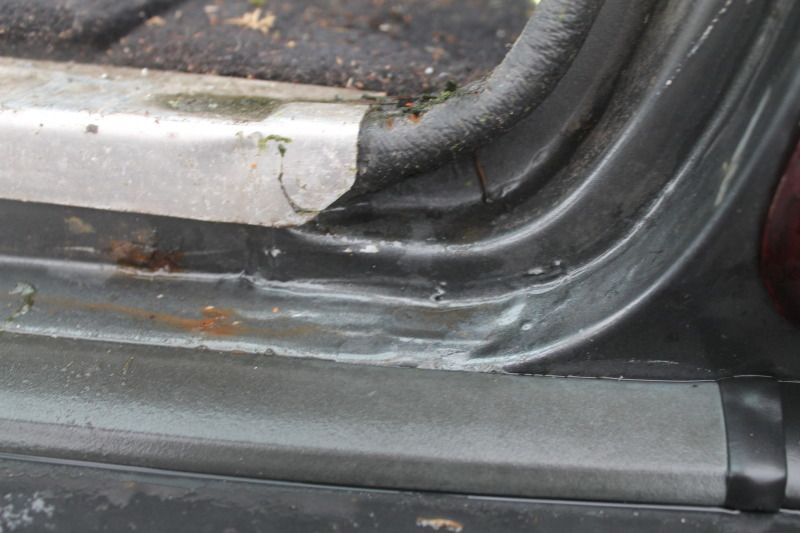
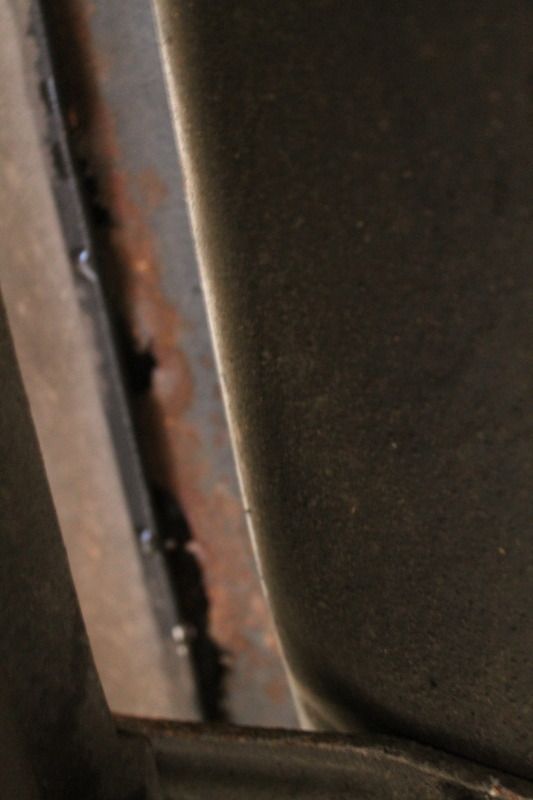
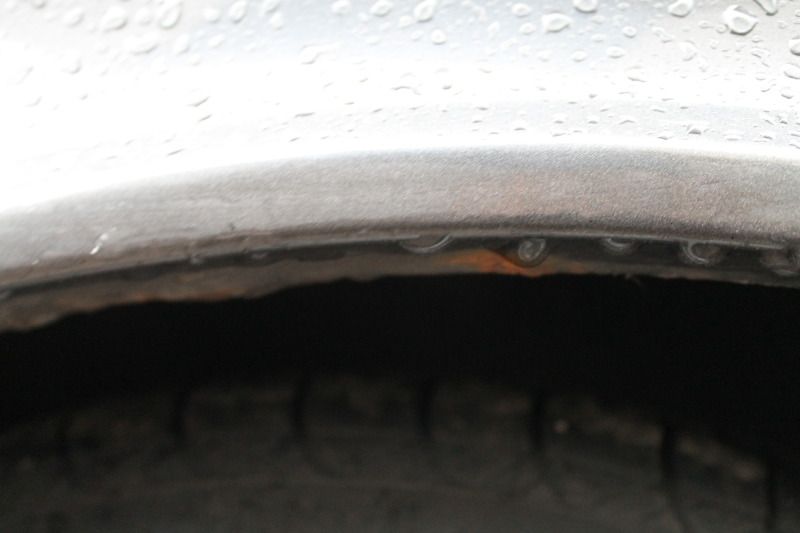
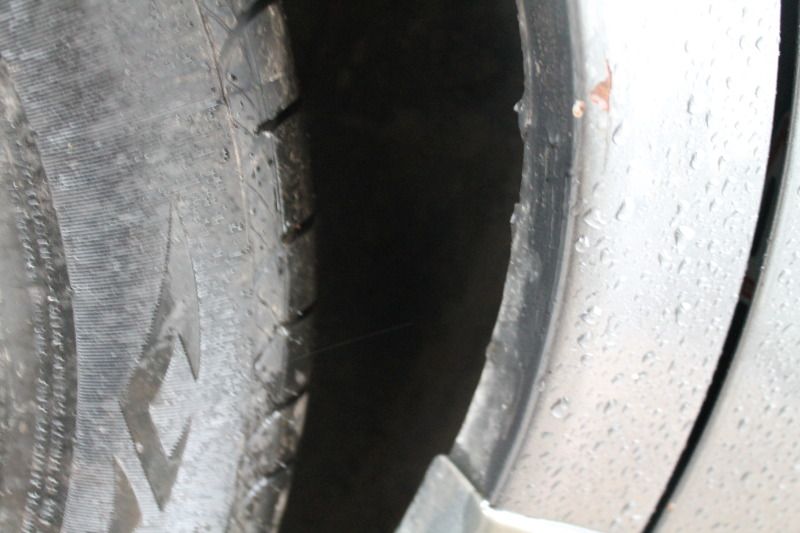
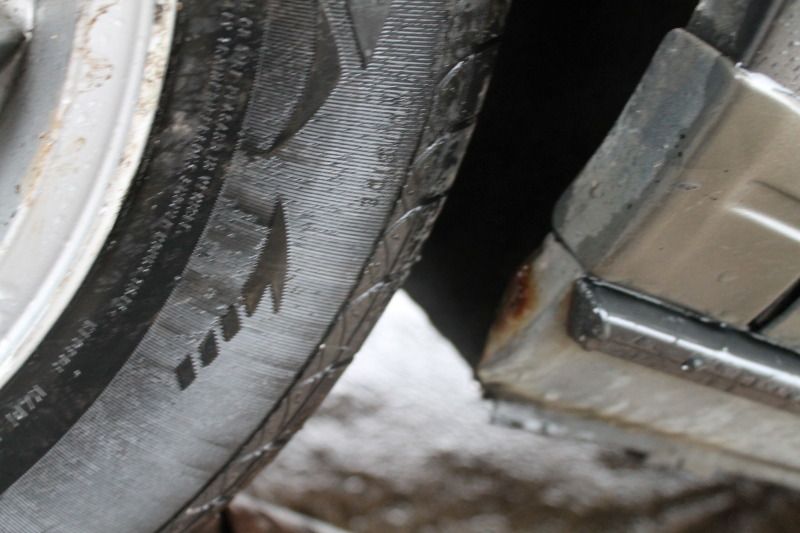
Cut off arch lip (to stop rust spreading further and to allow for wheel spacers at a later date)
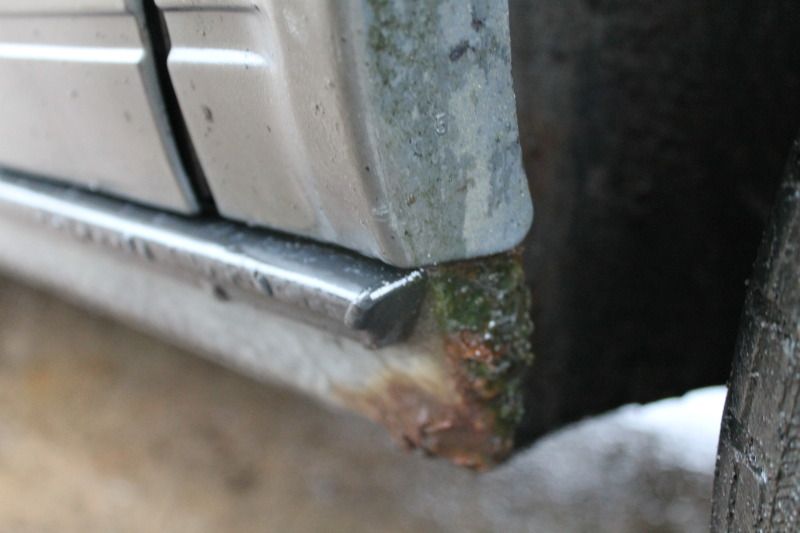
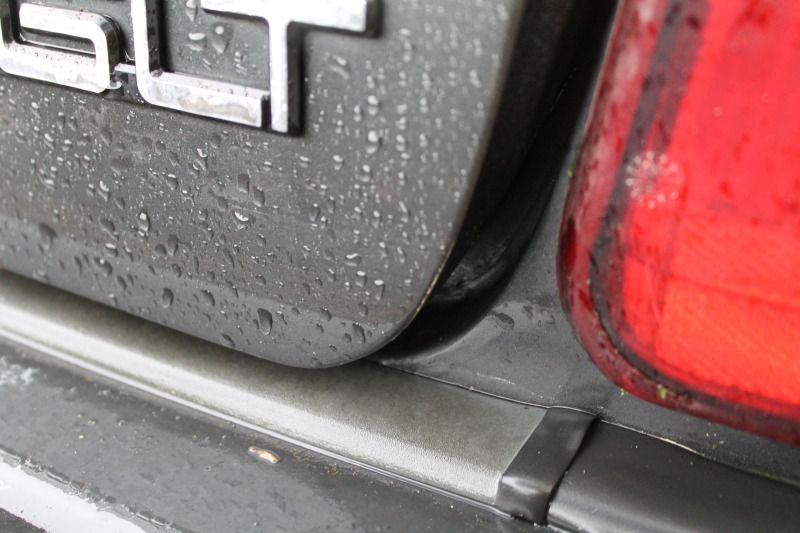
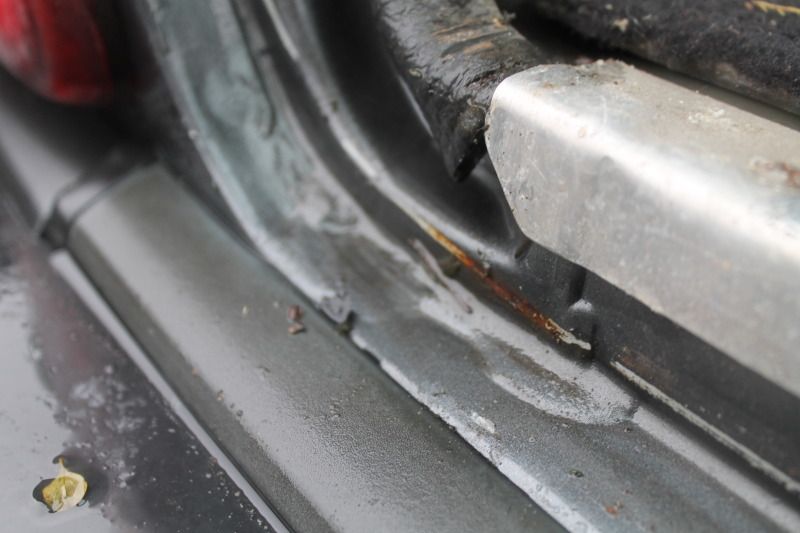
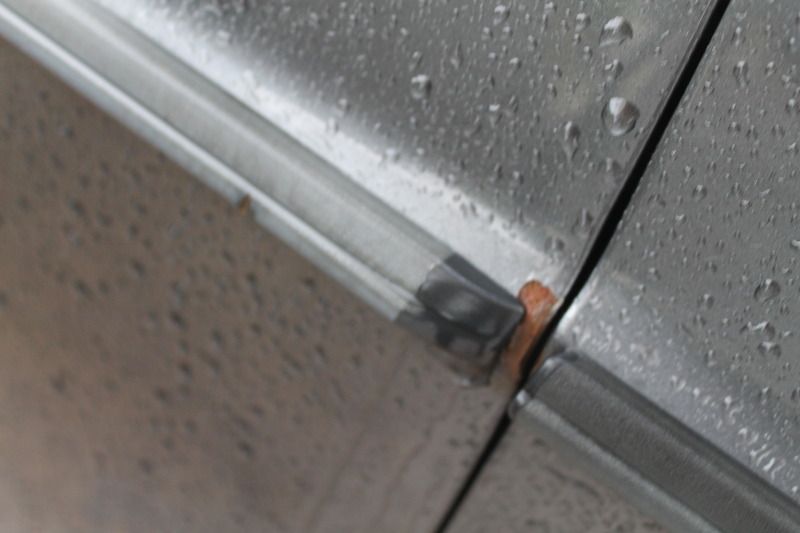
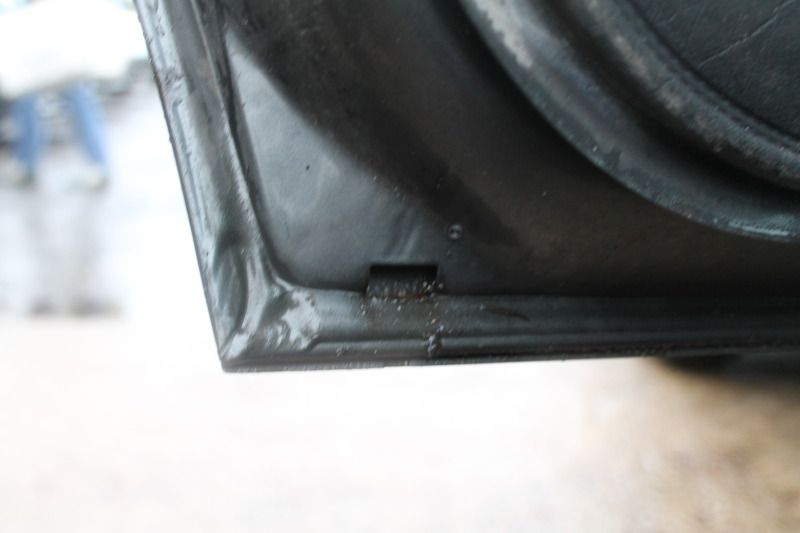
Slight rust repairs to tailgate sill.
Full rustproofing
Replace cracked door pocket
Find and fit a new tow hook cover for front spoiler
All in all not that much work really - and its a volvo, so ill enjoy doing it - unlike a certain other red heap i own!
|
| |
Thor: 1980 - 244DL - B21A - M45. CLICK ON THE PICTURE BANNER FOR MY PROJECT THREAD! |
|
|
|
|
Dec 30, 2012 16:55:24 GMT
|
|
|
| |
|
|
mirafioriman
Posted a lot
 My next project.......
Posts: 1,361
|
|
Dec 30, 2012 17:52:37 GMT
|
|
Nice buy. The 240 GLT estate is the only Volvo I would ever really consider owning. Generally I'm not a Volvo fan despite working for a Volvo dealer for a year in my gap year.
|
| |
|
|
|
|
|
|
|
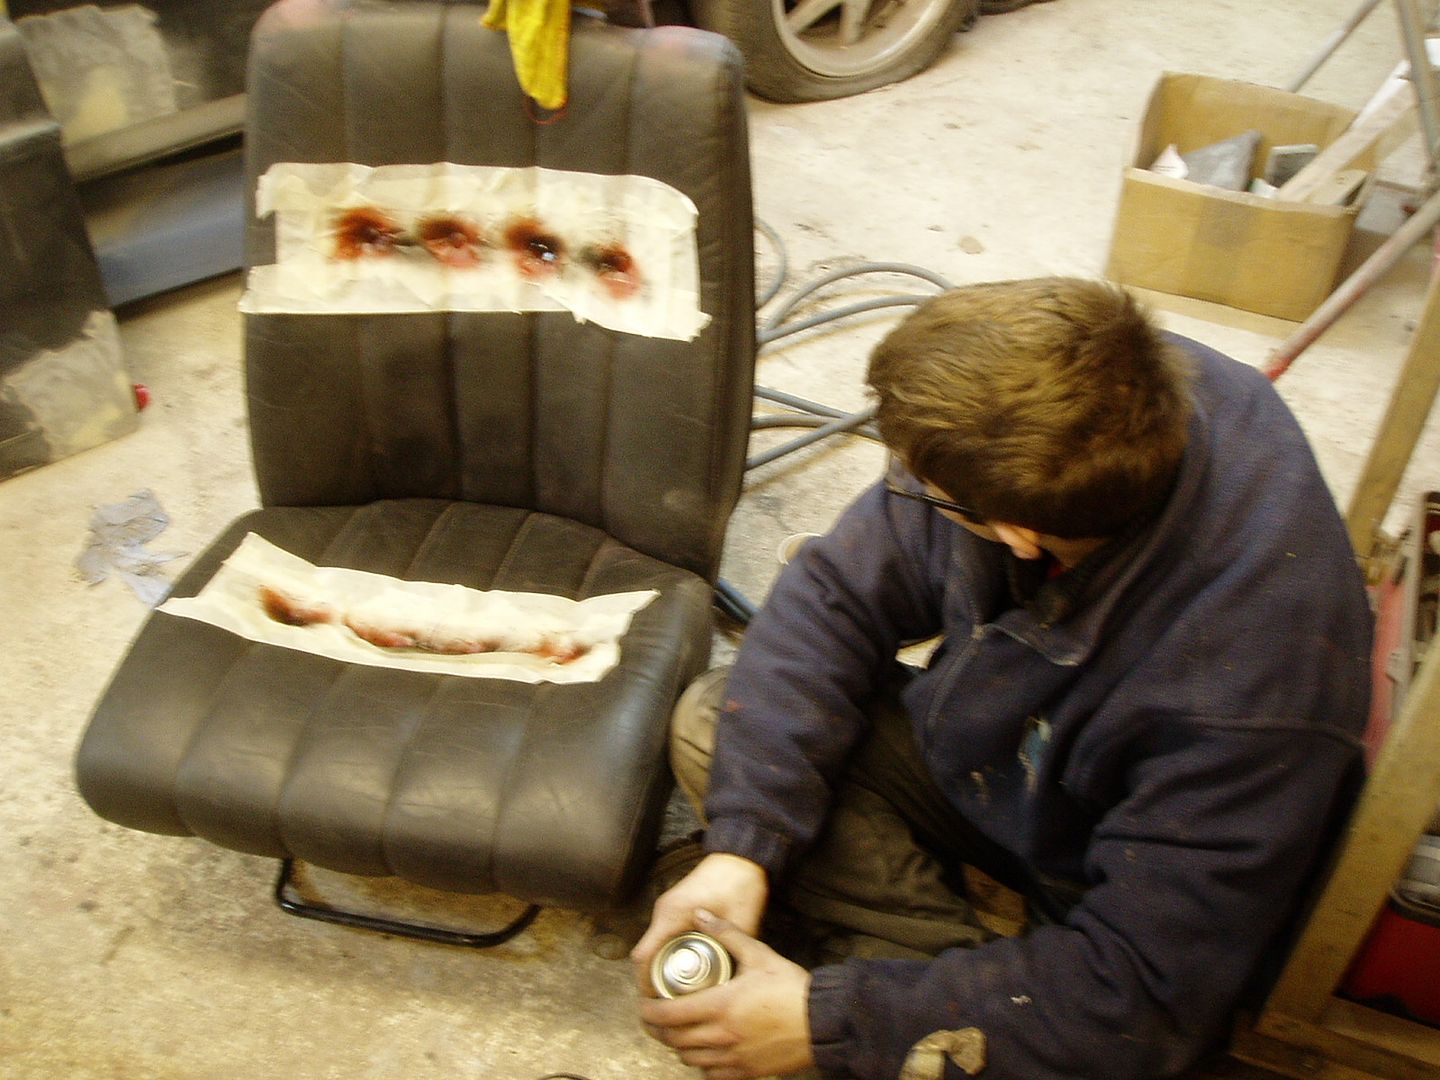
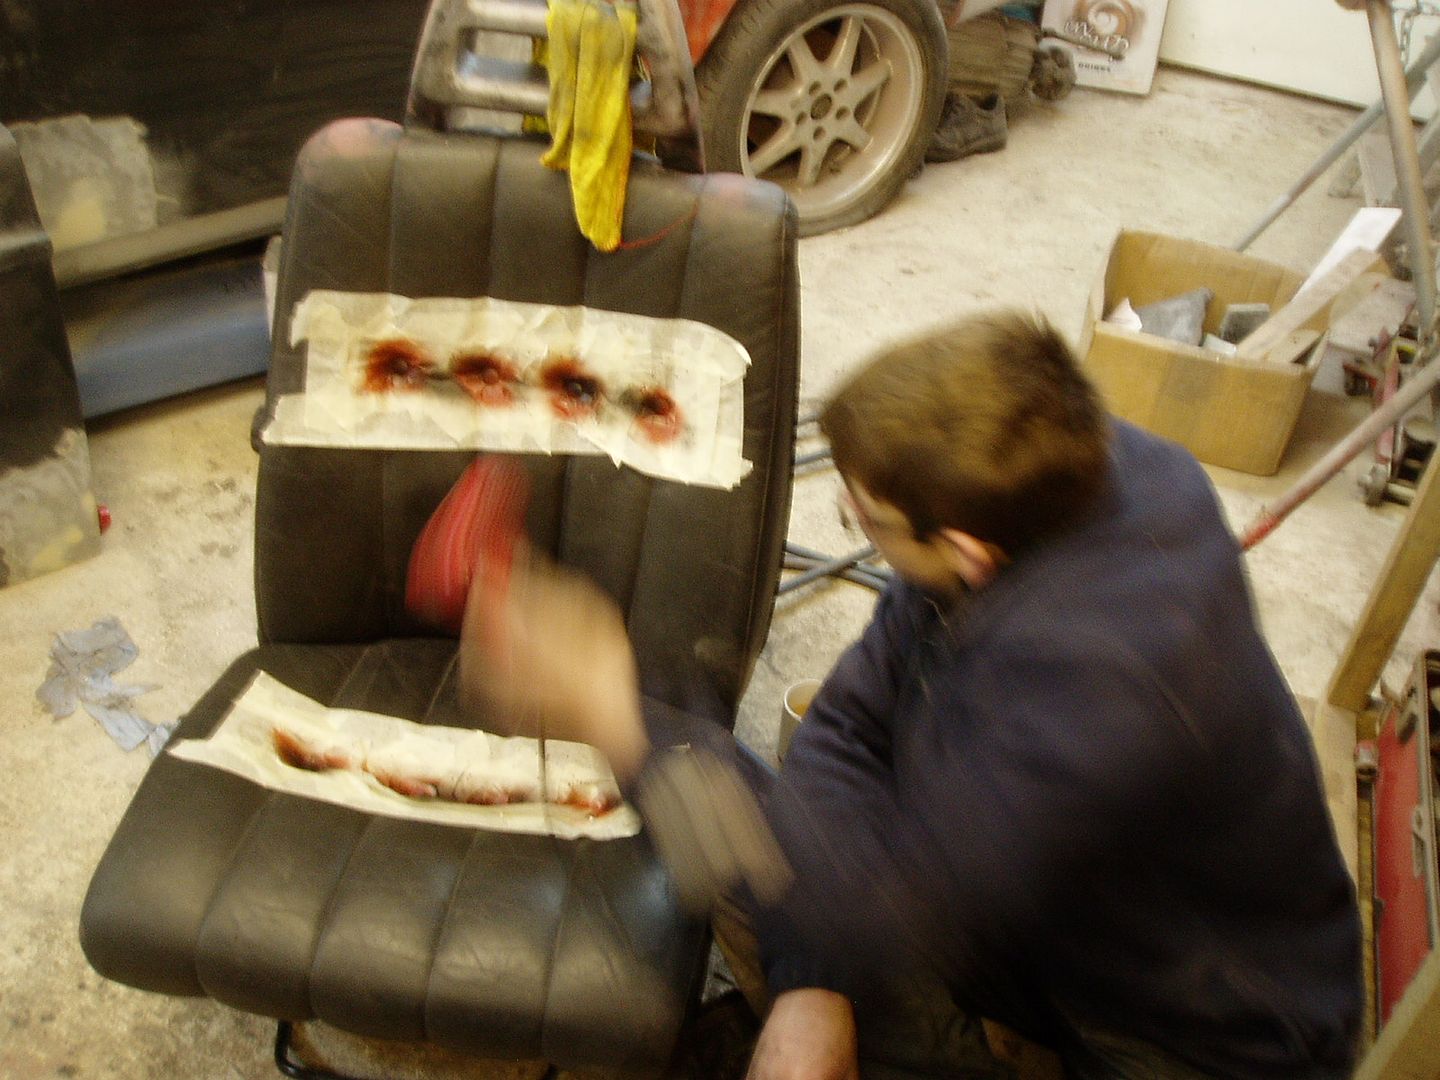
As can be seen from this (okay, slightly crappy phone...) pic 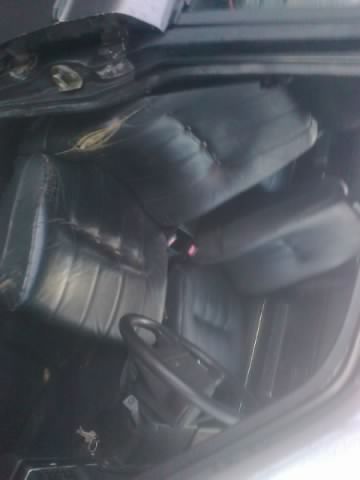 the drivers bolster isnt in great shape. I had two seats which are ex-Thor (also ex-FoggyJames!) which were really good condition both in terms of leather and how supportive the foam still was, the only thing being that the drivers one has been sat inside Thor since God knows when and has layers upon layers of various paints and 2k primer on it! After several hours of using thinners, then scrubbing, then conditioning, and then painting the buttons... 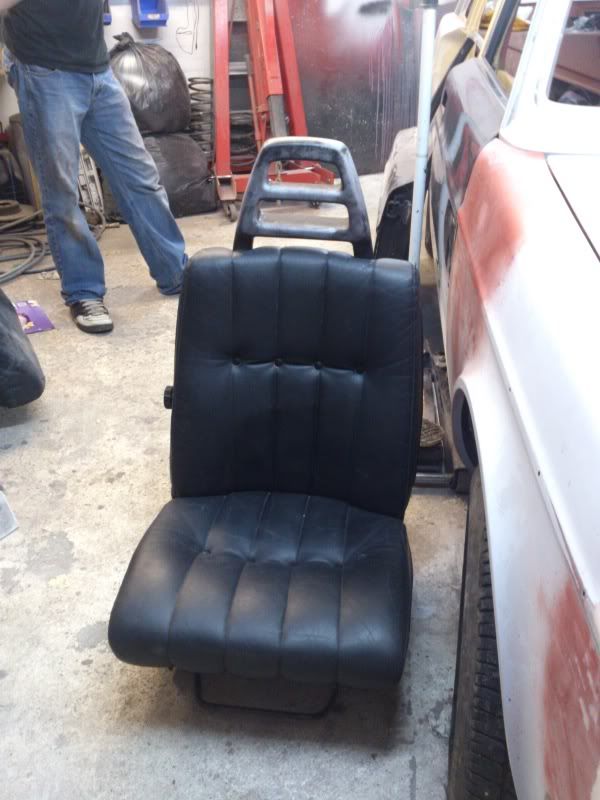 Ill swap them to the later headrests once installed in the car. John has also donated me a pair of decent headlight reflectors from his stock  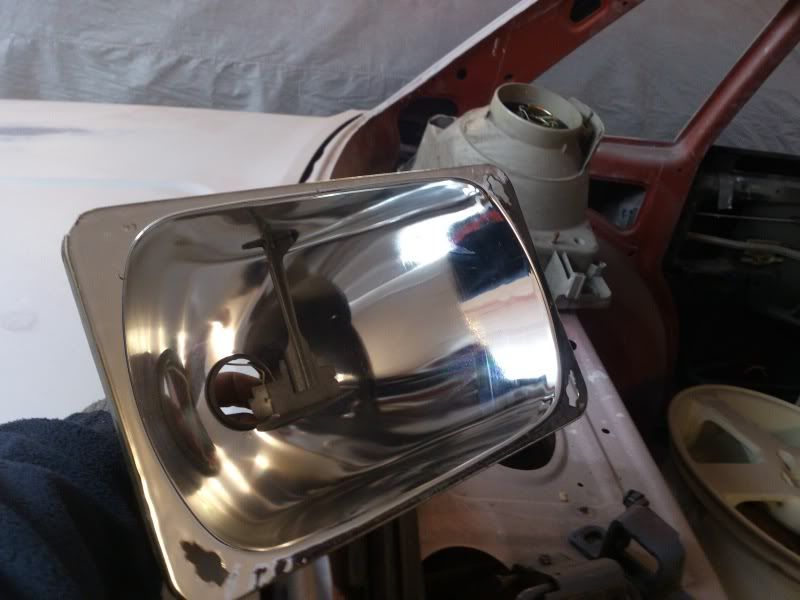 I still havent seen the car yet, but have spent £200 on it already! Its arriving 3pm tomorrow. Steve |
| |
Thor: 1980 - 244DL - B21A - M45. CLICK ON THE PICTURE BANNER FOR MY PROJECT THREAD! |
|
aws
Part of things
Just smile and wave boys. Just smile and wave.
Posts: 389
|
|
|
|
Nice one Steve. Seems that Volvo virus is getting deeper into You. Happy New Volvo Year! |
| |
|
|
eurogranada
Europe
To tinker or not to tinker, that is the question...
Posts: 2,483
|
|
|
|
|
Yet another thread to monitor.... How do you do it all?! Timewise I mean. I have a hard enough time finding time for my one project!
|
| |
|
|
|
|
|
|
|
|
|
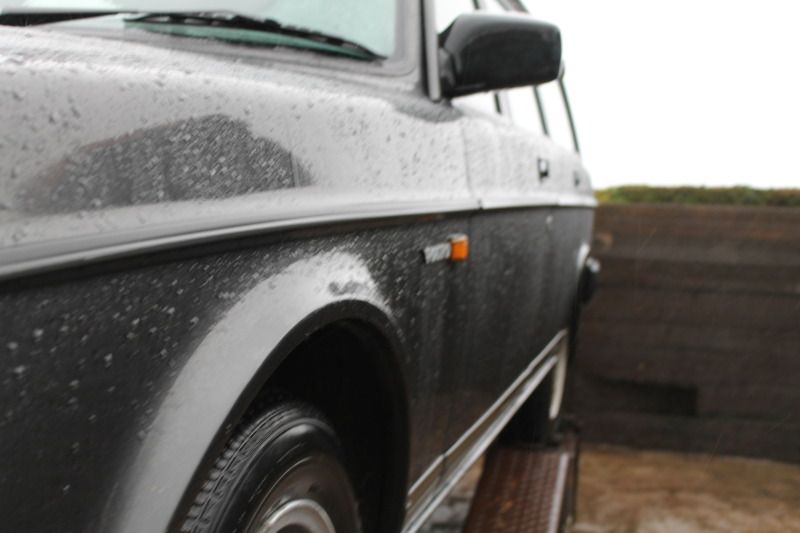
Right, so the car arrived today, all safe and sound. delivery cost two thirds of the car! First thoughts are its a good buy, seems good bodywork wise, apart from the roof has epic lacquer peel which Nick hadnt noticed (but to be fair, it was pi55ing with rain when he viewed the car). Never bother though - its a fairly easy job. The main thing is it is fairly rust and dent free and I can see a very good car through the dirt and grime. My friend Will also came over to help. First thing we established was that the tailgate wiring is all good - one light cluster wasnt working but that was due to just simply being all uplugged. The N/S/R door was jammed shut and wouldnt open from either side, so we decided the best bet was to remove the door card and poke about with a screwdriver and a hammer! After some fiddling we got it undone and put it down to a seized door latch - which we had a spare of, so thats now fixed. One tailgate hinge was missing (had snapped apparently) so John has loaned me one of his ones for the time being. I either need to get an equivalent condition one to give to john, or just another one and swap them about. None of the windows appeared to be working, but with some fiddling we got the passenger one to work intermitently. I think its the switch contacts that are all corroded, so we will find that out by a process of elimination tomorrow. Tomorrow starts the weldathon! Some pics... 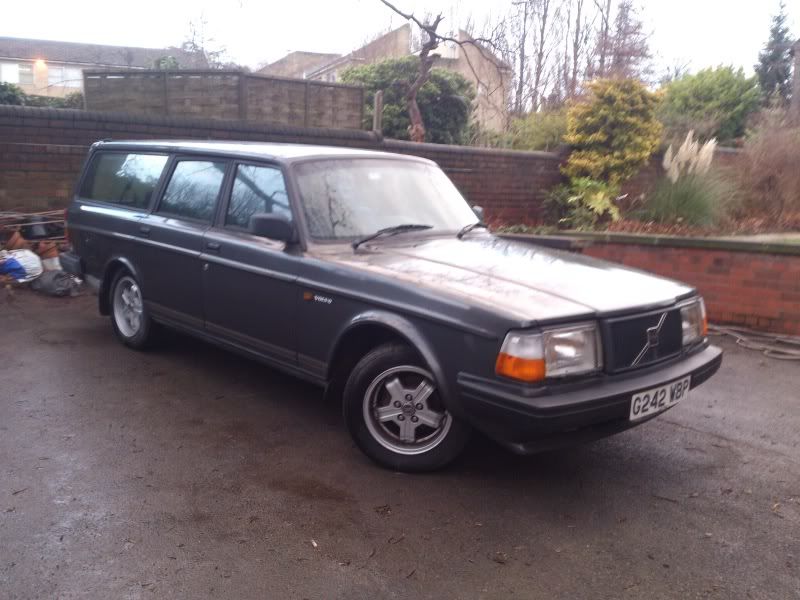 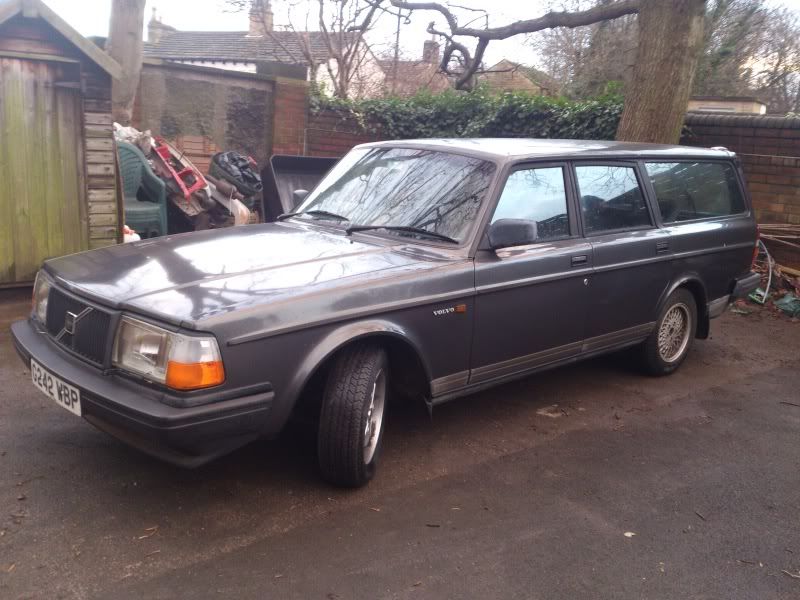 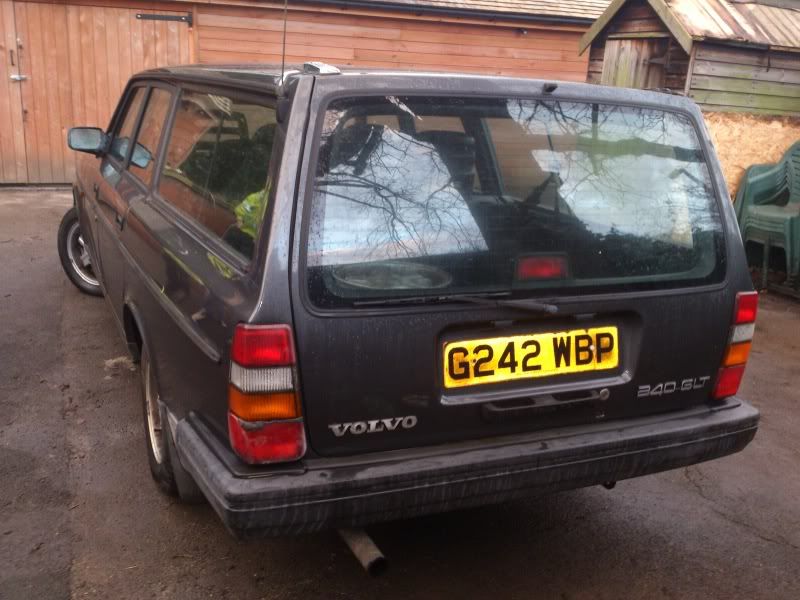 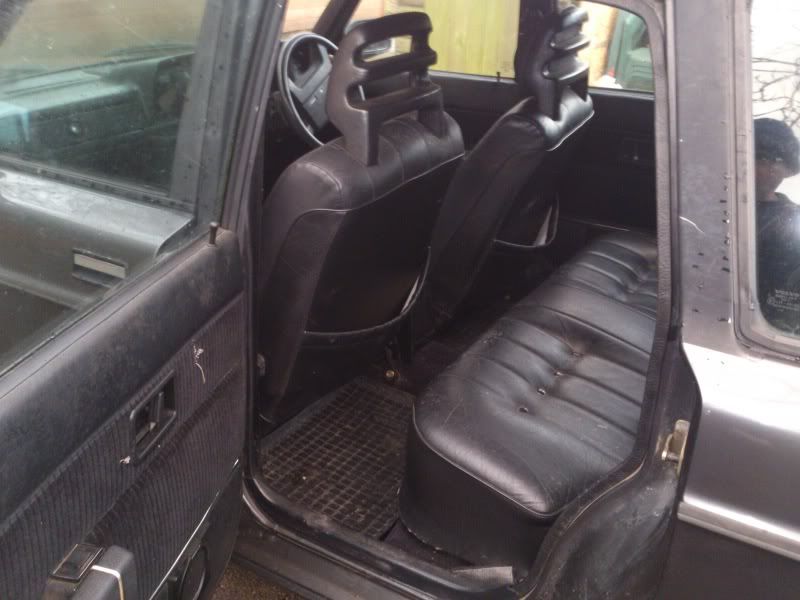 This absolutely scared the curse word out of me - i though i had realised why the car was so cheap! Luckily though its just the cambelt cover that has been swapped. The engine block confirms its a 2.3 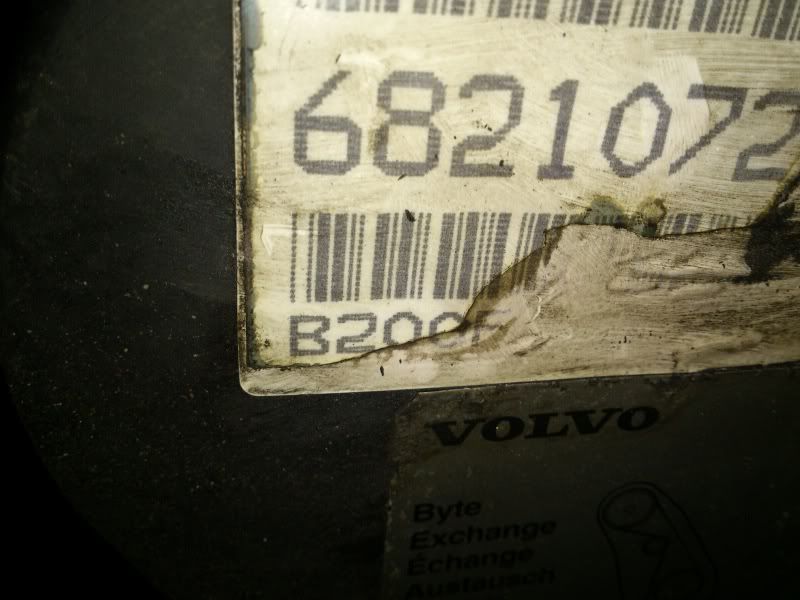 Steve |
| |
Thor: 1980 - 244DL - B21A - M45. CLICK ON THE PICTURE BANNER FOR MY PROJECT THREAD! |
|
eurogranada
Europe
To tinker or not to tinker, that is the question...
Posts: 2,483
|
|
|
|
|
Looks pretty nice indeed!
|
| |
|
|
|
|
|
|
|
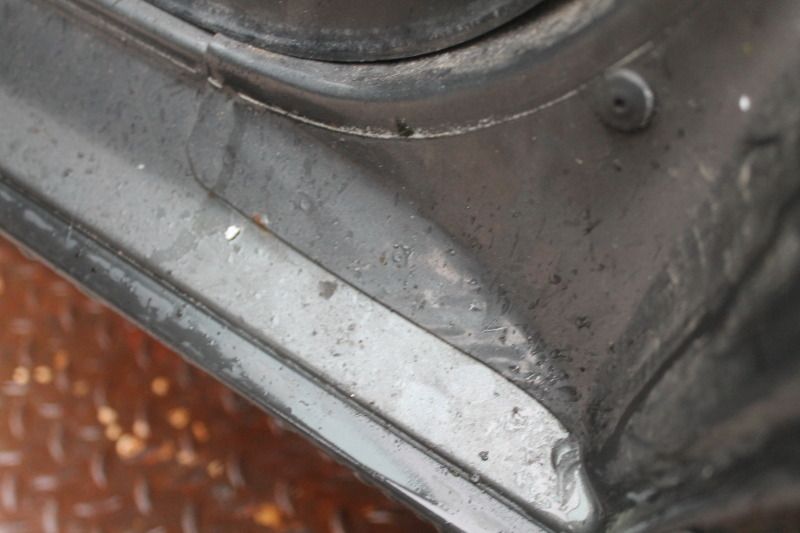
Whats the first thing you do when you get a new car? Rip out the interior! 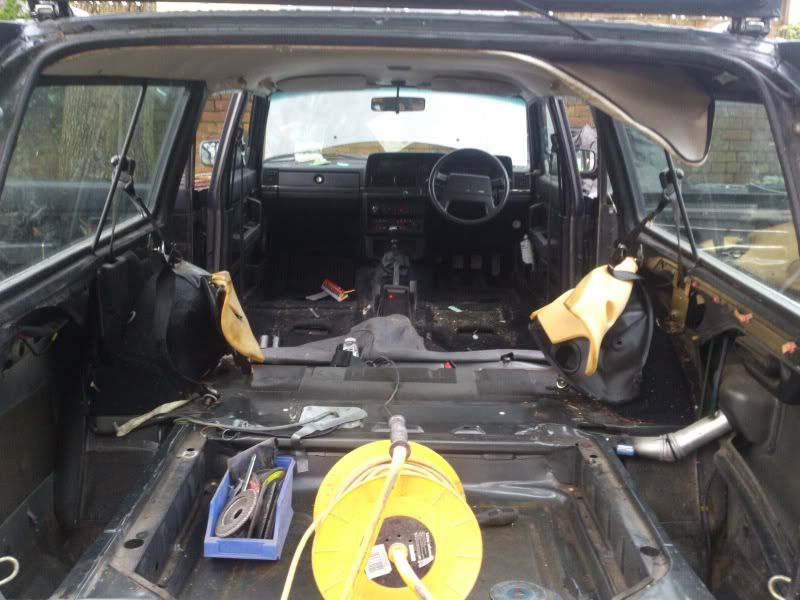 In order to fix this: 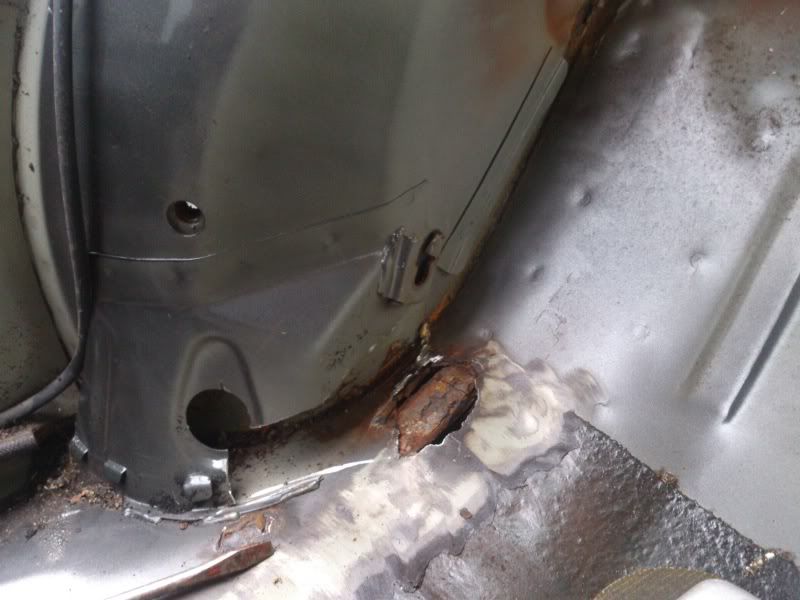 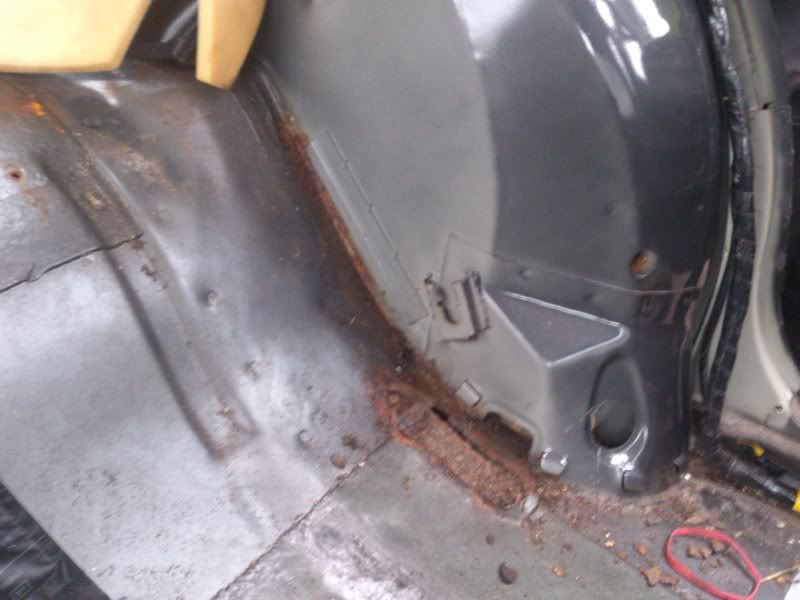 Will also be sorting this out at the same time - shock mount 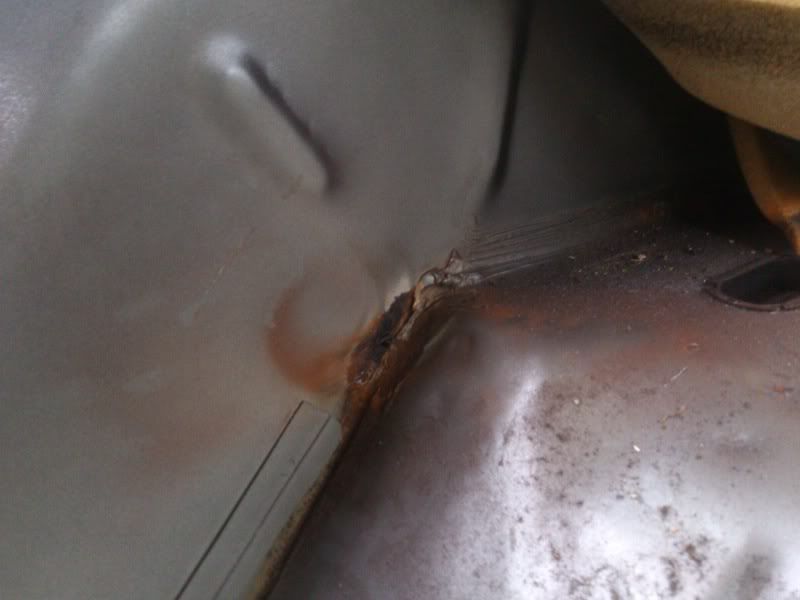 First of all chopped out all the rust and rot. There was a little bit on the "tophat" section of the chassis rail so all chopped out and welded in a new piece of girder (quite literally) 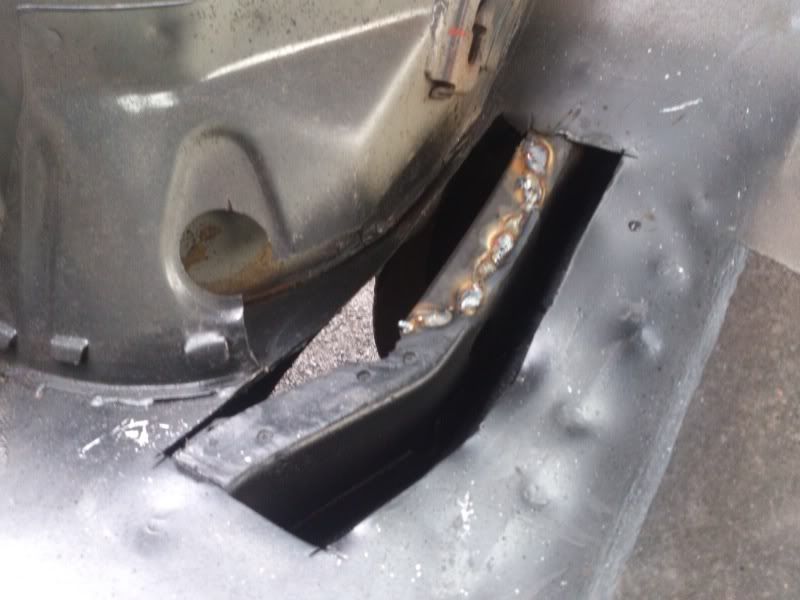 Repair section made 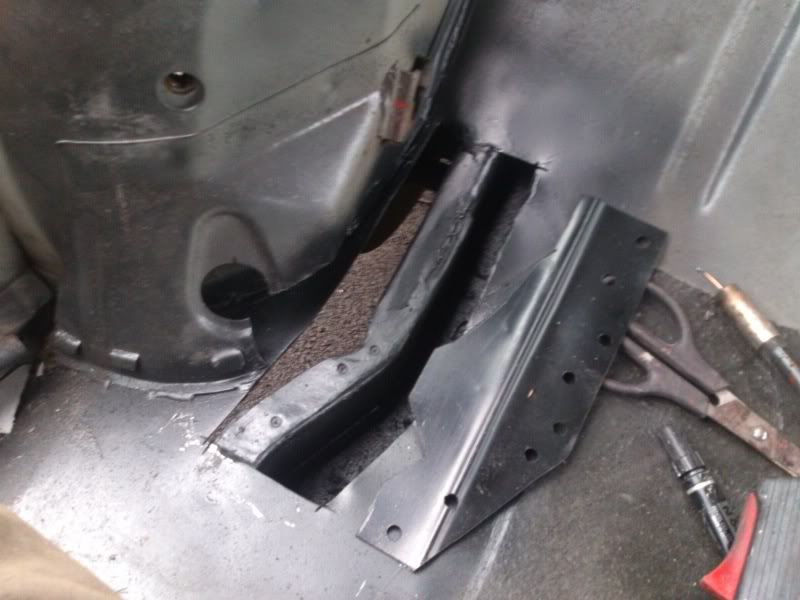 Welded in. Needs some more tidying yet but thats all we got time for. Now just need to make the closing pieces over the top and to the side. 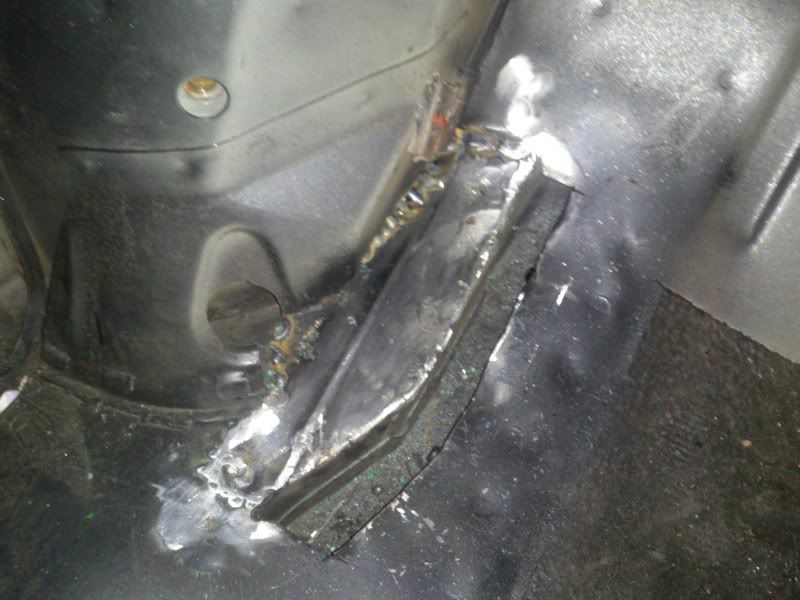 That repair is actually much stronger than the original structure as it ties the chassis rail not only to the floorpan but to several layers of metal that form the inner wheel arch too, and has twice as many welds as before. John kindly donated me his ex-245GL tailights (no longer needed as he has done the early light conversion) More tomorrow! Hoping to get the chassis rails finished. Ste P.S anyone got a glt rear anti-roll bar? I noticed it wasnt there and assumed that it would be because it had self levelling, but on removing the wheels it appears it has had standard replacements in the past. Steve |
| |
Thor: 1980 - 244DL - B21A - M45. CLICK ON THE PICTURE BANNER FOR MY PROJECT THREAD! |
|
johnrh
Part of things
Posts: 958
|
|
|
|
|
|
| |
|
|
|
|
|
|
|
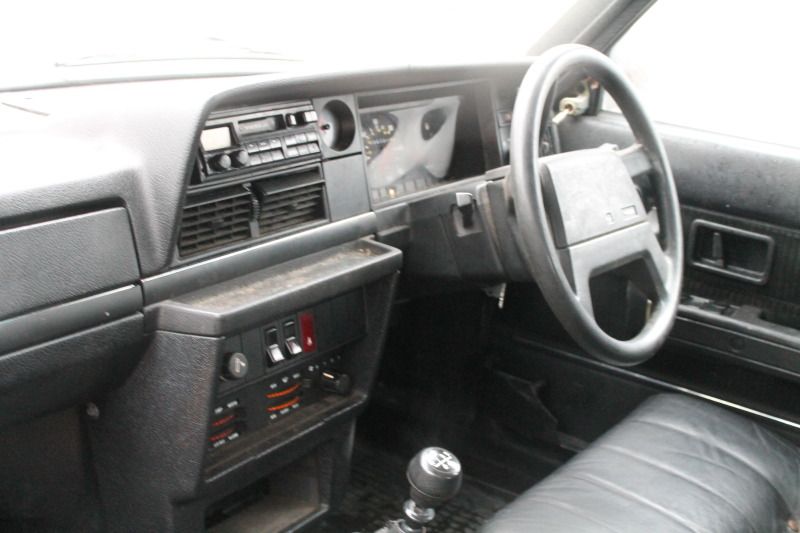
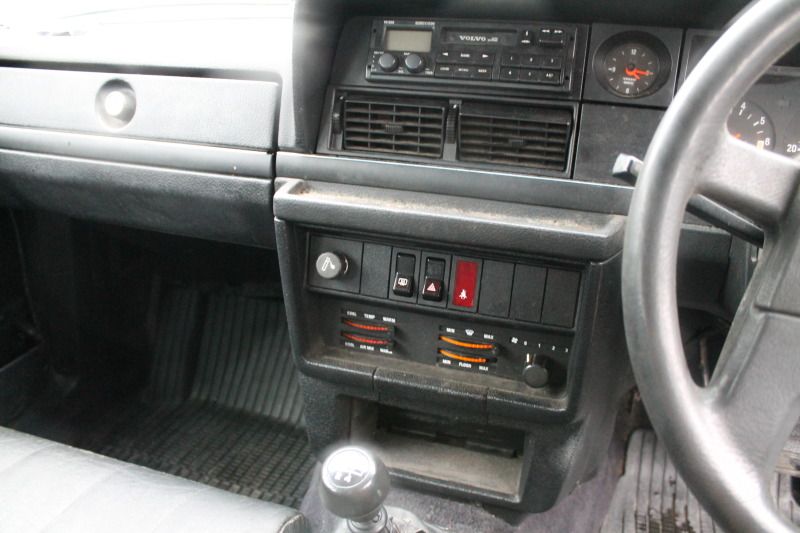
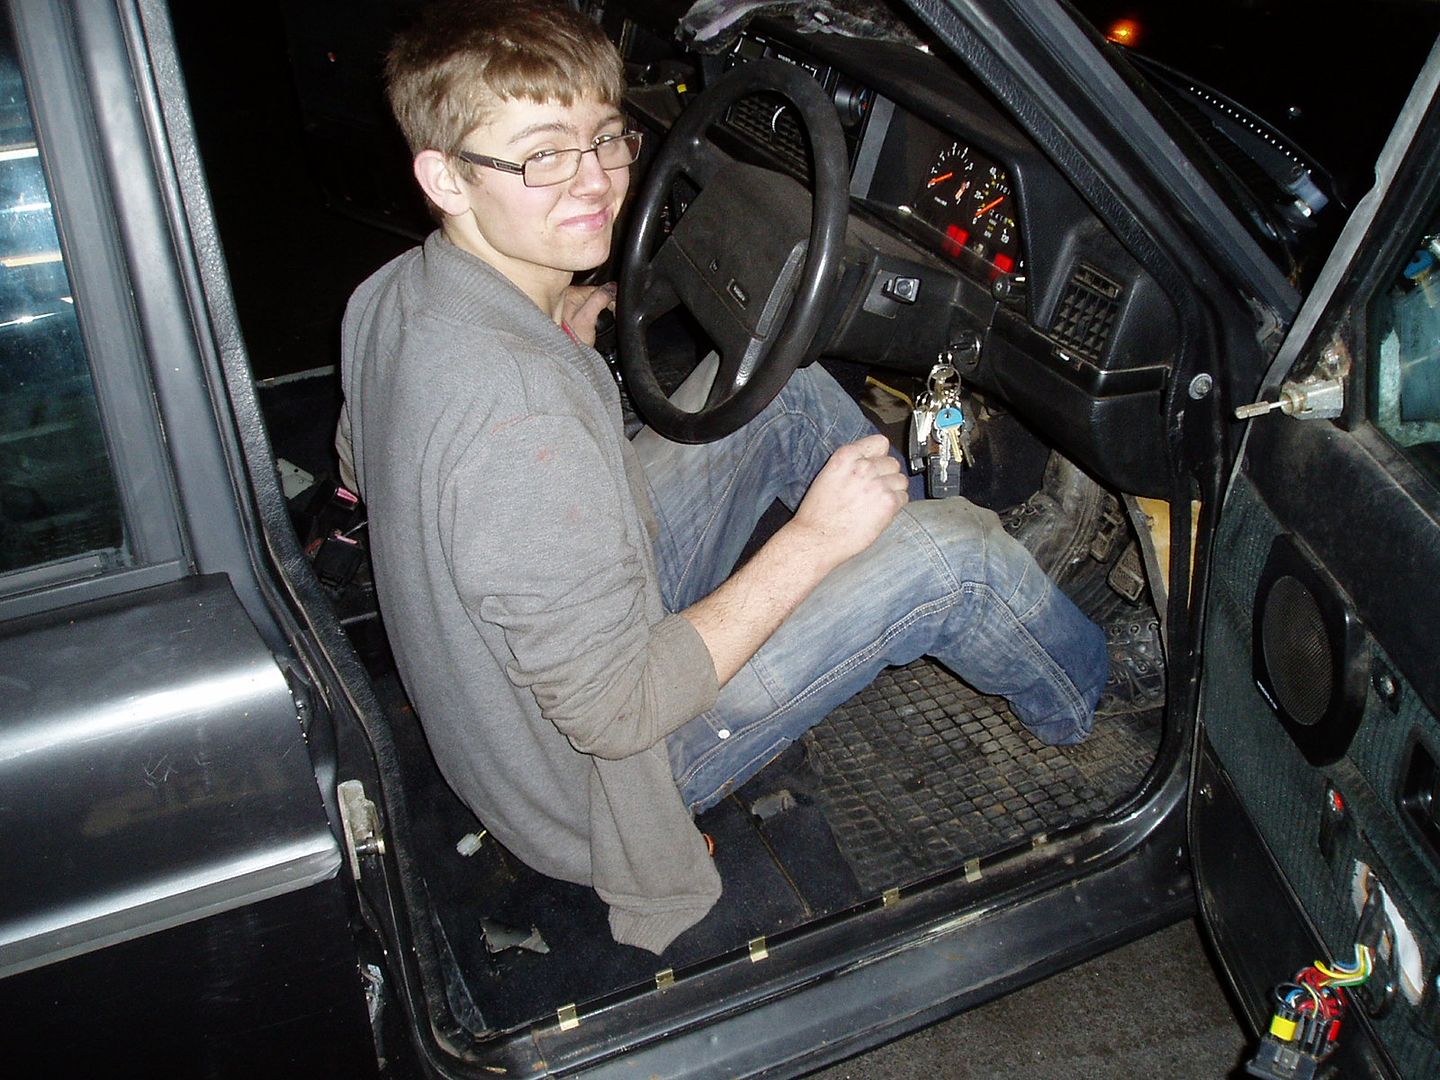
Major update. Tomorrow I'm back at work as per usual, but the last four days i have been off and its been work/welding dawn til dusk! I'm knackered! Closing pieces welded in and all nice and strong. Red oxide applied and seam sealer followed but no photos. 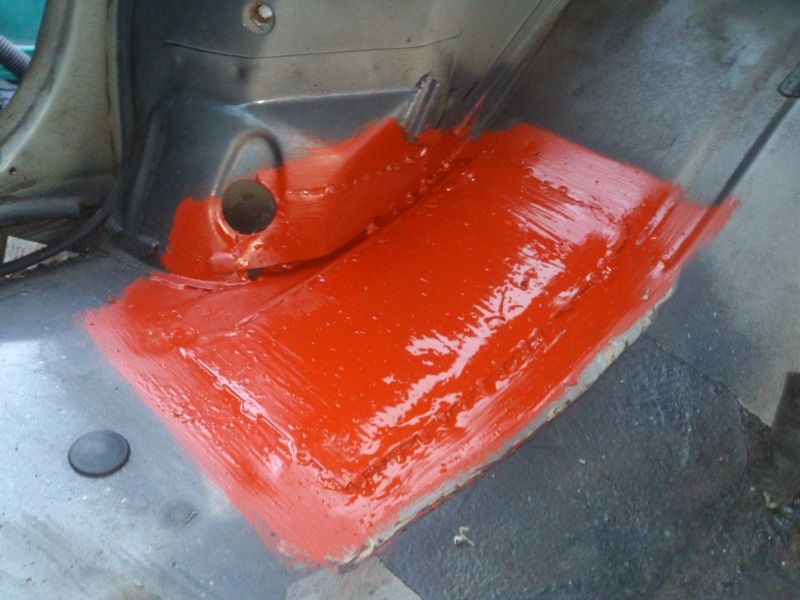 To the Left side of the car, floorpan cut out to reveal... 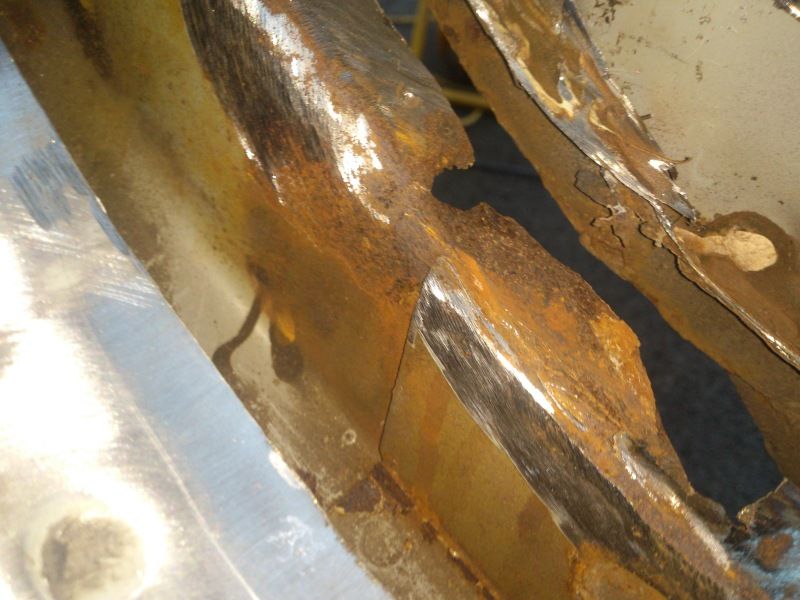 Decided this was going to need quite a lot of metal removing and would therefore remove a lot of strength from the cars structure, so welded a safety brace across the rear door shut 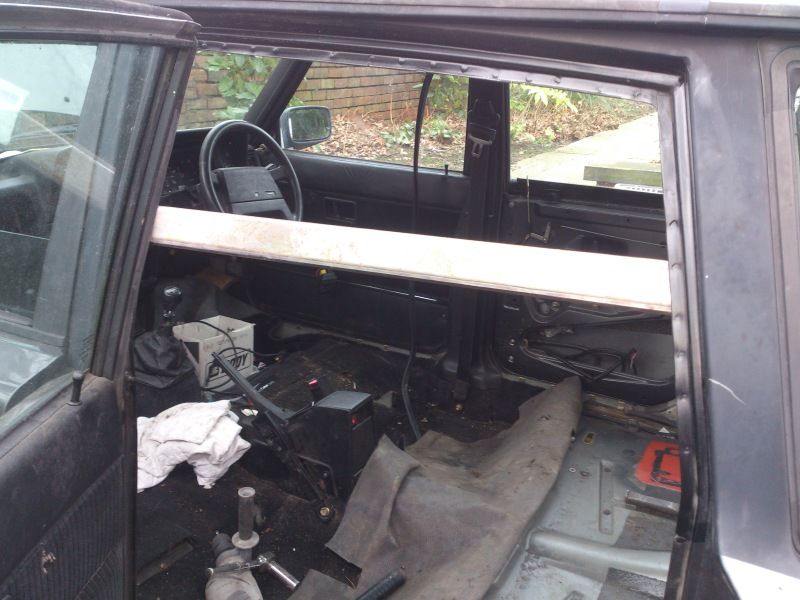 Starting to cut out bad metal and grind off pitting on sound metal. 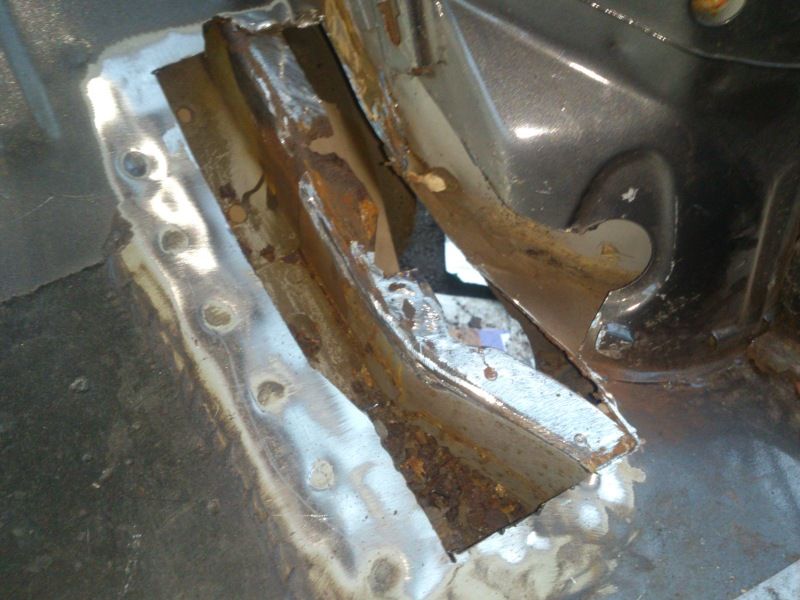 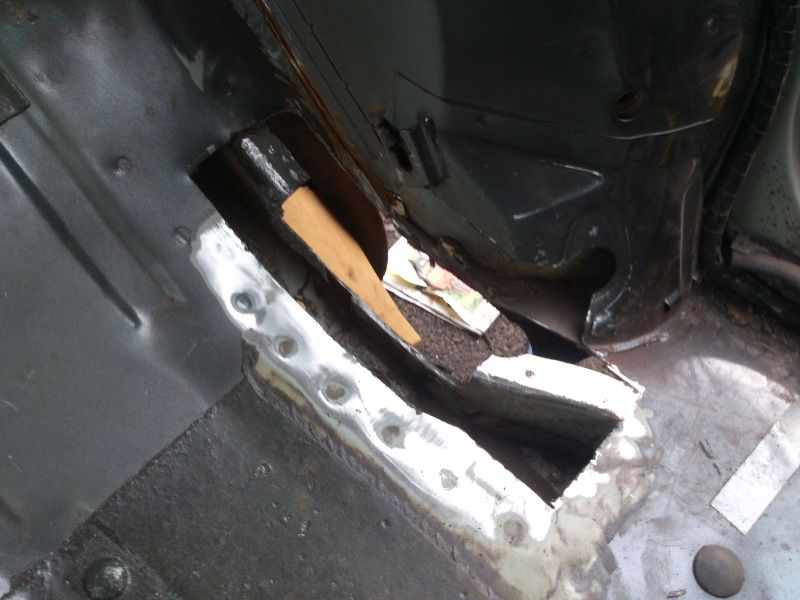 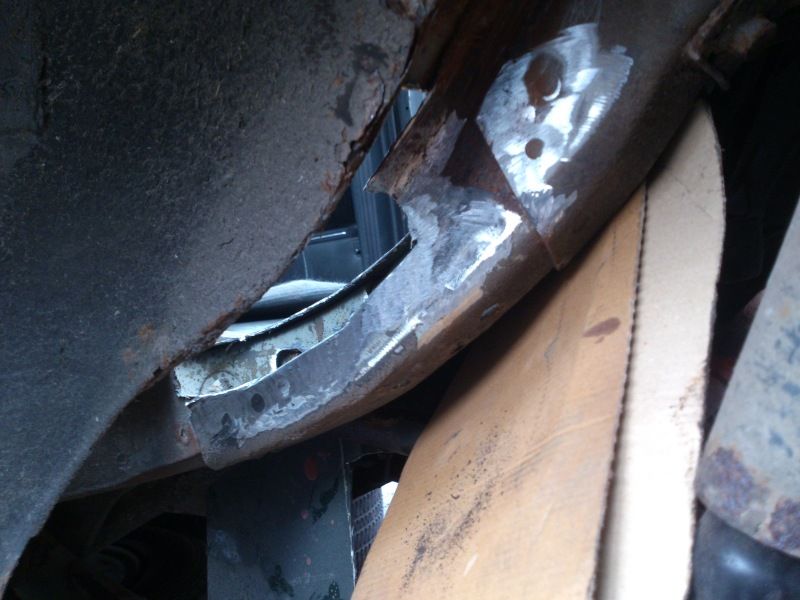 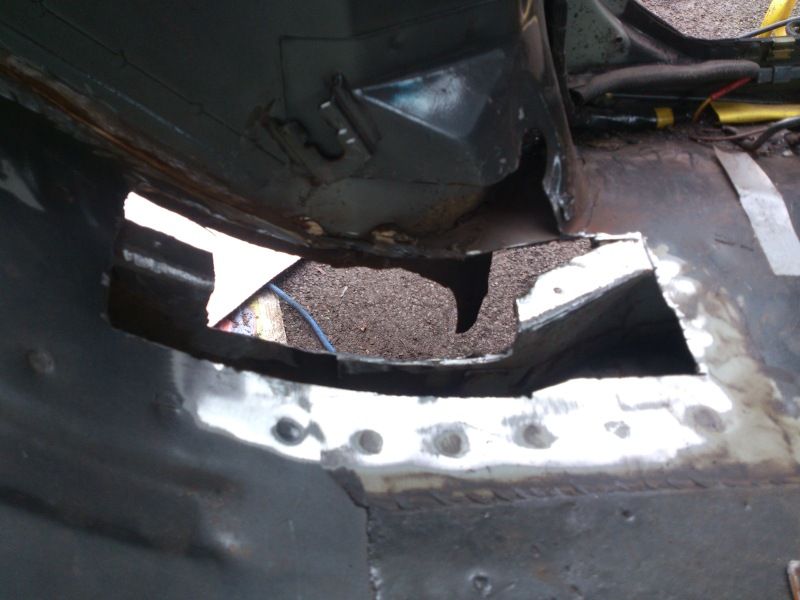 Red oxide on what is left 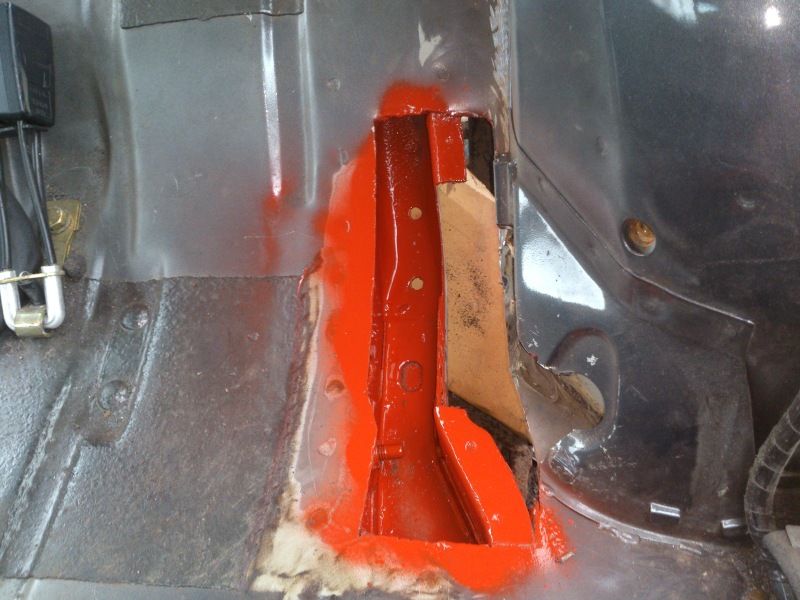 My friend (more later) made an excellent repair section from thick box section 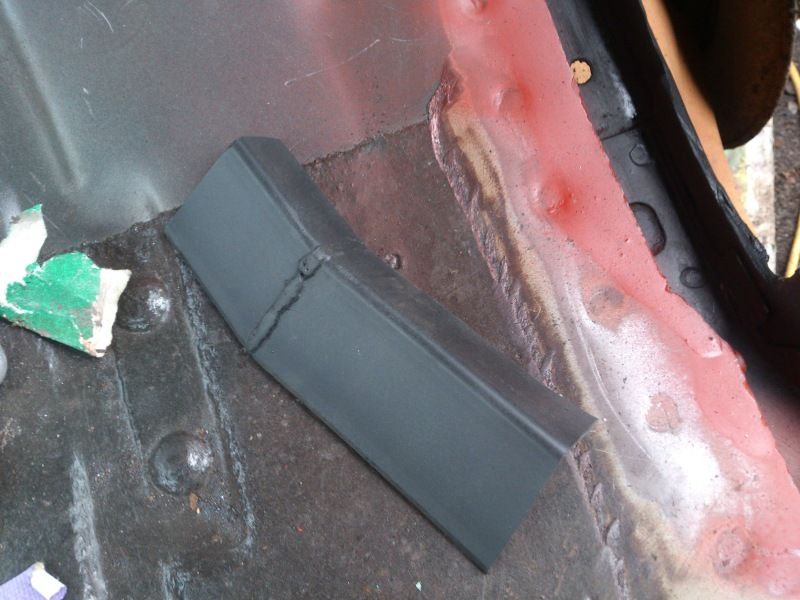 Welded in and red oxide 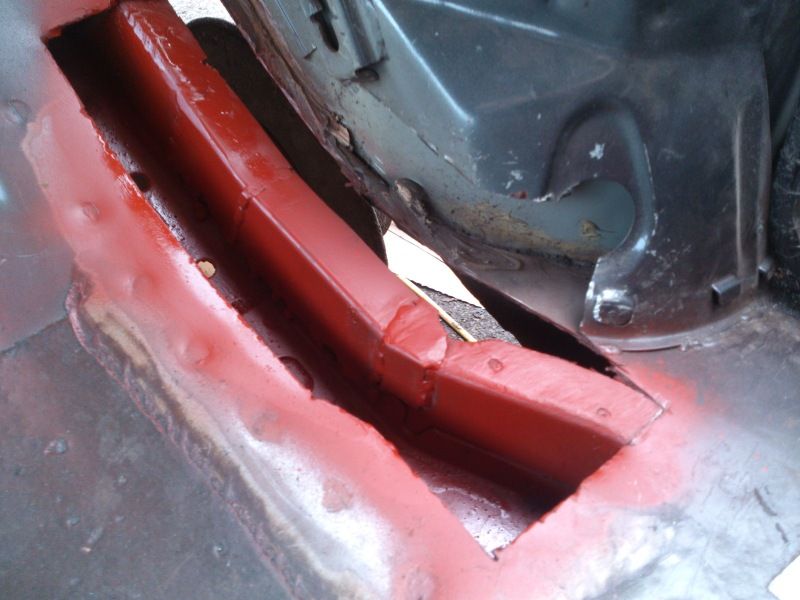 Comedy picture of me in my most commonly found guise.... 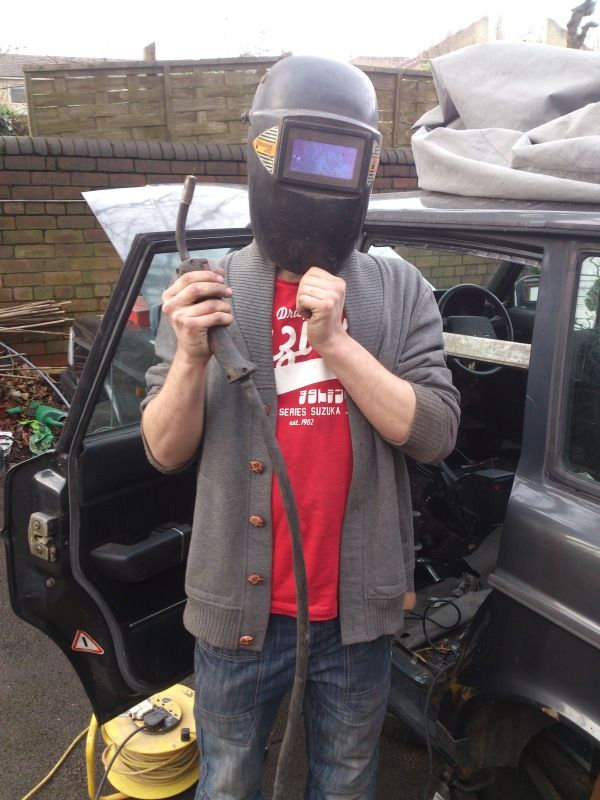 Thick reinforcing plate welded in, in addition to volvos metal, joining the chassis rail to the (several layers) of strong inner wheel arch.  Closing piece 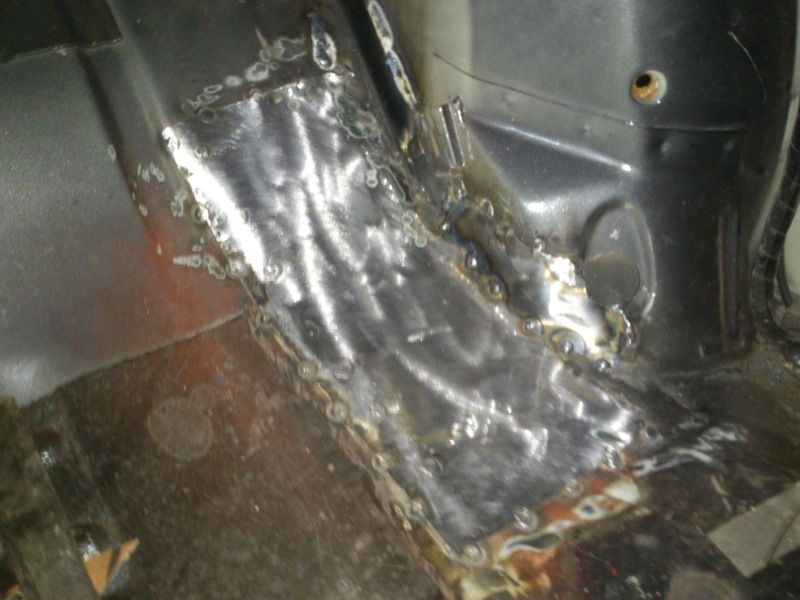 Primered and seam sealed  At this point, i have to thank this guy. Will. Ive been mates with Will since, well pretty much before I could walk, and he is a top guy. Always willing to lend a hand and a massive petrol head himself with very high standards of work. 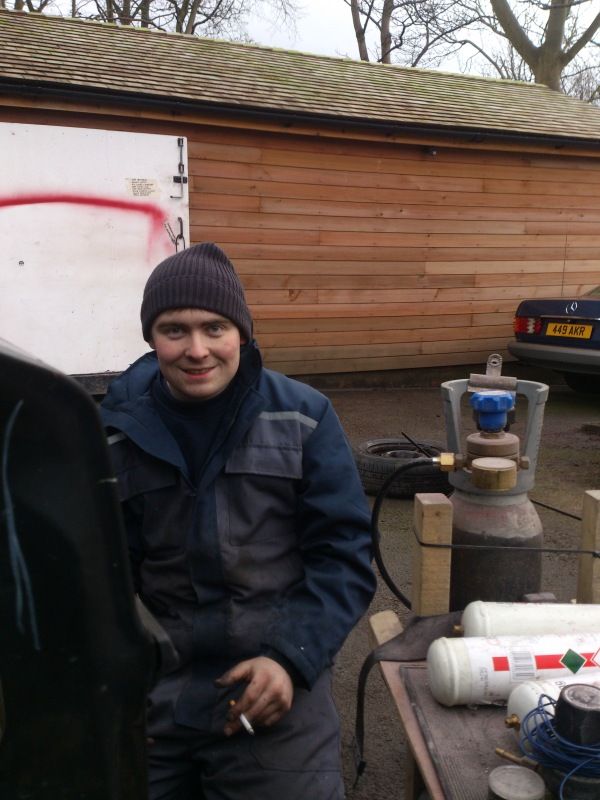 There was one blown spotweld further along the chassis rail. Cut out, ground off the rust and pits and applied red oxide. 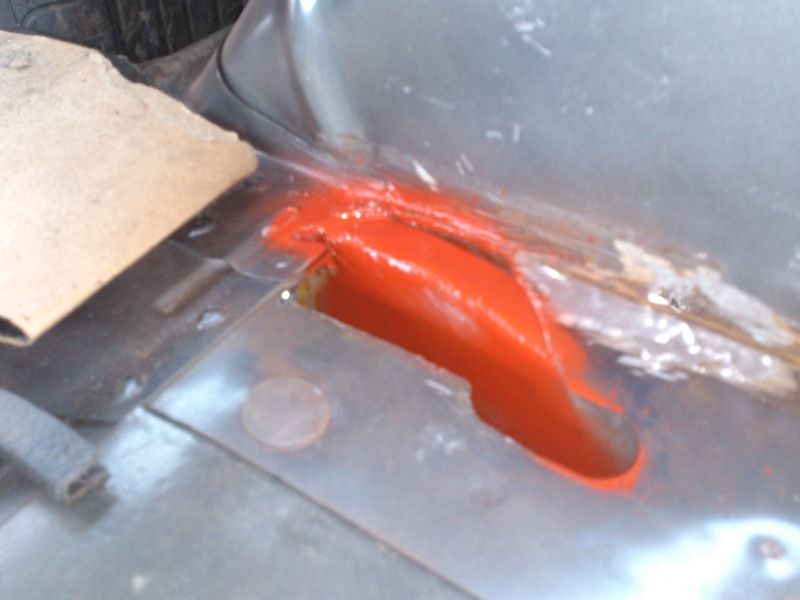 Ground down the shock mounting point to see the damage. I call it the shock mounting point, but technically its not. The jacking point is below it and attatched to the chassis rail and is perfectly sound. This is actually just the inner wheel arch above it, but would still fail an MOT in theory. 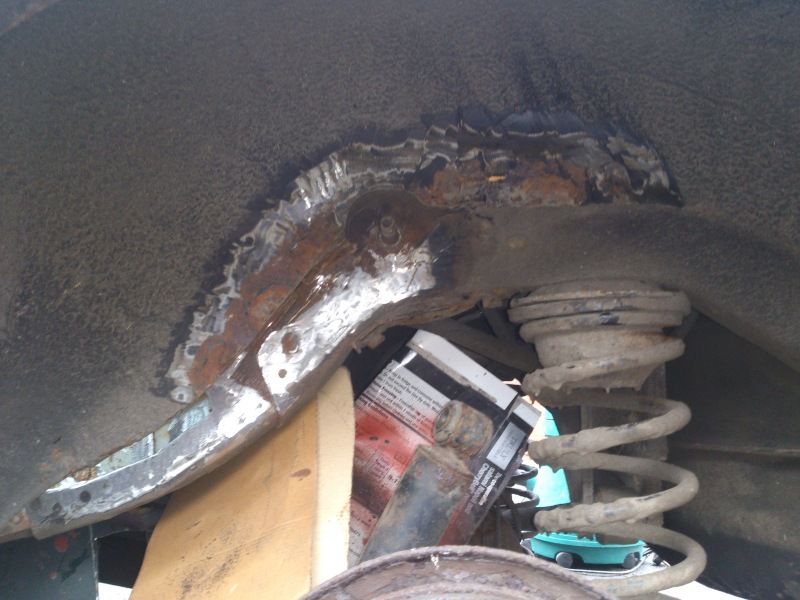 Repair sections made and welded in. Bit scruffy but my welder doesnt work very well when you're upside down. Perfectly strong though - just a little scruffy. 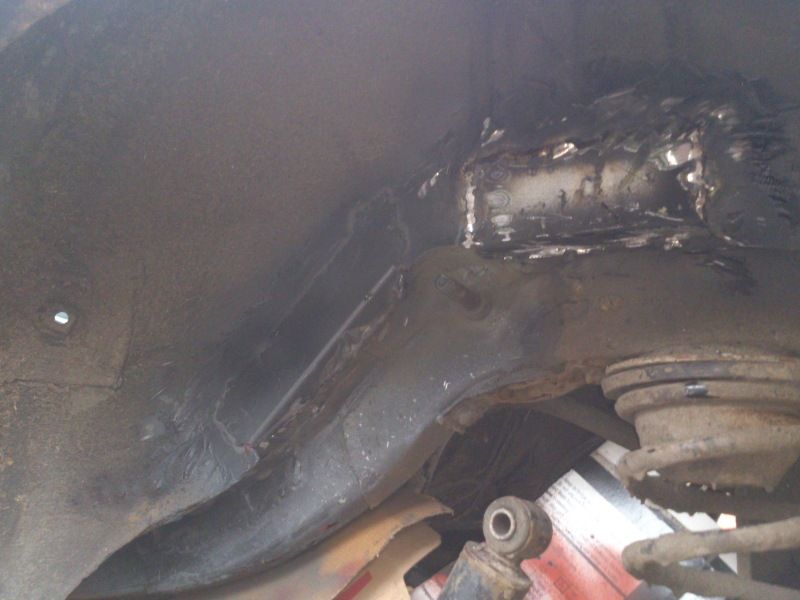 Welded the cover plate on that other spot weld mentioned earlier. 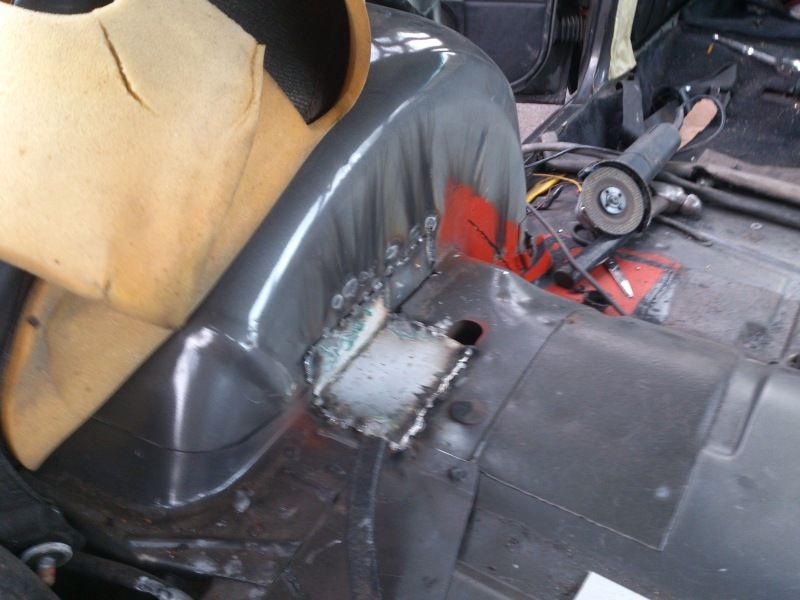 Similar story on the other side. No picture of before but here it is with the bad metal cut out  New piece welded in 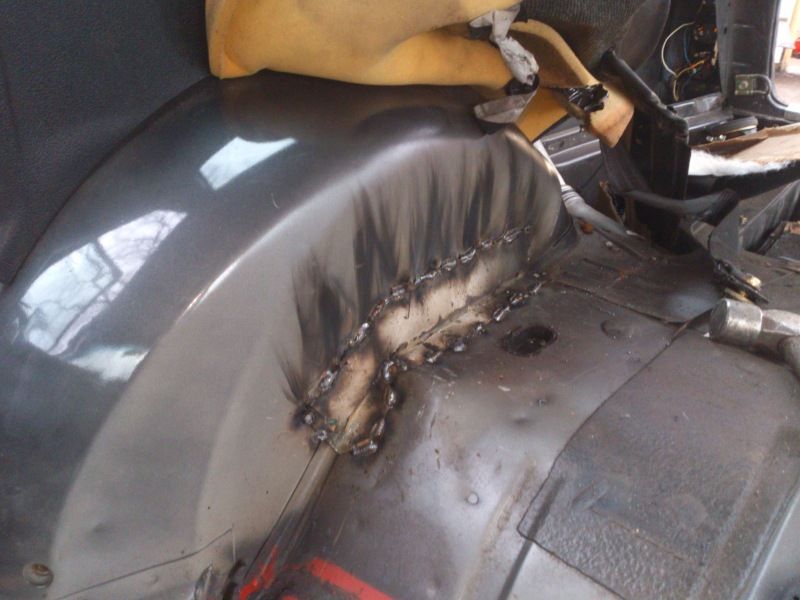 And phew! Thats it! (apart from a minor repair further back which doesnt require the interior to be out, and will only take me half an hour) I'm so sick of welding and being rained on with grinder sparks its not even funny anymore! Most of you probably think ive bought a rotter, but i would bet there are a LOT of 240s out there that would have similar rot to this now. The thing is, from underneath, on an MOT its fairly invisible and hard to find, because no light will come through unless the seats are folded down, and the section is sort of 'hidden', so unless the MOTer decides to prod exactly there, it will go on passing with this serious weak spot. I would advise all 240 owners to look at this area - saloon or estate - and have a proper repair done, not a patch on the floorpan over the rust (Paul!) because that adds about 5% more strength and helps to accelerate the rust. This is probably half of the rust that ive cut out over the last four days.... 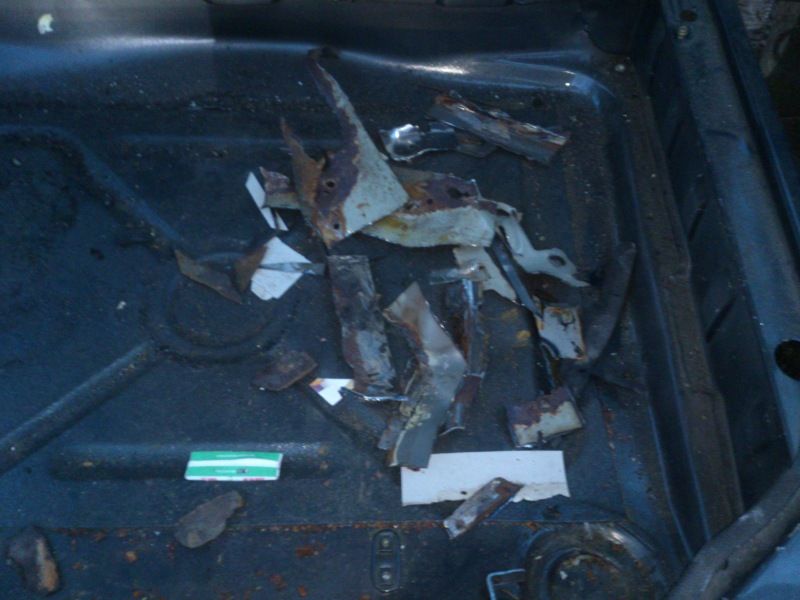 Onto slightly more joyful things! Gave it a quick wash! 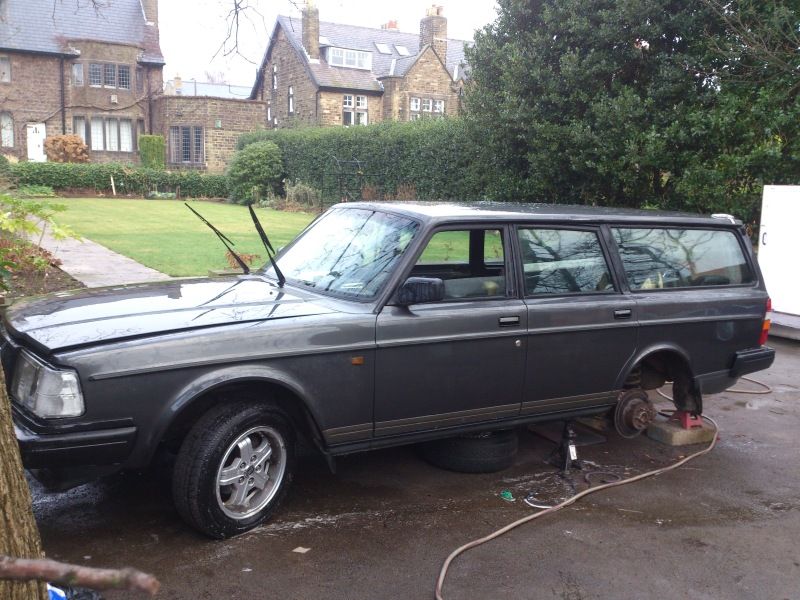 Hoovered all the carpets and gave the dash a clean, and fitted my two refurbished seats. They still need a lot of conditioning due to having to be cleaned with thinners, but that will be done over time. 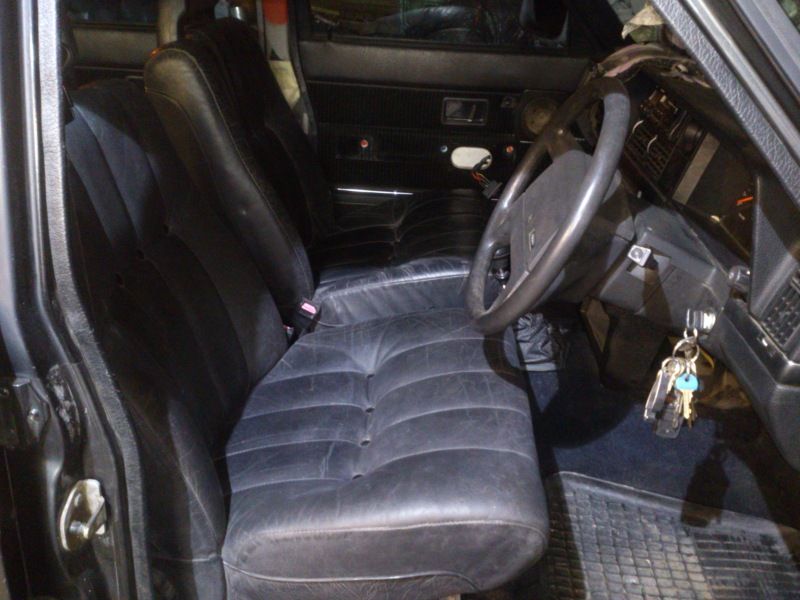 Started to trace the window fault - none of the electric windows will work. While I was at it I have rearranged the dash switches (much to Nicks delight, i would imagine!) 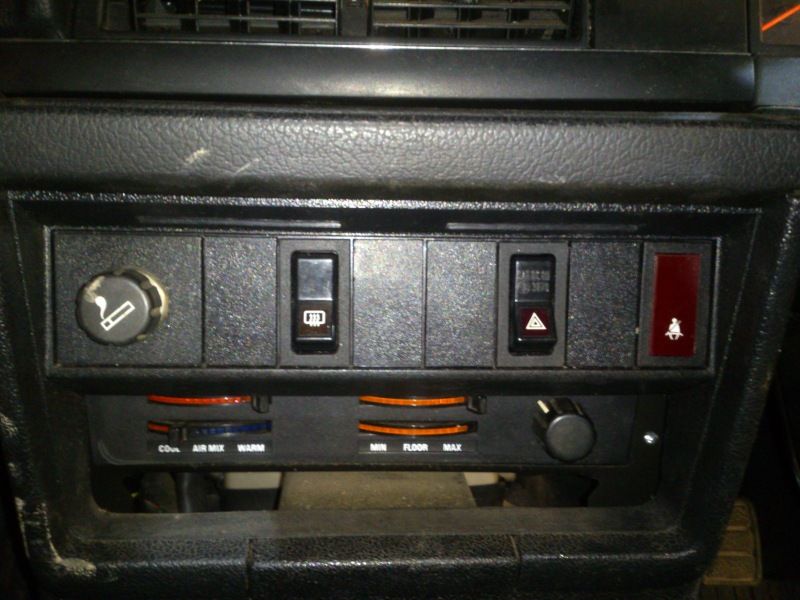 And traced back to the main live feed was lost somewhere between the drivers footwell and the drivers door switchpanel. Door card stripped off to reveal this! 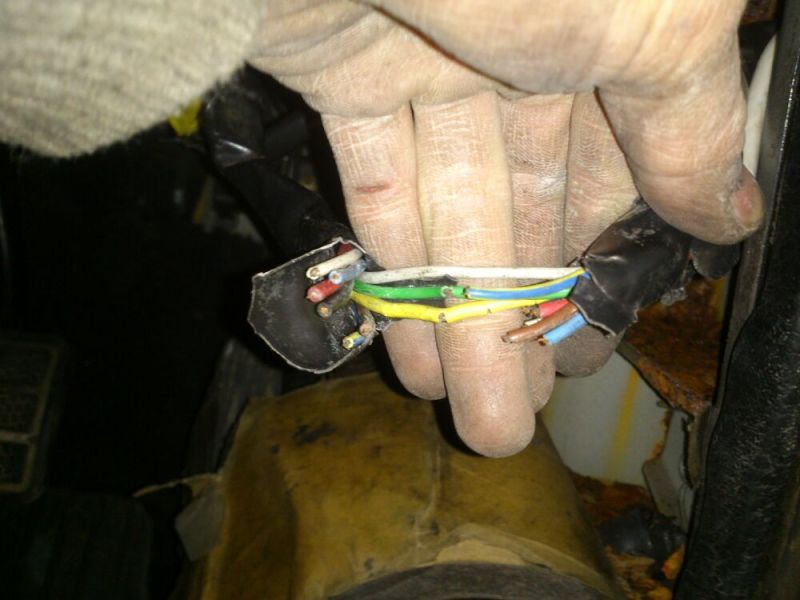 To be continued!... Steve |
| |
Thor: 1980 - 244DL - B21A - M45. CLICK ON THE PICTURE BANNER FOR MY PROJECT THREAD! |
|
|
|
|
|
|
|
|
|
They had chafed through
|
| |
Thor: 1980 - 244DL - B21A - M45. CLICK ON THE PICTURE BANNER FOR MY PROJECT THREAD! |
|
|
|
|
|
|
Slightly interesting update! Rebuilt one of my headlights. Need a new casing for the other side as the lugs to hold the sidelight cluster on have been snapped. 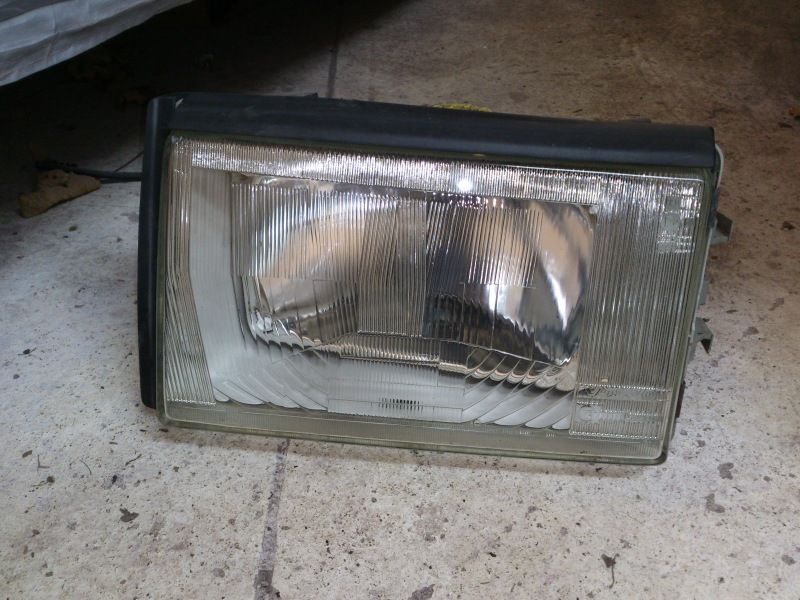 Made a new loom for the electric windows (obviously this photo is during!)  Old Vs new! 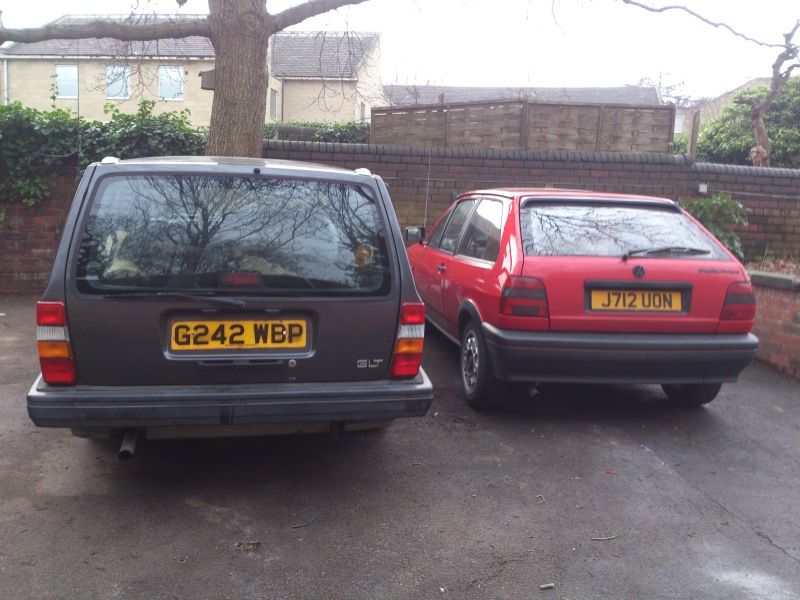 and onto the exciting bit - when i got the car and had the logbook with the previous owners addresses on it, i decided to write to them both. The only addresses I had were: 1) The owner that had it between 1999 and 2009, who then sold it to... 2) The owner that had it between 2009 and 2011, who then took it off the road and part ex'd it soon after. Then I got it. Number (2) lived on the isle of islay on the west coast of scotland, and i found the car on google street view dated 2009, with a load of building materials in the back! 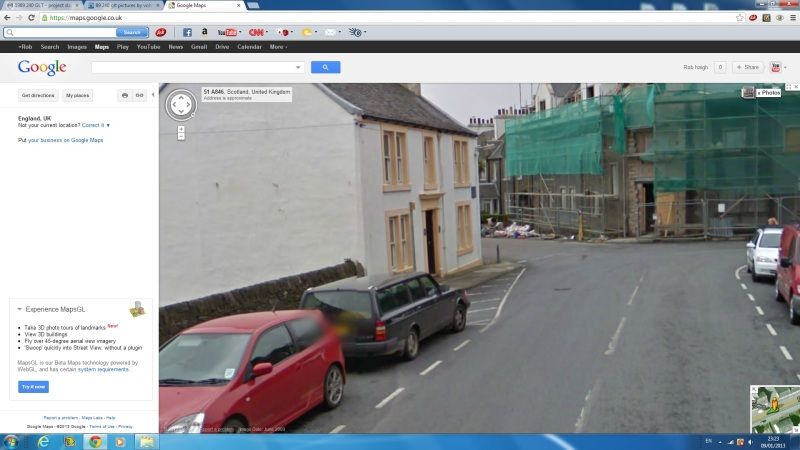 maps.google.co.uk/?ll=55.629413 maps.google.co.uk/?ll=55.629413,-6.187711&spn=0.001283,0.004128&t=h&z=19&layer=c&cbll=55.629363,-6.187916&panoid=PVfMcMTRXGE72sUSFhswzA&cbp=12,95.84,,0,17.84 I havent had a reply from that guy yet, but theres time still... However, today i got a parcel i wasnt expecting. Turns out it was from (1)! He sent me a nice letter, see below, a haynes manual, a bonnet pull, some random bulbs and fuses and random things, and best of all, some photos! The other really good thing that the letter confirms, is that it is virtually one owner for the first 20 years of its life (up until moving to islay) as his wife was the "missing link" that had owned the car from new up to 1999! I'm chuffed to say the least! 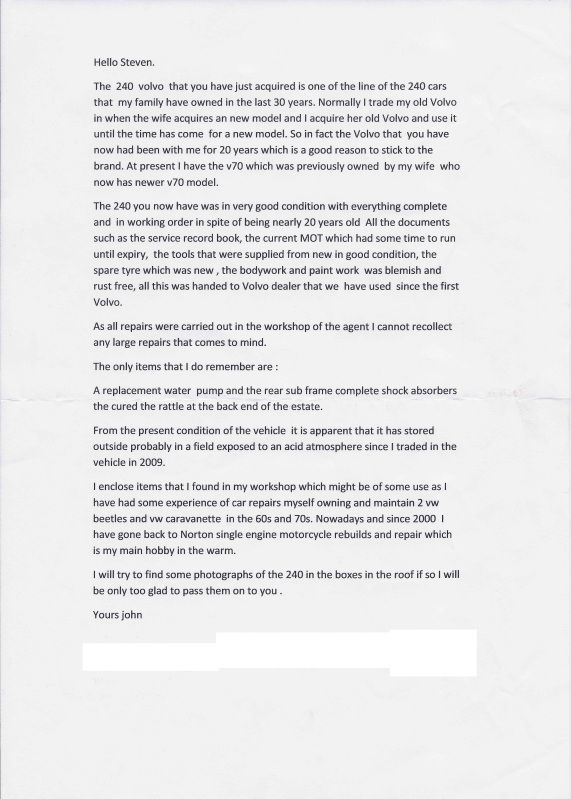 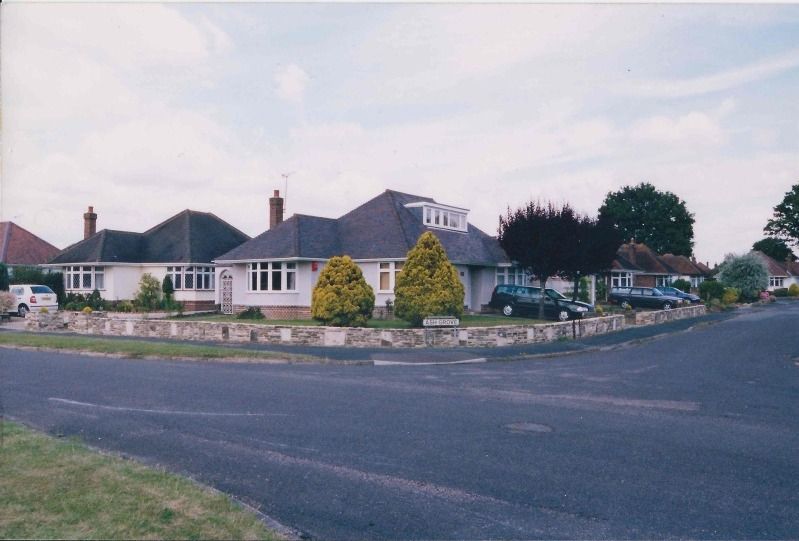 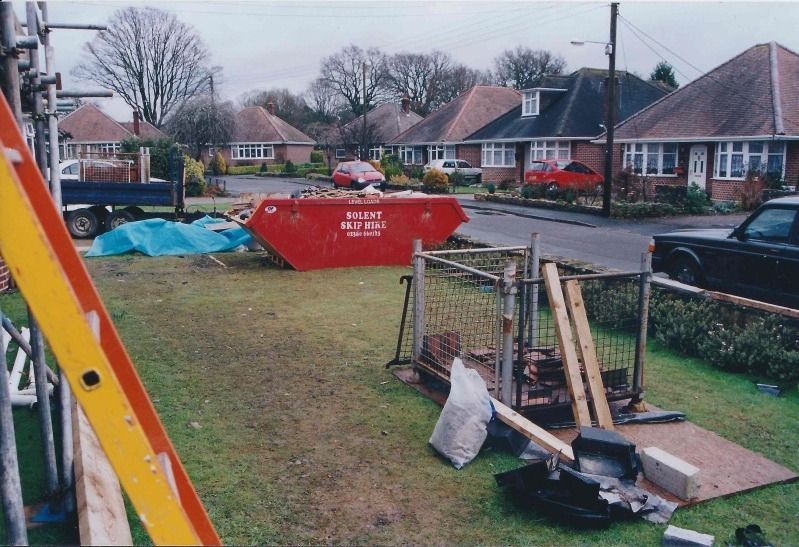 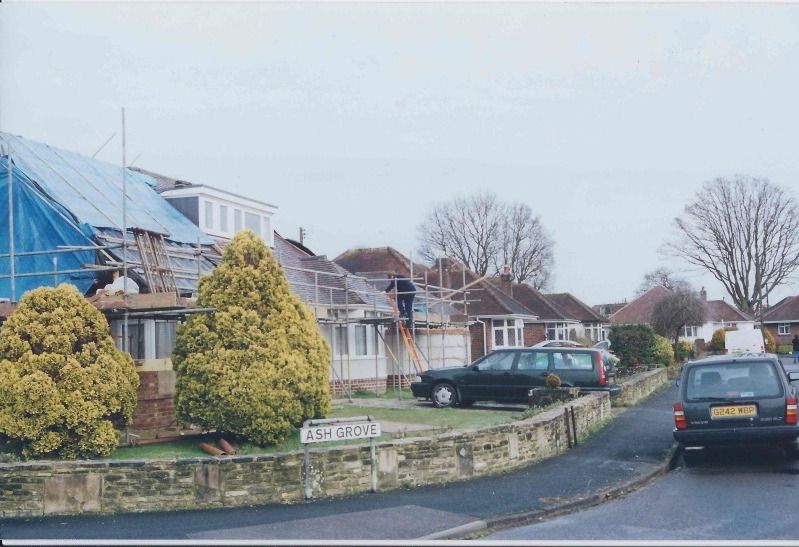 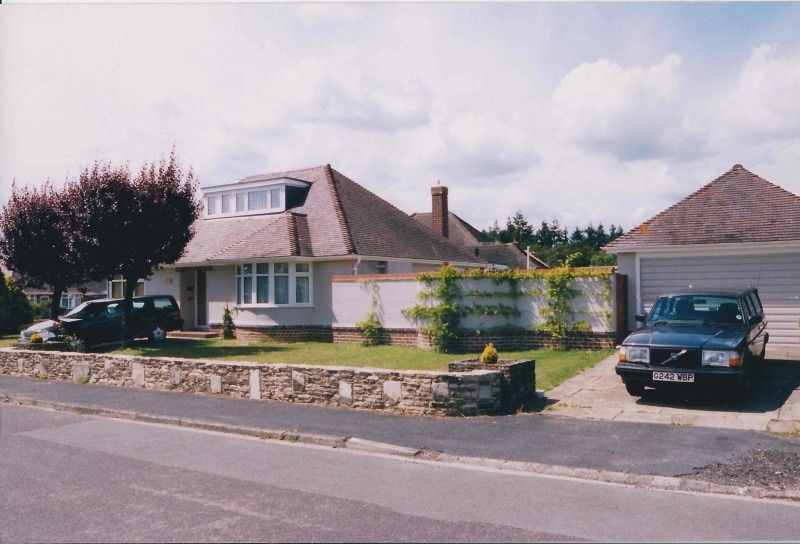 I can now say I know the history of the car from day one. More tomorrow, no doubt! Steve |
| |
Thor: 1980 - 244DL - B21A - M45. CLICK ON THE PICTURE BANNER FOR MY PROJECT THREAD! |
|
GT4ME
Posted a lot
Posts: 1,729
|
|
|
|
|
Thats great, really kind of the guy to write to you.
|
| |
|
|
Rich
Club Retro Rides Member
Posts: 6,234  Club RR Member Number: 160
|
1989 240 GLT - project daily!Rich
@foxmcintyre
Club Retro Rides Member 160
|
Jan 10, 2013 13:36:22 GMT
|
P.S anyone got a glt rear anti-roll bar? I noticed it wasnt there and assumed that it would be because it had self levelling, but on removing the wheels it appears it has had standard replacements in the past. Steve Nice work so far dude, love these old busses and they seem to last so well when looked after. As for your rear anti-roll bar, I wouldn't worry about it too much. I've heard from numerous sources that they handle better without the rear one fitted. |
| |
|
|
|
|


 [/
[/