ChasR
RR Helper
motivation
Posts: 10,194
Club RR Member Number: 170
|
2002 Fiat MutliplaChasR
@chasr
Club Retro Rides Member 170
|
|
|
|
It did look great I have to say. The Cyan reincarnation is not as bad as I thought it was.
I must be broken and always thought the Multipla was an quirky but ingenious solution for a family car (OK, its looks were strange to say the least, but they still seem to get noticed!).
|
| |
|
|
|
|
stealthstylz
Club Retro Rides Member
Posts: 14,840
Club RR Member Number: 174
Member is Online
|
2002 Fiat Mutliplastealthstylz
@stealthstylz
Club Retro Rides Member 174
|
|
|
|
I took 2 coils off front and rear. It depends where they're prone to breaking - if it's the lower end of the coil that breaks they'll last longer because you'd be chopping the broken end off.
|
| |
|
|
|
|
|
|
|
why not just take the springs out altogether  |
| |
|
|
EmDee
Club Retro Rides Member
Committer of Autrocities.
Posts: 5,920
Club RR Member Number: 108
|
2002 Fiat MutliplaEmDee
@emdee
Club Retro Rides Member 108
|
|
|
|
Bwahaha what a 5H17732!
Gotta be honest Matt, I can't stand those wheels! The good thing is that I'm really happy it's gone to someone who is doing something with it. I thought it might end up on a weighbridge but I'm glad it hasn't.
Anyway, must go and molest some moar animals, your Mum just called.
|
| |
|
|
stealthstylz
Club Retro Rides Member
Posts: 14,840
Club RR Member Number: 174
Member is Online
|
2002 Fiat Mutliplastealthstylz
@stealthstylz
Club Retro Rides Member 174
|
|
|
|
It's lasted longer than I thought too, still not fixed the turbo haha.
I thought my mum was having none of it after the 4k into 8k incident?
|
| |
|
|
Dez
Club Retro Rides Member
And I won't sit down. And I won't shut up. And most of all I will not grow up.
Posts: 11,713
Club RR Member Number: 34
|
2002 Fiat MutliplaDez
@dez
Club Retro Rides Member 34
|
|
|
Anyway, must go and molest some moar animals, your Mum just called. I just did a LOL FOR LONGTIMES. |
| |
|
|
stealthstylz
Club Retro Rides Member
Posts: 14,840
Club RR Member Number: 174
Member is Online
|
2002 Fiat Mutliplastealthstylz
@stealthstylz
Club Retro Rides Member 174
|
|
|
Small update, it's still going. I still haven't painted it, got a scheme in mind and ordered the paint but things may change. May have mildly overloaded it on a tat run. 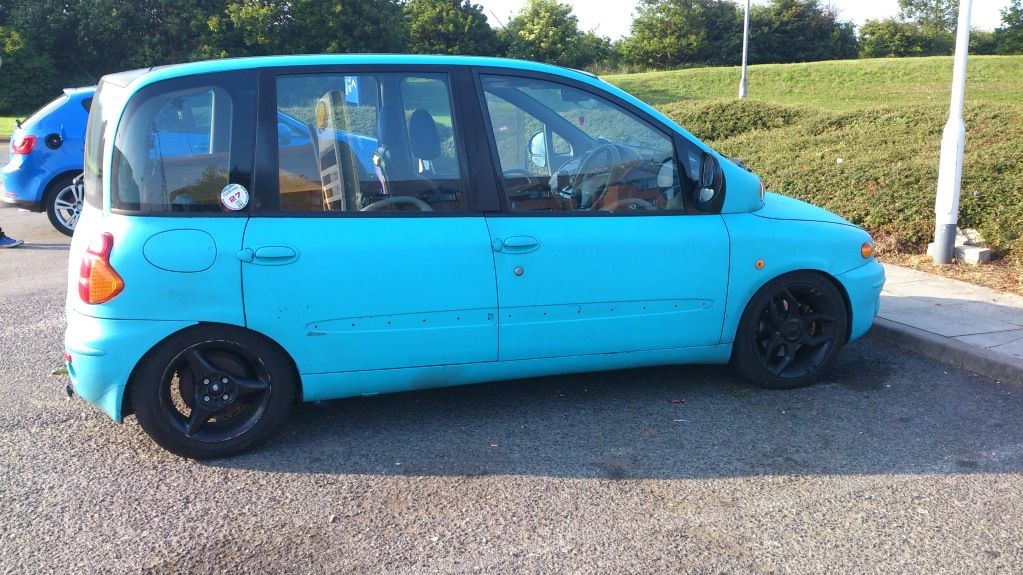 And then managed to drill a centered hole the full 30mm length of a stainless M6 bolt, using a vice and a hand drill, and then gave the gift of sight to a blind hole in the inlet manifold. 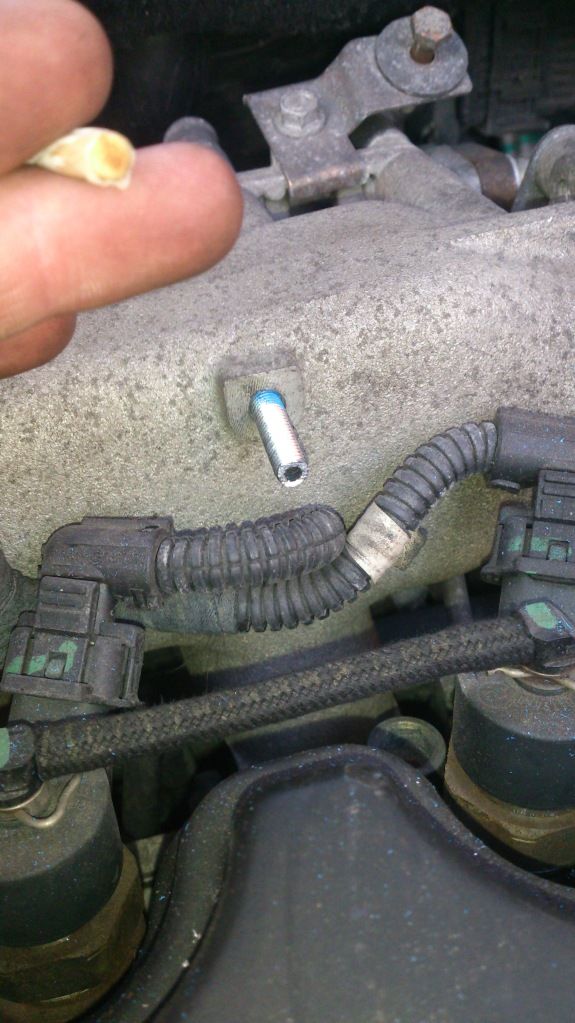 Then add some racing blue pipe and a smattering of zipties.... (you'll also notice the relays and wiring for the headlights, 140w bulbs for excellent views of dogging) 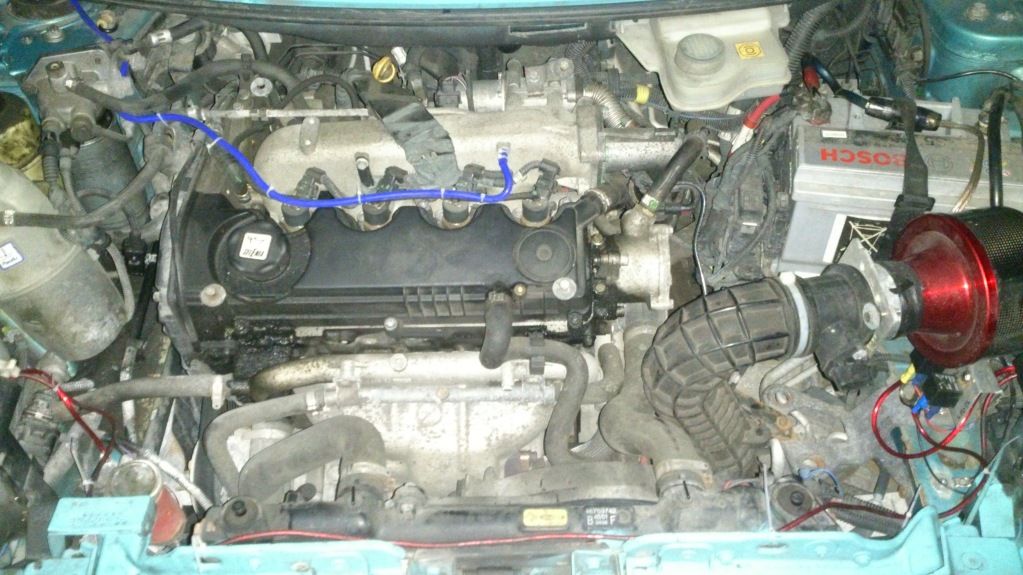 .....and you get a JDM Race Tyte y0! boooooooooooooost gauge. 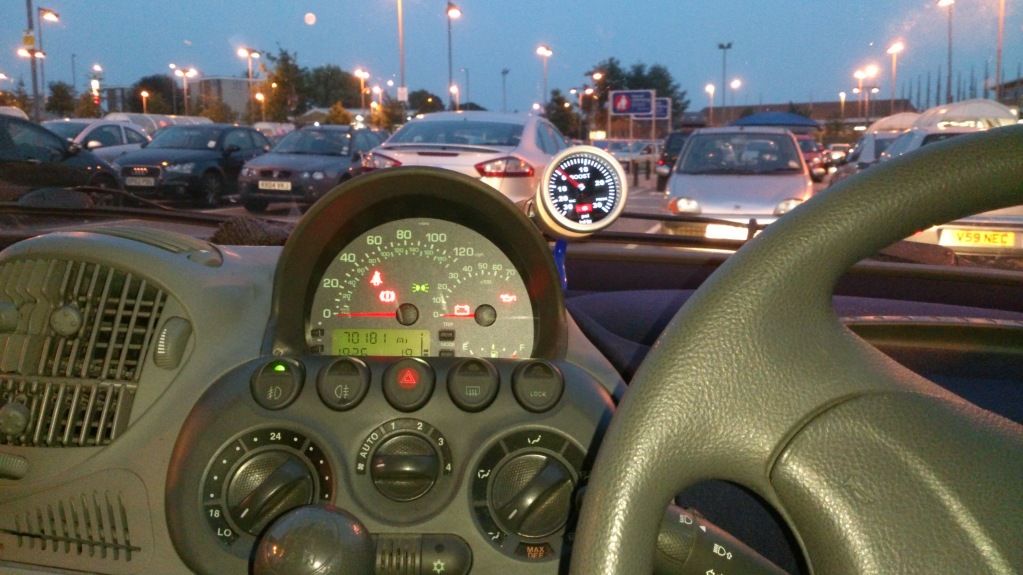 And a quick video of it driving and it's got a funny boost issue. Looks like it's holding about 18psi in 3rd and 16psi in 4th, which may be a tad high. |
| |
|
|
stealthstylz
Club Retro Rides Member
Posts: 14,840
Club RR Member Number: 174
Member is Online
|
2002 Fiat Mutliplastealthstylz
@stealthstylz
Club Retro Rides Member 174
|
Sept 18, 2013 11:00:05 GMT
|
Update time. About 2 months ago the clutch started slipping. As it was around the time mk2 daughter was born I managed to limp about another 1000 miles out of it before I stopped driving it. It never actually broke down but I didn't want to end up stranded. The car was also due a cambelt and the turbo was a bit borked, so I decided that while I was doing the cambelt I might aswell do the head gasket, and therefore I might aswell rebuild the head. So a few weeks ago I did this 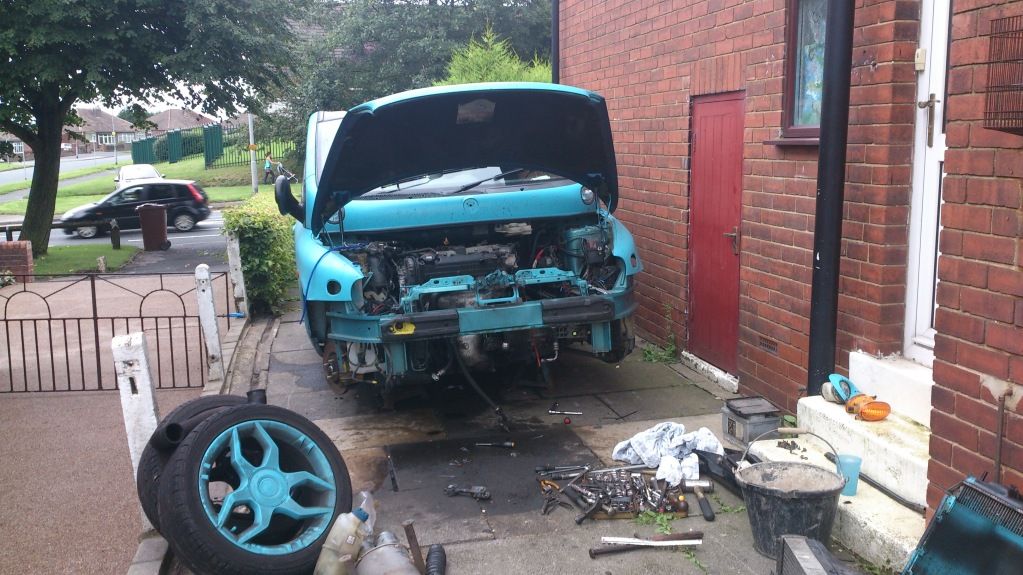 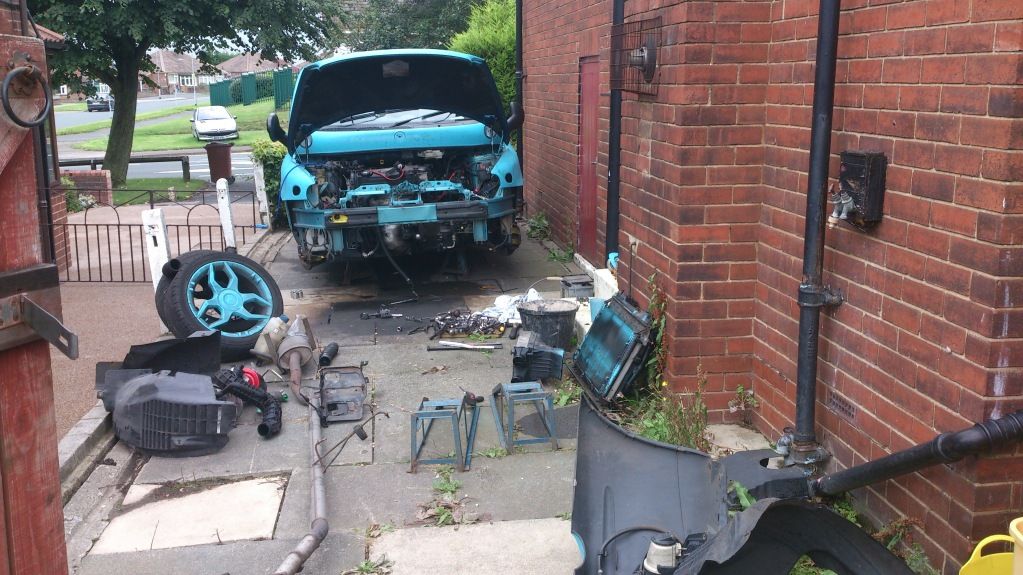 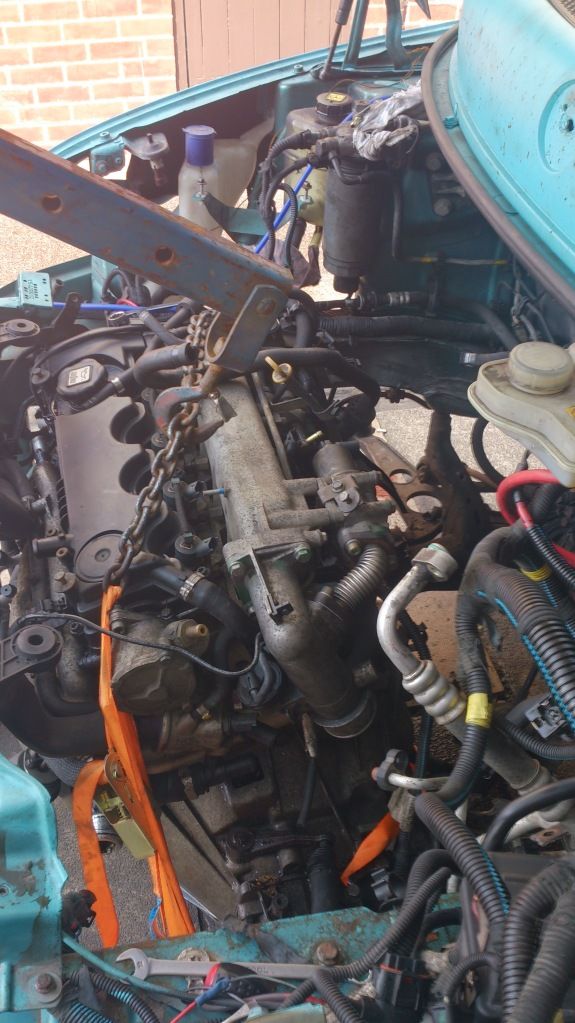 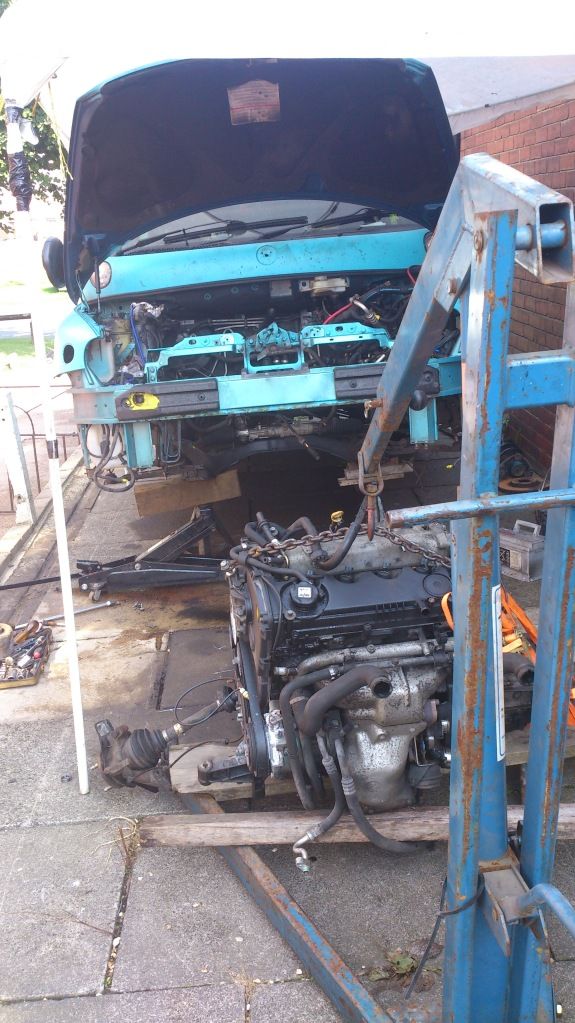 Not got any photos of the stripdown, but I eventually got to the point of cleaning the head and grinding the valves in.  Made like a high street clothing store and got some child labour in on the job  Finished valves and gasket face. 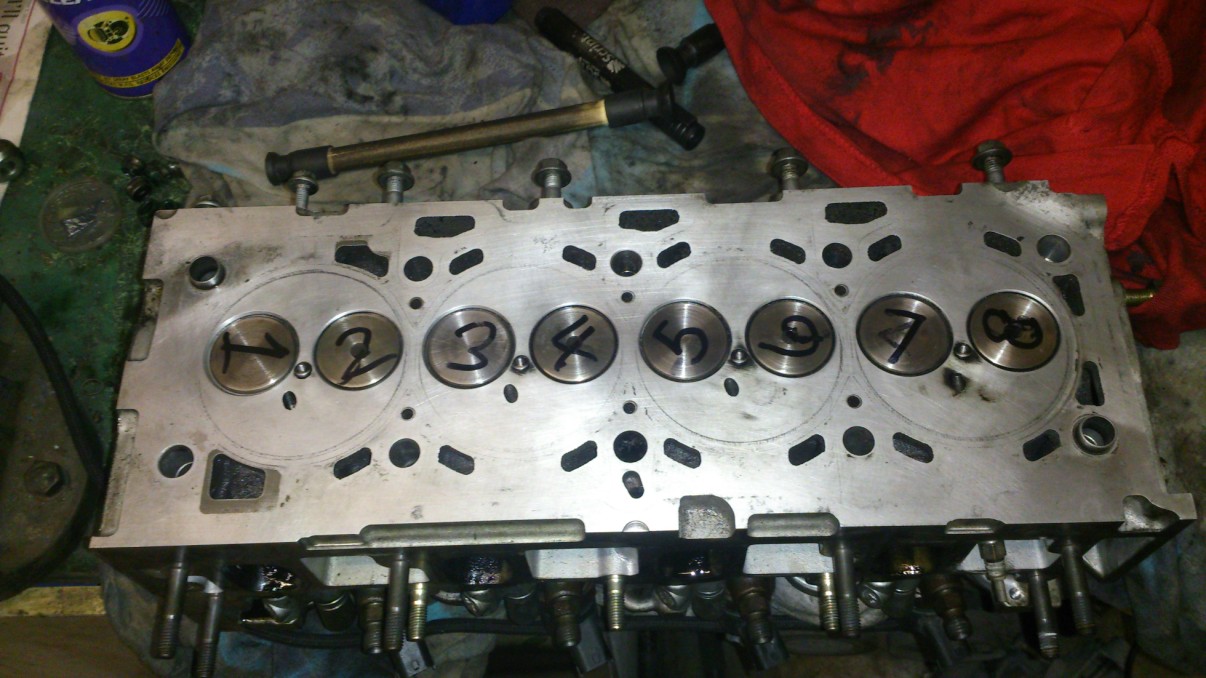 And cleaning all the valve gear  At this point I did a bit of porting on the head. Nothing major just smoothed a few corners out. TBH the ports are wibblepoo, gonna look out for a 16v engine or head at some point. However due to putting a greasy fingerprint on the camera I'm lacking in photos. I then gave the head a wash out with some unleaded and a toothbrush, and started putting it back together. 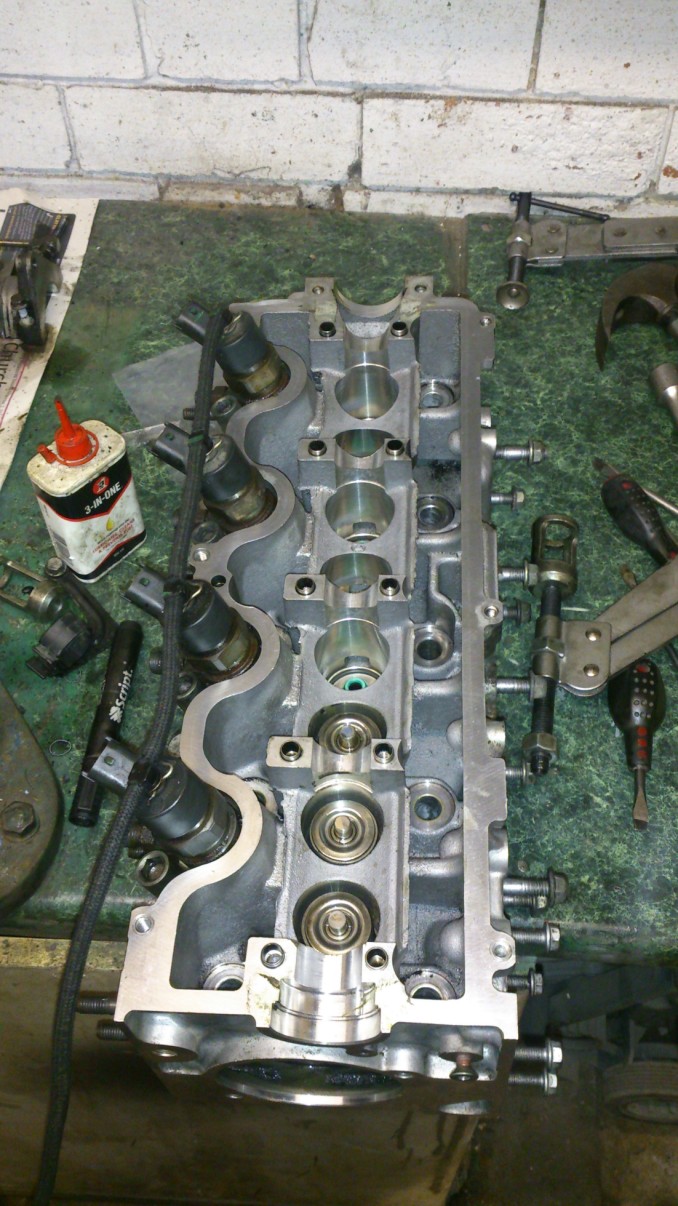 And then after cleaning and de-greasing everything I bolted it all back together - the cleaning and de-greasing took ages but I figured it'd be nice to work on a clean engine for once.  Next up was the gearbox. When I pulled the motor and box apart I discovered that the clutch had gone because it was chock full of gearbox oil flavours, due to the input shaft seal being FUBAR. I then discovered that the input shaft seal was FUBAR because the input shaft bearing had about 4 balls missing and therefore the shaft was flopping around, which meant the box would need to come apart to change. First up - make a high tech input shaft locking tool.  Strip the gearbox in a workspace free from dirt, and store items in a logical order.  Cleaned the bellhousing out with unleaded and Wynn's Fuel Injection & Carb cleaner, replaced the lay shaft bearing.  Disassembled the input shaft, blew down the oilways and ta da. Chock full of silicon sealer flavours. No wonder the bearings were cattle trucked.  Had a go at putting it back together to work out the order of rebuild. Couple of bits wrong here.  And finally back together correctly with new bearings throughout.  And the casing back on - since this gearbox is now completely finished but haven't taken any photos. 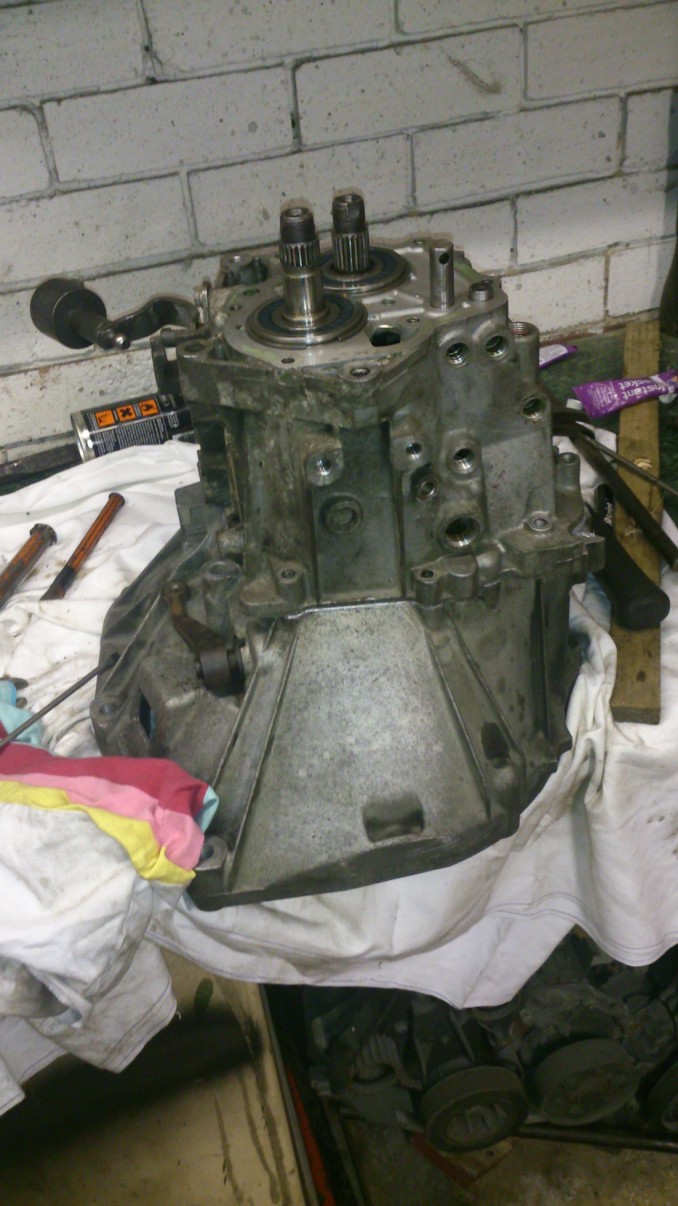 I then got back on with the final few jobs on the engine. I've binned the EGR system, so made blanking plates for the holes in the exhaust/inlet manifolds. However I needed to reconnect the EGR cooler water lines so made this little water rail to do the job. 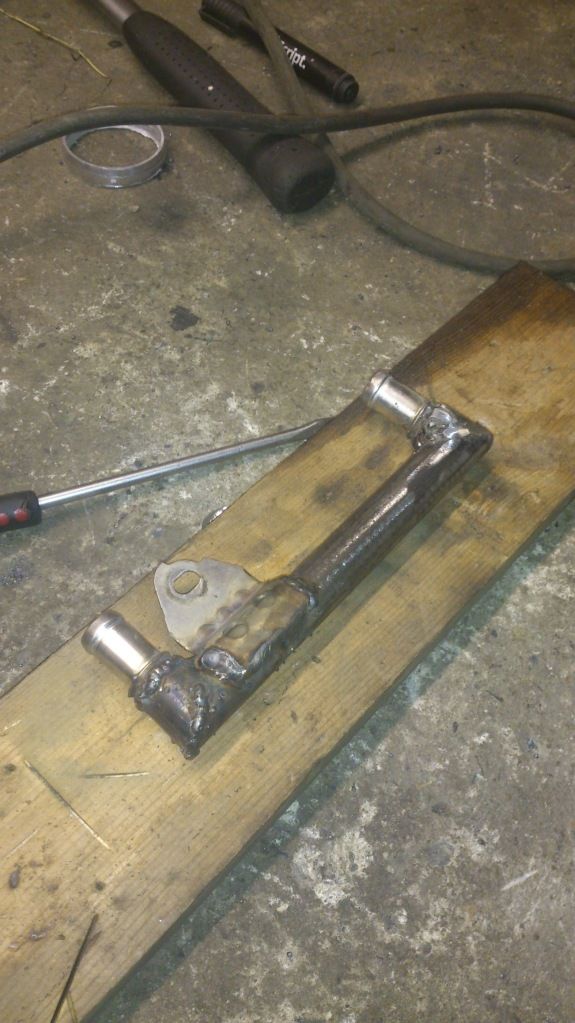 Which fits here. 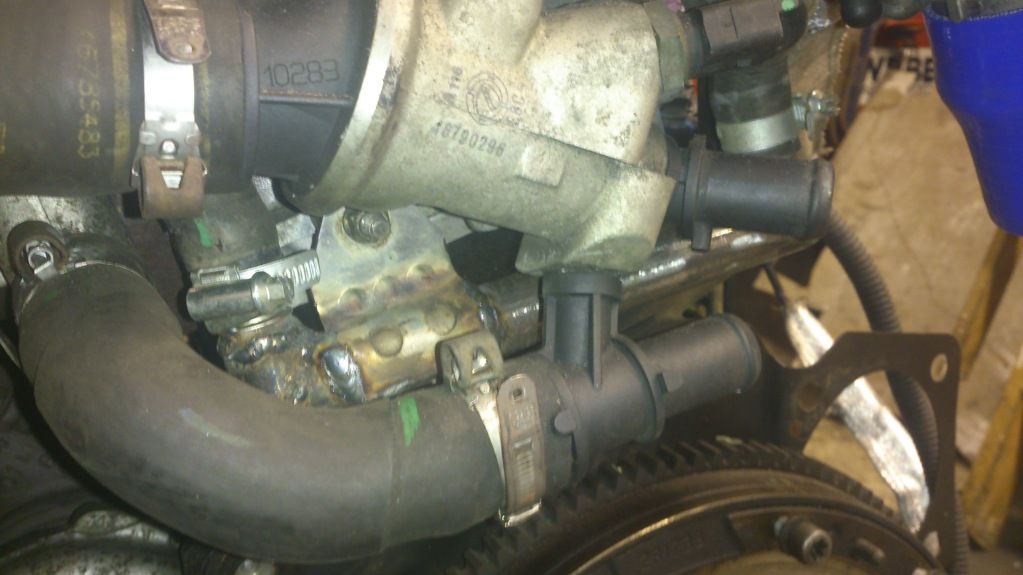 Downpipe - seems legit. 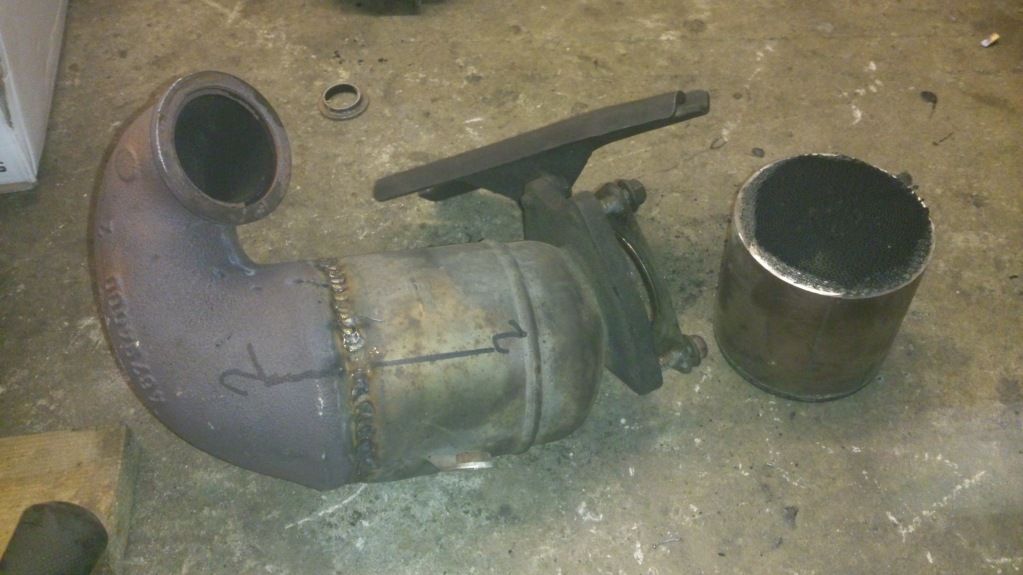 I then started making the intercooler pipework to check for clearances. However as you can see there is far too much straight section after the bends, which is no good for lag. 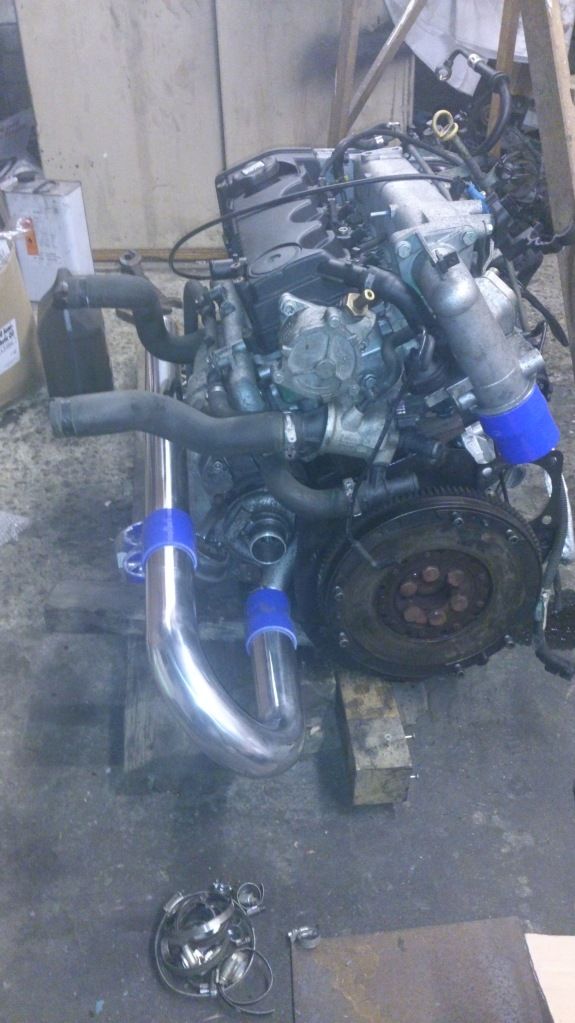 So I knocked a home made tube beader up so I can cut the pipes to the correct length. They're not perfect, could've done with using a slightly thinner washer, but not bad. 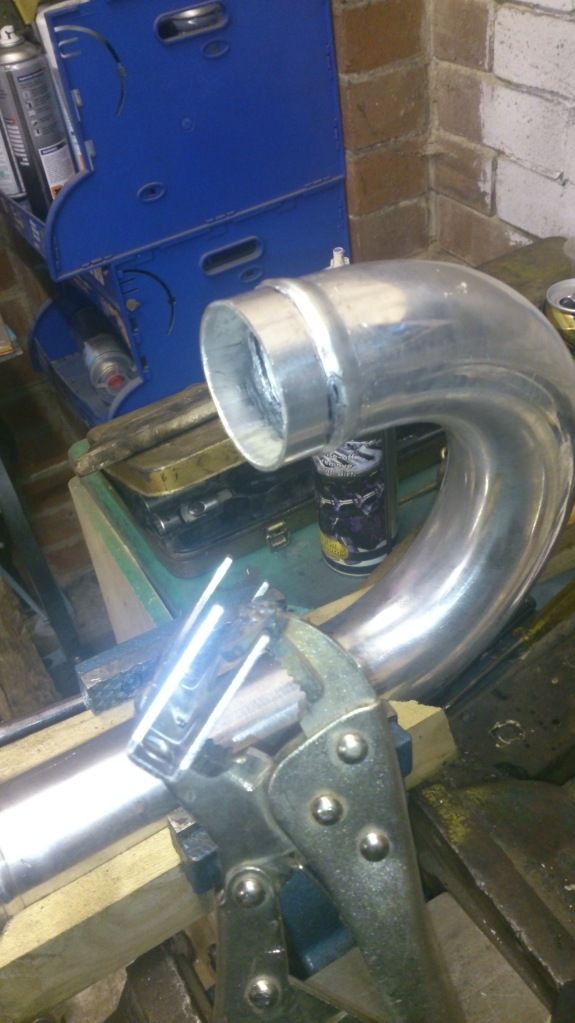 Which gives us this - much better. 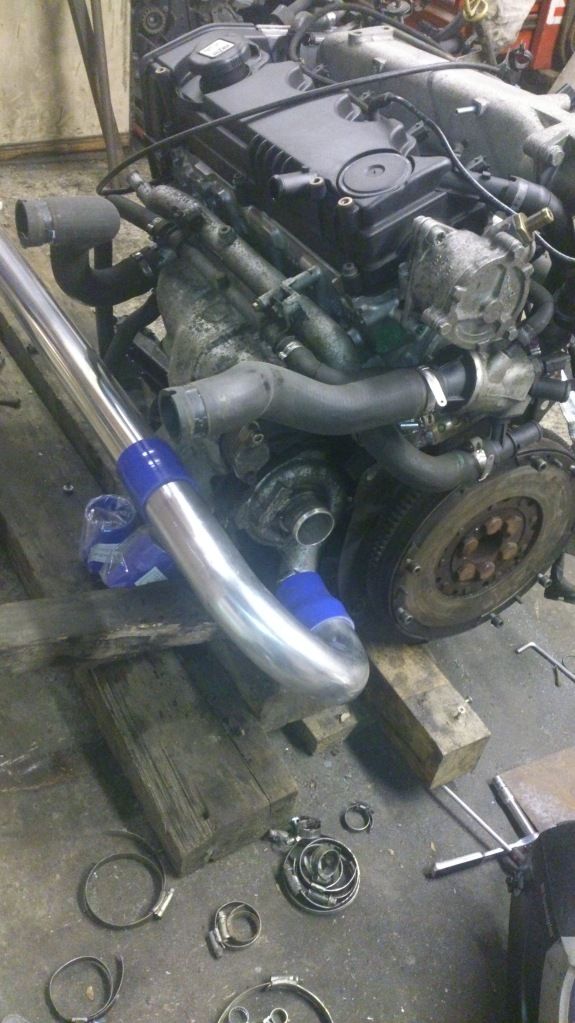 That's where we're at for now. |
| |
|
|
|
|
|
Sept 18, 2013 15:14:48 GMT
|
|
I was not expecting to see an engine strip down in this thread, it must be true what people say about loving these Multiplas.
|
| |
|
|
rysz
Club Retro Rides Member
Posts: 2,554
|
|
Sept 19, 2013 7:23:50 GMT
|
|
Great to see the pics of the progress! Will the 16V head bolt on and work OK on the diesel engine?
What kind of power output will you be aiming for and will the gearbox be up to the task?
One of my favourite cars at the moment!
Rysz.
|
| |
|
|
|
|
stealthstylz
Club Retro Rides Member
Posts: 14,840
Club RR Member Number: 174
Member is Online
|
2002 Fiat Mutliplastealthstylz
@stealthstylz
Club Retro Rides Member 174
|
Sept 19, 2013 8:26:28 GMT
|
|
The engine work is all part of the plan to make it handle more power. Hoping for roughly 60% more power (180bhp up from 115bhp) and 90% more torque (~290ft/lbs up from 150ft/lbs) at which point it'll run out of fuelling. I've got a 16v diesel pump on the way that will allow me to up the rail pressure to 1500bar from 1200bar which will let it go a bit more, but the turbo would be maxed out. I've got a GT2052V on the way which would help that situation.
Gearbox will hopefully cope for now if I treat it nicely. I've put a stock clutch in, in the hope that it will curse word itself before the box does as they're only 60 quid. That should give me time to do the required fabrication work to get a Coupe Turbo box on it which will definitely hack the power.
They do a 16v JTD that uses the same bottom end in the Alfa 147 and 146. The head is a lot better design, and they also have much better injectors meaning rail pressure could go up to 1800bar and give the potential for 230bhp/350ft/lbs+. That's something to find cheap in the future though no rush.
|
| |
|
|
stealthstylz
Club Retro Rides Member
Posts: 14,840
Club RR Member Number: 174
Member is Online
|
2002 Fiat Mutliplastealthstylz
@stealthstylz
Club Retro Rides Member 174
|
Sept 19, 2013 8:32:20 GMT
|
Oh and last nights progress - finally got the last little do dads finished on the box. Tempted to quick shift it before I put it back together. 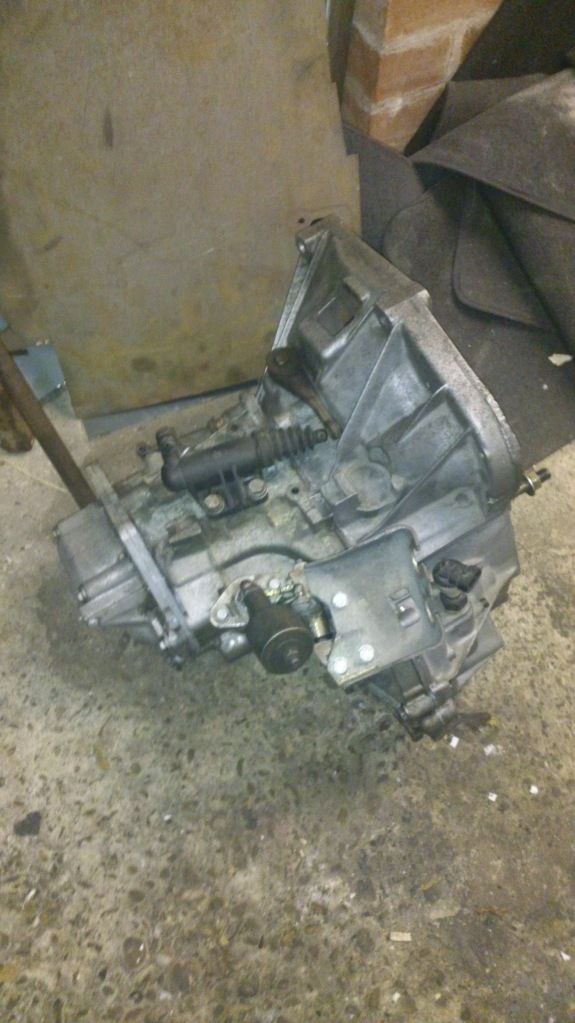 And then squirted my goo into some dirty old bush. They were pretty loose but after I squashed my goo in with my finger it's tightened them right up. 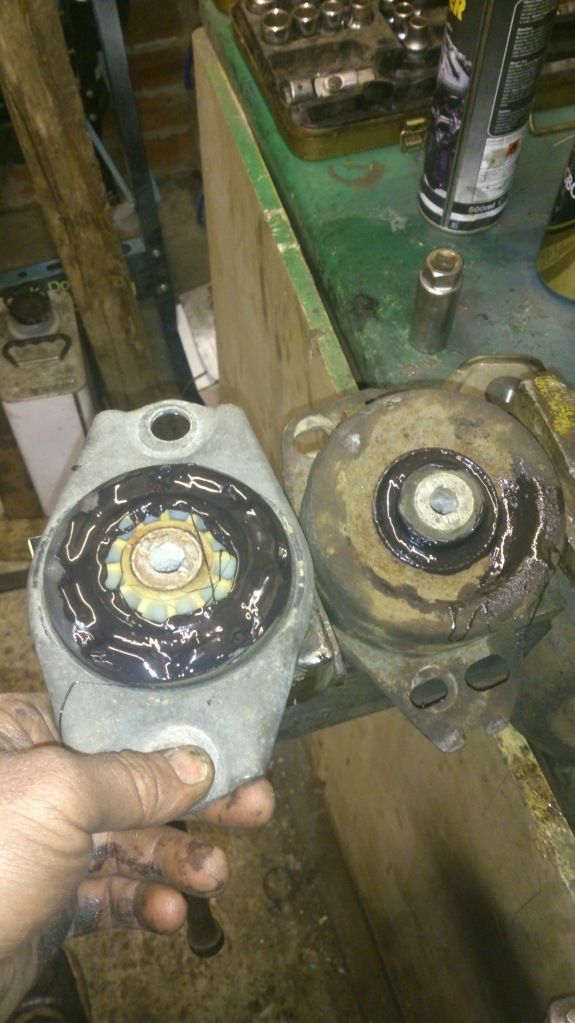 |
| |
|
|
nofrills
Posted a lot
 my wings are made of Steeeeeeeel!!!
Posts: 1,243
|
|
Sept 19, 2013 8:45:11 GMT
|
|
i like this, are you on alfa owners too? there is some pretty impressive build threads that focus around diesel and the same engine in some cases, i too have been looking to up the power of my stilo diesel wagon so far i have priced alot up and its relatively easy to get to 180bhp but does costa few quid and i have also looked at 200bhp but again dunno if its worth the extra cash for an extra 20 bhp. you will need a 3 bar map sensor too but then i would pay to have that fitted and setup when you get it mapped (so i have been told its the best way)
|
| |
|
|
stealthstylz
Club Retro Rides Member
Posts: 14,840
Club RR Member Number: 174
Member is Online
|
2002 Fiat Mutliplastealthstylz
@stealthstylz
Club Retro Rides Member 174
|
Sept 19, 2013 9:10:07 GMT
|
|
I've yet to purchase a 3 bar MAP sensor, it's on my list to buy. Not sure which one I need though apart from it's off the 16v Alfas - though the ones i've seen look different.
I think the problem is always going to come down to the gearboxes and clutch/flywheels been curse word. I'm leaving the DMF on for now as its in good nick, but i've got a solid flywheel from a Coupe Turbo to try on and see if I can make that work. I think it might need some extra work though as it's thinner so the clutch will engage later (without modifying the arm to take up the slack).
|
| |
|
|
nofrills
Posted a lot
my wings are made of Steeeeeeeel!!!
Posts: 1,243
|
|
Sept 19, 2013 10:00:32 GMT
|
|
yeah clutches are made of like a chocolate substance, handle around 150bhp fine but 170bhp the clutches seem to last around 3000 miles, i know someone who has got rid of the dmf but even then he has managed to kill the smf... he is running 217bhp though
|
| |
|
|
stealthstylz
Club Retro Rides Member
Posts: 14,840
Club RR Member Number: 174
Member is Online
|
2002 Fiat Mutliplastealthstylz
@stealthstylz
Club Retro Rides Member 174
|
Sept 19, 2013 10:10:50 GMT
|
|
I'm hoping once I can get the Coupe box on it'll be the end of those worries. Thought it'll probably just transfer the issue onto something else haha.
|
| |
|
|
|
|
|
Sept 19, 2013 21:38:46 GMT
|
|
You are indeed a bravean with this rebuild.
Well done on everything so far.
|
| |
|
|
duncanmartin
Club Retro Rides Member
Out of retro ownership
Posts: 1,320
Club RR Member Number: 70
|
2002 Fiat Mutlipladuncanmartin
@duncanmartin
Club Retro Rides Member 70
|
Sept 21, 2013 12:00:51 GMT
|
|
My Multipla came from an Italian specialist garage, and they put a single mass flywheel in, so it can be done with a random mix of fiat and alfa bits. I think they sell a kit, (pm if you want their number) though it sounds like the 20vt box is a better idea anyway if you're going to run significant hp.
They are such handy cars, it's a shame there wasn't a proper factory performance version. I'd love one with the 20vt engine (or even the 2.4 diesel).
|
| |
|
|
stealthstylz
Club Retro Rides Member
Posts: 14,840
Club RR Member Number: 174
Member is Online
|
2002 Fiat Mutliplastealthstylz
@stealthstylz
Club Retro Rides Member 174
|
Sept 24, 2013 14:15:34 GMT
|
Next bit - Finally got to the point where the engine was ready to go back in. 3 hours into the job and we'd managed to get the engine near the car. 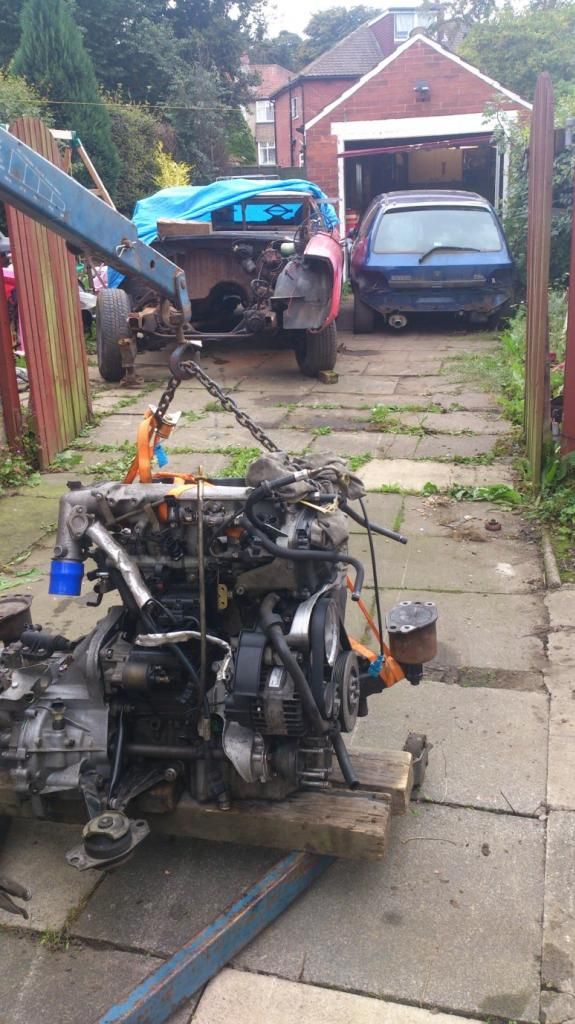 Lifted it in, then disaster. The strap holding it snapped. Luckily morrisoxide James broke its fall and somehow no damage was caused to engine or James. 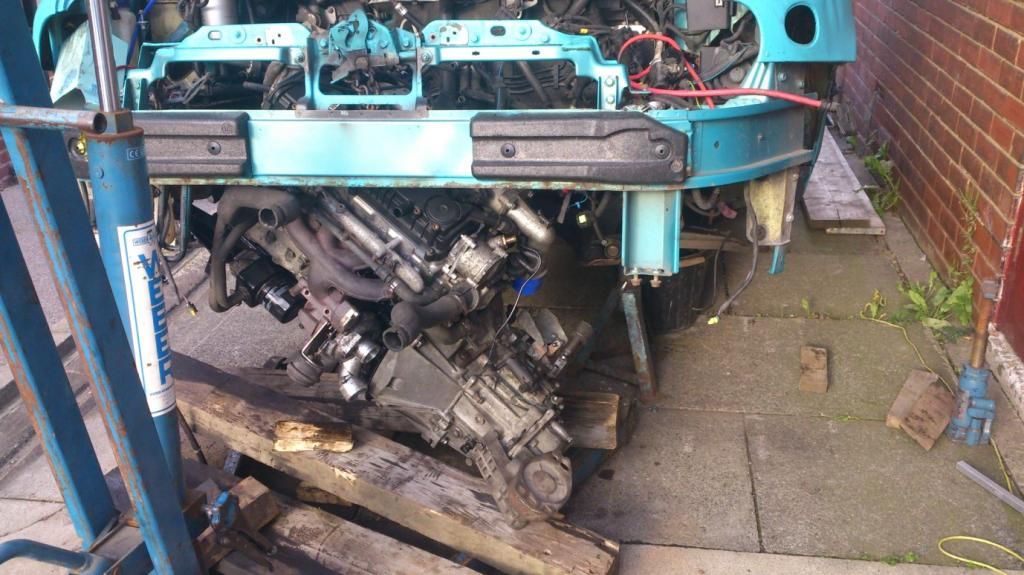 Bit more faffing and ta da, IN. 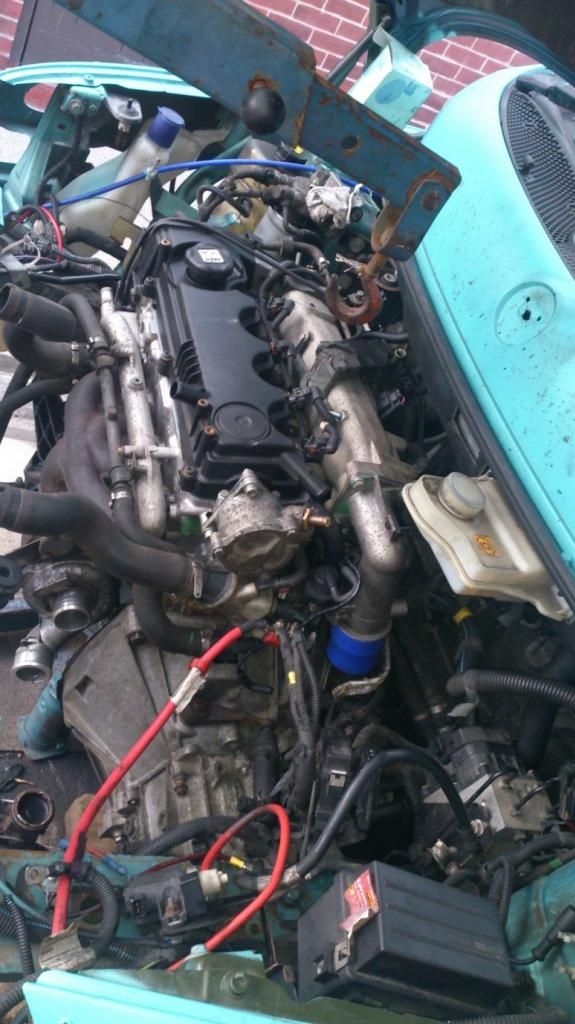 Next job was to get the FMIC fitted. I did a bit of "crash repair" on the crossmember but unfortunately this little critter kept jumping in the way of the camera. 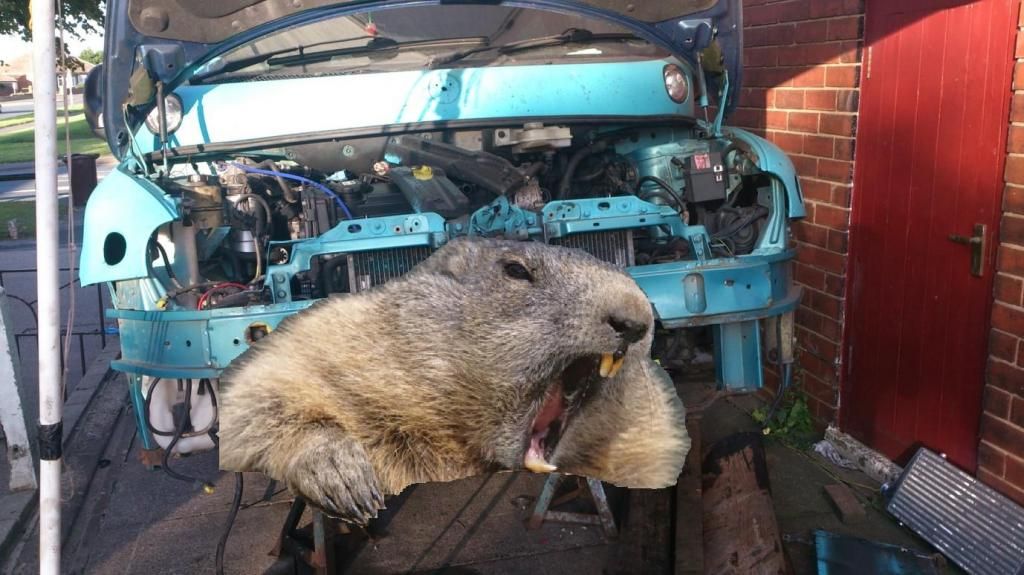 Got it in the right place. 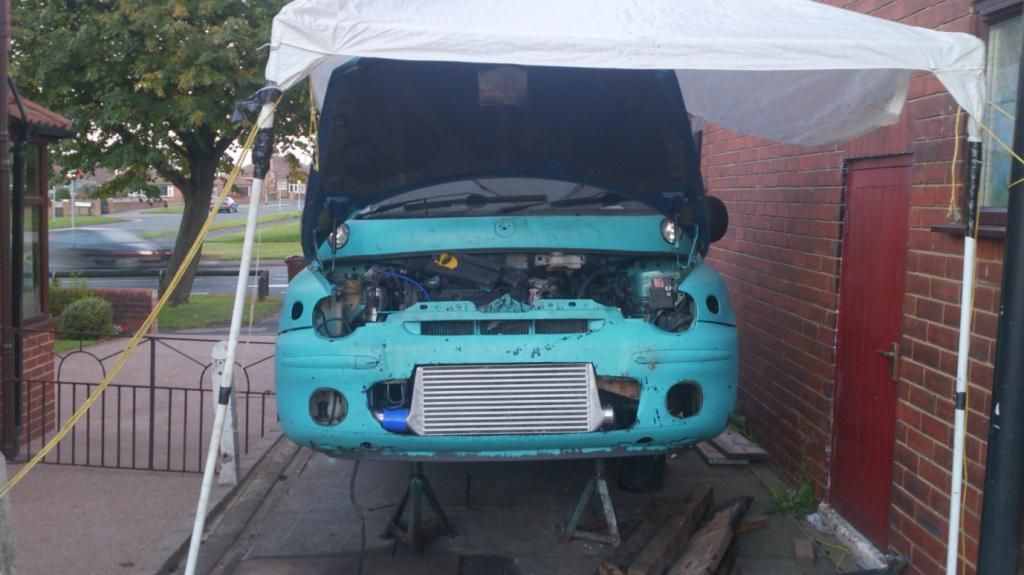 Added some thick walled box section to the "crash repairs" to put some strength back into the area with a couple of holes drilled in it. There he is again look, little curse word I'm gonna make me a coat.  These holes correspond with the top mount holes for the intercooler. Sandwiched a bit of rubber pipe under the bolt so they push fit into the box section. 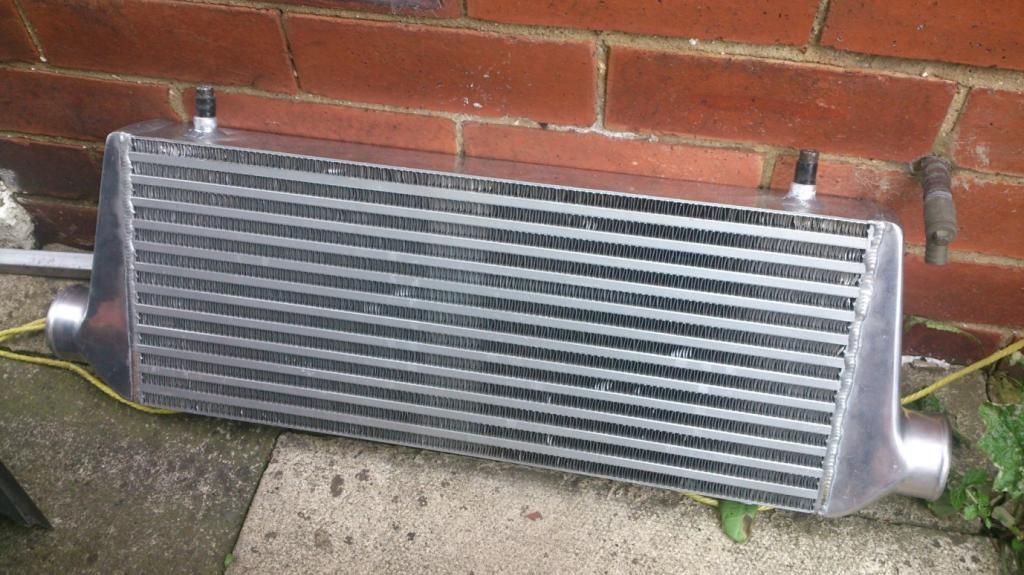 Made some brackets to bolt the bottom of the intercooler onto the radiator crossmember. 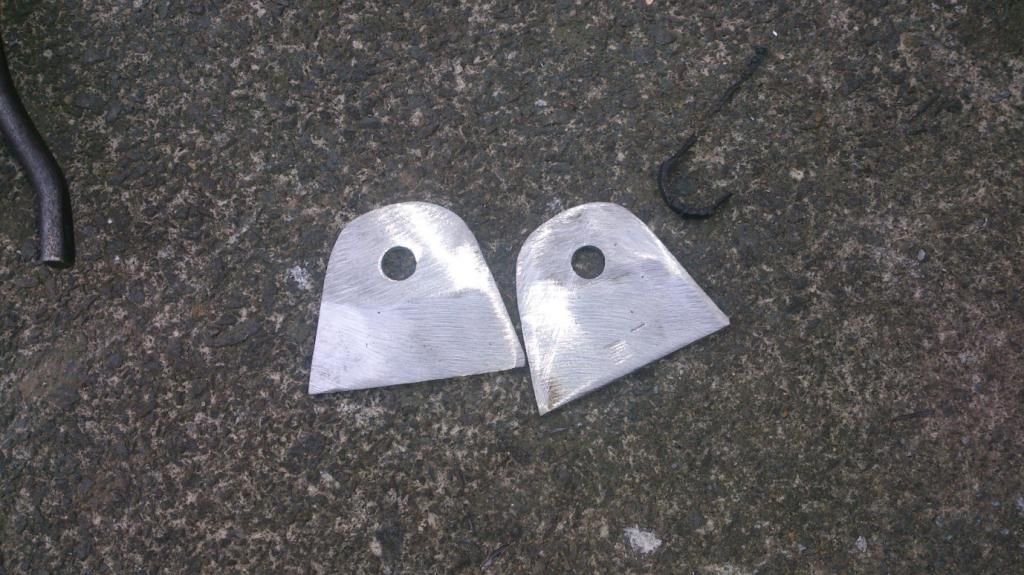 AAAAAAAAAAAAAAAARRRRRRRRRGGGGGGHHHHHHHH it's the caterbeaver. Finished welding the crash repairs.  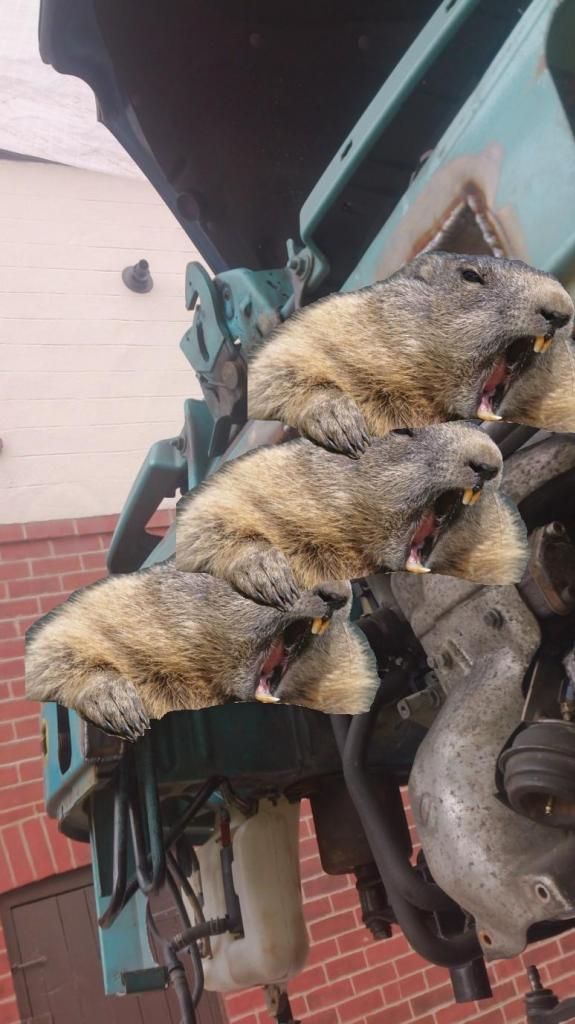 And that's all the mounting done. Just needs a coat of paint and that's sorted. Pipework next. |
| |
|
|
|
|
|
Sept 24, 2013 14:55:52 GMT
|
|
Coming together nicely.
Also, glad you opted for a play on BIVA and not altered-monocoque for your pics...
|
| |
|
|
|
|


