|
|
|
Dec 23, 2013 11:33:22 GMT
|
If you're not first, you're last. Early one morning at the end of September, myself and my youngest were on the 8.30 train out of Bolton to Manchester to get a connecting train to, of all places, Hull. Once we arrived in Hull a very nice man in the cleanest Saab 9-5 Aero I've ever seen picked us up and took us to his house. Once at his house, money changed hands, and we drove away in the vision of amazing awesomeness you see pictured below on a road out of Hull that I don't know the name of. 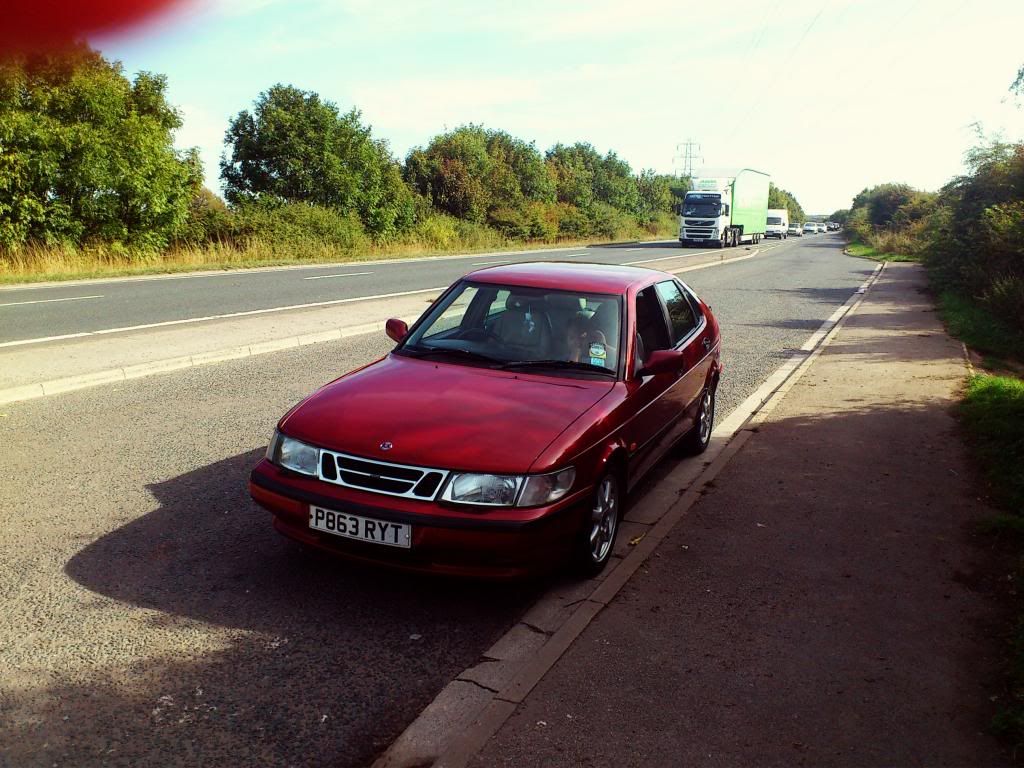 What is it? I hear you ask. Well it's a Saab 900 SE Turbo Talladega. It's got the full pressure turbo engine with 185BHP, BBS wheels, leather, and talladega red paint. It's also got a brand new Kenwood wireless set, new discs all round, the last 5 years' MoTs, an HPI cert, and a fair amount of wallop when you put your foot down. Boot is quite big too. 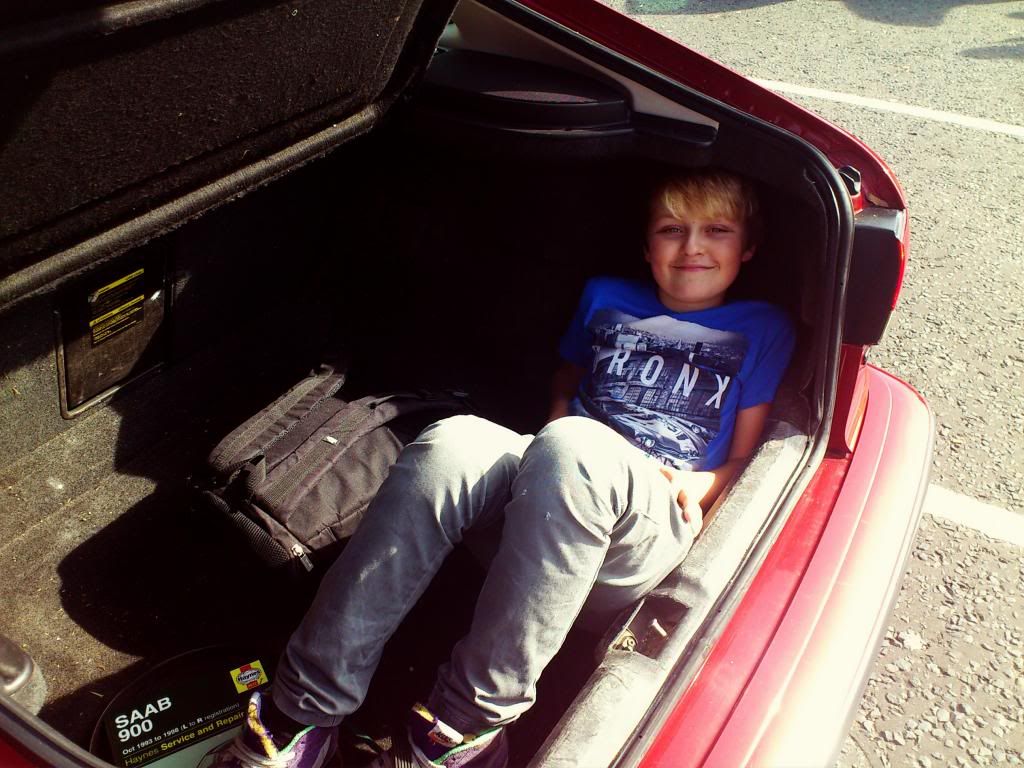 It's not perfect. It has a few nicks as you might expect of a 16 year old car with nigh on 150k on it. The driver's seat leather has seen better days, and the aircon is long defunct. There is a 50p sized rust spot on one wheelarch, and another bit on the bottom of one door, and that's it. No clonks, rattles, shakes, smoke or knocks. I got it home and immediately went to work dressing the tyres and cleaning caked on brake dust from the wheels. 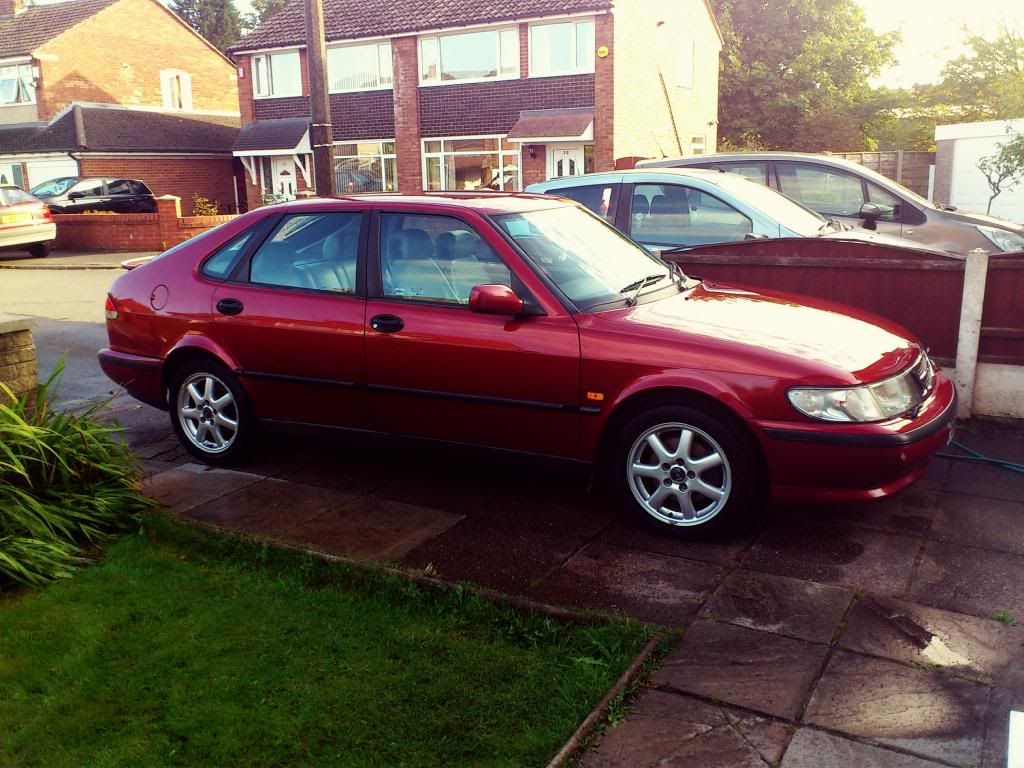 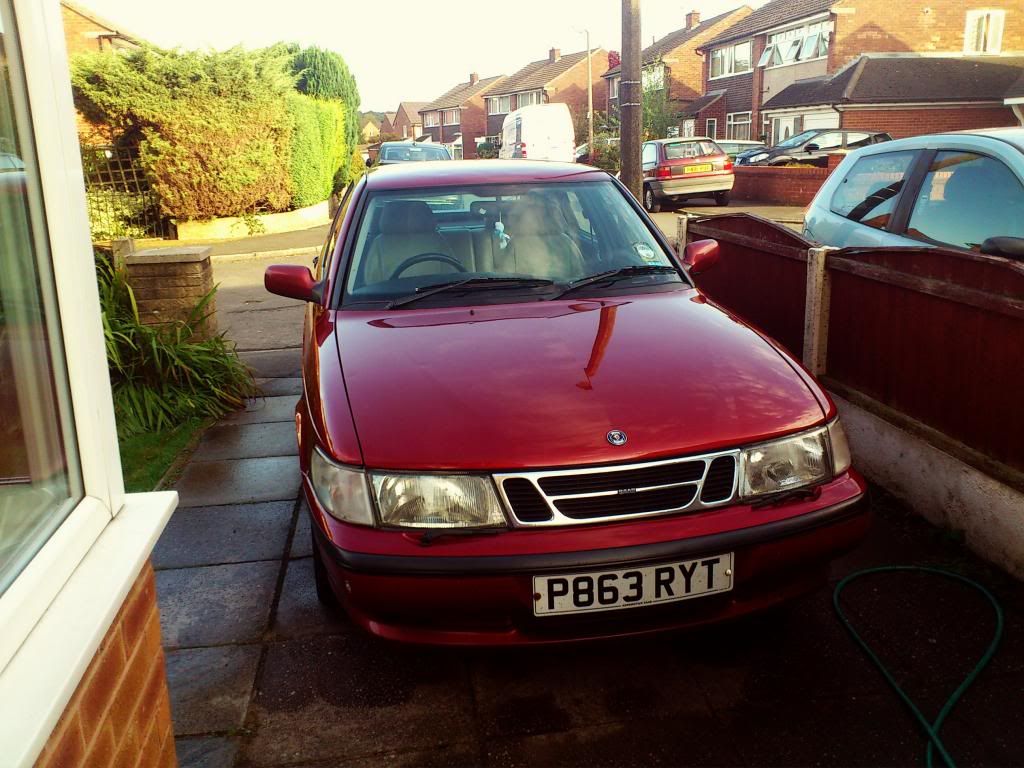 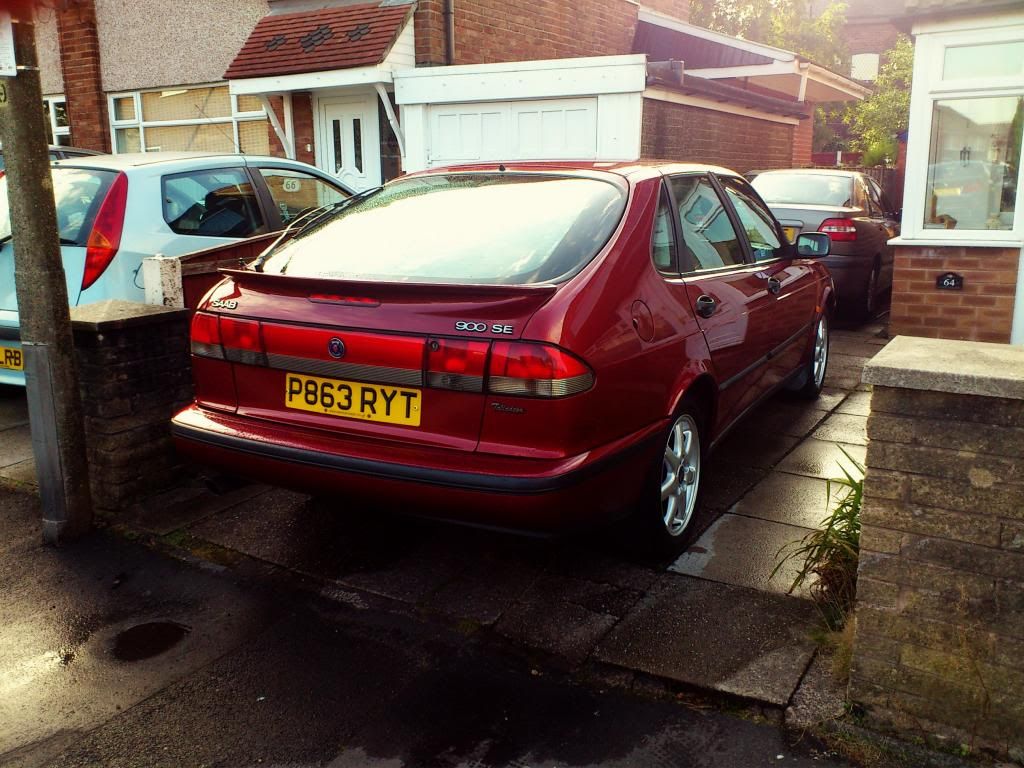 The dash has a piece of what I believe is known as "plood" but could also be “wastic”. 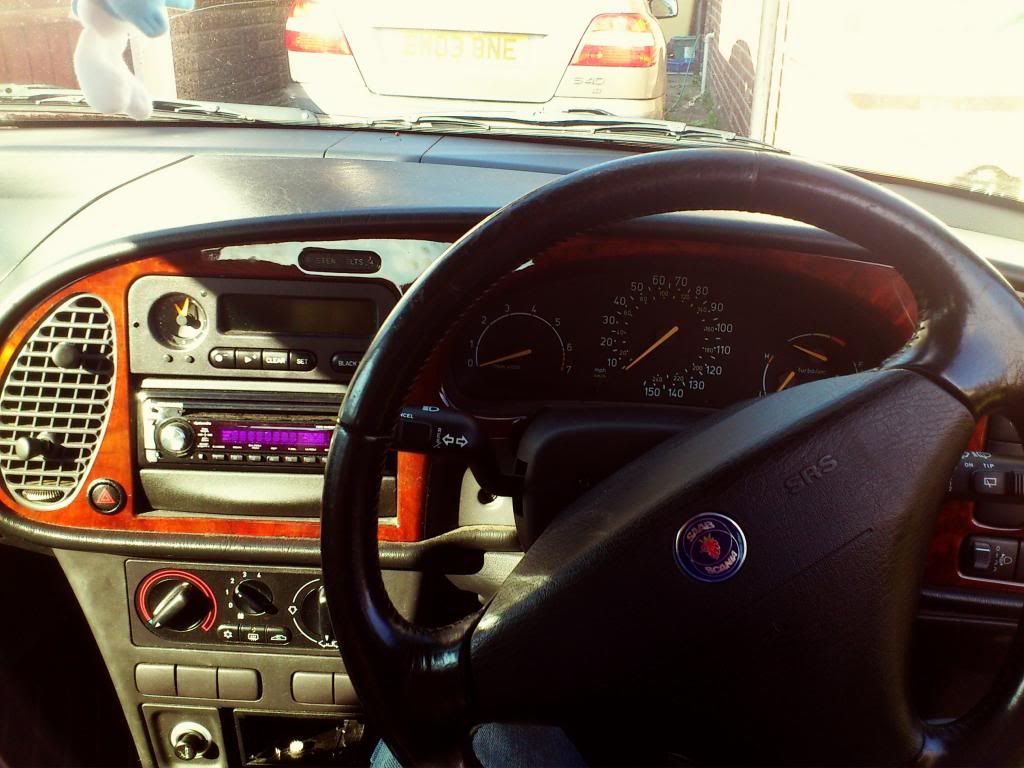 Many cows were slaughtered in the making of this car 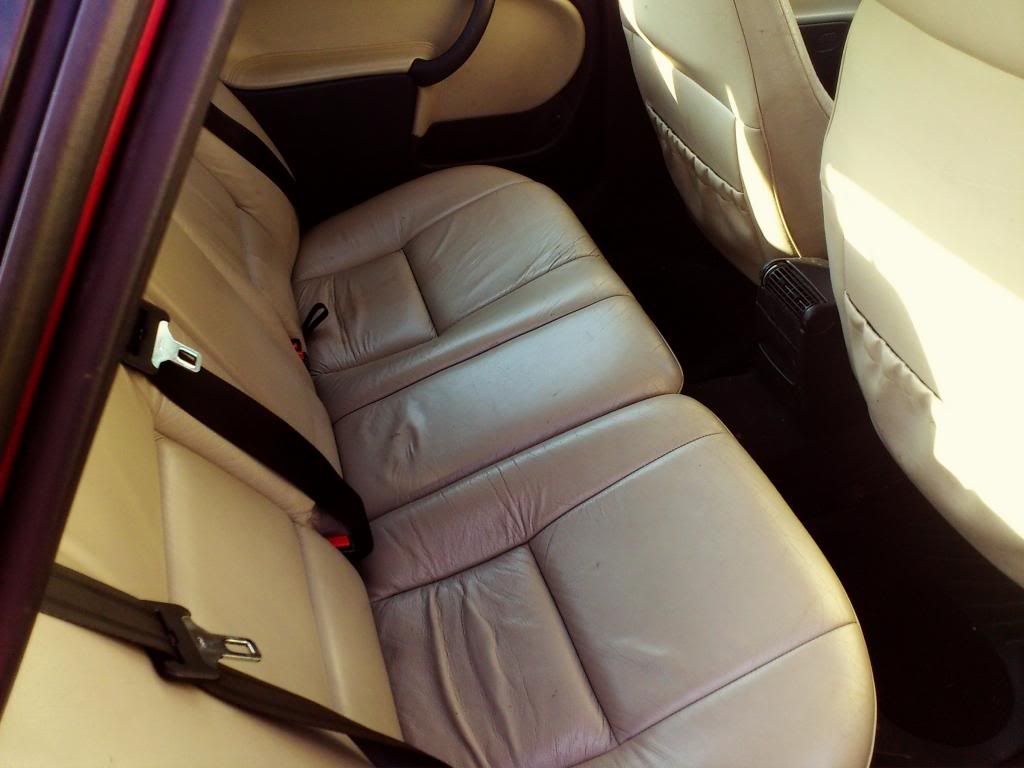 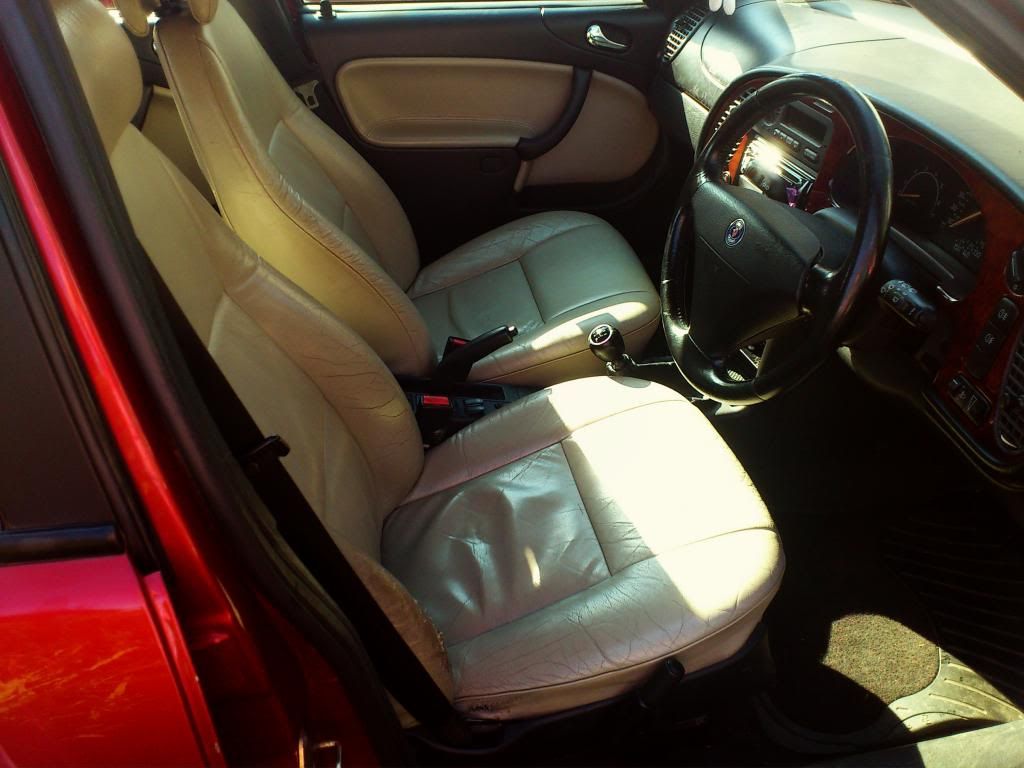 Evidence of a careful owner? 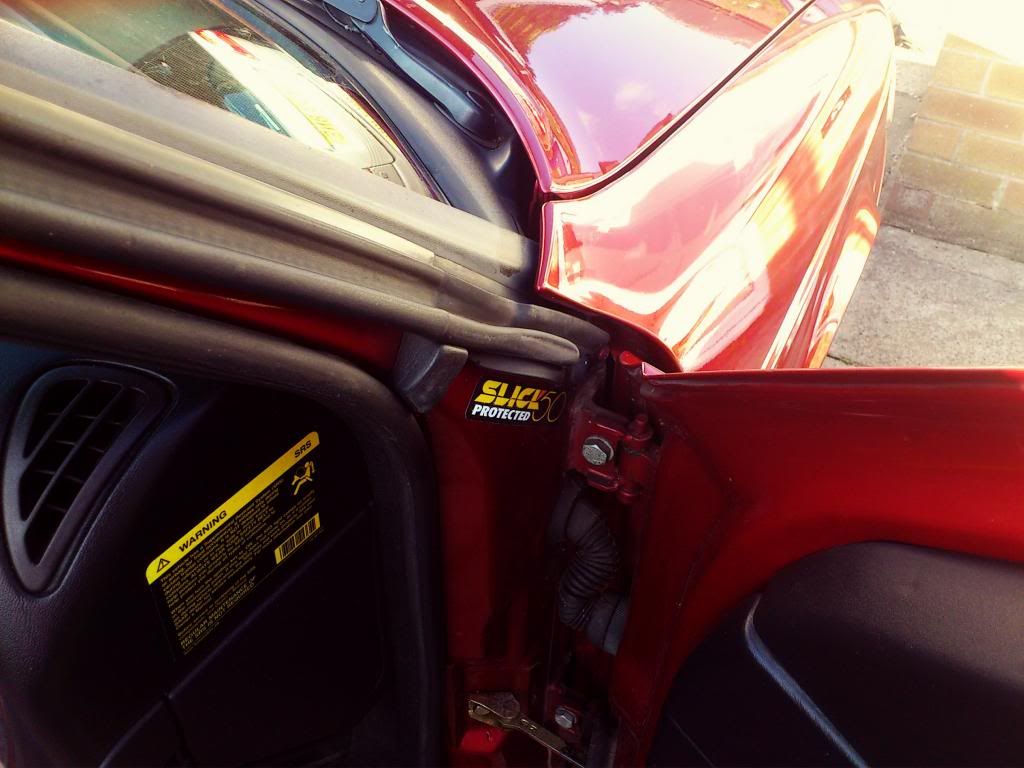 Molly likes it. 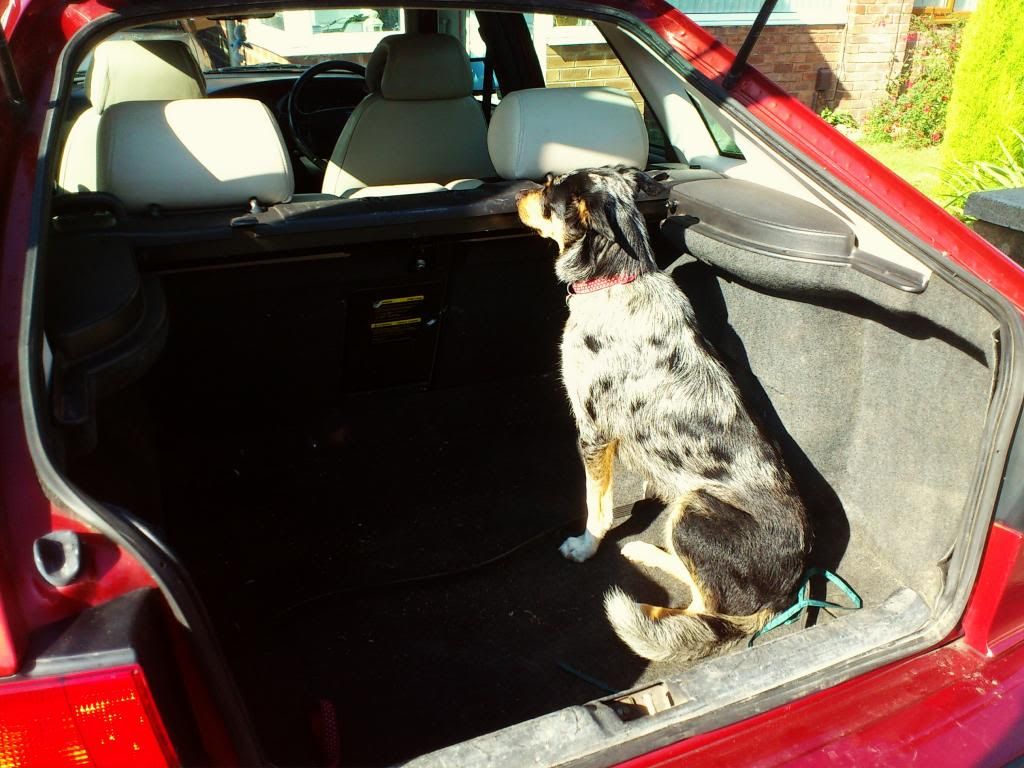 A fair bit of work has been done since I bought it which I was add in to the thread at some point. Plans are: 1. piggy back rear ARB 2. steering rack brace 3. subframe brace 4. remap 5. Fix iffy clutch pedal (very low biting point) 6. Sort little bits of bodywork 7. remove redundant A/C gubbins |
| |
Jaguar S-Type 3.0 SE
|
|
|
|
|
|
|
Dec 23, 2013 11:52:20 GMT
|
|
|
| |
Jaguar S-Type 3.0 SE
|
|
|
|
|
Dec 23, 2013 11:58:21 GMT
|
After fixing a small but persistent oil leak on the Volvo, I decided that yesterday afternoon was the time to lavish a bit of attention on the other Swede in my life. The piggyback rear ARB arrangement is a fairly standard cheap fix to help cure the wayward handling. A nice man on UK saabs sent me a spare bar for the cost of postage and postman pat brought it along with a big bag of stainless nuts, bolts and washers. First job was to remove the existing bar. It's held in with four bolts and captive nuts on a removable plate. Obviously, they were rusted up to **** but an impact socket and a breaker bar snapped three of them clean. The fourth came out like it went in yesterday.  With that done, you have to work out a way of spacing the two bars out slightly. I've seen people use bits of steel and various things but I figured that if I used set screws instead of bolts, I could just use nuts and washers like this: 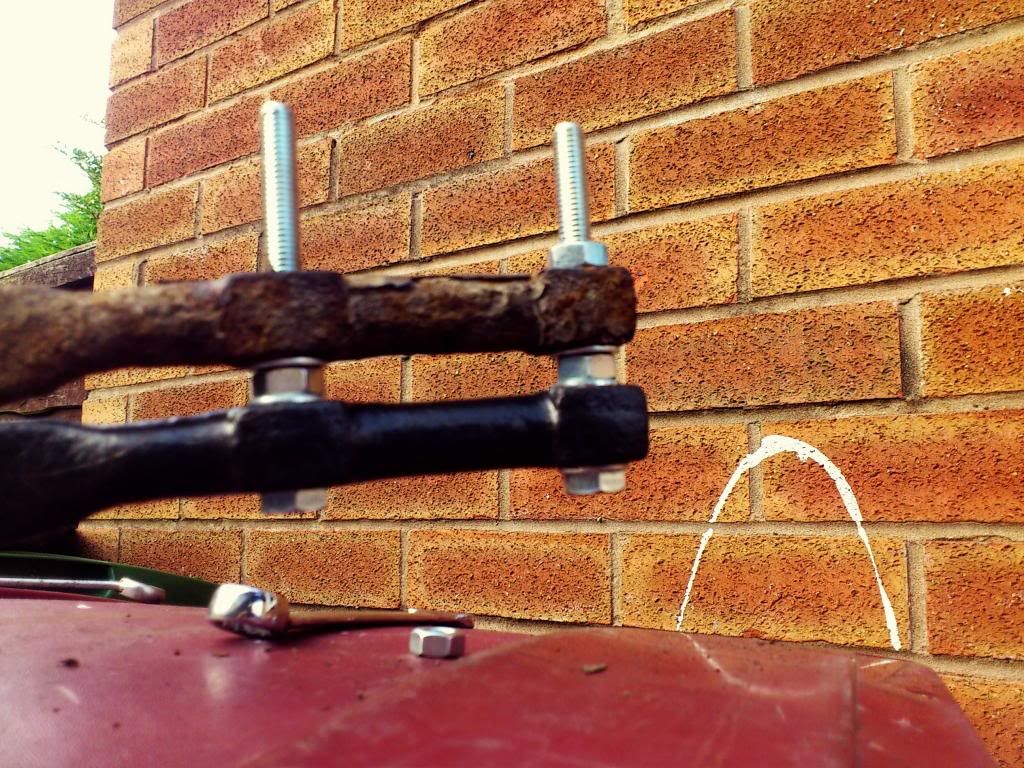 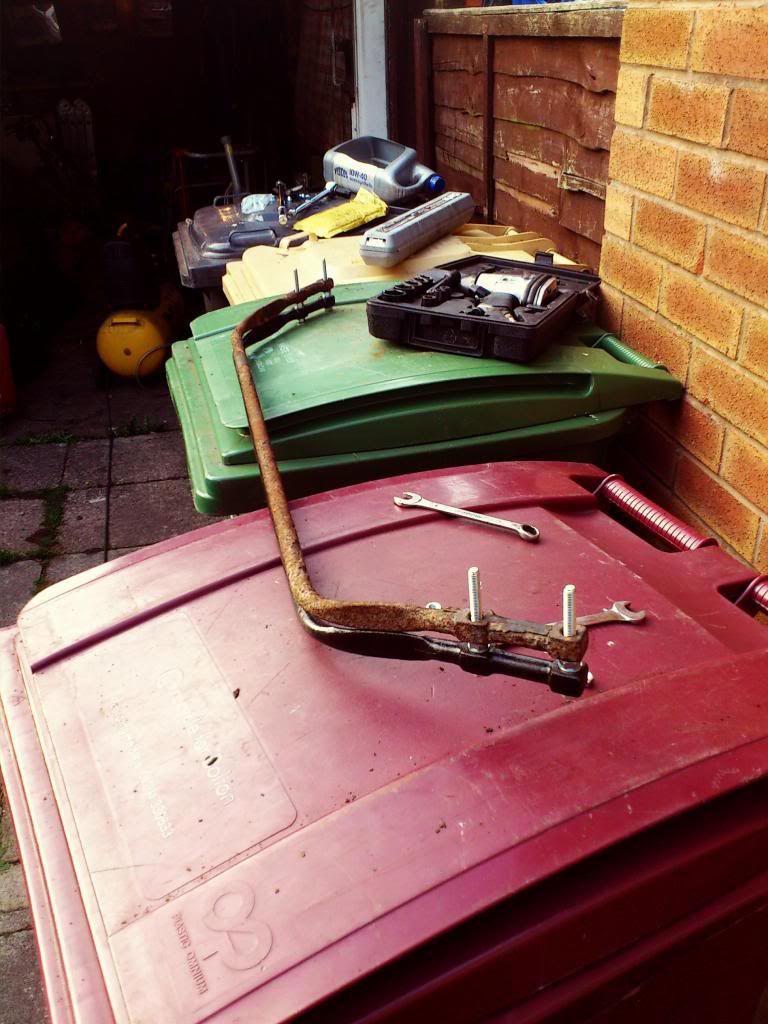 Sadly, it all began to unravel at this point. In my haste, I had decided that I had enough room with the back of the car on the deck. To compound that, my bolts were 1cm too long so had to be trimmed down with the angle grinder. Note to self: bolts get very hot when you chop 'em down with a grinder. I put a nut on each before cutting because removing the nut helps clean the threads up (but not enough in this case). Immediately after cutting one, I spun the nut off and it was a leeetle beet too warm for my ickle fingers. 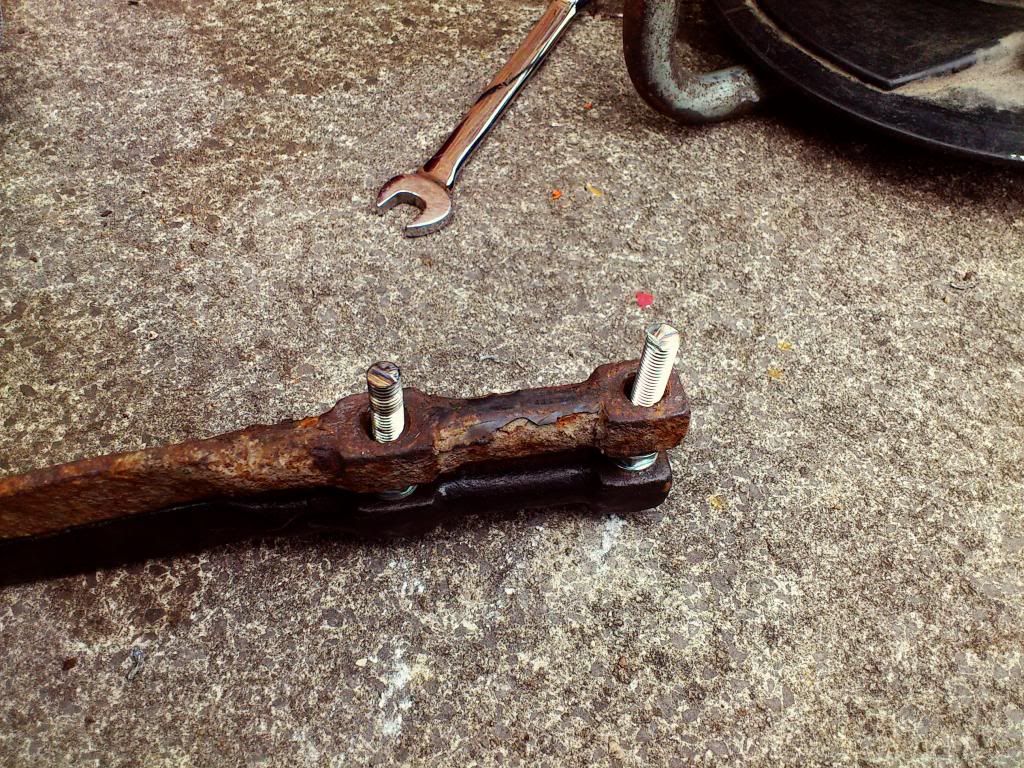 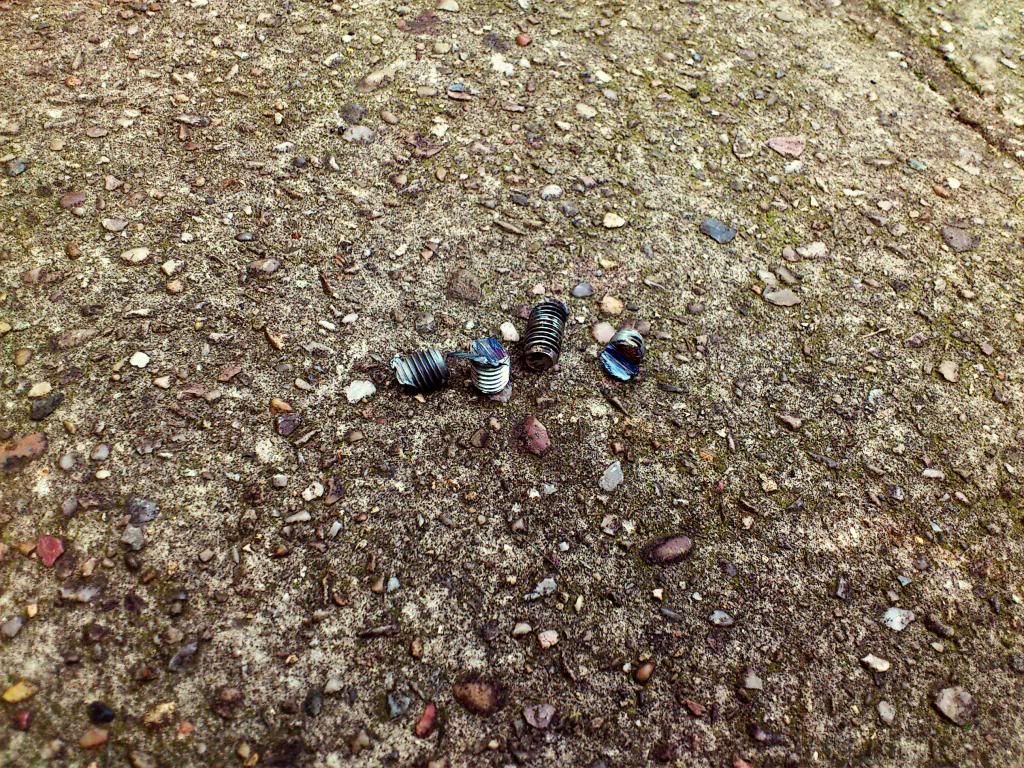 I put it all in place and got a couple of the nuts on but couldn't get the last two started because I hadn't tidied up the ends of the cut bolts enough. I gave up for the night and swore a bit. The following morning, with renewed enthusiasm, I started by getting the  end up in the air. 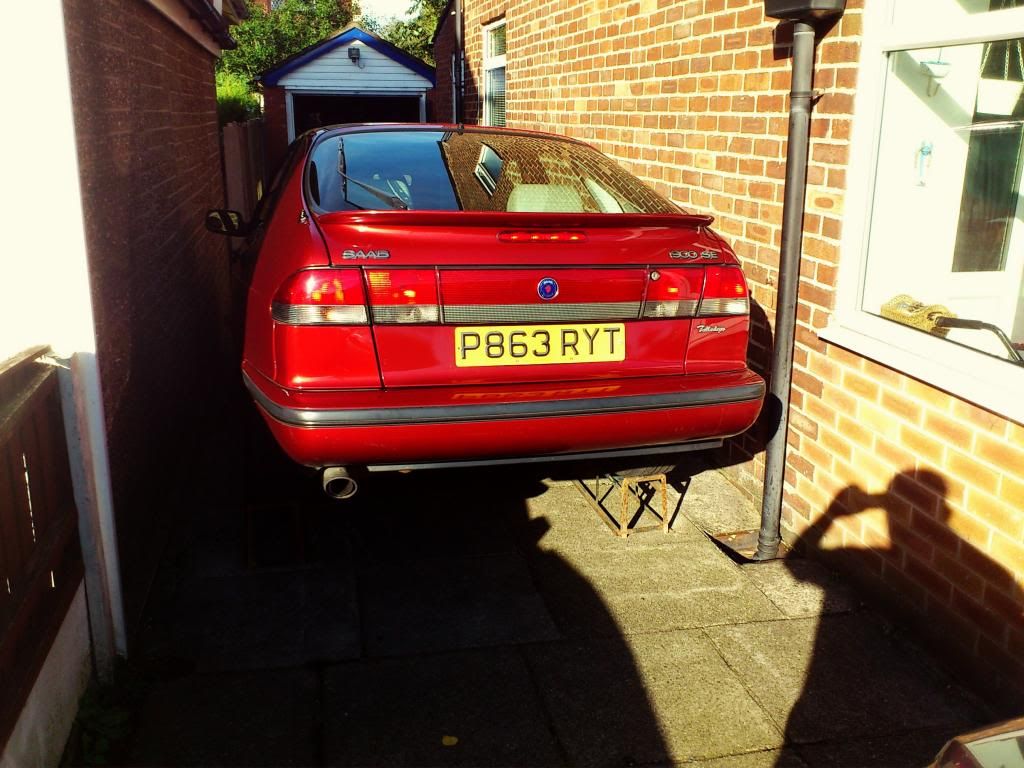 With that done, I was able to crawl underneath much easier, get the nuts on the bolts, and tighten it all up. 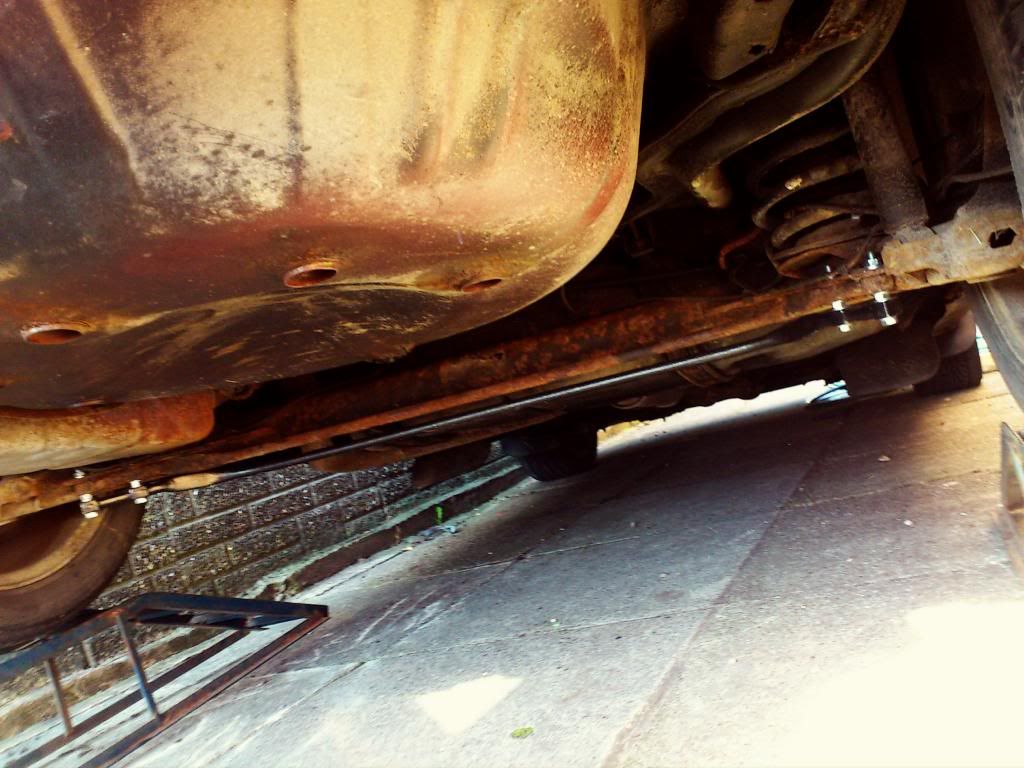 First impressions are that it definitely feels a bit sharper on the road. It doesn't lean quite as much and seems less willing to spin the inside wheel. |
| |
Jaguar S-Type 3.0 SE
|
|
eternaloptimist
Posted a lot
 Too many projects, not enough time or space...
Posts: 2,578
|
|
Dec 23, 2013 14:46:08 GMT
|
|
I remember test driving one of those when they were new. Nice motor, but I went for a 9000 instead. Yours looks really tidy.
|
| |
XC70, VW split screen crew cab, Standard Ten
|
|
recarouk
Yorkshire and The Humber
Posts: 435 
|
|
Dec 23, 2013 20:38:29 GMT
|
glad to see a new thread from you buddy, loved the Audi thread and this isnt dissapointing either  |
| |
|
|
jpsmit
Posted a lot
Posts: 1,256
|
|
|
|
great car - and especially nice to see that it still has the small child in the boot that came from the factory. Typically those don't come with the car any longer.  |
| |
|
|
|
|
|
Dec 24, 2013 11:23:52 GMT
|
After the ARB, the next job was a subframe brace to help firm up the wobbly front end. a mate on the Alfa forum turned up a fairly hefty length of 1" x 1" box section with a lump of angle on the end that was ideal. The lump of angle has many possible uses too. First job was to get the front up in the air. Sadly, my ramps don't clear the front bumper so it was out with the axle stands. 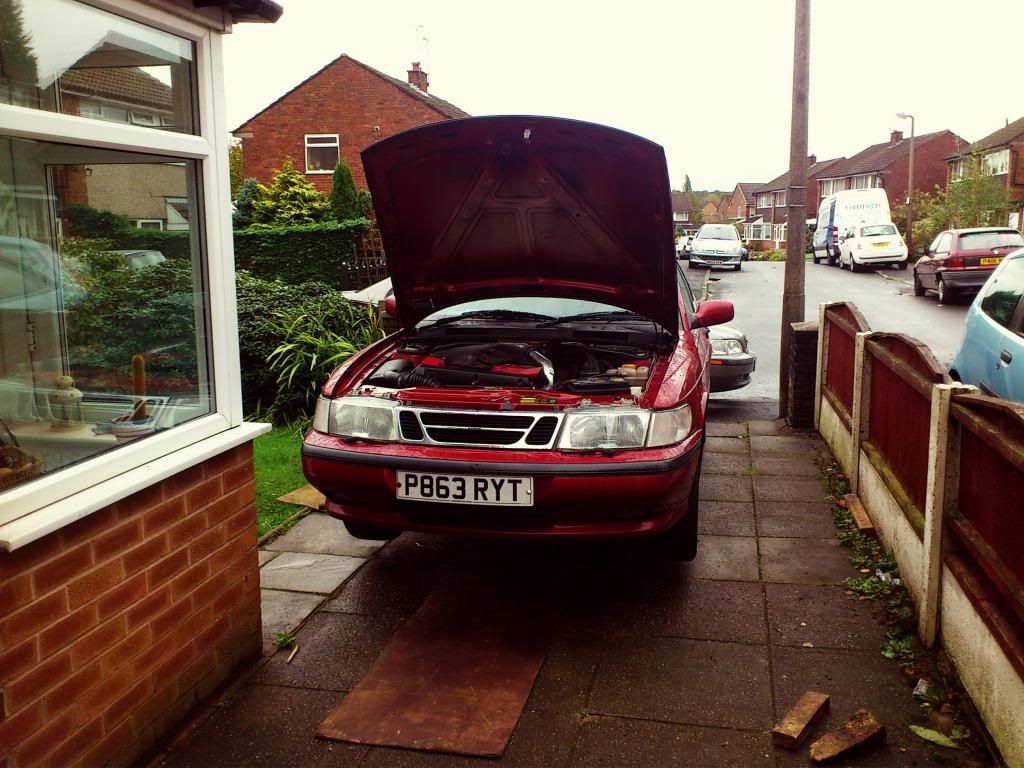 Next job is to trim the undertray slightly to get to the holes in the subrame through which the brace will be bolted. 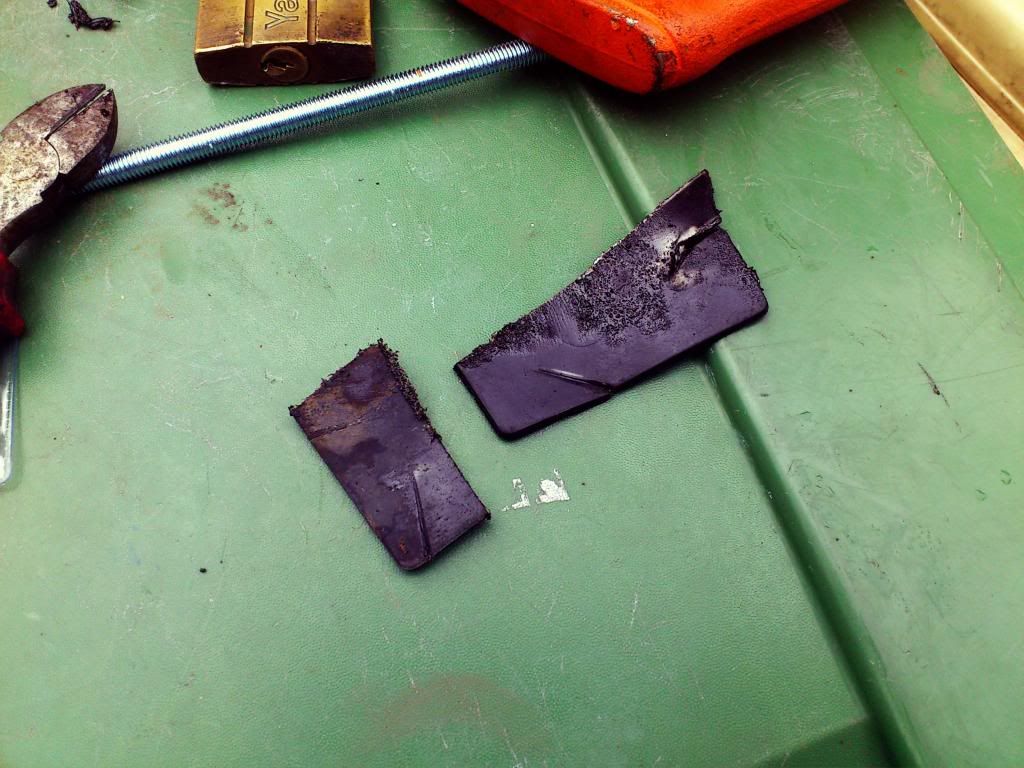 A quick measure gives a length for the brace of 28" with 26" between the holes so out with the hacksaw. 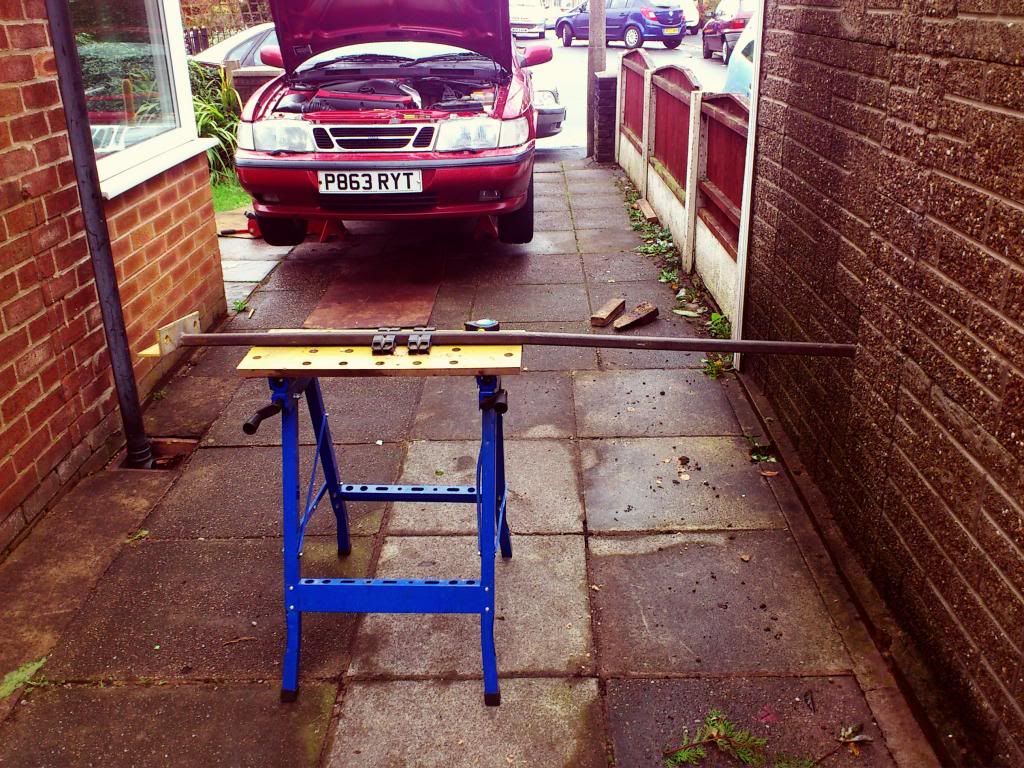 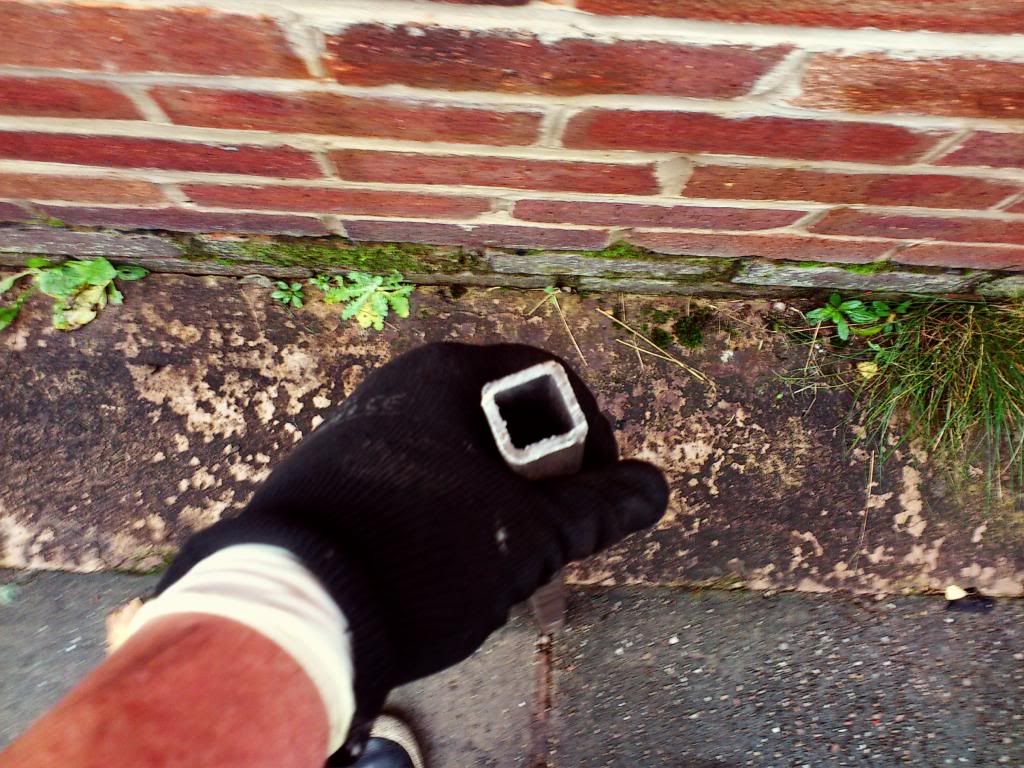 At this point there's a slight snag. although the bar has a slight bend in it (christ knows how with 2mm wall thickness), it isn't enough to clear the sump. I can't bend it any more so I need to space it out a touch. Remember how I said that piece of angle on the end would come in useful? 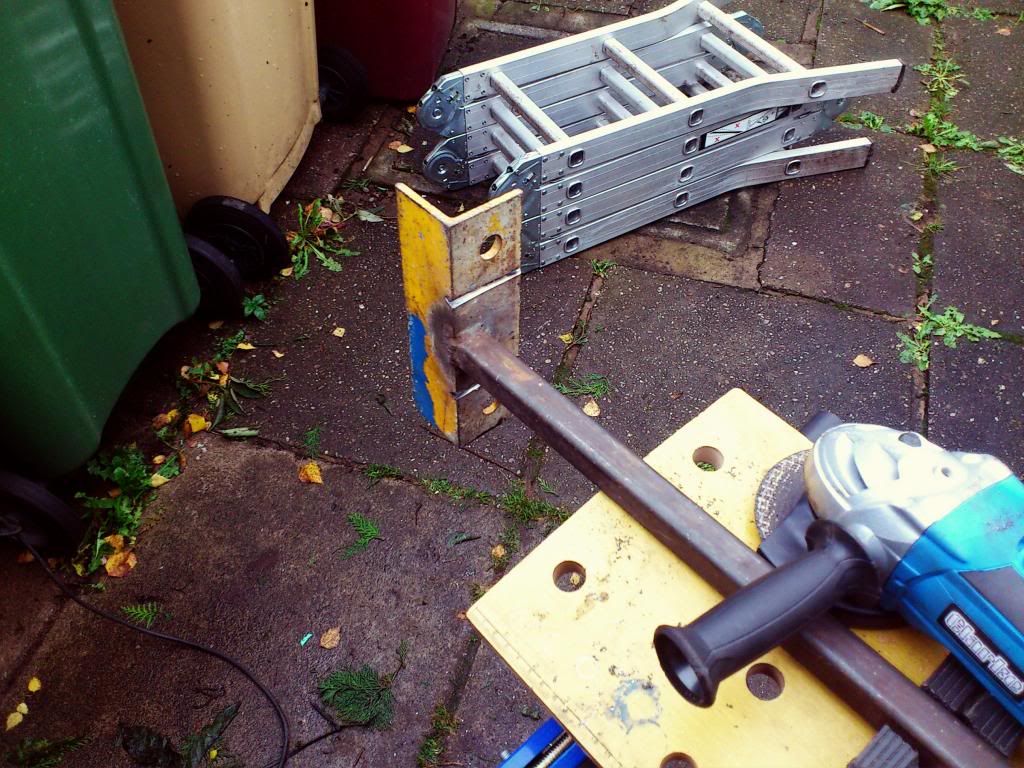  Time for drilling. I invested in a new 10mm titanium coated drill but drilled a small pilot hole first like this. I then drilled the 10mm hole. Flip over, pilot hole on the other side then another 10mm hole, change ends, job done. 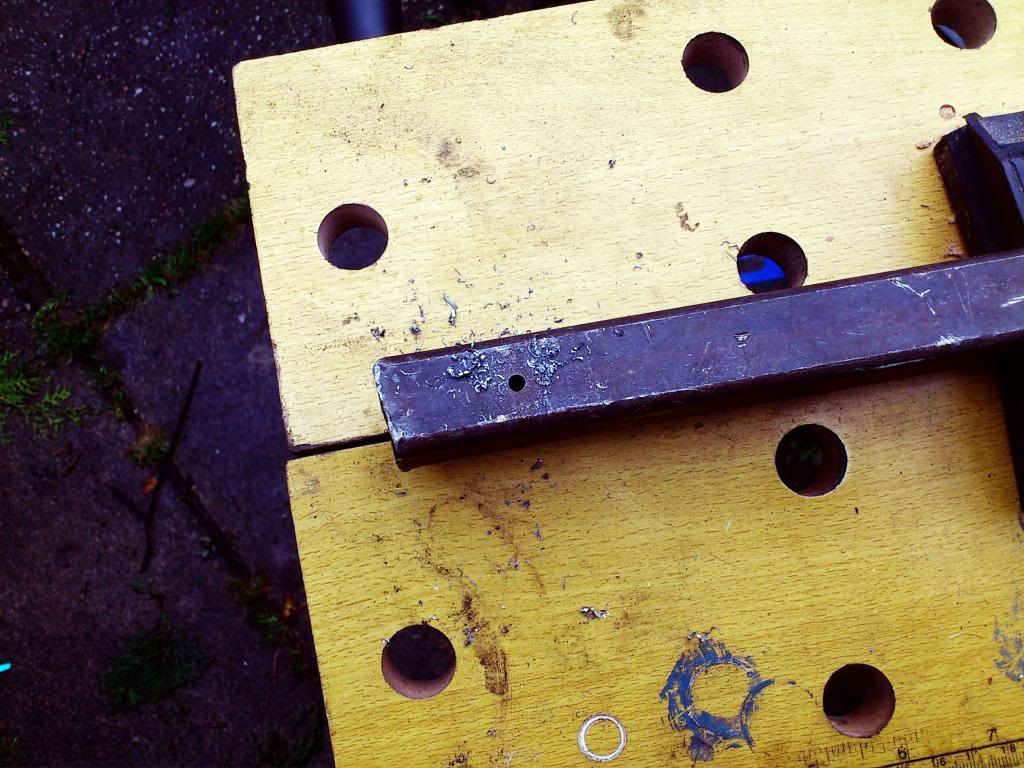 Quick flash over with poundland matt black. 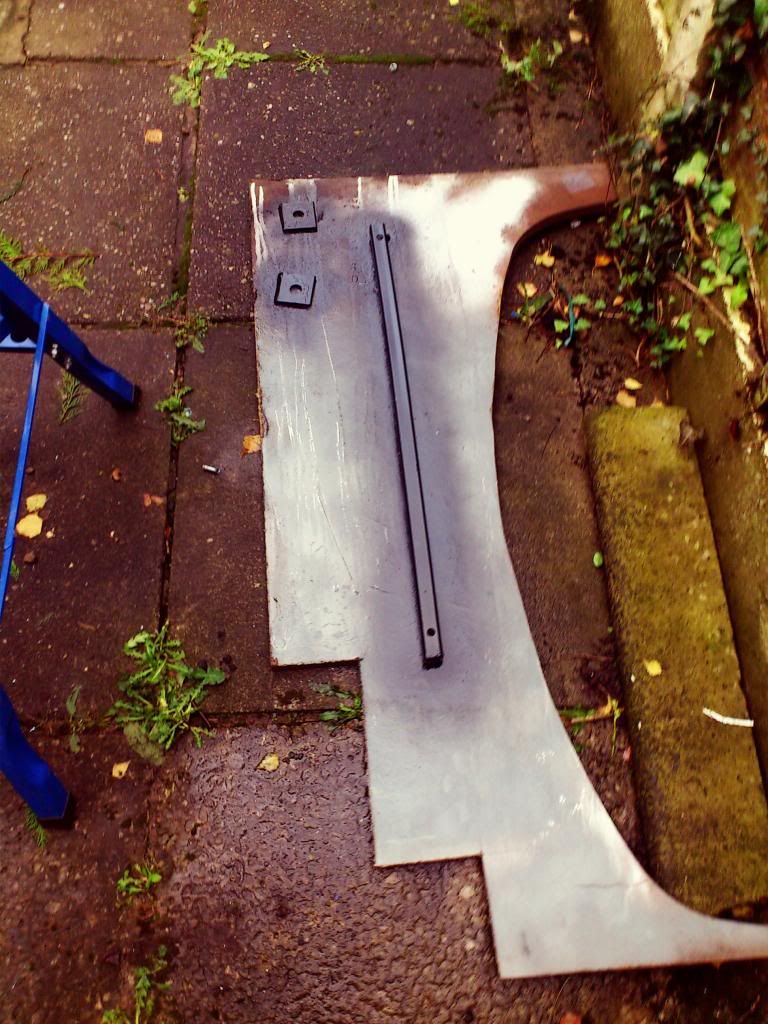 Finally bolt it on with M8 stainless bolts and 25mm penny washers.  First impressions are favourable. It clears the sump by about 5mm and the front feels more solid over speedbumps. I actually did this in November and foolishly left the bolt threads sticking out. A couple of speedbumps later and the brace became a rattle with bent bolts, and crinkly washers. MKII has the bolts cut off flush with the nuts and no more grinding. |
| |
Jaguar S-Type 3.0 SE
|
|
|
|
|
|
|
|
does it have the roll bar through the middle of the beam too ? a la cavalier hatch/ astra ?
|
| |
|
|
|
|
|
|
|
does it have the roll bar through the middle of the beam too ? a la cavalier hatch/ astra ? It's a long time since I poked about under the back of a Cavalier but i don't think it's exactly the same. |
| |
Jaguar S-Type 3.0 SE
|
|
|
|
|
|
|
Next job, ahead of a home made rack brace, was a Superflex rack bush. A slight improvement in steering feel was the result with a bit less tugging too.  If you're wondering what's in the sachet, it's a special lubricant. I got quite excited until I discovered it was copperslip. The black donut in the silver bracket is our target. 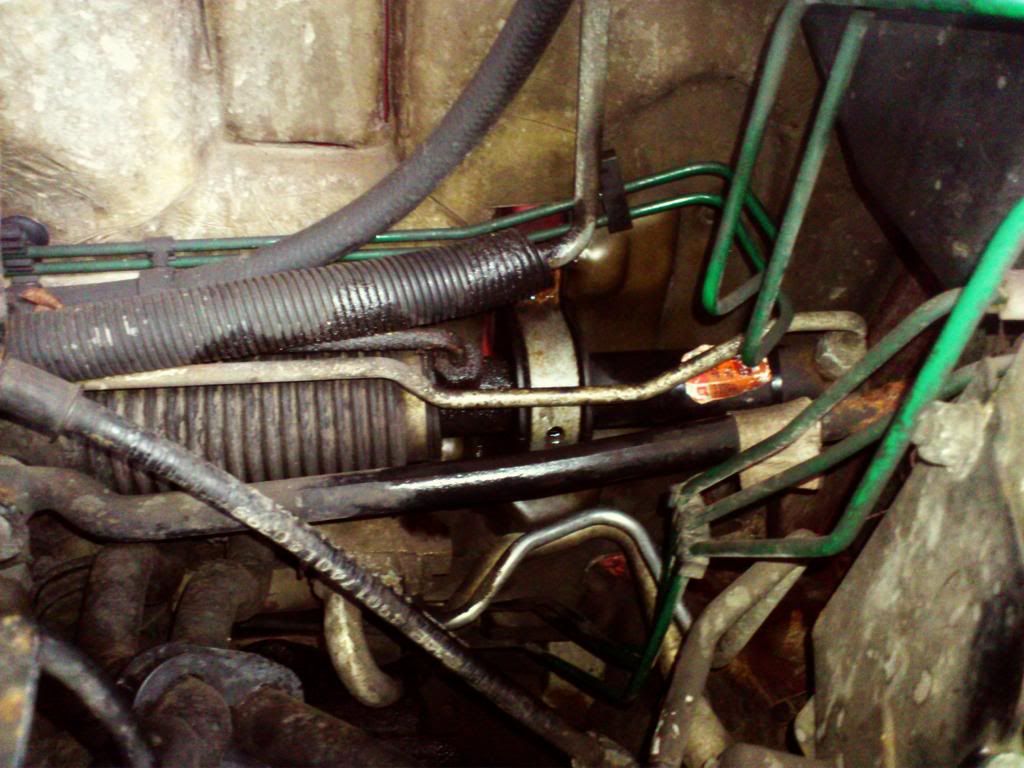 Crude squish test shows the difference between the two bushes. 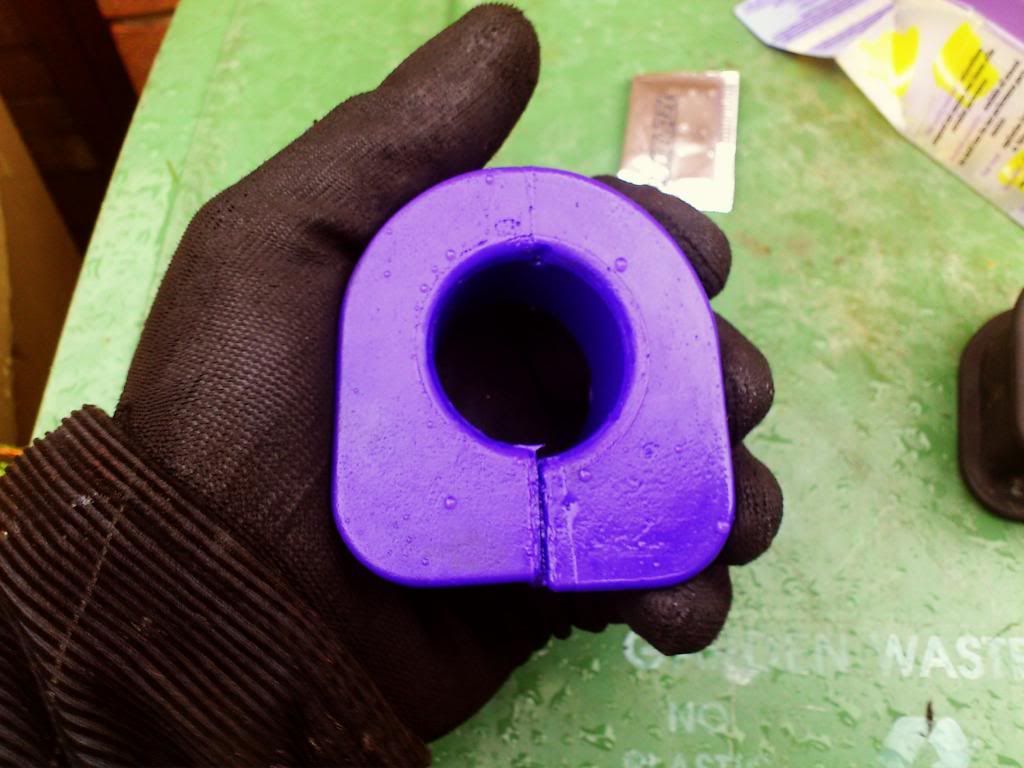 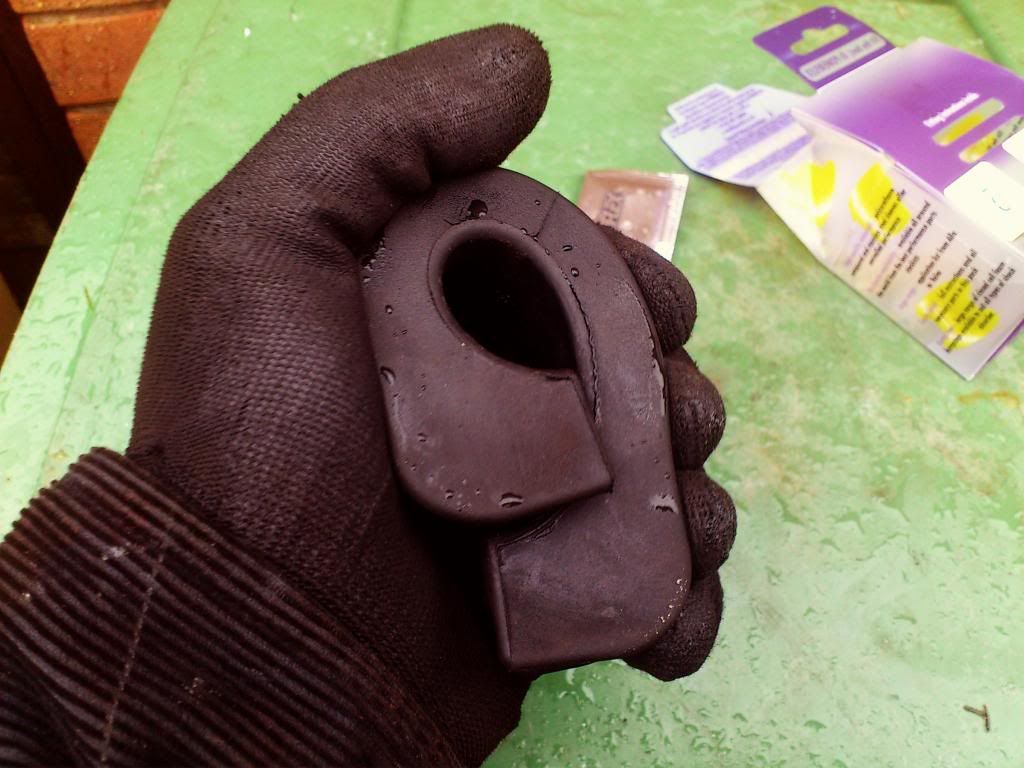 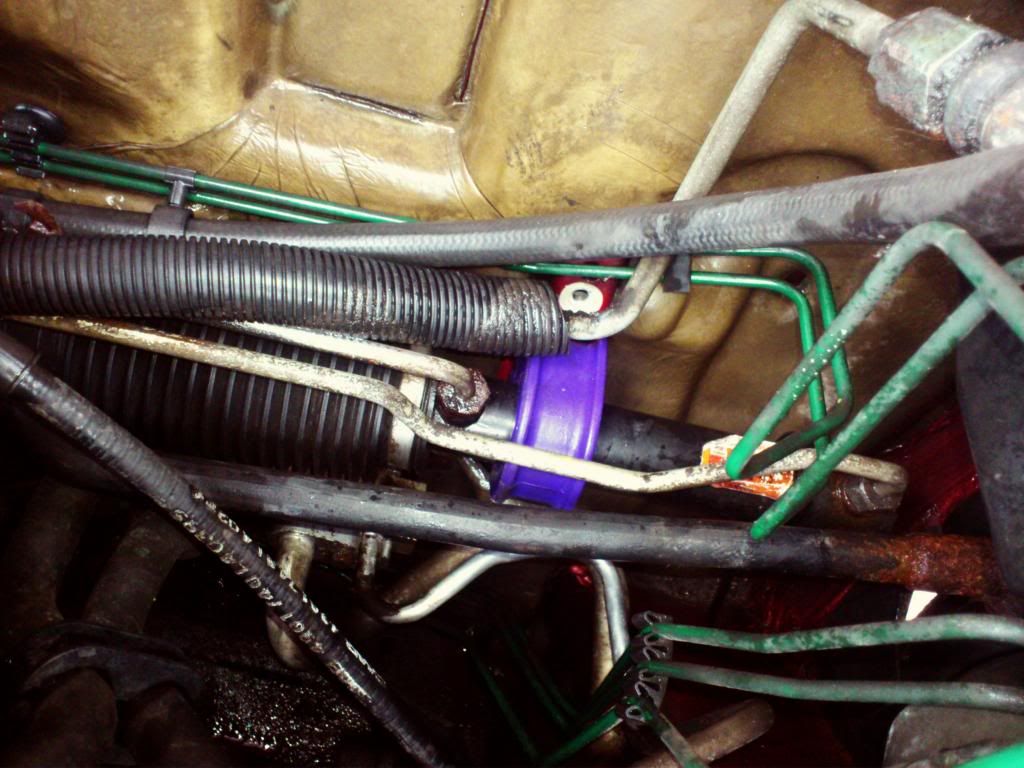 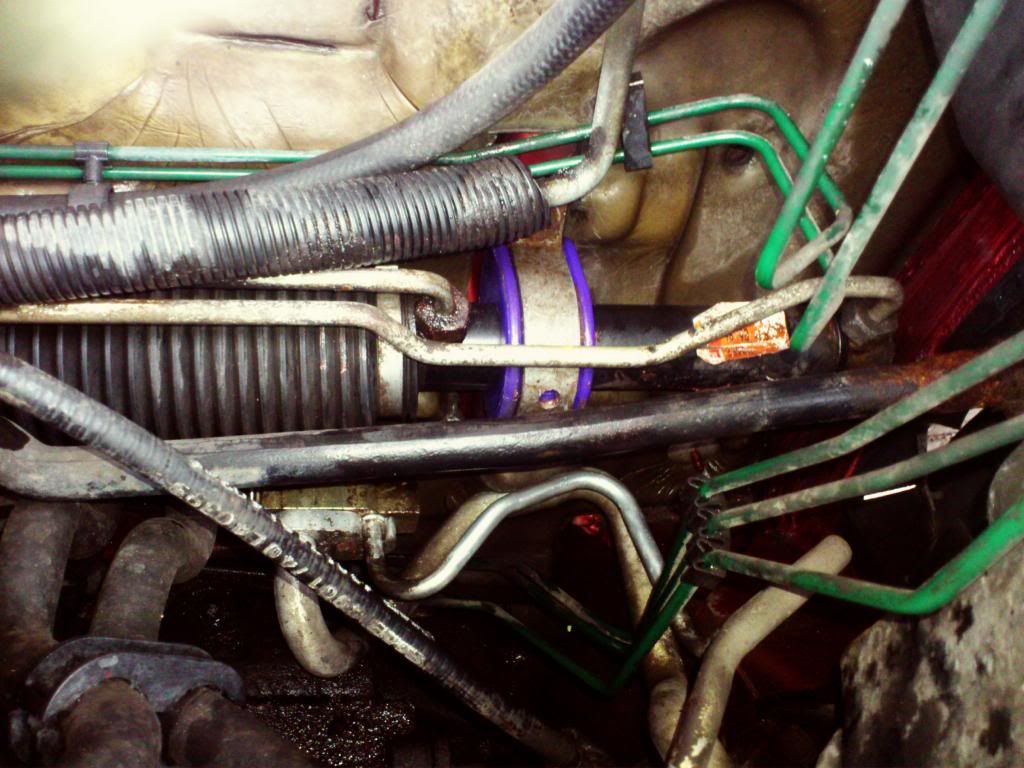 |
| |
Jaguar S-Type 3.0 SE
|
|
|
|
|
|
|
Dec 27, 2013 10:06:22 GMT
|
Next job to be tackled is an oil leak from the oil cooler. A 2nd hand 900 cooler is likely to be as old as mine and a new one is £300 and on back order from god knows where. Options therefore are: 1. Fit an aftermarket kit 2. Fit one from a later Saab 3. Adapt one from something else. I went with 2 because I was told that a 9-5 cooler was more or less a straight swap and someone offered me one with hoses for £20. As it turned out, that wasn't entirely accurate. It started well, going from being on the deck to this took maybe 15-20 minutes. 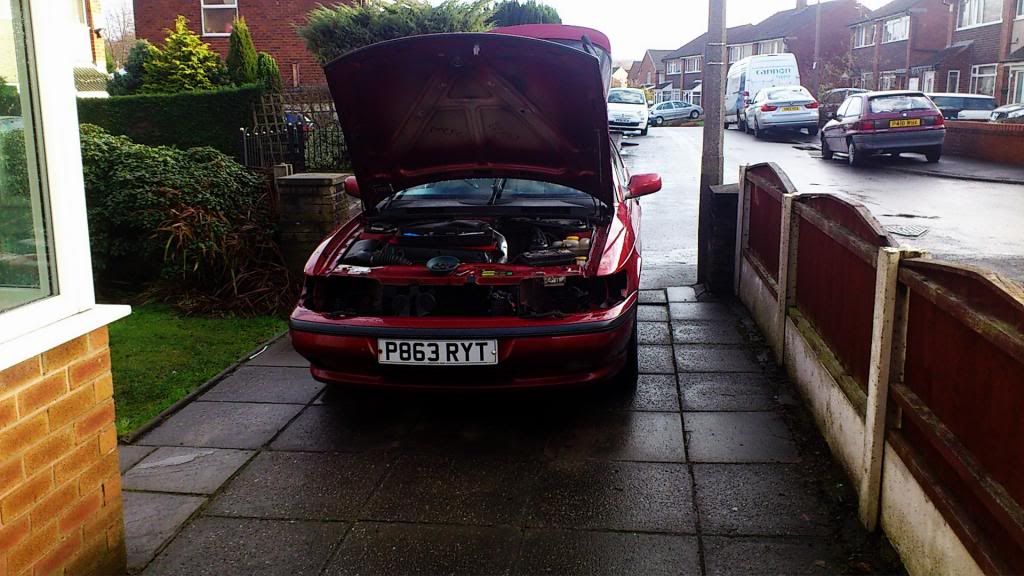 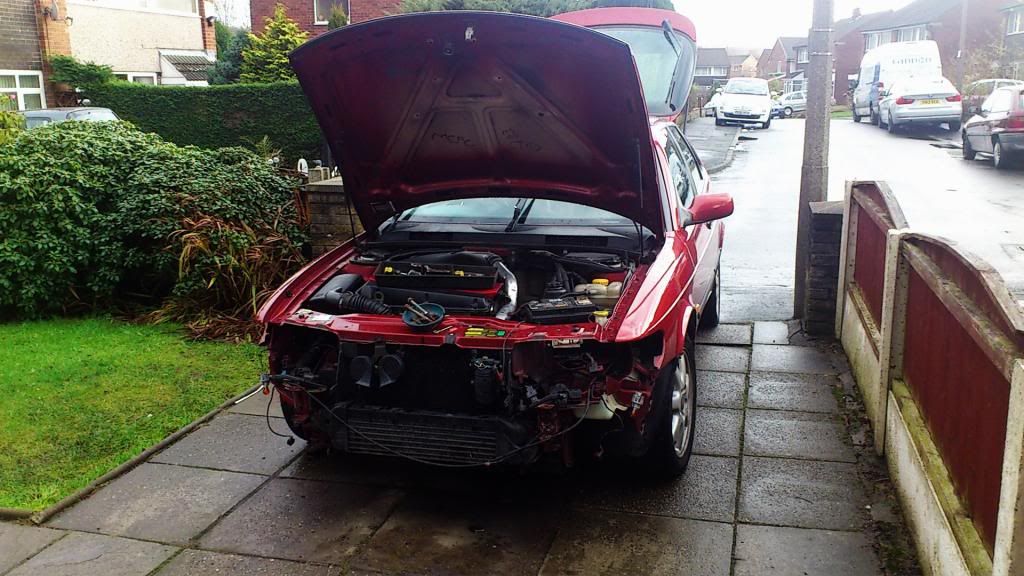 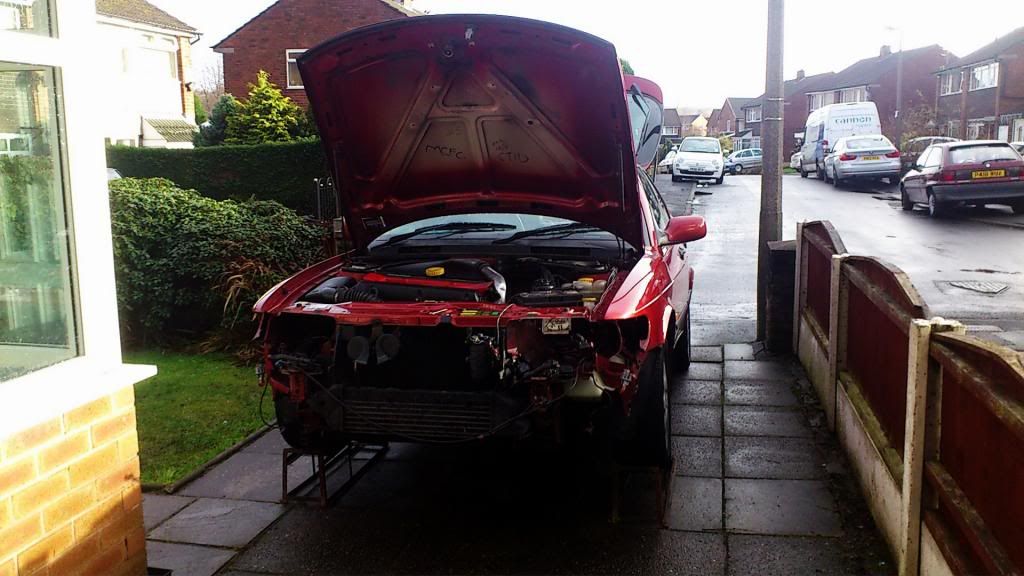 This revealed that the old cooler really was knackered, corroded, and strangely bent. It's so weak, half the fins fell off and I can squash it by hand. At this point the snags started to come thick and fast. Firstly, the bolts holding the cooler in are tiny 8mm ones and rusty as ****. Getting them out with the intercooler in the way was impossible. So off with the intercooler, except none of Saab's hose clips wanted to play but, despite them being rusty, it took me nearly an hour to shift them. Eventually, the intercooler gave way and the cooler was on full view. 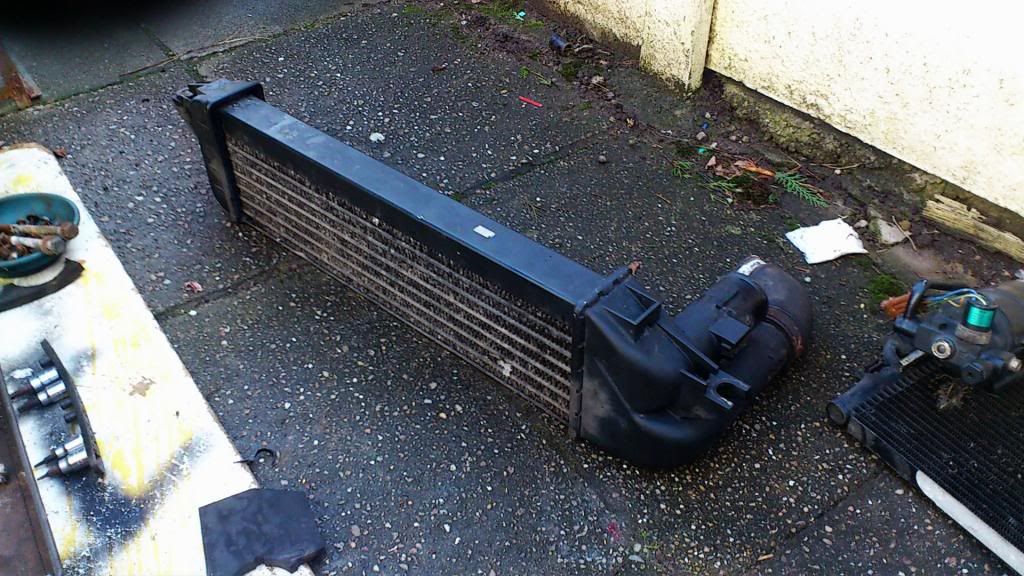 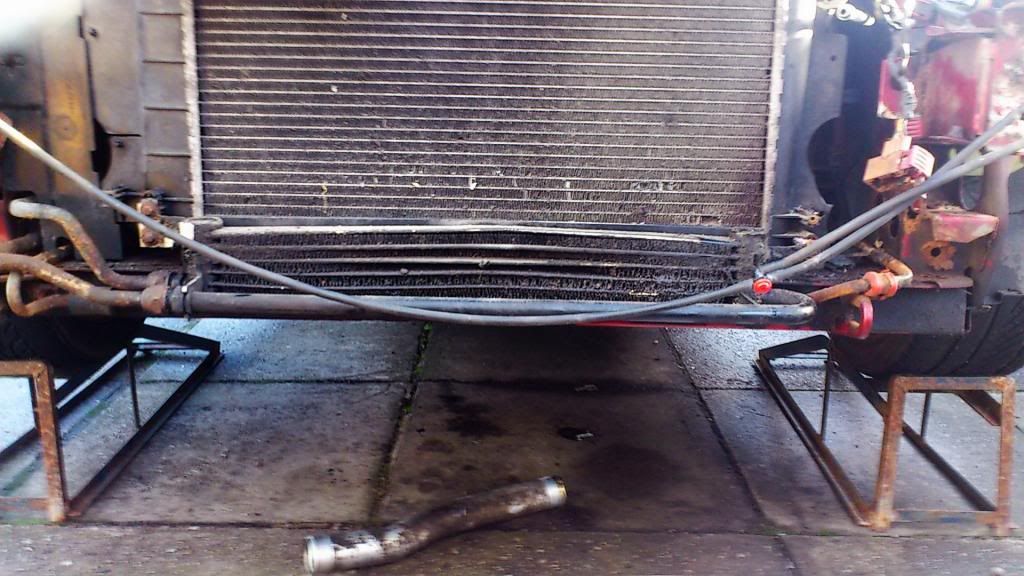 |
| |
Jaguar S-Type 3.0 SE
|
|
|
|
|
Dec 27, 2013 10:08:43 GMT
|
At this point I discovered that the 9-5 cooler is completely different. Wider, taller, deeper, different mountings, different hoses, heavier........ The original mountings were nowt like but the mountings for the A/C condenser were fairly close. The A/C doesn't work anyway so out with the condensor and the "thing" it was attached to. 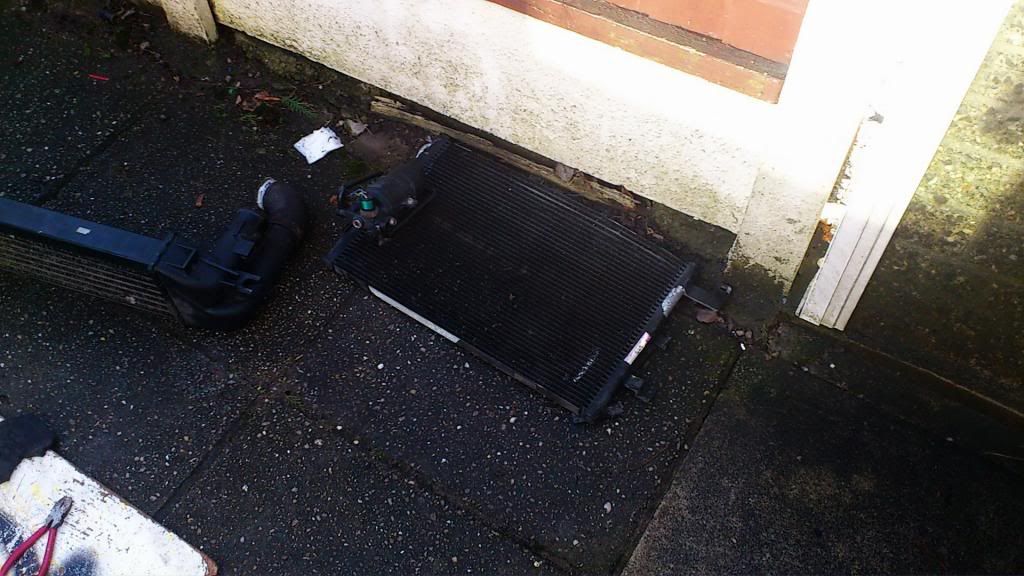 Shortening the cooler brackets and cutting slots in them soon had it in place. 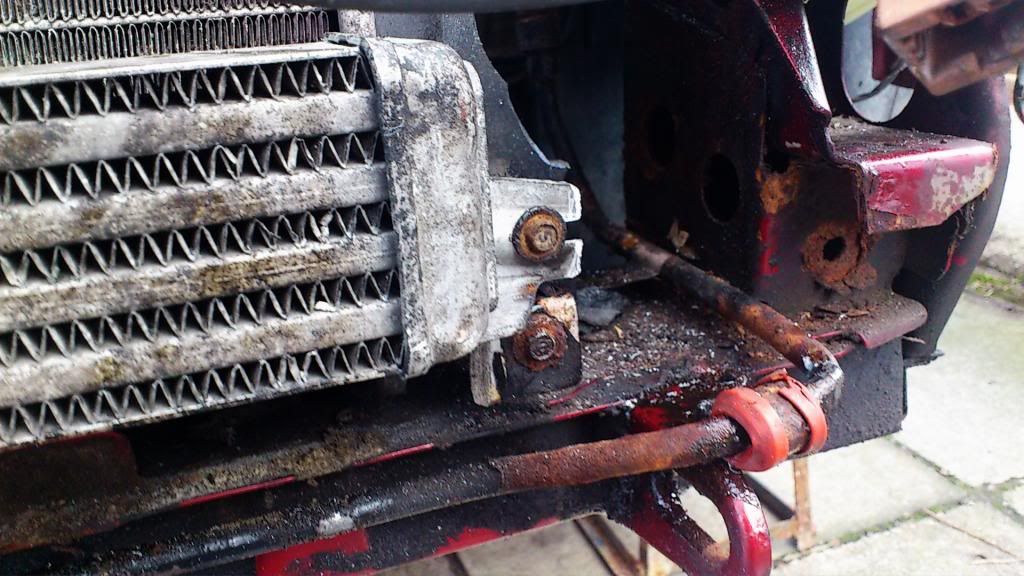 The route the hoses take is completely different but a bit of considering and I reckon there is space to route via the inner wing, through a couple of fresh holes in the splash guard, and join them to the old hoses with short lengths of metal pipe and jubilee clips. All I need to do now is refit the intercooler and we're home free. Except the oil cooler is now occupying some of the space the intercooler previously occupied. ****, poo, bum, *******, ********, ****, as they say. With the condenser gone, I reckon there's enough room to move the intercooler up 3" or so to create room. There are brackets nearby which should do the job. however, a look at the bumper shows that whilst there's just about room behind the impact beam, there is no more than 1/2" of clearance which won't do much for airflow. This is how it was left; intercooler in original position, oil cooler resting on top of it. The plan tomorrow is to refit the bumper and attach the oil cooler to it (inside it, I'm not going bosozoku) with some nice black finished domed allen head bolts I've got lying around). 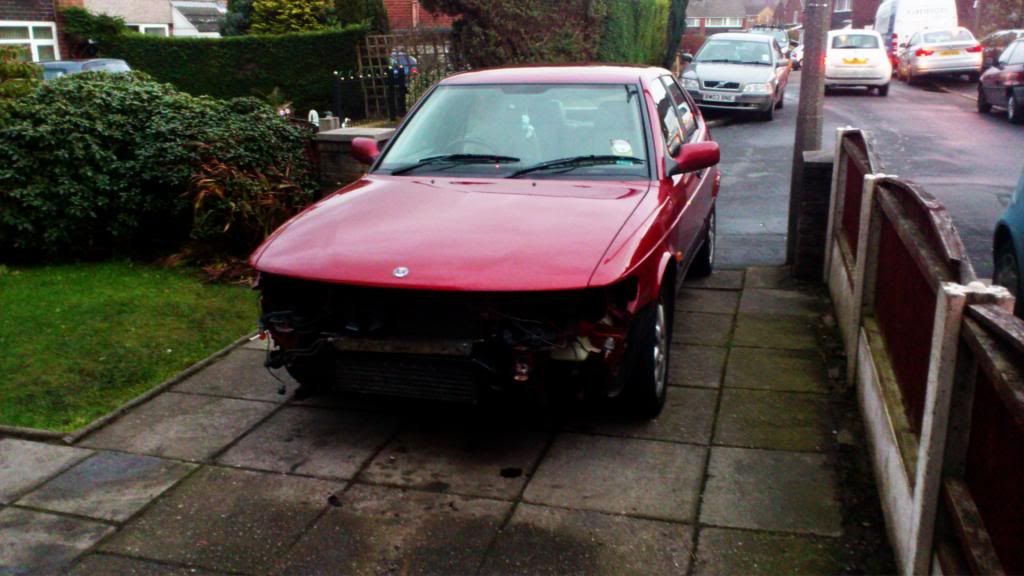 |
| |
Jaguar S-Type 3.0 SE
|
|
|
|
|
Dec 29, 2013 16:09:42 GMT
|
Bit more progress. I temporarily refitted the bumper to test my theory about mounting the cooler. As it turns out, the best position is sat on top of the intercooler rather than under it. I need to move the left hand intercooler mount back about 1" then the hoses clear the foglamp and the impact beam on the bumper. 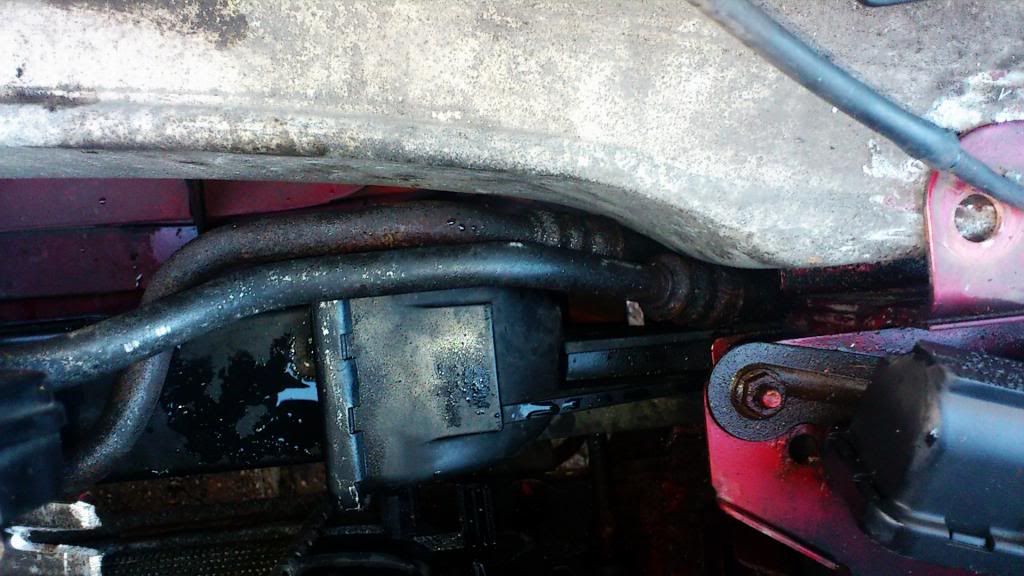 I also combined my old and new dipsticks to get one the right length.  Finally, I removed more redundant A/C gubbins. 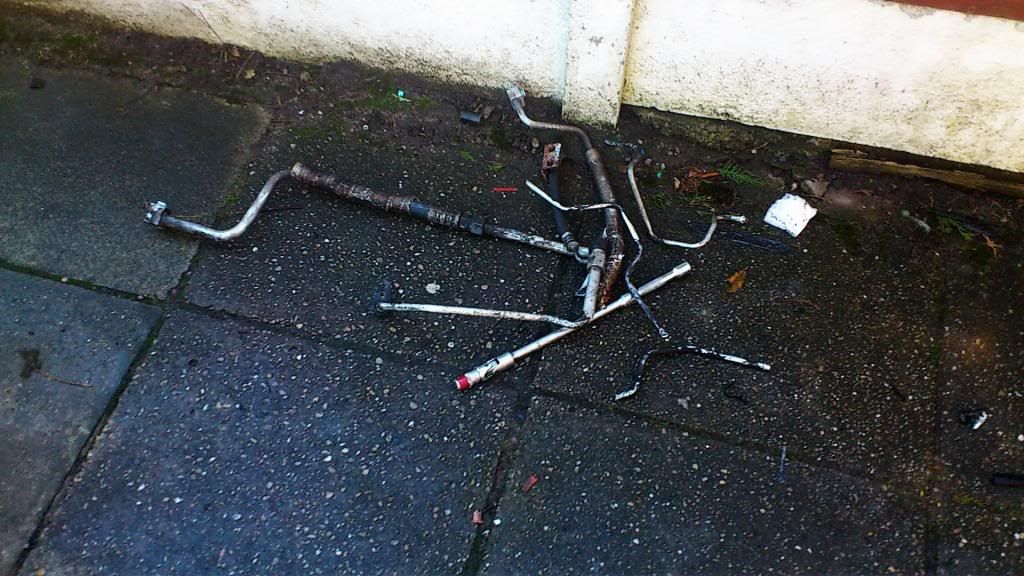 There is one more A/C pipe and the compressor to come off then it's Saab NG900 Superleggera here we come. |
| |
Jaguar S-Type 3.0 SE
|
|
|
|
|
Dec 29, 2013 16:14:41 GMT
|
After cutting the old oil cooler mounts off the rad, I moved the offside oil cooler mount back an inch like so: 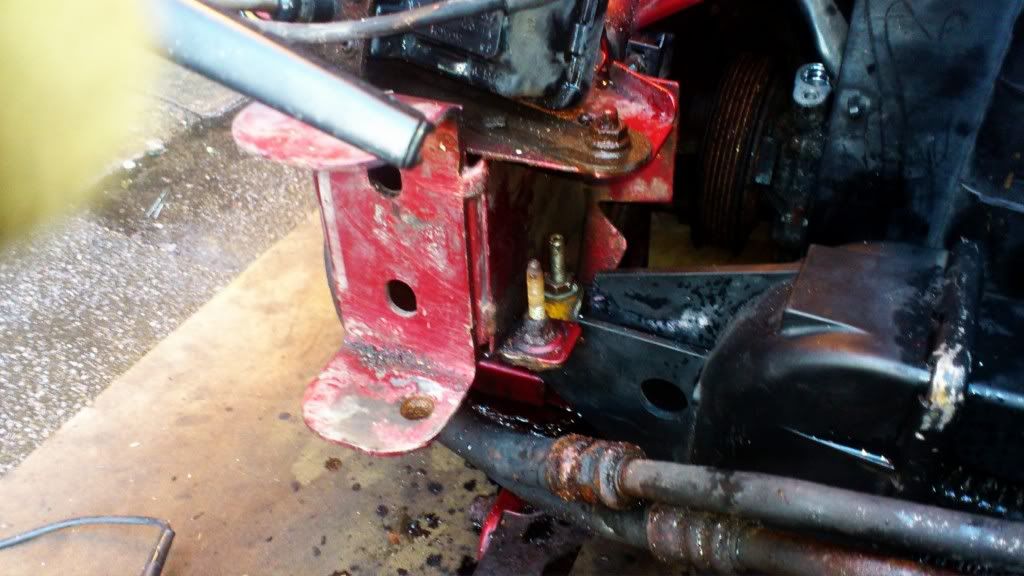 This gives sufficient room for the pipes to pass the bumper impact beam and for the oil cooler to sit on top of the intercooler. At the moment it is sitting on its back like this: 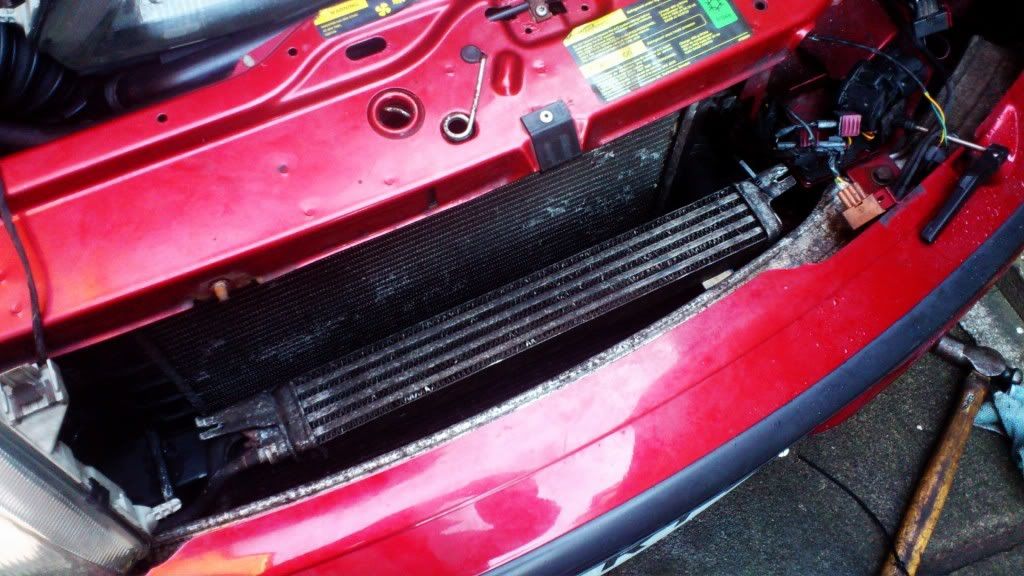 I suspect that this will provide sufficient cooling anyway. However, I've ordered a couple of proper ally pipe joiners and some long metal cable ties which will enable it to sit the right way, all of which can be done without tearing it apart again. A clean up of the bumper mounts and a splash of copperslip on them and the bumper slips on and clears everything fine. 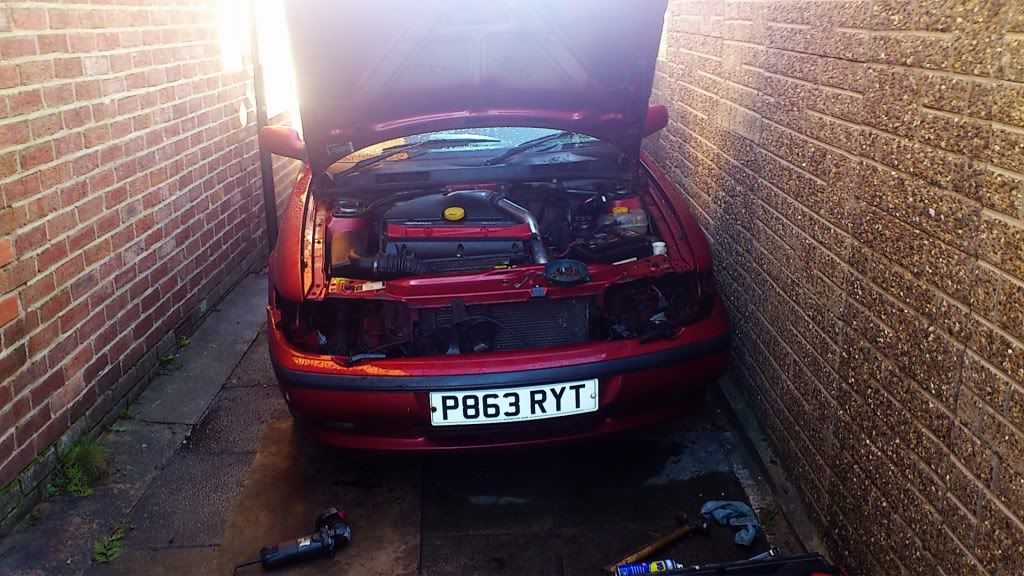 Lights are now on too. 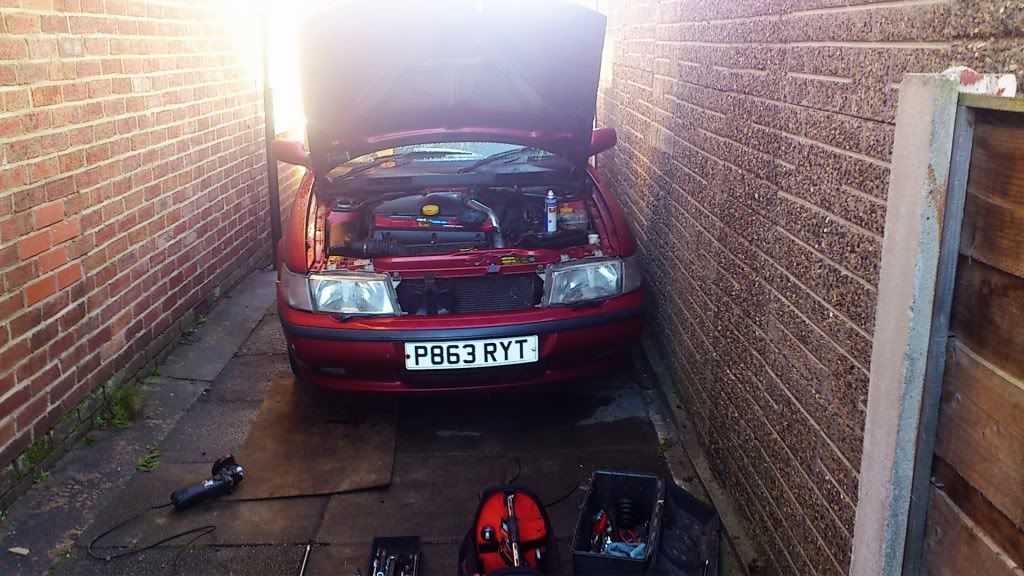 Remaining jobs: Get and fit PAS pipe. Refit undertray Connect up foglamps and temp sensor Permanently attach oil cooler. If Christmas hadn't got in the way, it would have been sorted by now.  |
| |
Jaguar S-Type 3.0 SE
|
|
|
|
|
|
|
|
Nice looking 900 you've got there.
I had a Talladega for a short while, same colour, a 2.0i with black leather, non Turbo though.
I paid 200 quid for it, taxed it, T cut and polished it, drove it to Holland for the Saab International 2009 and did a bit of touring whilst over there (2500 miles all together). It averaged 38 mpg and was very comfy/relaxing to drive.
There was quite a bit of rust underneath and under the front wheel arches behind the plastic splash guards(think it had been in the water going by the way and where it was rusting at the back). I scrapped it in the end as no one wanted it.
Only bits I have left are two of the alloys.
Will
|
| |
1964 Saab 96 two Stroke
1971 Hillman Avenger 1500 GL (Tuned 1600 fitted)
1976 Saab 99 2dr EMS (Project of very slow progress)
1978 Saab 99 2dr EMS (Awaiting reshell)
1981 Saab 99 2dr Turbo (Awaiting reshell)
|
|
|
|
|
|
|
Nice looking 900 you've got there. I had a Talladega for a short while, same colour, a 2.0i with black leather, non Turbo though. I paid 200 quid for it, taxed it, T cut and polished it, drove it to Holland for the Saab International 2009 and did a bit of touring whilst over there (2500 miles all together). It averaged 38 mpg and was very comfy/relaxing to drive. There was quite a bit of rust underneath and under the front wheel arches behind the plastic splash guards(think it had been in the water going by the way and where it was rusting at the back). I scrapped it in the end as no one wanted it. Only bits I have left are two of the alloys. Will If you were a tad nearer I'd probably bid you on the alloys.  Things have been quiet due to my local hose supplier being shut for the christmas break. However, a window of opportunity presented itself so I went to the hose place yesterday. If you look at the pictures, you might be able to make out that the crimped parts are integral to the hose ends rather than being separate. 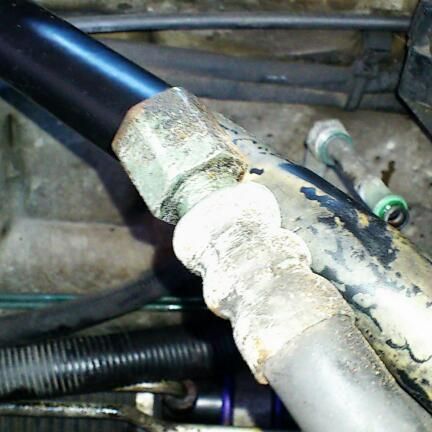 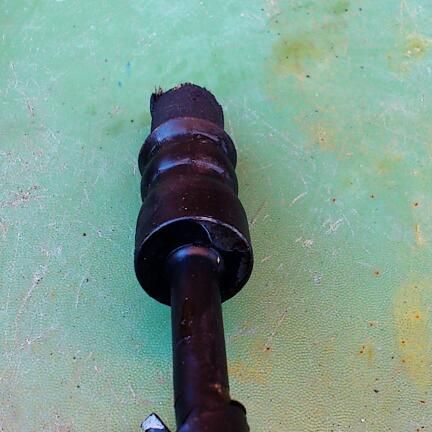 He says it's no problem though, he'll just machine off the crimped part and go from there. The finished joints will be good enough to hold 700 million bar (or something like that)so the 100 bar in my PAS lines shouldn't trouble it. The original quote was for £25 based on my rough description and he says it's still £25, which is nice. I collected it on my way home from work: 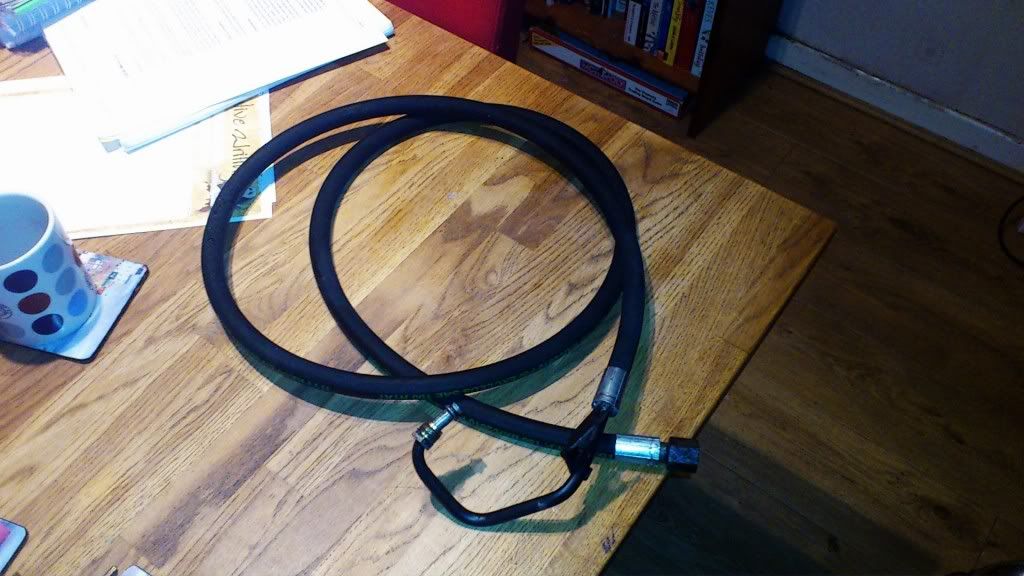 then removed it from the dining room table before Mrs K got home and threw it on the car (no pics because it's dark). Filling the reservoir and working the steering brought some very odd noises from the pump as it filled up with fluid and the air was expelled and the fluid went all frothy. The routing of the new hose follows a much cooler path than the old but, from under the bonnet, you would never know what has been done. Except that the burst pressure of the new hose is greater than the old. All that remains is to replace the hose clips with the new ones I bought and put the undertray back on. Immense thanks are due to Andy at Lancashire hose and fittings for answering emails during his christmas break and sticking to his quoted price even though it was slightly more tricky than expected. Hydraulic Hose & Hoses Bolton | Industrial Hose Manchester | Bury | Wigan | Preston |
| |
Jaguar S-Type 3.0 SE
|
|
|
|
|
Jan 14, 2014 22:21:42 GMT
|
Only bits I have left are two of the alloys. Will If you were a tad nearer I'd probably bid you on the alloys. No worries. If you're down this way at all, give me a shout, I don't want a lot for the wheels and I can't see them going anywhere in a hurry |
| |
1964 Saab 96 two Stroke
1971 Hillman Avenger 1500 GL (Tuned 1600 fitted)
1976 Saab 99 2dr EMS (Project of very slow progress)
1978 Saab 99 2dr EMS (Awaiting reshell)
1981 Saab 99 2dr Turbo (Awaiting reshell)
|
|
|
|
|
Jan 14, 2014 22:27:18 GMT
|
|
|
| |
1964 Saab 96 two Stroke
1971 Hillman Avenger 1500 GL (Tuned 1600 fitted)
1976 Saab 99 2dr EMS (Project of very slow progress)
1978 Saab 99 2dr EMS (Awaiting reshell)
1981 Saab 99 2dr Turbo (Awaiting reshell)
|
|
|
|
|
Apr 12, 2015 21:19:55 GMT
|
I forgot all about this thread until the other day. A lot has happened since January 2014 including some minor body repairs, a number of fuel leaks, a minor collision on the M60, a new grille, an absolute disaster with a CV joint change, and this week a chronic MoT failure. It needs: The handbrake adjusted (which I did this morning). A patch on the floor about 2" by 1" within the prescribed area..... Mileage is now 163,000 miles. I can't be arsed to do a full update of everything I've done so have a photo montage instead. 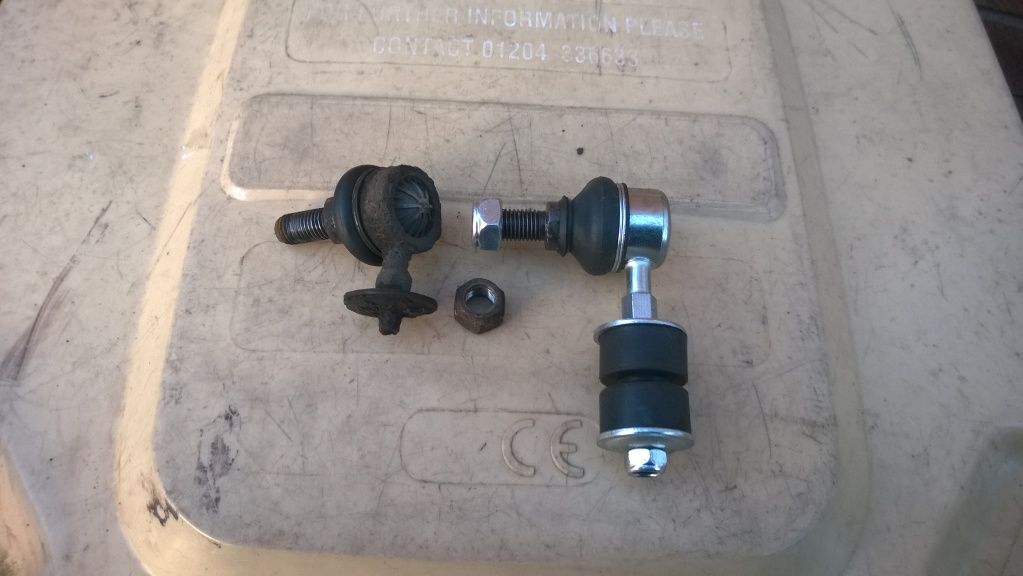 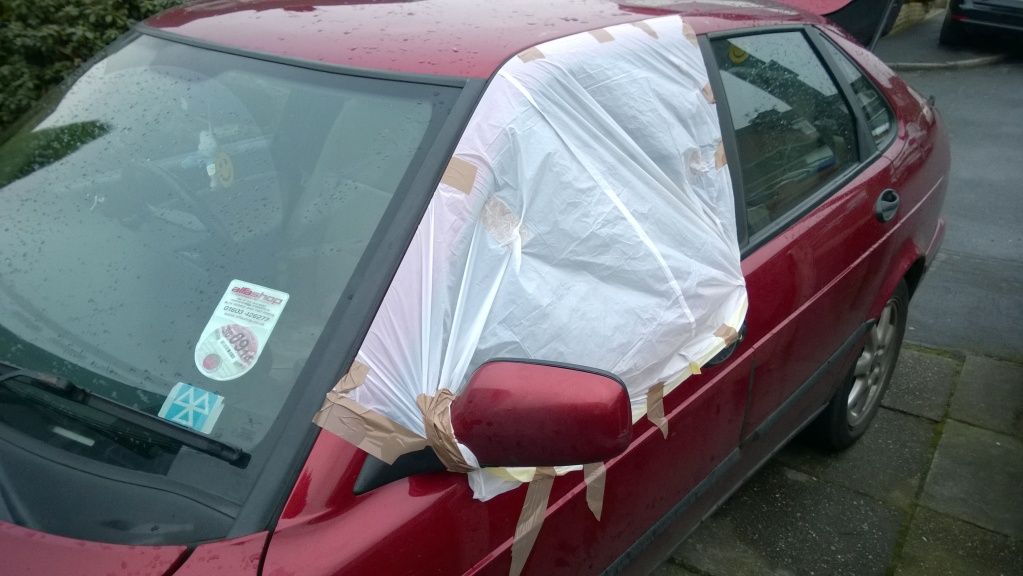 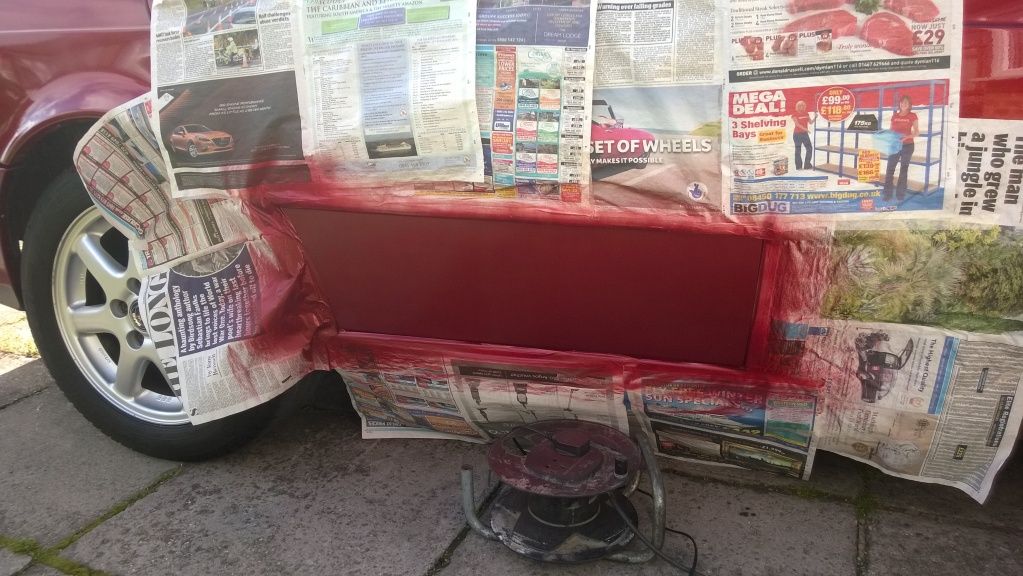 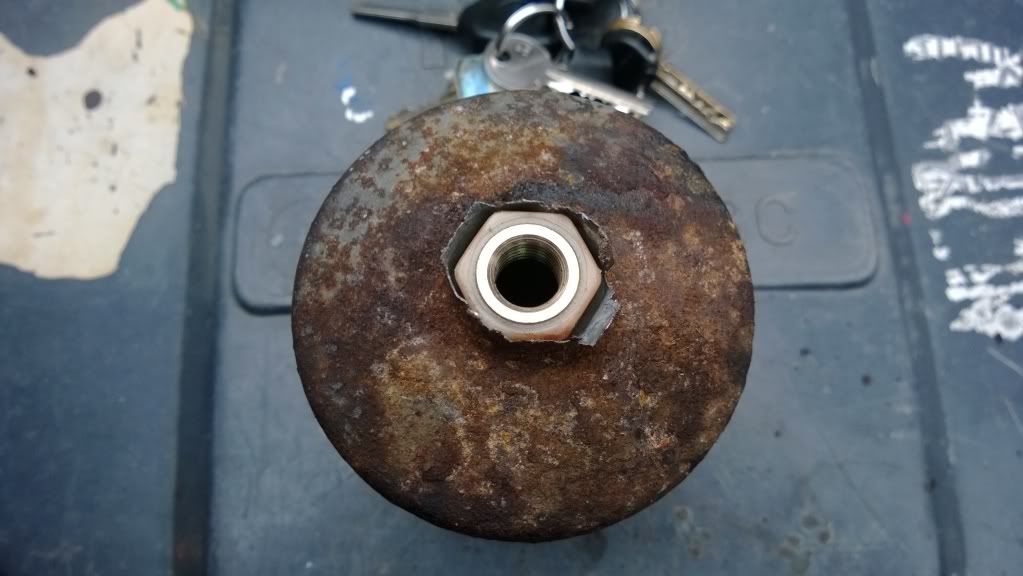 |
| |
Jaguar S-Type 3.0 SE
|
|
|
|
|
Apr 12, 2015 21:22:28 GMT
|
|
|
| |
Last Edit: Apr 12, 2015 21:27:13 GMT by keithyboy
Jaguar S-Type 3.0 SE
|
|
|
|