Fungus
Part of things

Posts: 960
|
|
Apr 16, 2015 13:38:34 GMT
|
So for the last few weeks I've been back home fiddling with the car. The underside is all done (see the previous posts) so now i'm working on the interior and engine bay. Paint will be last. Here's a recent shot of the rear inner arch, all the paint is now cured properly and was given a polish and wax  Anyway, back to the new progress. I started with the engine bay. Polo's have a secondary bulkhead, which acts as a divider for the heater, fusebox and battery. It's also very ugly and doesn't leave a lot of room for bike carbs or DCOE's (hint hint). I wanted to remove it in the neatest way possible, so that the panel would be complete when removed. There was no real reason for this other than i wanted to see if i could do it (most people chop it up with a grinder to get it out.) 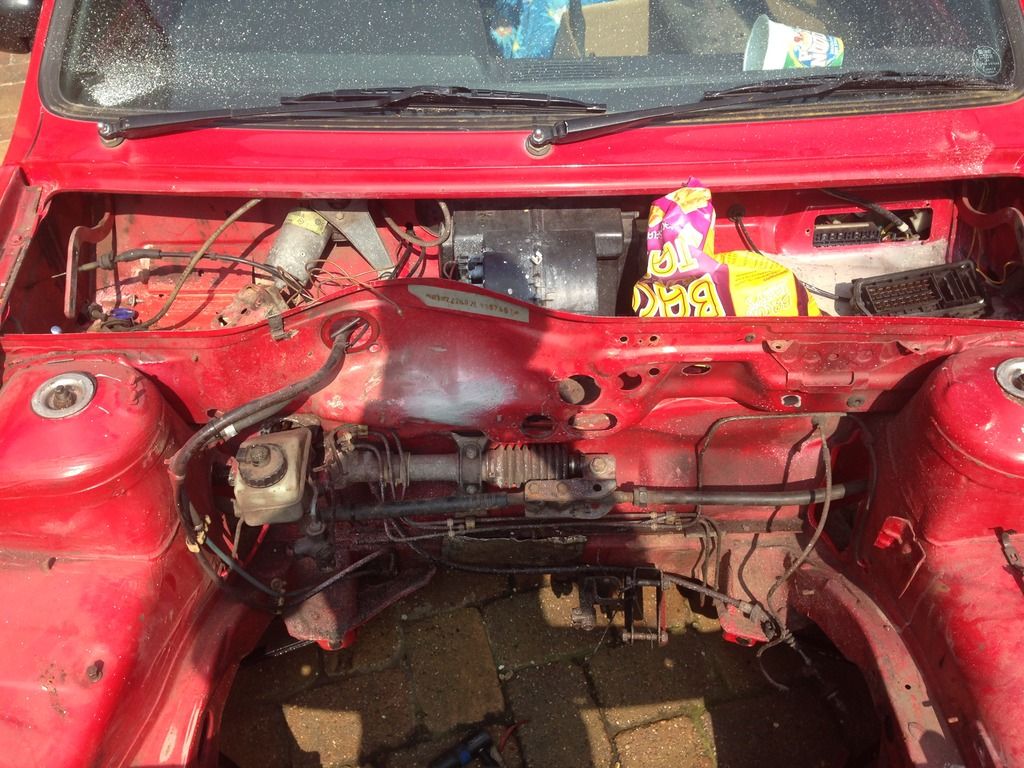 I started off by sanding all the edges with 180 grit to expose the spot welds 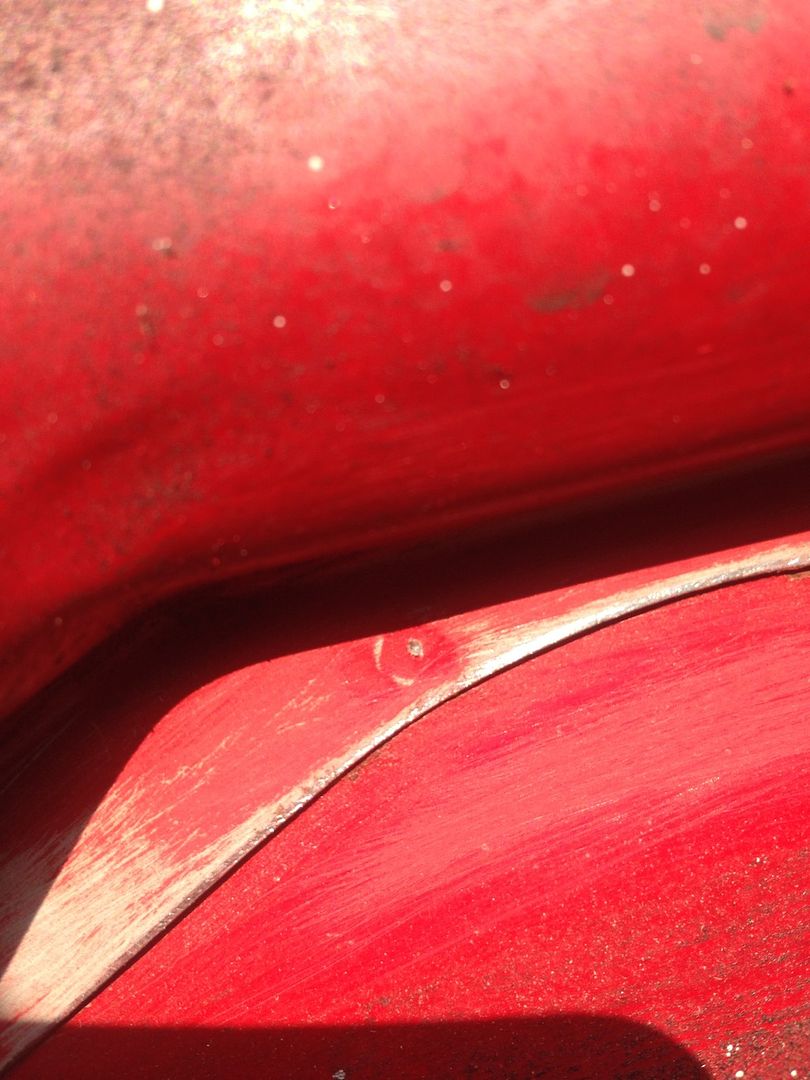  Will all the spotwelds unearthed it was time to get drilling. I used a Wurth spot weld drill-bit, which is probably one of the best tools I've bought recently. 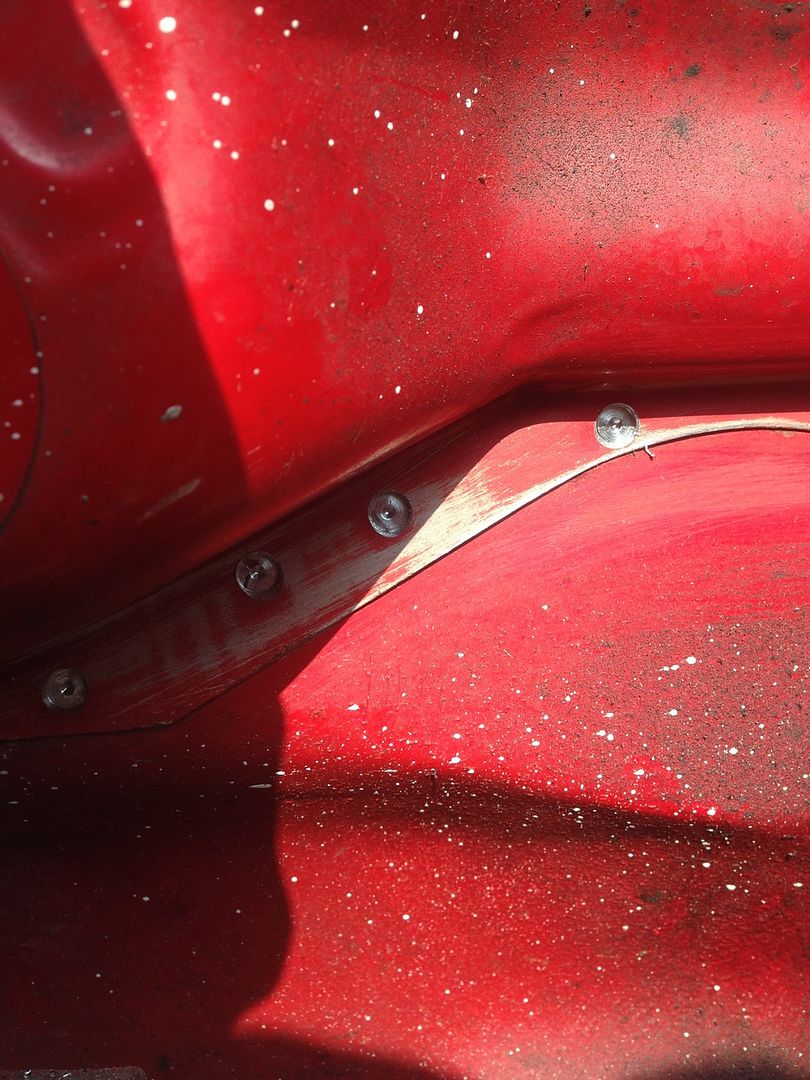 The welds at the back of the suspension turrets were only accessible with a 90-degree drill 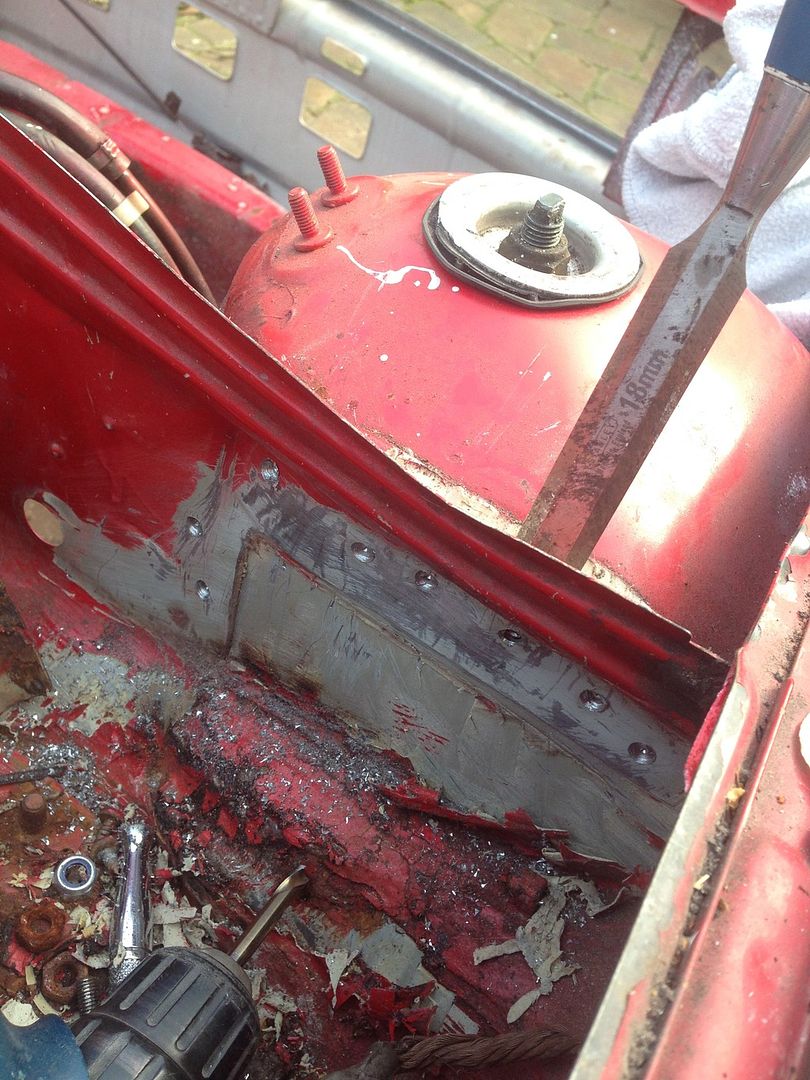 It slowly started to come apart, with the help of gentle chiseling where it was stuck together with seam sealer 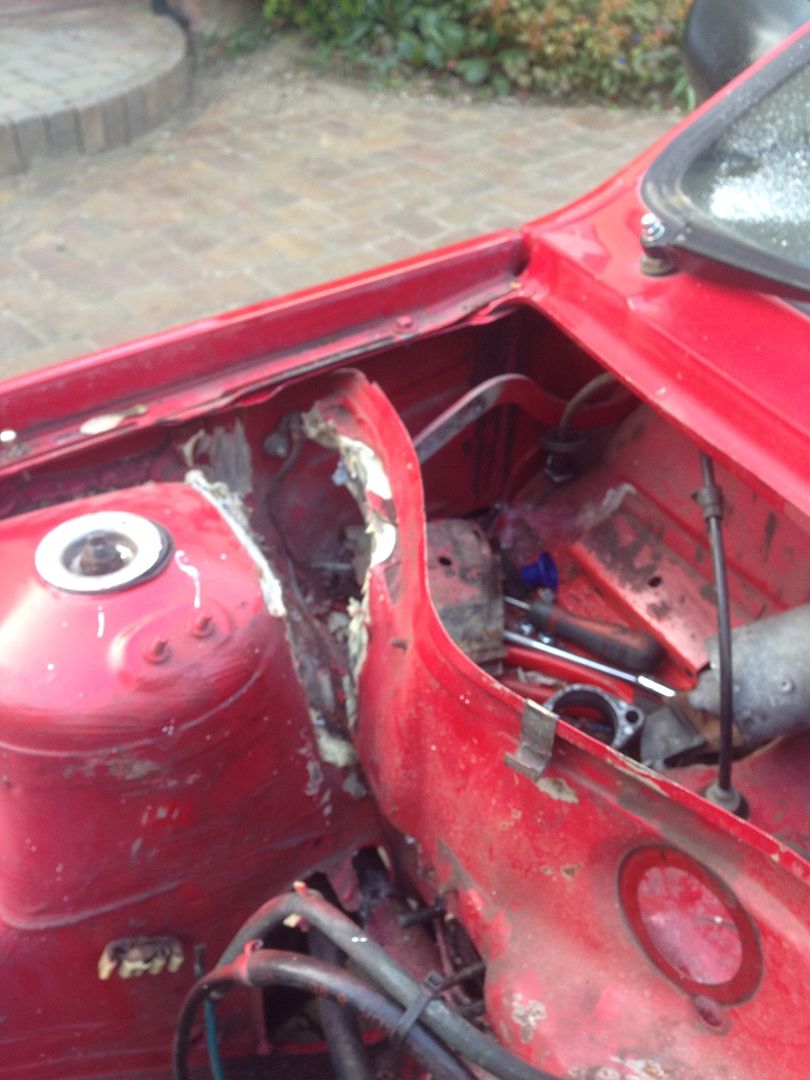 Nearly there! 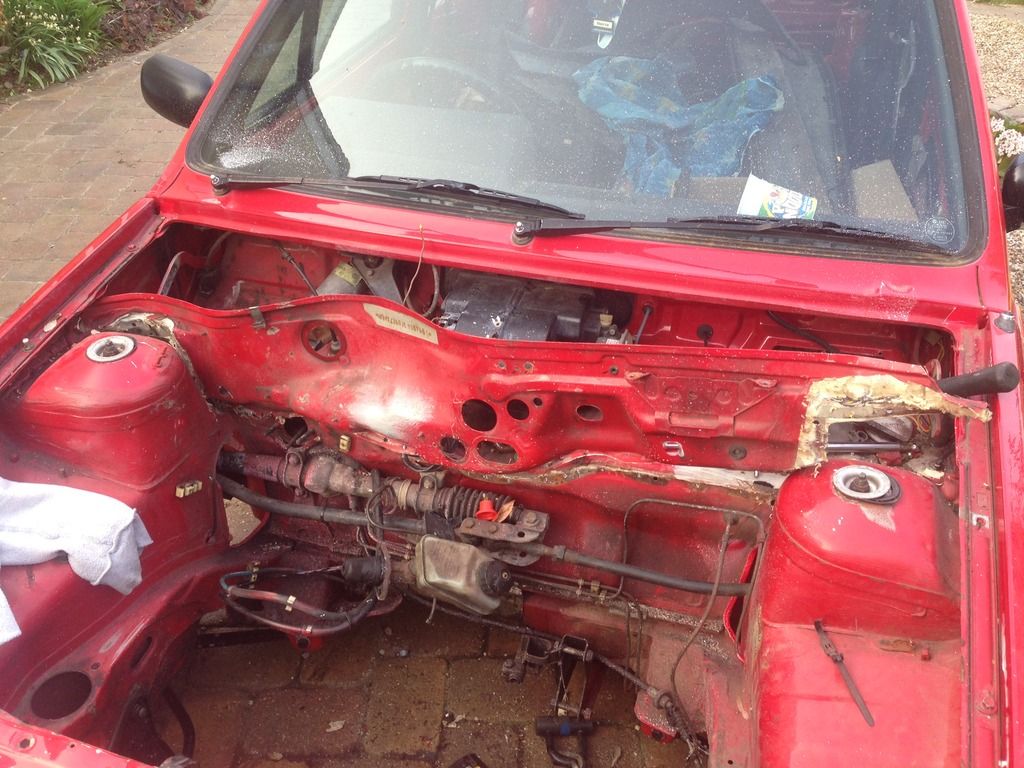 Out 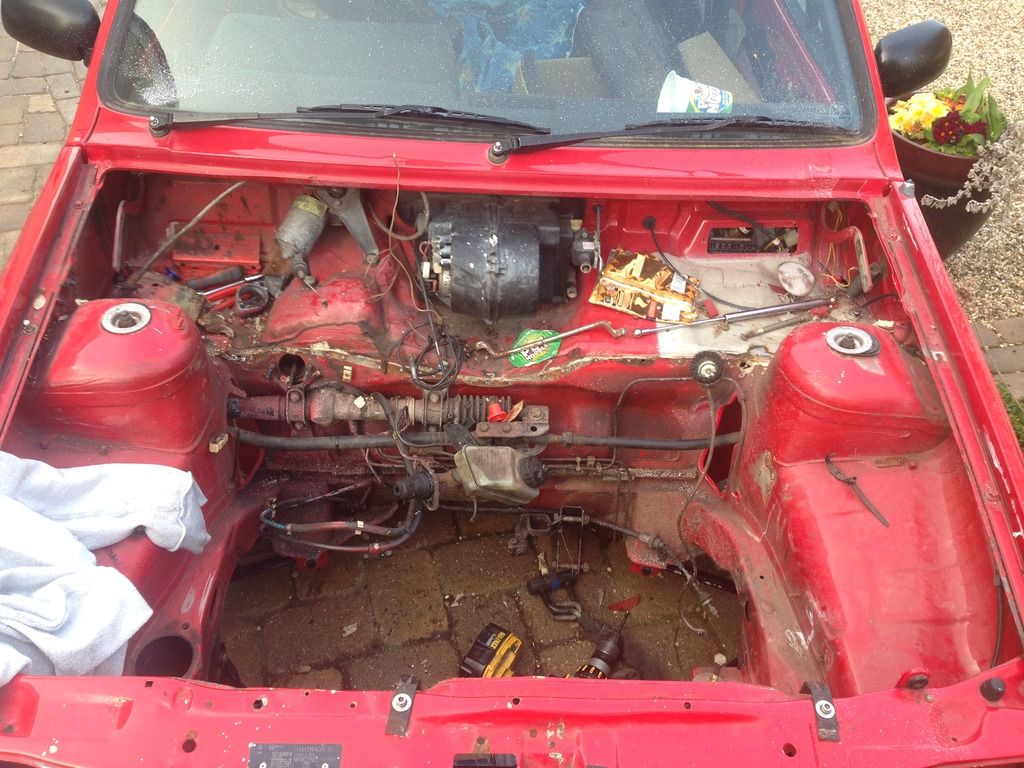 As planned it came out in one piece, with no major damaged. I can now run Bike carbs of Webers and a bigger master cylinder without the usual clearance issues. |
| |
Last Edit: Apr 16, 2015 14:05:49 GMT by Fungus
|
|
|
|
Fungus
Part of things
Posts: 960
|
|
Apr 16, 2015 13:58:33 GMT
|
Last update for now; With some decent progress made on the engine bay, i decided to try some mods that were more fun and less aggro (in my opinion) I've never really liked the Gauge cluster in the car, even though it was the 'S' version with a Tachometer. I started looking for some gauges that would suit the 80's look i'm going for and settled on Porsche 924. There was a Tachometer going cheap on ebay, so it was time to commit! Here's the Gauge, i think it looks awesome 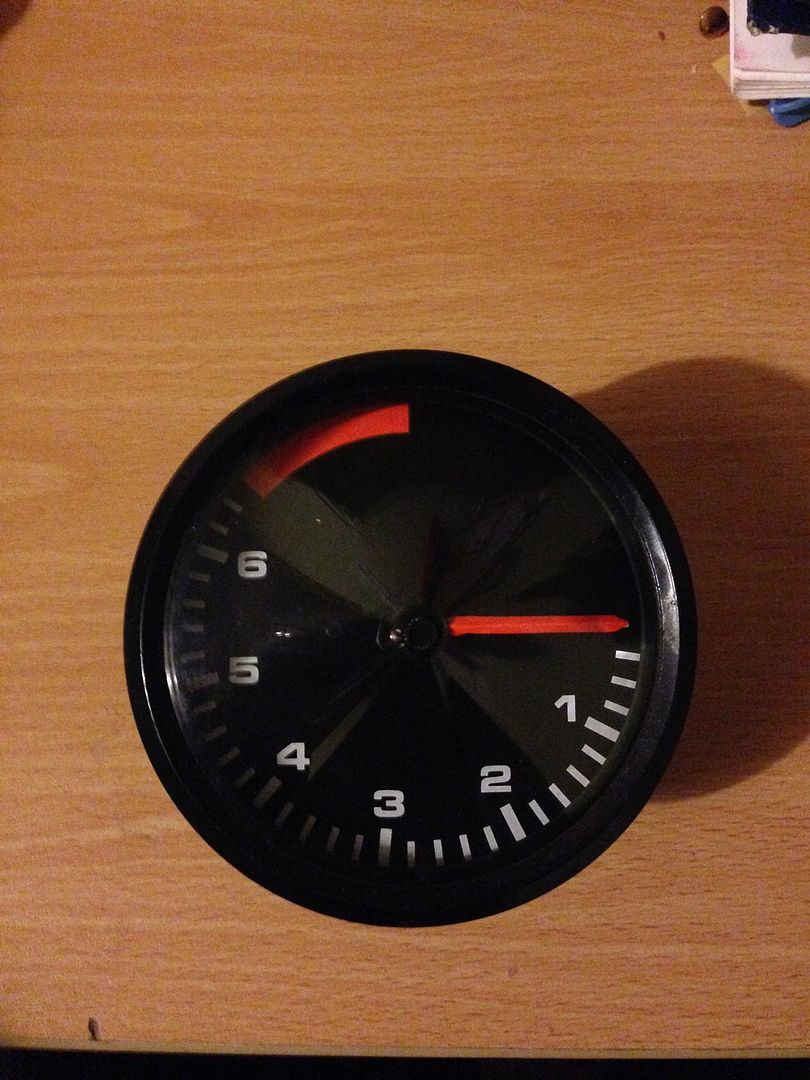 I removed the original cluster and surround and offered it up. At first i wanted to modify the gauge to be vertical-drop, but i think i'll keep it how it is. 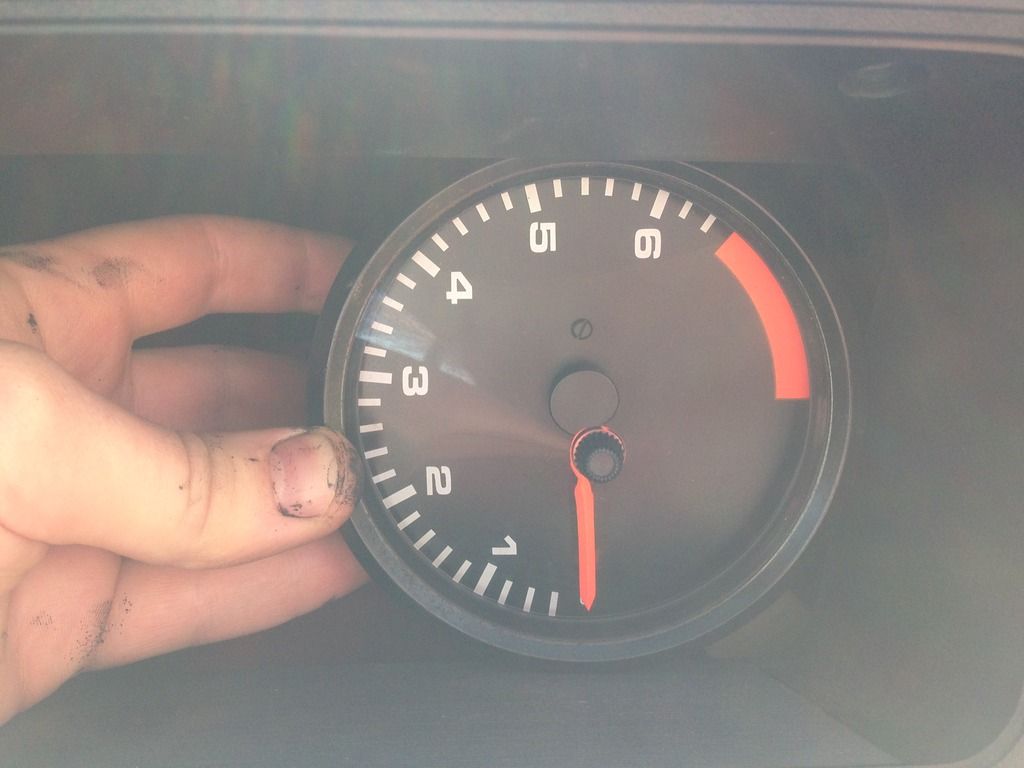 I drew up a mounting panel on SolidWorks and printed it out onto card. It wasnt the neatest of cutting-out but all the dimensions seemed good 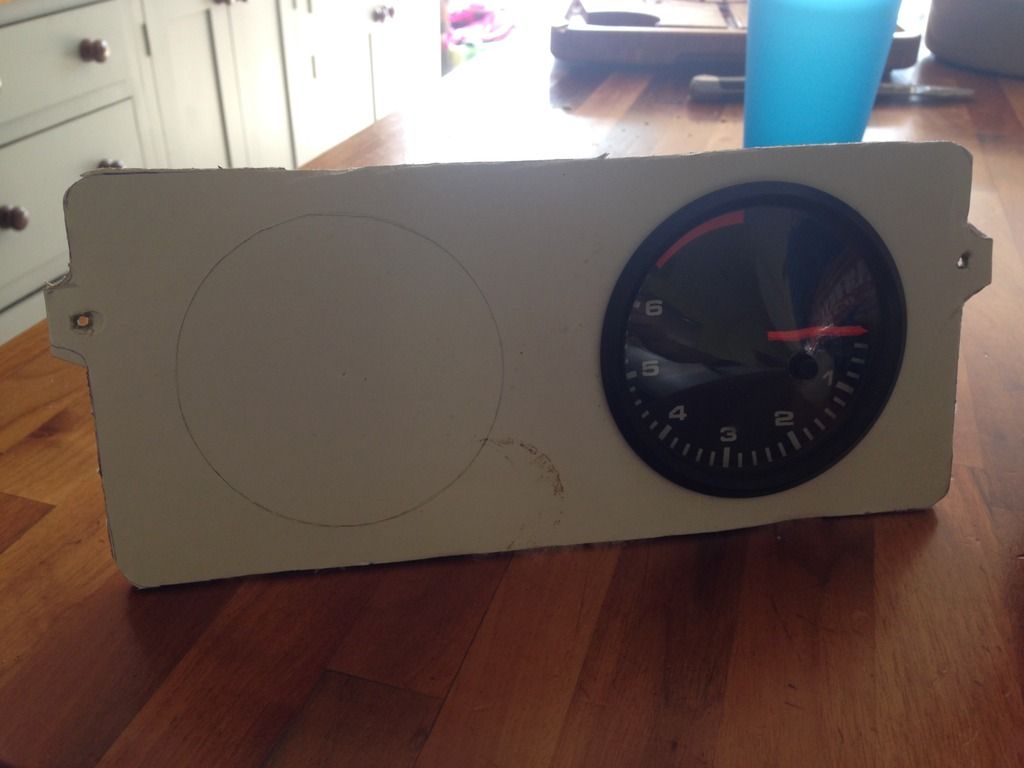 I'm using the mounting point for the old cluster, which should be plenty strong enough 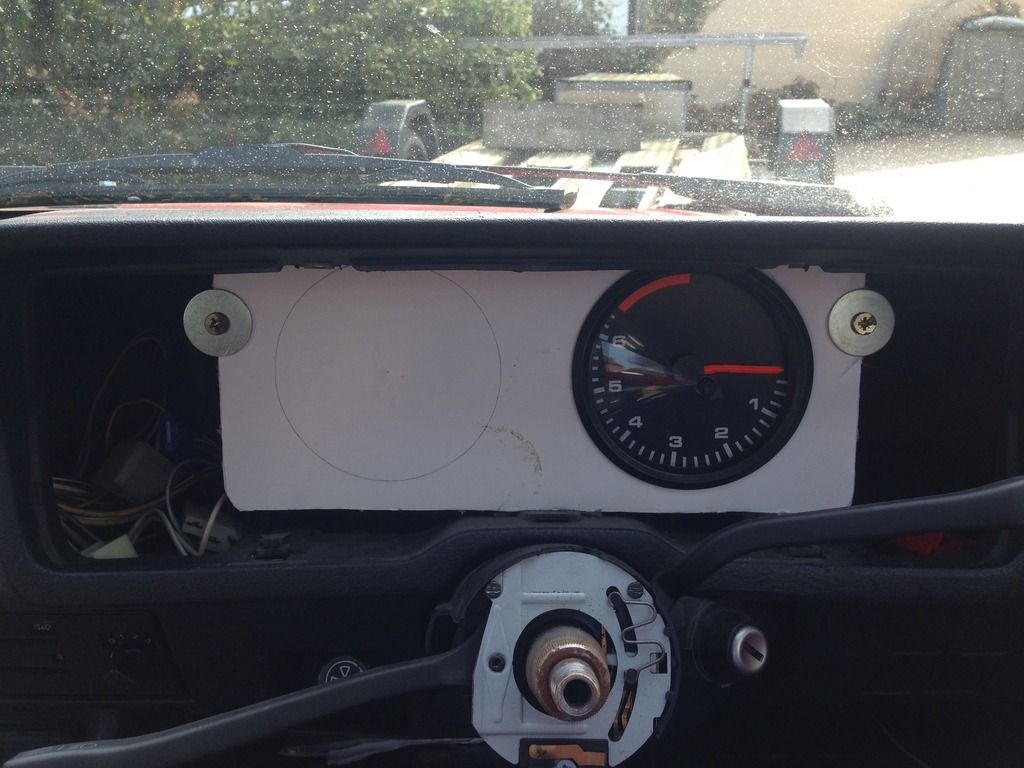 The surround panel needed some trimming as the new panel sits further forward than the cluster, due the the Porsche gauges being quite deep. 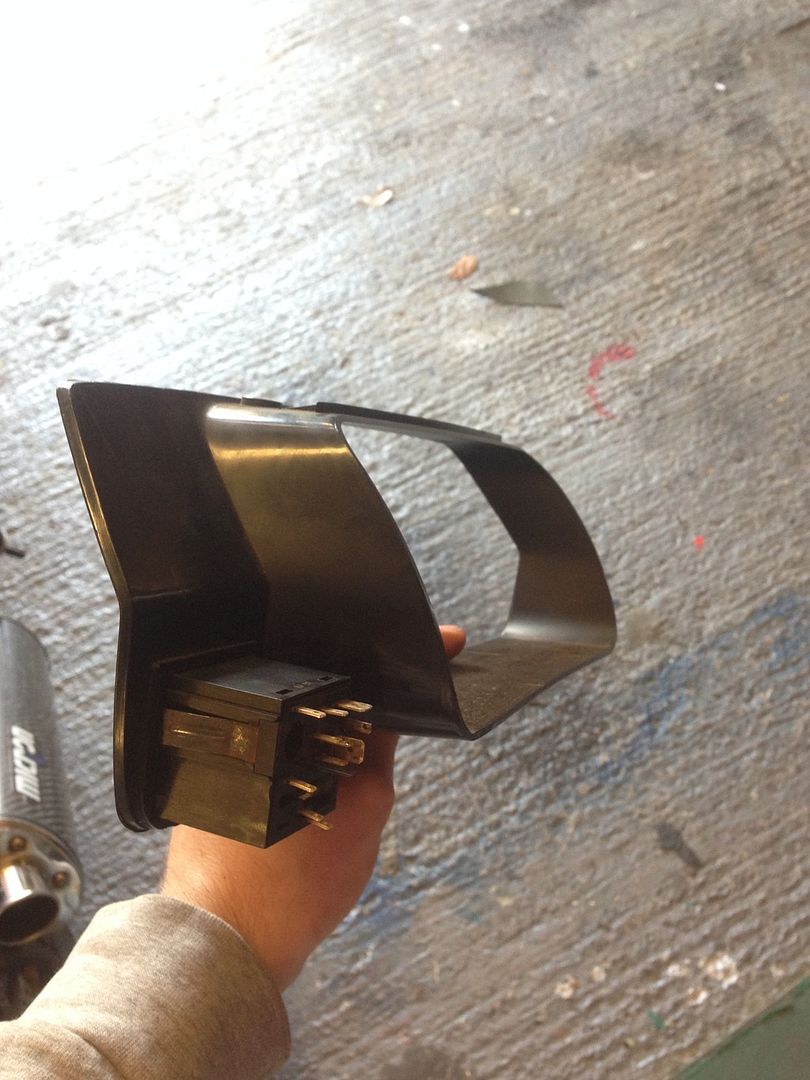 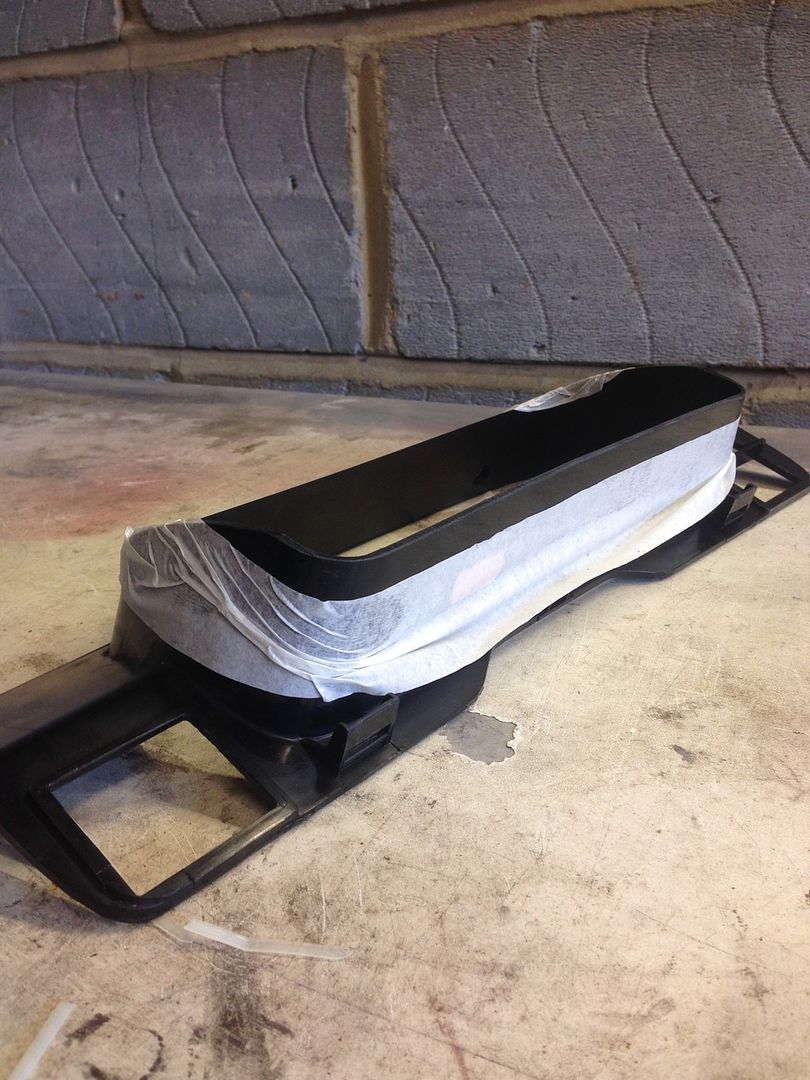 I cut it on my bandsaw, it was pretty neat but not perfect. The biggest issue was the sharp corner/change in direction where the new cut met the original curve 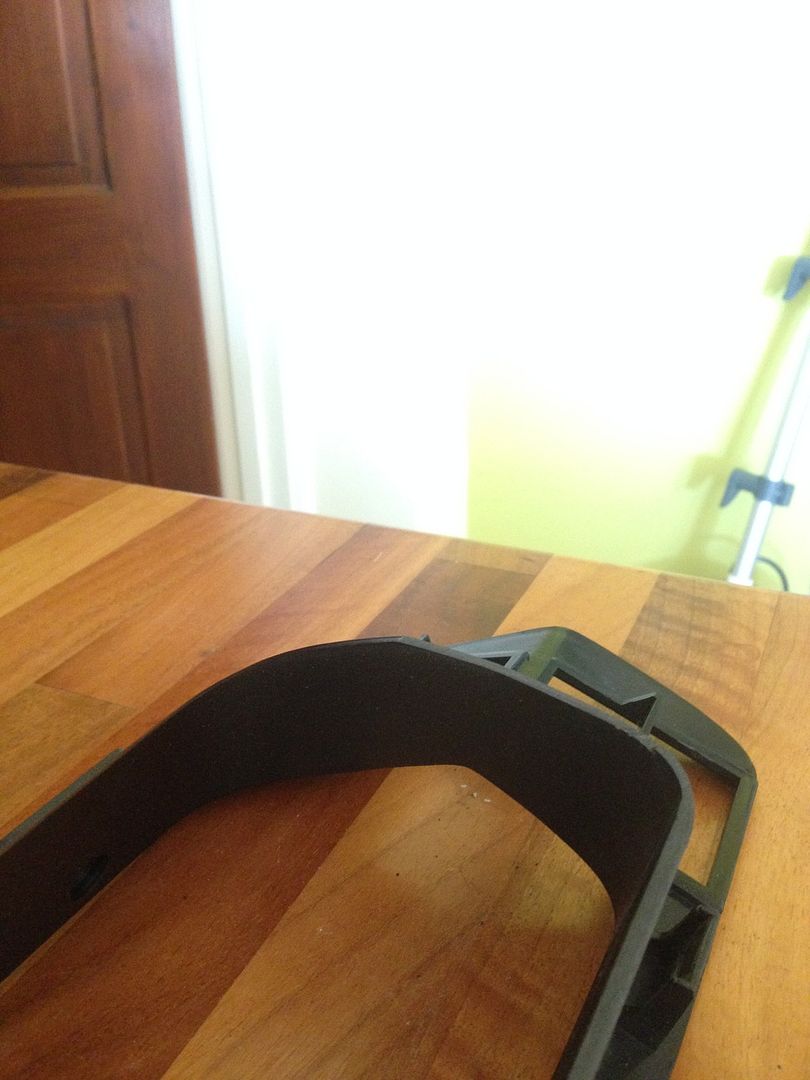 So this was blended in using a dremel (with a cutting disc) and then the entire rear edge wet-sanded 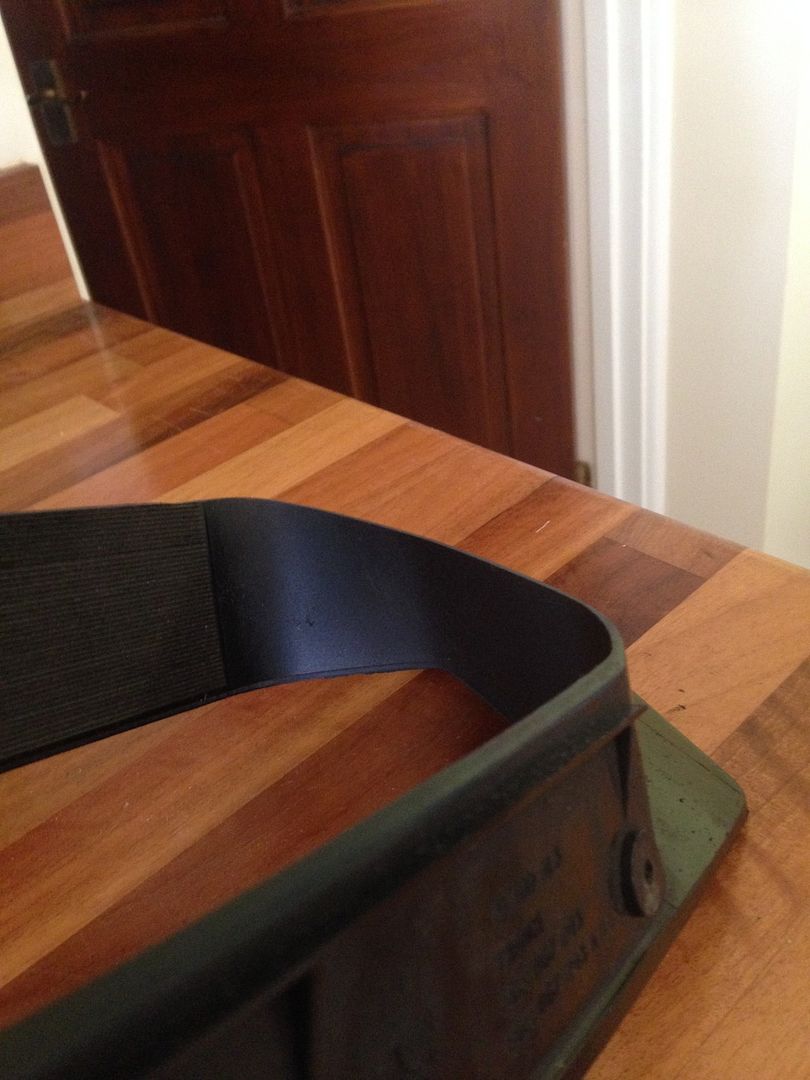 After all this the surround fits perfectly, with a nice even gap against the new gauge panel. The gauges are actually bigger than the opening in the surround, but due to the viewing angle when in the drivers seat this isn't really noticeable 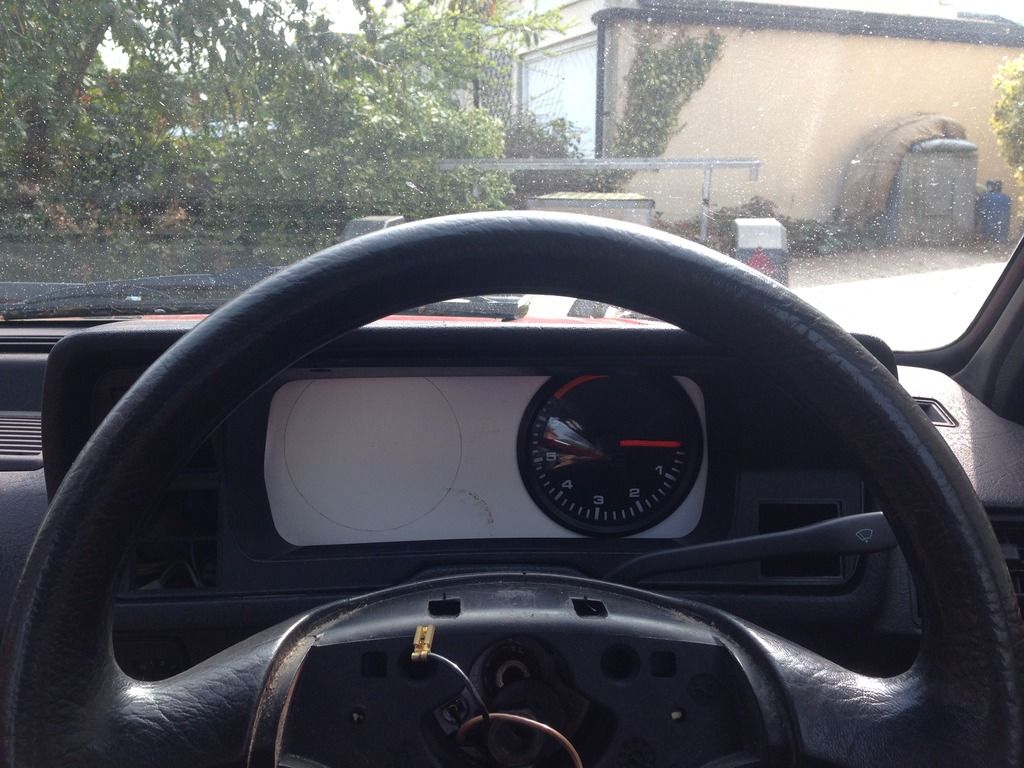 This pic shows the surround panel cutting off the top of the gauge, but again, it's not really noticeable when seated. 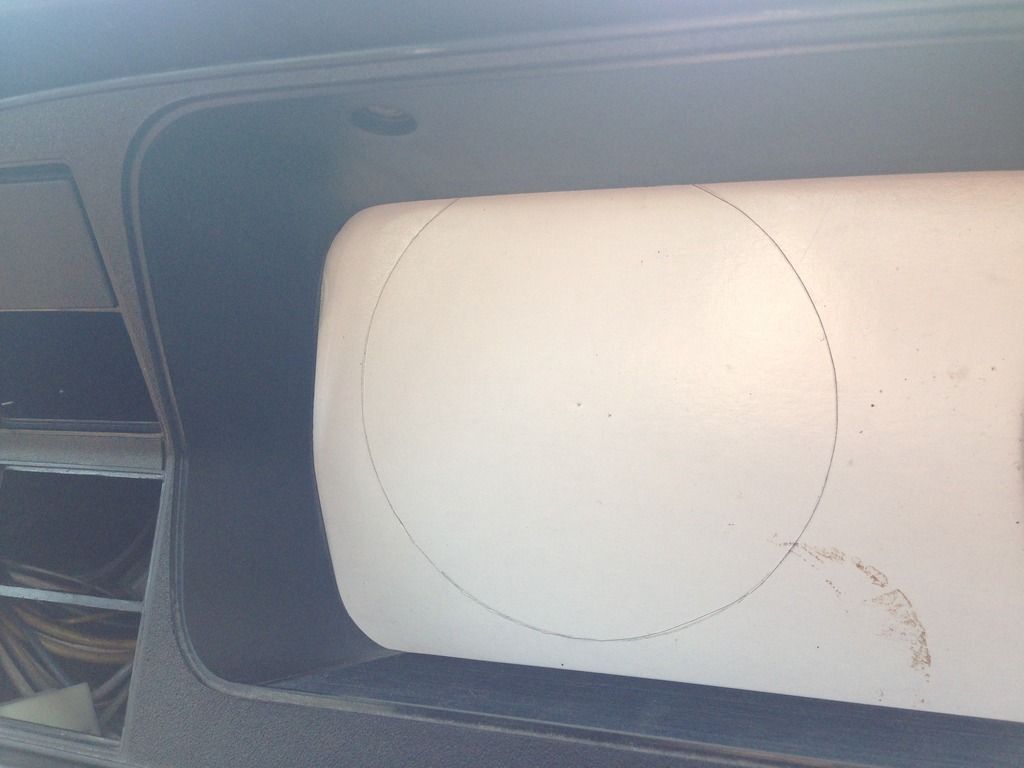 That's it for now. I'm hoping to get the gauge panel cut on Monday (laser cut from texture black ABS sheet). When i have bought a matching speedometer, i'll be modifying both gauges to have flat-faces instead of standard conical ones. Pics soon. Thanks for reading, Fungus |
| |
Last Edit: Apr 16, 2015 14:00:17 GMT by Fungus
|
|
Fungus
Part of things
Posts: 960
|
|
|
|
Update time. I managed to source a 924 Speedometer that matches the Tach, I think it's a 1985 as the font is different to others I've seen. I wanted to convert the gauges to flat-faces rather than the standard, so I laser cut some 3mm clear acrylic (96mm diameter if you're curious for some obscure reason). After that it was just a case of careful prising up the bezel, removing the old face and putting in the new one. After that the bezels were replaced and it was all done. 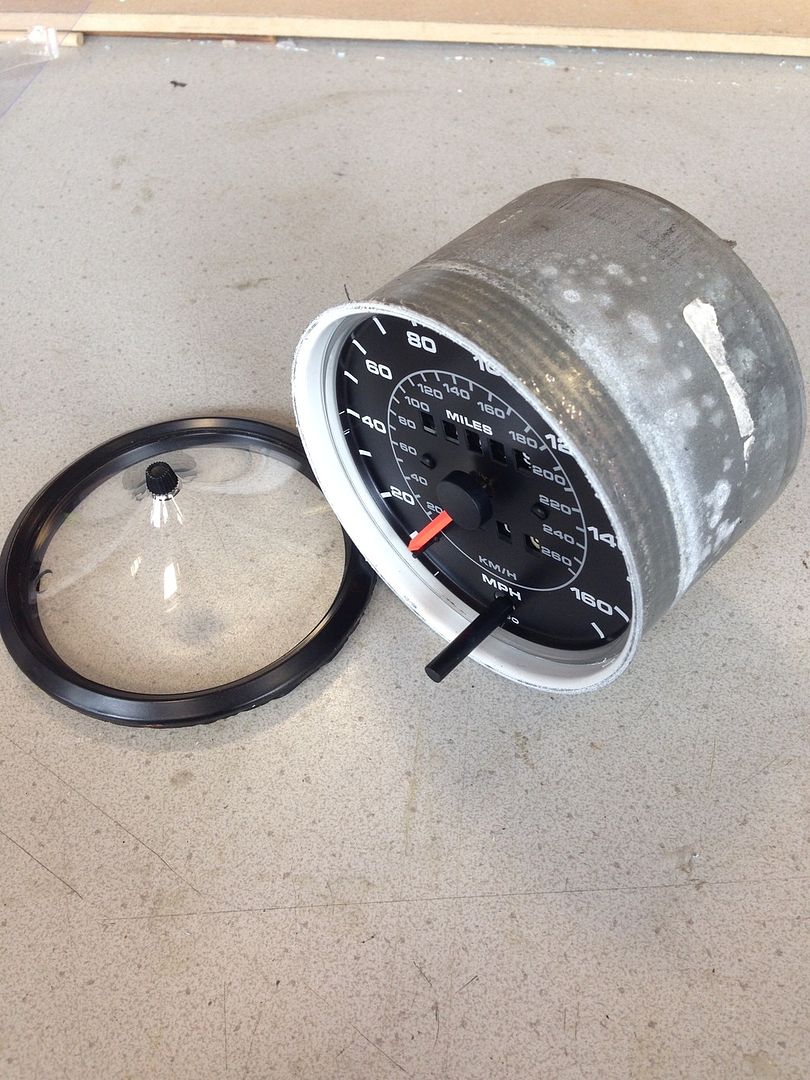 Bezels were scotchbrite'd, etch primed and painted matte black. I had completely overlooked the trip-meter reset pin/peg on the speedometer, so I had to drill a hole for it. It was a nice clean job using the Uni's high speed PCB drills. 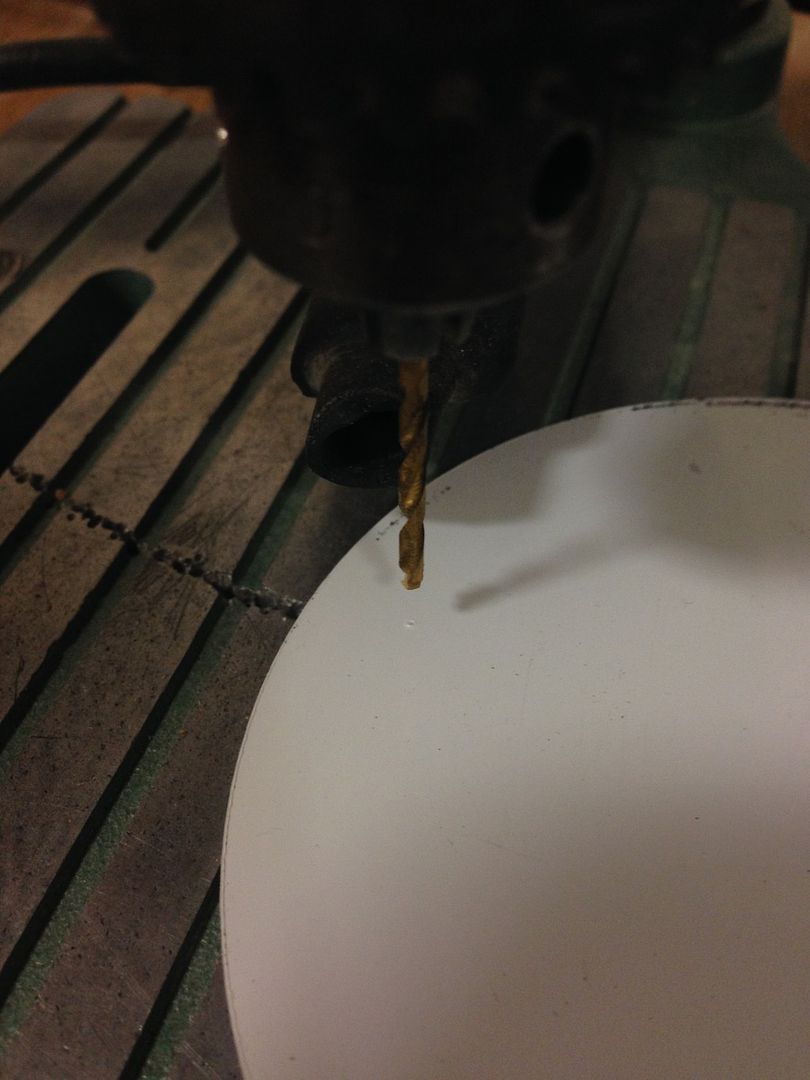 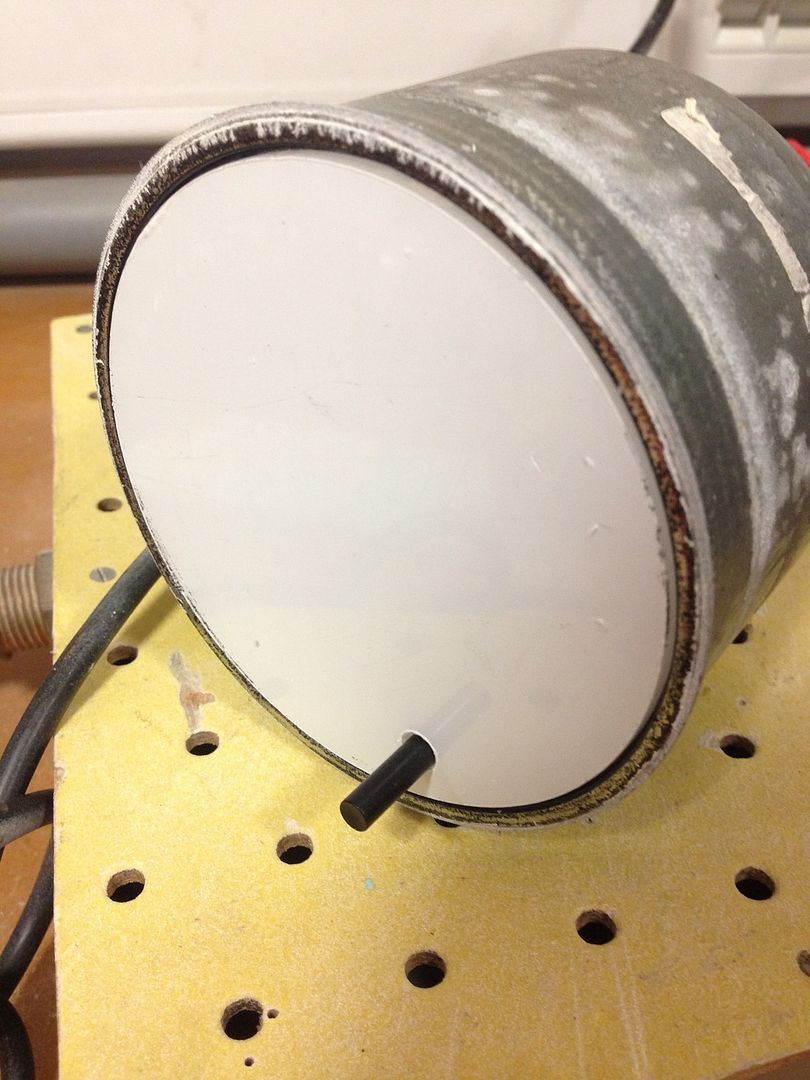 Ready for the bezel: 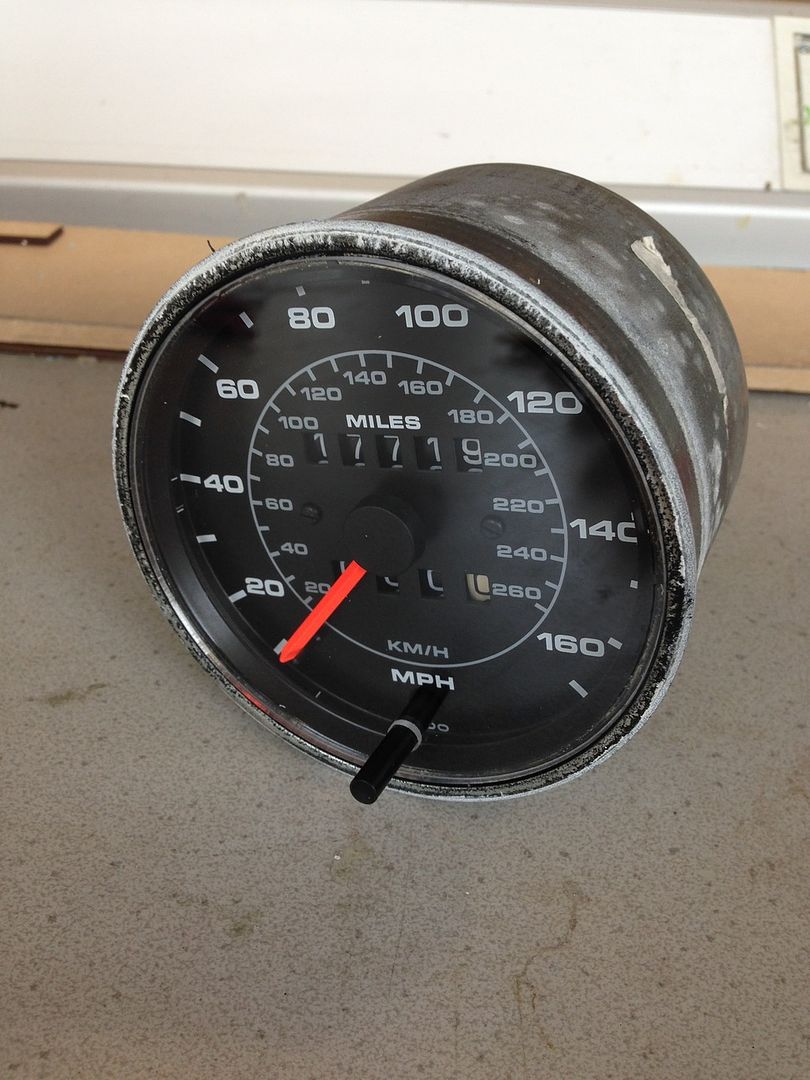 I don't have any pics of the bezel-installing but it was just a case of making sure the paint had hardened and slowly bending over the edge with a piece of steel rod. The whole process was the same for the Tach minus the hole-drilling. My previous post shows the card template I was using to mount the Tach in the car. This was actually drawn on Solidworks and printed (and cut out) so I already had the part drawn up. So, while I was laser cutting the gauge faces, I also cut the mounting panel out of some 3mm Textured ABS. 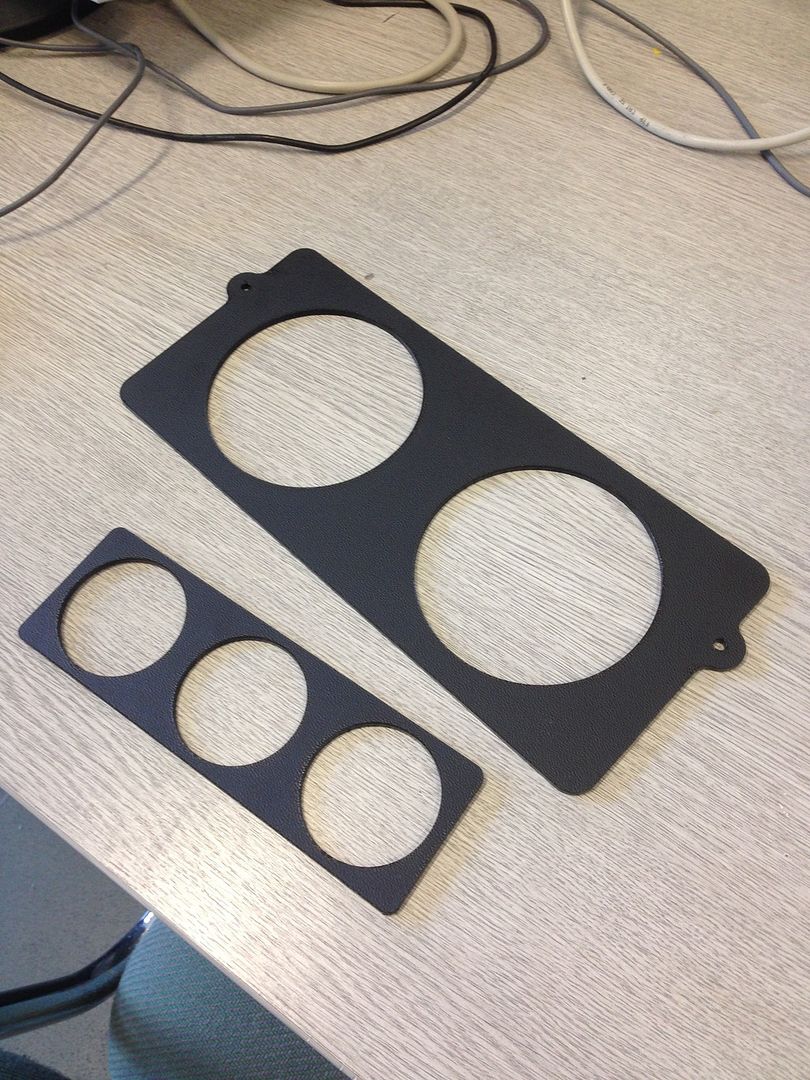 As you can see I also cut out a Head unit blank with three 52mm gauge holes, more on that later. So here's the Tach mounted 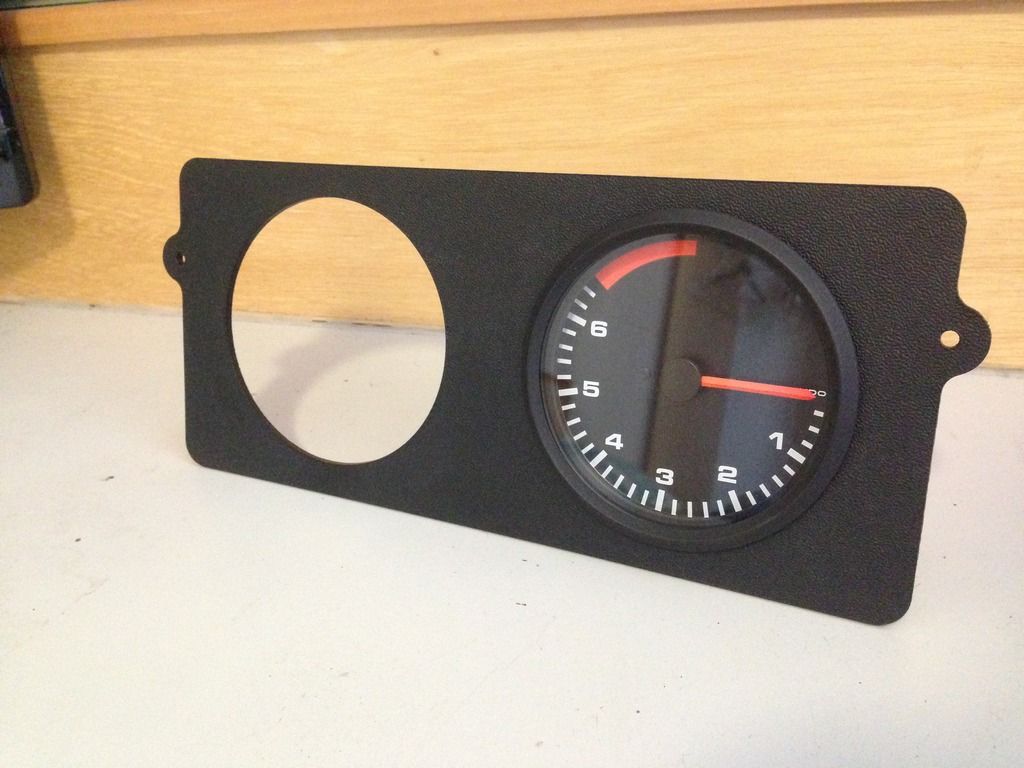 And with the Speedometer in too (awful pic, lighting in my room is terrible) 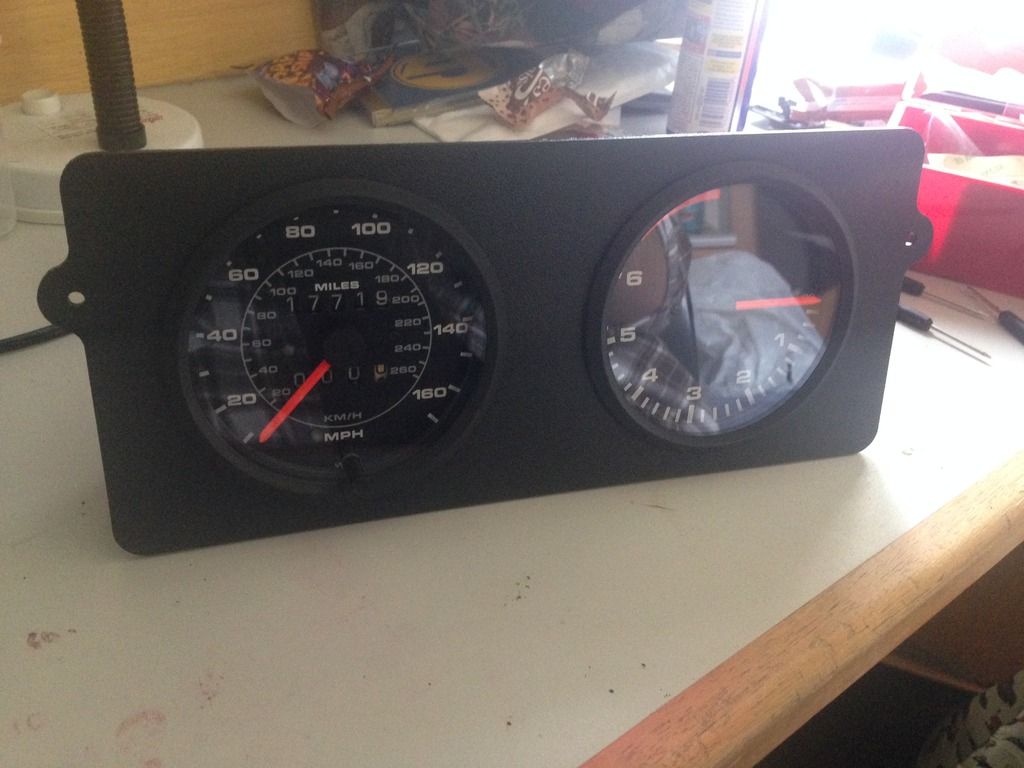 Overall I'm pretty pleased with this mod, it doesn't look too out of place (80's, VDO) but, in my opinion, is miles better than the standard cluster. That's it for now! Thanks, Fungus |
| |
Last Edit: May 5, 2015 21:32:44 GMT by Fungus
|
|
|
|
|
|
|
|
|
|
That ^ is first class, nice work. Looking forward to seeing it in the car.
|
| |
|
|
|
|
|
|
|
|
Gauges look cool mate.
Won't you need to add some 'idiot' lights for the mot ?
|
| |
|
|
Fungus
Part of things
Posts: 960
|
|
|
|
That ^ is first class, nice work. Looking forward to seeing it in the car. Gauges look cool mate. Won't you need to add some 'idiot' lights for the mot ? Thanks guys, I'm really pleased with them. As for idiot lights, I haven't decided where to put them yet. In between the two gauges is the obvious option but I need to fit it in the car and see how it'll look. I only really need high-beam and indicators, maybe handbrake. |
| |
|
|
luckygti
Posted a lot
I need to try harder!
Posts: 4,912
|
|
|
|
|
This is shaping up very nicely and I love the gauges, I have a 924 rev counter that I always planned on fitting in my van, so I'll be following your progress closely, especially the wiring!
|
| |
|
|
shin2chin
Part of things
Making curse word cars slightly better
Posts: 820 
|
|
|
|
|
Might be worth checking the odometer is working on the speedo before fitting. On a lot of 924's the plastic cog slips or shatters. Great work with the laser cutting, beats my dodgy jigsawing any day.
|
| |
1977 PORSCHE 2.0na 924
1974 VW Beetle 1600
|
|
|
|
|
|
|
|
the dials look great , I did this a few years ago to a 86 polo saloon, And i used the whole 924 curved binnacle. It actually fitted in realy well in the polo dash gap. all that was needed was two fillet pieces at the ends.
|
| |
|
|
|
|
|
|
|
|
|
|
will you need a strut brace to put some rigidity back into the suspension ? Does look much better though ...
|
| |
Last Edit: May 6, 2015 7:28:36 GMT by westbay
|
|
Fungus
Part of things
Posts: 960
|
|
|
|
This is shaping up very nicely and I love the gauges, I have a 924 rev counter that I always planned on fitting in my van, so I'll be following your progress closely, especially the wiring! The wiring should be really simply, the 924 gauge only uses a +12v, ground and a coil signal  Might be worth checking the odometer is working on the speedo before fitting. On a lot of 924's the plastic cog slips or shatters. Great work with the laser cutting, beats my dodgy jigsawing any day. I've twiddled the cable socket with a screwdriver and it all seems to be fine, result! And thanks, it's really handy having the laser cutter. the dials look great , I did this a few years ago to a 86 polo saloon, And i used the whole 924 curved binnacle. It actually fitted in realy well in the polo dash gap. all that was needed was two fillet pieces at the ends. I never considered using the whole lot, that must've looked really cool. Did you have all three gauges in? will you need a strut brace to put some rigidity back into the suspension ? Does look much better though ... I'll be making a strut brace that bolts into some brackets welded onto the towers, I can't stand cheap alloy braces that bolt on but as you say, it probably needs something to bring back the rigidity. |
| |
|
|
Fungus
Part of things
Posts: 960
|
|
|
|
Just a little update; I've decided to keep an Italvolanti steering wheel from my collection, so it'll be going on the Polo. 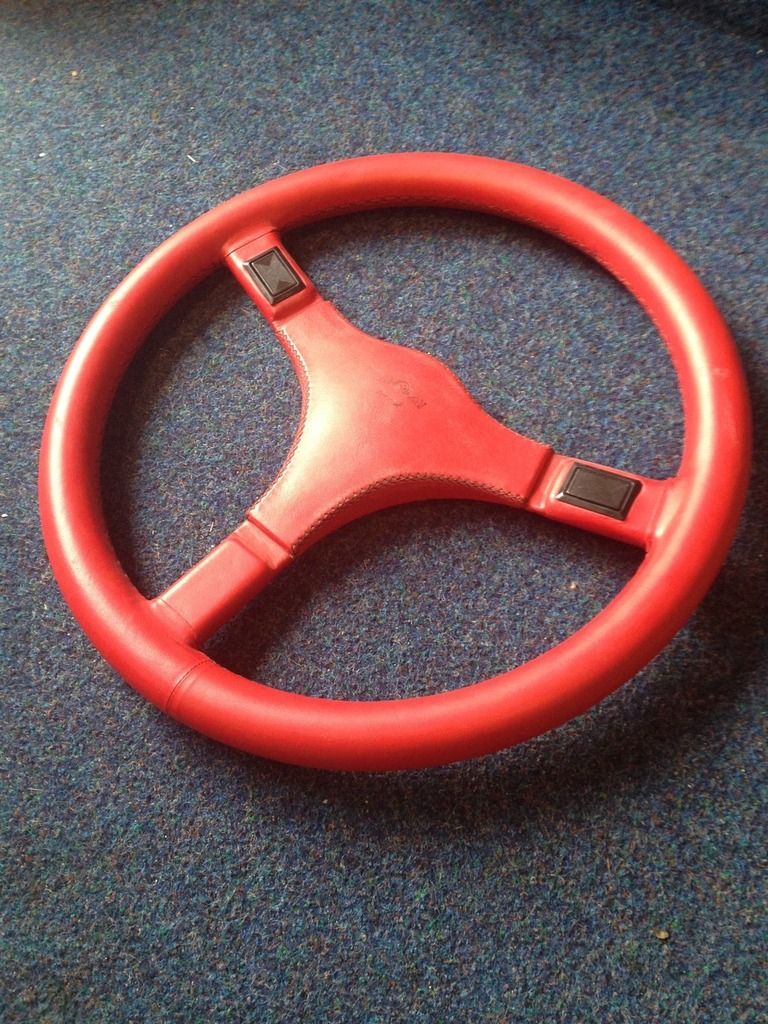 It's dated 16/03/1987 and was showing some very faint signs of age. The leather was dry and the colour had faded slightly. I had a quick look on eBay for some conditioner/restorer and found this; 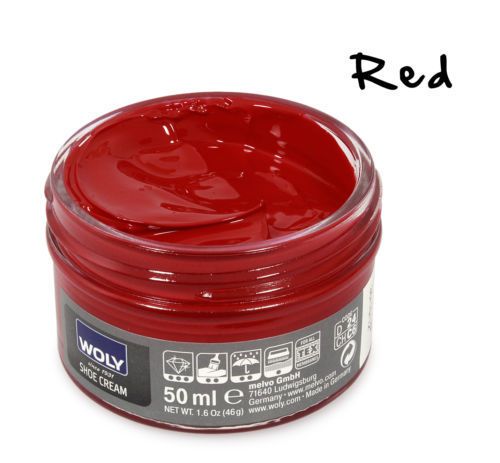 At £4.99 delivered I thought it was worth a shot. Turns out it's pretty good! Here are some before-and-afters; 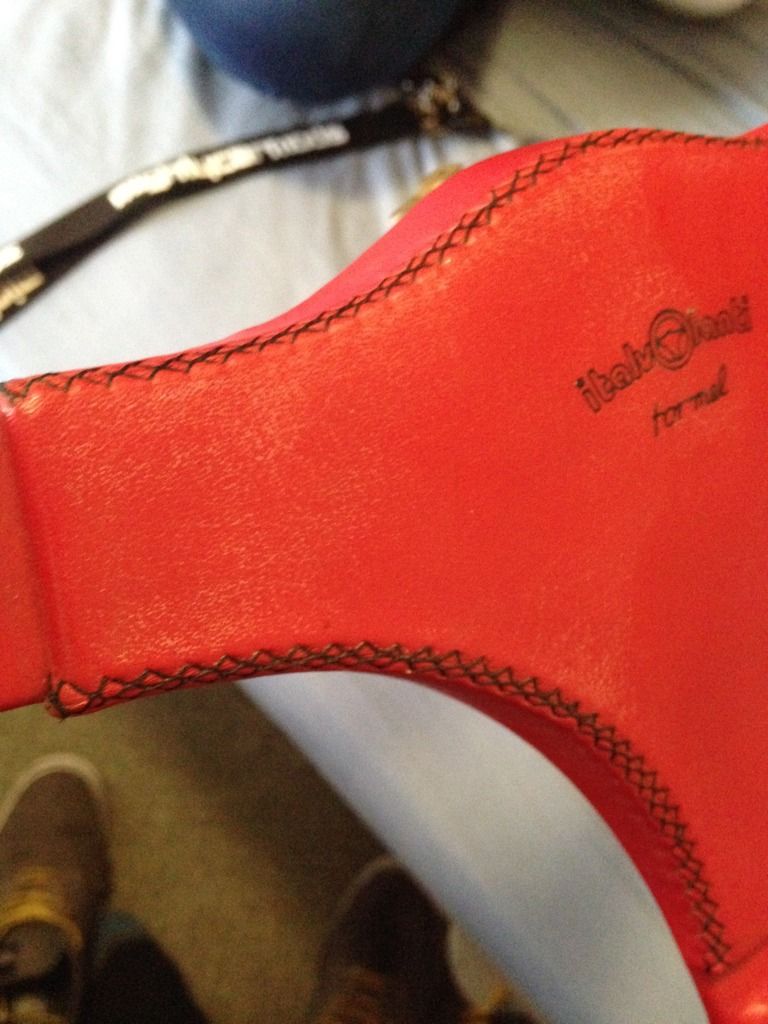 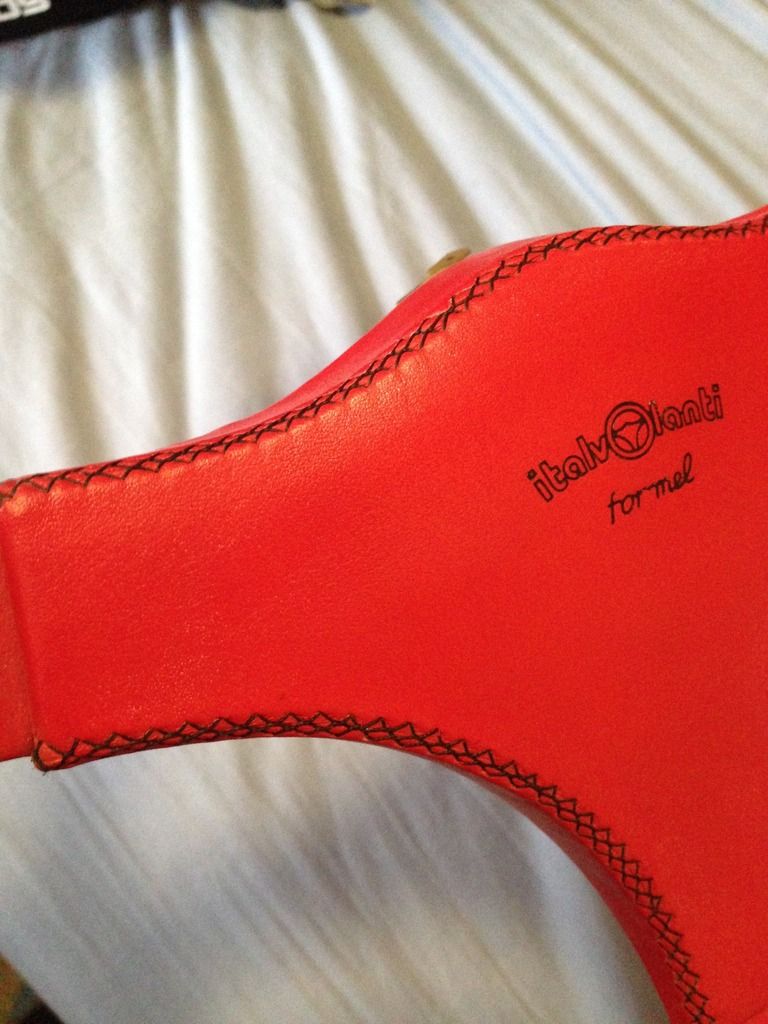 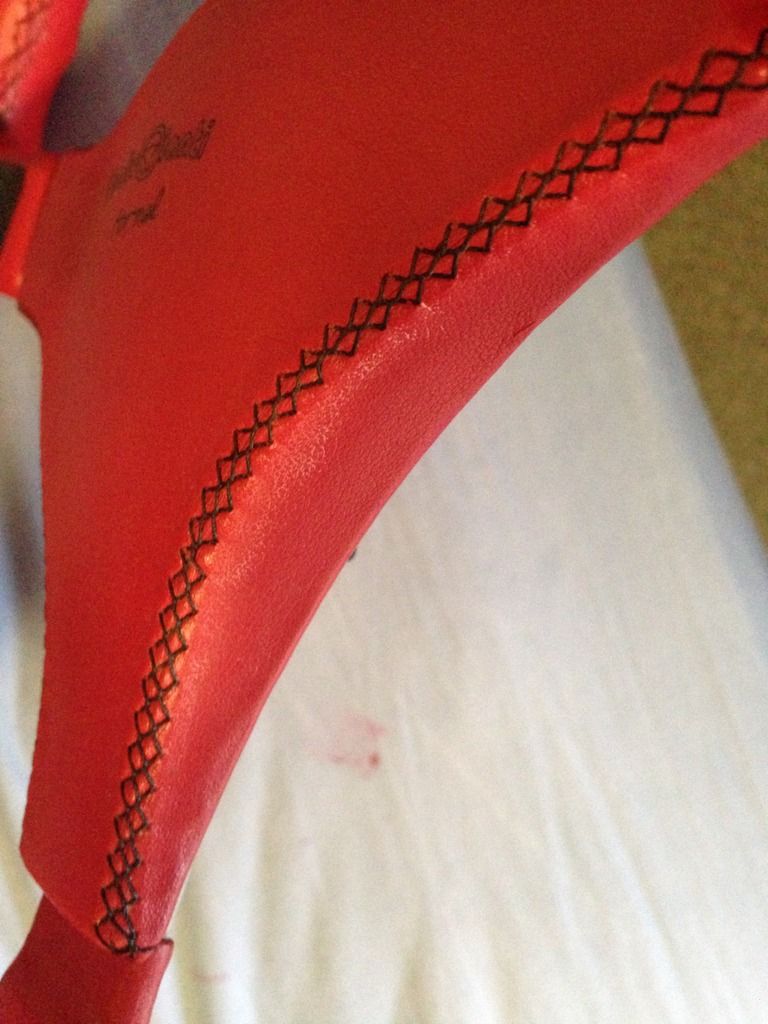 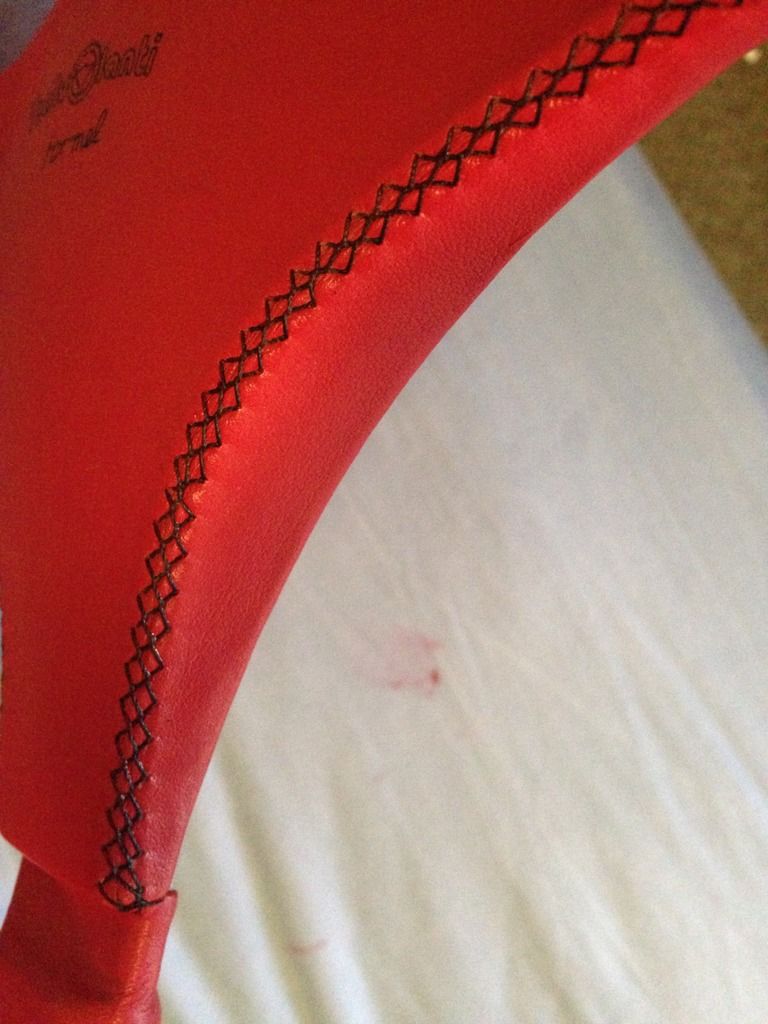 I'm really pleased with how it came out. I'm still not completely sure it'll suit the car but it's worth a go. 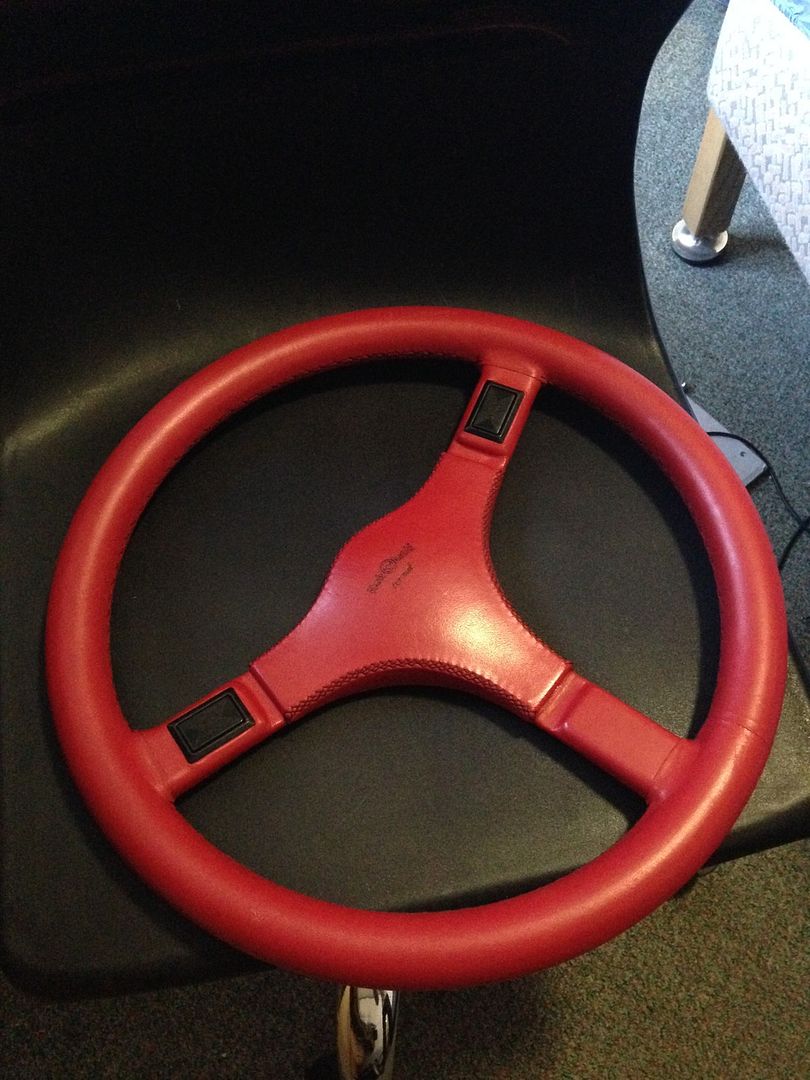 I'm home in a few weeks so I'll be able to post some big updates of the being being done on the car. For now, I'm making an inlet manifold so at least there's something interesting to write about in the meantime. More on the shortly. Fungus |
| |
Last Edit: May 7, 2015 12:44:59 GMT by Fungus
|
|
si2001
Part of things
Posts: 280
|
|
|
|
|
I really like what you've done with the 924 gauges, looking forward to seeing them fitted
|
| |
 Daily: 2015 BMW 520d M Sport Project: 1990 Mitsubishi Galant VR-4 Highlights: '90 AX 1.1 Salsa, '97 306 GTi-6; '89 Galant VR-4, '02 E46 M3 SMG, '01 DC5 Integra Type R, '97 Saab 9000 CSE 2.0T, '95 Renault Clio Williams 3, '02 Renault Clio 172, '12 Audi A5 |
|
Dan P
Part of things
Posts: 169
|
|
|
|
|
them gauges look awesome. so much better than the standard ones. top work!
|
| |
|
|
Fungus
Part of things
Posts: 960
|
|
May 13, 2015 23:26:49 GMT
|
Thanks guys. Just a little update; I'm going to be running CBR600 carbs on the new engine, at least until I'm walking down the road one day and find a pair of DCOE's and a manifold on the floor. Or just until I can afford them. It's pretty easy to make a manifold for bike carbs as they are sleeve-mount. This is made even easier on Polo's as the inlet manifold flange is at the perfect angle. So I drew some up after having a quick measure in the engine bay when i was at home. This gave me all the dimensions I'd need in the workshop, as well as a drawing from which to cut the Flanges. 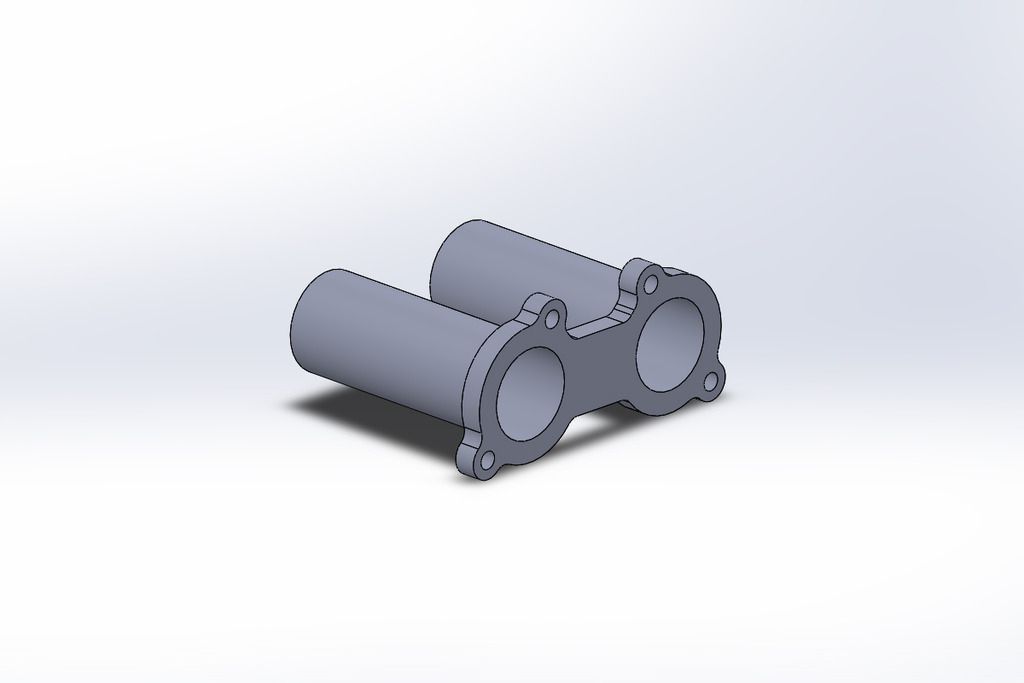 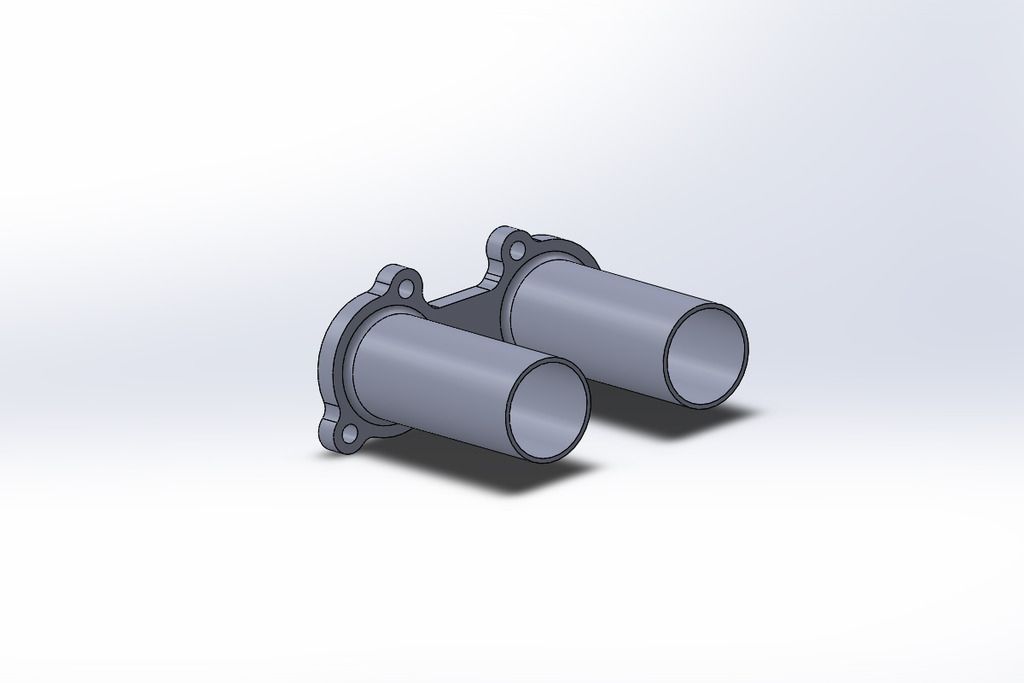 I went and talked to the Technicians in the Uni workshop, who water-jet cut the flanges for me in return for some chocolate Hobnobs. My 40mm OD Mild steel tubing had also arrived so it was time for action. 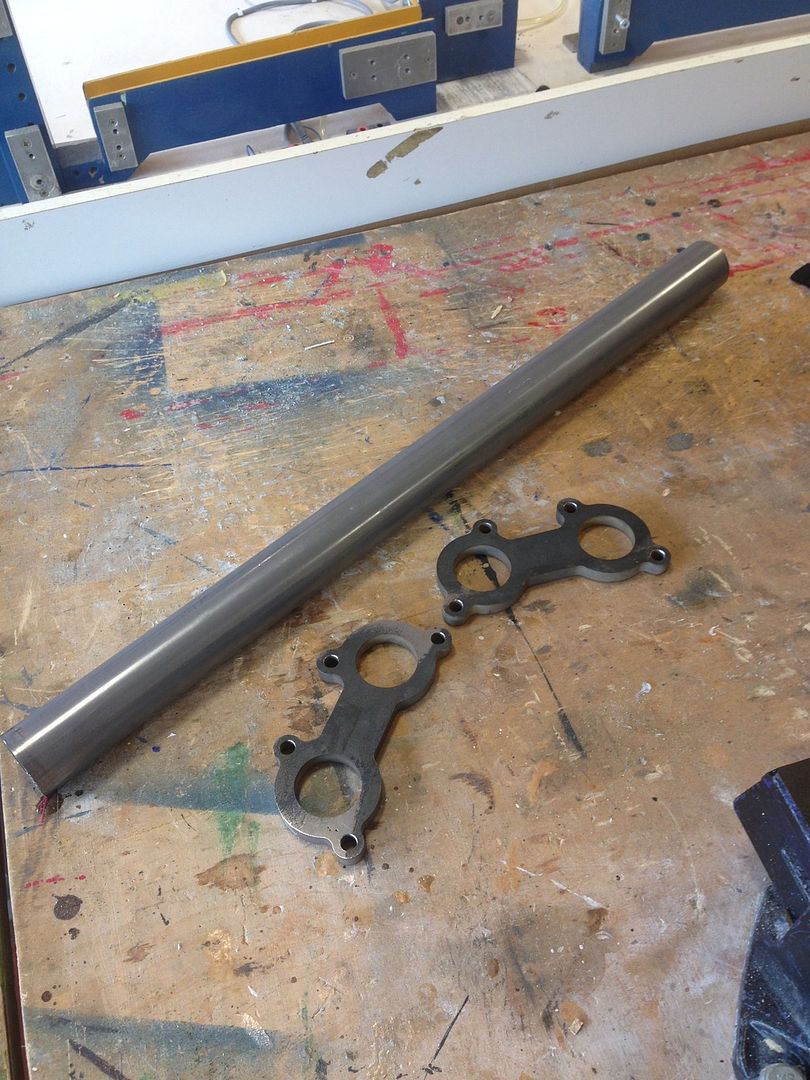 I cut all the runners by hand to 107mm, as they needed to be 105mm when all done. So next came this; 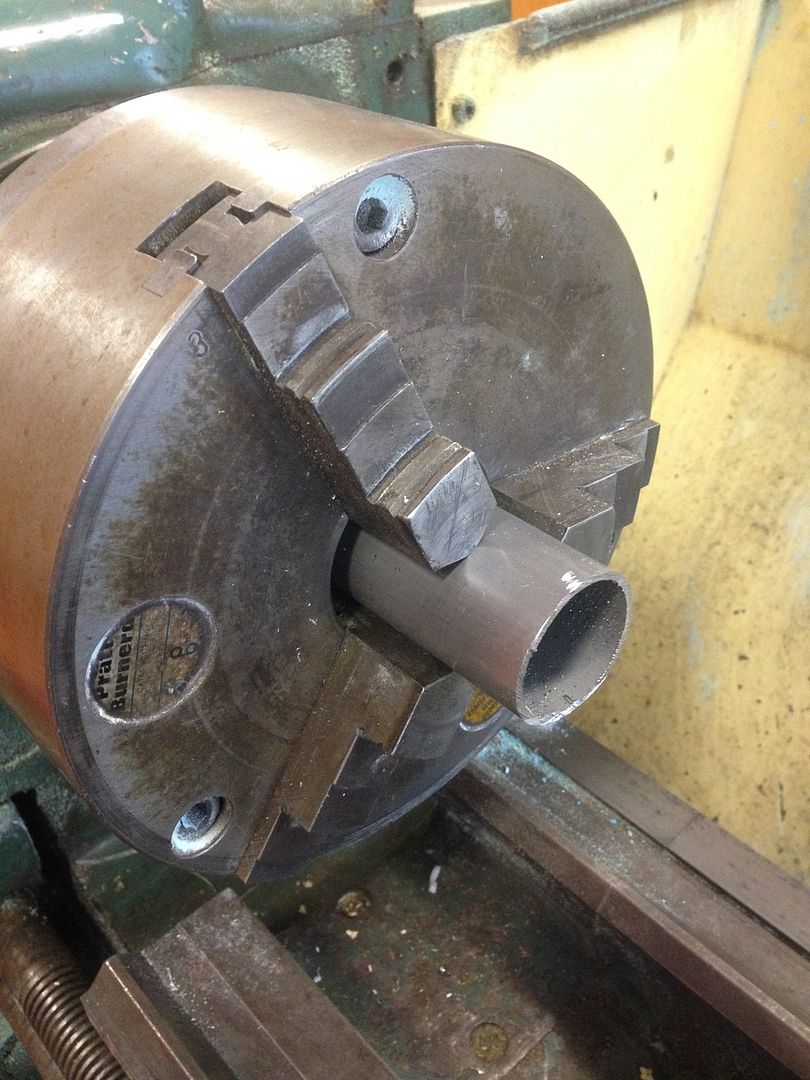 After turning down the ends and matching the lengths on all 4 pieces, the ends were ground ready for welding. 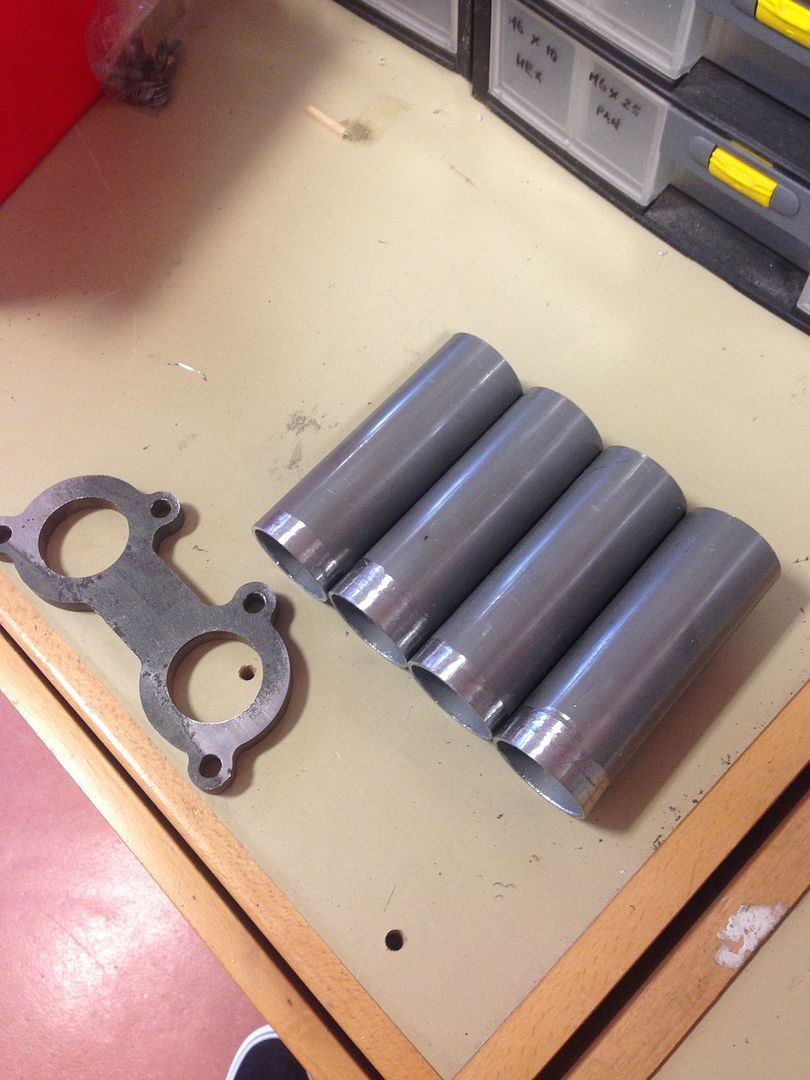 I've dropped them off with the Technician who cut the flanges, he's gonna get them TIG'd up in the next few days. I was going to MIG them myself but I want them to look nice and neat. So that's it for now, I'll get some pics when they're all welded up! Fungus |
| |
|
|
|
|
|
May 14, 2015 13:36:34 GMT
|
top quality work wondering if that upper bulkhead also acts as strengthening for the mac strut towers. these handle so well would be a shame to jeopardise it |
| |
|
|
|
|
|
May 14, 2015 14:50:10 GMT
|
|
A strut brace would probably bring back the stiffness, and still fit the bike carbs.
Have your cake and eat it
|
| |
|
|
|
|
|
|
|
That bulk head does little for stiffness as the front legs aren't tied in, The best way to improve the handling on these is to fit a ppp lower subframe it ties in the whole front suspension and allows the anti roll bar to do its job instead of frolicking about...  ppp pppNot cheep but a better investment that upgraded suspension guaranteed.. |
| |
|
|
Fungus
Part of things
Posts: 960
|
|
May 15, 2015 18:14:05 GMT
|
Yeah I didn't see that panel adding much at all, but I will probably make a strut brace for it. That bulk head does little for stiffness as the front legs aren't tied in, The best way to improve the handling on these is to fit a ppp lower subframe it ties in the whole front suspension and allows the anti roll bar to do its job instead of frolicking about... pppNot cheep but a better investment that upgraded suspension guaranteed.. I've been thinking about one of those for a while, but they restrict how low you can go and it already scrapes on 13's. |
| |
|
|
|
|