Dez
Club Retro Rides Member
And I won't sit down. And I won't shut up. And most of all I will not grow up.
Posts: 11,712
Club RR Member Number: 34
|
|
|
|
thats looking good. imho you need to section the tailgate to bring the bottom rail up level with the stake posts rather than adding anything under it, it'll make it look too  -heavy. do you you know what the hinges for that type of tailgate look like? the ones that fit in the ends of the tubes? you could then mount them on the bottom corners of the stake post and it would be a nice clean setup. |
| |
|
|
|
|
|
|
|
Apr 29, 2015 10:57:12 GMT
|
|
hey dezz, cheers for comments!
i intended the tailgate to sit abit higher than it does, i havent got the balls to cut it length ways haha, ive started on a small dress panel on the sides, with some swaged holes that will come round the bottom of the tailgate, with a tiny tiny skirt underneath the tailgate itself to meet.
i would have loved to have to some original style hinges on, I'm going to make some that sit on the dress panel I'm making and come into the tailgate, hopefully turn out nice and different.
cars looking good btw!
|
| |
|
|
sparkyt
Posted a lot
 selling stuff
Posts: 1,767
|
|
May 10, 2015 15:47:15 GMT
|
|
Just had a look bud nice project . I was going to say if you need help making parts let me know . We have all sorts at work . Lathes mills etc .
Also we have parts for yank Cars
|
| |
|
|
sparkyt
Posted a lot
selling stuff
Posts: 1,767
|
|
May 10, 2015 16:15:12 GMT
|
 This is John's stocker mate ... |
| |
|
|
ChrisT
Club Retro Rides Member
Posts: 1,637
Club RR Member Number: 225
|
|
May 10, 2015 16:17:43 GMT
|
|
Great project, some nice fabrication skills you've got, looking forward to updates........
|
| |
|
|
|
|
|
May 10, 2015 17:49:18 GMT
|
Why is this so damn nice to look at... Love a nice bit of engineering. Lovely bit of welding too 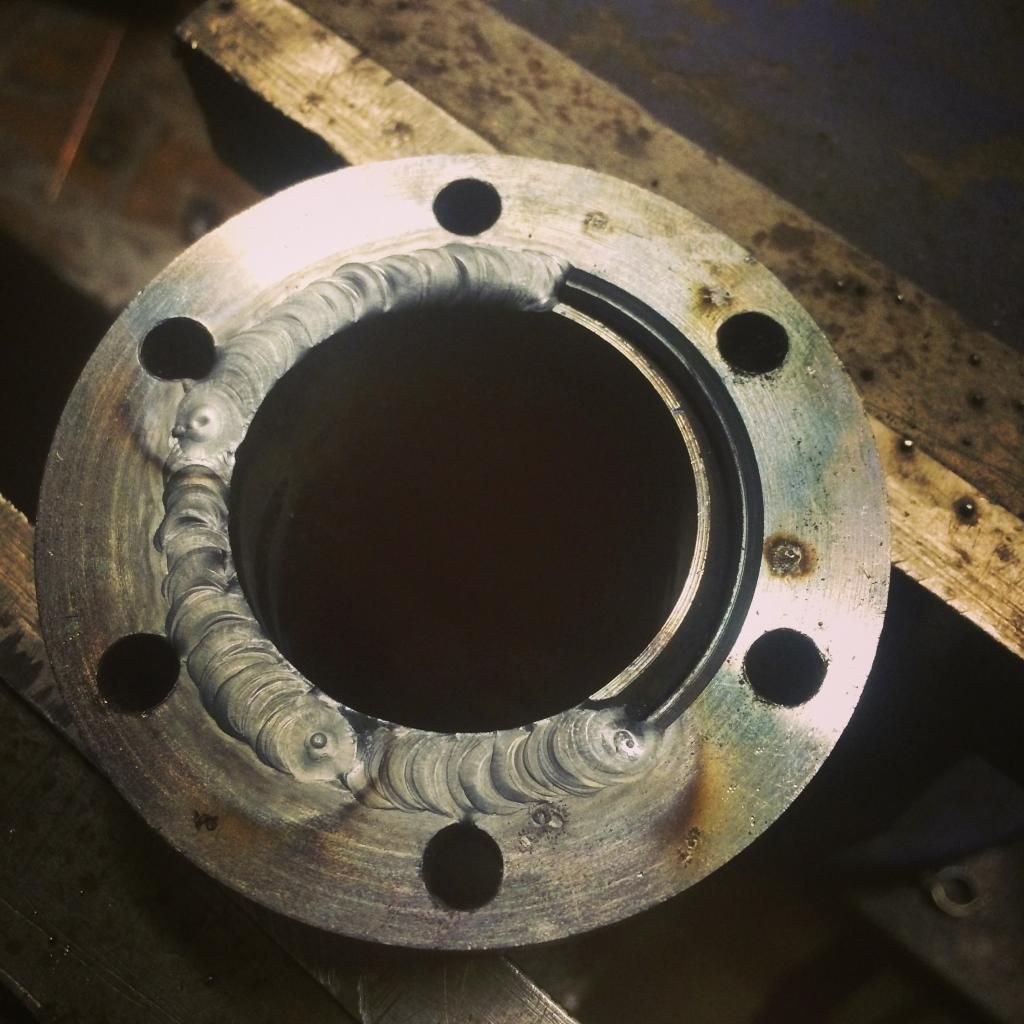 |
| |
|
|
|
|
|
May 11, 2015 16:55:27 GMT
|
Just had a look bud nice project . I was going to say if you need help making parts let me know . We have all sorts at work . Lathes mills etc . Also we have parts for yank Cars awesome buddy ill be sure to let you know! thanks for comments  |
| |
|
|
sparkyt
Posted a lot
selling stuff
Posts: 1,767
|
|
May 11, 2015 17:29:12 GMT
|
 Just finished these off mate I'd be up for something challenging |
| |
|
|
|
|
|
May 13, 2015 19:35:32 GMT
|
This is John's stocker mate ... Lovely |
| |
|
|
|
|
|
Jun 11, 2015 16:48:20 GMT
|
not a great deal to report although my next update after this should be a good one, finally got round to work on the truck after house commitments and work. made a frame to support the pick-up bed onto the chassis, nothing too amazing just some brackets and box section... but this does allow the bed to hold itself up rather than balance on the axle, which means i could roll her outside and have a good look. pretty stoked so far! 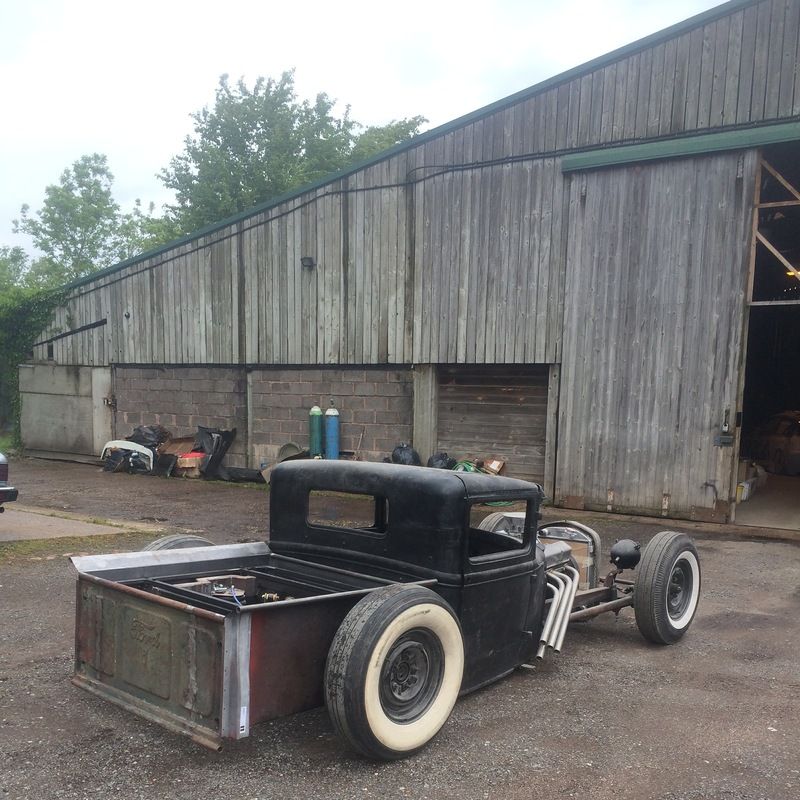 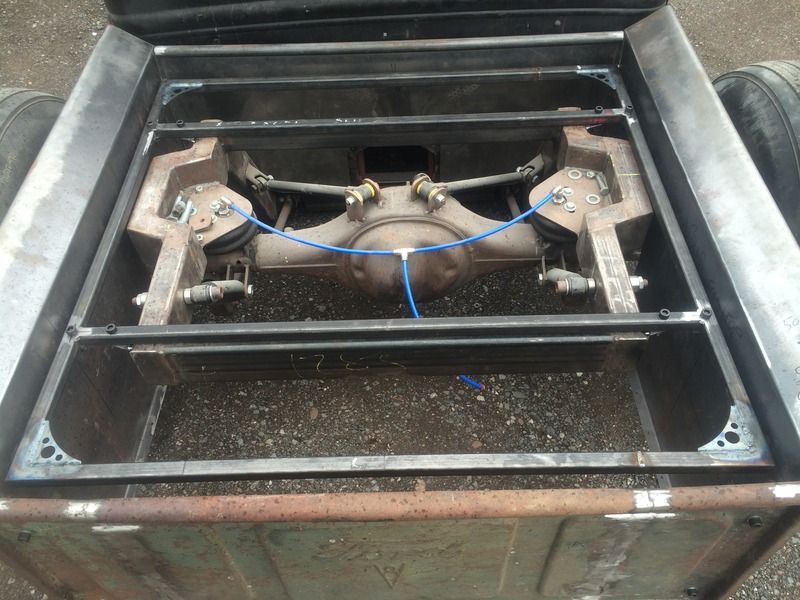 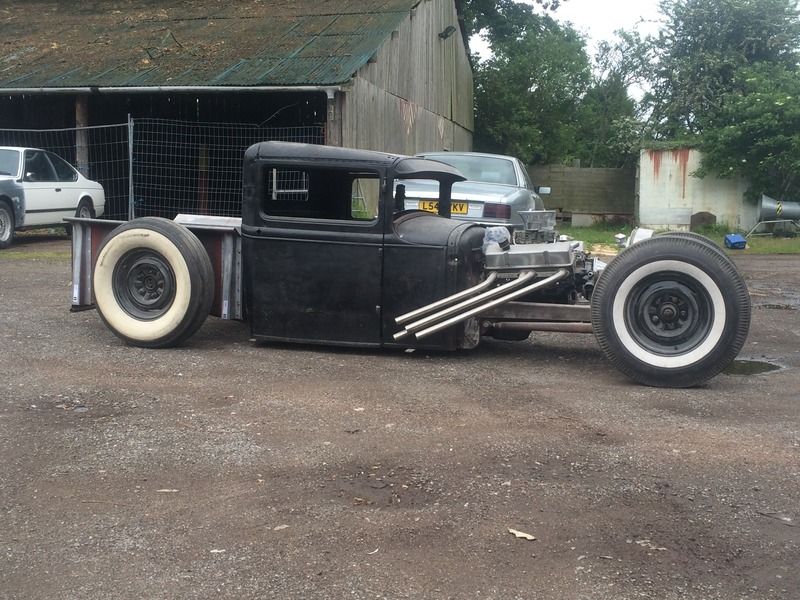 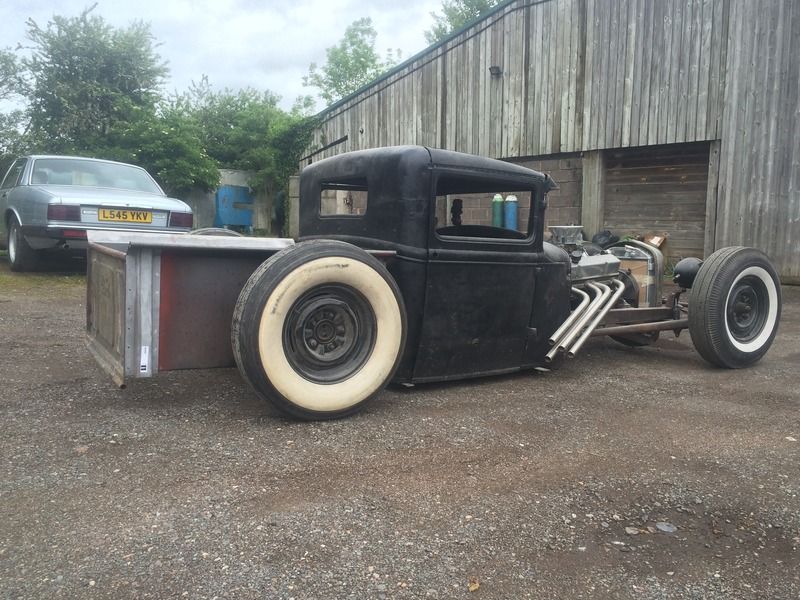 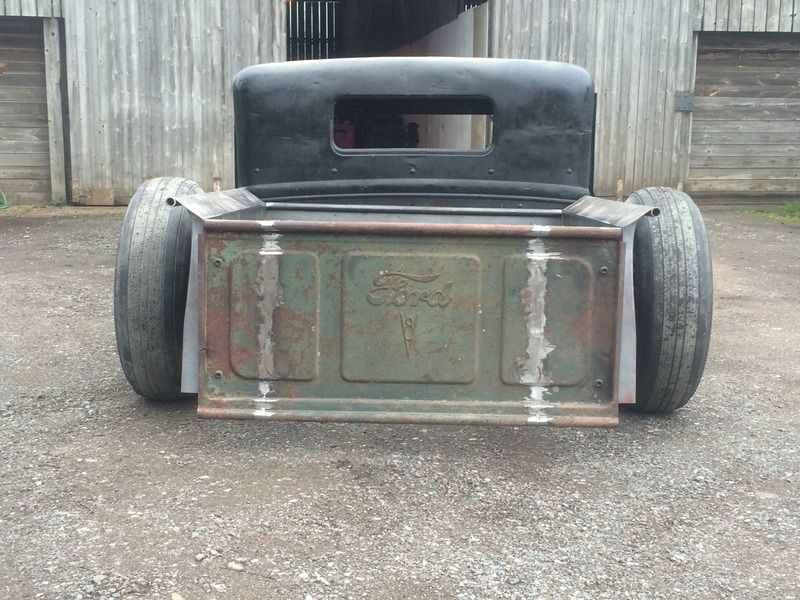 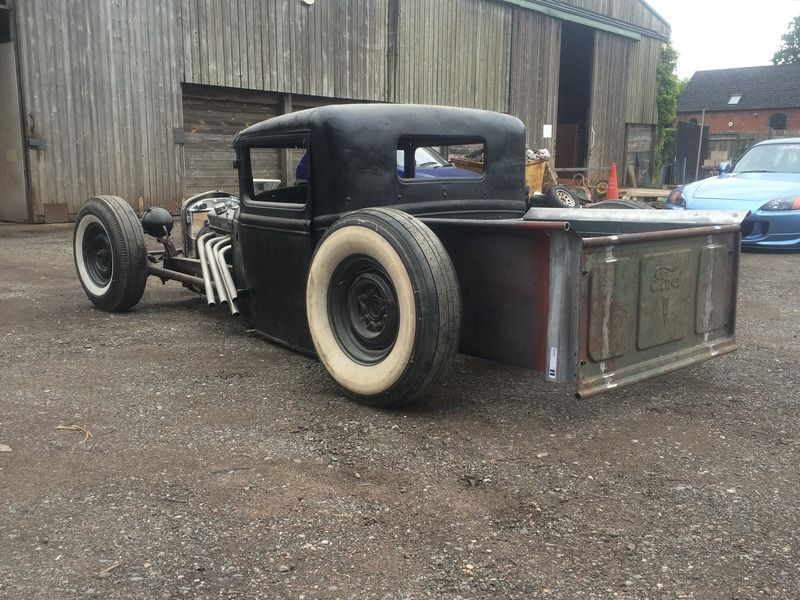 the space behind the axle leaves my plenty of room for air ride tank, battery, storage ect ect. the body is still resting on old supports from when i was channelling it, hence why it looks wonky. next up is a small set of dress panels for the side/ underneath of the bed, with some swaged holes. and some nice tail light pods. thanks for comments so far and thanks for looking! ant |
| |
|
|
|
|
|
|
|
Oct 15, 2015 11:56:05 GMT
|
pretty slow recently on the truck but my house renovation is coming to an end so fingers crossed it will get steady again anyway, made some dress panels for the pickup bed, nothing too fancy but some swaged holes break it up abit. got the side profile that i wanted back, and also with the bags raised its got a nice nose down look to it: 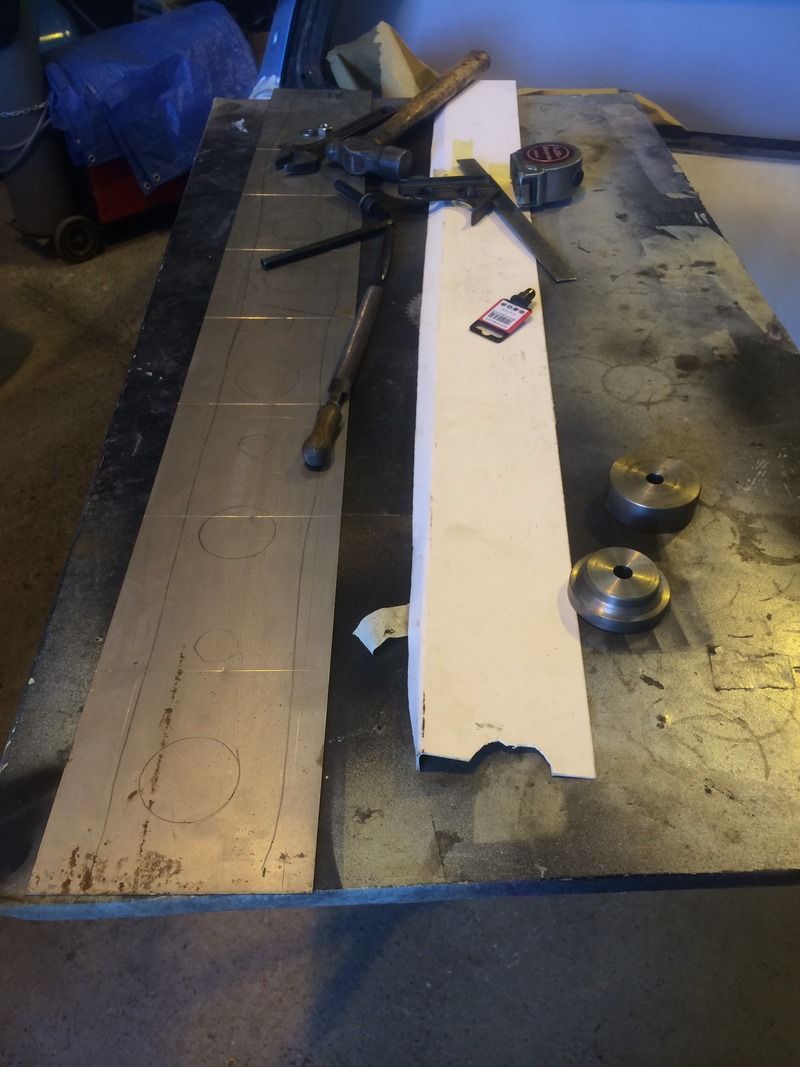 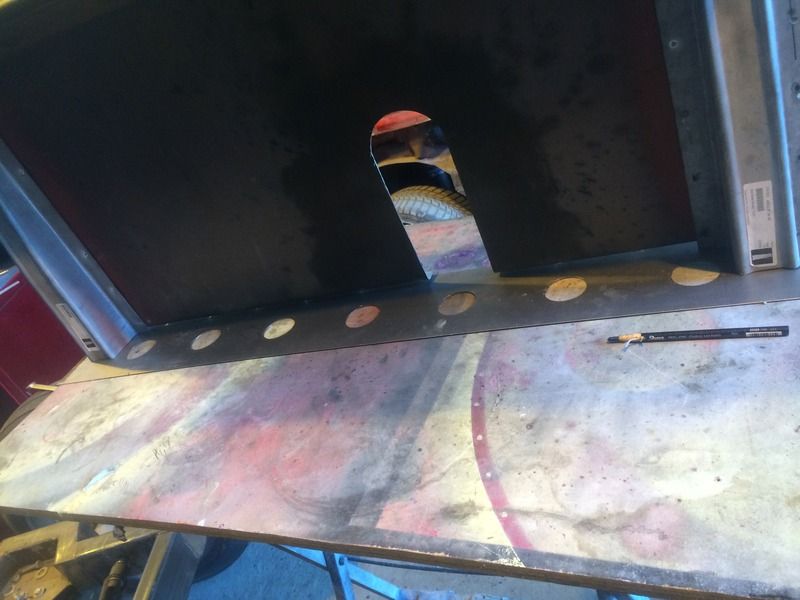 ive made a small panel that ties the tailgate in too but forgot to take a bloody pic. anyway, you get the idea. 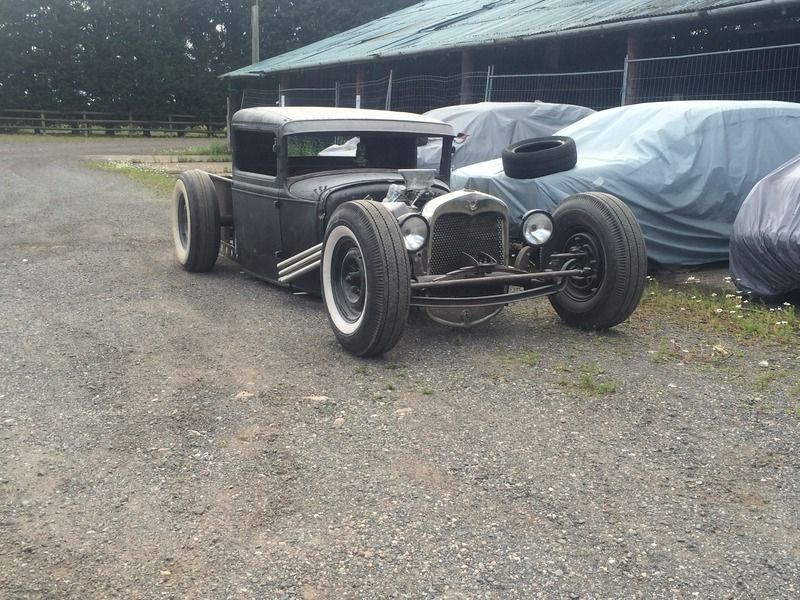 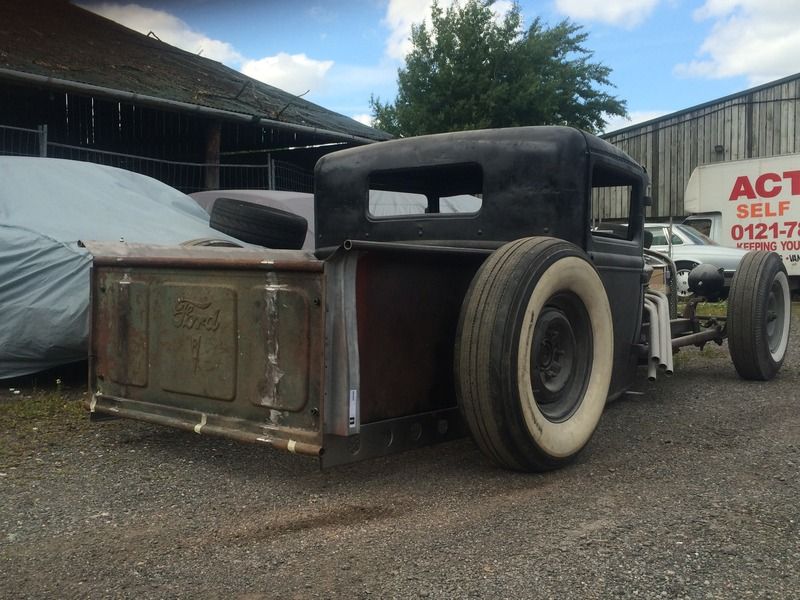  next i started on my rear light pods, bent some pipe and turned some ends, some hidden tacks and they look nice 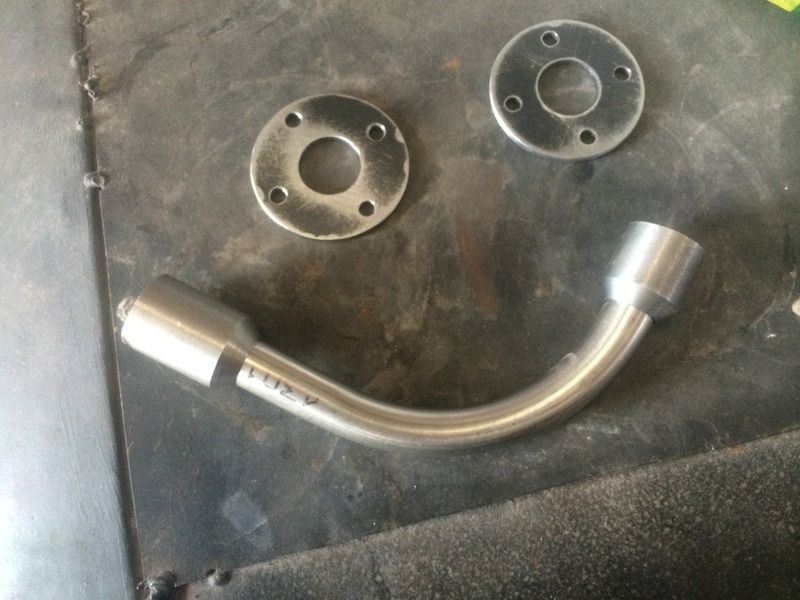 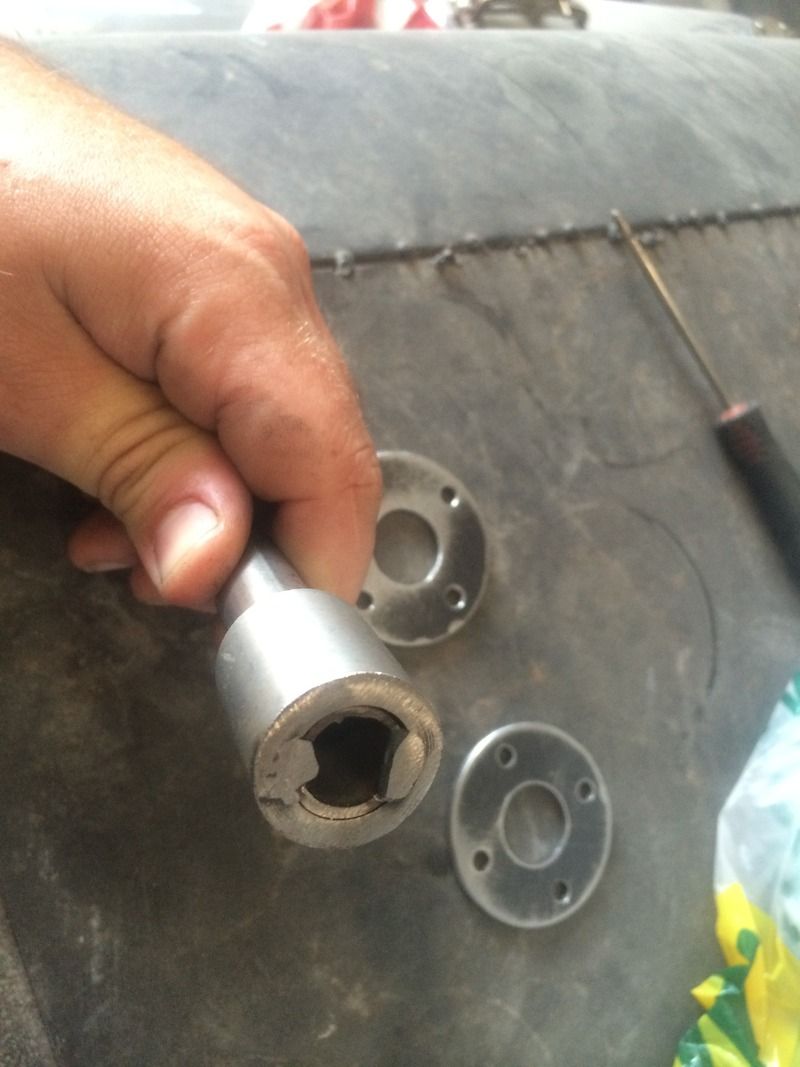 ill be using model a stop lights but wanted to make something different for them to mount onto the side of the bed rather than the back, found myself some steel blisters in the scrap bin, ( have a few spare if anyone wants any) so with some trimming ill be mounting the pipe out the middle of these and face towards the rear. poor photos but next update will be more concise. they will be mounted with solid rivets 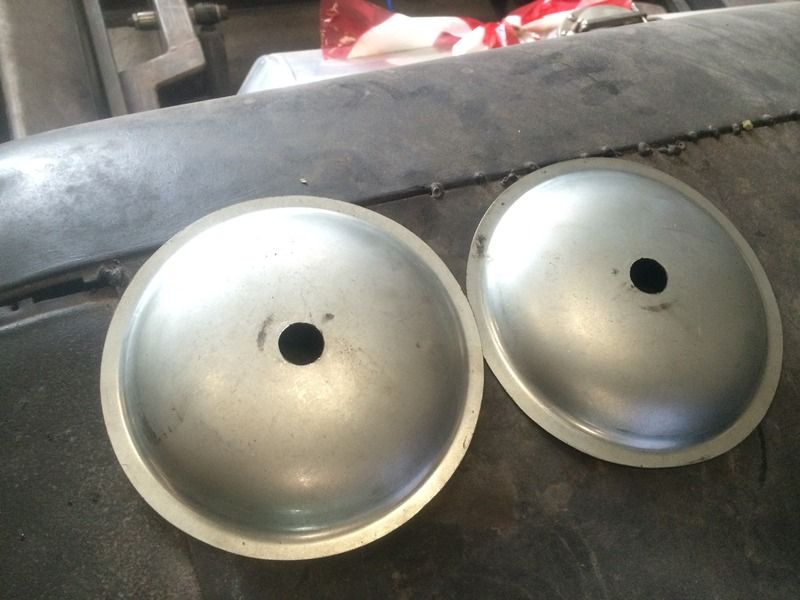 excuse the terrible roof insert tacks., not mine and they will be getting removed! picked up a really smart spun tank a while ago but it sits too high on my bed so again raided the scrap bin for some ally and hey presto some new feet ready to be welded on!  poor update but just some bits ive been doing. this winter I'm planning to rebuilt and get the engine ready to run, so out it came and i got it back to my house, tucked up nice and warm in the garage sunday when i cracked the inlet manifold off and nearly ran a mile. i thought it was a wasp/hornets nest but seems to be an old rats nest, also found a caramalised dead rat unside my rocker cover, yikes! 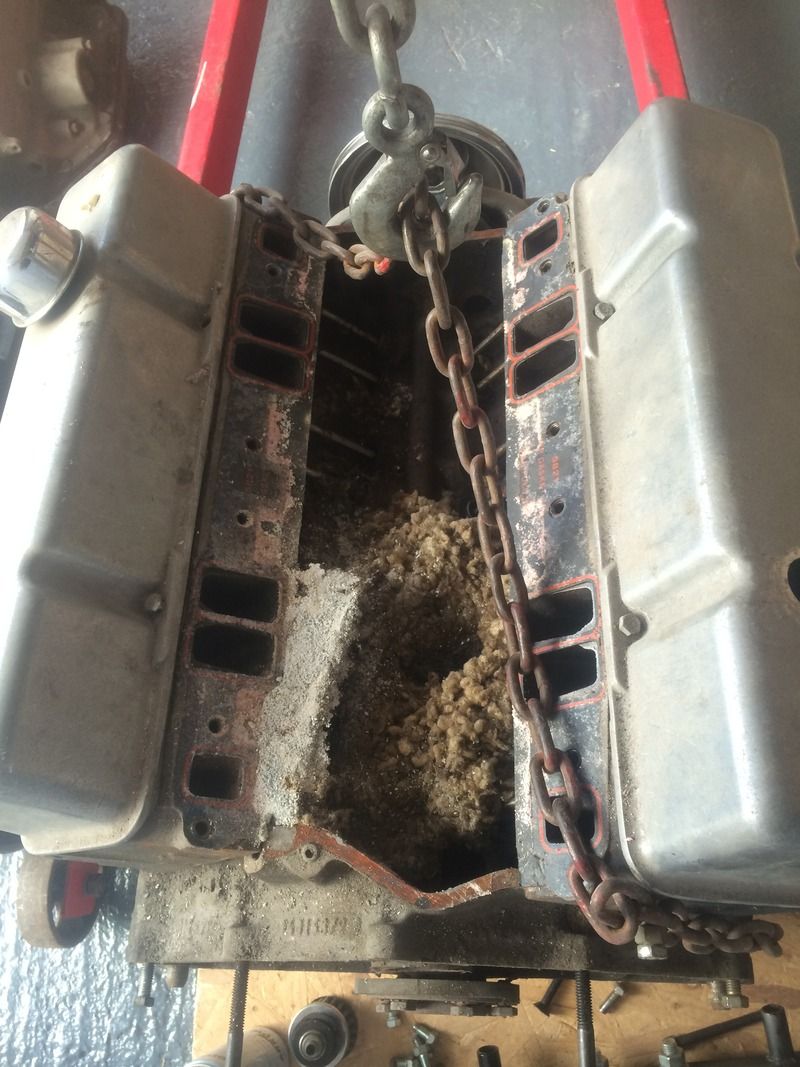  after the initial fright and the nest cleared, its just left some moisture damage on some pushrods but ill be replacing them anyway. heads, valves and pistons bores look good so far so I'm happy! off to sema show in 2 weeks for a much needed break! better updates after that thanks for looking |
| |
|
|
|
|
|
Mar 22, 2016 22:06:54 GMT
|
update time, been pretty busy with other things, but made some time to work on the truck, finished my rear lights, soon to be solid - rivet to the pick-up bed sides, look a little weird at the minute but they sit nicely next to the pickup bed stakes, better pics once fitted: 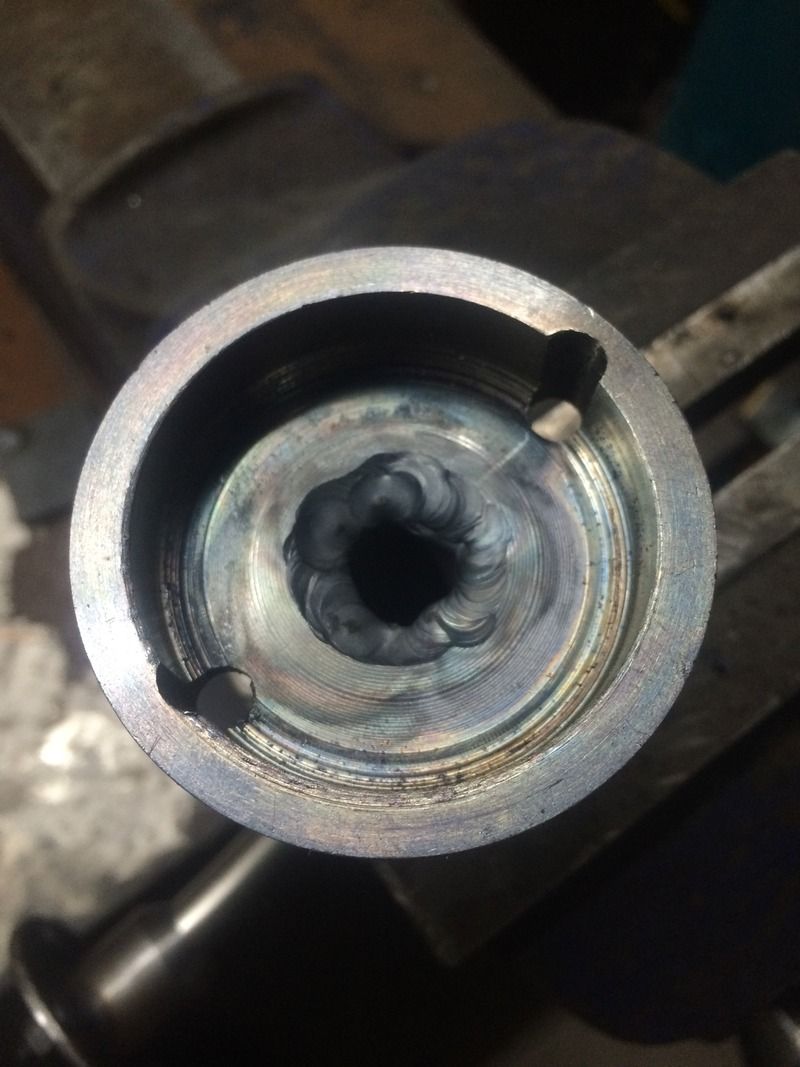   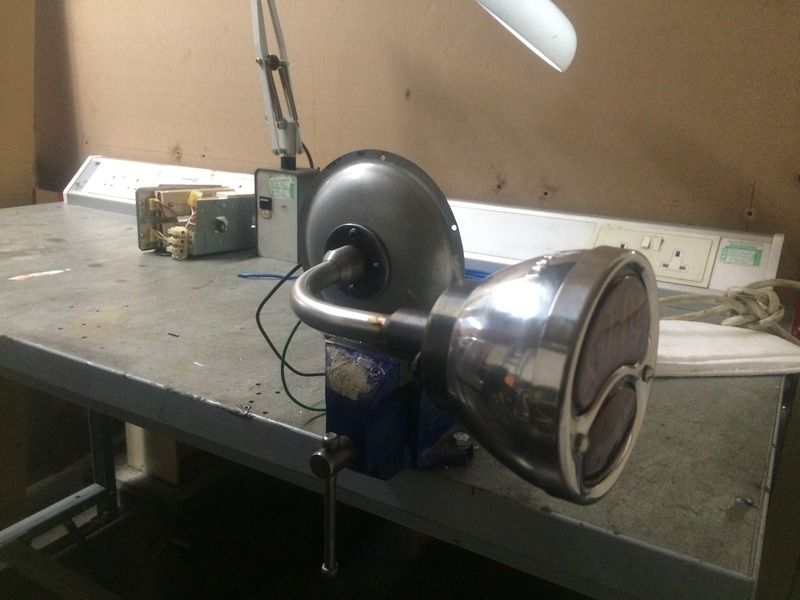 had a go at removing some old door hinges (was not looking forward to this) after welding some nuts to them they came out pretty easliy    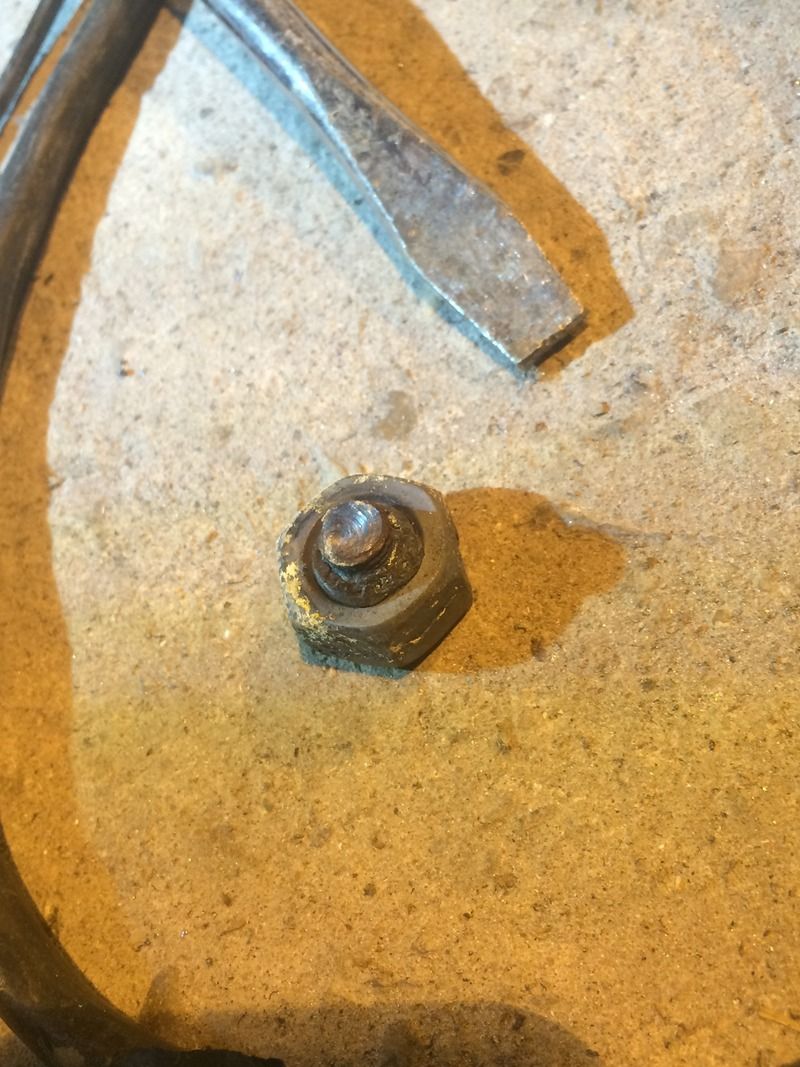 then just some tidying and trimming underneath, getting there slowly: 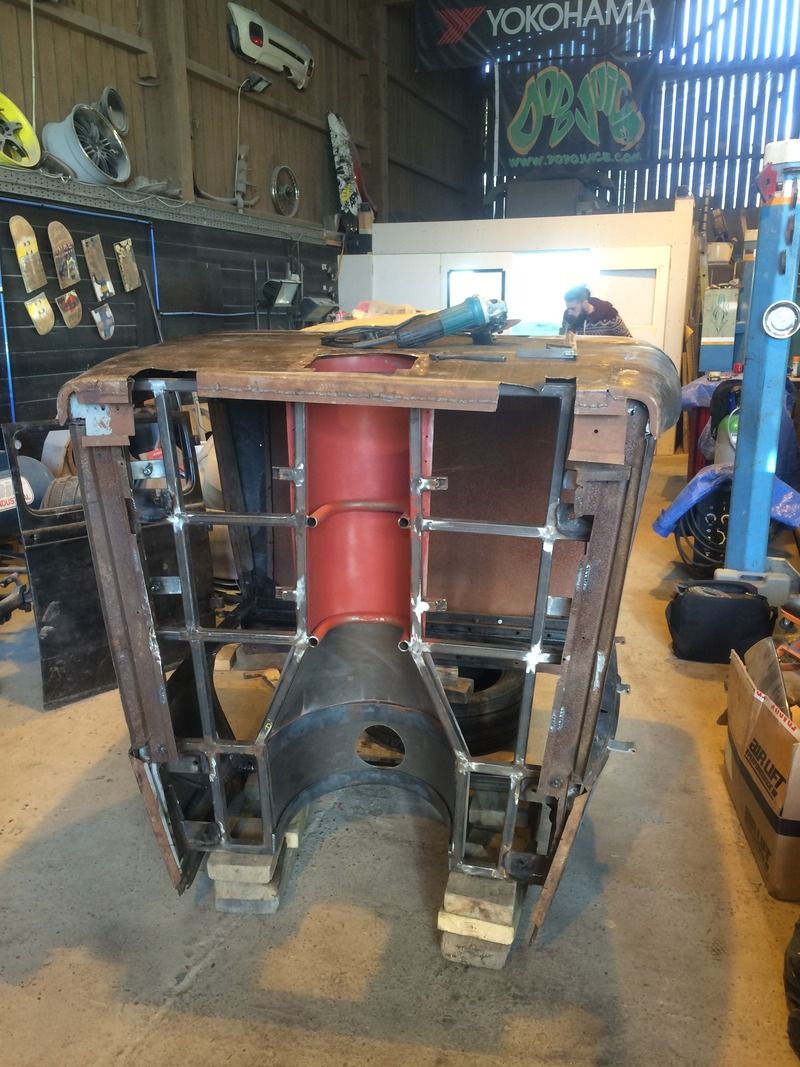 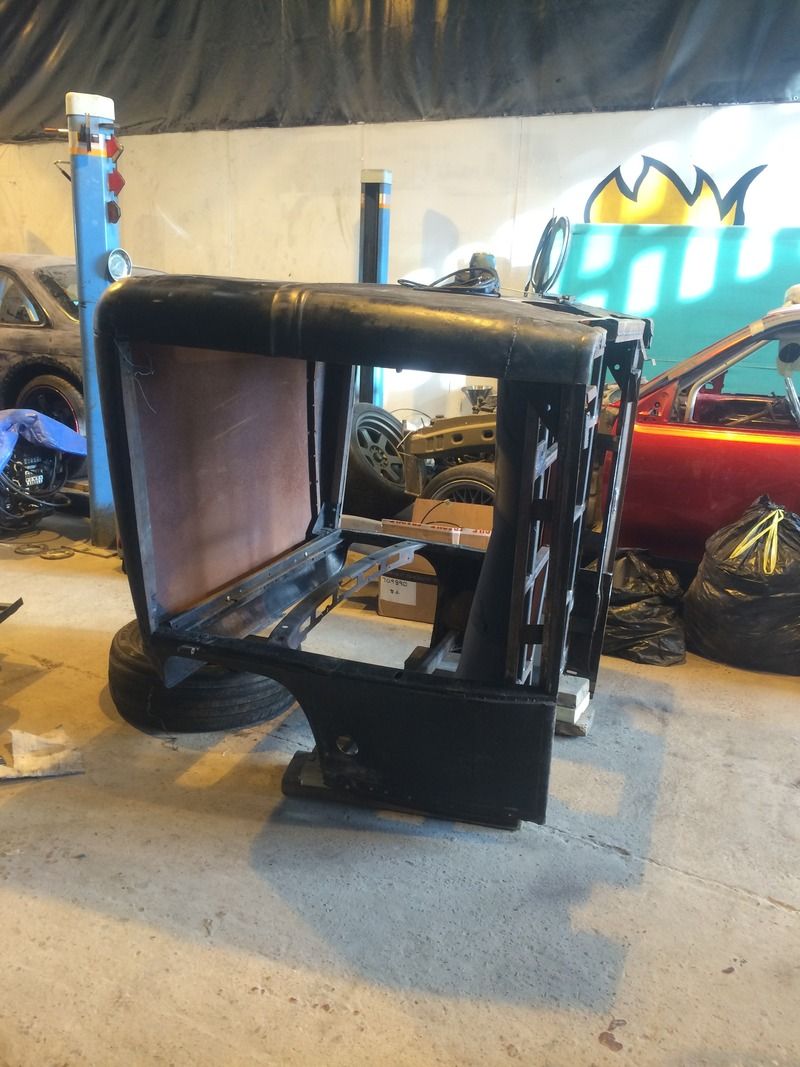 been sorting some bits for the upcoming engine built, the original valve covers came up great after a couple hours cleaning and polishing! 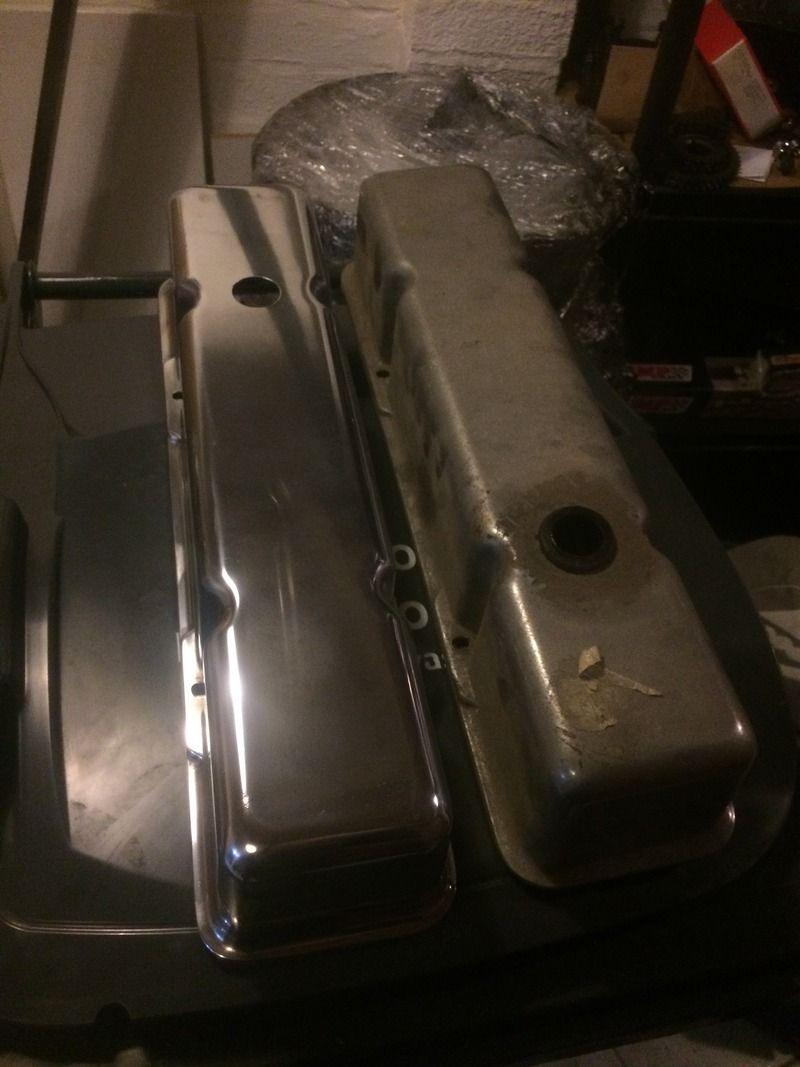 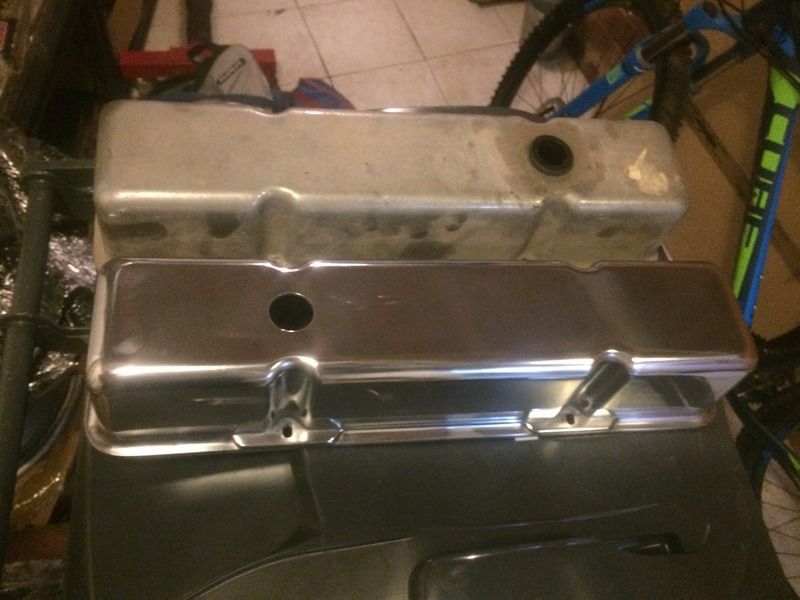 next it was time to pick up the engine from the machine shop, had new cam bearings, +40 rebore, dipped, rebuilt heads with new valve guides and seats.. all in the back of my mini.. 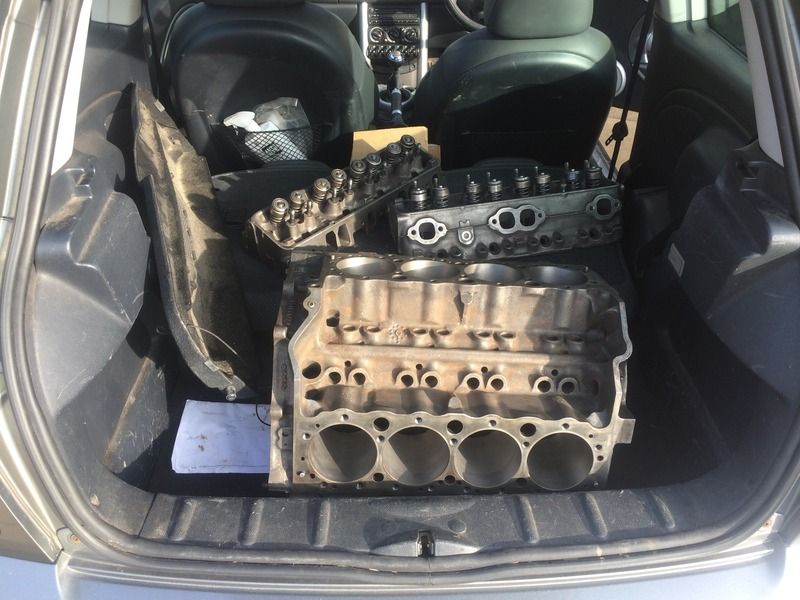 next up was painted, always wanted a hotrod styled flake engine. cherry red to match my steering wheel, along with some chrome its gonna look awesome, couldnt resist a little mock-up!   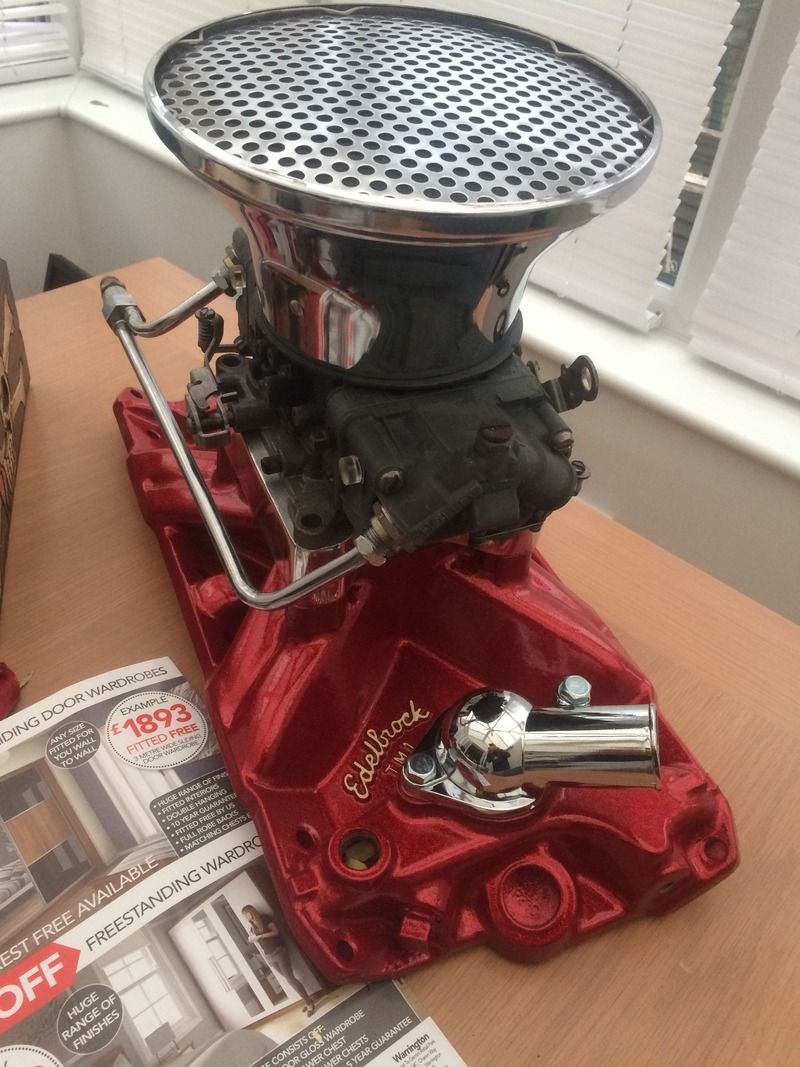  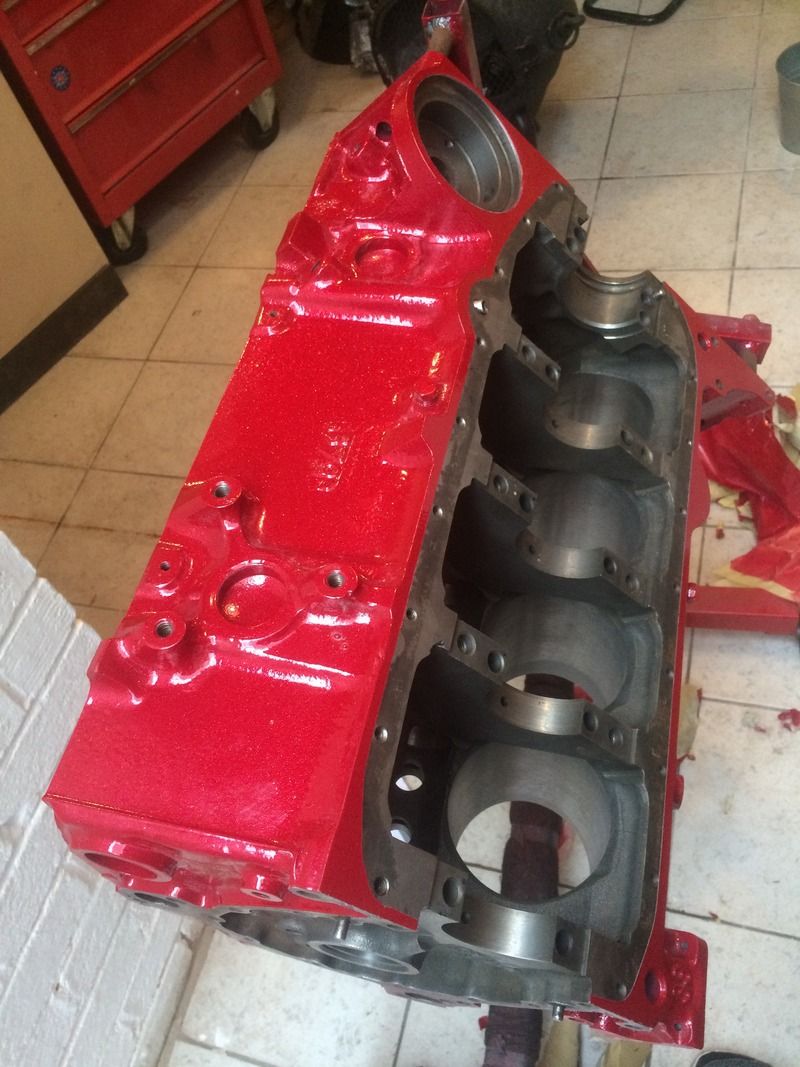    today been mating the pistons with the rods, adding the circlips and checking everything over, then lining everything up ready to start the final clean and assemble.. 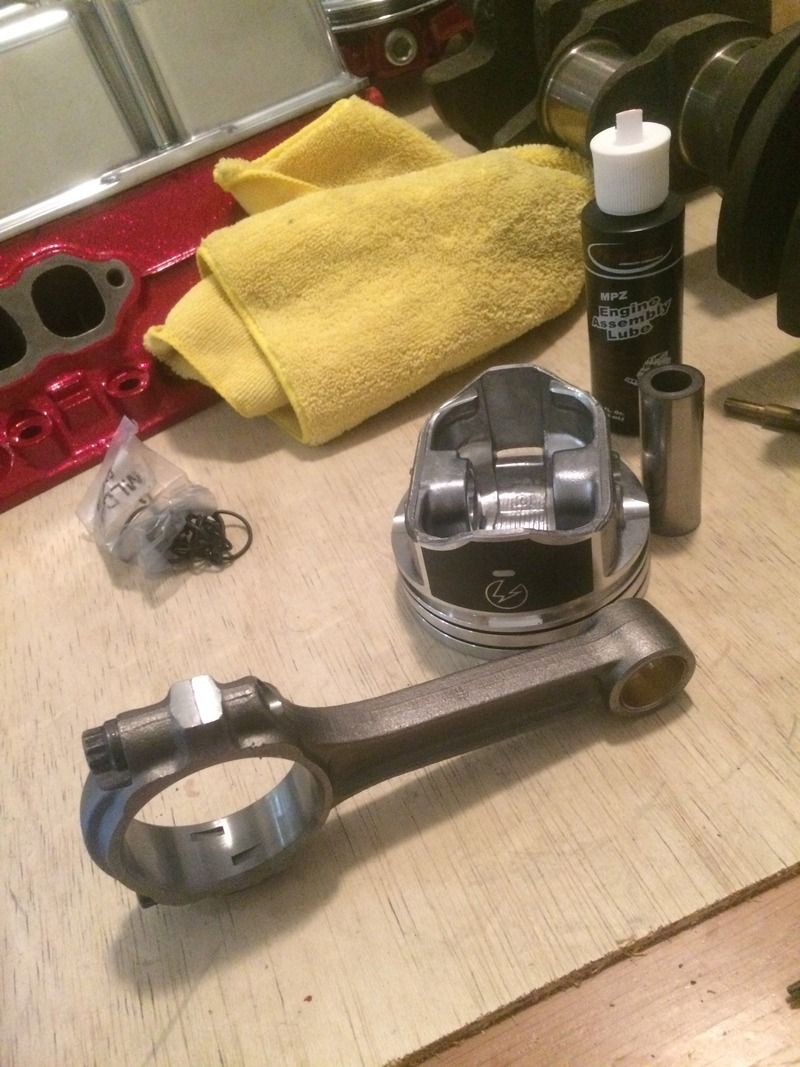  more updates soon! thanks |
| |
|
|
|
|
|
|
|
|
very nice progress...and the fabrication is really inspiring.
some of stuff you talk about doing by the sound of it, I'm not sure of, but then, when I see it, I get it!...great work.
JP
|
| |
I know its spelled Norman Luxury Yacht, but its pronounced Throat Wobbler Mangrove!
|
|
|
|
|
|
|
|
Nice to see progress and love the taillight setup. Waiting for the next update...
|
| |
|
|
|
|
|
Mar 23, 2016 10:43:46 GMT
|
|
love those stop lights
|
| |
|
|
|
|
|
Mar 23, 2016 10:59:09 GMT
|
|
Remember this from Brit Chopper, it's come a long way, looking good
|
| |
|
|
|
|
|
Mar 23, 2016 13:16:54 GMT
|
|
I'm liking the way this is turning out.
|
| |
|
|
|
|
|
Mar 23, 2016 14:34:38 GMT
|
|
this is looking good, I like the style you've gone for and the proportions of the body and chassis look nice
|
| |
|
|
hamps
Posted a lot
www.medwayrscentre.co.uk
Posts: 2,077
|
|
Mar 23, 2016 15:21:36 GMT
|
Awesome truck, awesome job |
| |
|
|
Iain
Part of things
Posts: 351
|
|
Mar 23, 2016 15:30:11 GMT
|
|
This is a great build, very jealous of your skills. Great in general let alone the fact it's your first one.
|
| |
|
|
|
|