taurus
Posted a lot

Posts: 1,084
|
|
|
|
The ballast system - forgive me if I tell you what you know, just not sure which bit I didn't explain right: Quite a few cars use a 6v coil which has a ballast in-line to reduce the voltage from 12v to 6v (it's actually more than that but the principle's the same). The coil may well be marked 12v though - this is just to confuse you! When running the coil gets a 12v supply dropped to 6v by the ballast and it runs at that voltage. However on starting the ballast is bypassed so the coil gets a full 12v. That overpowers the coil momentarily which gives you a big fat spark for starting. On some cars (eg Triumphs) the ballast is a ceramic unit bolted to the bulkhead. On the Viva the ballast is a wire built into the wiring loom. It is therefore liable to set fire to the wiring loom if it fails. If you fit an electronic ignition module you need to provide it with a 12v supply, so you need to permanently bypass the ballast - but you can't run a 6v coil with a permanent 12v supply. It won't last long. It is very easy to swap. All you do is to replace the original 6v coil (remember it may well have 12v stamped into it so don't go off that, you need to check the resistance of the coil to be sure) with a 12v coil. Then on the fuse box look at the rearmost connector block. On the second row of connections there is a white wire (or two depending on spec) in the no.4 position. That is the ballasted supply. Simple take that connector off and move it one hole to the right - no.5 - which is an ignition controlled 12v supply. You have thereby bypassed the ballast wire in the loom. See the two white wires going into no.4 on the second row (probably a single wire on yours)  Just move them/it one hole to the right  new 12v coil  electronic module in the dizzy  Bye bye points and condensor problems |
| |
|
|
|
|
|
|
|
Mar 10, 2015 19:10:58 GMT
|
thanks for the explanation,its cleared a few things up  |
| |
1972 viva 'Sparky'
|
|
|
|
|
Mar 10, 2015 19:32:10 GMT
|
so today the new door cards arrived, and it turns out there nothing like the ones on the car. there better (well in my opinion). the ones originally on the car a some 'super rare' SL spec door cards. which may have been great when new, but there now slightly weathered/warped and quite chunky. the replacement ones are the exact opposite. there not quite the same colour as the original ones. they are some what darker blue which gives the car a nice two tone effect. but don't take my word for it, here are the before and after pics. old door cards: 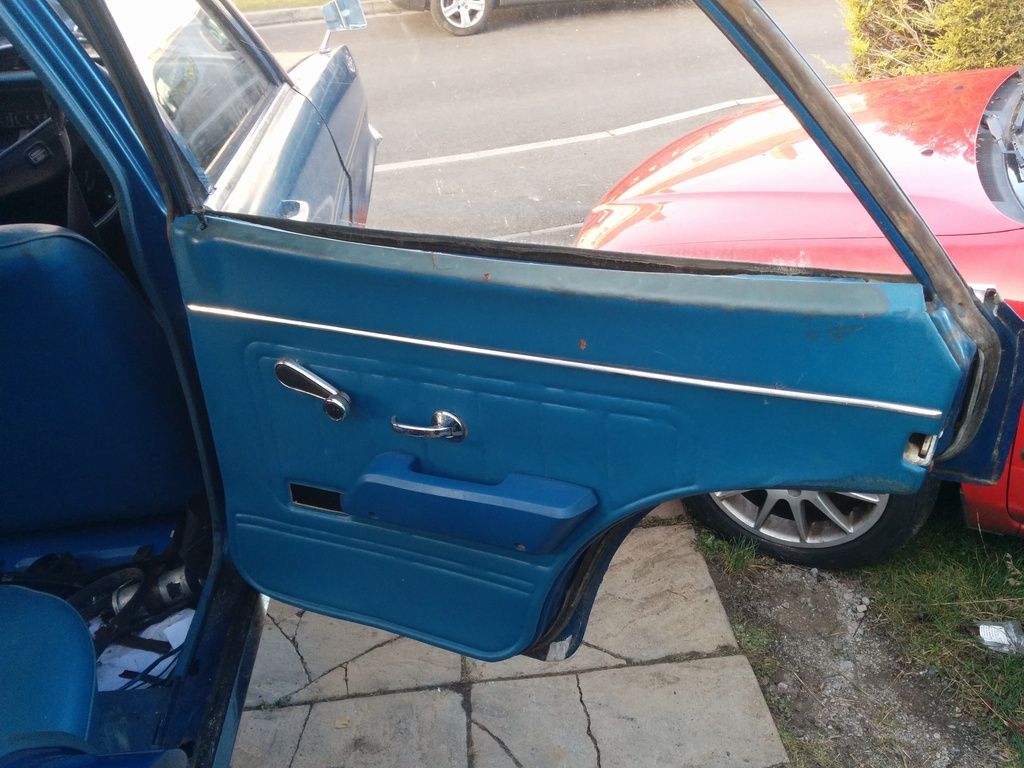 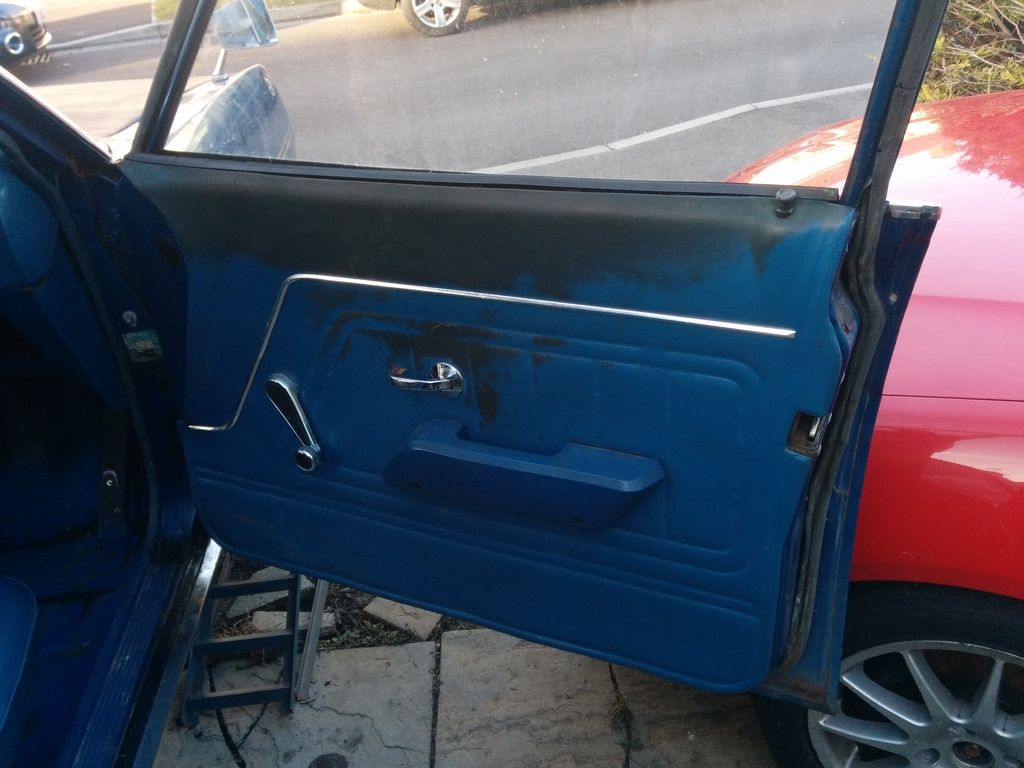 new door cards: 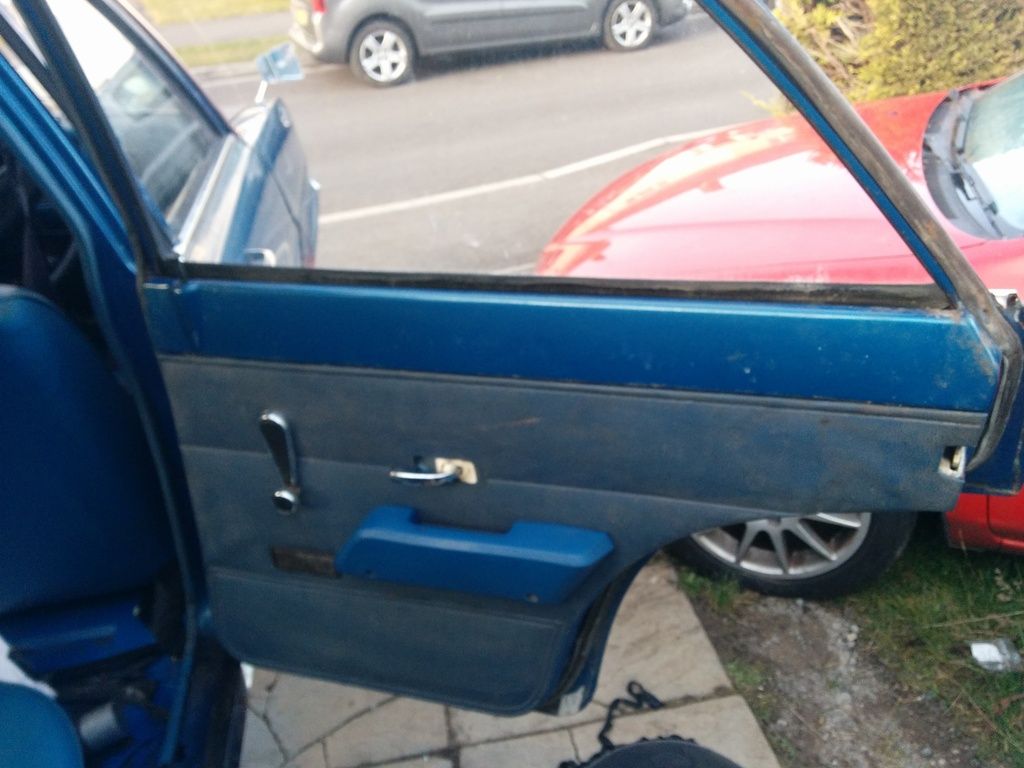 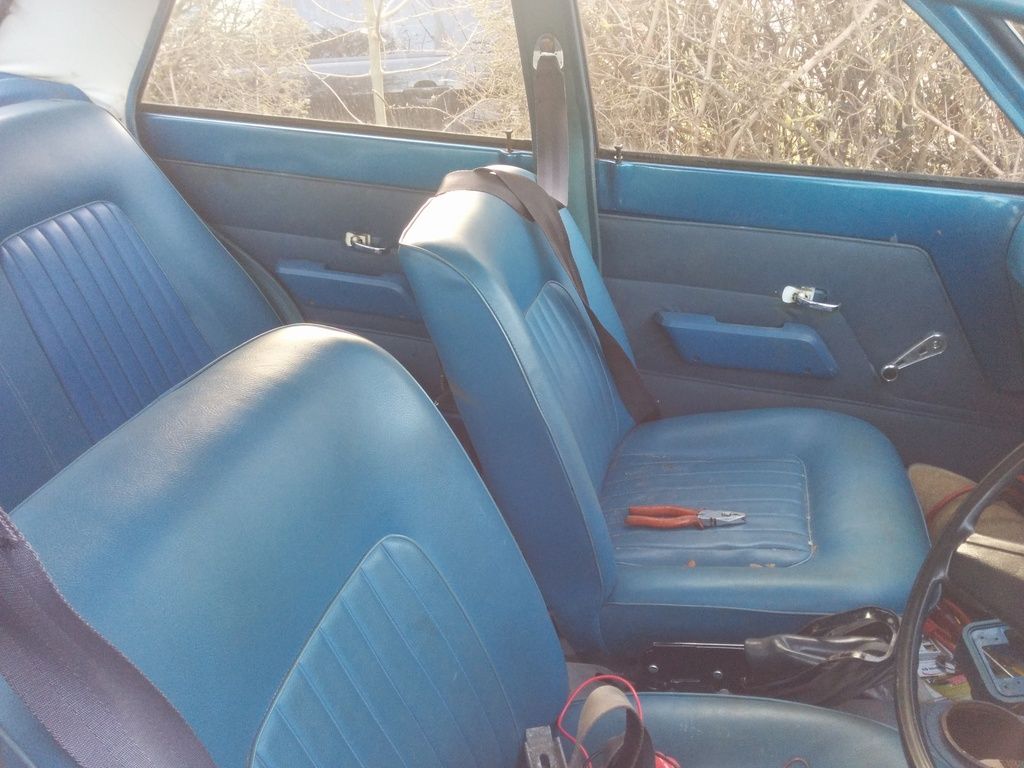 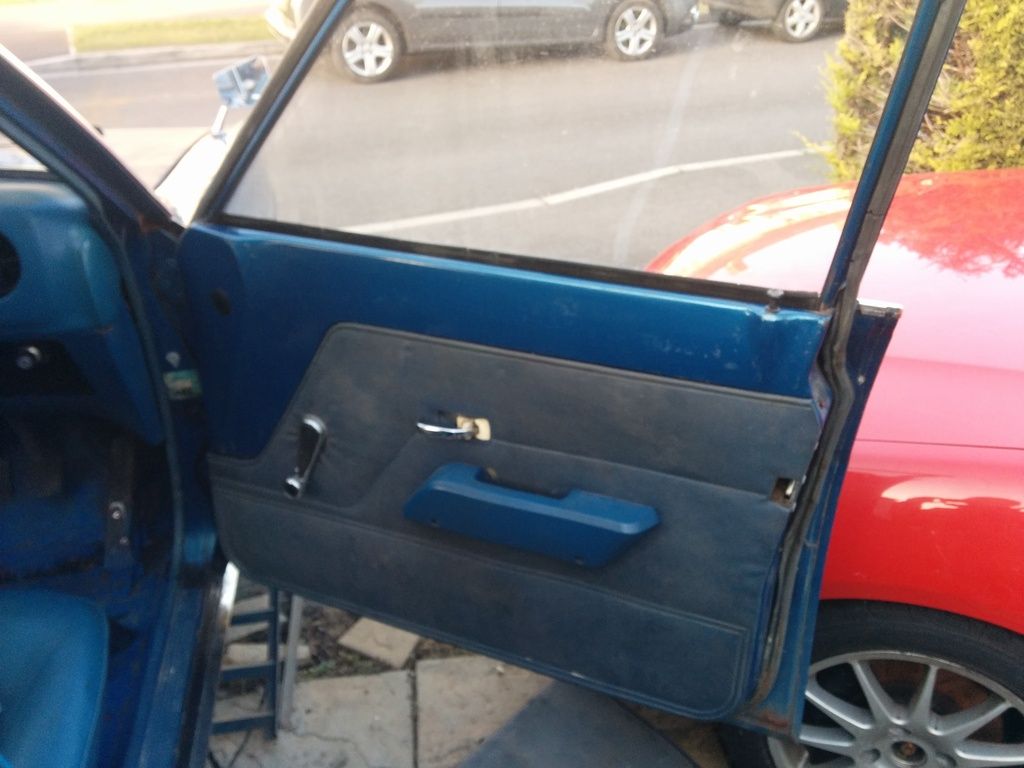 the pics don't do the new cards justice, they need a wipe down a but are a much better blue than in the pics. so what do you guys think? old or new? |
| |
1972 viva 'Sparky'
|
|
taurus
Posted a lot
Posts: 1,084
|
|
Mar 10, 2015 21:28:03 GMT
|
|
I think the new ones look better. But I'd be tempted to try recovering the old ones, or even try painting with dash spray, just to see what you could do with them. You could put some decent blue fabric on them and they'd look quite cool.
On the new ones there seems to be a different bit of trim needed for the door levers.
Your seats look to be in good condition. Same colour as mine, they seem to last quite well.
|
| |
|
|
|
|
|
Mar 10, 2015 21:51:31 GMT
|
|
yeah,the door handle trim is missing, but i have some shiney aluminium to make so up, i am selling the old door cards if you interested in them? yeah the seats seem to be in great condition, which i found some what suprising
|
| |
1972 viva 'Sparky'
|
|
taurus
Posted a lot
Posts: 1,084
|
|
|
|
|
Re. the door cards - mine's a 2-door so they wouldn't fit.
There will be someone who can use them though as they are getting scarce.
|
| |
|
|
|
|
|
Mar 11, 2015 11:35:43 GMT
|
|
New ones are much cooler in my opinion. Looking good!
|
| |
|
|
|
|
|
Mar 11, 2015 11:36:05 GMT
|
|
Oh. Did I miss, what was actually wrong with the engine? It wasn't running when you picked it up and then it was running. What was the issue?
|
| |
|
|
|
|
|
Mar 11, 2015 18:30:20 GMT
|
Oh. Did I miss, what was actually wrong with the engine? It wasn't running when you picked it up and then it was running. What was the issue? There was an issue with the gap on the points, my dad managed to buy a set in the local car ahop, actually He found brought the last two sets. After the manager found them, covered in dust, on a top shelf. Swapped in a new pair and that seemed to sort the issue, given the engine a small tune and seems to be running quite happily at the moment. Soon as I sort the clutch out I'll try and get it moted, there is one more issue I'll need to fix first, but more on that later...... |
| |
1972 viva 'Sparky'
|
|
|
|
|
Mar 11, 2015 23:16:45 GMT
|
|
Welcome to Viva ownership. That looks a really nice one. Join the club and get access to lots of knowledge....Very helpfull forum/place. If a little slow compared to here.
Oil in the bell housing is sometimes the back main oil seal. Have a squint/clean of the sump between flywheel and engine run engine for a little and see how much oil you get. Mate used to run with a cut off oil can under his engine!
The clutch adjustment can be a little tricky as there is supposed to be a specific measurement between the cable hole in the bellhousing and the end of the release fork. Very easy to over adjust. LOads of haynes for very little money on the bay of dreams.
IIRC Nova springs will go in the rear to lower it. Fronts are a little more tricky. Mine has merc springs in that just happened to be lying around. If you have the money source proper lowering ones. Also drive it around for a while to see if you can cope with the std engine. They are a little asthmatic but willing. Any engine mods requires stronger springs is why I mention it.
BTW. Keep all old parts. ALL parts are getting scare now. If it still has the interior light cover. Treat it gently. Hens tooth is an understatement.
I will stop waffling now. Fred will be along soon...
|
| |
|
|
|
|
taurus
Posted a lot
Posts: 1,084
|
|
|
|
|
Just for info - re. above comment re. Nova springs on the rear, Corsa B ones are the same since the Corsa B was basically a revamped Nova.
For the front, I have on the shelf a pair of springs from a Jag which were cut to fit Viva HC front suspension. I got them off a guy who had fitted a larger engine (can't remember what). He'd had to cut and weld the front crossmember to get it to fit and then the MOT guy failed the crossmember on account of welded subframes not being allowed. I bought the whole lot as scrap and used parts of it when restoring mine - but I didn't use the springs.
They were done quite well and fitted fine. They aren't lowered, but they will beef up the front end if a larger engine is fitted. They are all packed up and in a box somewhere because someone wanted them and then never got back to me.
|
| |
|
|
|
|
|
|
|
|
hey guys thanks for the advice on springs, I’ve hopefully, through the powers of facebook, sorted out a straight swap for a set of lowering springs. there’s a chap whose brought a viva on 2 inch lowering springs and doesnt like them, i offered him a straight swap and he's except. hoping to do the swap sometime next week.
re, The owners club. The previous owner actually sent my details to the viva club (he was pretty adamant that i joined) and i got the sign up pack through last week. however it said the year sign up was in April, so just to make it easier, I’m going to join then. I’ve already joined two viva Facebook pages.
Though sadly I’ve just found my first major body work issue with the car. i was told by the previous owner that there was a small hole where the spare the wheel sits. He had patched it, but i might want to look at it in the future. Turns out, the future was one week after buying it.
But I’ll do a proper update on that this evening with pictures.
|
| |
1972 viva 'Sparky'
|
|
taurus
Posted a lot
Posts: 1,084
|
|
|
|
|
They always go there, it's not a problem unless the rot is major. The key places to watch for are the sills, rear suspension mounts, rear seatbelt mounts, floorpan. The front inner wings go - but often it's advisory rather than an MOT fail because the front suspension mounts are on the inner wings. On some the A pillar rots from inside out - but yours looks pretty solid there. Rear wheelarches can rot through and they are hard to repair due to the profile and lack of parts. The lower part of the front wings also go because there's a mud trap behind the front wheels. A lot of people remove the plate behind the front wheels to open that area out - it just means you can clean in there and give it a good dose of anticorrosion treatment - and then keep an eye on it.
|
| |
|
|
|
|
|
Mar 12, 2015 10:15:46 GMT
|
Just for info - re. above comment re. Nova springs on the rear, Corsa B ones are the same since the Corsa B was basically a revamped Nova. For the front, I have on the shelf a pair of springs from a Jag which were cut to fit Viva HC front suspension. I got them off a guy who had fitted a larger engine (can't remember what). He'd had to cut and weld the front crossmember to get it to fit and then the MOT guy failed the crossmember on account of welded subframes not being allowed. I bought the whole lot as scrap and used parts of it when restoring mine - but I didn't use the springs. They were done quite well and fitted fine. They aren't lowered, but they will beef up the front end if a larger engine is fitted. They are all packed up and in a box somewhere because someone wanted them and then never got back to me. Taunus - Thanks for the correction. Scatman - Good swap!!! |
| |
|
|
taurus
Posted a lot
Posts: 1,084
|
|
Mar 12, 2015 13:23:12 GMT
|
|
Not a correction at all - I'm just saying that if you're searching for them it's easier to find them listed under Corsa than Nova. They're the same thing.
|
| |
|
|
|
|
|
Mar 22, 2015 19:51:10 GMT
|
so heres that update i meant to post a while ago. a lots been done since the last post, finally got a clutch the right size. that was fitted last saturday, along with the gearbox and propshaft. however i couldnt get the exhaust manifold to go back on, i had to take it off as it ever so slightly got in the way of removing the gearbox. if say the engine was level, the exhaust maninfold would be a 7 or at degrees off at an angle to it. so i gave up, it was a saturday, my gf was coming up and i was losing my rag with it. so i stopped for the day. i had friday of work, i planned to do alot on the car with my dad. as during the week he had some new brake line made up. as the old ones were probably not going to pass an mot. the brakes lines, thermostat, gasket and oils came up to £105. i didn't really want to spend £100 on the car, but brakes are important (or so i've been told) and to be honest, the work was to a good quality. and ive said previously, i don't mind spending money of safety bits. old brake lines: 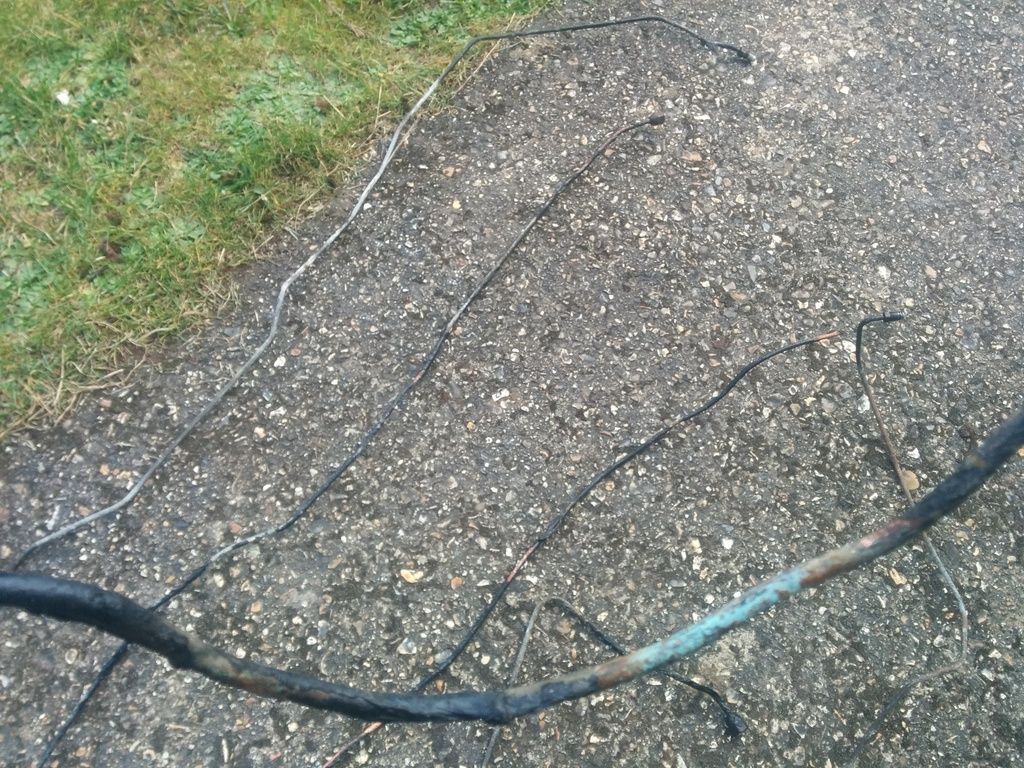 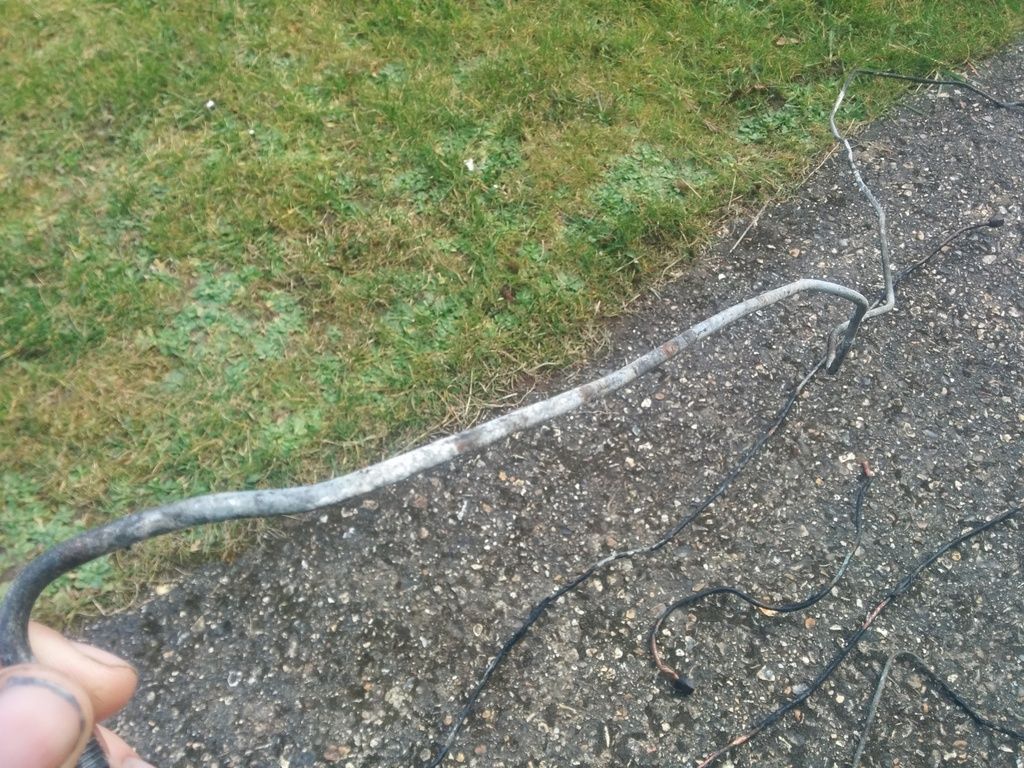 new shiny brake lines: 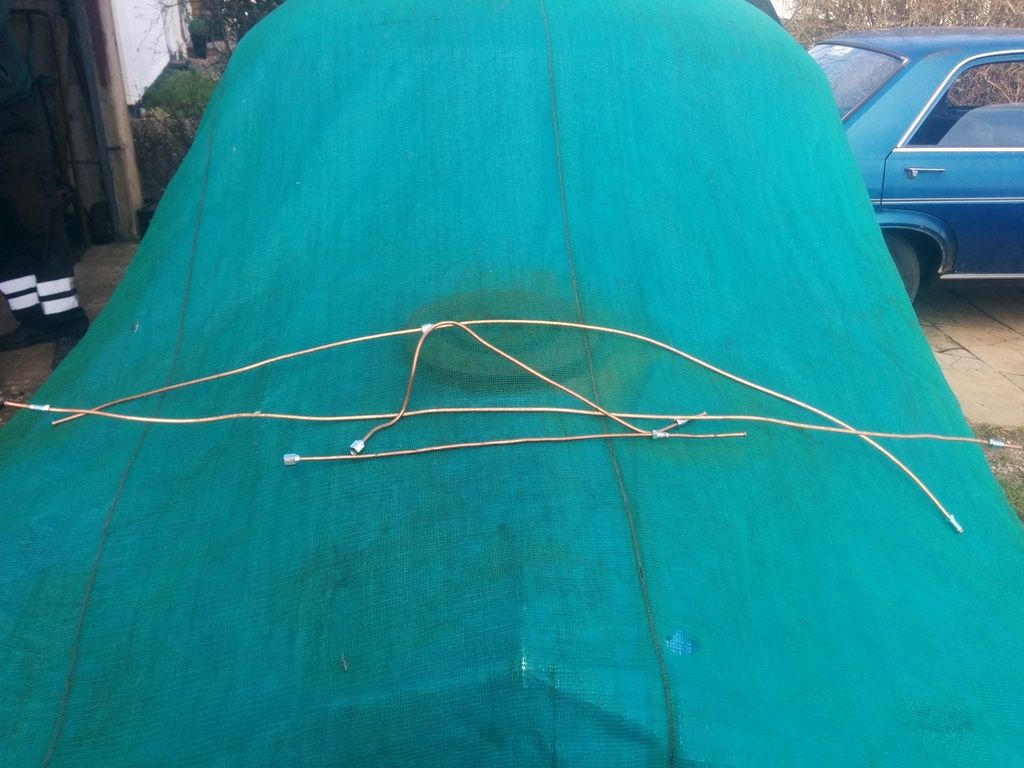 and here they are fitted: 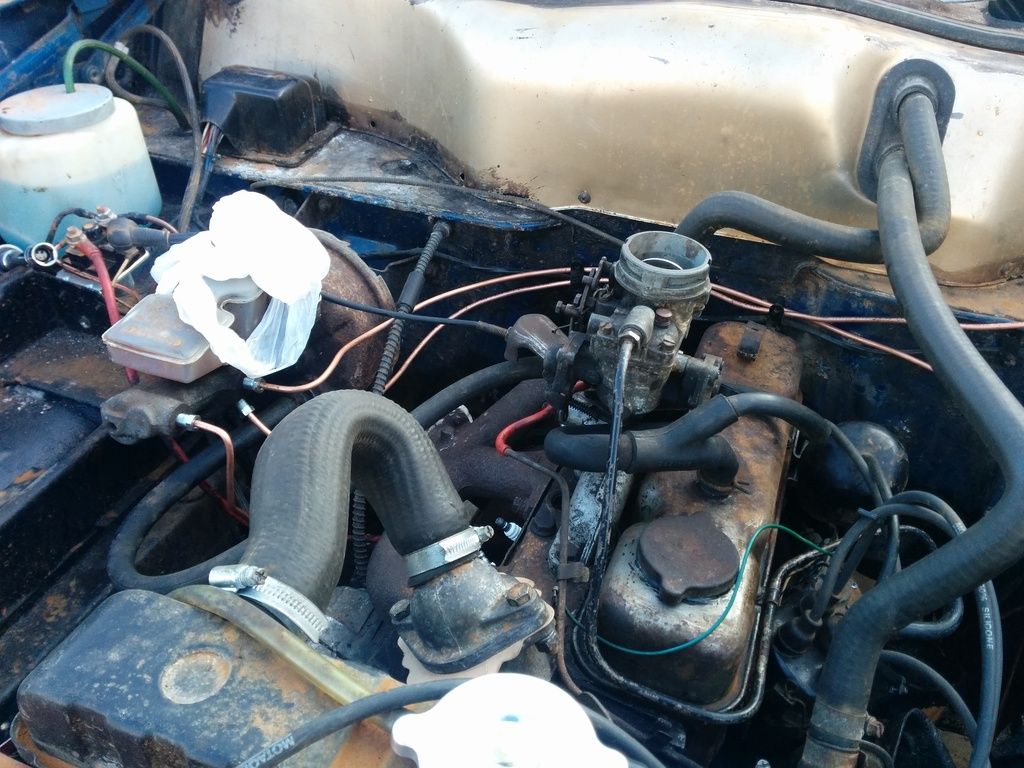 it wasn't all smooth sailing though, as the day drew to an end, we got the stage of bleeding the brakes. we did the rear brakes no problems. went to do the passeneger side front, seemed to be going well, building up pressure in the system when....POP. brake fuild went every where. My dad had accidently cross threaded one the joints in going into the brake servo. so that pipe needs a new joiner and flare,we had a joiner lying around but not a flare kit, so thats off back to the shop. now back to the exhaust. it took me and my dad about 2 hrs, a lot of course words and grunting to get it to go on. we trying maneuvering the engine, we tried maneuvering the exhaust manifold, we tried brute force, at one stage we though we had it, 5 out of the 6 bolts where screwed in by a few threads. but number 6 would just not bite. so we undid, swore and then tried again. it took a little bit of very thing to get on. but we still have no idea why it was so hard, any ideas people? here the hole i was on about, its since be cut out and made neater, but still needs to be repaired. 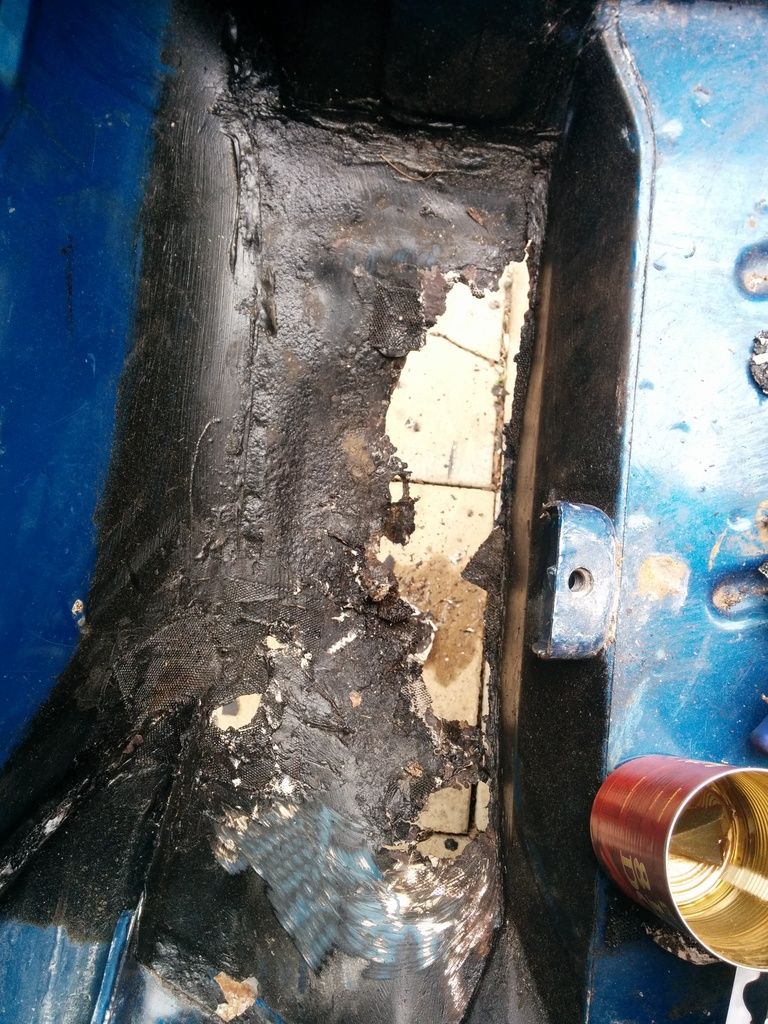 its so very close to getting to the mot station....watch this space. also i have this to replace the fuel cap, brownie points to you if you can tell me what its from. 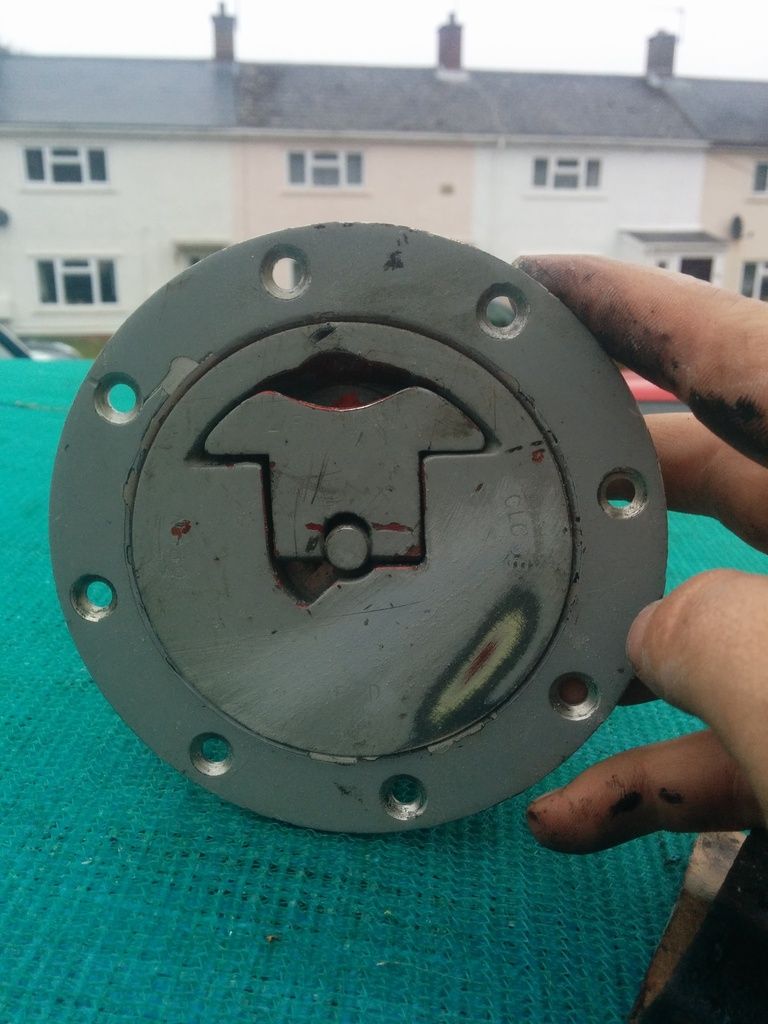 |
| |
1972 viva 'Sparky'
|
|
|
|
|
Jan 14, 2016 13:25:00 GMT
|
|
so coming up to a year later and guess what this car still hasnt got, that elusive MOT. life got in the way a bit, i moved out, the work on it slowed and the car changed hands.
luckily the new owner was my dad, so the car hasn't actually moved and there has been some work done over the last 10 months.
we got the car running, only to find out the crank had a lot of float. so a new engine was need.
a new engine was found but hasn't been fitted yet for some reason.
a new rear passenger door was found and fitted, we thought we got really lucky on fleabay thinking we had found one the same colour as the car, sadly its a different shade of blue but it isnt dented.
the spare wheel well has been patched up and a new sill also welded into place.
but annoying some more small rust patches/holes have been found which will need welding
ive started to get my mojo back for this car and plan to do some more work on it over the weekend (hopefully it wont rain).
ill do an update and post some fresh pics then.
thanks for reading
|
| |
1972 viva 'Sparky'
|
|
|
|
|
Jan 19, 2016 10:40:03 GMT
|
so did a small amount of work on the car this weekend. finished off the patching the hole in the boot and removed a stubborn rear shock absorber nut so here the panel i made last year to fix the hole in the boot. admittedly its not the prettiest of panels (i hadnt discovered Tonybmws thread yet)but its solidly in place and sort of matches the orginal. I may redo it/neaten it up after the mot. also, this is why you should always spray any new welds/fresh metal: 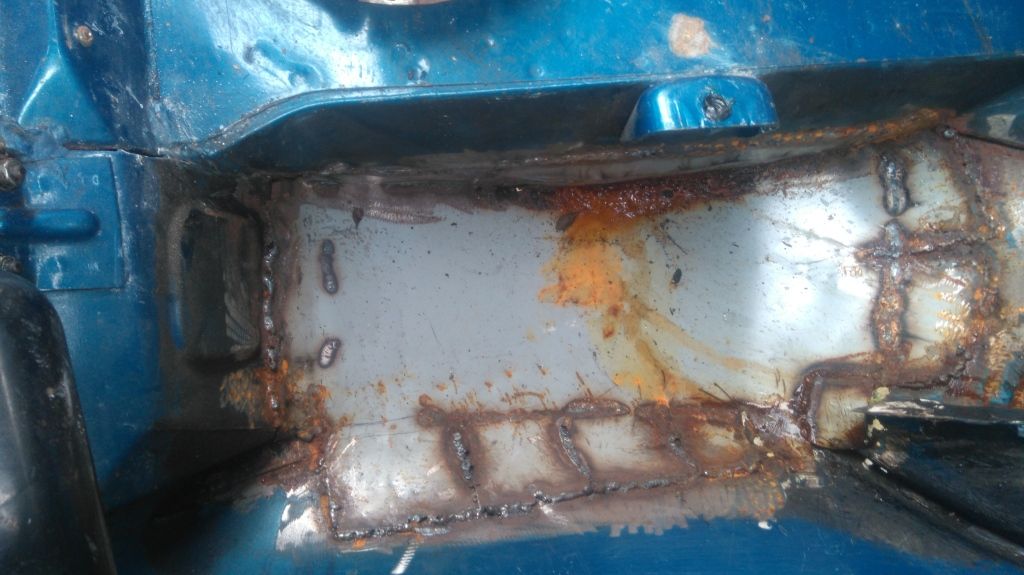 so i spent a while cleaning this up, wire brushing the surface rust off, attempted to weld up some biggish holes (with some success) and grinded of some of the more profound welds. however excess isn't great and i was worried about accidentally grinding through the skin so i didnt do alot. then i gave it a quick coating of some primer i had laying around. ta-da 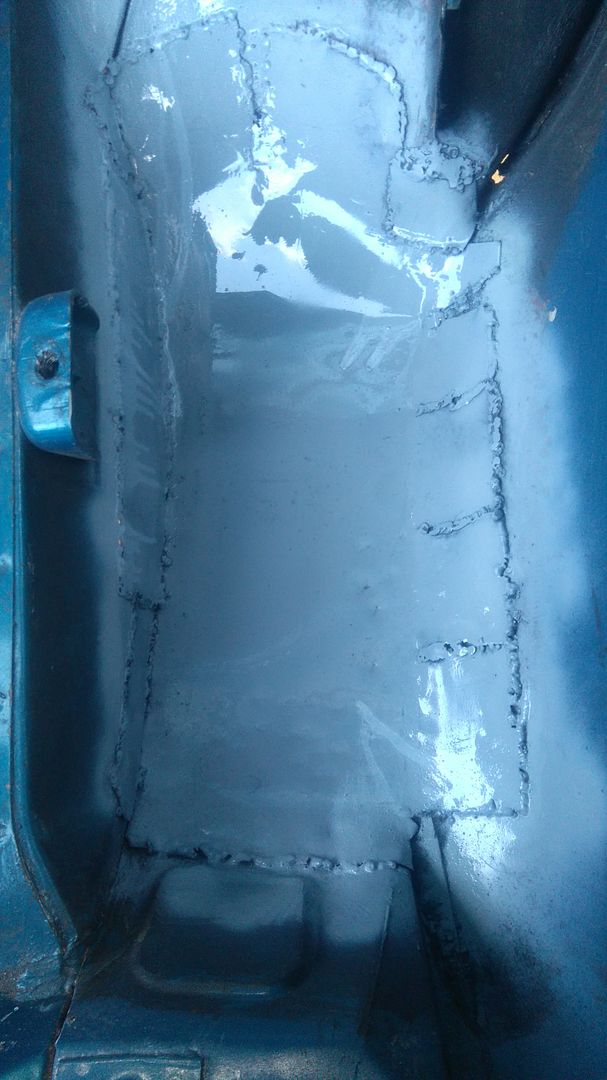 i didn't get any pics of the stubborn nut but it took about a total time of about 3 hours to remove, hacksaw blades, clamps, screw drivers, spanners and brute force were all needed to make it undo. the other side however came of how it should and took about 5 minutes. i hate when simple things become overly difficult. heres what the engine bay looks like at the moment, no prizes for guessing whats missing. plans for this i think is just a quick wash and clean up, nothing major. only new parts here are the brake lines and passenger side engine mount. 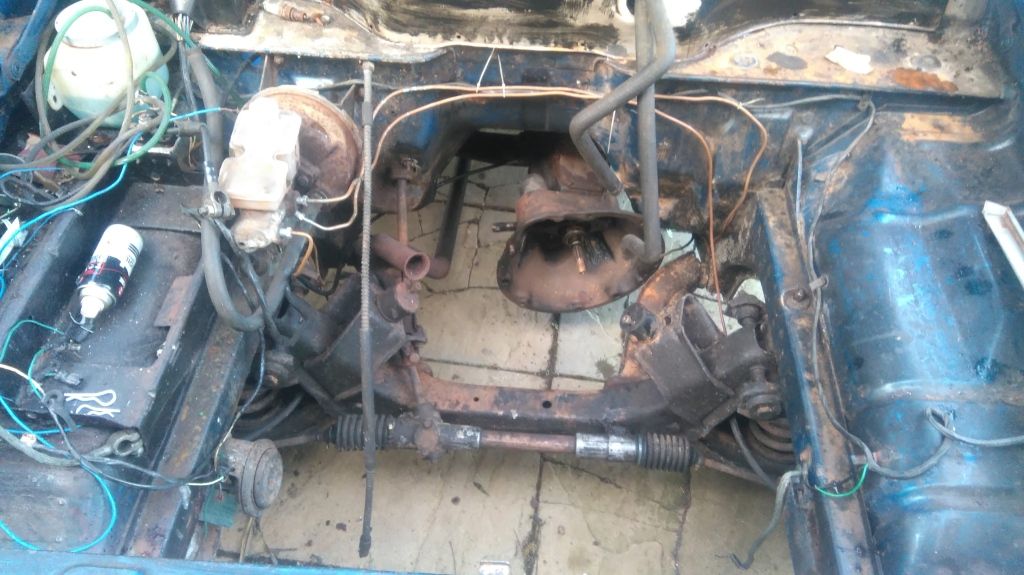 and here's the heart of the beast, all 1256cc's of it. i believe all this needs is some new gaskets fitting and the timing sorted. 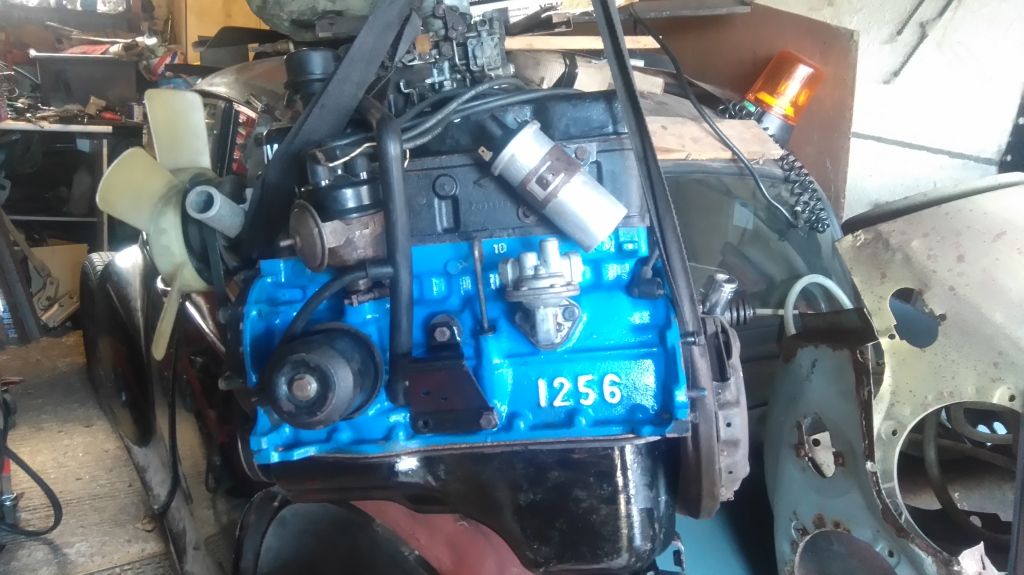 hopefully this will be refitted soon because i really wanted this MOTed by summer so i am going to have to pull my finger out. next time i will get more pics of the entire car. |
| |
1972 viva 'Sparky'
|
|


