|
|
|
Nov 23, 2020 19:09:41 GMT
|
|
Hi all,
had a good day on the vw today.
Completely stripped her out ready for the final assembly.
The new flooring has been cut and fitted along with the table mount and a pair of vents for in the battery cupboard and kitchen unit and both the b pillars have been carpet lined.
I have made and fitted the backboard for the kitchen unit.
No pics today as I have killed my phone.
Cheers - mike
|
| |
|
|
|
|
|
|
|
Nov 24, 2020 15:58:34 GMT
|
Hi all have had a steady day on the VW today, the mains and 12volt systems are now fully installed and operational. There's a 2 way consumer unit with twin rcds although just the 16 amp one is being used in this set up. There's an onboard charger which displays battery voltage, % charge and amps being used / charge rate and finally a 150 watt inverter to run the fridge. Apart from connecting the lights that's all the electrics complete. Tomorrow should see the doors fitted to the kitchen unit and the unit installed in the van plus the last few bits of lining carpet can go in. Cheers - mike 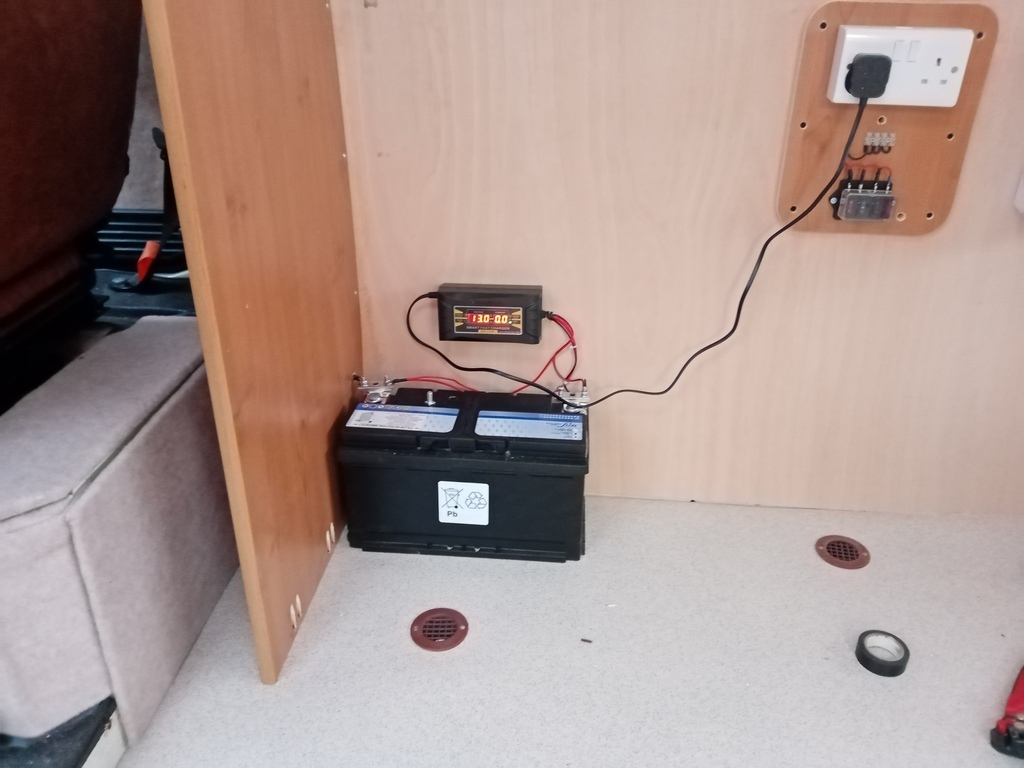 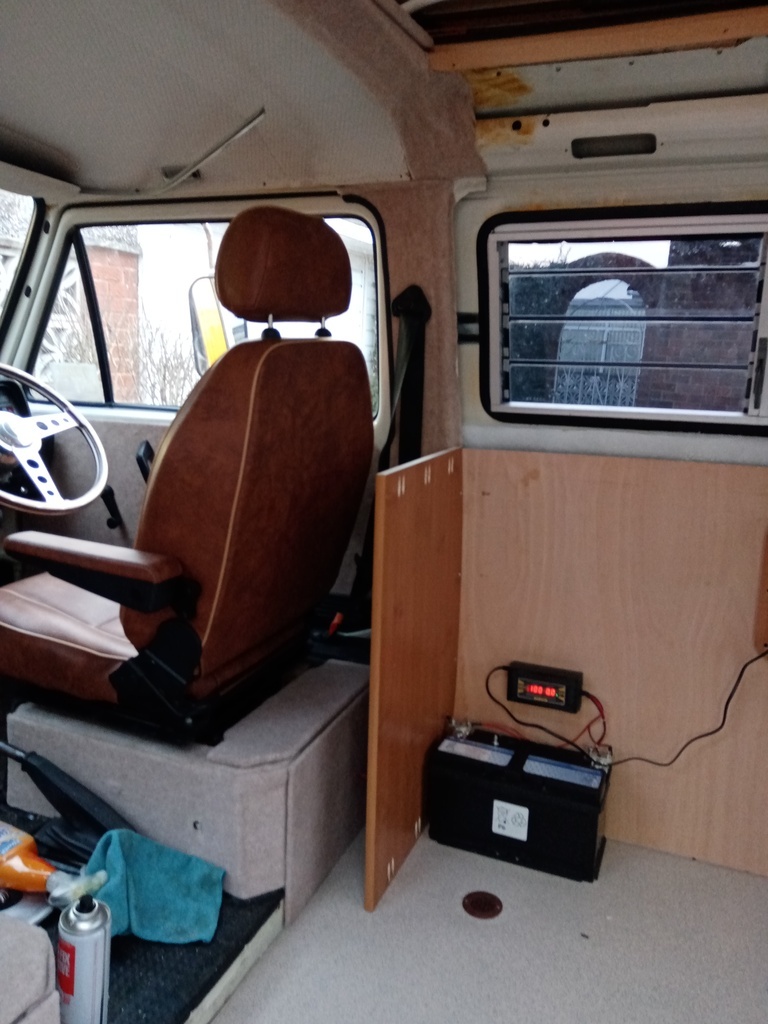 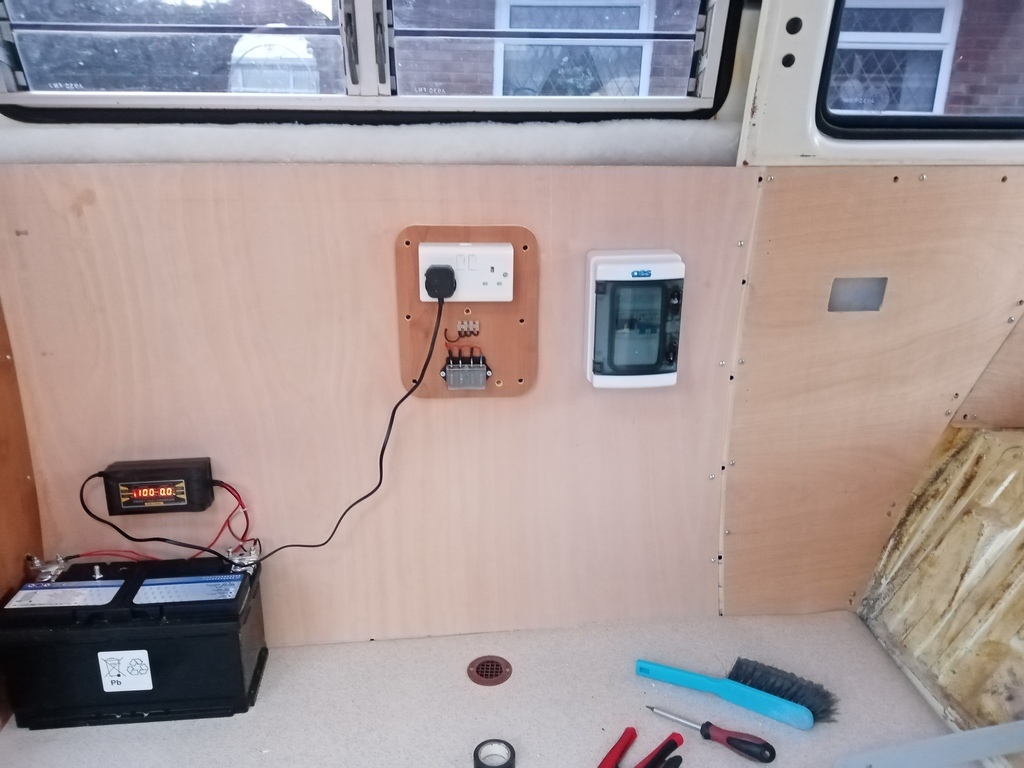 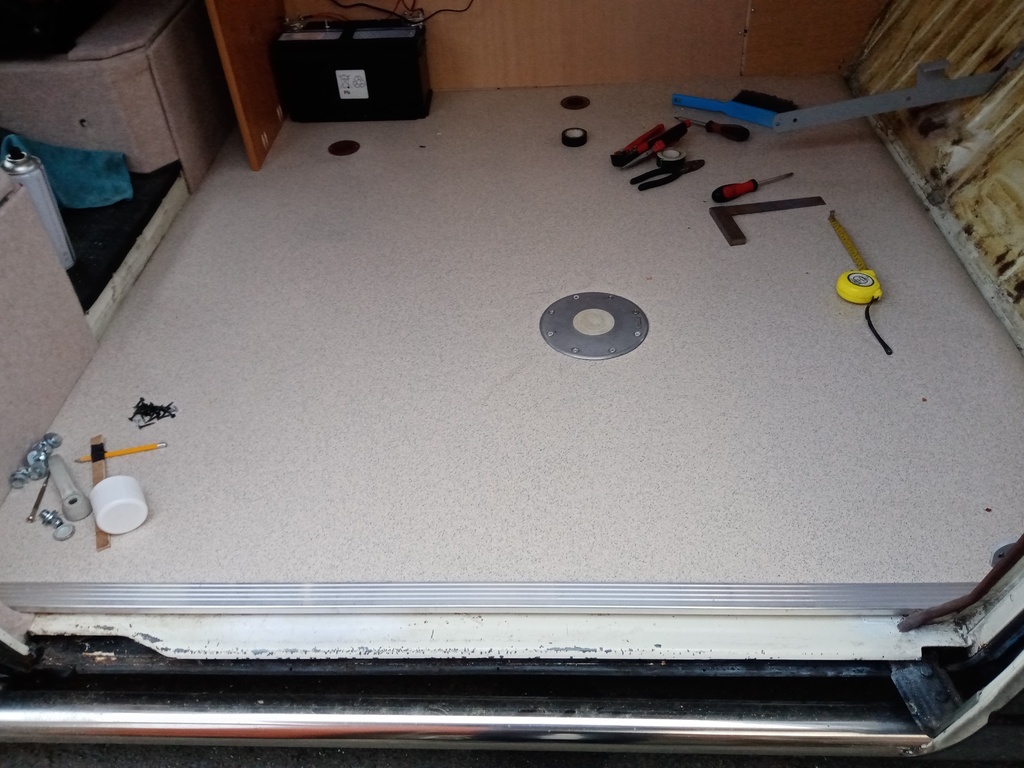 |
| |
|
|
|
|
|
Nov 25, 2020 15:35:56 GMT
|
Hi all, had a steady day today, lost some time due to the wet weather this morning. The table is made and the kitchen is now fully fitted. I also made a new engine cover and covered it in carpet. Cheers - mike 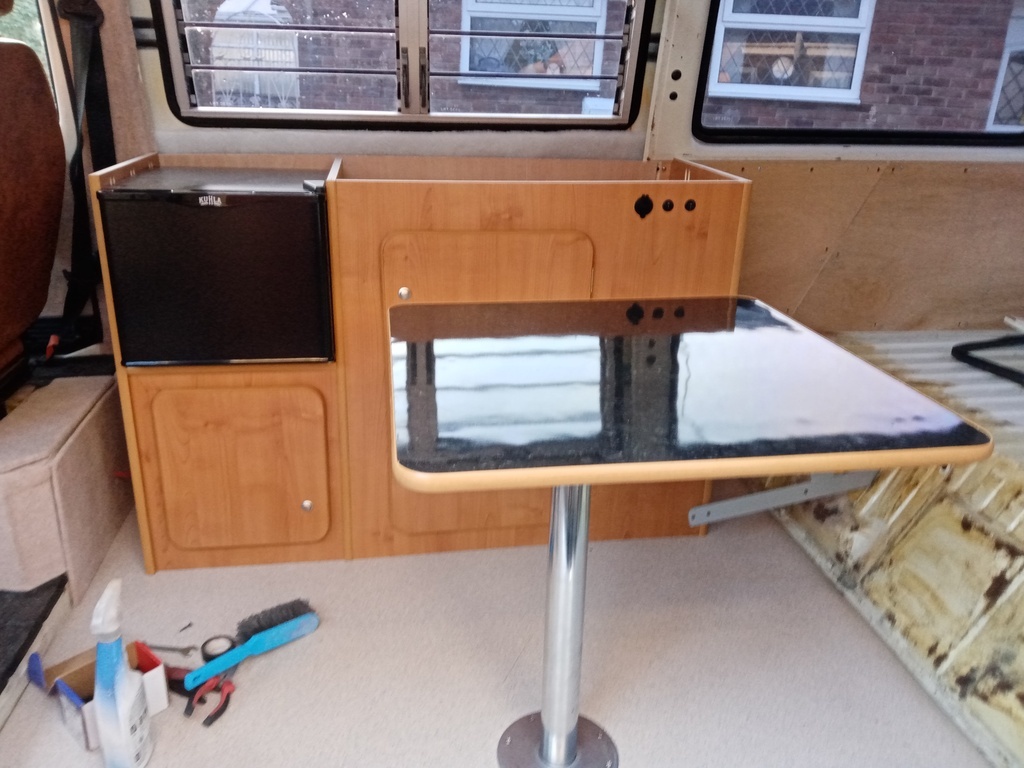 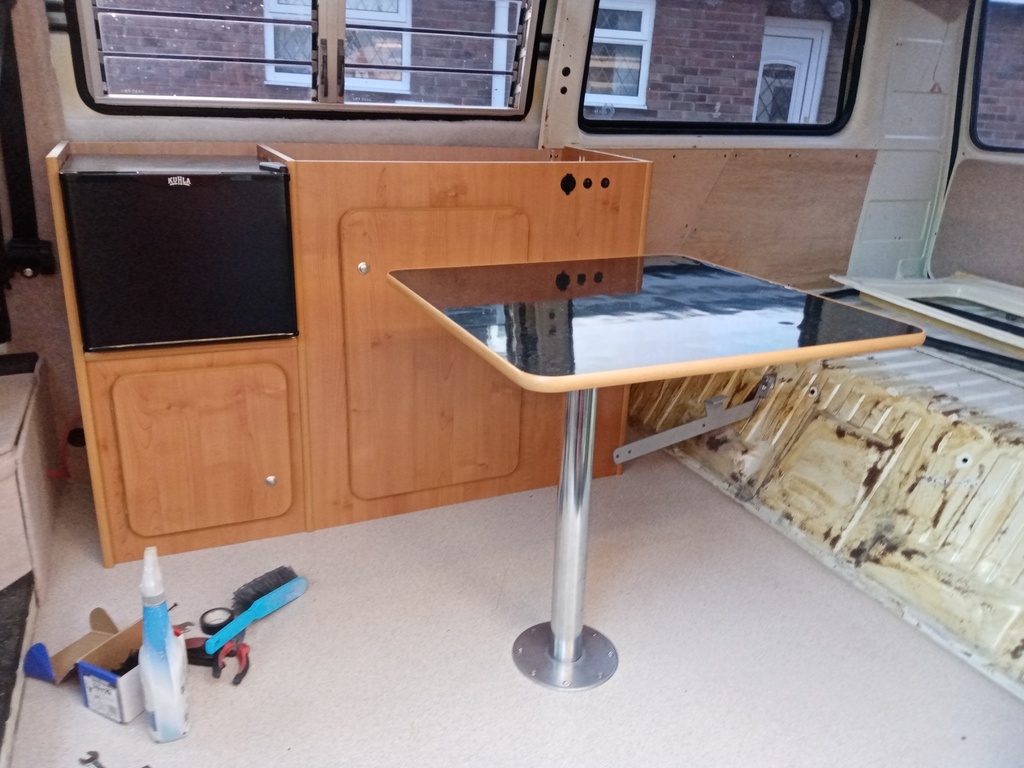 |
| |
|
|
|
|
|
Nov 26, 2020 16:57:35 GMT
|
Hi all had quite a good day today. I have repaired the surround for the louvre window and covered it in lining carpet. The drivers rear quarter panel is now carpet lined along with the engine bulkhead. I have also made and fitted an in-fill panel for the dead space alongside the rock and roll bed. Most of the units have now been fitted for good, just a shelving unit to make for the wardrobe and then the last panel can be fitted. Did a bit of work on the wiring whilst I still had access, its now fully secured and routed behind the rear kitchen panel and into the fuse box. I also took time out to measure up the rock and roll bed. Its actually a T2 bed which is supposed to fit a T3 but its a long way off fitting. There's a 137mm difference between the height of the bed and the rear of the camper. The supplier suggests that a plinth is made to take this up but i'm not happy with this. I'm going to look into the possibility of cutting the bed frame down so as to not need a plinth. Still quite a bit to do but she's well on the way now. Cheers - mike  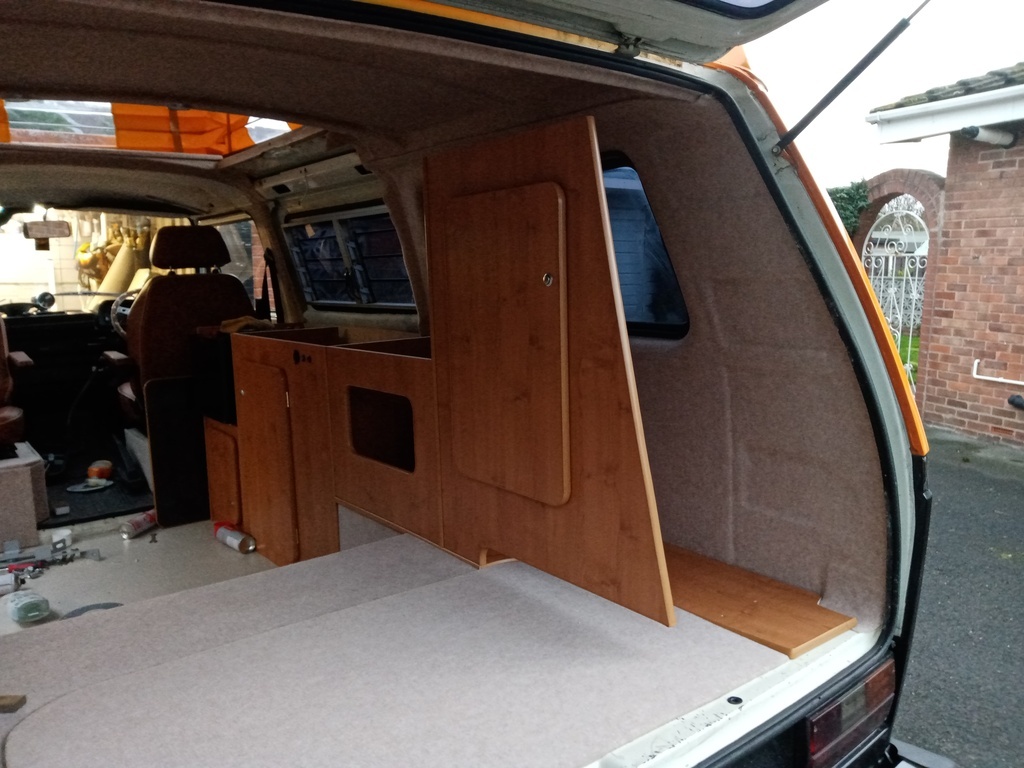 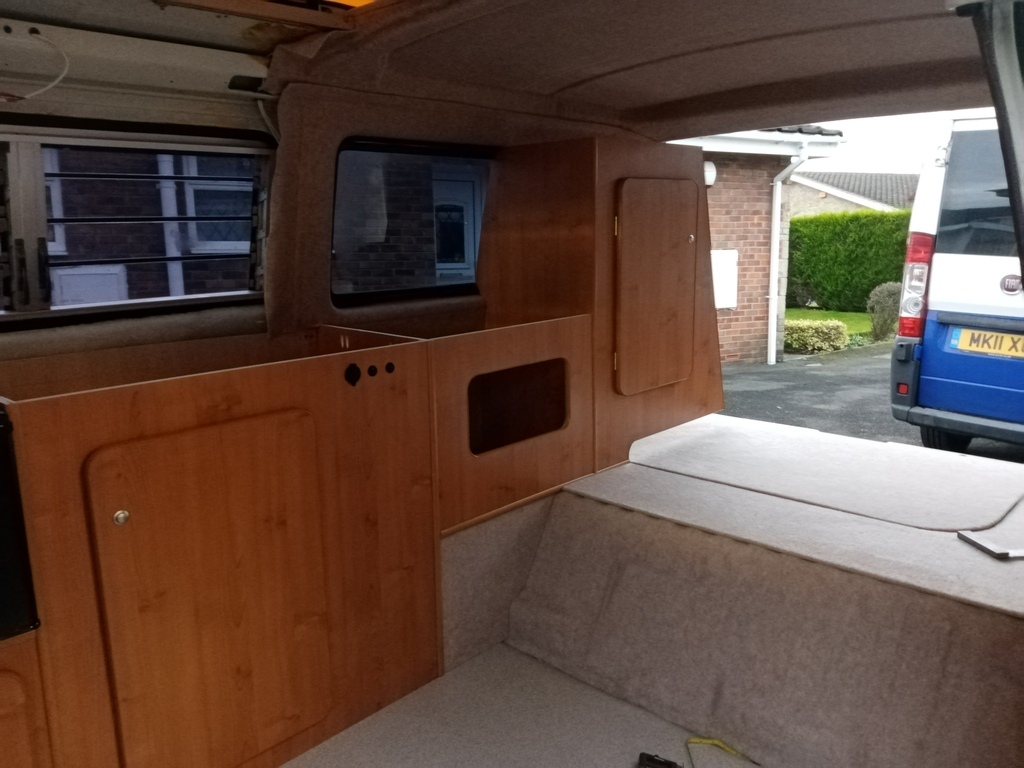 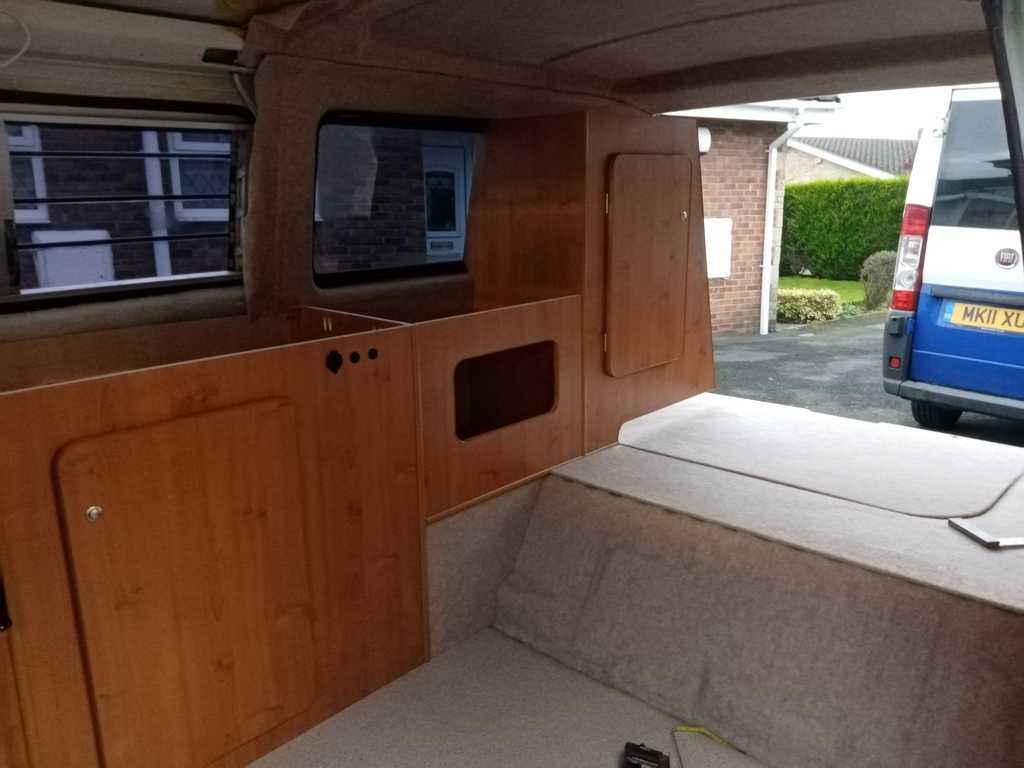  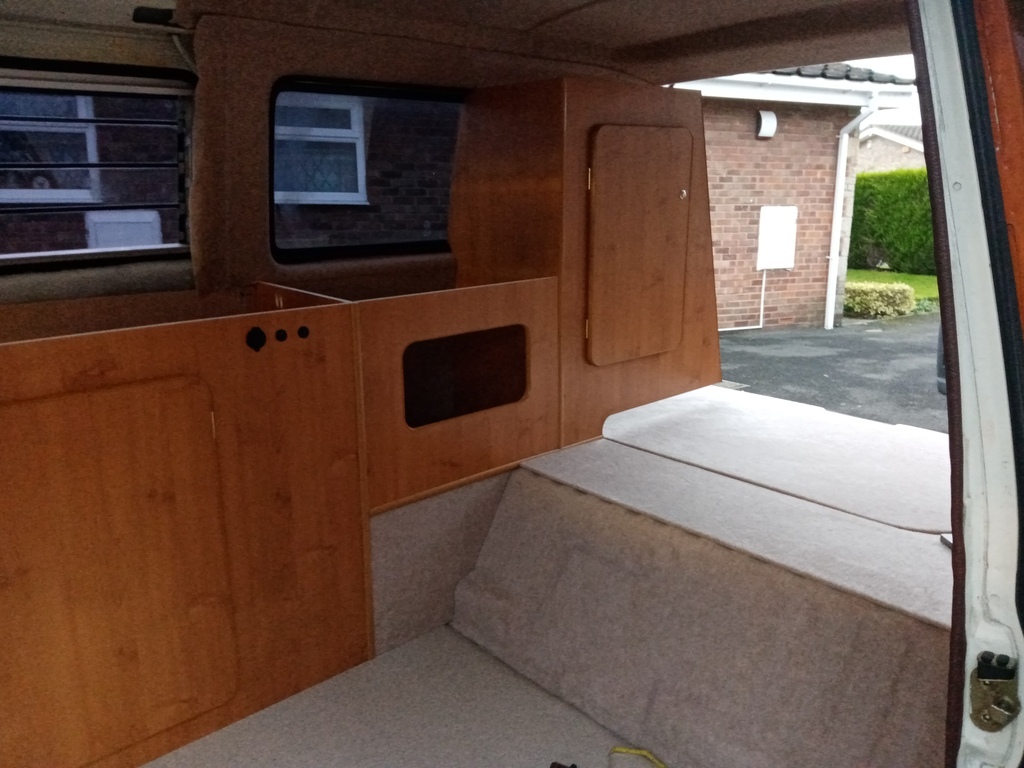 |
| |
|
|
|
|
|
Nov 30, 2020 16:43:41 GMT
|
Hi all
had a steady day today despite the weather.
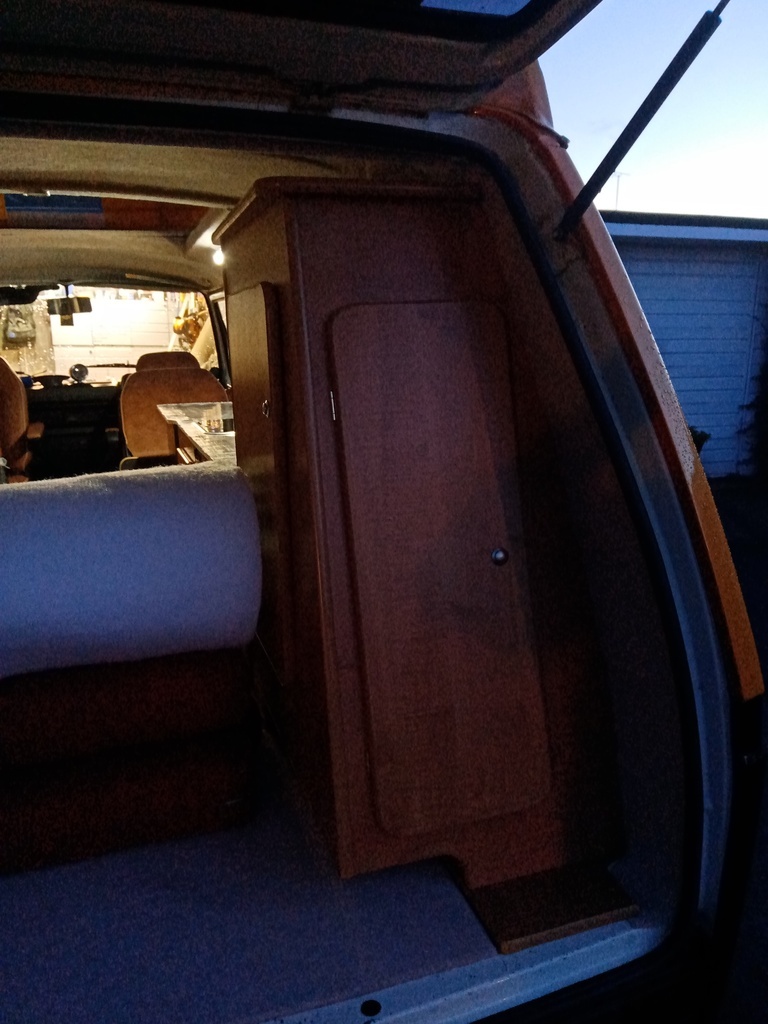
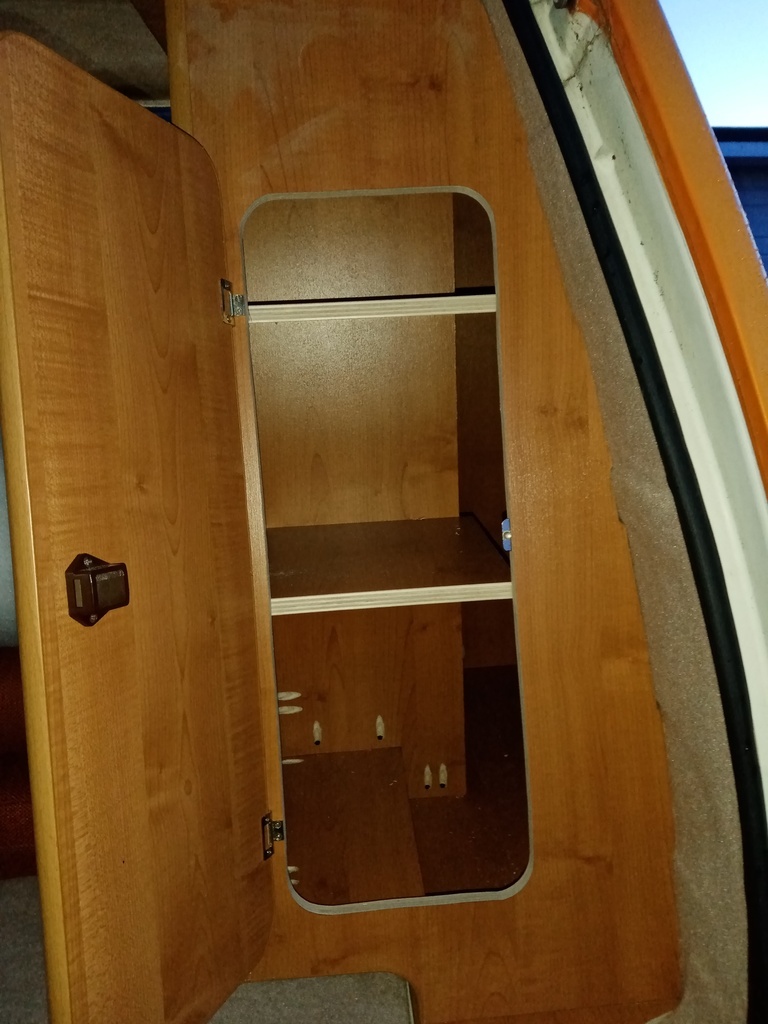
I have split the wardrobe and add shelves to the rear and made and fitted the top wardrobe panel.
The trims for around and above the kitchen window have been repaired, trimmed and fitted.
Last job for today was to make the kitchen worktop. This is always a key moment for me as its the last and most awkward major job.
Tomorrow should see the fit of the worktop finessed, edging trim fitted and the final fit of the sink and pop up socket.
I also hope to get a few odds and end sorted.
The last major job will be modifying the seat so that it fits properly as a bed without need a plinth but I have a plan for this.
Cheers - mike
|
| |
|
|
|
|
|
|
|
|
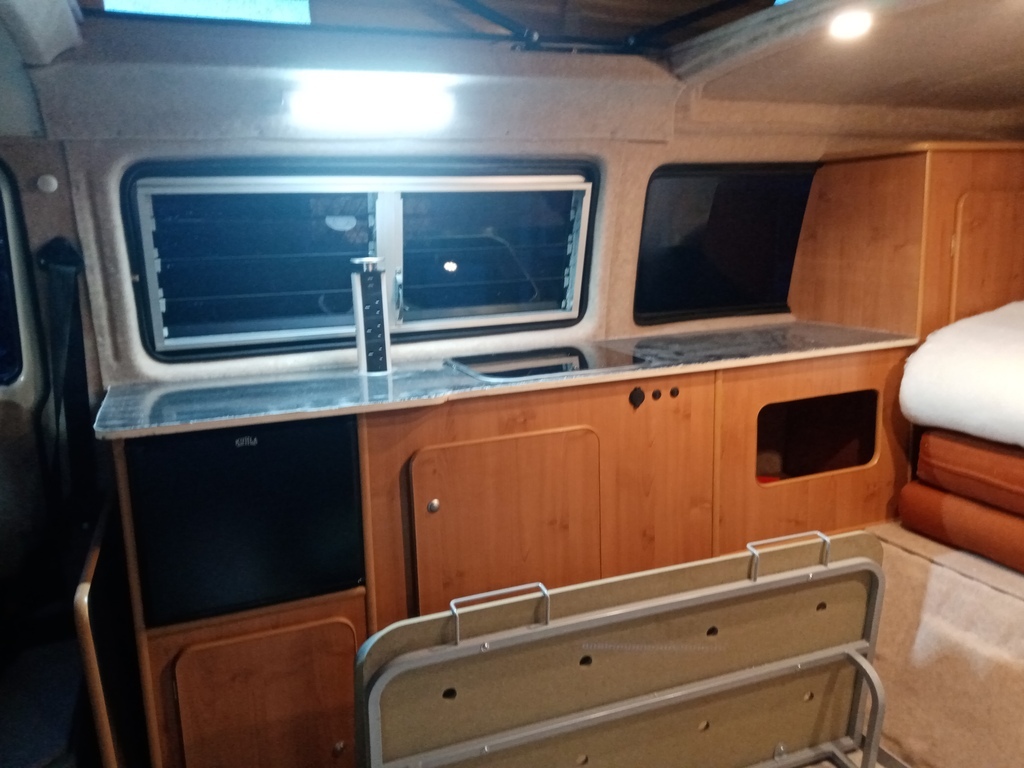
Hi all
had a busy day today
added trim to the worktop and got it fitted. The sink and pop up socket are now fully fitted along with the water pump and associated electrics.
I spent a few hours on redesigning and modifying the rock and roll bed, It now folds flat, as it should have originally, so a plinth is not needed.
I have also done the last major bit of trimming and quite a few other odds and sods.
Tomorrow should see the new rear seat belts fitted, the rock and roll bed fitted for good and the closing panel for the bad front made and fitted.
Cheers - mike
|
| |
|
|
|
|
|
|
|
Hi all, has a good day today. Got quite a bit done. The new rear seat belts are now bolted in. What a fun job that is when your working on your own. The rock and roll bed is now fitted for good and the closing panel for the front of the bed has been made and fitted. I have also cut down the rear upholstery cushion so that the camper can be used until the new upholstery arrives. Also did some finishing work under the sink. All the pipe work is now in and I have made and fitted some retainers for the fresh and waste water containers. I was not happy with the fit of the side door trim panel, even though it was copied from a factory panel so I remade it and re-drilled all the holes in the panel and the door to fit the later style clips. It now fits as it should and doesn't pop off every time you shout the door. Have also made and fitted a retainer for the table and table leg. Tomorrow should see a few odd jobs completed and then I can start making the shades for the windows. Cheers - mike 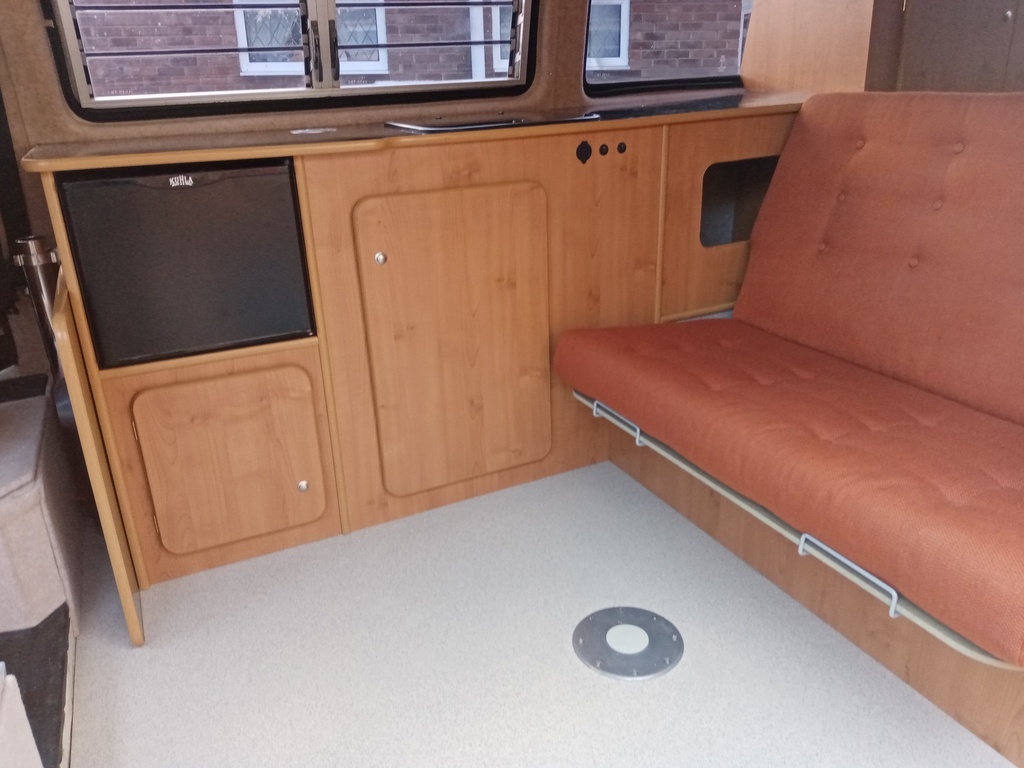  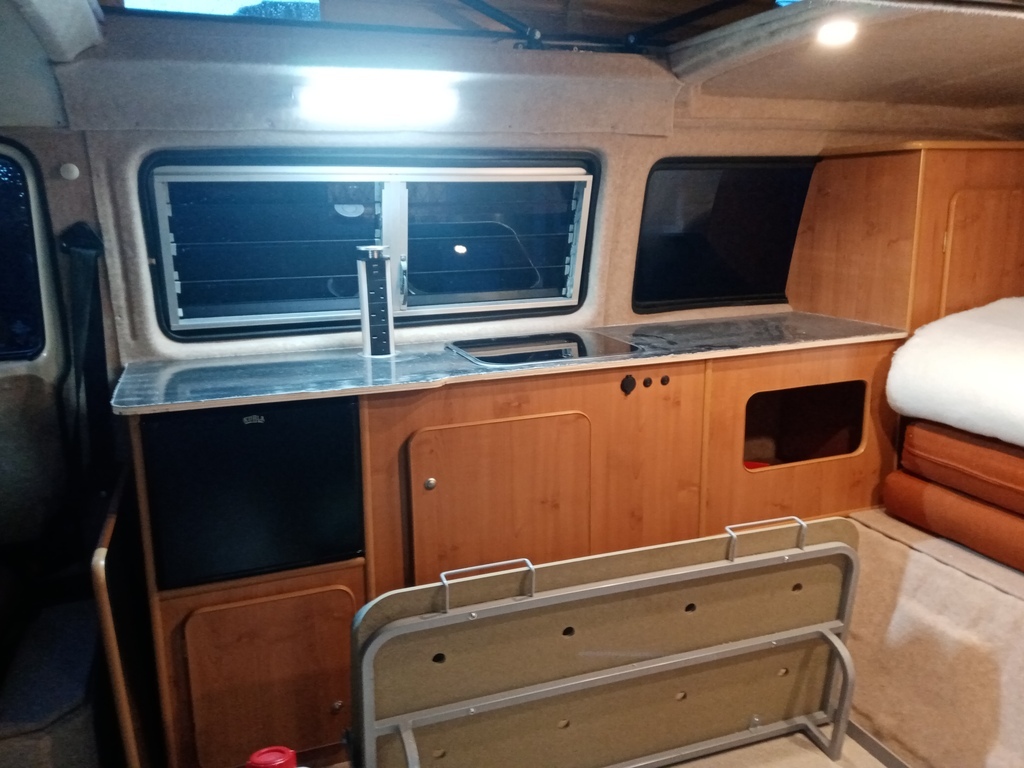 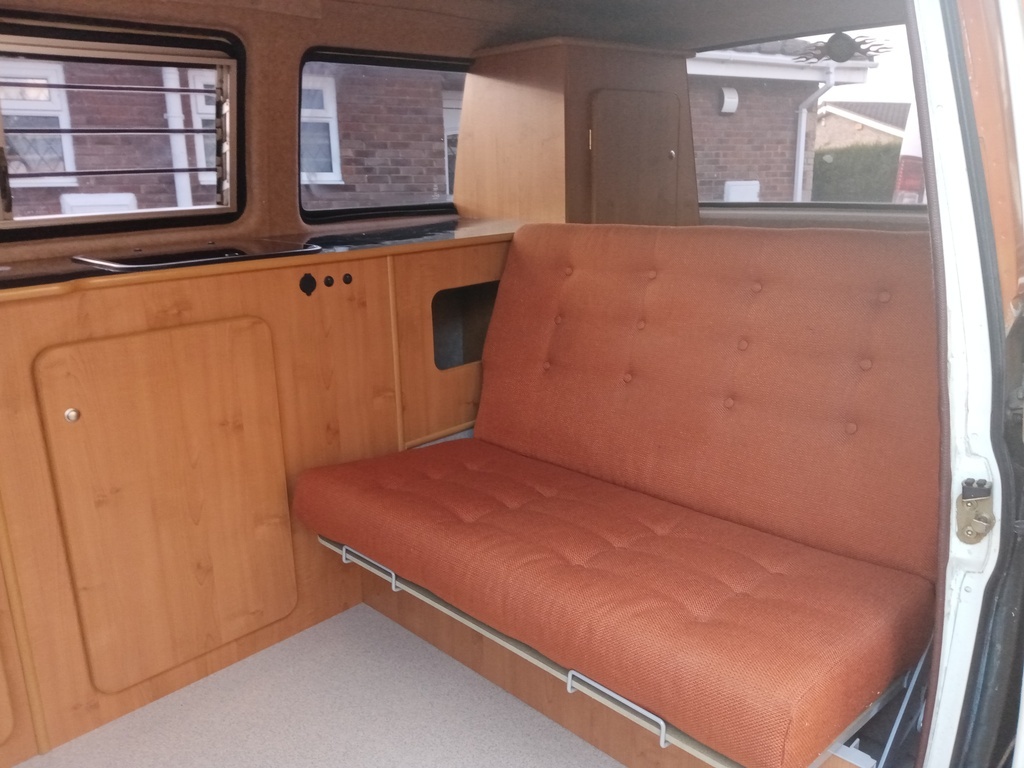 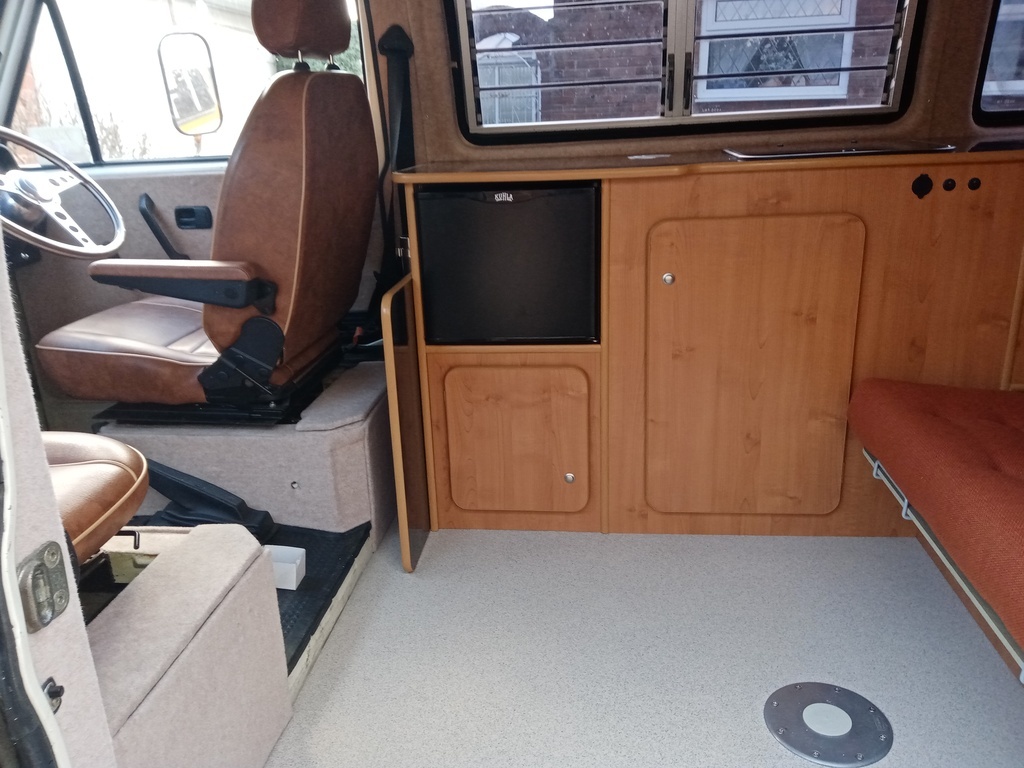  |
| |
|
|
|
|
|
|
|
and some pics of the bed made up. The upholstery is all going to be replaced but there's currently a 6 week lead time. Cheers - mike 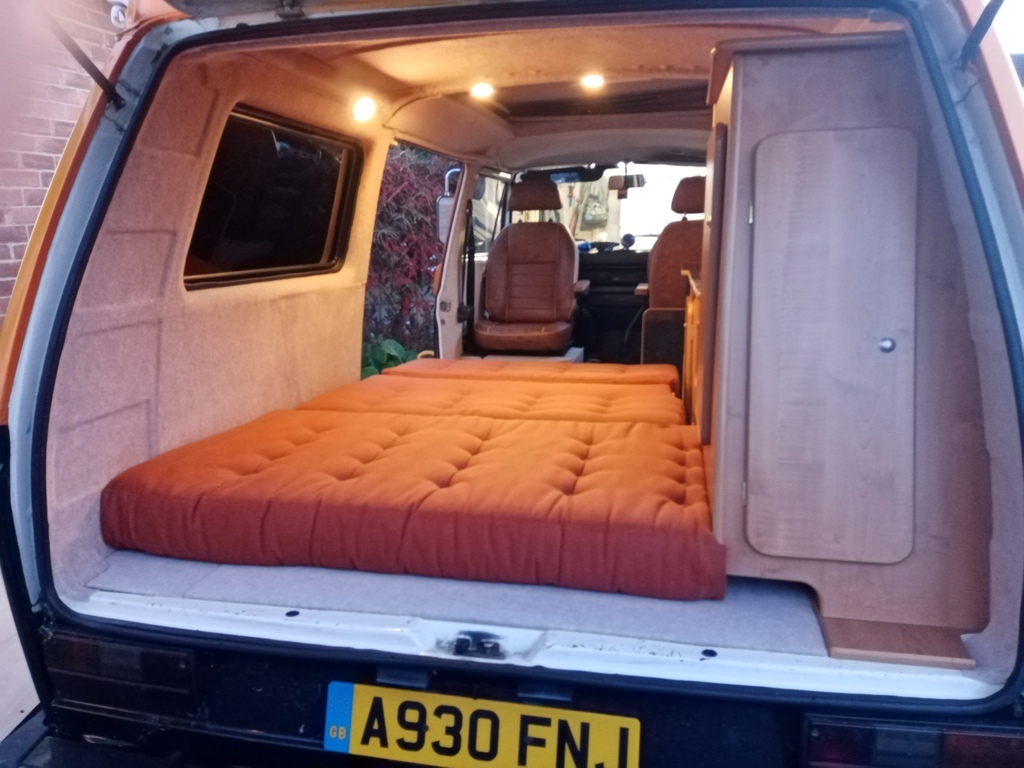 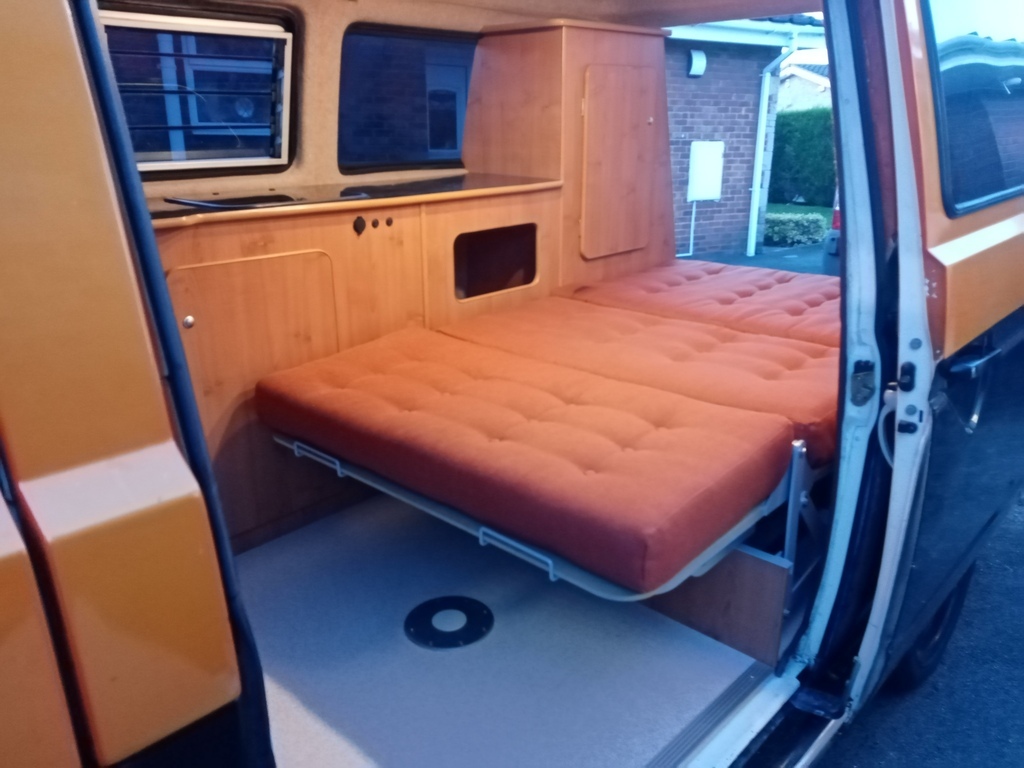 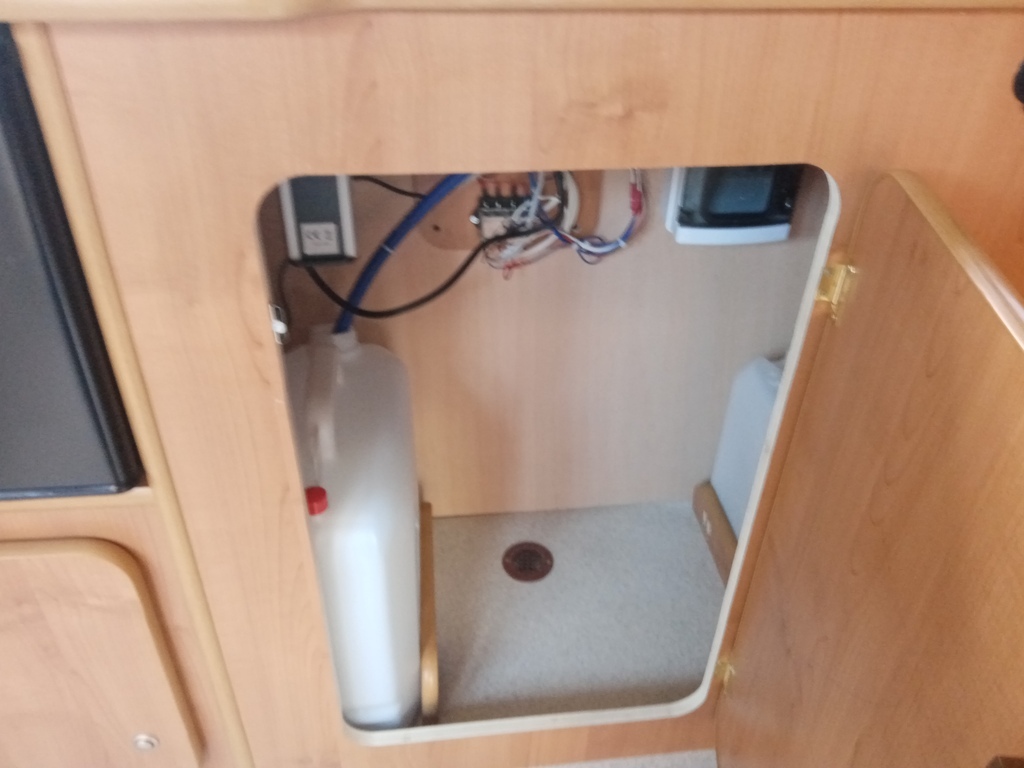 |
| |
|
|
hopeso
Part of things

Posts: 340 
|
|
|
|
|
Looking very professionally finished.
|
| |
|
|
75swb
Beta Tester
Posts: 1,015
Club RR Member Number: 181
|
|
|
|
|
Hi Mike, the van looks great, and a great spec of t25 to start from. Have you managed to progress further in the current lockdown? I've just had a read of a few of your conversion threads and the level of finish is excellent. A couple of questions if I may? I have a vw t5 here in NZ, and made some ply panels for the side from 6mm (I think treated, its what the ply shop recommended). It's a slightly concave shape etc, and whilst they fit and will be sufficient for my needs, how do you go about making such neat templates and subsequent panels? I made a large mess of masking tape, and even then I'm a few mm out here and there. For a jumped up works van it's fine, but I'd love to be able to improve! I've used riv-nits to secure the panels (with large washers) to allow me to remove them, and whilst I got most of the mounting holes correct I did have to re-do a couple due to the panel bending into the concave side. Any suggestions here?
What type of insulation should one use to avoid trapping moisture too?
You would be abhorred at the price of stretch carpet and spray adhesive here so I'm watching plenty of videos to try and get that part right first time. I only use the van for bike/dog/renovation transport, but as its our only (sensible) car I'm trying to add a little refinement.
Thanks, Luke
|
| |
|
|
|
|
|
|
|
|
|
|
Hi luke,
I have not managed to make any further progress on the t25. Its back with the customer but dur to return in March for the upholstery to be done, lockdown permitting.
Making the templates is just a matter of time and practice. If I have a tricking shape I use 3mm ply to make the template and once its a good fit I transfer it 6mm ply. I use 2 different types of fixing the panels. The panels on the t25 were fixed using self drilling screws and then the side of the van was carpet lined. This only works if you do not need the remove them for access. The other way is to make the panels and then fit them with self drilling screws and once you are happy with the fit use a stepped drill to drill mounting holes, usually 8mm in the metal and 10mm in the ply. The carpet the panel and fix to the van using fir tree clips.
I tend to use 50mm polyester insulation, its the same stuff that goes in duvets.
Cheers - mike
|
| |
|
|


