That aside - just been looking at some of the vids of you guys extreme unicycling......JEEEESUS.....you ain't kidding! Have you all got cast iron testies or something? Some of those landings have just gotta destroy the old nutsacks?? Absolute respect!
Haha, thanks mate

Peoples reactions to the unicycling always make me laugh. Despite how it looks it doesn't actually hurt your nuts too bad!

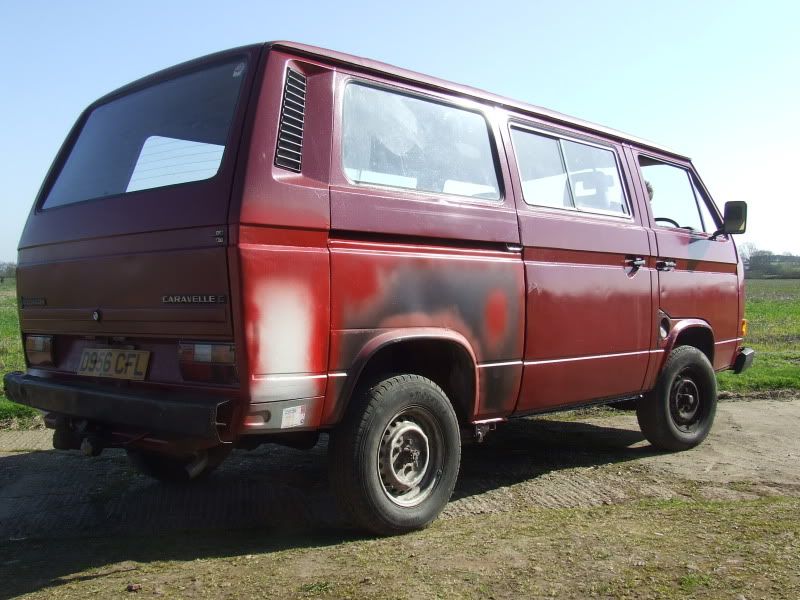
About the van. Despite our appeal, we didn't manage to find anyone who could do the welding

So we scrapped it. Time to learn then!
BIG UPDATE ALERT!At the last update we had bought some repair panels in the hope it would make an easier job for whoever we employed to do the welding. Turns out ready made panels are a hell of a lot nicer to work with than making patches yourself ;D
So, on with the update.
First off we had a patch left on the inside from the arch repair last time.

We made a patch using cardboard as a template to start with (Forgot to take a picture) before cutting it out of real steel.

Then we put it in place and tapped it home so it was all nice and flush and ready to weld.

Last thing to do was weld it in place. Note our welding is not very good. This was one of the first patches after deciding to dive in and do it ourselves.

Next bit to tackle was this bit.

Its the end of the sill which was rotten. Also the bit that closes the sill was gone and had made a little hole through to the inside of the van too

This is the type of thing we were dreading because we would have to make up lots of little awkward shaped patches.
Anyway, we cut it more squarely to make it easier. You can see the hole through to the inside in this picture.

Then we cut a corresponding piece out of this repair panel.

Like so,


And after some careful trimming, clamped it in ready to weld.

Then came the actual welding. Theres a few pinholes in this picture but we went back over and filled them afterwards.

Its in!


Having sorted that, we set about filling the remaining hole in the end of the sill and the hole through to the interior of the van. Now, we must have forgotten to take the camera down the unit that day because I can't find any photos, but heres the end result.

and from the inside

Now that was done we turned our attention to the passenger front step.

Doesn't look to bad, its been patched before but is solid on the inside.
When you look underneath though, its a different story!

Mr MOT mans not going to be happy with that!
So, onwards!
Chop out the step.

Time for a quick comparison shot, old vs new.

Check for fit. Yep it fits!


Weld thru primer everywhere

sizzle, sizzle, sizzle

and one new step!


Also when lifting the cab carpet up to do the step we discovered this

Which turned into this!

Only minor compared to what we have been doing though, so no major problems. No pics of the finished patch though. Must have forgotten the camera again

That is the whole passenger side welded up now! Woohoo!

Time to make a start on the real welding then!


Before that we had to pay some attention to one of the seatbelt mounts.
Not looking too good.

Patch made

and welded in. we were wondering why the welding was soo rubbish then realised that our gas had run out!

That'll be why then!

Its not pretty but its solid metal, it'll do for me.
Right then, back to here.

We decided to weld in the big panel we have and then fill any gaps around it. So with that in mind we set about cleaning up the area.

Then we offered the panel up and trimmed it a little, ummed, ahhed, put it down again, trimmed some off the van, offered it up again, put it down again, wondered whether we should really weld in on, offered it up again, then thought 'curse word it!' and did it anyway.
No pictures of that bit, but heres some welding.

heres what it looks like with that panel welded in.


YES! We did it all ourselves!
Now all we have left to do is fill that 'L' shaped hole, make an inner arch and weld it in, and weld in that grey lower, rear panel in (Its just wedged in for the time being).
On the mechanical side of things, the exhaust stud is proving to be a pain! We welded a nut onto it and it just sheared a little bit more off!
I bought a stud extractor and even that hasn't shifted it, so we are at a bit of a lose end now.
There isn't really room under there to get a drill in to drill it out either.
We are going to use the power of new gaskets and plenty of gun gum to see if we can seal it well enough for the MOT.
We have bought all new nuts and bolts for the exhaust which look pretty

We're getting there! For those of you that are in the same situation I was a few months ago and are reading this thinking 'Wow I wish I could weld' Its all pretty straight forward really. Take it one step at a time, take your time (This lot has taken us 6ish weeks of going down the workshop twice a week) and its all about having the confidence to get stuck in! ;D
I'm glad we decided to do it ourselves now. Feel really confident about doing welding on other projects now.
Thats it for now. More soon hopefully!
Edd


 , edds got a video which i'm sure he'll upload


 [*]
[*] [*]
[*]


 Peoples reactions to the unicycling always make me laugh. Despite how it looks it doesn't actually hurt your nuts too bad!
  This is the type of thing we were dreading because we would have to make up lots of little awkward shaped patches.


 That'll be why then!


 !!
!!