Morning all -
Just a small update really - I've got a bit further round filling, sanding, painting etc...
I'll leave the section behind the wiper motor for now, as I want to tidy the nest of wiring. But, I don't want to get into a mess and find it won't start for the Malvern Show on Sunday.
I'm aiming to have the bulkhead done though - fingers crossed I'll get a bit of garage time this week

Cheers,
Mike.
------------------------------------------------------------------------------------
Morning all -
last night was a bit of a late one (I don't wifey is too impressed this morning - must be the paint fumes in the house

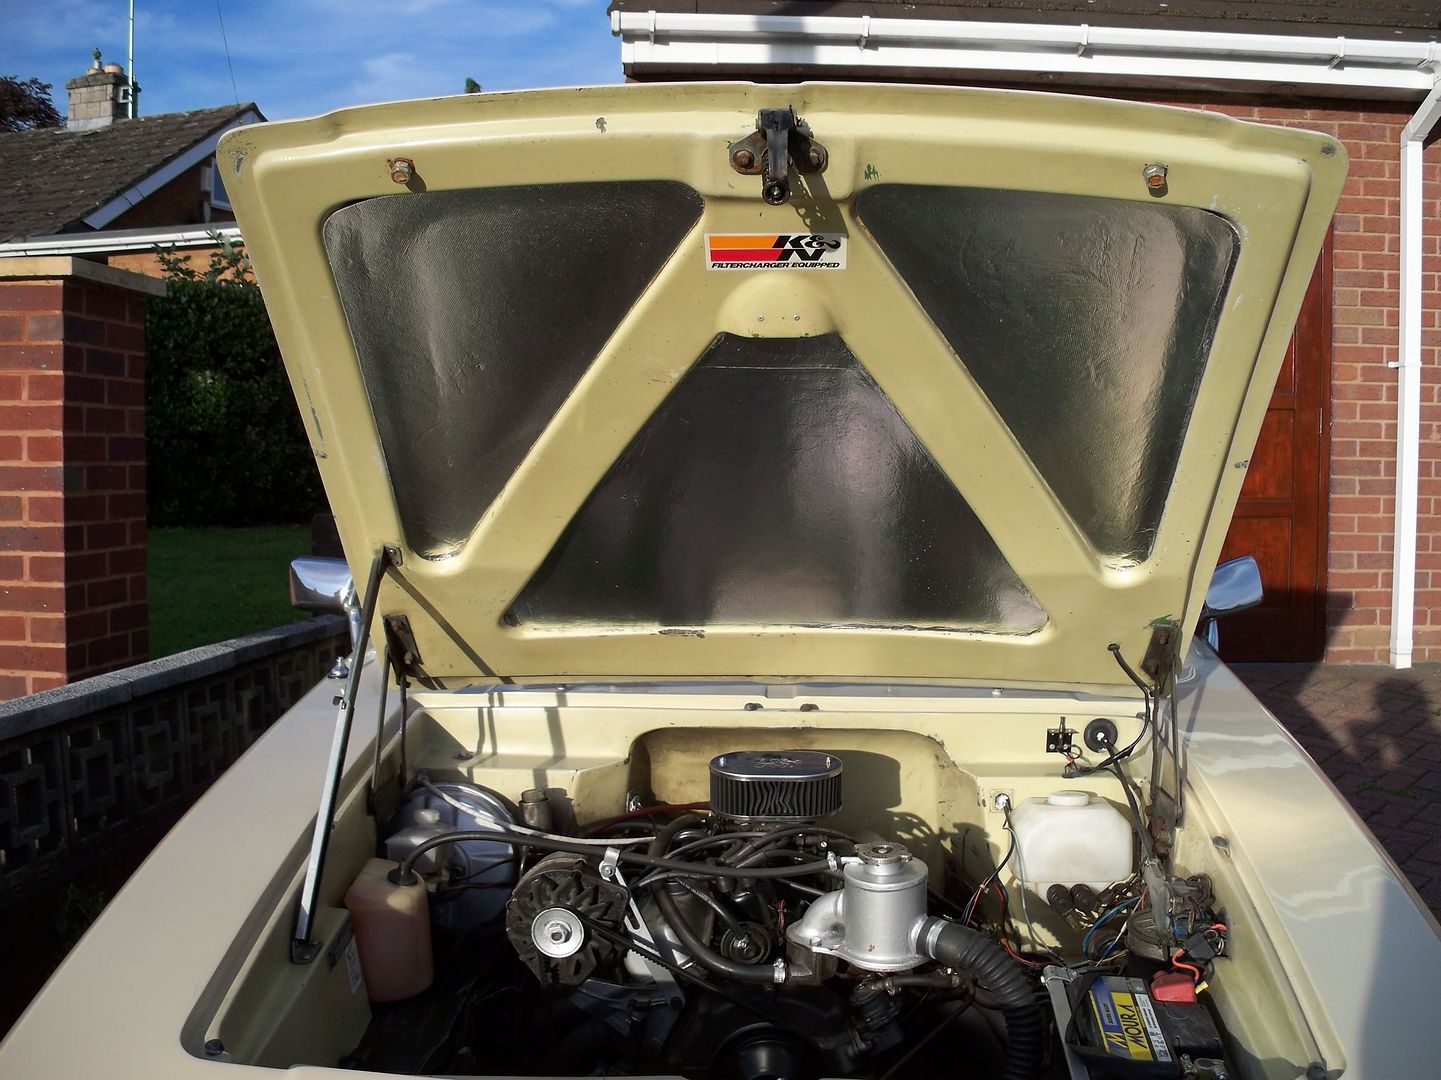
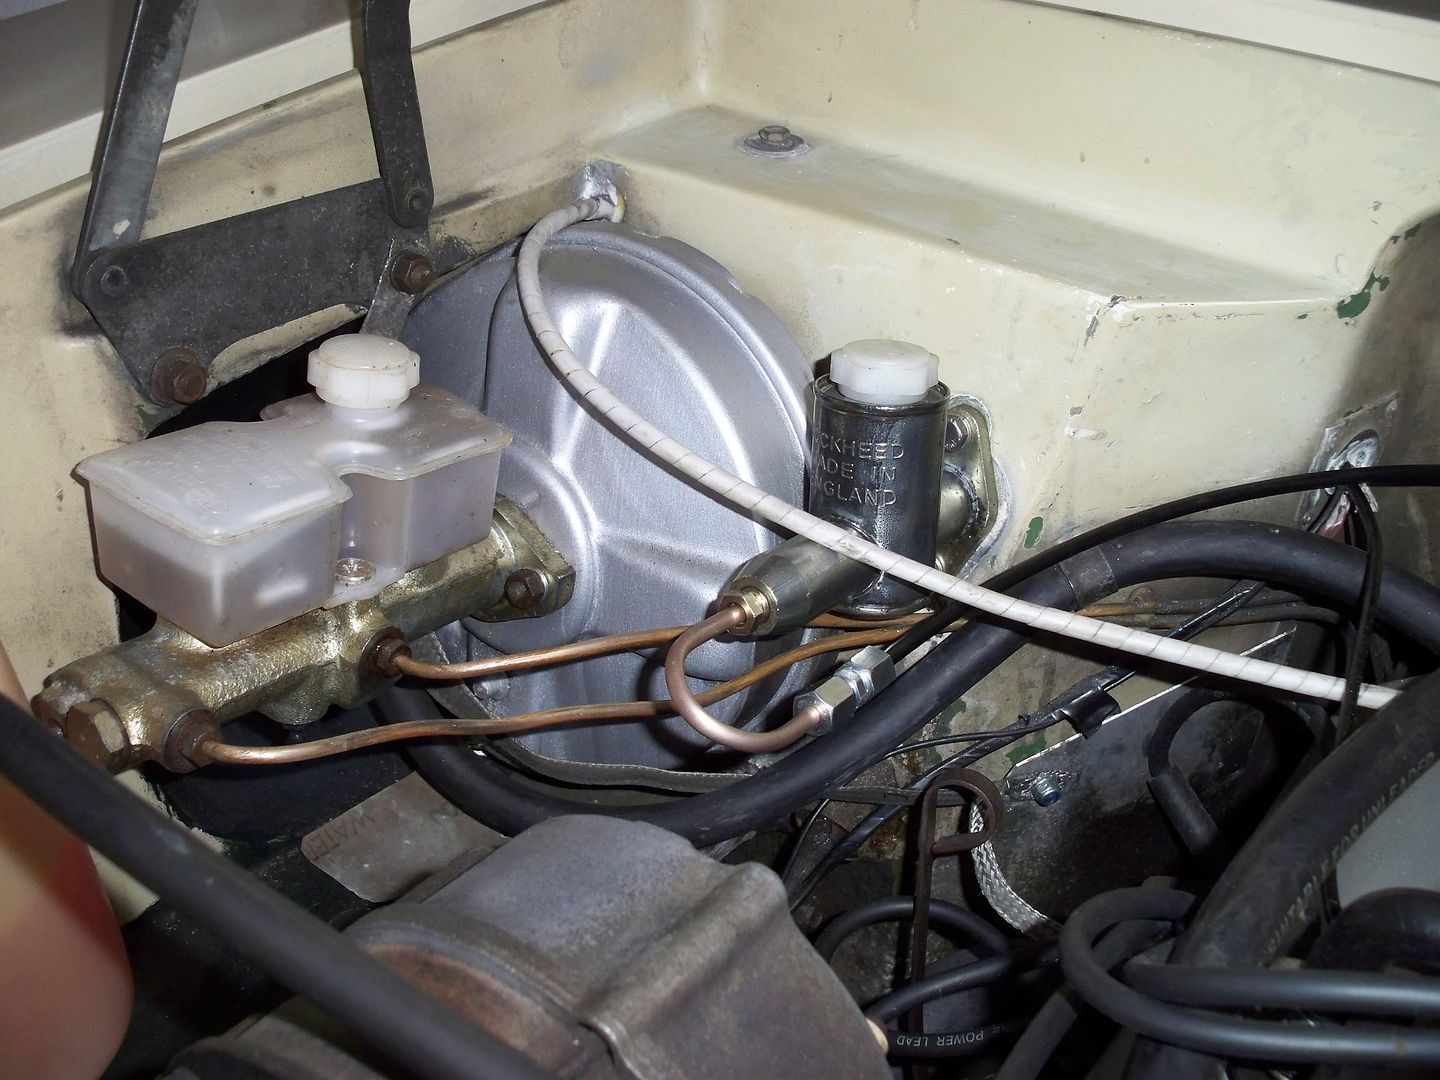
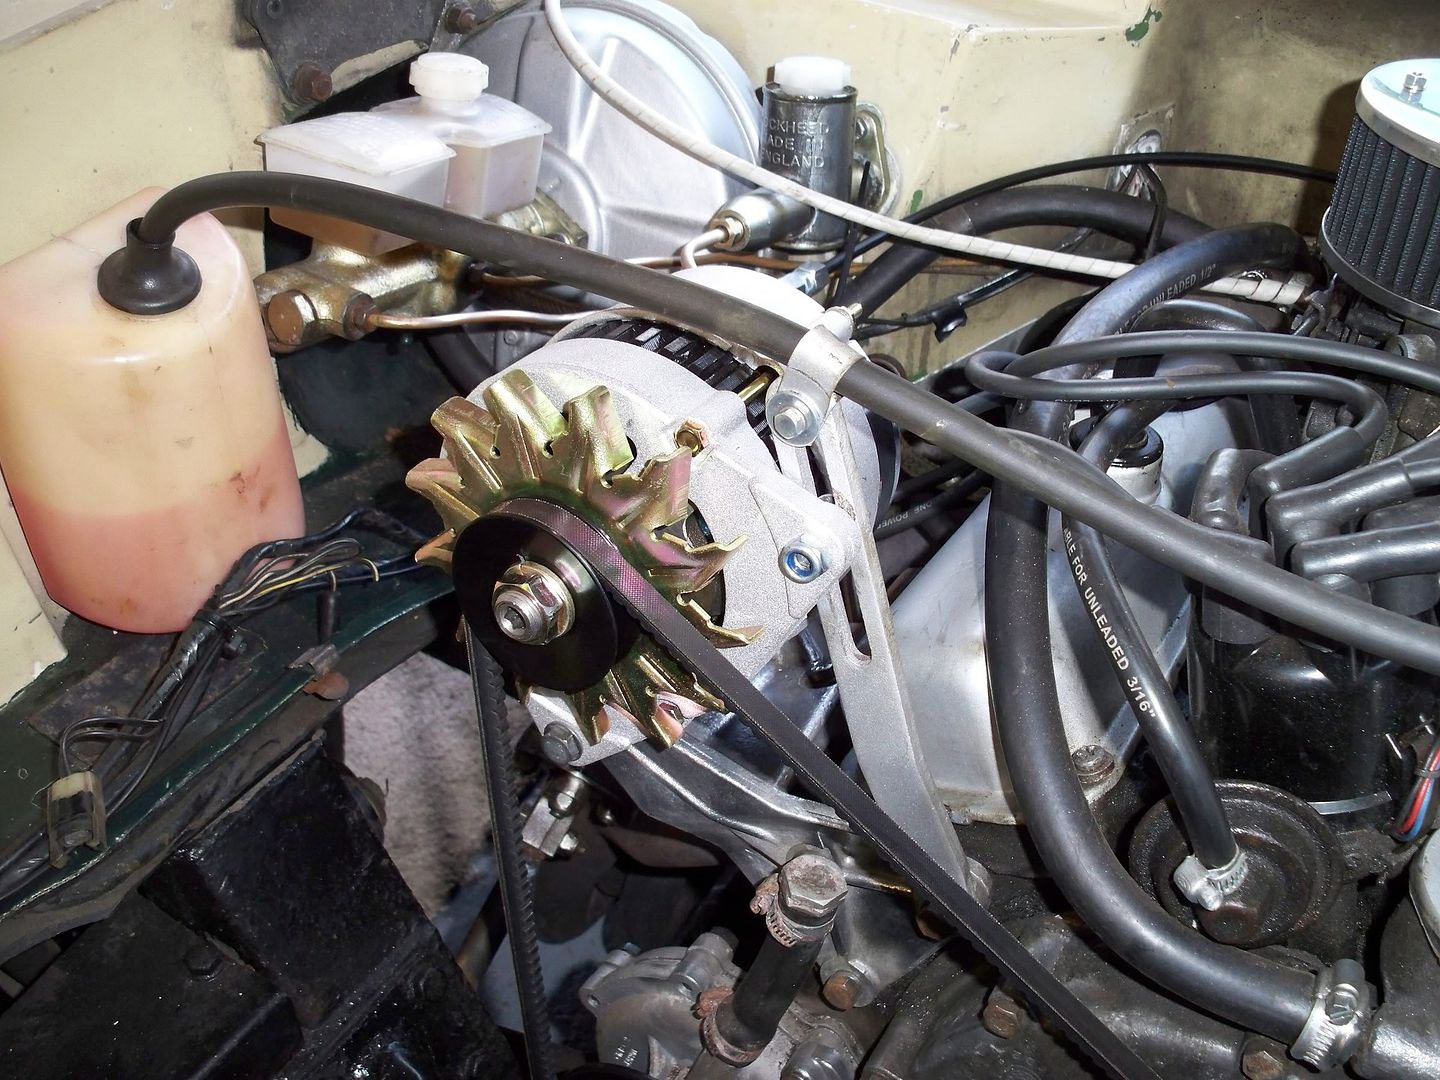
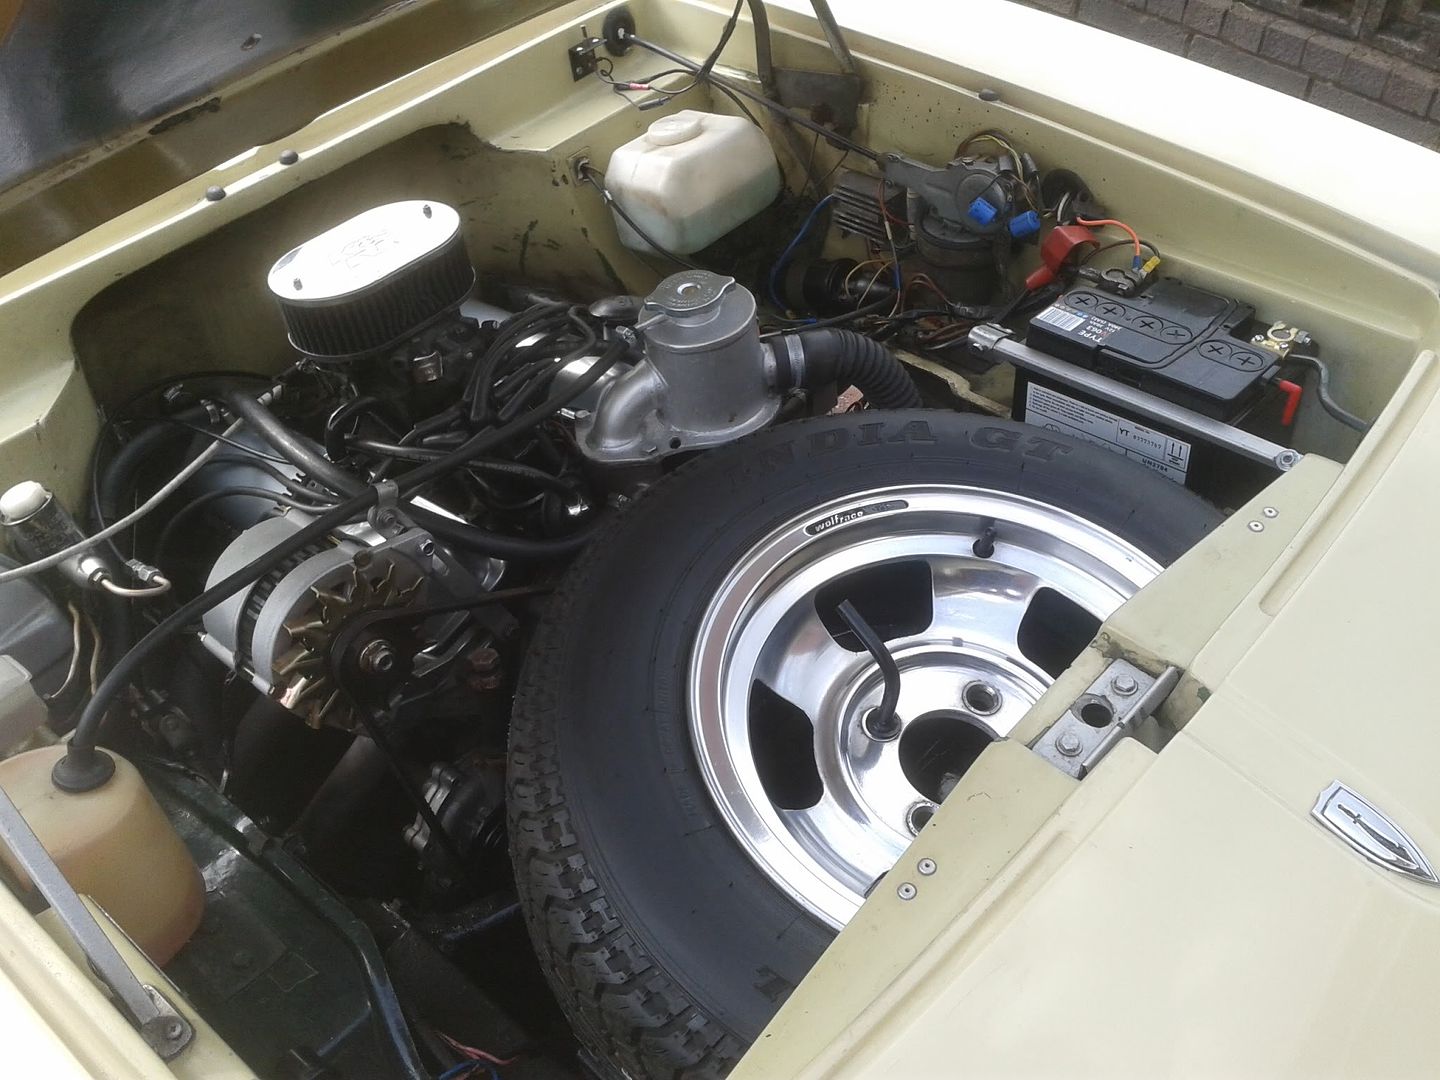
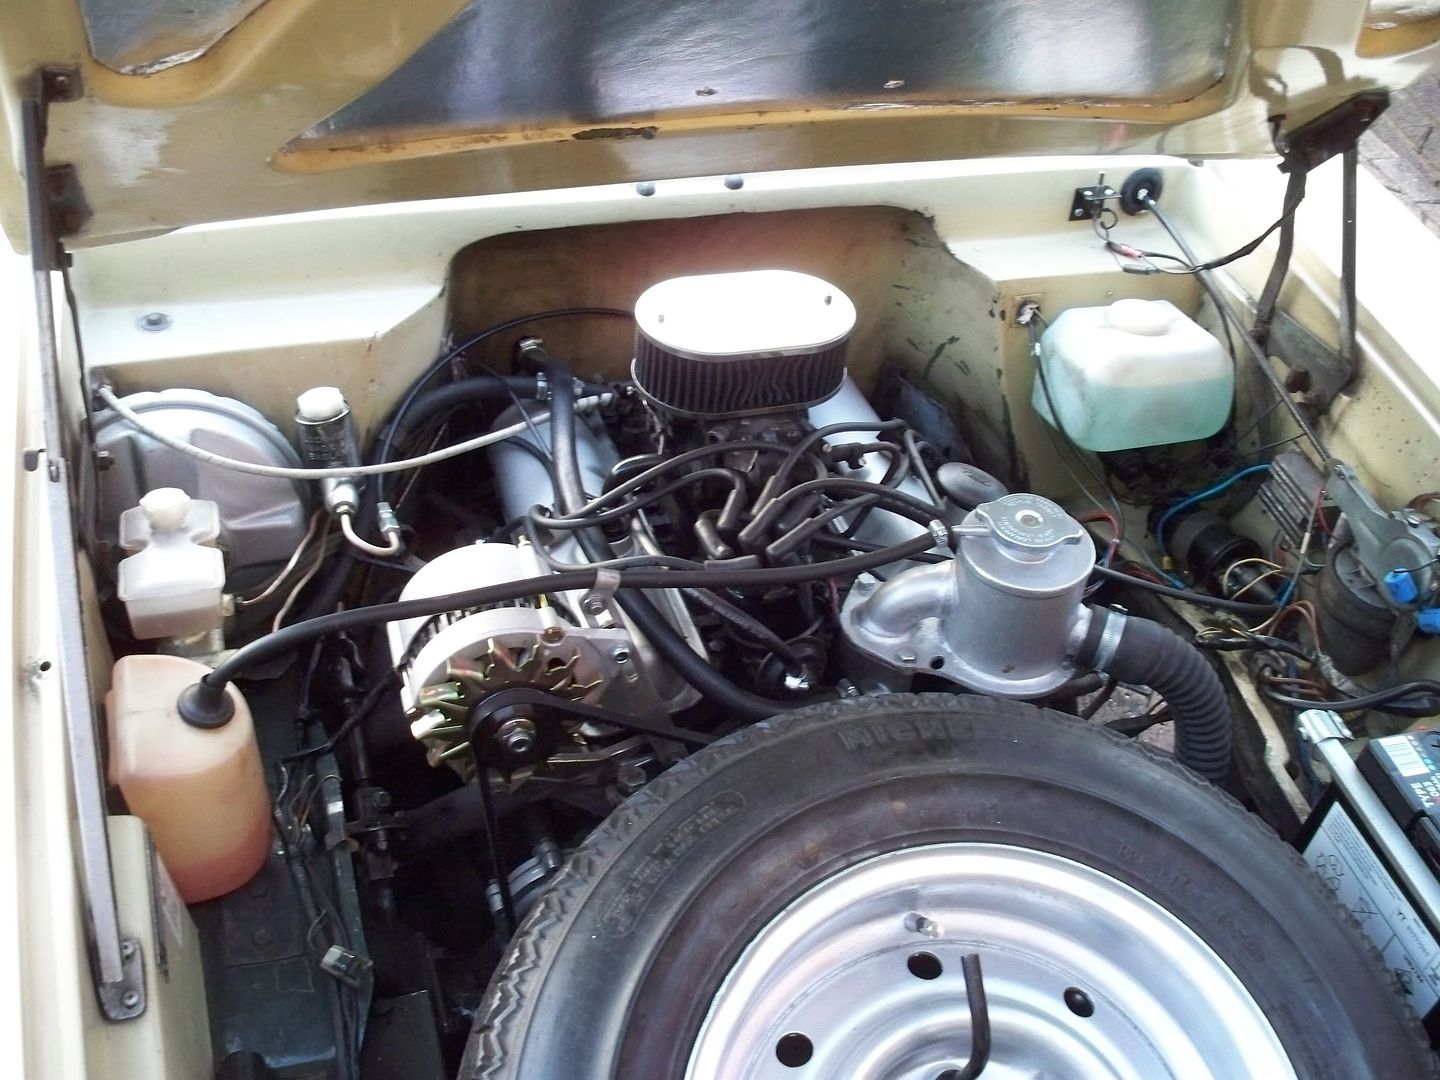
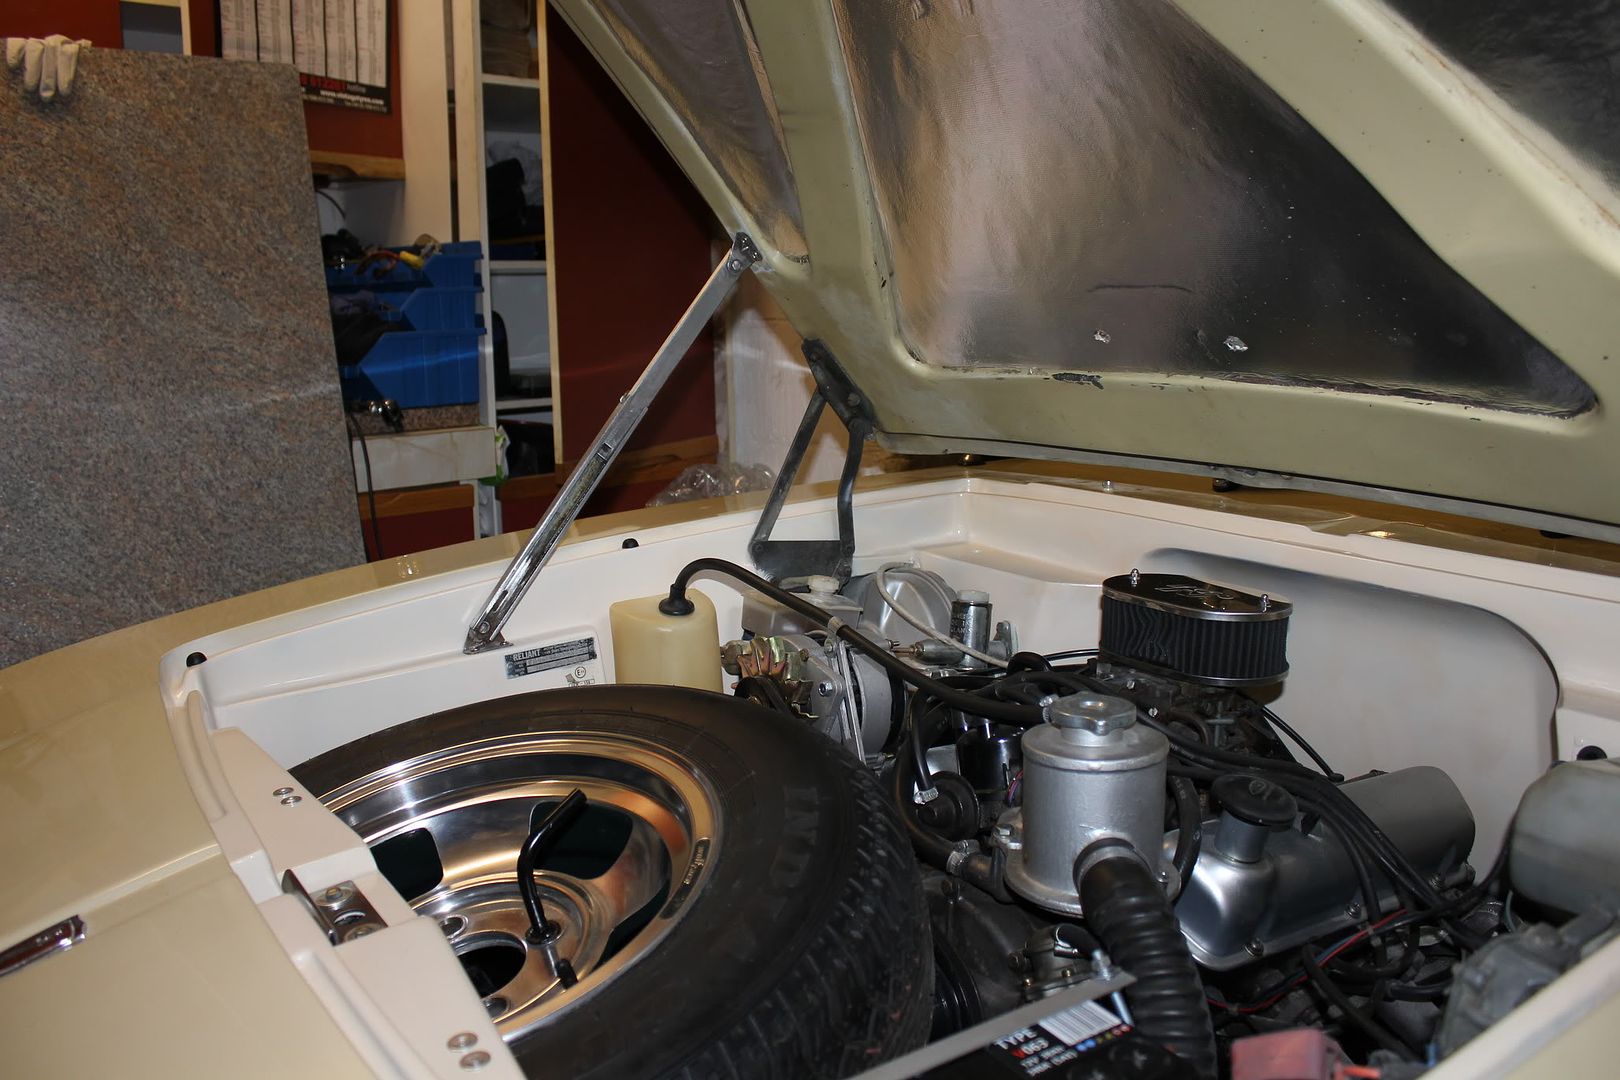
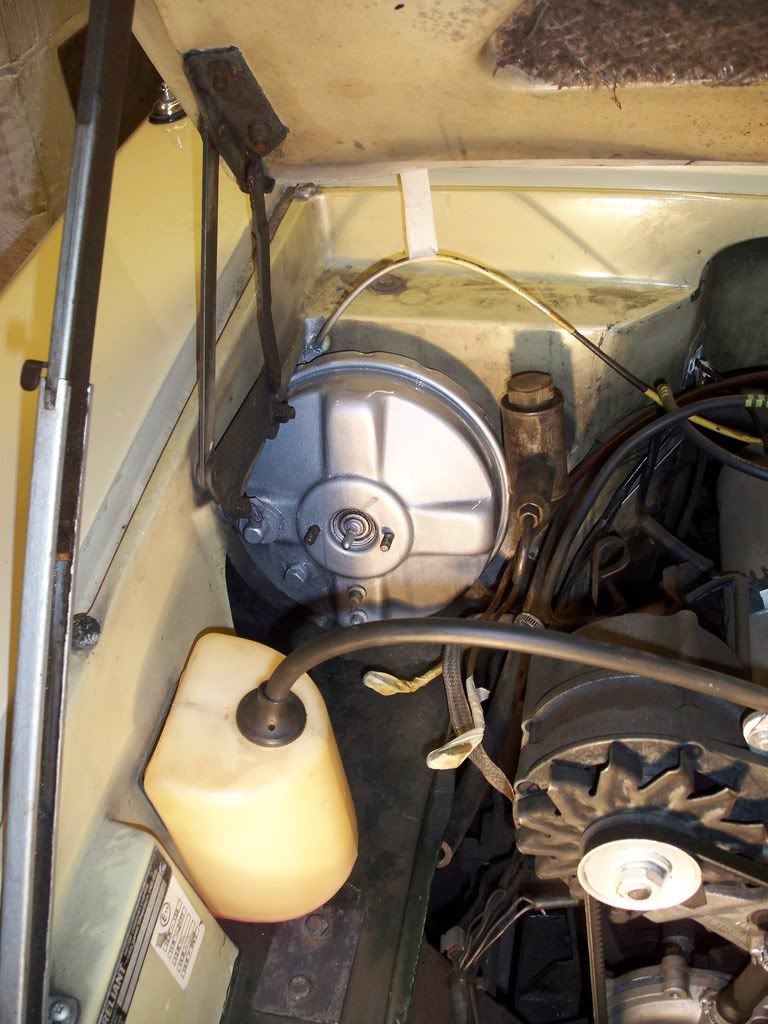
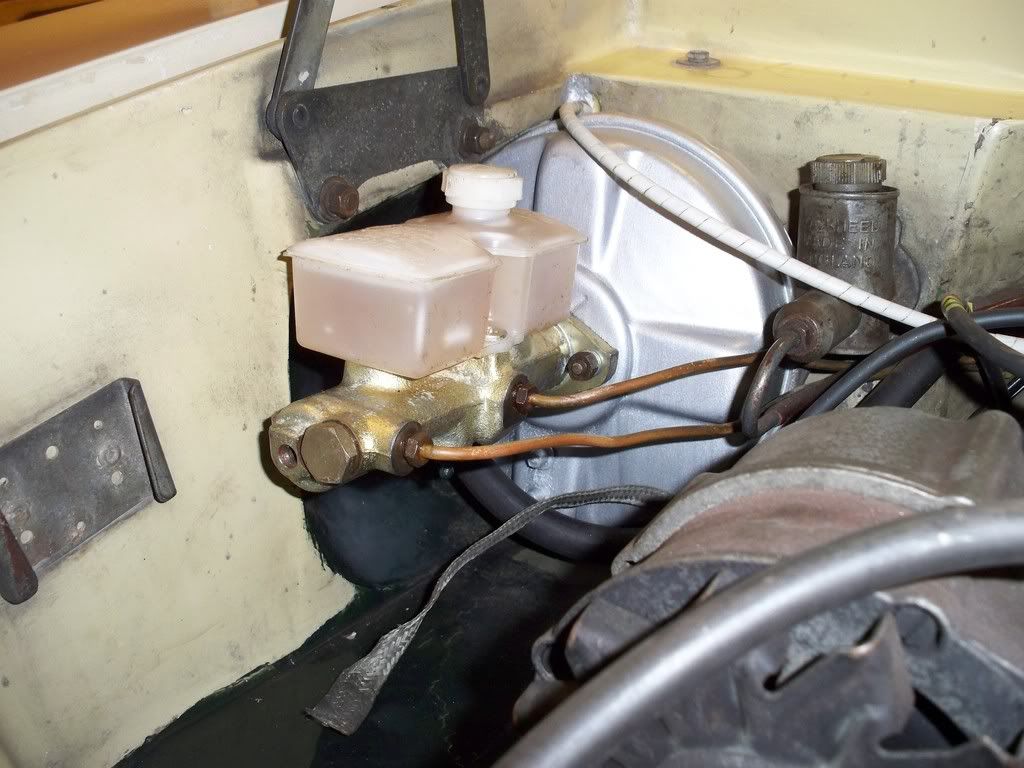
), but I've finally finished the engine bay.
Here's a few pics, rather than me rambling...

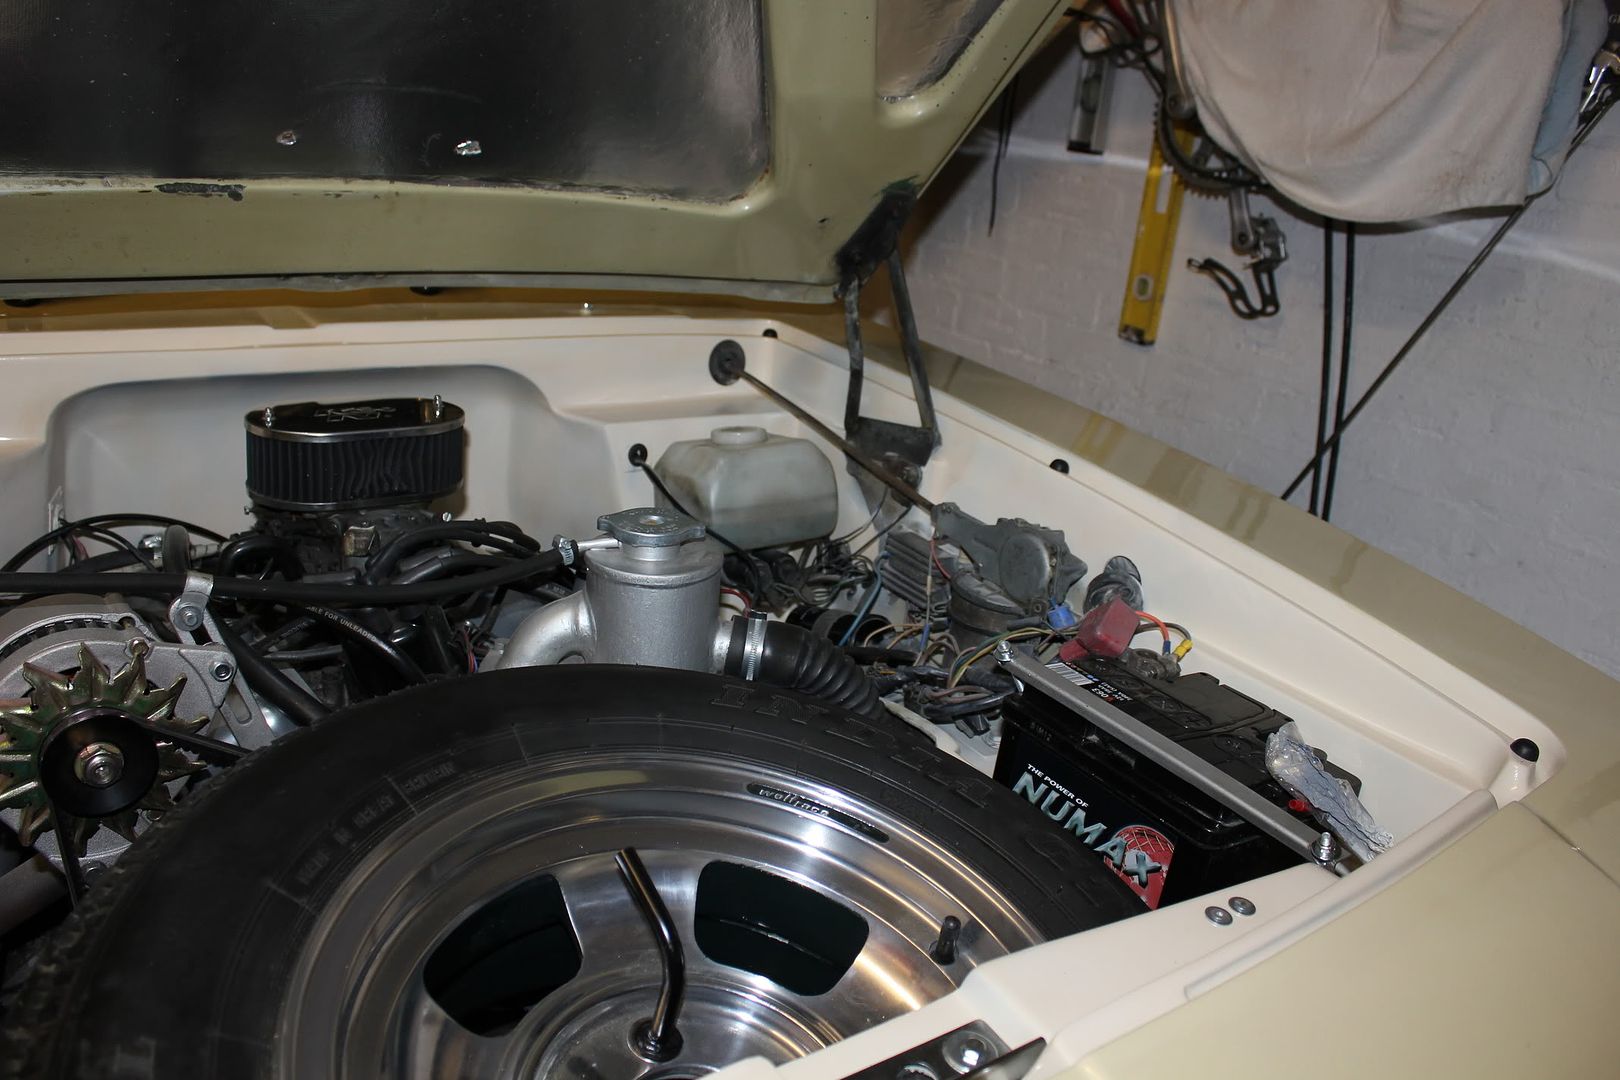
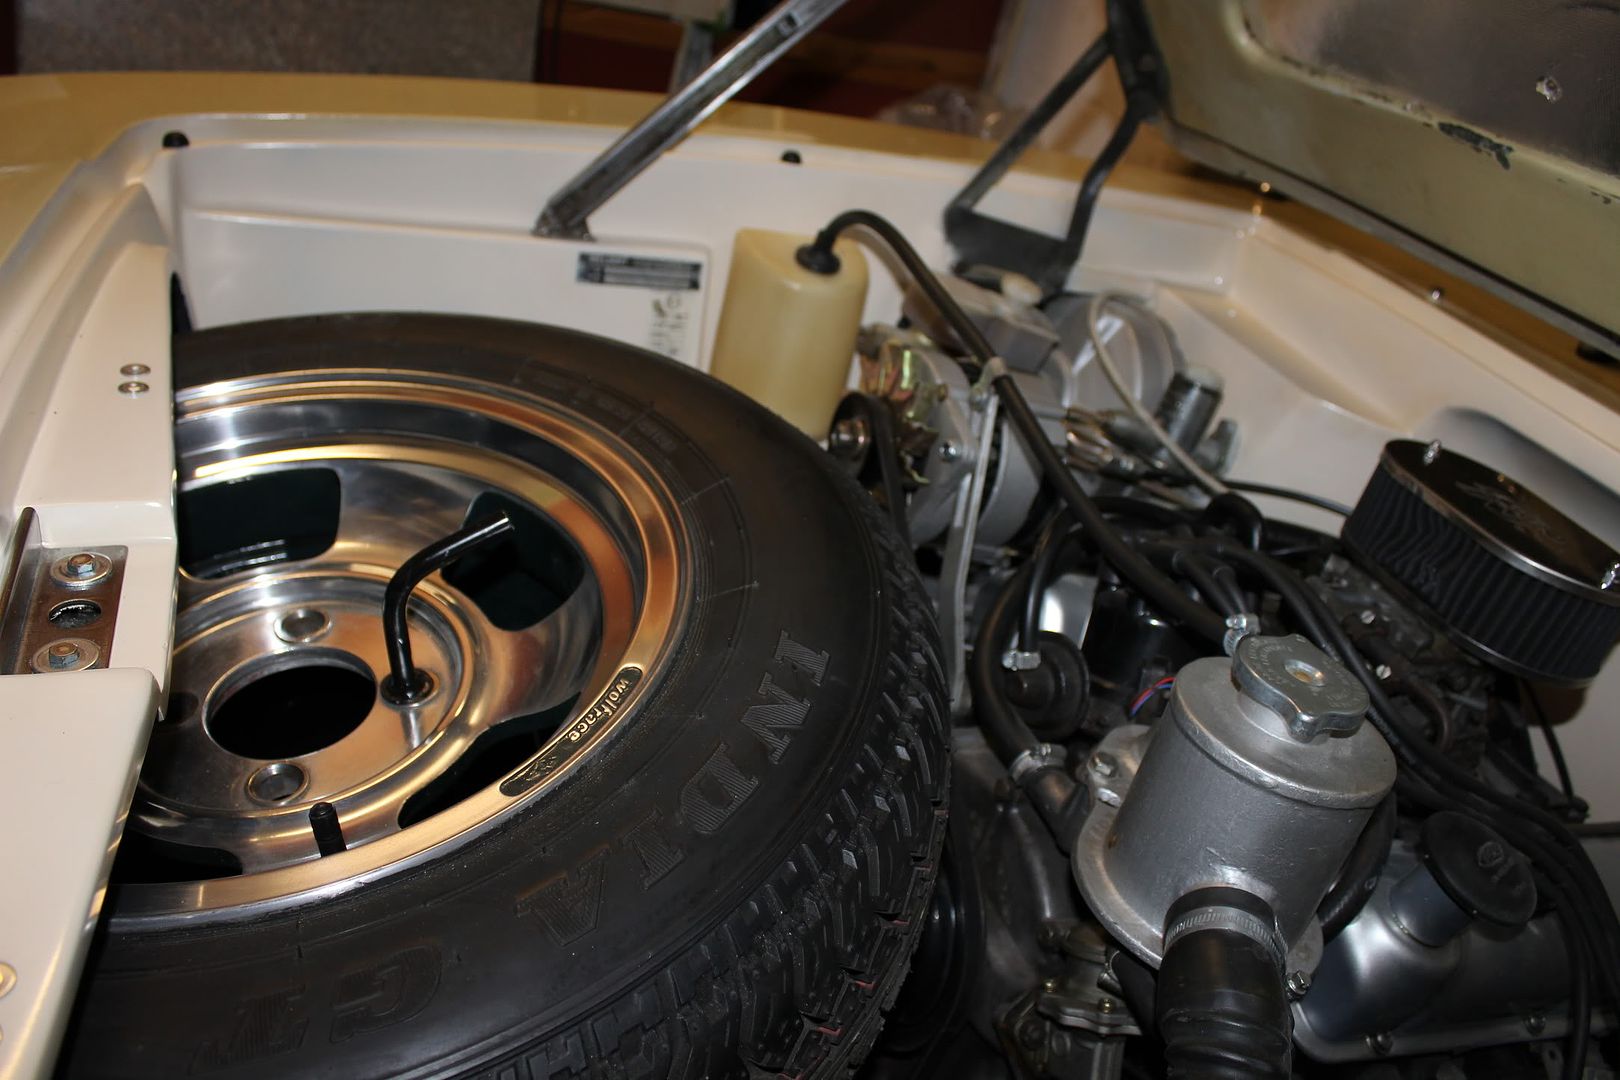
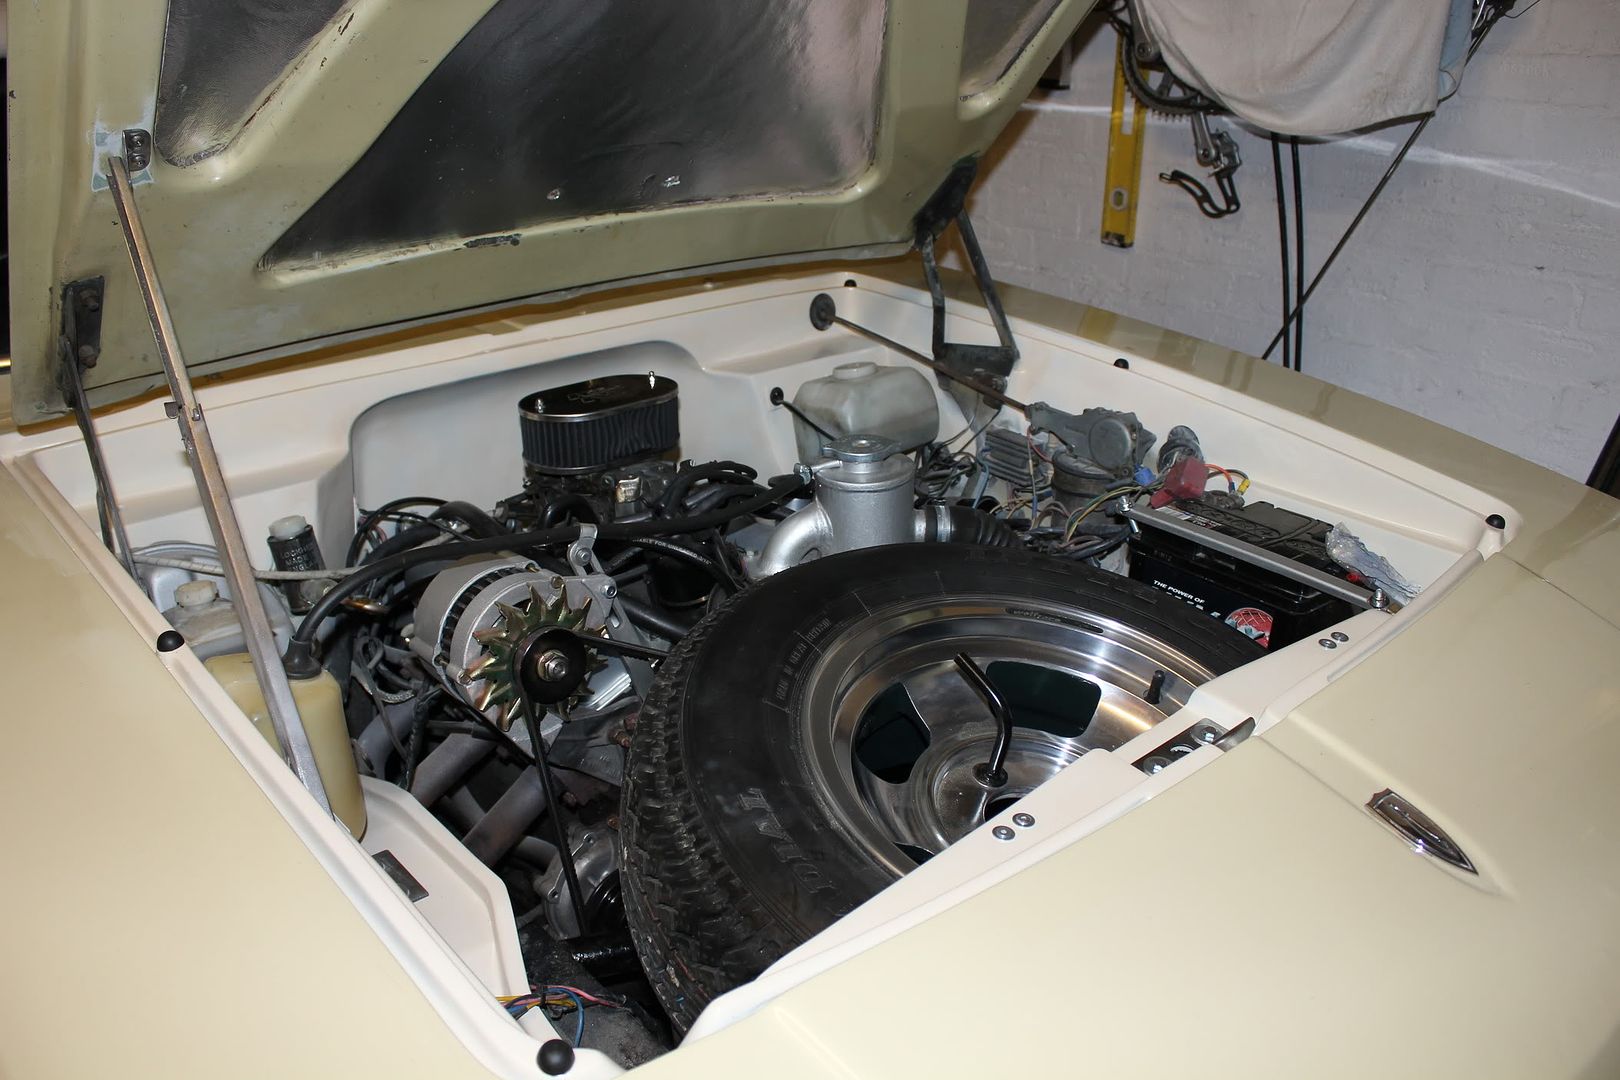
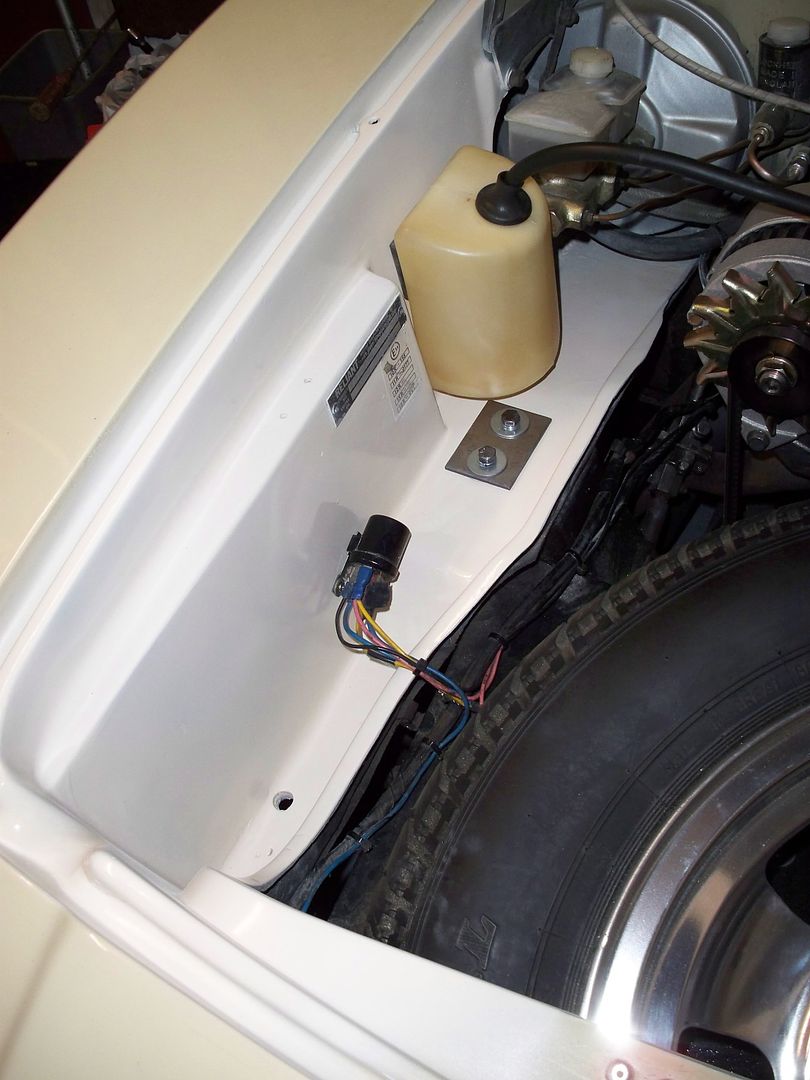
I've made up some new battery clamps rather than my previous heath-robinson approach, which look rather nice. I put some heat shrink at the bottom to save marking the paint.
I also bought all new rubber mushrooms a couple of years back at Curborough, and I've saved them until this moment
The only problem is now that the bonnet itself looks curse word. That will have to wait a while, my fingers are too sore now

. The screenwash bottle also looks a bit skanky - that will need a run through the dishwasher methinks
.
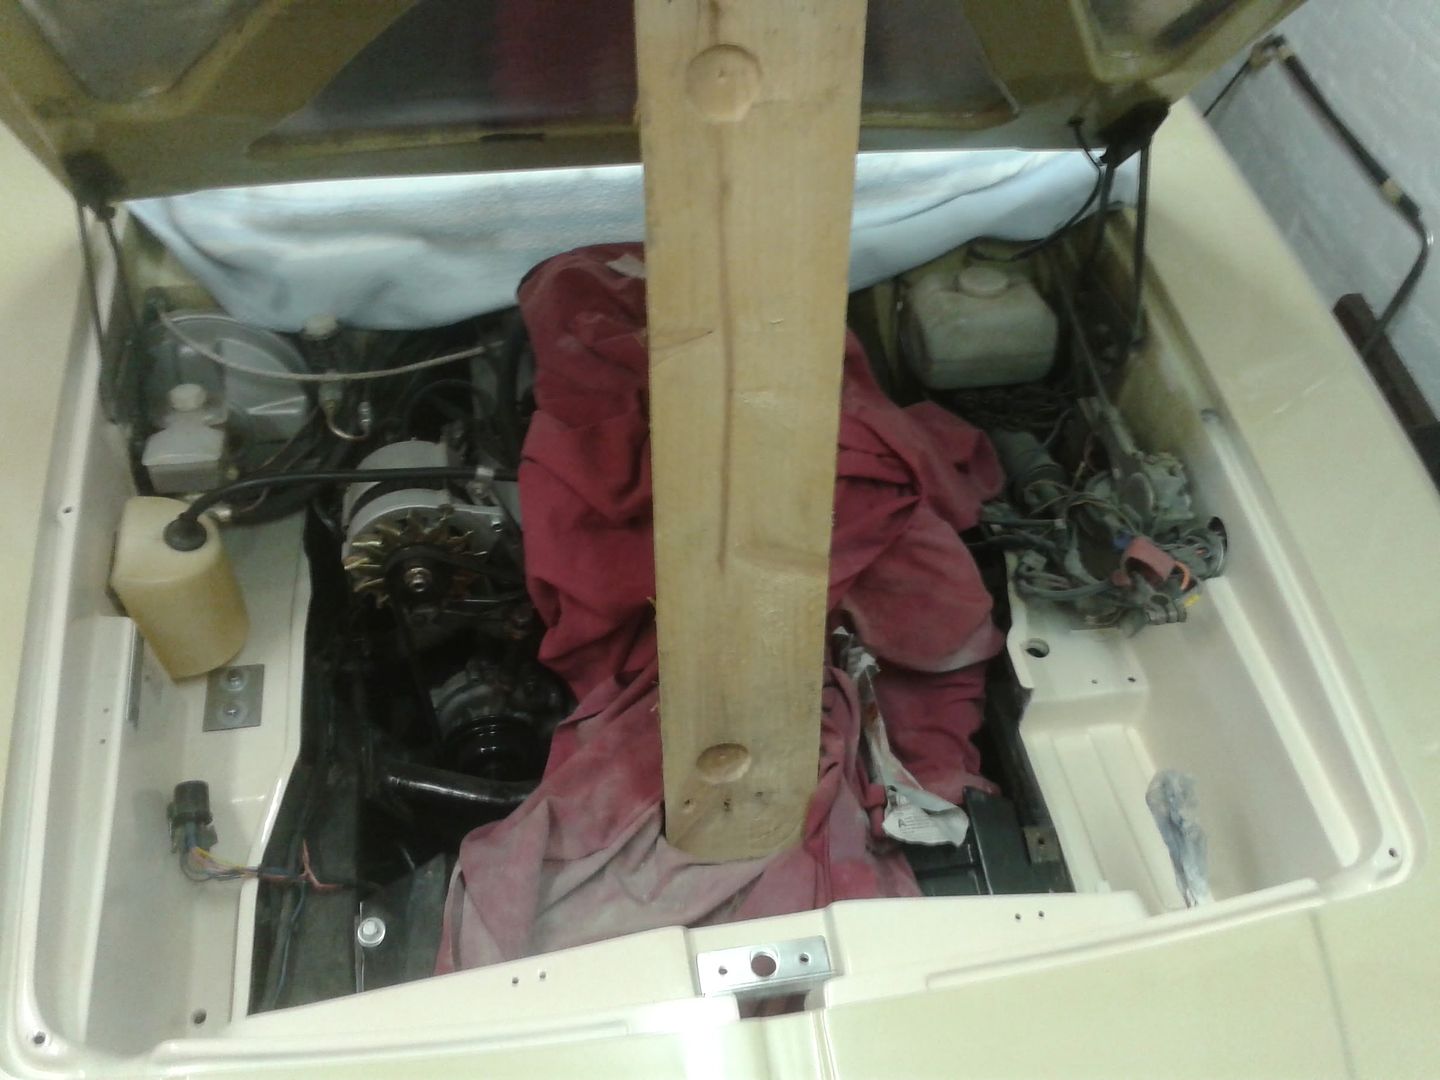
I used cling film for some of the masking too - sometimes its a bit easier to wrap round stuff than masking tape and paper. (I checked that the paint didn't melt the film first though!)
I'm hoping I got the bonnet striker plate lined up properly and that it works. I've tied some string to the lever underneath so I can get my triple jointed elbow to to release it - just in cased
. Talking of which, I had a bit of a saga with the bonnet release - all the rivets I had were too small - which I only realised after I'd fitted one. So I proceded to drill it out, and the bl00dy drill slipped - putting a big gouge in my nice fresh new paint. I must've taught the neighbours a few new words at that point
. Still, paint repiared now, bigger rivets purchased, rivet gun stripped down 4 times to release the pin (It jammed every time I used the bigger rivets). Why are the simplest of tasks the sometimes the hardest? :evil:
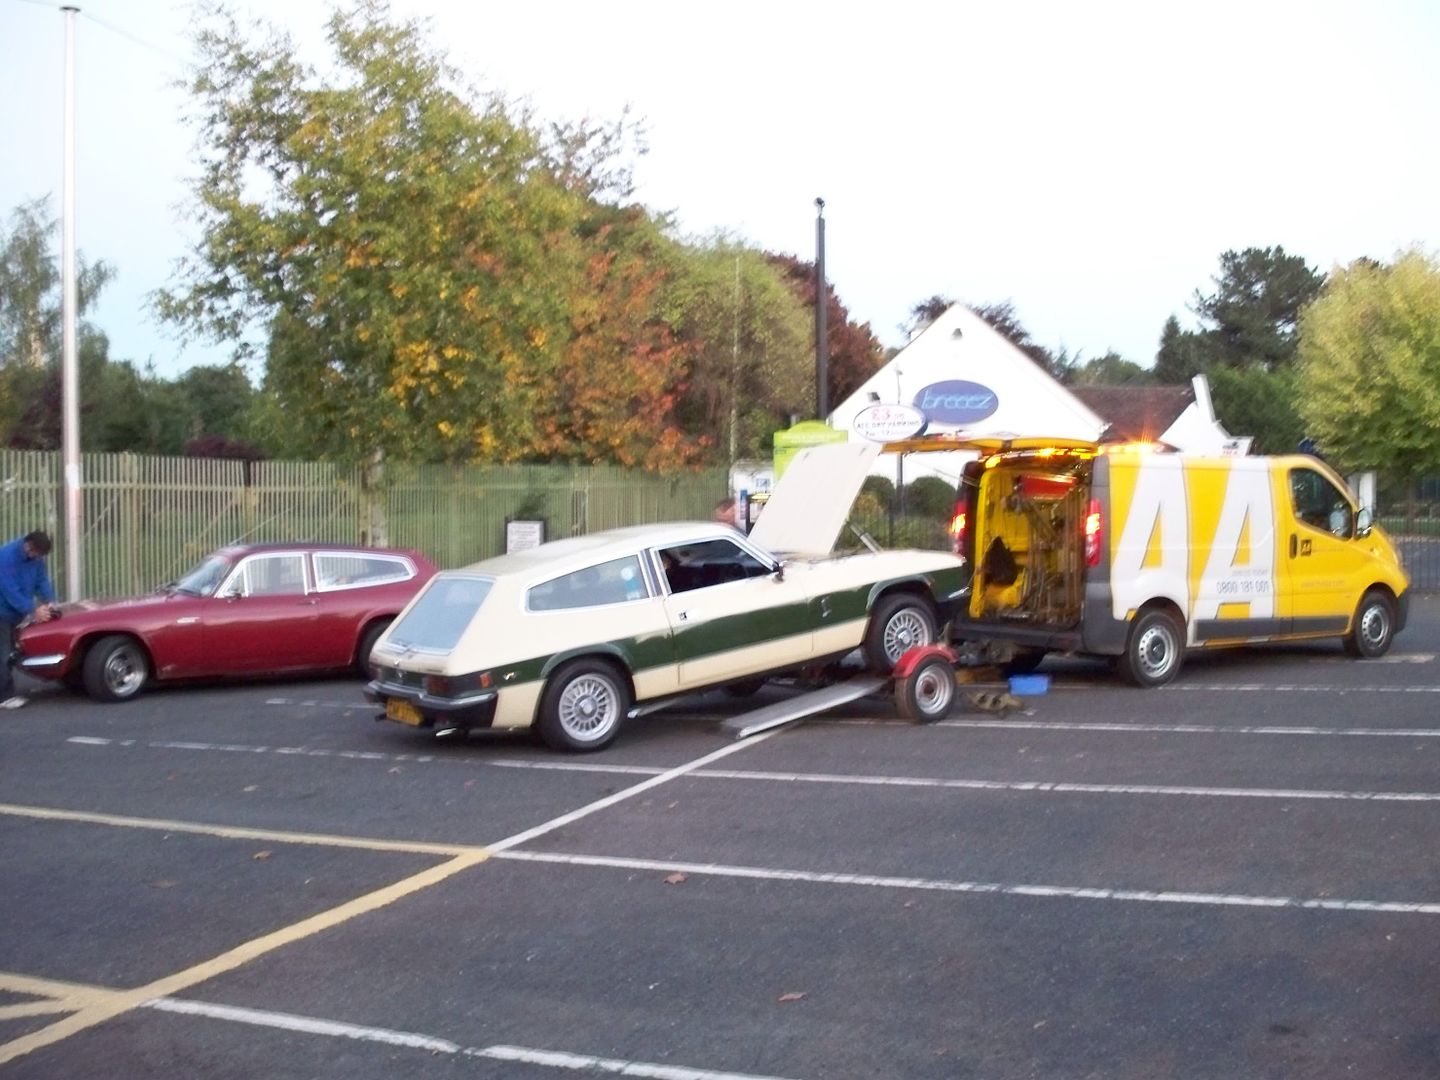
Anyway, thats it for now - fingers crossed for some good weather for Sunday, as it's the Malvern show which I'm going to with the West Mids Noggin. Hopefully I wont be coming home on an AA trailer (however good it is for fuel economy
) - I can't beleive that's been a year!
Cheers,
Mike.
------------------------------------------------------------------------------------
Morning chaps -
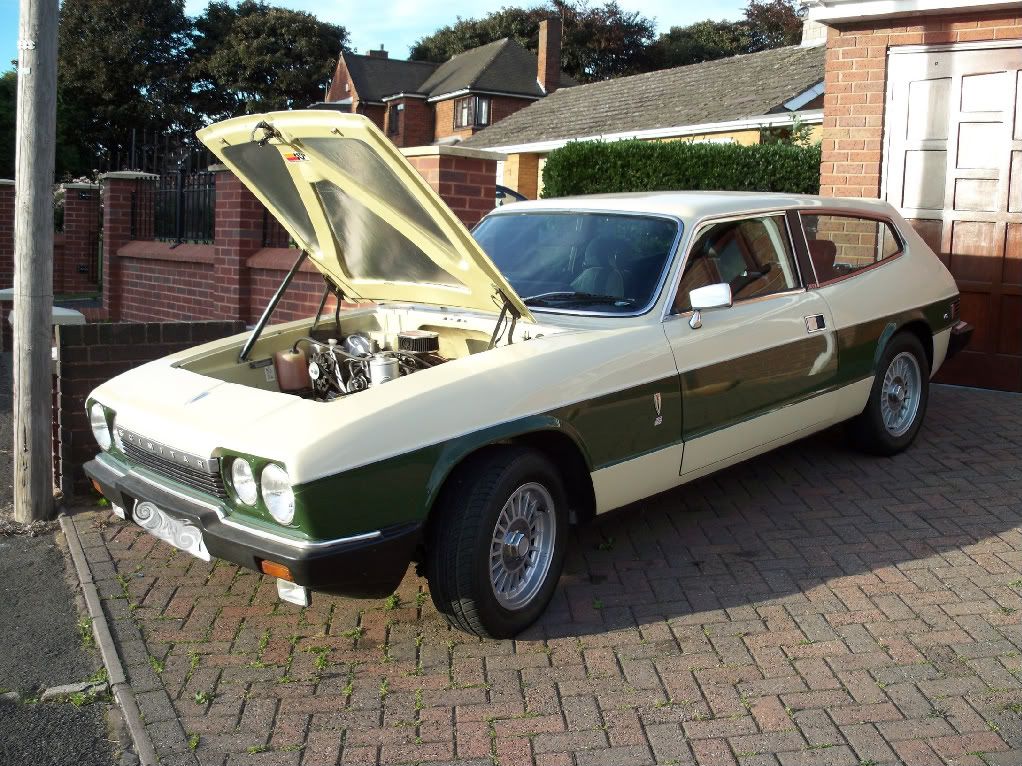
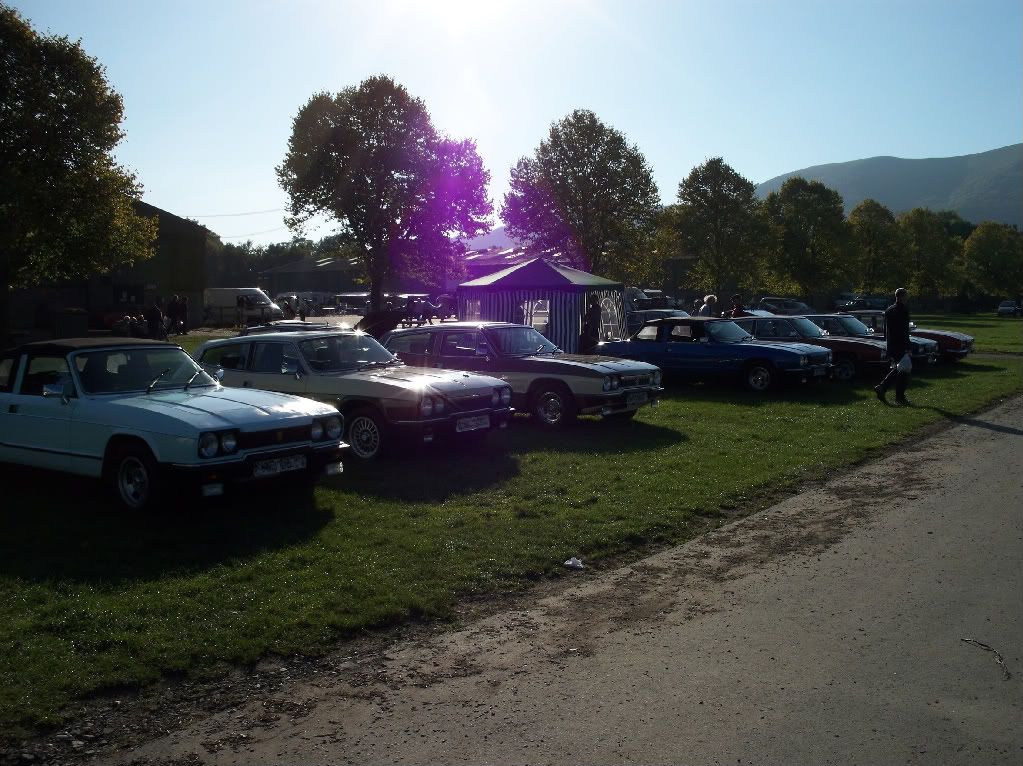
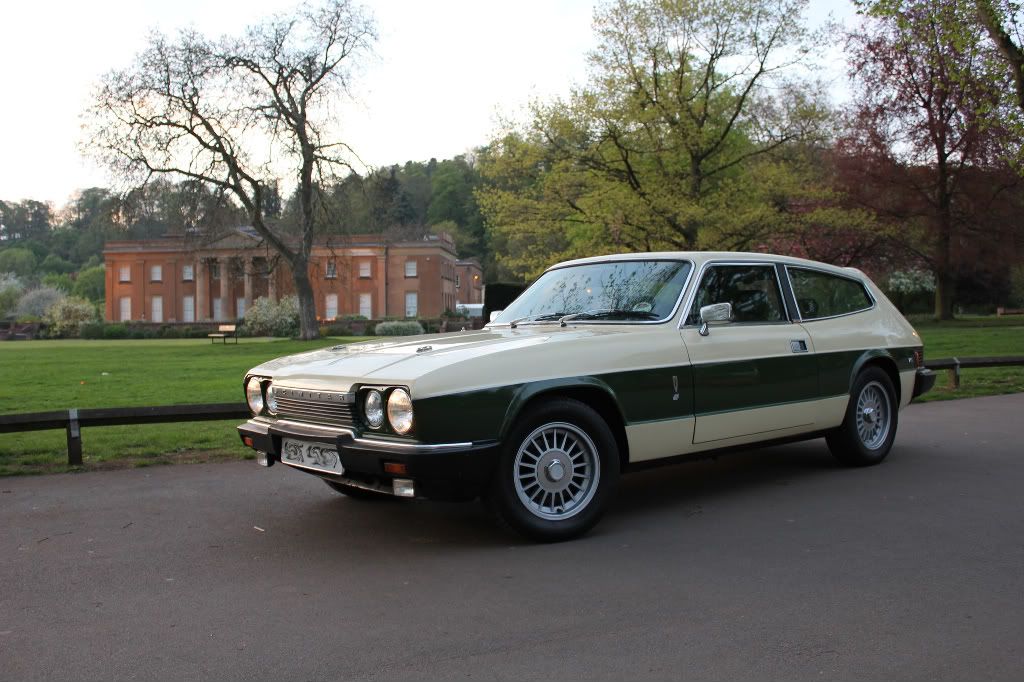
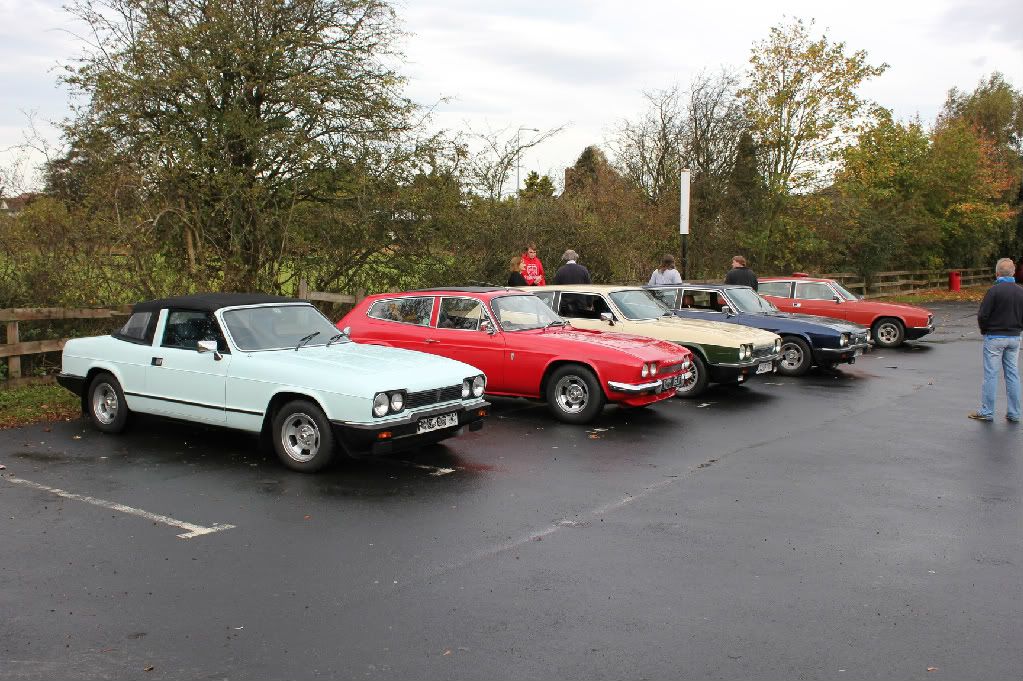
Just a few pictures from the Malvern show this year (was on Sunday).
We met up with the Halesowen Noggin at Little Chef Hagley, then all went over in convoy (picking Dave Poole up on the way). It had been raining, which was a shame, but fingers were crossed for a bit of decent weather
Once there, the gazebo was up, bacon sarnies were cooking - ace!
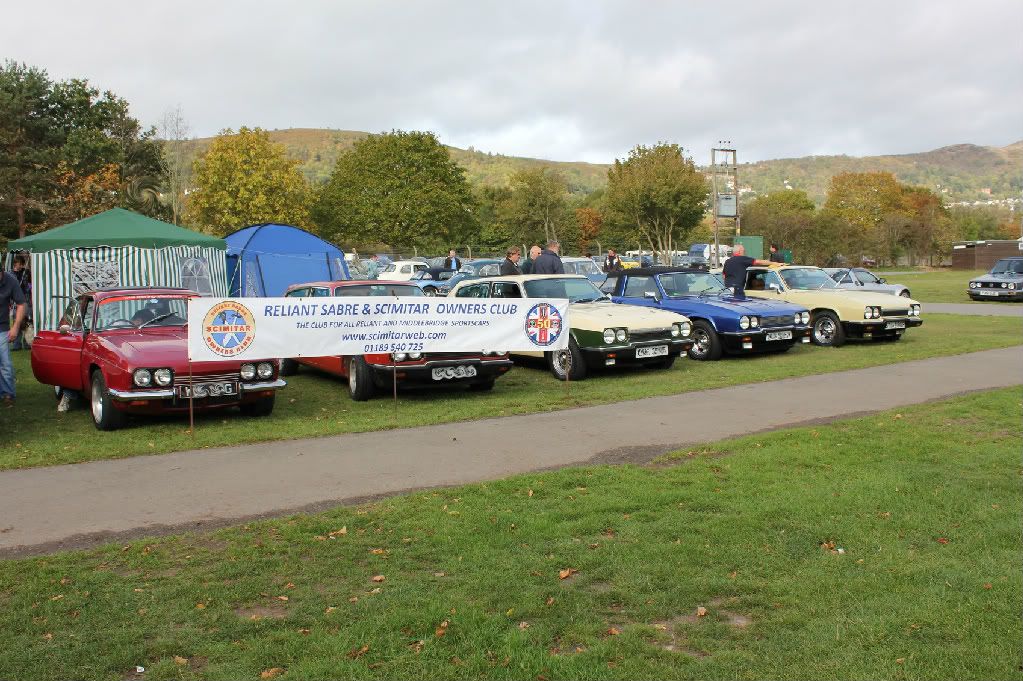
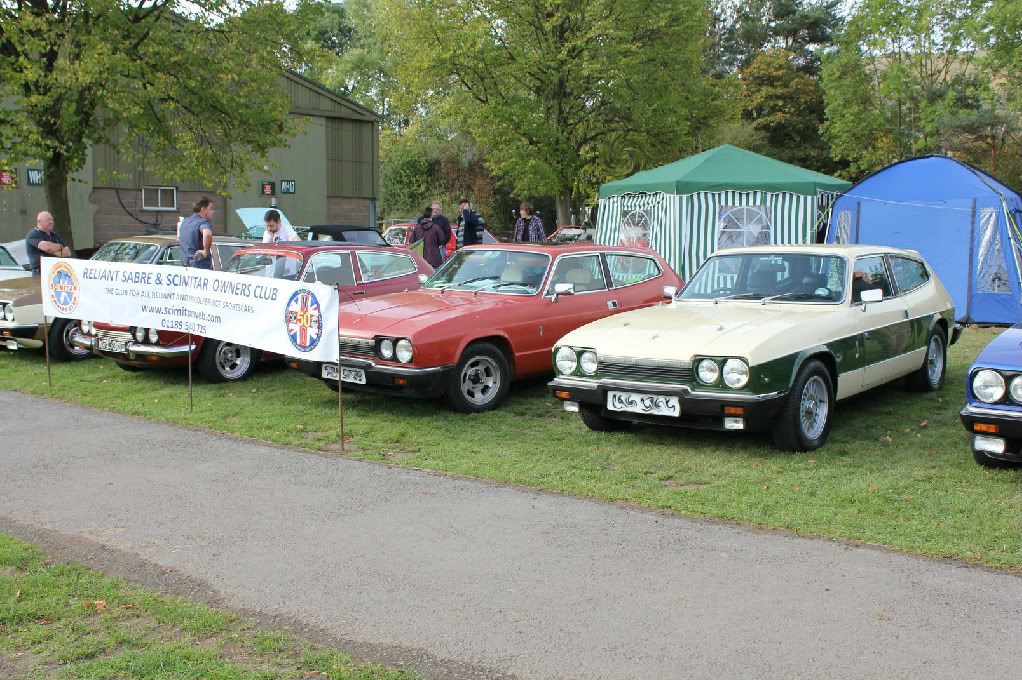
Here's a few more pics of the car...
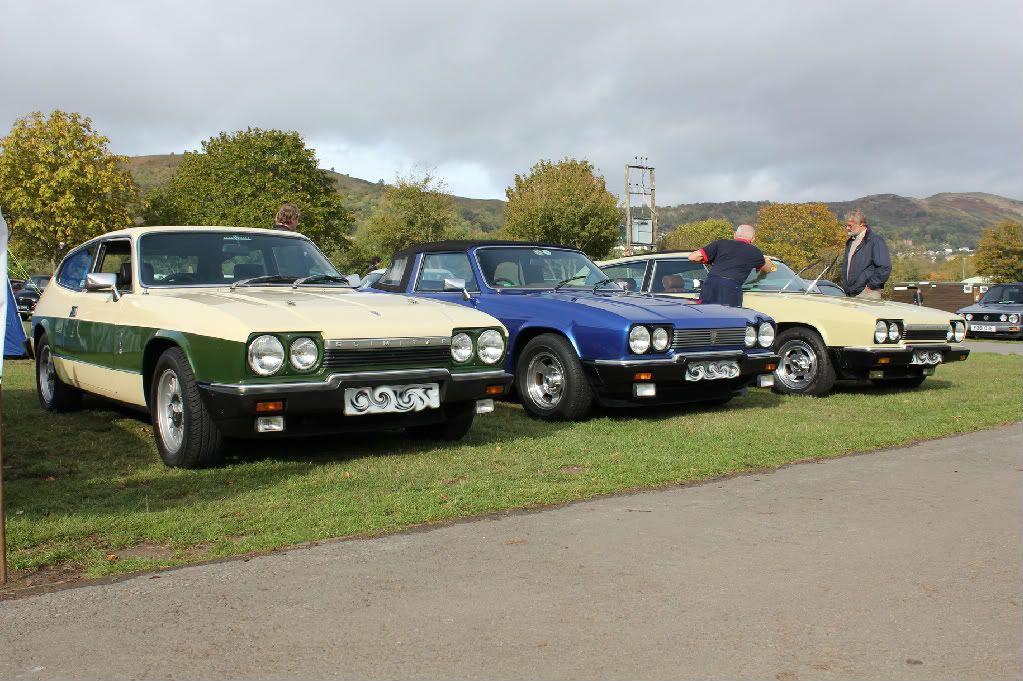
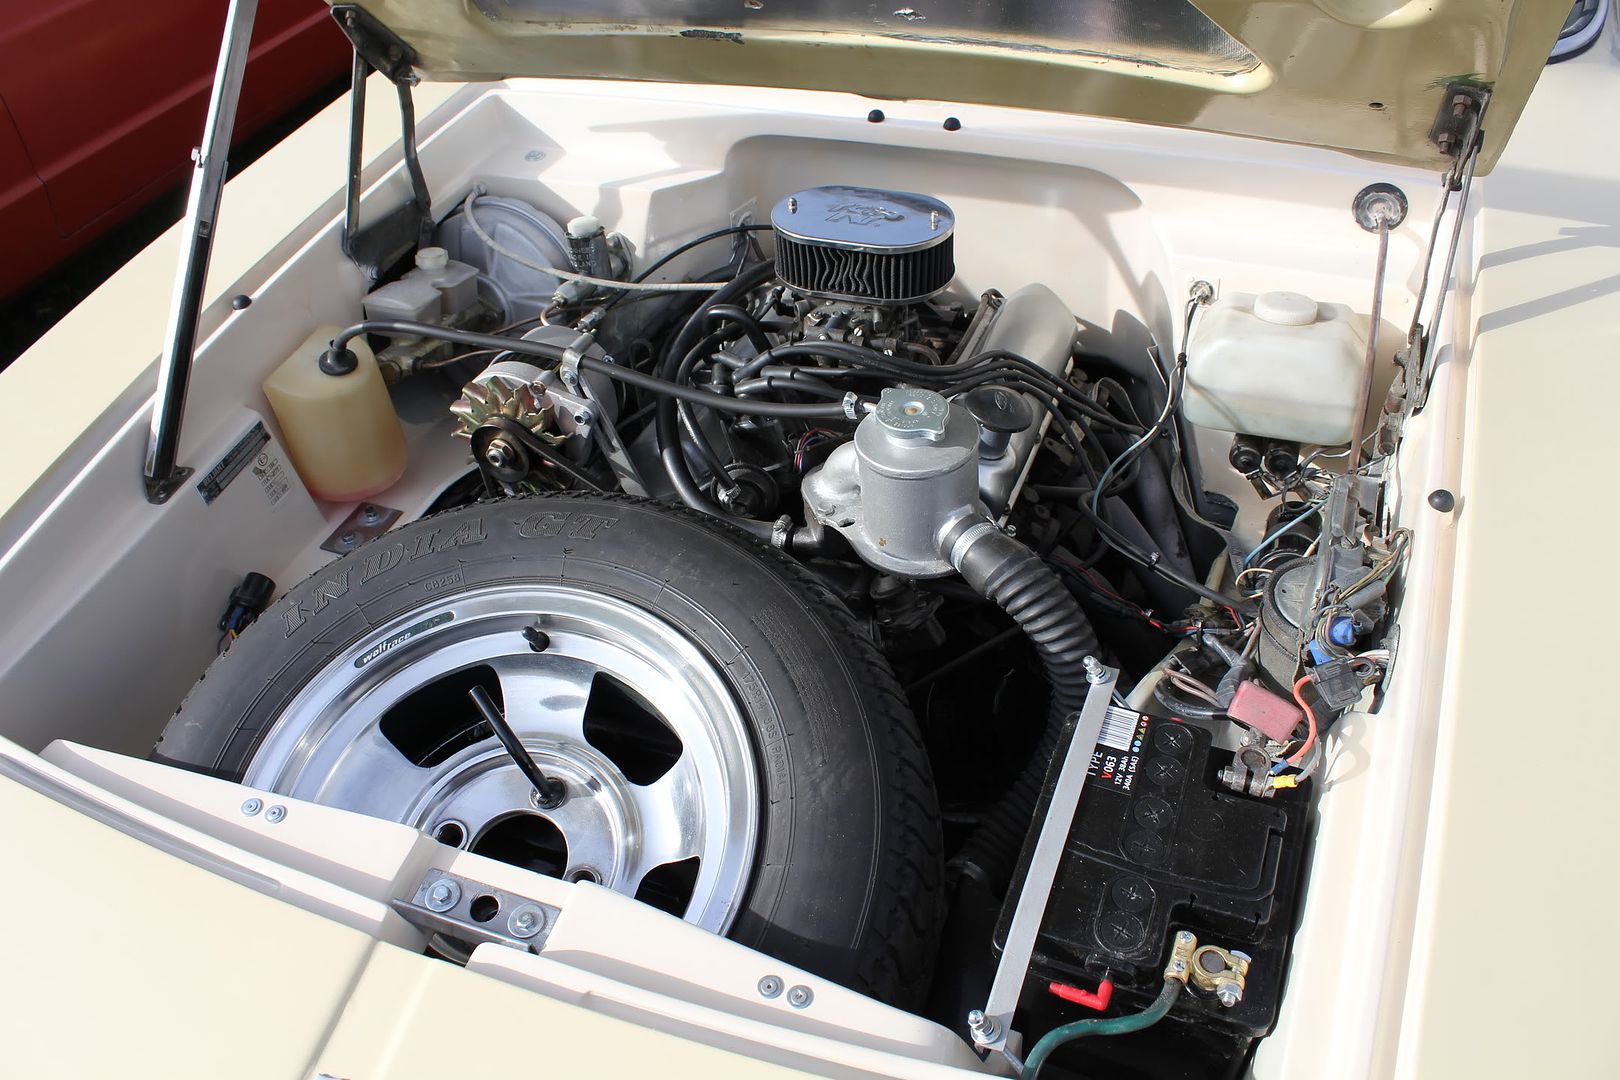
Seeing the engine bay in the day light meant I could see a few imperfections - but its 100% better than it was, and is acceptable considering I did it under garage lighting. I haven't laquered it yet, so I can still blow a few improvements in here and there.
A great day all in all, the weather turned out to be great in the end. Sorry i didn't seem to talk to many people, we seemed to spend most of the day round the autojumble - no bad thing
I've got a few more pics of the show which I'll put in the Malvern Show thread, and leave just pics of mine here.
Cheers,
Mike.
(Oh, and no breakdowns on my part this year I'm pleased to report
)
------------------------------------------------------------------------------------
Morning all -
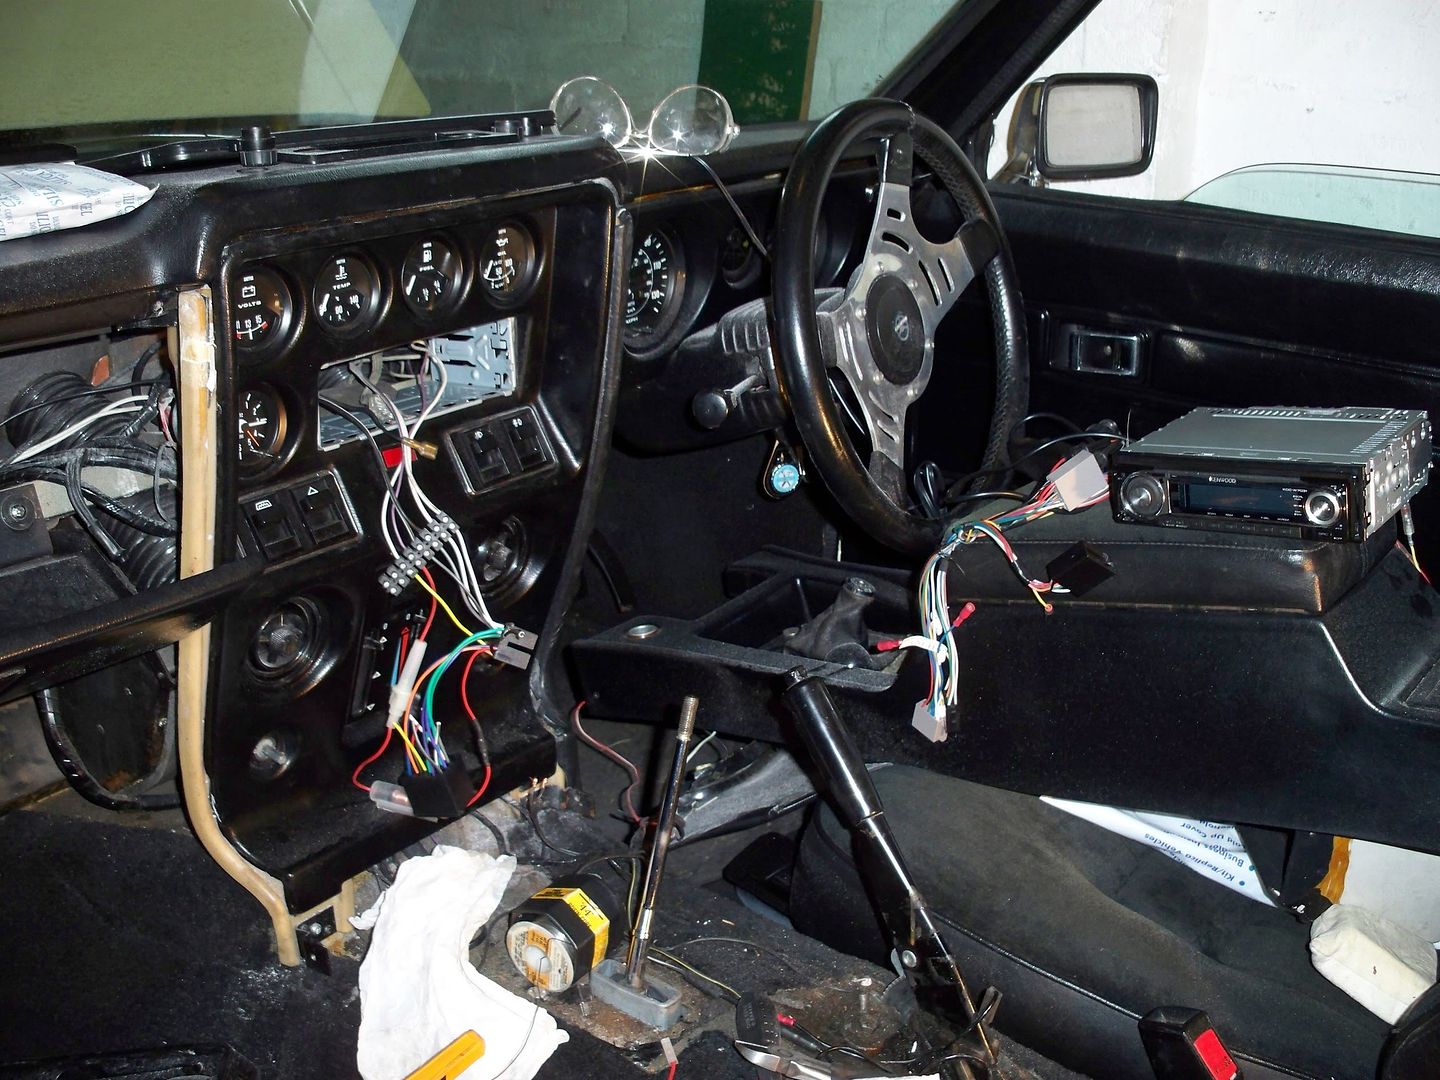
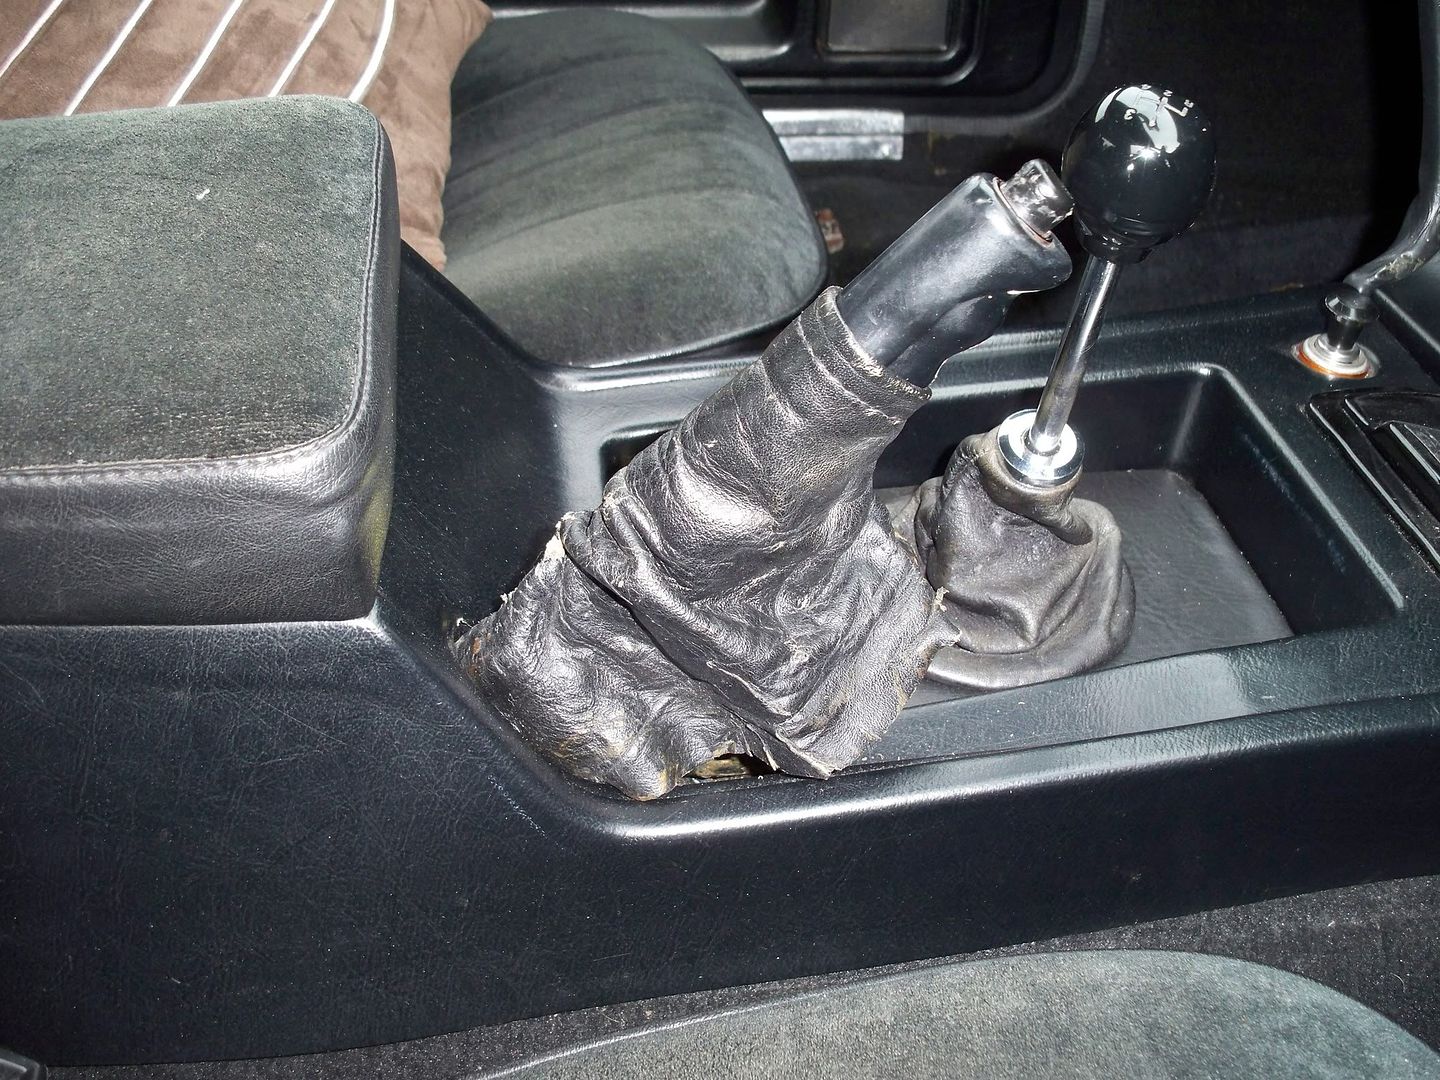
Not really a big update, but I made a new leather handbrake gaiter yesterday.
I took this out as it was well past its best (although it looks ok in the photo :roll: )
Then I took a peice off this -
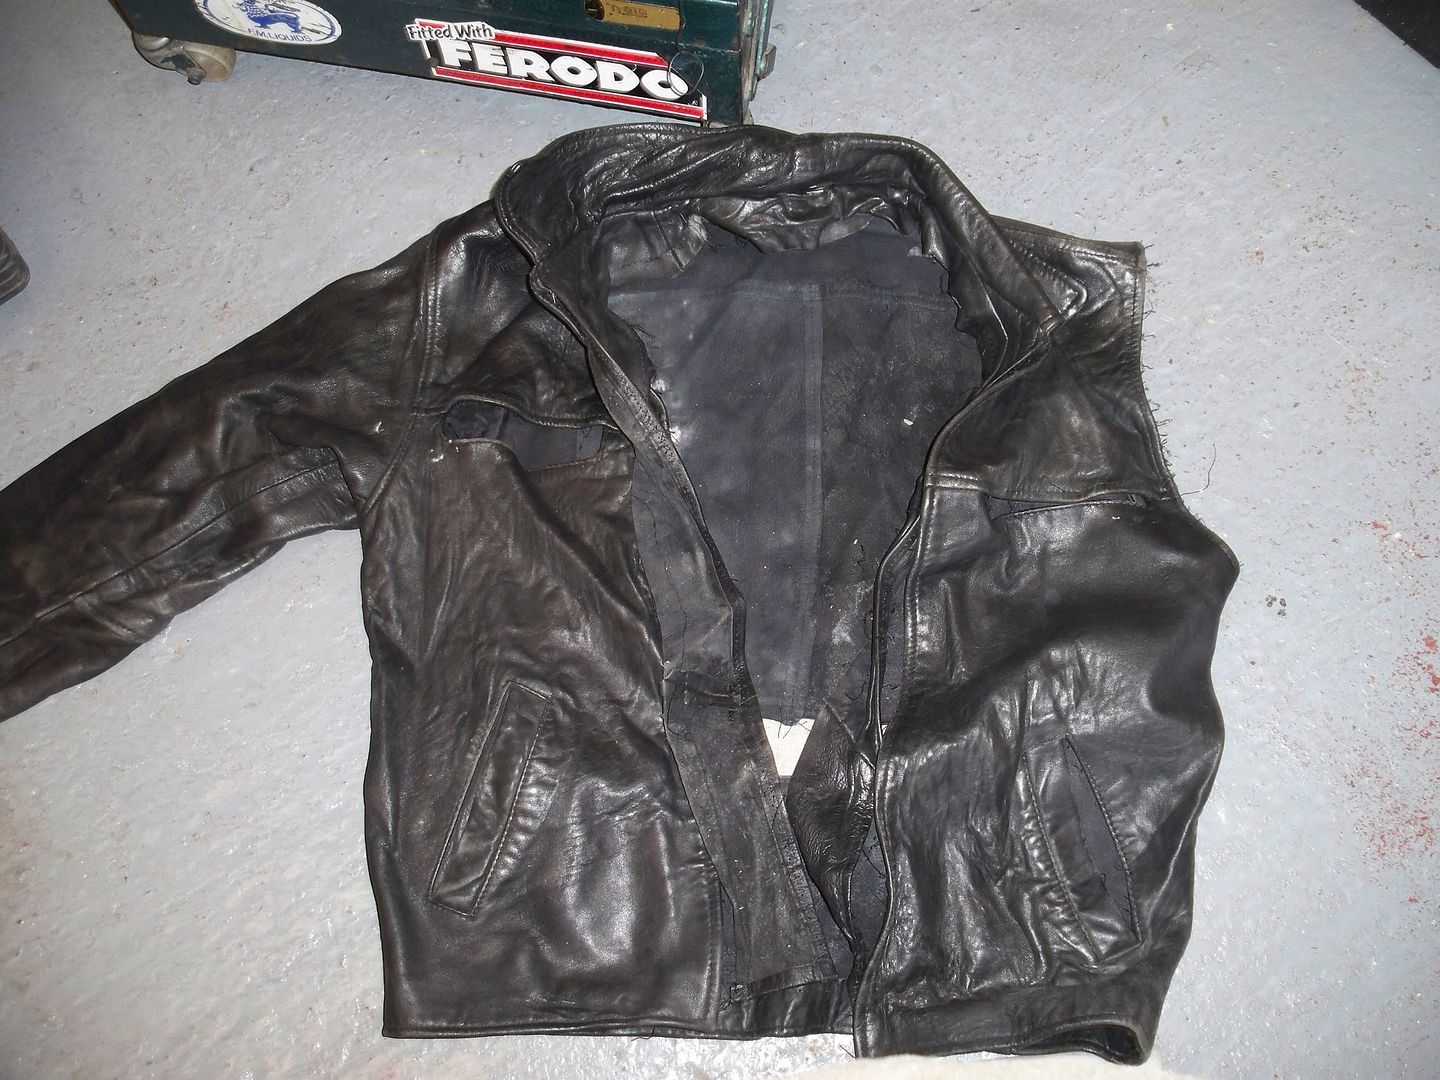
(Fonzie would've given his left arm for this, lol)
And after a bit of cutting and glueing ended up with this -
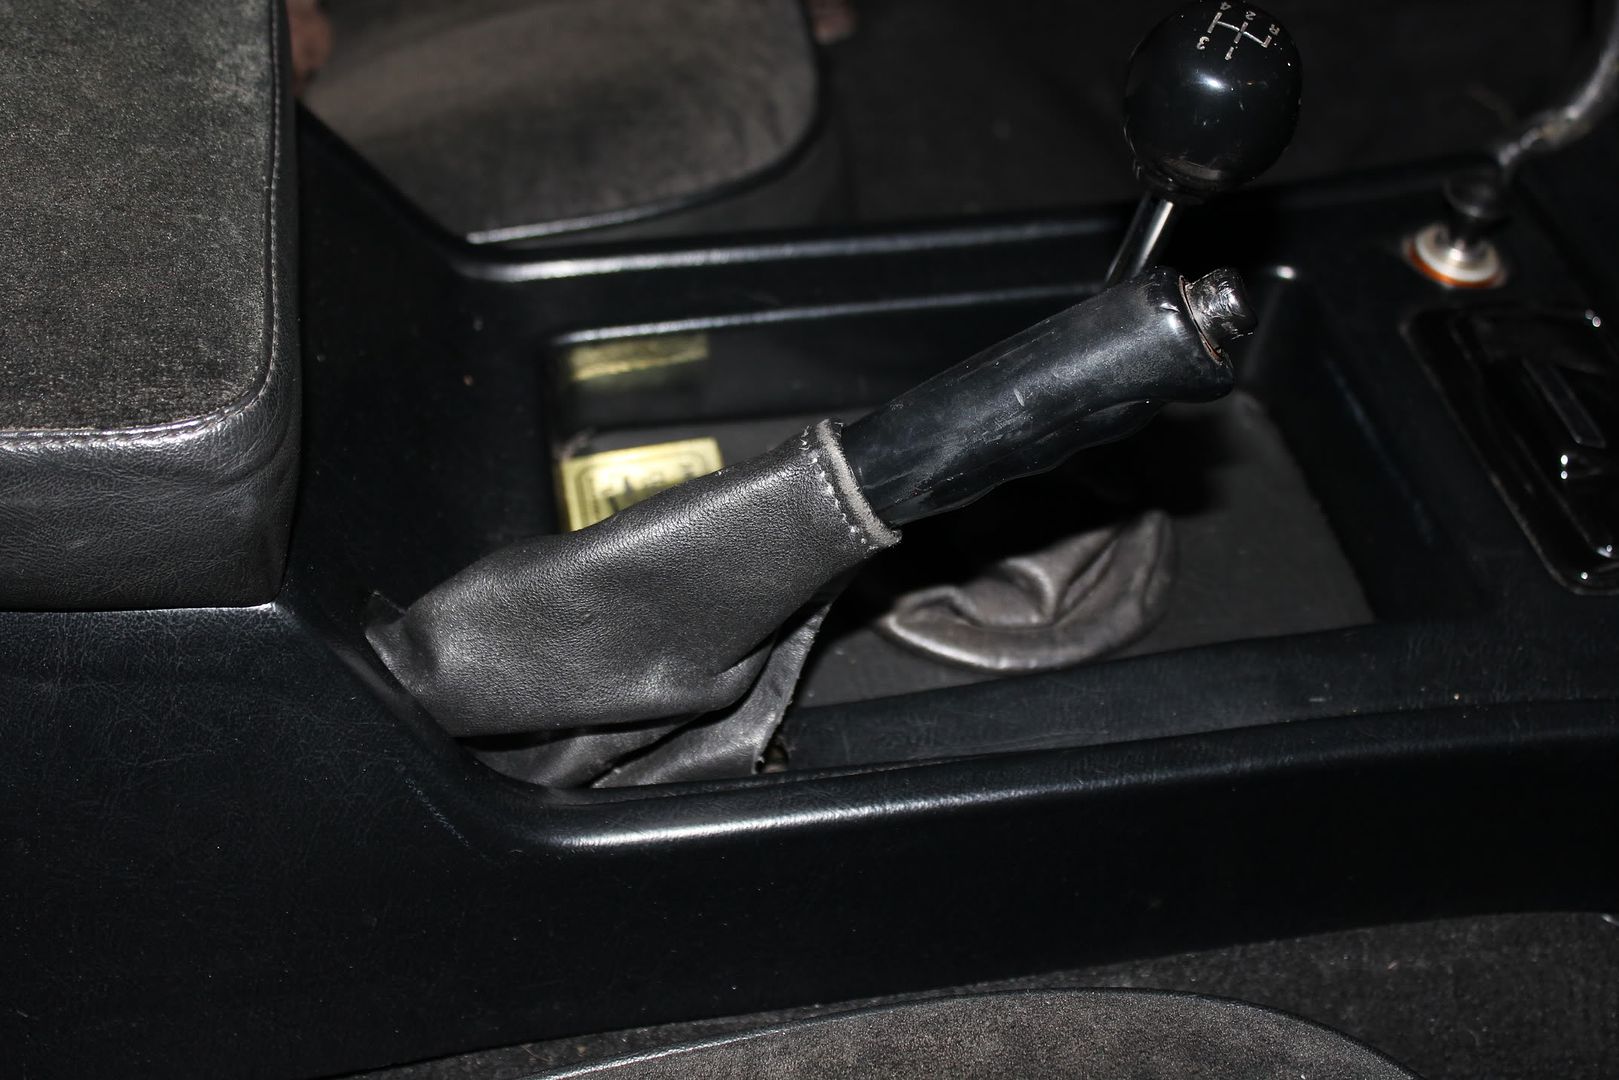
Looks much better
Mike.
------------------------------------------------------------------------------------
Morning all -
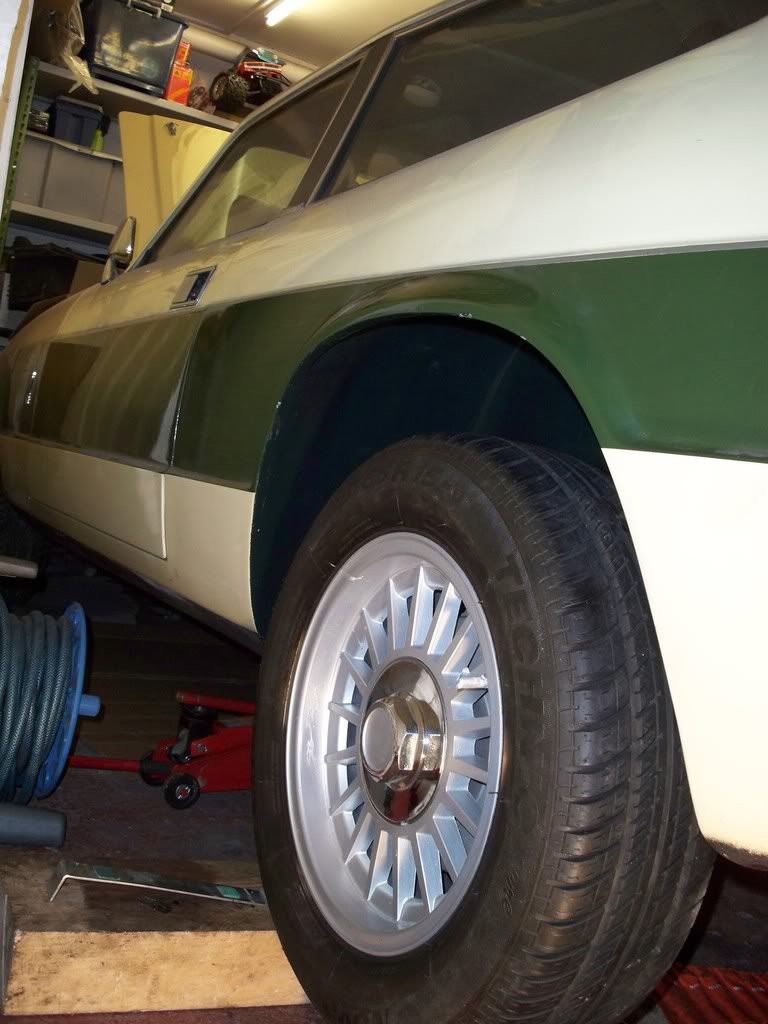
No progress whatsoever to be honest - I've just been enjoying driving it.
Yesterday Nic suggested we took it for a run out - well you don't get offers like that very often, so I jumped at the chance
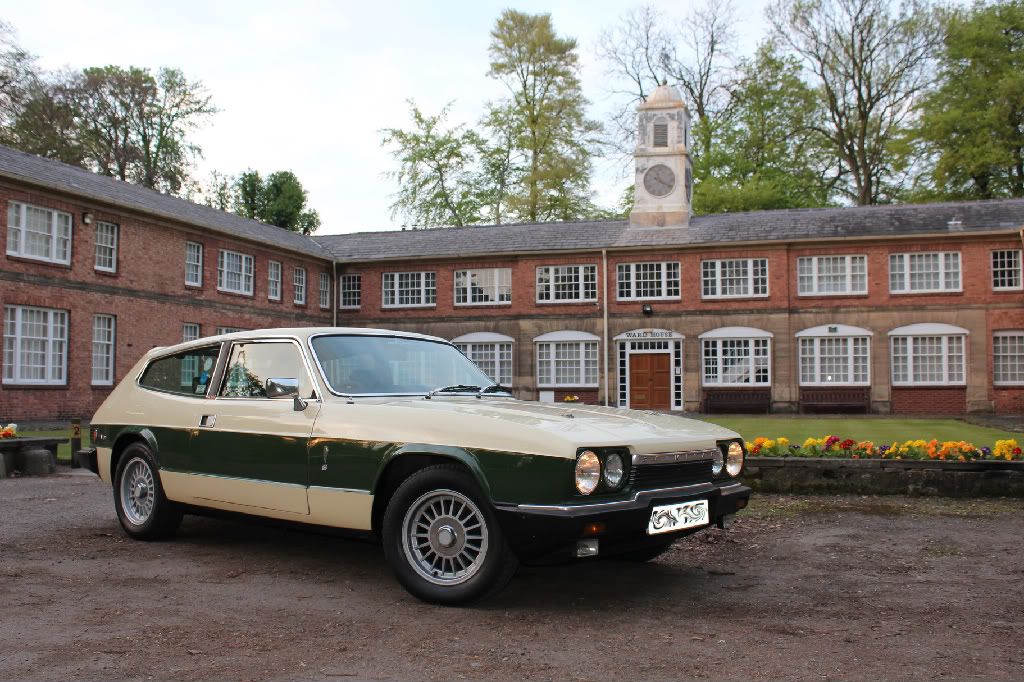
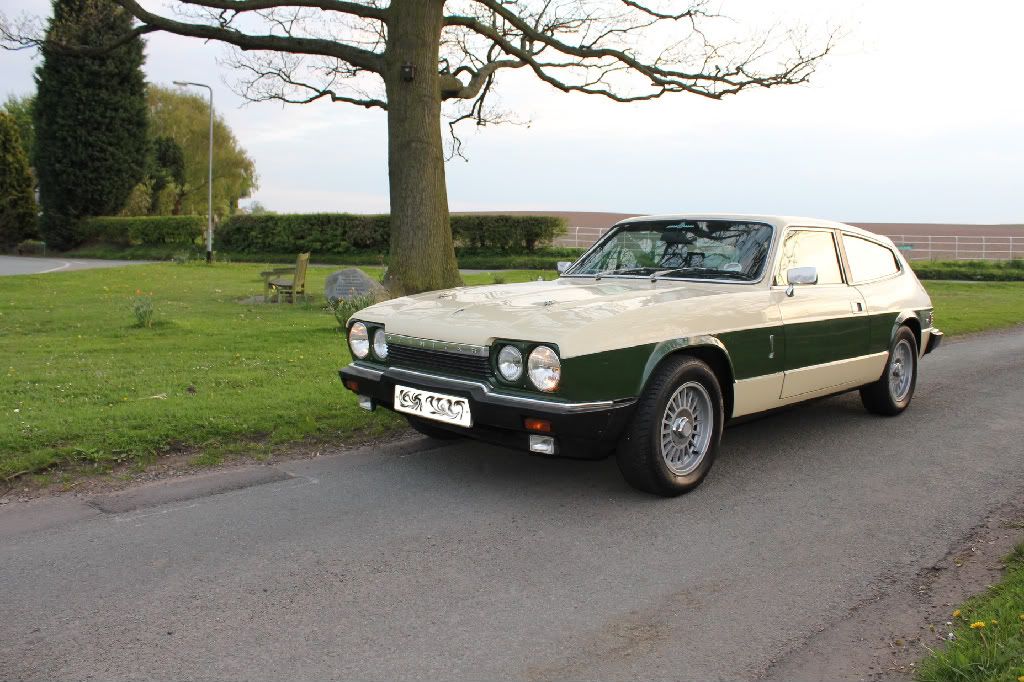
I took a few pics - only 2 of them are any good though, taken at Brockencote Hall just before it went dark -
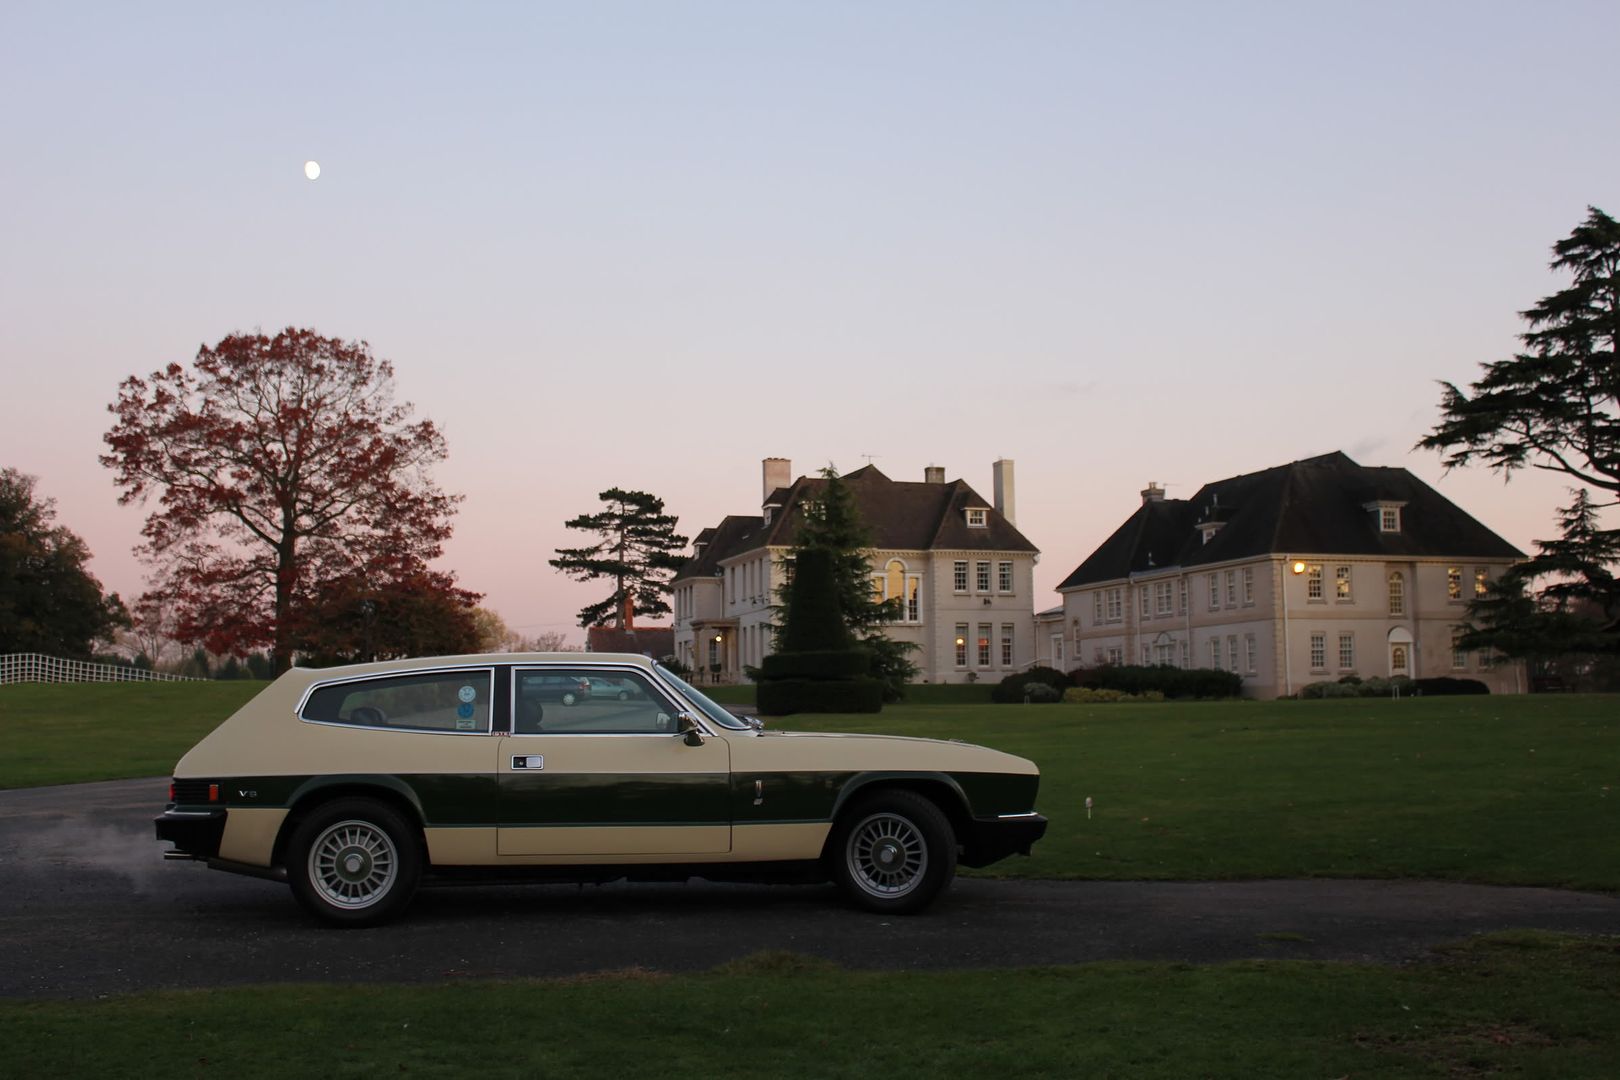
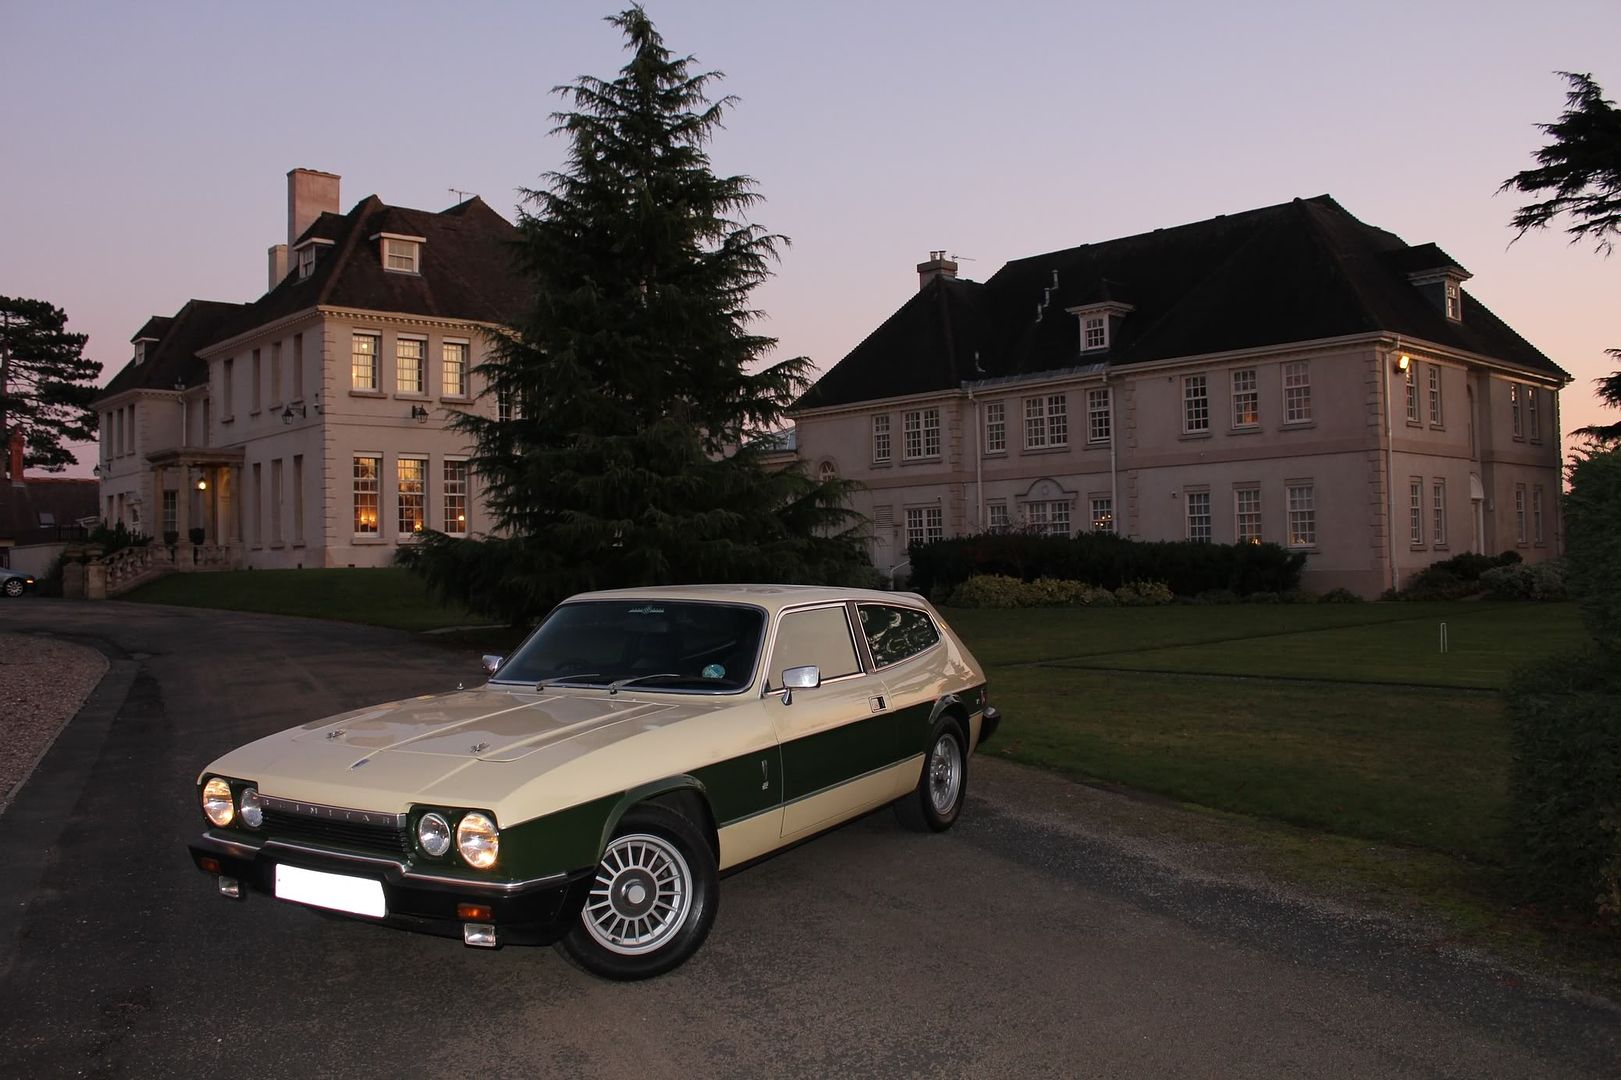
That might have been the last run out it gets for a while now, as we're busy the next few years, the weather is going curse word, and I want to start the front end rebuild (although I said that last year, lol).
Cheers,
Mike.
------------------------------------------------------------------------------------
Evening all...
Right then, it's started... :twisted:
I've finally got my mojo back to go out into the garage
.
I figured i'd start by crossing off the advisories from the last MOT. Seeing as the MOT is due in March, I'd better get cracking.
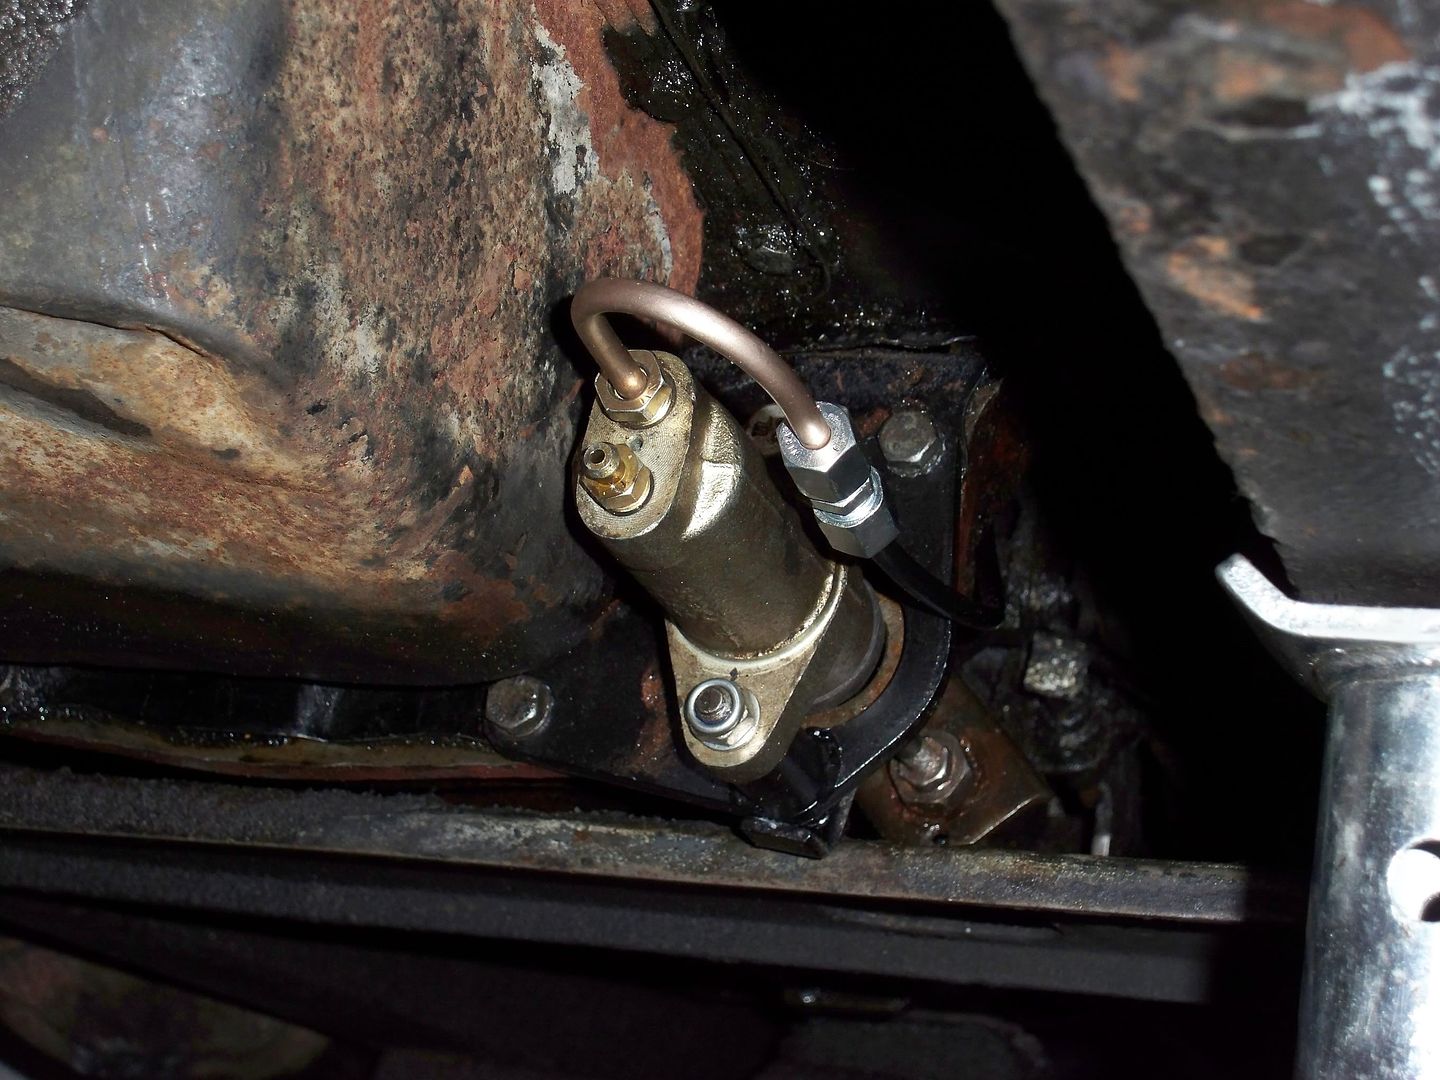
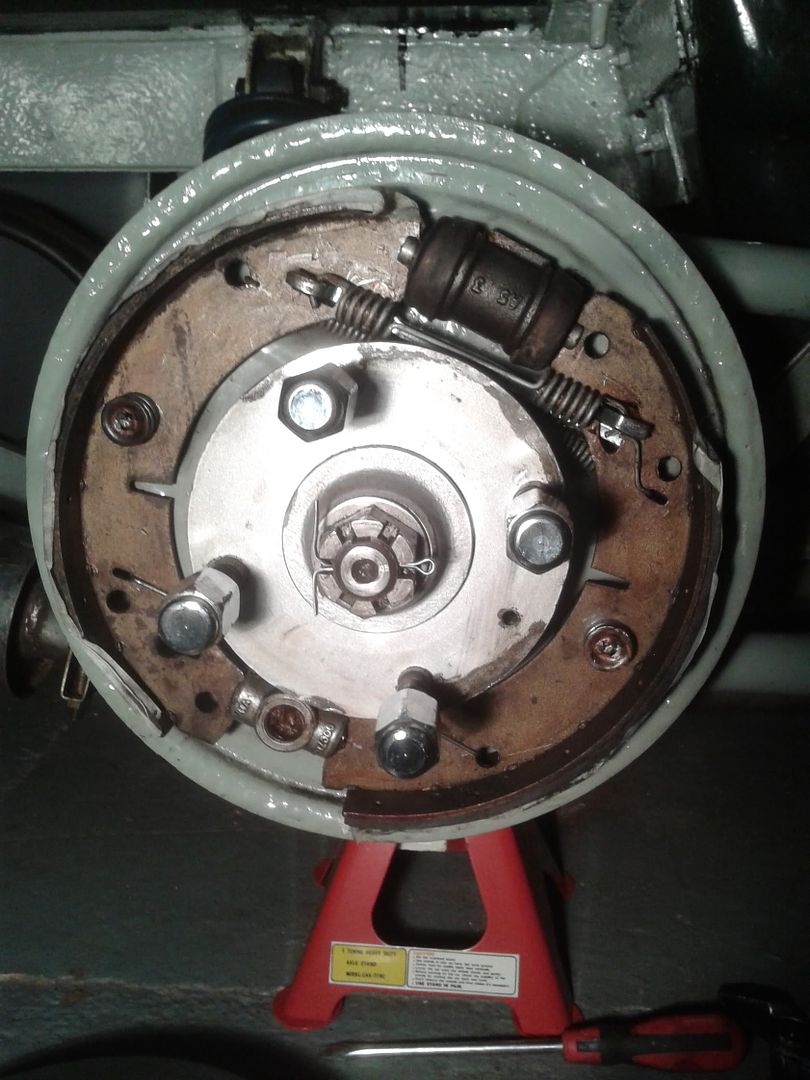
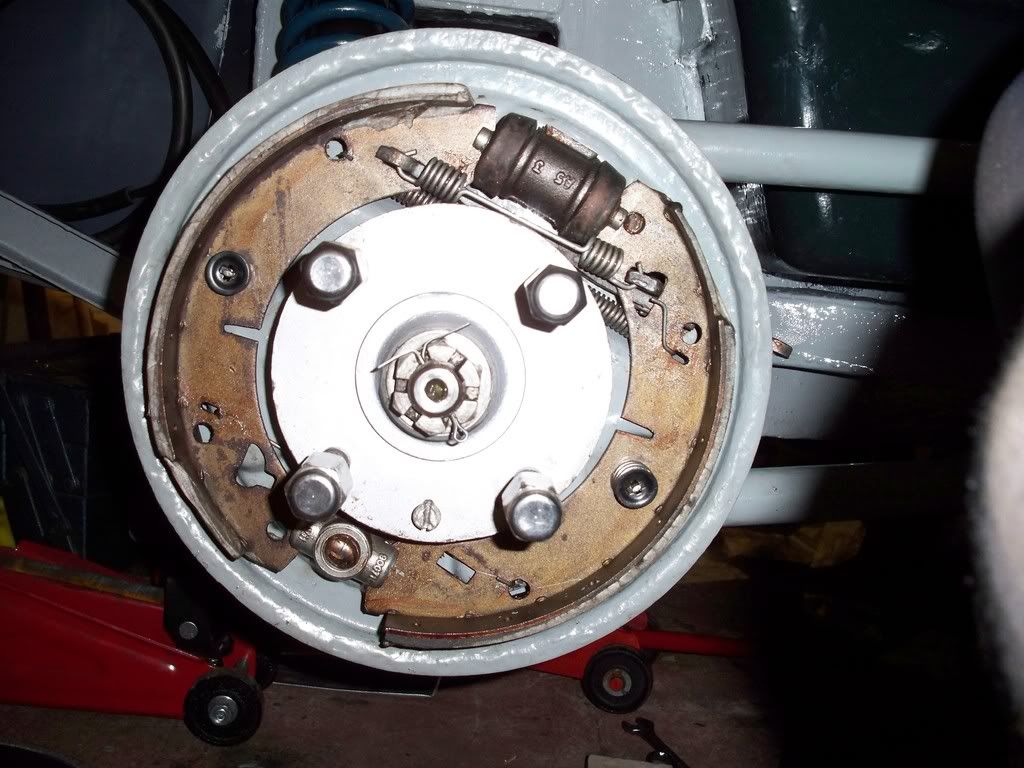
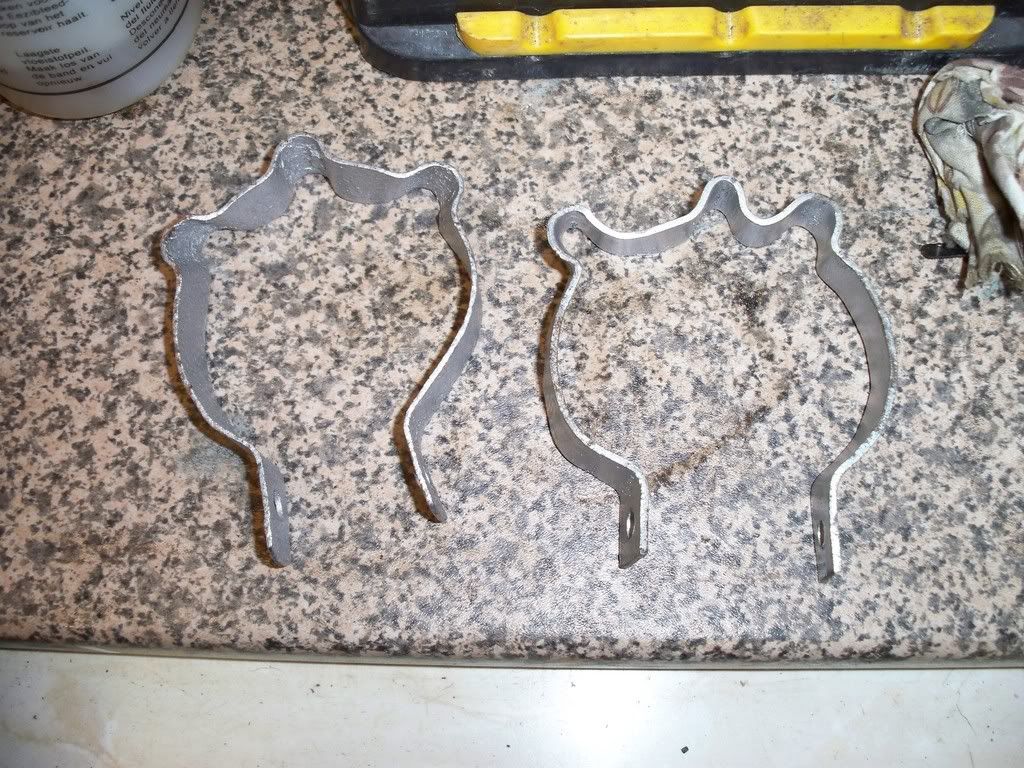
Job 1 - Poor performance of handbrake on n/s wheel. Stripped it all down to find that the repair to the handbrake mechanism hasn't held (well, it held for 2 years, so it's not that bad I guess) -
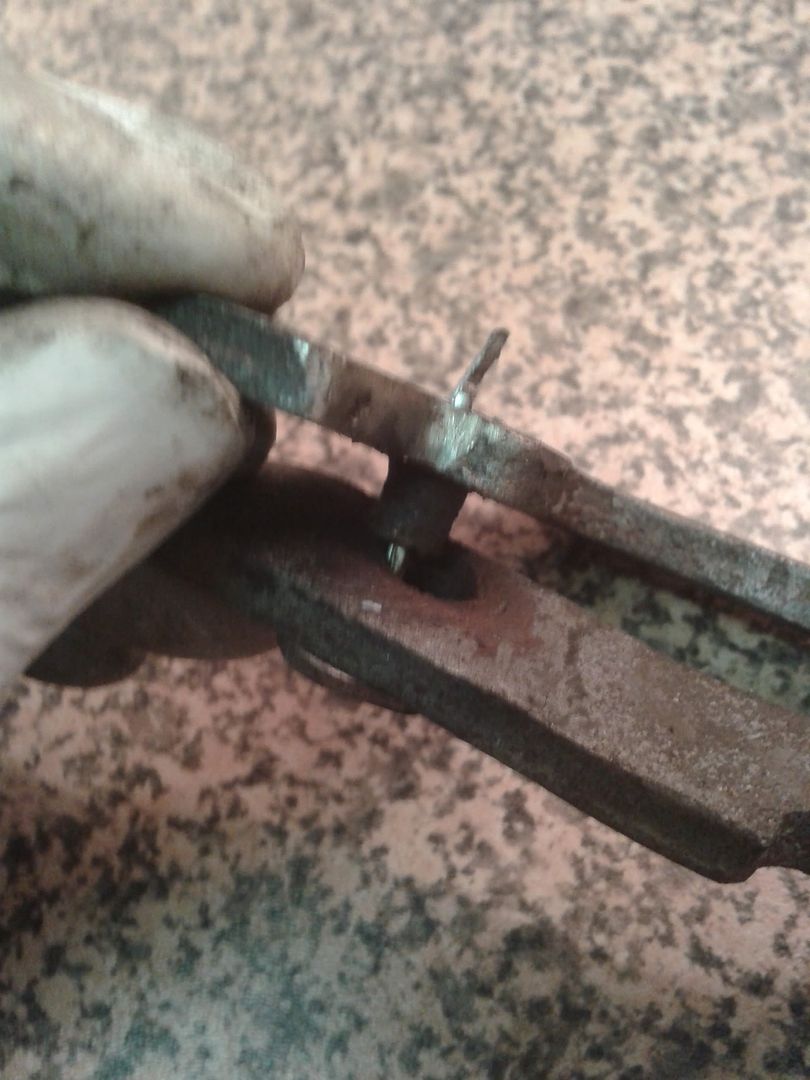
The cotter pin that i'd put through the pivot had simply pulled through. In the end I decided to source a new one rather than mess about with 2nd hand ones - 6 quid (+VAT) from David Manners makes me feel a bit daft for pi$$ing about getting the worn bits filled with weld last time.
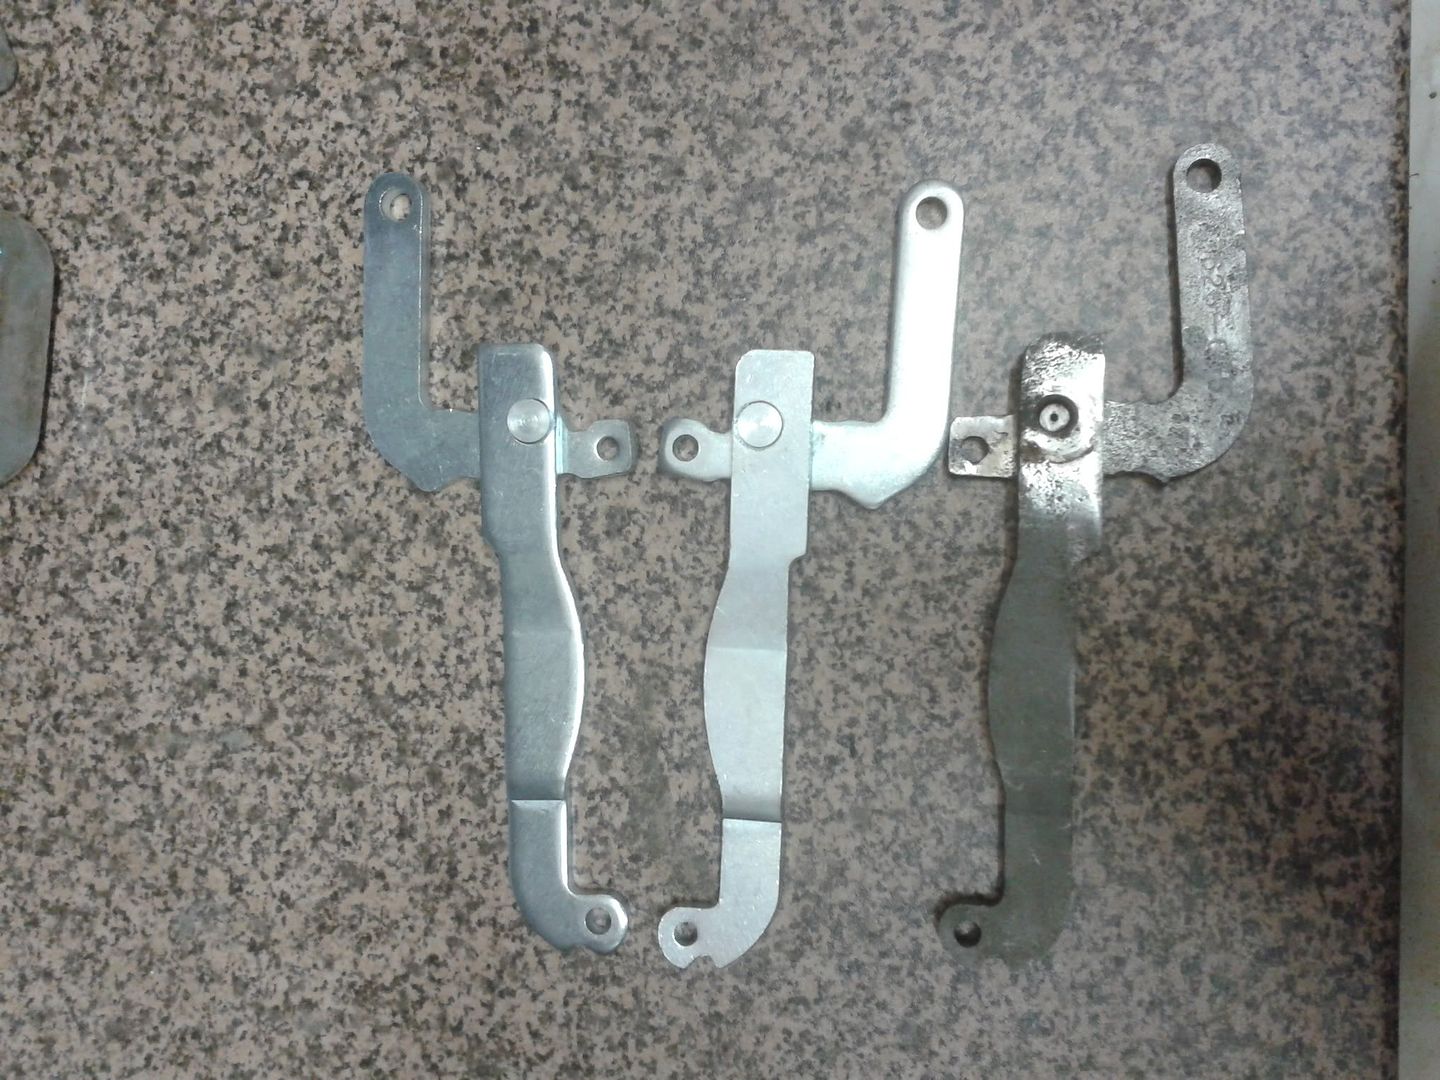
New ones vs old ones...
All back together now - the spring clips went on a doddle this time - unlike getting the bl00dy drums over the shoes - I just couldn't get them to line up. After much swearing and pinched skin it just slipped on as easy as you like. grr.
Anyway - quick pic of everything reassembled just for prosperity...
There then followed a quick bacon sarnie, followed by a test out on the drive that the handbrake held. It does - perfect.
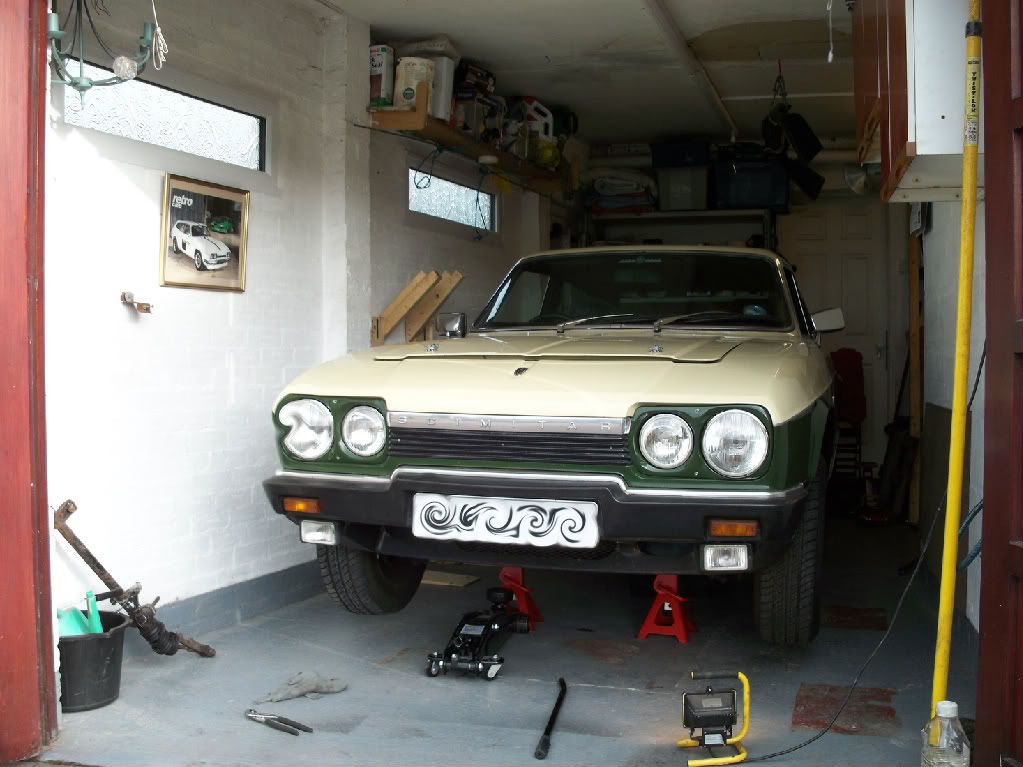
Seeing as the sun was out, I thought it would be rude not to nip out for a quick run round the block. Normally, my test route is just enough time for the engine to come up to temp enough for the fan to kick in. This time it didn't - the tell tale light on the dash came on, but no fan. Switching it on manually didn't work either - telltale is on, but no fan. Maybe as simple as the fuse - i'm nipping back into the garage for half hour before tea for further diagnosis.
So it's backed into the garage, lined up to jack it up and start stripping the front end asap now - hopefully this week will see some movement.
Cheers,
Mike.
------------------------------------------------------------------------------------
Right then... it's started
Spent quite a bit of time in the garage over the weekend...
First job was a tidy up, then get the car up on stands... surprising how long this takes on your own with limited access down one side...
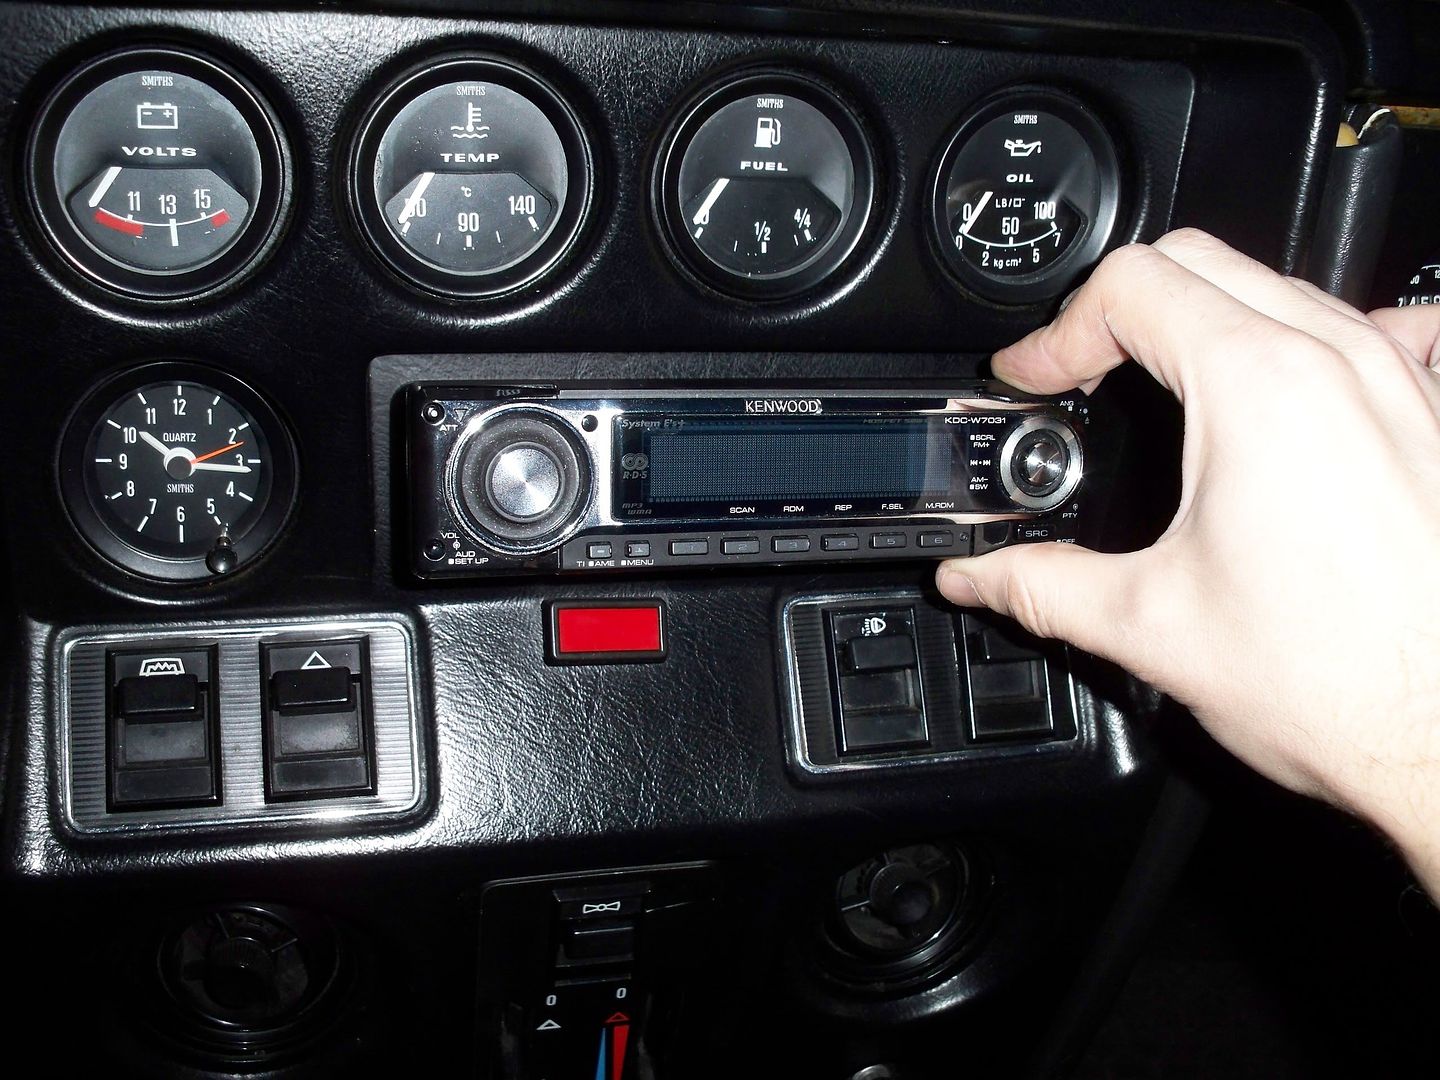
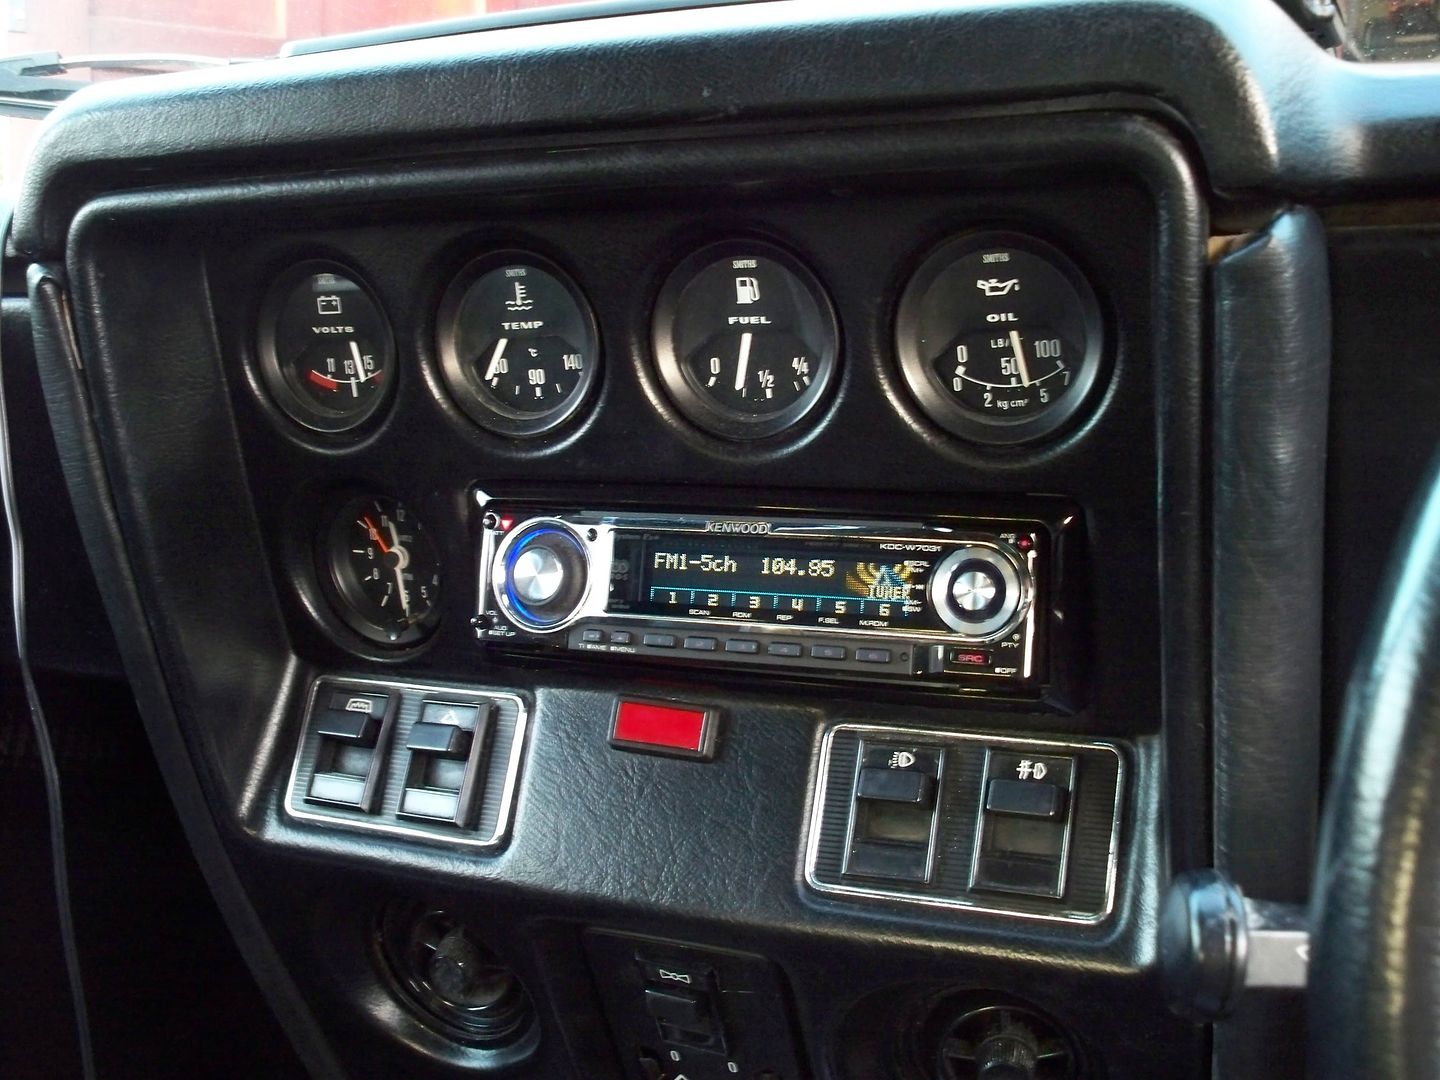
That was pretty much it, as I nipped out to meet Speedy Dave to pick up a dash panel, meaning I can fit my stereo properly - I was never happy with the final fit of it tbh. More on that some other time though.
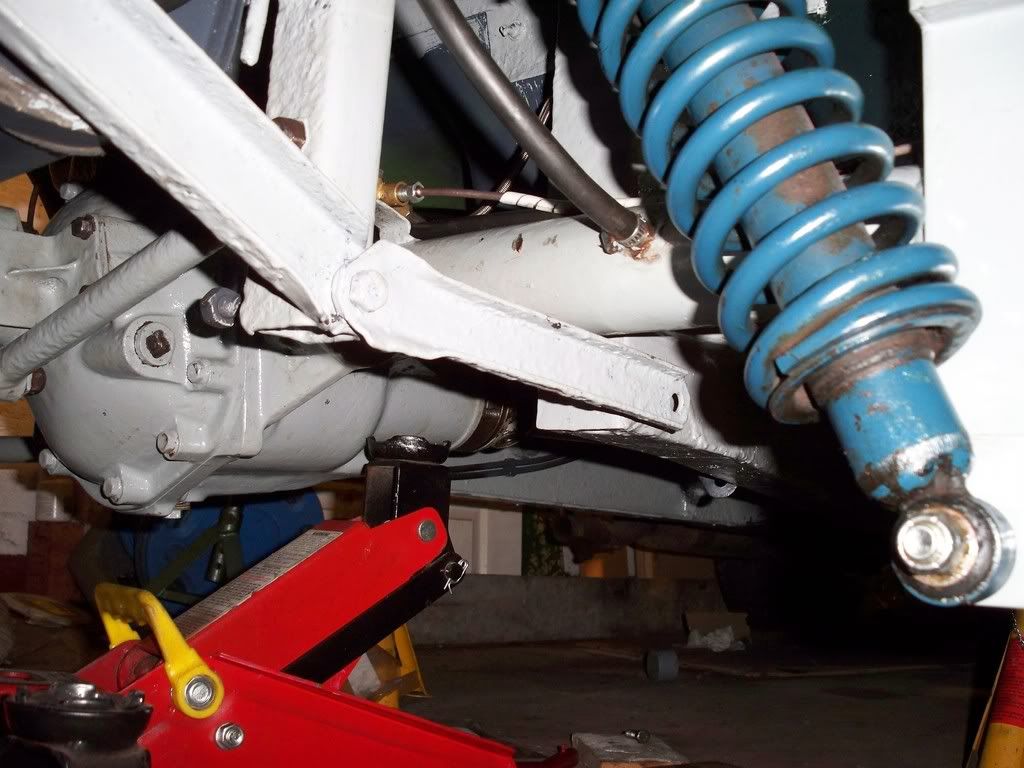
Sunday I got a pretty early start, and by the end of the day I'd got a big empty space where all the front suspension once was...
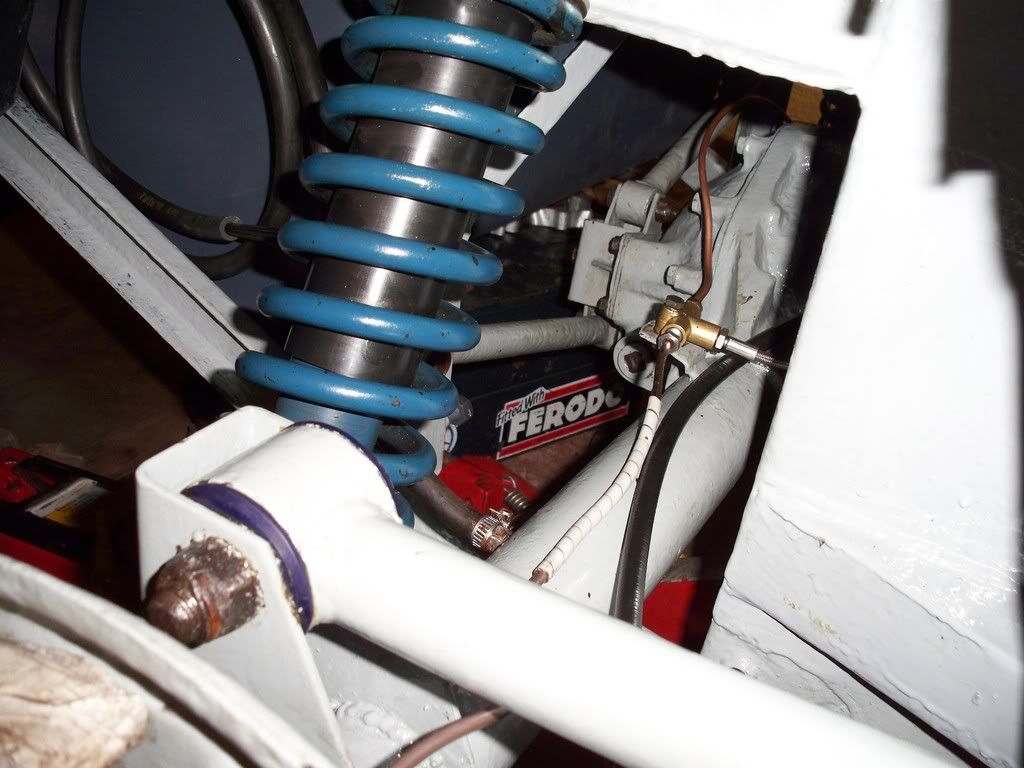
I've tied the brakes up for now - not sure I want to do anything with the brakes tbh - we bled them last year I think with new fluid. I had a couple of disks from Loz last year - I'll put those on when the time comes, as the edge of mine have gone rusty. There's also a set of Green Stuff pads to go on - not sure what spec they are though - are they more track day performance?
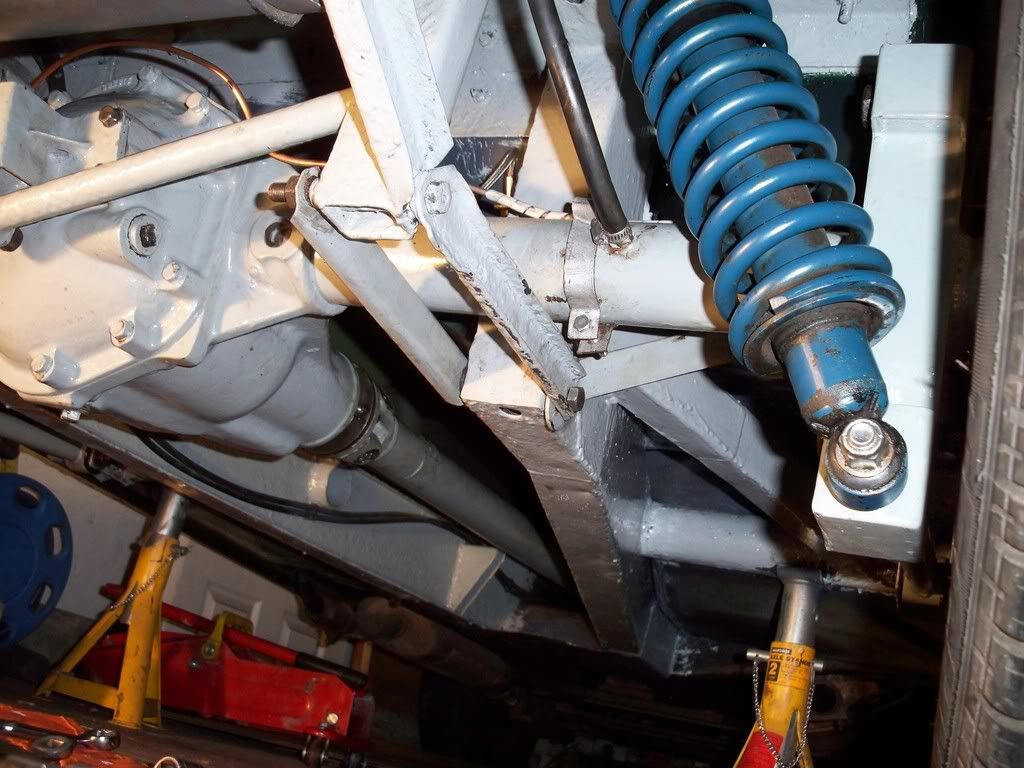
Overall, the condition is pretty good - only surface rust on the shock tower behind the upper wishbones. The shims should all clean up ok. Most of the bushes are knackered though, so I'll be changing all of them while I'm on.
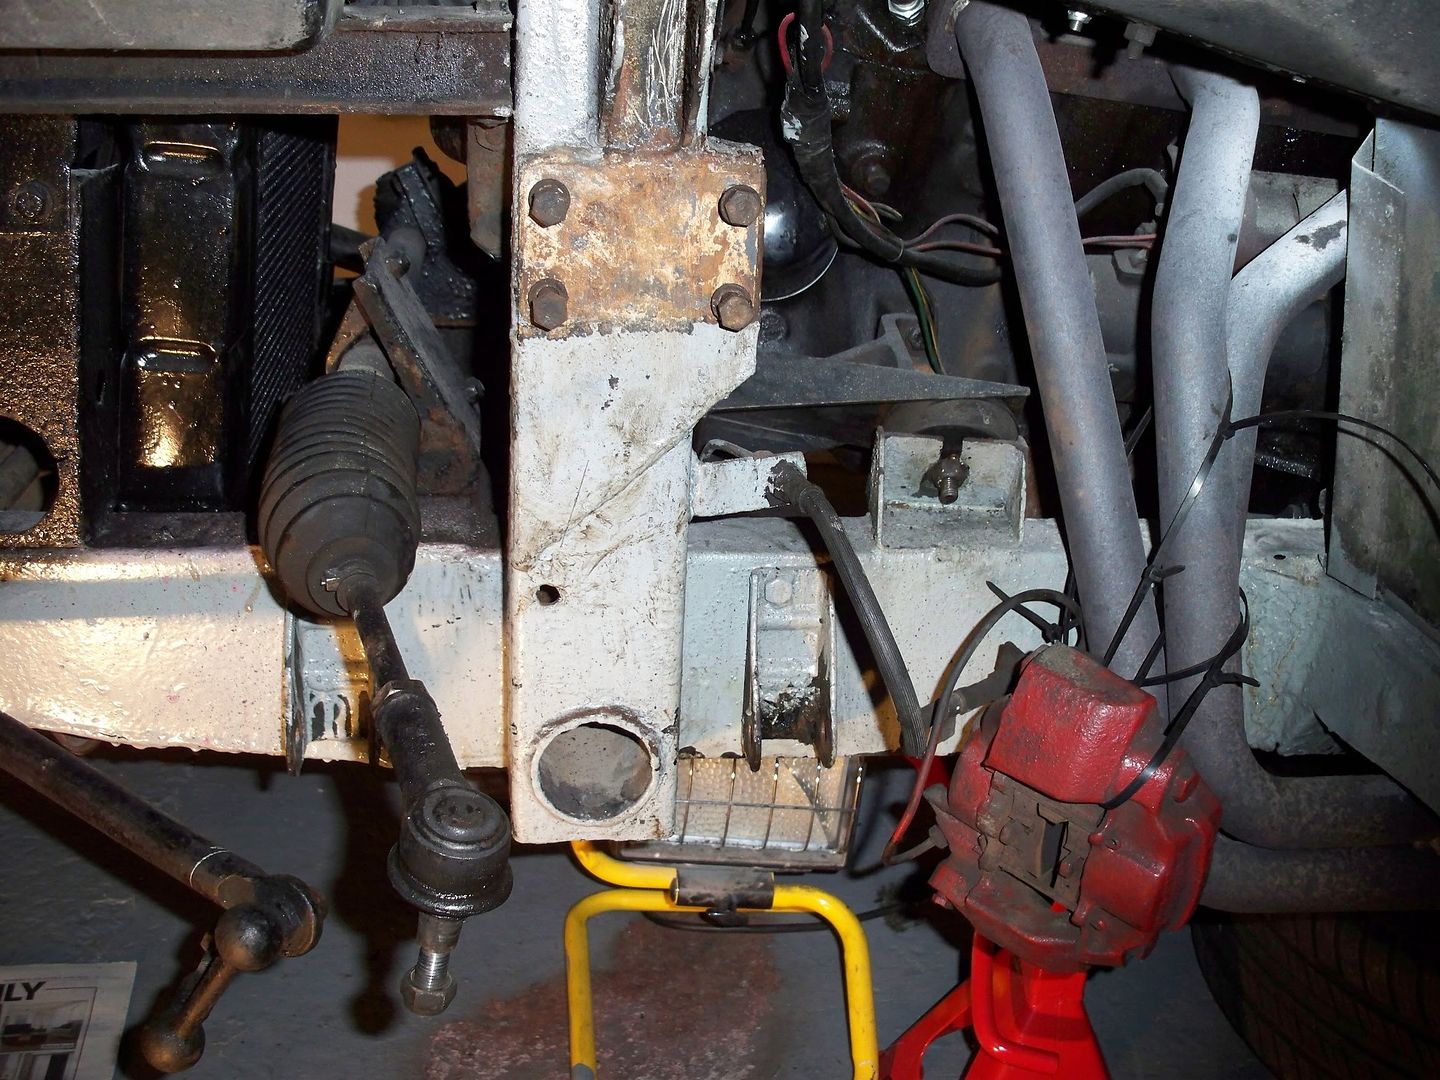
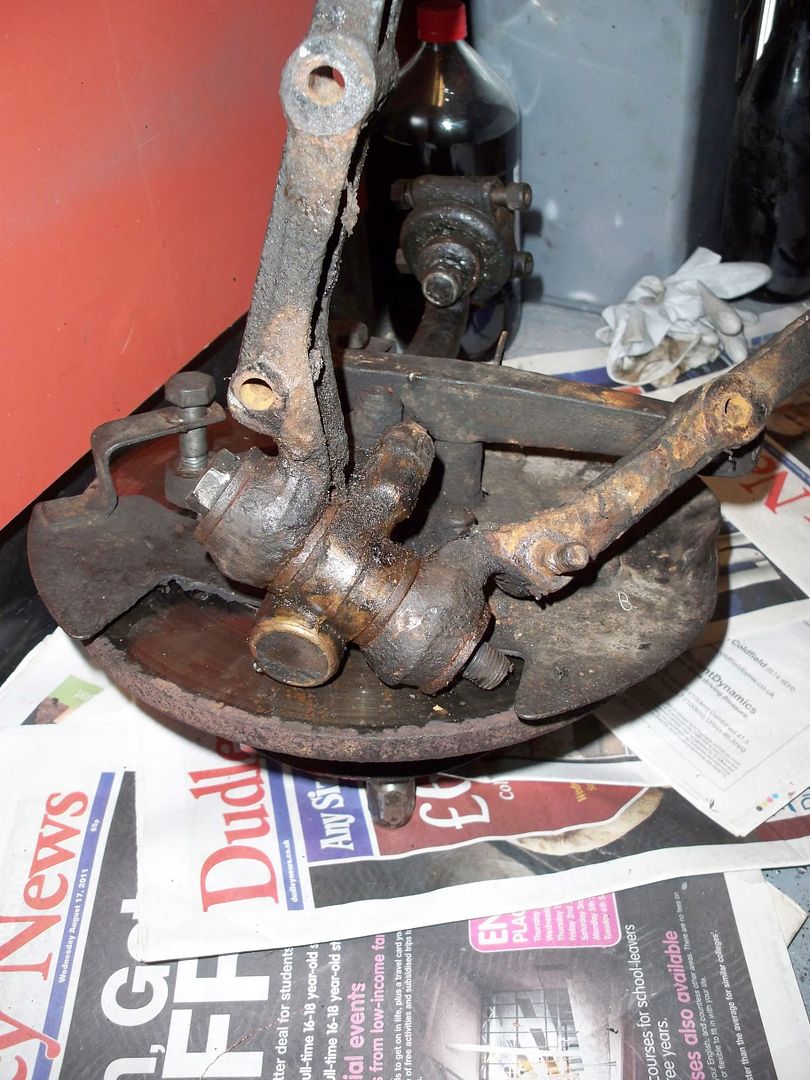
Steve Harpboy came round at this point, armed with his ball joint splitter. We could then remove the track rod end and get the whole thing on the bench.
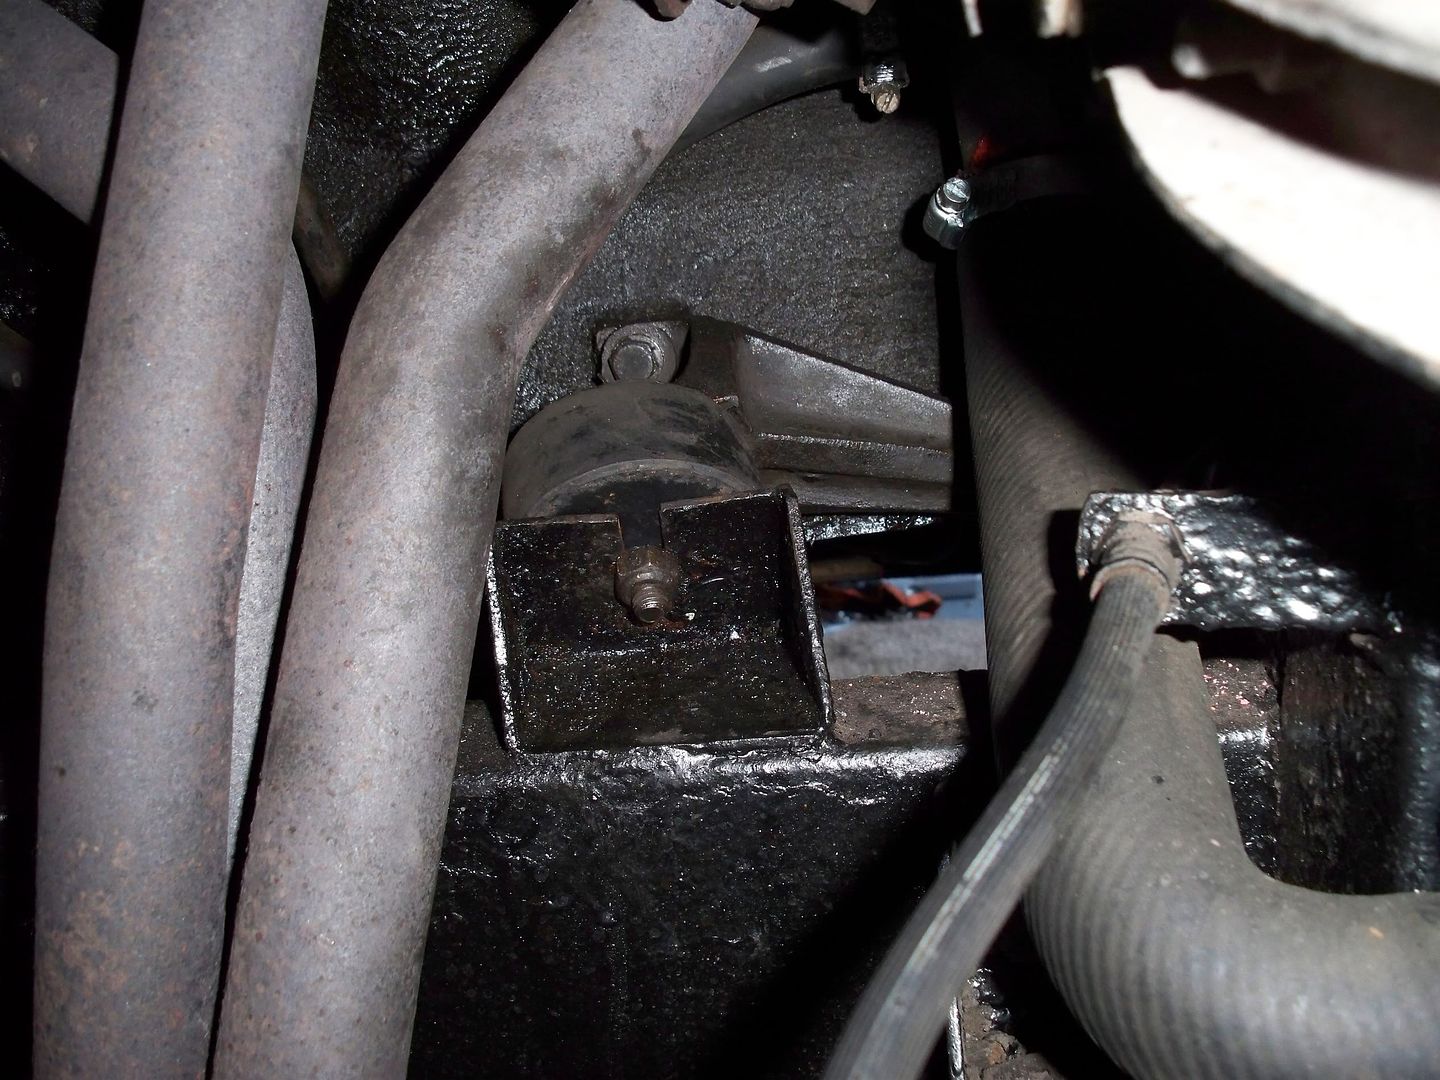
One bolt needed hacksawing which holds the bottom shock mounting plate to the wishbones.
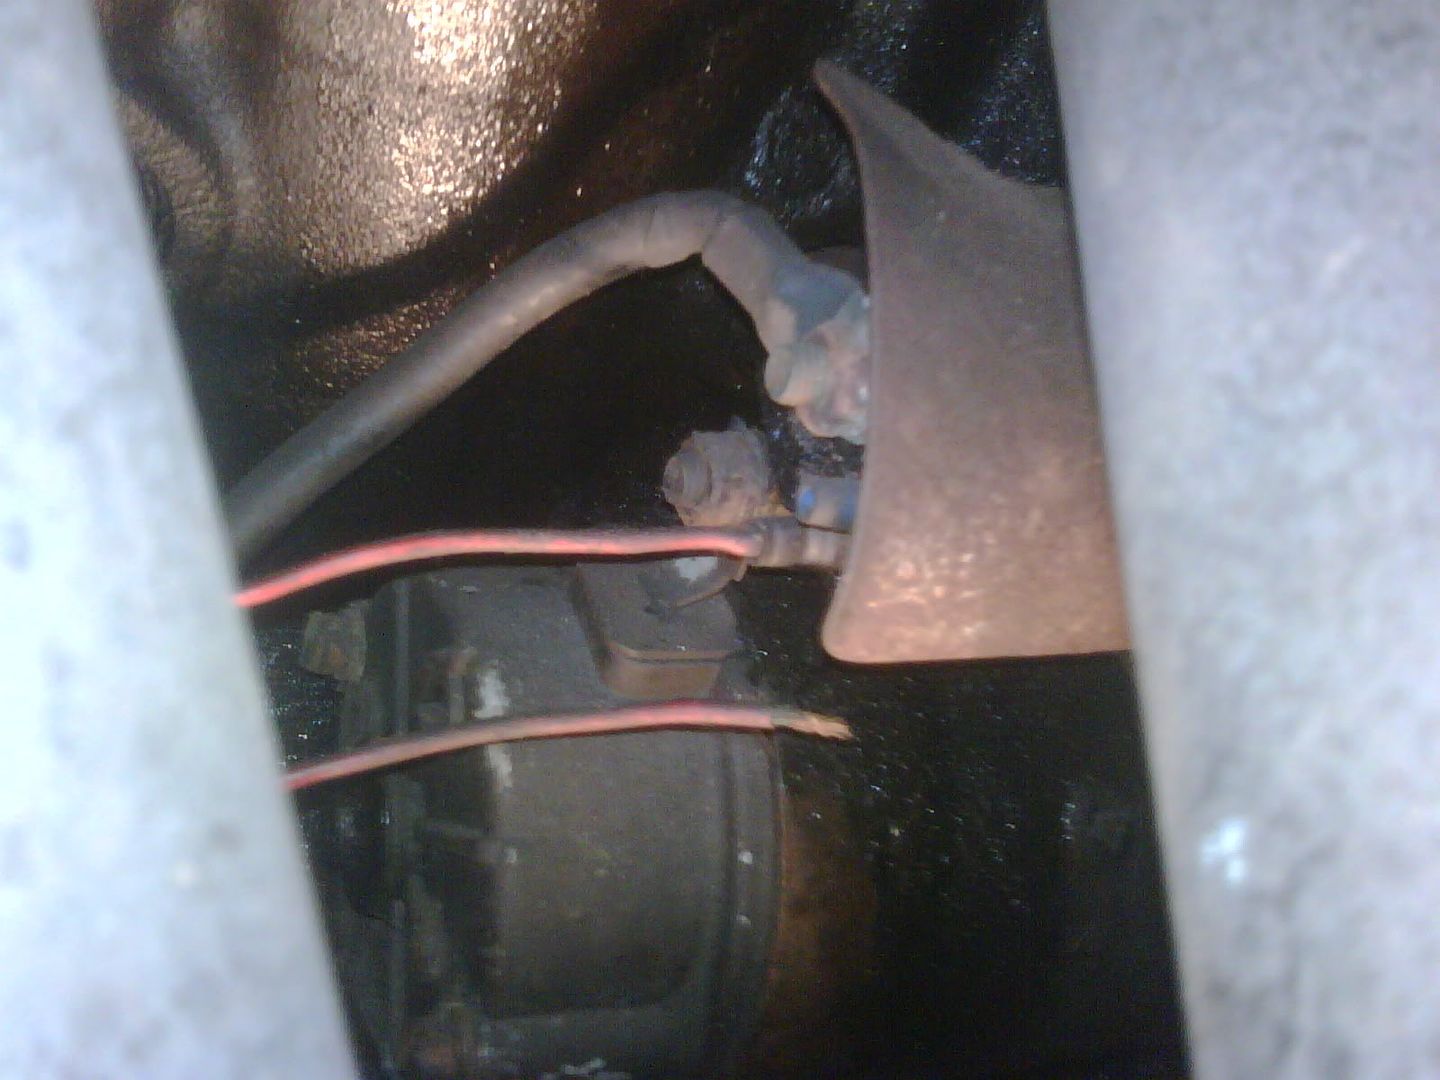
One of the shot bushes -
The top balljoints don't look too bad -
but I may as well change them while i'm here.
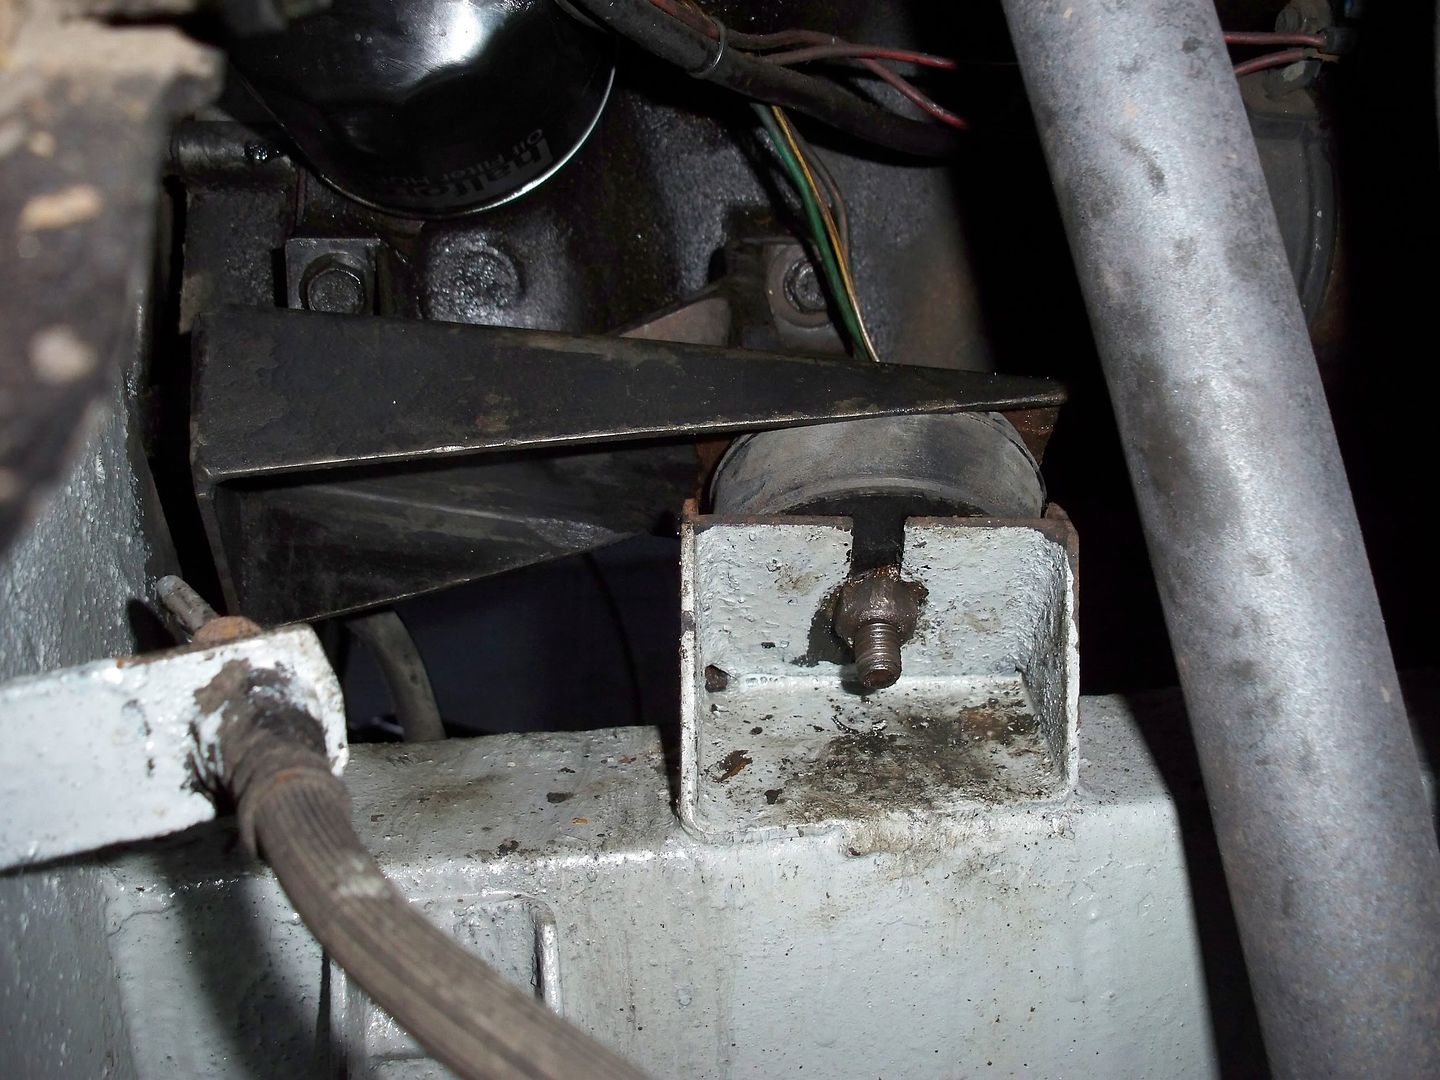
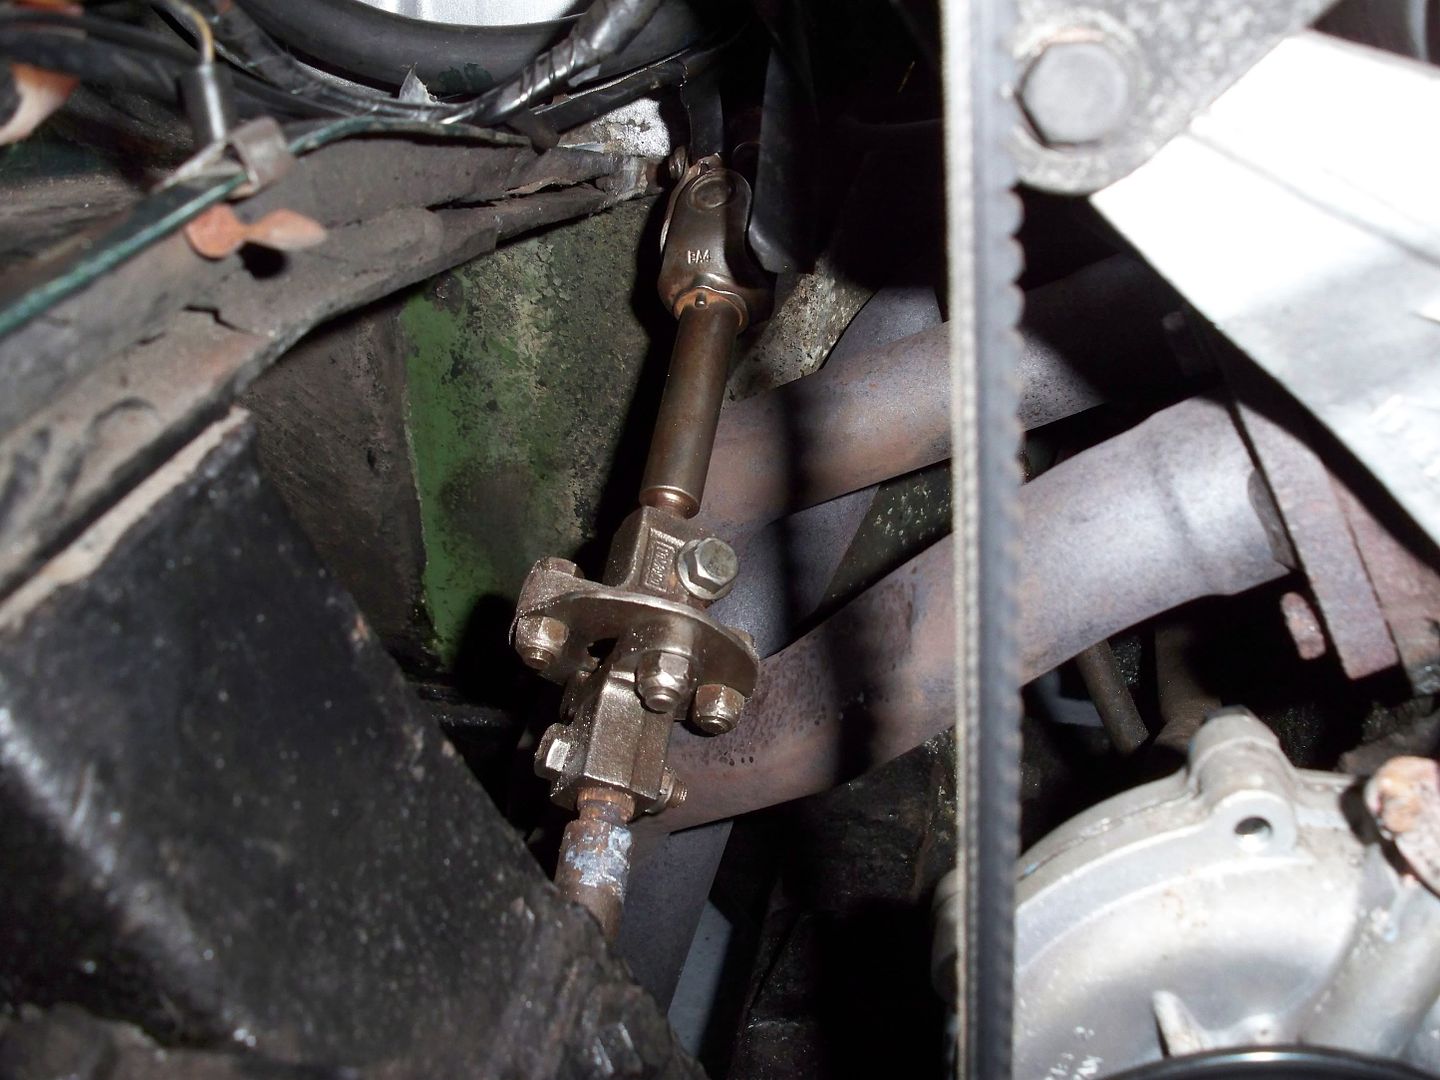
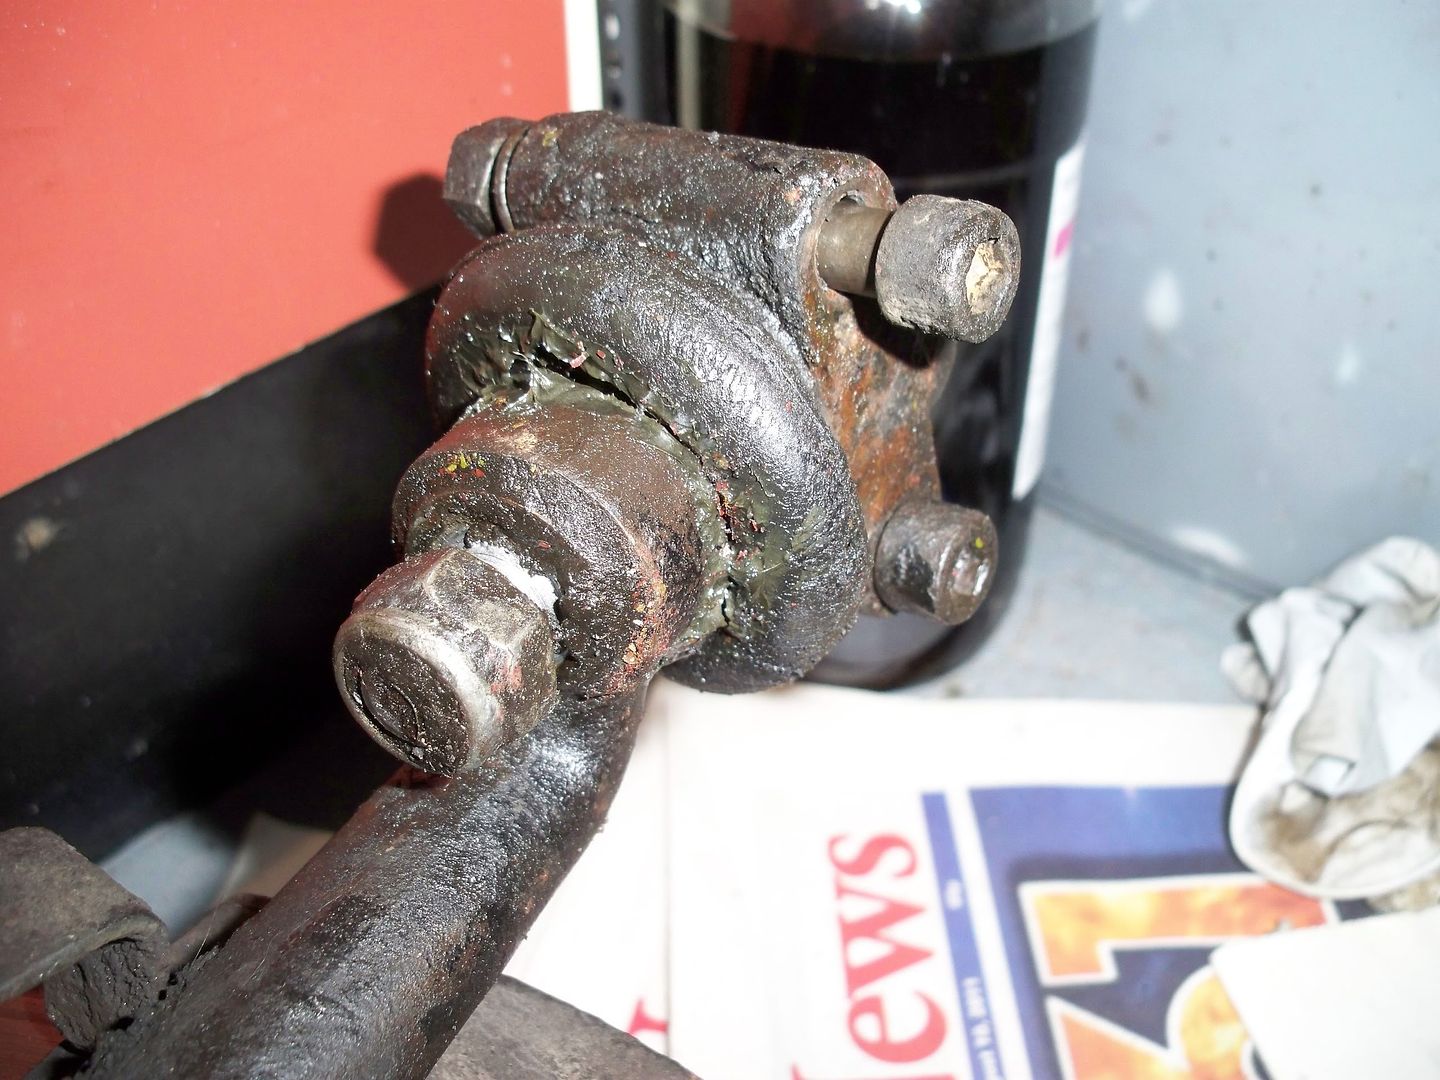
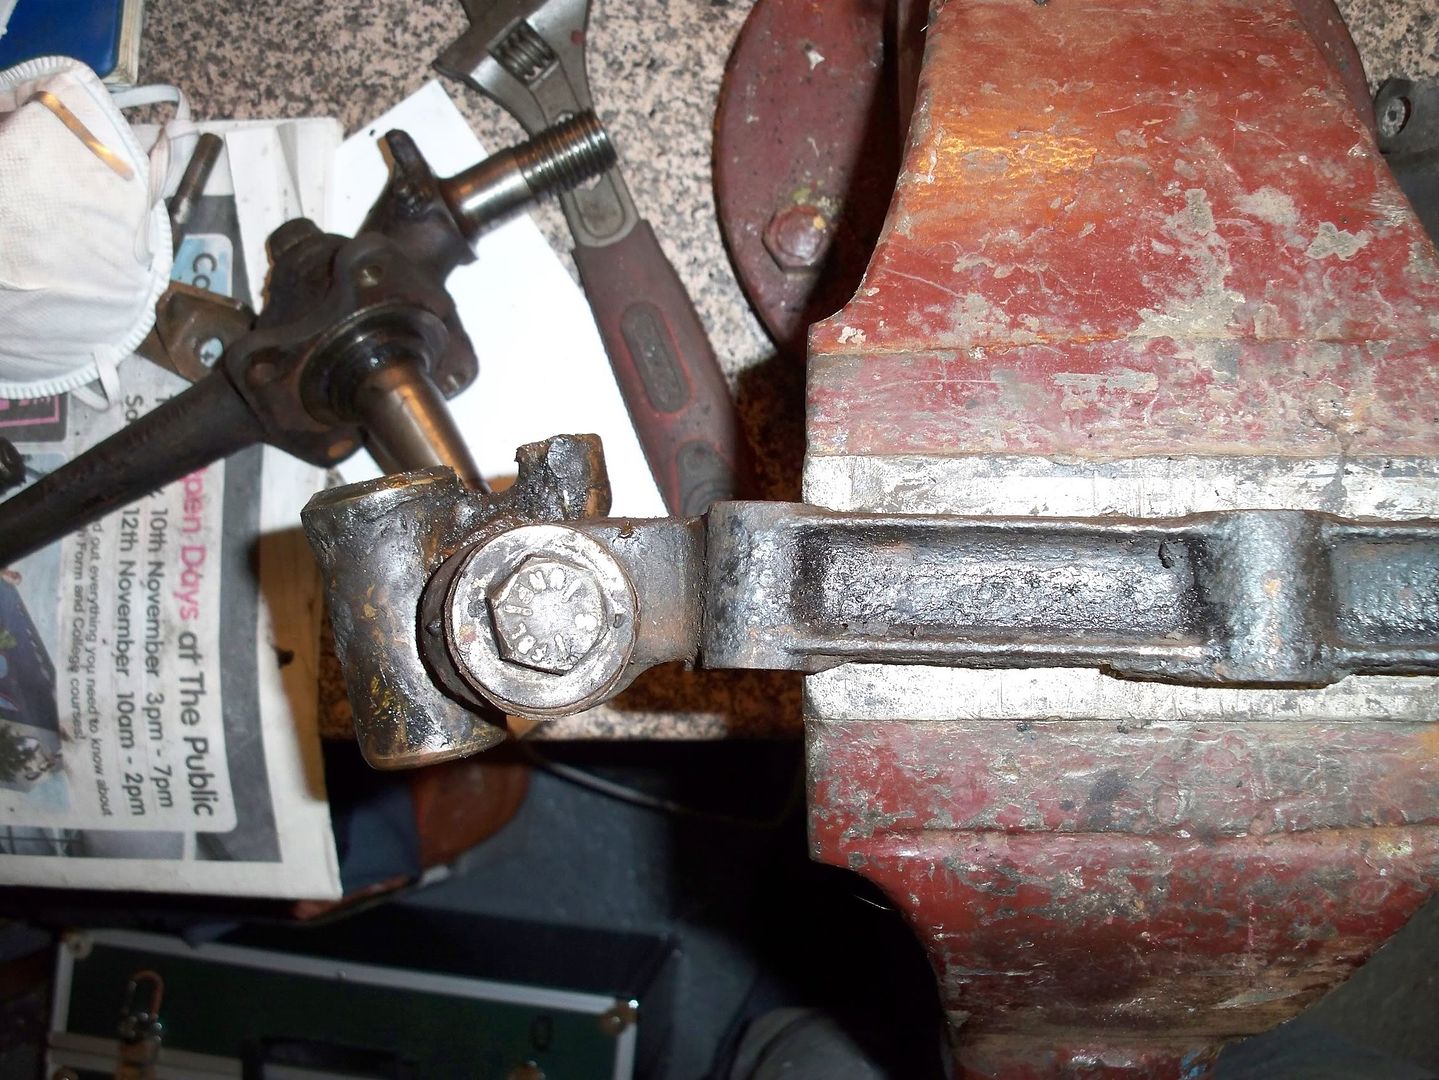
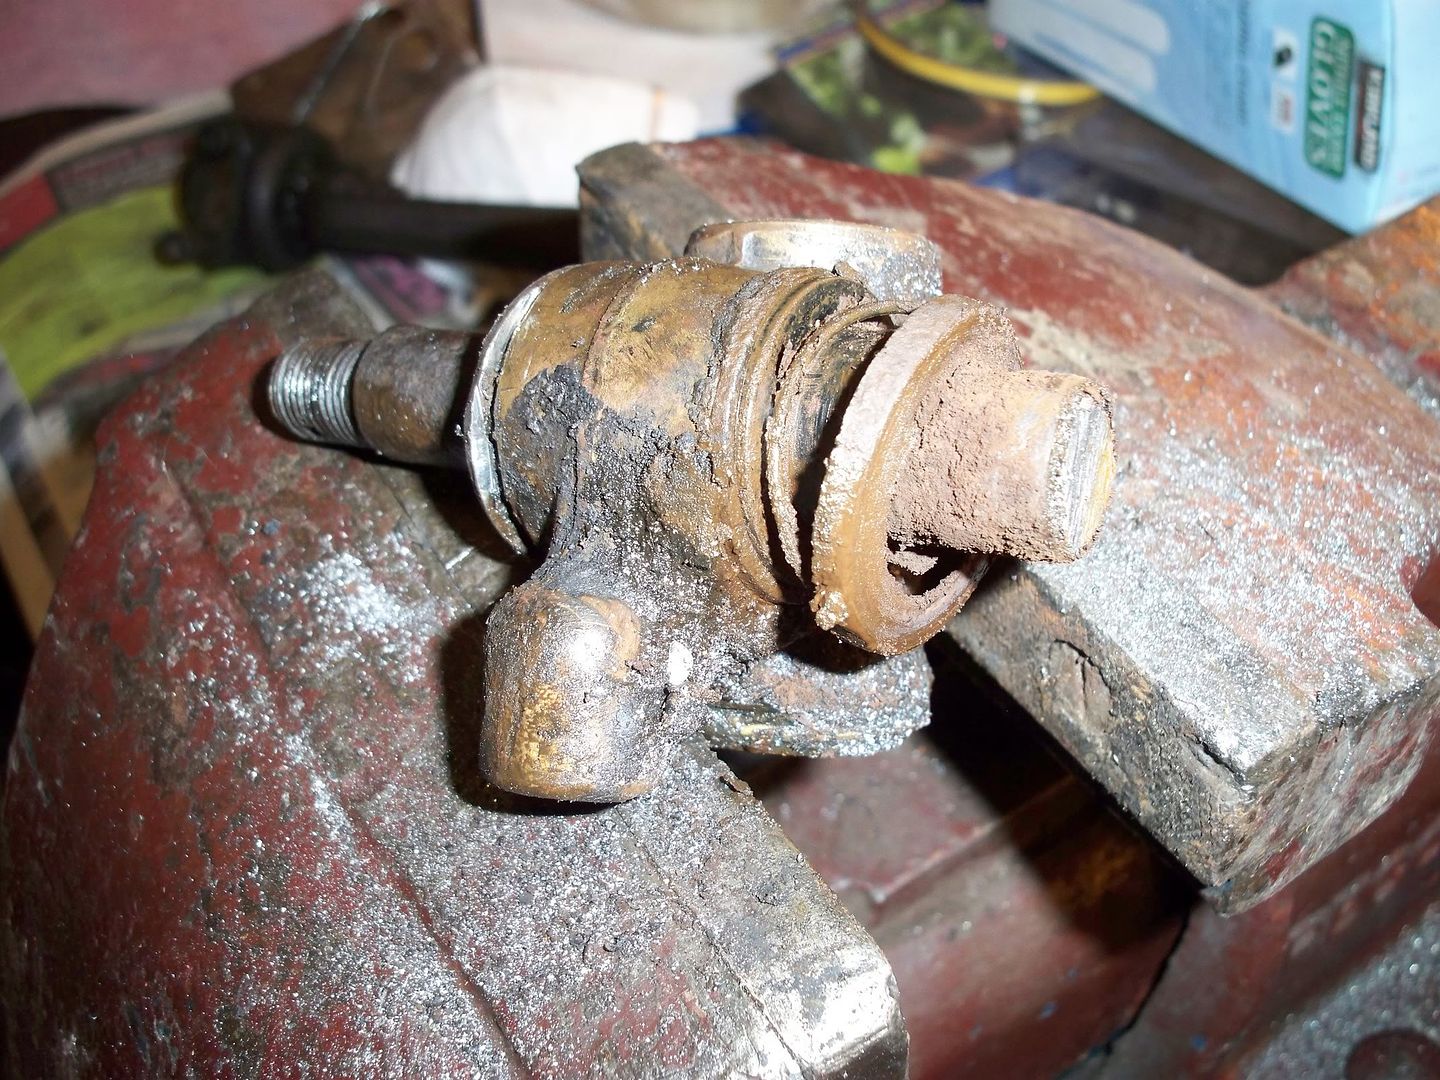
Got the trunnion castle nut off, and the bolt feels pretty tight in the trunnion - more to come on that later.
Pic just for the sake of it...
I also ended up nipping to halfords for some 6 sided sockets - I'd been meaning to buy them for ages, and typical they didn't have any in
. There's a B+Q next door though, so bought a rail of 1/2 inch drive sockets - 8mm to 19mm for 15 quid. Not sure how good the TorQ brand is, but for 15 quid we'll see.
Hopefully I'll get some more time in the garage tonight to crack on with it.
The other side should be a bit quicker as I know where I'm going now
More later...
Mike.
------------------------------------------------------------------------------------
Evening all -
Cheers Stuart, I'll put the greenstuff pads in I reckon
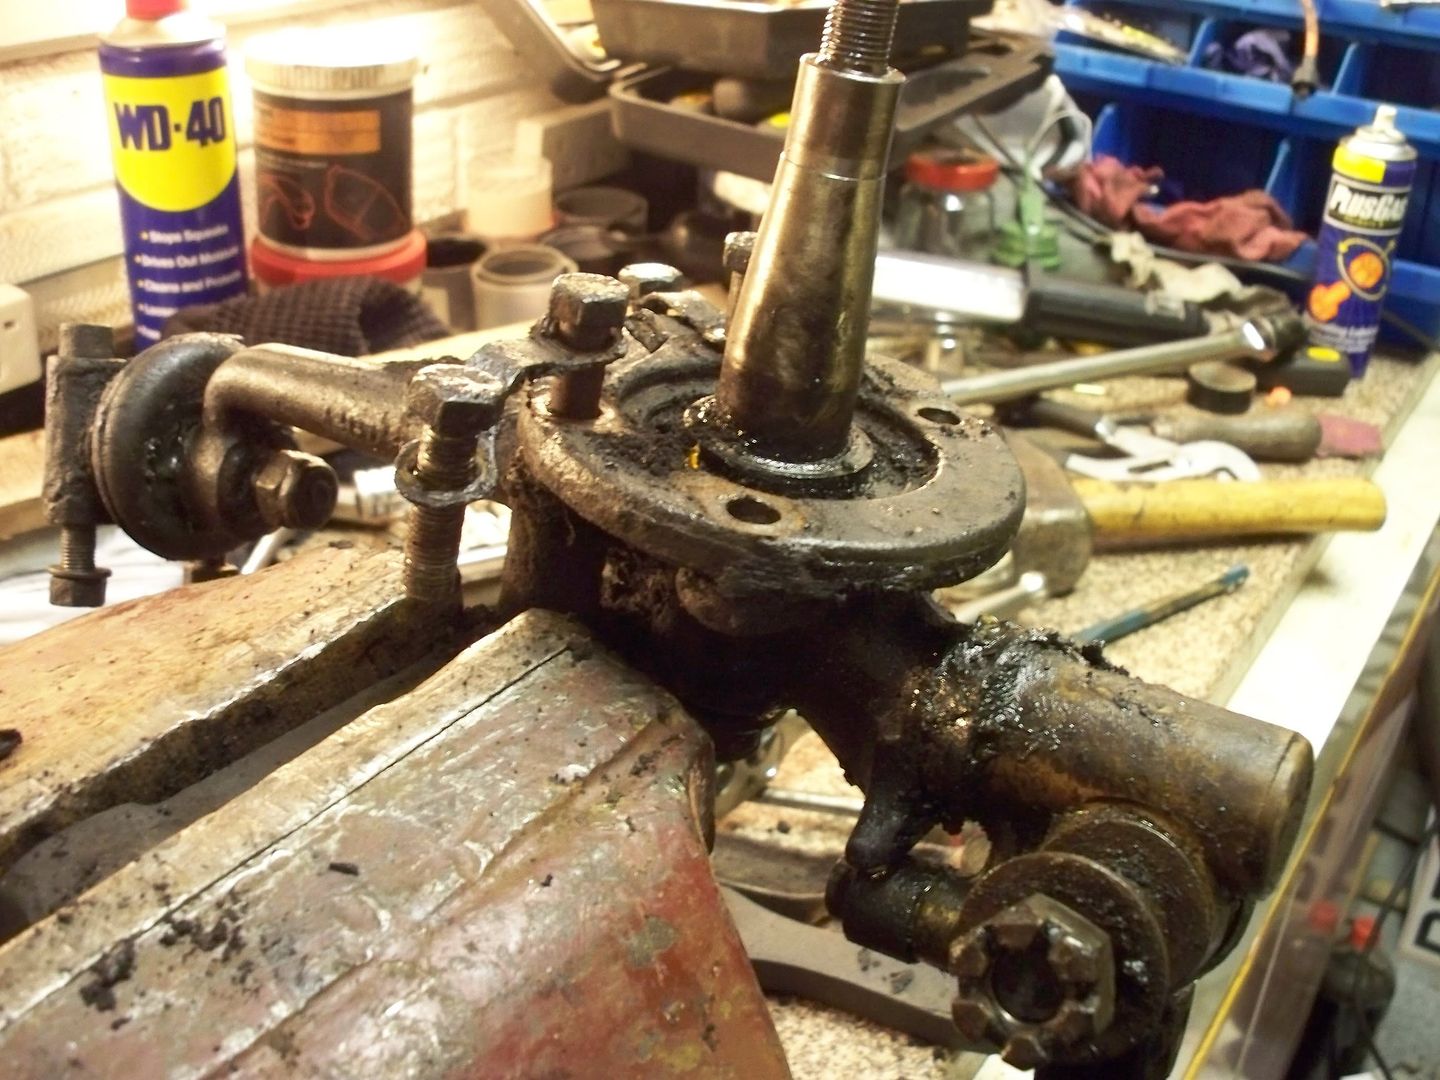
I've spent some more time stripping down the n/s suspension today.
I have a couple of issues tbh -
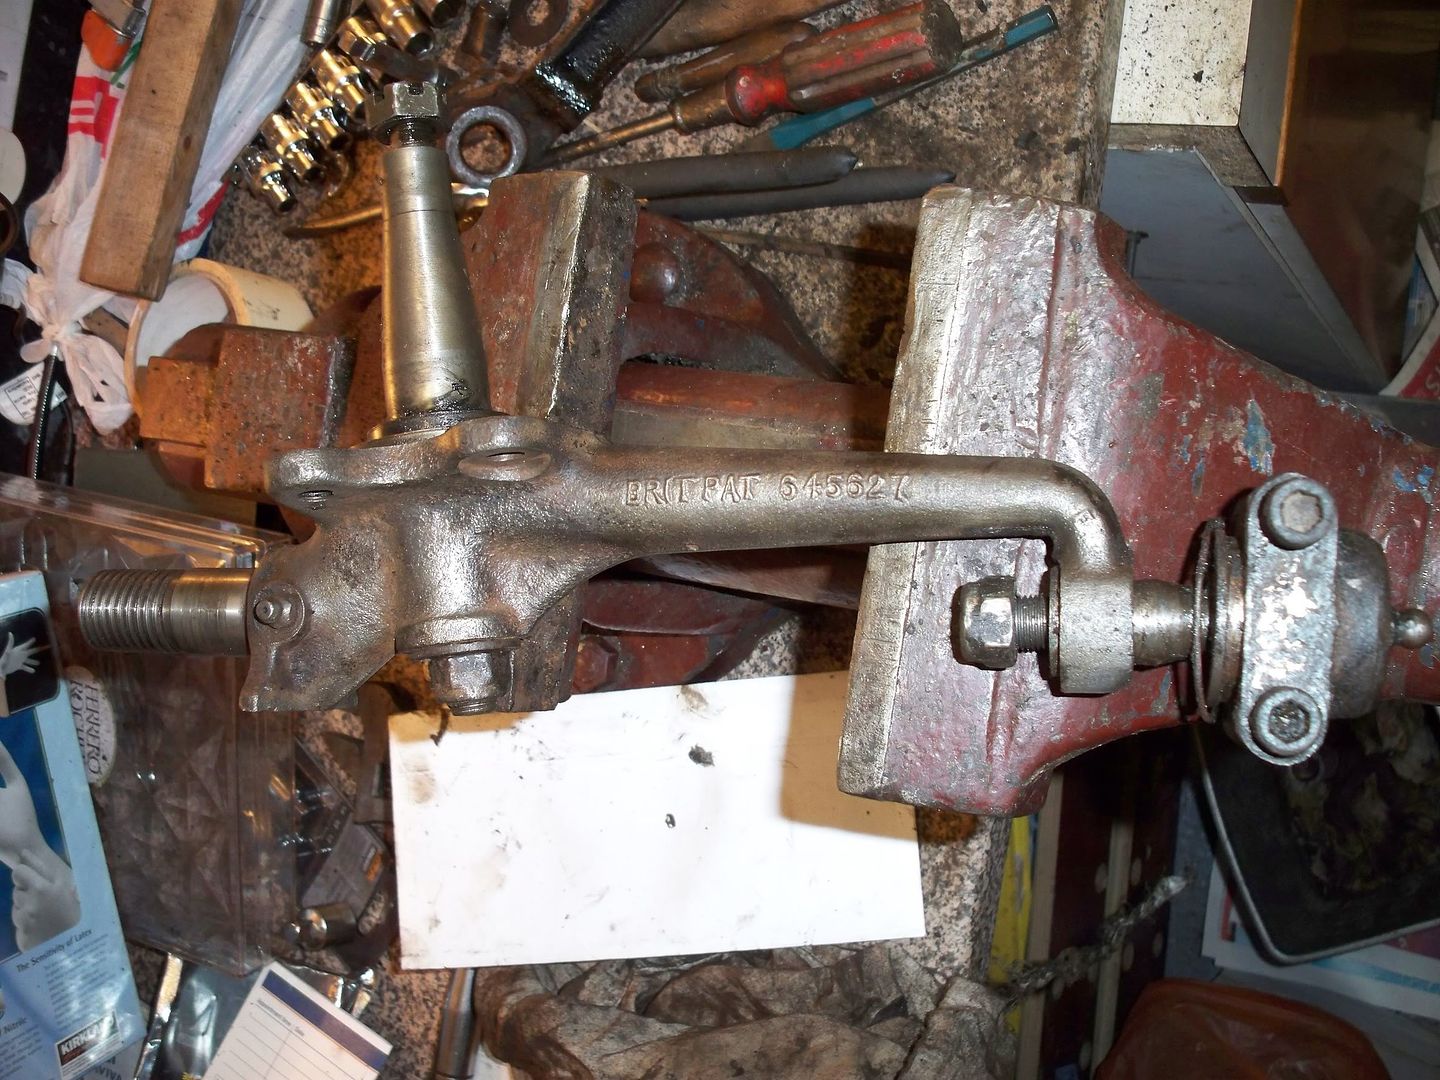
the first one being how do I get the bolt out of the trunnion?? I bet this has been asked a million times before, but it's not until you do the job yourself that you pay
real attention
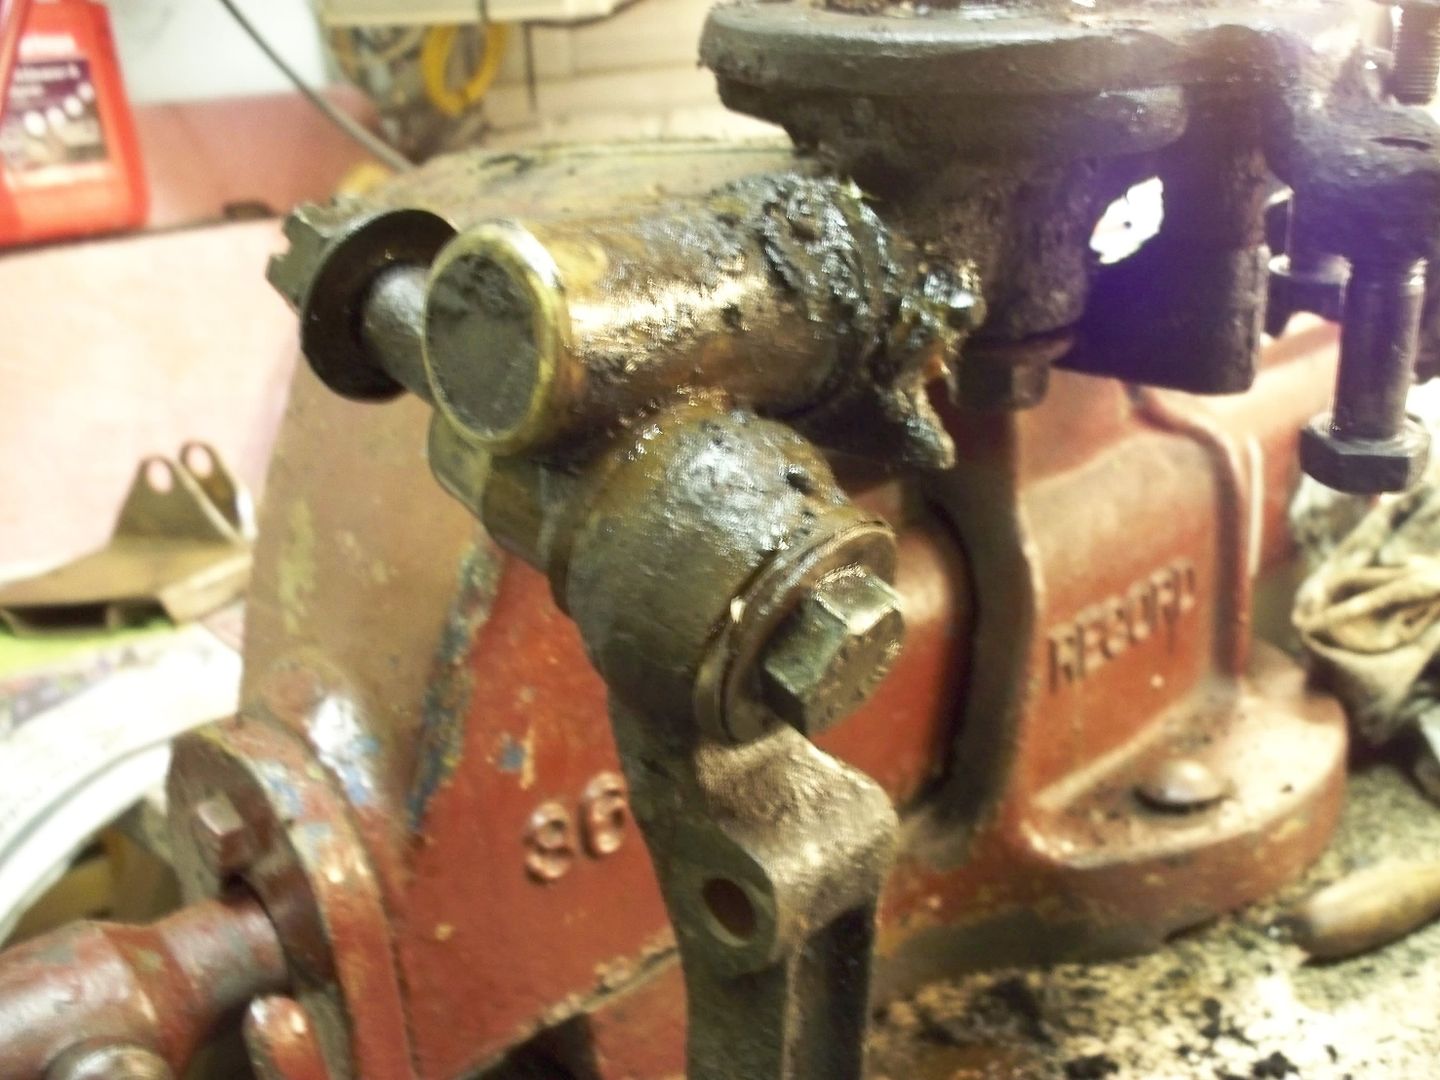
The second problem / question...
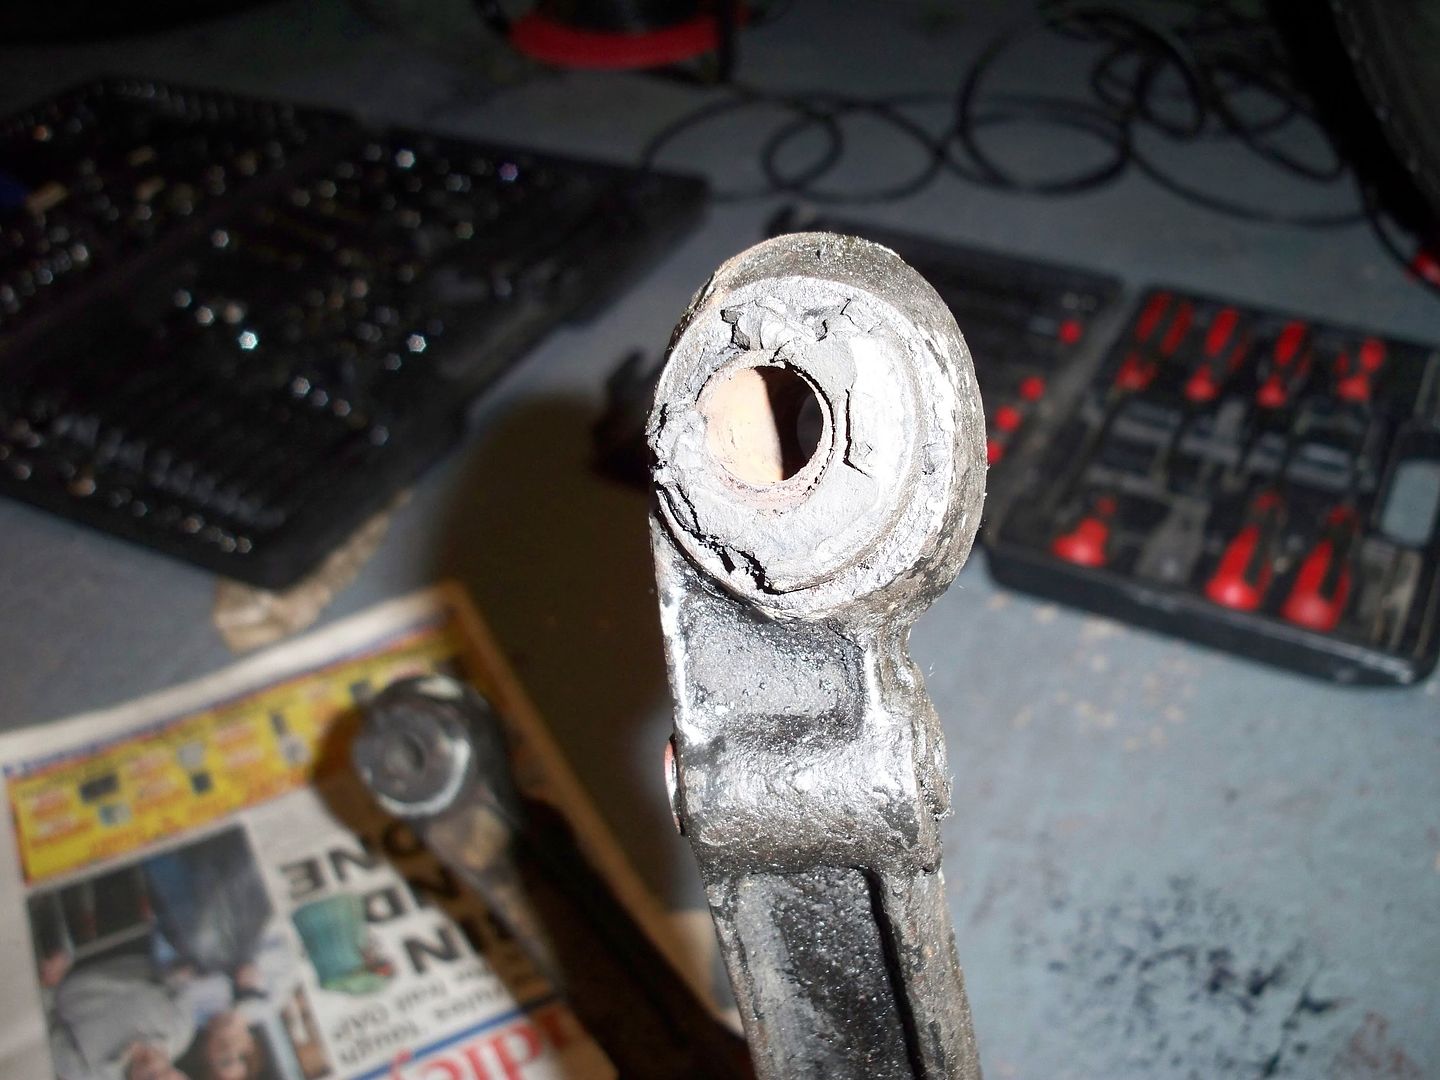
are the threads on these uprights past it?
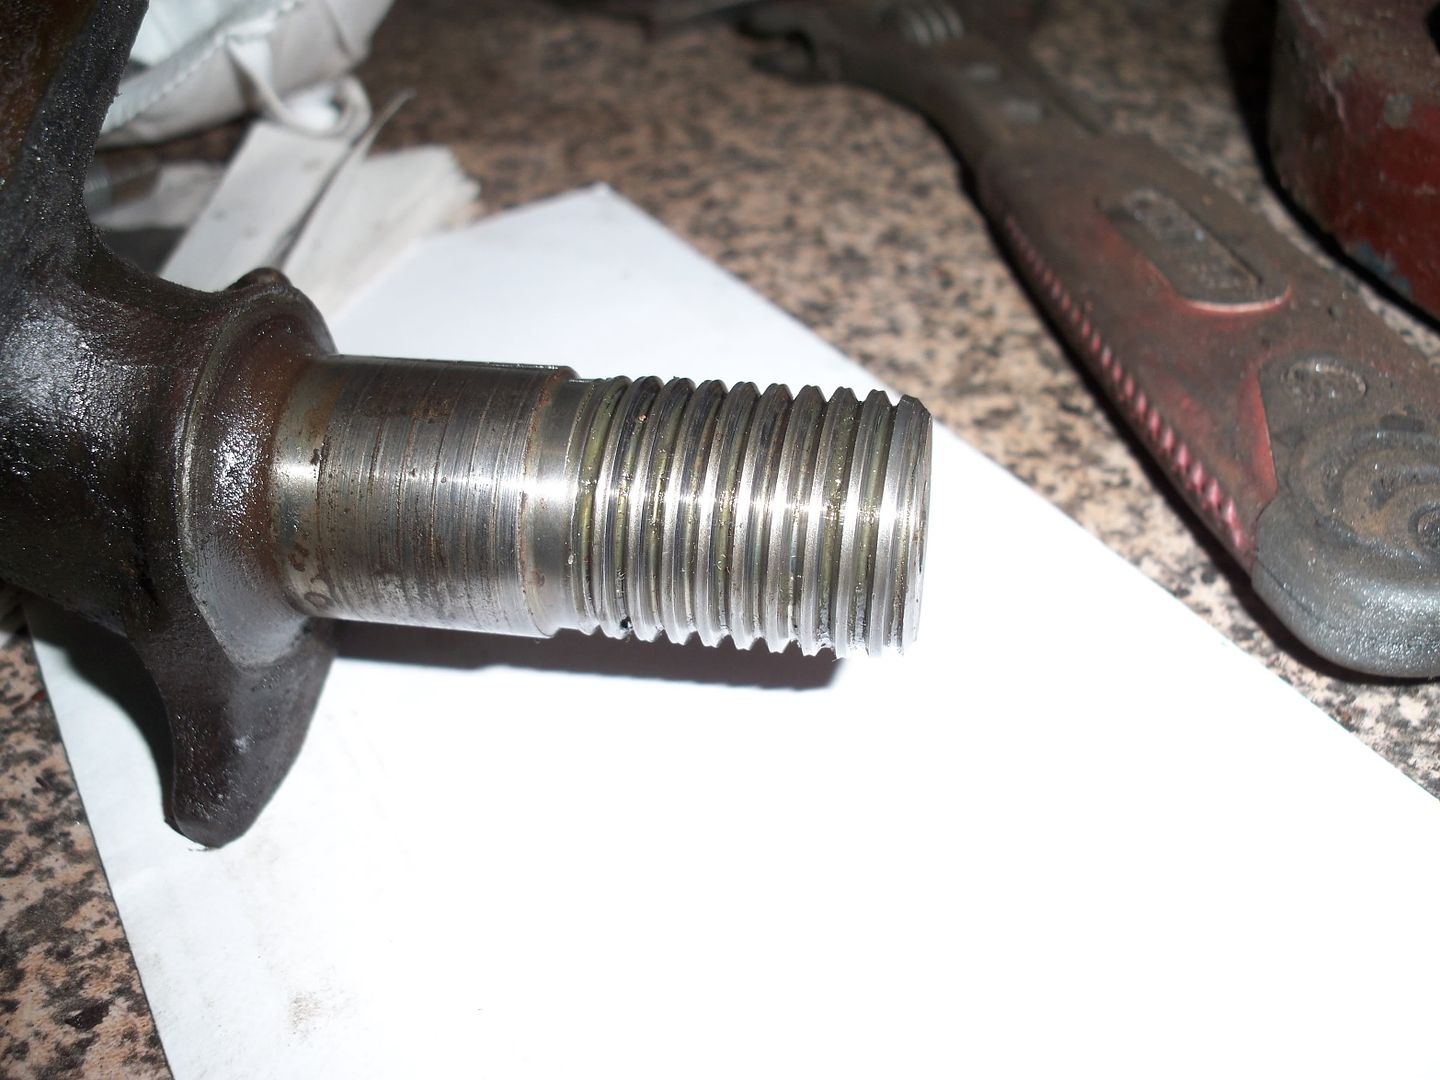
I seem to remember reading that if the threads were worn, then the uprights were fit for the bin... the edges of the thread are a bit flat, and if I bolt the trunnion in the vice, I can feel play if I wiggle the upright.
(I seem to have forgot pictures of that, but you get the idea
)
Anyway, here's a few other pics of what I got up to...
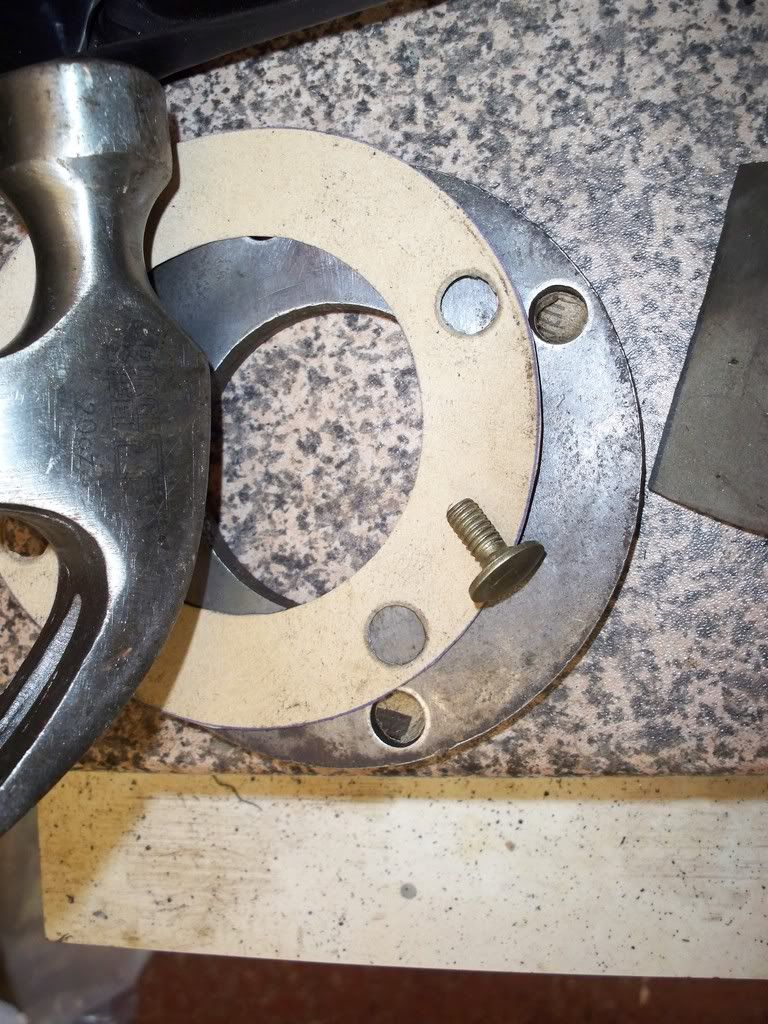
cleaned these up -
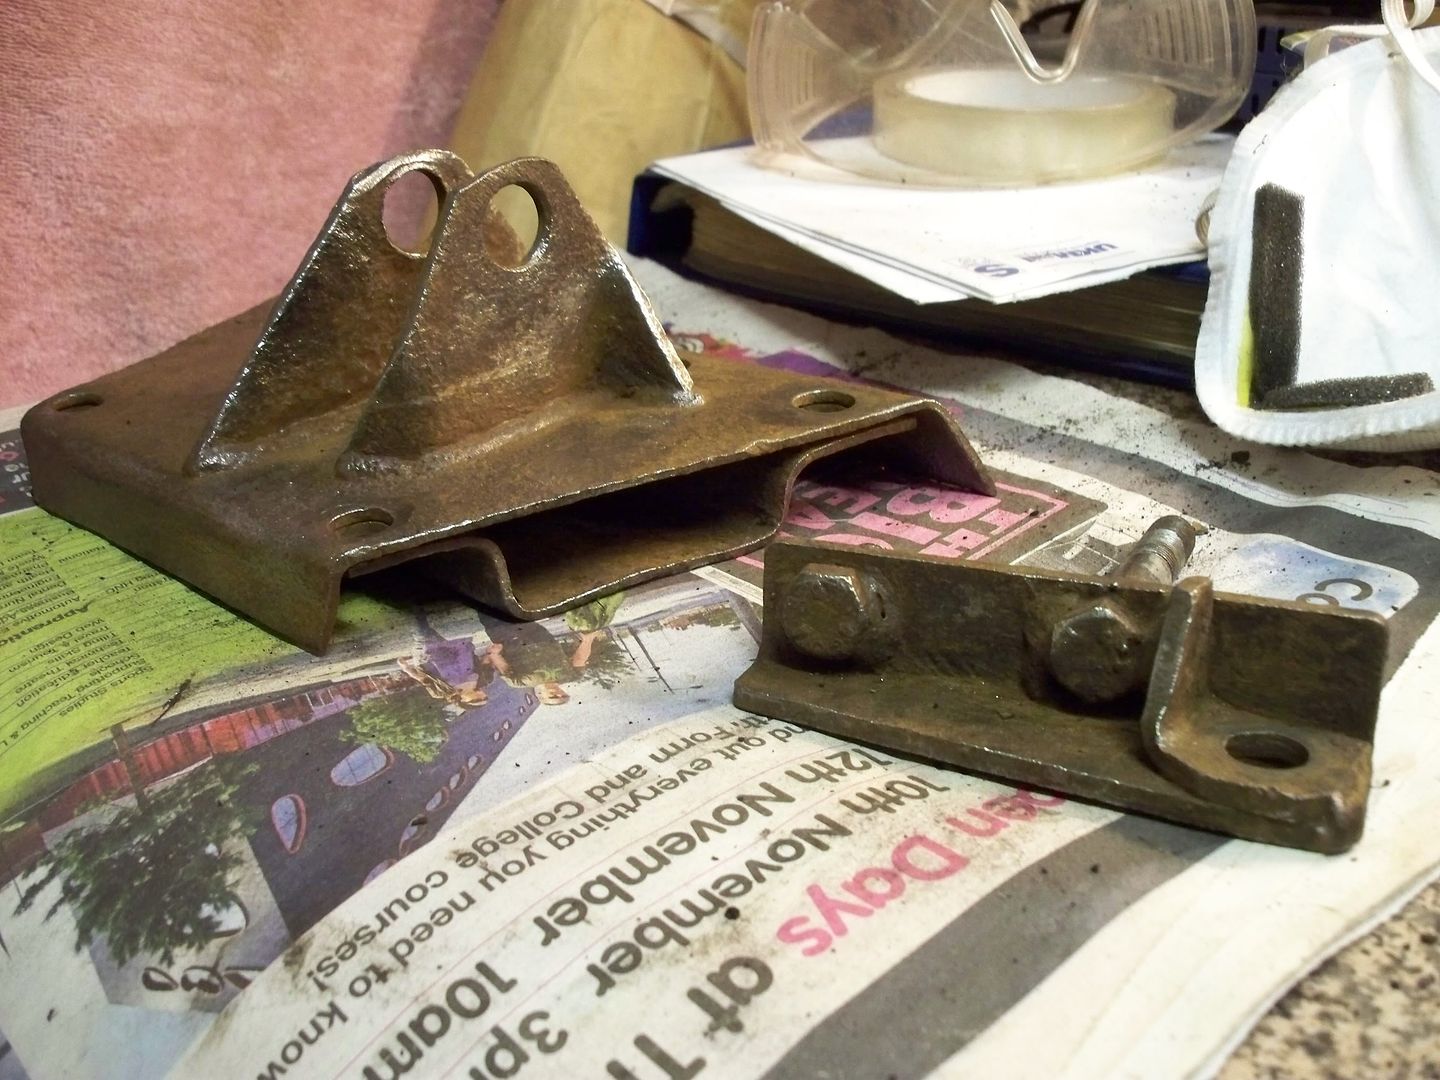
Are the clips in this pic which secure the bolts available? I reckon they're not much use after I prised them away from the bolt head
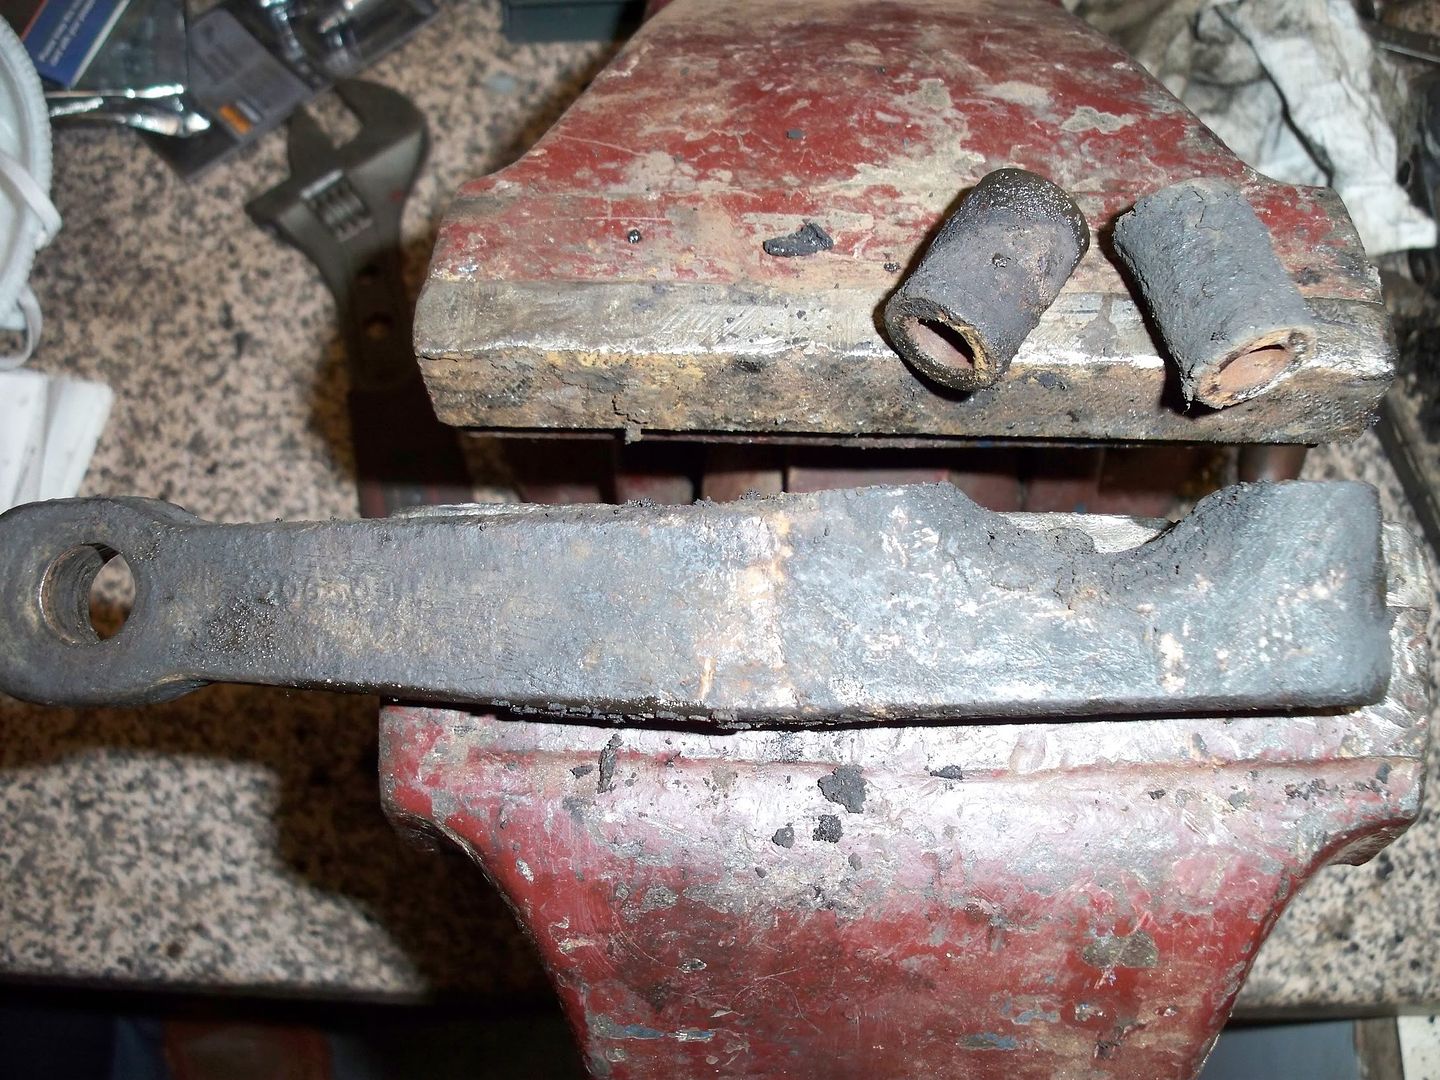
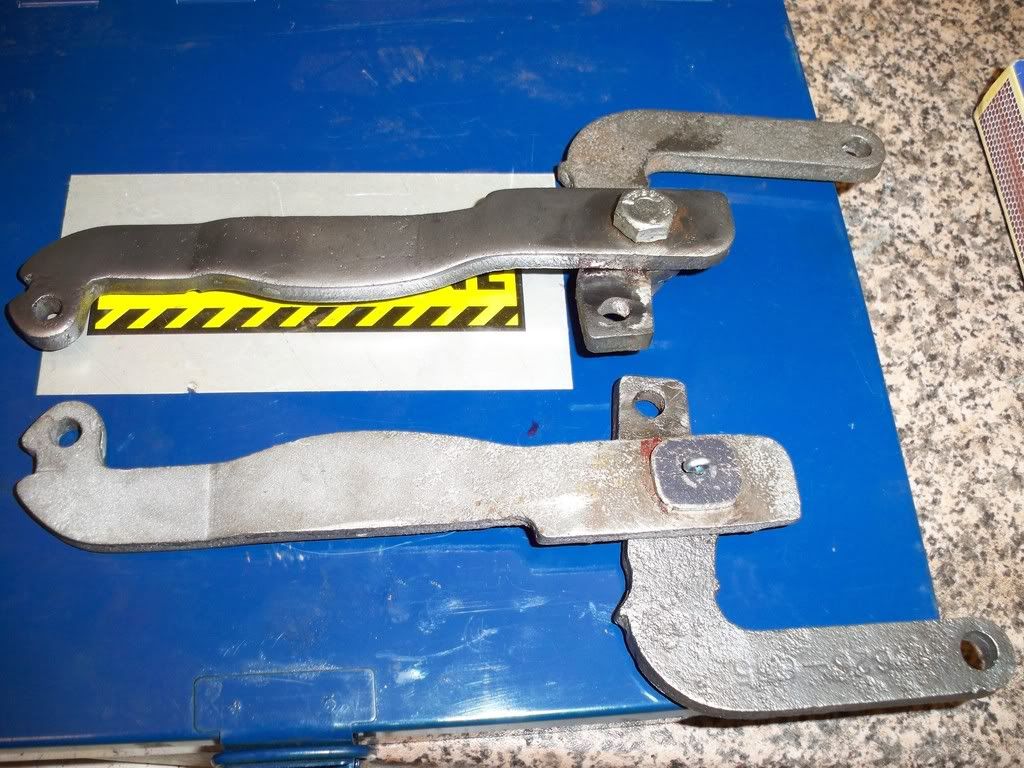
Steering arms -
Hope to get some time in the garage over the coming week, but work's hard at the moment, so motivation is low on weekdays
Cheers all,
Mike.
------------------------------------------------------------------------------------
Morning all -
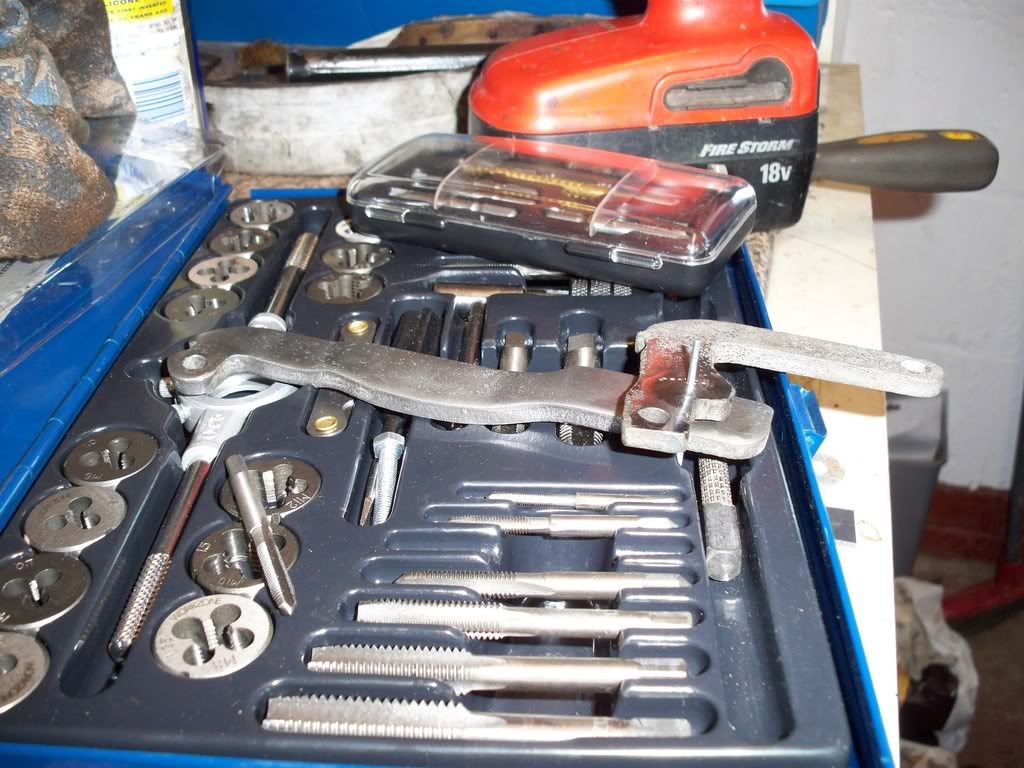
Thanks Franko - I might be sorted for the wishbone tap, as my mate Andy has said he should have one... but you cant beat having your own stuff with things like this
I didn't get time to put an update up when I came in last night - not much to say, but its here anyway...
Quick reference pic for orientation of lower wishbones (I'd hate to make the silly mistake of drilling the wrong side! :oops:
Mike 1, Trunnion nil :mrgreen:. The bolt it stuck tighter than a tight thing with tight trousers on - i'll bite the bullet and replace the trunnions rather than spend hours messing about.
The top hats were indeed plastic like you said Roger - very thin though, and pretty knackered all round -
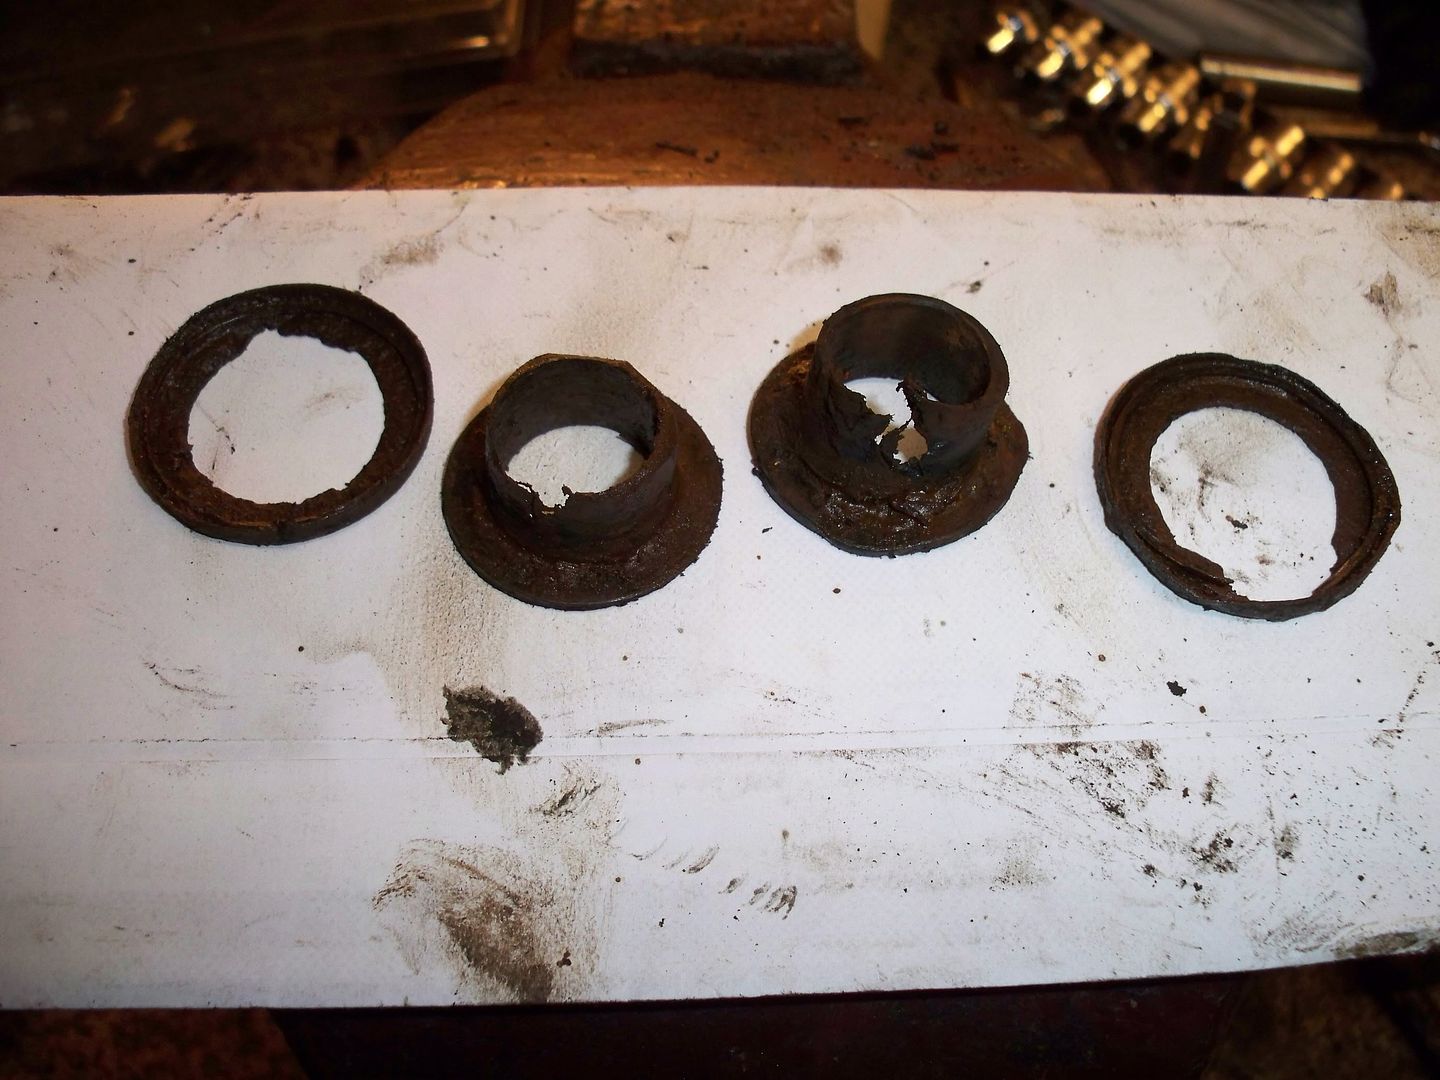
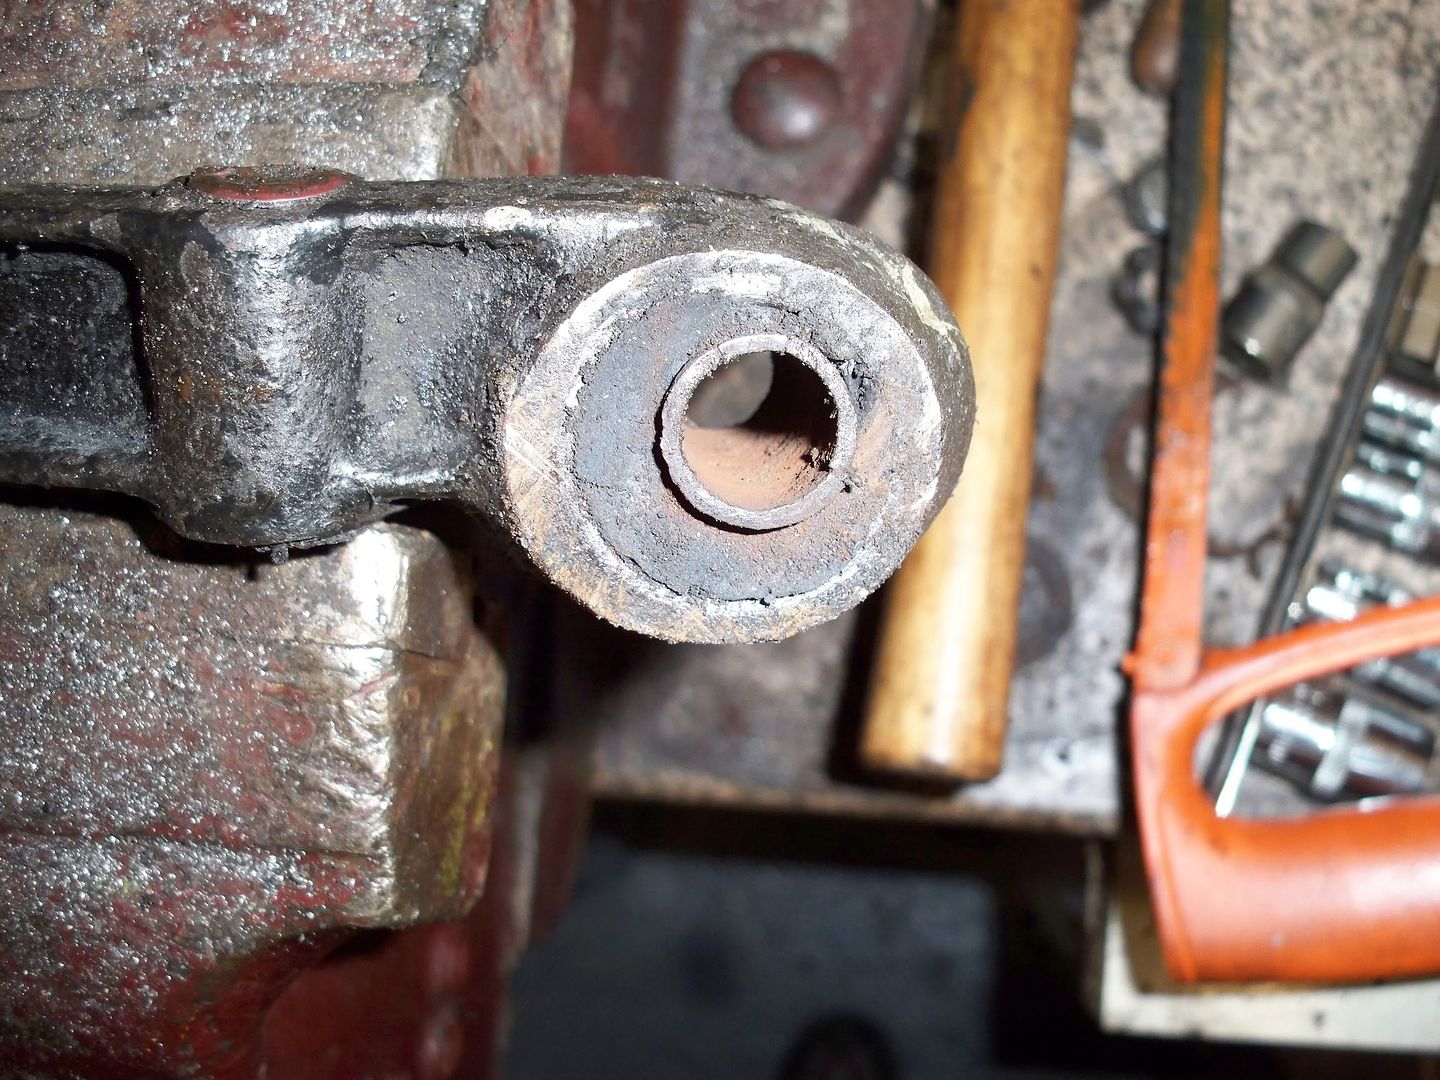
The bushes were pretty out of shape in the wishbones - I've got the metal insert out, and the rubber - is there another metal insert between the rubber and the wishbone? If it isn't, then the wishbone is in a bit of a state - I'm hoping they're the Metalastic type, like on the rear linkages.
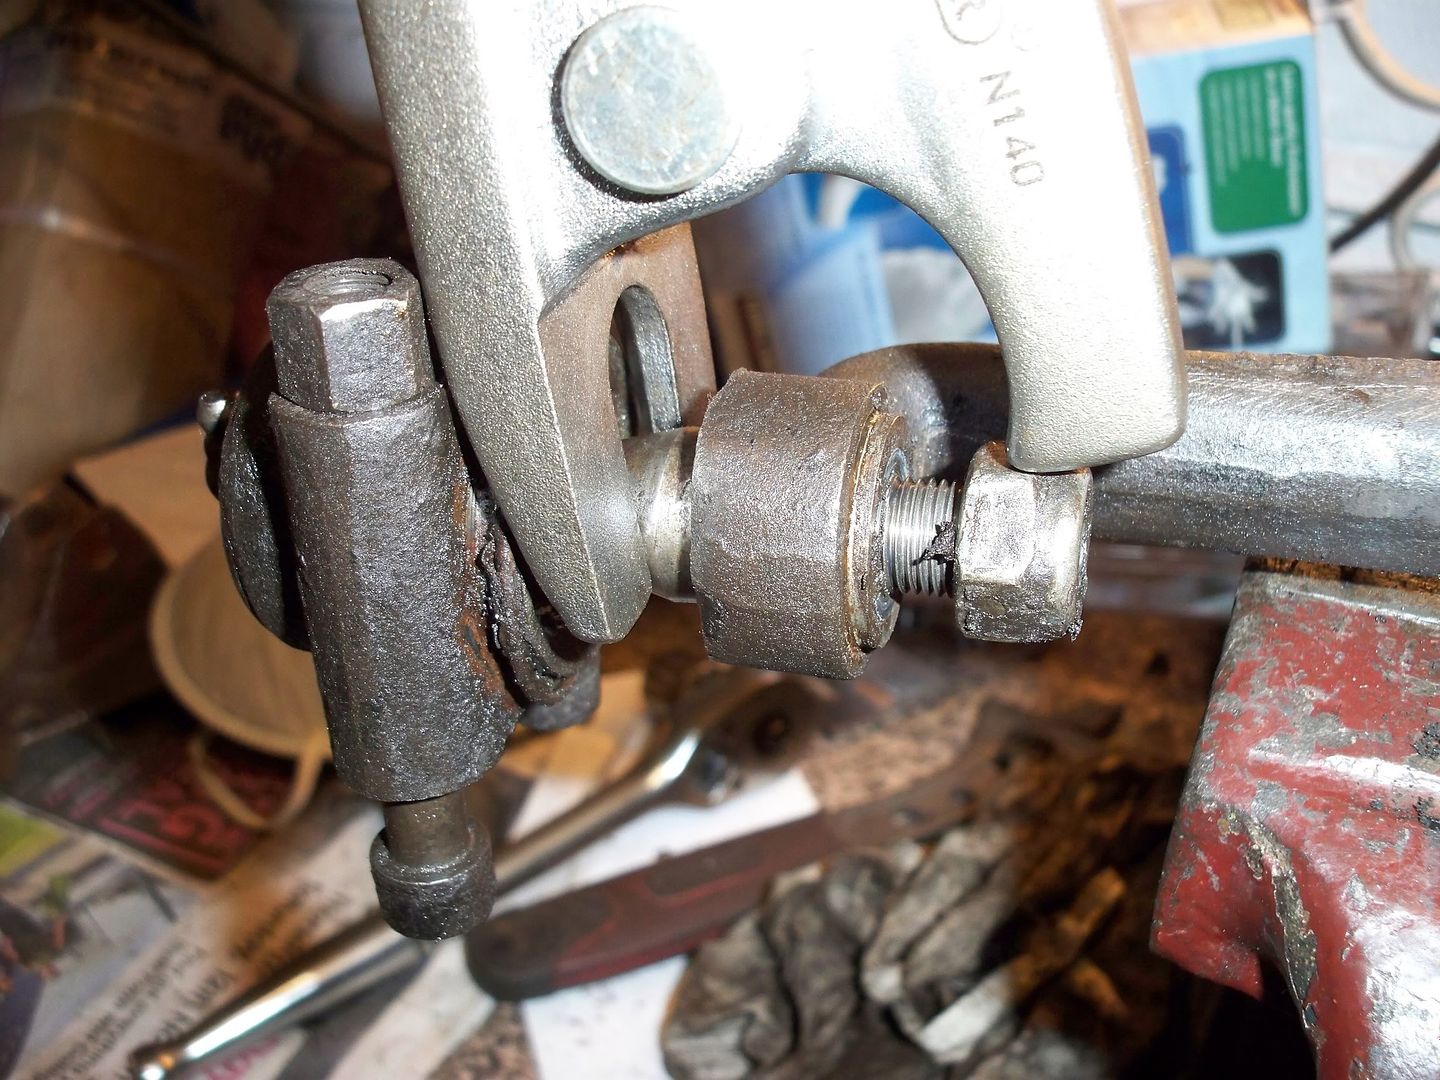
I tried to get the top balljoint off, but I can't see how you did this Steve using your ball joint splitter - the open end wont go over the ball joint side (unless I'm not understanding something simple
)
Finally, the last job I did was to clean this up, and add it to the 'clean pile'.
By this time it was getting too late to use the drill / wire brush, so I called it a night and went for a beer. If only I could get this much done every night, I'd have it done in no time.
Cheers,
Mike.
------------------------------------------------------------------------------------


 . At least I know where its gone wrong, but its like one step forward and one back. While my mate Andy was round with his torque wrnech, we also sorted the hub nuts - thanks mate.
 )
)


 )
)