|
|
|
|
|
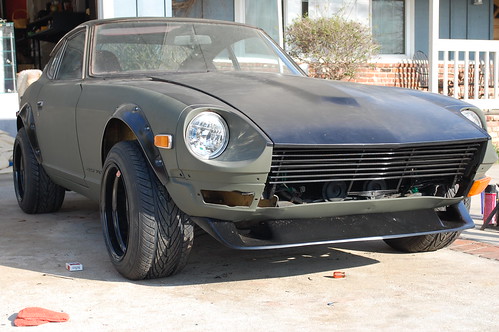
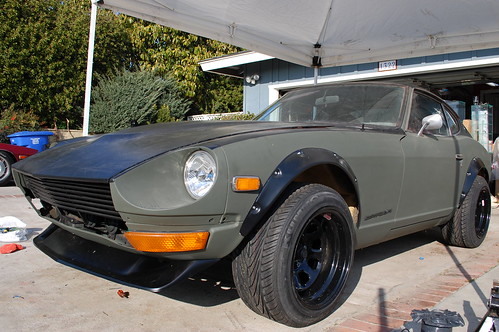
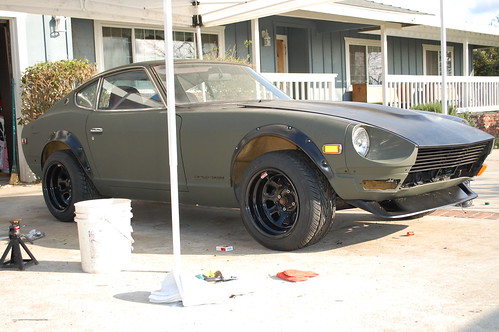
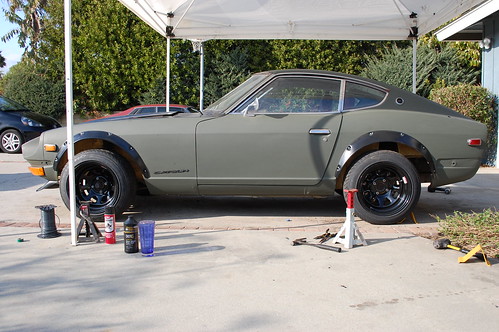
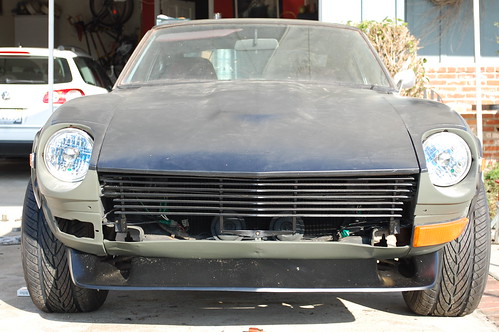
haven't done much to the car, but I figured it was time to give a bit of an update. I took the car out for a drive before it got painted and there was an issue once I started going up and down hills. My Initial thought was that my float was off and that I needed to set it; then I was told that i was shooting a stream of gasoline out of the rear of my car. since it has been on jacks and level there hasn't bit a drop of gas leak out of it, but today when I finally checked the damage this is what i found. note: the size of the hole did not change after i took it off of the tank.  seeing this, and the lack of wanting to buy an unneeded line, I decided to plug the hole and just remove my evaporator tank. It was a PITA due to me not wanting to drop the fuel tank, but all in all I made all the lines work and fit. After I took care of the Evap removal I set my floats, and am I ever glad I did because they were both well off... After the floats were set, I really wanted to paint my wheel wells. Here are the befores... 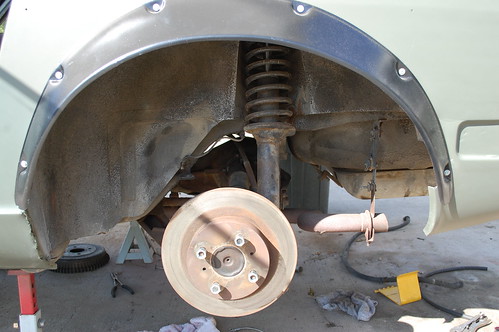  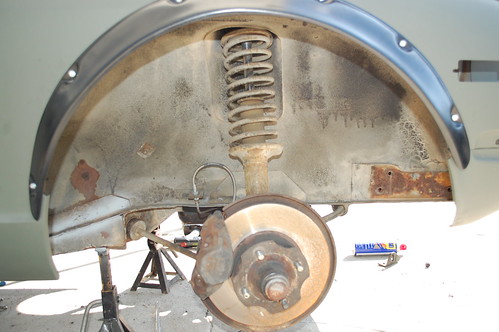 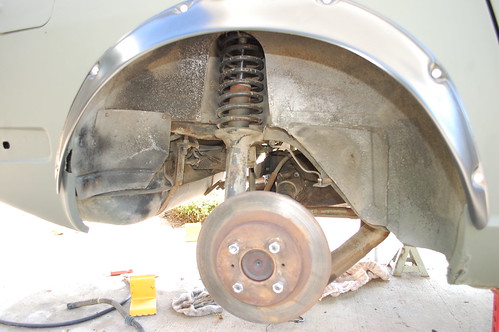 The most common color that I have seen used is either body color, or some form of black... I found a can. 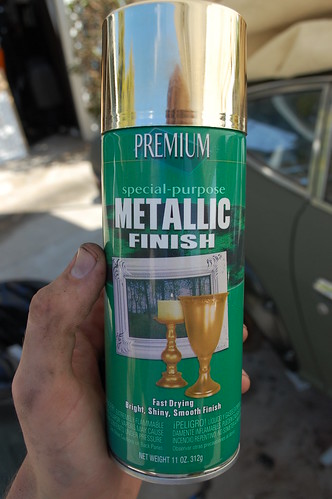 and this is what followed. 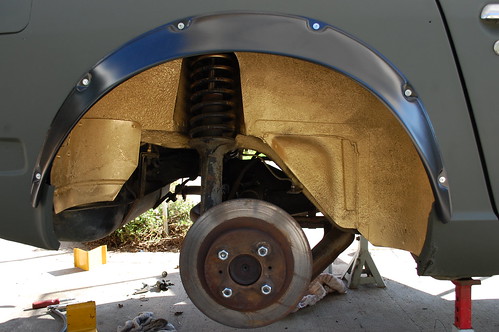 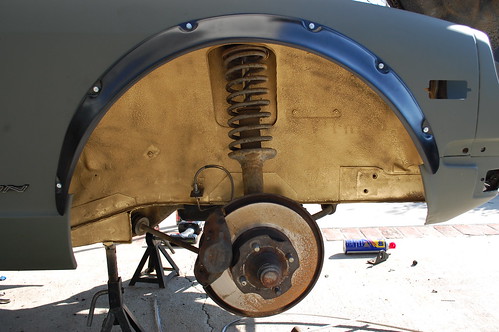 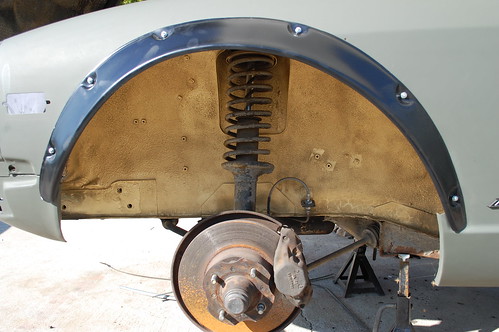 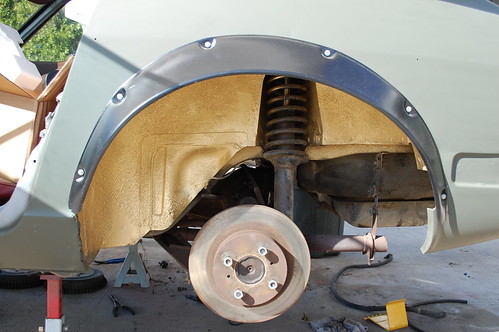 because after all there is no better color that matches ultra-flat deep forest green and satin black like metallic gold. And then my ebay headlights came in; some curse word bulbs in a glass front housing all for $20 shipped to my door! 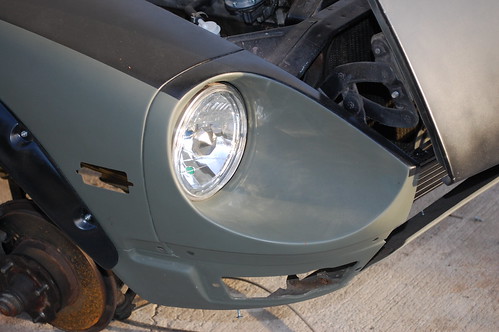  and as much I hate seeing yellow glass on the road... I really think they would look smashing with my color scheme; for now though, I will stick with these. I'll get my 240sx caliper brackets in on the 2nd of march, and I'll post some updates shortly after that! |
| |
|
|
|
|
|
|
|
Feb 26, 2010 15:18:18 GMT
|
|
Yes! The gold arches look deadly! Ha!
|
| |
Club Retro Rides Member
|
|
|
|
|
Feb 26, 2010 18:14:06 GMT
|
Yes! The gold arches look deadly! Ha! Genius! Although would be pretty pointless in the UK with all the cr*p on the roads here. |
| |
|
|
carmad
Posted a lot

Posts: 2,000
|
|
Feb 26, 2010 18:27:35 GMT
|
i dunno what to say gold inner arches  |
| |
|
|
nugget
Part of things
Posts: 840
|
|
Feb 26, 2010 21:55:10 GMT
|
Legend! LOL repost this on the MG owners club forum, it'll catch on |
| |
|
|
|
|
|
Feb 26, 2010 22:32:31 GMT
|
|
fasntast! post the link of the thread, I am curious what they have to say about it.
|
| |
|
|
will
Posted a lot
Posts: 4,023
|
|
Feb 26, 2010 23:12:49 GMT
|
Lovin the paint  |
| |
|
|
Sven
Part of things
Posts: 341
|
|
Feb 27, 2010 20:31:14 GMT
|
|
Mighty!
|
| |
1969 Chevrolet 4x4 C10 Pickup
1969 VW extended cab pickup (doka)
1980 Volvo 240DL
1995 Mazda Miata MX-5
2007 Toyota FJ Cruiser
2007 Dodge Ram 2500 Cummins Diesel
2011 MK Indy R (building)
|
|
|
|
|
Feb 27, 2010 20:57:47 GMT
|
|
I've gotta give it to you; That colour combination is pure brilliance! It's a feat to get a car with golden inner arches to look classy rather than tacky! Can't wait to see it finished.
Bookmarked ;D
|
| |
Last Edit: Feb 27, 2010 21:12:55 GMT by skidracer
1968 Gilbern Genie
1969 Lincoln Continental MK3
1974 Datsun Cherry 100A
1979 Ford Mustang 2.3 Twincam
1987 Toyota MR2
1991 Eunos Roadster V-spec
1994 Toyota Supra SZ
|
|
carmad
Posted a lot
Posts: 2,000
|
|
|
|
|
|
| |
|
|
|
|
tofu
Part of things
Posts: 25
|
|
Feb 28, 2010 14:59:01 GMT
|
|
this is looking fantastic... that colour scheme looks the nuts
|
| |
|
|
|
|
|
Feb 28, 2010 16:13:31 GMT
|
Coming together well. Those lights really work quite nicely |
| |
...proper medallion man chest wig motoring. |
|
|
|
|
|
|
I was able to get some free power with an L28 (n42 & n47), thanks to a guy on hybridz; so I will be in the process of transferring what I need from my spare engine onto it. On a build note, my MM 240sx brake calipers came in and to my surprise they match my wheel wells! 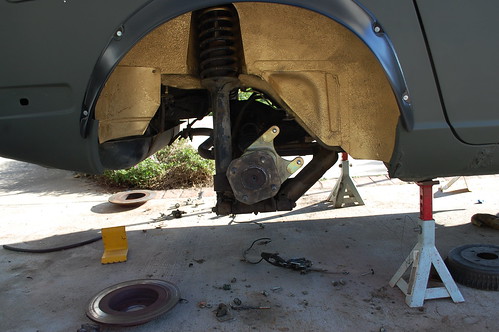 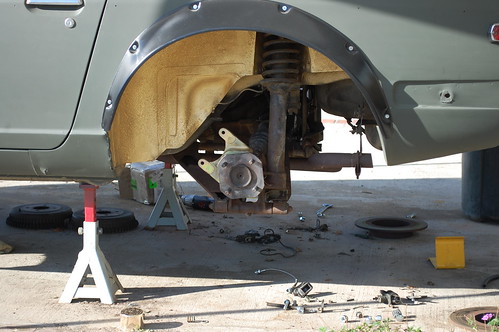 Then after a few cigarettes, a trip to the dump, and an engine/tranny dismantle I finally got the rear brakes installed! 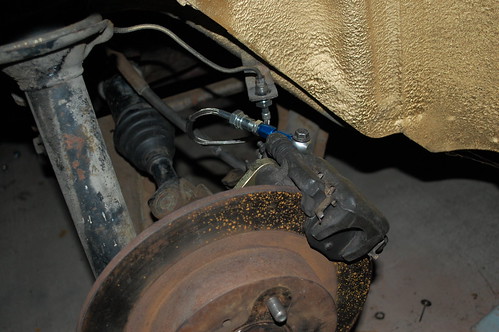 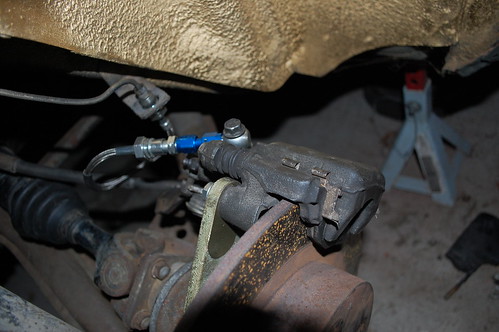 while it isnt the prettiest of brake connections it will work. in order for it to work I had to grind off the tab that aligns the stock banjo. Tomorrow I will get them bled, and then the first shots of the car on the ground with the 15x10s. Then I play the waiting game, probably till thursday, when my carburetor kit comes in and hopefully get the L24 running while I have fun with the L28. --Those guys over on the MG forum didn't seem to like me so much guess it just didn't hit them that the whole point of having a build thread is to show off what you can do. After all cars are toys; why not just have fun with them. |
| |
|
|
|
|
|
|
|
Never mind them man, you're a legend to the rest of us! Looking forward to seeing this on the wheels and on the ground. You'll have to get a video up when its running again. Excuse my Datsun engine ignorance but what were you able to get fromt he other engine? |
| |
Club Retro Rides Member
|
|
|
|
|
|
|
there is a marginal 10hp difference from the L28 to the L24, but I picked it up because i think my engine will go soon and I like the idea of a back up. If i really wanted power I would talk to my neighbor who has a stroker 350 v8 sitting in his garage that was meant for his stock car. but that idea will come after i get a welder |
| |
|
|
|
|
|
|
|
Ah right, always good to have a back up alright. If I really wanted power I would talk to my neighbor who has a stroker 350 v8 sitting in his garage that was meant for his stock car. but that idea will come after I get a welder That's the spirit! |
| |
Club Retro Rides Member
|
|
|
|
|
|
|
So now for the next bit of building... After the brakes were bled it came time for me to intall the e-brake cables onto the brakes themselves. now while Modern Motorsport sells a bracket with cleavis bolts and cotter pins for $30, I knew that I would be able to get the job done for significantly cheaper. And I was able to do just that, total cost = $0 here is where the e-brakes lines sit in comparison to the caliper 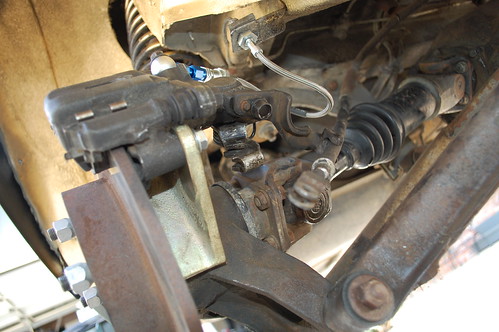 started with the idea of using a bracket that came off of the drum brakes, but it turned out that the holes were too close together and I don't have the right tools to make the holes longer. So then I looked around for what I had, and then found some Plumbers Tape. 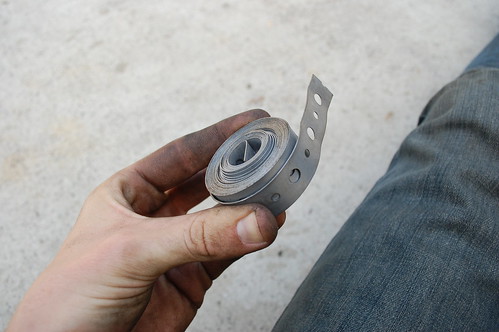 folded it twice and cut. 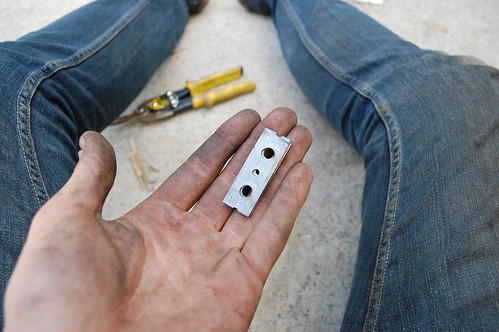 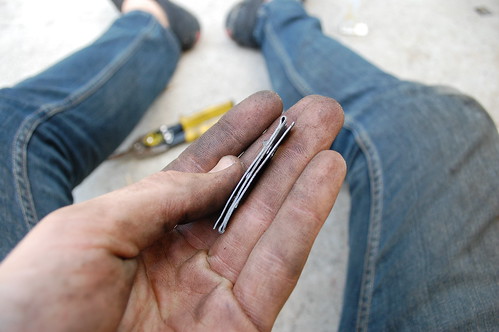 and sure enough the spacing for the larger hole was the perfect distance between the e-brake line and the caliper bracket. just to show you the actual thickness of the bracket, here is it compared to the modified bracket that I was going to use. 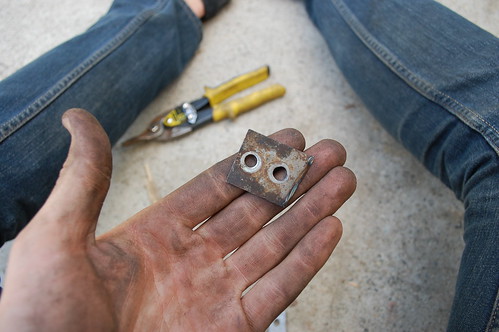 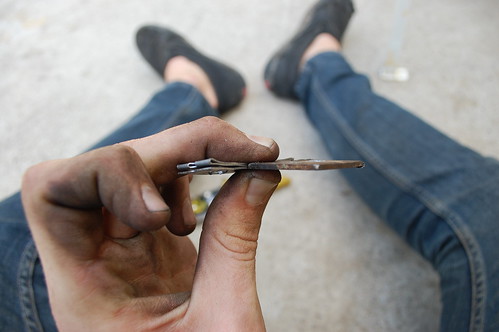 here is the test install, I say test because these bolts will be replaced with some clevis bolts and cotter pins when I head to the hardware store tomorrow; which will bring the total cost to about $5usd 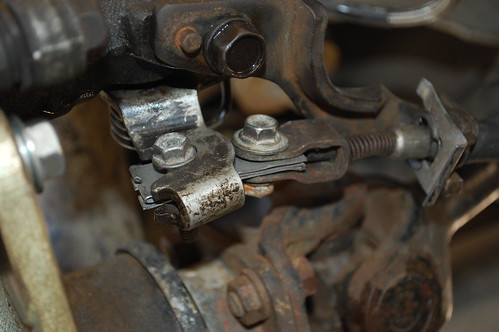 oh and to get the e-brake line to stay in the 240sx e-brake bracket I swaped the brackets on the calipers so that they would have a near perfect angle to the caliper itself, and then used two 7/16" spring washers and an extra brake line holder thing. and by the way, that line is not moving anytime soon. In order to get the e-brake lines to have less slack, and significantly less rubbage on the drive-axle, I crossed the lines above the differential and viola! With some slight change of location to the sping that holds them up and out of the way the stock e-brake lines are now in the perfect length. I will add a clip here and there to remove all of the rub tomorrow. 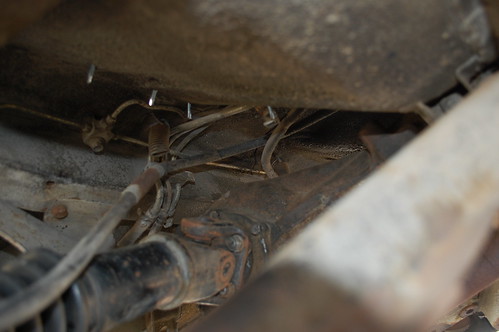 |
| |
|
|
|
|
Stu
Posted a lot
Posts: 2,913
|
|
|
|
Welcome back, love the new project!  |
| |
'89 BMW E30 325i Sport, '04 MINI Cooper S, '09 Volvo V70 D5
|
|
|
|
|
|