Ok so this is my project thread copied from another forum, it's a combination of all the updates I made as I was doing it so it's rather long.
January 2010
Well considering how utterly curse word the weather is, I can't do a damn thing on the car so it's stuck. in bits. un-drivable.
That being said, I need to cheer myself up and remind myself what work I've managed to do during the brief dry spells.
I figured I may as well make a journal seeing as it’s become more of a project than I first anticipated.
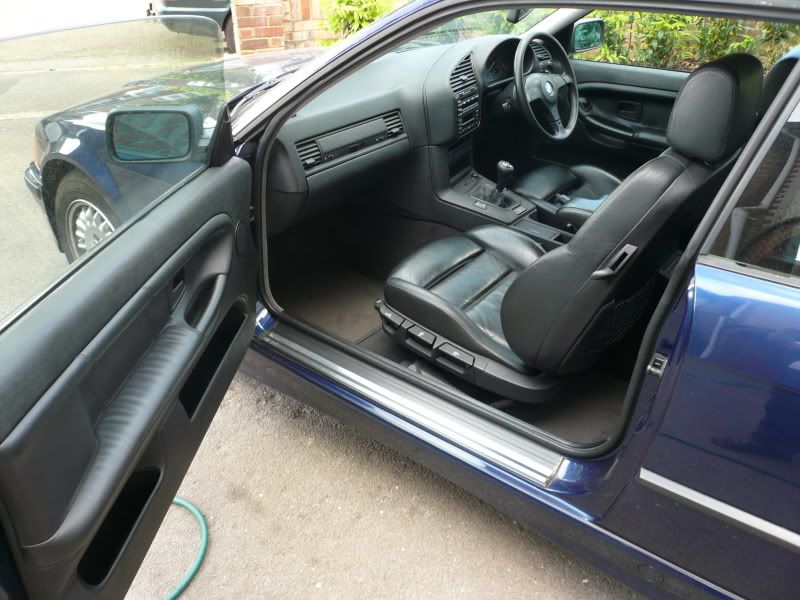
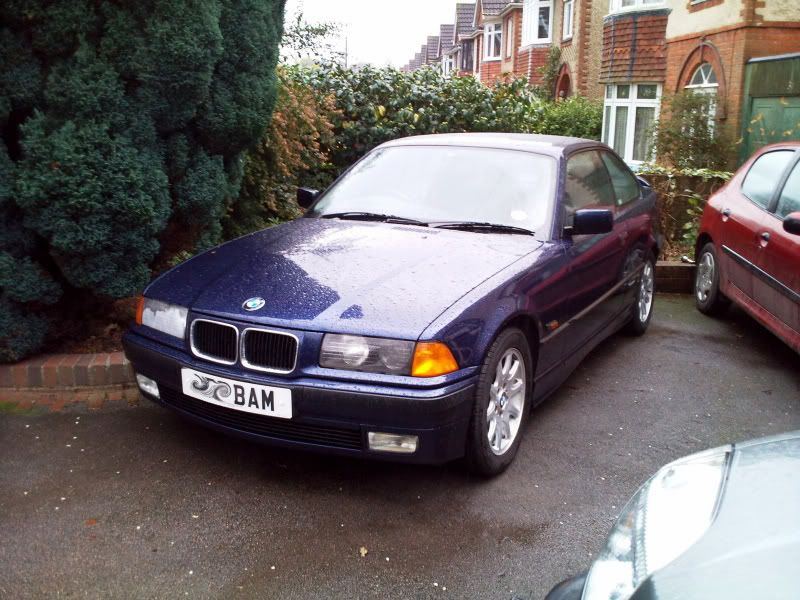
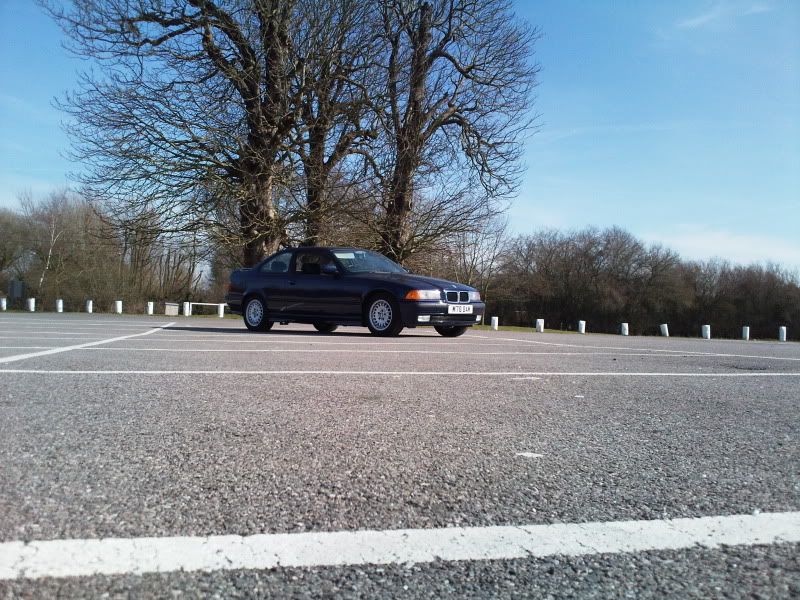
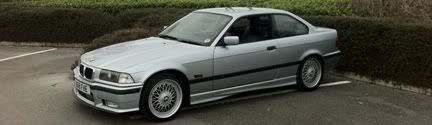
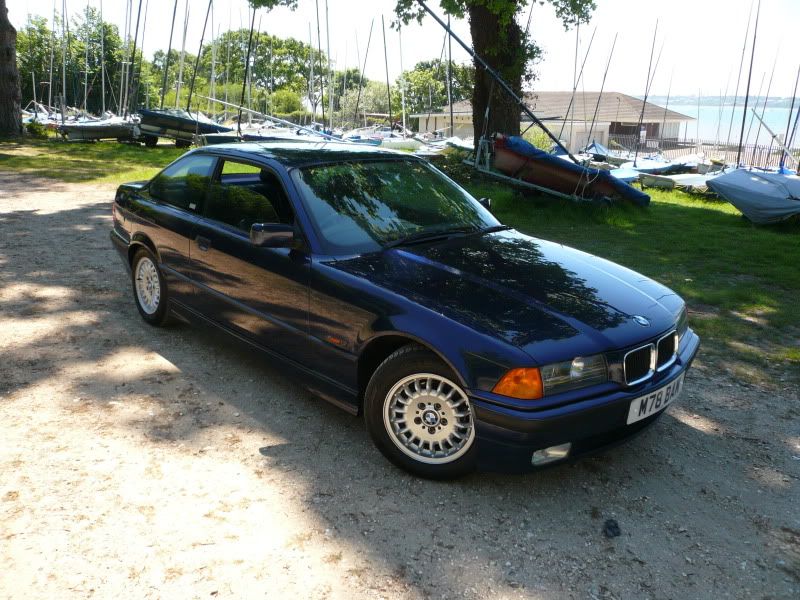
A little bit of background; I spent what felt like an eternity looking for my ideal 328i Sport but couldn’t find any that were up to scratch, at the same time I half heartedly looked for 325i coupes but still couldn’t really find anything. With the market the way it is and the time of year not helping I put the search on hold and then sods law found a 325i coupe on this very forum. I figured it was worth a look and eventually bought it; I knew it needed a few things doing but as with most 14 year old cars I found a few more niggles in the first few days of owning/driving it.
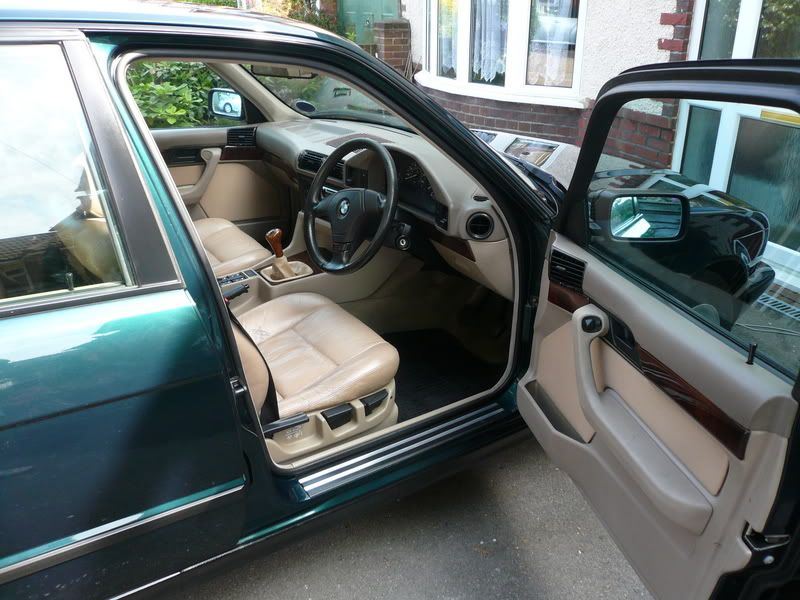
I don’t have that many pictures as I was too busy working on it but there are a couple.
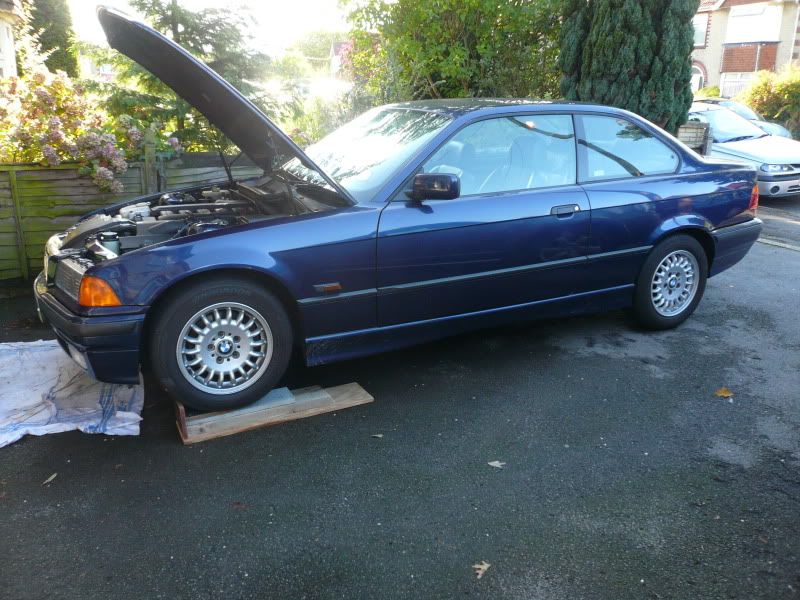
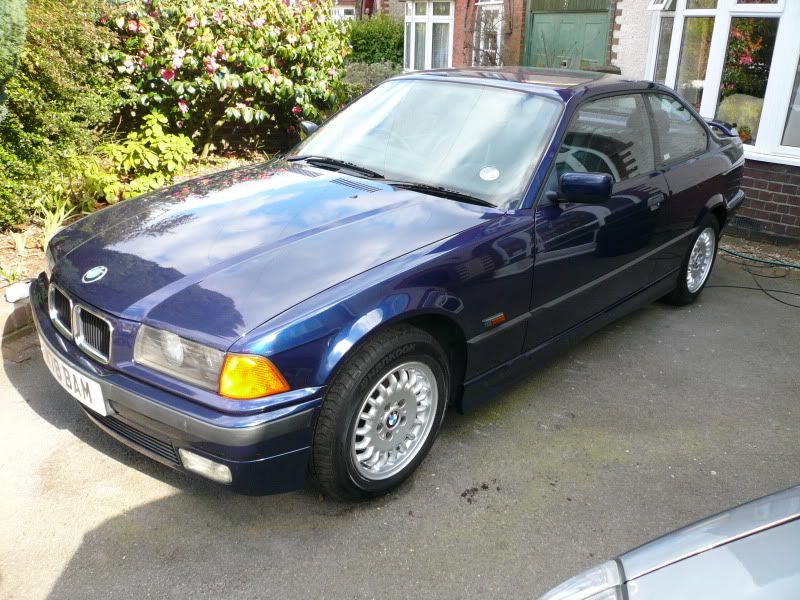
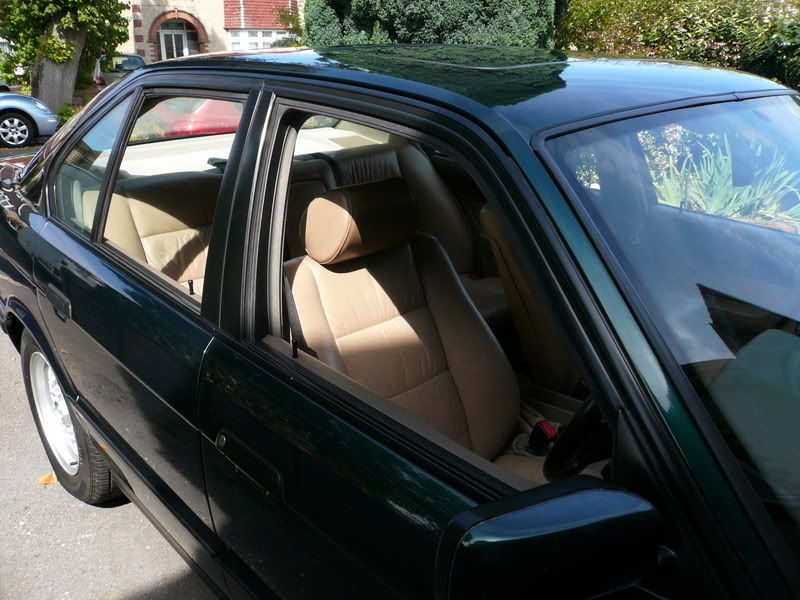
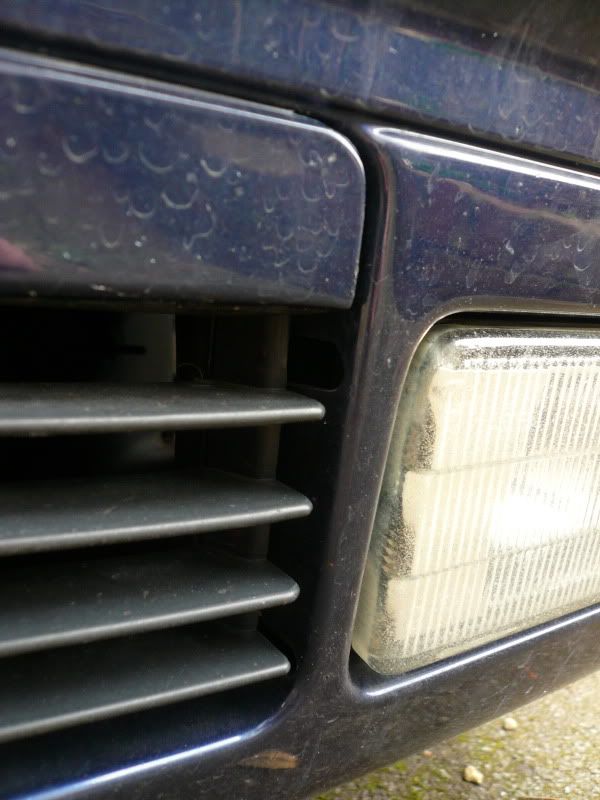
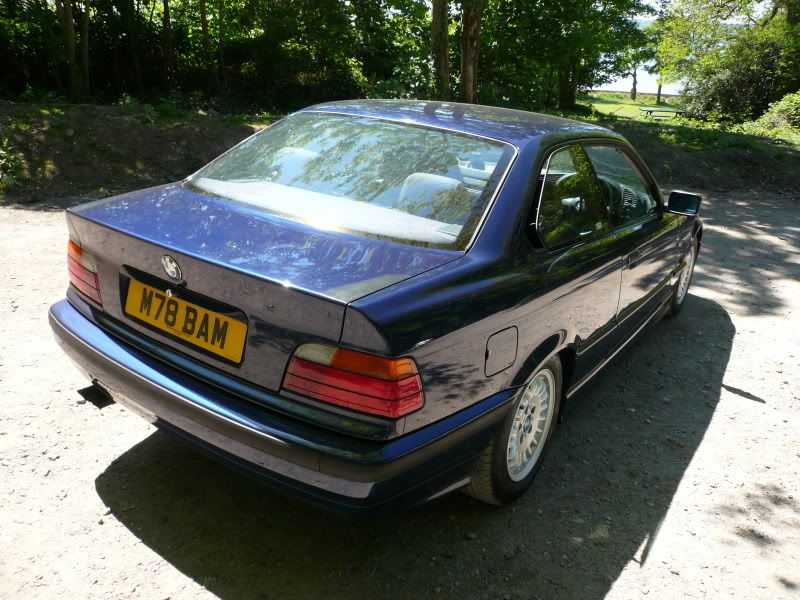
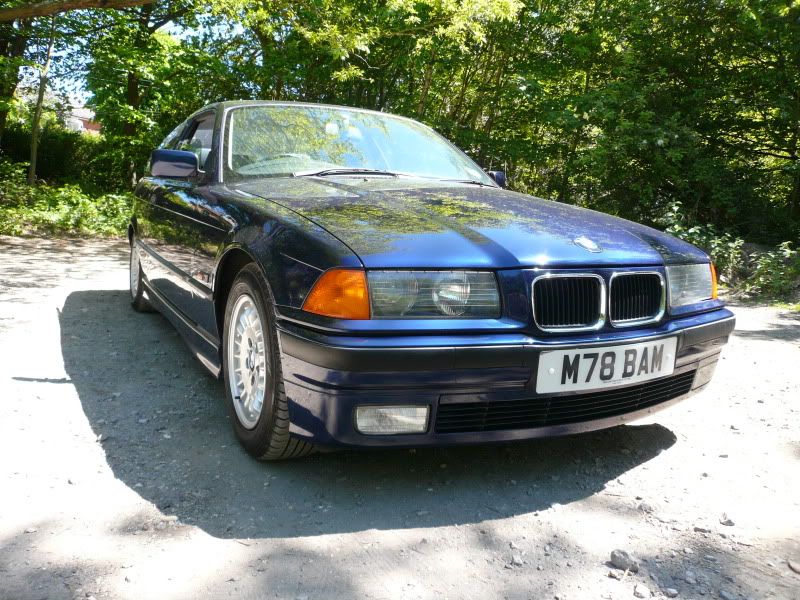
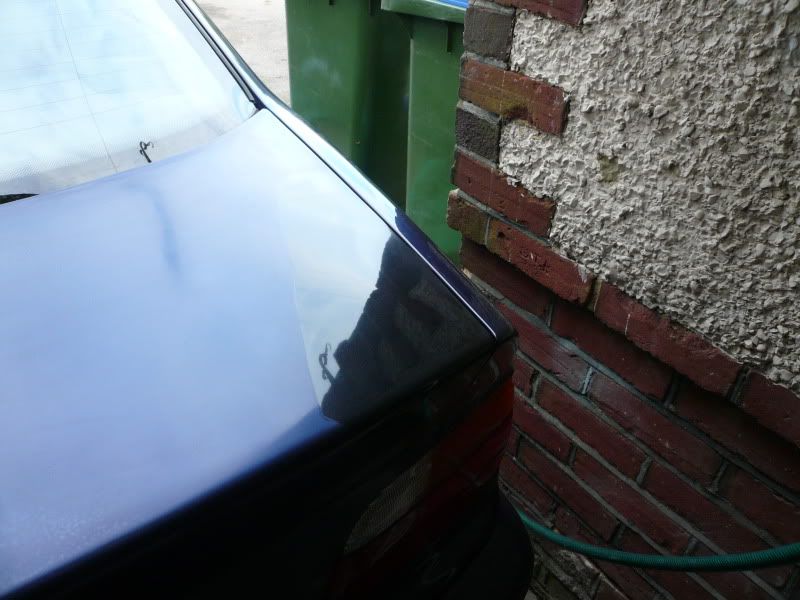
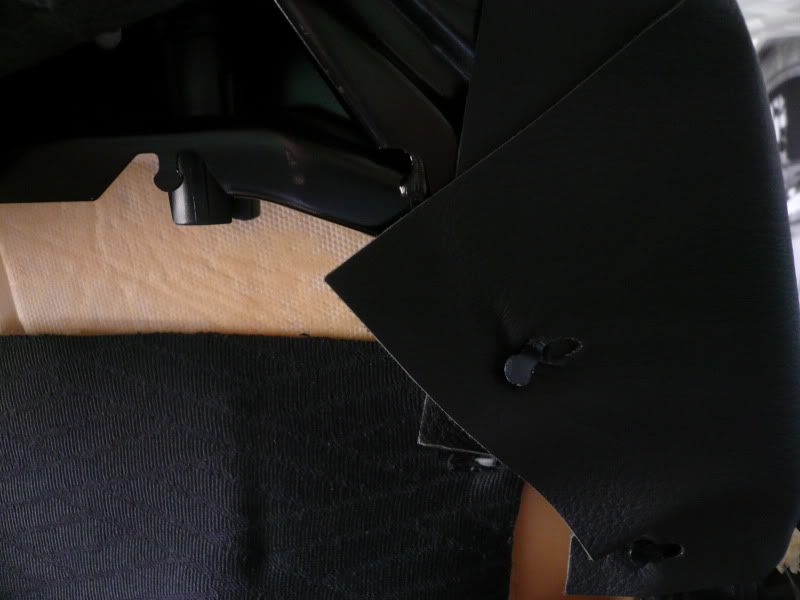
As I got it:
The wheels are in a shocking state so I’m on the lookout for some original style 13’s.
Now for the jobs:
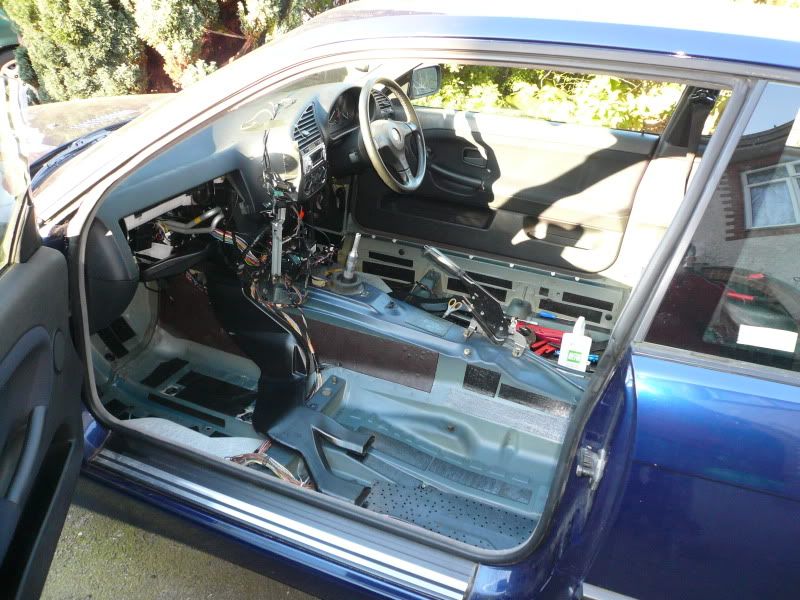
First off was the fact the passenger carpet was a bit wet which I was told was down to the previous owner leaving the window open a few days before I went to see it. Second was the seats had the usual wear to the leather and third was that some of the boot trim wasn’t fitted correctly. With all this in mind I decided to remove most of the interior to get everything done at once…in the winter…with a cold…big mistake.
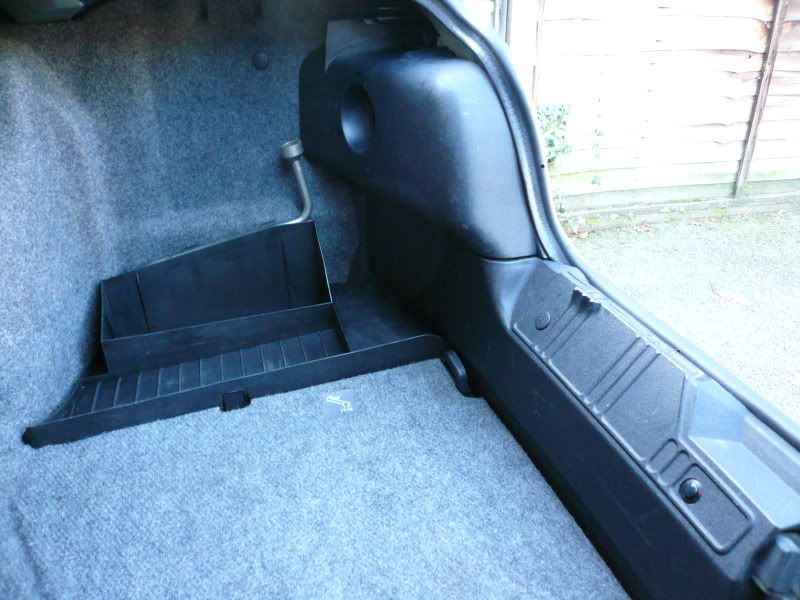
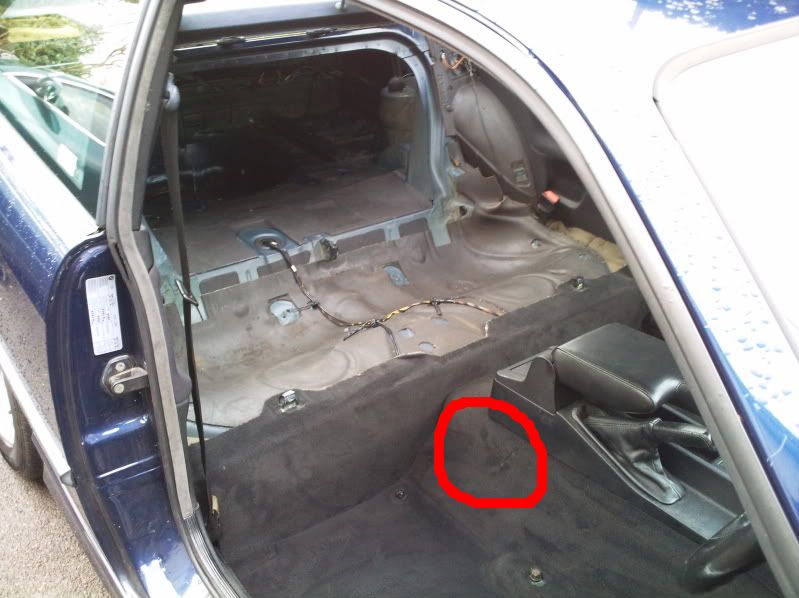
When I took the boot trim out there was evidence that someone had previously had a sound system in the car. There were a couple of drilled holes and broken/missing clips/bolts etc. I replaced any trim that was cracked or broken and bought new clips etc and rubber feet. Any holes were painted with kurust and then closed with a grommet and some sealant.
FYI the expanding rivets that hold the trim around the boot latch are pathetic; you have to push the centre piece through which disappears into the body. Luckily there was only one of these left in place. I’ve now got some different ones that can actually be re-used if I ever want to take the trim off again.
Boot all done, broken light cover replaced:
[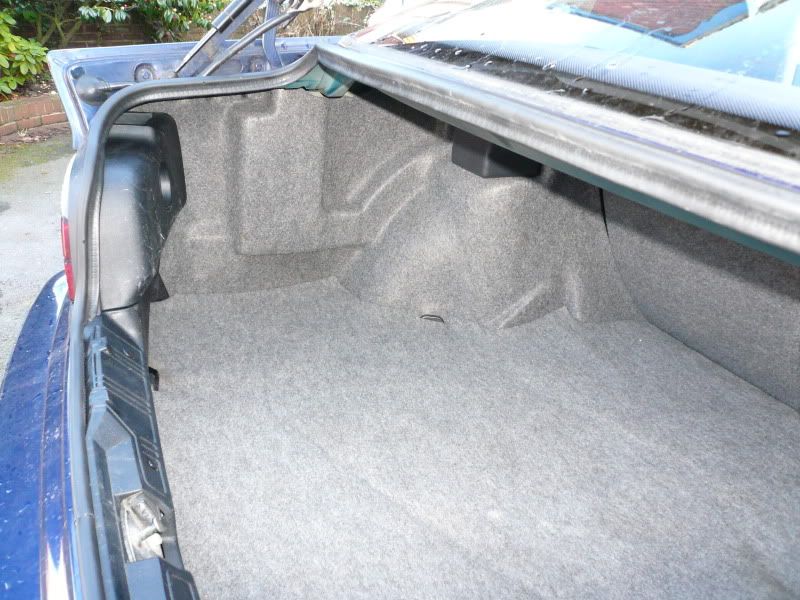
It’s the little things lol
 ]
]
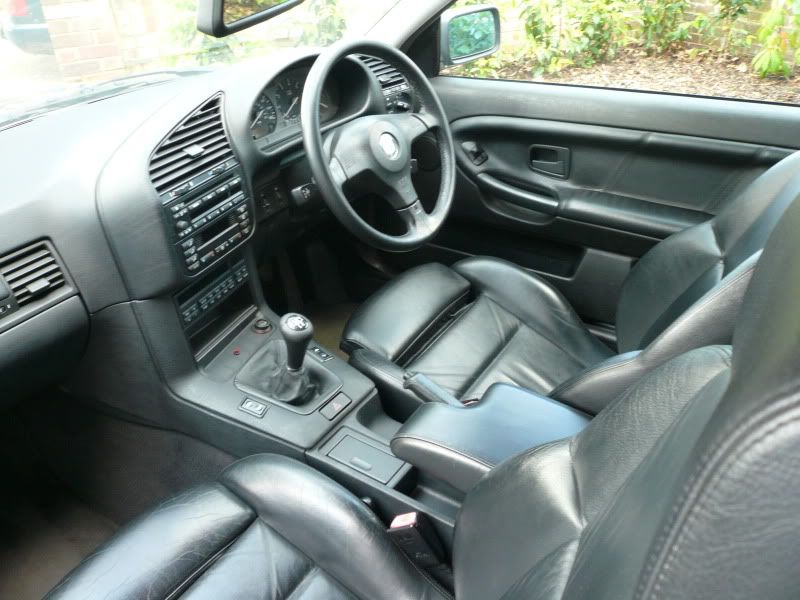
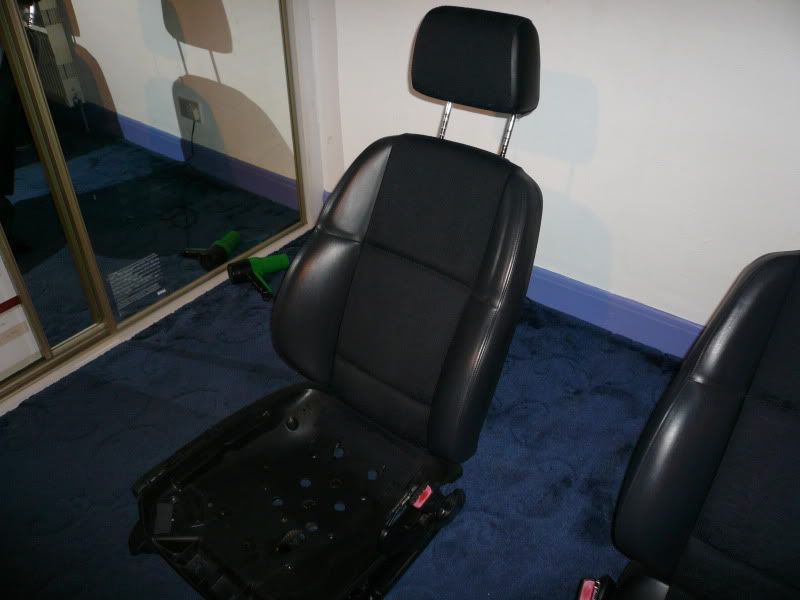
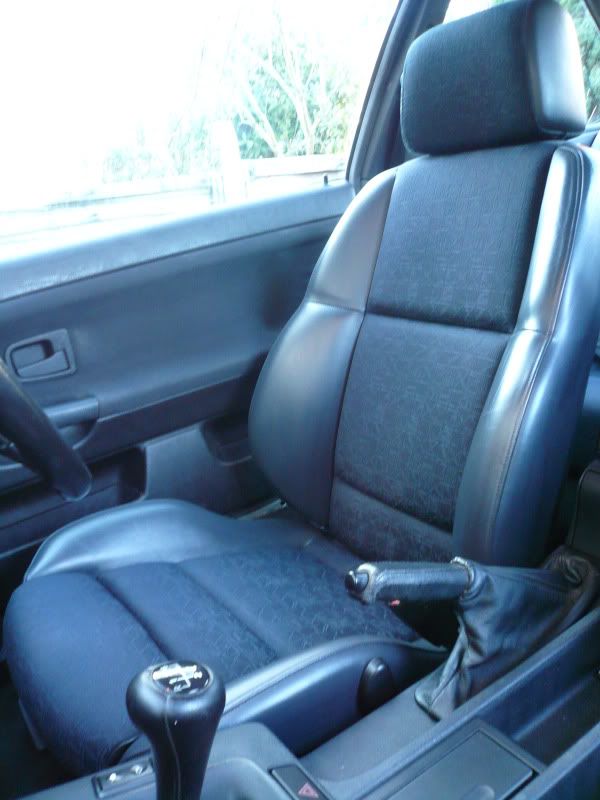
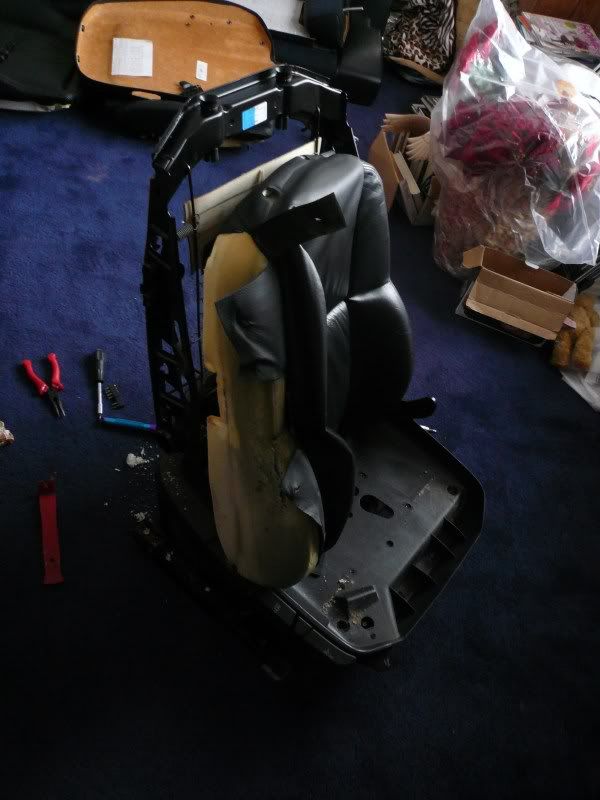
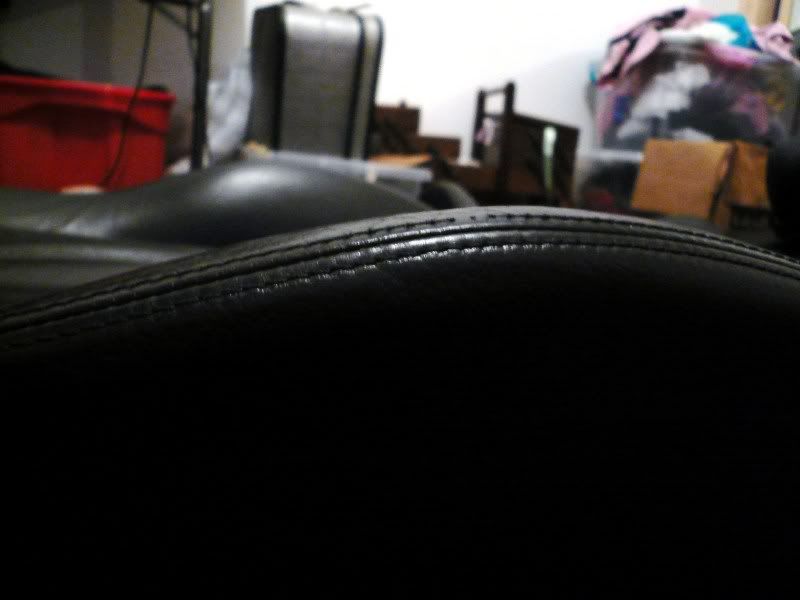
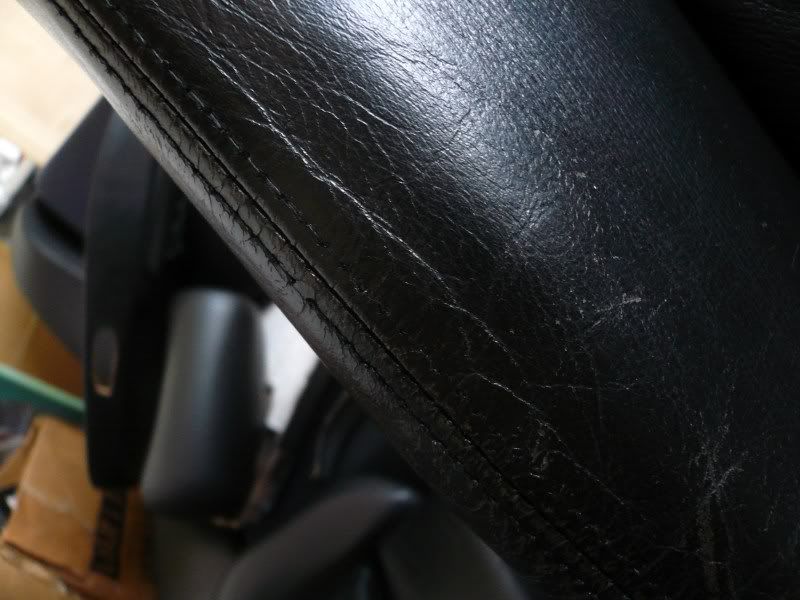
Next was to take the front seats out and give them a good clean and some scuff master. I stripped the drivers side seat base down and added some foam where it was worn, then swapped the bases over (with new clips) to even out the wear. After a good shampoo and recondition they were good to go again, oh and some touching up of the paint on the frames to make them look pretty lol
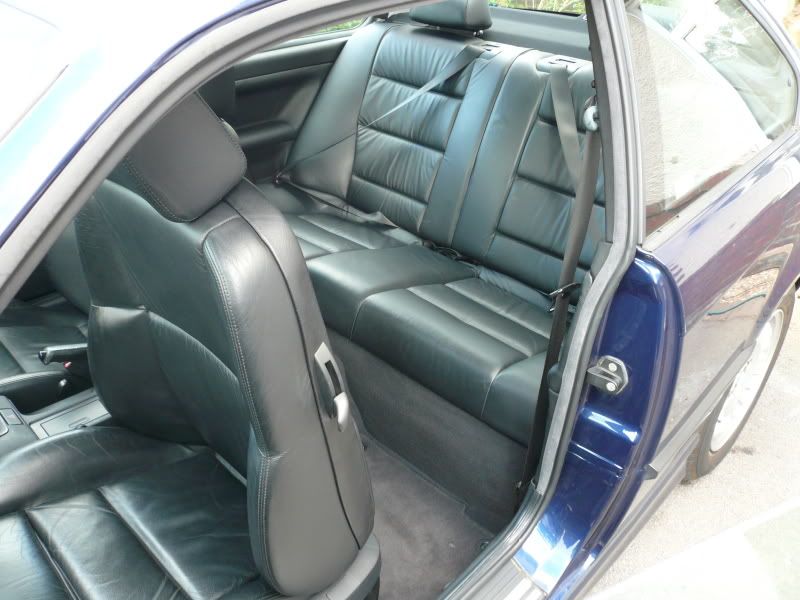
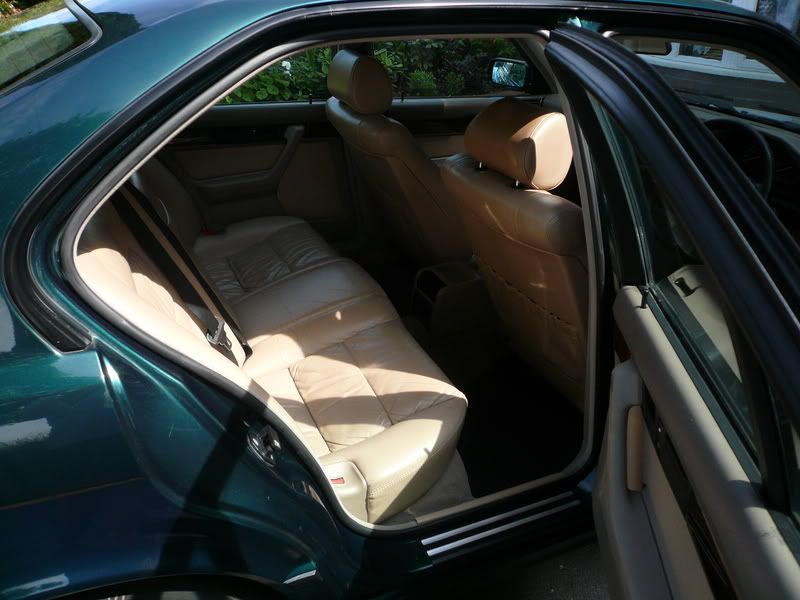
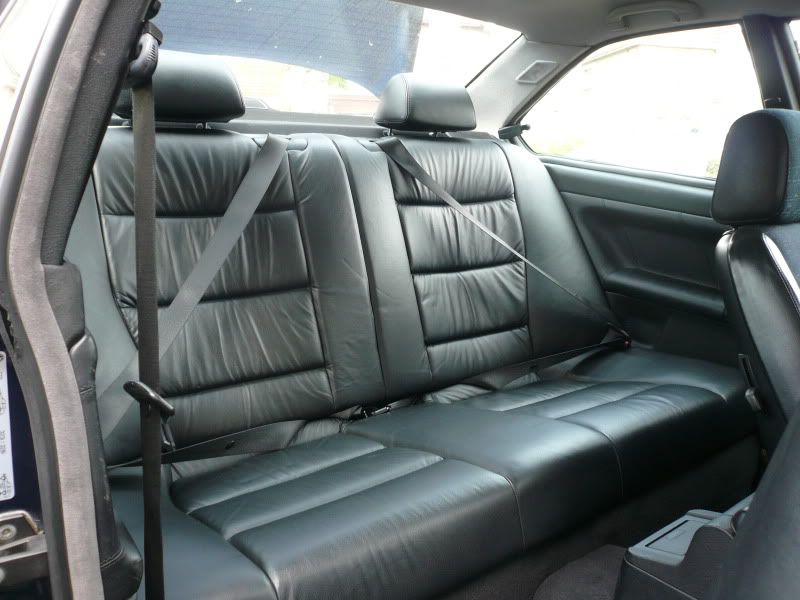
The rear seats didn’t need any repairs, just a good shampoo and condition.

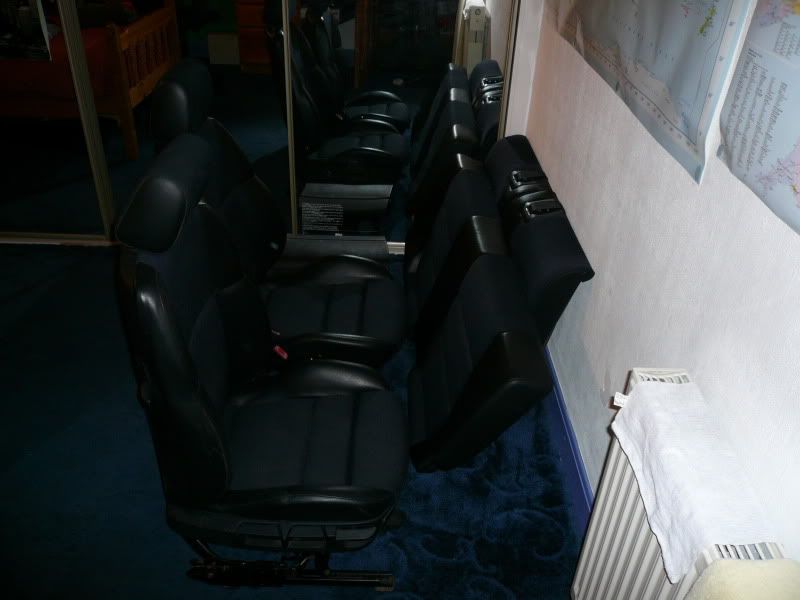
An idea of the wear:

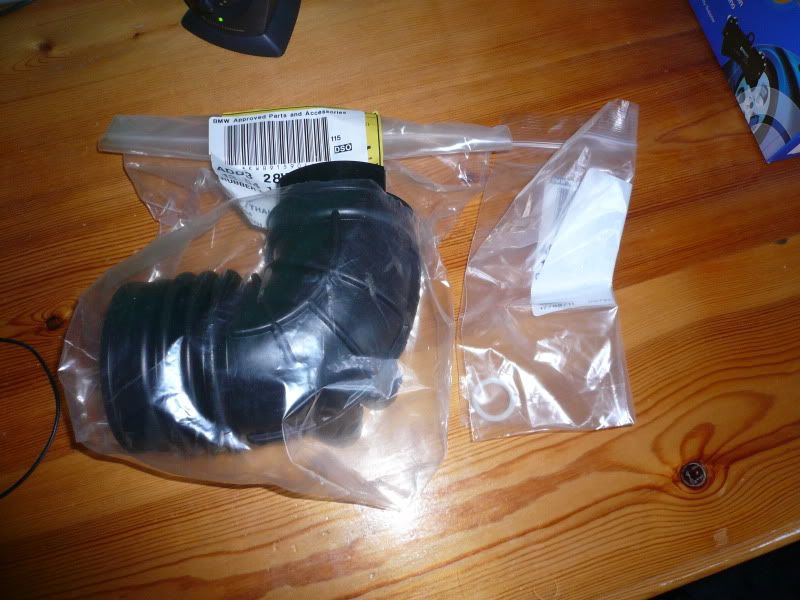
Something I’ve not done for a LONG time; bought something from the dealer
After:
Again, I know the pictures miss out a LOT of steps but it’s not really meant to be a guide, I just take a snap while things are drying or I’m having a cuppa.
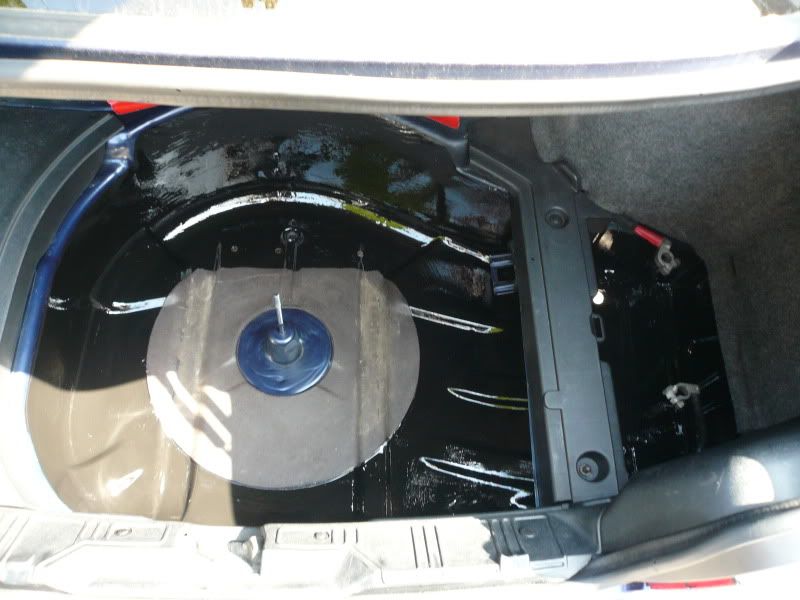
Now comes the fun part; while the interior was all out I checked the carpet and was in for a shock. The passenger side was completely soaked through, way more than a window being left open. After some feeling around I noticed the carpet was wet all the way up to behind the dash so figured there must have been a leak from the bulkhead somewhere. Some forum searching later and I read about the ‘elephant trunks’ so they were on the hit list. I removed most of the interior to free up the carpet and then stuffed towels underneath to dry everything out. In an ideal world I’d replace the carpet but I’ll leave that until summer.
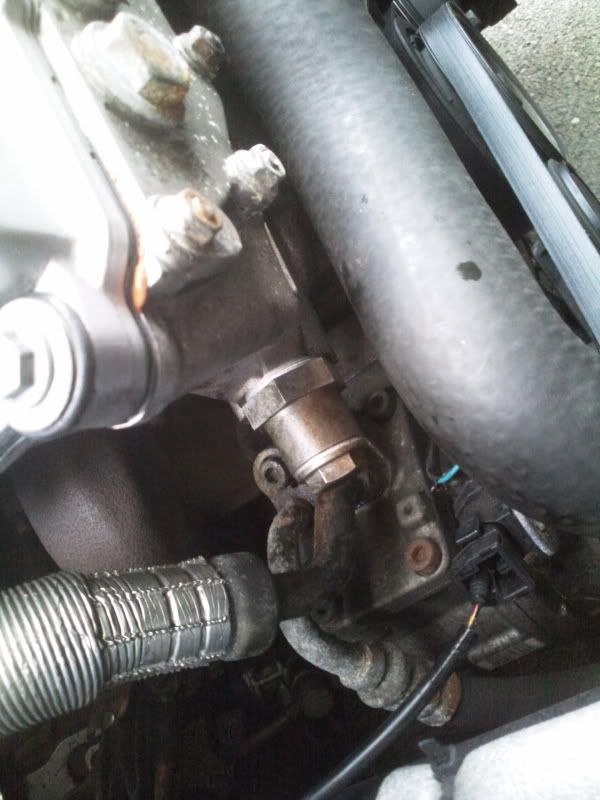
After a bit of trouble with some stubborn wipers I was able to clear out a load of cr@p from around the blower motor and also noticed a grommet was missing where the alarm wiring goes through the bulkhead. Time will tell if this is indeed the cause of the leak but fingers crossed it’s sorted now.
I also noticed the scuttle panel trim could do with being replaced so I’ll get into that when the weather’s a little nicer.
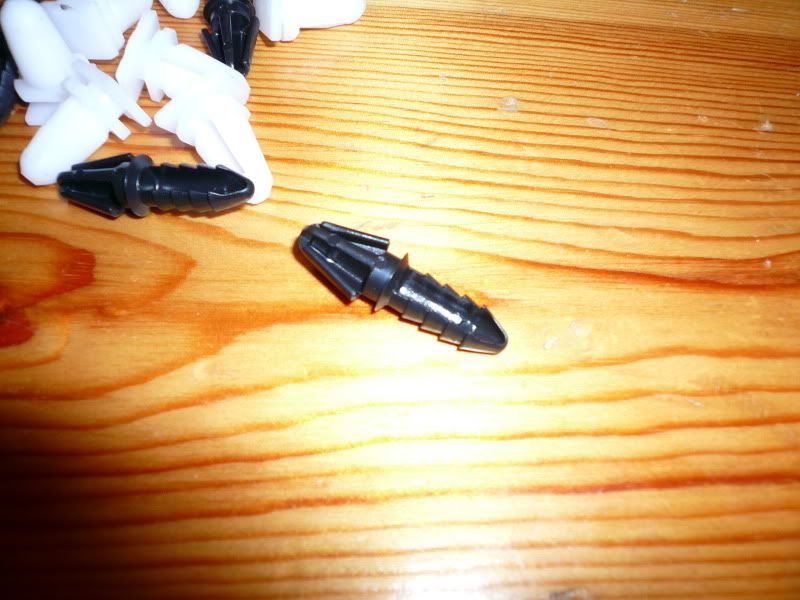
It was then time to get the interior back in and again replace anything that wasn’t as it should be. The glove box was sagging and had a hole drilled for an ipod connector I assume and the torch was missing. I was in luck when I found one in the breakers as the plastic tabs were perfect and it wasn’t sagging at all, I had to swap the lock over for completeness (what a pain!). I’ve lost count of all the tiny little clips I replaced and there’s still more to do, but it’s drivable now at least. Progress is slow because of this weather but I consider it a ‘rolling restoration’ lol
Glove box before:
After:

I know the screw covers are missing there, that’s because they wouldn’t go on for some reason. I’ll warm them up to see if that makes them more malleable and try again.
Again, little things:
I know the sill trim piece is missing there because I need to order a new pair. The old ones were broken along with the clips.
As I say, there is still a lot more to do! Chief among which is to investigate some odd little noises and give it a good service. I’ve got vanos on the brain so fingers crossed.
Tiny update on things:
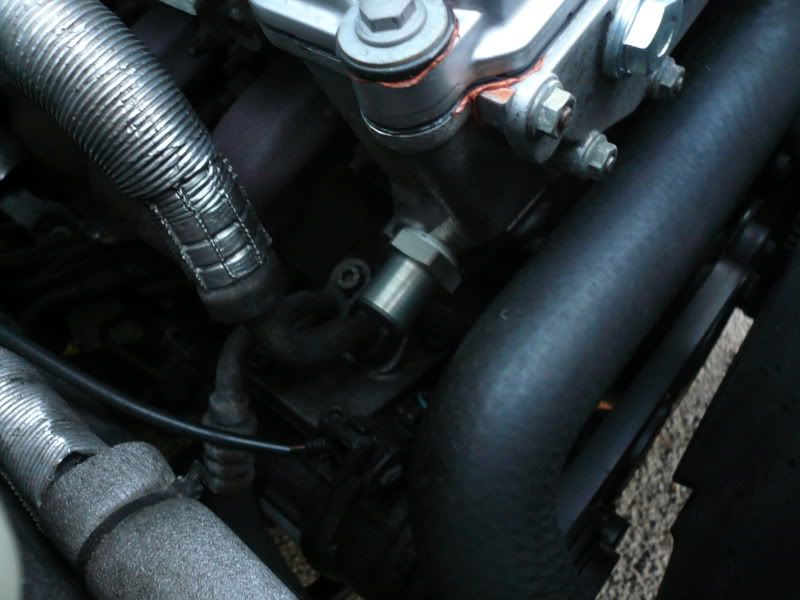
I've been away with work for pretty much the last month but I've been able to work on it in dribs and drabs during the brief times I was back; this freeeezing weather has slowed things down dramatically though. Anyway, the rain water leak was my biggest concern and I knew it was coming from somewhere on the bulkhead but the only way to be certain was to strip things down and really check it out.
Cue taking the dash out
Once that was out I STILL had to crawl around undoing things and moving bundles of wires to make enough room for the sponge-like sound proofing to be moved out of the way juuuust enough (much harder than it sounds, working in awkward positions etc) As I say, I knew it was coming from the bulkhead somewhere and had a pretty good idea it was the heater box seal, but it still could have been the windscreen hence taking things apart to such an extent.
After a good root around I discovered that the leak was the bottom left corner (passenger side) of the heater box near where the coolant pipes come through. The rubber gasket between the heater box and bulkhead looked to be in fine condition, not perished or disintegrated like I was expecting, just not sealing in that corner for some reason. I've used some sealant so time will tell if this fixes things 100% but at least now I know where it's coming from.

The next thing I need to order is a new scuttle panel trim as mine is all cracked and horrid. Although this does not stop water getting in around the bulkhead, I'm sure in the condition mine is in it doesn't disperse the water as well as it should.
So there we have it, this has been fun in recent weather
It's all back in
I've not connected the battery back up so who knows if it all still works lol but at least it looks more like a car again.
I know the sill trim is missing in this pic, it's in now though.
Well a pictureless update (the worse kind, sorry)
I had the interior in for ooooo about 4 days before most of it came back out again to remove the carpet.
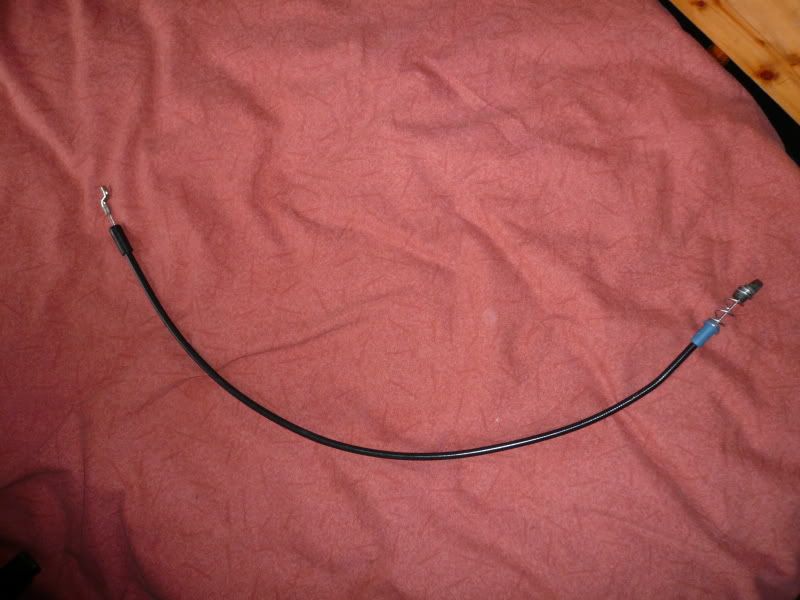
Because of the previous leak the carpet was soaked and the only way to sort it out is to remove it. Oh! and the bowden cable in the passenger seat snapped too so I figured I'd sort that while I was at it. Side note: old style sport seats are an to take apart.
With the carpet removed, I took off all the plastic loom covers, unwrapped all the tape (was brittle and curse word) and took up all of the soundproofing. After a wipe down it looked dry but I couldn't be sure so I started to remove it. It came off in massive chunks and there was water underneath so I'm glad I did it. With the floor completely bare I've removed and re-sealed all of the bungs and treated any rust (only 2 very very small bits)
I then sat in the car with my dad spraying water at the doors, screen, seals etc and it turns out the drivers side door membrane is leaking slightly.
To summarise: Passenger side wet because of leak in bottom corner of heater box seal.
Drivers side wet because of leak in door membrane.
All in all one very wet e36 lol but hopeful NOW one very dry e36...fingers and toes crossed.
Fun fun fun in the sun sun sun...kinda
So, I stripped the carpet out, removed all the wet soundproofing, laid new stuff, re-sealed a few grommets and sorted any little bits of rust. Oh and tidied up the wiring a little bit too.
Next was to investigate the leaking drivers side door. Upon removing the door card I noticed that the membrane was completely missing where someone has had to replace the window mechanism at some point. So after I cleaned and waxoyled the inside of the door I replaced the membrane; it really is a poor design by BMW that so much water can get inside the door and past the seals.
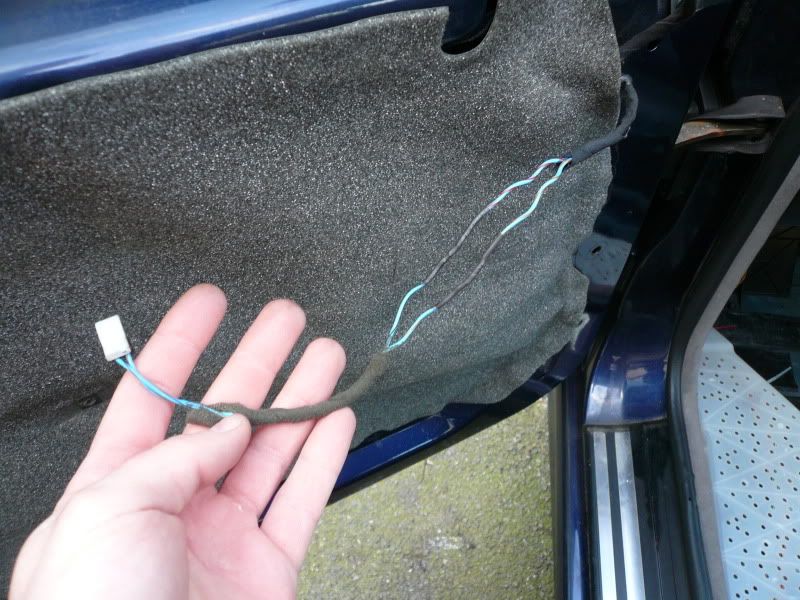
Now for my next can of worms: The driver’s side speaker wasn't plugged in because the connections were different, it turns out the car has a facelift door card fitted with a different sized speaker. Christ knows why BMW decided to change this little detail! it's just annoying!
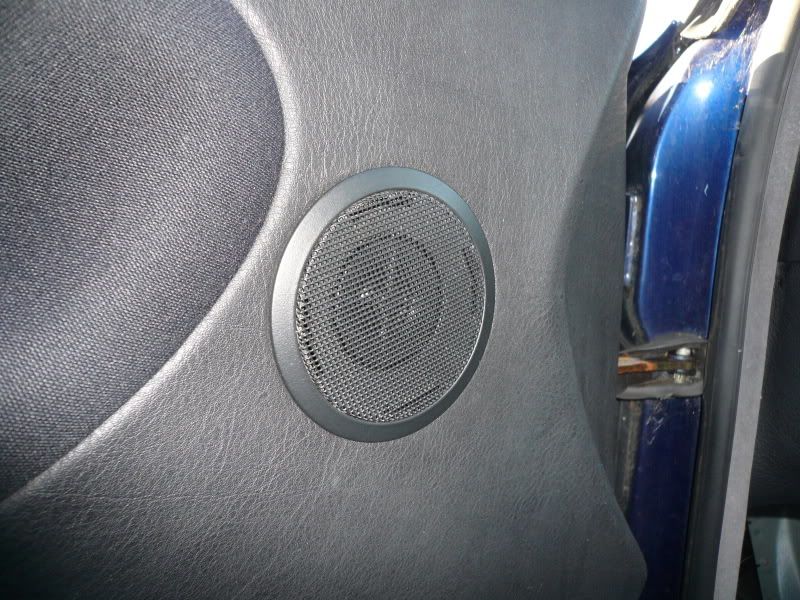
Long story short I now have matching facelift door cards and speakers; killed two birds with one stone because the passenger speaker surround was cracked and fabric was a little loose on both.
Facelift plugs soldered into my loom:
Un-cracked speaker surrounds:
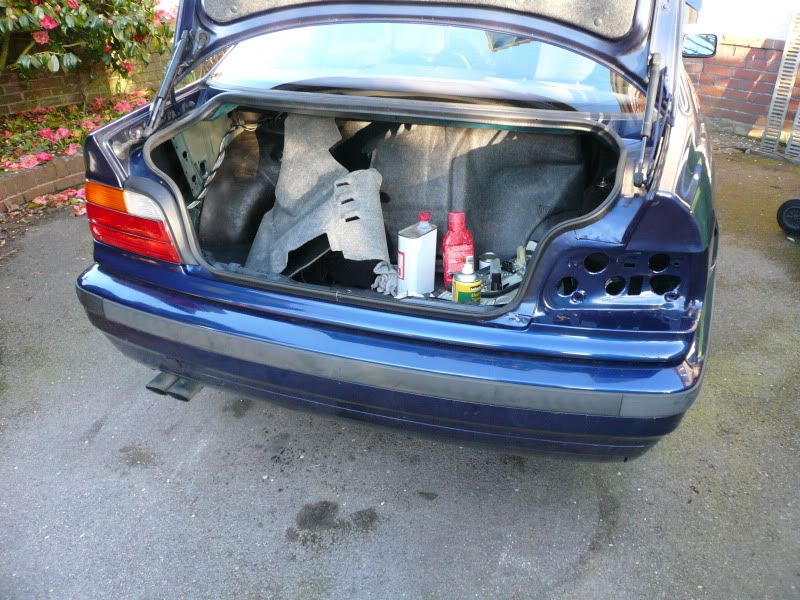
It's still in a million pieces as I want to test it once more before I put the carpet back in.
I seem to be slowly but surely rebuilding this bloody car lol Every job turns into a much bigger job than expected, for example the door cards/ speaker issues ontop of which I had to re-glue the top parts as they came clean off when I took the card off (common issue though I'm aware)
The weather is really slowing things down; mainly having to heat things up when soundproofing and waiting for things to dry, like paint and sealer.
As kids these day say, woop de woop!
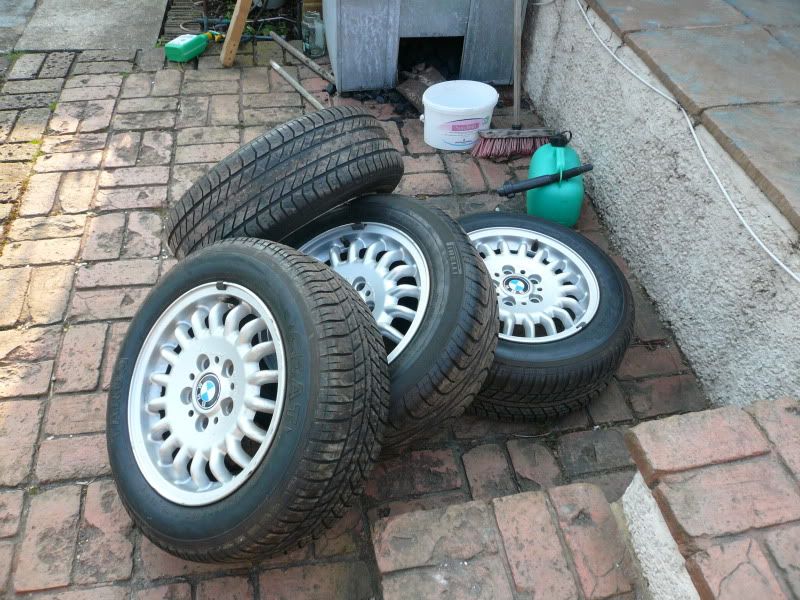
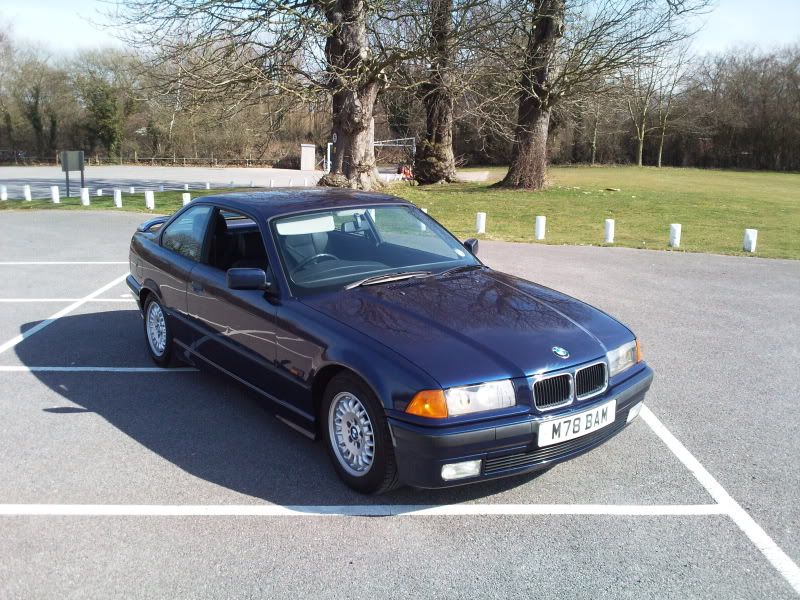
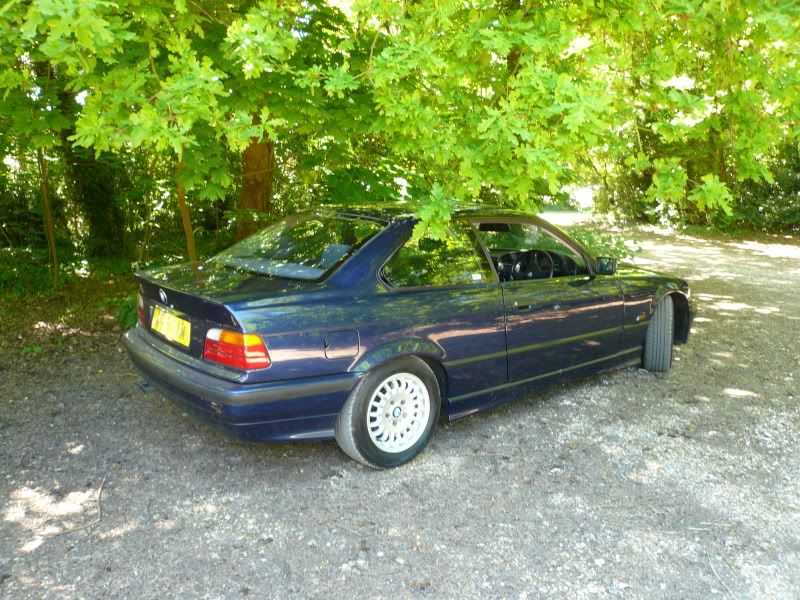
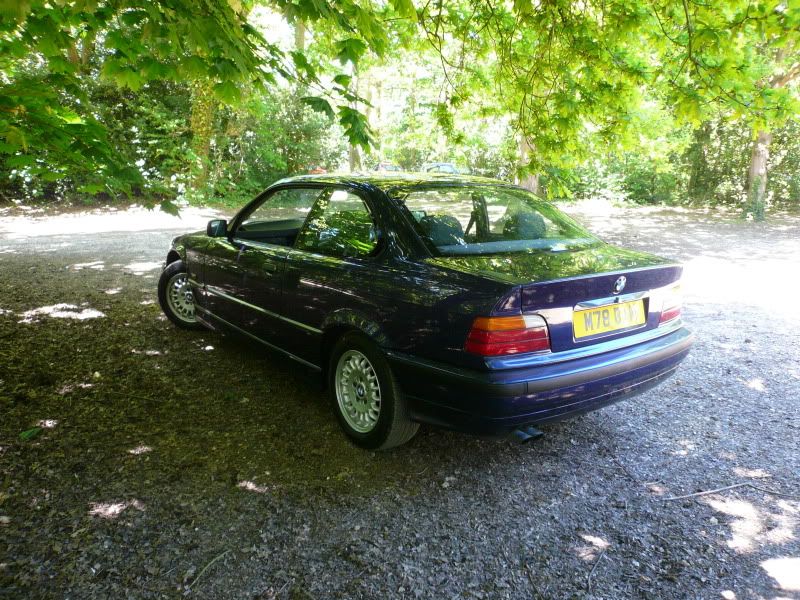
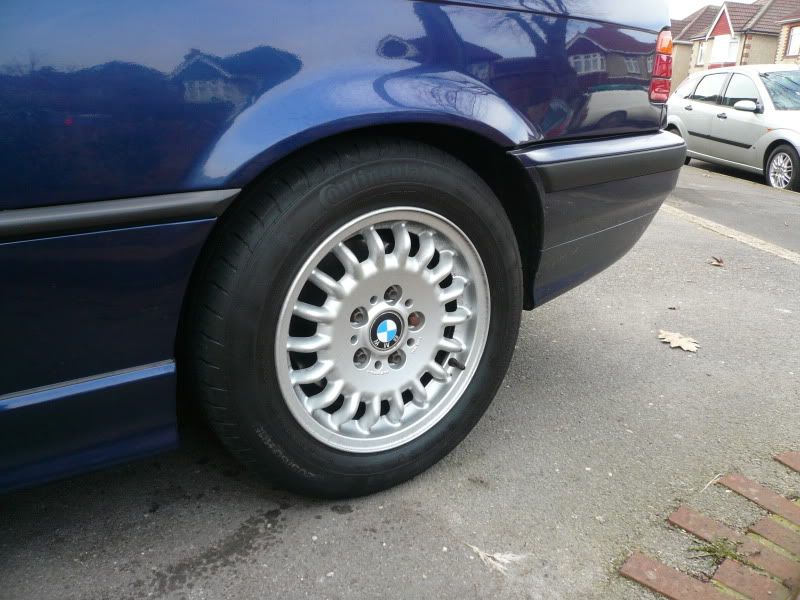
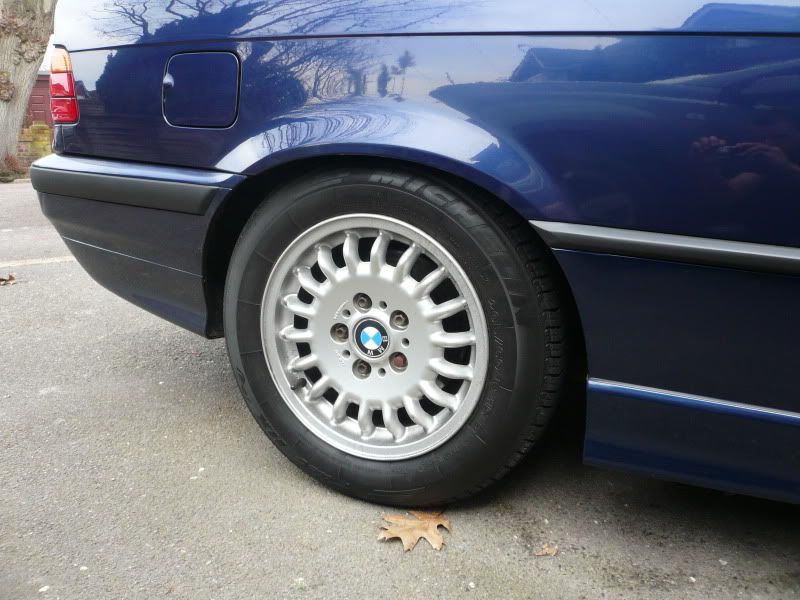
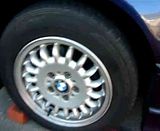
Sourced a set of original style 13 alloys, including a spare from ‘endeeci’ from this forum After some touching up (they are at least 16 years old so bound to have some marks) I swapped them over. Oh with a healthy dose of copper grease as I had to kick the old wheels off.
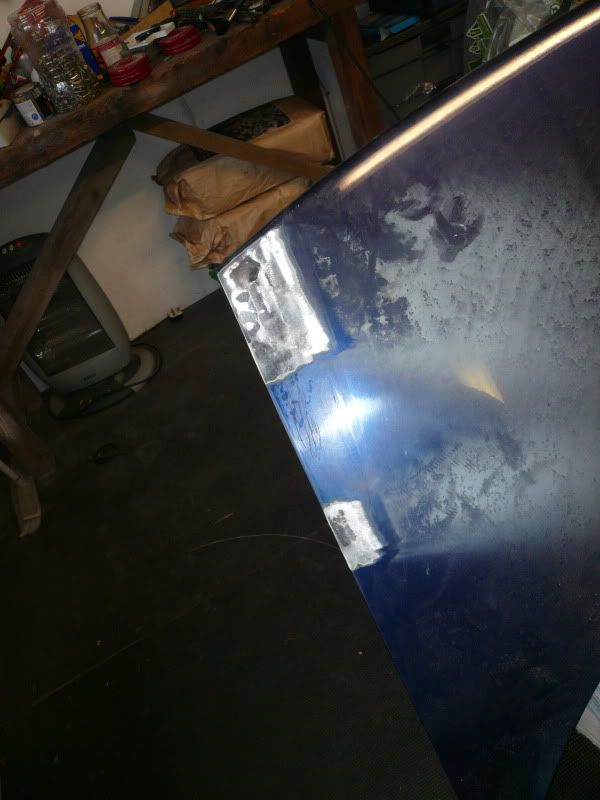
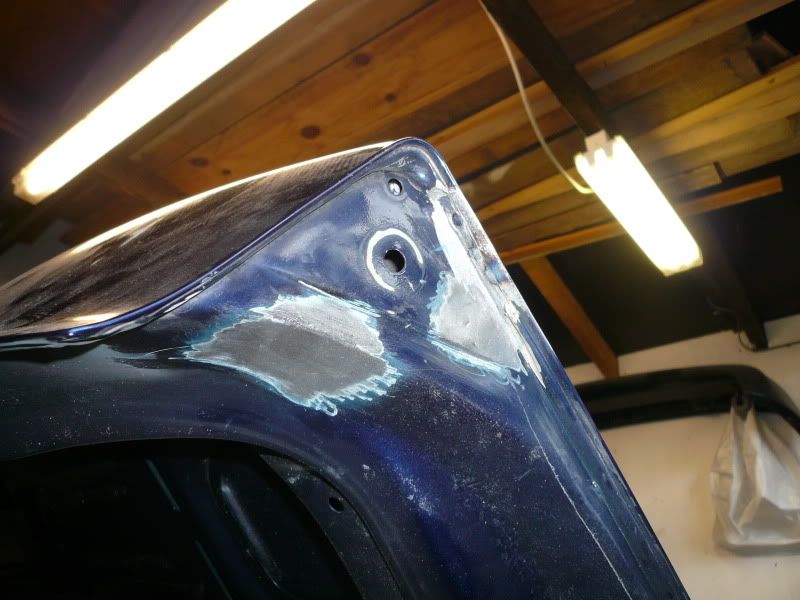
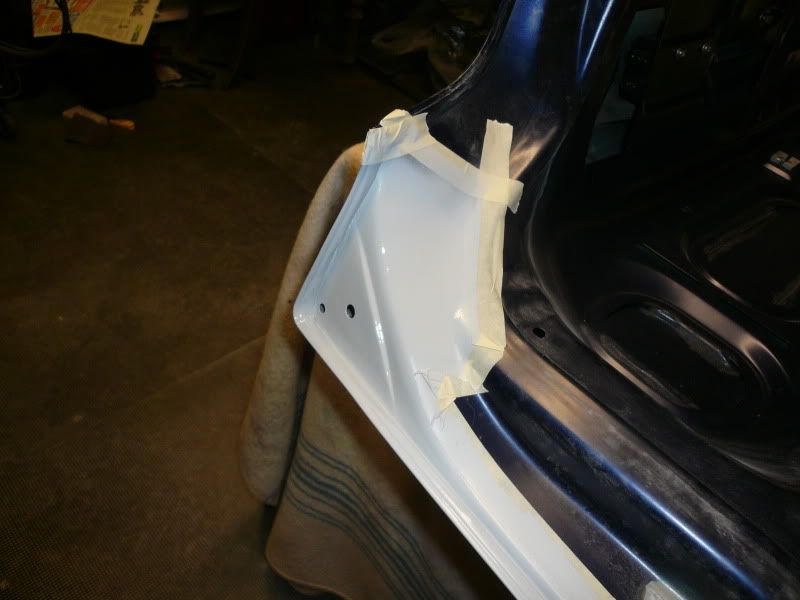
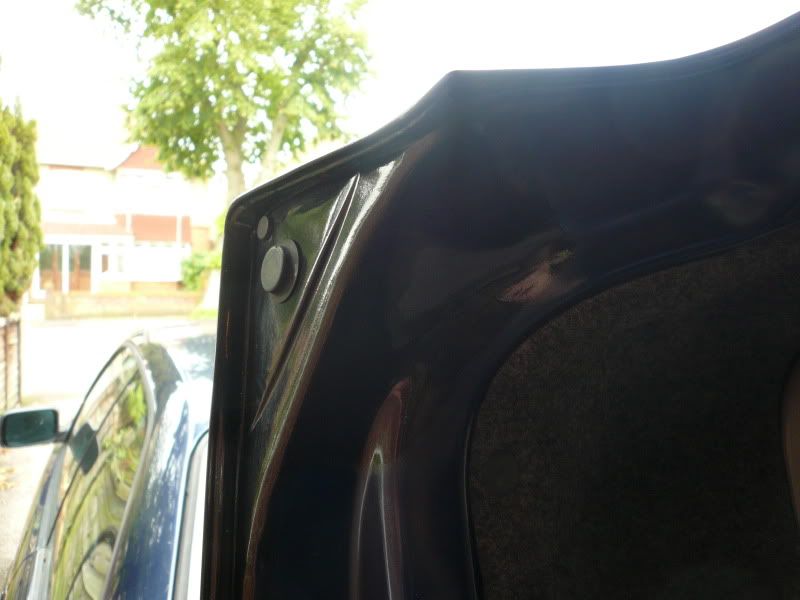
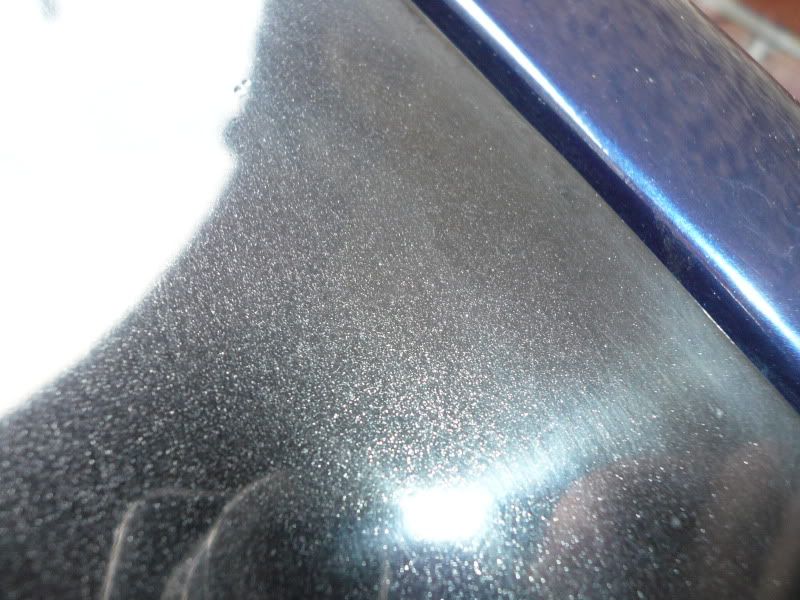
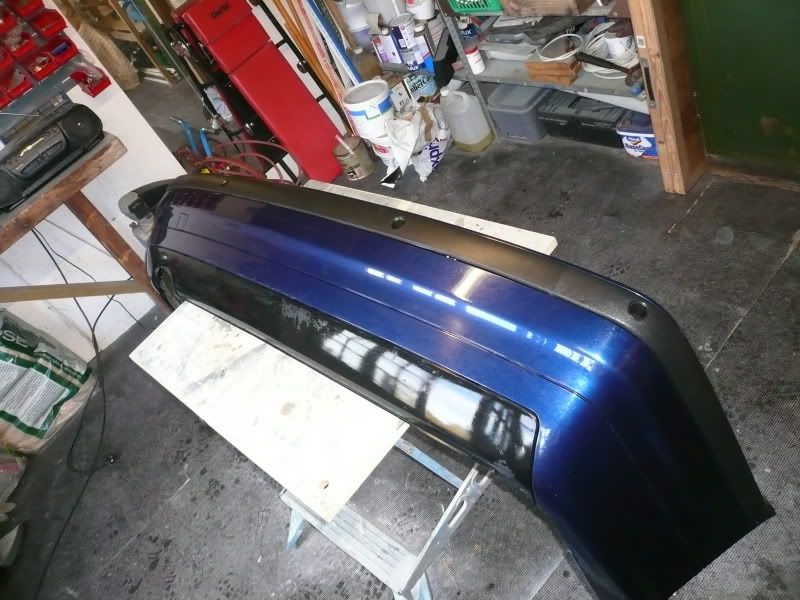
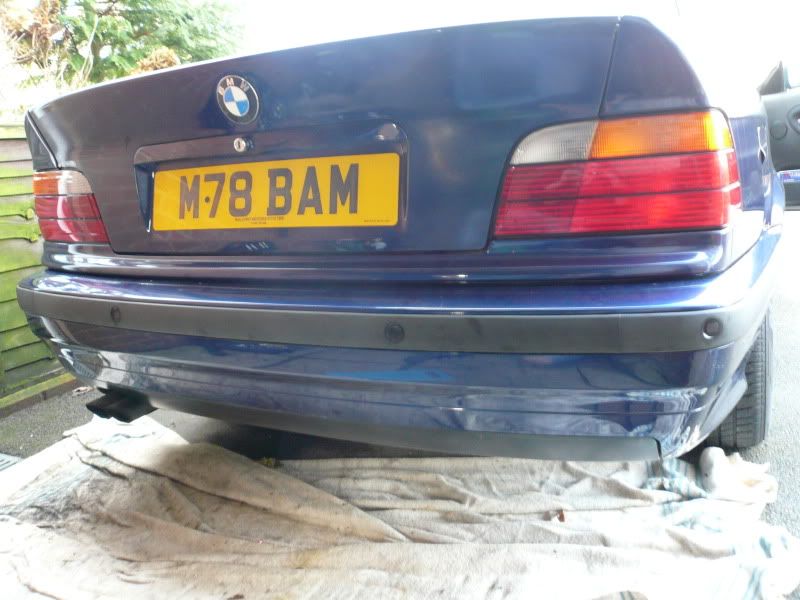
The bodywork still needs some attention and I need to get rid of that bloody M3 spoiler but here we go:
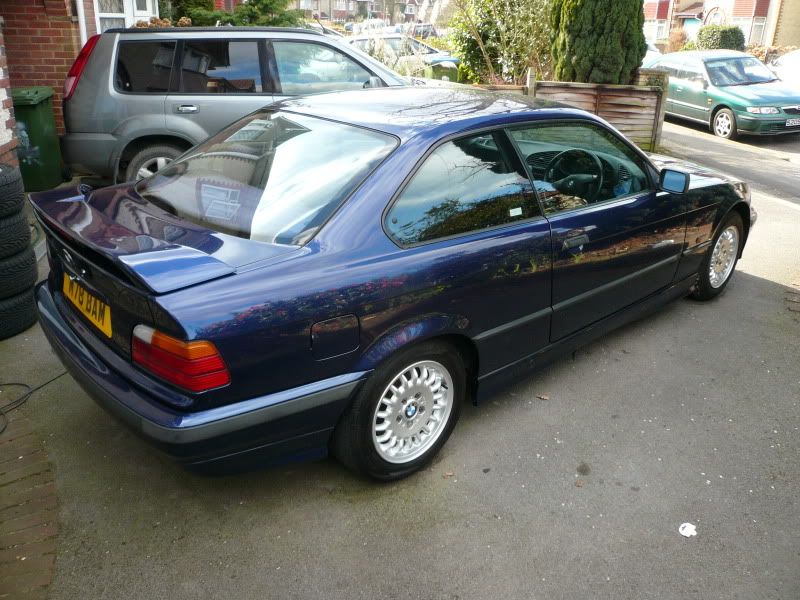
Niiiiiice and original, just how I like it
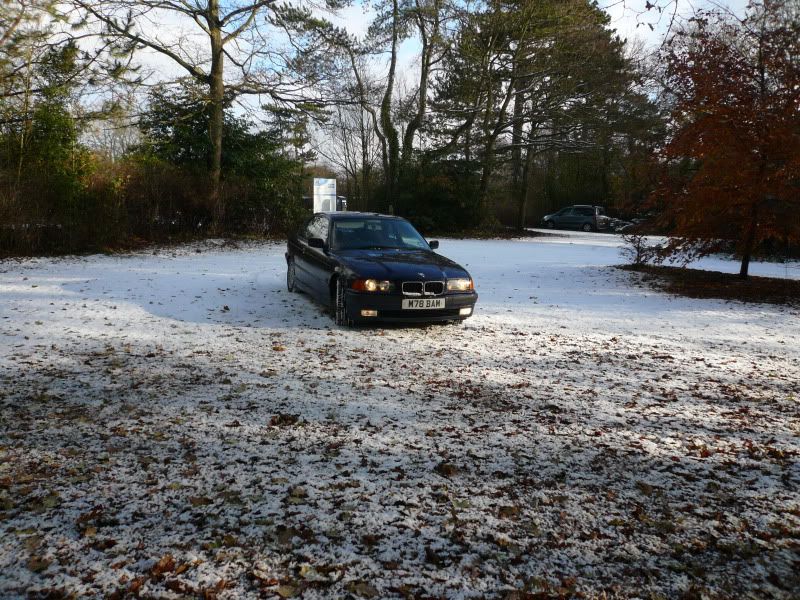
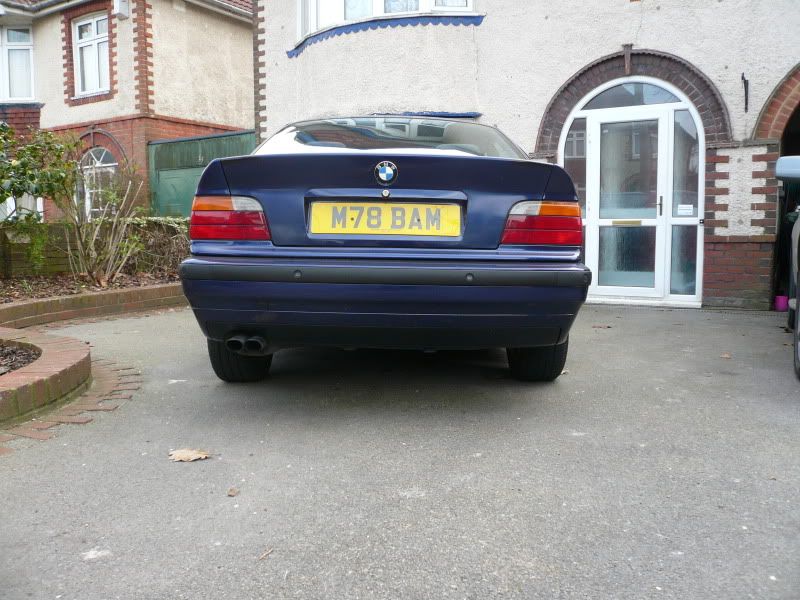
Well I took it for a little spin just to see if still worked after having not been driven for soo long lol.
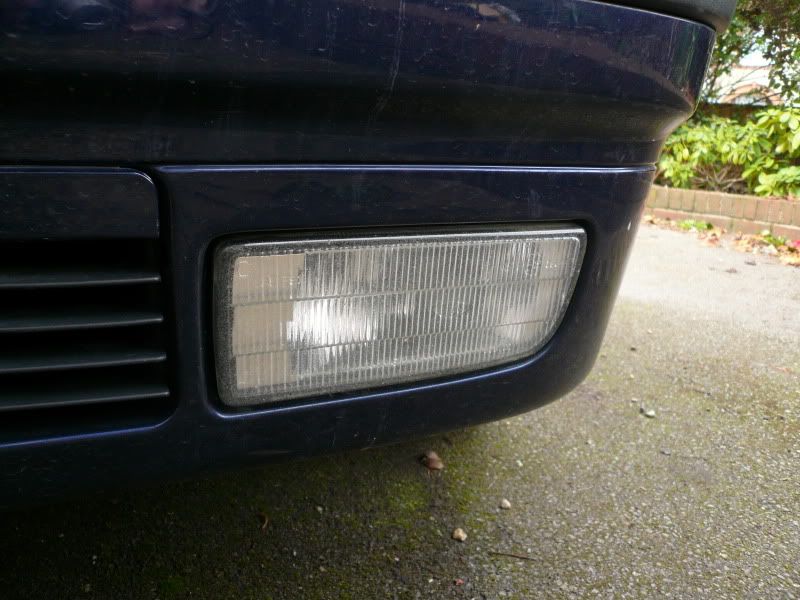
Took a couple of pics too, bear in mind it's still not finished and the misty headlight was sorted today (hopefully).


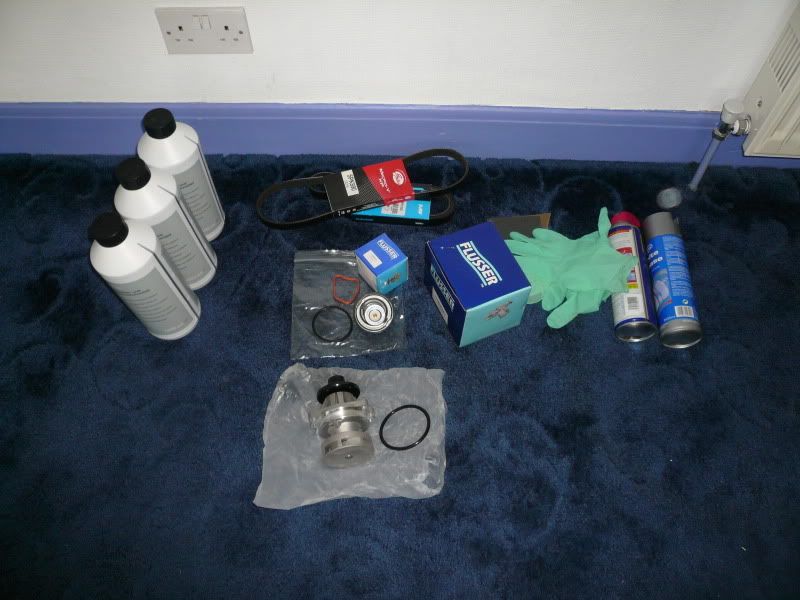
Next up: fit the bowden cable and re-fit passenger seat, oil service, cam cover gasket, water pump, thermostat, rear window rubbers etc etc etc I love projects...
I've become a stripper to help get this car finished...a paint stripper that is.
Moving on.
The passenger side bowden cable had snapped so that was replaced:
I think I'm right in saying the seats are different in pre and post facelift cars, the pre-facelift seats being the ones that are an to take apart. Can you guess what my car had?
So that was put back together and back in the car.
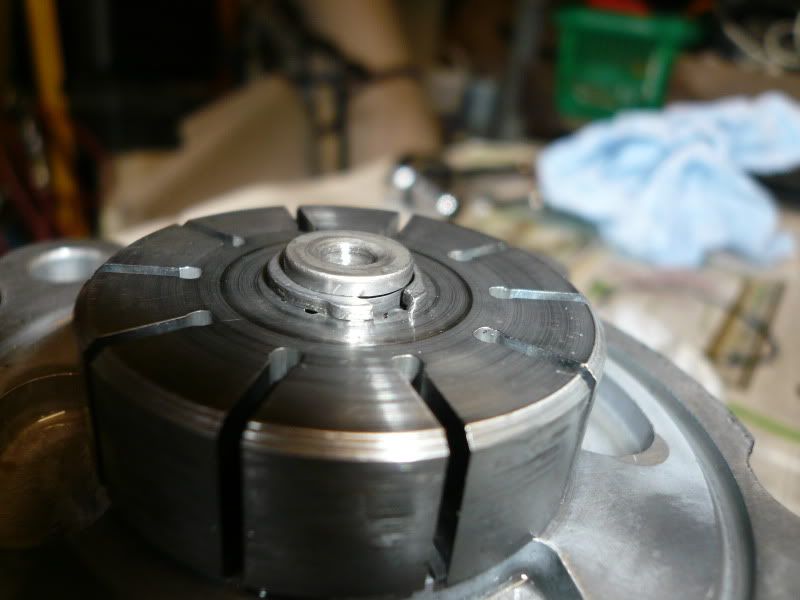
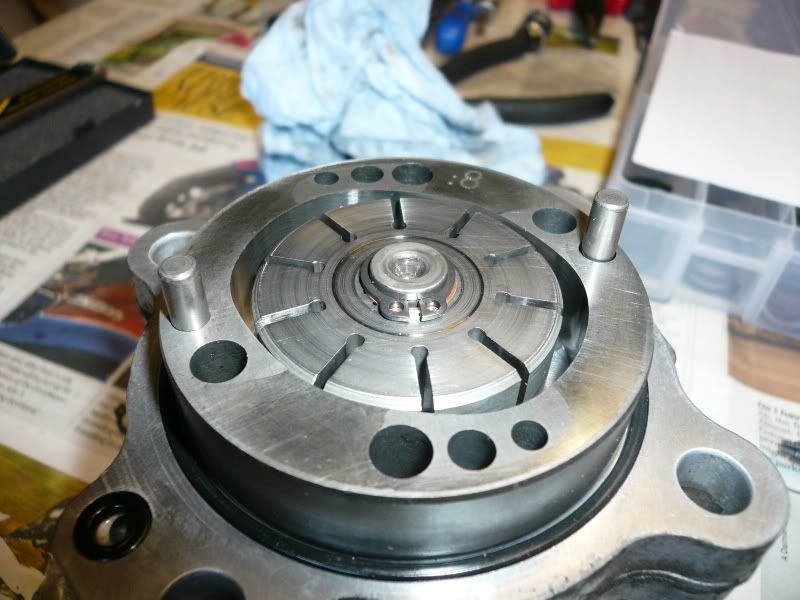
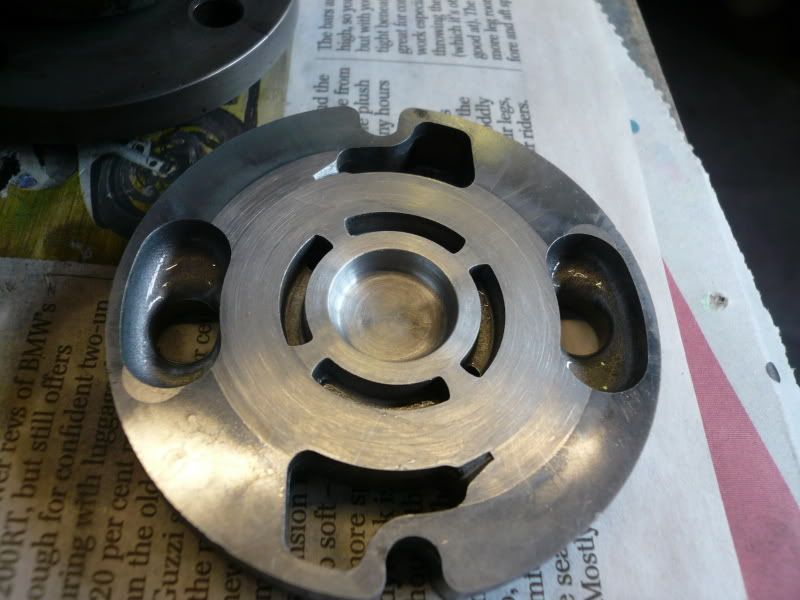
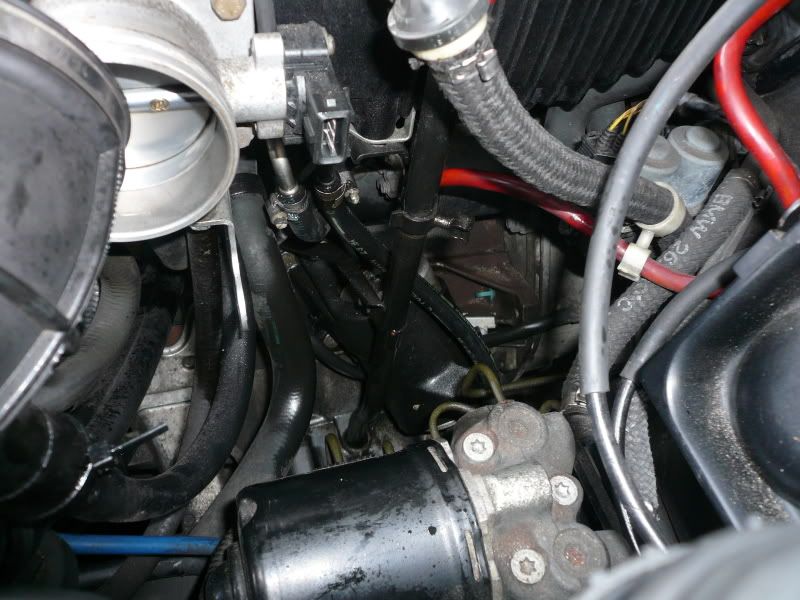
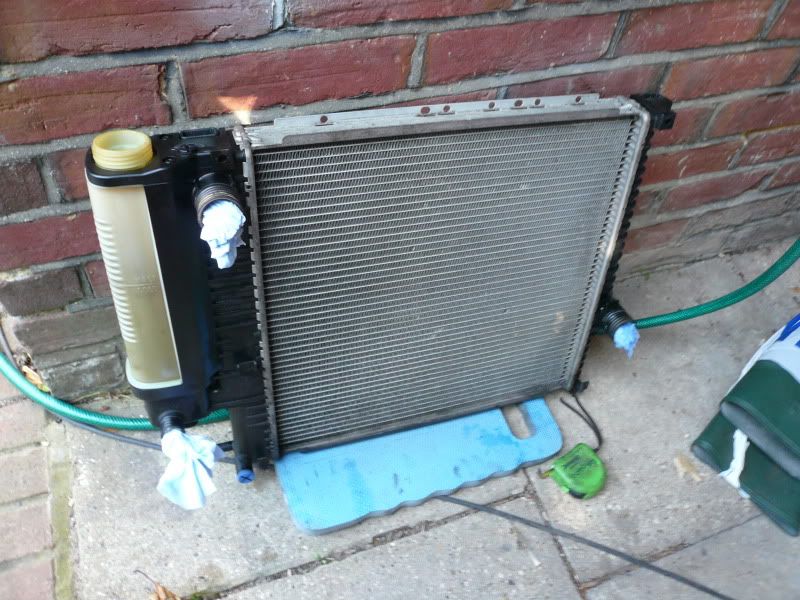
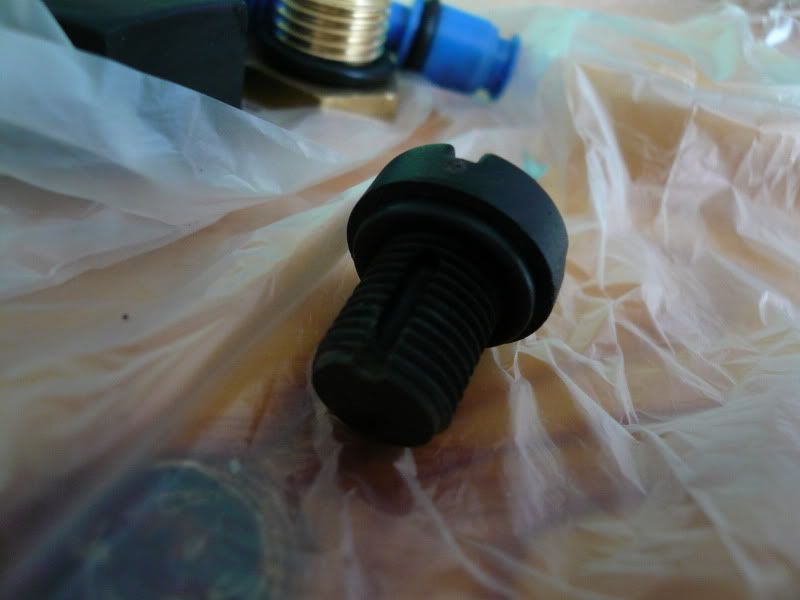
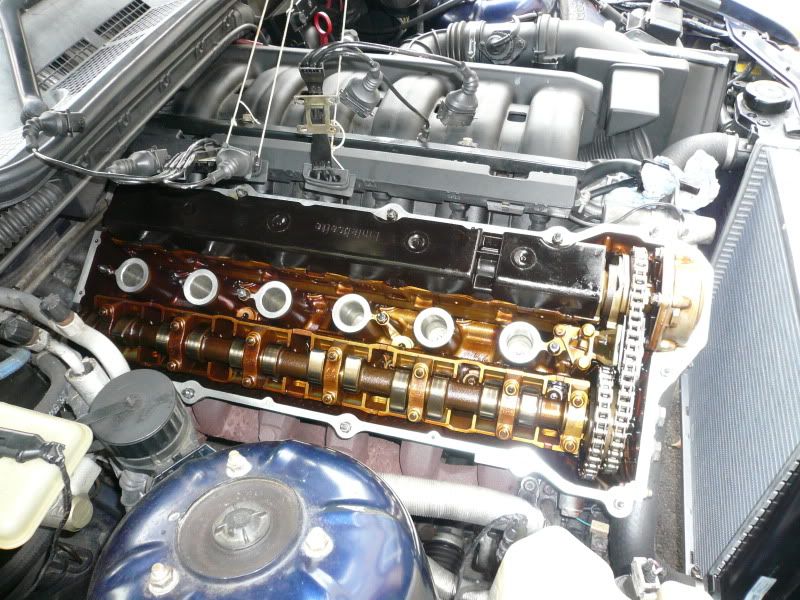
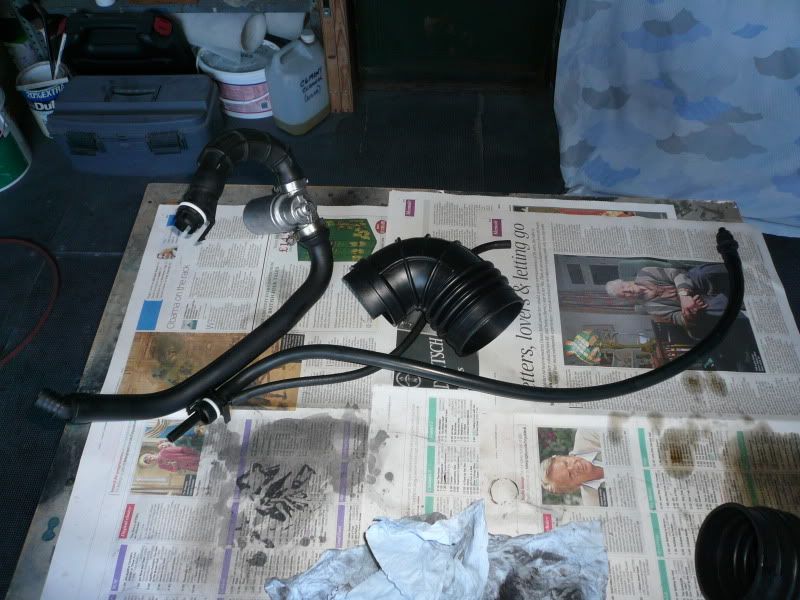
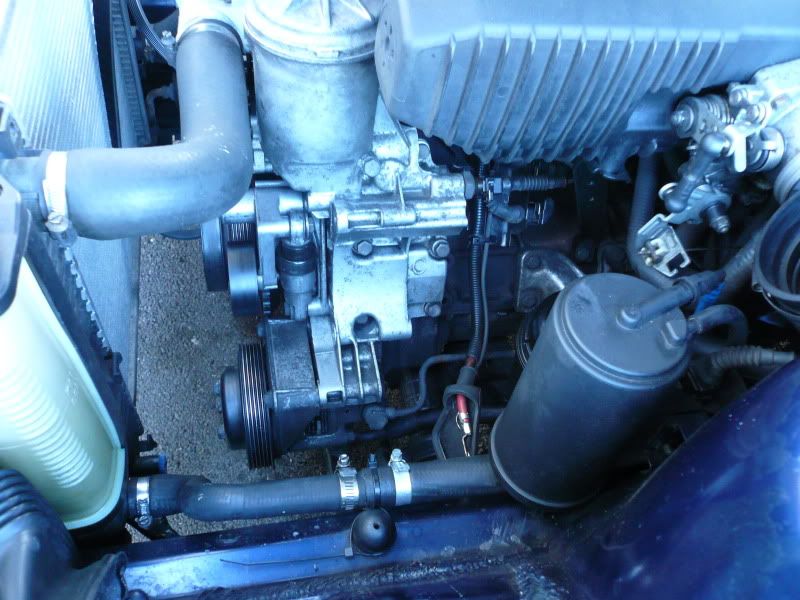
Next on the list was to replace cam cover gasket. I bought a new gasket and 15 rubber 'washers'. When I removed it you could see that the old gasket and washers were well past it and very brittle.
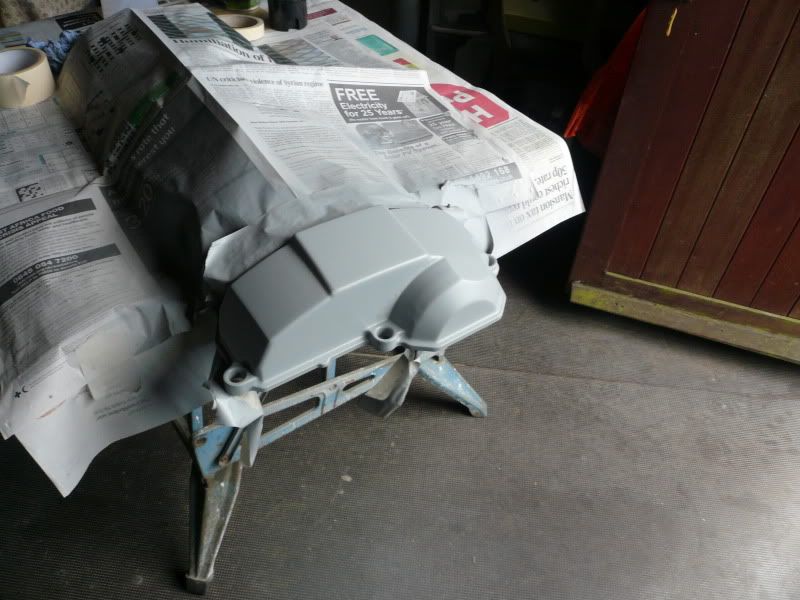
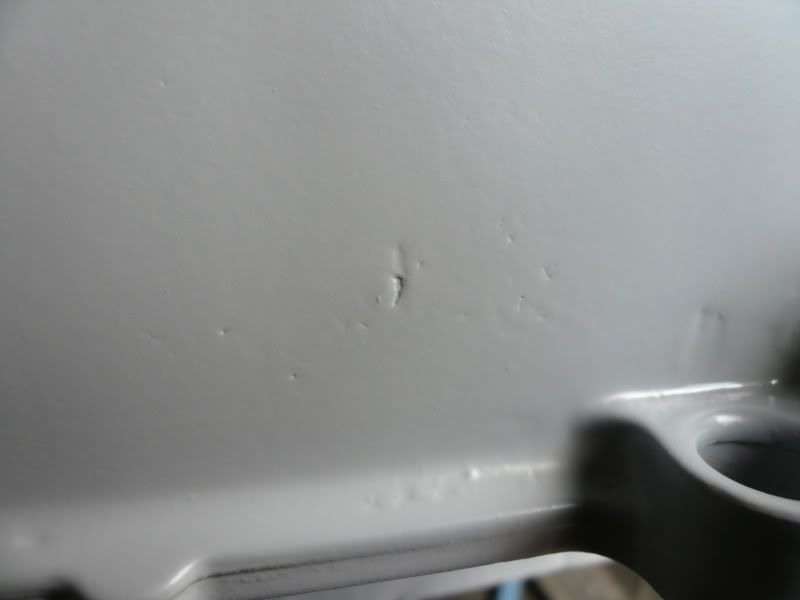
I'd decided to paint the cam cover while it was off as it was all flaky and curse word. Turns out the castings are really poor so once I'd stripped the paint off, the surface wasn't as good as I was expecting. I used some chemical metal to even off some of the worst bits but am resigned to the fact that the finish will never be perfect.
This is a bit of a test because I looked into VHT Paints and could only find top coats, no high temp primers. I therefore opted for a system I've used before and I'll see how it goes; Etch primer and wheel silver paint, not lacquered because I don't want it too shiny.

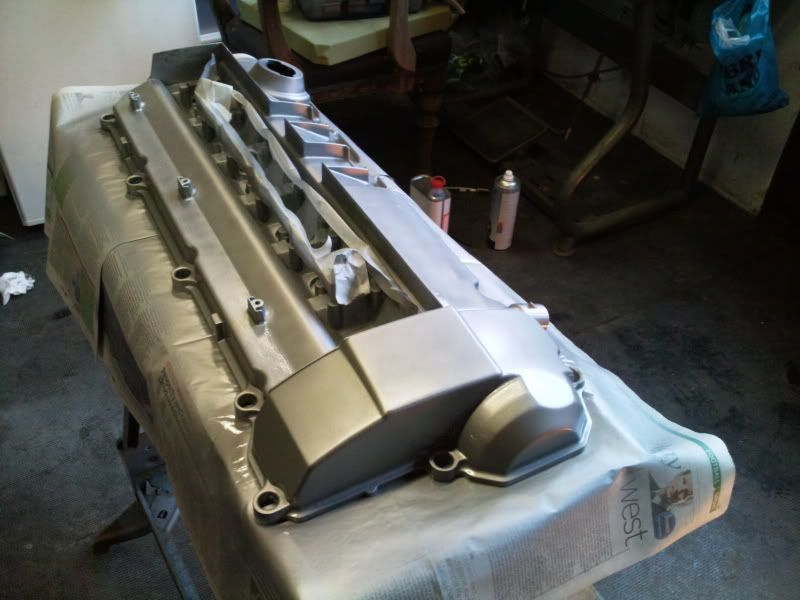
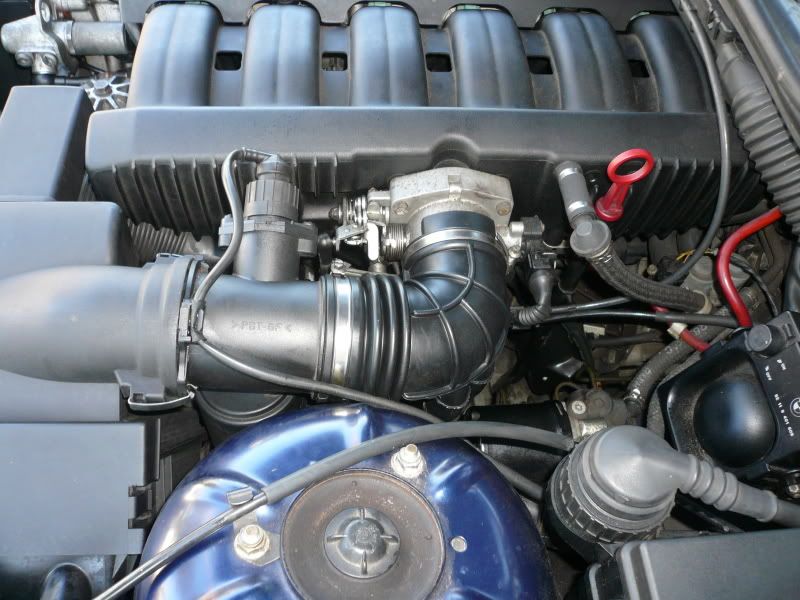
Cam cover back on:
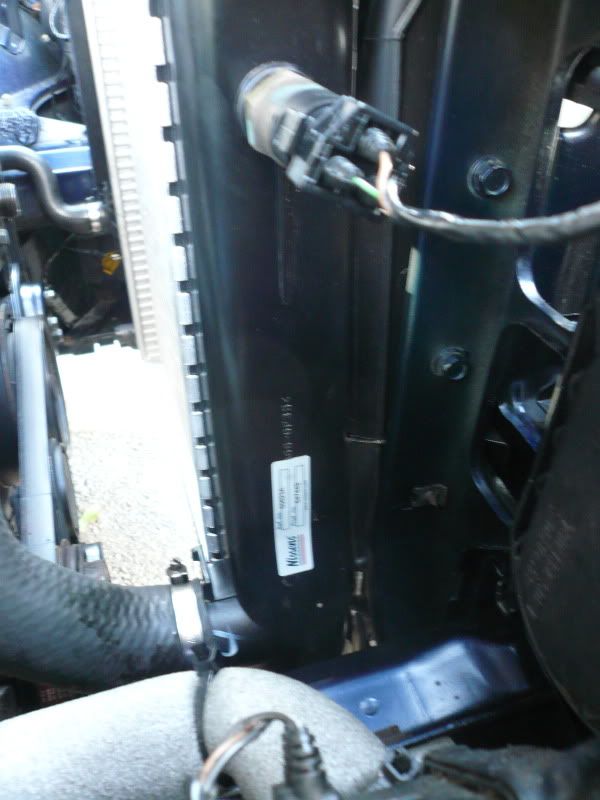
There are a few random new bits of trim under the bonnet to replace any cracked or perished items. It's not detailing clean I know lol but that's not the point.
Oh and I replaced the spark plugs too. My heart completely sank though as I went to undo the first one and it felt like the thread was knackered; I've done spark plugs on a few cars now and normally there's an initial 'bite' and then they unscrew easily. On this though they felt firm, not stiff but just firm for the first 4 or 5 turns; I've heard horror stories of threads stripping on alloy heads and felt physically sick when I thought it had happened.
The astute amongst you will notice the bonnet struts are the 'wrong' way round. I replace the saggy old ones and put these on this way because I think it looks more logical.
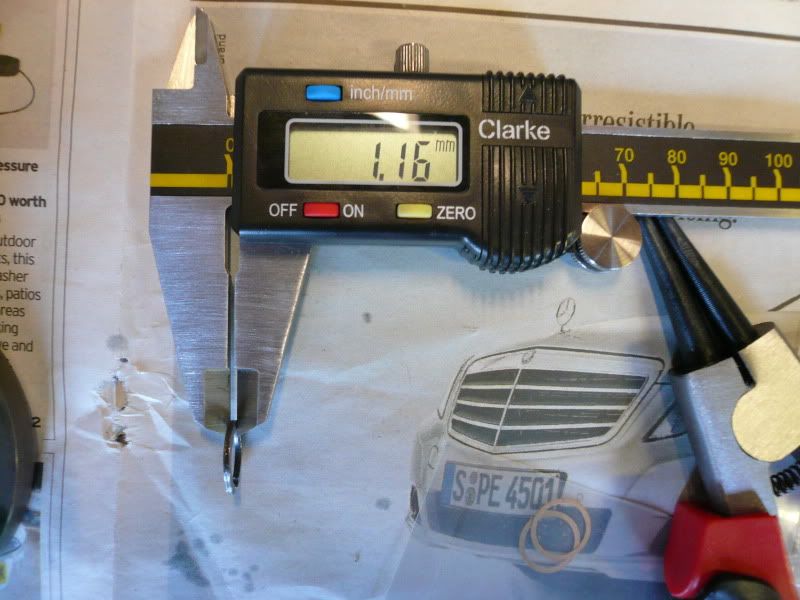
The gasket and rubber washers are all BMW items but it's worth noting that the little rubber washers are slightly different to the original items; they're slightly less tall and the same diameter as the washer. It's hard to explain but I assume they're just a slightly updated part.
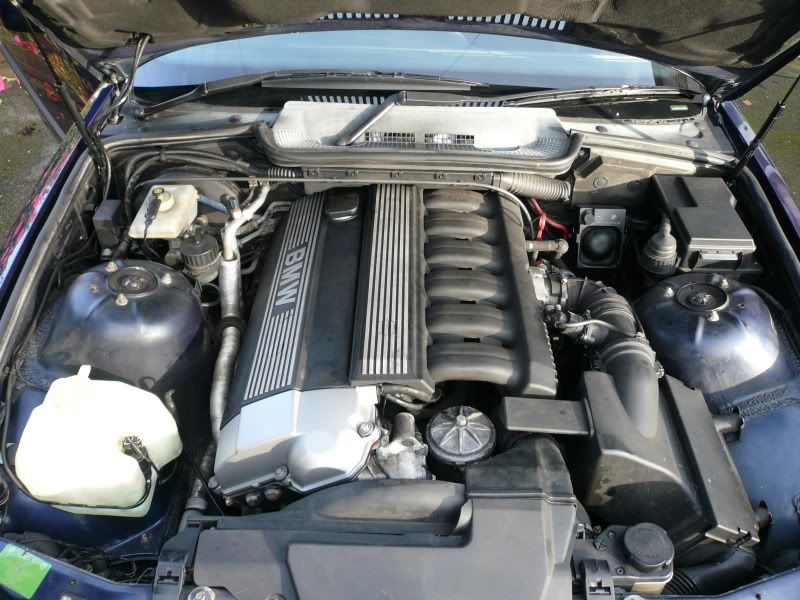
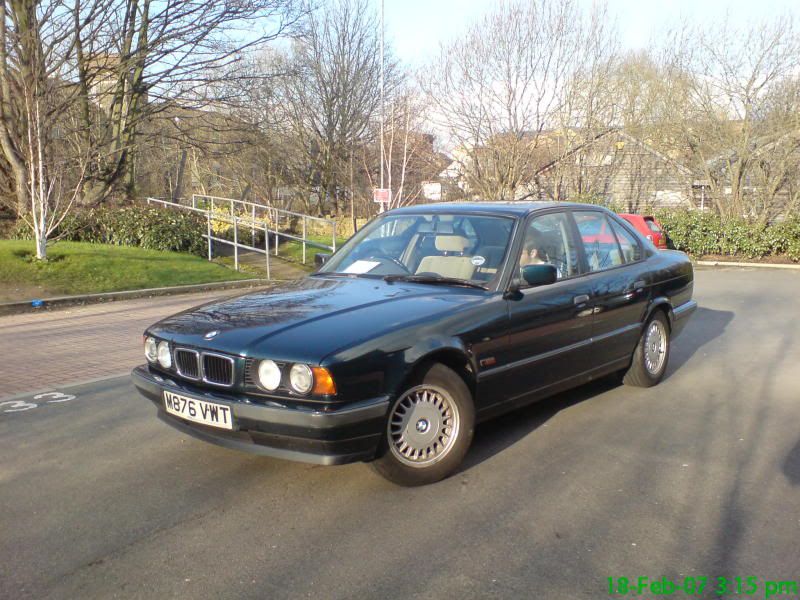
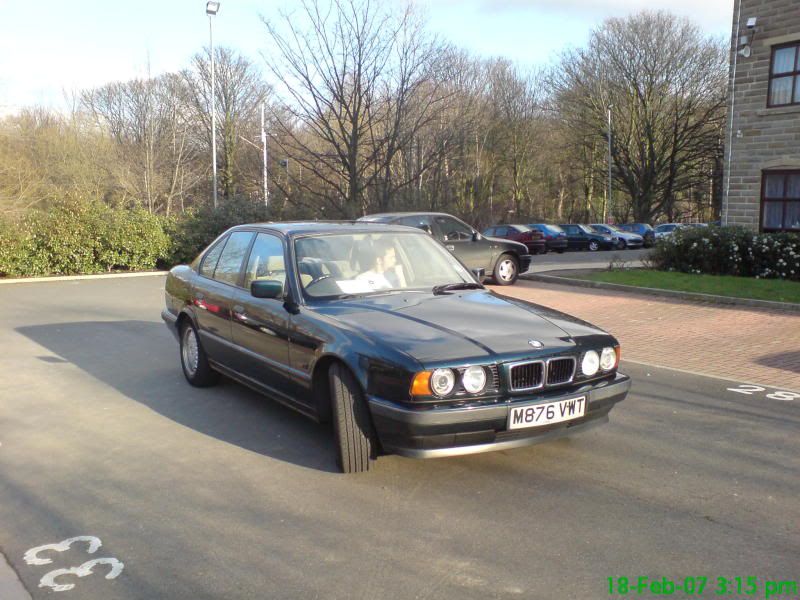
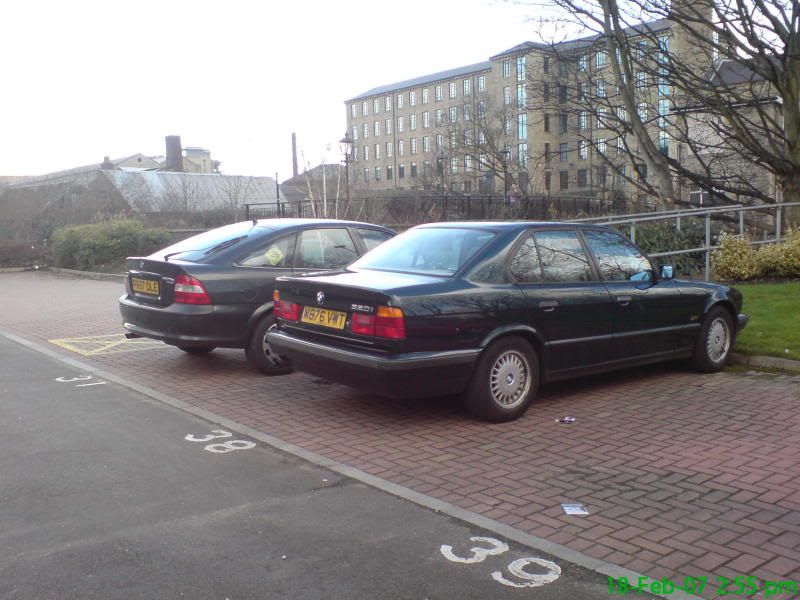
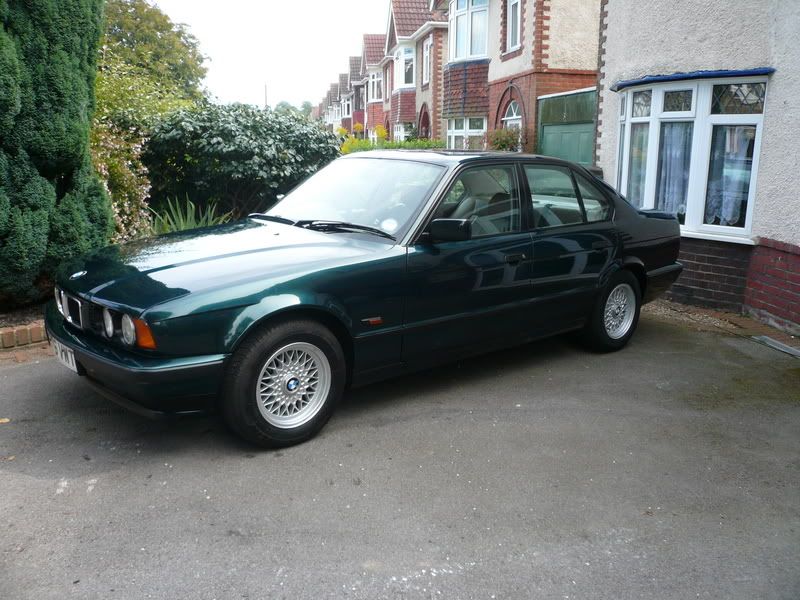
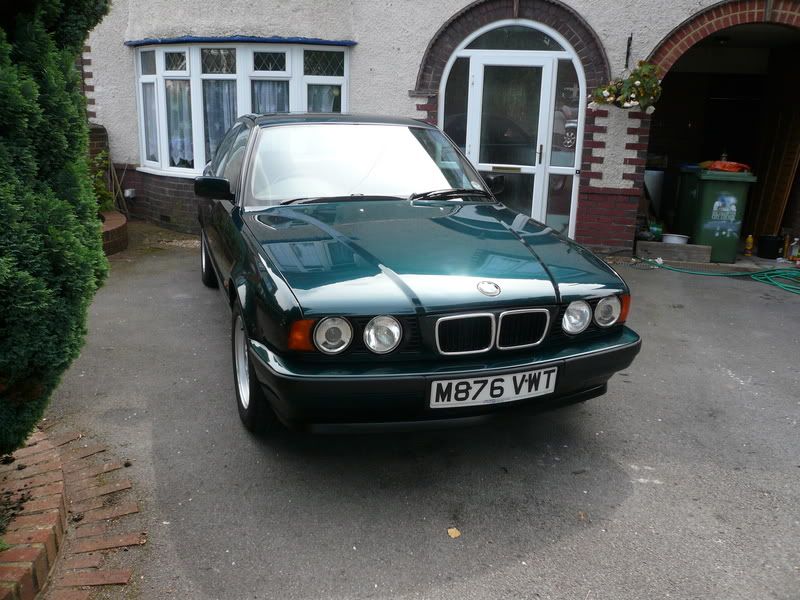
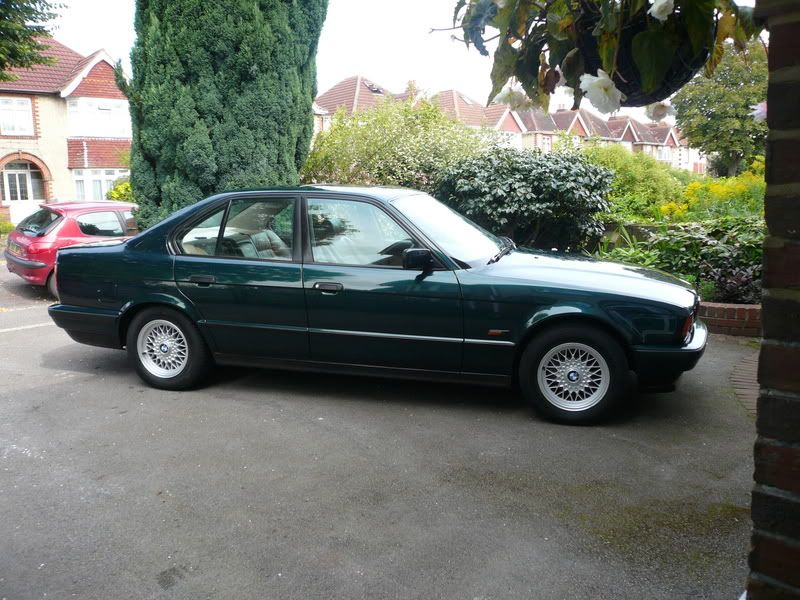
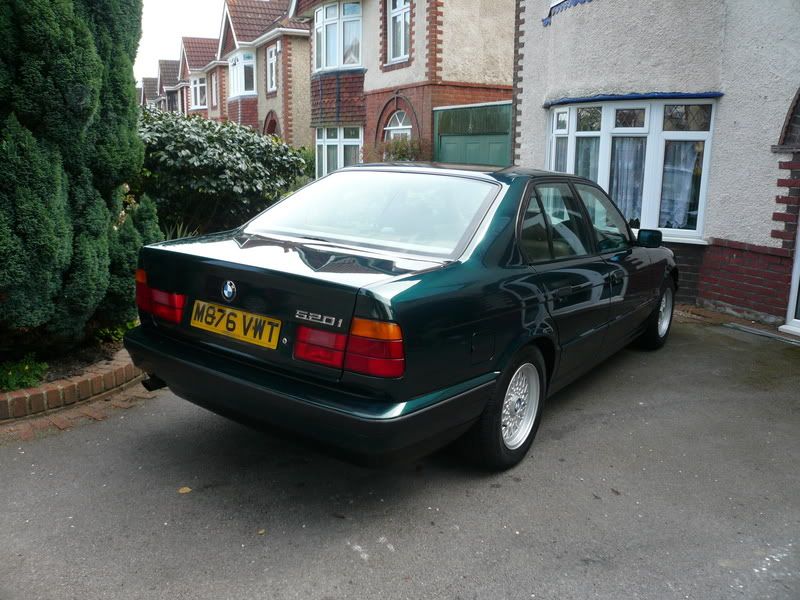
On a side note, I've just been browsing through some of my old files and thought I'd put a couple of a similar (although to a lesser extent) thing I did with my old e34:
As I bought it, needing a fair bit of work:
(my old vectra in that pic too, uni car park with my 2 family saloons, sod the stereotypes!)
After I'd had my fun with it:


I liked that car
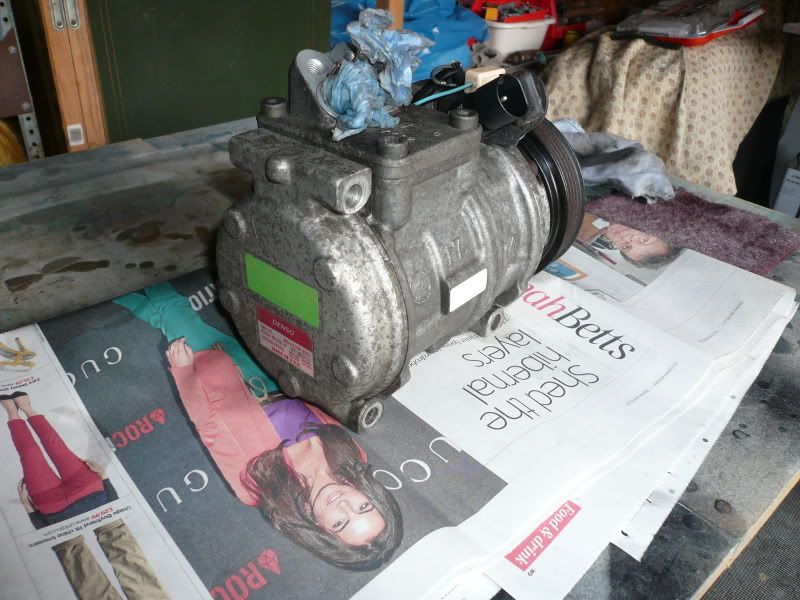
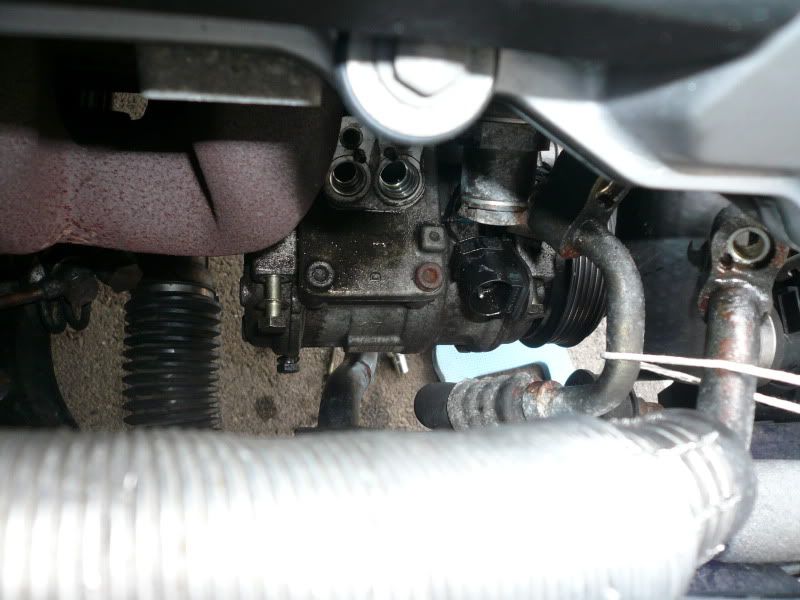
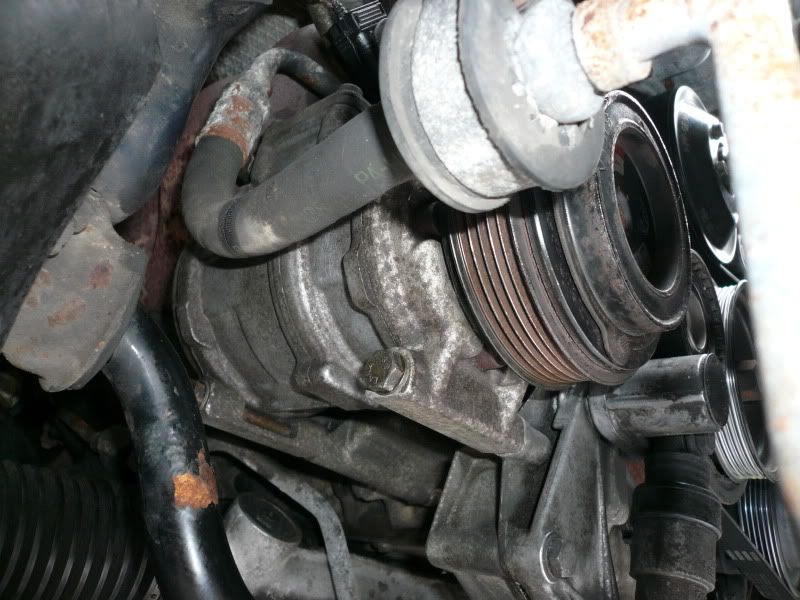
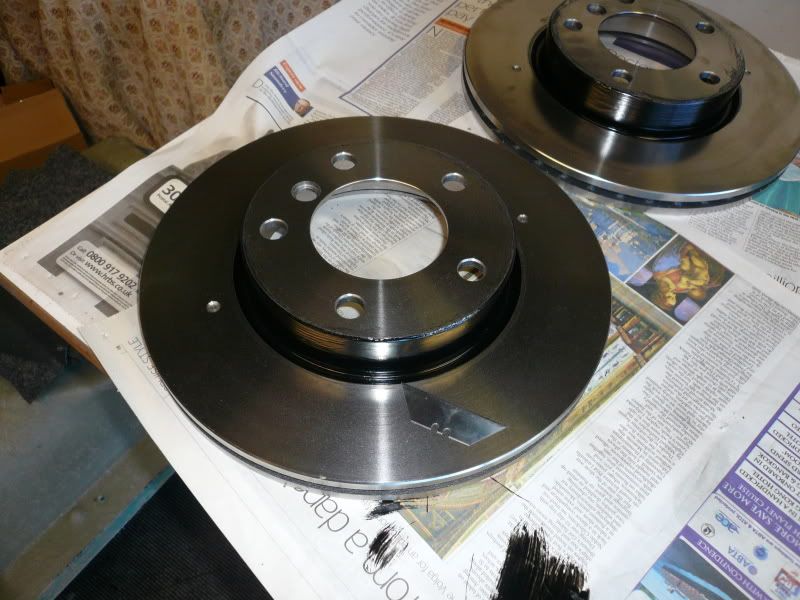
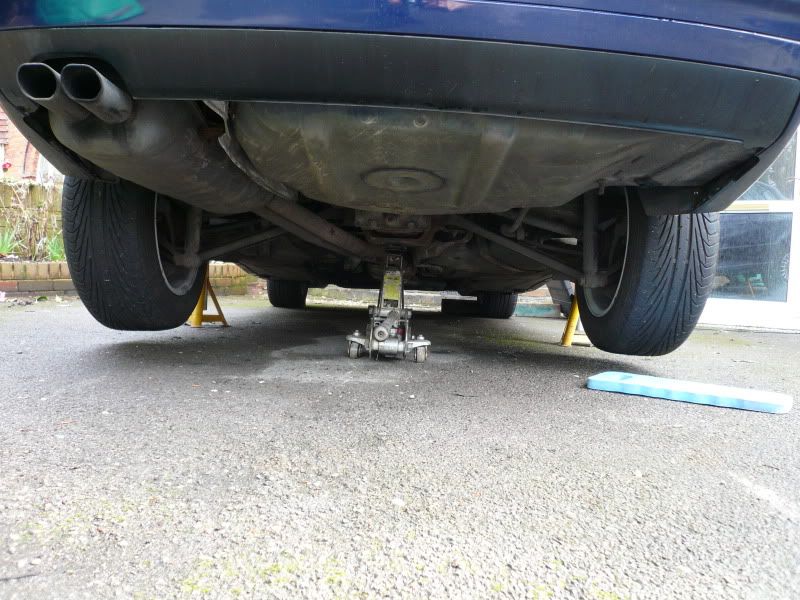
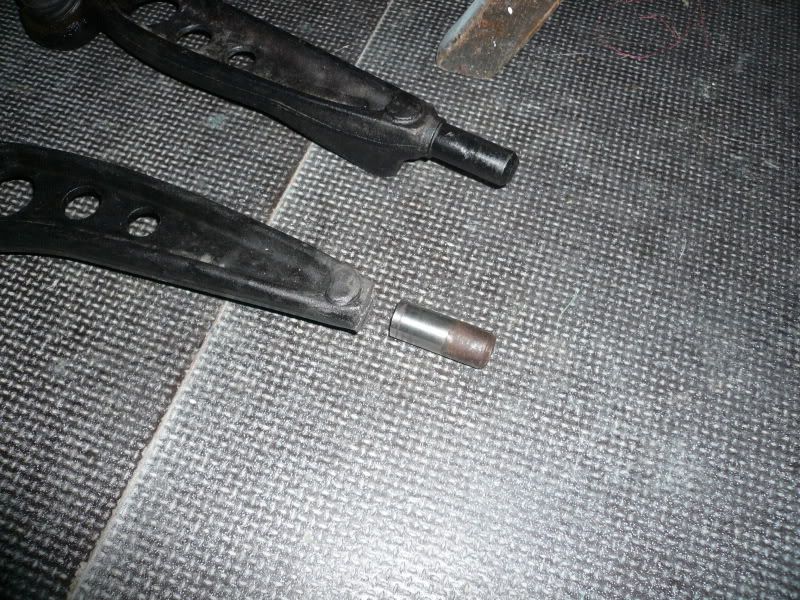
Well as some you may know I'm now going to replace the rear shocks too, and probably a few other bits while I'm there. Not because of any clunks or noticeable problems, but because I looked somewhere I shouldn't have lol
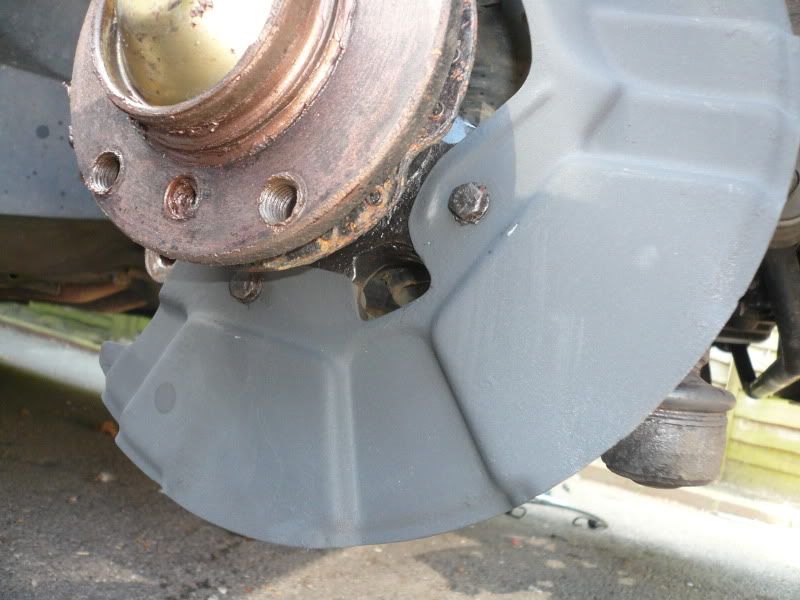
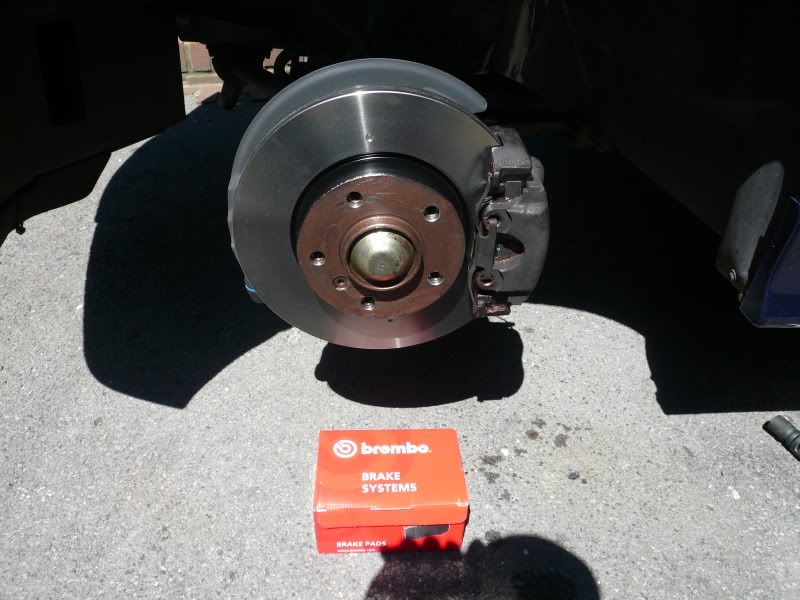
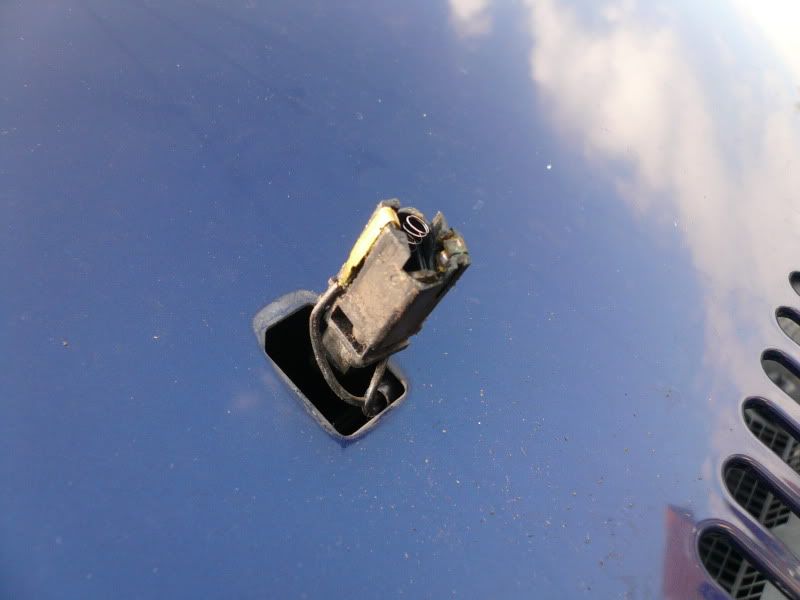
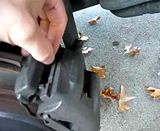
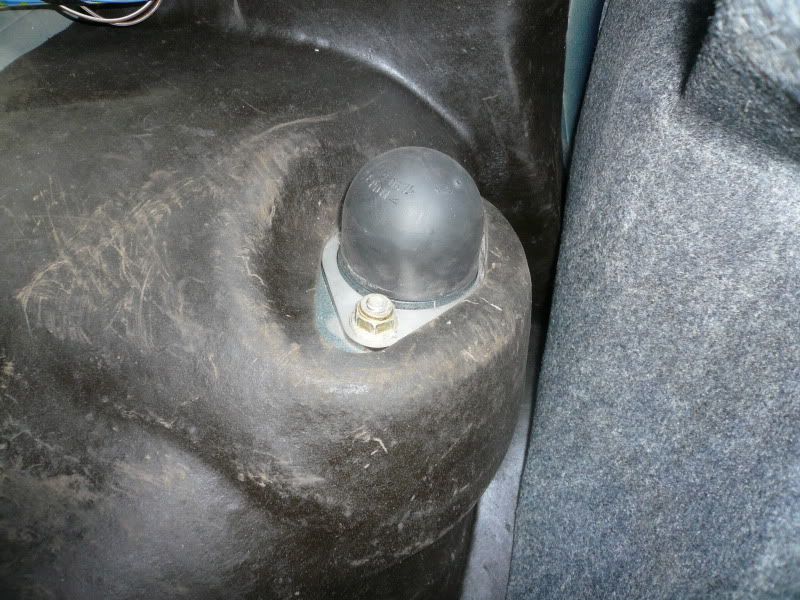
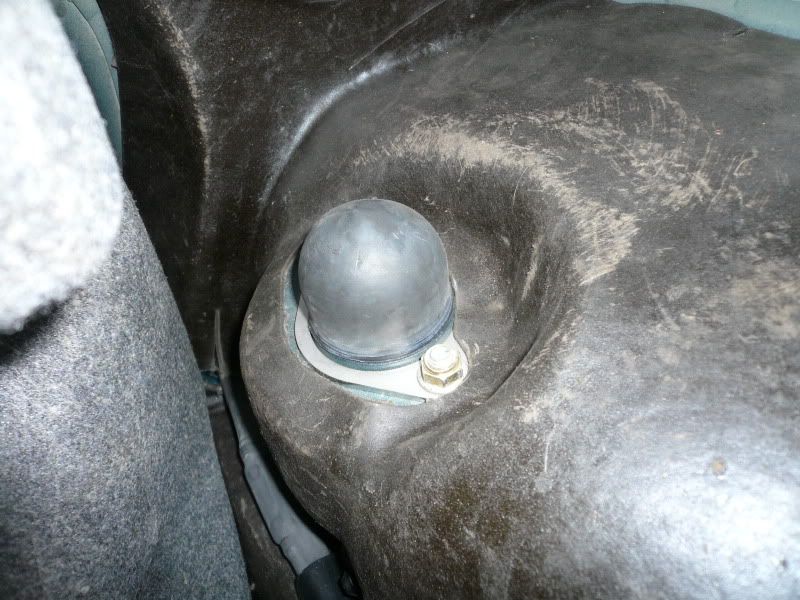
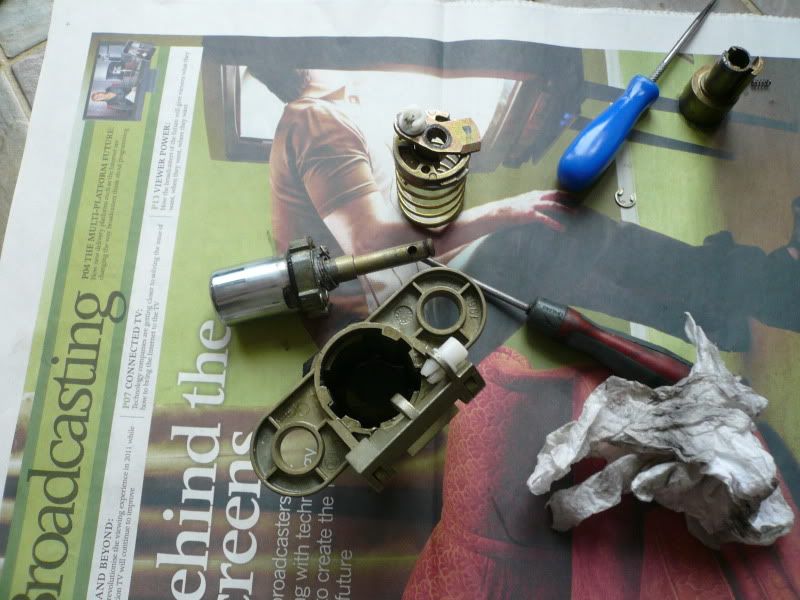
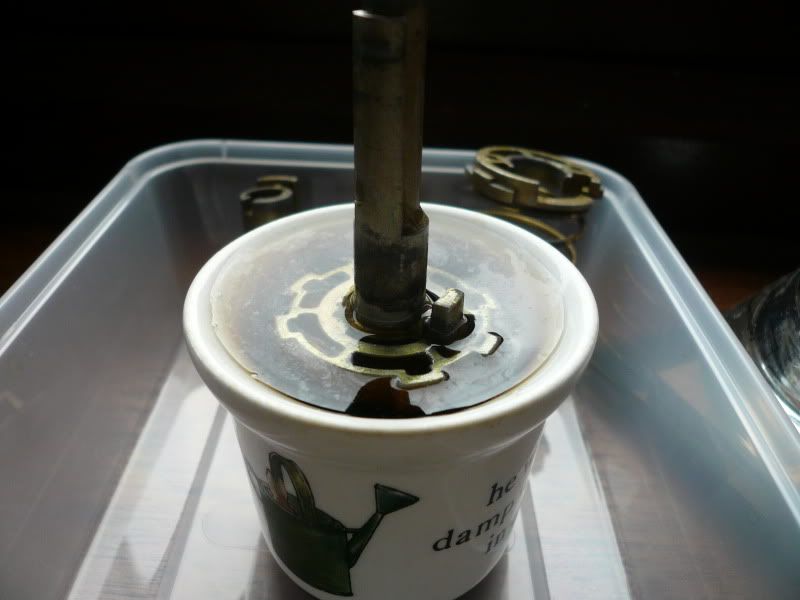
Also after a bit of errr completely unintentional drifting the other night in the wet...it's a new car, not used to it yet *ahem*... I think one of the rear pads is rattling a bit so I'll sort that too. BUT today has been handbrake adjustment time as it's been a bit pants since I got it:

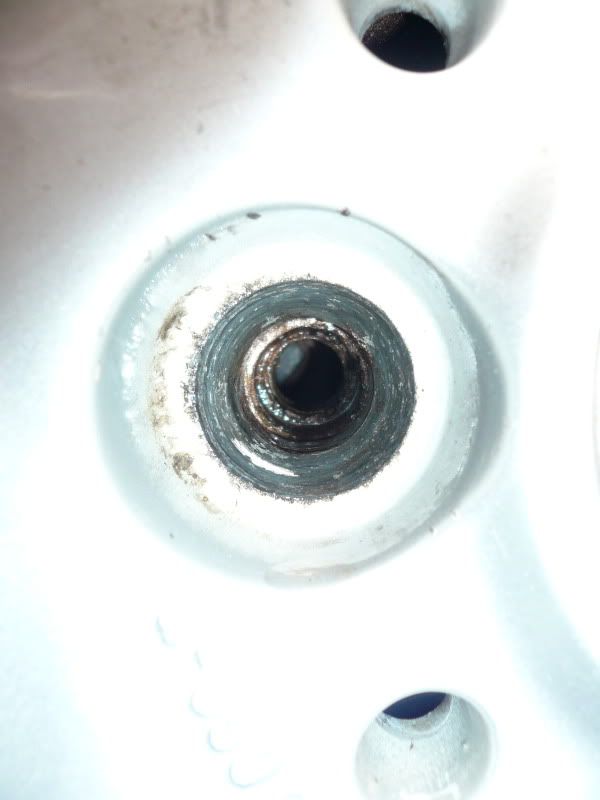
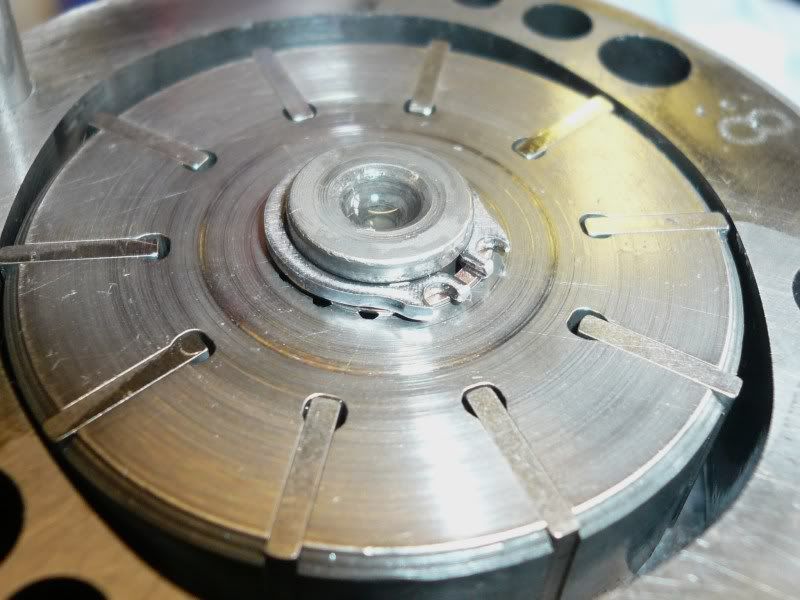
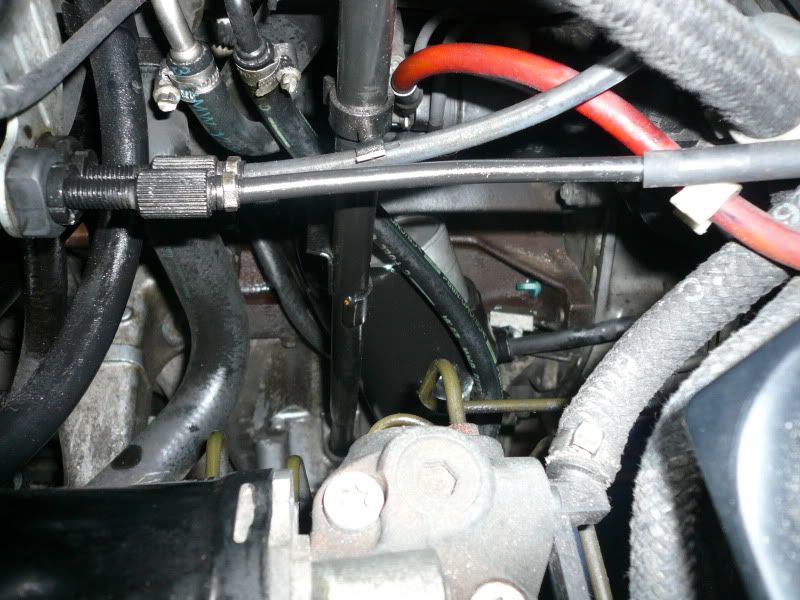
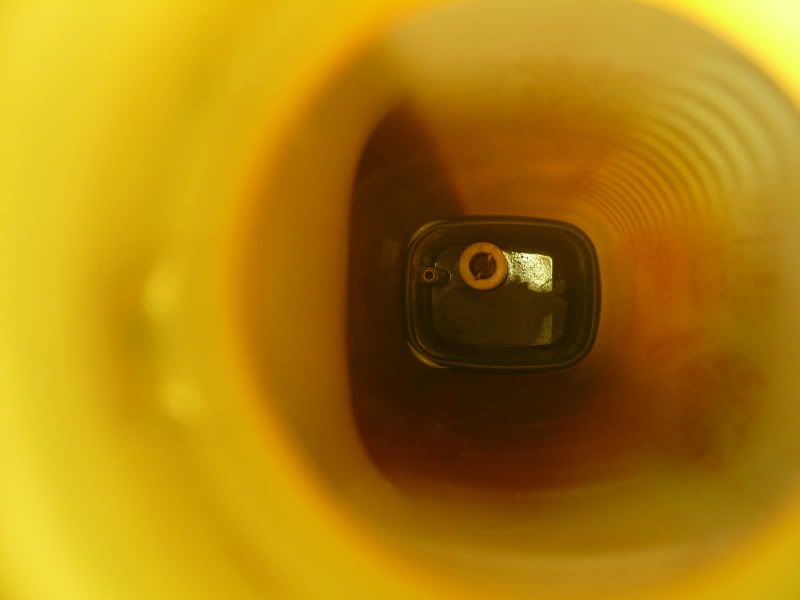
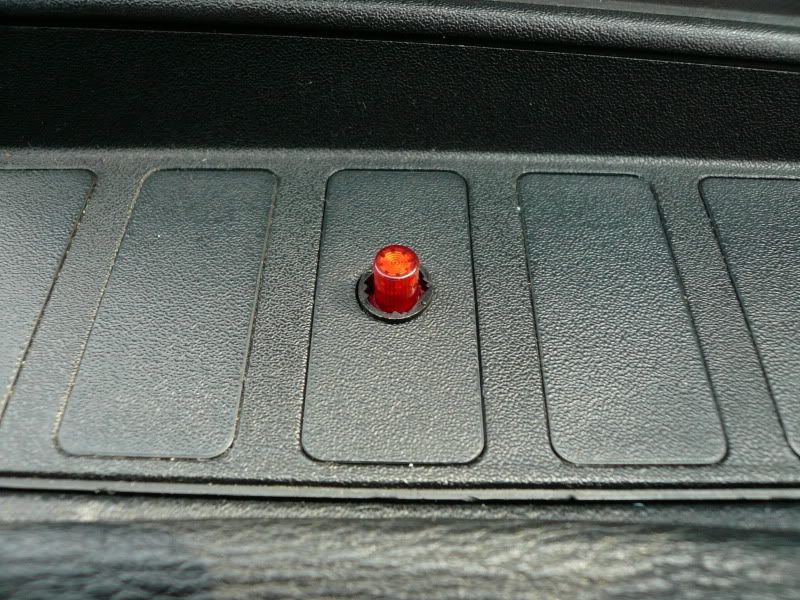
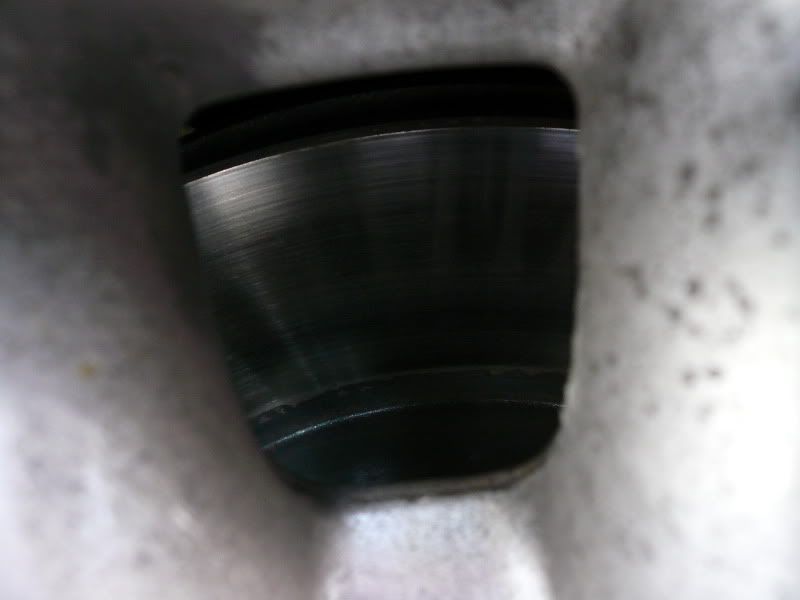
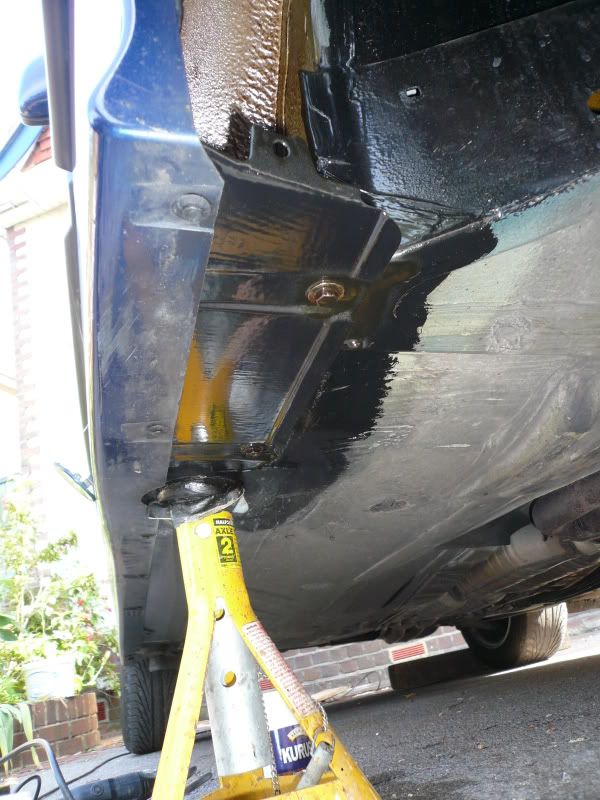
Took me a few minutes to find the adjuster through this hole, wasn't as visible as I thought it would be lol

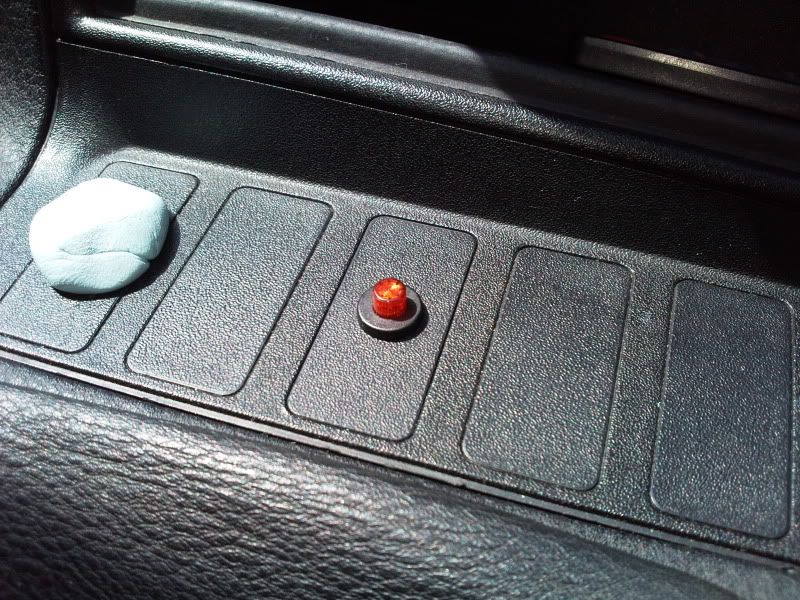
All done and now holds on the 4th-5th click
Update 01/04/10
Lots more work that nobody except you lot will probably ever see :lol
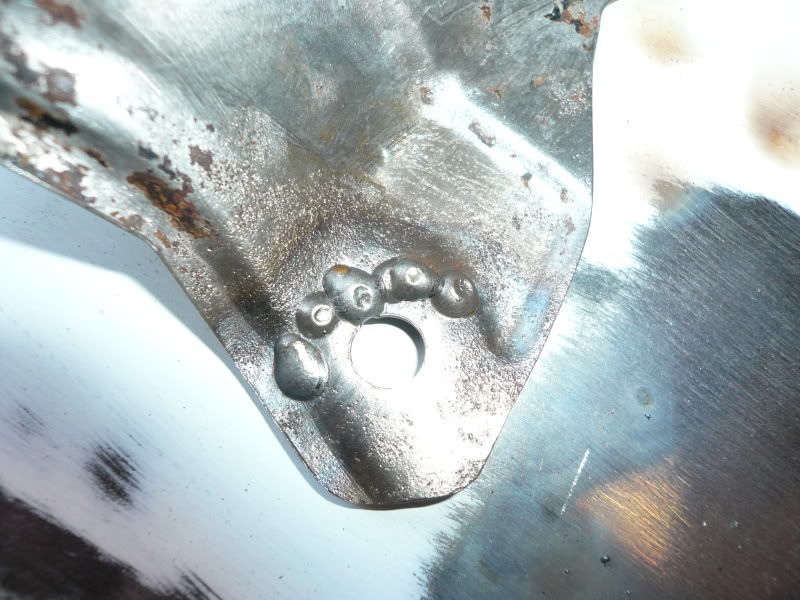
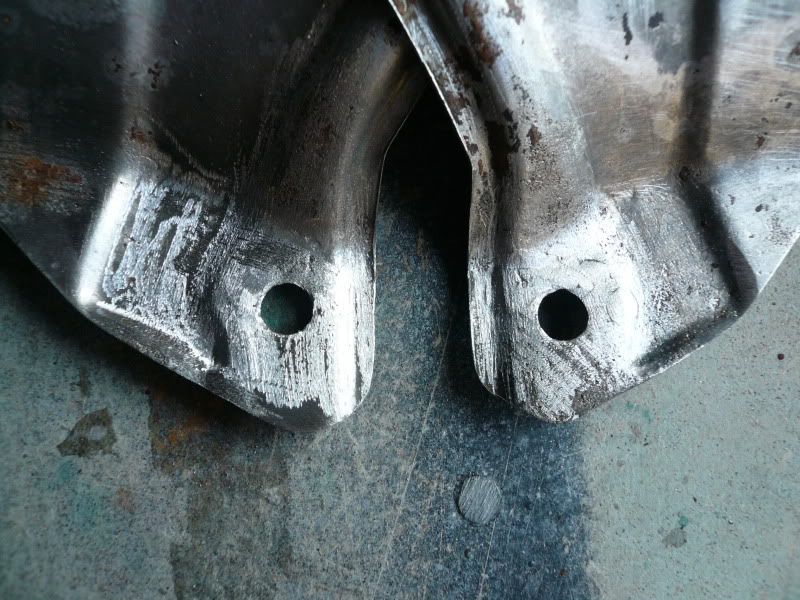
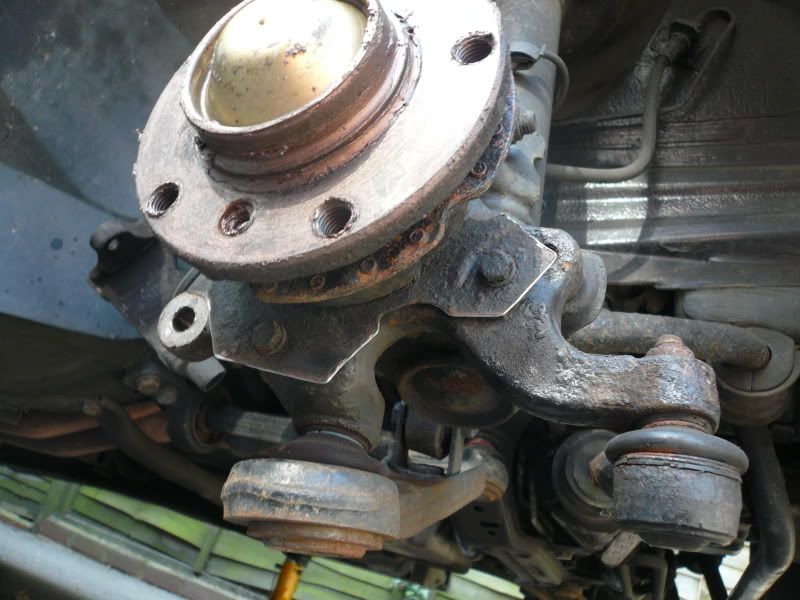
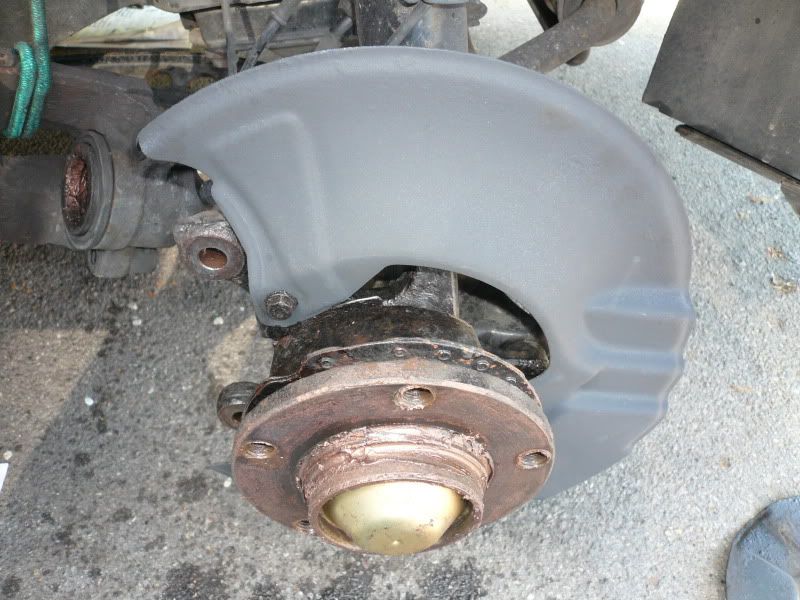
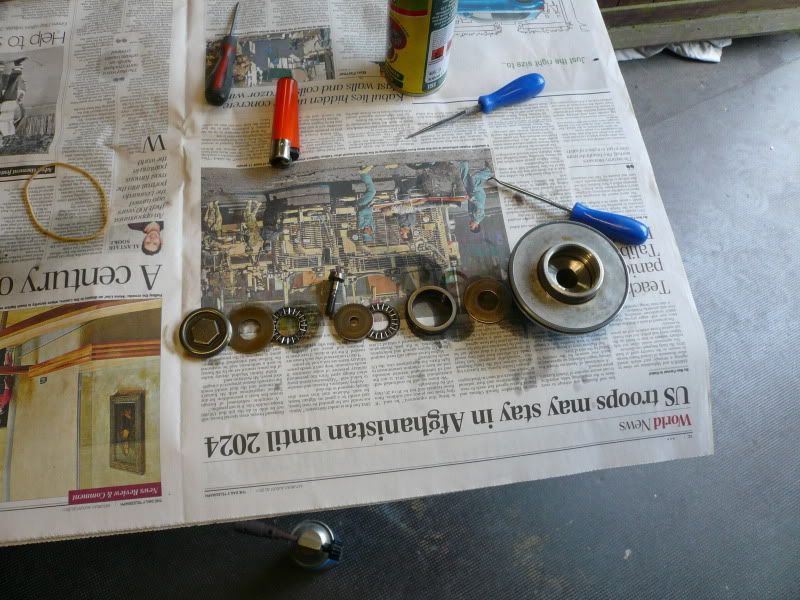
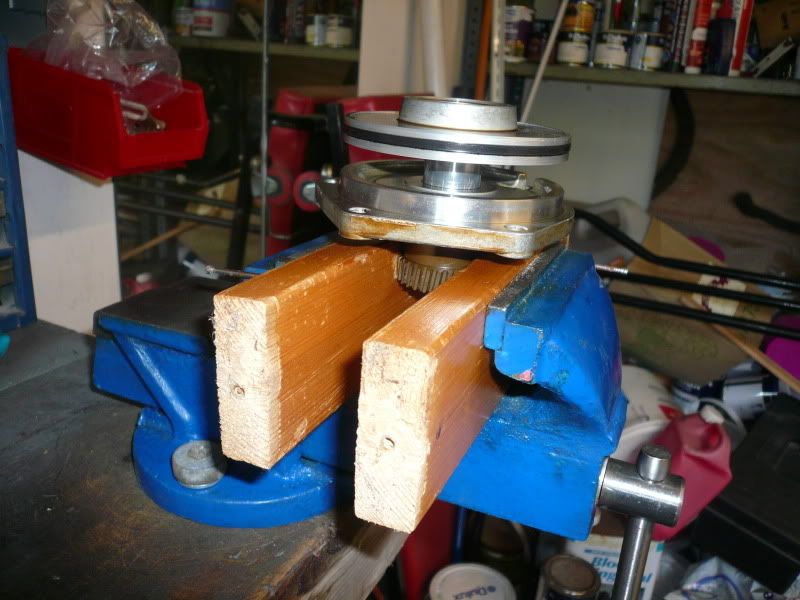
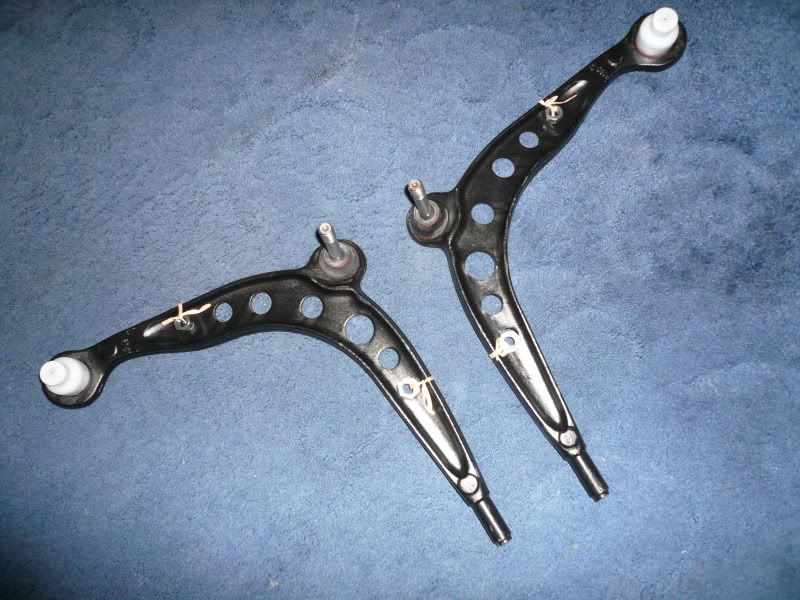
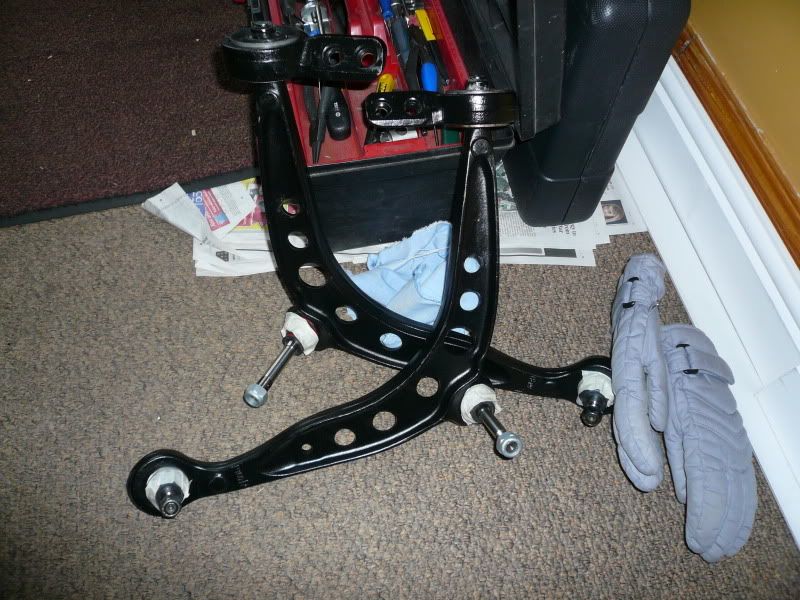
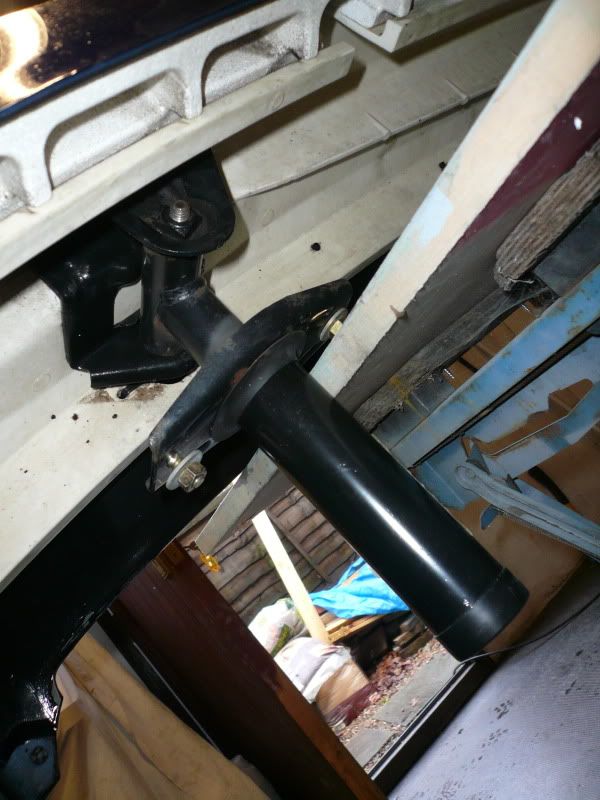
I noticed the drivers side rear dust cover was missing so I got another one. I figured while I was taking the shock off I'd fit some Z3 reinforcement plates, oh and while it was up in the air I'd try and find the cause of a rattle, probably the pads so I'd take them all out and copper grease them etc.
Sod it, while I was doing that I may as well scrub things up a bit :embarrassed
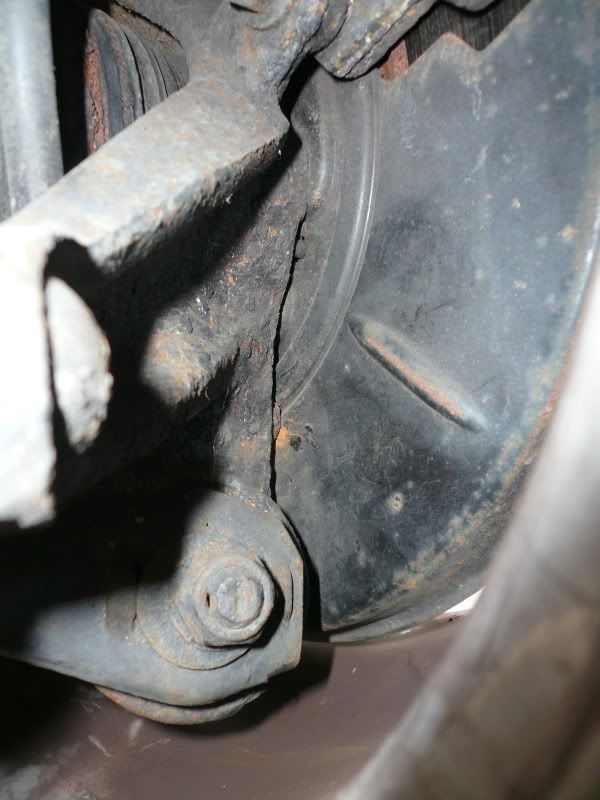
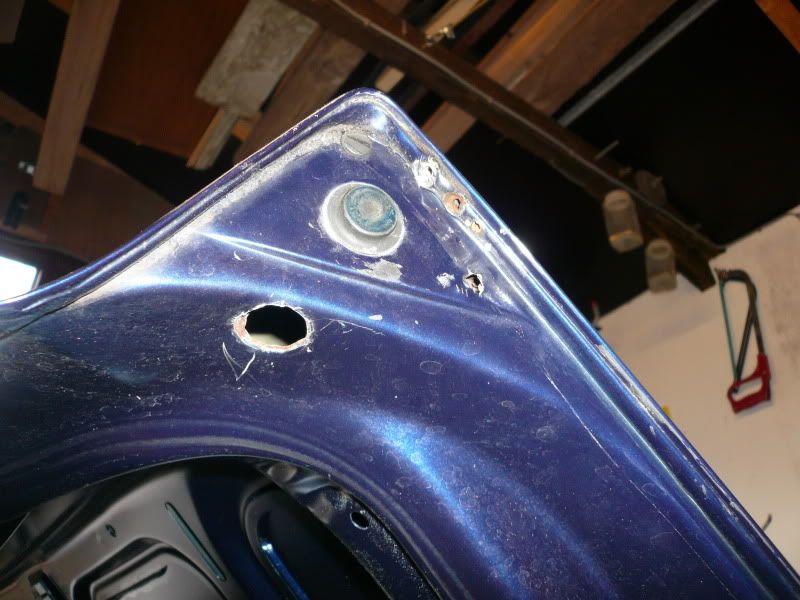
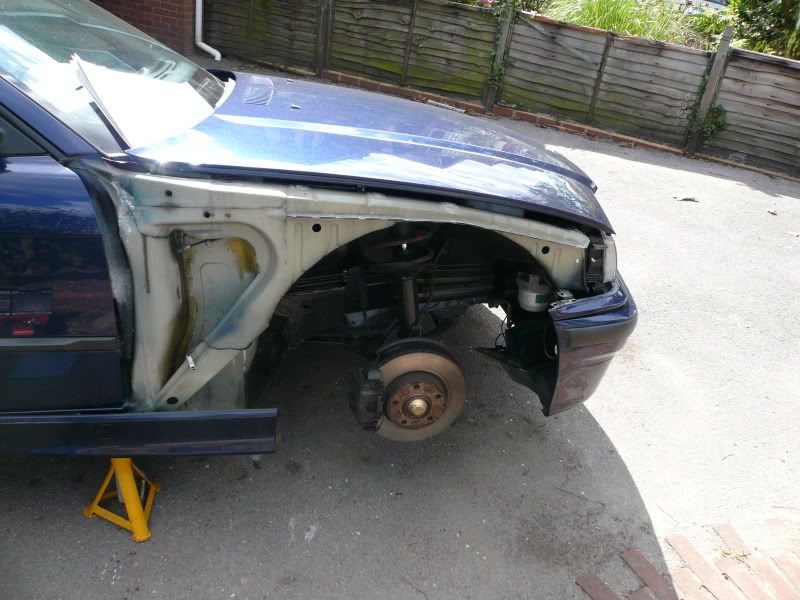
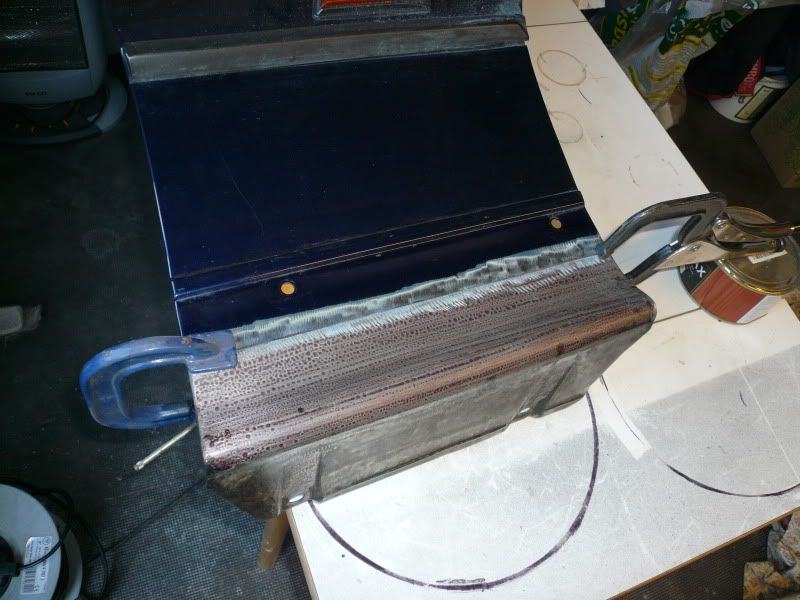
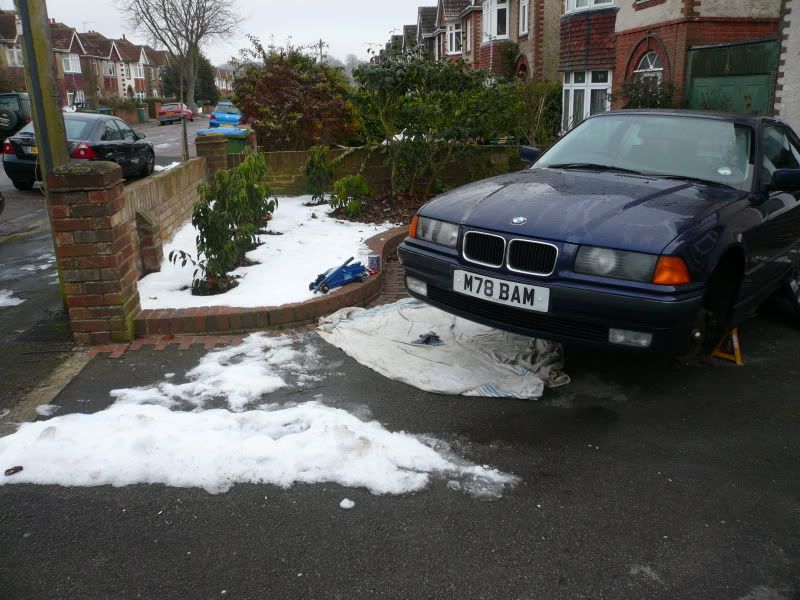
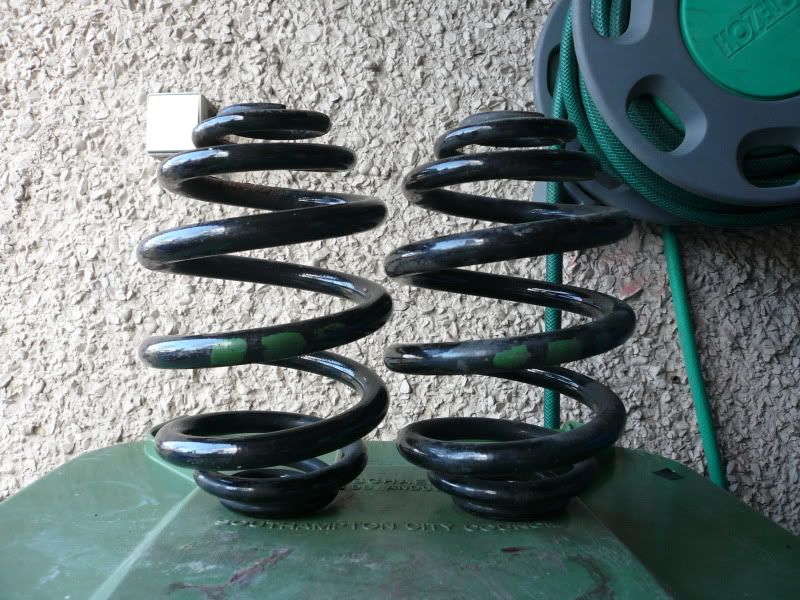
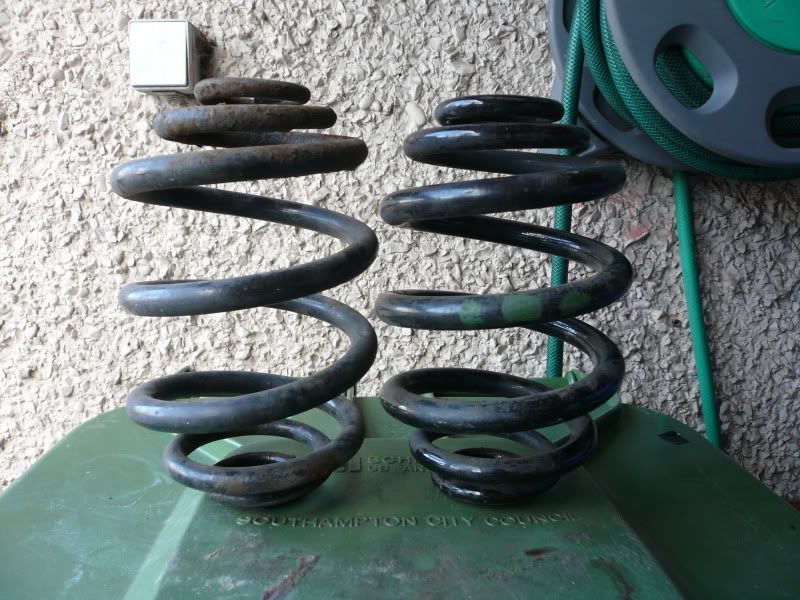
First thing I noticed when I jacked it up and had a nose around was that the drivers side rear spring was snapped :eek. I'd had my suspicions because it was sat a little lower that side, but after some research I put this down to the 'all e36's do because they were build for LHD' etc, I shouldn't have made any assumptions really.
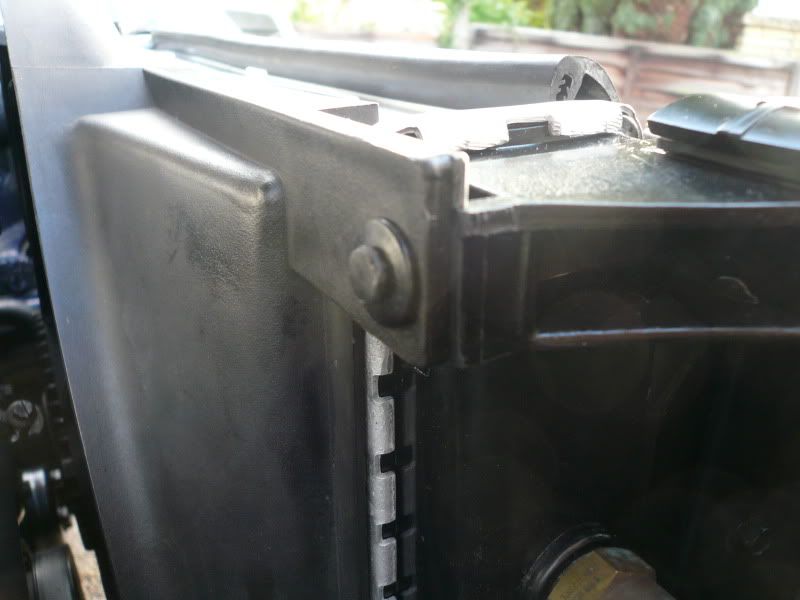
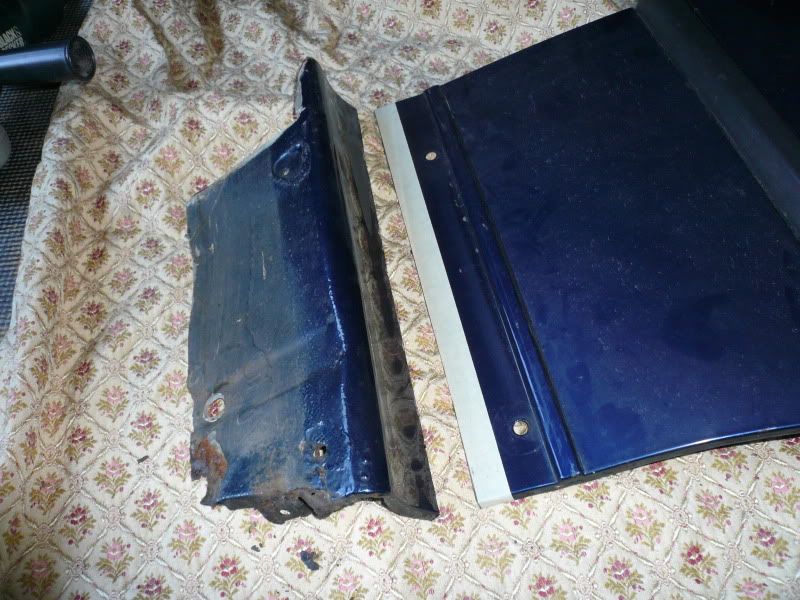
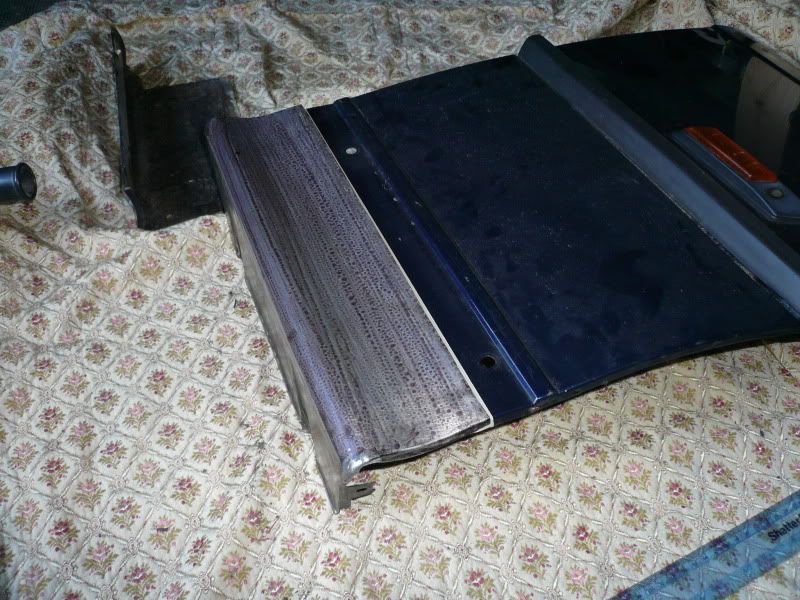
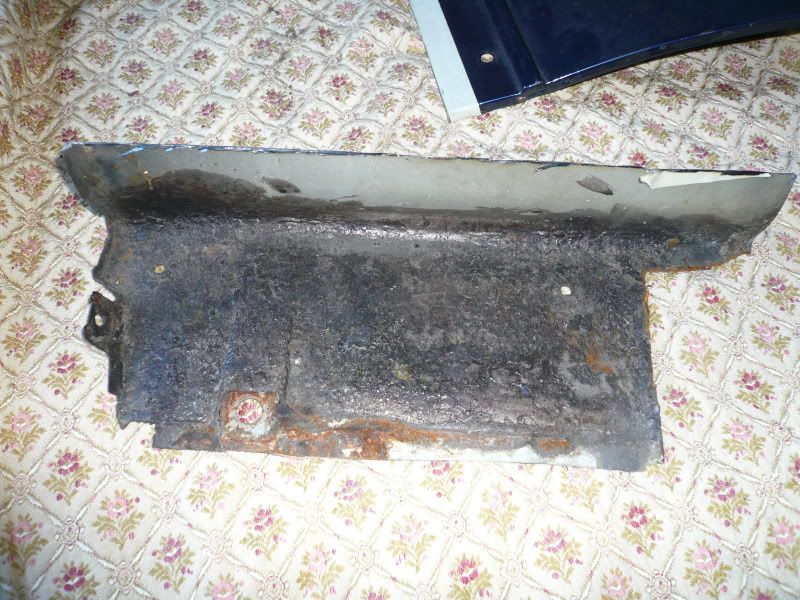
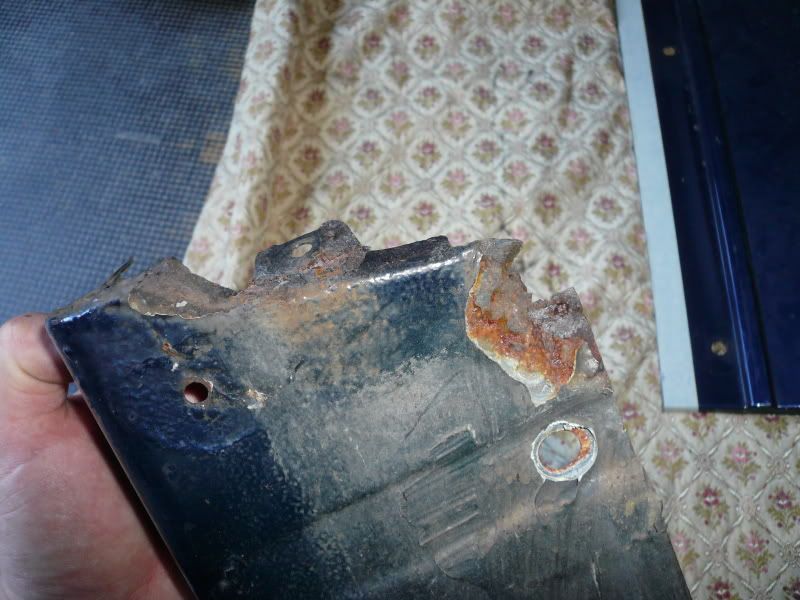
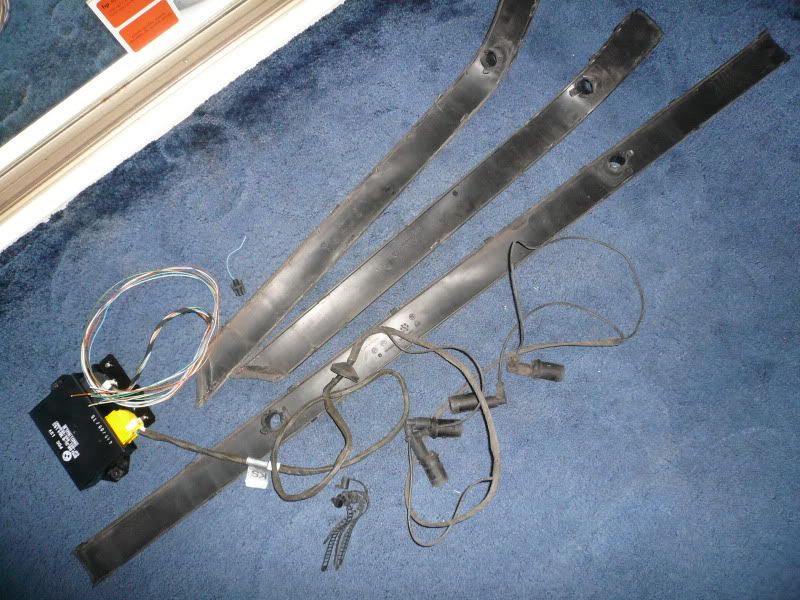
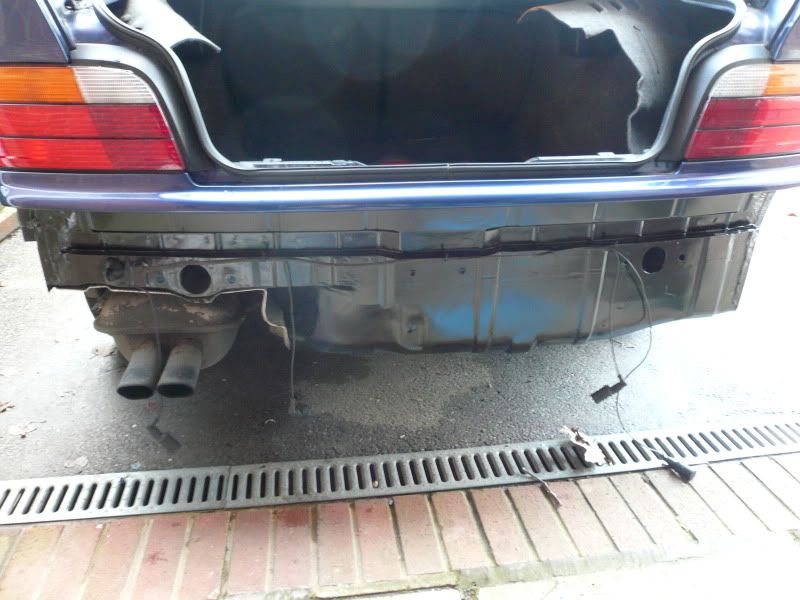
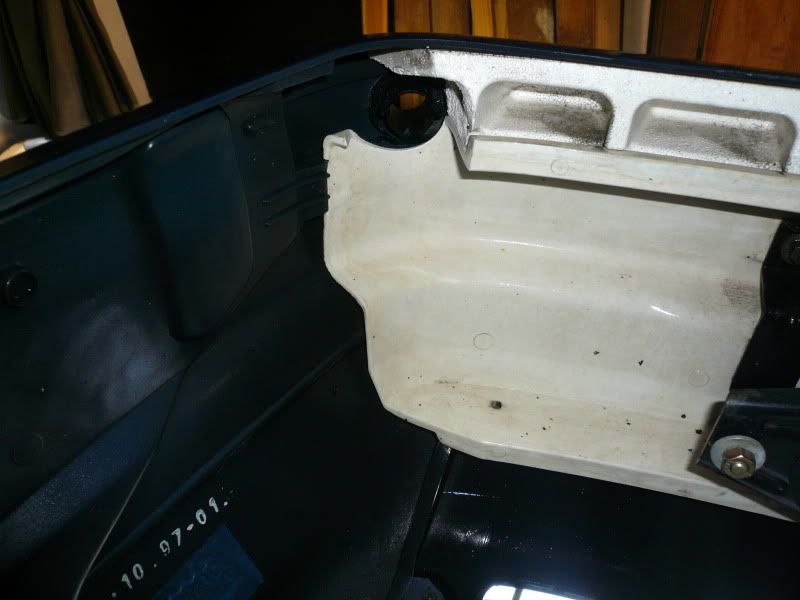
As I needed to strip some of the boot trim out anyway I took the rear lights out and clean things up:
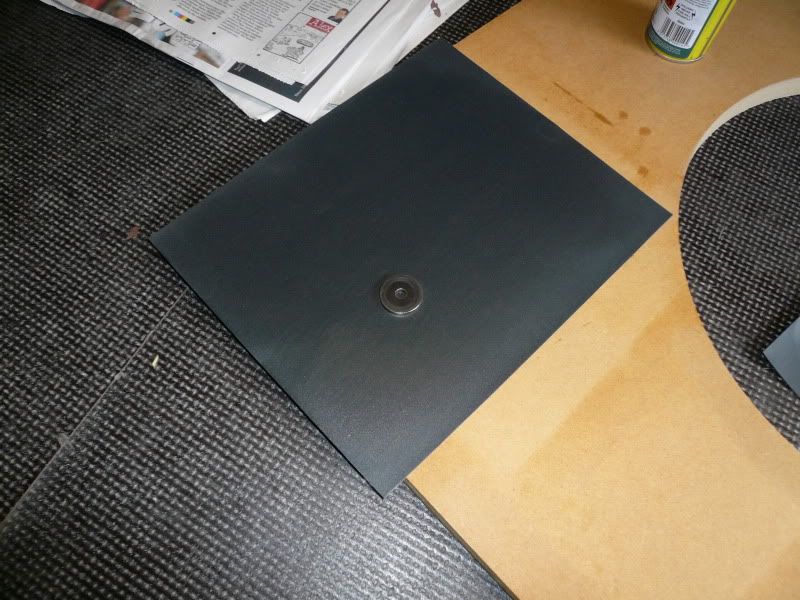
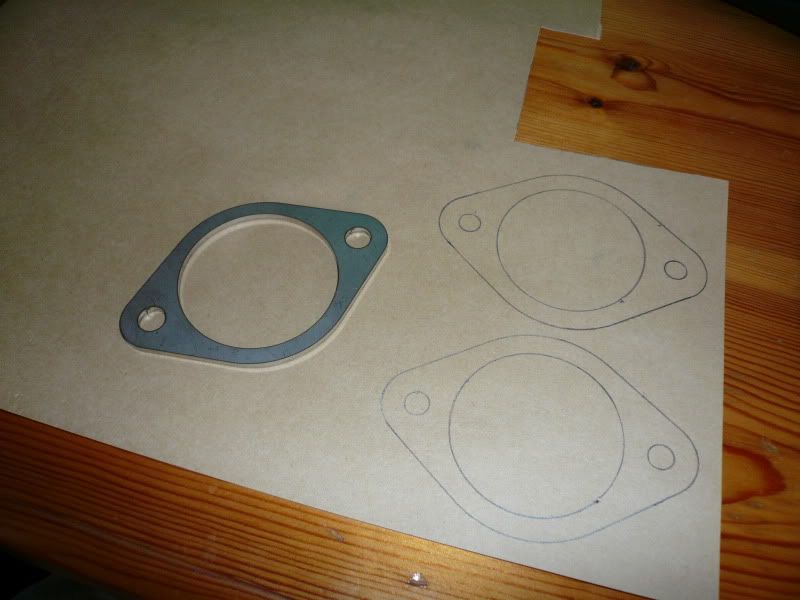
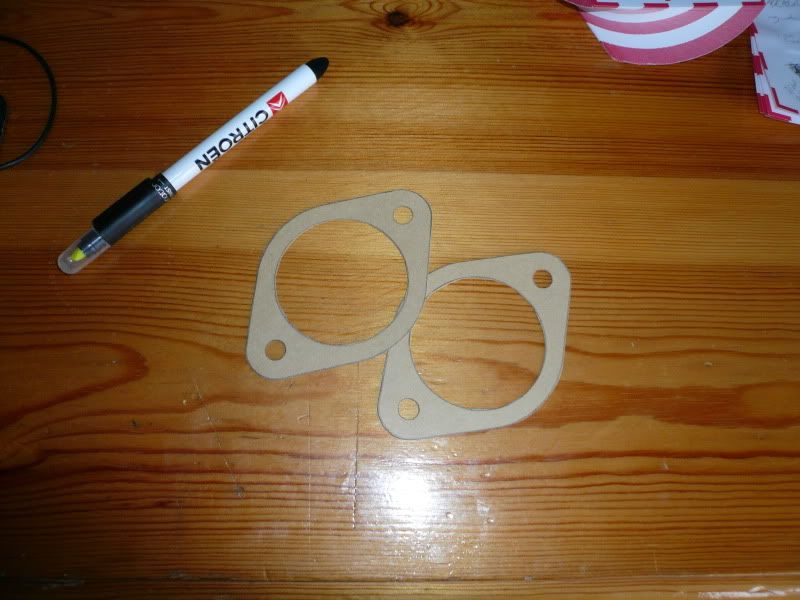
I knew the top mount gaskets would be past it so I used the plates as templates and made my own out of some gasket paper I had lying around:
(deleted a chunk as the pictures wouldn't work)
January 2010
Well considering how utterly curse word the weather is, I can't do a damn thing on the car so it's stuck. in bits. un-drivable.
That being said, I need to cheer myself up and remind myself what work I've managed to do during the brief dry spells.
I figured I may as well make a journal seeing as it’s become more of a project than I first anticipated.
A little bit of background; I spent what felt like an eternity looking for my ideal 328i Sport but couldn’t find any that were up to scratch, at the same time I half heartedly looked for 325i coupes but still couldn’t really find anything. With the market the way it is and the time of year not helping I put the search on hold and then sods law found a 325i coupe on this very forum. I figured it was worth a look and eventually bought it; I knew it needed a few things doing but as with most 14 year old cars I found a few more niggles in the first few days of owning/driving it.
I don’t have that many pictures as I was too busy working on it but there are a couple.
As I got it:
The wheels are in a shocking state so I’m on the lookout for some original style 13’s.
Now for the jobs:
First off was the fact the passenger carpet was a bit wet which I was told was down to the previous owner leaving the window open a few days before I went to see it. Second was the seats had the usual wear to the leather and third was that some of the boot trim wasn’t fitted correctly. With all this in mind I decided to remove most of the interior to get everything done at once…in the winter…with a cold…big mistake.
When I took the boot trim out there was evidence that someone had previously had a sound system in the car. There were a couple of drilled holes and broken/missing clips/bolts etc. I replaced any trim that was cracked or broken and bought new clips etc and rubber feet. Any holes were painted with kurust and then closed with a grommet and some sealant.
FYI the expanding rivets that hold the trim around the boot latch are pathetic; you have to push the centre piece through which disappears into the body. Luckily there was only one of these left in place. I’ve now got some different ones that can actually be re-used if I ever want to take the trim off again.
Boot all done, broken light cover replaced:
[
It’s the little things lol
]Next was to take the front seats out and give them a good clean and some scuff master. I stripped the drivers side seat base down and added some foam where it was worn, then swapped the bases over (with new clips) to even out the wear. After a good shampoo and recondition they were good to go again, oh and some touching up of the paint on the frames to make them look pretty lol
The rear seats didn’t need any repairs, just a good shampoo and condition.
An idea of the wear:
Something I’ve not done for a LONG time; bought something from the dealer
After:
Again, I know the pictures miss out a LOT of steps but it’s not really meant to be a guide, I just take a snap while things are drying or I’m having a cuppa.
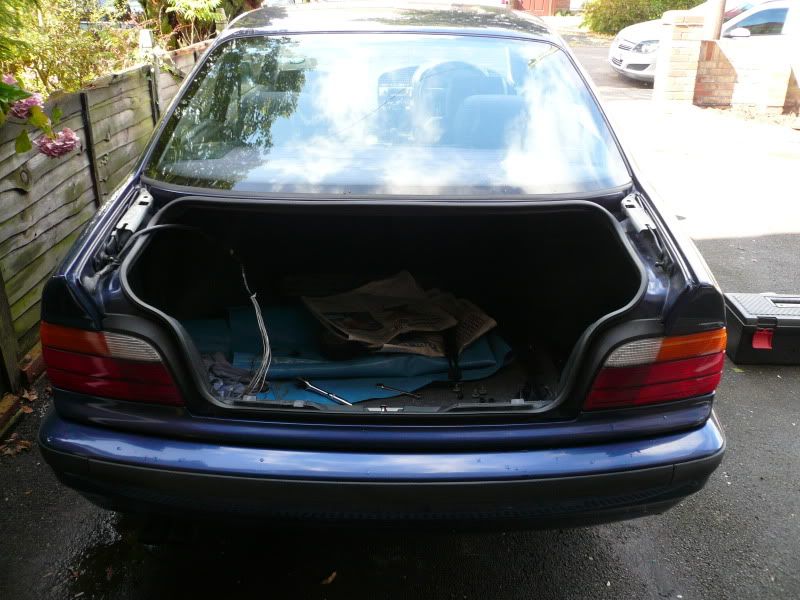
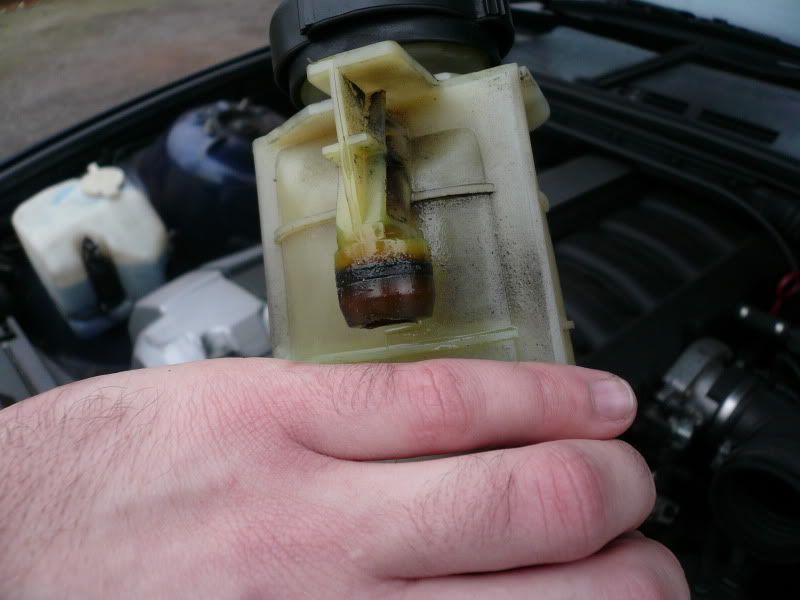
Now comes the fun part; while the interior was all out I checked the carpet and was in for a shock. The passenger side was completely soaked through, way more than a window being left open. After some feeling around I noticed the carpet was wet all the way up to behind the dash so figured there must have been a leak from the bulkhead somewhere. Some forum searching later and I read about the ‘elephant trunks’ so they were on the hit list. I removed most of the interior to free up the carpet and then stuffed towels underneath to dry everything out. In an ideal world I’d replace the carpet but I’ll leave that until summer.
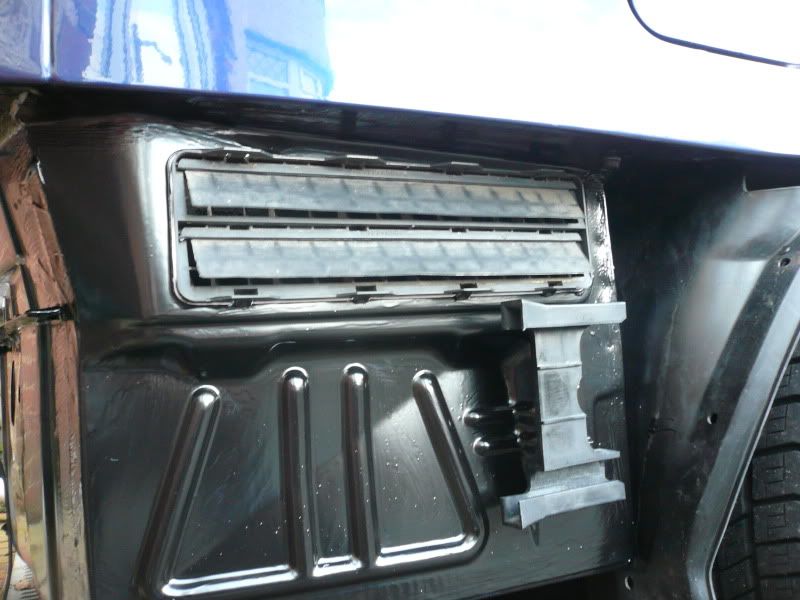
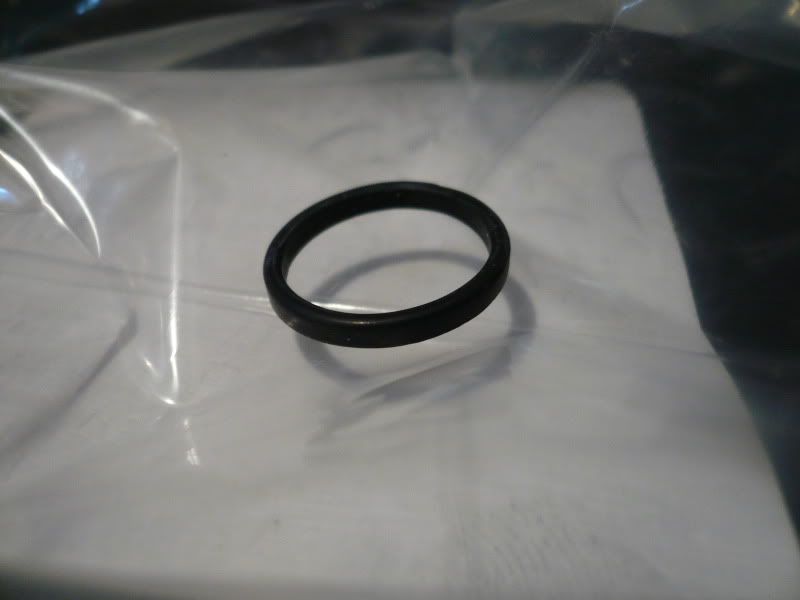
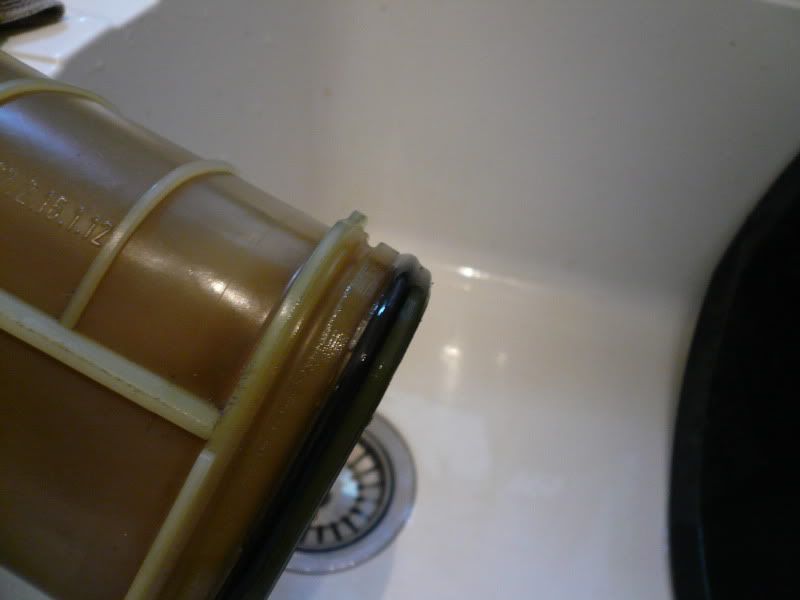
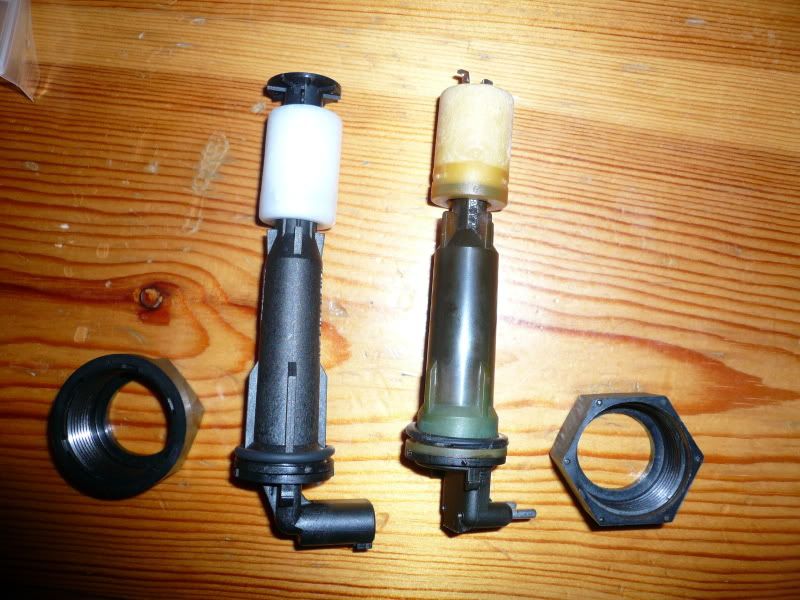
After a bit of trouble with some stubborn wipers I was able to clear out a load of cr@p from around the blower motor and also noticed a grommet was missing where the alarm wiring goes through the bulkhead. Time will tell if this is indeed the cause of the leak but fingers crossed it’s sorted now.
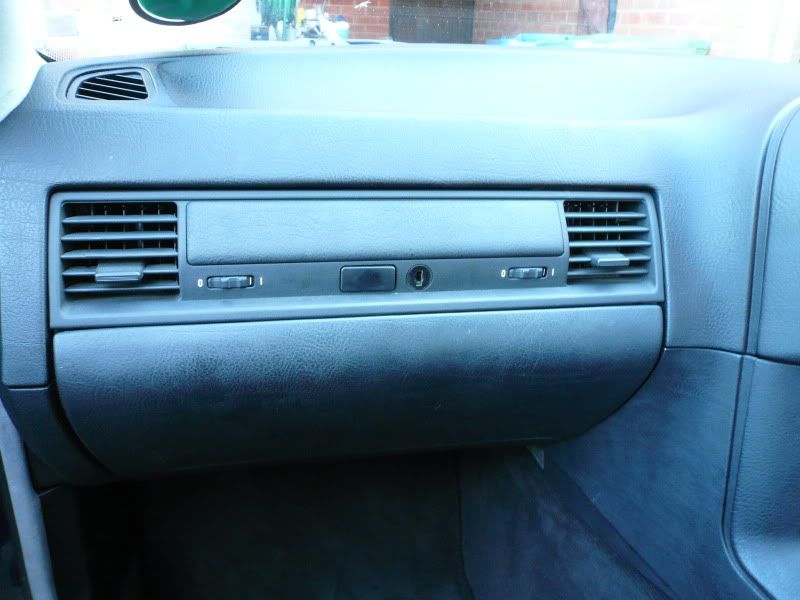
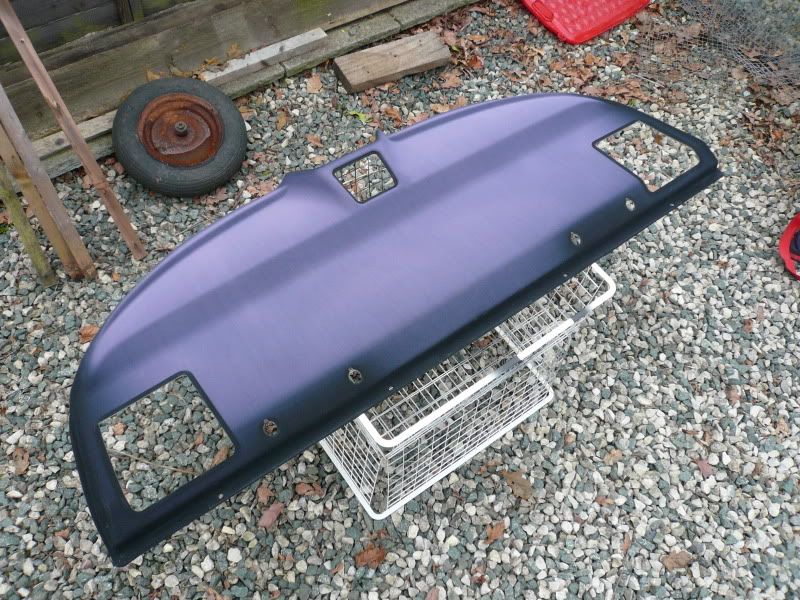
I also noticed the scuttle panel trim could do with being replaced so I’ll get into that when the weather’s a little nicer.
It was then time to get the interior back in and again replace anything that wasn’t as it should be. The glove box was sagging and had a hole drilled for an ipod connector I assume and the torch was missing. I was in luck when I found one in the breakers as the plastic tabs were perfect and it wasn’t sagging at all, I had to swap the lock over for completeness (what a pain!). I’ve lost count of all the tiny little clips I replaced and there’s still more to do, but it’s drivable now at least. Progress is slow because of this weather but I consider it a ‘rolling restoration’ lol
Glove box before:
After:
I know the screw covers are missing there, that’s because they wouldn’t go on for some reason. I’ll warm them up to see if that makes them more malleable and try again.
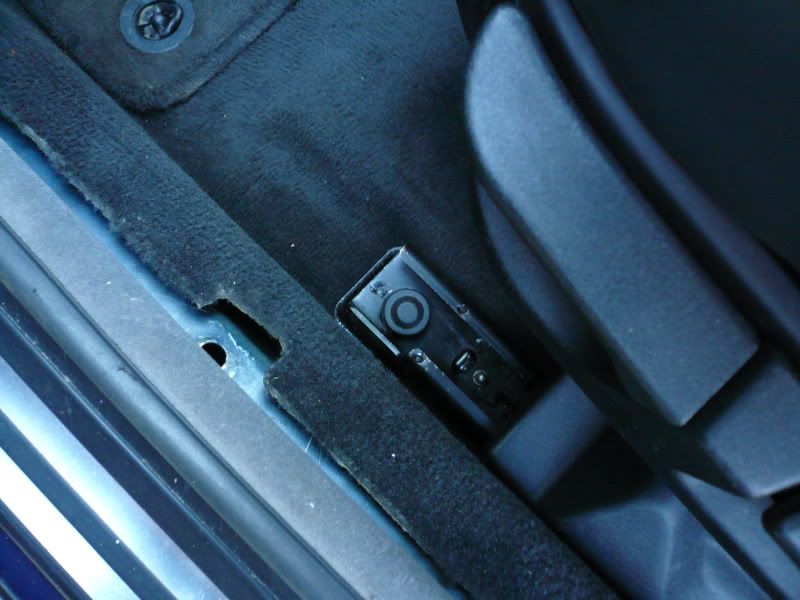
Again, little things:
I know the sill trim piece is missing there because I need to order a new pair. The old ones were broken along with the clips.
As I say, there is still a lot more to do! Chief among which is to investigate some odd little noises and give it a good service. I’ve got vanos on the brain so fingers crossed.
Tiny update on things:
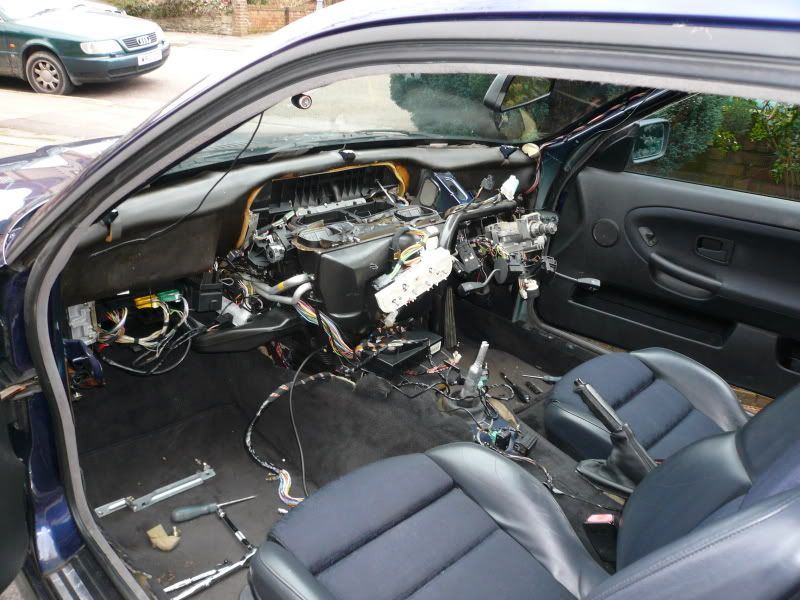
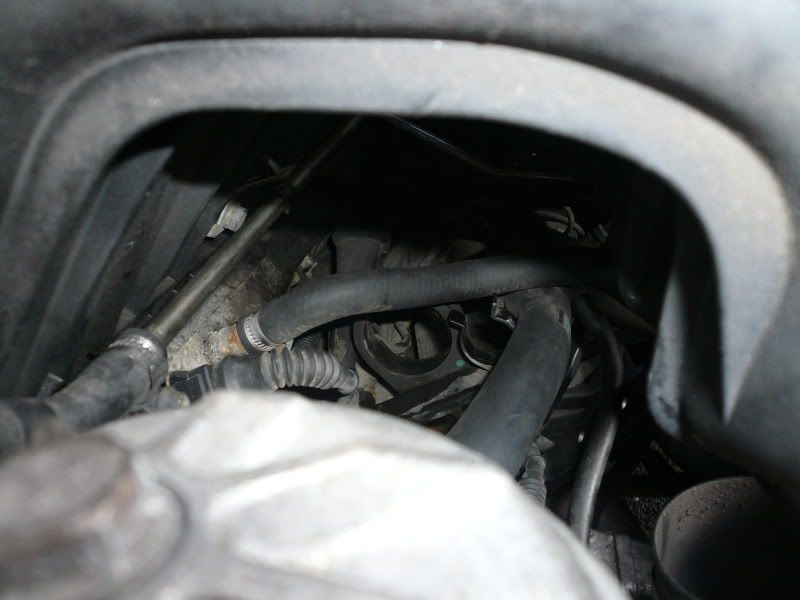
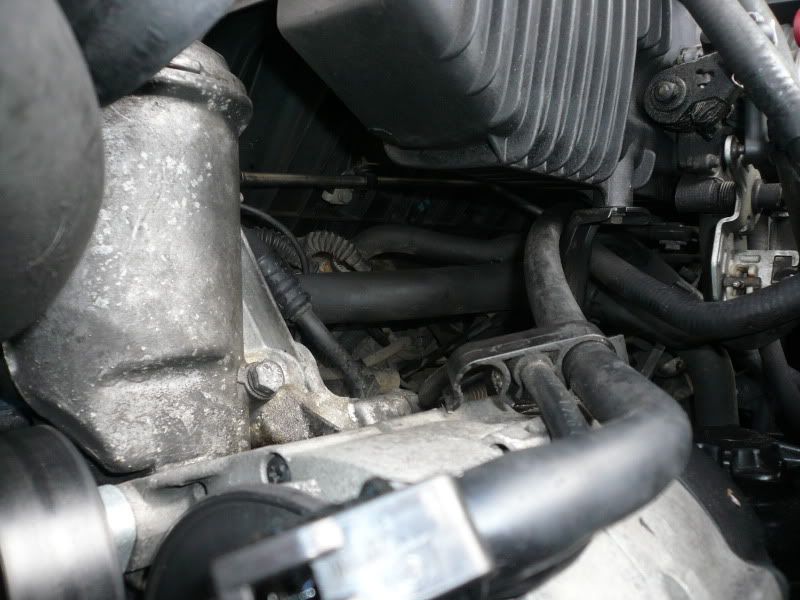
I've been away with work for pretty much the last month but I've been able to work on it in dribs and drabs during the brief times I was back; this freeeezing weather has slowed things down dramatically though. Anyway, the rain water leak was my biggest concern and I knew it was coming from somewhere on the bulkhead but the only way to be certain was to strip things down and really check it out.
Cue taking the dash out

Once that was out I STILL had to crawl around undoing things and moving bundles of wires to make enough room for the sponge-like sound proofing to be moved out of the way juuuust enough (much harder than it sounds, working in awkward positions etc) As I say, I knew it was coming from the bulkhead somewhere and had a pretty good idea it was the heater box seal, but it still could have been the windscreen hence taking things apart to such an extent.
After a good root around I discovered that the leak was the bottom left corner (passenger side) of the heater box near where the coolant pipes come through. The rubber gasket between the heater box and bulkhead looked to be in fine condition, not perished or disintegrated like I was expecting, just not sealing in that corner for some reason. I've used some sealant so time will tell if this fixes things 100% but at least now I know where it's coming from.
The next thing I need to order is a new scuttle panel trim as mine is all cracked and horrid. Although this does not stop water getting in around the bulkhead, I'm sure in the condition mine is in it doesn't disperse the water as well as it should.
So there we have it, this has been fun in recent weather
It's all back in

I've not connected the battery back up so who knows if it all still works lol but at least it looks more like a car again.
I know the sill trim is missing in this pic, it's in now though.
Well a pictureless update (the worse kind, sorry)
I had the interior in for ooooo about 4 days before most of it came back out again to remove the carpet.
Because of the previous leak the carpet was soaked and the only way to sort it out is to remove it. Oh! and the bowden cable in the passenger seat snapped too so I figured I'd sort that while I was at it. Side note: old style sport seats are an
to take apart.With the carpet removed, I took off all the plastic loom covers, unwrapped all the tape (was brittle and curse word) and took up all of the soundproofing. After a wipe down it looked dry but I couldn't be sure so I started to remove it. It came off in massive chunks and there was water underneath so I'm glad I did it. With the floor completely bare I've removed and re-sealed all of the bungs and treated any rust (only 2 very very small bits)
I then sat in the car with my dad spraying water at the doors, screen, seals etc and it turns out the drivers side door membrane is leaking slightly.
To summarise: Passenger side wet because of leak in bottom corner of heater box seal.
Drivers side wet because of leak in door membrane.
All in all one very wet e36 lol but hopeful NOW one very dry e36...fingers and toes crossed.
Fun fun fun in the sun sun sun...kinda
So, I stripped the carpet out, removed all the wet soundproofing, laid new stuff, re-sealed a few grommets and sorted any little bits of rust. Oh and tidied up the wiring a little bit too.
Next was to investigate the leaking drivers side door. Upon removing the door card I noticed that the membrane was completely missing where someone has had to replace the window mechanism at some point. So after I cleaned and waxoyled the inside of the door I replaced the membrane; it really is a poor design by BMW that so much water can get inside the door and past the seals.
Now for my next can of worms: The driver’s side speaker wasn't plugged in because the connections were different, it turns out the car has a facelift door card fitted with a different sized speaker. Christ knows why BMW decided to change this little detail! it's just annoying!
Long story short I now have matching facelift door cards and speakers; killed two birds with one stone because the passenger speaker surround was cracked and fabric was a little loose on both.
Facelift plugs soldered into my loom:
Un-cracked speaker surrounds:
It's still in a million pieces as I want to test it once more before I put the carpet back in.
I seem to be slowly but surely rebuilding this bloody car lol Every job turns into a much bigger job than expected, for example the door cards/ speaker issues ontop of which I had to re-glue the top parts as they came clean off when I took the card off (common issue though I'm aware)
The weather is really slowing things down; mainly having to heat things up when soundproofing and waiting for things to dry, like paint and sealer.
As kids these day say, woop de woop!
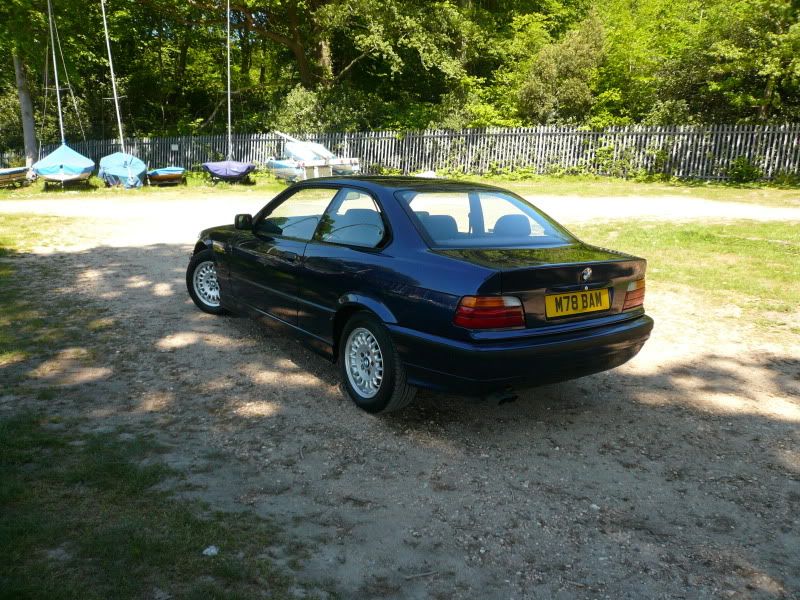
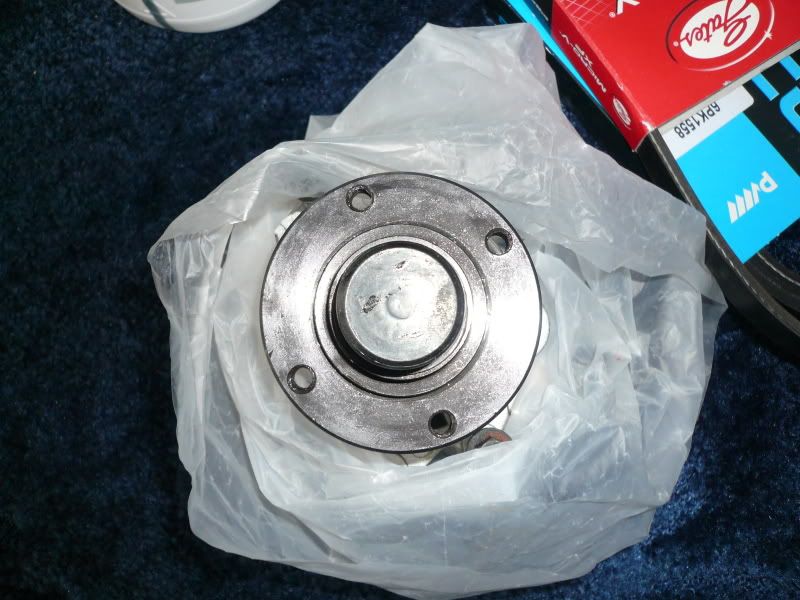
Sourced a set of original style 13 alloys, including a spare from ‘endeeci’ from this forum
 After some touching up (they are at least 16 years old so bound to have some marks) I swapped them over. Oh with a healthy dose of copper grease as I had to kick the old wheels off.
The bodywork still needs some attention and I need to get rid of that bloody M3 spoiler but here we go:
Niiiiiice and original, just how I like it
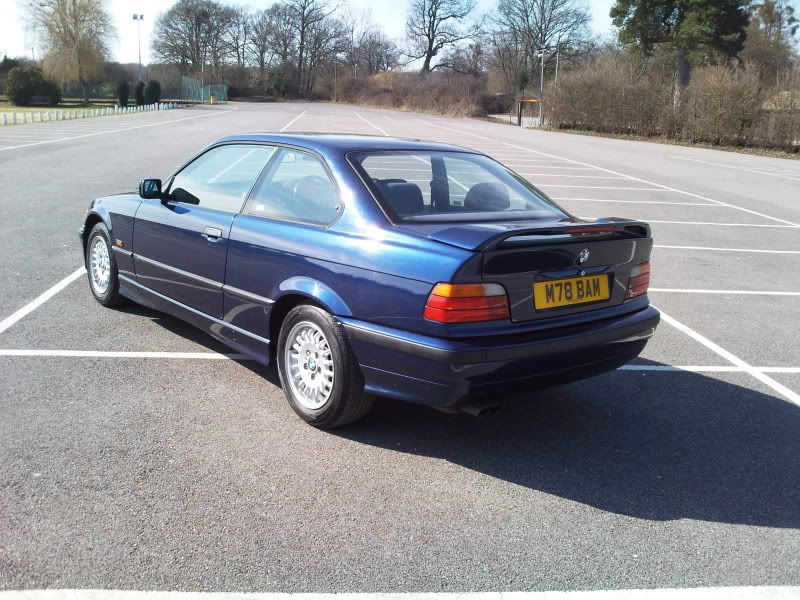
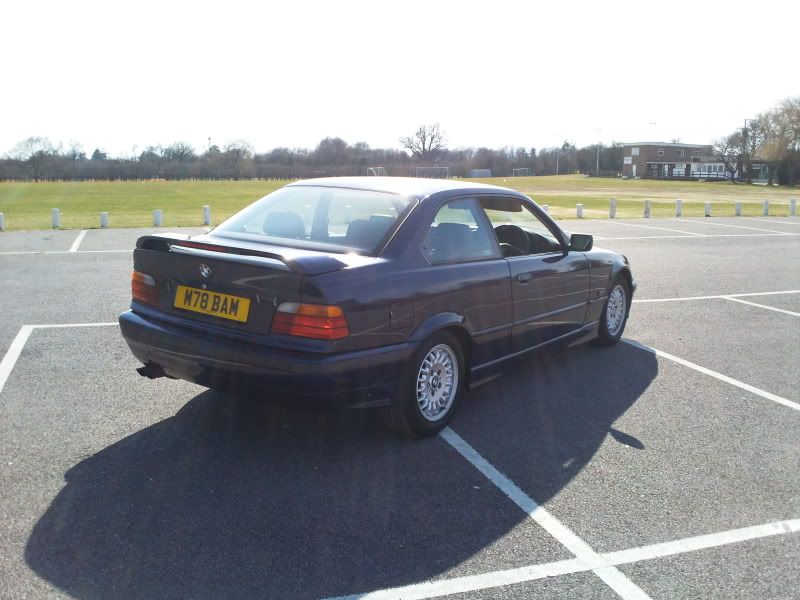
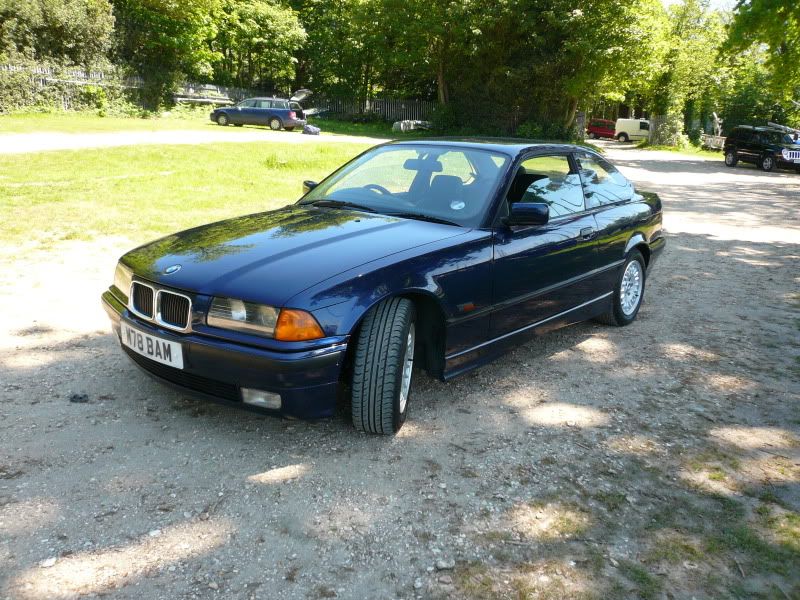
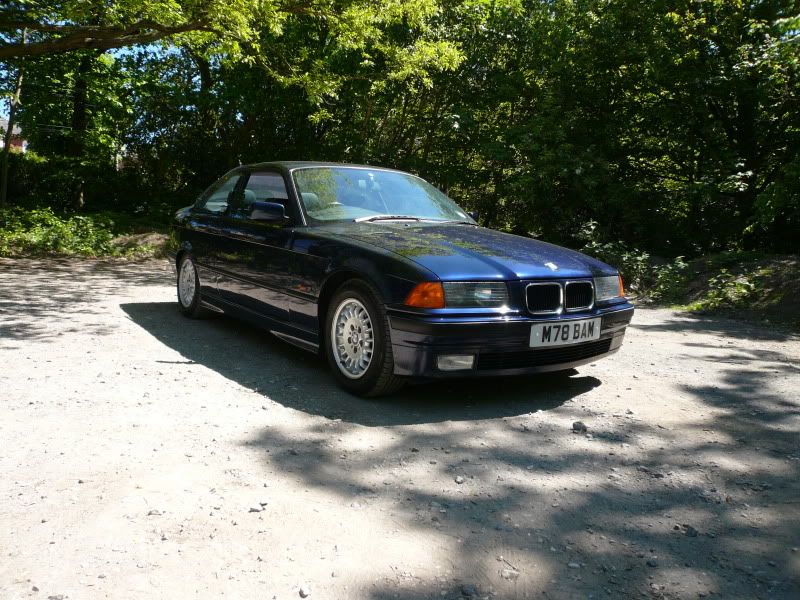
Well I took it for a little spin just to see if still worked after having not been driven for soo long lol.
Took a couple of pics too, bear in mind it's still not finished and the misty headlight was sorted today (hopefully).
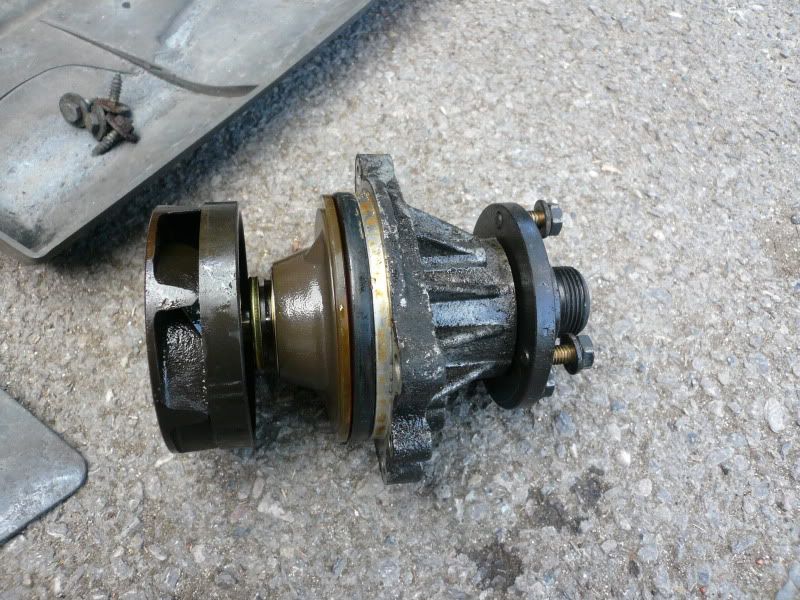
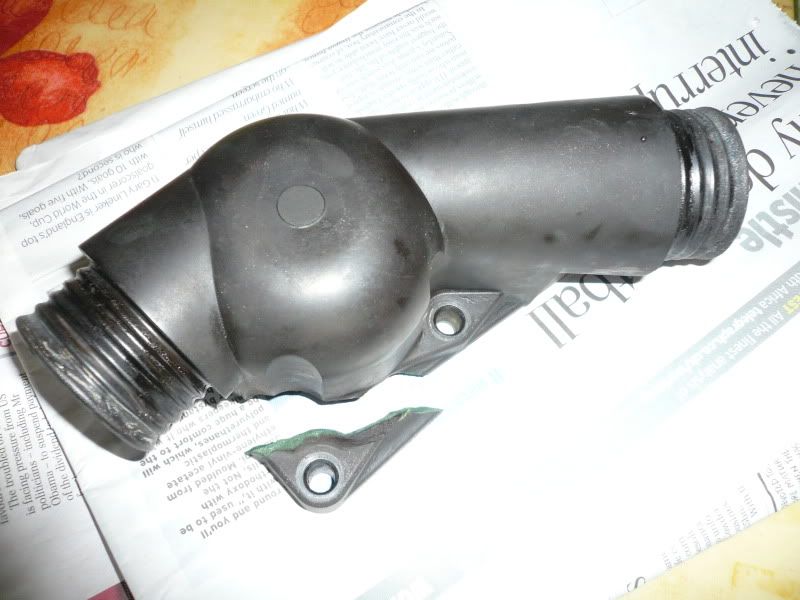
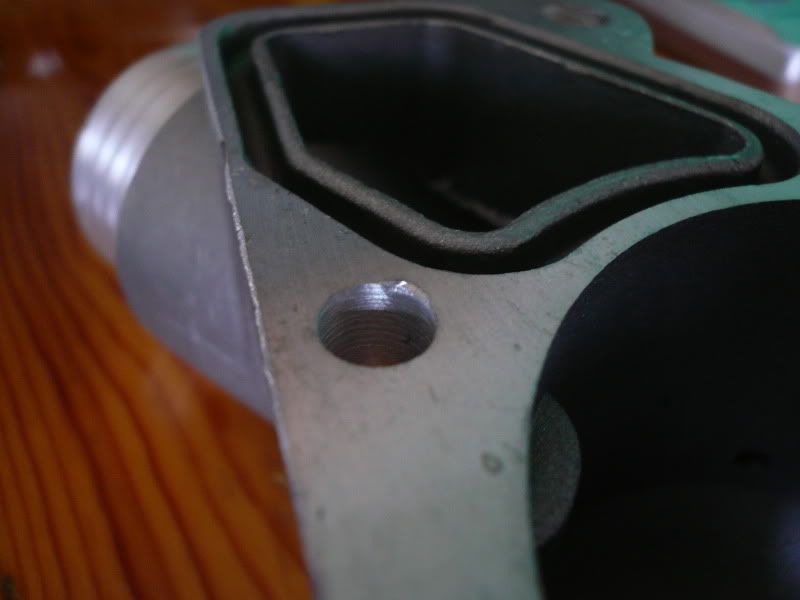
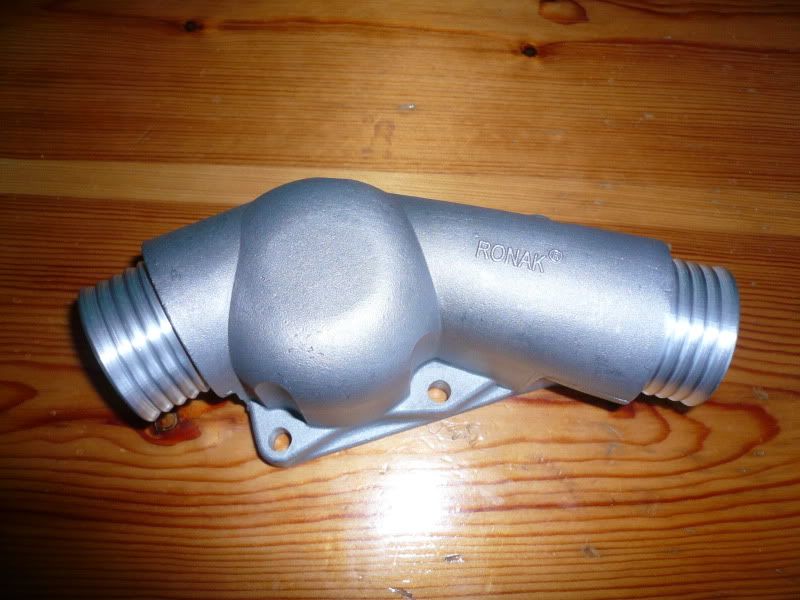
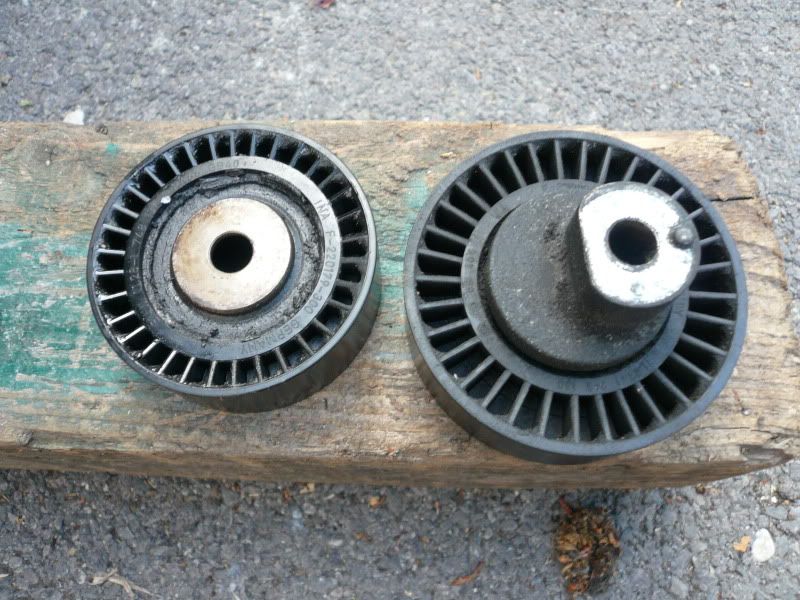
Next up: fit the bowden cable and re-fit passenger seat, oil service, cam cover gasket, water pump, thermostat, rear window rubbers etc etc etc I love projects...
I've become a stripper to help get this car finished...a paint stripper that is.
Moving on.
The passenger side bowden cable had snapped so that was replaced:
I think I'm right in saying the seats are different in pre and post facelift cars, the pre-facelift seats being the ones that are an
to take apart. Can you guess what my car had?So that was put back together and back in the car.
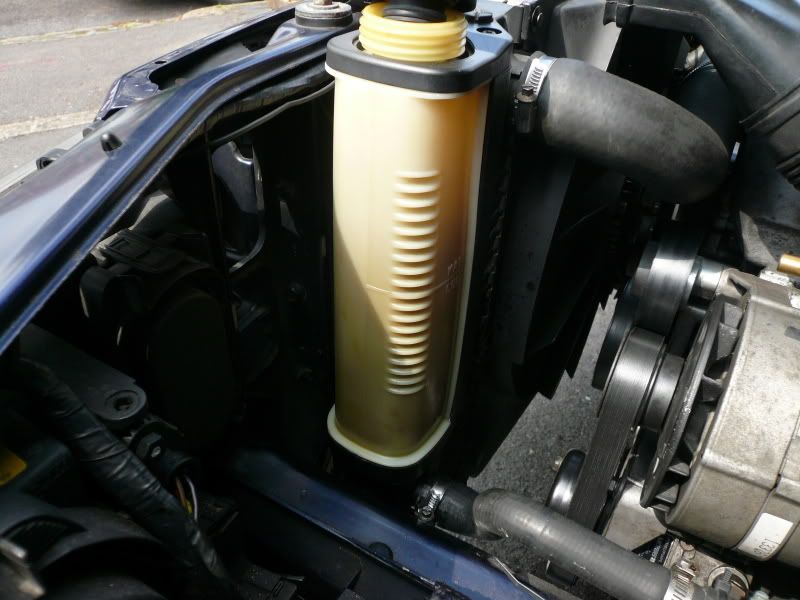
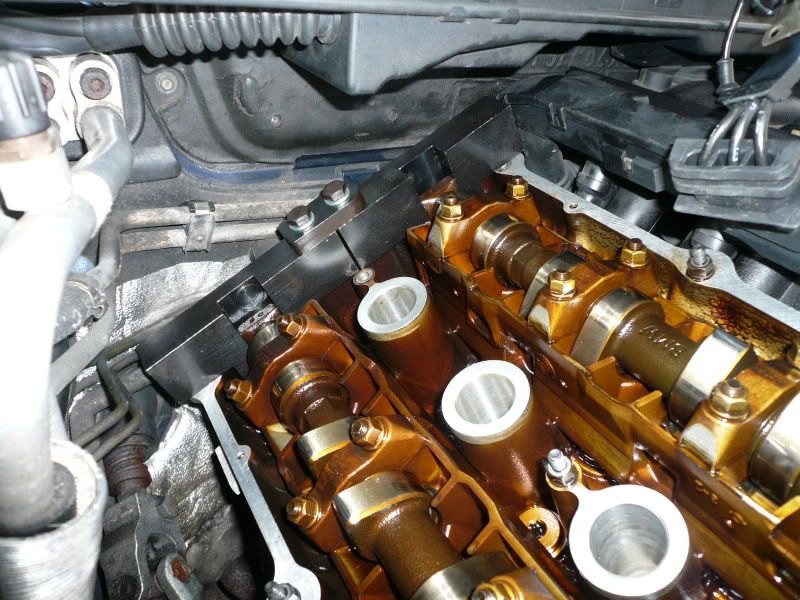
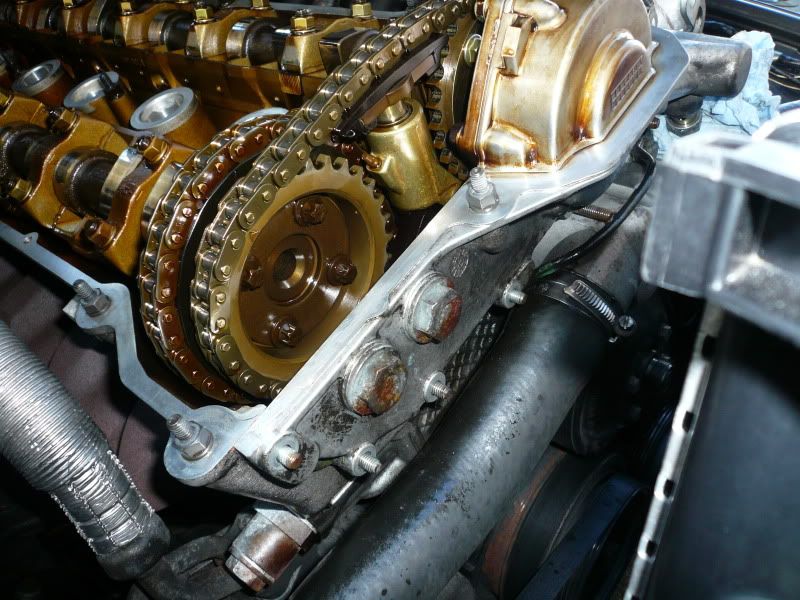
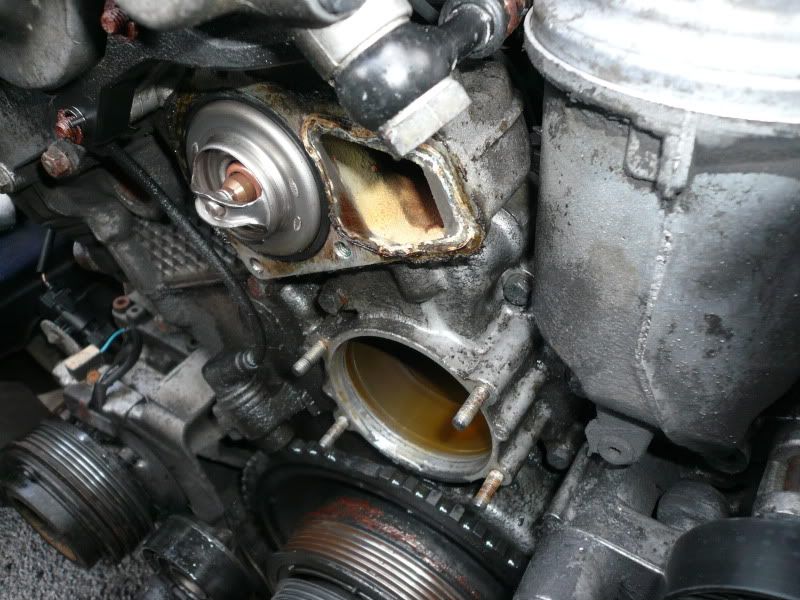
Next on the list was to replace cam cover gasket. I bought a new gasket and 15 rubber 'washers'. When I removed it you could see that the old gasket and washers were well past it and very brittle.
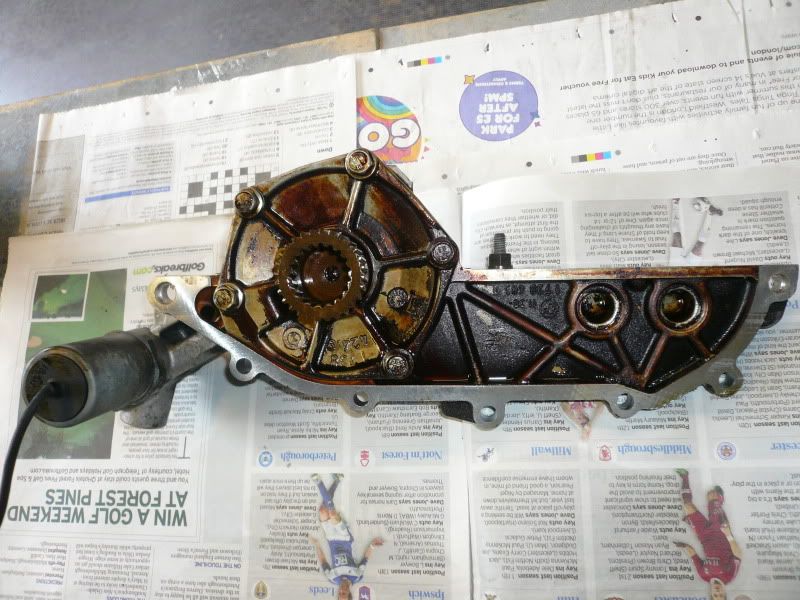
I'd decided to paint the cam cover while it was off as it was all flaky and curse word. Turns out the castings are really poor so once I'd stripped the paint off, the surface wasn't as good as I was expecting. I used some chemical metal to even off some of the worst bits but am resigned to the fact that the finish will never be perfect.
This is a bit of a test because I looked into VHT Paints and could only find top coats, no high temp primers. I therefore opted for a system I've used before and I'll see how it goes; Etch primer and wheel silver paint, not lacquered because I don't want it too shiny.
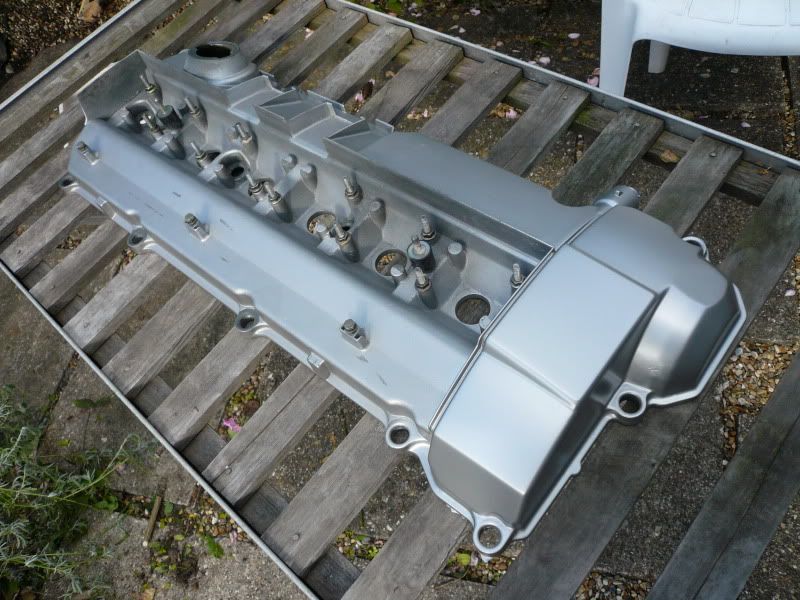
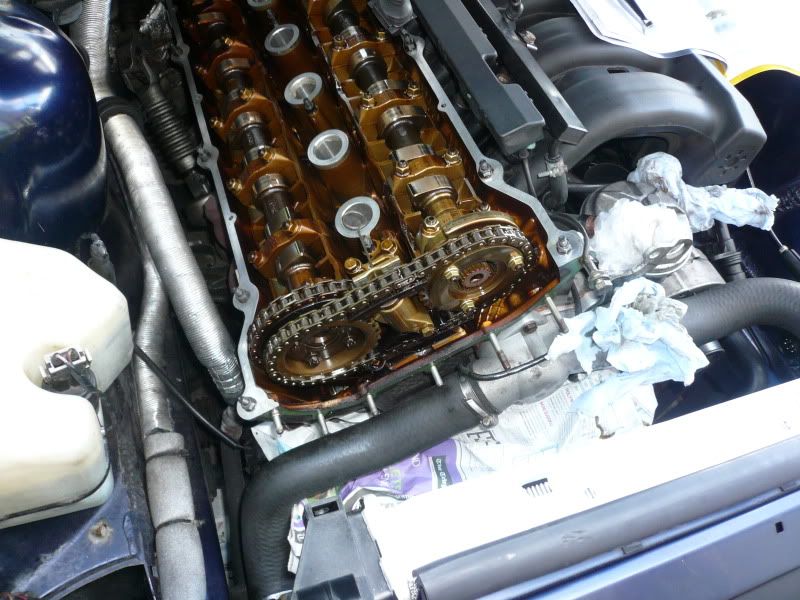
Cam cover back on:
There are a few random new bits of trim under the bonnet to replace any cracked or perished items. It's not detailing clean I know lol but that's not the point.
Oh and I replaced the spark plugs too. My heart completely sank though as I went to undo the first one and it felt like the thread was knackered; I've done spark plugs on a few cars now and normally there's an initial 'bite' and then they unscrew easily. On this though they felt firm, not stiff but just firm for the first 4 or 5 turns; I've heard horror stories of threads stripping on alloy heads and felt physically sick when I thought it had happened.
The astute amongst you will notice the bonnet struts are the 'wrong' way round. I replace the saggy old ones and put these on this way because I think it looks more logical.
The gasket and rubber washers are all BMW items but it's worth noting that the little rubber washers are slightly different to the original items; they're slightly less tall and the same diameter as the washer. It's hard to explain but I assume they're just a slightly updated part.
On a side note, I've just been browsing through some of my old files and thought I'd put a couple of a similar (although to a lesser extent) thing I did with my old e34:
As I bought it, needing a fair bit of work:
(my old vectra in that pic too, uni car park with my 2 family saloons, sod the stereotypes!)
After I'd had my fun with it:
I liked that car
Well as some you may know I'm now going to replace the rear shocks too, and probably a few other bits while I'm there. Not because of any clunks or noticeable problems, but because I looked somewhere I shouldn't have lol
Also after a bit of errr completely unintentional drifting the other night in the wet...it's a new car, not used to it yet *ahem*... I think one of the rear pads is rattling a bit so I'll sort that too. BUT today has been handbrake adjustment time as it's been a bit pants since I got it:
Took me a few minutes to find the adjuster through this hole, wasn't as visible as I thought it would be lol
All done and now holds on the 4th-5th click
Update 01/04/10
Lots more work that nobody except you lot will probably ever see :lol
I noticed the drivers side rear dust cover was missing so I got another one. I figured while I was taking the shock off I'd fit some Z3 reinforcement plates, oh and while it was up in the air I'd try and find the cause of a rattle, probably the pads so I'd take them all out and copper grease them etc.
Sod it, while I was doing that I may as well scrub things up a bit :embarrassed
First thing I noticed when I jacked it up and had a nose around was that the drivers side rear spring was snapped :eek. I'd had my suspicions because it was sat a little lower that side, but after some research I put this down to the 'all e36's do because they were build for LHD' etc, I shouldn't have made any assumptions really.
As I needed to strip some of the boot trim out anyway I took the rear lights out and clean things up:
I knew the top mount gaskets would be past it so I used the plates as templates and made my own out of some gasket paper I had lying around:
(deleted a chunk as the pictures wouldn't work)


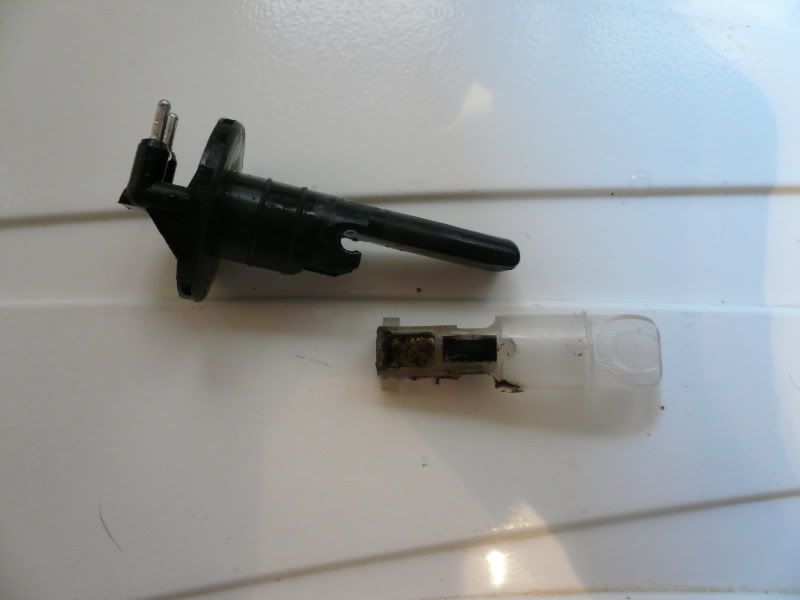
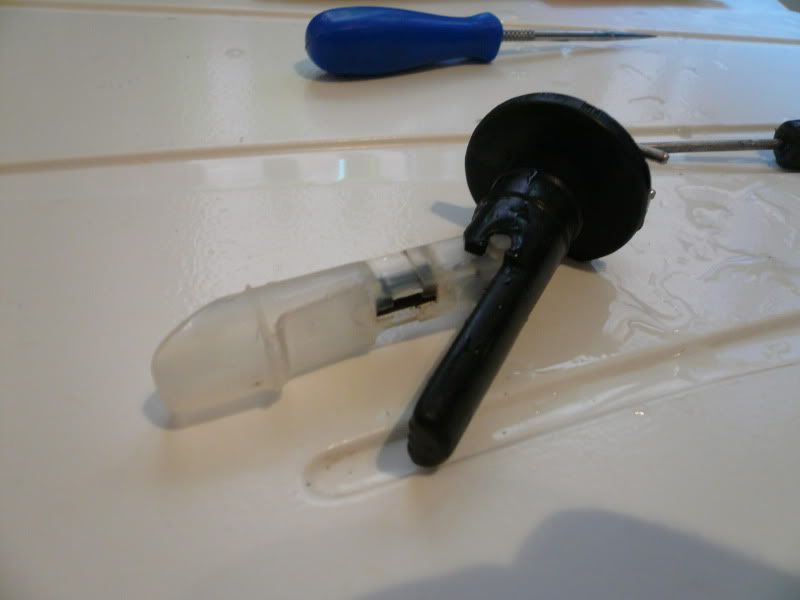
 we stripped the door down to no avail.


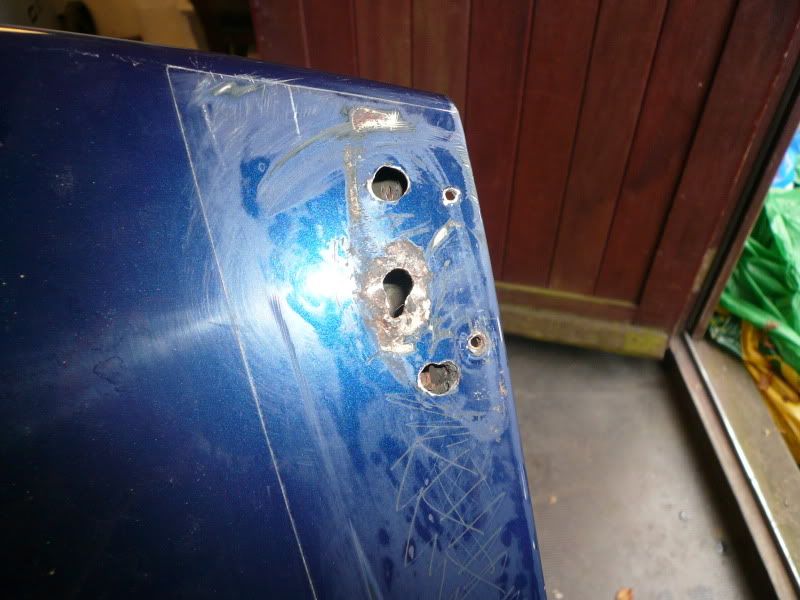
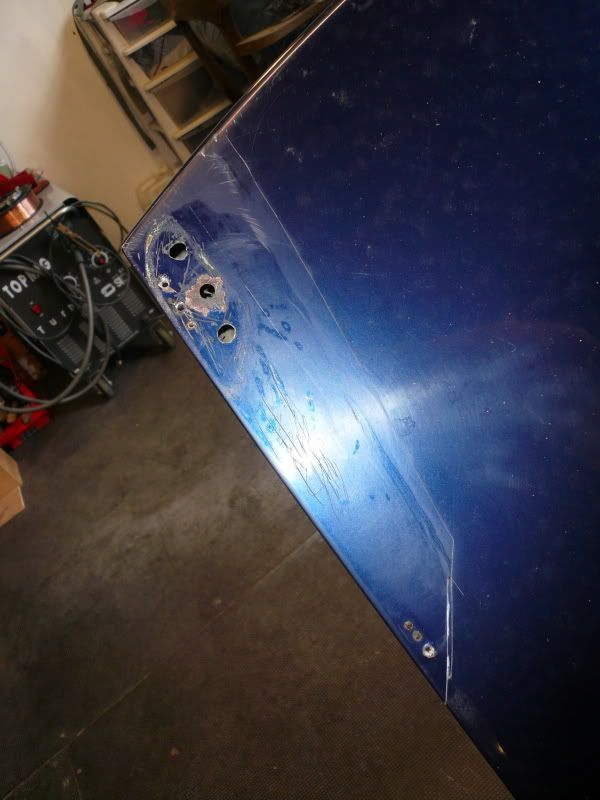
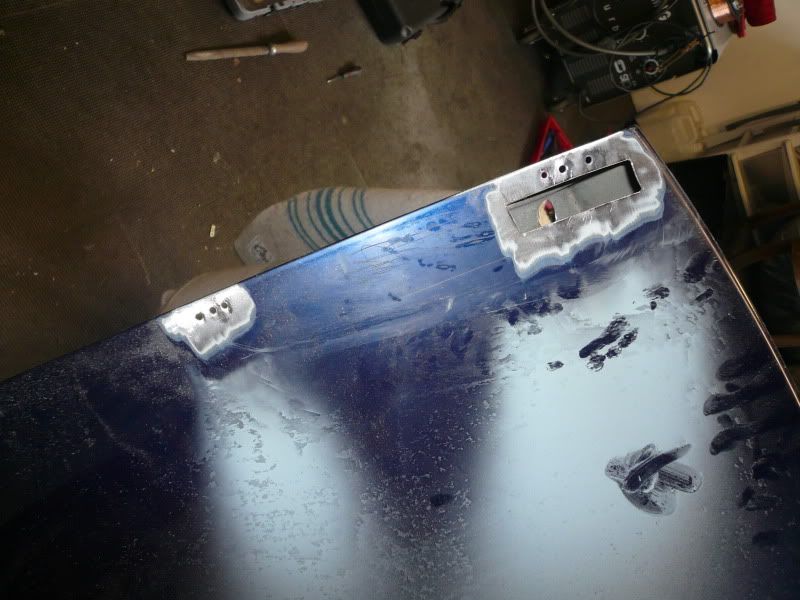
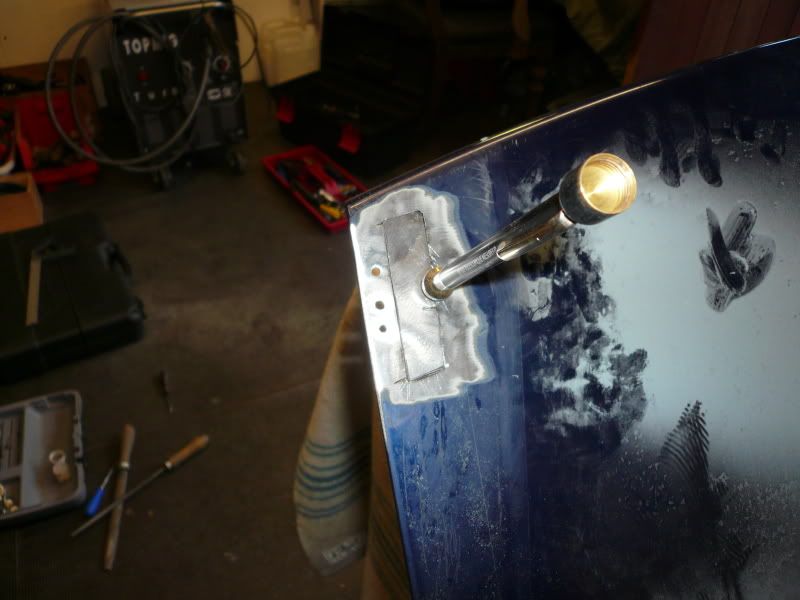
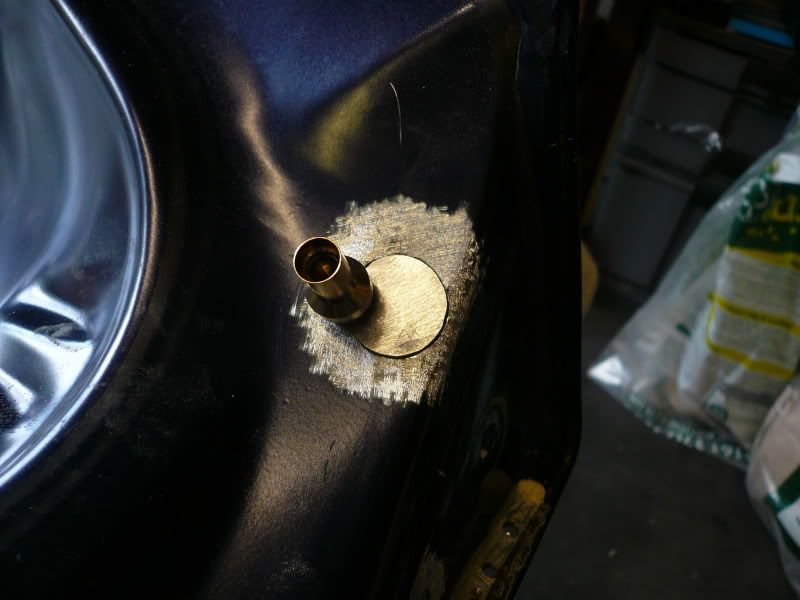


 2) I had an idea.