|
|
|
|
|
|
Sunvisors are a nice personal touch, I'm sure I remember seeing a St Christopher amulet in a clear resin gearknob at some point in the recent past online, perhaps it was on eBay when I was looking for tat? Would seem like a fitting and somewhat traditional bit to add.
Hubcaps could work, but will more likely look a bit... silly... only seeing it will prove either way. Digging into the paint might spoil what you've got, I'd err on the side of caution with that.
Note to self: type all the words in your brain so you don't have to come back and add more after hitting 'post'.
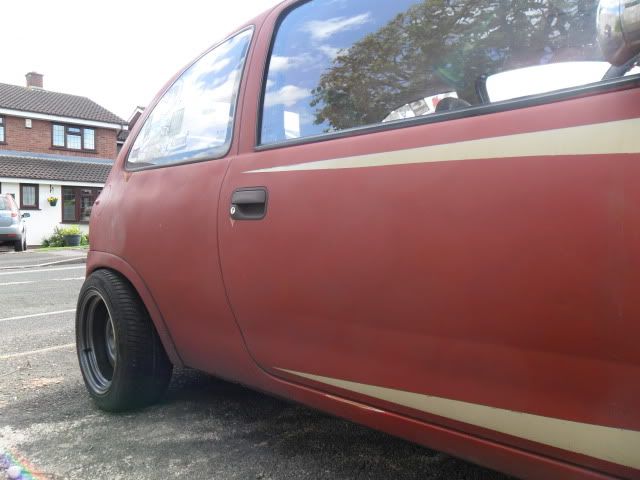
The chequerboard insert looks good in situ, much better than I imagined it might.
|
| |
Last Edit: Apr 19, 2011 1:22:40 GMT by Deleted
|
|
|
|
Ditch
Part of things

Posts: 283
|
|
Apr 22, 2011 17:48:23 GMT
|
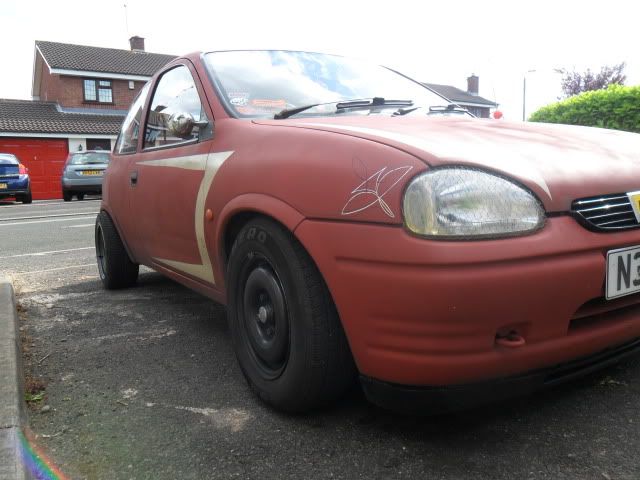
Hmmm, I'll take a look where water lines form from the windows and follow them, try to keep it natural looking. If not I can always spray back over with more oxide red and it'd look back to before. We begin with poverty spec grey. It's drab, and frankly causes more suicides than the price of petrol (which probably isn't actually that many, go figure) 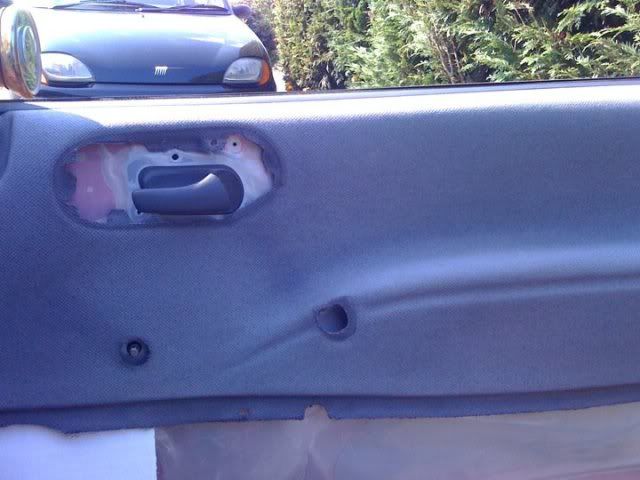 Take some unlikely tools, warning: contains fabric dyes. Perfect then... 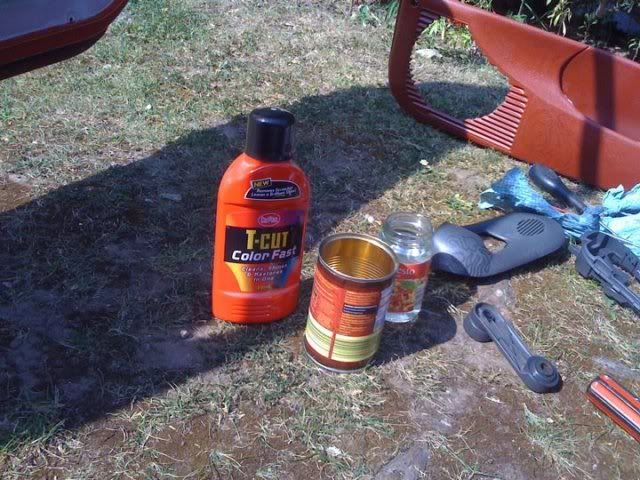 A little while later and we have this 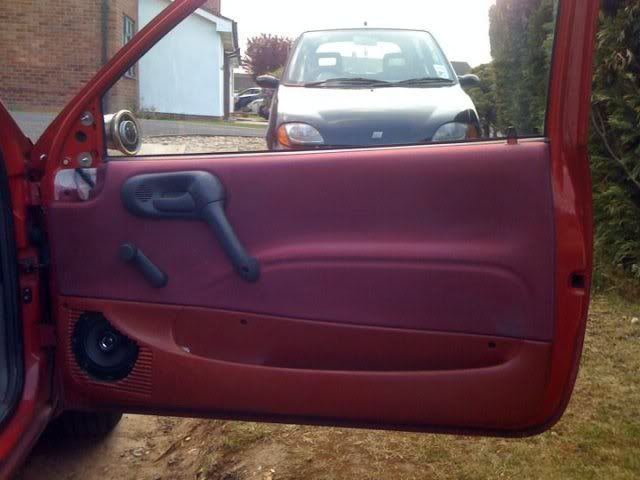 With the door closed not shabby 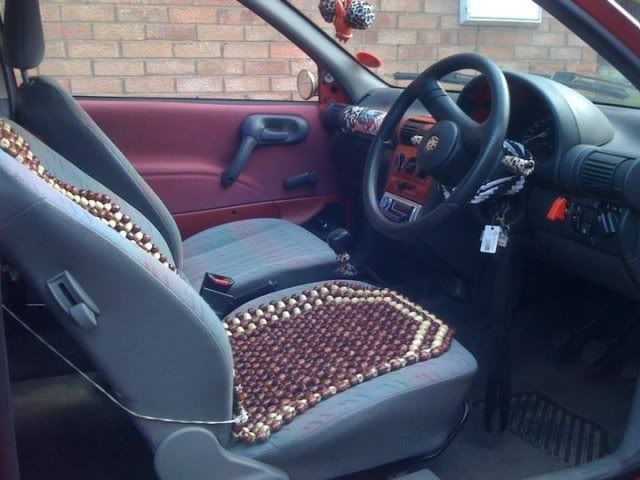 Parcel shelf, looks crappy while wet, could have made a mistake here... 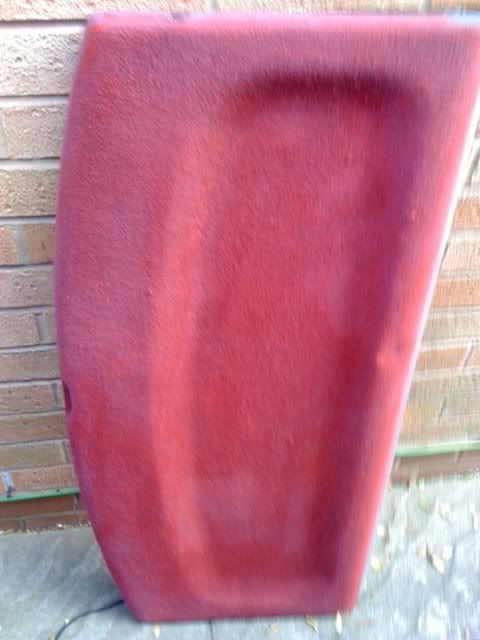 But once dry, bang on the money 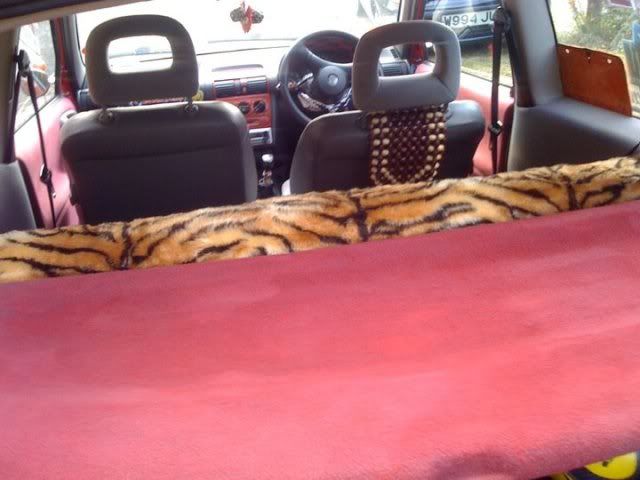 Worse quality picture than trying to take one through beergoggles, but shows how close the colour is to the bodywork 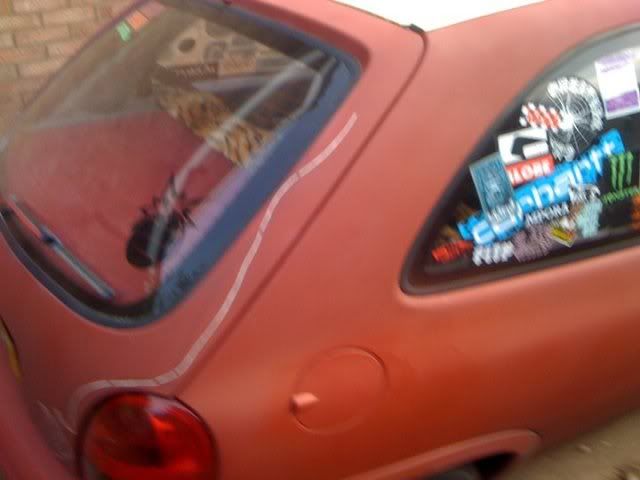 Next up is doing the rear doorcards to suit, and rooflining. I can't imagine it will fade in the sun, so I should be onto a winner. I can't do the front seats as I'm wary of it rubbing off on peoples clothes.. I'm nice like that  |
| |
|
|
Ditch
Part of things
Posts: 283
|
|
Apr 24, 2011 23:12:58 GMT
|
|
its still drying, although I rubbed it down with clean cloths, and it seems to have taken most of the 'wet' dye off and left behind a slightly lighter looking material, but minimal differance to the red shown in the pictures. Very please so far and its cost me £0
|
| |
|
|
Ditch
Part of things
Posts: 283
|
|
|
|
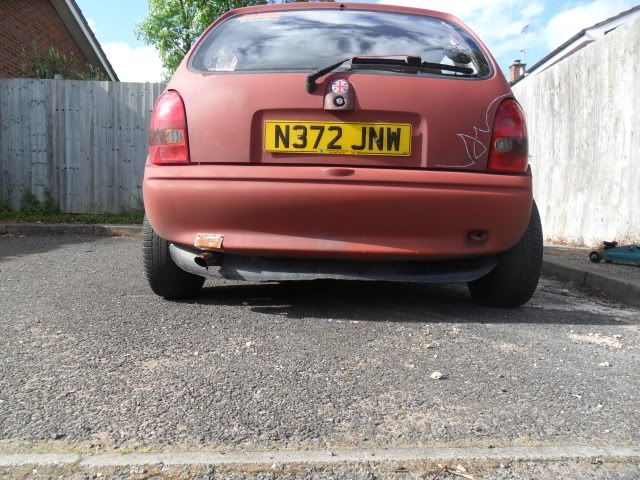
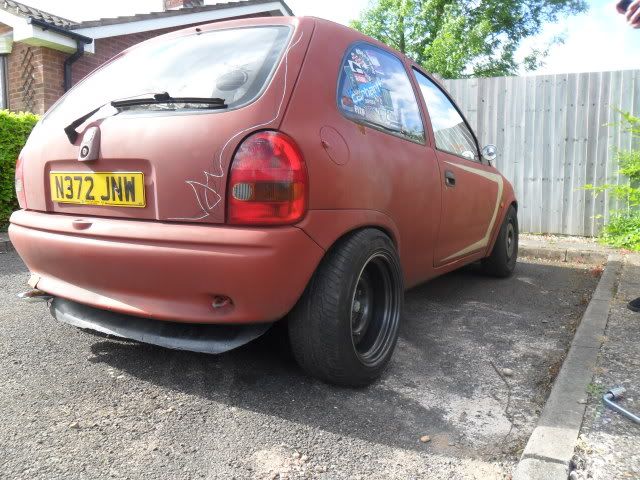
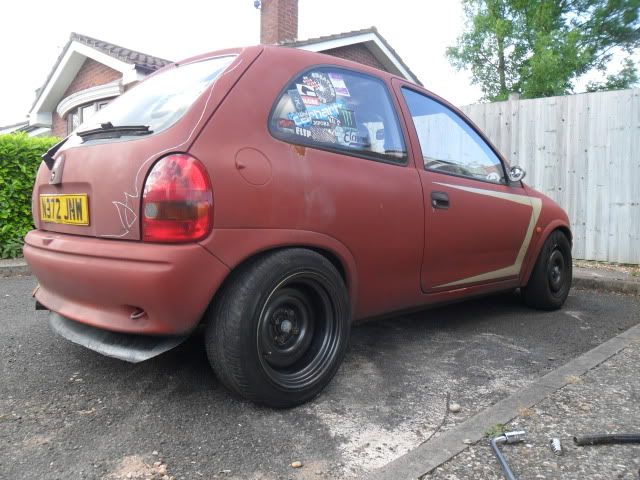
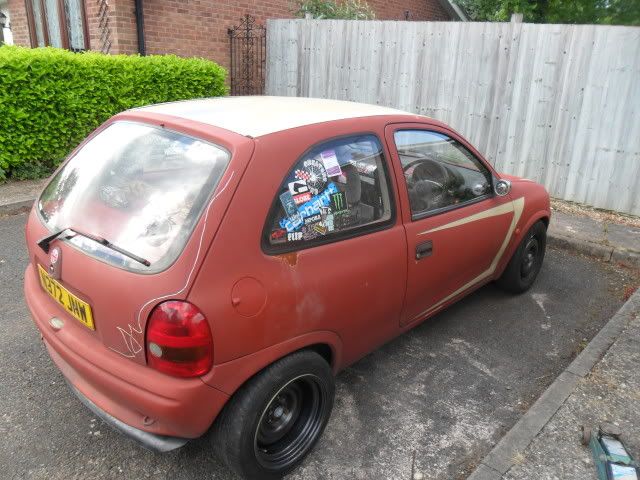
Not tons done, it was my 21st and I've been usey trying to source an old framed bike to build a push chopper from so I've been a bit lazy as of late... Back door cards are now done to match 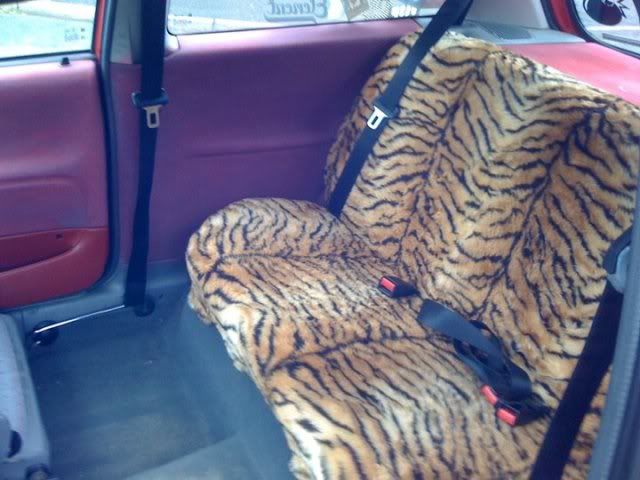 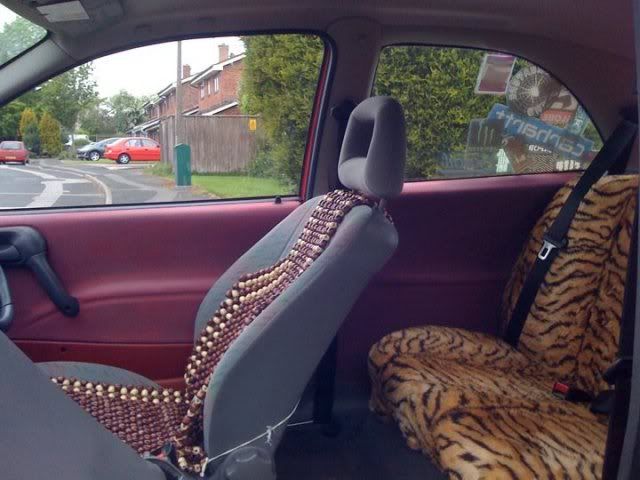 And this was the rest of the front splitter I cut off... a bit marmite but it brings the rear level with the sills so I'm pretty happy mocking up  securing 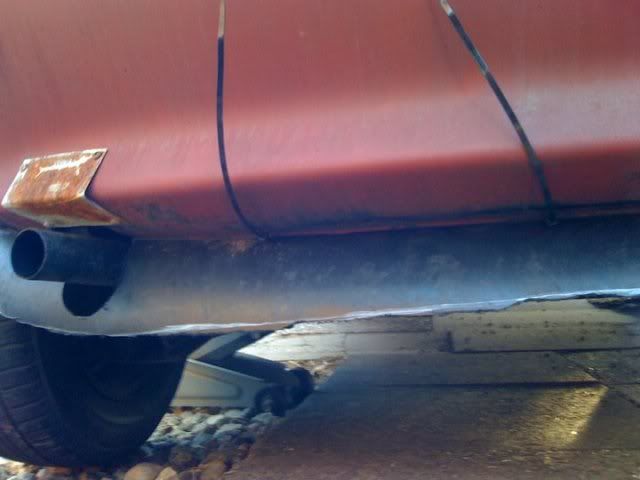 and on the flat  If anyone wants to band my rear two wheels for free (student life!) then I will love you forever  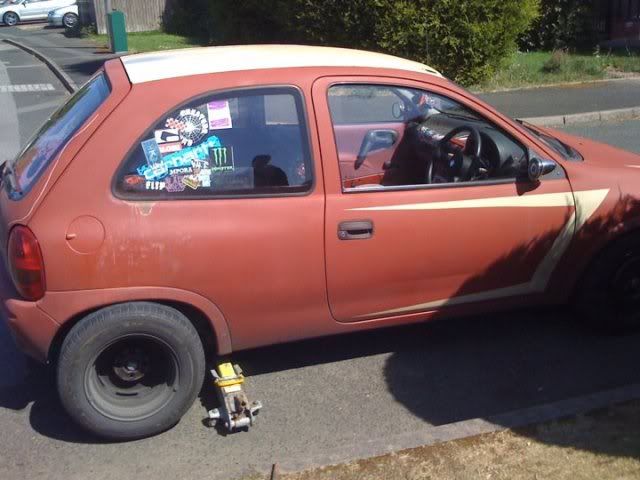 And this is the overall plan.. I don't want to just spray over the rear windows because it looks a bit pap if I'm honest. I think a plate needs welding over the gap, but again, not something I can do myself nor afford which is a shame  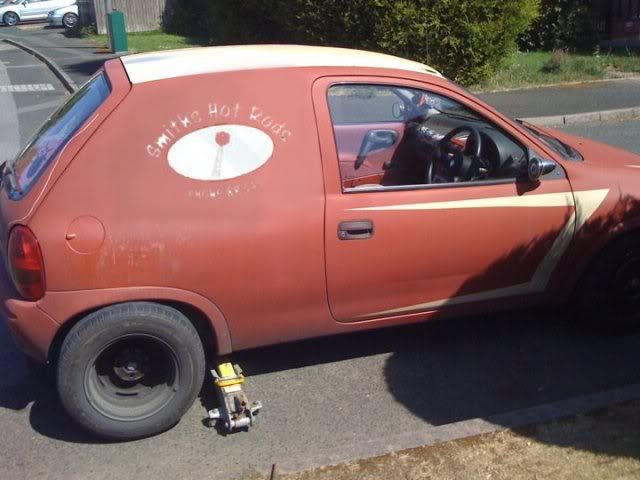 Thanks for reading |
| |
|
|
|
|
|
May 14, 2011 23:01:07 GMT
|
|
My brother (chompysnake on here) knows a very reasonably priced welder-fabricator. I've not seen any of his work yet, but if you're in the North of the country, he could well be able to do that panel for a sensible fee.
Alternatively, keep an eye out for fibreglass van panels, I'm pretty sure that was an option with these from new.
Reverse rear steels = (aesthetic) win. Banding a must when you've got pennies!
|
| |
|
|
Ditch
Part of things
Posts: 283
|
|
May 22, 2011 19:29:58 GMT
|
|
|
| |
|
|
|
|
|
May 22, 2011 19:33:55 GMT
|
|
So where'd you snaffle the rear wheels from and are you going to have to extend the rear arches now?
|
| |
|
|
Ditch
Part of things
Posts: 283
|
|
May 22, 2011 21:54:23 GMT
|
|
JAred off here had a sale thread, they looked spot on for what I needed so snaped them up. Well worth the journey! I should be fitting mini arches after some rolling to cover the tread if I can find a way to mount them
|
| |
|
|
|
|
|
May 22, 2011 22:13:57 GMT
|
Yes!!  |
| |
|
|
craig1010cc
Club Retro Rides Member
Posts: 2,993
Club RR Member Number: 35
|
|
May 23, 2011 19:06:54 GMT
|
Now all you've got to do is panel in the rear windows and your there They look really good though, no way of dailing in some camber to help?? |
| |
|
|
|
|
Ditch
Part of things
Posts: 283
|
|
May 23, 2011 19:56:47 GMT
|
Cheers for the mojo boosts  Camber on a corsa is really easy, a case of a couple of washers and about half hour work, but I'm a cheap wotsit and don't like the idea of going through tyres, I MAY have sorted 2 of those black bolt on arches for 20squid posted so I may be a happy chappy. |
| |
Last Edit: May 23, 2011 20:07:40 GMT by Ditch
|
|
Ditch
Part of things
Posts: 283
|
|
May 25, 2011 22:45:24 GMT
|
Basically, I stripped almost every sticker from the rear windows as I've got fed up with this stickerbombing scene, and its nice to let pasengers see out the window ocaisonally. I did take pics but they're playing up and not showing, so sorry about that one. |
| |
Last Edit: May 28, 2011 23:52:33 GMT by Ditch
|
|
Ditch
Part of things
Posts: 283
|
|
May 28, 2011 23:50:13 GMT
|
It seems (at least on firefox, the pictures in the last post aren't working, I'll sort that out as soon as possible. Began work today, got the one wheel back repaired so I'll get it back in rubber and alls good! One rubber hammer later, and we have this (Its in duct tape at the moment because I ran out of time and had a meal to go to.. back on with the skinny wheel and it looks odd to say the least). First time attempting this too, stretched by 2.2inches. 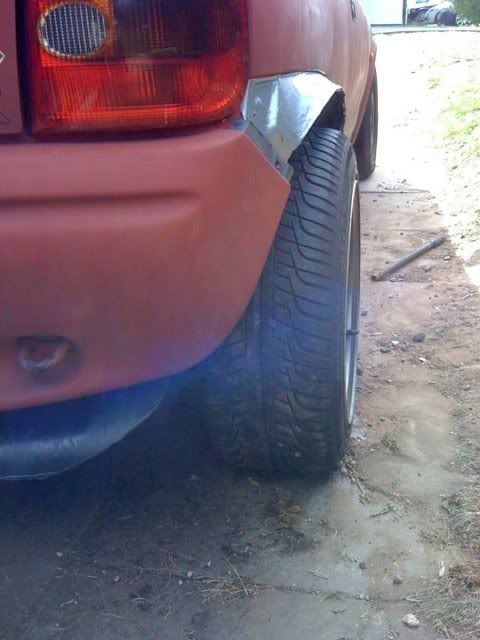 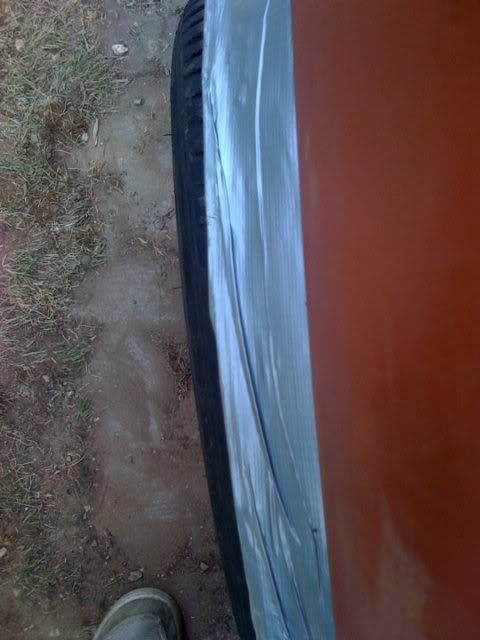 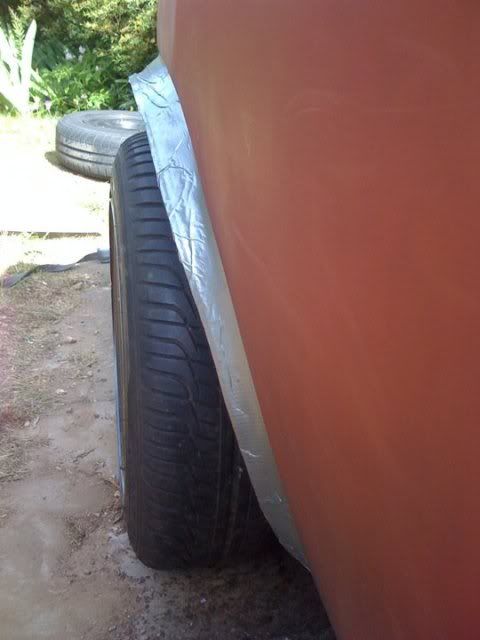 As you can see I now have plenty of room. And I will be using some bolt on arches to fully cover the rubber and get rid of the arch gap. I'll get plenty more detailed pics when I do the other arch, but camera was on charge so you'll have toput up with dodgy phone pics for now. Cheers for looking. |
| |
|
|
|
|
|
|
|
Impressive levels of arch stretch! Is the original arch trim going to fit over it now? Would it not be better to fibre glass/filler it to get a smooth finish? Either way good work |
| |
Sierra - here we go again! He has an illness, it's not his fault.
|
|
Ditch
Part of things
Posts: 283
|
|
May 29, 2011 18:32:28 GMT
|
Thanks very much! The original trim has no chance of shaping to it sadly, I did give it a go. I'm debating smoothing the arch, but it sits so high now that it'd leave me with a huge gap. Ho hum, I'll have a look at my options and have a think when I'm doing the second arch tomorrow Again, thank you very much, its a big boost! |
| |
|
|
Barker
Part of things
JDM Fanboy
Posts: 129
|
|
|
|
|
Inspirational!
Didnt really want a corsa as my first car (too common with the chavs and wanted something J I.e a micra) but i think this has potential!
Not keen on the pinstriping though
Will be looking forward to the bolt on arches
|
| |
Last Edit: May 30, 2011 2:37:52 GMT by Barker
|
|
mattyj
Part of things
Posts: 133
|
|
May 30, 2011 10:28:53 GMT
|
|
Not after any corsa bits are you? I'm breaking mine
|
| |
Free Focus - soon to be roadworthy Corsa B 1.4 Sport - x16'd Cable tie edition - Dead Ford Ka - Sold BMW 318is - sump scraper - Sold  Citroen Relay lwb - gone like the rest |
|
Ditch
Part of things
Posts: 283
|
|
May 30, 2011 15:51:36 GMT
|
Cheers barker, keeps me doing what I do! And sorry Matty, not currently. Thanks for the offer though I've done the other arch today, I'll get some pics up later if they upload this time. |
| |
|
|
Ditch
Part of things
Posts: 283
|
|
May 31, 2011 19:02:18 GMT
|
Done some work, one steel was leaking so had to get that sorted out. The suspect weld 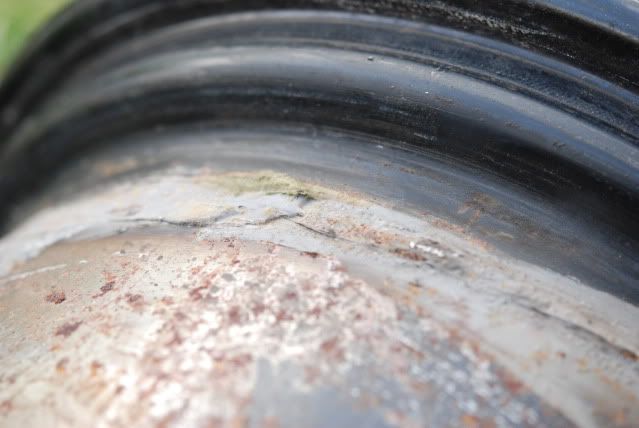 re welded and ground down 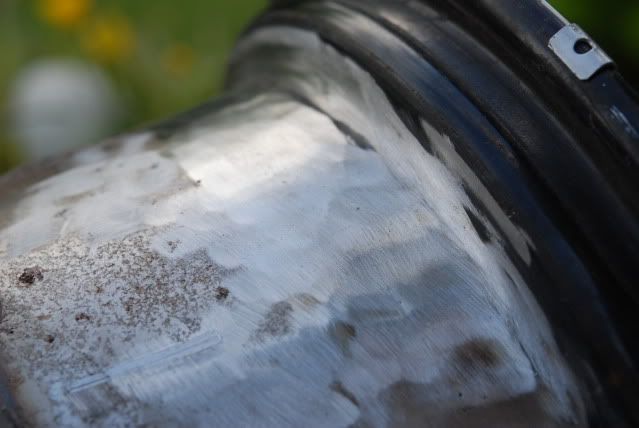 Using this to seal, its a chemical metal used for sealing engines/radiators/pipes etc.  Mixing it up 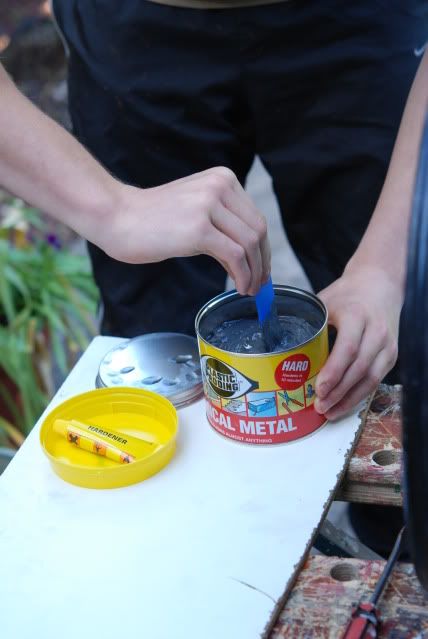 Applying liberally to ensure theres not porus metal left. 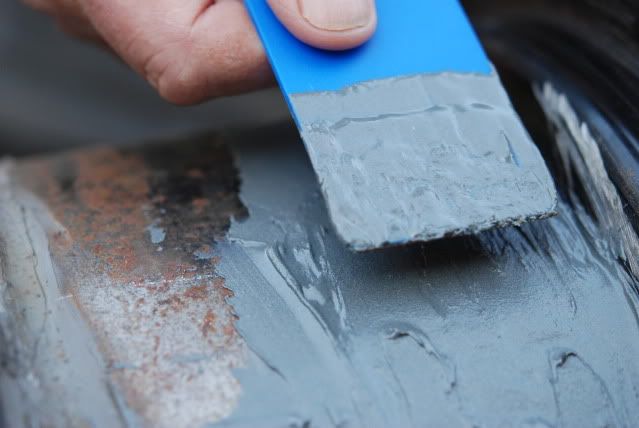 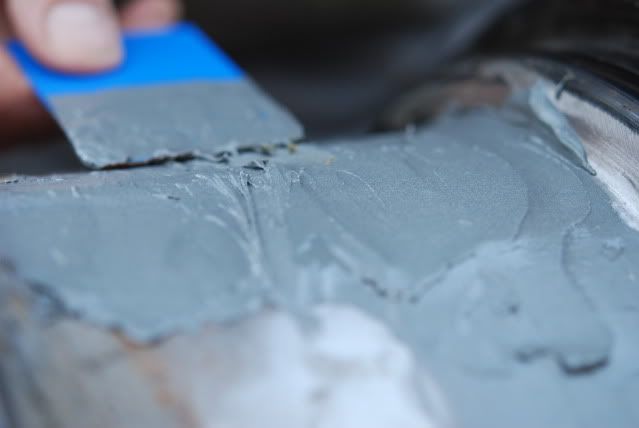 Left to dry, I'll refit the tyre tomorrow and test for leaks. Am I right in this being 8.5" wide means 8.5J?  And 15" accross? 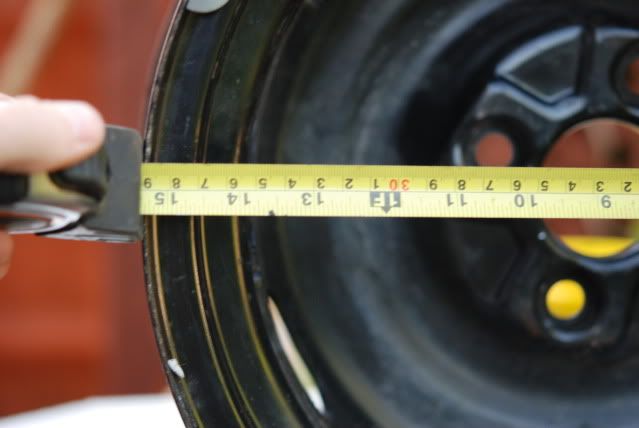 Again, thanks for reading. |
| |
|
|
|
|
|
May 31, 2011 19:08:33 GMT
|
Hi! Wheel dimensions are measured as follows, on the shoulder, where the tyre sits:  "J" is a acronym the form of the outer edge (others are: H, P, K, JK, JJ etc), where balancing weights clamp on Cheers, Jan |
| |
|
|
|
|