75nut
Part of things

Posts: 512
|
|
|
|
Well on Saturday I decided the rear engine bush was coming out hell or high water!! So after picking up the car from the pub (I love the countryside check out my walk to my local!) I got under the car again for attempt 100!  So first I tried using a hacksaw blade to cut it up wih the plan to chisel it out. First the remaining rubber need to come out as the blade just keeps getting stuck so a small fire was in order with extingusher at hand! 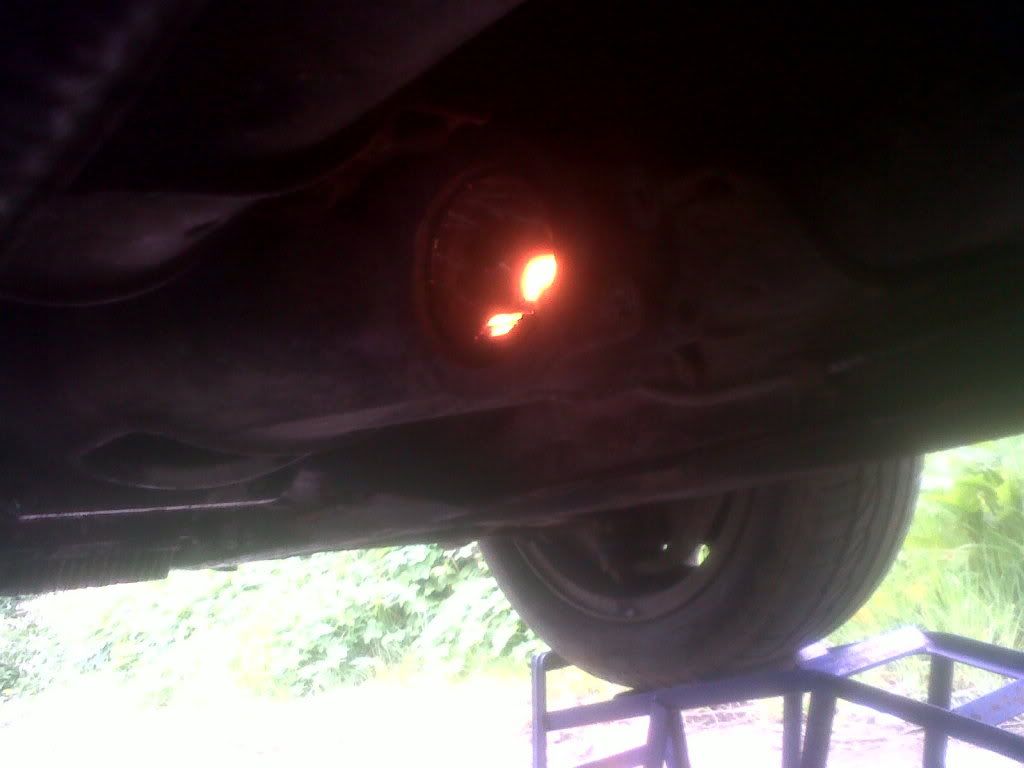 But I found it nigh on inpossible to get the blade level enough to cut even slots and the bush casing is so thick I was going to take forever! So I had a re think and got out my Dremmel which always gets me out of a tight spot! Using the small cutting discs but doubling them up (as they are so brittle they break a the slightest knock) I ran it round the inside of the bush ending up cutting a V. I then used a chisel to bend a tab up and then dug out a chisel and got ready for some serious hammering. But its started to slide out immediately! Few more taps and it was out!!! 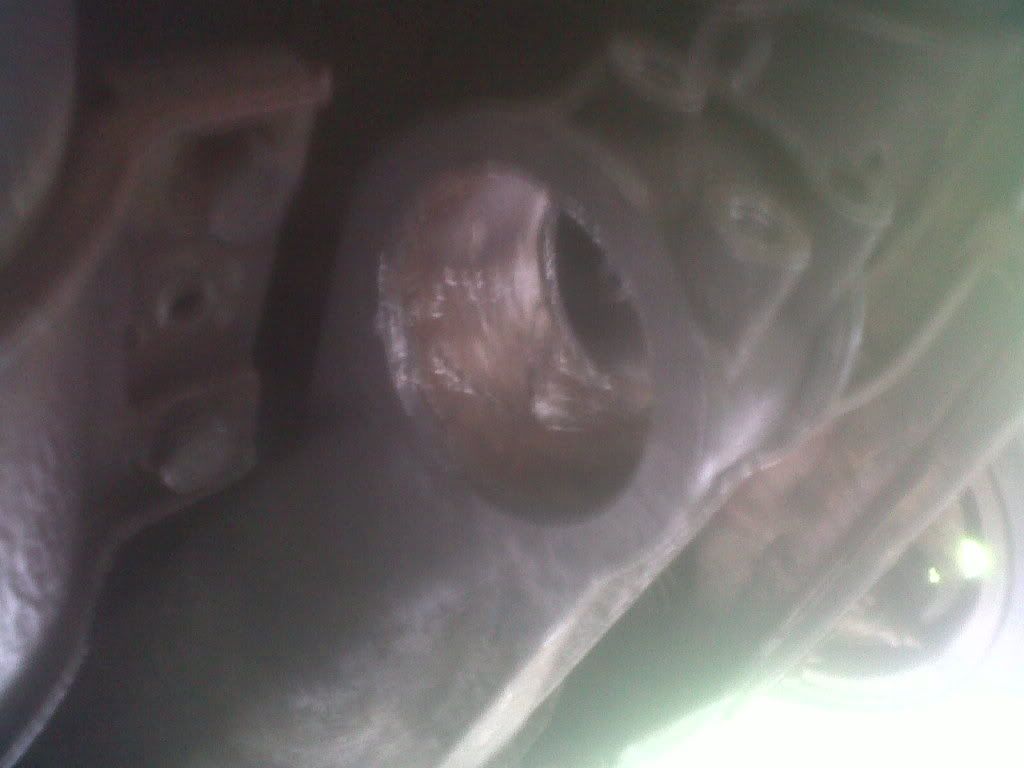 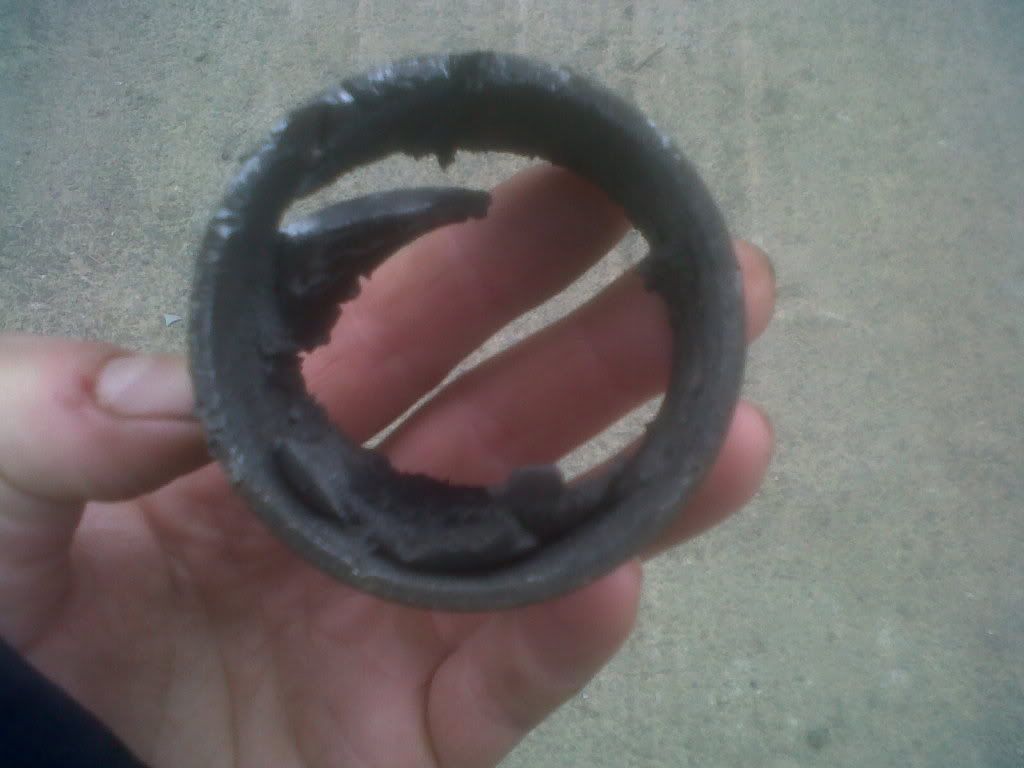 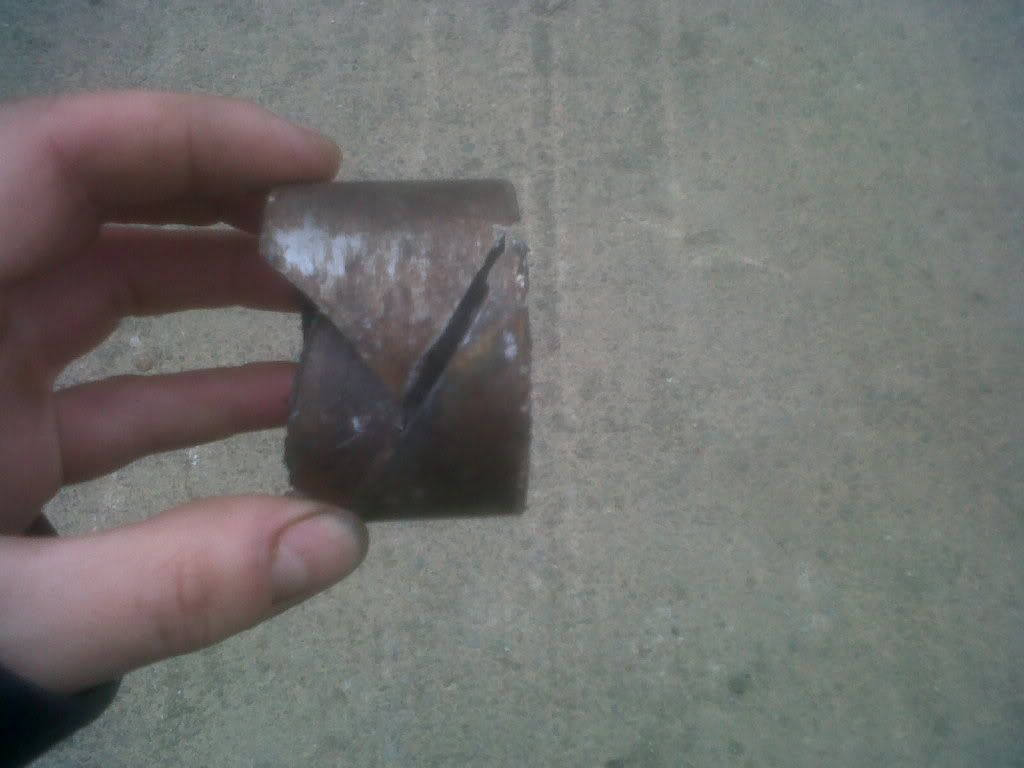 THis is where I well and truly mucked up!! Rather than sticking with the rule of not rushing when I was short on time, I grabbed the new bush fromt he freeze and attempted to bung it in. I started in ok but then got wedged. Looking at the angle I was only very slightly off so I gave it a tap with a rubber hammer and it went in further, so thinking I would now level out I hit it some more, and you guessed it, it completely wedged!! And as I had used no lube for fear of it compromising the function of the bush it would not hammer back out even with a chisel (at this point I accepted I was ordering another bush so I just wanted it out!) so I'm back to square one with a bush rammed in there! I could of happily killed a kitten!!! The issue it to tight a fit to do without heat from what I read so the pla is to hire a blowtorch heat the casting and try and get the bent up new one out ready to try again!  :roll: |
| |
90 Alfa 75 3.0 V6 Cloverleaf
79 MGB Roadster
88 Saab 900i Convertible
94 MK1 MX5 1.6
05 Volvo V70
|
|
|
|
75nut
Part of things
Posts: 512
|
|
|
|
Got a little done over bank holiday. First on the 75 Still not got my ham fisted wedged bush out yet, going to hire a blowtorch and heat the casting, got a few other jobs like removing the bolts on the shafts coming out of gearbox to replace the seals that will need head and stuck solid at mo. Tarting stuff really as it was off the car I wire brushed the exhaust, welded back together where I cut it with the gassless, kurust'd it (I know most ort comes form inside but it had alot o surface rust too) and sprayed it with silver high temp paint. 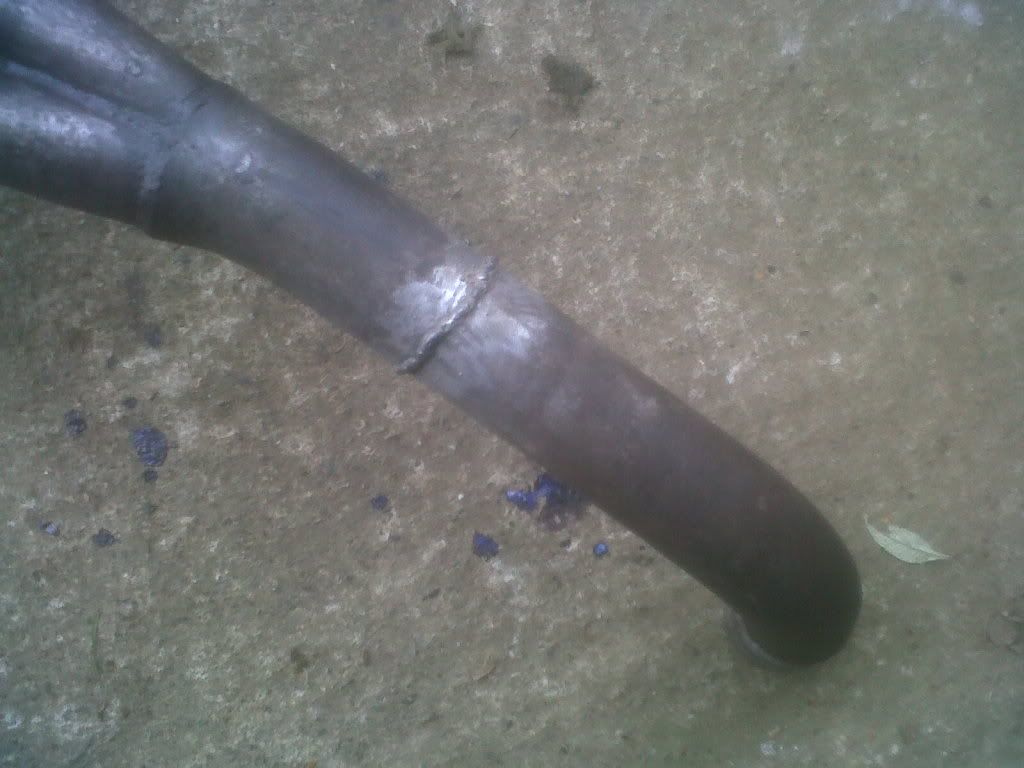 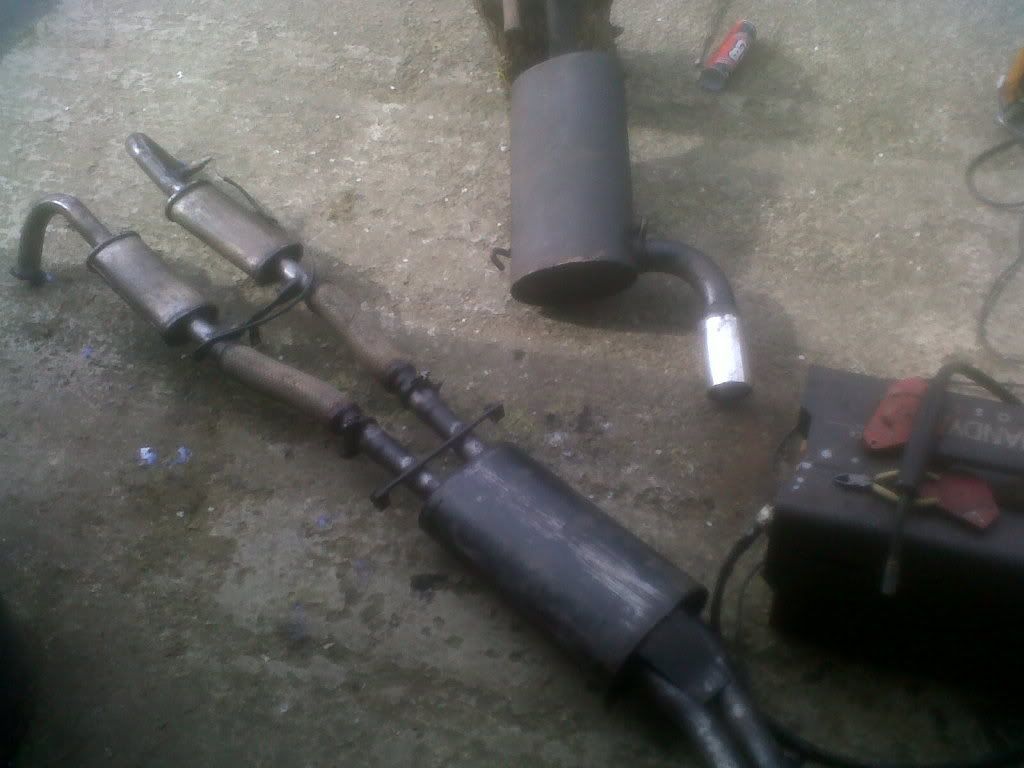 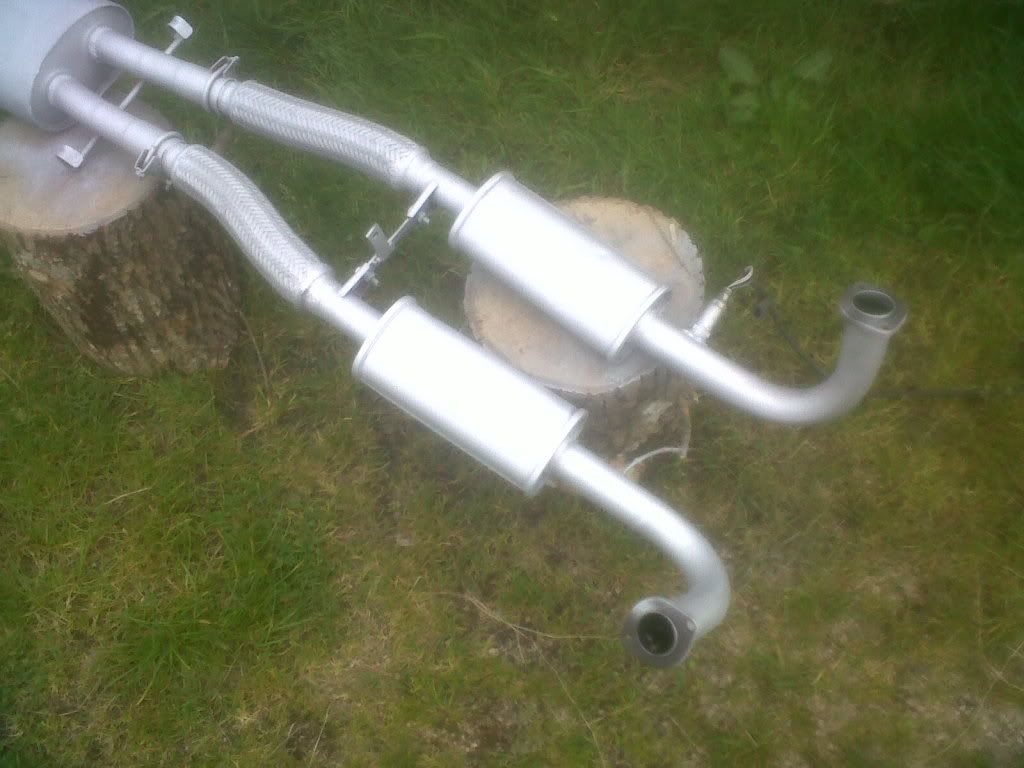 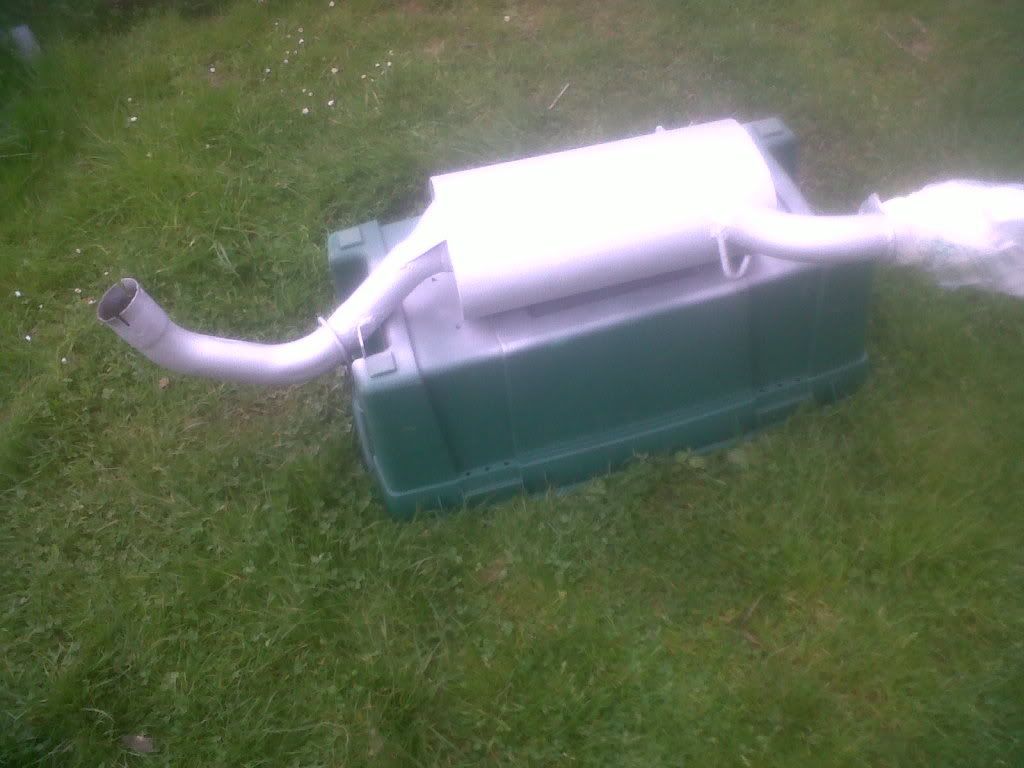 Going to take the side skirts off and clean up and paint the sills and jacking points and also touch up the areas of waxoyl that need it under the floor of boot etc. Looks like its going to end up being a unplanned mild resto Finally did a bit on the MGB. The fillers that you need to weld in under the rubber bumper front indicators for the conversion to chrome where missing fromt he kit. So after a bit of searching I got hold of some, so as it was so wet on Sunday, and with the 75 being outside, I snuck in the garage and went to weld them onto the stripped and zinc coated wings. But they where WAY out! The curves where in the wrong place , terrible quality! I had to cut the welds on them and flatten them only to spend my time reforming them to fit better! Should have made them myself in first place! 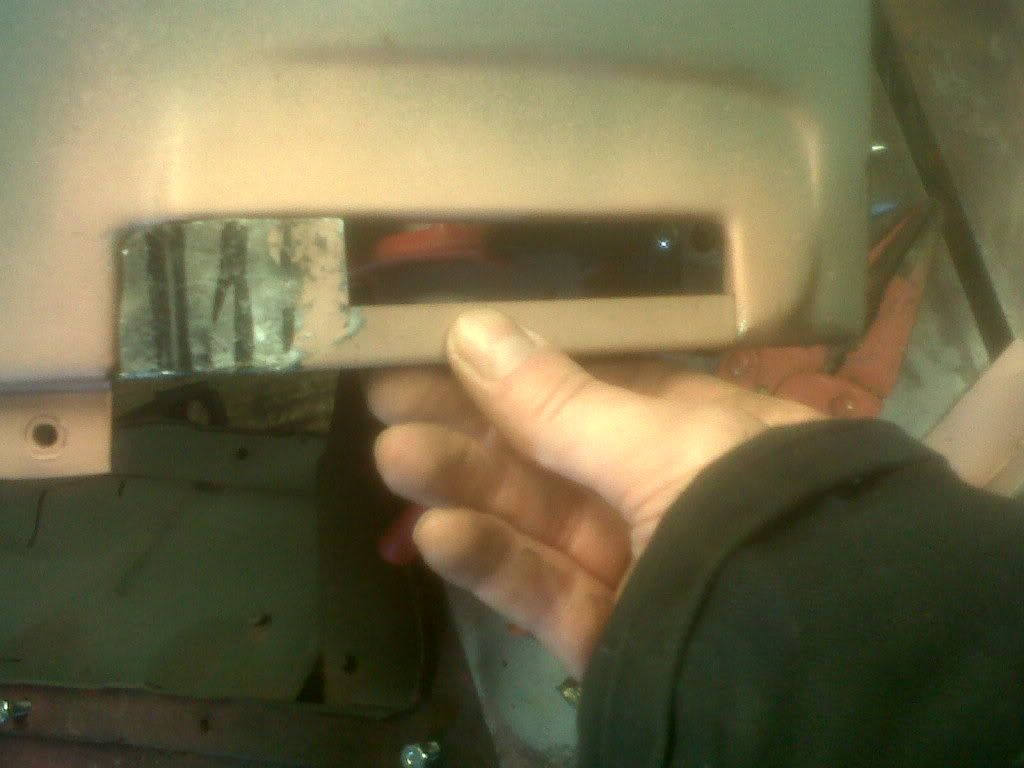 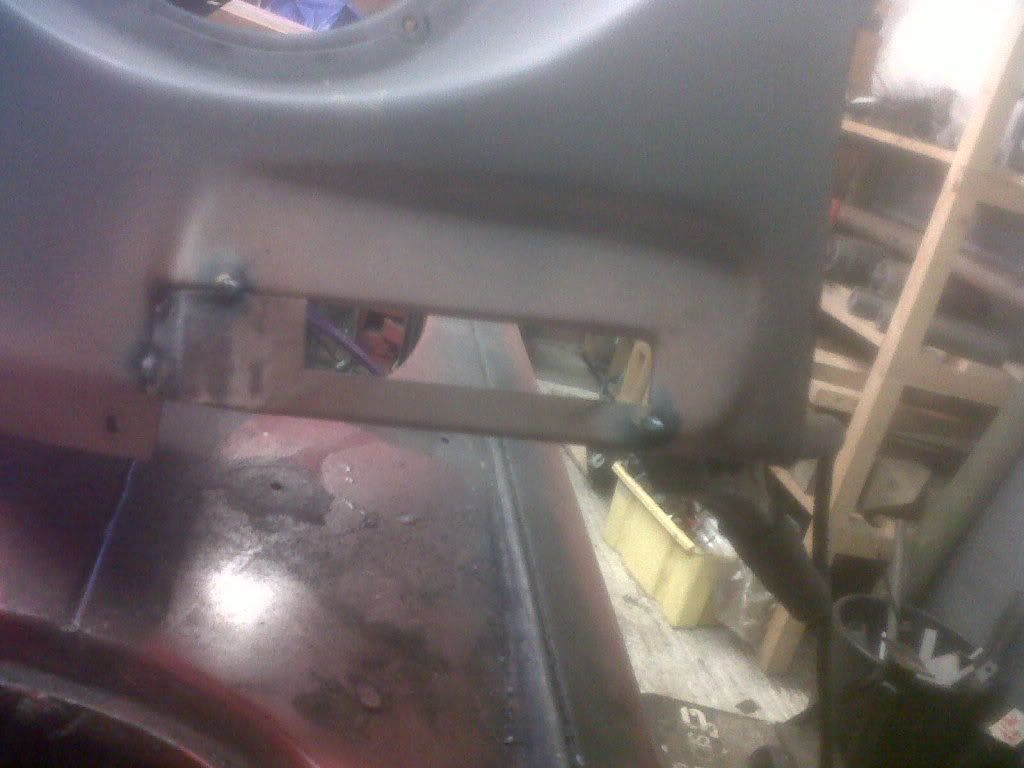  All welded in from behind so I only need tiny bit of filler and coated in high copper weld through primer. |
| |
90 Alfa 75 3.0 V6 Cloverleaf
79 MGB Roadster
88 Saab 900i Convertible
94 MK1 MX5 1.6
05 Volvo V70
|
|
m1keh
Part of things
Posts: 278
|
|
|
|
|
Keep it up fella! LOVE Alfa 75s!
|
| |
|
|
75nut
Part of things
Posts: 512
|
|
May 11, 2012 14:00:47 GMT
|
|
Cheers M1keh
|
| |
90 Alfa 75 3.0 V6 Cloverleaf
79 MGB Roadster
88 Saab 900i Convertible
94 MK1 MX5 1.6
05 Volvo V70
|
|
75nut
Part of things
Posts: 512
|
|
May 21, 2012 11:44:23 GMT
|
Tadaaaaaaaaaaaa s879.photobucket.com/albums/ab356/75nut/?action=view¤t=IMG00688-20120519-1338.jpgDone it at last! New bellhousing bush in! Taking all the great advice on here etc (many thanks all!) I grabbed my little gassless welder and got under the car and welded around the very outside of the bush that is metal from the inside of the housing where it was sitting half way in. A few taps with a chisel and a hammer and it slid right out!! 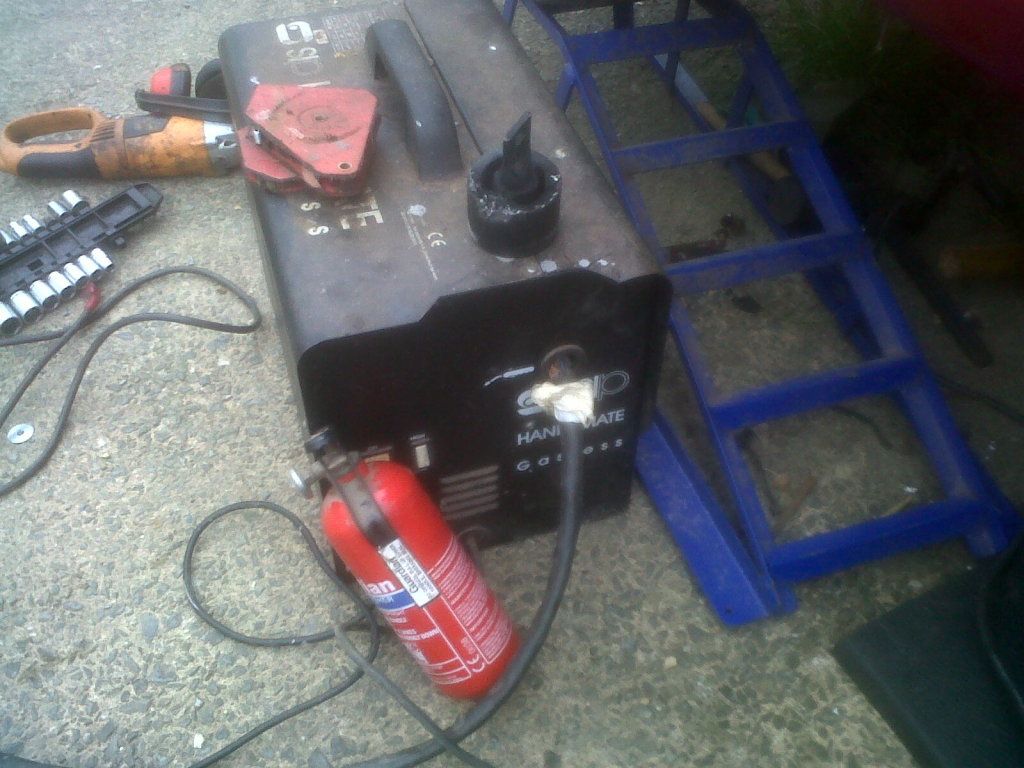 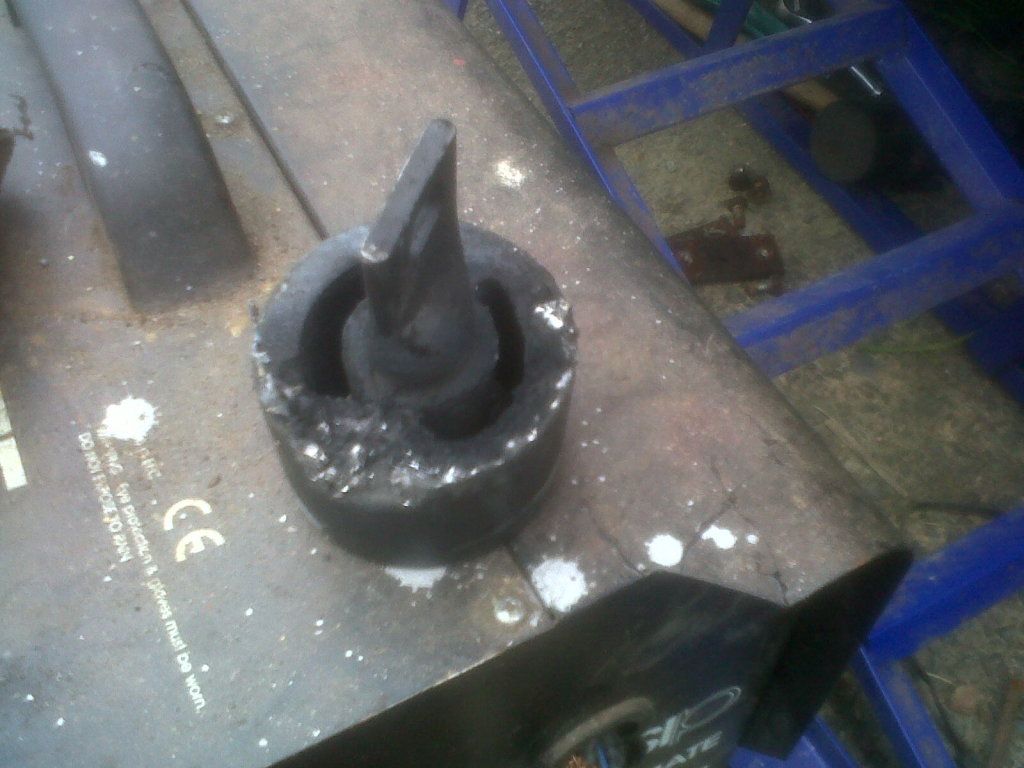 Result! But I now had to get the new one in without balls it up again! Its now I realised my schoolboy error fromt he first time! I had not removed the two metal plates that fit on the mounting brackets either side. One these are off they give a recess that allow you to line the bush up straight! I had already frozen the new bush so set about heating the ali bell housing with a handhled blowtorch, which I did not thing would be powerfull enough, but it was and the new bush slid right in! About 30 seconds later it had expanded in the head of the housing and was rock solid, only to get better as it completely thawed. 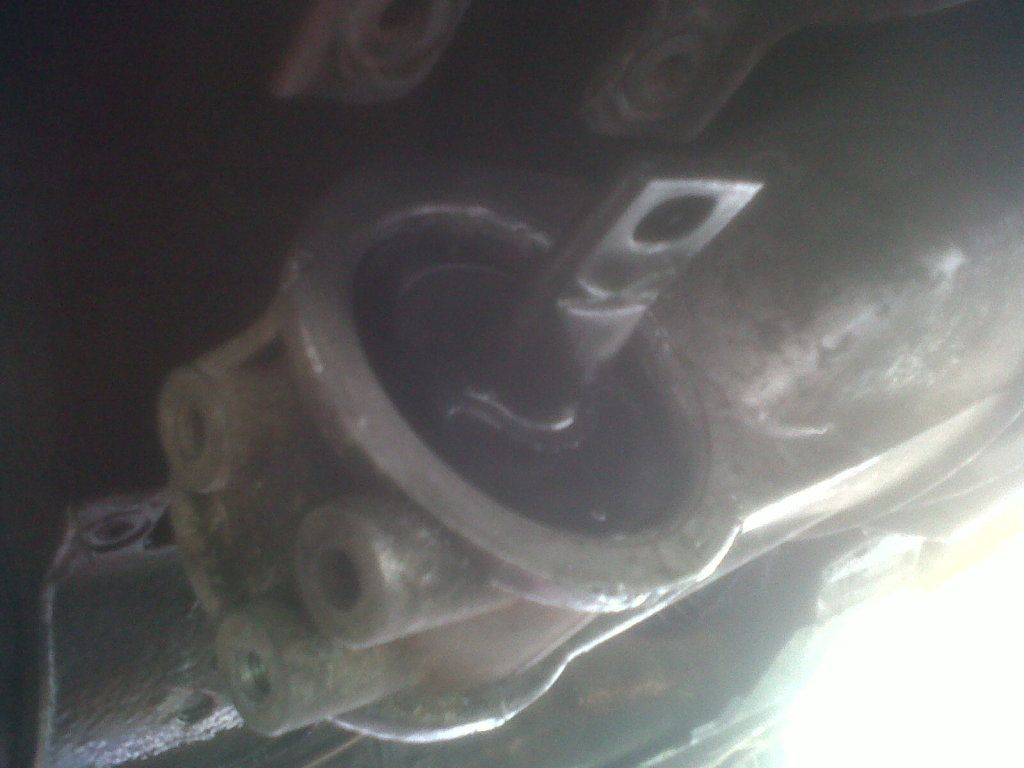 Easy when you know how eh! As I had done well I though quit while the going is good and went of to play with my little girl. But not before having a little look around to see what else needs doing before it all goes back in. I have ordered a new handbrake cable as the old one is tired and I cannot see a easier time for me to do it. Also I need a new clutch pipe made up. I noticed a crack in the linkage mounting point on one side so as the welder was out I quickly zapped it 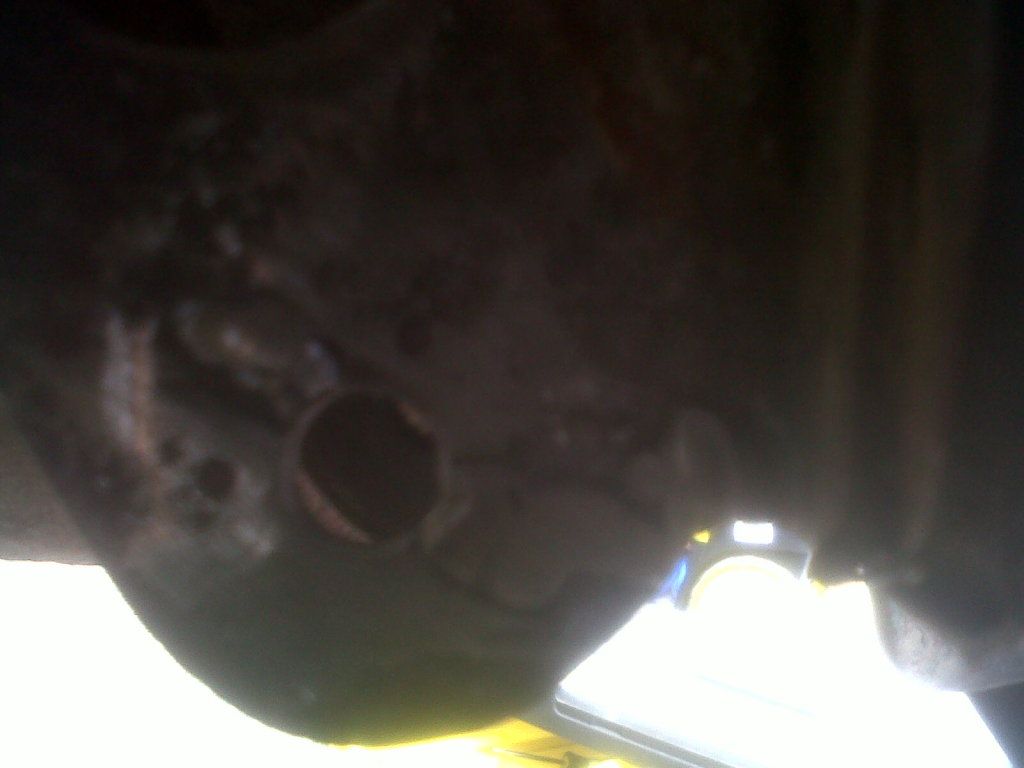 I am goign to wire brush the areas of flaky underseal and kurust and re seal before it all goes back in as well. One thing tho I noticed was this wire and I'm not sure I remember remvoing it  Goes into here  Anybody know? Bloody gutted its not up and running with the sun out and clear roads! |
| |
90 Alfa 75 3.0 V6 Cloverleaf
79 MGB Roadster
88 Saab 900i Convertible
94 MK1 MX5 1.6
05 Volvo V70
|
|
75nut
Part of things
Posts: 512
|
|
May 23, 2012 23:26:31 GMT
|
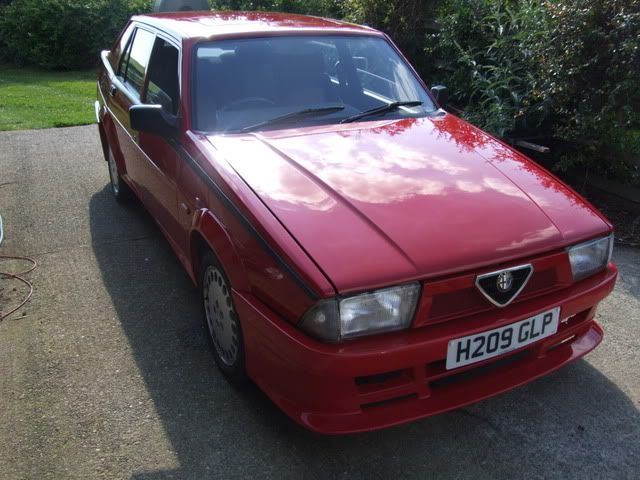
Well as the weather was good I decided to pop in office and check everything was ok and then sneaked back home to make some more progress on the 75. I had made the decision to make the most of it being up in the air and off the road and the fact that I'm waiting on some parts to complete the work underneath. I knew the arches where rotten under the bodylit as Alex Jupe had sent me photos when he did some work on it before, but I told him to leave it as I would sort. Well 2 years later I though I should get on with it! I already had 2 new rear arches all packed up in the garage I bought for the black LHD 75 I have. So I undid all the screws and fittings holding the side skirts and drilled out the rivets holding the arch covers. The bolts snapped on the bumper fittings and one fitting came off the bumper so more fiddling needed there. The rear bumper still did not want to come off tho as sealant had been used along the supporting bar that the bumpers sits on. But just took a bit of heaving and was off. Once it was all off I power cleaned everything to get a better look. So the passenger arch is completely fried on the rear half with the inner arch also needing repair. 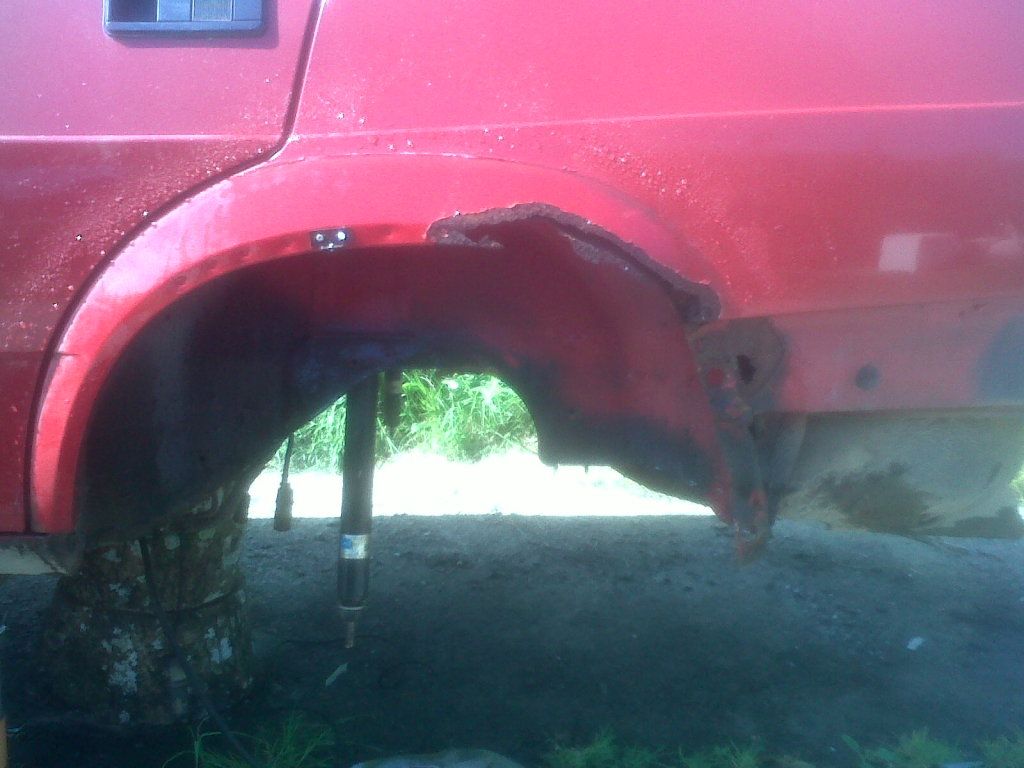 There is also a little at the leading edge of the rear wheel arch at the bottom of the door opening 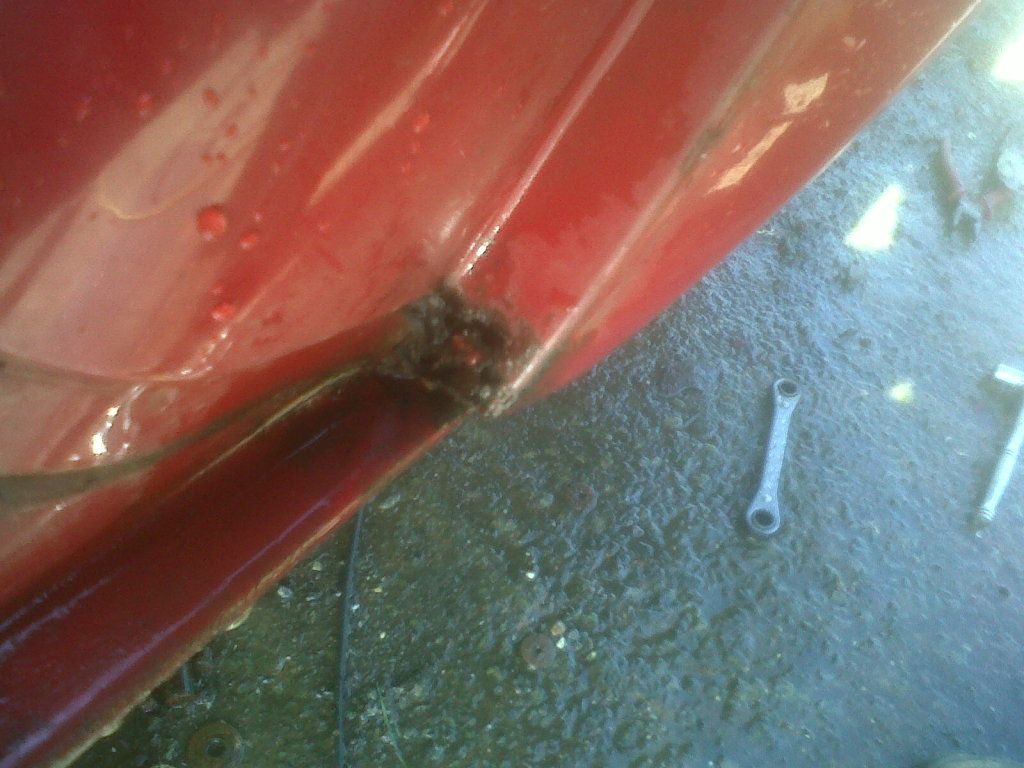 So I start cutting well within the line of where the new panel fits to have a look how far the rot goes back 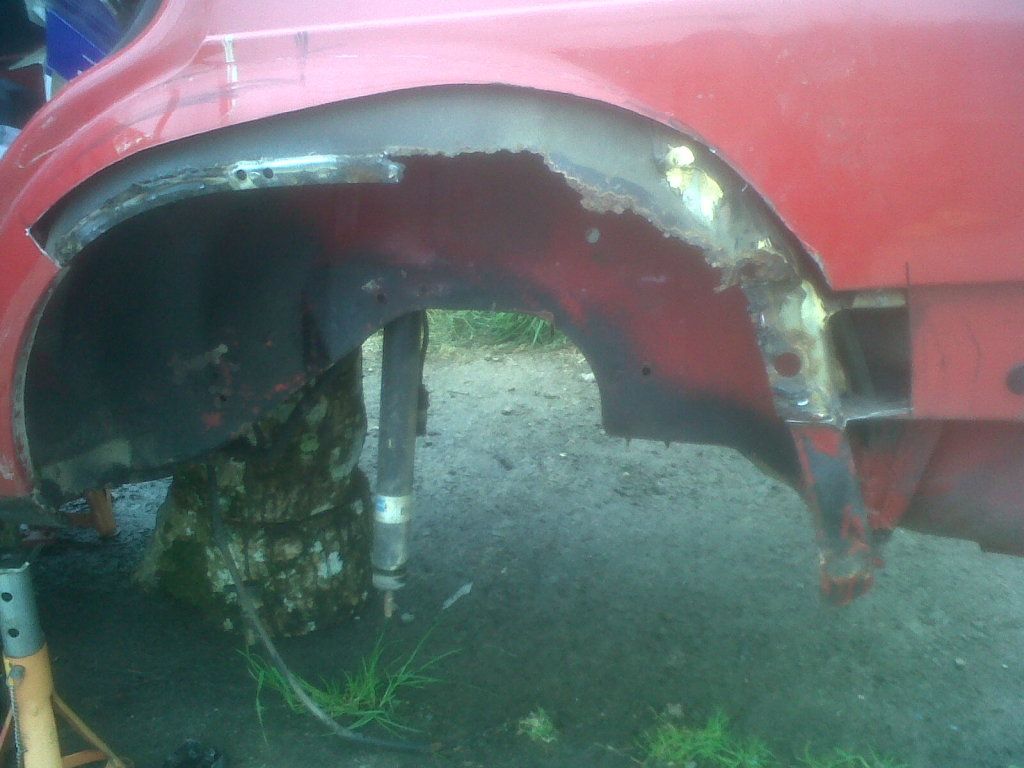 Lot of fab work needed in bottom corner 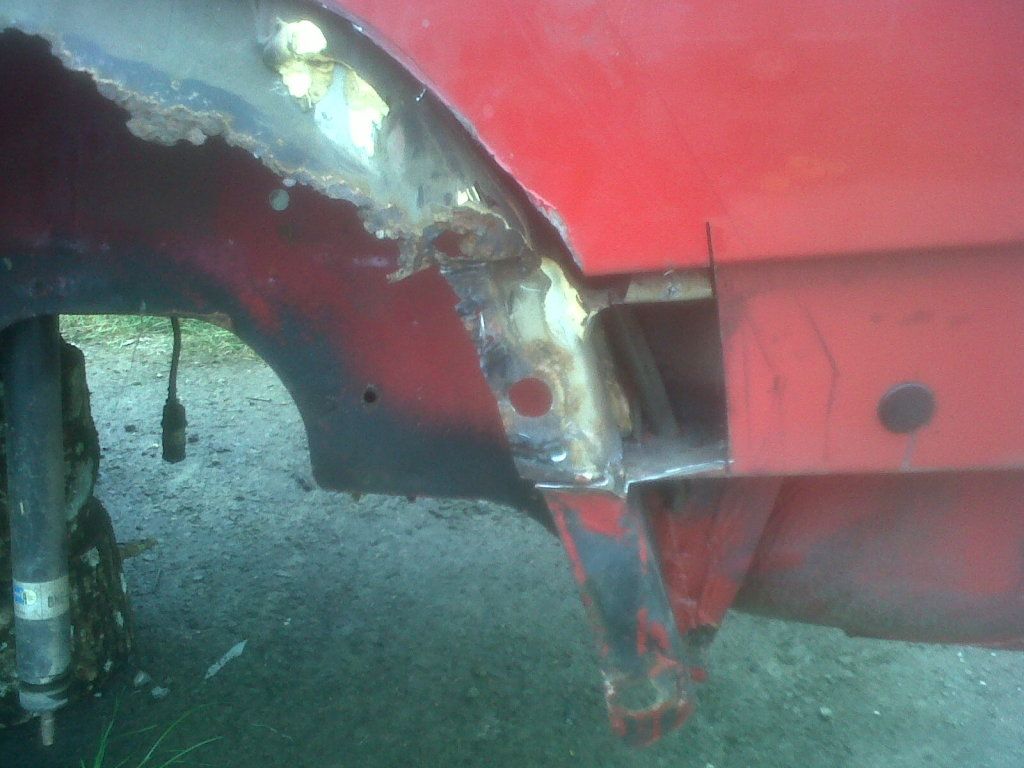 With only a small amount of rot on lower front corner I'll do the arch in two sections and keep the as much of the good original metal a pssobile and avoid cutting intot he door recess. 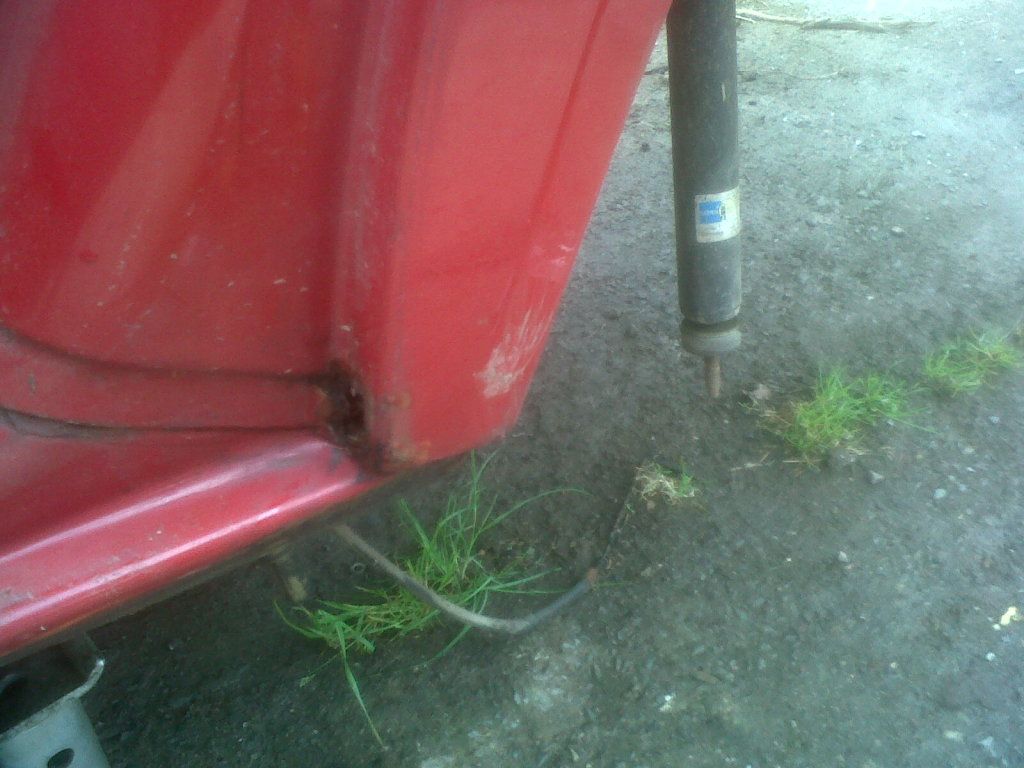 I marked up where I am cutting. I plan on cutting in as many straight sections as I can so I can joggle the edge easily and get it sitting flush and plug weld. 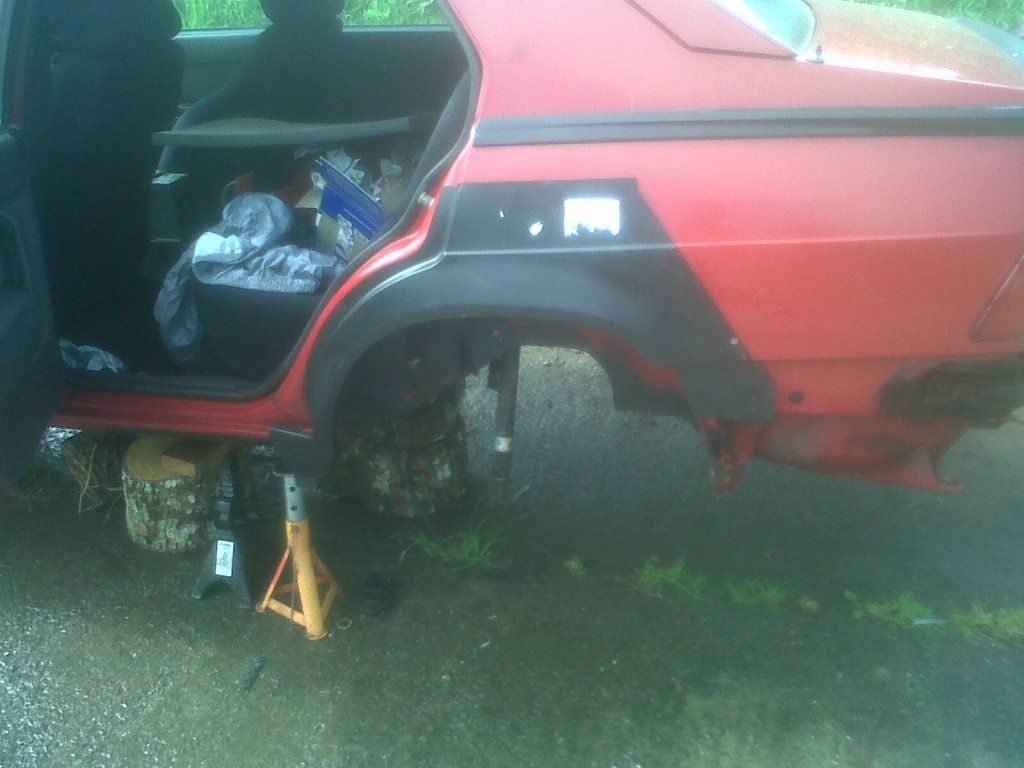 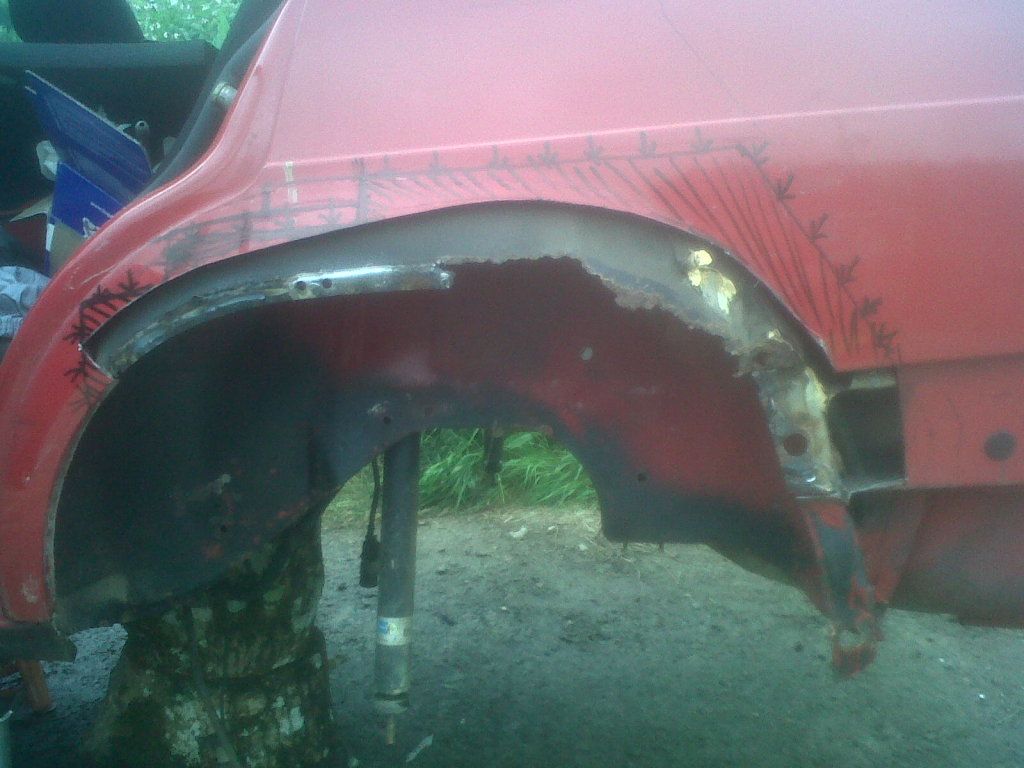 Onto the driver arch Only a small amount of rot on arch itself.  Alot more on the front edge tho by door so alot of fabbing also needed here 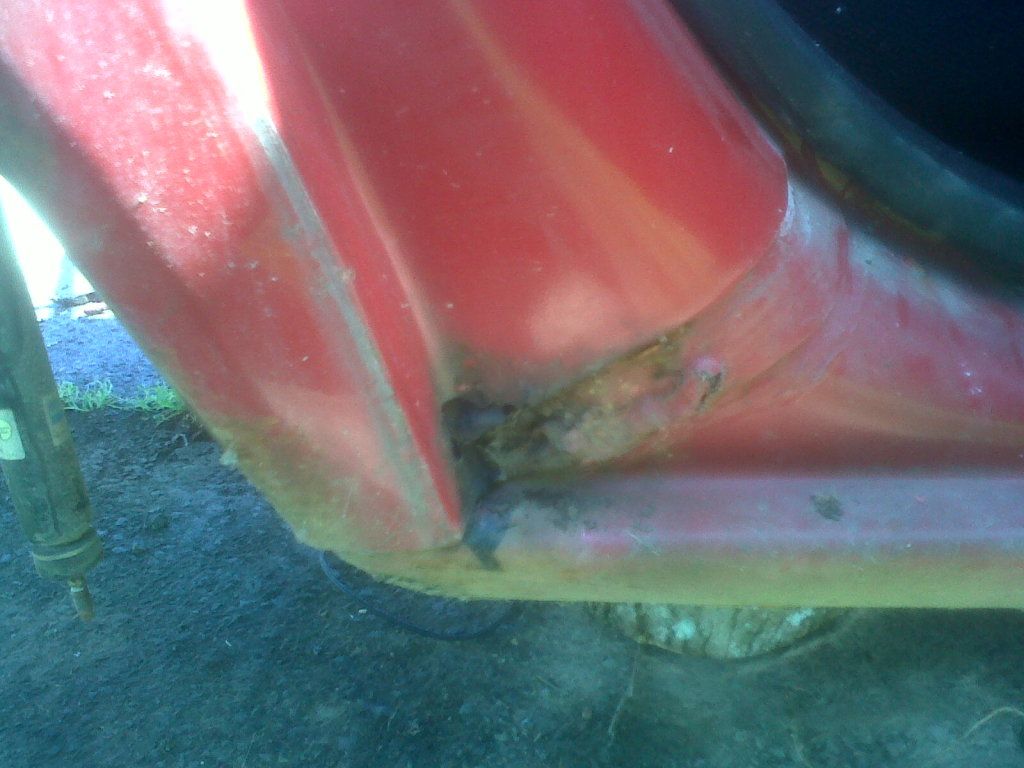 Sills look good with just a bit of surface rust. I plan to wire brush, kurust and stone chip these along with jacking points 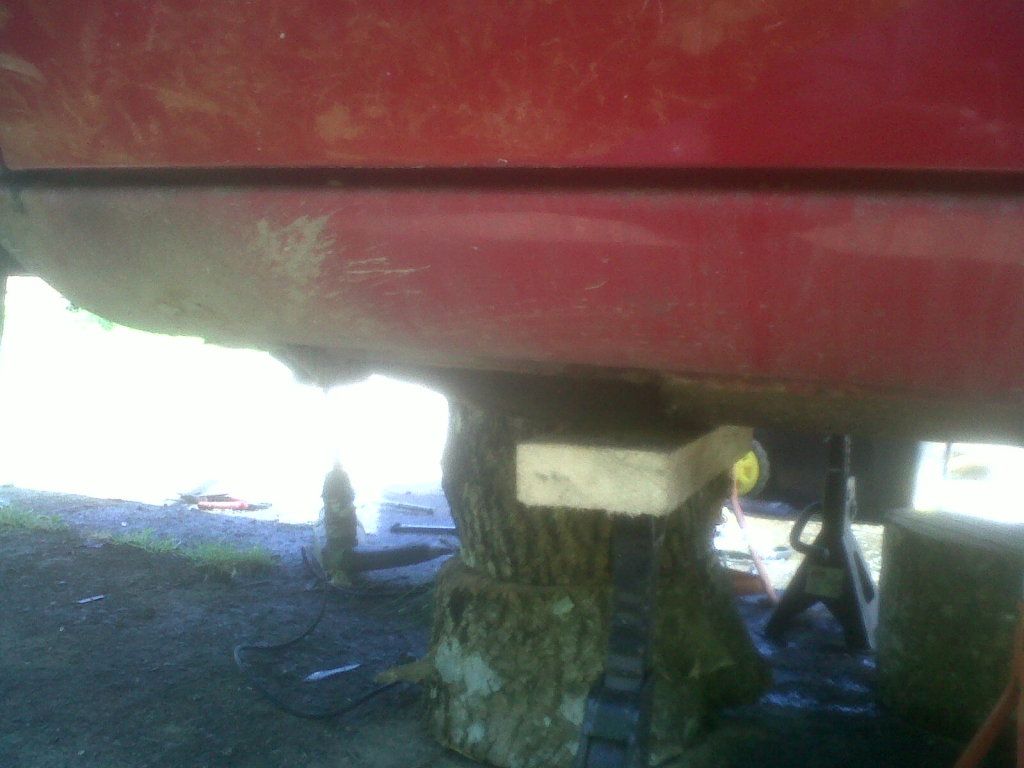 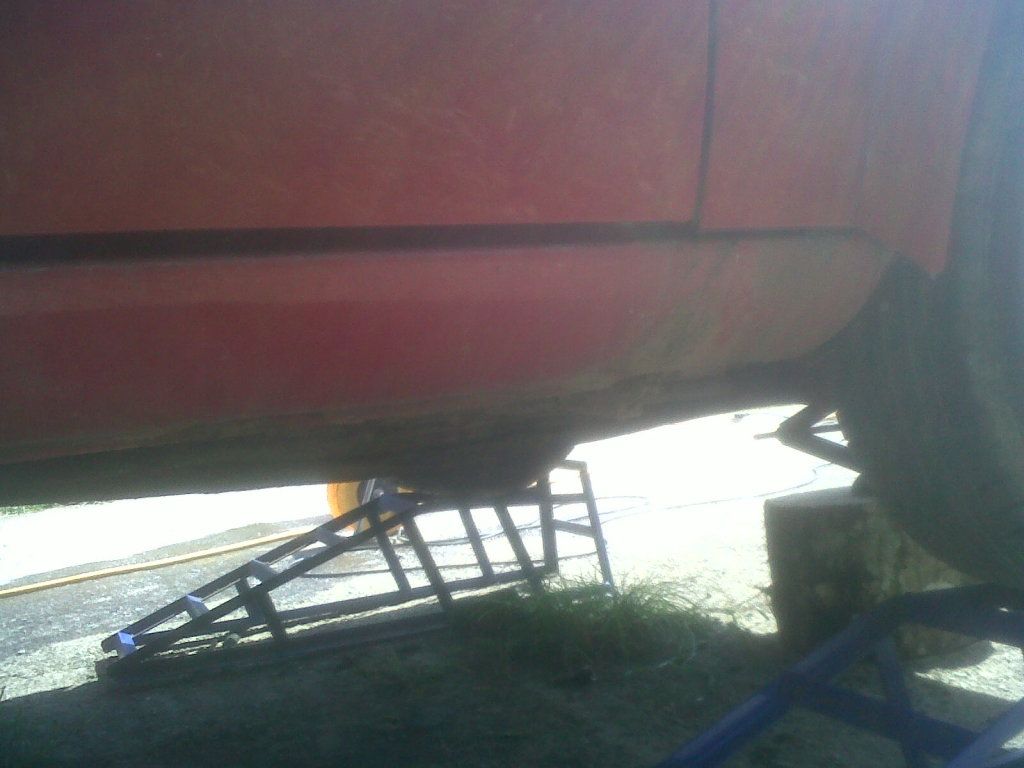 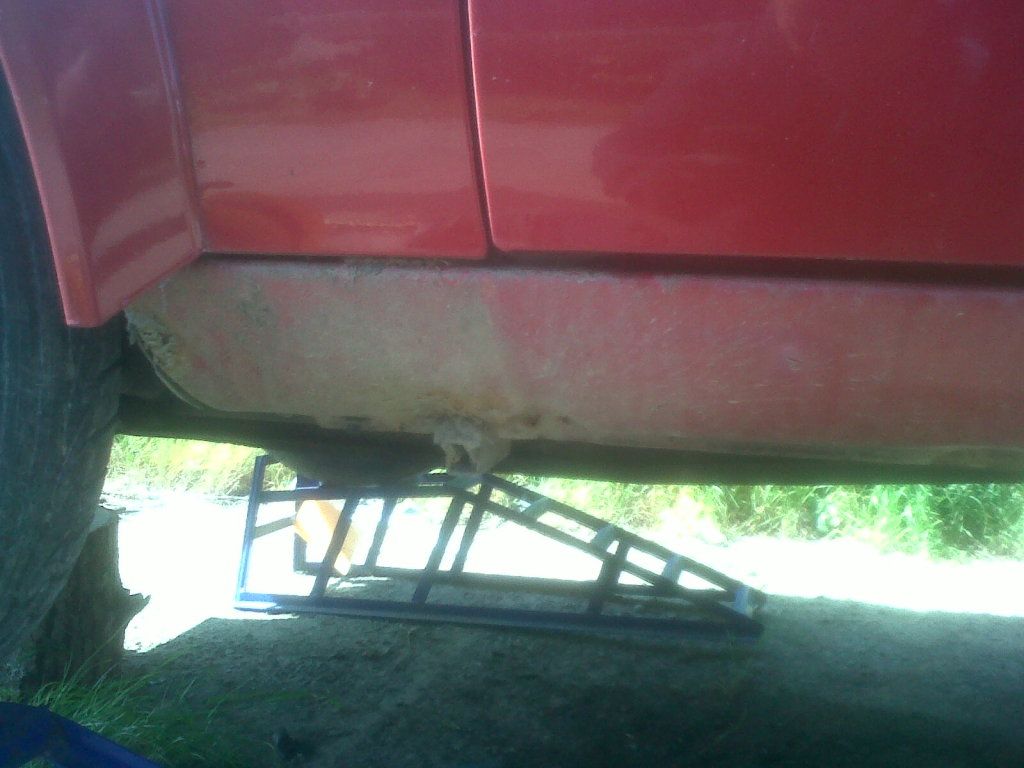 With the bumper off I had a look at the rear end and found a major bodge on the driver rear corner. I was looking for rot under the rear lights and there was some bubbling so I whipped the light cluster out. I could see wavy paint and bubbling all over the shop. Rust and filler! 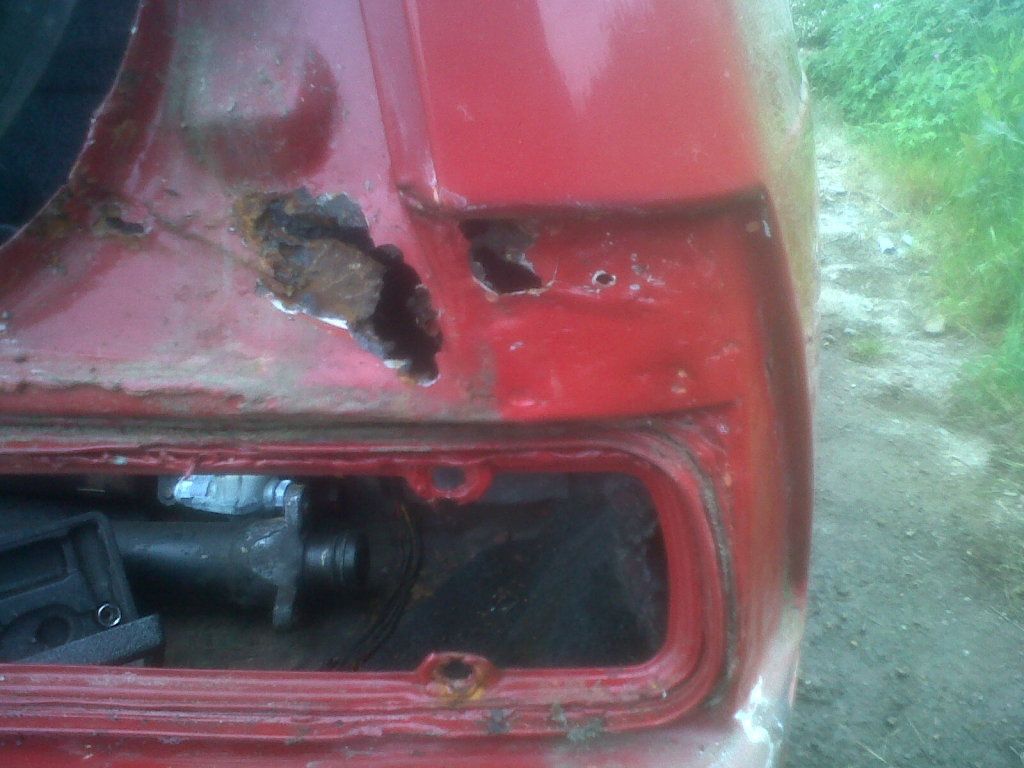 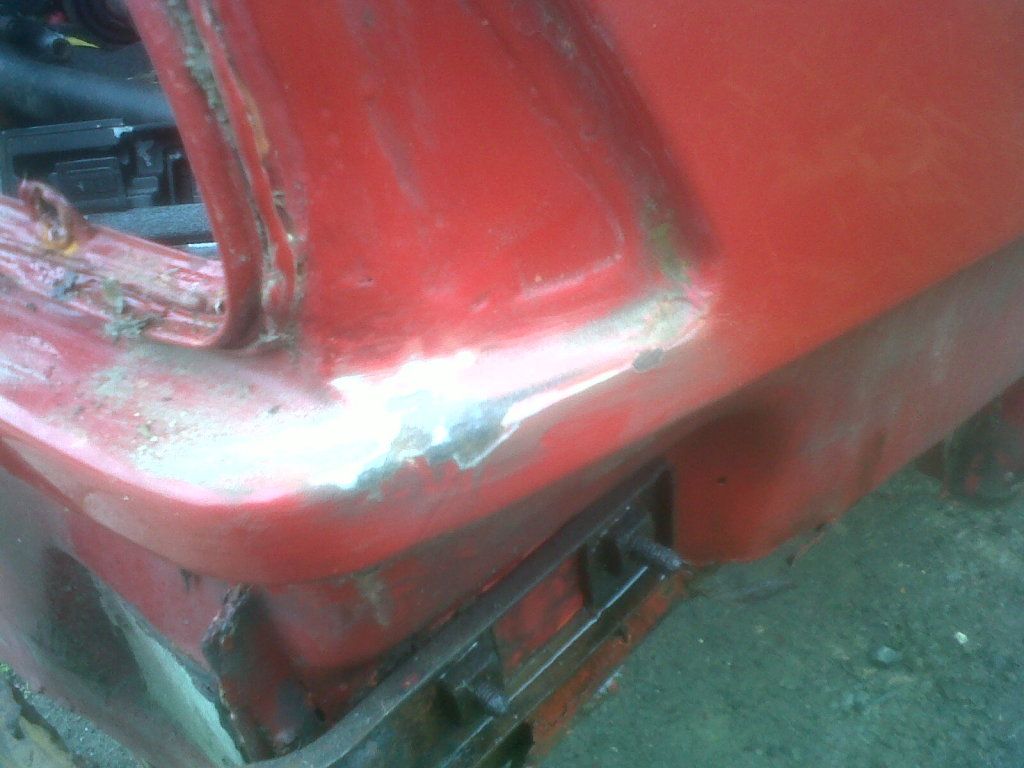 Pretty much this whole corner has to go, so if anyone knows of car that is being parted out tha tis solid here plese le tme know otherwise I am going to have to fab this also, luckly its mostly flat surfaces. Also major rot by bumper brackets on the very bottom corner. Again this has to all be cut out and fabbed, but its all straight surfaces again so should not be too hard. So all in all this is getting very involved and is now defo a mini resto! No idea how I will match the paint as I don't know what colour the guy resprayed it! Il try some alfa colours from spray cans and see if I can match. So as a word of waring when buying cars you can polish a turd as a month ago if you remember it looked like this :lol: 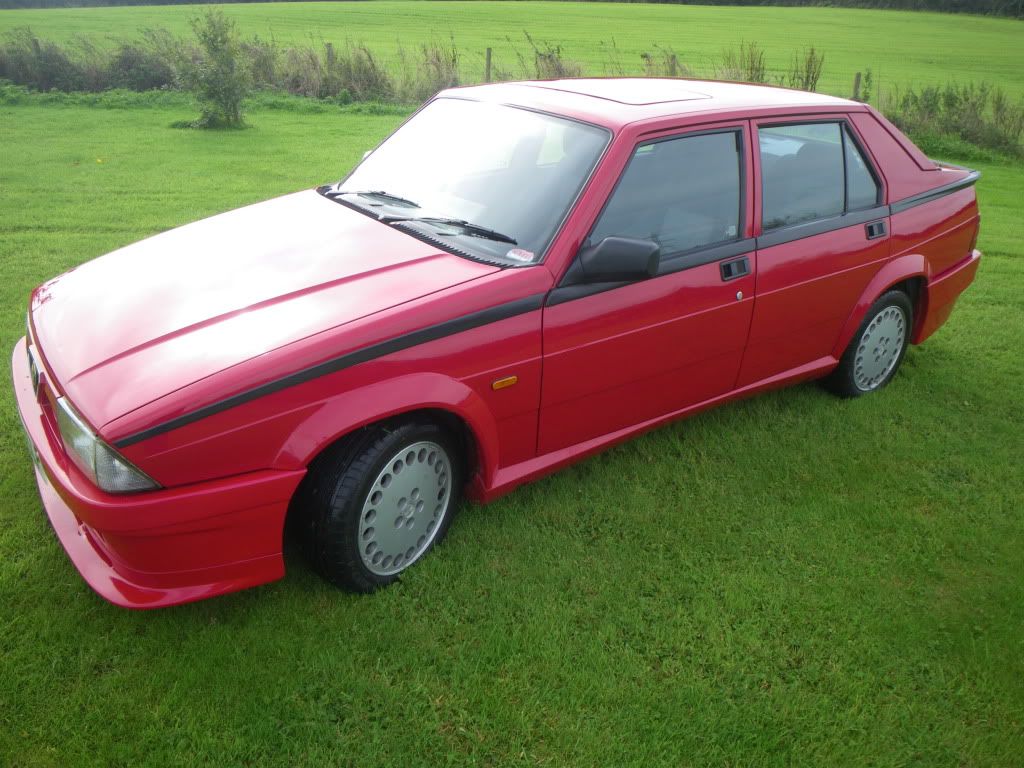 |
| |
90 Alfa 75 3.0 V6 Cloverleaf
79 MGB Roadster
88 Saab 900i Convertible
94 MK1 MX5 1.6
05 Volvo V70
|
|
75nut
Part of things
Posts: 512
|
|
May 24, 2012 21:00:18 GMT
|
Another sunny day so I could not stay in the office yet, the draw of cutting and welding was to much, s sneaked off early again! I decided to focus on one arch and not flit around. Out with the wire brush first to make sure I was going back to really solid metal and prep it for welding. 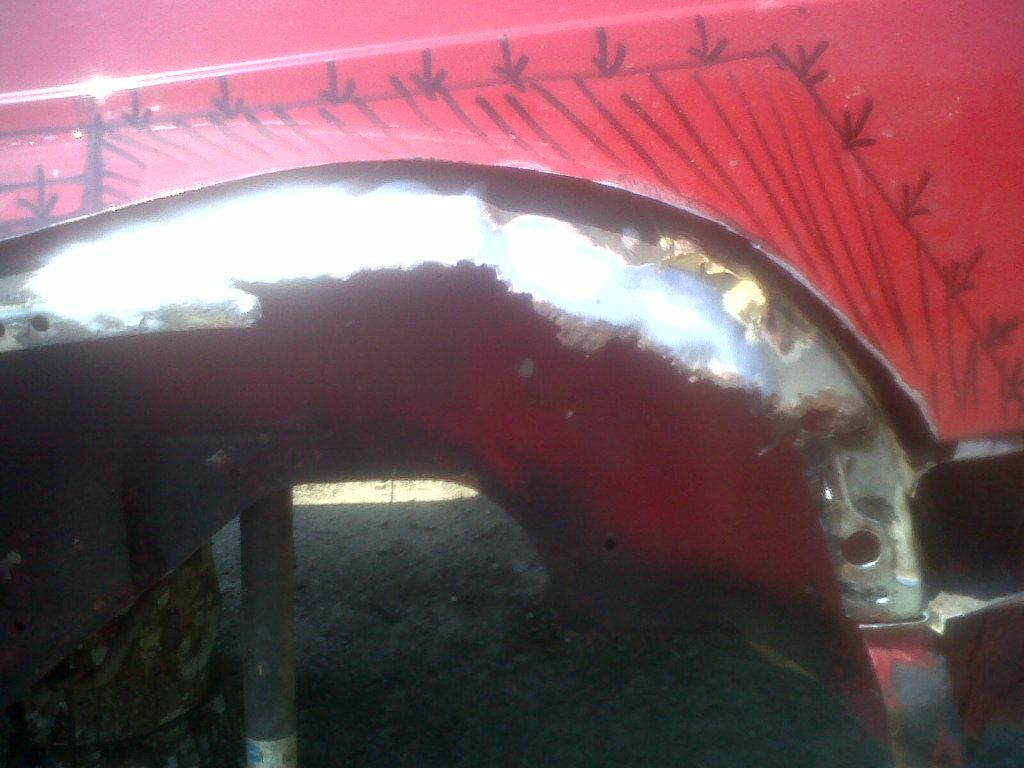 Then on with copper weld thru primer all over 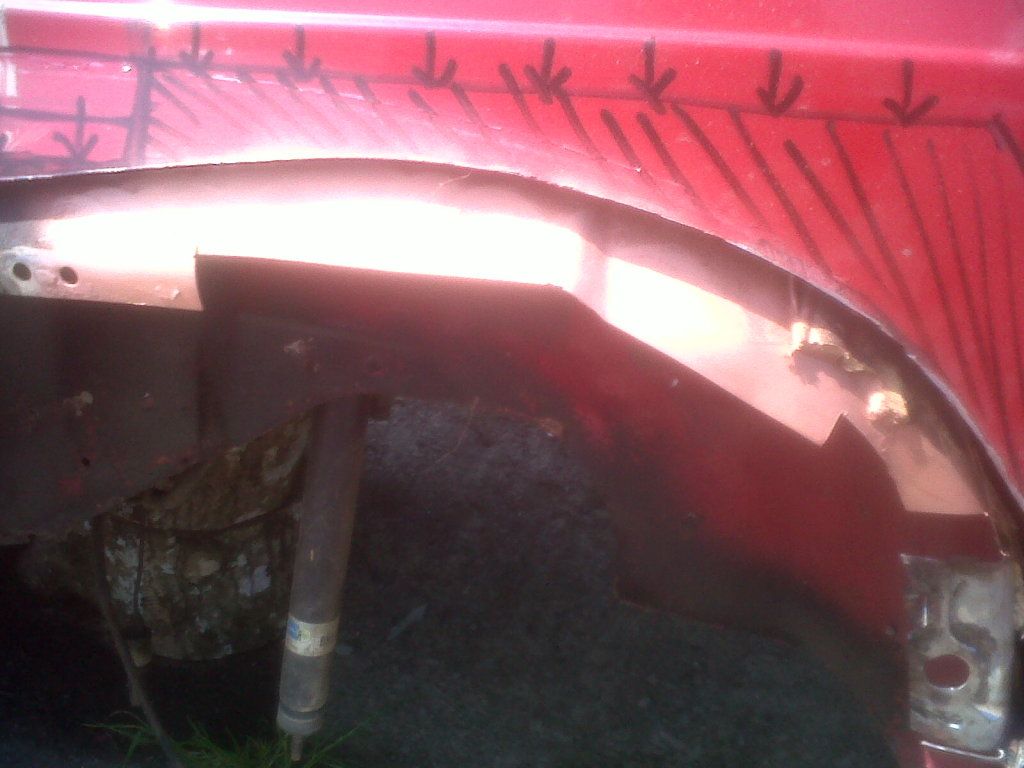 I decided to weld in sections as there a quite a few curves in different directions on the inner arch. I also left lots of metal so I can trim back and work it into shape. 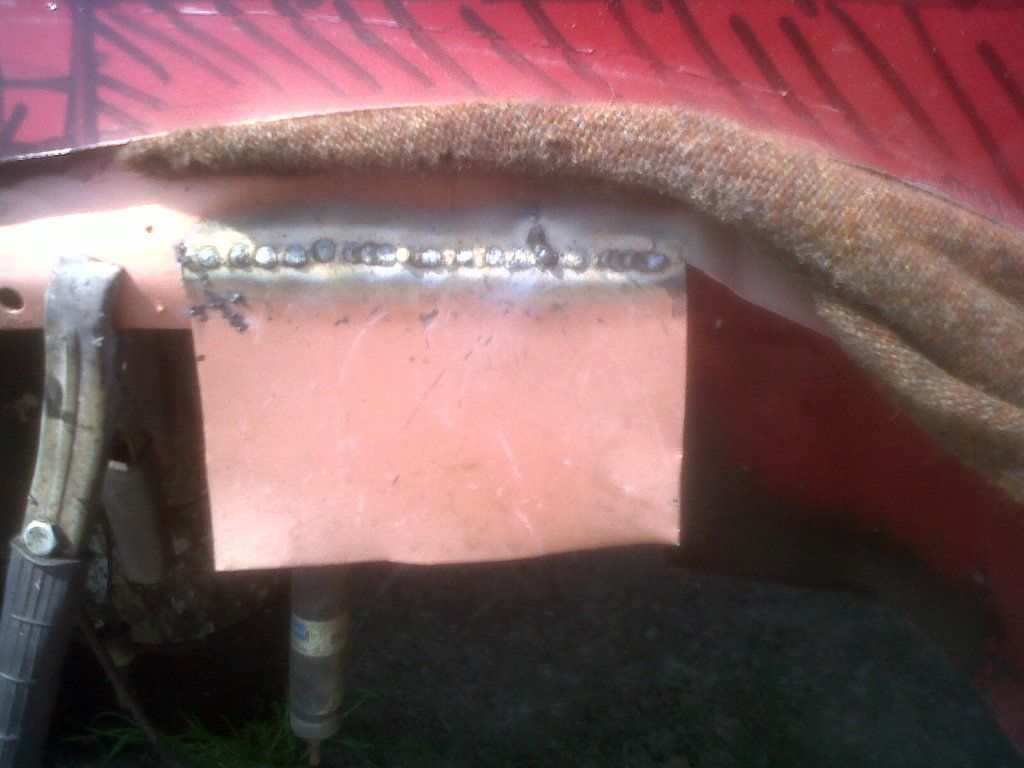 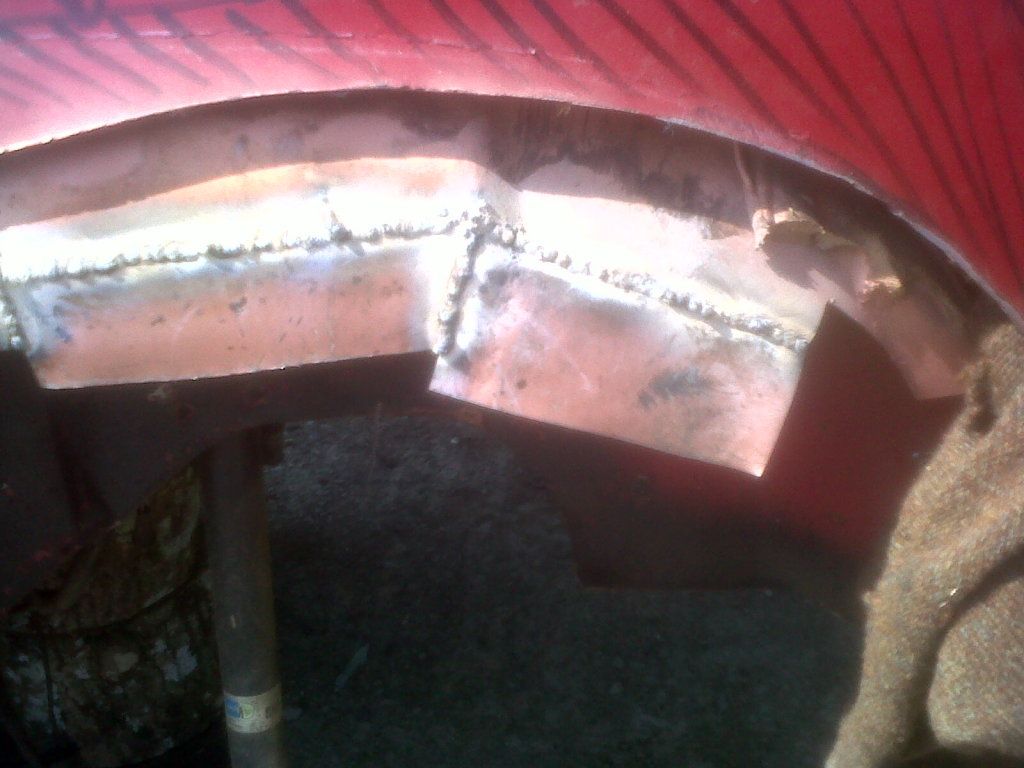 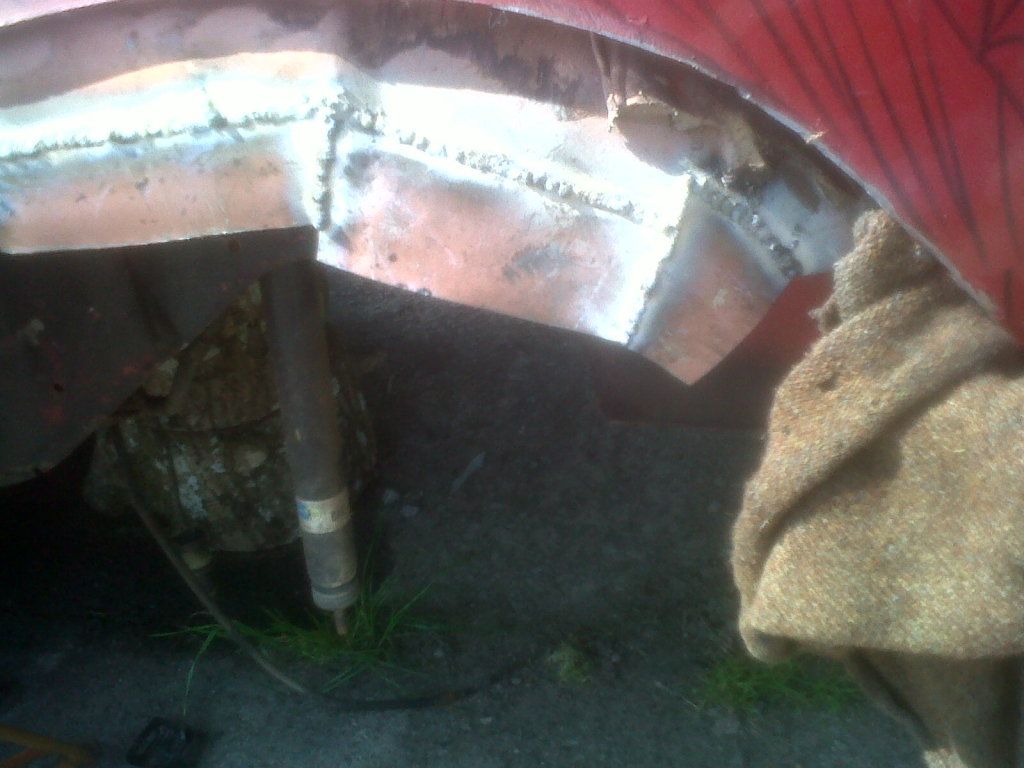 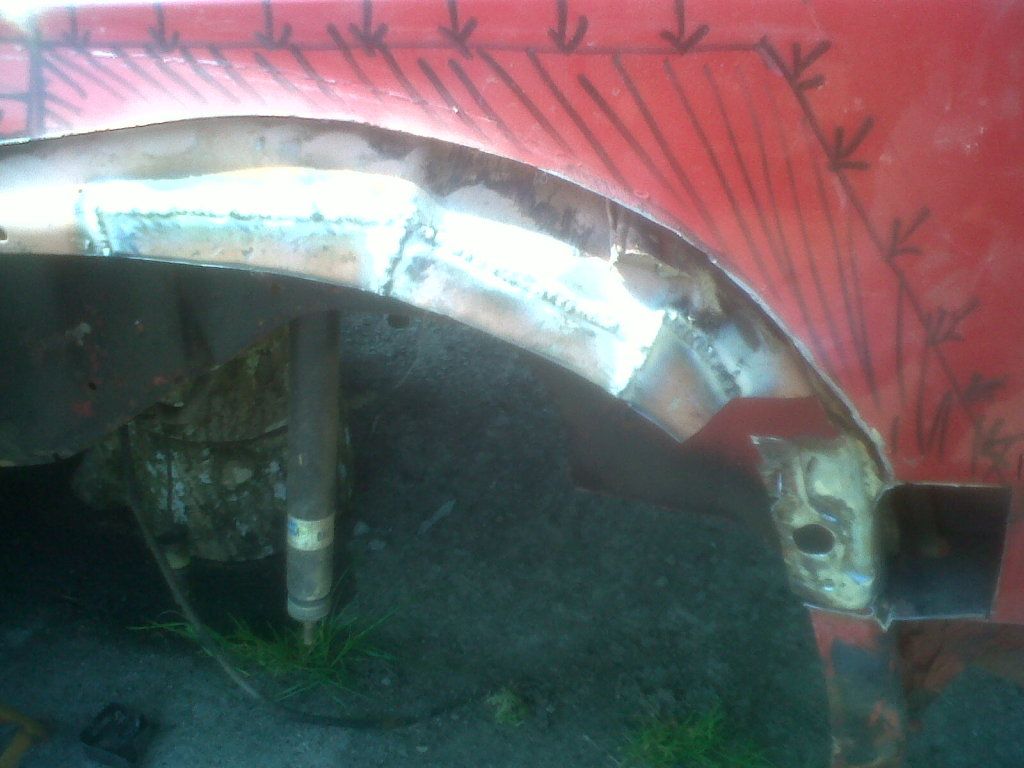 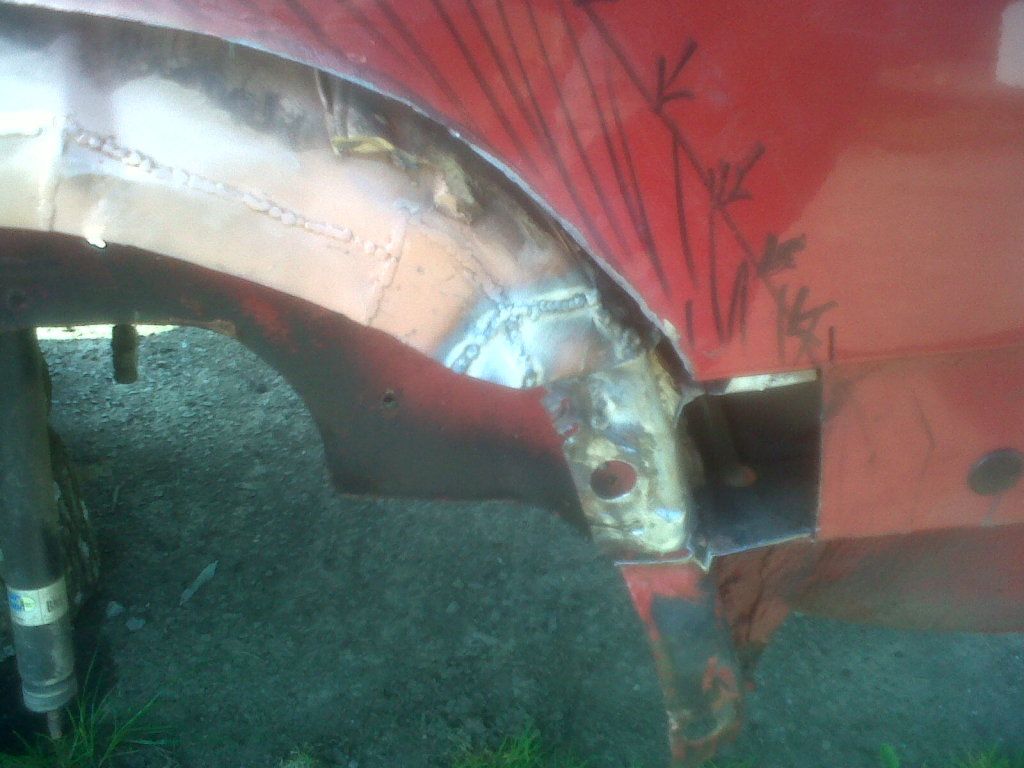 Lower section needed work 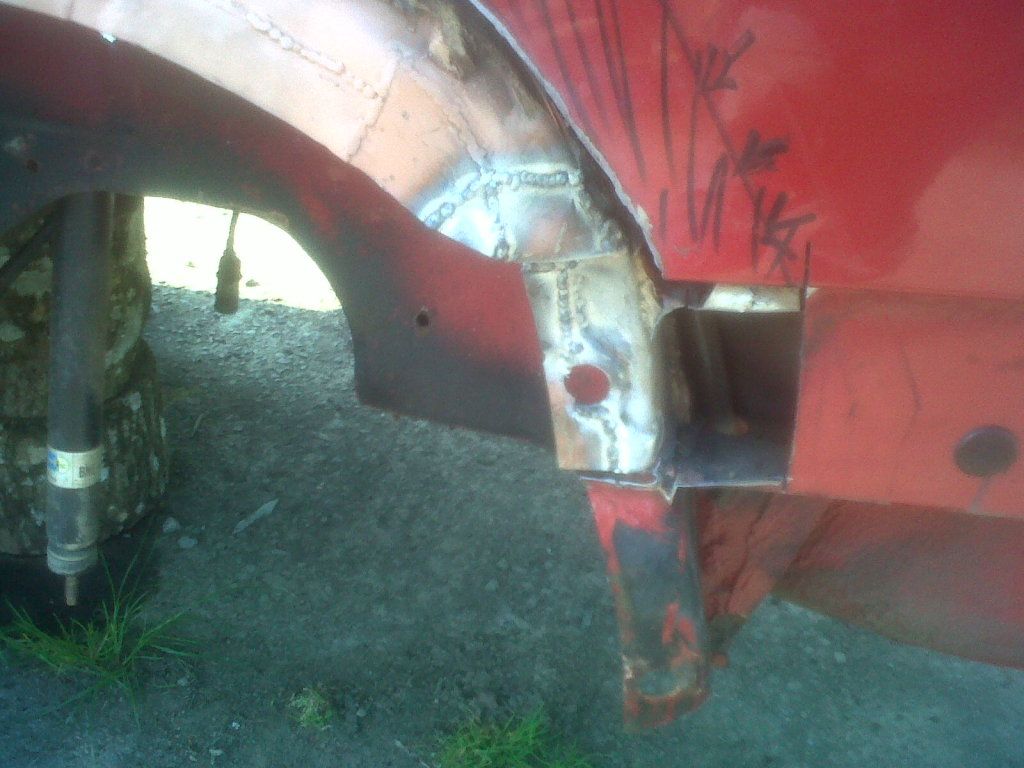 All got another coat of weld thru and then seam sealer. 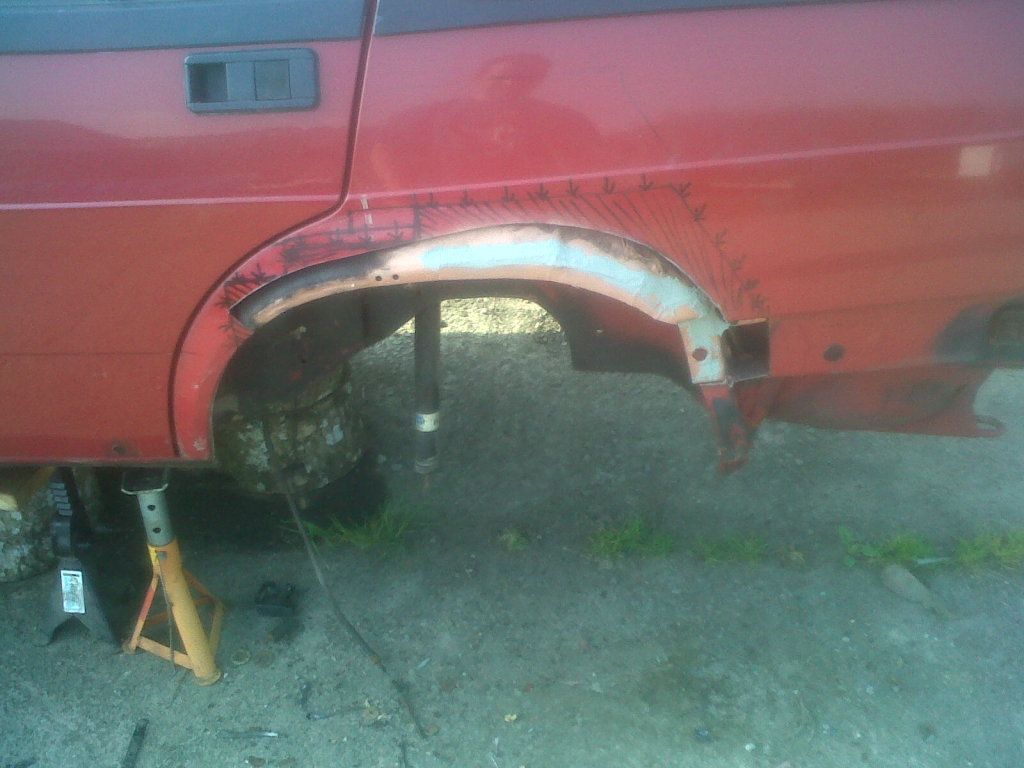 Did no spend too much time grdnign the welds back as they will not be seen with the outer arch in place That was it for today my little girl ordered me in to play. I will give it all a coat of hammerite and stone chip then waxoyl in the areas that a not the contact areas for the outer arch to weld to |
| |
90 Alfa 75 3.0 V6 Cloverleaf
79 MGB Roadster
88 Saab 900i Convertible
94 MK1 MX5 1.6
05 Volvo V70
|
|
75nut
Part of things
Posts: 512
|
|
May 28, 2012 12:49:31 GMT
|
Got a bit done on Friday, weekend was no go mate had a suprise party and was my job to keep him bus yin pubs all day, and then on Sunday I promised my little girl no tinkering so I could play barbies all day lol :lol: ! First got some hammerite over the seam sealer and areas of the inner arch that will not be welded to. So its had , zinc, seam sealer and hammerite so should give a good level of protection going forward. 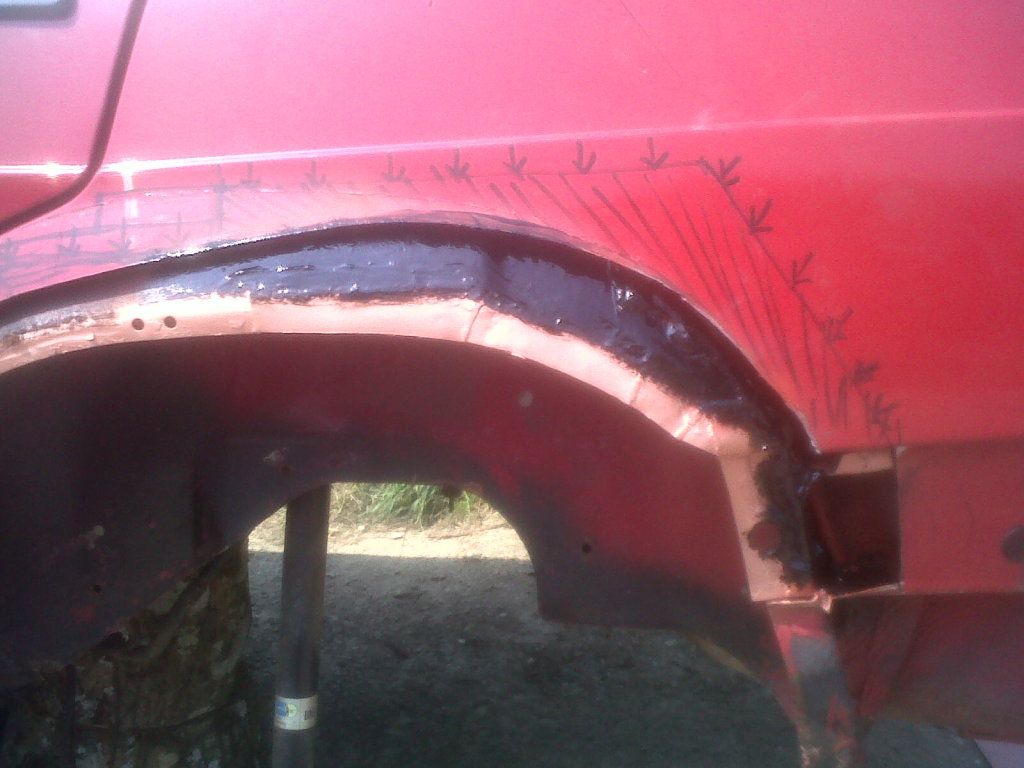 I then started cutting the repair panel into sections, checked line up and scored the areas and trimmmed back 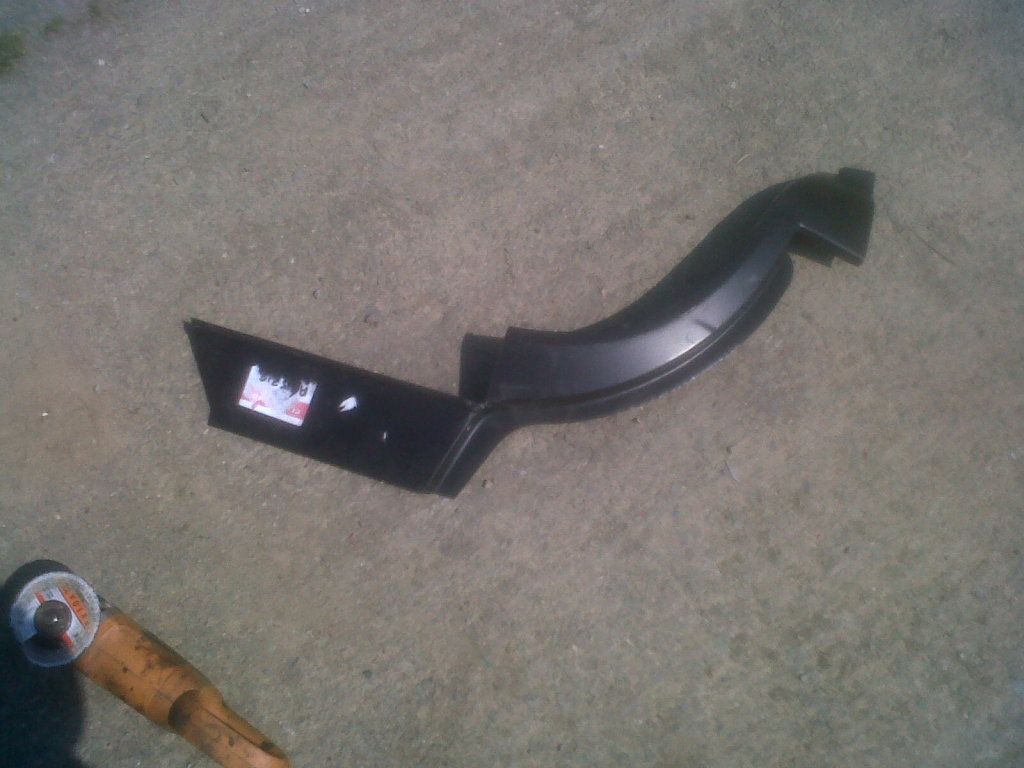 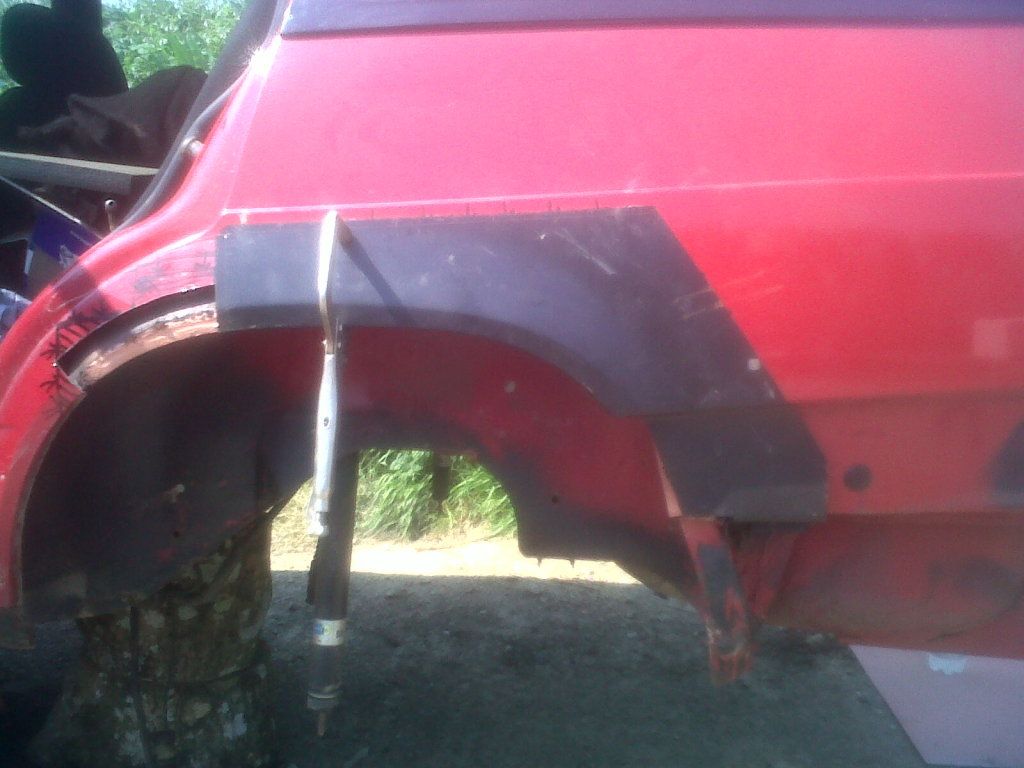 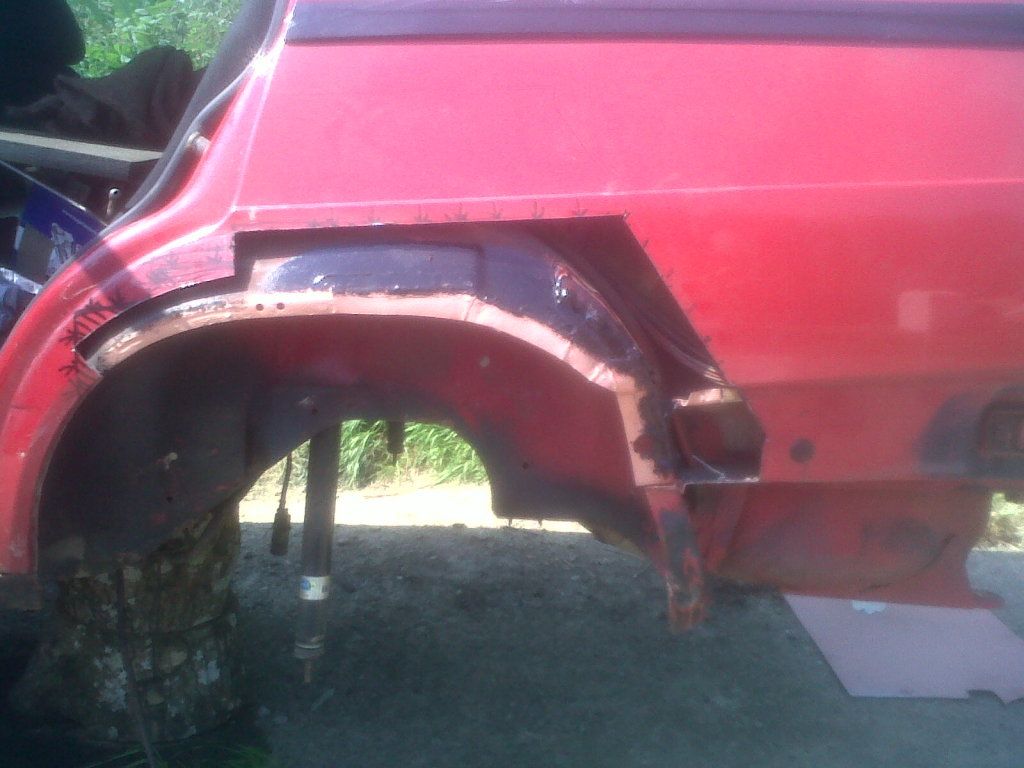 I joggled the car panel ( I did joggle the reapir panel but in trial fit I found the step was not deep enough so I needed to do it other way round to get ti to sit flush. I would butt weld but my gassless loves to burn through thin metal and as the join is sealed in behind the inner arch there shouldnot be any danger of crud getting in the join unless the inner arch fails again) and cleaned back the join area and added loads more weld through zinc again. 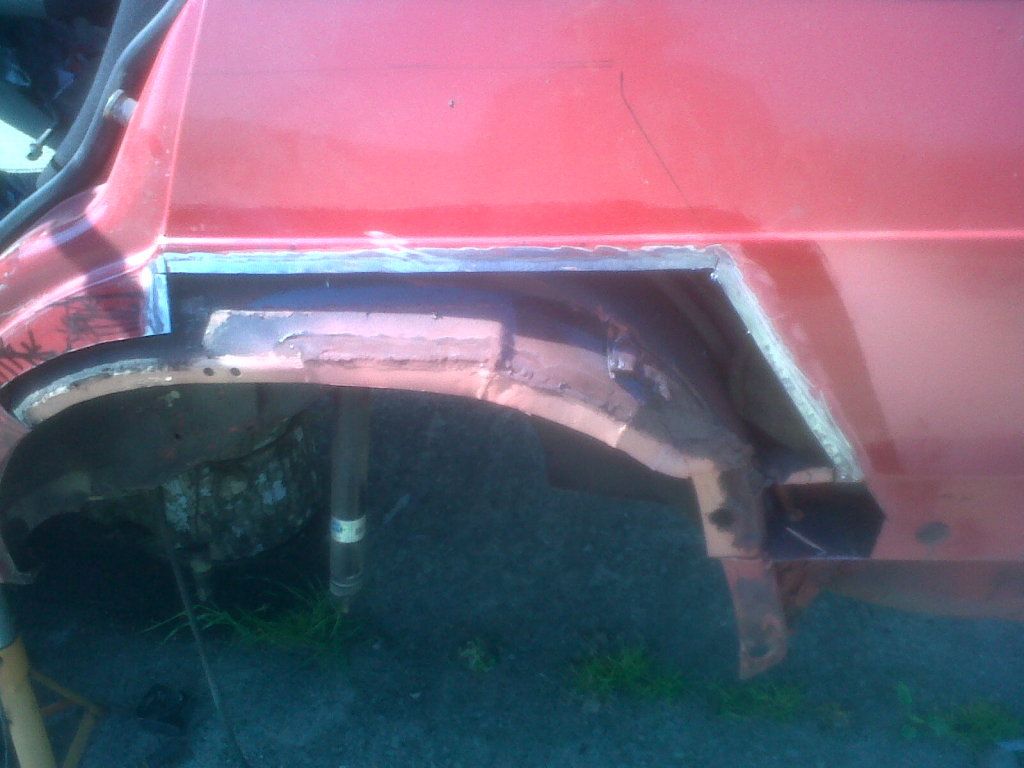 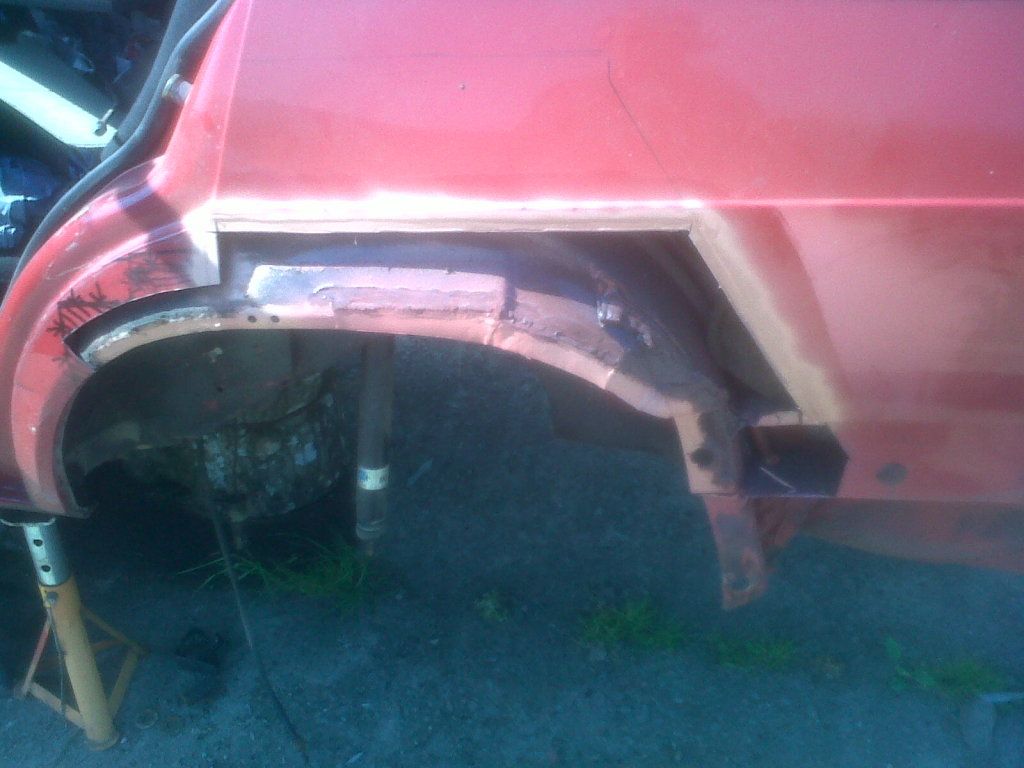 I also a this point coated the inner area of the repair panels in more zinc and then red oxide and then hammerite excluding just the weld areas, again to ensure protection is good. So while that was drying I attached the corner rot to have a look how far it goes 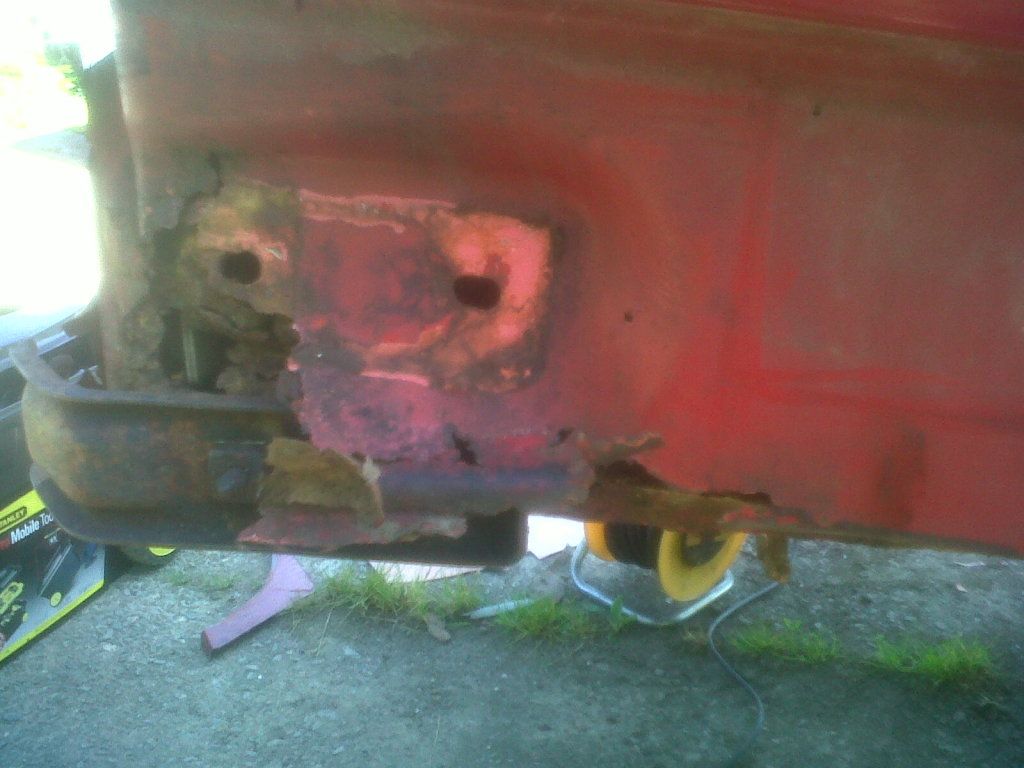 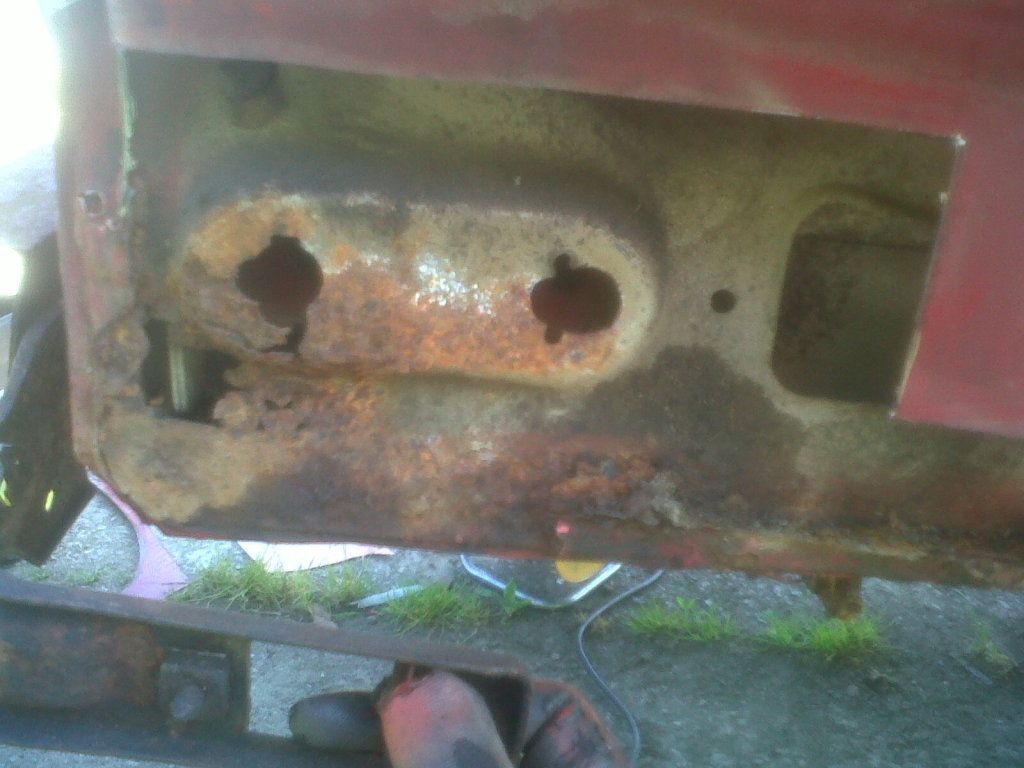 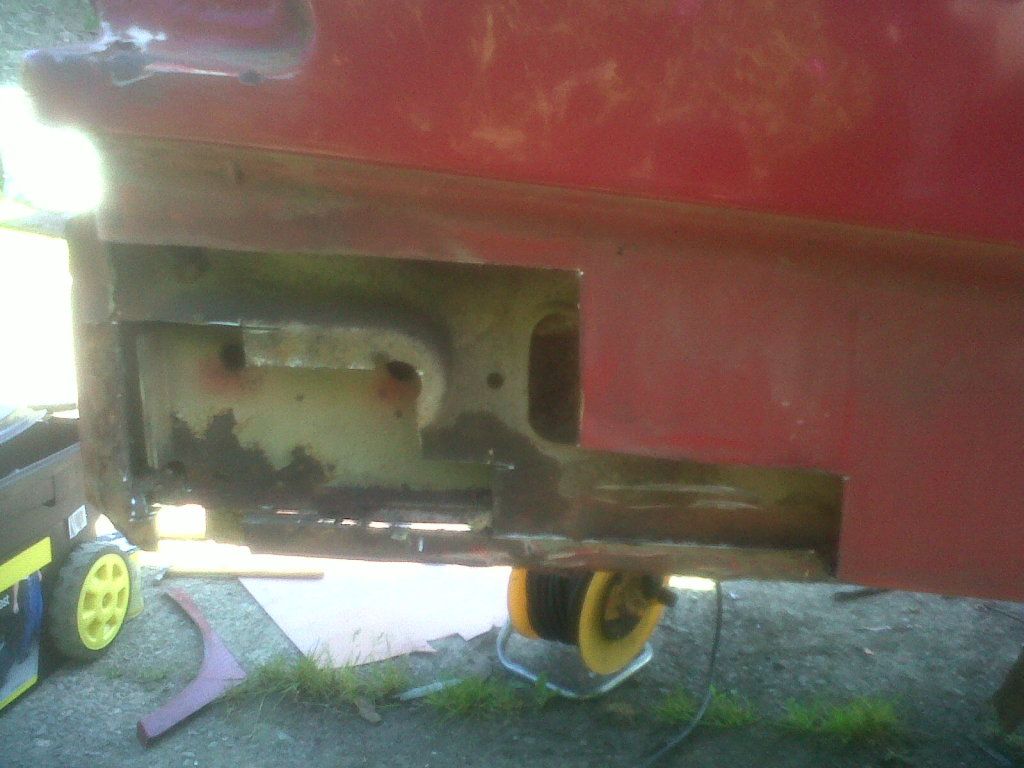 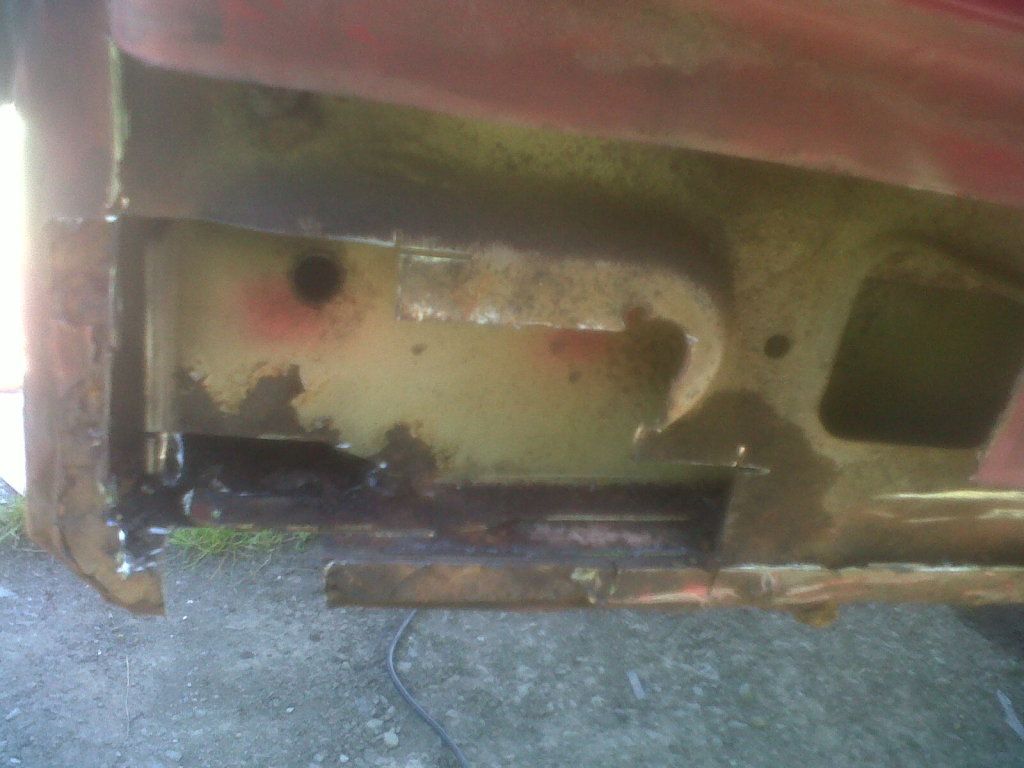 Goes through all layers as you can see right through to boot floor. So I need to make up a new corner for the boot floor and then start repair outward to the final skin. But its all fairly straighforward flat panels. So back to the arch, the paint had dryed so I just added more zinc to welding areas after I punched the holes for plug welding. I added plenty so I would have a good strong fit but reduce the warping of seam welding. THis way I could plug weld to the jodgled edge of the original bodywork. Also it would mean less filler as I can grind the top off and high plug weld leaving a flush surface easier than dressing a seam weld. I drilled holes where the outer was going to weld to the inner to replicate the spot welds on the original. 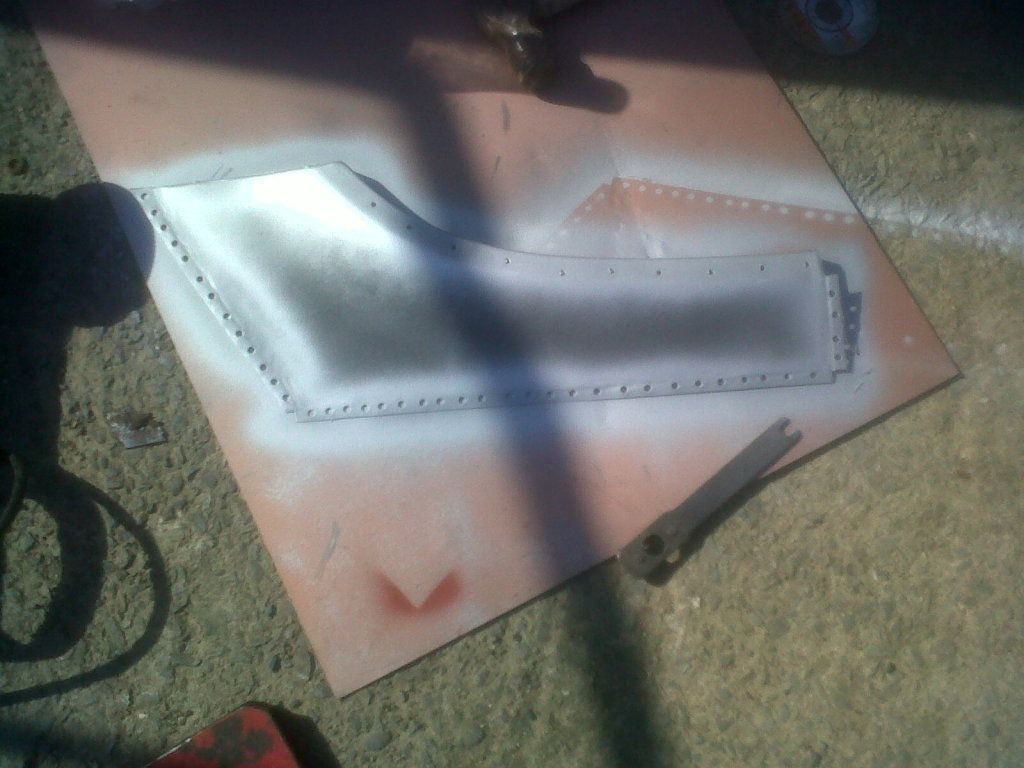 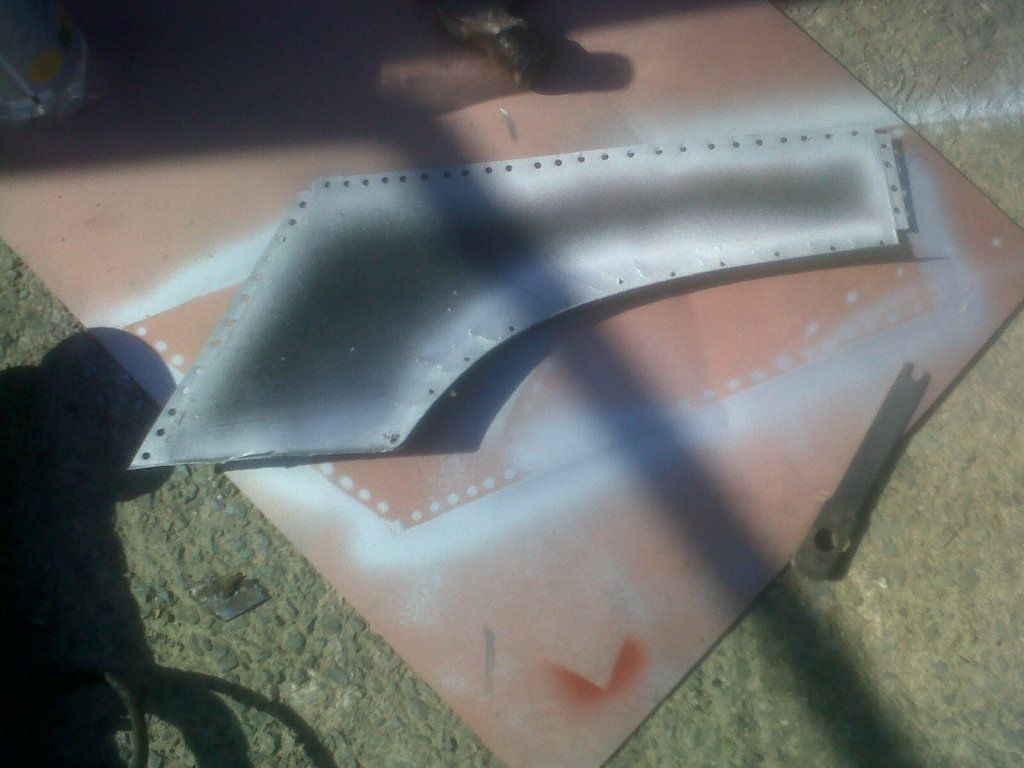 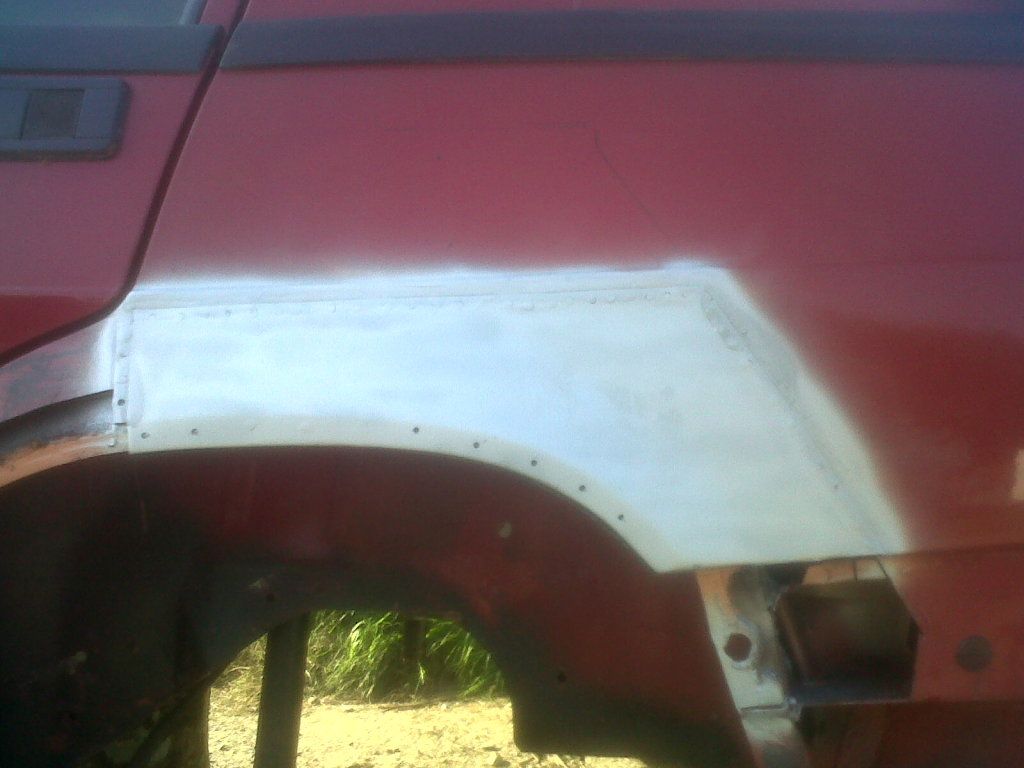 All welded in ready for a grind over with a flap wheel. But as I ran out of time at this point, and wire. I just coated in zinc again and covered the car to keep off any damp. First look before lead loading (I want to add as little filler as possible as its porous so will lead the edges and over the plug welds first to ensure no pin holes) it looks pretty flush 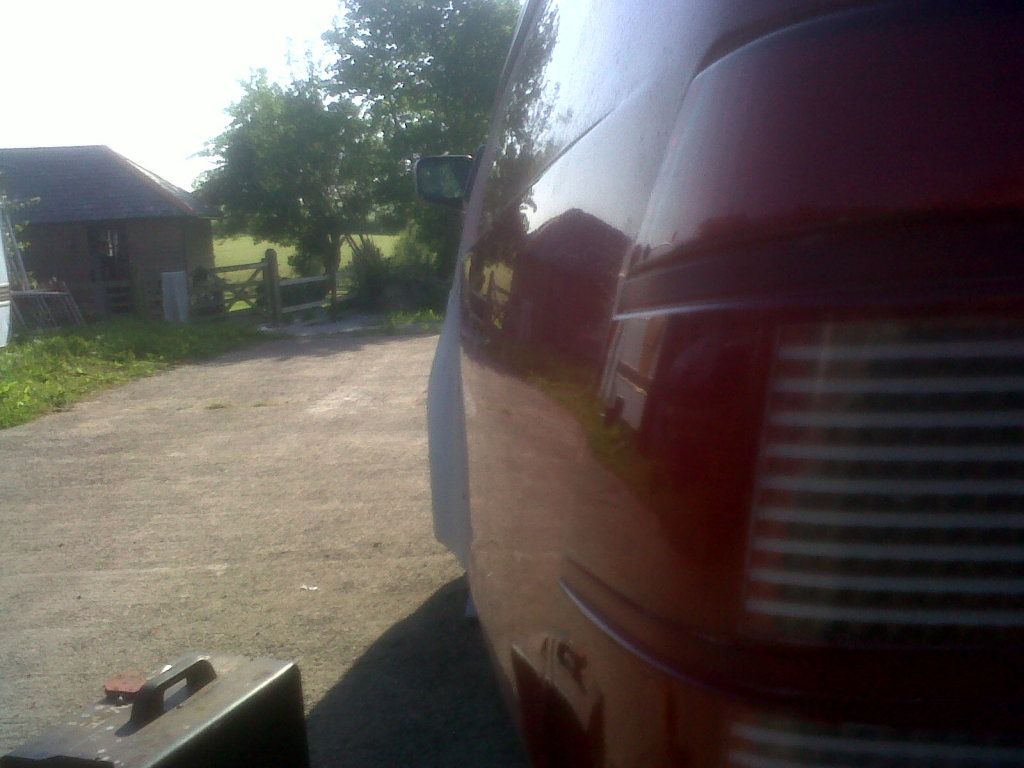 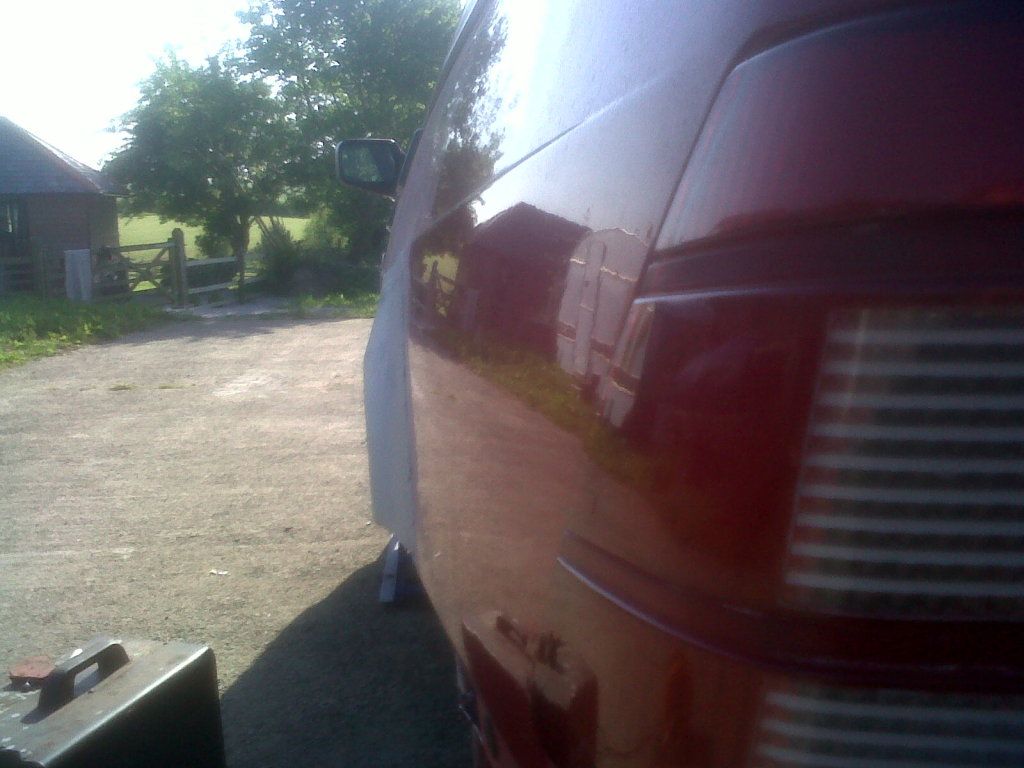 Hope to get this arch finished in the week, but I can grind or weld after 6 as agreed with our neighbours as we are in a small complex of 3 barns conversions |
| |
90 Alfa 75 3.0 V6 Cloverleaf
79 MGB Roadster
88 Saab 900i Convertible
94 MK1 MX5 1.6
05 Volvo V70
|
|
75nut
Part of things
Posts: 512
|
|
May 30, 2012 12:45:46 GMT
|
Got a bit more done yesterday First welded in the last outer arch pieces 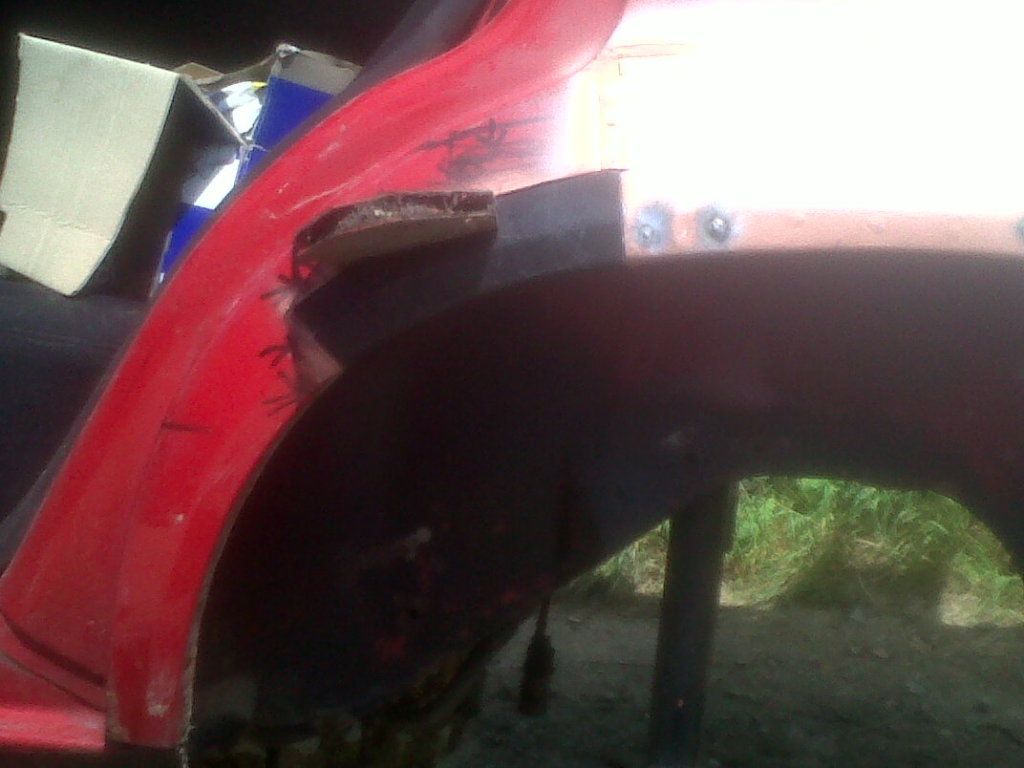 Then leaded the edges to cover any pin holes and blend the repair. 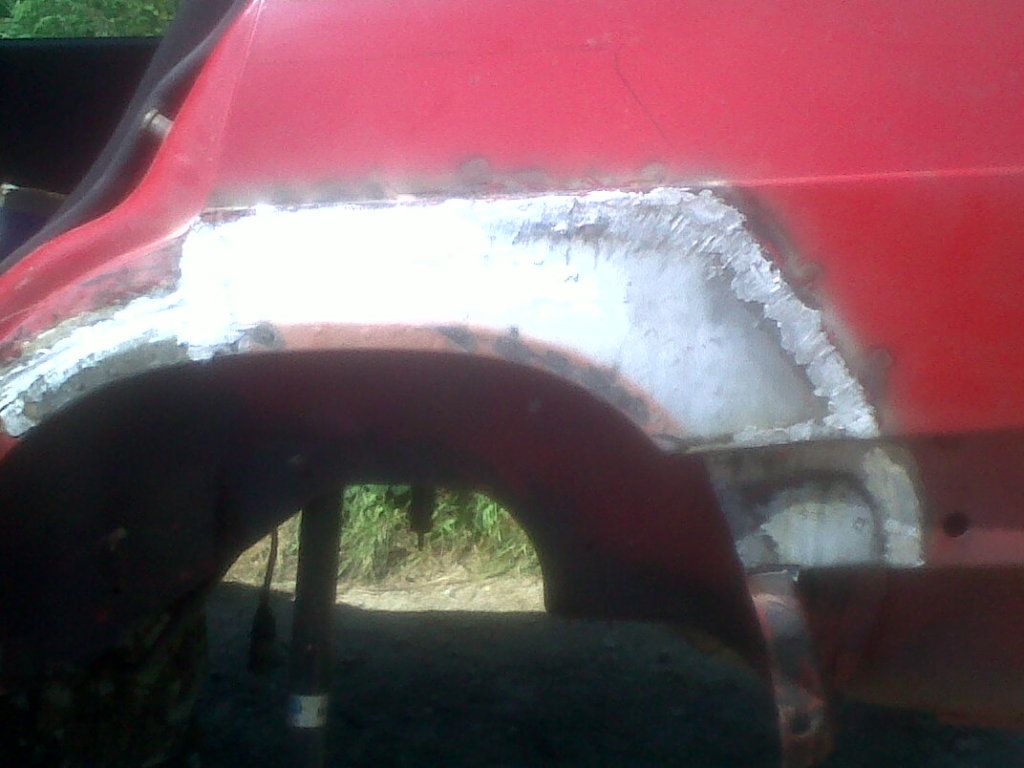 Skimmed wih filler after filing back the lead (wearing a mask of course!) and covered in zinc then red oxide  Then a random can of red to cover it as the primer is porous and I don't want any moisture. I will go back and fettle it a little more to get sanding marks out etc with some filler primer etc ready for the proper paint job. But only up the the point hte bodykit covers, I think I am going to stone chip the section under the bodykit for extra protect aka Kristian. 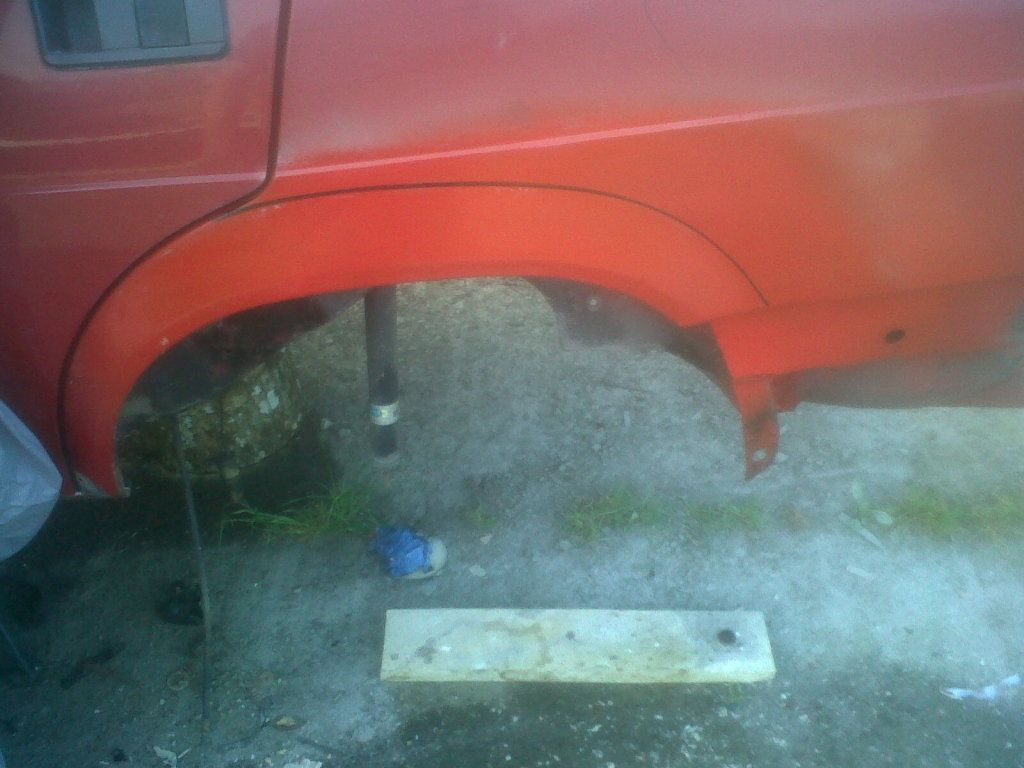 But as those are quiet jobs I will crack on with welding and cutting the rest for the moment. While paint was drying I took a look at the other light cluster area as they was seom bubbling on the corner Oh dear someone seems to have built the corner out of filler, I took out about an inch! 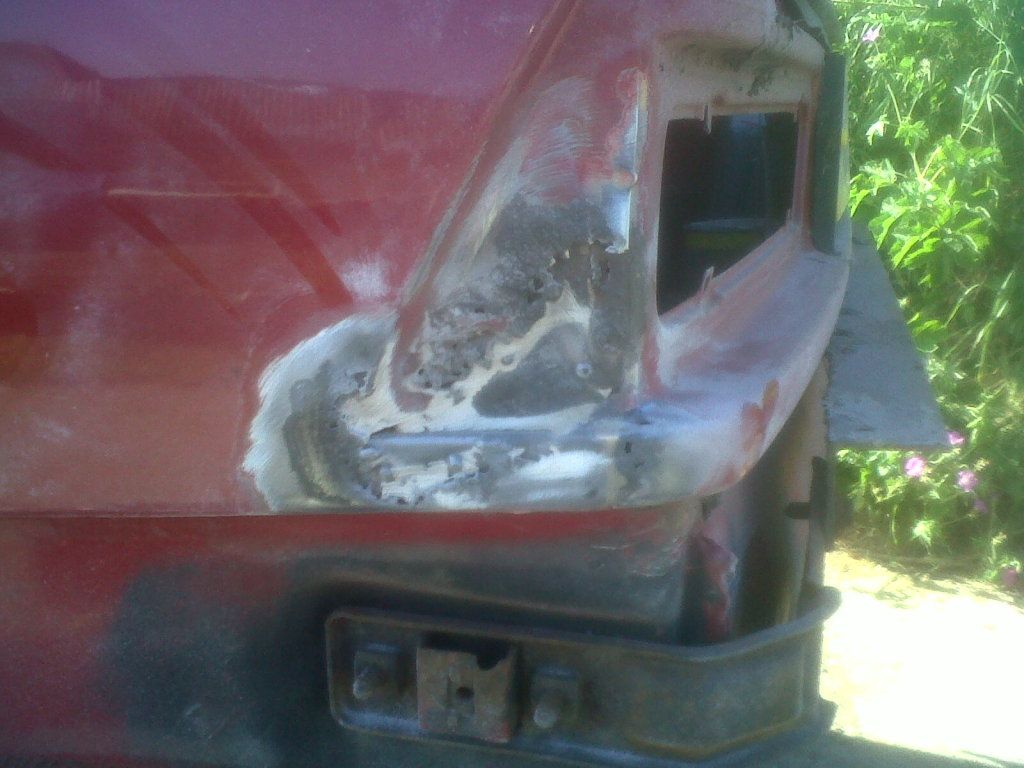 So more fabbing and sizzling! |
| |
90 Alfa 75 3.0 V6 Cloverleaf
79 MGB Roadster
88 Saab 900i Convertible
94 MK1 MX5 1.6
05 Volvo V70
|
|
|
|
|
May 31, 2012 20:40:14 GMT
|
|
Lovely work!!!!! You have made a much better job of those arches than I did when I was fettling my 75
|
| |
1974 Lancia Beta Saloon
1975 Mazda 929 Coupé
1986 Mazda 929 Wagon
1979 Mazda 929 Hardtop
1982 Fiat Argenta 2.0 iniezione elettronica
1977 Toyota Carina TA14
1989 Subaru 1800 Wagon
1982 Hyundai Pony 1200TL 2-dr
1985 Hyundai Pony 1200 GL
1986 Maserati 425 Biturbo
1992 Rover 214 SEi 5-dr
2000 Rover 45 V6 Club
1994 Peugeot 205 'Junior' Diesel
1988 Volvo 760 Turbodiesel Saloon
1992 Talbot Express Autosleeper Rambler
2003 Renault Laguna SPEARS OR REAPERS
|
|
|
|
m1keh
Part of things
Posts: 278
|
|
|
|
|
Nice work. Good attention to detail on the arch repair. How hard was it to learn about lead loading?
Also I thought the point of the lead loading was you could sand that down flat and end up with zero filler in there - is it harder in practice?
|
| |
|
|
75nut
Part of things
Posts: 512
|
|
Jun 11, 2012 11:48:59 GMT
|
So after I did this on Sat rectifinying the big gouge I added to the MX5 nose cone- 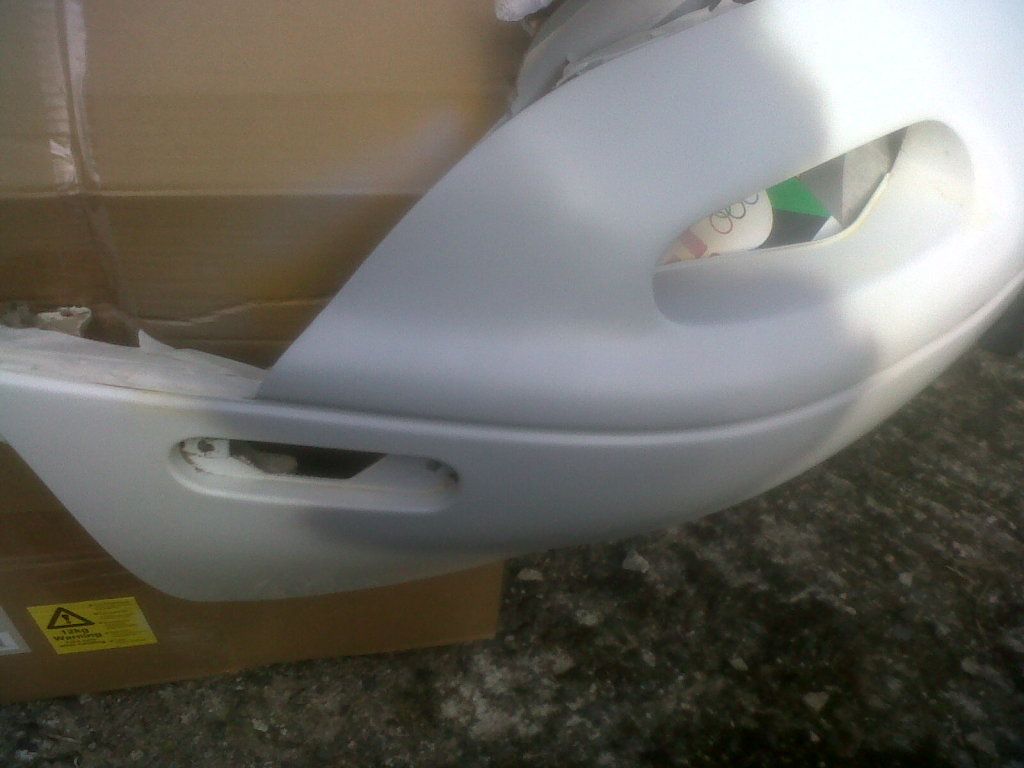 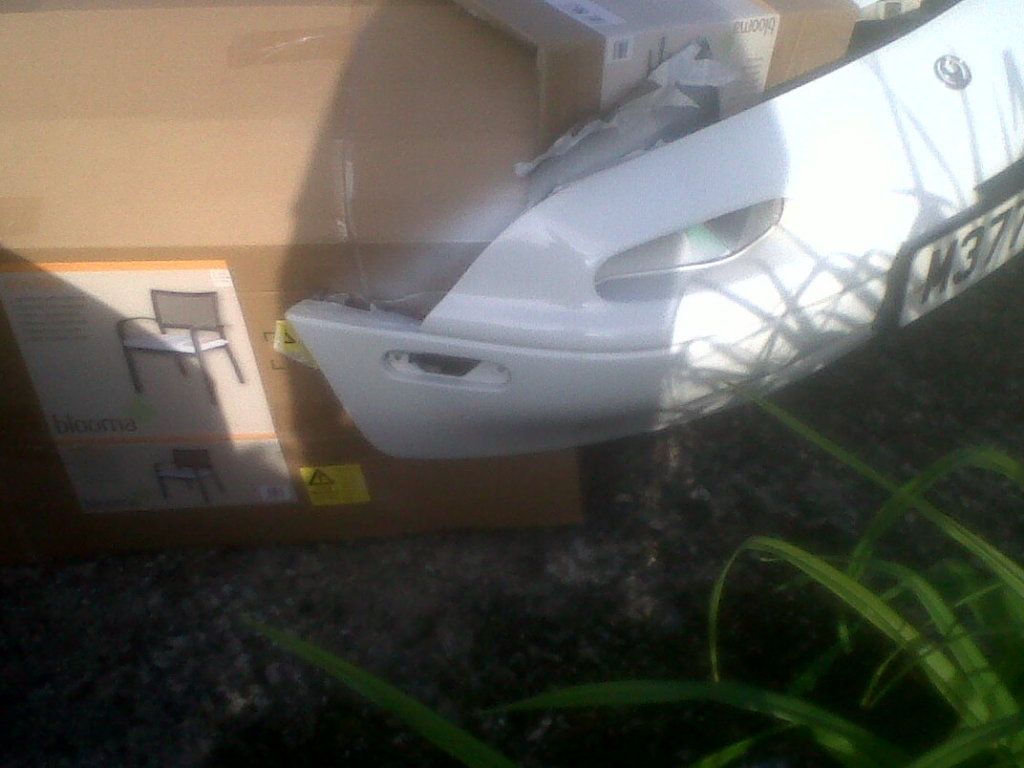 I could get onto this - 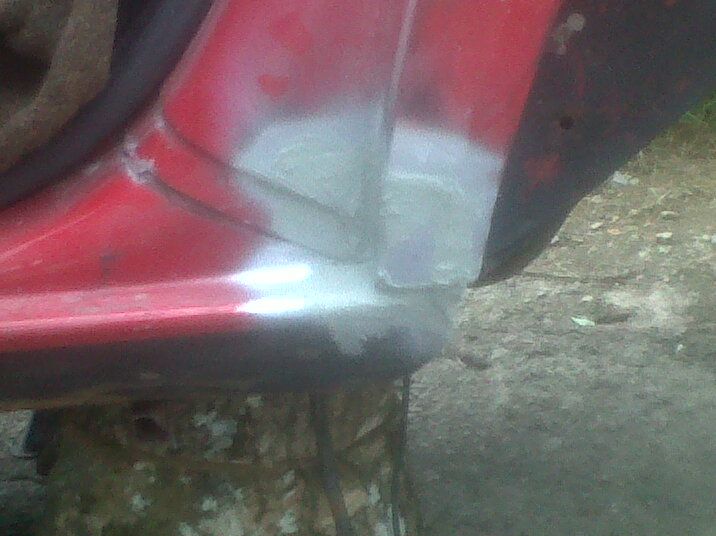 Finished off the passenger arch at the bottom,zinc sprayed ans seam sealed ready for more paint. I did not over grind down her eas its behind the bodykit so I tihnk my time was better served elsewhere like taking a look that the light fitting area - 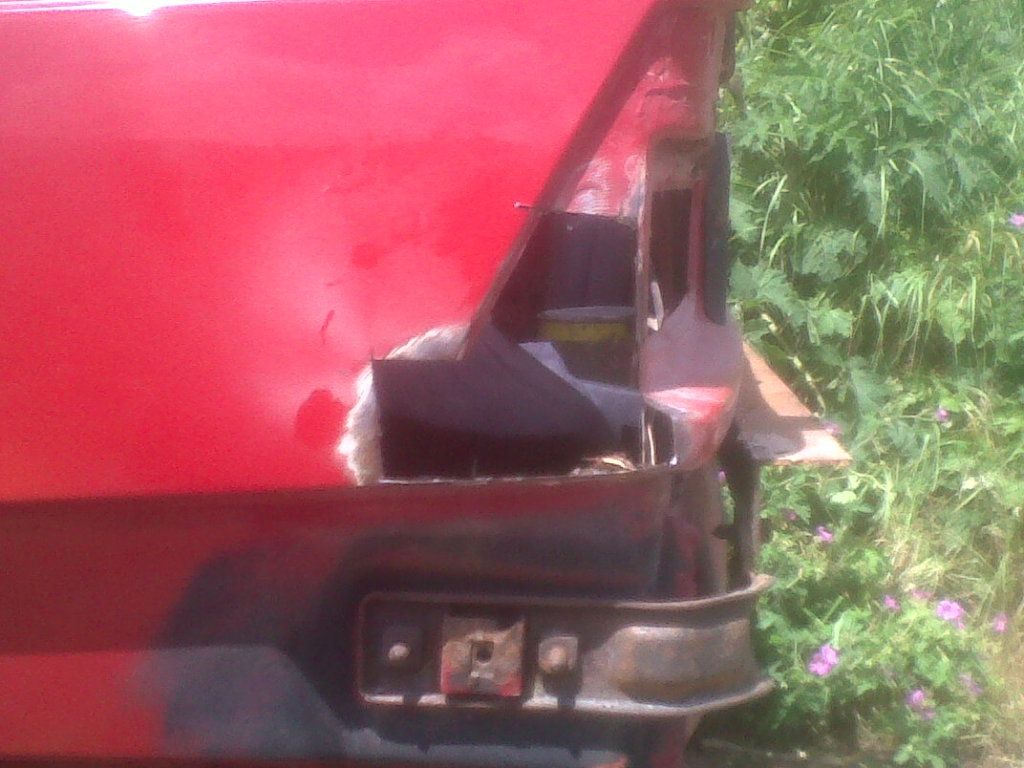 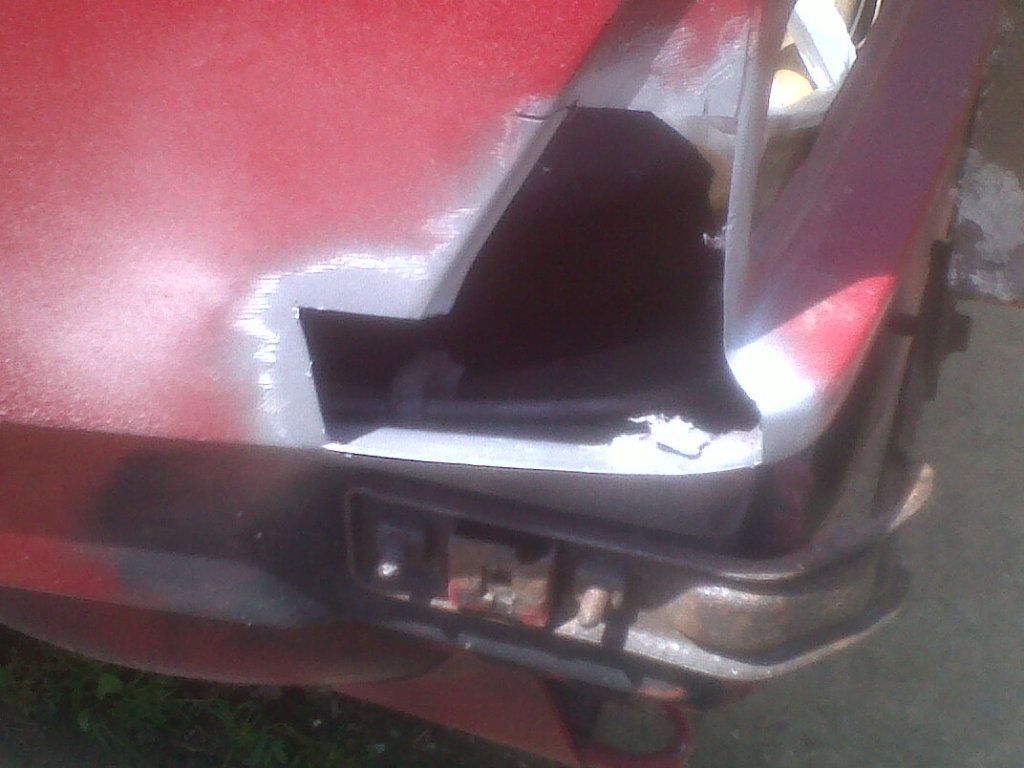 At this point my wife decided she was going out for the afternoon and night, so I had to pack up and look after my little girl. The following afternoon it rained so I went inot the garage to sort the rear bumper as the fitting bolts had snappe don removal. I did not want to spend hours drilling out and re tapping , so I decided to cut them out and weld in captive bolts. So used some nice thick box steel and drilled the holes and cut out tabs 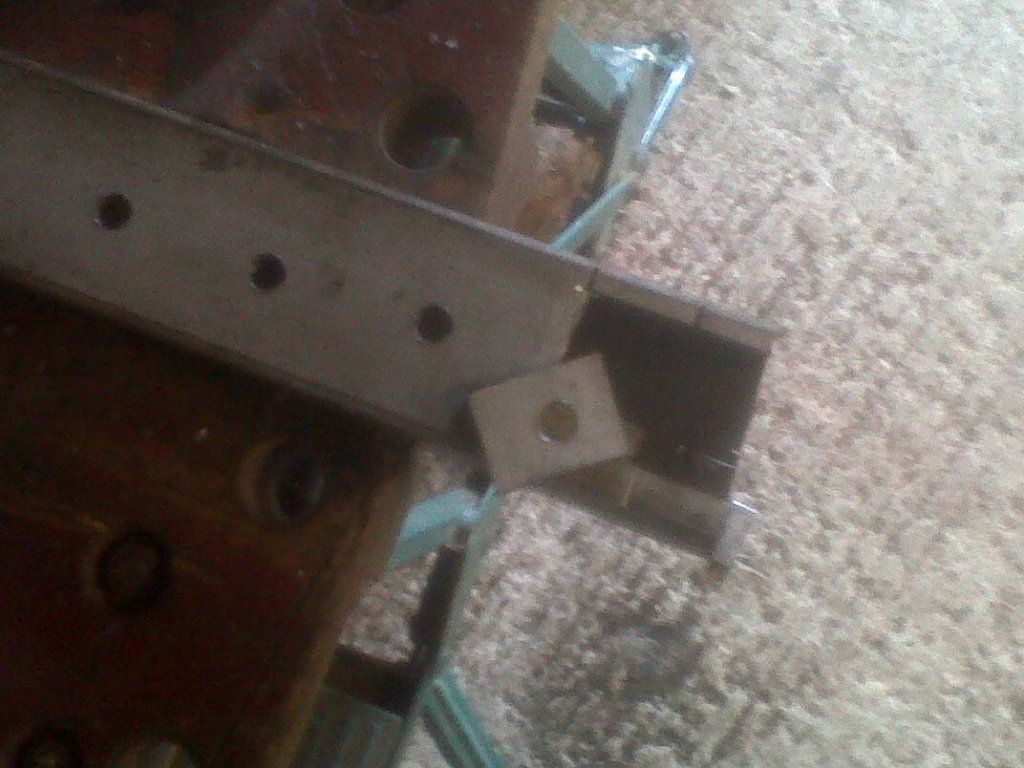 Welded in the bolts from rear  Cut out the old section 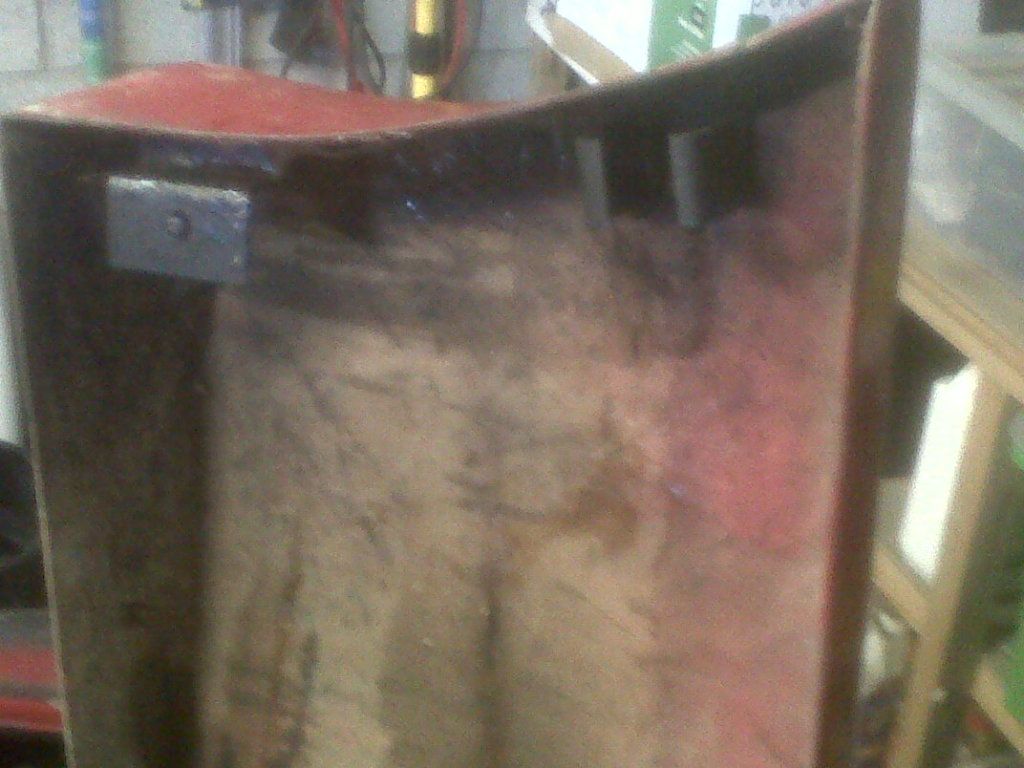 And welded in the new 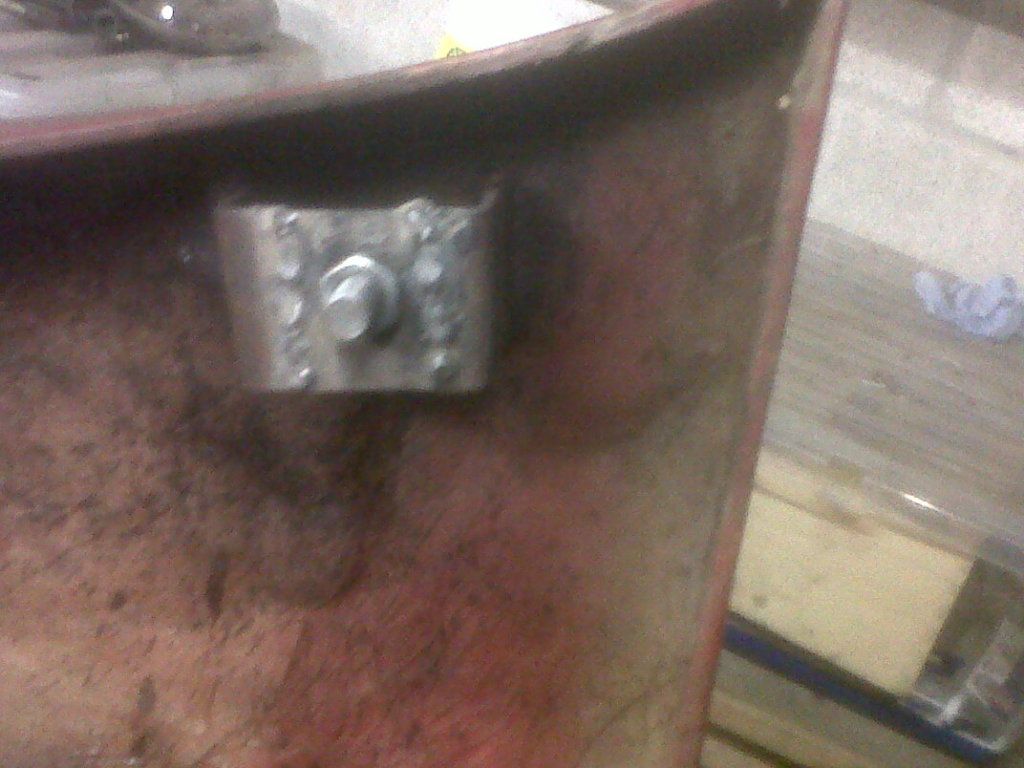 Repeat 4 times and coat in zinc then stone chip 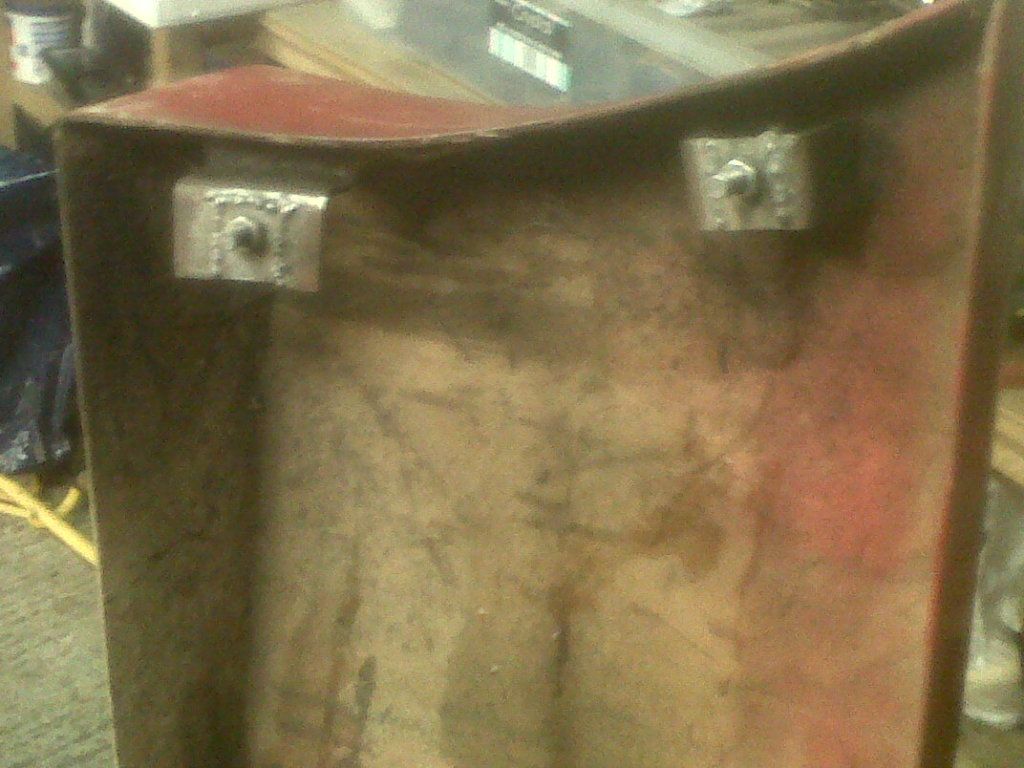 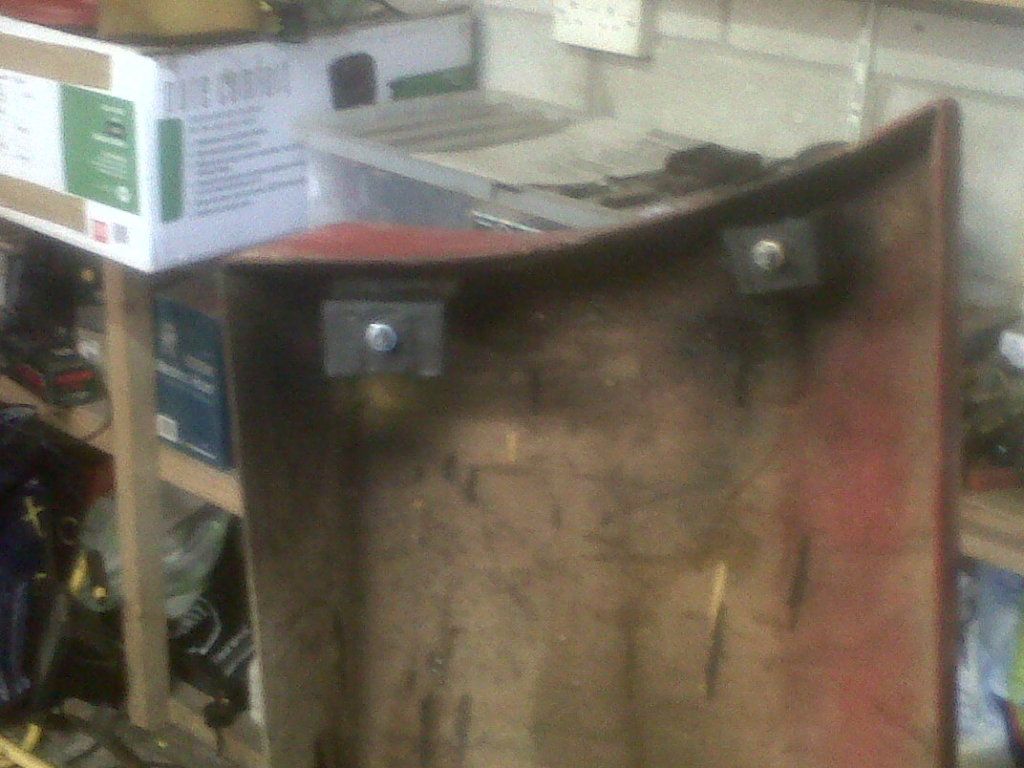 Should make it nice and easy to whip on and off again, not of cours eif I don't rectify the obvious ball up in this pic, 100 Alfa75 pionts if you can spot it :lol: (oh and I'm not taking about my felt tip line :rasb: ) - |
| |
90 Alfa 75 3.0 V6 Cloverleaf
79 MGB Roadster
88 Saab 900i Convertible
94 MK1 MX5 1.6
05 Volvo V70
|
|
75nut
Part of things
Posts: 512
|
|
Jun 12, 2012 20:48:04 GMT
|
Saw the weather forcast for the weekend so slipped home early to make sure a bit of progress was made this week. Passenger rear light area was next on list. I had left my mobile at the pub last night so did not get my early fab pictures , but grab a camera later and took some pics. So the bodged area that was bubbling rot Basically I used the old masking tape trick on the drivers side to copy the area. Its got a few complex curves but I did not want to use a load of little panels to make the shape up and it would increase risk of moisture getting in there later. So I resticted it to 2 panels, the upper section with the triangle section and then the flat section at the bottom. I used plier to bend the curve and hammered it out more with litle hammer and doly set. I weld the 2 sections together and then tack welded into the hole and fully welded in with a series of short high setting spot welds to avoid distortion. 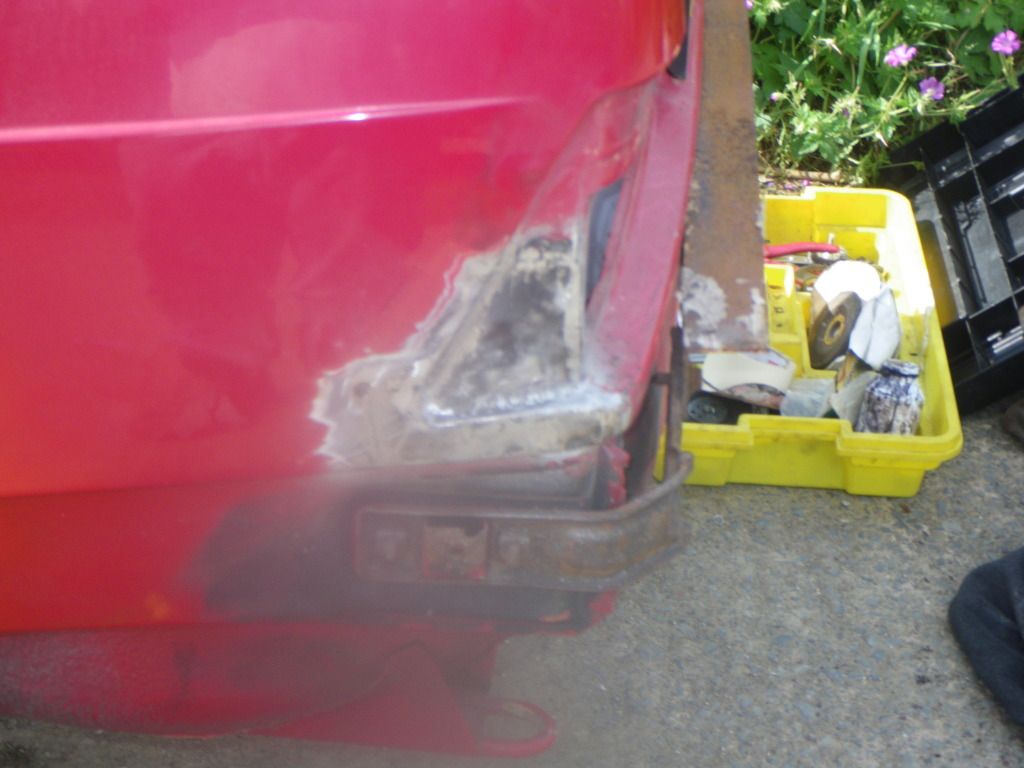 This was ground down with a flap wheel then the dremmel to get in the tight section. Then added lead to cover any pin holes and reduce filler application. Lead was then shaved down to a smoother finish. And then heavily zinc'd front and back. And light trial fitted to check, and it looked ok. 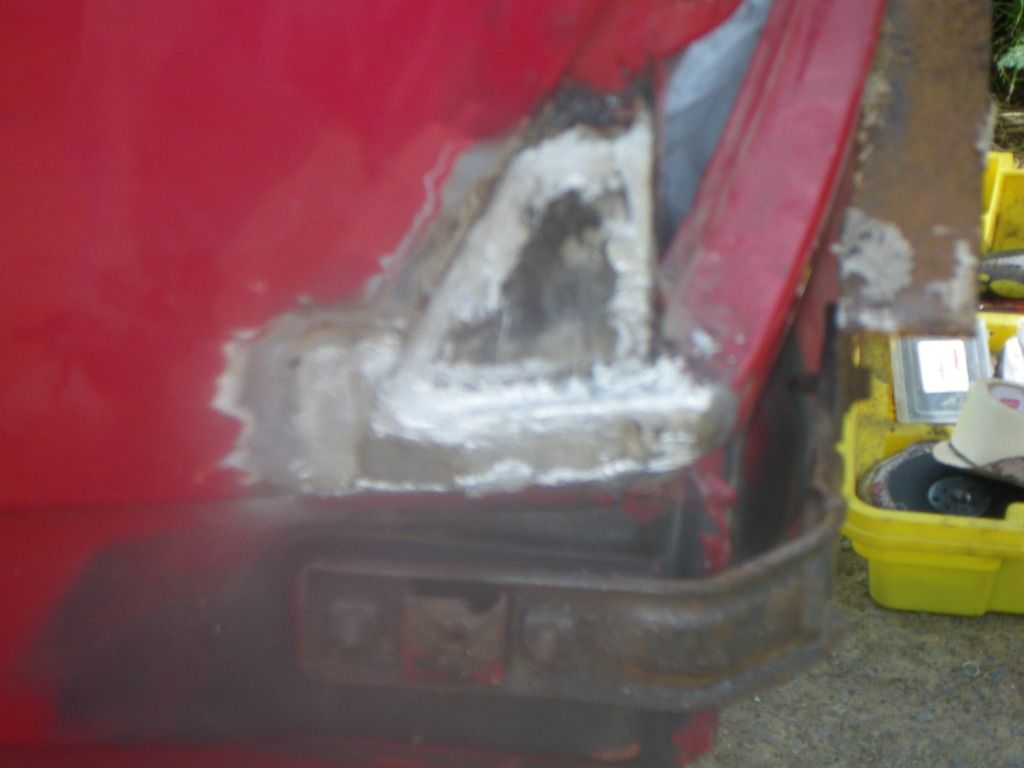 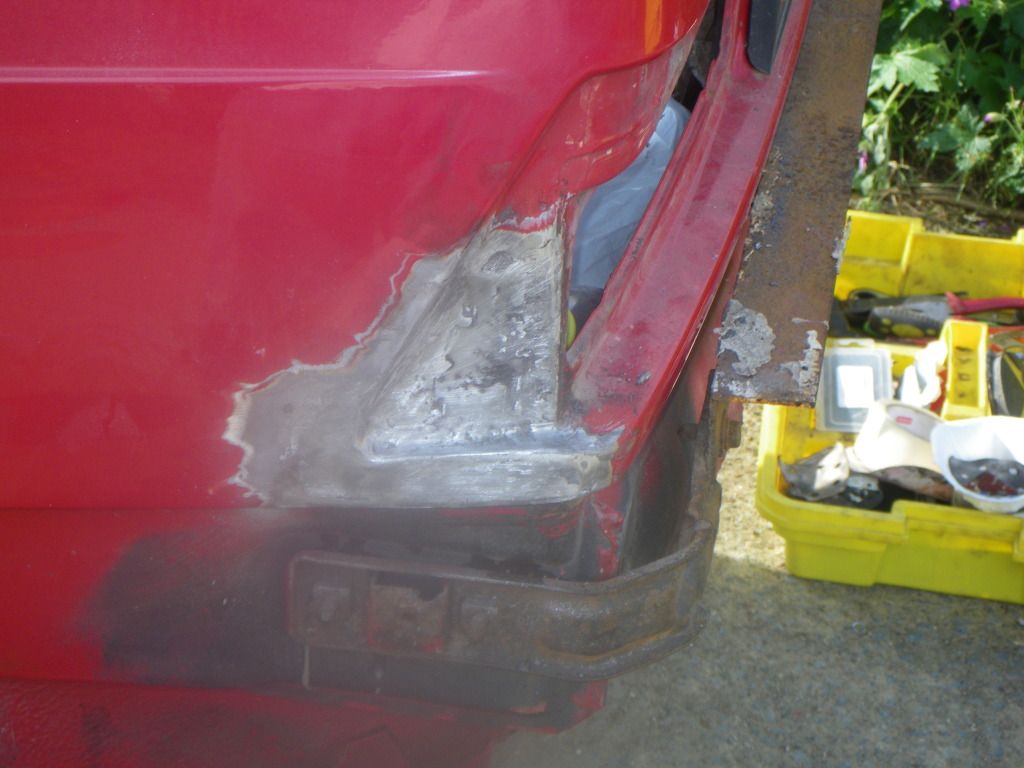 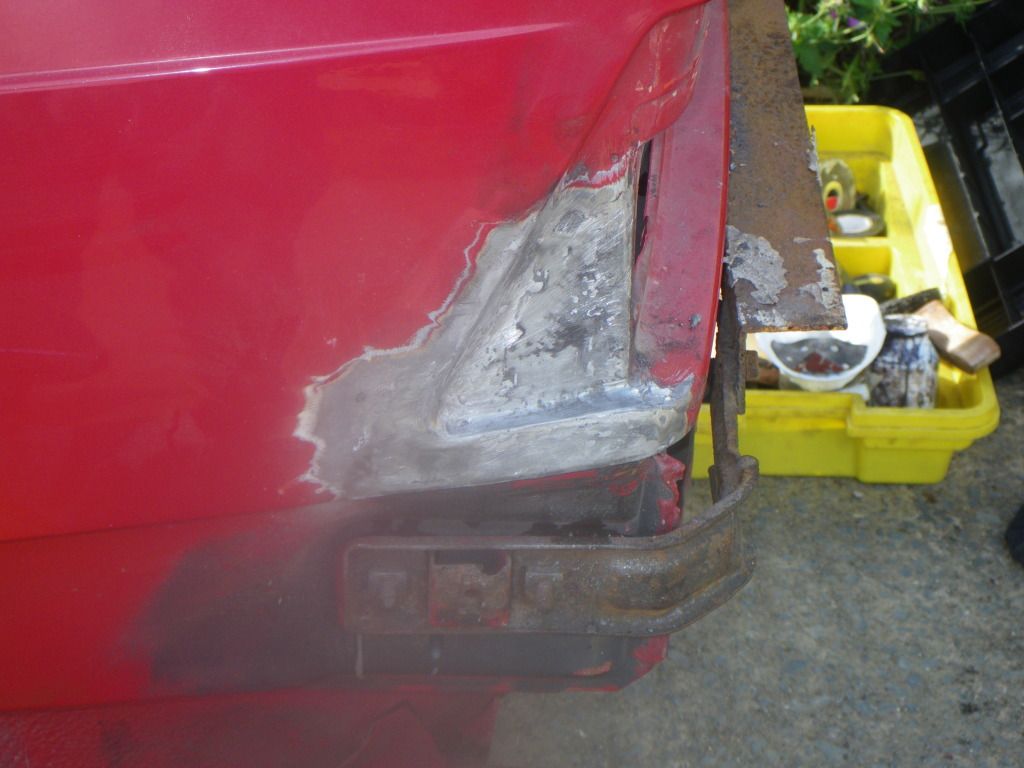 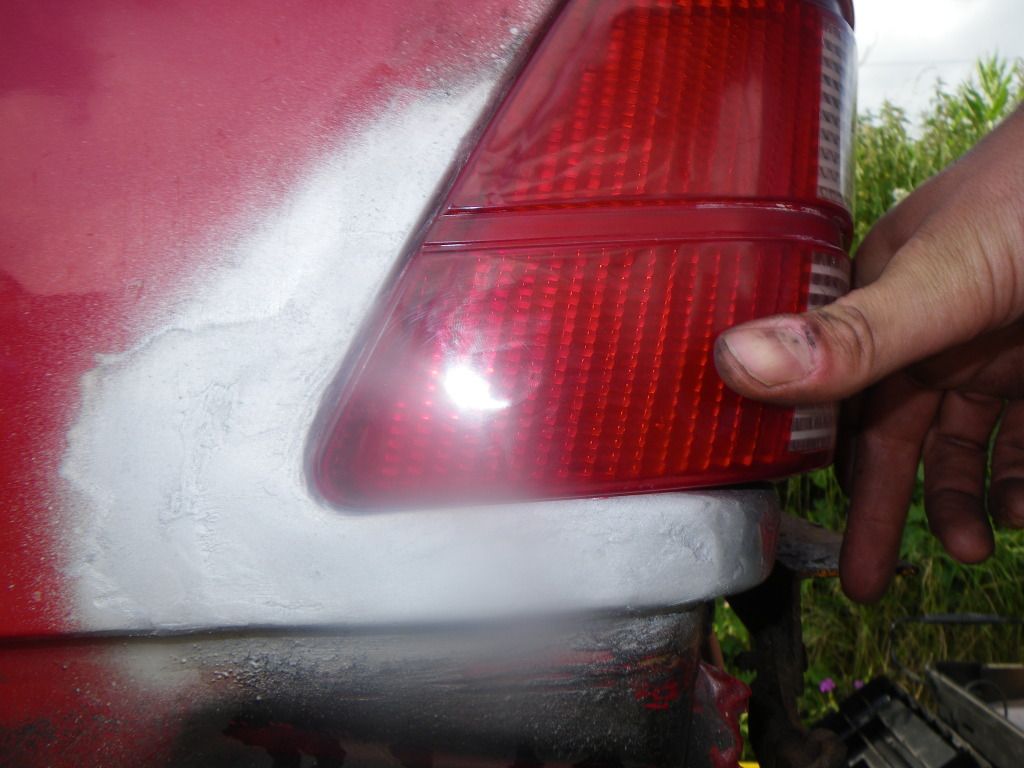 It needs some filler now and smoothing and will then get a temporary coat of primer and red before final fettling. So next it will be the other side! |
| |
90 Alfa 75 3.0 V6 Cloverleaf
79 MGB Roadster
88 Saab 900i Convertible
94 MK1 MX5 1.6
05 Volvo V70
|
|
75nut
Part of things
Posts: 512
|
|
Jun 13, 2012 22:13:03 GMT
|
Lovely work!!!!! You have made a much better job of those arches than I did when I was fettling my 75 Praise indeed from you mate! Much appreciated. I didnt know you had done a 75, is it in your threads? |
| |
90 Alfa 75 3.0 V6 Cloverleaf
79 MGB Roadster
88 Saab 900i Convertible
94 MK1 MX5 1.6
05 Volvo V70
|
|
75nut
Part of things
Posts: 512
|
|
Jun 13, 2012 22:15:48 GMT
|
Nice work. Good attention to detail on the arch repair. How hard was it to learn about lead loading? Also I thought the point of the lead loading was you could sand that down flat and end up with zero filler in there - is it harder in practice? Cheers! Not that hard to load the lead but no I have never got it formed well enough not to have to add a small skim of filler. You are supposed to use a pro forma to shape it, but they don't get in the nooks and cranies . I have tried sanding with a mask of course but it just clogs paper. |
| |
90 Alfa 75 3.0 V6 Cloverleaf
79 MGB Roadster
88 Saab 900i Convertible
94 MK1 MX5 1.6
05 Volvo V70
|
|
75nut
Part of things
Posts: 512
|
|
Jun 26, 2012 10:06:37 GMT
|
A busy and wet weekend mean't no work on the Alfa so I only did a half day int he offic eon Monday and took advantage of the sun. After puting this back together for a happy camper (I did not win the batle of painting it Alfa red versus pink ) 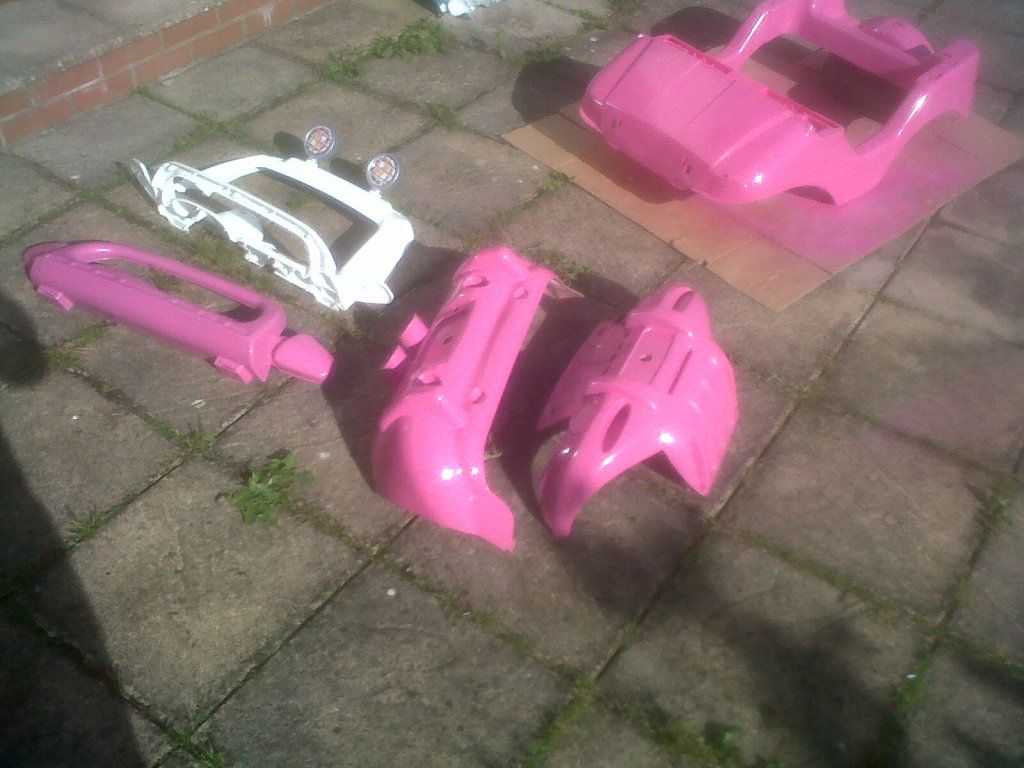  I got onto a proper car starting with finishing the drivers corner. I'm not grinding back at the moment just getting everything welded in and will then work my way back round. The gassless mig did not like the dirtier metal of the bottom corner, it tends to insiist on clean metal both sides for nic elow welds, but I couldnot access some areas as well as others. I'm basically spot welding in short bursts as the gassless loves to burn through the thin sheet. At some point I will put aside soem readies for a proper gas welder!  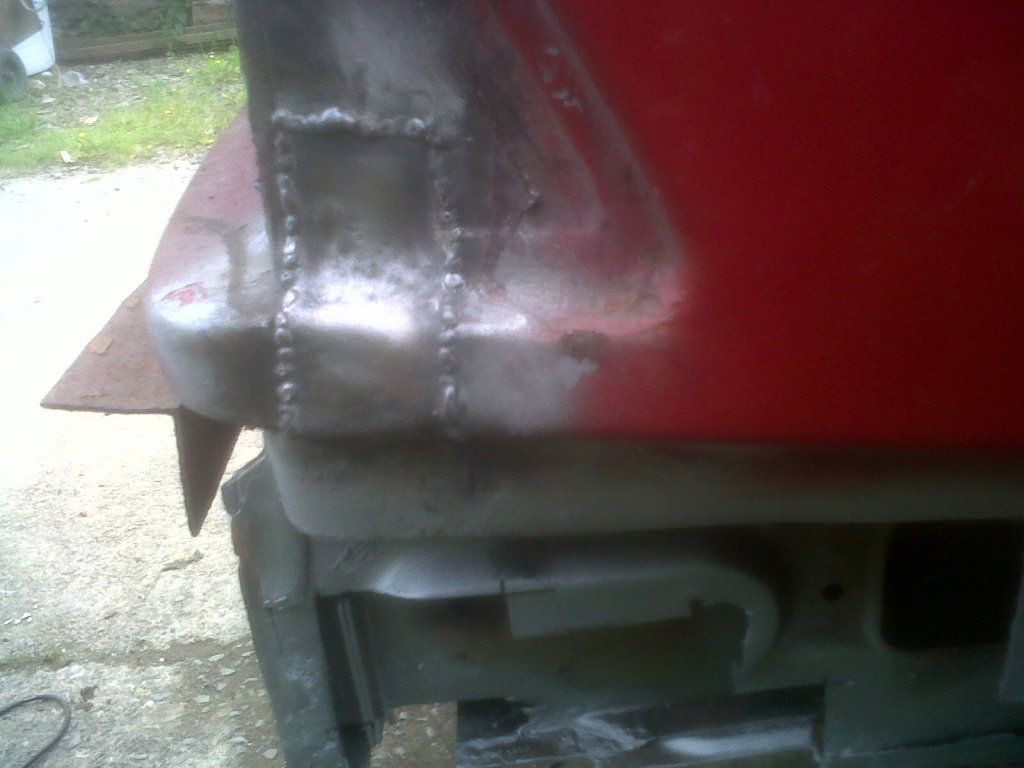 Started building out the bottom from the inner skins out starting with a small repair to boot floor first 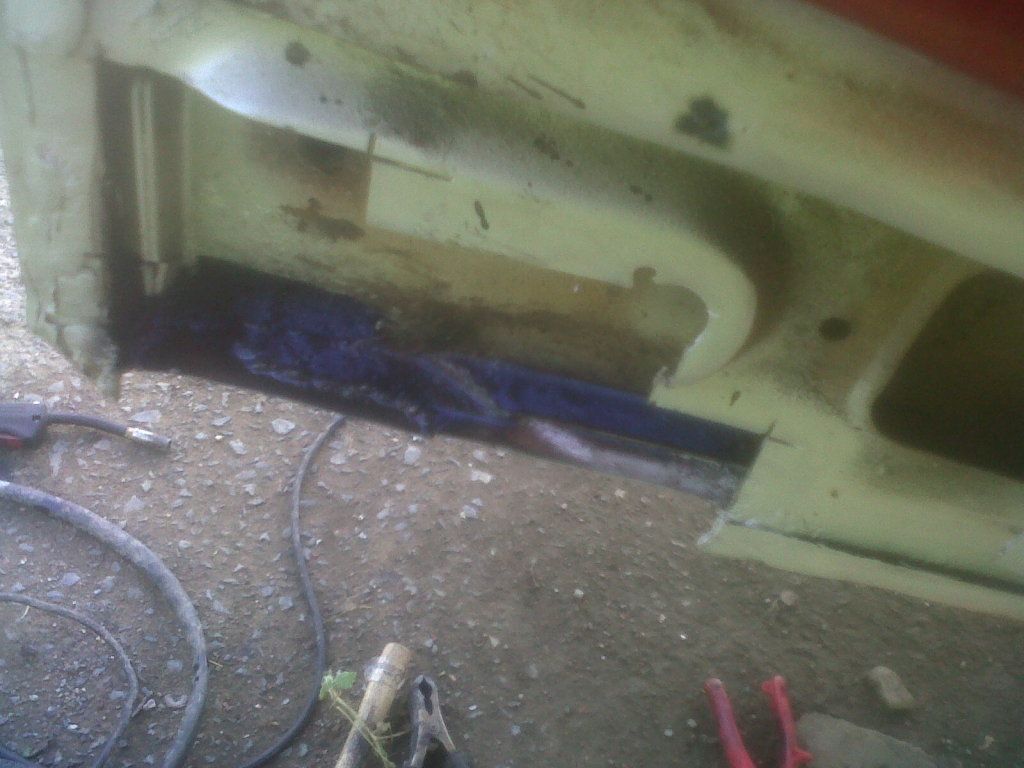 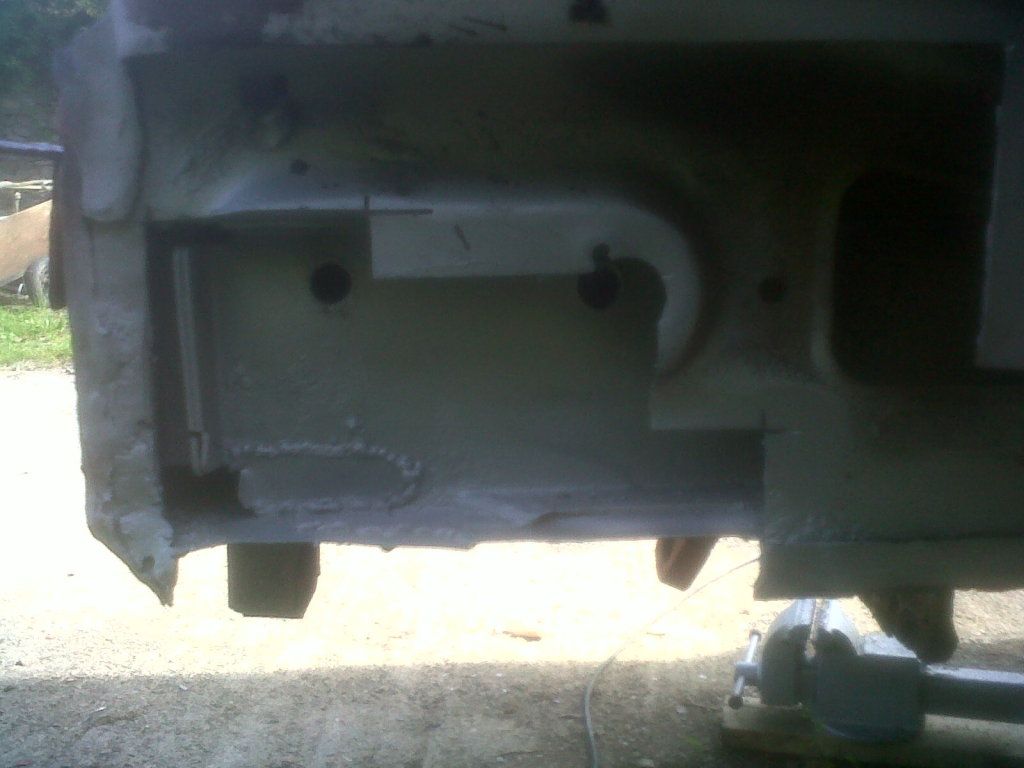 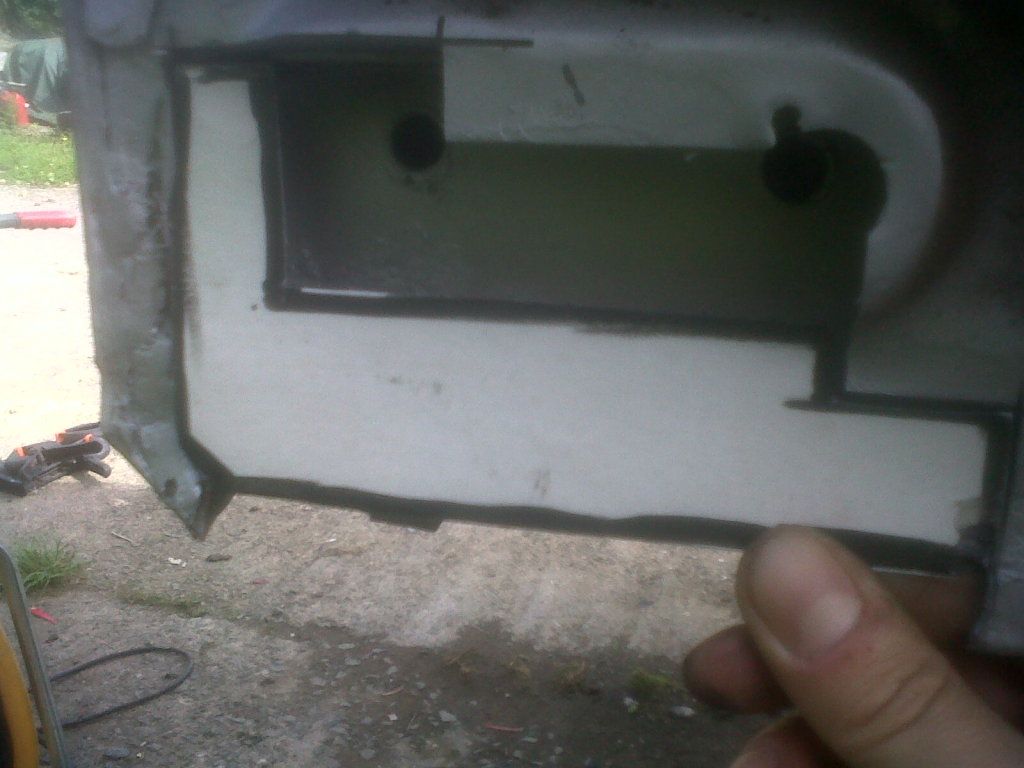 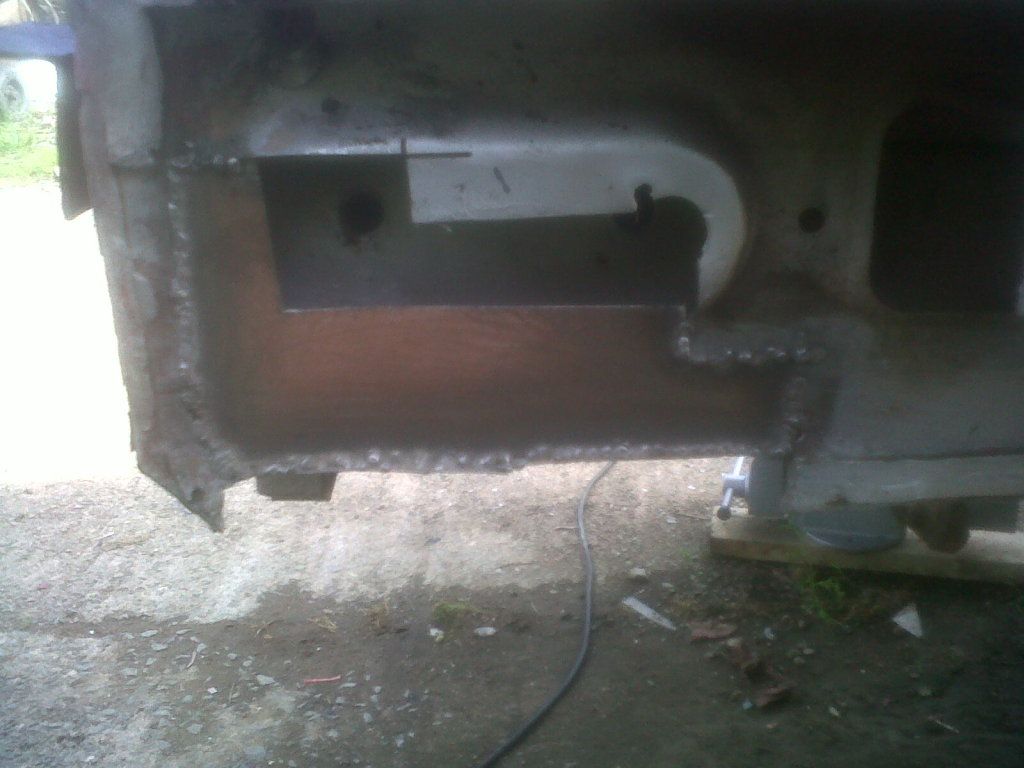 I then has to recreate the curve section that the bolts run through for the bumper. I did not have a hole saw to hand so went for square holes not round as it makes no real difference especially as its all goign to be closed in. 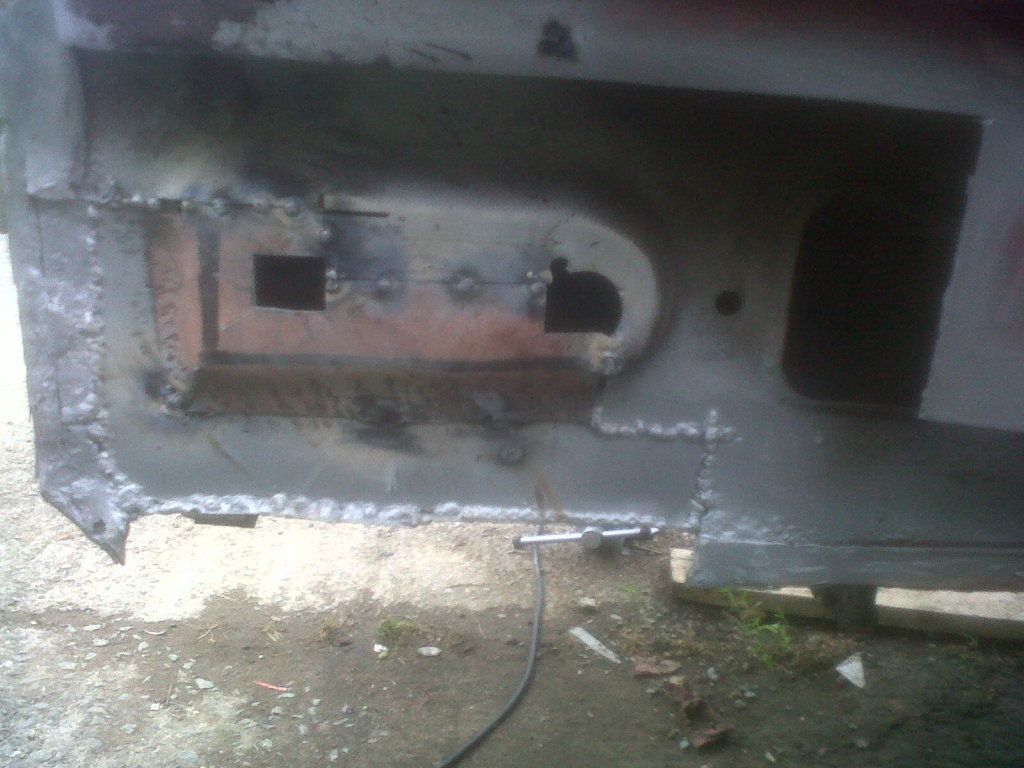 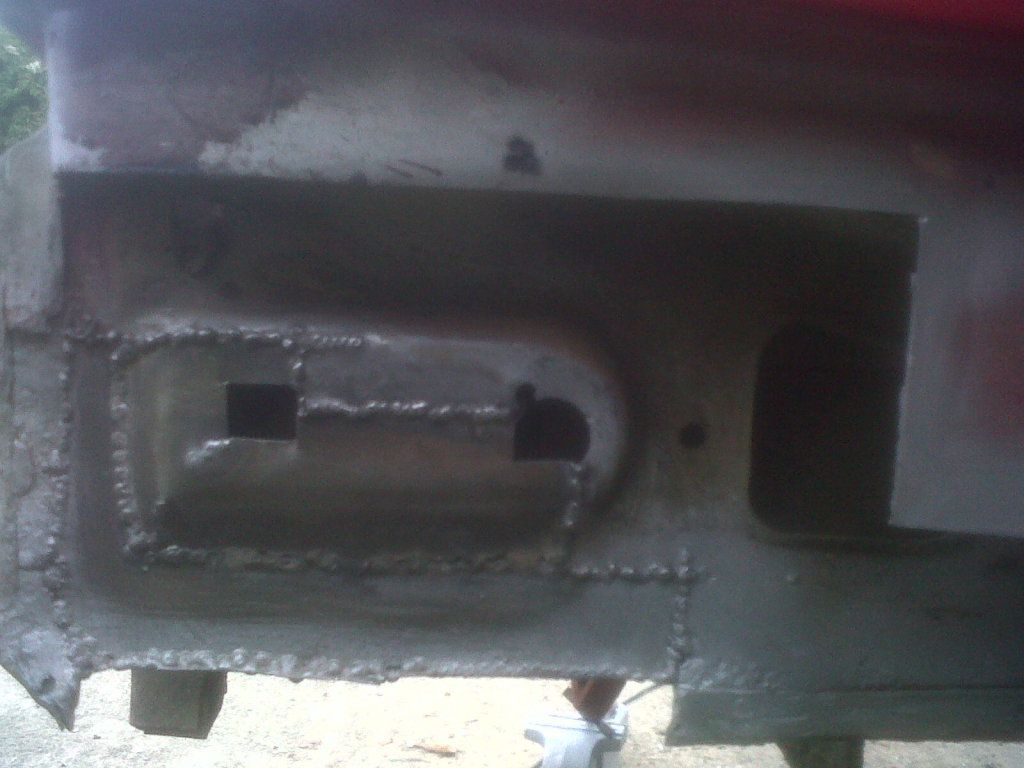 Thats as far as I got before I was called in (had the village darts comp to attend!) Just to to close that ouff with the outer skin and then get started on the drivers rear arch and that should be the rear welding compelted. Then just tons of grinding leading and sanding and painting and polishing etc etc etc and I might be able to look to put the running gear back in ,where this all started :lol: |
| |
90 Alfa 75 3.0 V6 Cloverleaf
79 MGB Roadster
88 Saab 900i Convertible
94 MK1 MX5 1.6
05 Volvo V70
|
|
75nut
Part of things
Posts: 512
|
|
Jun 27, 2012 20:00:47 GMT
|
Today I started to close off the area , but I only had an hour spare so I just did the flat sections as where it curves in to allow for the bumper mountings will take more time to fabricate. 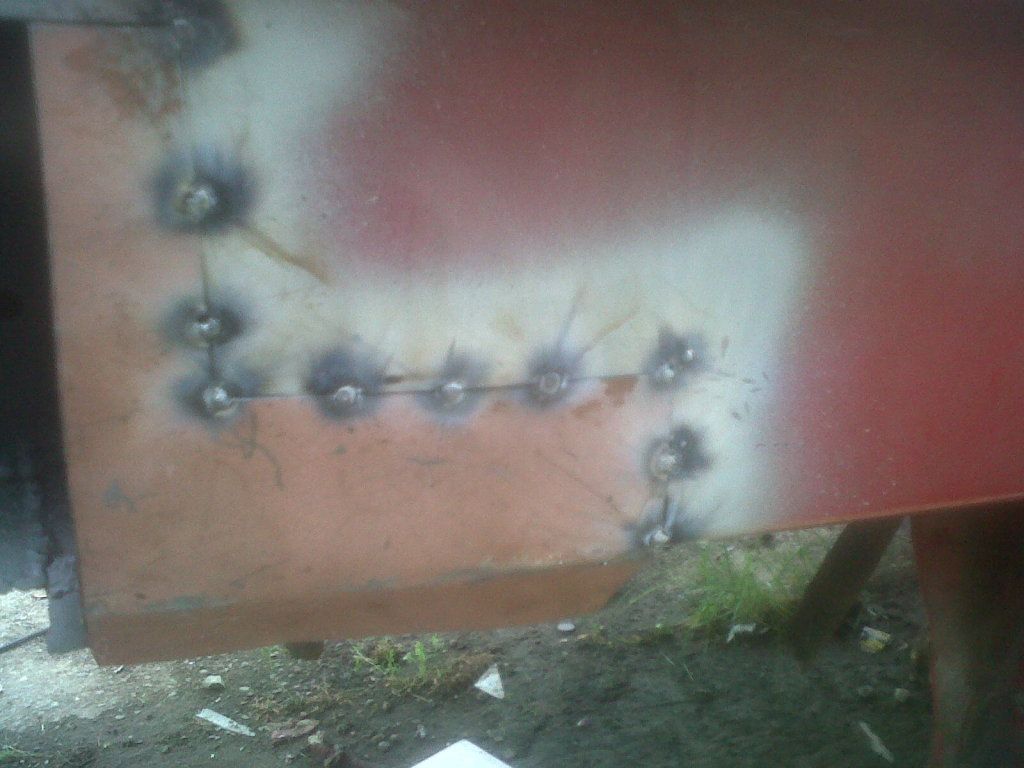 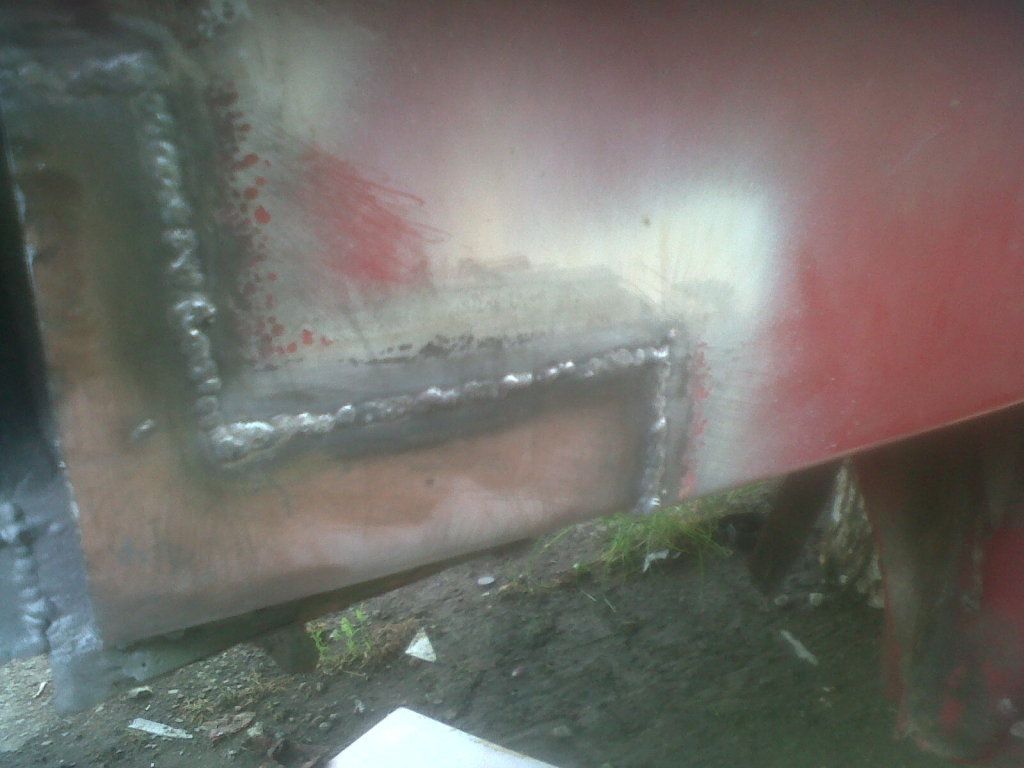 |
| |
90 Alfa 75 3.0 V6 Cloverleaf
79 MGB Roadster
88 Saab 900i Convertible
94 MK1 MX5 1.6
05 Volvo V70
|
|
75nut
Part of things
Posts: 512
|
|
Jul 15, 2012 20:59:38 GMT
|
Not really had alot of time to do any work with the waether the way it has been recently , but sneaked a couple of hours in today in between family commitments. With short time I decided to focus on closing off the rear corner where the bumper brace fits. If you remember it was rotton right through to the boot here so I have been working my way back out after cutting it all out. I tried several times to make a curve piece with the correct indentation to match the other side but simply could not get it riught , it was too complex for my skills so I split it into 3 sections. The main centre where the bumper bolts come through as part one that sits the lowest the the outer section that meet both the low section and the higher areas as 2 parts. Was going to plan but ran out of cored wire for the gassless. You can see the amount of slag gassless makes versus gass here as I have not cleaned it off. So I will have to rob some time in the week to finish welding and tidying up with a dremmel. I also stone chip arch I have completed and then waxoyled, going over the lip as well for added protection as its behind the bodykit anyhow. The bit of fluff on the left is where the car cover stuck to the temporary red paint I put on, but I'm goign back and resanding and painting all this once all the welding on the car is complete so no biggy. 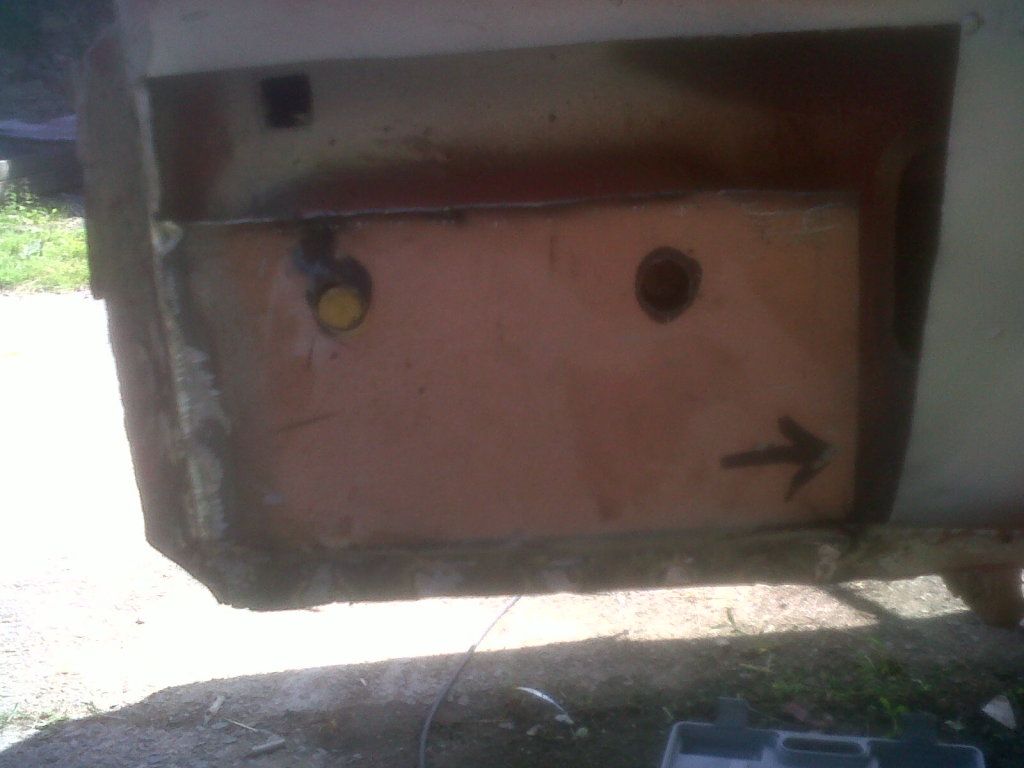 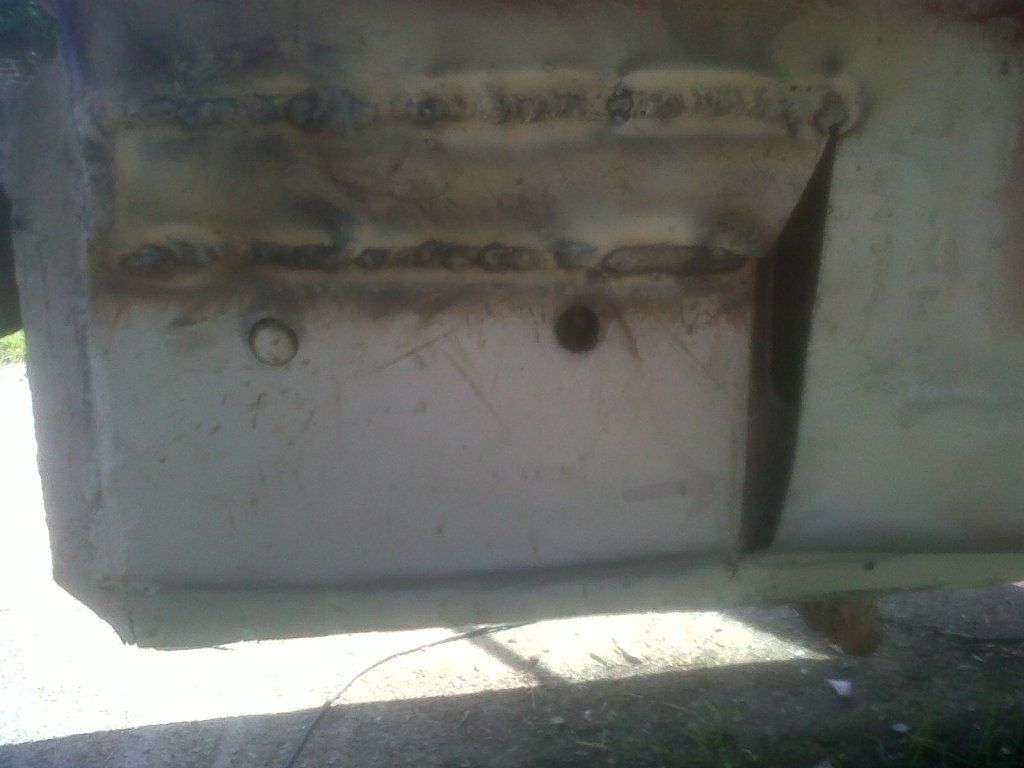 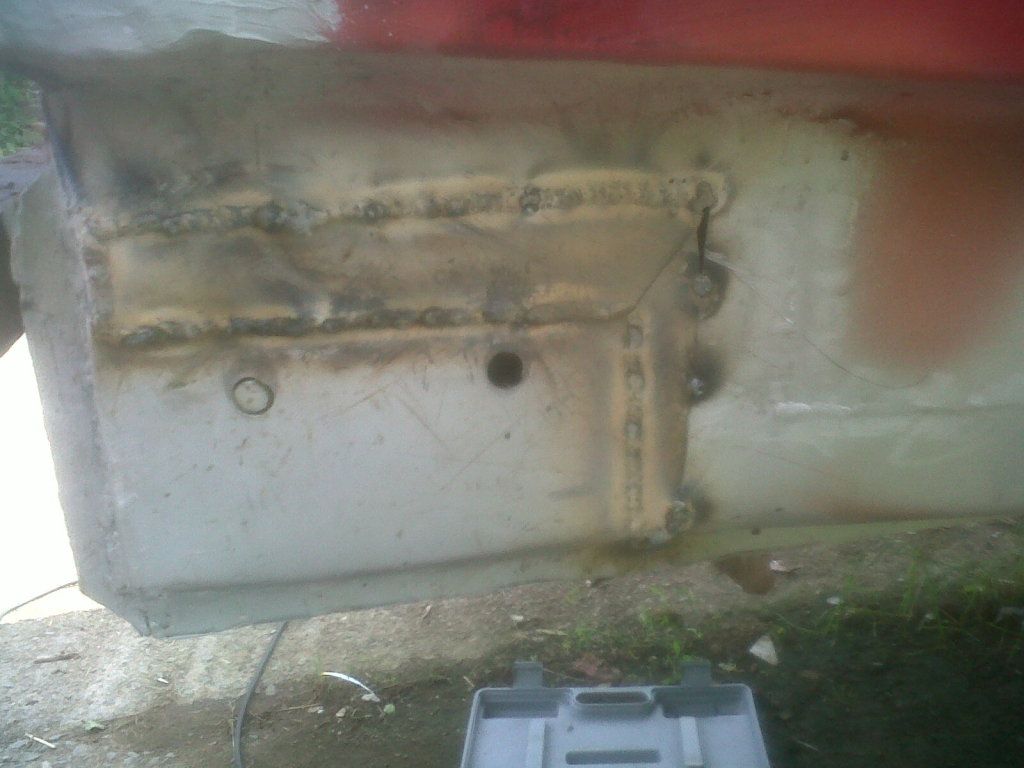 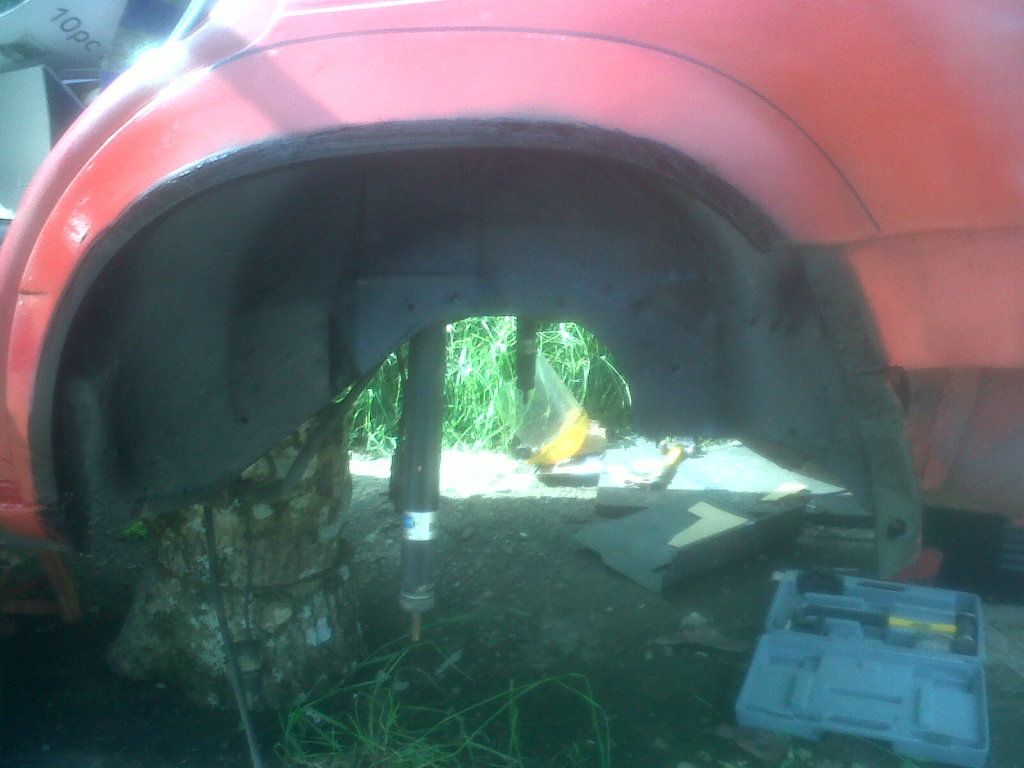 |
| |
90 Alfa 75 3.0 V6 Cloverleaf
79 MGB Roadster
88 Saab 900i Convertible
94 MK1 MX5 1.6
05 Volvo V70
|
|
75nut
Part of things
Posts: 512
|
|
Jul 24, 2012 20:44:31 GMT
|
Little done, plan on getting lots done in the next few weeks if weather holds out! First , seam sealed and splashed to red paint on the finished bumper mounting area. Again Il come back and fill smooth and pain for proper once all welding is done and its back on its wheels. The random red top coats stops and moisture absorbtion in meantime. So started on he drivers rear arch. Although the rot is less on the arch itself, it goes alot further into the door jam. 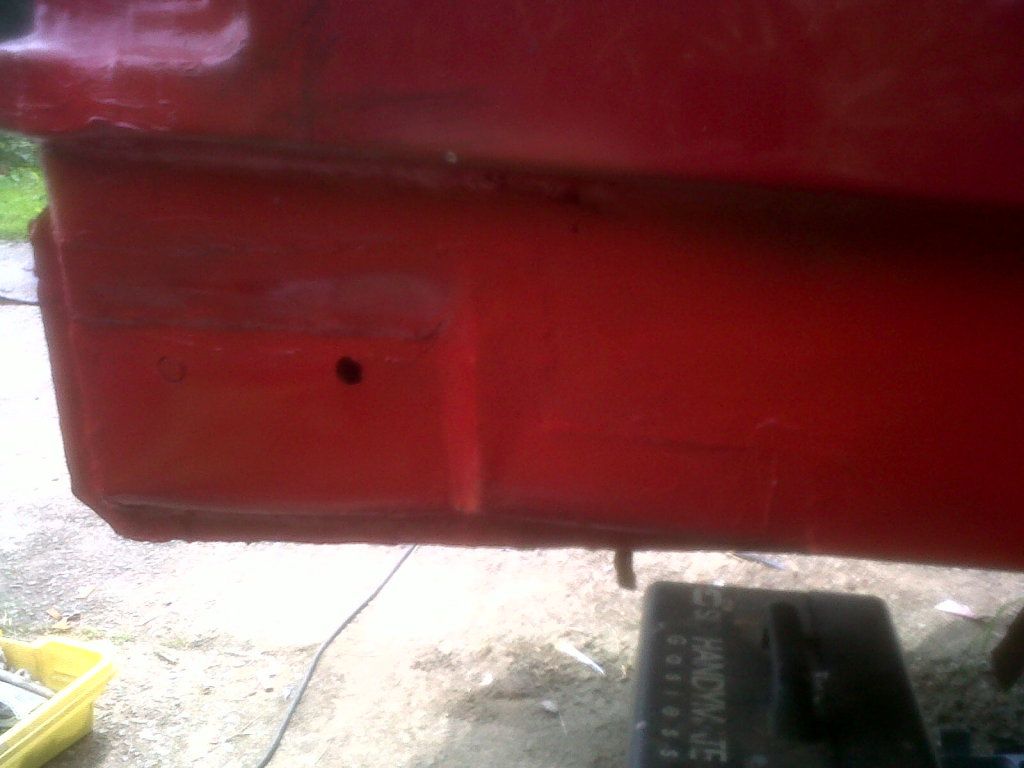   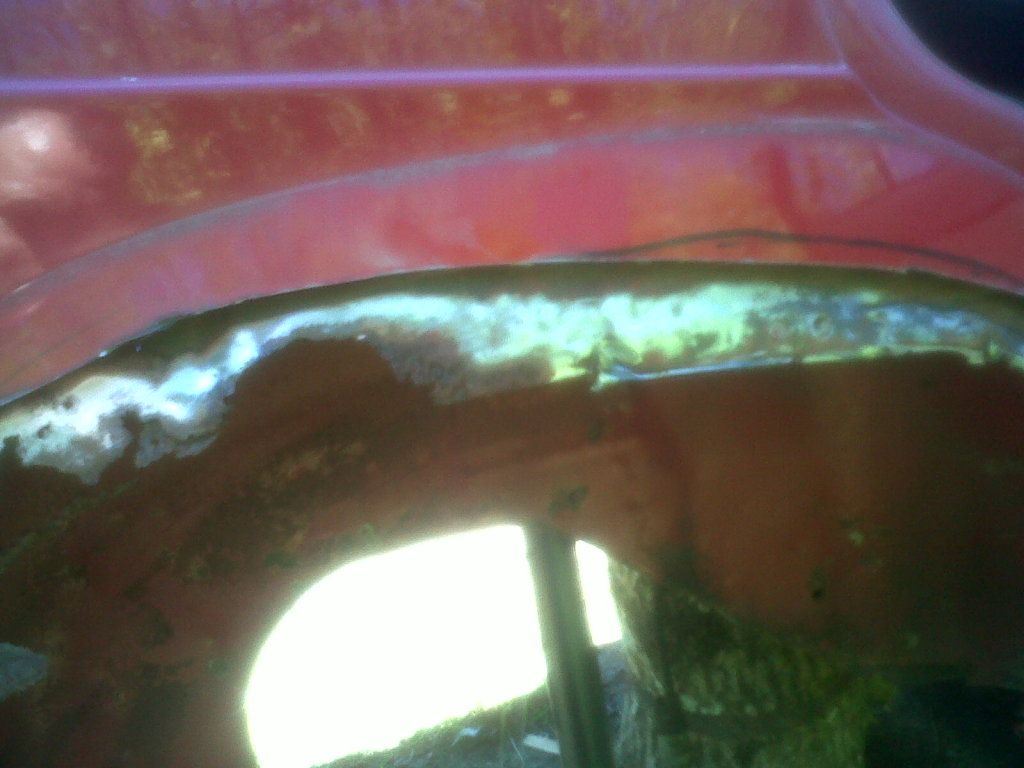 Repaired inner wheel arch a he rear and welded in half the arxh. Reason for half being that the copy panel being not grear and abou 1 inch to short, so I can get a better fit in 2 sections. 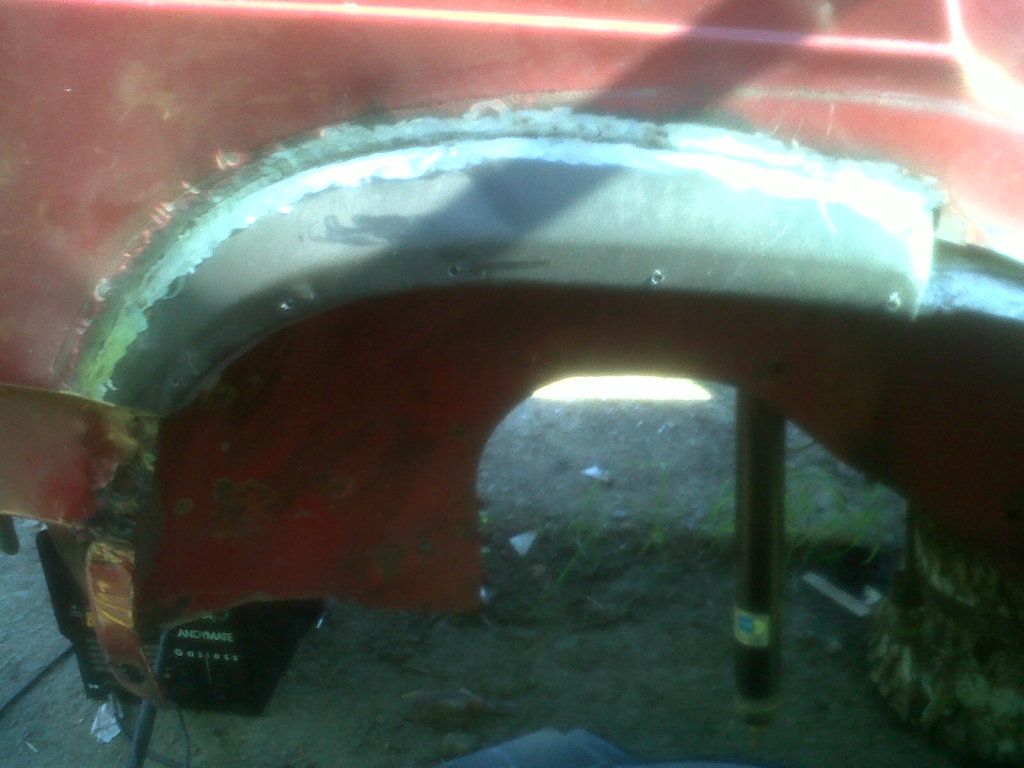 The started on the inside part of the door area. I cut the outer skin right off so I could ge better access and be sure I had go all the rot. I did not grind he weld back that far, as they are going to be hidden, the grinder could not get in there and I don't wan to risk thinning the metal. Totally swamped in Zinc pain and I will seam seal and hammerite it also before closing the outer panel over it. 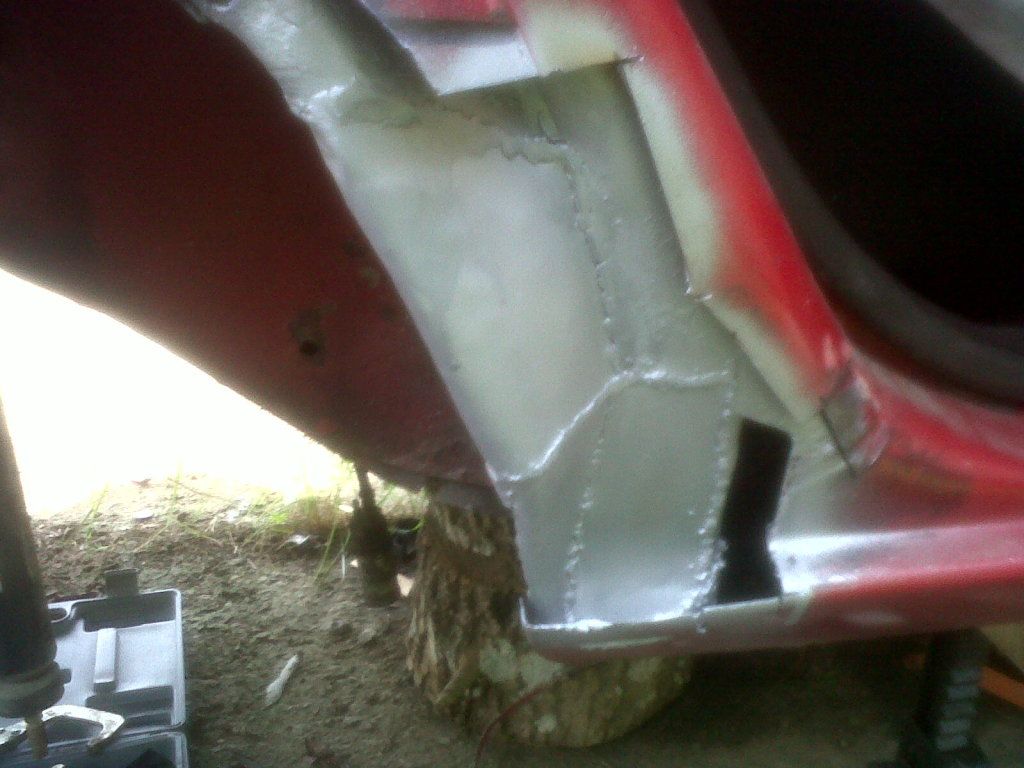 |
| |
90 Alfa 75 3.0 V6 Cloverleaf
79 MGB Roadster
88 Saab 900i Convertible
94 MK1 MX5 1.6
05 Volvo V70
|
|
pabblo
Part of things
Posts: 435
|
|
Jul 25, 2012 22:48:53 GMT
|
|
Fair do's for getting stuck in and sorting the rusty bits, wish i had the skills to do my Uno!!
|
| |
|
|
|
|


 :roll:


