|
|
|
May 26, 2022 22:46:00 GMT
|
Hi Johnny, yes I'm quite impressed with it - very easy to use and produces nice flares. As above - less impressed with the other one which did not produce very good flares so did not get used. So last night was brake pipes and a bit of painting and tonight was re-doing some of the brake pipes better and wheel bearings. Denis dropped off the correct wheel bearings and seals for me; 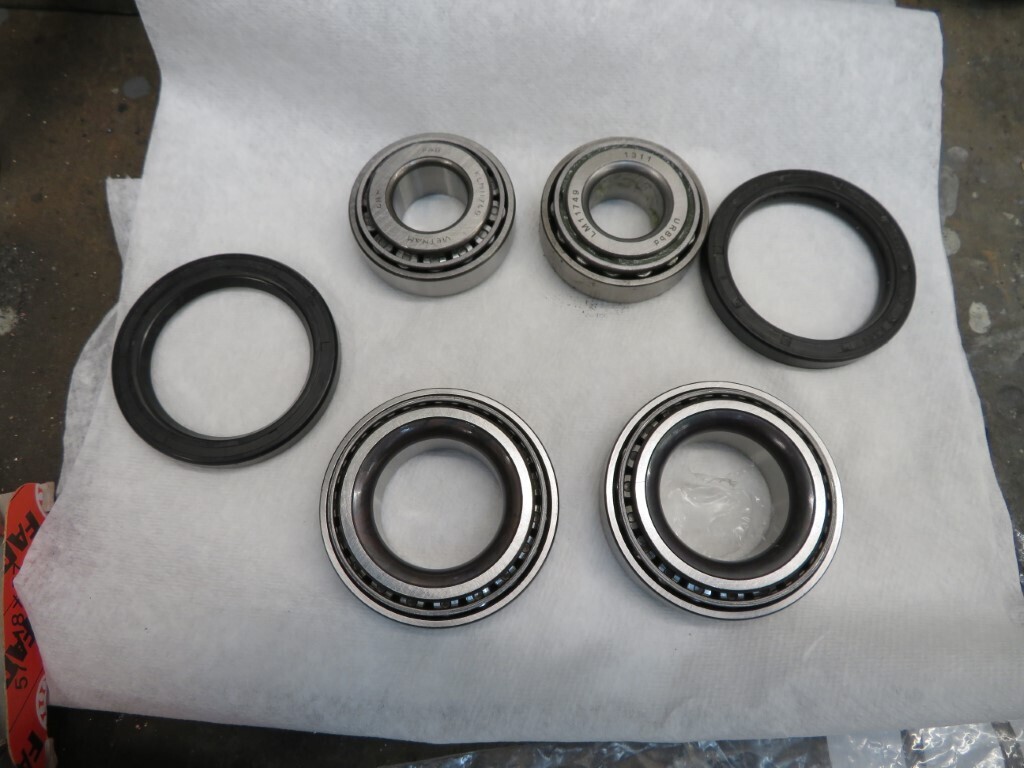 Which were then fitted, packed with grease & fitted back on the car. Calipers went back on and then the wheels - yay! 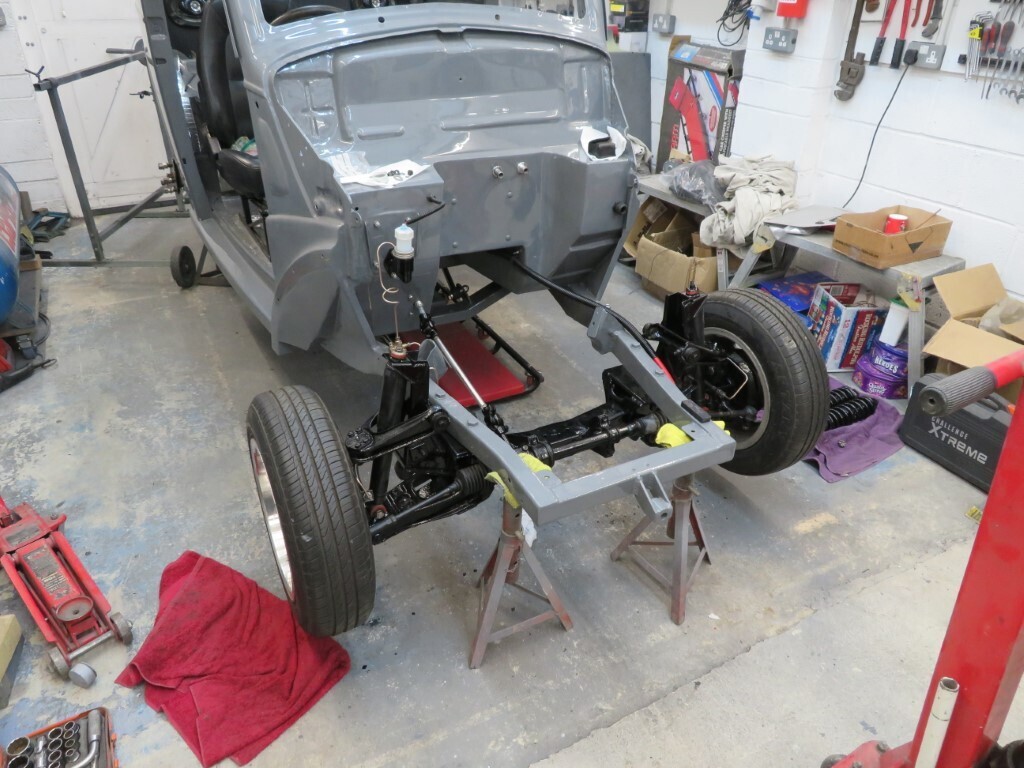 Rear springs are reassembled and waiting on refitting. 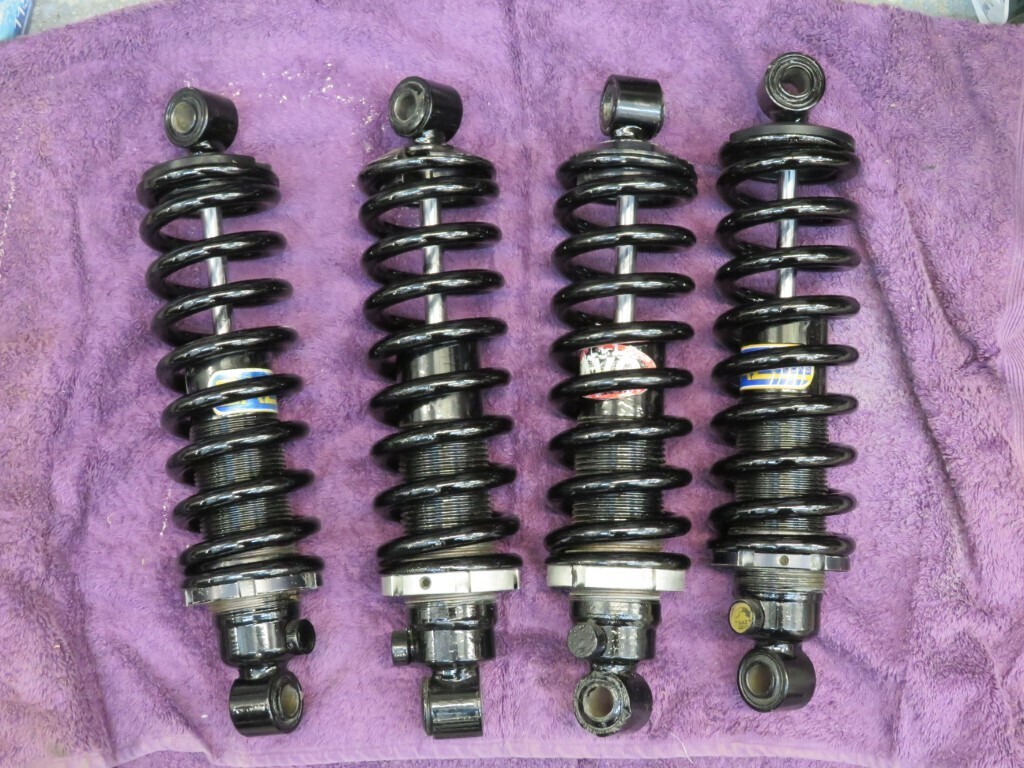 938 hours. |
| |
|
|
|
|
|
|
|
May 26, 2022 12:43:00 GMT
|
|
Looks 'factory' so that's a win from me.
|
| |
|
|
|
|
|
May 25, 2022 12:19:10 GMT
|
|
Not good! At least it's all fixable.
|
| |
|
|
|
|
|
May 24, 2022 23:06:50 GMT
|
Well, that took longer than I expected...... Friend Denis came round tonight with the new wheel bearing and with info from the bearing suppliers that the bearings fitted were not the correct ones. They were the correct size but the numbers showed they were trailer bearings and not up to the quality required for the weight & stresses of steering and the weight of a car. As such I have ordered a complete set to replace the lot just in case any others fitted are not the right grade. Useful info for anyone reading! After Denis left I painted the rear springs and with the leftovers in the gun I brushed the stub axles & dust shields and the black parts of the engine underneath thet needed it. Then on to replacing the rear caliper brake lines. I just finished them by working late, recently some of the work has been a bit of a chore, but I'm on a roll now and could quite literally work well into the night on it as I'm enjoying myself. Photos of the rear caliper hard lines. 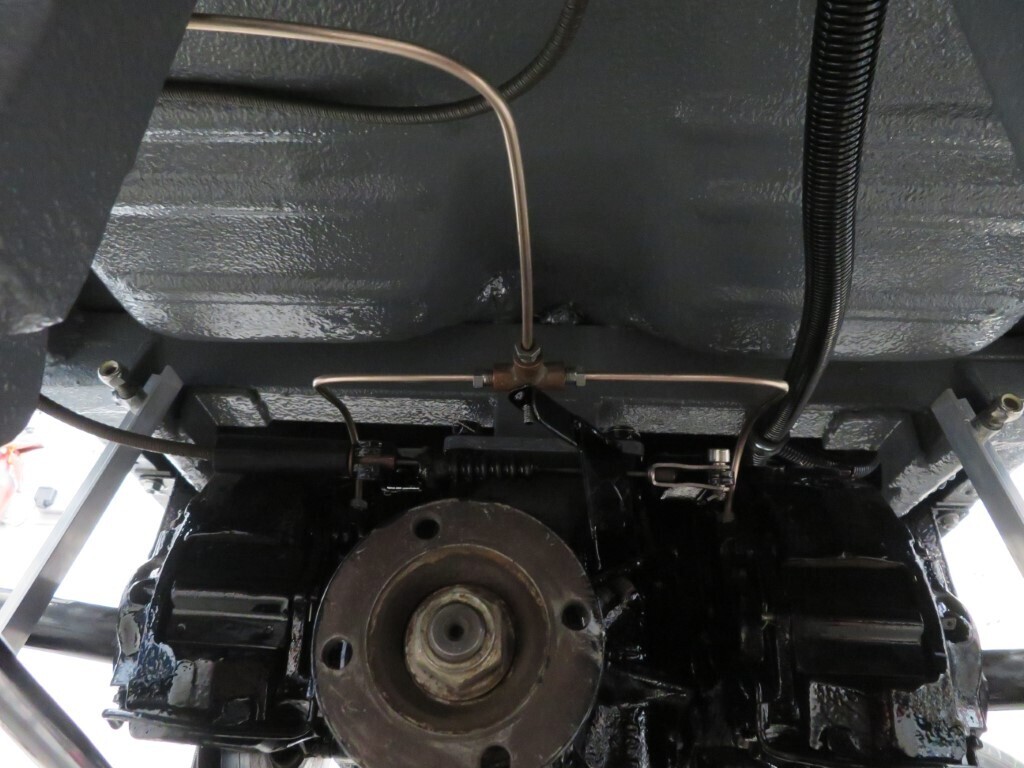 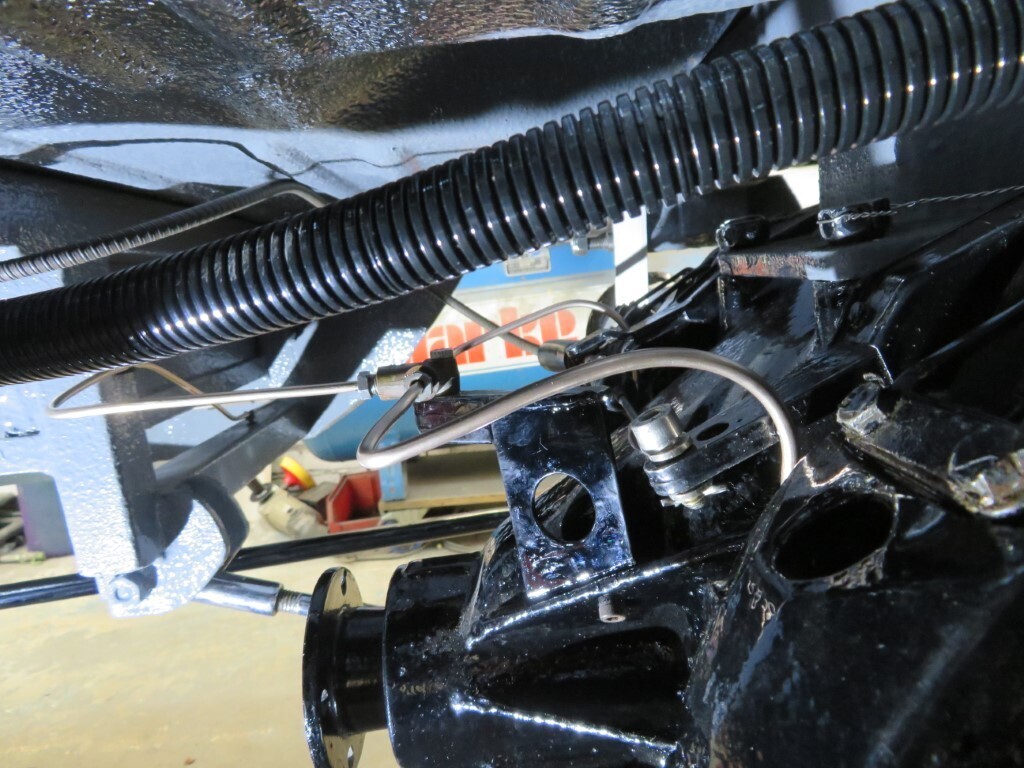 933.5 hours. |
| |
|
|
|
|
|
May 23, 2022 22:44:41 GMT
|
Thanks for all the good wishes everyone. Tonight was continuing on the brakes. They are now finished except for the two short pipes on the rear calipers on the diff. Last job of the night was primering a few chips, the new stub axle & brake shield and the bottom of the engine & gearbox. 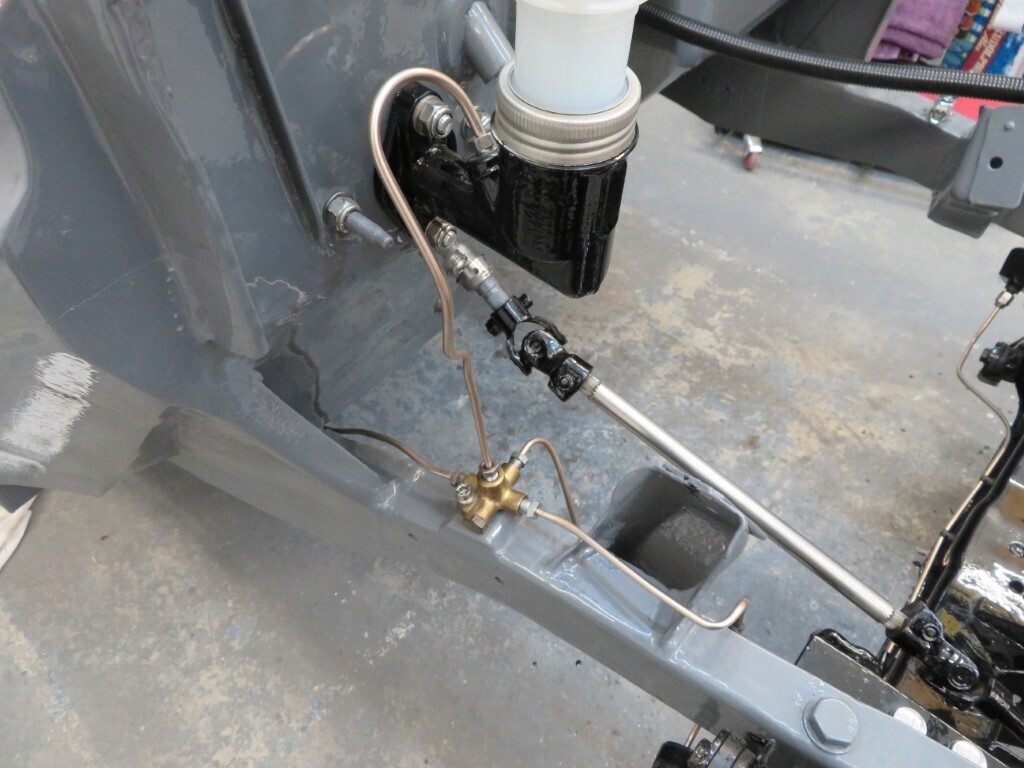 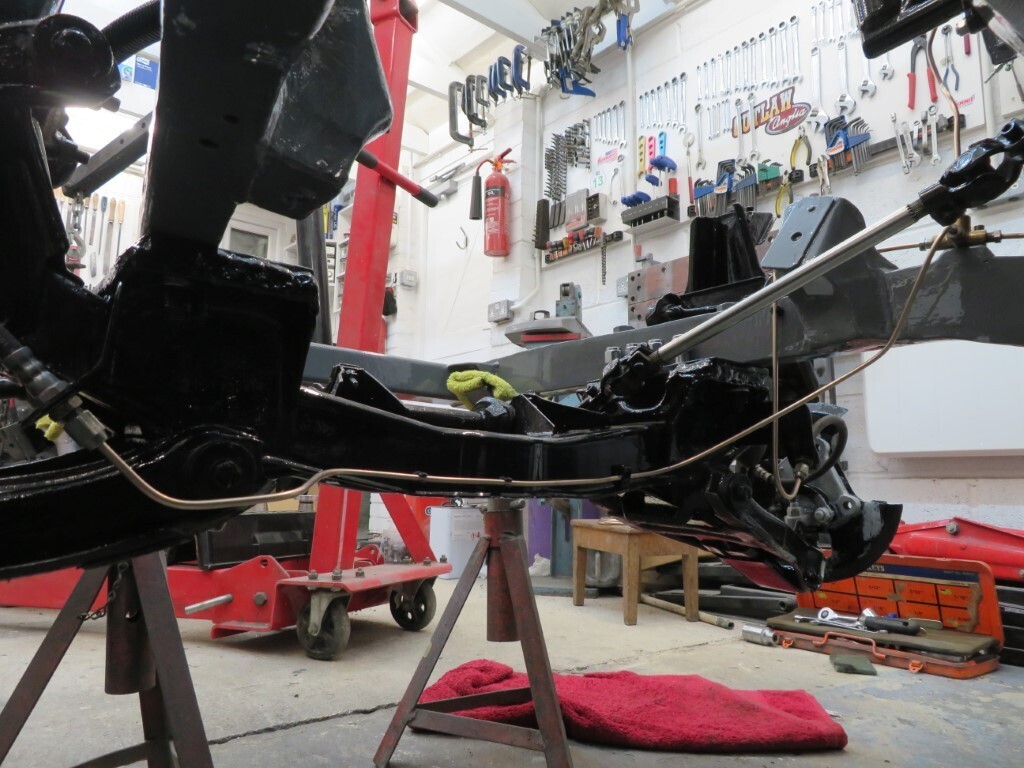 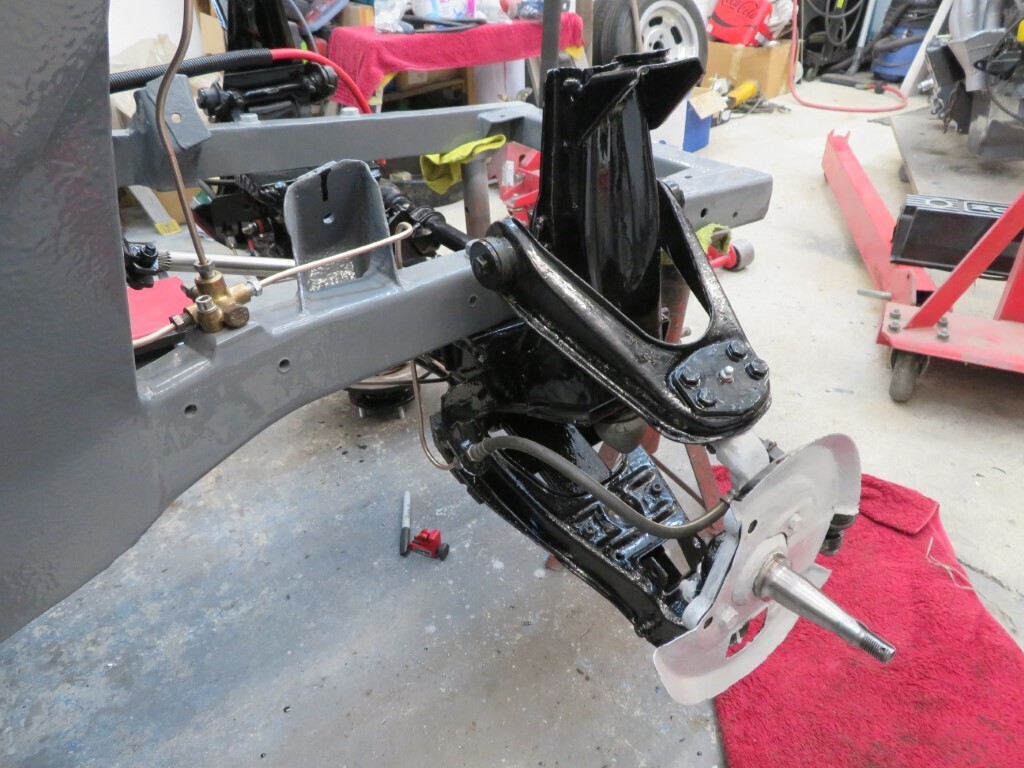 930.75 hours. |
| |
|
|
|
|
|
May 22, 2022 21:37:14 GMT
|
|
Getting there, well done.
|
| |
|
|
|
|
|
May 22, 2022 21:21:52 GMT
|
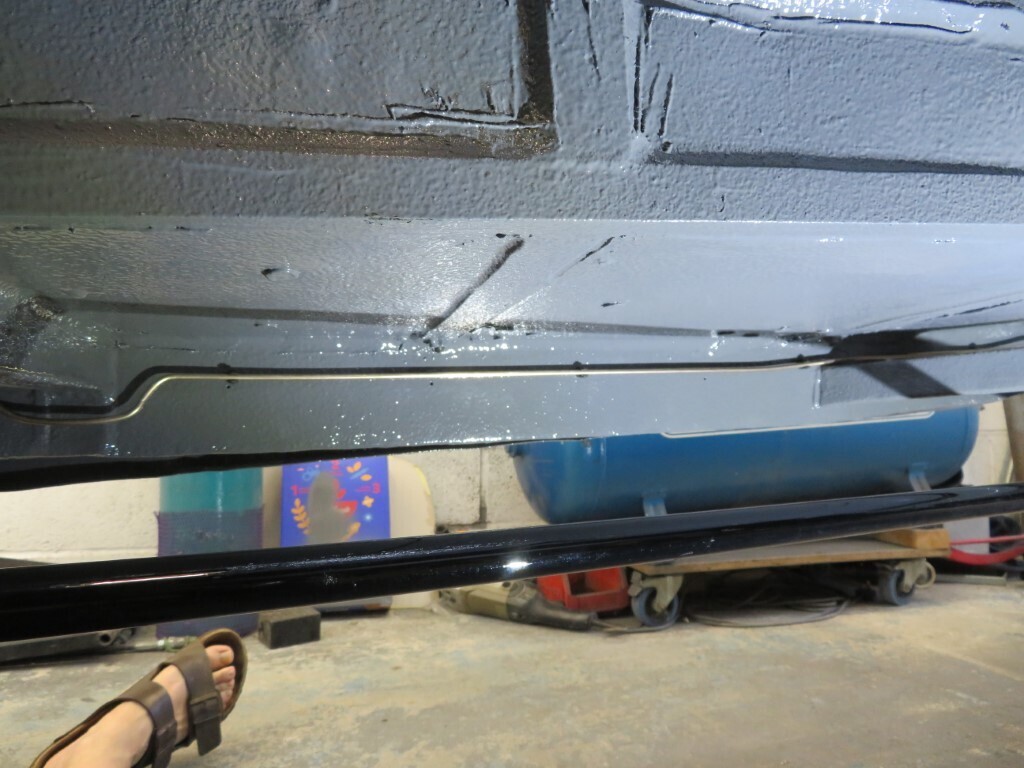
A bit of sad news last night  , mrs Blackpops mum sadly passed away just after midnight, rest in peace Nana Todd. Today was a good day though  Although it does not appear to be much progress I feel we have moved on a good amount. We started off by Phil bringing in the other stub axles and bolts. We checked them but they are the same bolts? Hmmm...... So, the reason I did not like the original stub axle is because it had spun a wheel bearing and it had marked the stub - but some polishing with emery tape showed it to be actually ok. So off came the other stub axle again, of course it was not that easy as the split pin in the top ball joint decided to seize itself in causing us a lot of grief to get it undone. In the end we won, so checking the caliper bolt holes it seems someone in the past has drilled them out for some reason? as there were faint thread marks but the holes were oversize. Odd indeed! With that chucked into the scrap bucket we refitted the original stub axle again and got most of it bolted up. I've left the hub off so I can paint it before it's fully assembled. 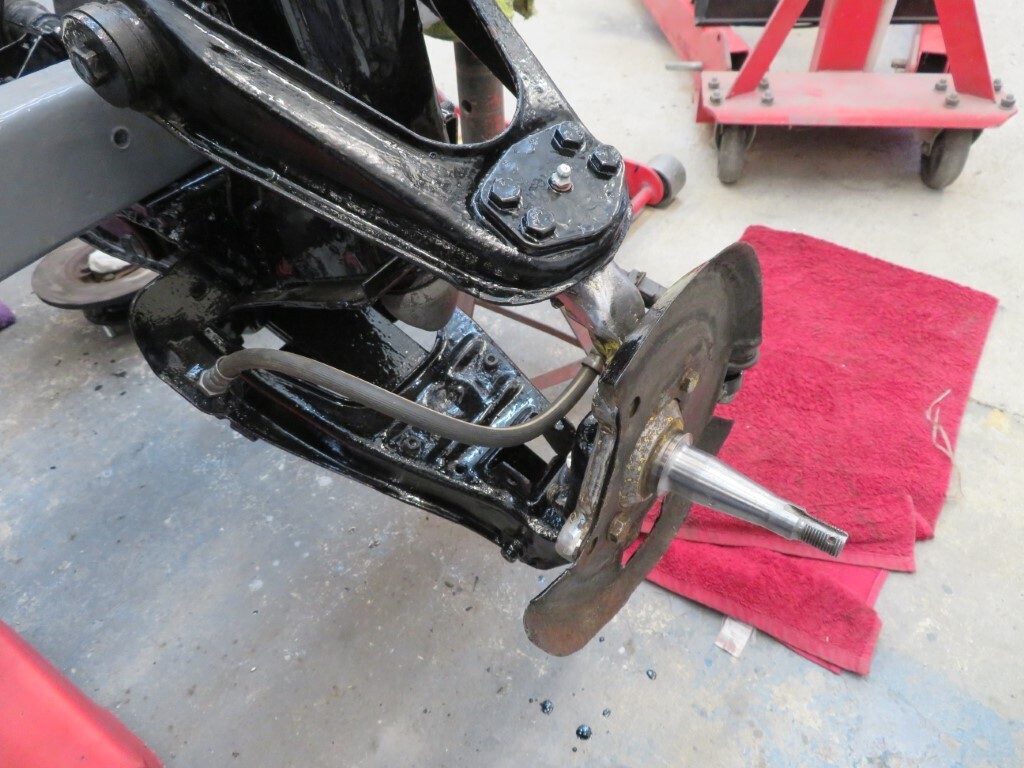 Phil had also picked up our friend Mike's brake pipe straightener;  And his pipe flaring tool; 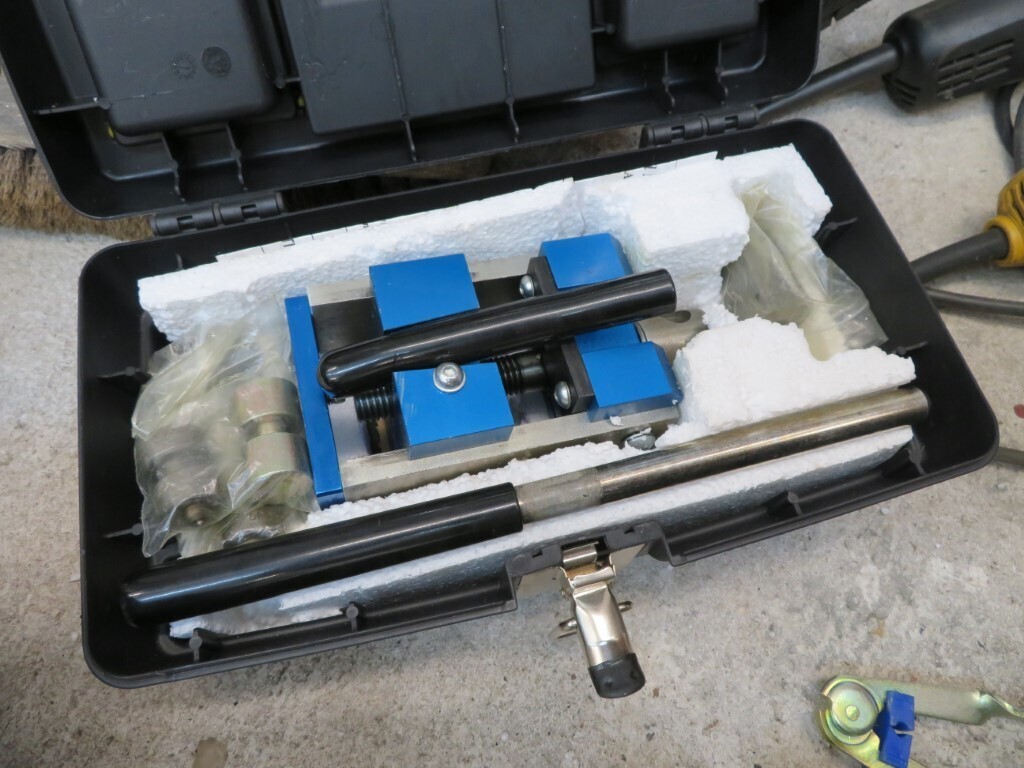 Another friend - Denis also came over to visit to collect the bit of crossmember he needed for the steering rack mount, he also dropped in his flaring tool as well just in case we needed it. 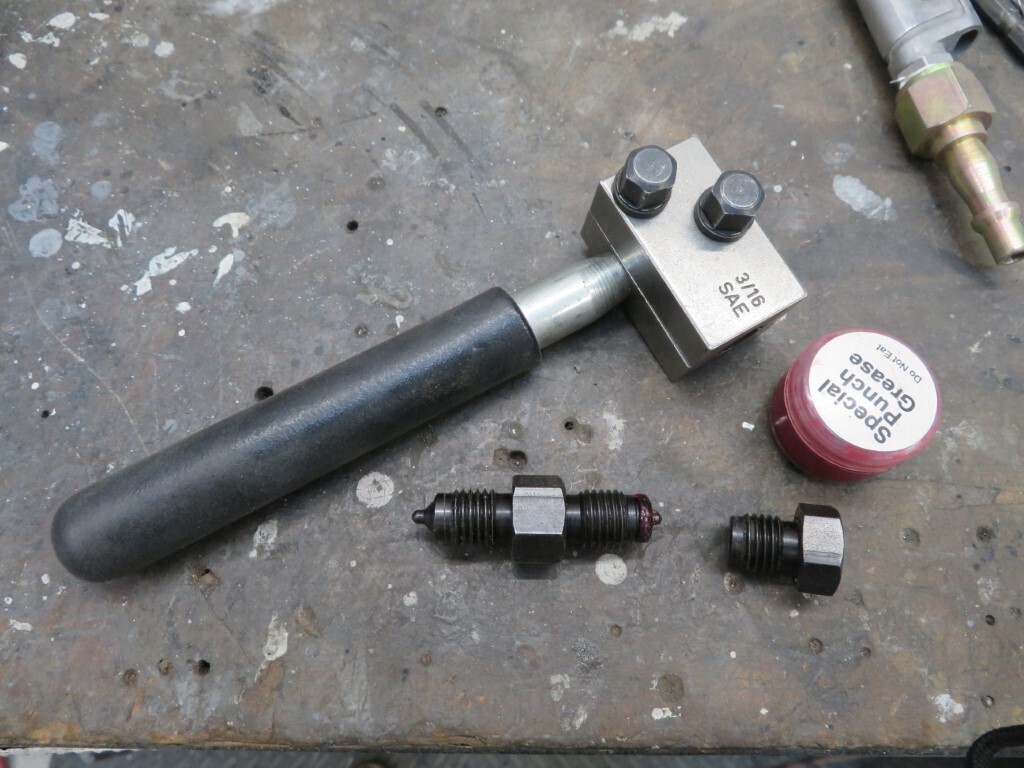 The good news is he knew about a bearing supplier only round the corner from us so as he is retired he will visit tomorrow to see if they have a bearing in stock - if so he will drop it around tomorrow, excellent! Just before Denis came over I had mixed up my last bit of satin black & shot it over the radiator, another job completed but I did not have time to paint the springs. 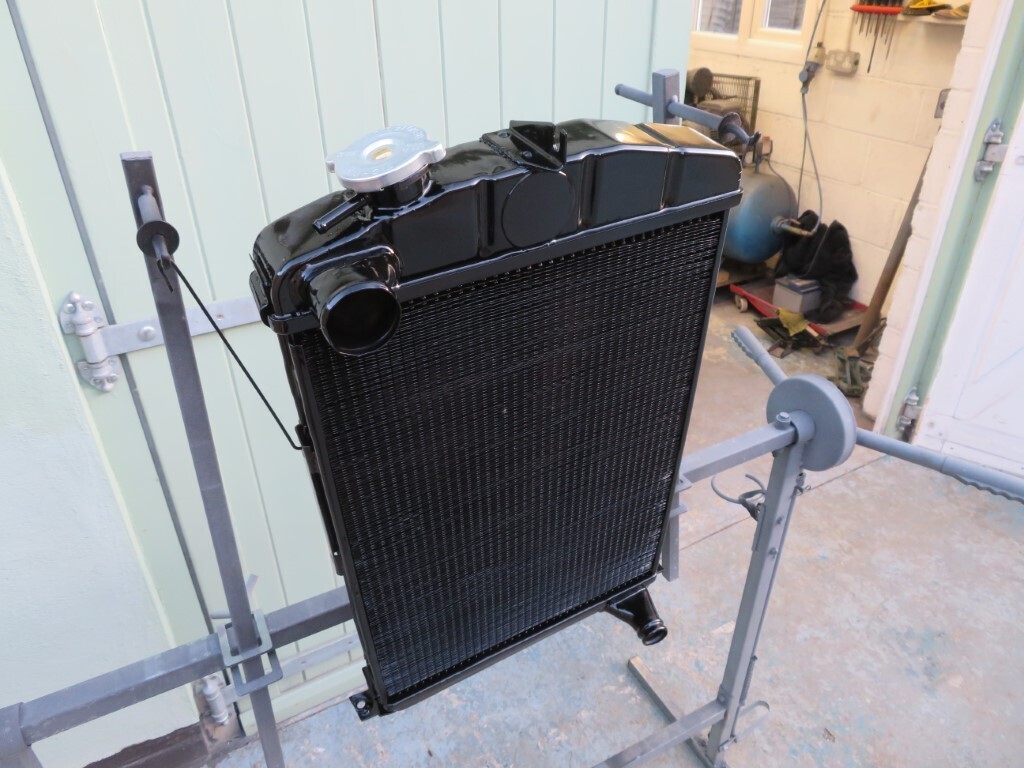 Then it was on to fitting brake pipes! exciting stuff, lol. This tool was invaluable in drilling the chassis for the pipe clips, of course it had to snap one of the drill bits in the most awkward hole to get to - of course it did - and of course it was impossible to get the bit of broken drill out as well. We cheated & drilled a new hole instead  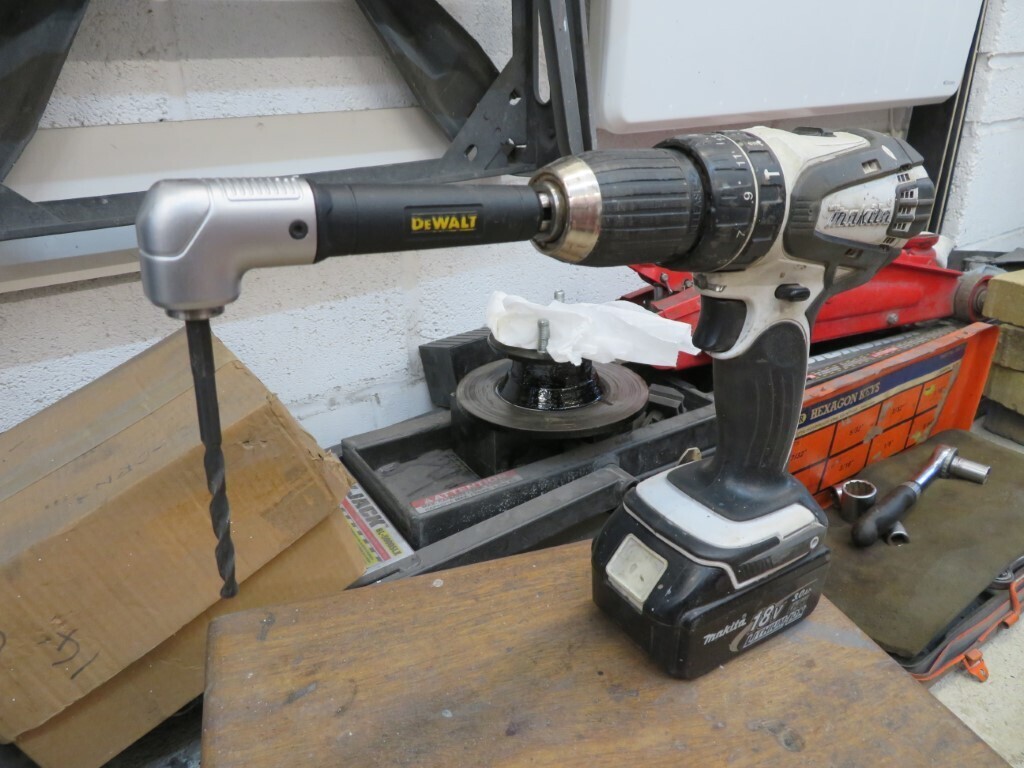 So far we have only got the front to rear pipe made & fitted, but this is the most difficult one so a big step forward. Centre part shown here;
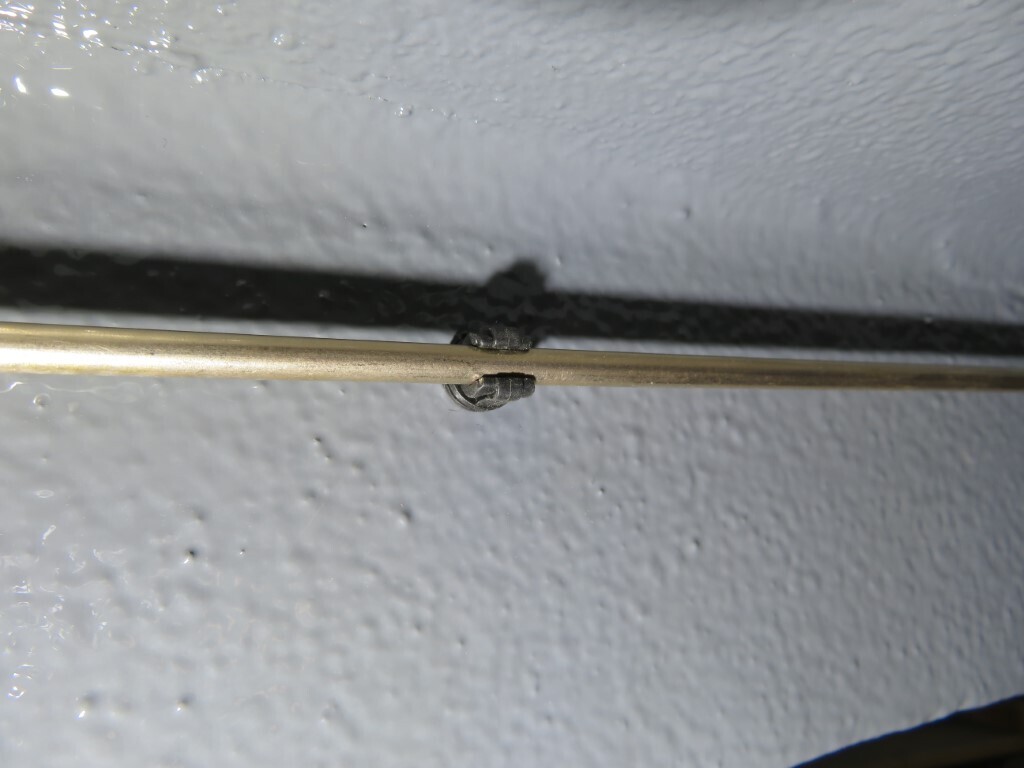
 These are the clips I like to use, a 6mm hole in the chassis takes a little ferrule and the clip is hammered into this and locks in. Pipes then click into the clips. (note the safety shoes, ha-ha!)
 And where it link into the rear axle. Ignore the copper pipes into the calipers, they are getting replaced with Kunifer in the next few days.  In the end we used the brake flarer that Denis brought over, it seemed to produce nicer flares but also it can be used in situ, which was really useful. Mike's pipe straightener was really good, I normally pull brake pipes through a hole drilled through a 4" bit of wood (which works really well) but his tool was super fast and also produced very straight pipes. 928 hours. |
| |
|
|
|
|
|
May 22, 2022 11:53:49 GMT
|
|
Thanks Phil,
Yes it's now within 0.3 of a mm perfect, so let's hope it drives nice and straight!
|
| |
|
|
|
|
|
May 22, 2022 11:52:35 GMT
|
|
As I said before - do one circuit at a time. Sort the sidelights first, then brakes etc one at a time.
That way you know that each circuit is correct - if something goes wrong then it's only the new circuit you need to check - not the total loom.
|
| |
|
|
|
|
|
May 22, 2022 11:49:05 GMT
|
|
Paint it with something as primer is not waterproof or UV proof. It will rust quickly under the paint like that.
Even if you do it in grey with a matting agent so it looks like primer.
|
| |
|
|
|
|
|
|
|
May 21, 2022 22:43:57 GMT
|
Today was a four steps forward and one step back day. Phil came over with the cleaned up rear springs and the outer wheel bearing. He then had to go off to collect the recored & rebuilt radiator. While he was off collecting that I started to rebuild the front hub with the new bearing and refit the last bits of the front suspension. All went well at first, both hubs reassembled, bearings set & pinned and then starting to fit calipers and brake hoses. This is where the step back occurred. Fitting the caliper on the drivers side I could not get the bolts to engage? checked passenger side and all ok so what gives? This was the side that we swapped out for the better stub axle off the new crossmember. Turns out that although the stub axles are identical the caliper bolt holes are bigger for the larger discs & calipers that were fitted. Damn. Phil will bring the corresponding bolts over tomorrow and also the other stub axle. We have a couple of choices, if the bolts are the correct size & length then I can ream out the holes in the caliper to match, otherwise its swapping back to the original stub axle that I was less happy with. We will see. Oh well, back to the passenger side. Fitting the caliper went ok, then on to the flexible hose. The hose bracket was a bit loose  so off came the stub axle again to access the bolt to nip it up a bit more. With that done I refitted the stub axle but on refitting it I was not happy with how it sounded - I'm a bit cross with myself as I did think to ask Phil to get a full bearing set rather than just the outer bearing - I pulled the inner bearing and it's toast I really should have known better. Damn again. Ho hum, fitted the shock absorber and called it a day on that section.  I had bought new longer set screws for the rear axle plates so these were Loctite'd in and the straps refitted. Then the outer hubs were torqued up, so apart from the rear shocks, pumping grease into all of the bearings & filling the diff with oil the rear axle is now done. Phil came back with the radiator - I had asked for it to not be painted as I wanted to do it in epoxy primer and satin black. This was prepped with the rear springs and coated with black epoxy primer. Satin black for the radiator tomorrow and gloss for the springs. 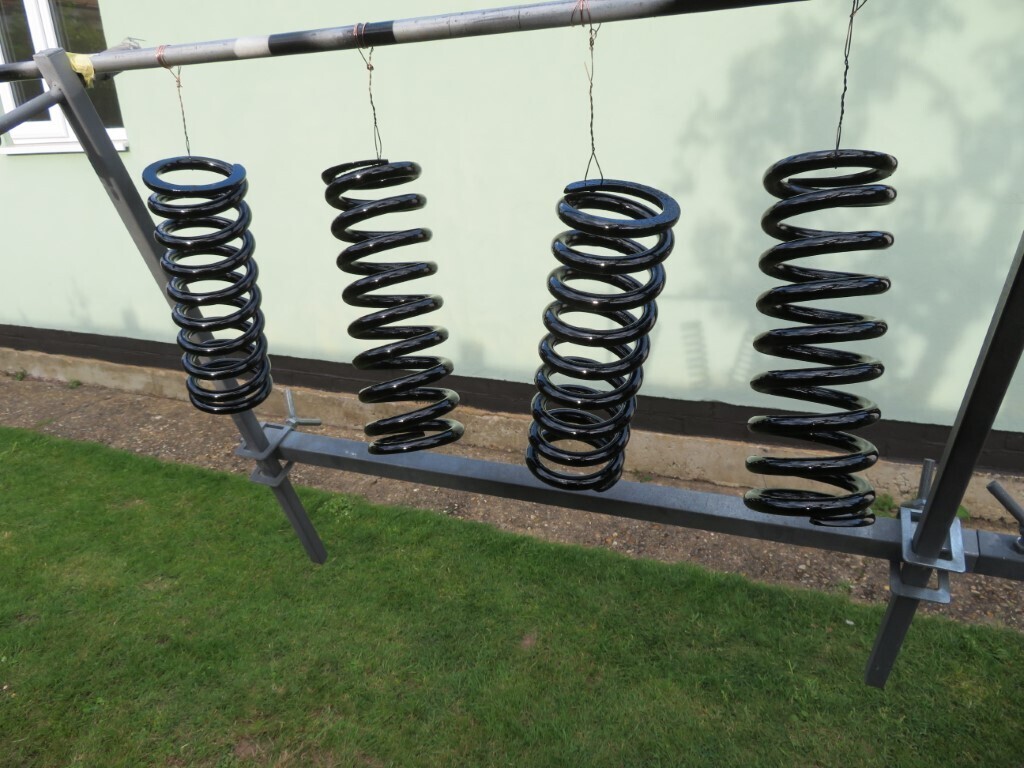 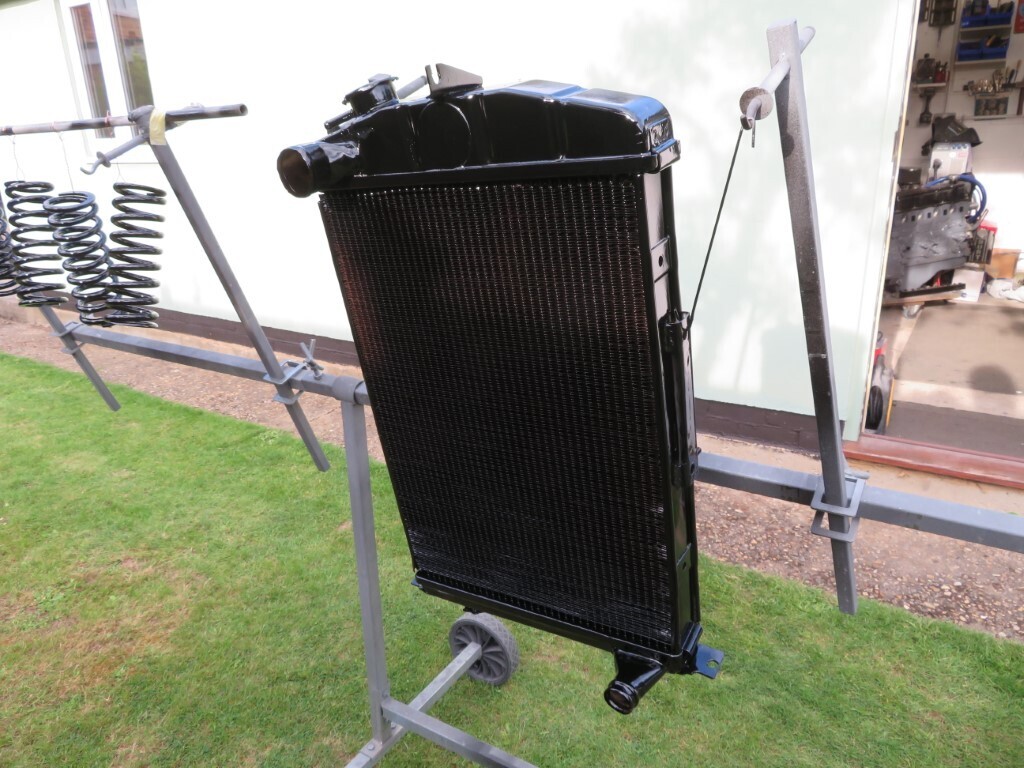 Then we moved on the the engine. This was pulled out of the corner where it has been covered up since it was painted. It was put back on the engine crane so we could fit the machined adaptor for the electronic speedo drive. Our friend Rob did us proud as it was a nice interference fit and with a good dose of high strength Loctite it was tapped home in the casing. I then made up a bracket out of 3mm steel that located it as well as a bit of belt & braces so it never shears off again. This will get painted when the bottom of the engine & box get painted. 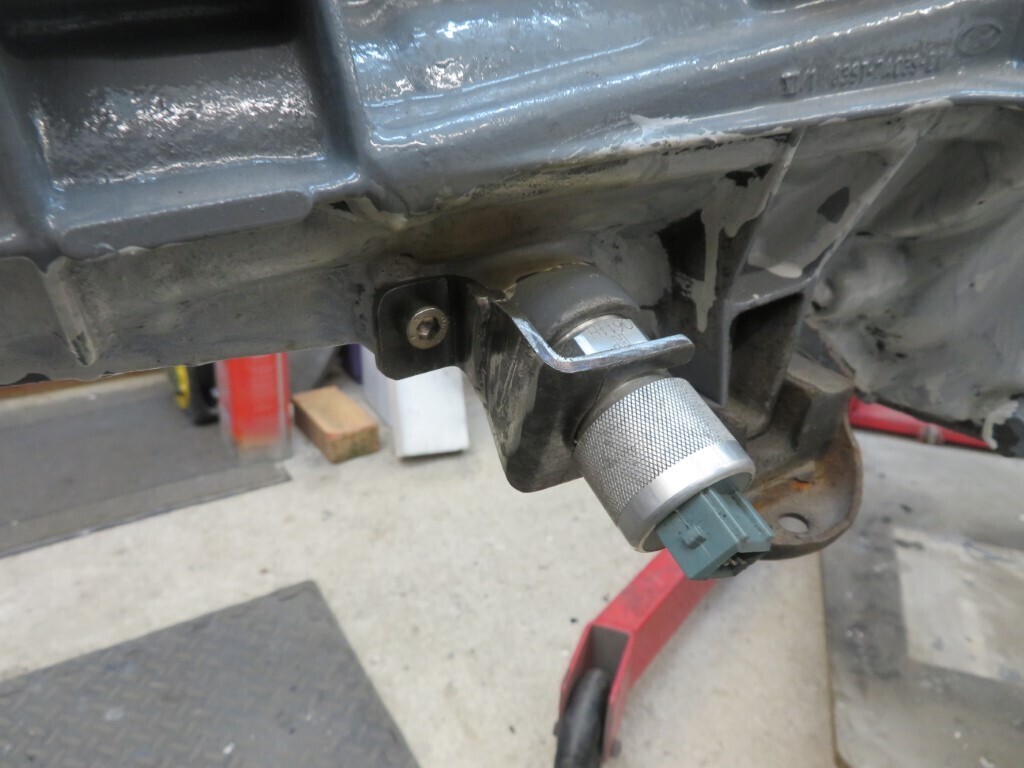 Last jobs before we packed up for the night were refitting enginr mounts, alternator mount and the front fan - where I noticed it was not running true. Further investigation showed the pulley had a hole approx 18mm dia in it, but the water pump had a flange 32mm dia! As such it was not sitting flat on the water pump. I set it up on the drill press and took it out to a 32mm hole with a step drill and with a little massaging the front flat again it now sits flat & runs true again. Phil is refitting it here. 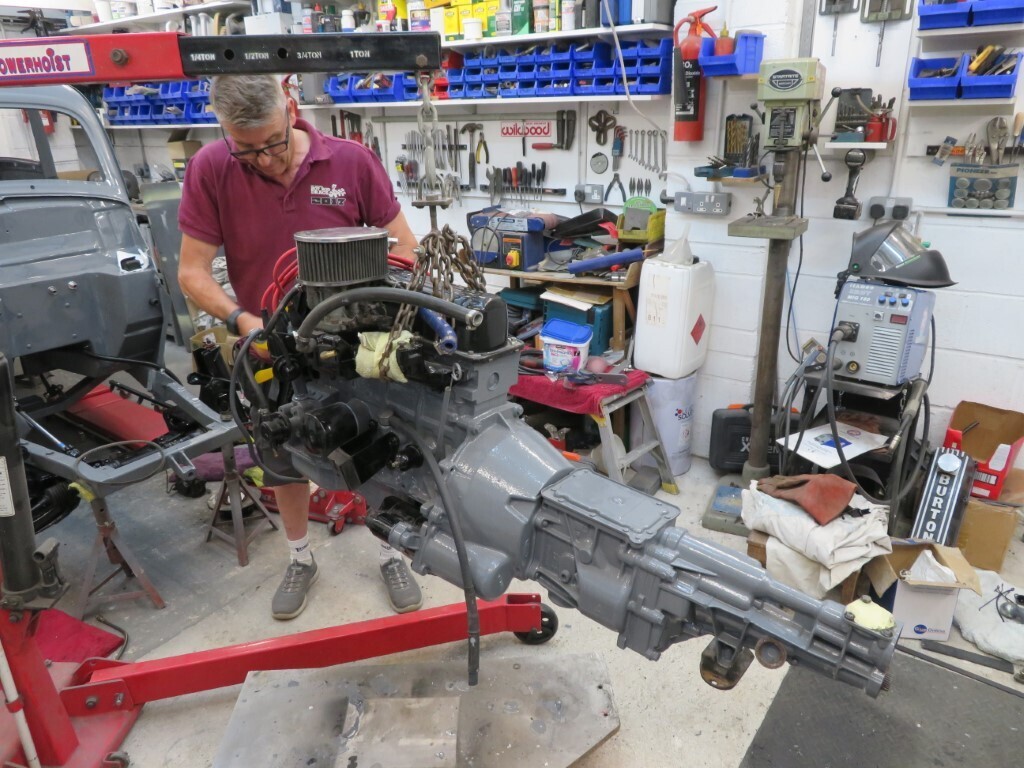 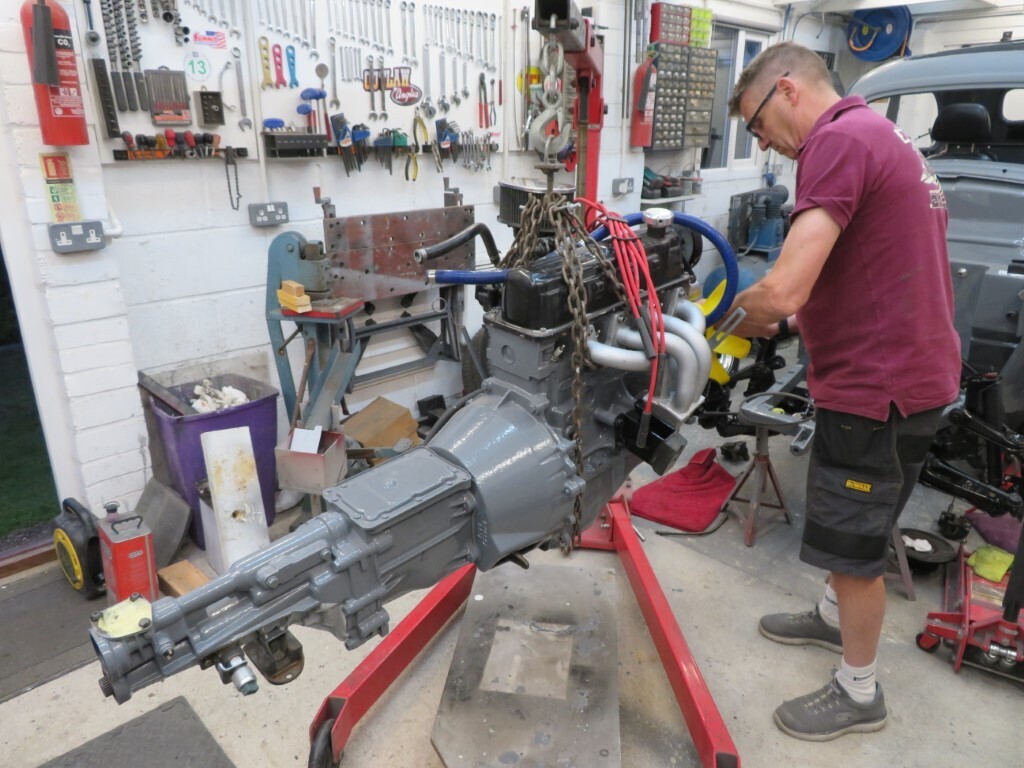 Tomorrow will be brake pipes if we can borrow a flaring tool and fuel lines, once these are in and the bottom of the engine painted then the engine & box can be refitted. Hopefully we can pick up a wheel bearing in the morning as well. 922.5 hours. |
| |
|
|
|
|
|
May 20, 2022 18:11:20 GMT
|
|
R Tech are great welders, should make your life a lot easier.
|
| |
|
|
|
|
|
May 19, 2022 16:42:22 GMT
|
|
Thanks Nigel. Sadly Mrs blackpops mum is fading fast but she is 93 and quite happy to go.
|
| |
|
|
|
|
|
May 18, 2022 23:13:51 GMT
|
|
I did manage to sneak some time before the flight to get some black gloss on the primer today, should be nice and cured when I get back.
|
| |
|
|
|
|
|
May 18, 2022 12:06:34 GMT
|
^^ gulp! you lost me at "Inlet tuning" lol  |
| |
|
|
|
|
|
May 17, 2022 22:53:59 GMT
|
Not much of an update tonight, still plodding on, car is still putting up a fight, but it was a bit half hearted tonight. I started by sorting the stainless nuts & washers out for the rear axle and then torqueing all the bolts up on it. Then I could fit the anti climb bars back to the diff from the chassis - these are still chromed from 40 years ago and are mostly still good chrome. It's gone in places so I've cleaned up the rusty bits and I have some clear underbody protect that dries tack free to go on them once its finished. 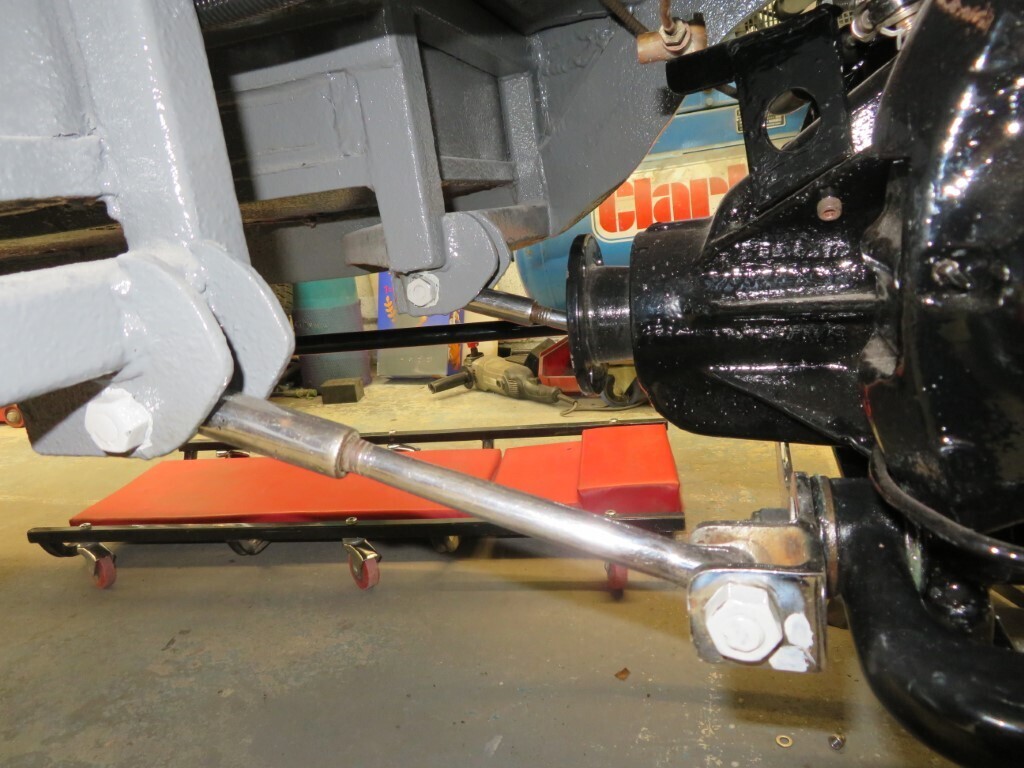 Then I cleaned up the threads on the shock mounts on the body - which is where it fought back. One of them I just could not start a nut back on, even after using a thread file on it. I tried getting a die on it but even that would not start. I ran the stud chamfering cutter over the end, but it still took ages to eventually get the die to start on it so I could re-cut the thread. With that done it was just a bit of epoxy primer on all of the new bolts and on parts of the front hubs where I had cleaned them up. 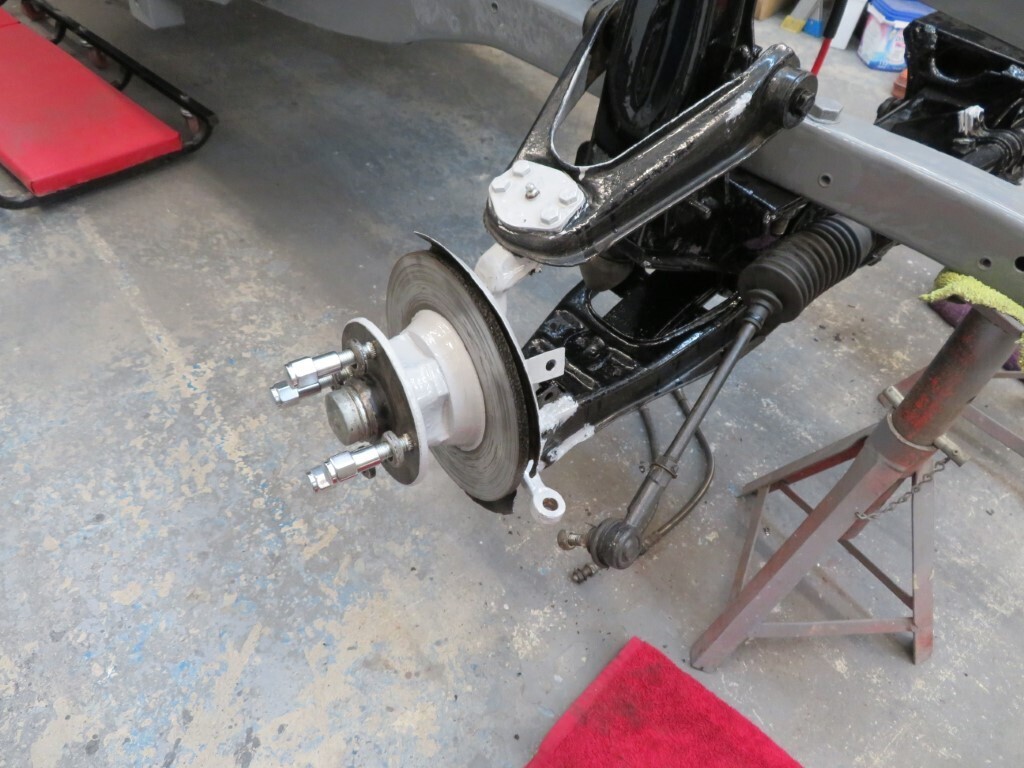 No updates tomorrow as we are visiting mrs Blackpop's mum in Edinburgh who is sadly very poorly indeed. 913.5 hours. |
| |
|
|
|
|
|
May 17, 2022 17:46:31 GMT
|
|
Very smart.
|
| |
|
|
|
|
|
May 17, 2022 17:39:17 GMT
|
|
Thanks mate, that's perfect.
|
| |
|
|
|
|
|
|
|
Big road trip success was had!  Buzzing! Wow, how tall are you?  |
| |
|
|
|
|
|
|
|
Thanks grizz it never goes smoothly does it? gtviva, can you post/tell me the correct way of setting the wheel bearings on these please? |
| |
|
|


 , mrs Blackpops mum sadly passed away just after midnight, rest in peace Nana Todd.

 so off came the stub axle again to access the bolt to nip it up a bit more. With that done I refitted the stub axle but on refitting it I was not happy with how it sounded - I'm a bit cross with myself as I did think to ask Phil to get a full bearing set rather than just the outer bearing - I pulled the inner bearing and it's toast

