|
|
|
|
|
When you come to fitting the box complete with the torque convertor be careful, It is VITAL that you measure the depth that the t/c sits back from the front of the bell housing and make sure that it corresponds with the correct depth for your box's serial number. If you don't you will most likely smash the oil pump as you bolt the bell housing up. This info I posted on LRO years ago may help: www.lro.com/forum3/viewtopic.php?f=33&t=7463Many thanks for the info, it's certainly very useful to know. I'm assuming you're referring to the spacing when the torque converter is placed back in (i.e. the person fitting it places it correctly) as opposed to the torque converter being the wrong one for the bellhousing? The only reason I ask is because the whole set-up was removed from a V8 ambulance (as in, it's not been put together from different parts of different vehicles) and therefore the TC and all other parts are correct for the gearbox. The one thing that's confusing me is the serial/model number. From what I can make out on my 'box, the number 317 or 312: 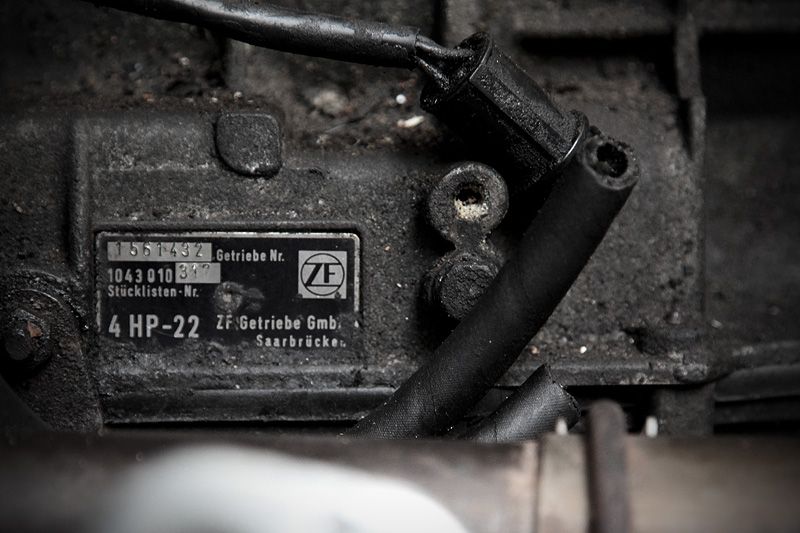 But neither of those numbers corresponds with any from your list. The nearest is 332 (51mm). If you have any ideas on this I'd be very grateful? Many thanks again. Once fitted, if the kick down cable is not adjusted exactly right the shift quality will be poor to the point that it may not even shift properly at all. You may also find that you will need to get the box re-programmed as its shift points will be suited to the low ratio axle fitted to the LDV. Also change the screen filter before fitting it, it makes sense whilst the box is out!! Luckily I've got the ZF data for kickdown cable setting up, throttle positions etc...so setting up should be reasonably accurate. The ratios are something I need to look more into, but from what I can tell the gearing in 4th is 0.728:1 (the same as the auto box used to drive a V8 Discovery Auto which is what my back axle is from). The diff ratio of the Discovery axle is 3.54:1 and from what I can find out, the V8 Ambulance is 4.45:1 I don't know an awful lot about gearing etc...but the tyres on my Land Rover are on marginally taller than the tyres from the V8 ambulance (1.5% or 11mm difference in diameter). Until I drive the thing I have no idea how this is going to affect the changes? If it drives badly with changes in the wrong places/revs, how would I go about changing the shift patterns to suit the car? Autos are a bit of a mystery to me and I have no idea how the different rear gearing will affect my shift patterns? A filter change is already on the cards along with a new gasket set etc....that was already planned while I change the sumps over and shorten the oil pick-up pipe. Thanks again for your help. ;D Just with reference to the shift 'reprogramming' - I believe this box is fully hydraulic, it was only the 4HP22E and 24E that used electronically controlled shifts. Interestingly, I believe the 4HP22 can be rebuilt using 4HP24E clutches for increased power handling, yet still retaining full (simple) hydraulic control. I wouldn't have thought you'd have much problem with gearing problems. The first gear in these boxes is usually very tall - that you're running relatively small diameter wheels (compared to RR or Defender wheels for example), and that your final drive is a lttle bit longer than the ambulances should even things out. Incidentally, I'm a big landy man myself, owned loads - we have a factory V8 Defender 90 in the family. Have adored them since I was a kid. This car made me think long and hard. Obviously series ones are now very rare, especially early ones. However, if the original car was a rotten mess, why not let it live again? The DNA of the car is PURE Rover, and above all it looks a real hoot! Good luck with, and FWIW you have support of a true land purist here  |
| |
Last Edit: Apr 4, 2012 19:21:47 GMT by misterbob
|
|
|
|
squonk
Part of things
 
Posts: 864
|
|
|
|
Many thanks for the info, it's certainly very useful to know. I'm assuming you're referring to the spacing when the torque converter is placed back in (i.e. the person fitting it places it correctly) as opposed to the torque converter being the wrong one for the bellhousing? The only reason I ask is because the whole set-up was removed from a V8 ambulance (as in, it's not been put together from different parts of different vehicles) and therefore the TC and all other parts are correct for the gearbox. The one thing that's confusing me is the serial/model number. From what I can make out on my 'box, the number 317 or 312: The distance relates to the measurement between the mating face of the bell housing and the fixing lugs of the t/c. If you fit the t/c to the input shaft and push it back then rotate it you should feal it engage with the oil pump. Once engaged to ensure that it is fully home make the measurement. Once you are happy it is properly mated hold it into position using a block of wood and a small ratchet strap. Then there is no chance of it shifting whilst you manouver the gearbox into position. I don't know why your box ident isn't on the list (however, it is a Land Rover list!) but I'm shure that Ashcroft transmissions will. They are VERY knowledgable about the 4HP22 and are equally helpful. www.ashcroft-transmissions.co.uk/Shift points can be changed by having the valve block modified, but this would be a job for a transmission specialist. |
| |
2004 Chevrolet Avalanche Z71
2005 Mercedes CLK320 Cabriolet
1996 Mercedes C180 Elegance Auto Saloon
1996 Rover 620Ti (Dead fuel pump)
1992 Toyota HiLux Surf
1987 Range Rover Vogue (Rusty)
1992 Range Rover Vogue SE (More Rusty)
2006 Chrysler Grand Voyager
2008 Corsa 1.4 Design
|
|
squonk
Part of things
 
Posts: 864
|
|
|
|
Just with reference to the shift 'reprogramming' - I believe this box is fully hydraulic, it was only the 4HP22E and 24E that used electronically controlled shifts. Ha ha ha, things don't have to be electronic to be programmed, this is old skool!! It is reprogrammed by modifying the valve block so that valves operate at different pressures causing shift points to change, hence reprogrammed!! |
| |
2004 Chevrolet Avalanche Z71
2005 Mercedes CLK320 Cabriolet
1996 Mercedes C180 Elegance Auto Saloon
1996 Rover 620Ti (Dead fuel pump)
1992 Toyota HiLux Surf
1987 Range Rover Vogue (Rusty)
1992 Range Rover Vogue SE (More Rusty)
2006 Chrysler Grand Voyager
2008 Corsa 1.4 Design
|
|
|
|
|
|
|
Just with reference to the shift 'reprogramming' - I believe this box is fully hydraulic, it was only the 4HP22E and 24E that used electronically controlled shifts. Ha ha ha, things don't have to be electronic to be programmed, this is old skool!! It is reprogrammed by modifying the valve block so that valves operate at different pressures causing shift points to change, hence reprogrammed!! I misunderstood, yes the shift points would have to be adjusted via the valve block on a fully hydraulic box  |
| |
|
|
Dez
Club Retro Rides Member
And I won't sit down. And I won't shut up. And most of all I will not grow up.
Posts: 11,790
Club RR Member Number: 34
|
|
|
|
|
I think I should start "dez' hot rod consultancy service". set up a premium rate phone line and id be raking it in- bruce would also be skint(er) ;D
|
| |
Last Edit: Apr 4, 2012 20:56:44 GMT by Dez
|
|
mk2cossie
Club Retro Rides Member
Posts: 3,064  Club RR Member Number: 77
|
|
|
|
glad that you are enjoying 'that' Land Rover ;D saw it at santa pod a few years back, and loved the madness of it and the two fingers at the Land Rover rivet counters  the 4speed auto should make a nice update to it, made a world of difference upgrading my granada from 3 to 4speed auto ;D will you be able to retain the B&M shifter with the new box tho?  |
| |
|
|
|
|
|
|
|
Good luck with, and FWIW you have support of a true land purist here  Thanks Dude, it's nice to hear that. The other day a complete Series 1 nut happened to be in the unit and started out with a "WTF??" of despair. Within about 30 secs he was videoing the car and on the phone to his mate (another Series 1 fanatic) telling him about the most awesome Land Rover he's ever seen! It seems to appeal to most people. I like that about the car. The distance relates to the measurement between the mating face of the bell housing and the fixing lugs of the t/c. If you fit the t/c to the input shaft and push it back then rotate it you should feal it engage with the oil pump. Once engaged to ensure that it is fully home make the measurement. Once you are happy it is properly mated hold it into position using a block of wood and a small ratchet strap. Then there is no chance of it shifting whilst you manouver the gearbox into position. Yeah, I understood all that perfectly first time. What I was questioning in my response is this: Is the reason for checking the measurement to ensure the 'fitter' has put the torque converter in and got it seated correctly, or is the measurement to make sure it's the correct torque converter for the bellhousing? (i.e. is the reason for measuring to ensure the correct fit or the correct components?) I don't know why your box ident isn't on the list (however, it is a Land Rover list!) but I'm shure that Ashcroft transmissions will. They are VERY knowledgable about the 4HP22 and are equally helpful. www.ashcroft-transmissions.co.uk/Shift points can be changed by having the valve block modified, but this would be a job for a transmission specialist. That's very useful info and thank you very much for sharing it. I will certainly give them a call tomorrow to see if I can establish which measurement I need to use. As for the shift points, having run the car for aq good few hundred miles in 2 gears with strange shifts, I think this box will be a massive improvement regardless. It was always the plan to 'suck it and see' and I will certainly look forward to trying it out. ;D Thanks again for your help. I think I should start "dez' hot rod consultancy service". set up a premium rate phone line and id be raking it in- bruce would also be skint(er) ;D No. Just no. I'm already skint as it is and what would you do without my calls? Your life would suddenly be a lot emptier  ;D |
| |
|
|
squonk
Part of things
 
Posts: 864
|
|
|
|
|
The measurement is just to ensure that the torque convertor is correctly engaged with the oil pump drive. If it isn't the oil pump is invariably smashed as the bell housing is tightened to the engine.
|
| |
2004 Chevrolet Avalanche Z71
2005 Mercedes CLK320 Cabriolet
1996 Mercedes C180 Elegance Auto Saloon
1996 Rover 620Ti (Dead fuel pump)
1992 Toyota HiLux Surf
1987 Range Rover Vogue (Rusty)
1992 Range Rover Vogue SE (More Rusty)
2006 Chrysler Grand Voyager
2008 Corsa 1.4 Design
|
|
|
|
|
|
|
|
I don't think you need to do anything with the valve body on the zf. There is enough slip in the torque converter to compensate. A big external oil cooler will do wonders for longevity. The lockup feature will ensure that v8 drone at 2500 rpm at highway speed. You could use an old ac condenser as a cooler. Excellent build by the way.
|
| |
|
|
|
|
|
|
|
I think I should start "dez' hot rod consultancy service". set up a premium rate phone line and id be raking it in- bruce would also be skint(er) ;D Worth doing if only so you can change your passport to "Hot Rod Consultant". |
| |
|
|
|
|
benzine
Part of things
 
Posts: 344
Club RR Member Number: 87
|
|
|
|
Awesome, awesome car and thread ;D This is how my brain is currently processing readers rides when I load it:  |
| |
|
|
|
|
|
|
|
Well, that was a brilliant weekend. ;D I was supposed to be taking the Land Rover to Wheels Day - I'd promised Chris (Pollitt) he could have shotgun seeing as it was his birthday. Sadly the car was off the road due to the gearbox and I was dreading telling him there was no way it was going to make the show. When I did call him his response was quite a shock, "Does this mean I get to spend my birthday down at the unit drinking beer, welding and messing around with the car" It did indeed! For this weekend I decided to have a break from the gearbox install (which would be coolant pipes, sump, linkage etc...) and start work on the metalwork which needed to be adapted due to the bigger 'box. I placed the old cross brace over the gearbox to see how much it would need to be cut about. This not only held the shifter, but also the main seat front brackets too. Getting this back in and correctly positioned was quite important in making sure the seats located properly. 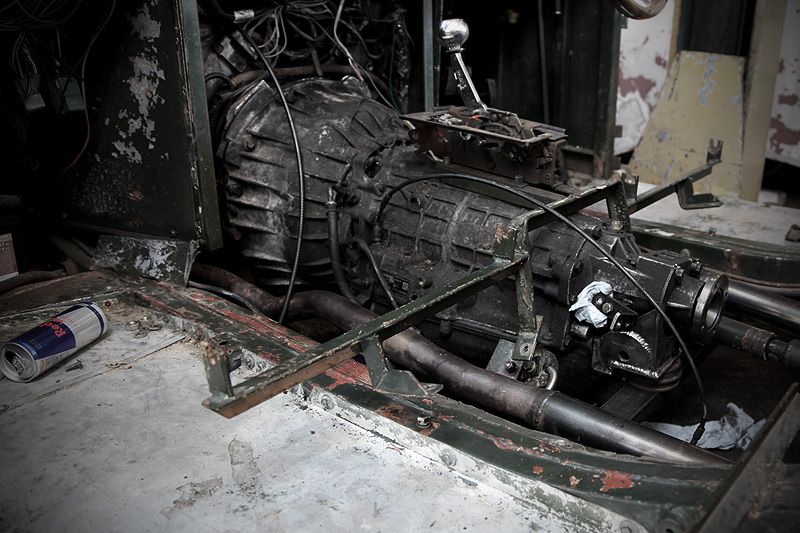 With the cross brace resting on the gearbox I could see it was going to need some chopping and extending - the outer mount brackets didn't even come close! 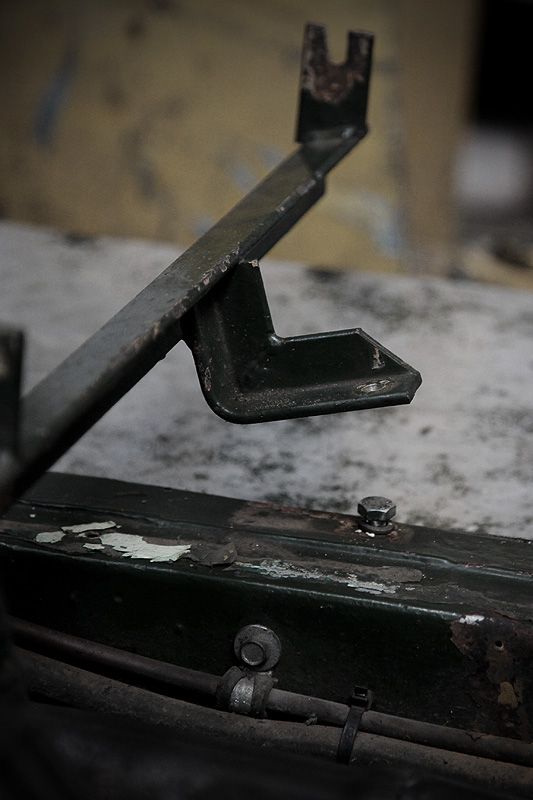 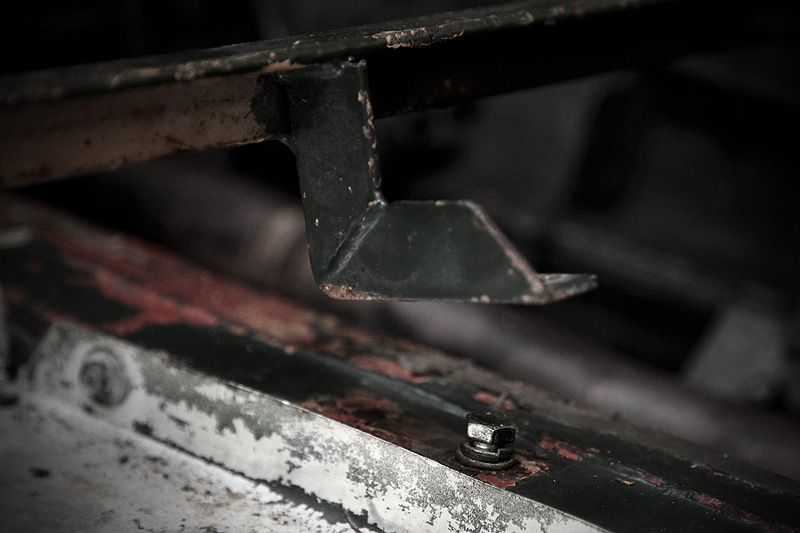 The inner mount brackets were quite a way off too (no surprises there) 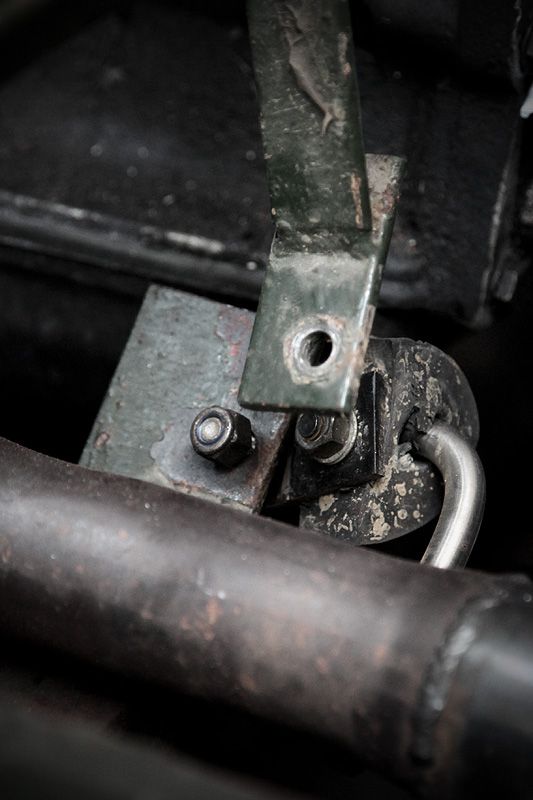 All that was with the cross brace resting on the gearbox. Obviously it would need to be even higher to give some clearance. 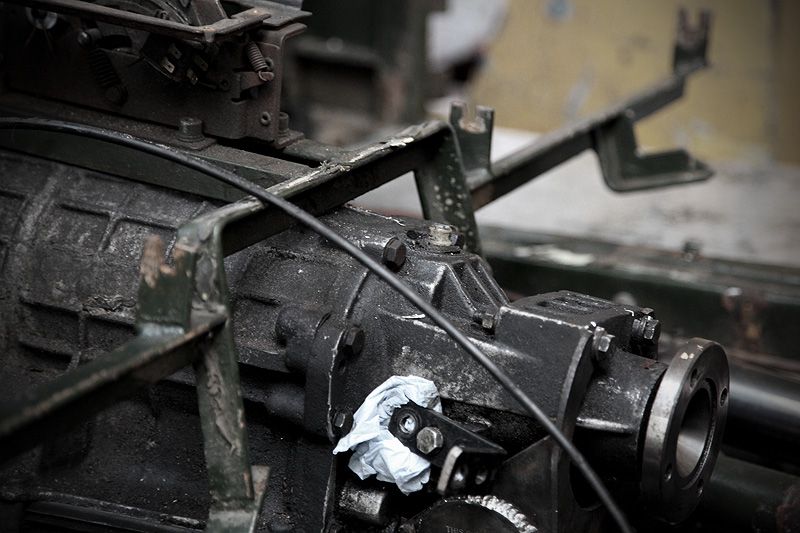 This is the cross brace complete. Whatever I do, the outer and inner mounts will have to stay in the correct place otherwise the seats will never fit 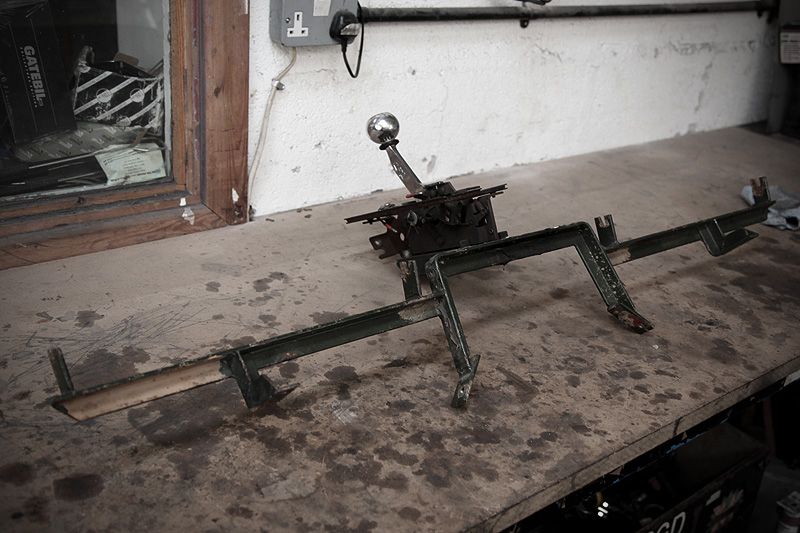 I made the simple decision to cut the upper part of the middle section off ust below the corners and add some angle section in there to effectively raise the middle section up. 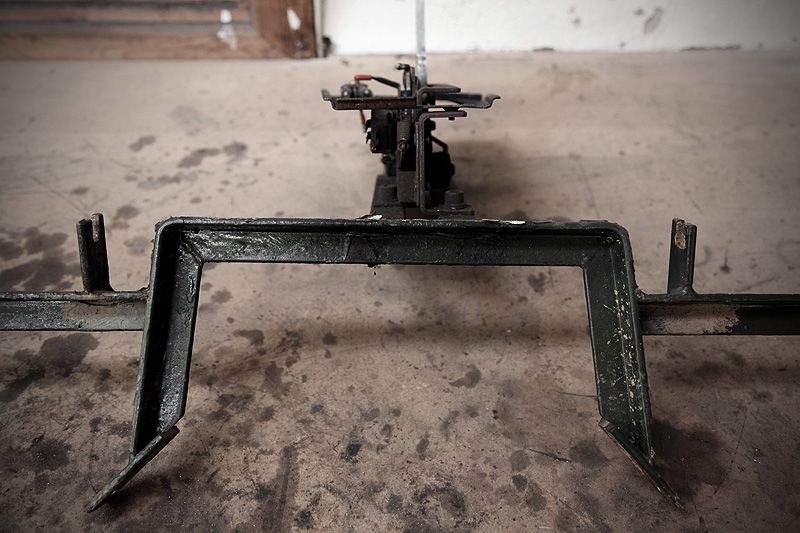 I also wanted to do something with the way the shifter was mounted because it sat very high on the transmission tunnel anyway. Now with the taller gearbox, it was going to stick up even further. Something has to be done... 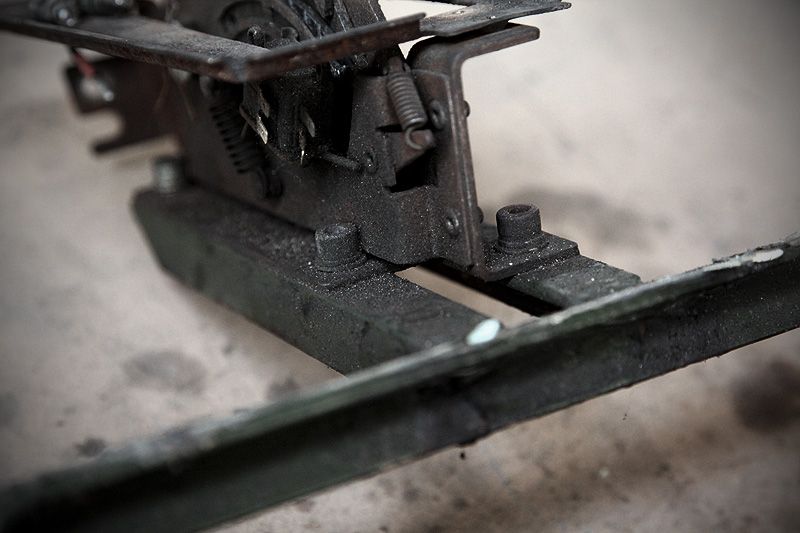 Shifter removed, it's time to get the grinder out 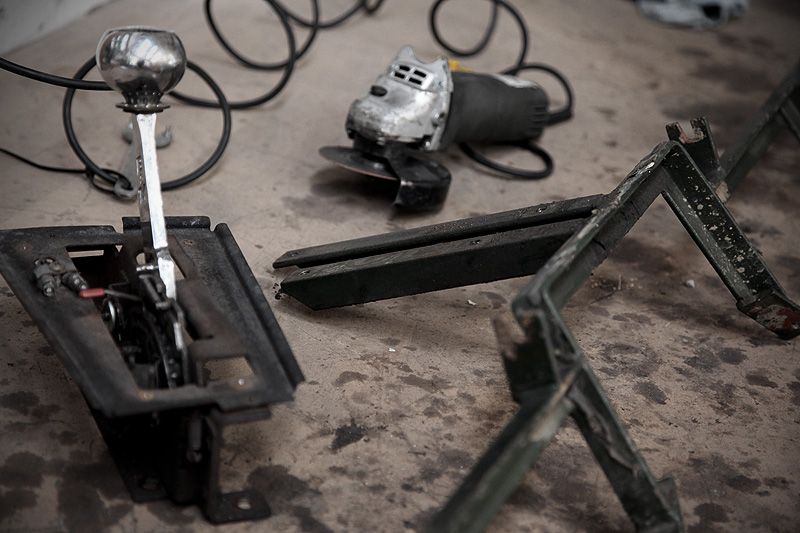 Middle section cut off just below the corners and also the shifter brackets cut off so that I have room to try out other arrangements. 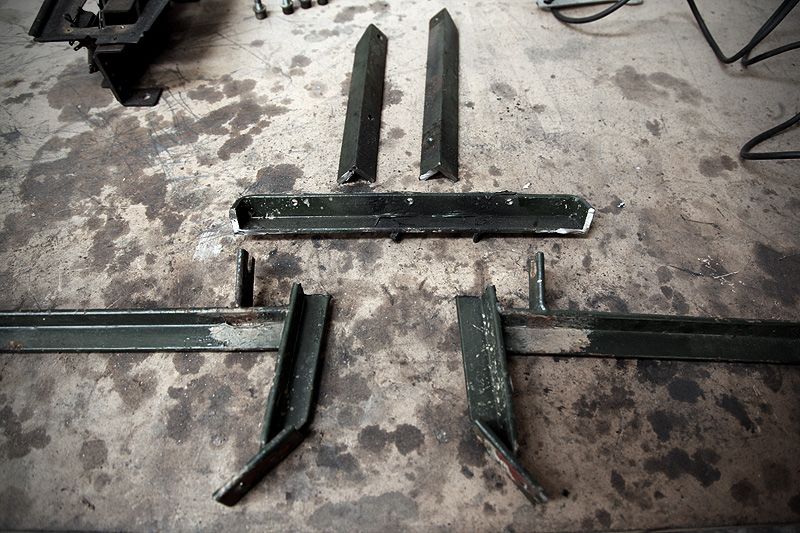 It was about this time Pollitt arrived.... |
| |
|
|
|
|
|
|
|
|
|
With the cross brace chopped up I balance the centre section on a socket. I figure it is 'enough' spacing to clear any movement on the gearbox. 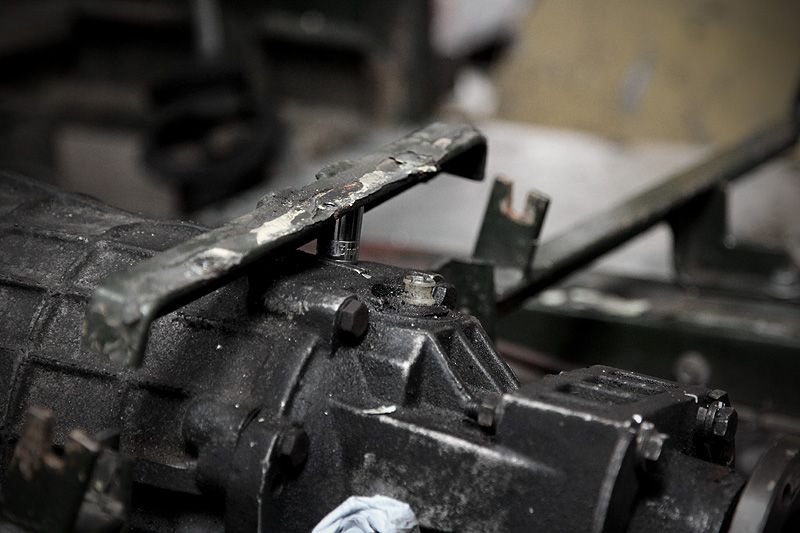 The gap I have to fill 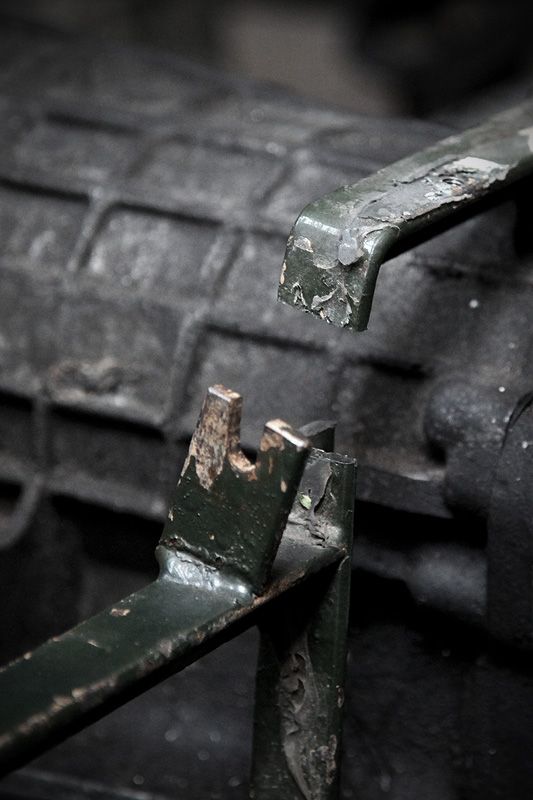 Luckily I have some of the same size angle in the racking, so quickly chopped and inserted into place. 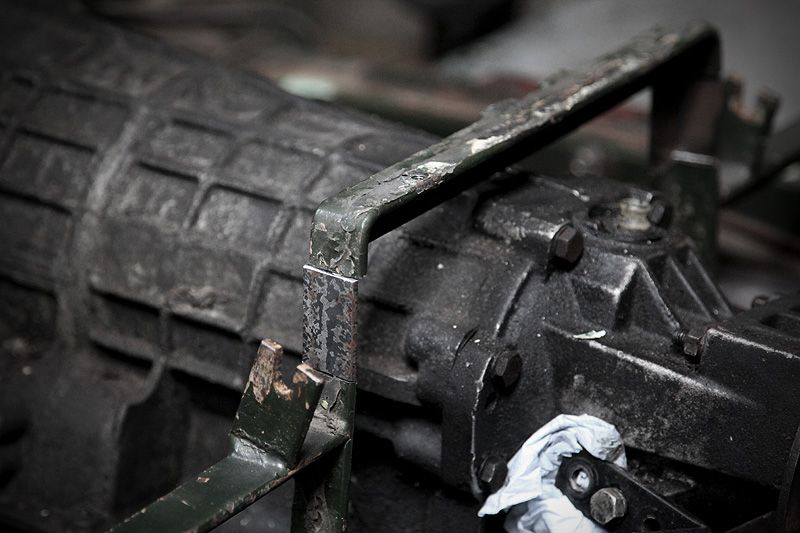 I tack the inserts to the lower parts of the brace 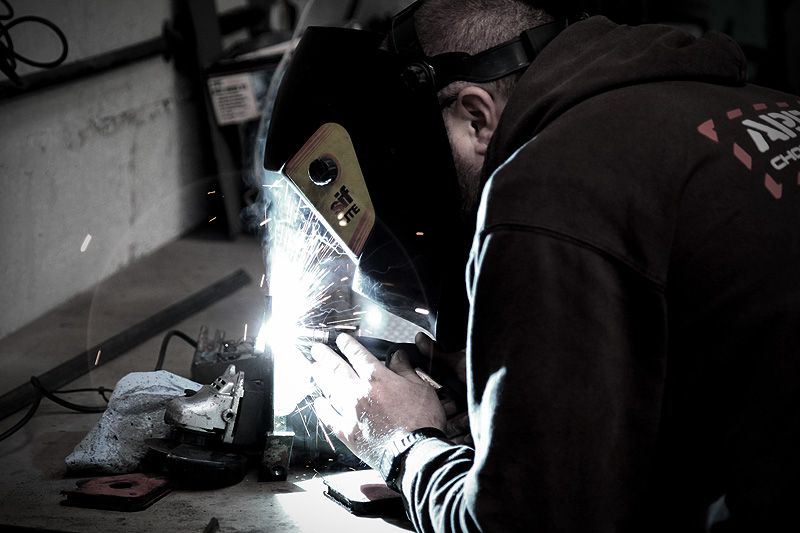 Pollitt does the rest (he LOVES to weld!) 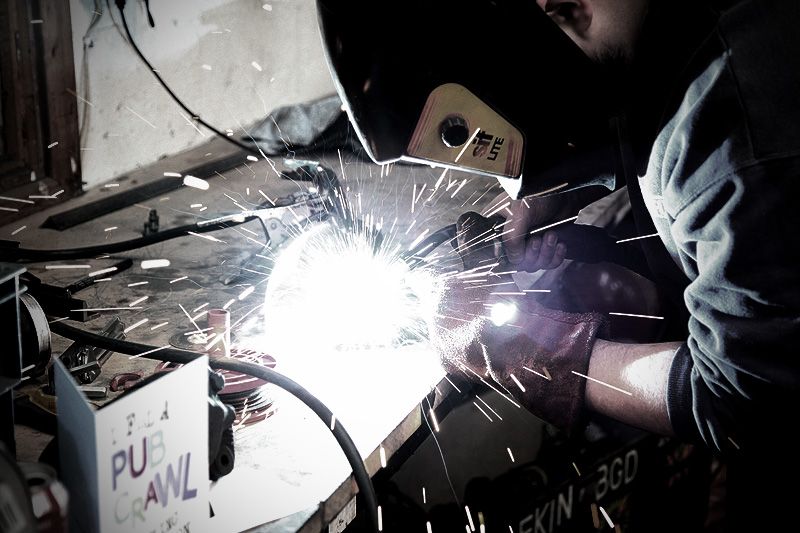 Bolted back into the car and the centre section put in place... 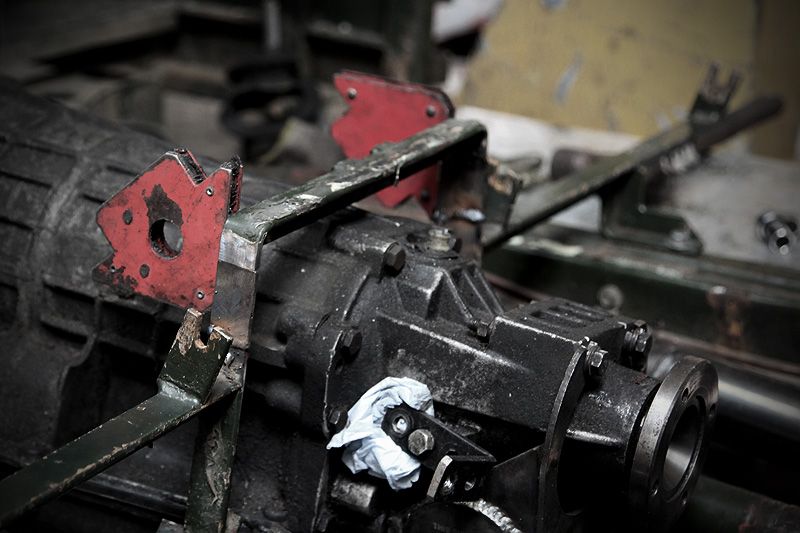 ...I get it all stitched back together. 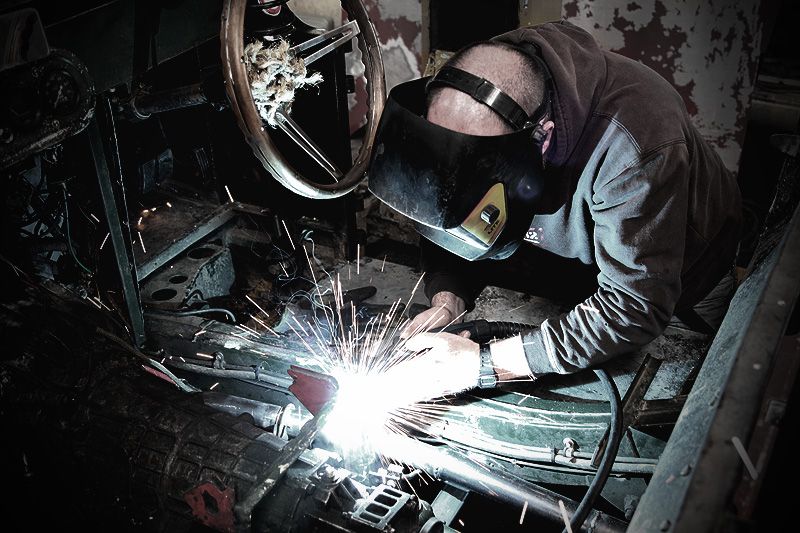 With the cross brace 'done', I fit the original floor sections and realise they are now a long way off fitting (they used to come a decent amount above the greabox!) 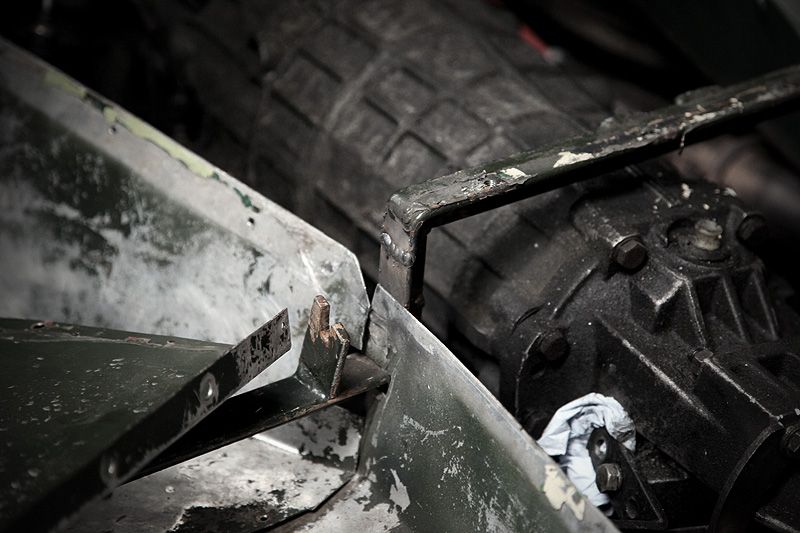 It was about this time Dave (Butterz) arrives. |
| |
|
|
|
|
|
|
|
This shot gives some idea of how much higher the new transmission sits....the bellhousing on the Borg Warner was below the level of the tranny tunnel sides. Time to rethink the transmission tunnel. I knew this was coming and it was good to see just how much this rethink of the tunnel was needed....it's not like I could get away with bending things a few mm's 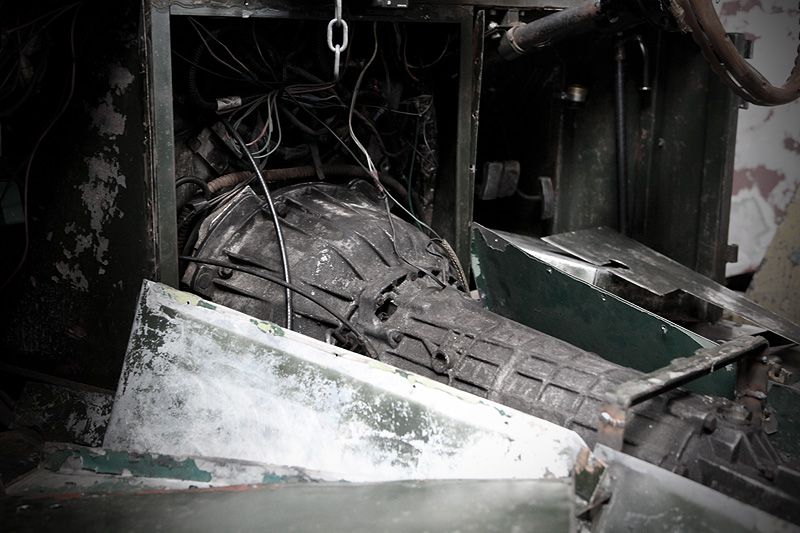 Dave & Chris start measuring the basic dimensions 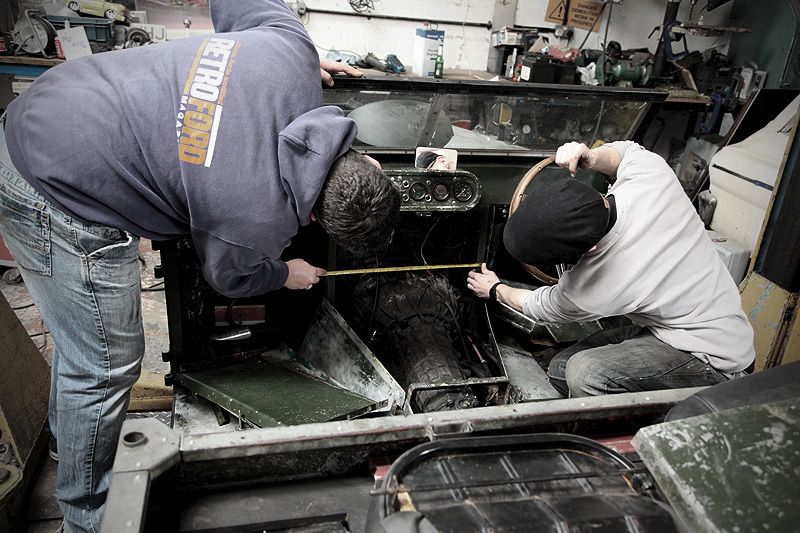 There is quite a chunk of the evening that is missing from these pics, but at some point Dave heads off and Rob (Rustempire) arrives to collect some MX5 bits. We get some more bits done then munch on fish & chips (Good Friday remember) then I give Rob the welder to melt some metal together. "You're going to let me loose on the bits for the car without any practice?" In at the deepend and all that.... 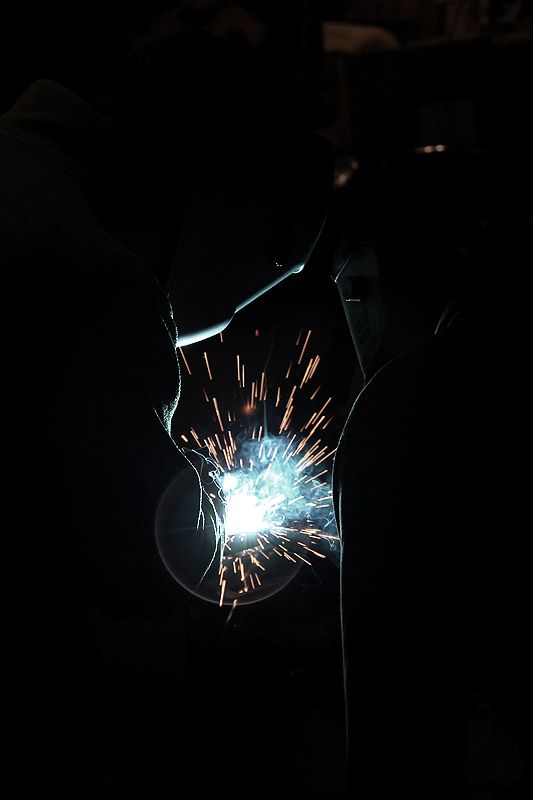 Despite his initial concern, he grasps it very quickly and is soon turning out some pretty damn good welds. 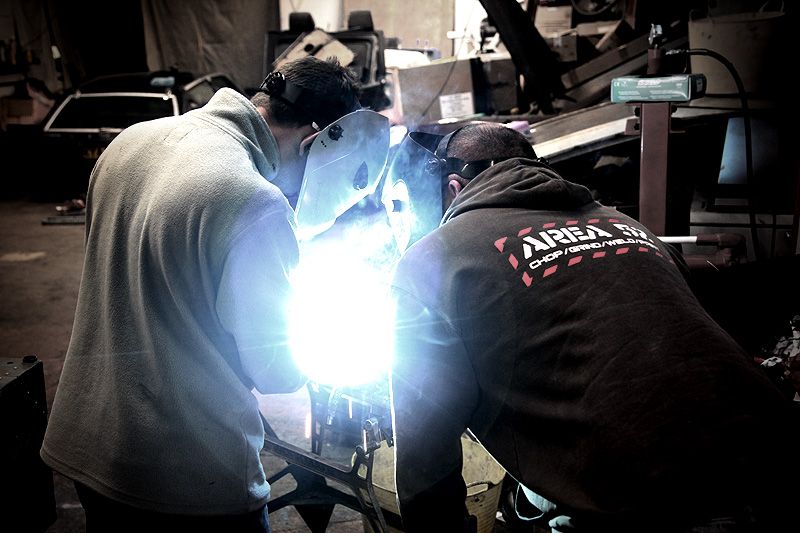 It doesn't look much, but it took a fair bit of measuring and double checking, but the frame for the tranny tunnel is really starting to take shape. The original set-up didn't have any kind of frame and was a bit flimsy/rattly, so I saw the new gearbox as a good opportunity to rethink the the whole set-up. The frame is removeable because this is the only place that the gearbox can come out if it needs to. Future access and removability are paramount. 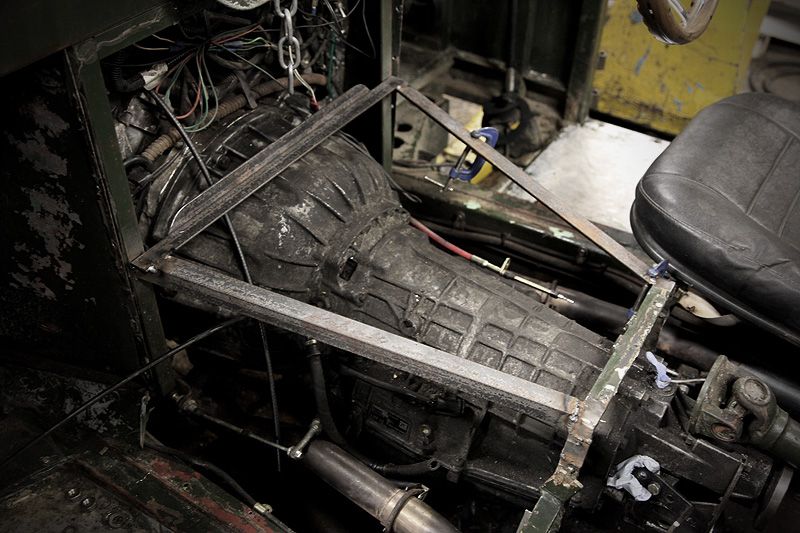 This is when the beer starts flowing pretty well....it's Pollitts birthday afterall. ;D |
| |
|
|
|
|
|
|
|
Talking of Pollitt, while discussing the location of the shifter, how high is sat previously and how much higher it was going to sit with the new set-up, he came up with a genius idea.....nestle it into the space to the side of the gearbox. We offered it up and suddenly a plan was hatched. Space to the side of the 'box is tight, but the shifter 'just' fits. Some creativity and LOTS of measurements will be needed to get it located *right* without fouling the gearbox or protruding above the transmission tunnel. We got to work with the tape measure.....and lots of checking, double checking. Eventually a small frame was formed, welded together, drilled and tapped for the mounting of the shifter and offered up 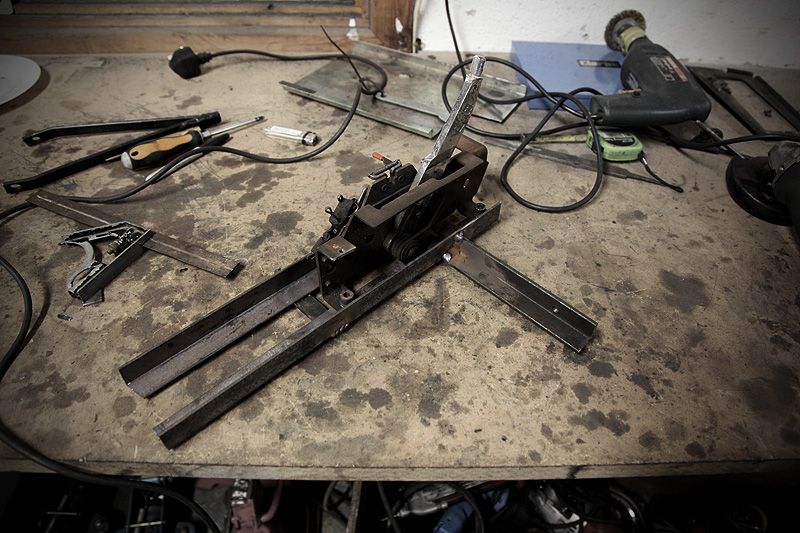 In principal it fitted but there was a long way to go in order for it to fit how I wanted it. Time to get grinding 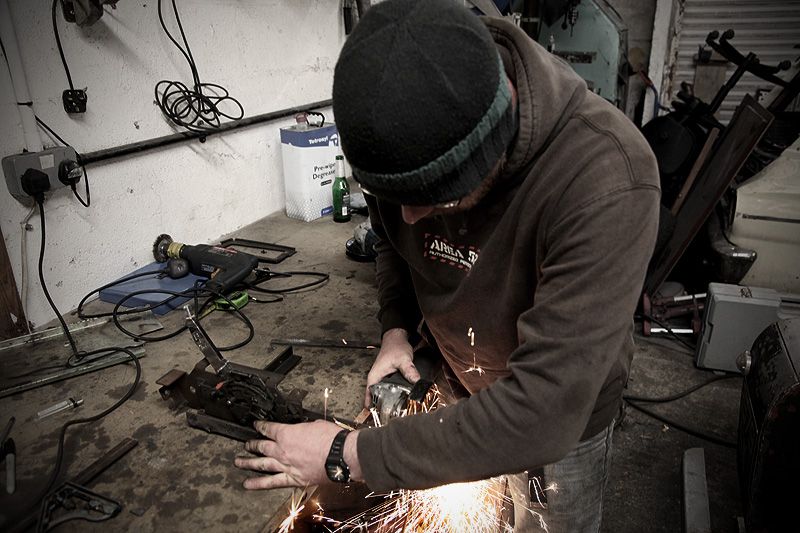 Lots and LOTS of careful measuring and some chopping, measuring, chopping and measuring later things were getting closer to having some clearance. It took a good few hours to get to the point when I made this little piece...this is where things started to come together.. 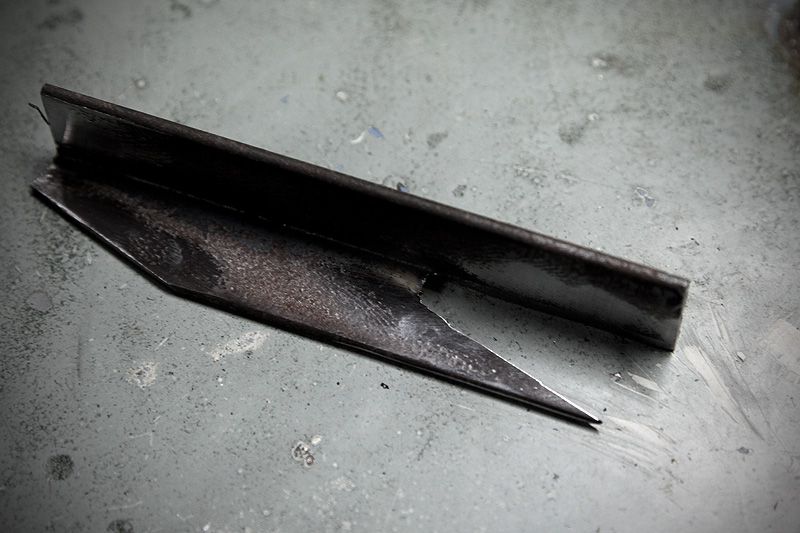 Clearance was pretty much sorted and everything fitted pretty well by this point. Time to get it welded together. It might not look much, but it did take a LOT of work to get to this stage. If the clearance wasn't so critical it would have been a lot easier...especially if I hadn't decided that the shifter had to sit below the top of the transmission tunnel. No compromise. 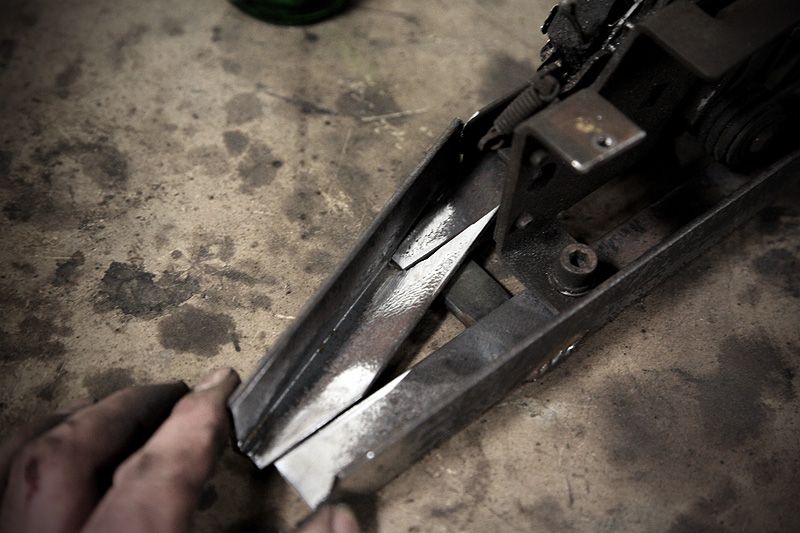 Welded into place...this was it, the basic design. The final tweaks could wait until morning....we'd worked a long day and night to get this far (you might not think to look at it, but it was a fair bit of work to get to this stage!) 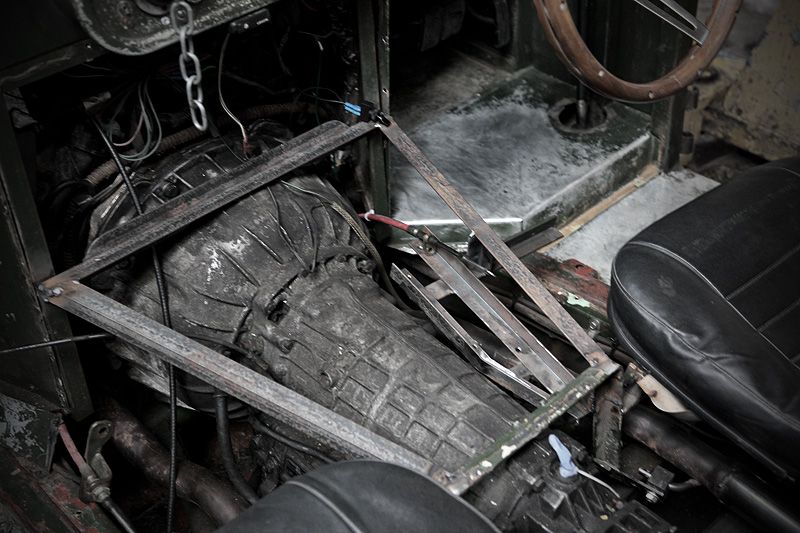 Making the cross brace and basic tunnel frame (front half) was fairly straightforward but the shifter bracket/frame took a LOT of thinking, measuring and modifying. The only thing left to do at this point was to add some more support/strength in on the forward/backward plane without interfering with the fitting and function of the shift cable. Easier said than done, but I had an idea for that. It was gone 2am...time to relax and hit more beers. Progress had been good and I was over the moon with the new location for the shifter. 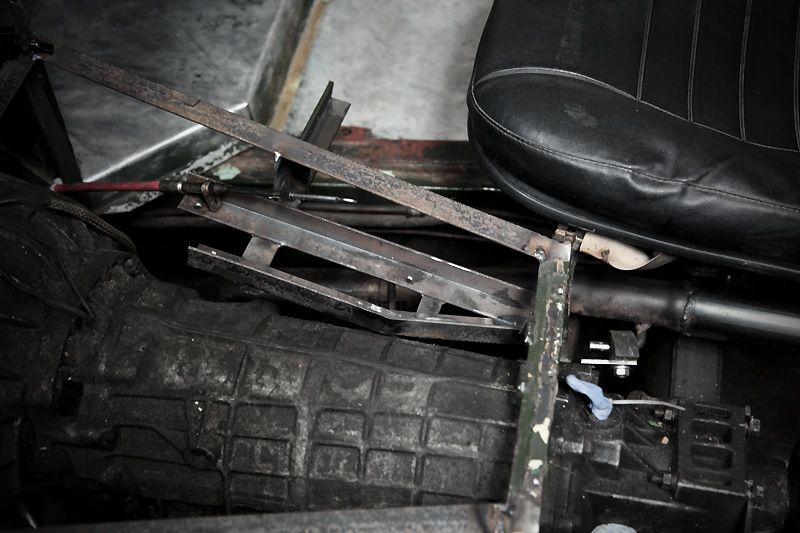 Next up....BEERS!! |
| |
|
|
Brigsy
Part of things
 
Posts: 617
|
|
|
|
|
Awesome work. From the first time i seen this ive always thought it looks so right!
|
| |
|
|
|
|
|
|
|
|
Excellent work.
I'll be honest, when you said that some changes were planned, I was more than a bit worried, that landy has become so iconic that it could so easily be ruined. But everything I've seen so far have been pure improvements, the rear lights look fantastic! And transform the rear end. And the 'box should transform the way it drives, leading to it getting used a lot more which can only be a good thing. ;D
Just one more thing, you need to work quicker! Or at least more constantly! Updates every weekend just ain't good enough. I'm getting withdrawal symptoms by Tuesday!
|
| |
Remember the days when sex was safe and motorsport was dangerous. Vintage bling always attracts pussy.  |
|
|
|
|
|
|
|
And then.....
Loving the updates. I'd love to get over to you dude, just to be able to put my hand to something on this machine however slight my effort may be. A much needed catch up is required too
|
| |
Club Retro Rides Member
|
|
RA40tony
Europe
Rollin' rollin' rollin'
Posts: 768
|
|
|
|
Just one more thing, you need to work quicker! Or at least more constantly! Updates every weekend just ain't good enough. I'm getting withdrawal symptoms by Tuesday! What he said!!! ;D Great job, looking forward to seeing it finished, and who know's maybe seeing it in the flesh the next time I'm in the UK. |
| |
1979 Toyota Celica GT. Currently Gone.
1975 Toyota Celica ST. 13x7 Allycats, "the stick" applied. 100kW 4AGE... Sold
1963 Karmann Ghia - Lo & Slo, Sold.
1965 VW Fastback - cruising
1953 Oval Ragtop, work in progress...
|
|
|
|


 [*]
[*] [*]
[*]
 ;D
;D


