jonomisfit
Club Retro Rides Member
Posts: 1,787
Club RR Member Number: 49
|
|
Oct 24, 2015 19:21:36 GMT
|
|
I keep changing my mind. I like simple / plain thought....
Interior is going to be satin black / black with maybe some red & polished metal accenting.
Exterior is going to be satin white with black accenting details.
or black.....
|
| |
|
|
|
|
|
|
|
Oct 24, 2015 19:33:25 GMT
|
Cor this has come a long way since I saw it last! Nice work man  |
| |
|
|
|
|
|
Oct 24, 2015 21:26:29 GMT
|
|
Looks good to me, you know it's going to add strength in the lightest way possible and its going to make it feel more 'special' when you're driving it, stick with them I say.
|
| |
Last Edit: Oct 24, 2015 21:26:24 GMT by spartacus
|
|
jonomisfit
Club Retro Rides Member
Posts: 1,787
Club RR Member Number: 49
|
|
Oct 25, 2015 17:56:49 GMT
|
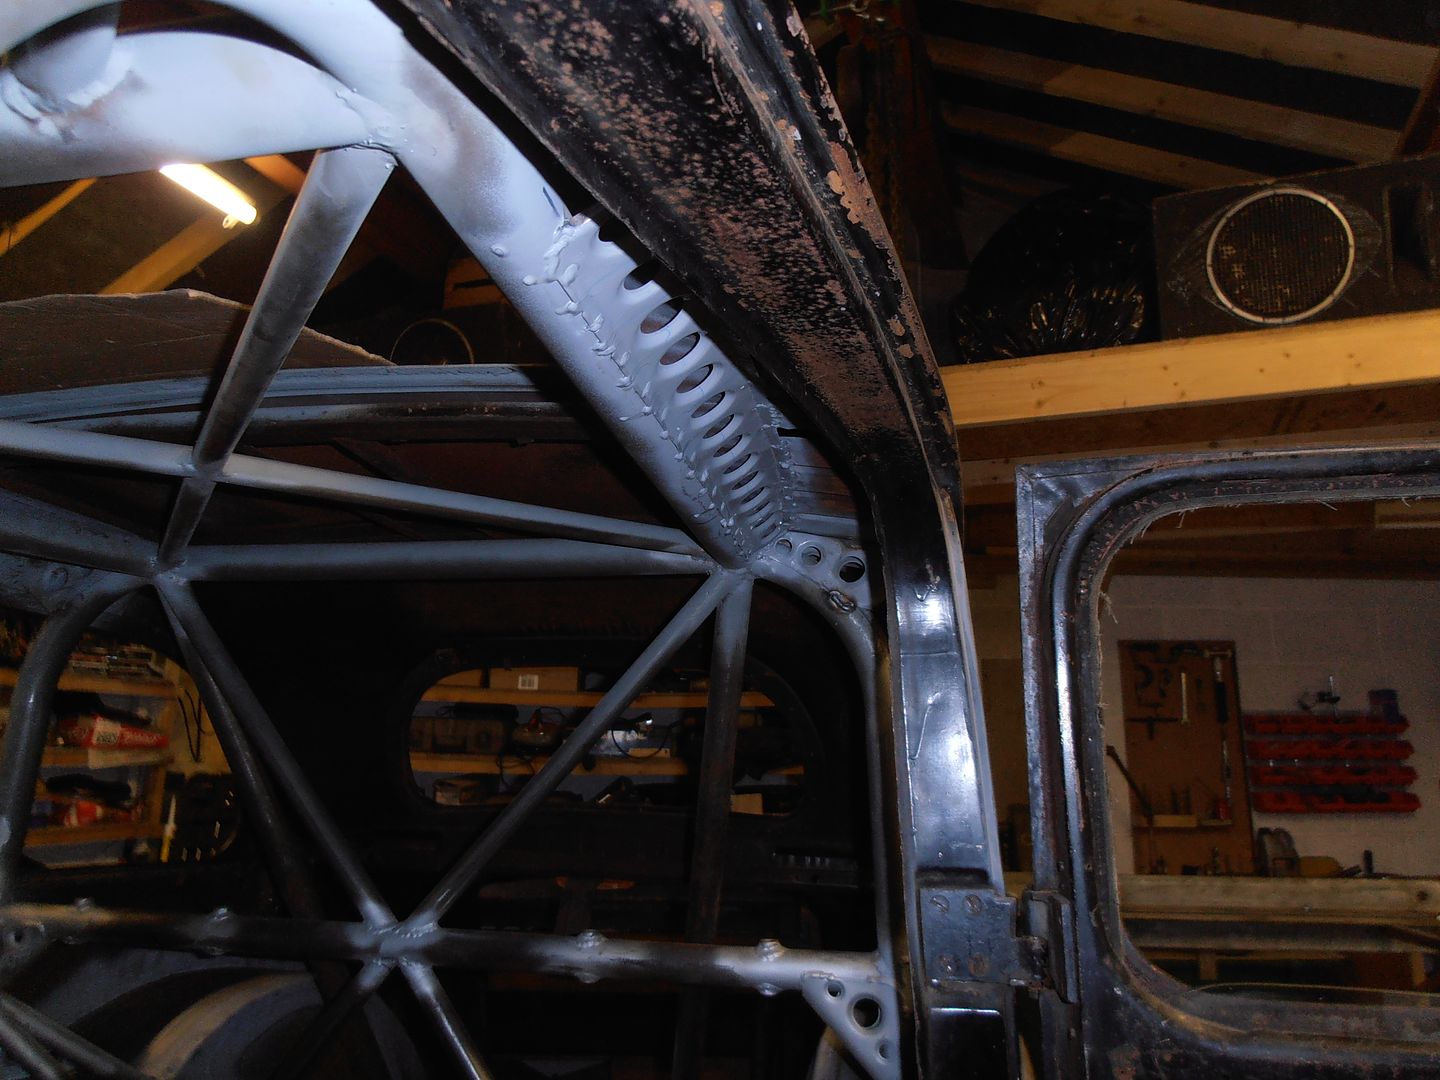
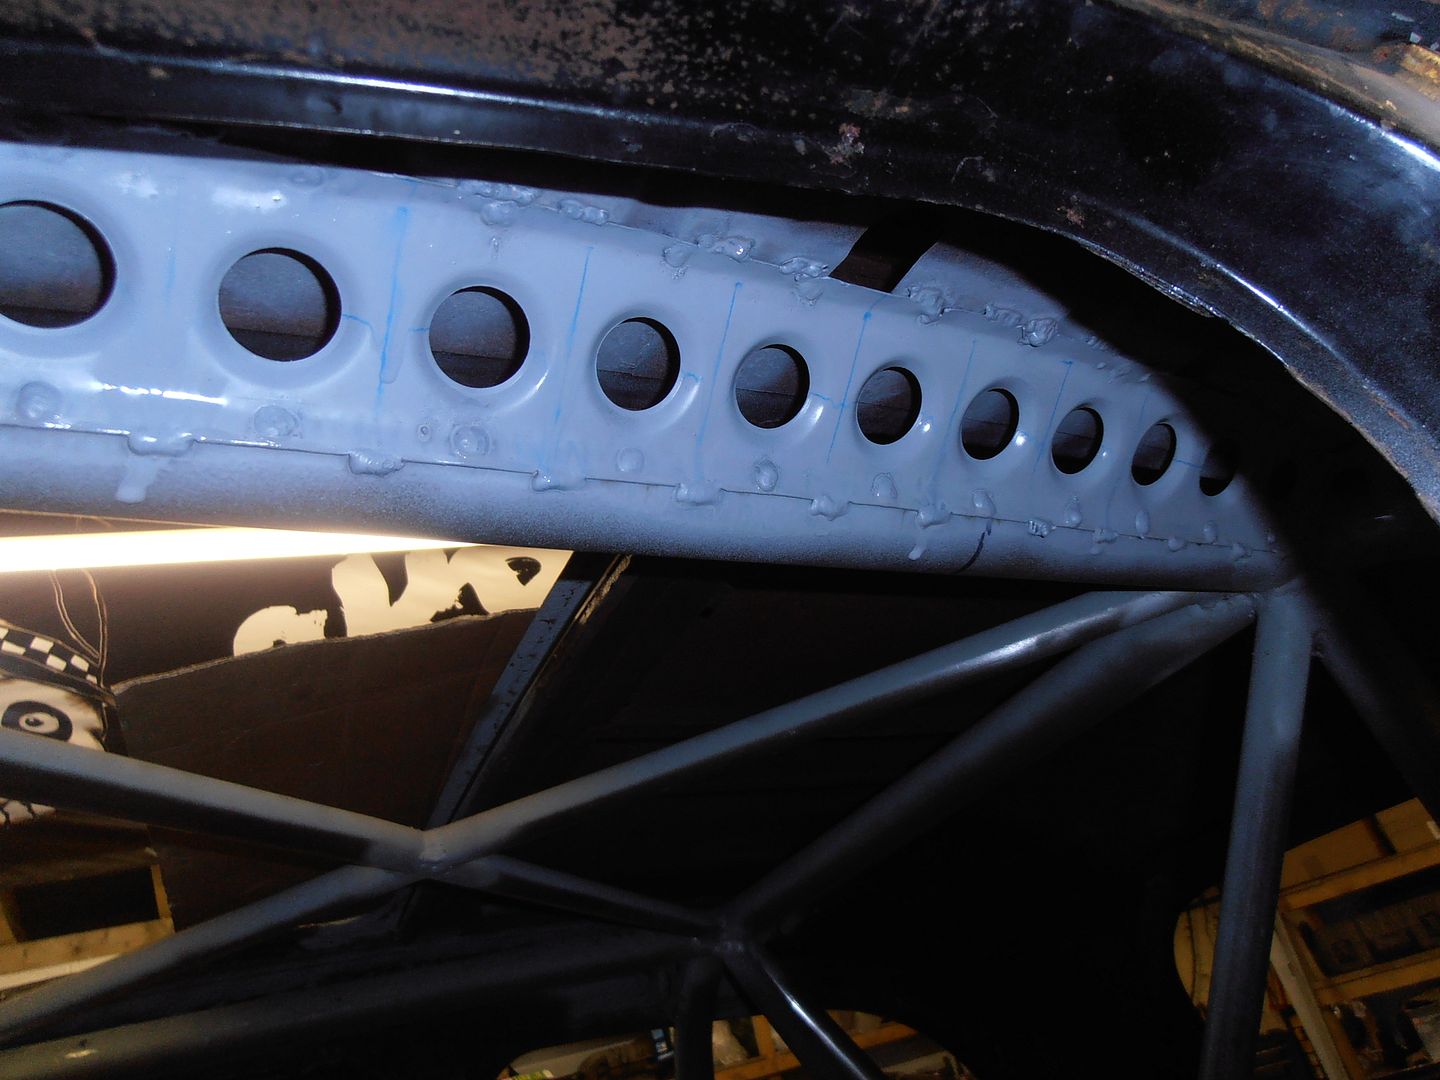
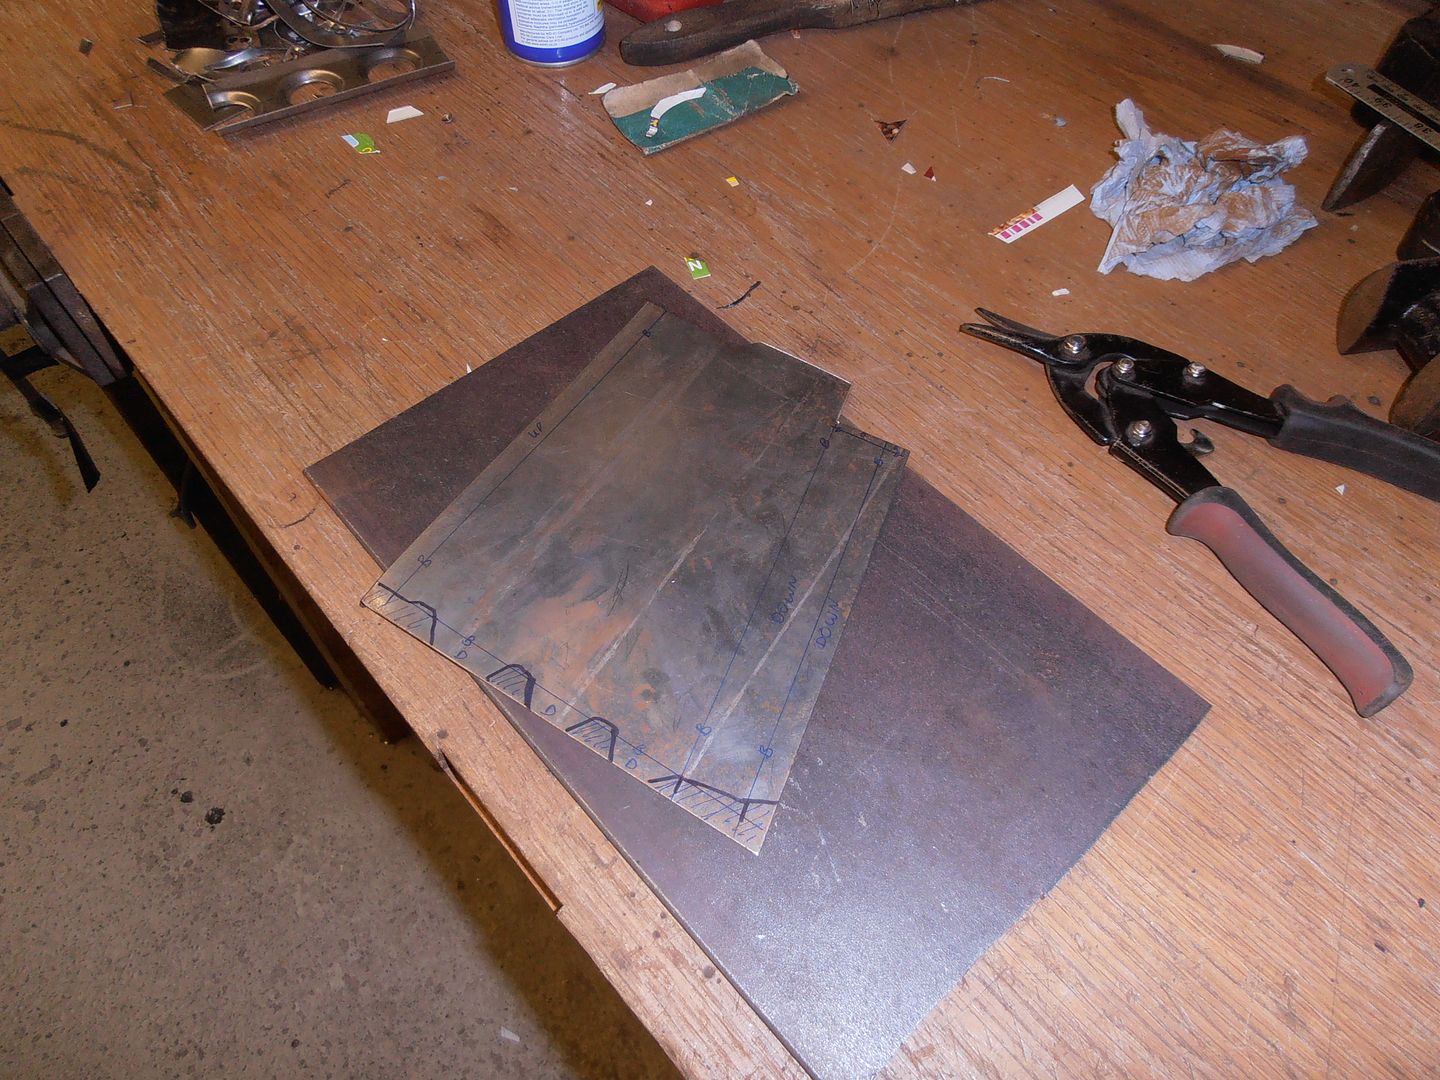
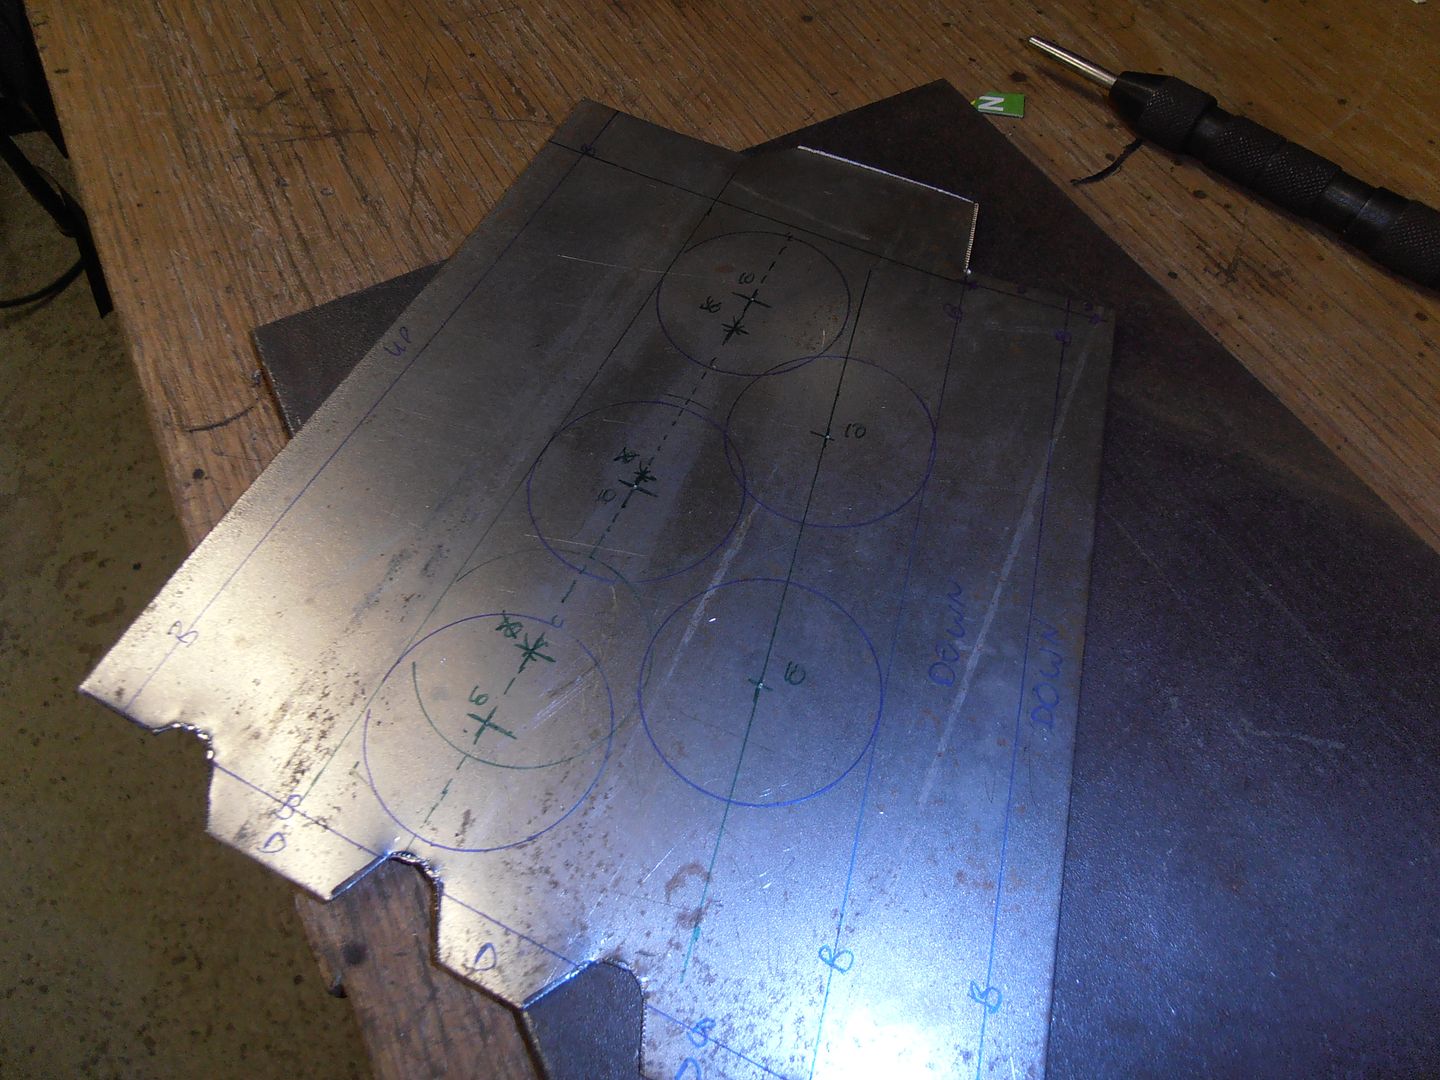
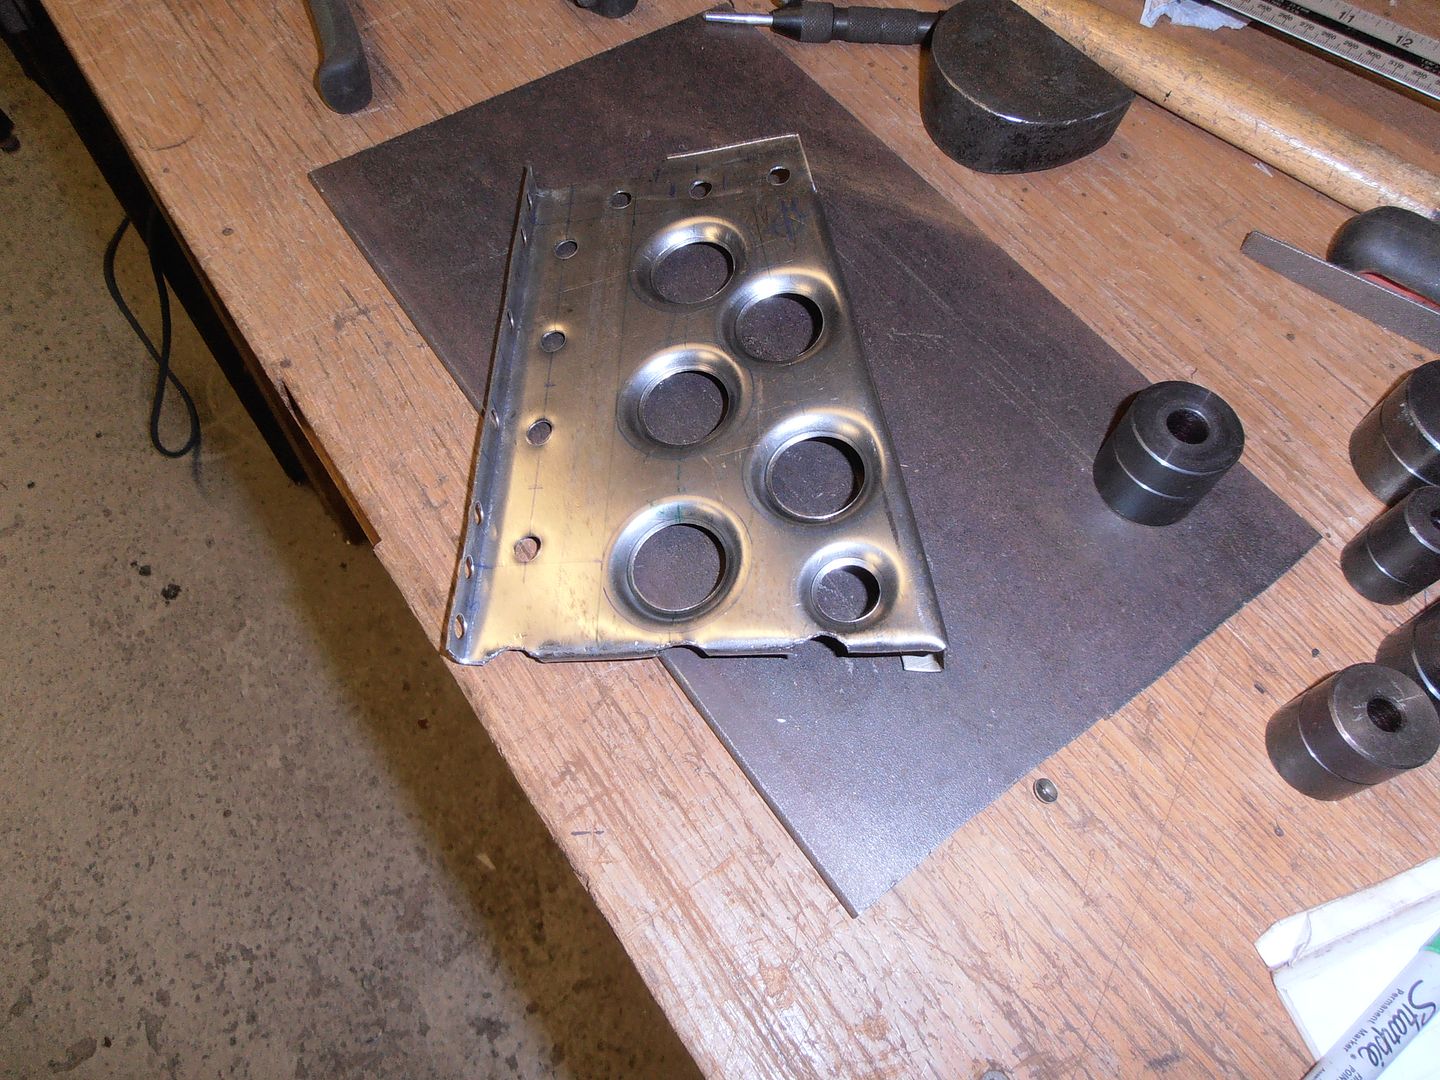
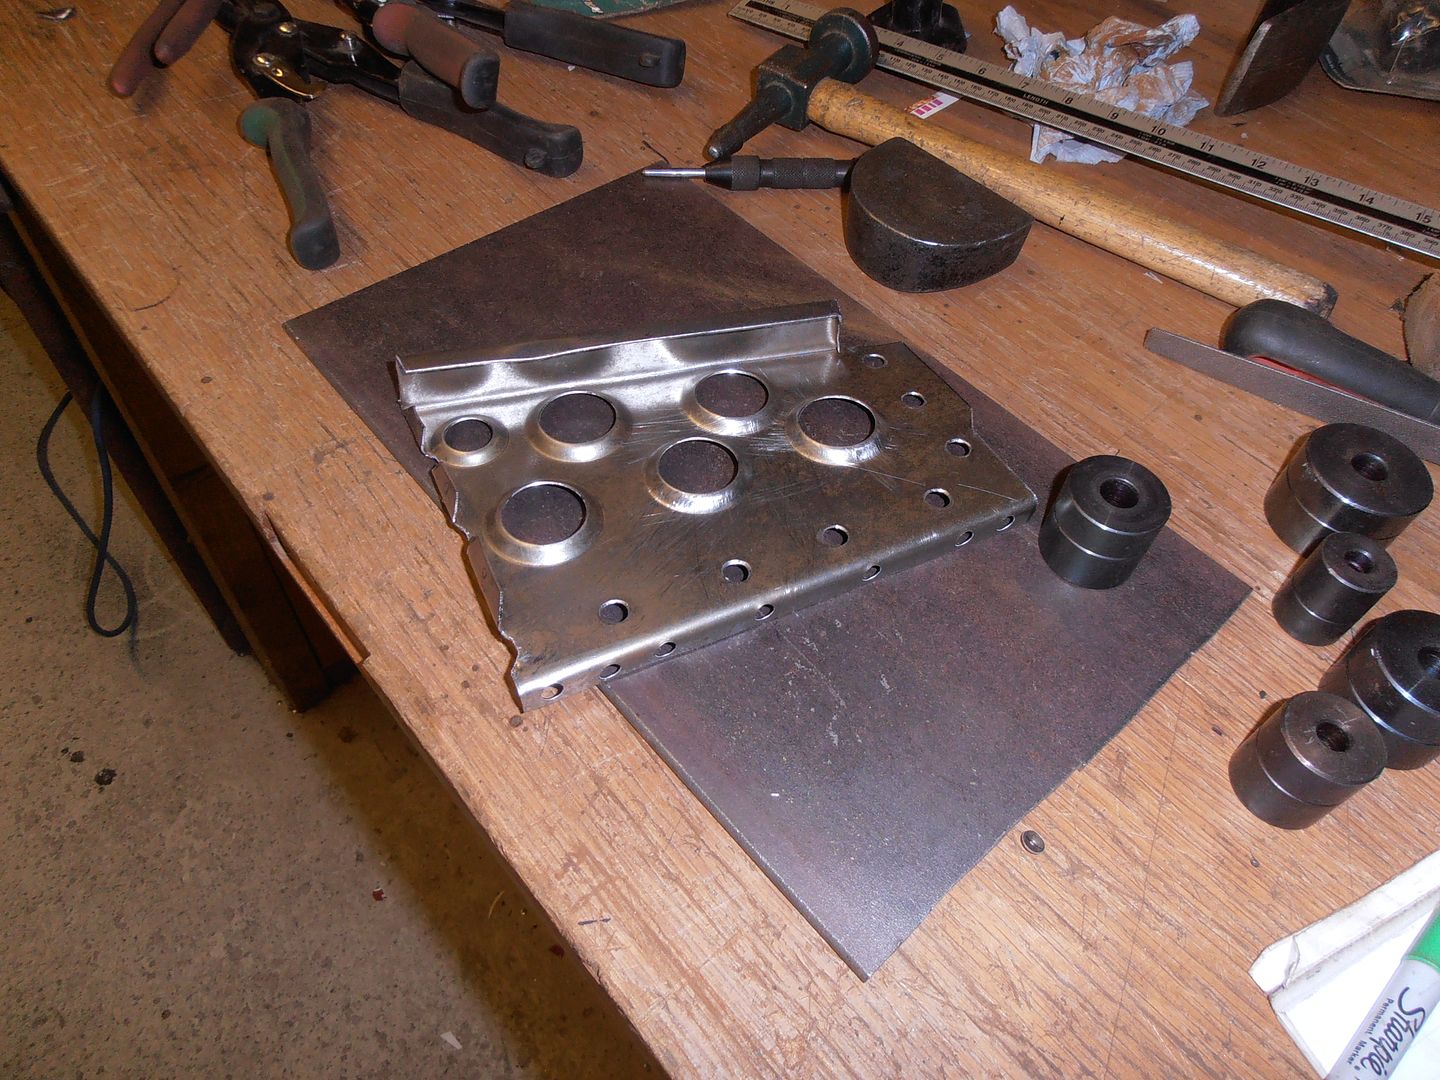
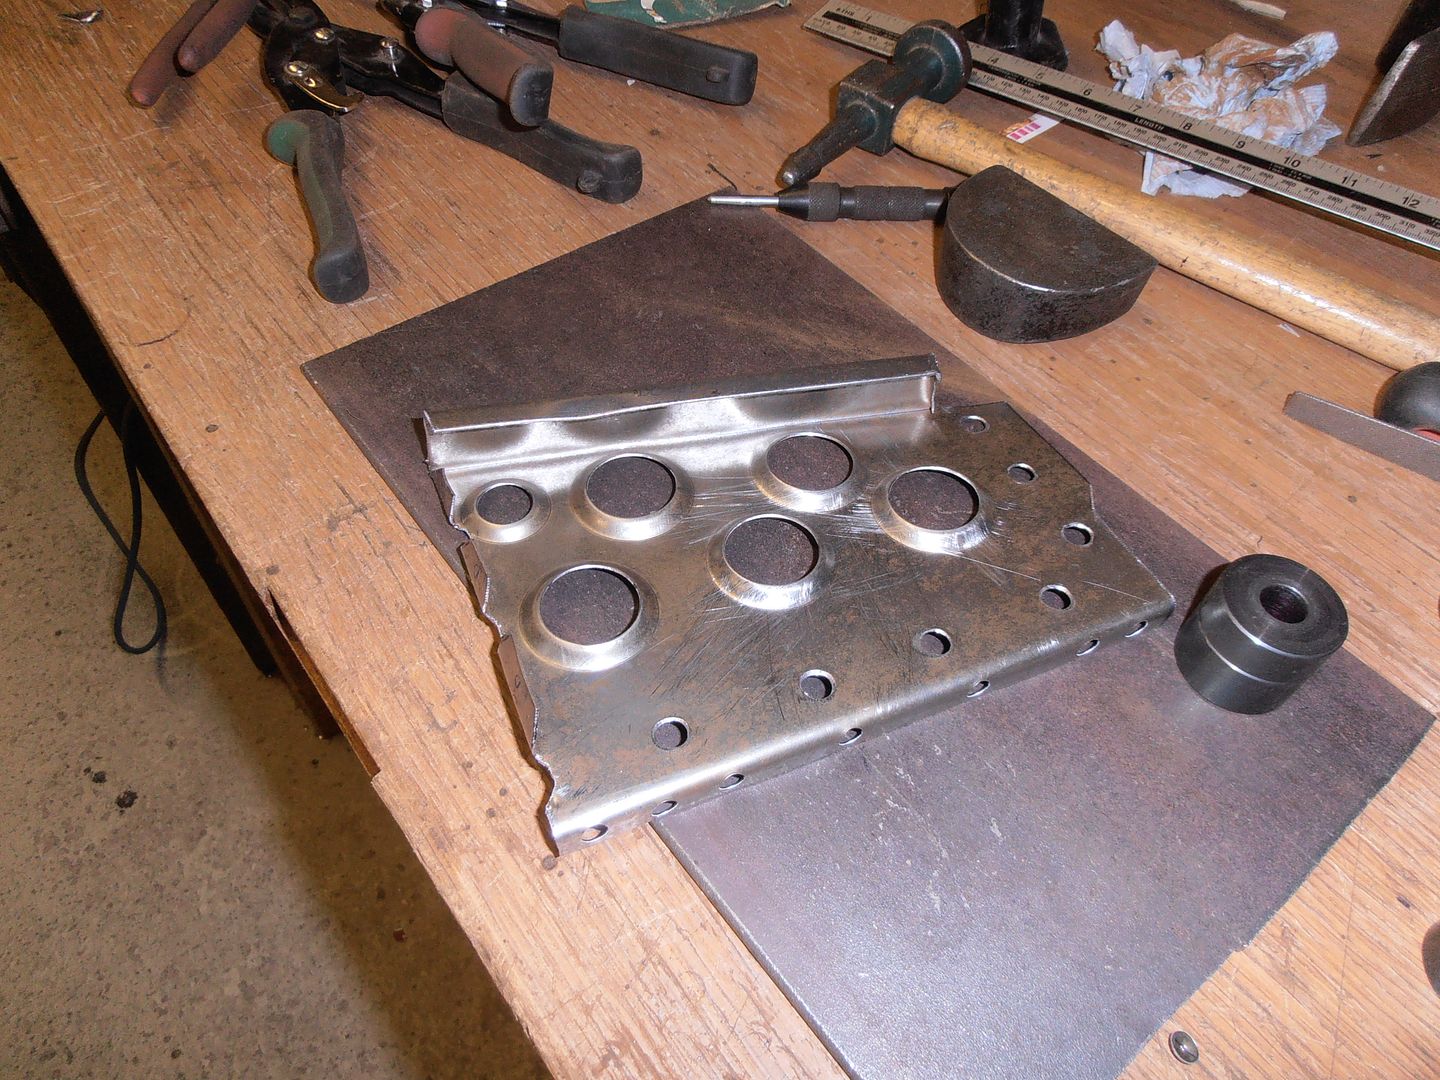
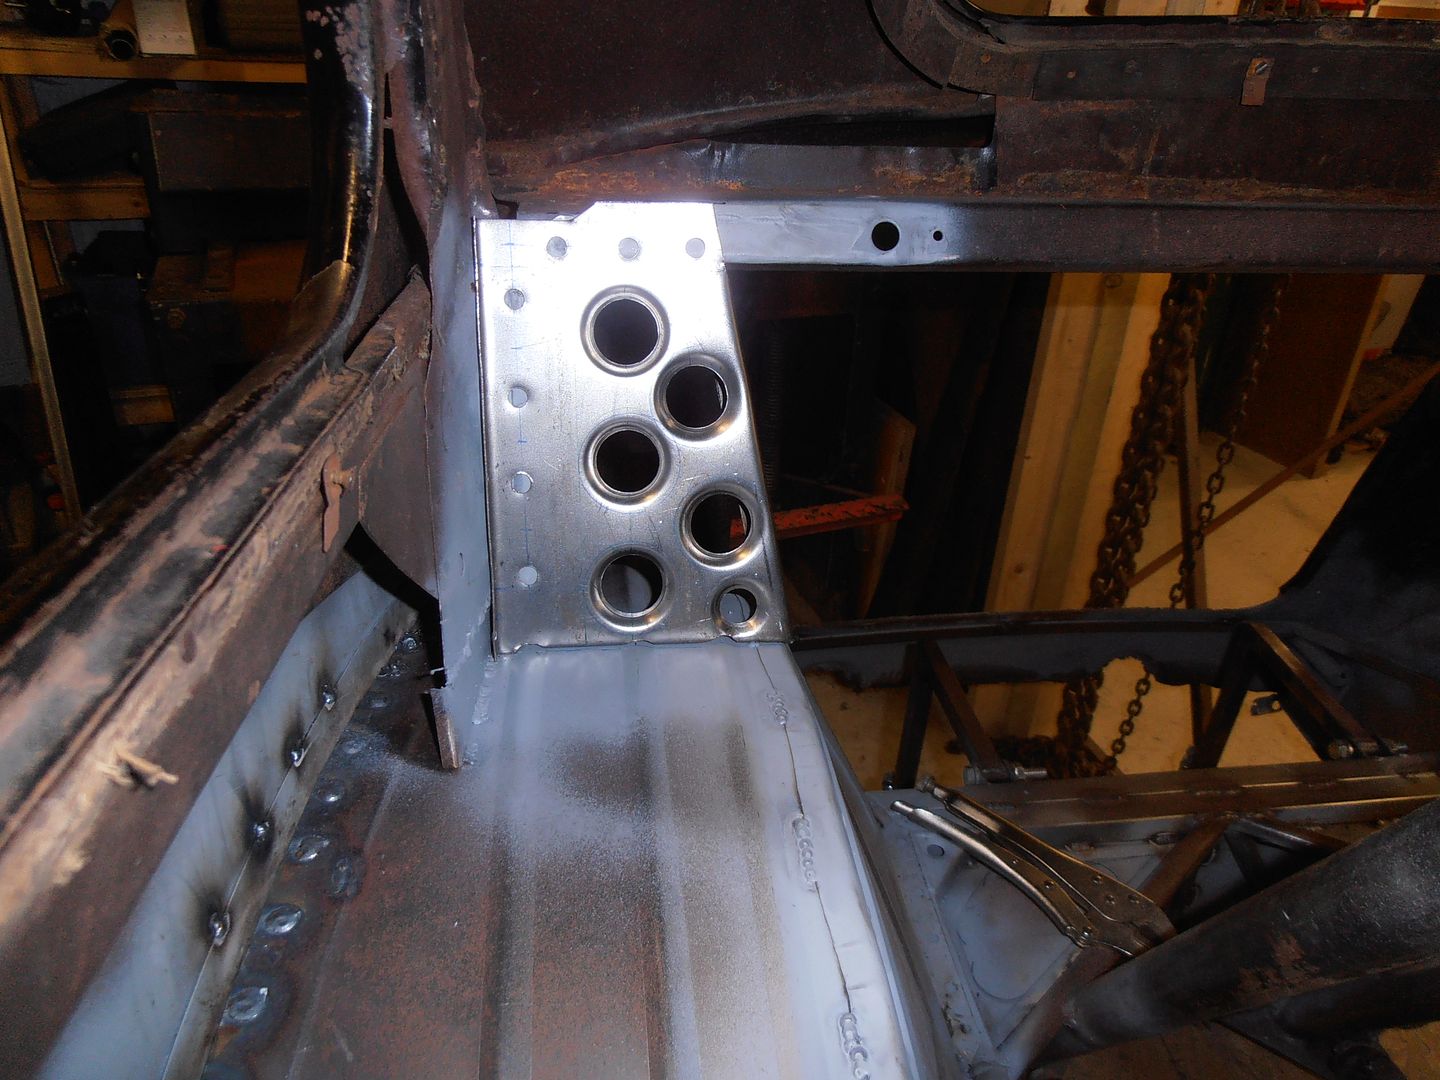
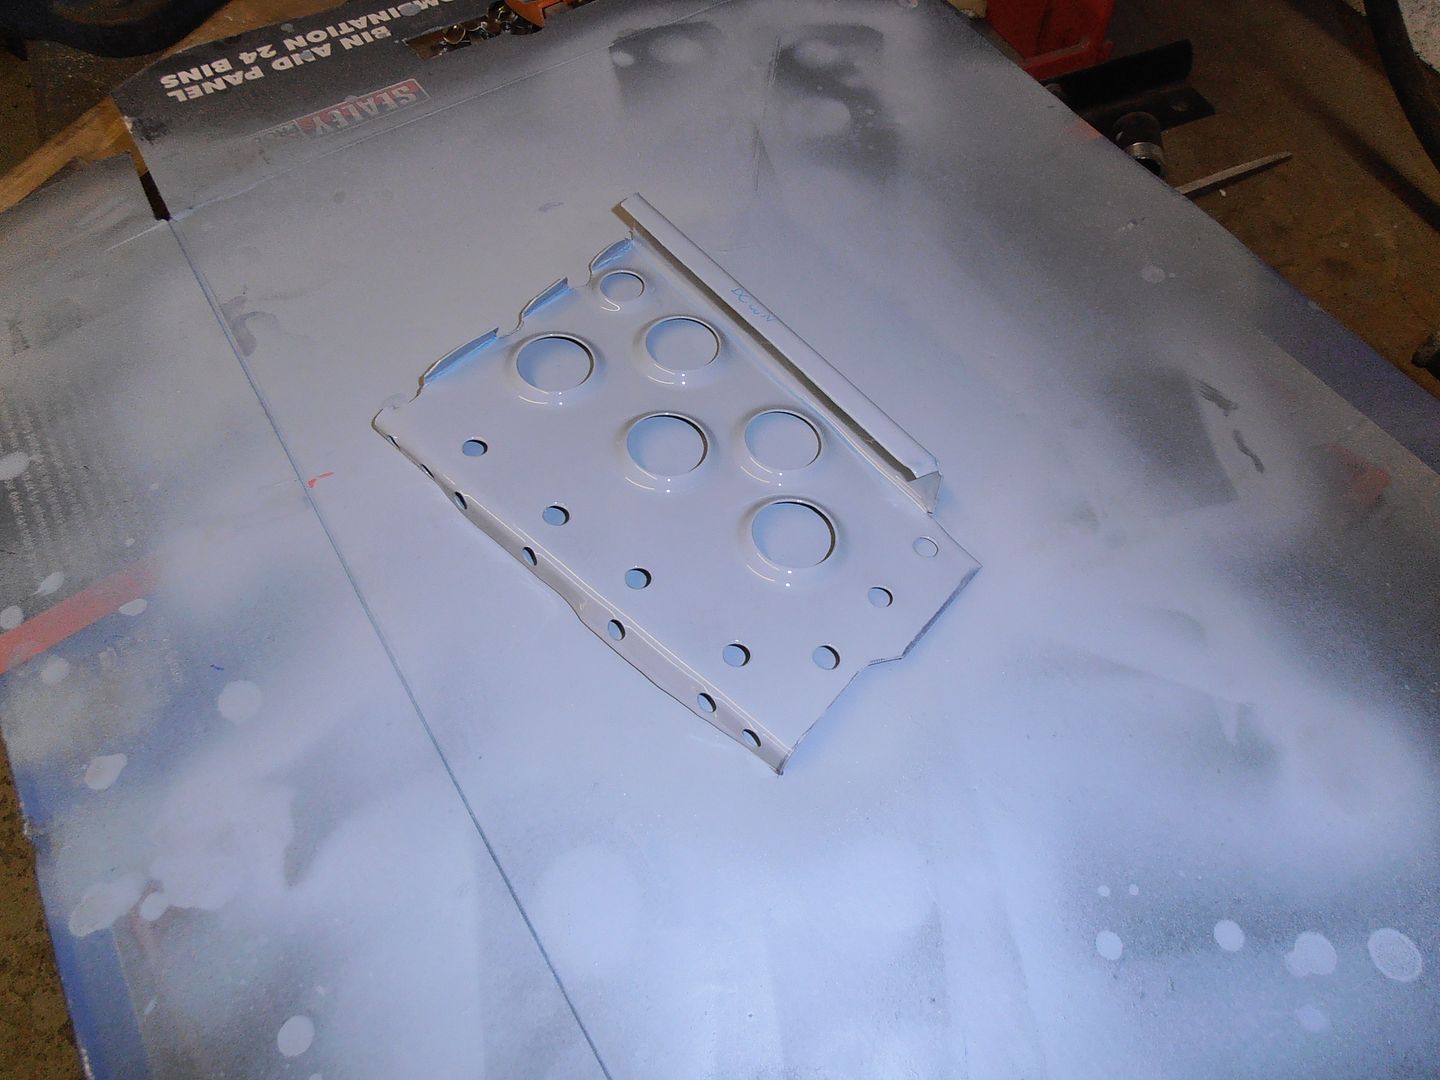
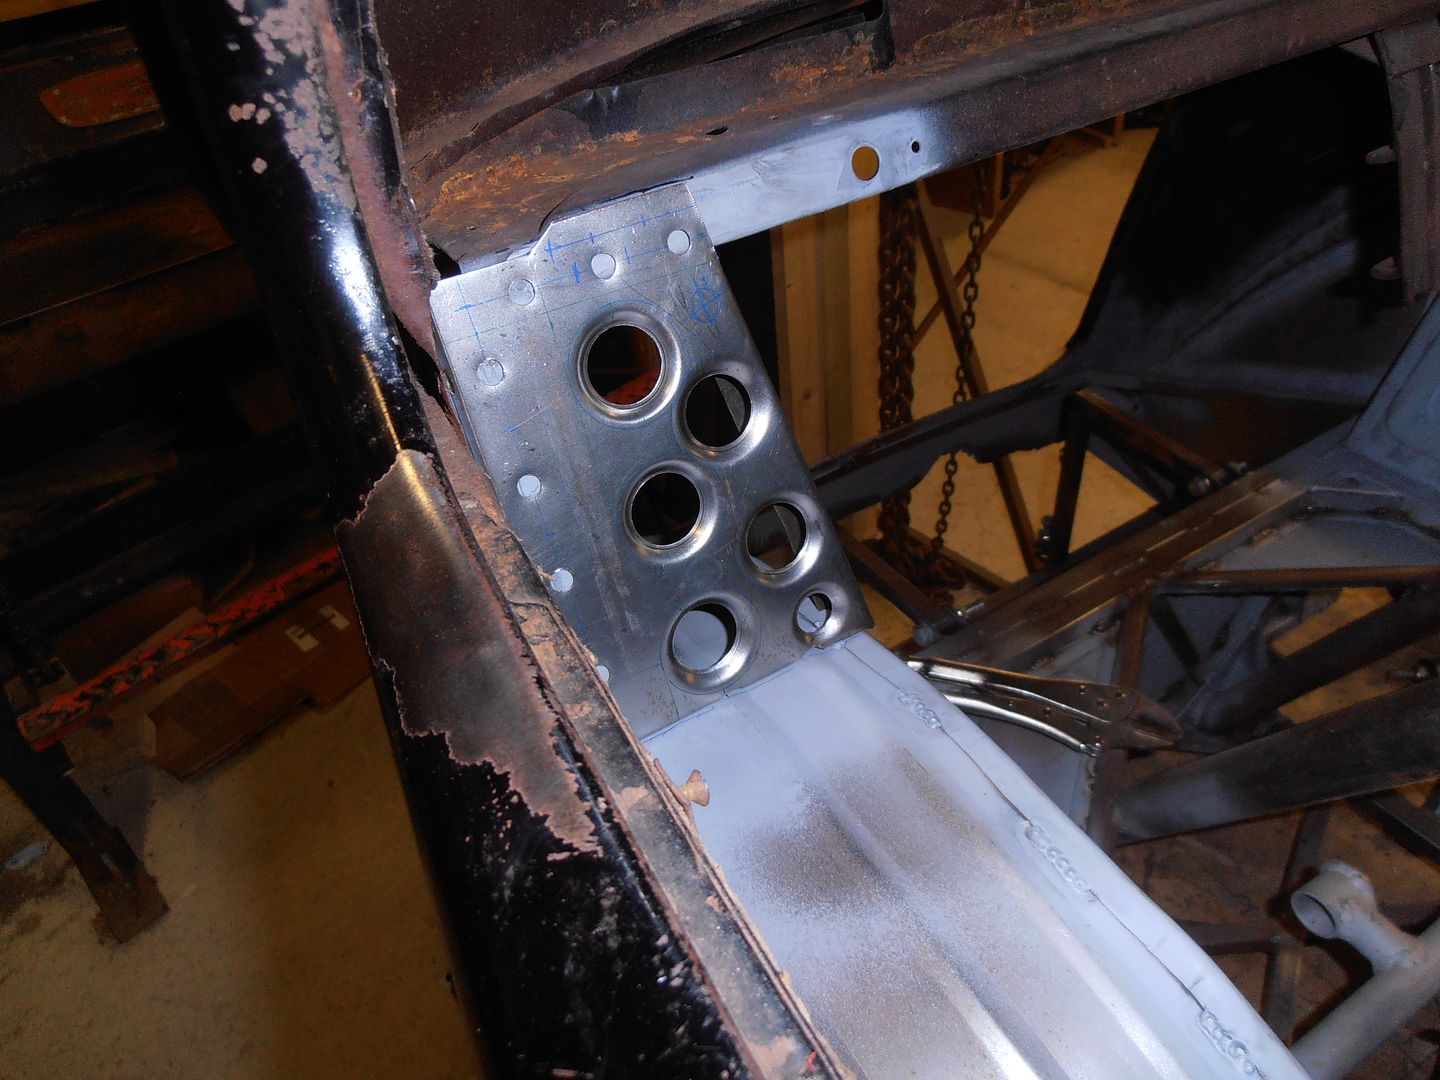
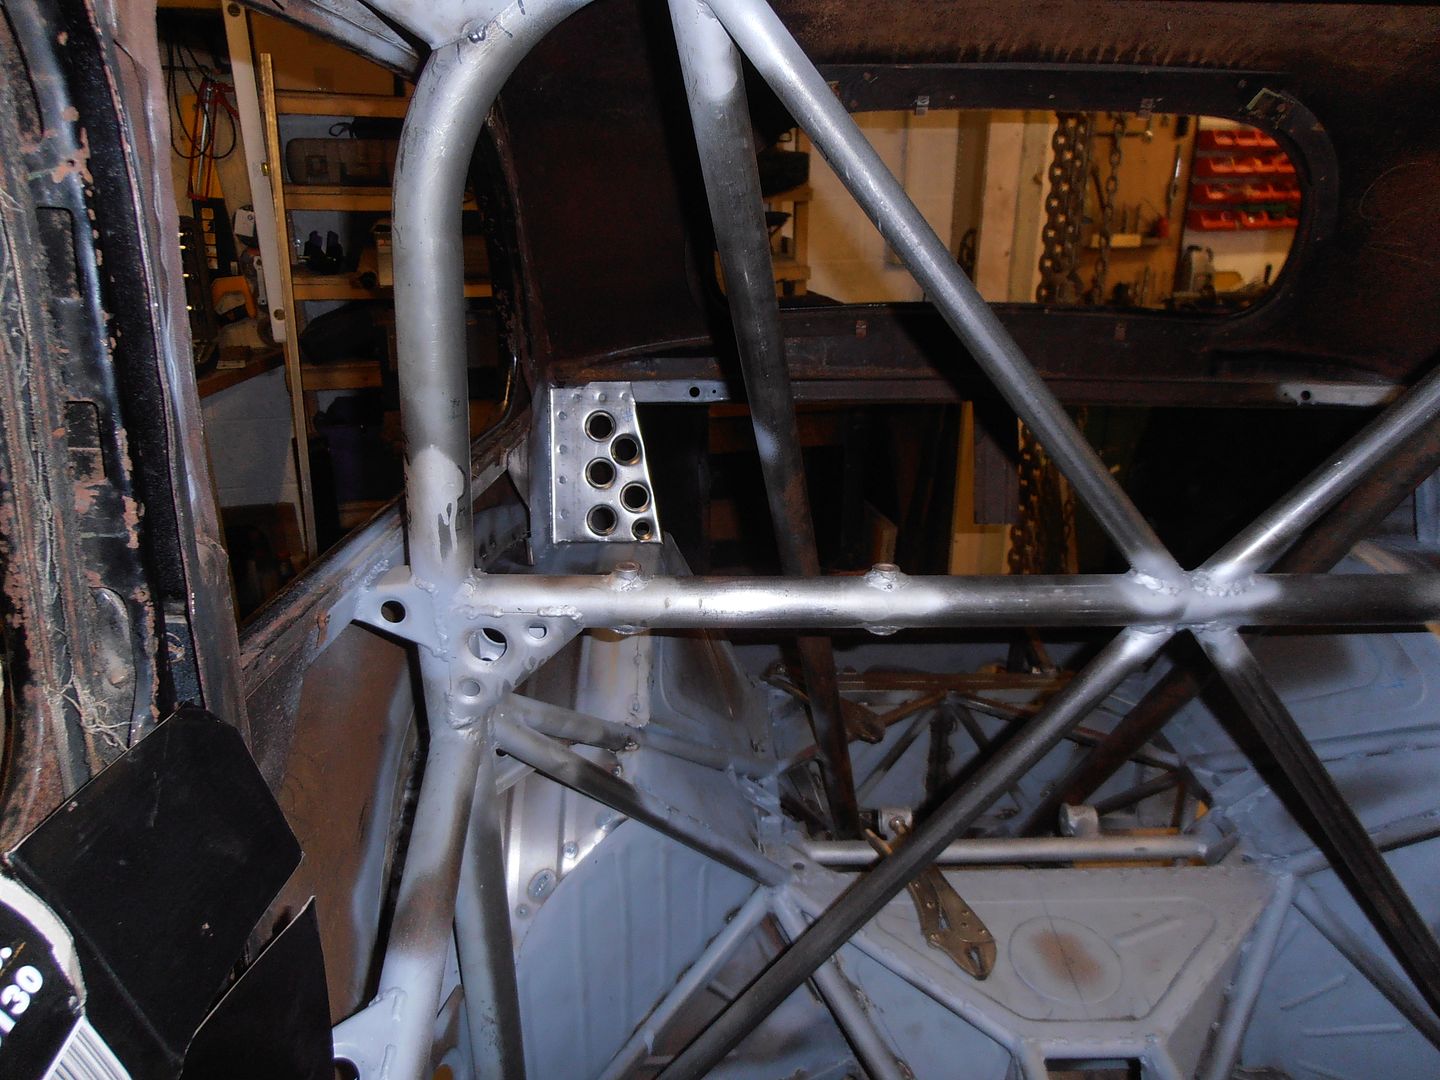
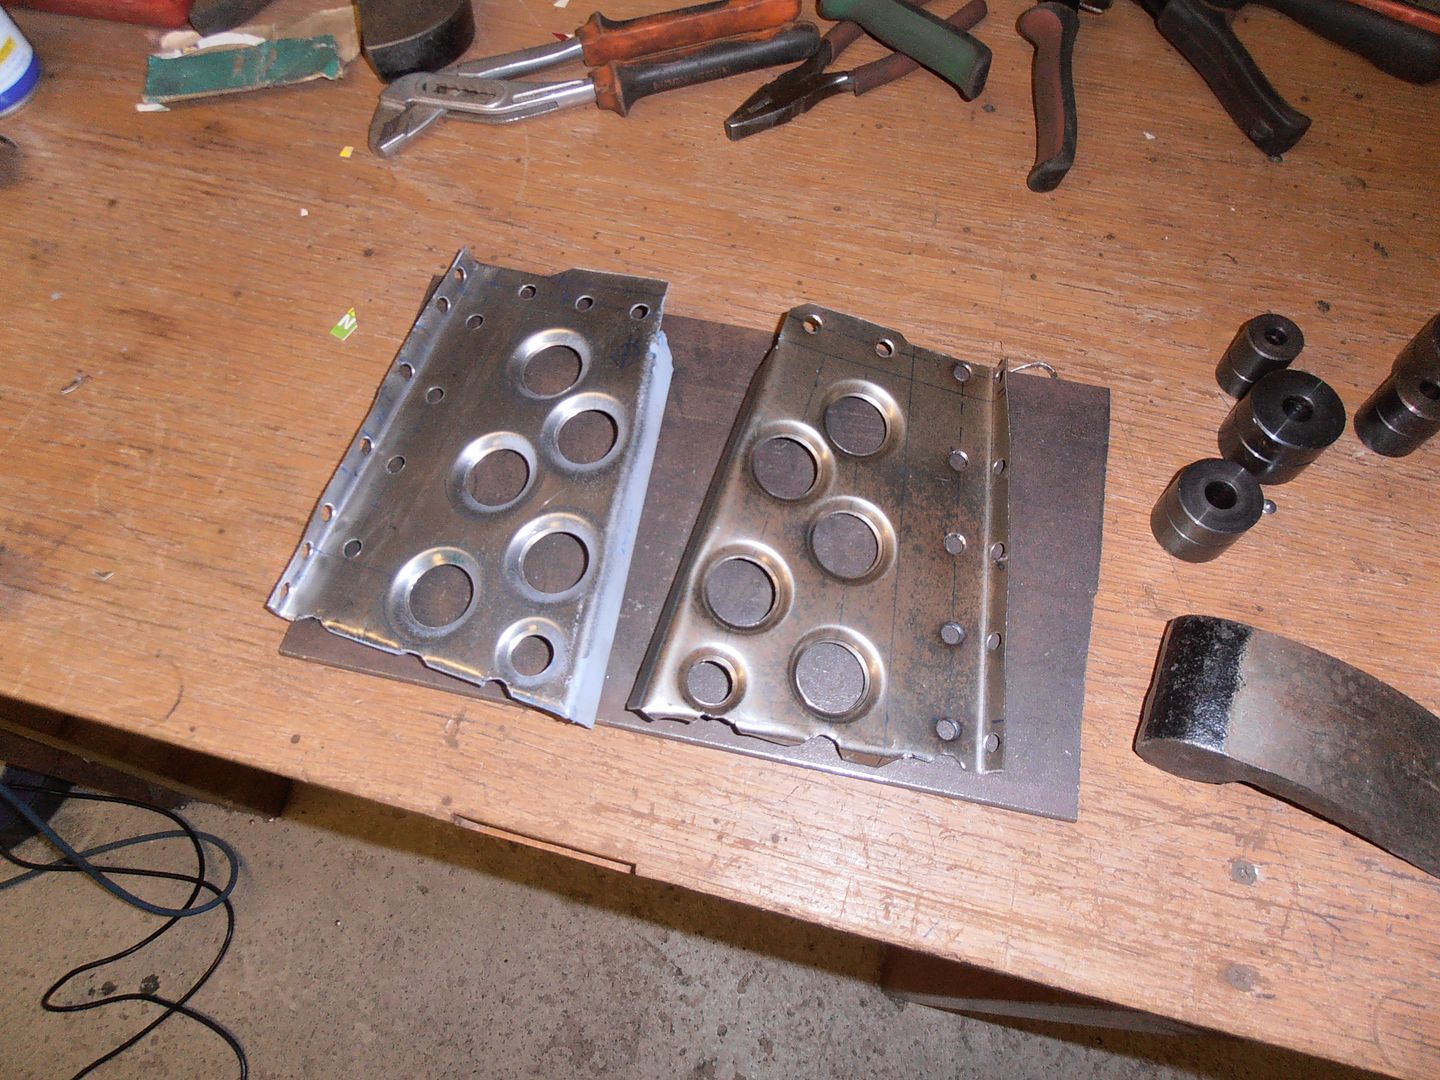
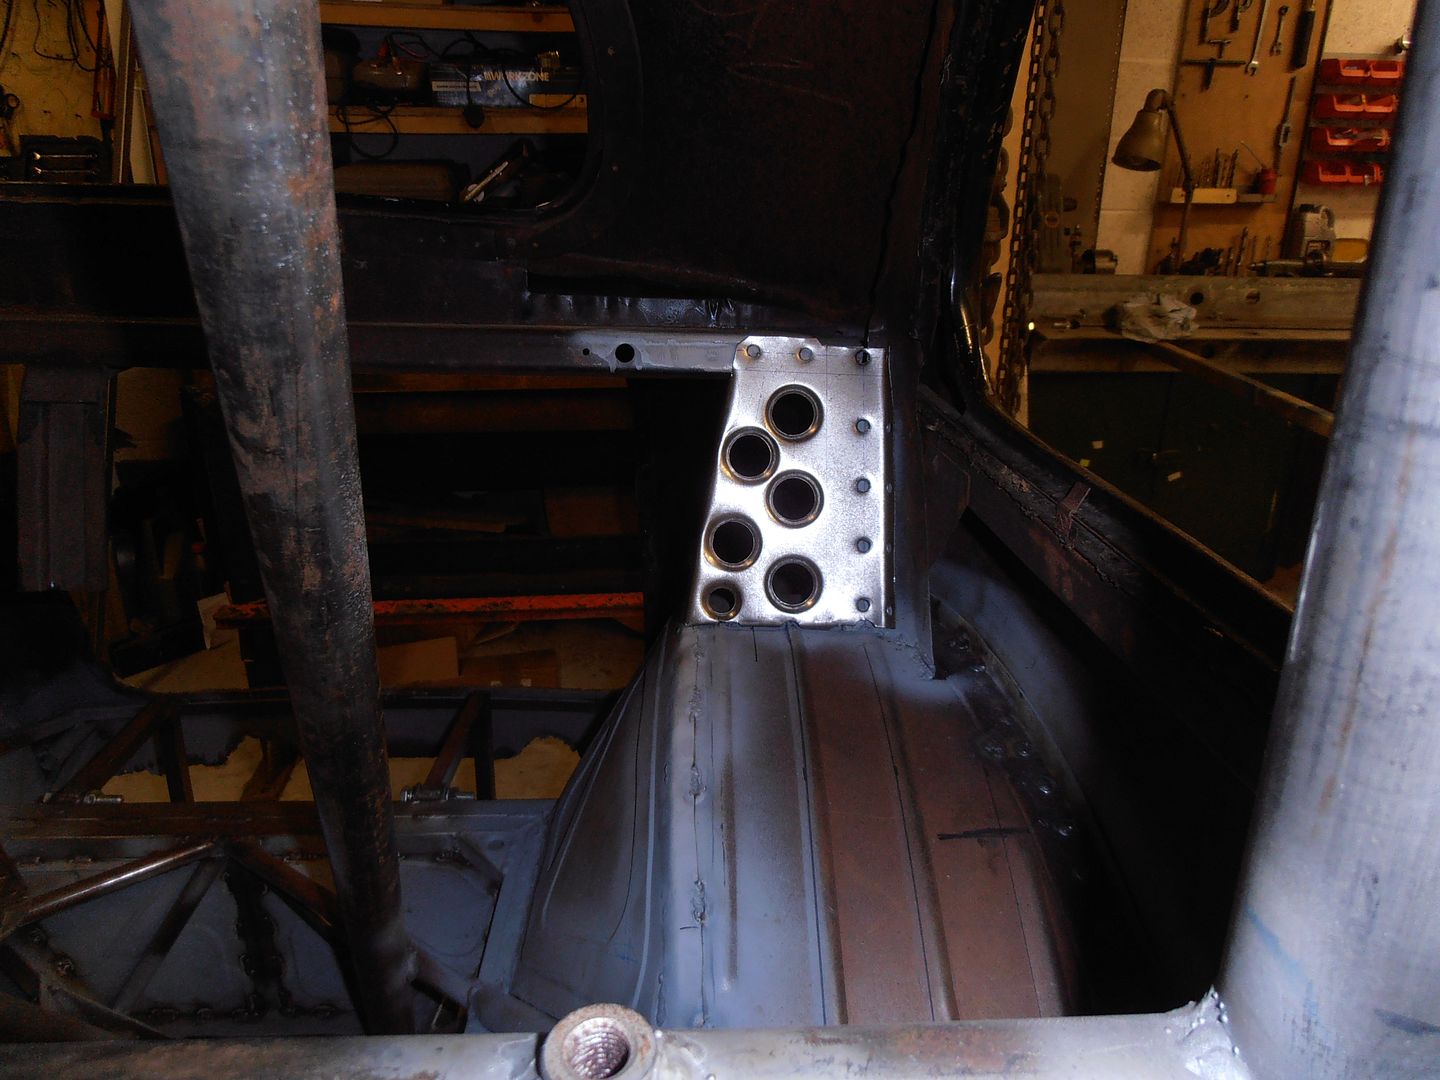
I did some more on the Morris today. Mainly I contemplated about what I was going to do. Started making an outrigger from the cage to the door pillar, but decided it wouldn't look as good as i'd originally though, so canned it. I did decide that I like the swages panels so am going to fit them. 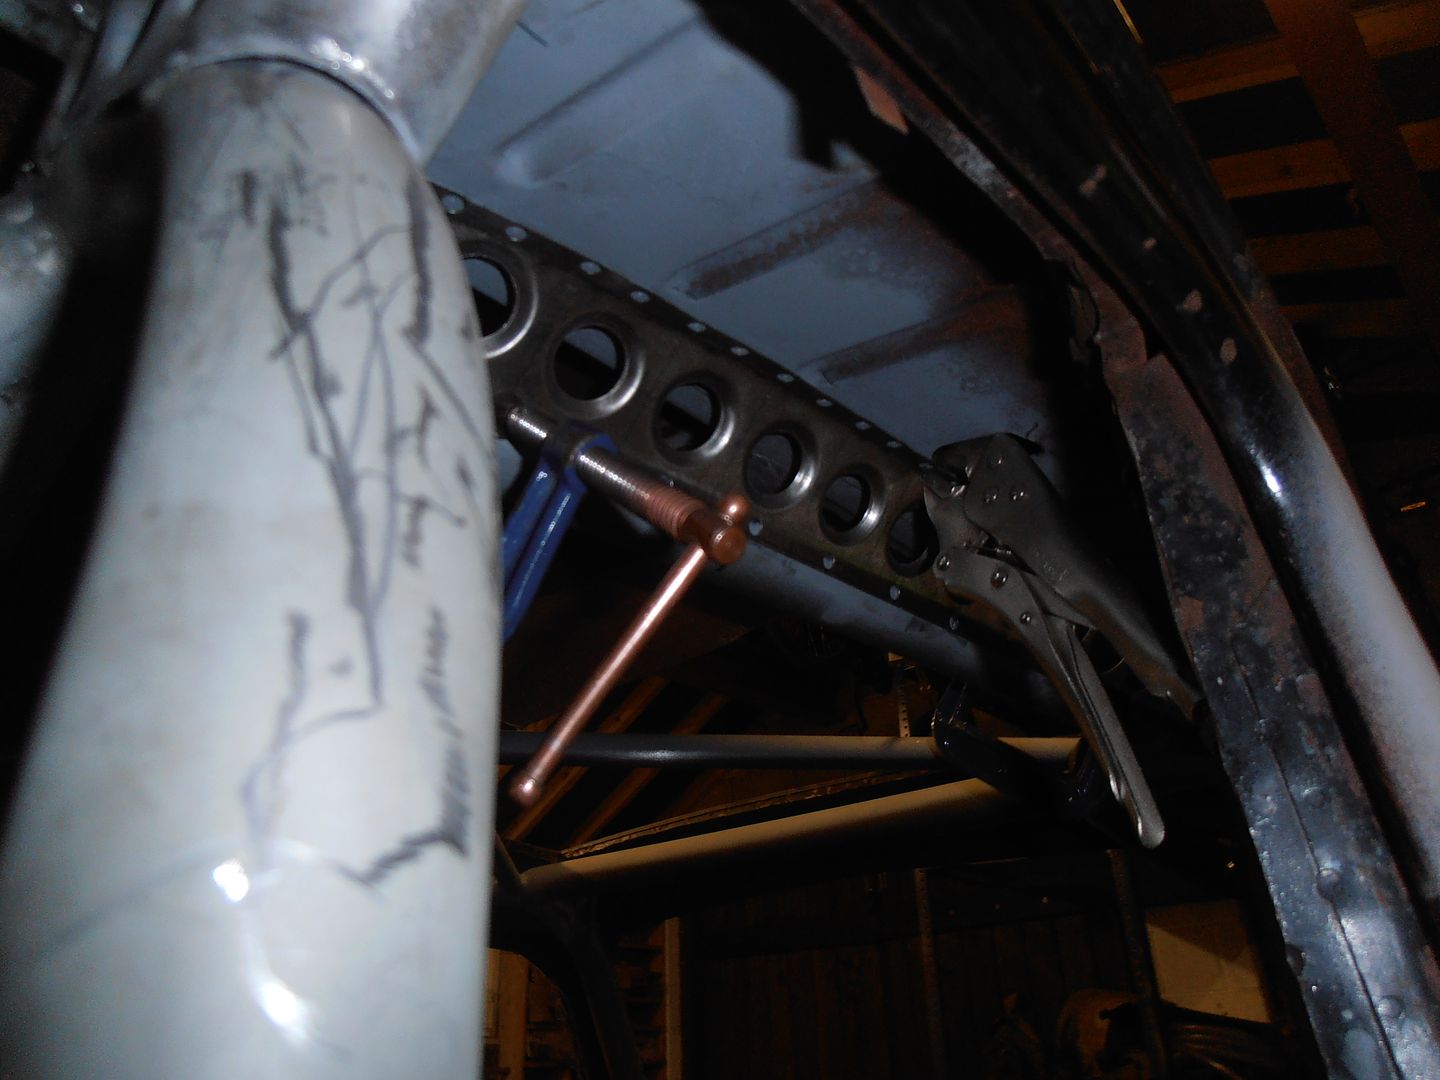 so with that, started side 2 Markout 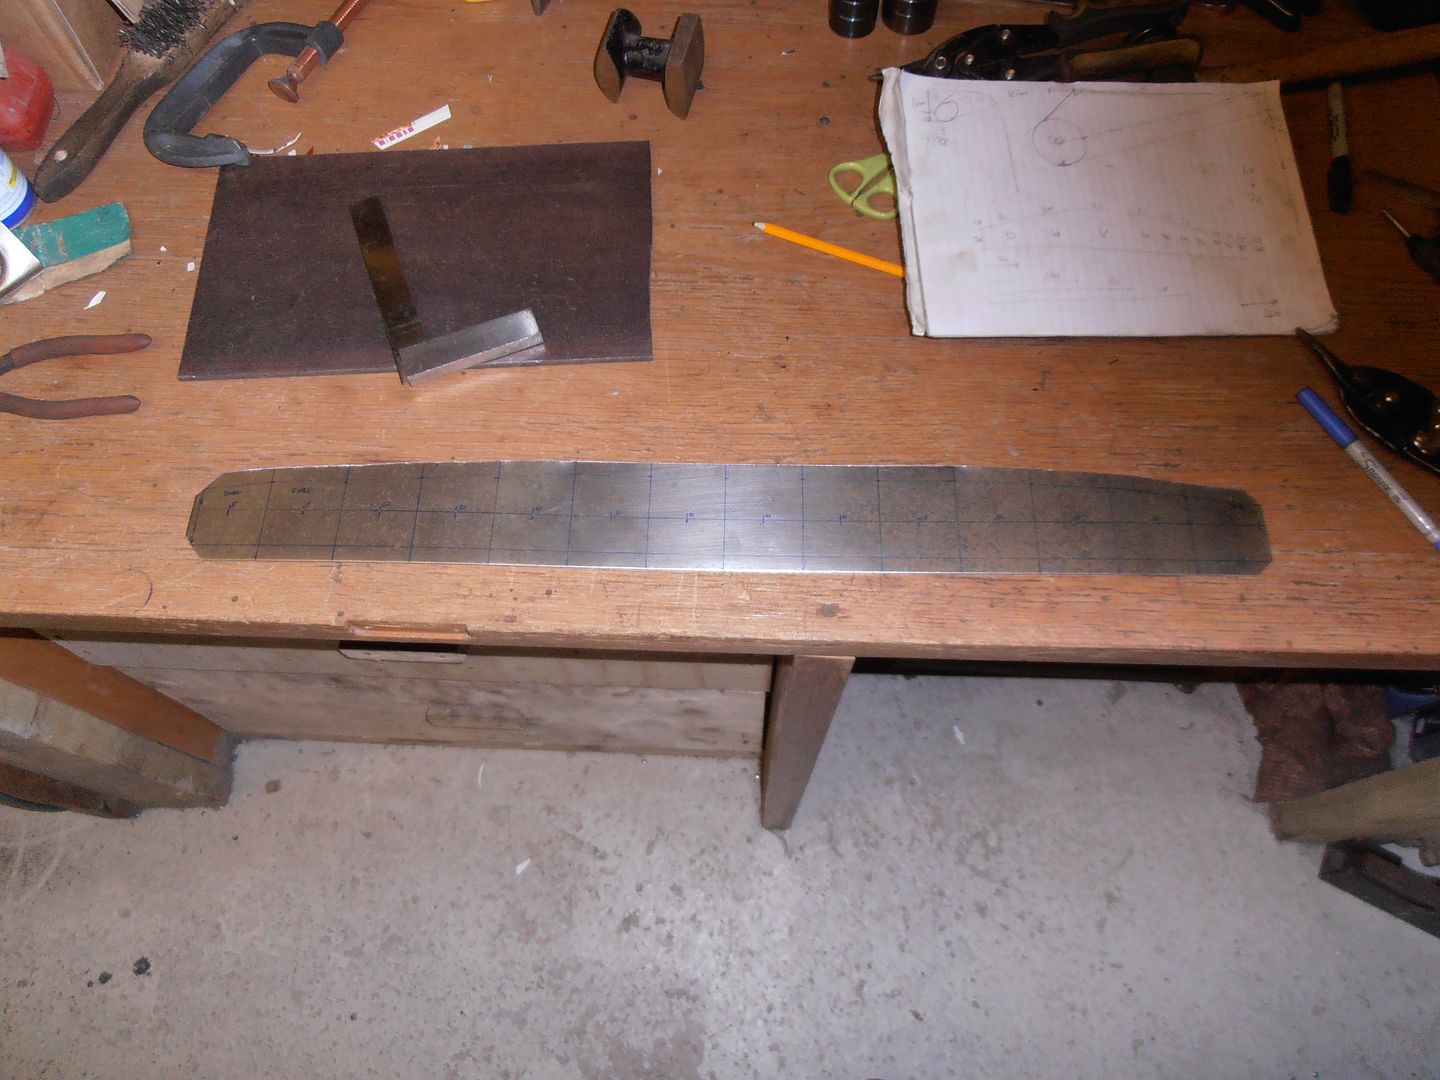 Punch holes 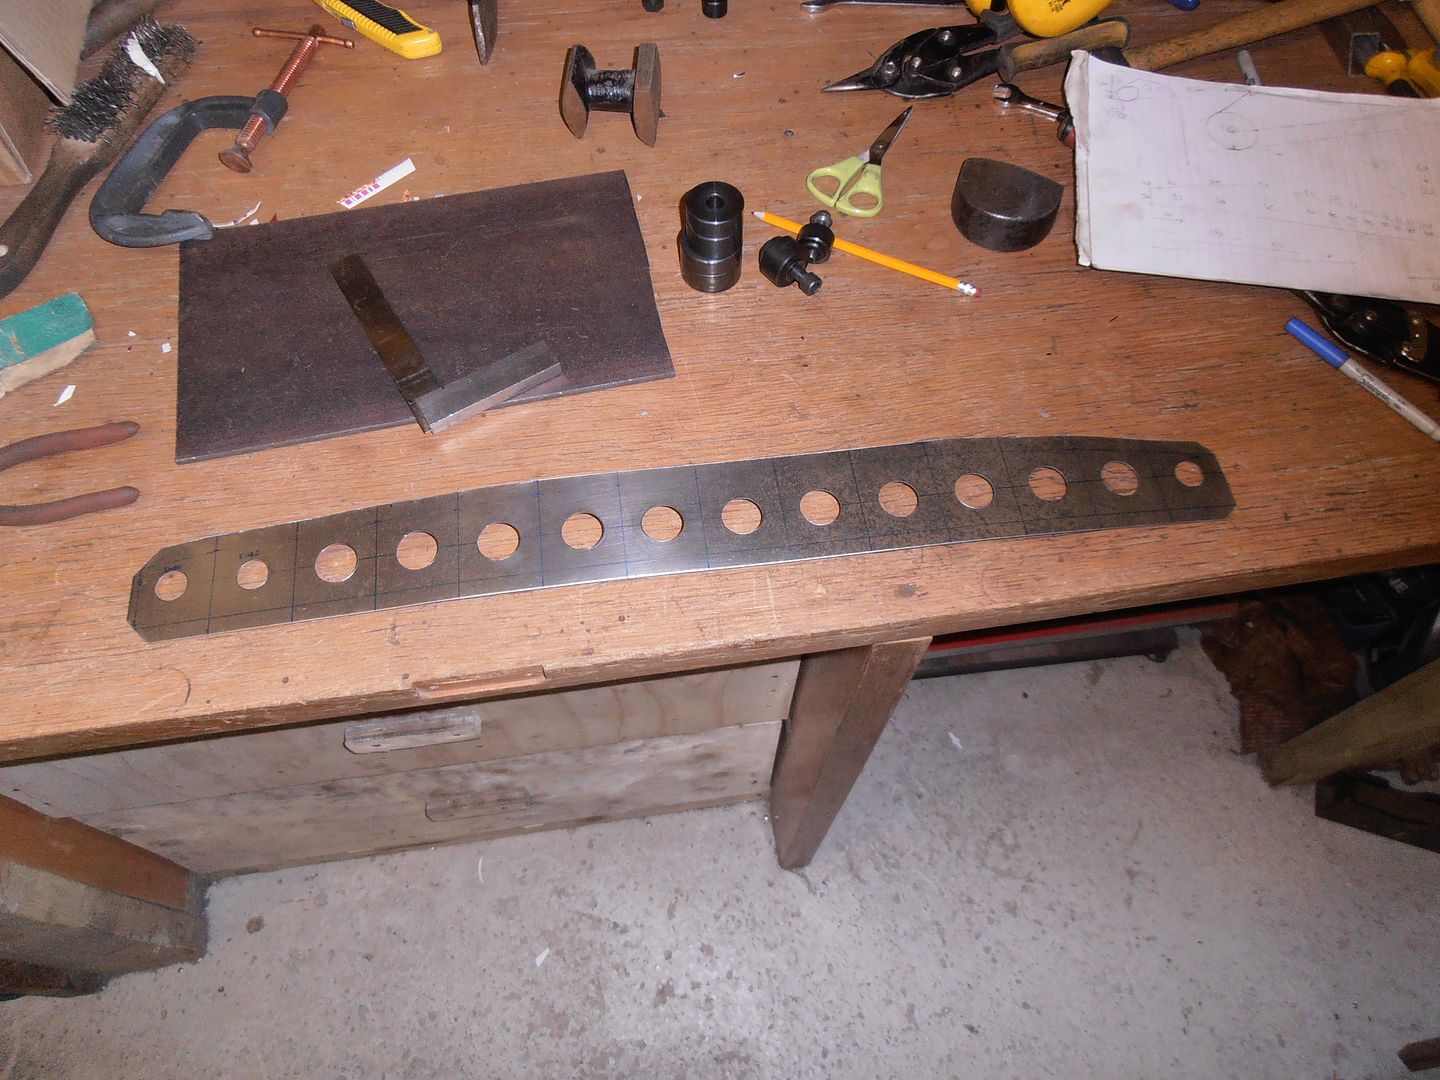 Shows how many holes i've punched this weekend 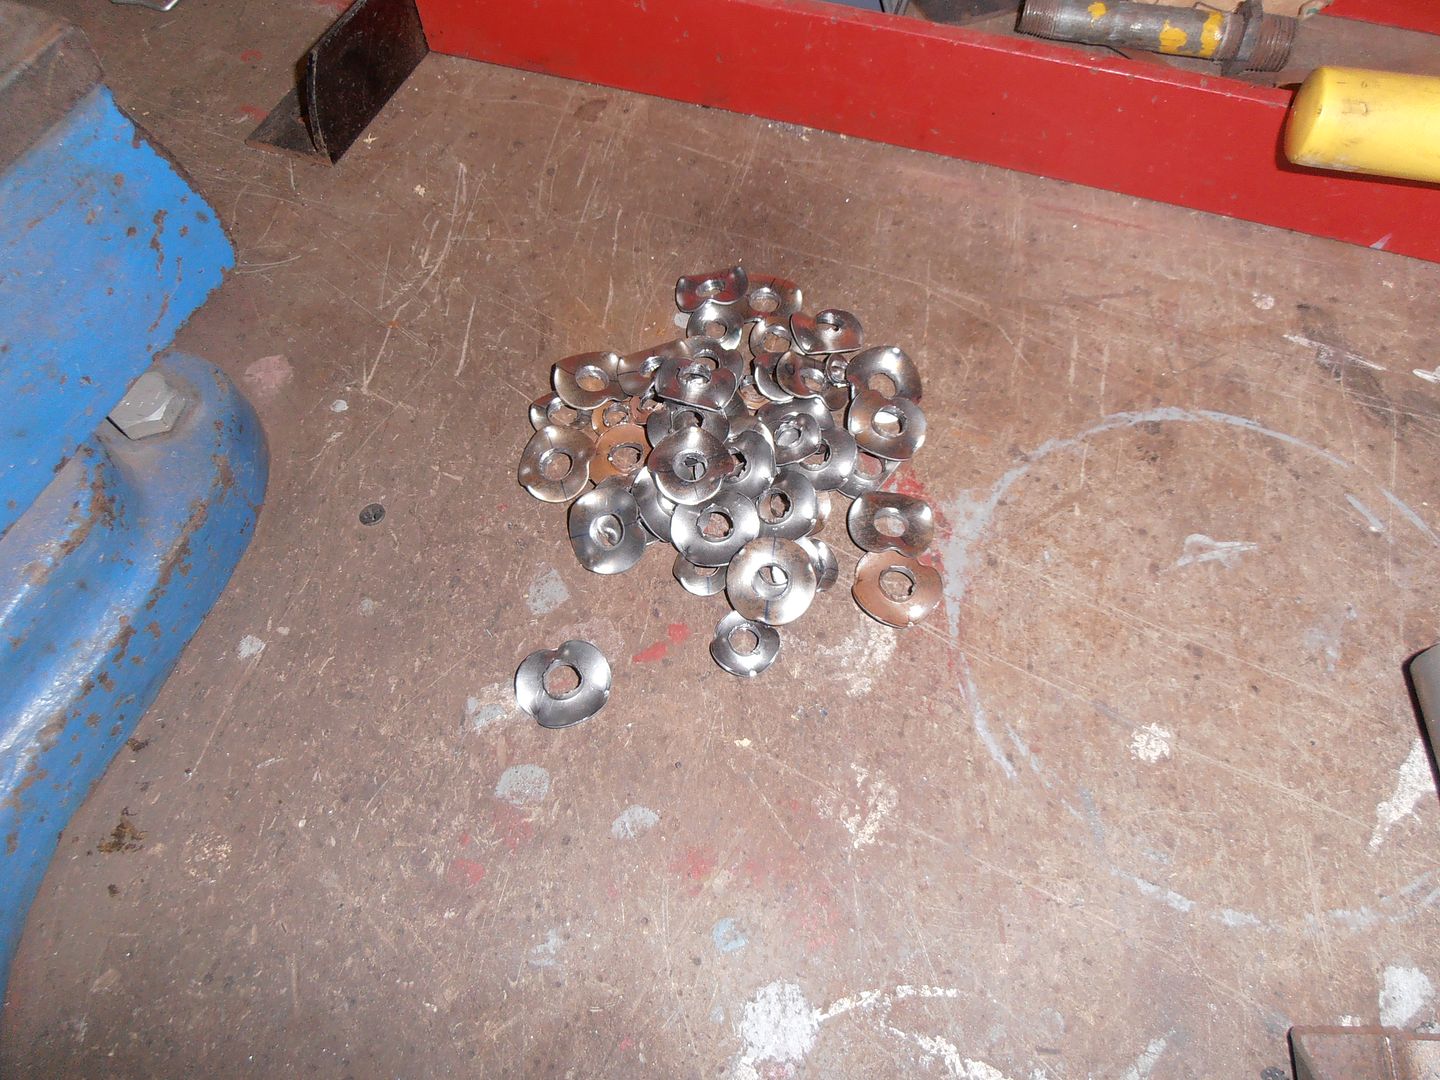 plug weld holes join the party 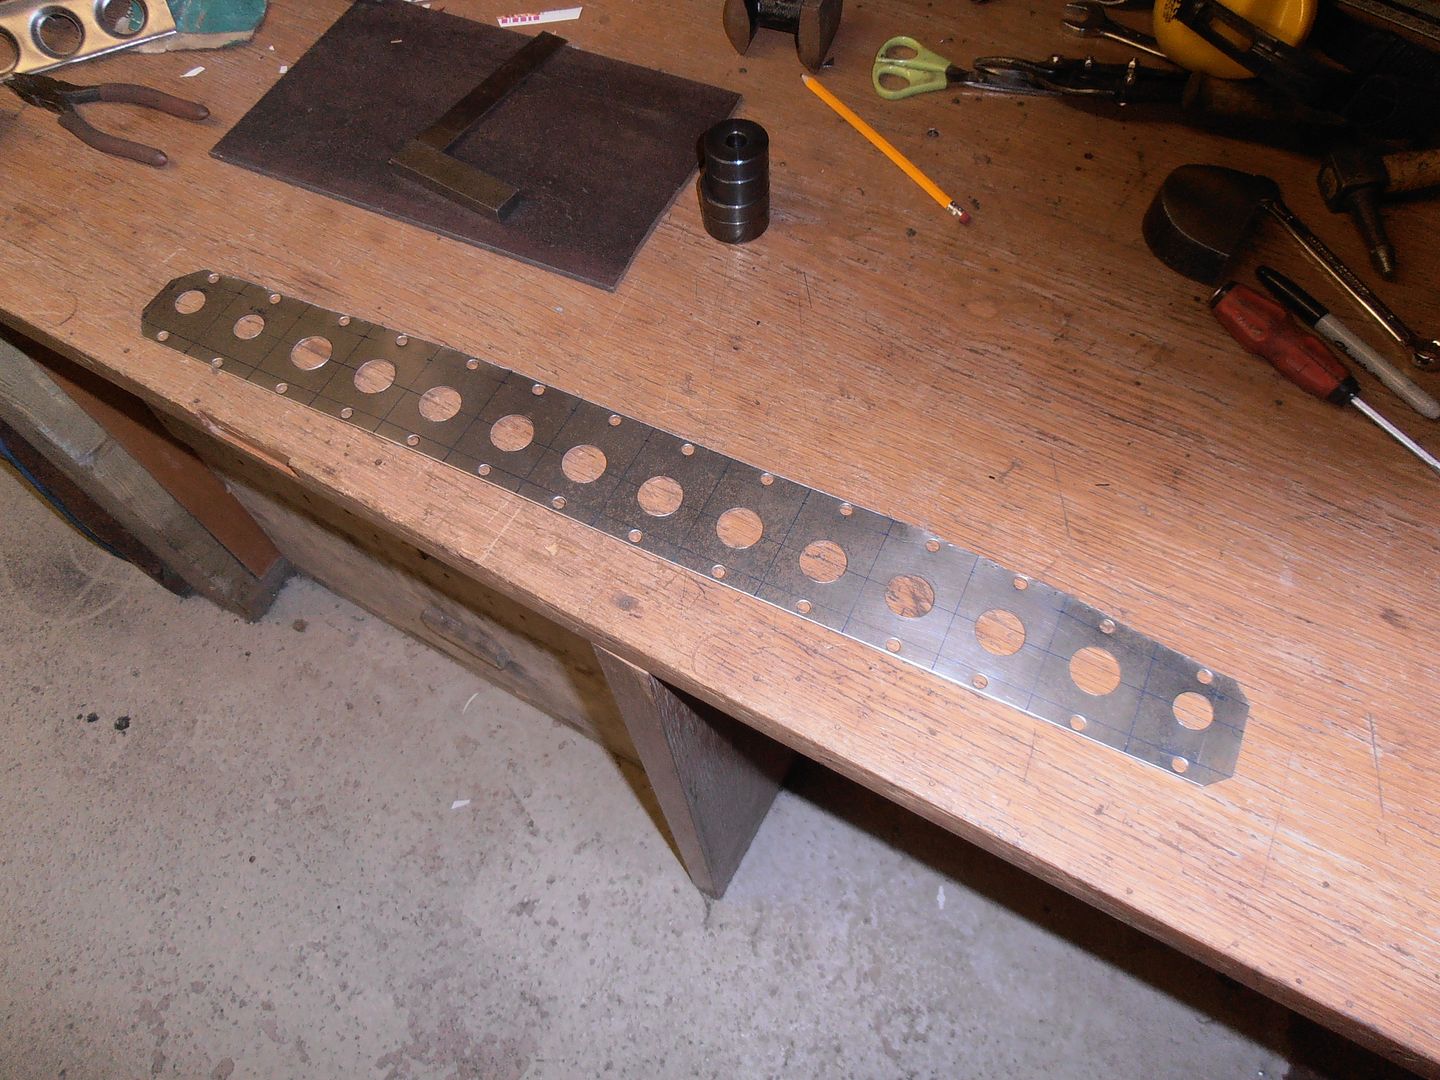 fold 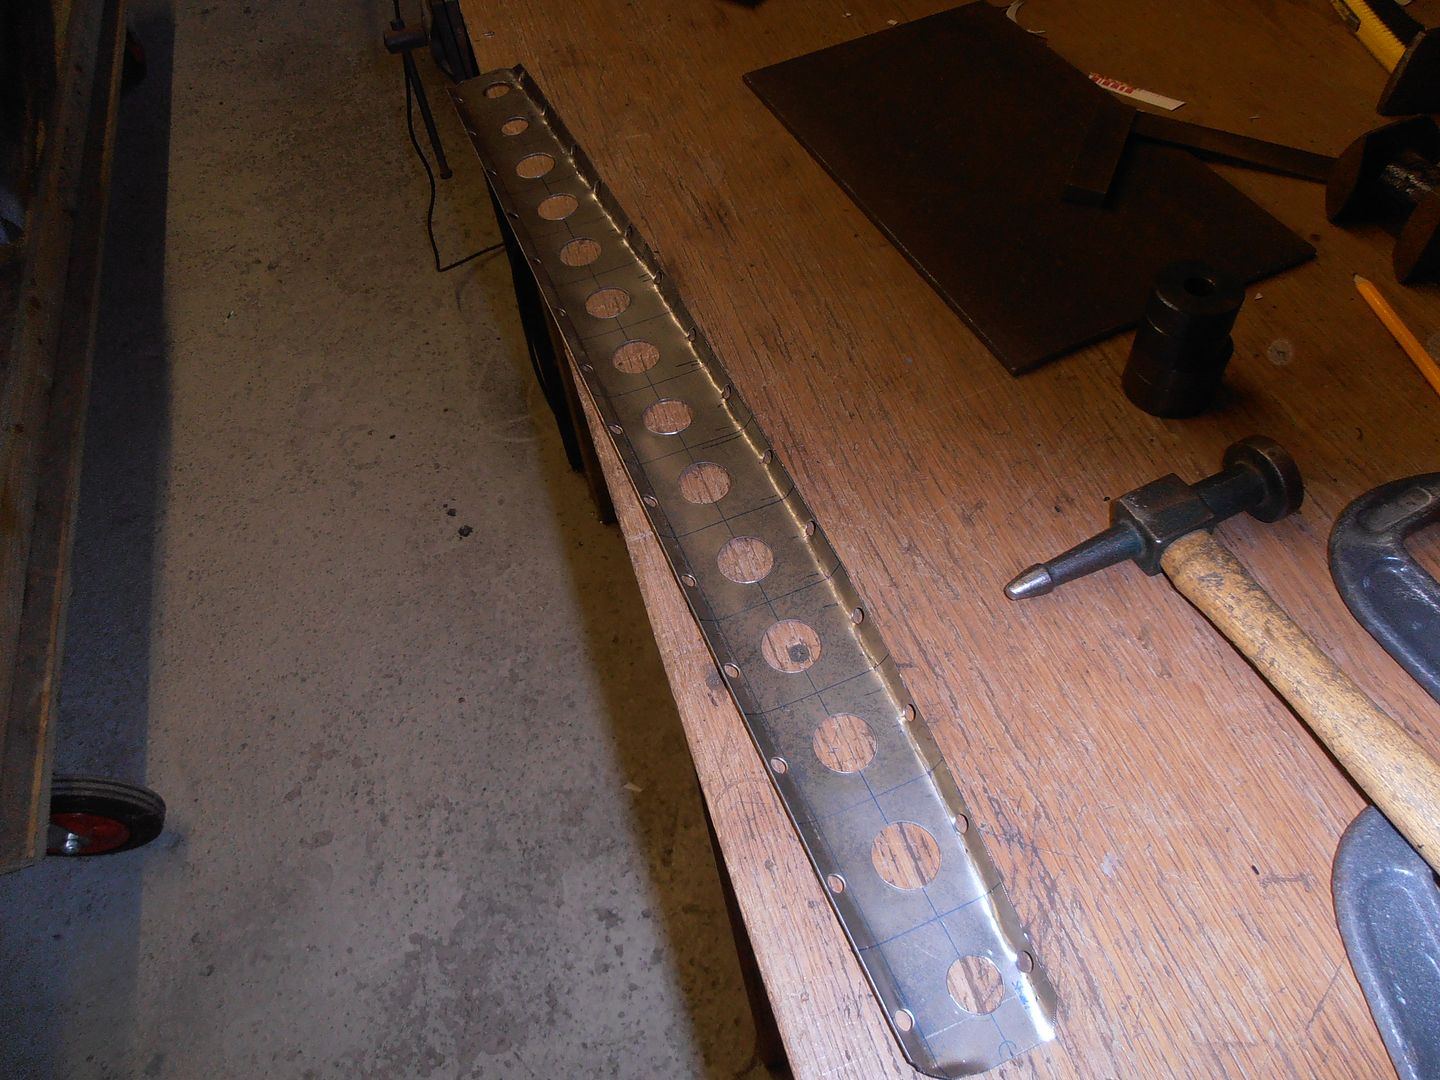 swage 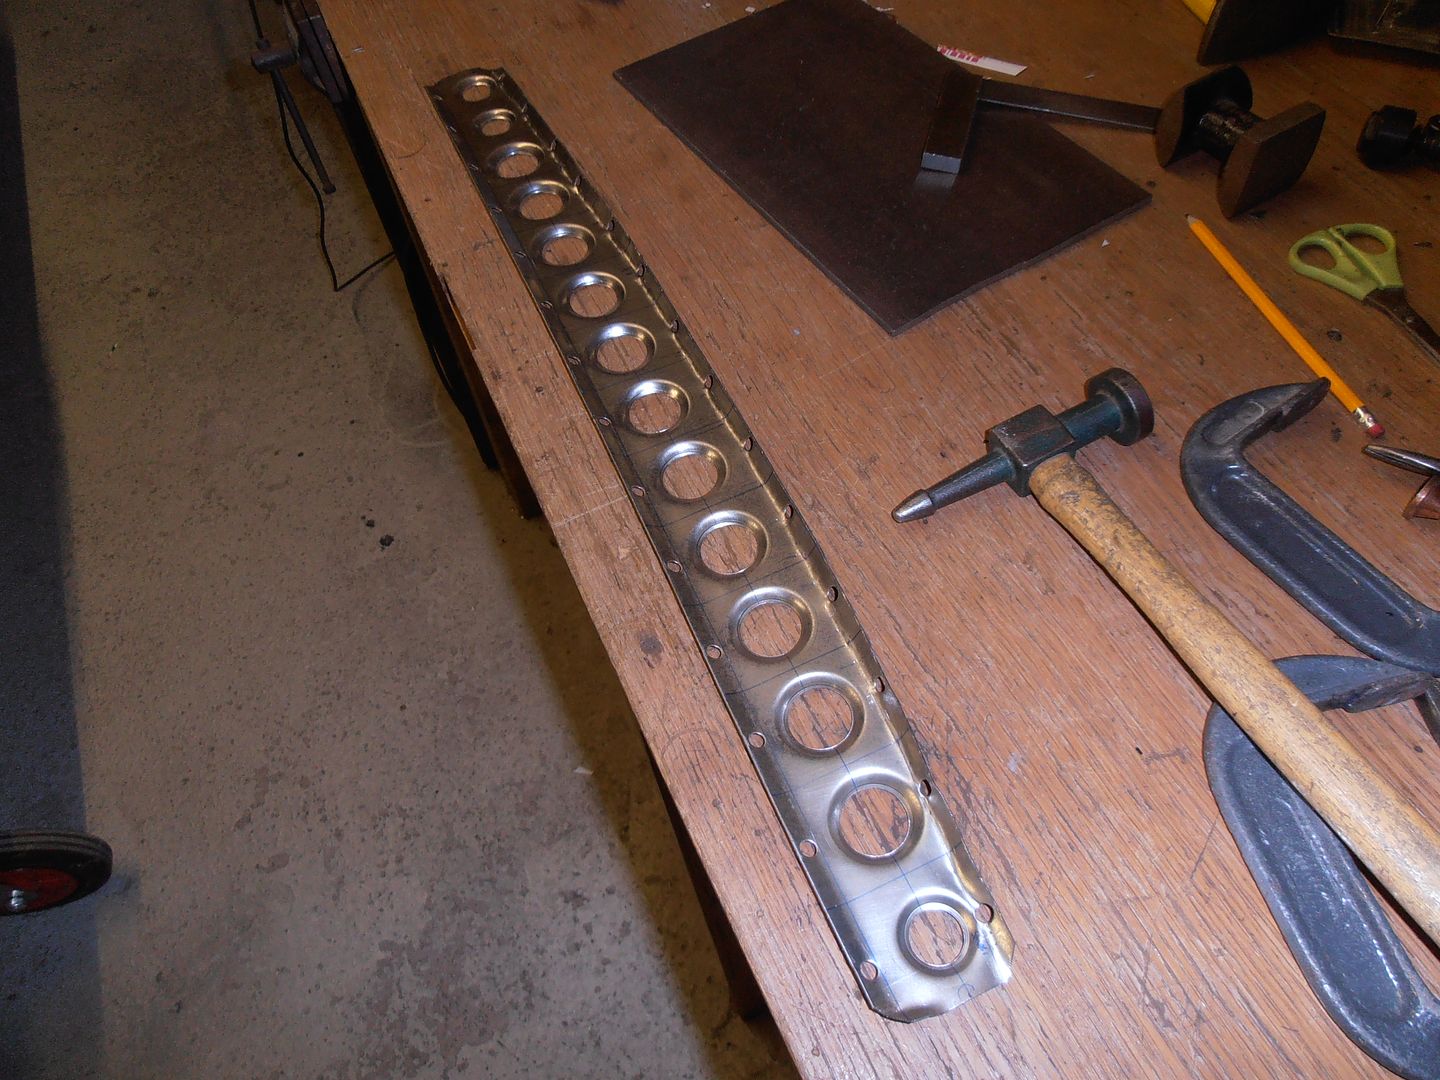 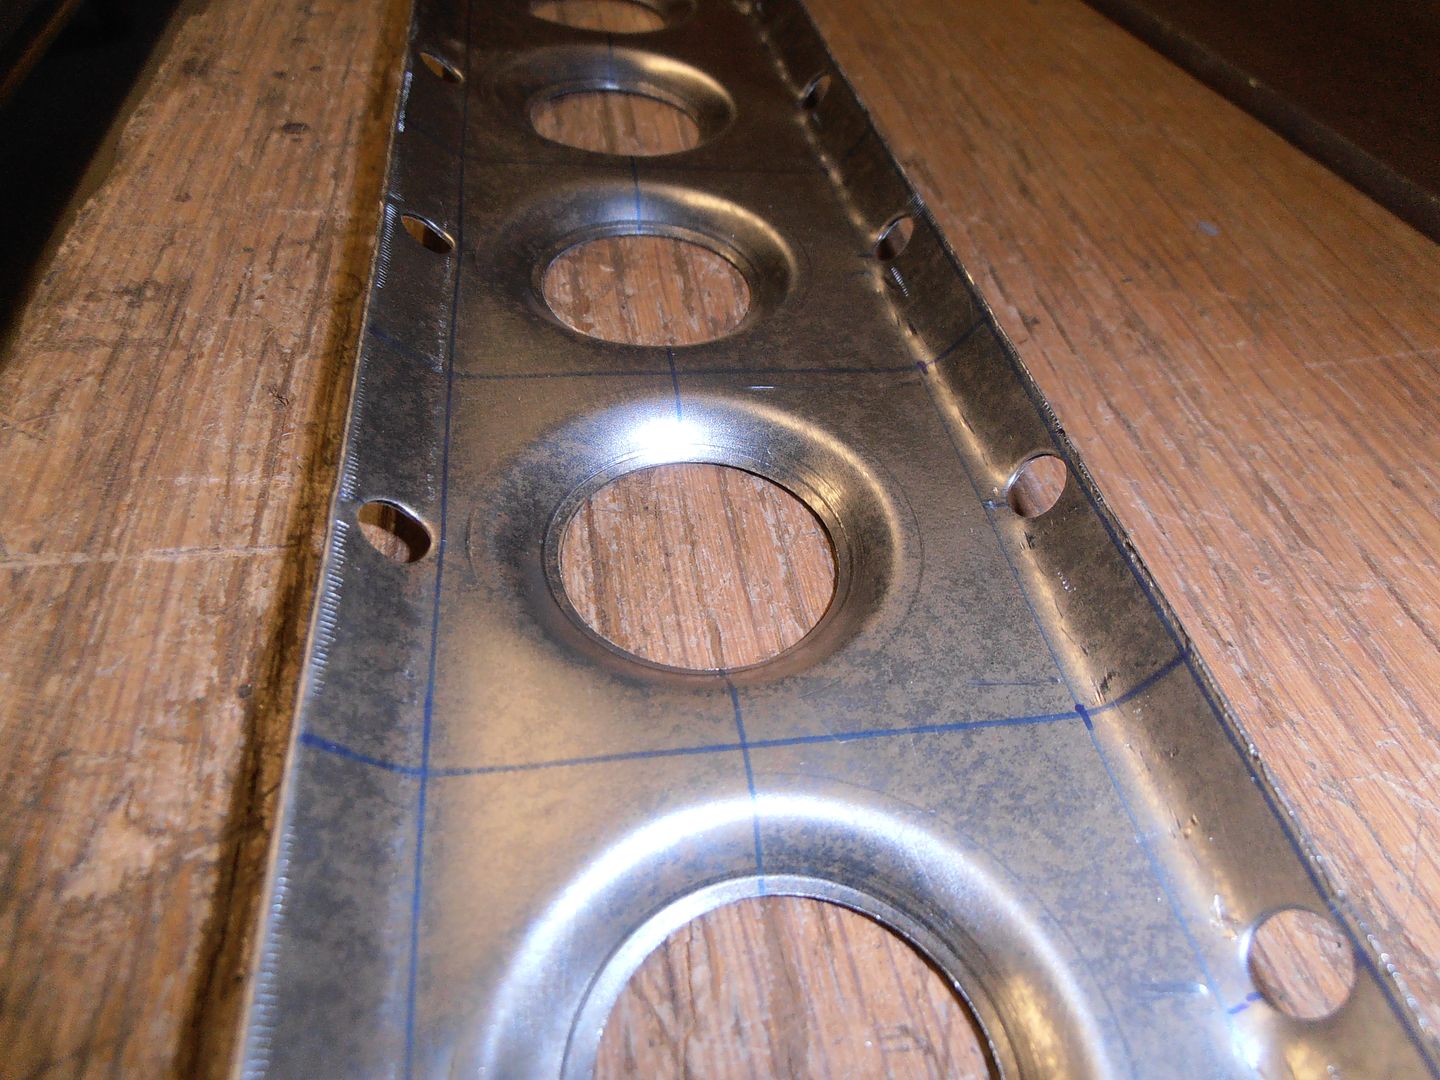 trial fit 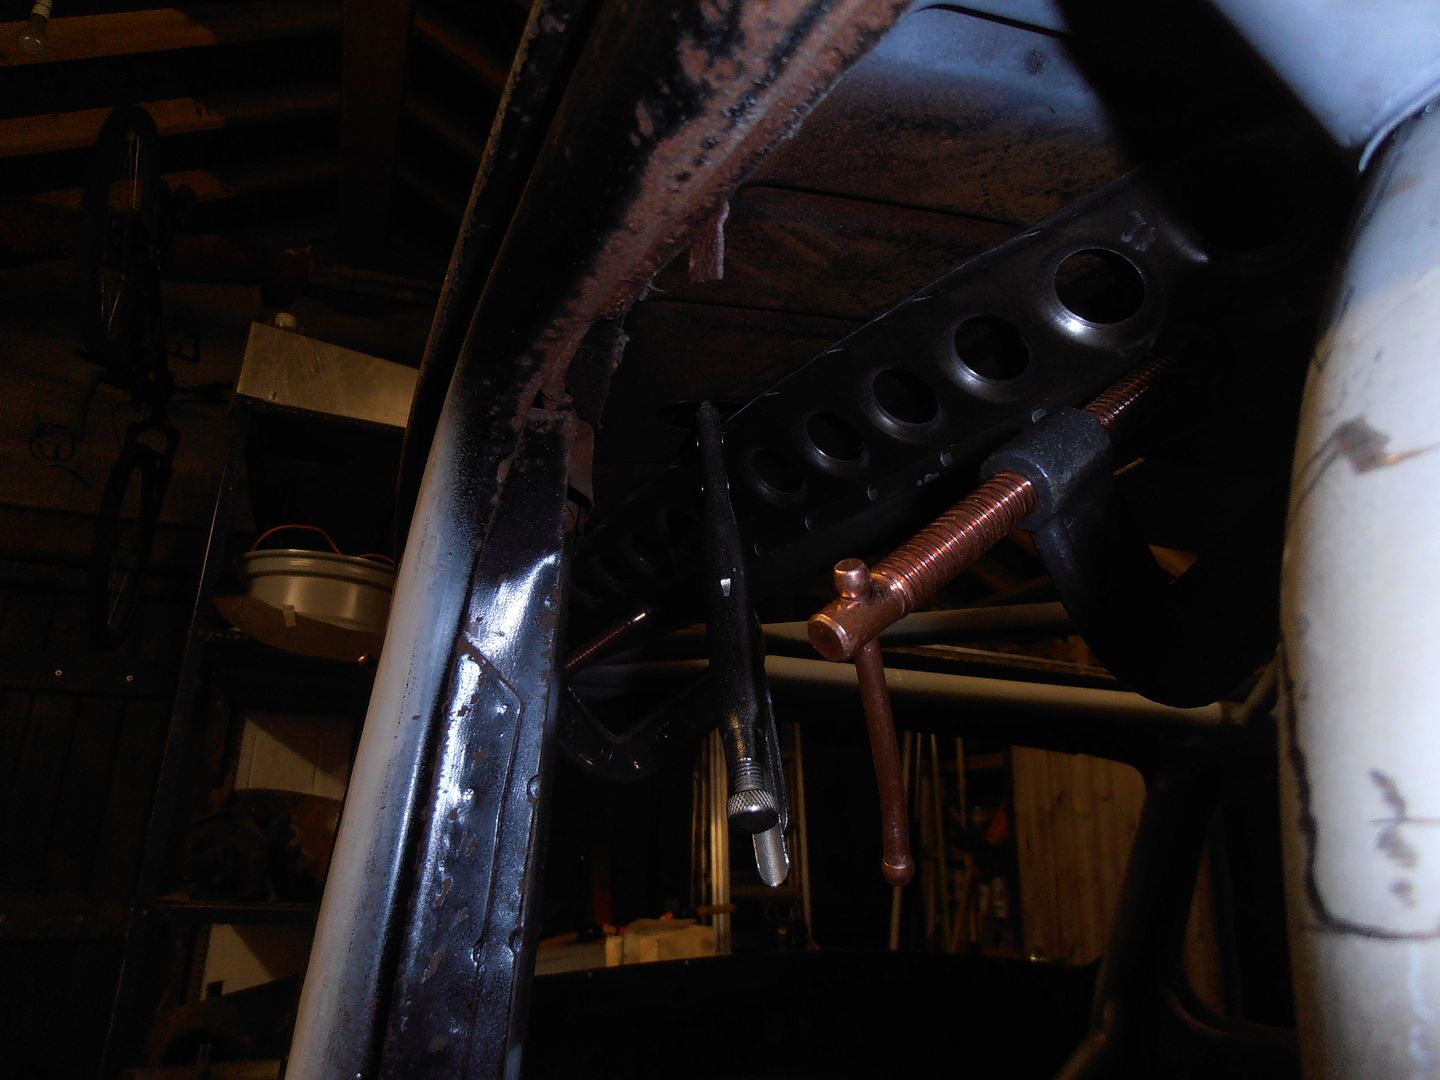 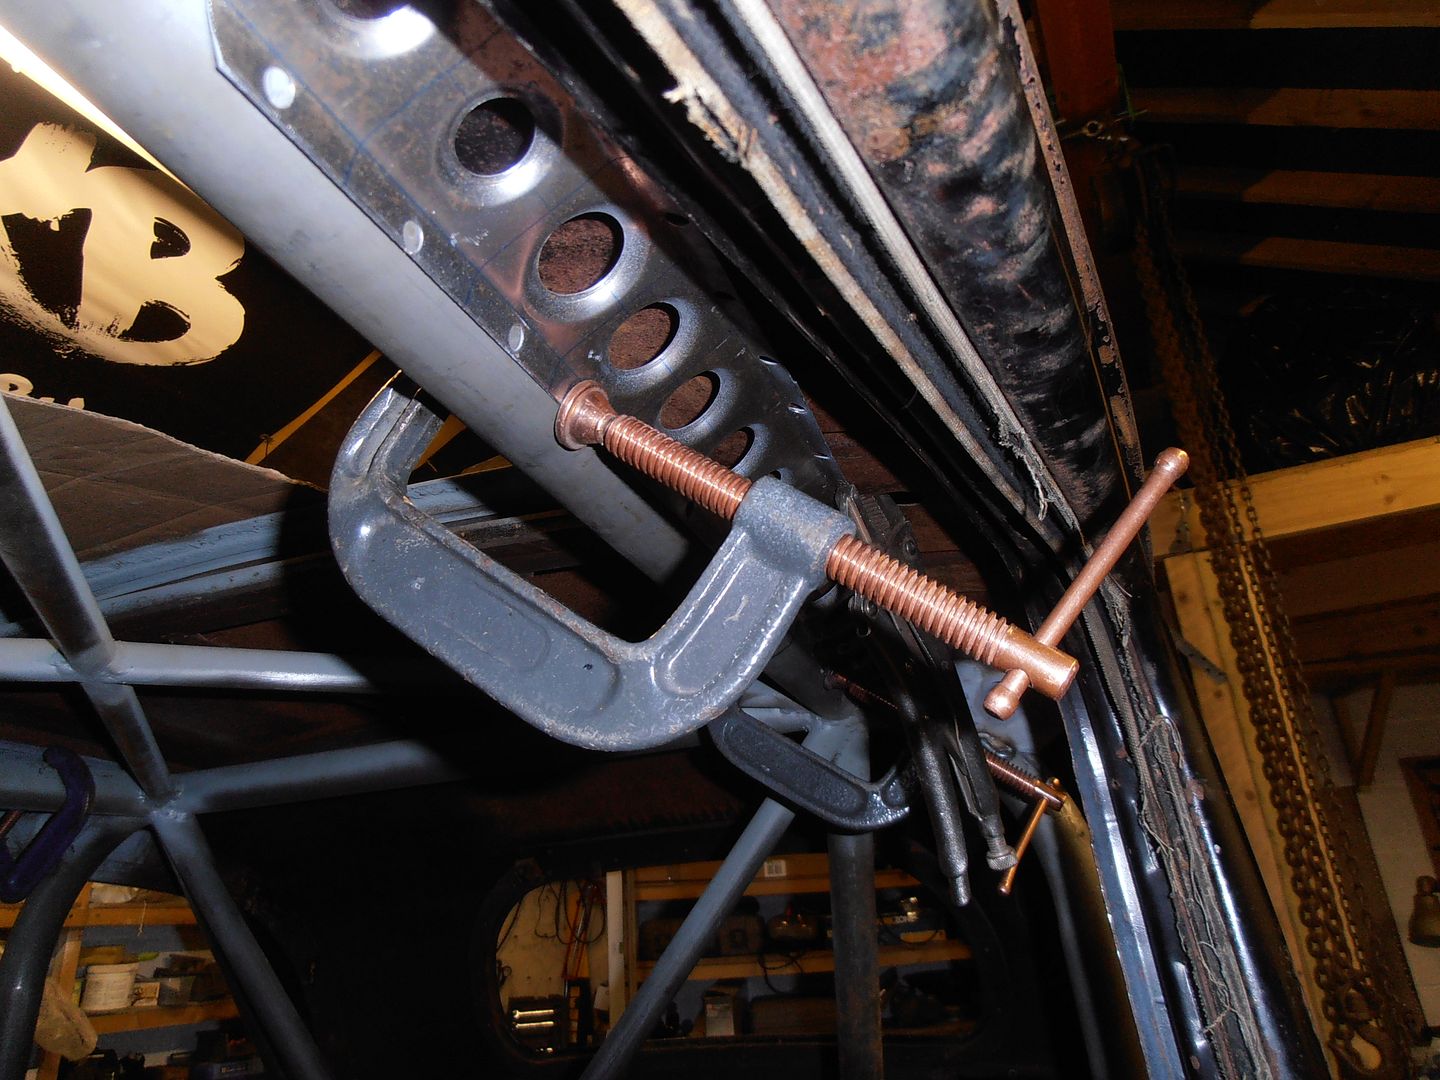 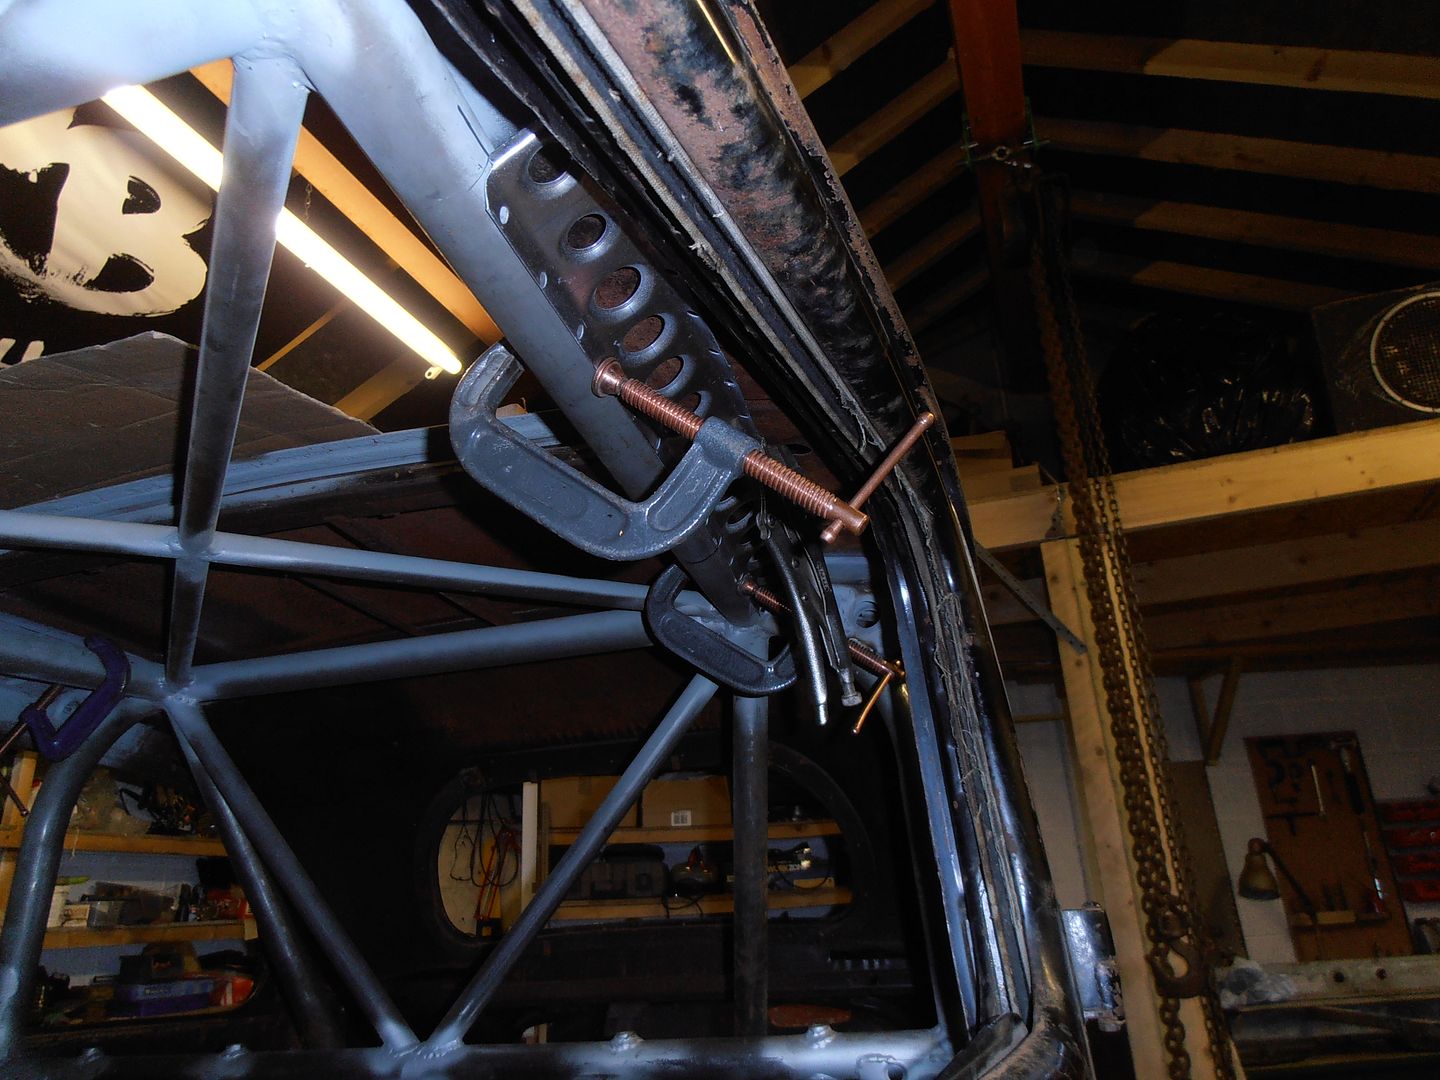 I then drilled out spotwelds and removed some spare brackets, before returning back to contemplating. I've worked out I have a few more brackets to make.... I also need to get back onto the steering  |
| |
|
|
jonomisfit
Club Retro Rides Member
Posts: 1,787
Club RR Member Number: 49
|
|
|
|
|
|
| |
|
|
|
|
|
|
|
Then decided what i need to do is put in a stiffener thank god you noticed ! the last thing you need is one bit of the the car that wont punch through concrete nuclear containment   |
| |
|
|
actionslaxx
Part of things
  a message to you rudy
Posts: 74
|
|
|
|
|
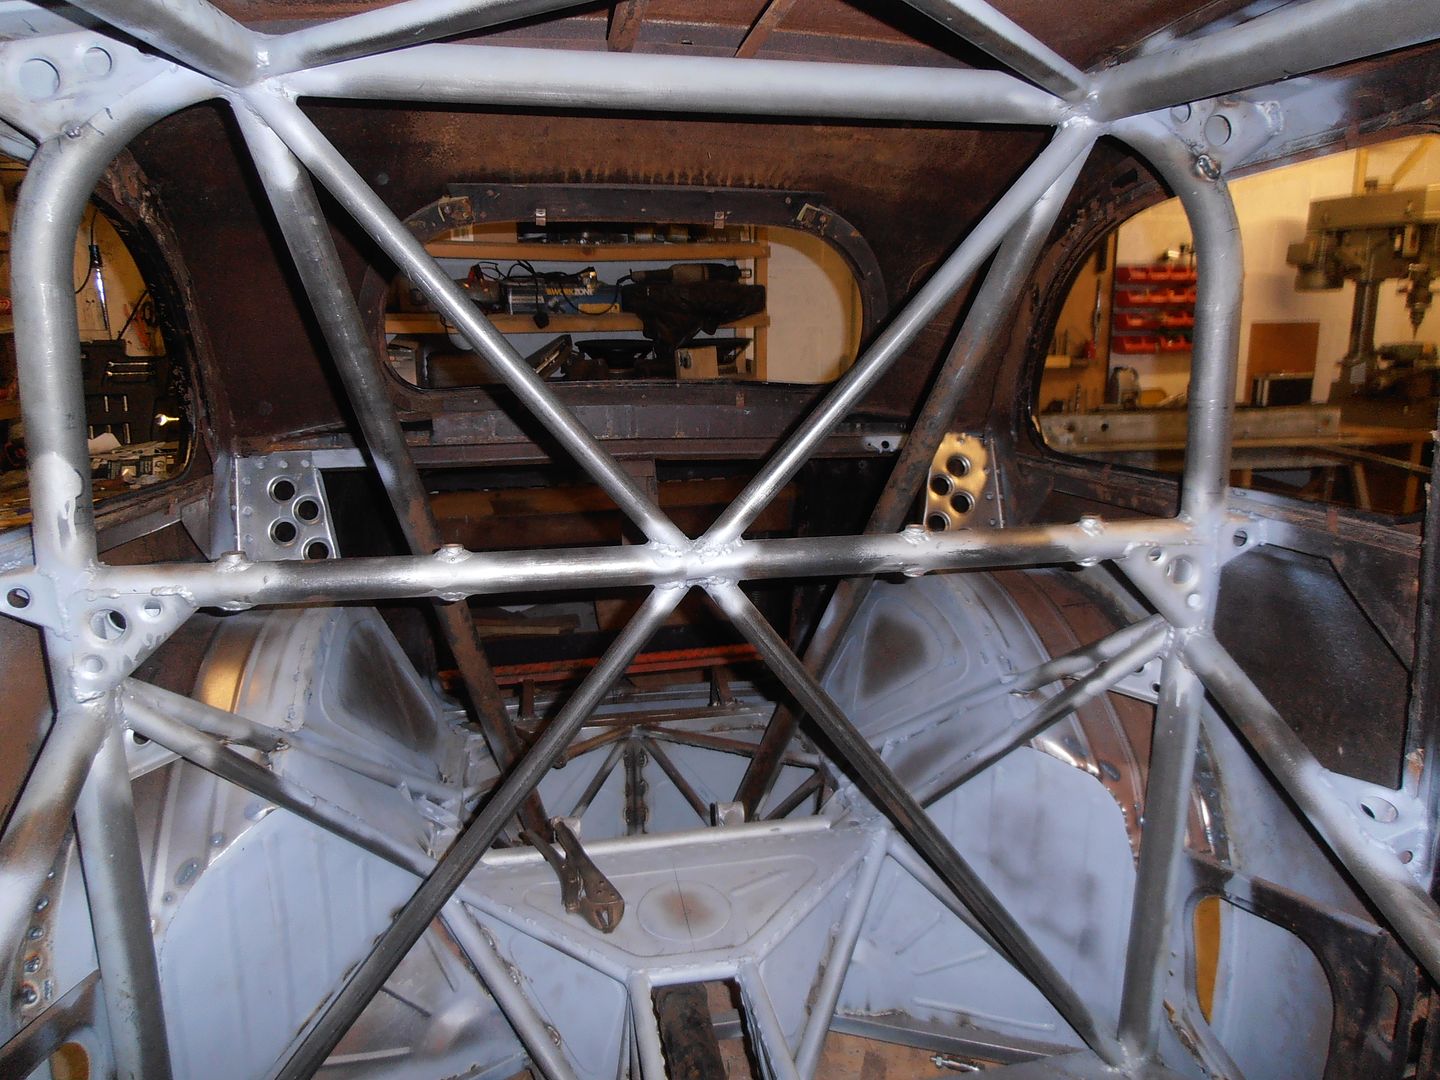
Looking at the last pic it seems with so many tubes in there you would have to sit on the roof to drive.
Fantastic build.
|
| |
|
|
jonomisfit
Club Retro Rides Member
Posts: 1,787
Club RR Member Number: 49
|
|
|
|
|
yeah..... i might have triangle spammed it a bit....
.... and i might be getting a bit carried away with stiffeners.... I do like things with swagged holes though...
|
| |
|
|
|
|
|
|
|
yeah..... i might have triangle spammed it a bit.... .... and i might be getting a bit carried away with stiffeners.... I do like things with swagged holes though... Nowt wrong with being stiff, chief..... |
| |
Rover Metro - The TARDIS - brake problems.....Stored
Rover 75 - Barge
MGZTT Cdti 160+ - Winter Hack and Audi botherer...
MGF - The Golden Shot...Stored
Project Minion........
Can you see the theme?
|
|
heathrobinson
Part of things
  Broken everything
Posts: 848  Club RR Member Number: 111
|
|
|
|
|
And speed holes make it faster.
|
| |
|
|
|
|
|
|
|
|
|
If ever a car needed some WW2 style bomber seats it was this one...  I'm loving this build! James |
| |
|
|
jonomisfit
Club Retro Rides Member
Posts: 1,787
Club RR Member Number: 49
|
|
|
|
|
Cheers dudes.
Yep, the more the car is progressing the more I think i'm going to make custom ally seats.
Probably high backed ones though, but based somewhat on the bomber look.
I do like bomber style seats.
|
| |
|
|
|
|
|
|
|
This thing is so awesome, it's gonna need a name. Do you consider it to be a ''he'' or a ''she''  ? |
| |
Social hand grenade. Does not play well with others.
|
|
jonomisfit
Club Retro Rides Member
Posts: 1,787
Club RR Member Number: 49
|
|
|
|
Well.... it currently has the name "the morris", although that is really more of a description. Hmmm..... well, its got sleek lines like a lady, but is built like a tank underneath.... I guess that makes it automotively transgender? This weekend progress was limited. I tacked the strengtheners in, but didnt photo. I then started looking at whats needed to fit the rear arches. First stop - make some bobbins Quick cad check Turn down some barstock 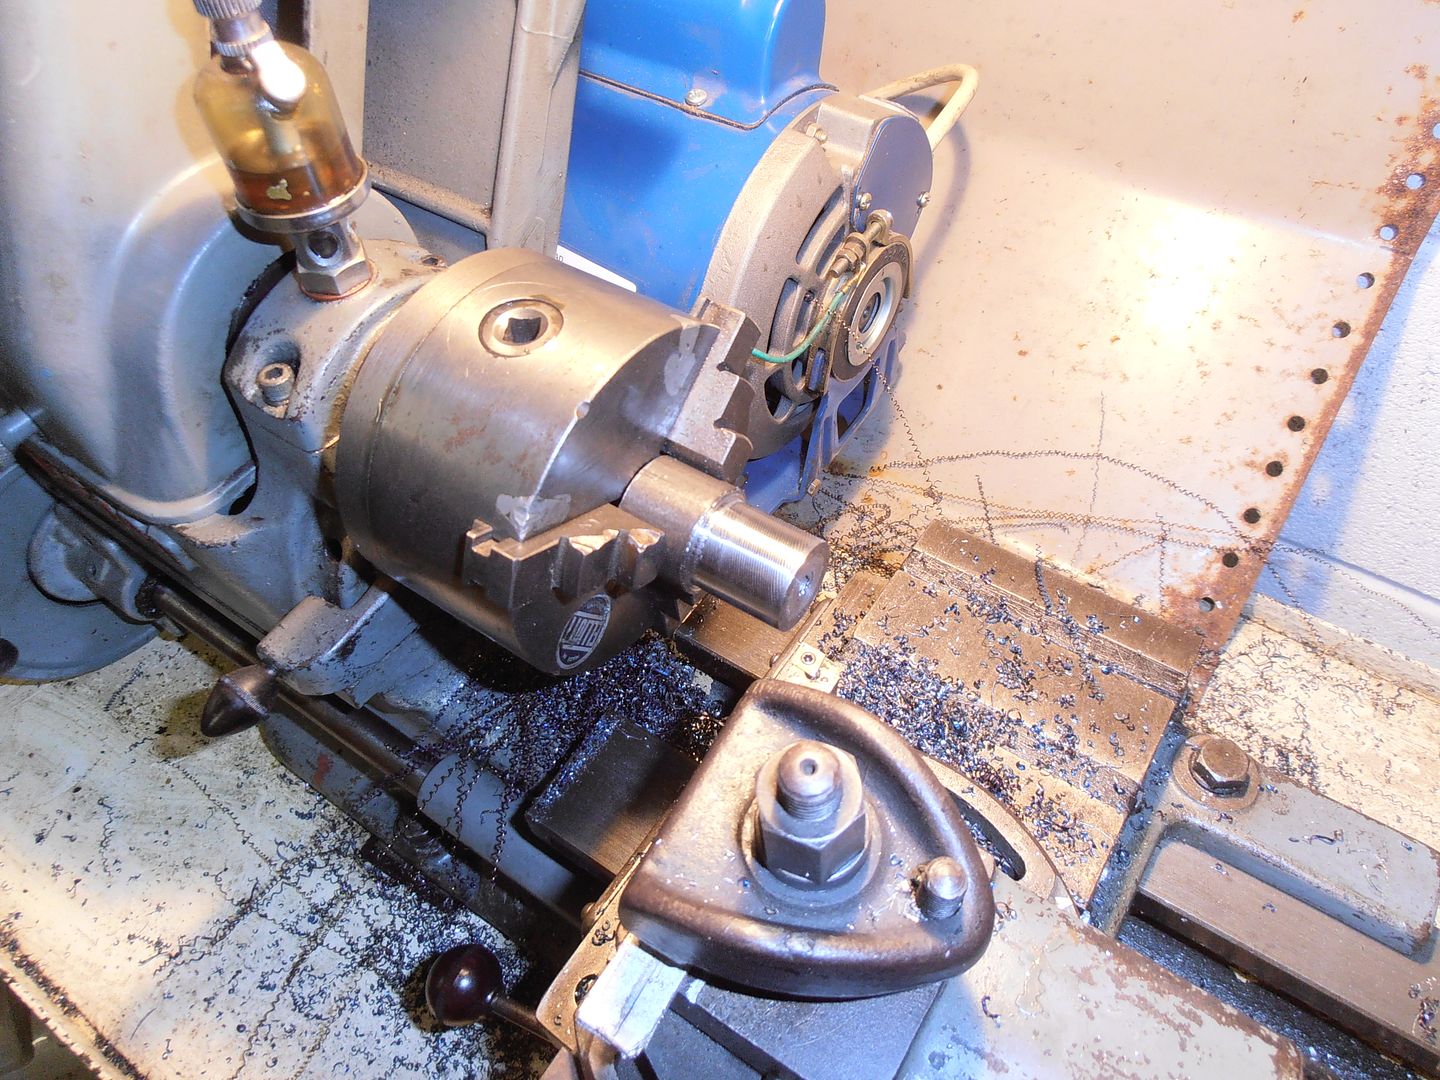 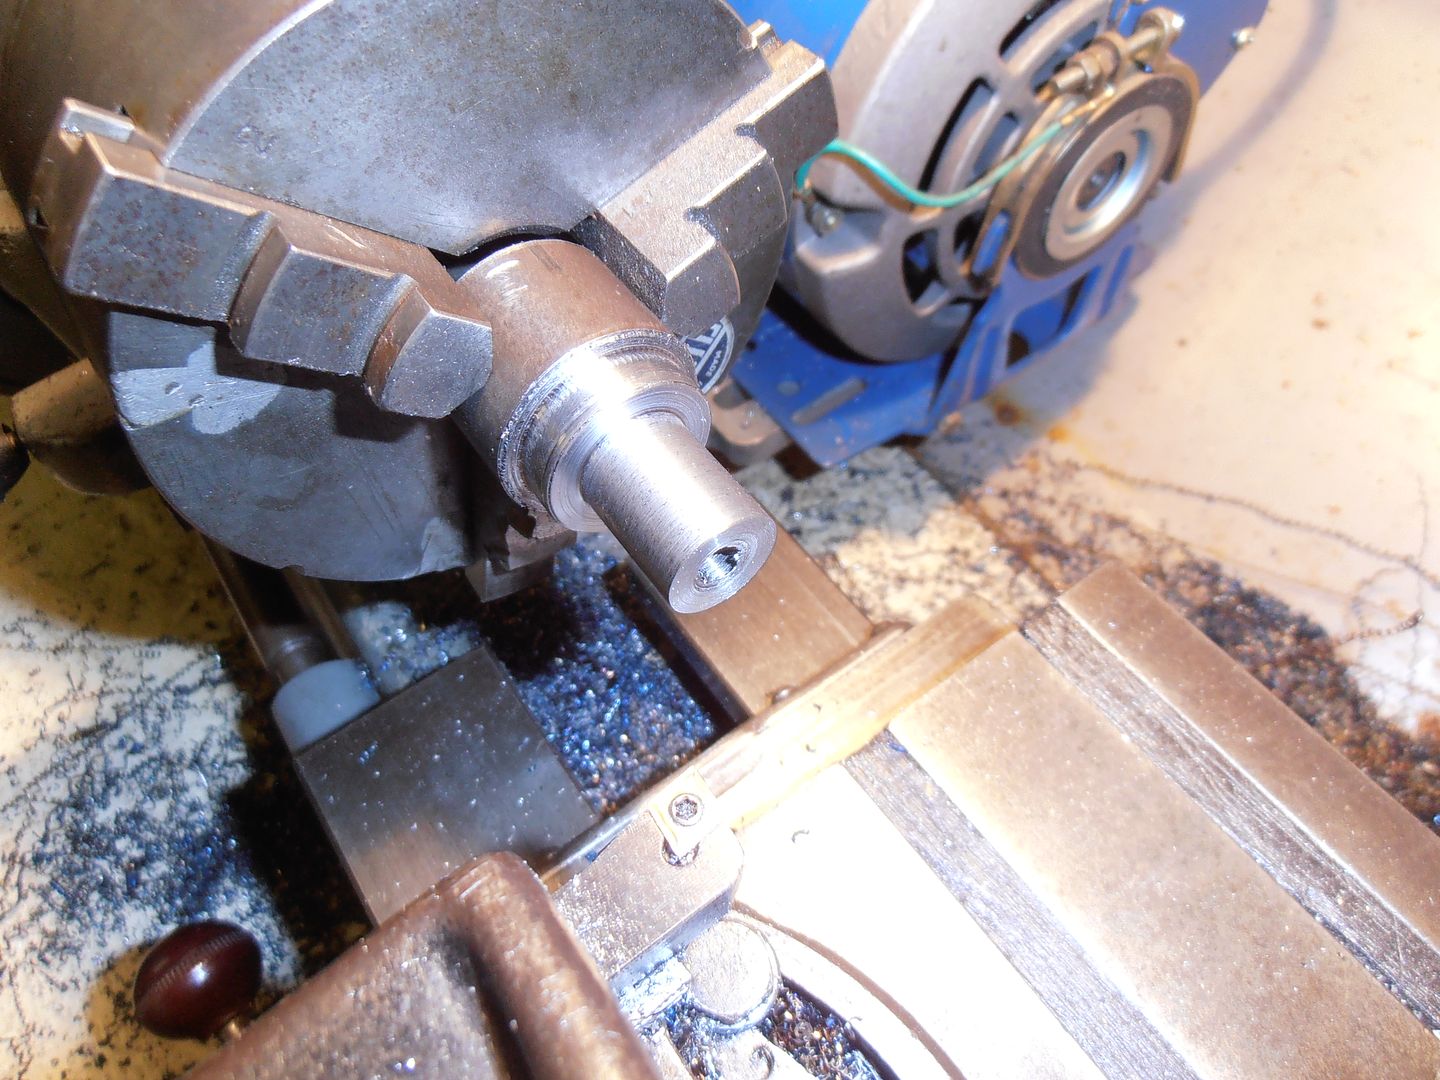 counterbore 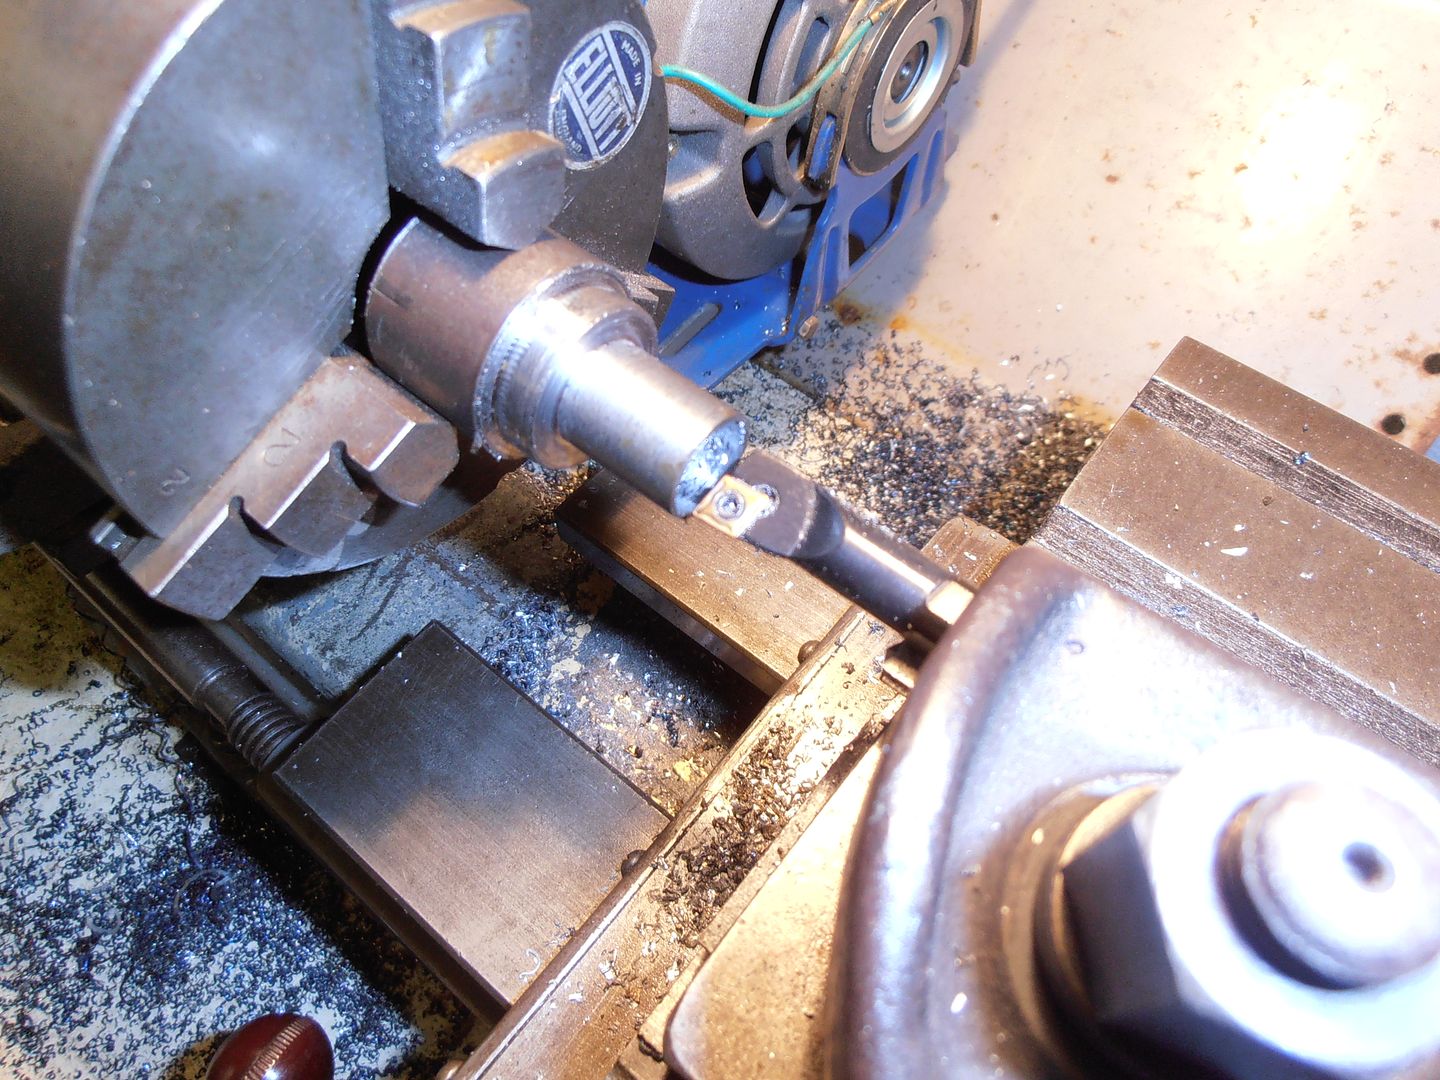 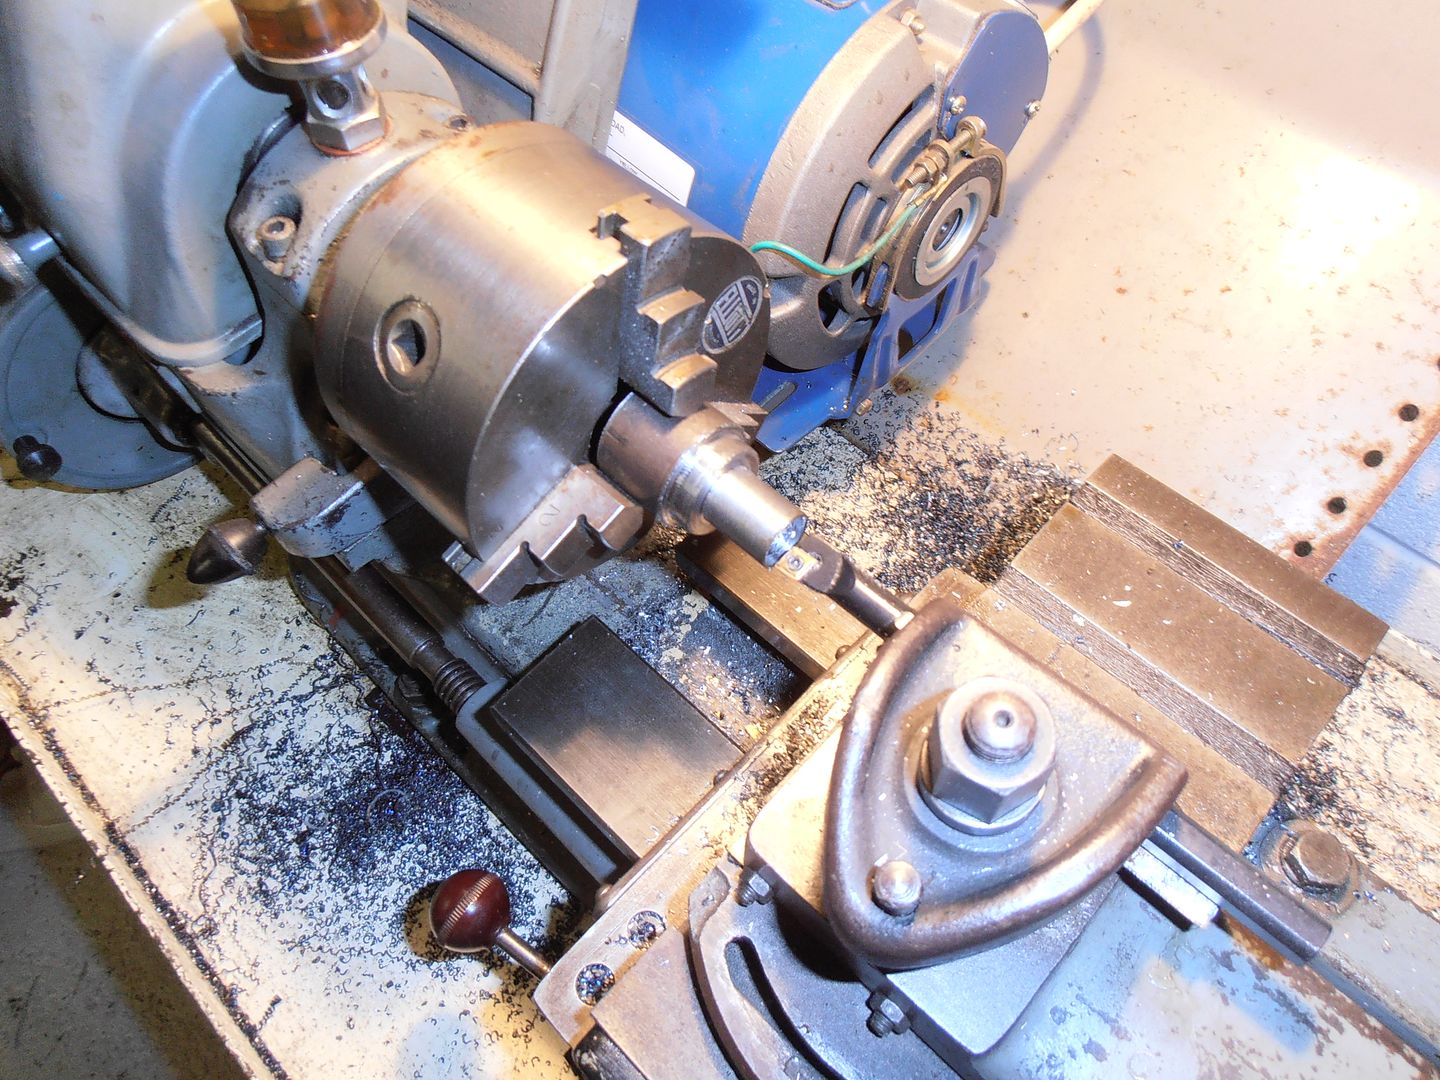 cut of and re-face 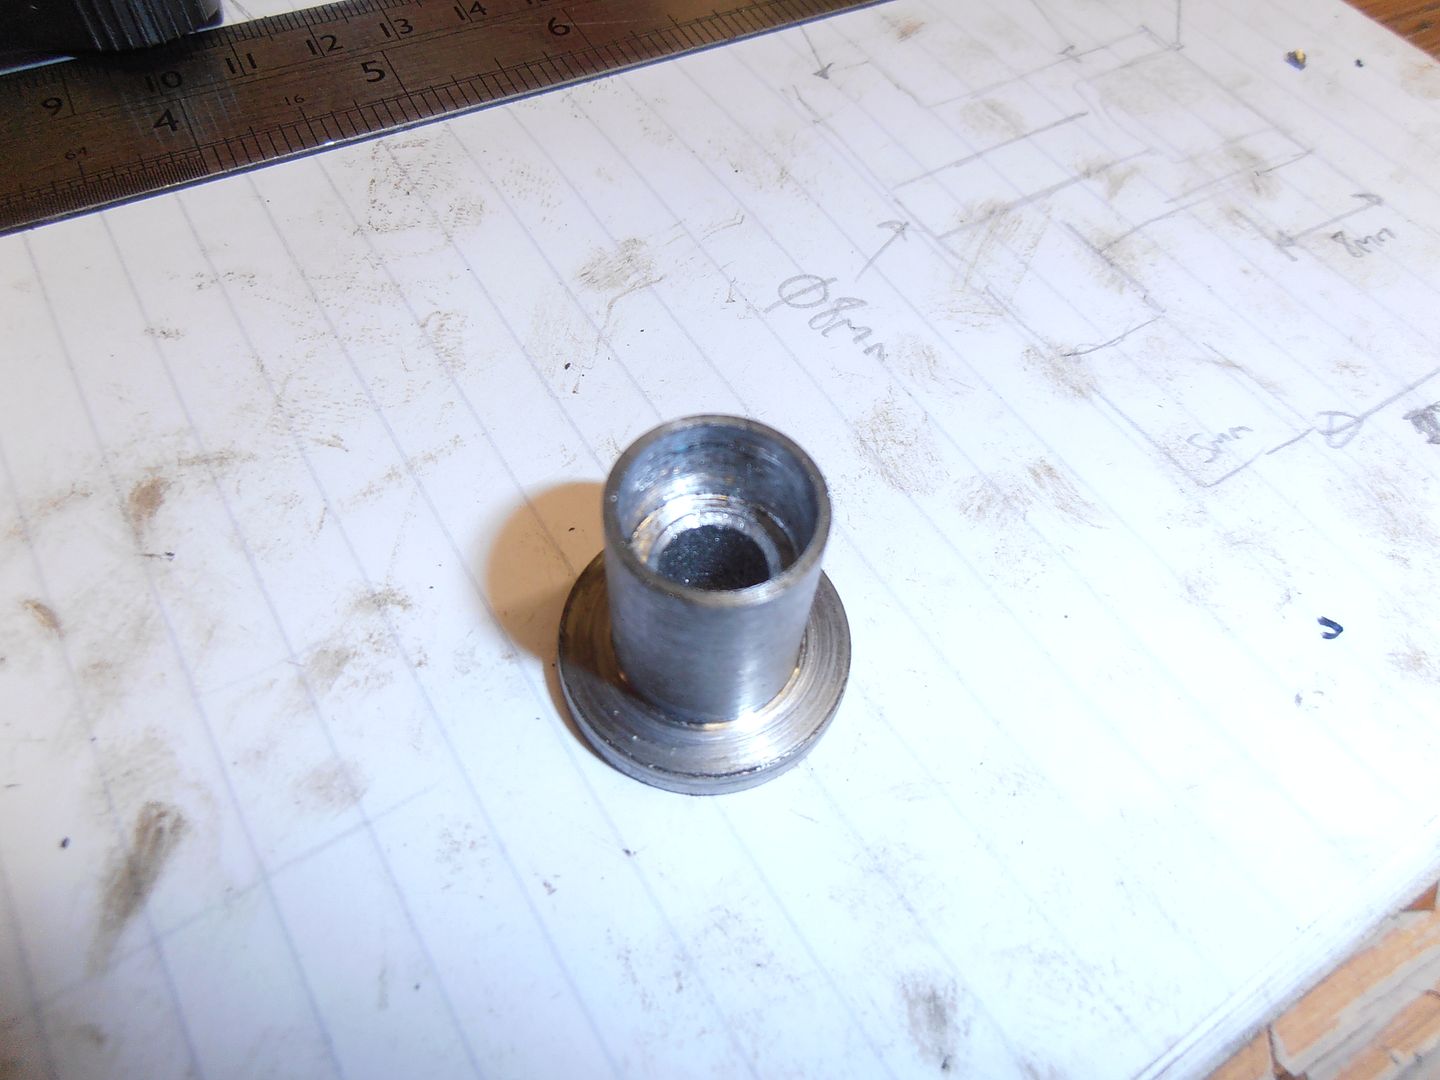 make a second one 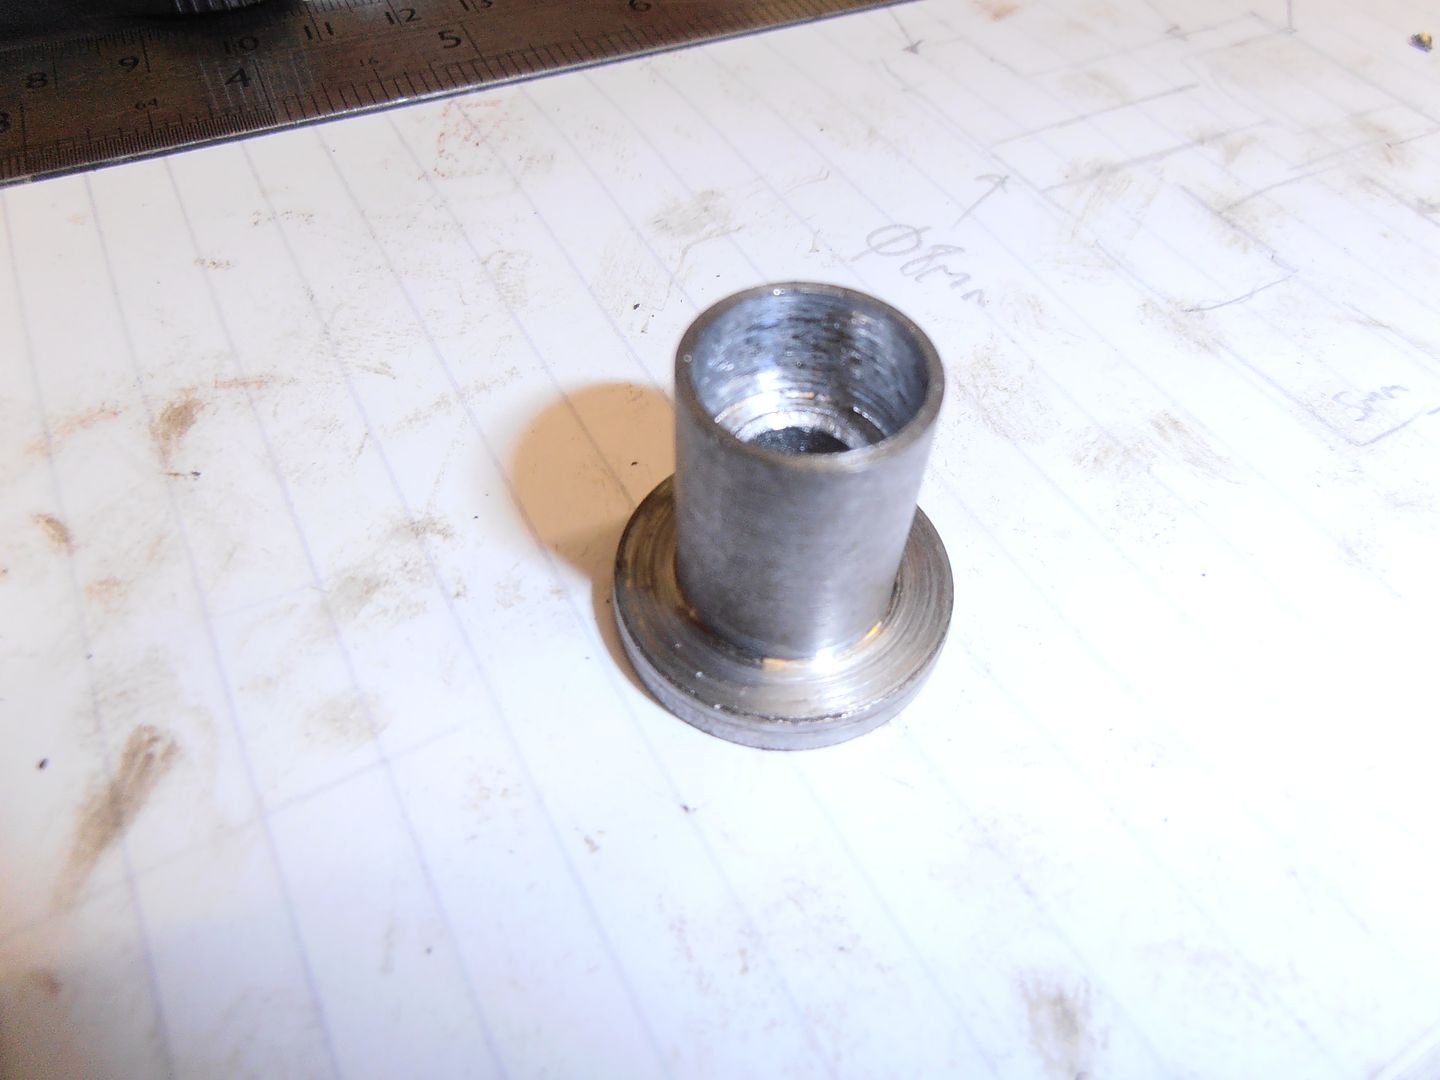 drill out a piece of tube 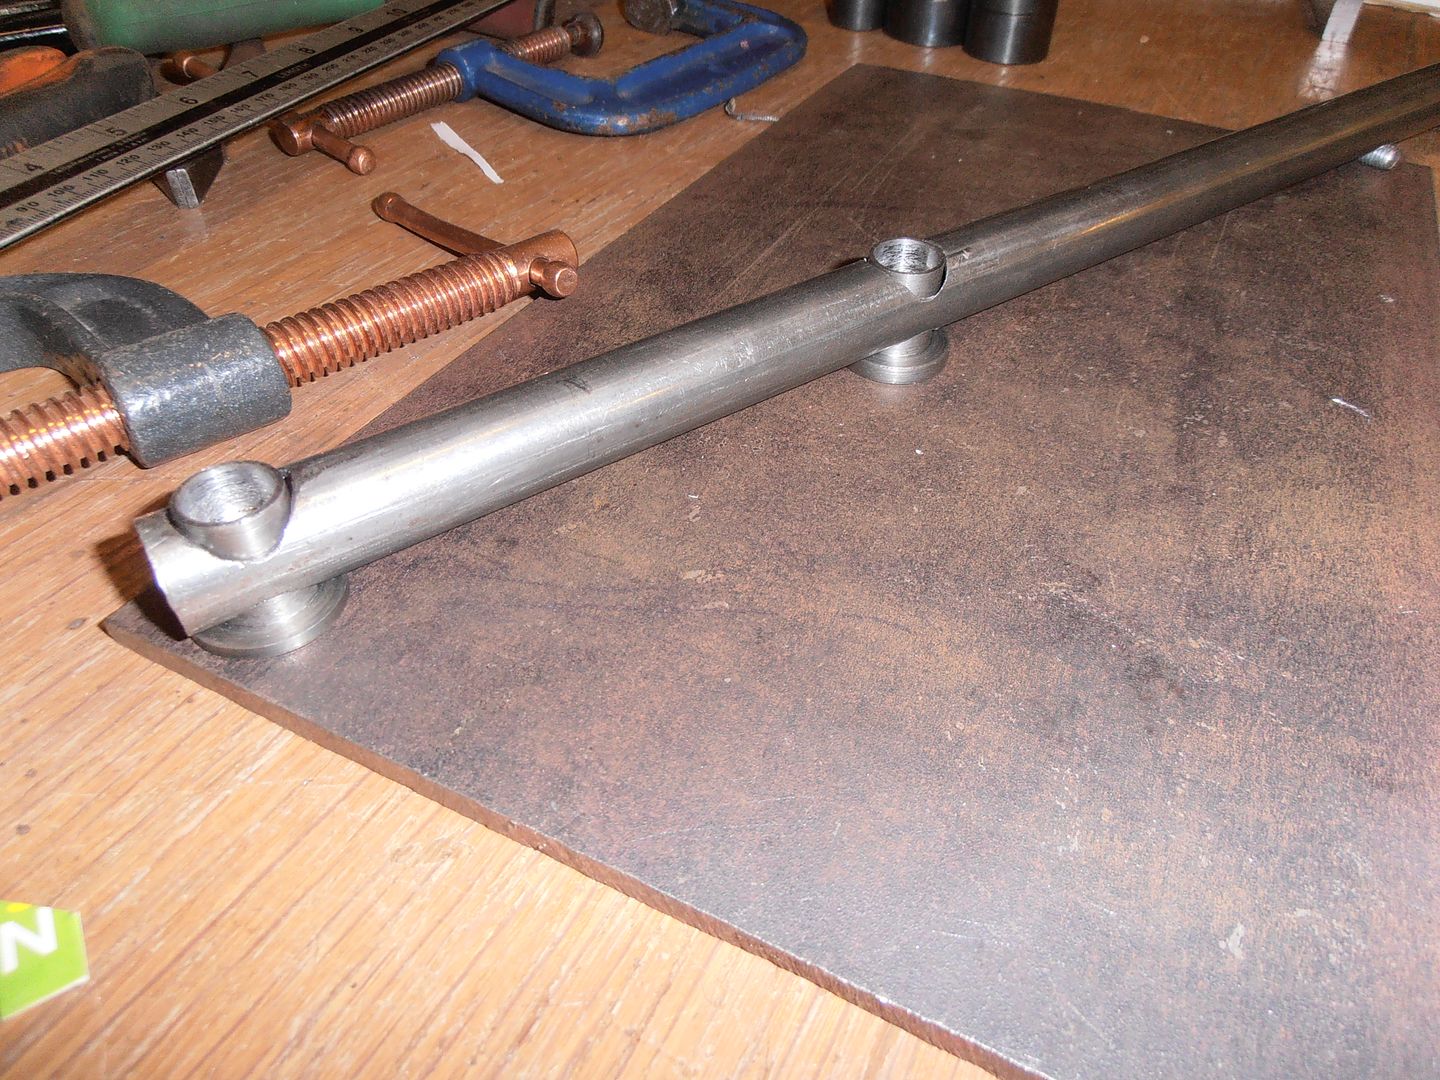 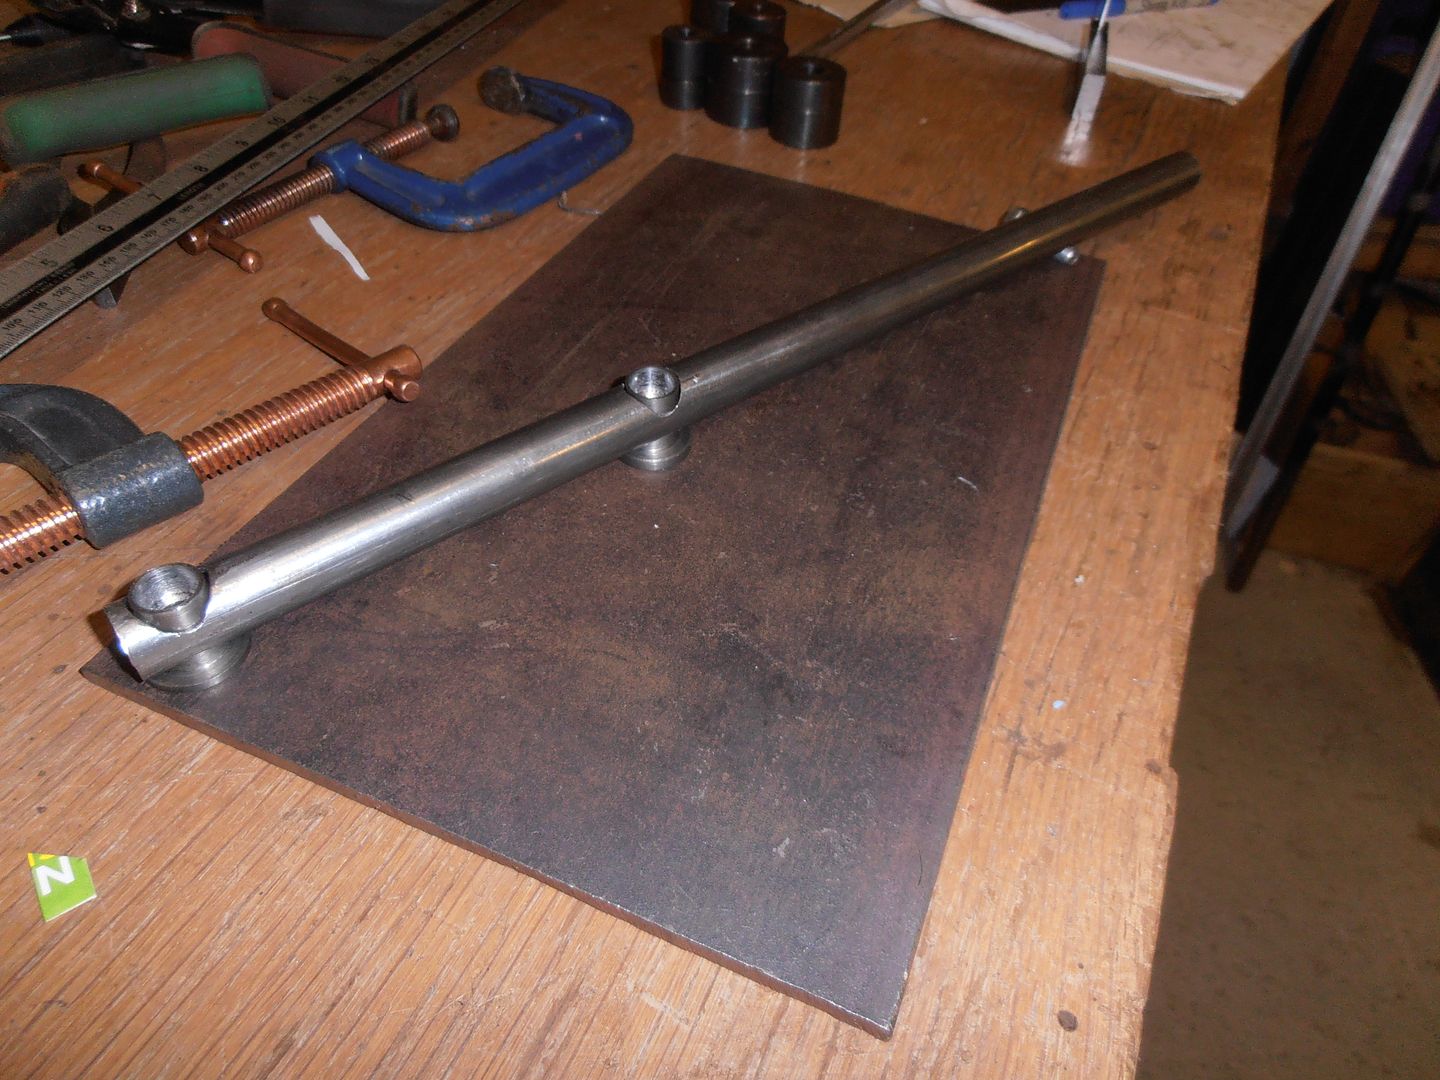 tack together this then goes inside the inner arch (one front one back) to support the weight of the wing. The bolts looked to have been pulling through on the old arches from the weight of the wing. I've got much much thinner panels so it needs something to take the load off. Hence the bars. 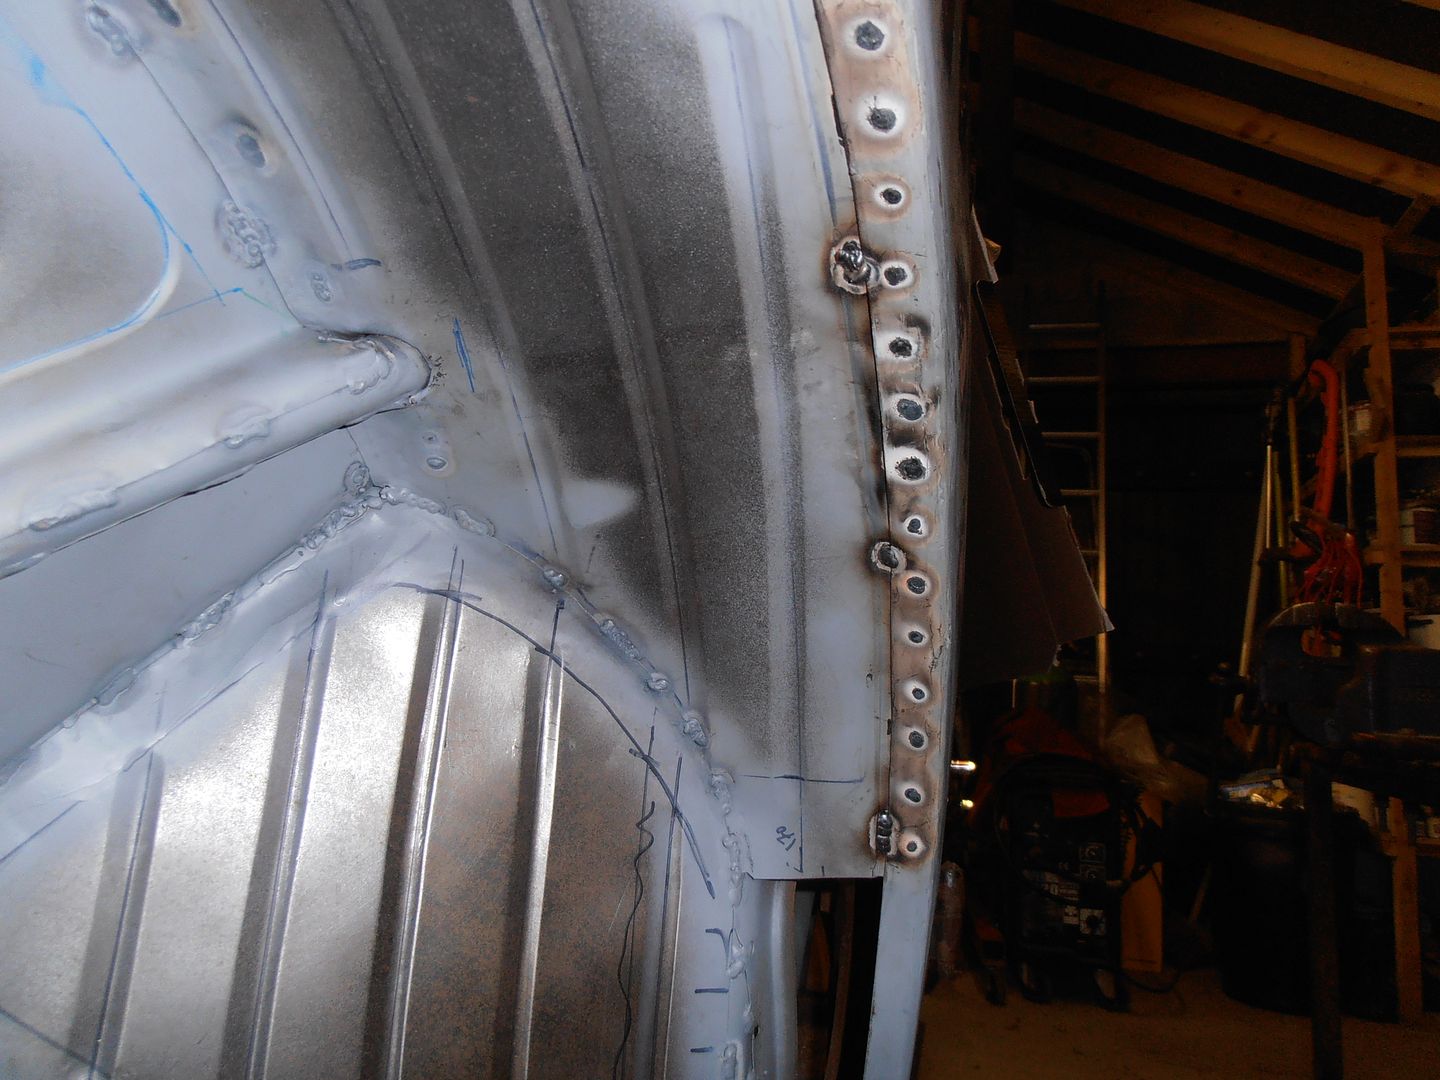 inside the car then goes a reinforcing bar with captive nuts welded in. Roughly cut out and in need of finishing 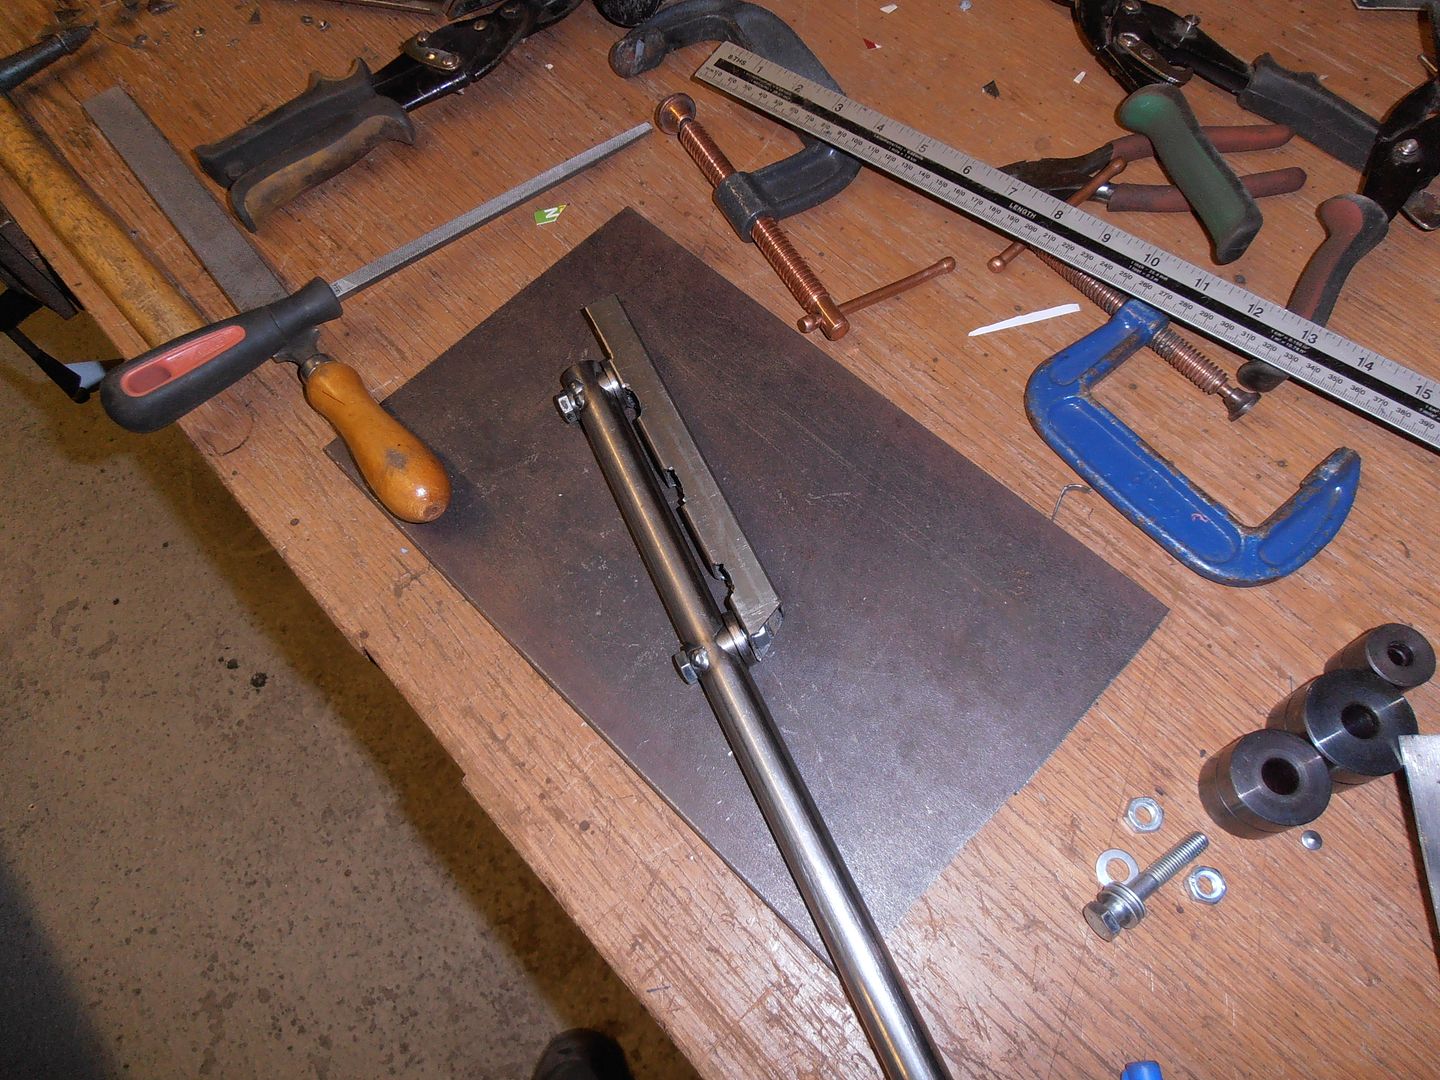 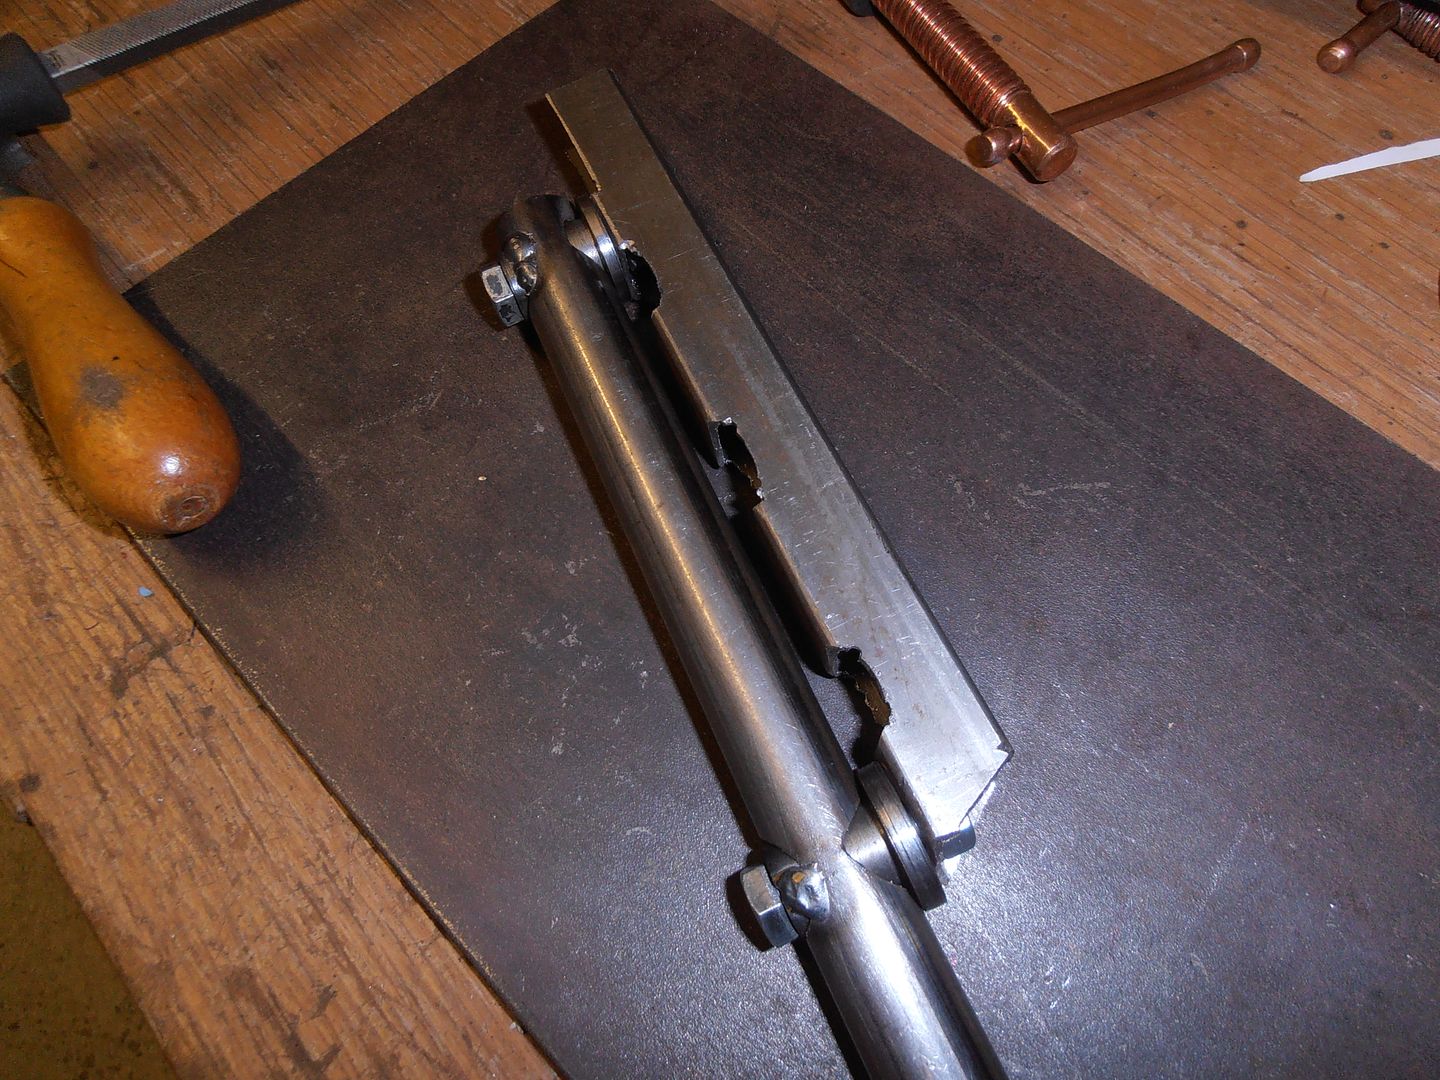 these will get welded into the car, then the wings positioned afterwards. The wings will also have a ring of bolts to hold them in position. i've got two of these per arch, so need 6 more bobbins. I'm buying some 25mm bar as turning down 40mm took ages and was a waste. |
| |
|
|
jonomisfit
Club Retro Rides Member
Posts: 1,787
Club RR Member Number: 49
|
|
|
|
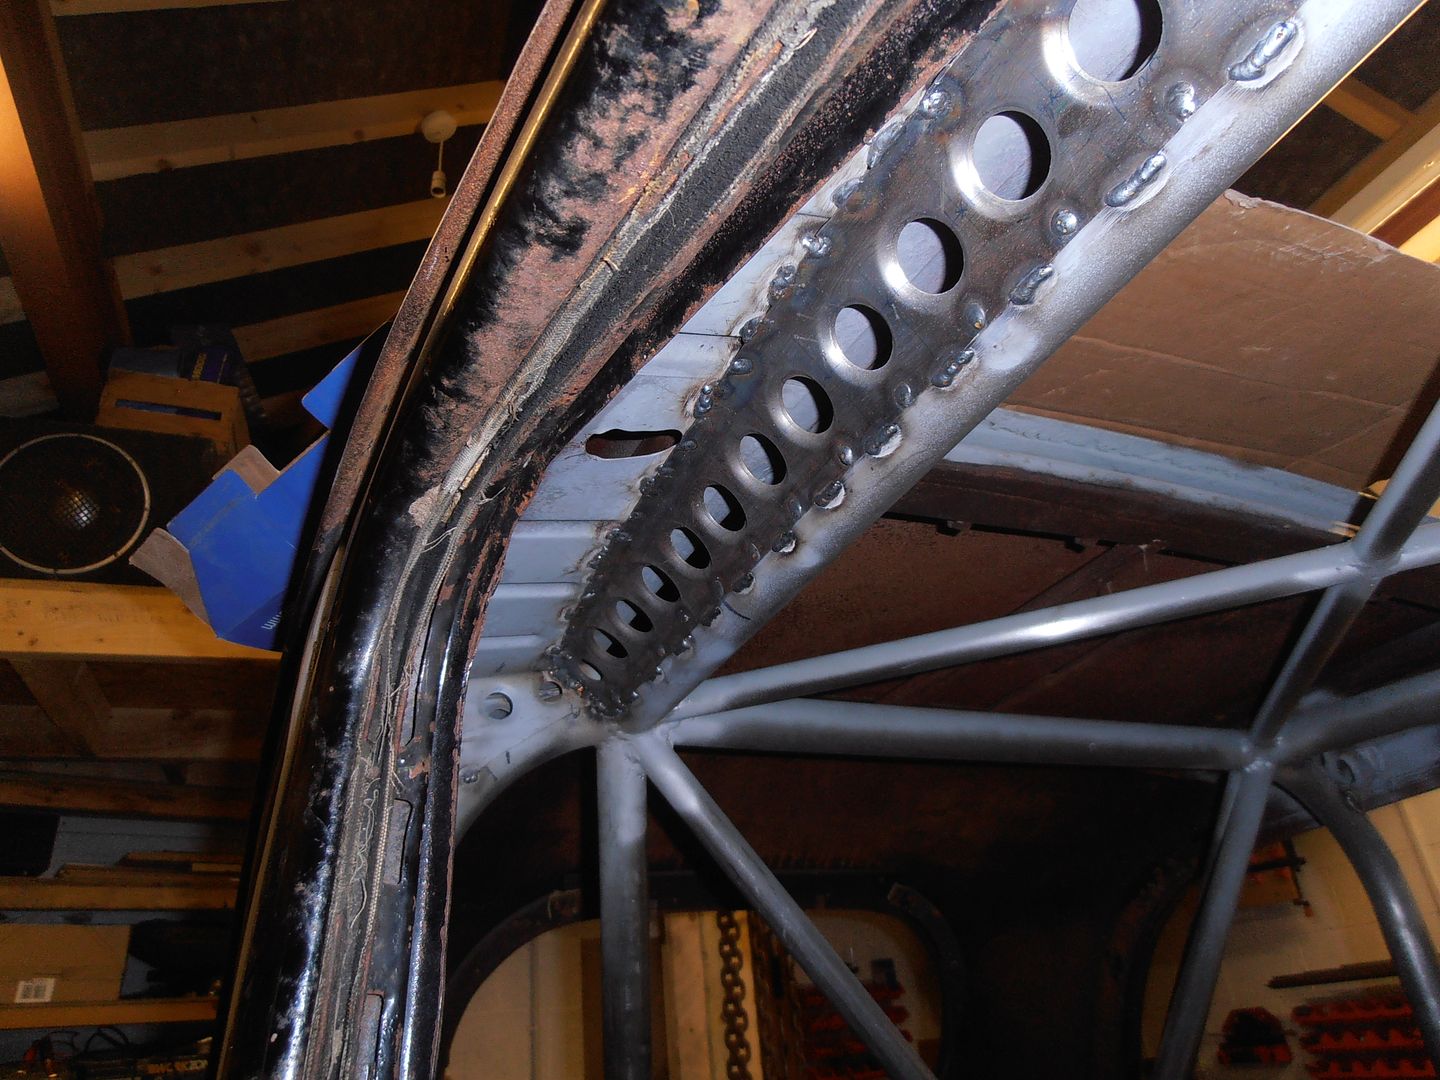
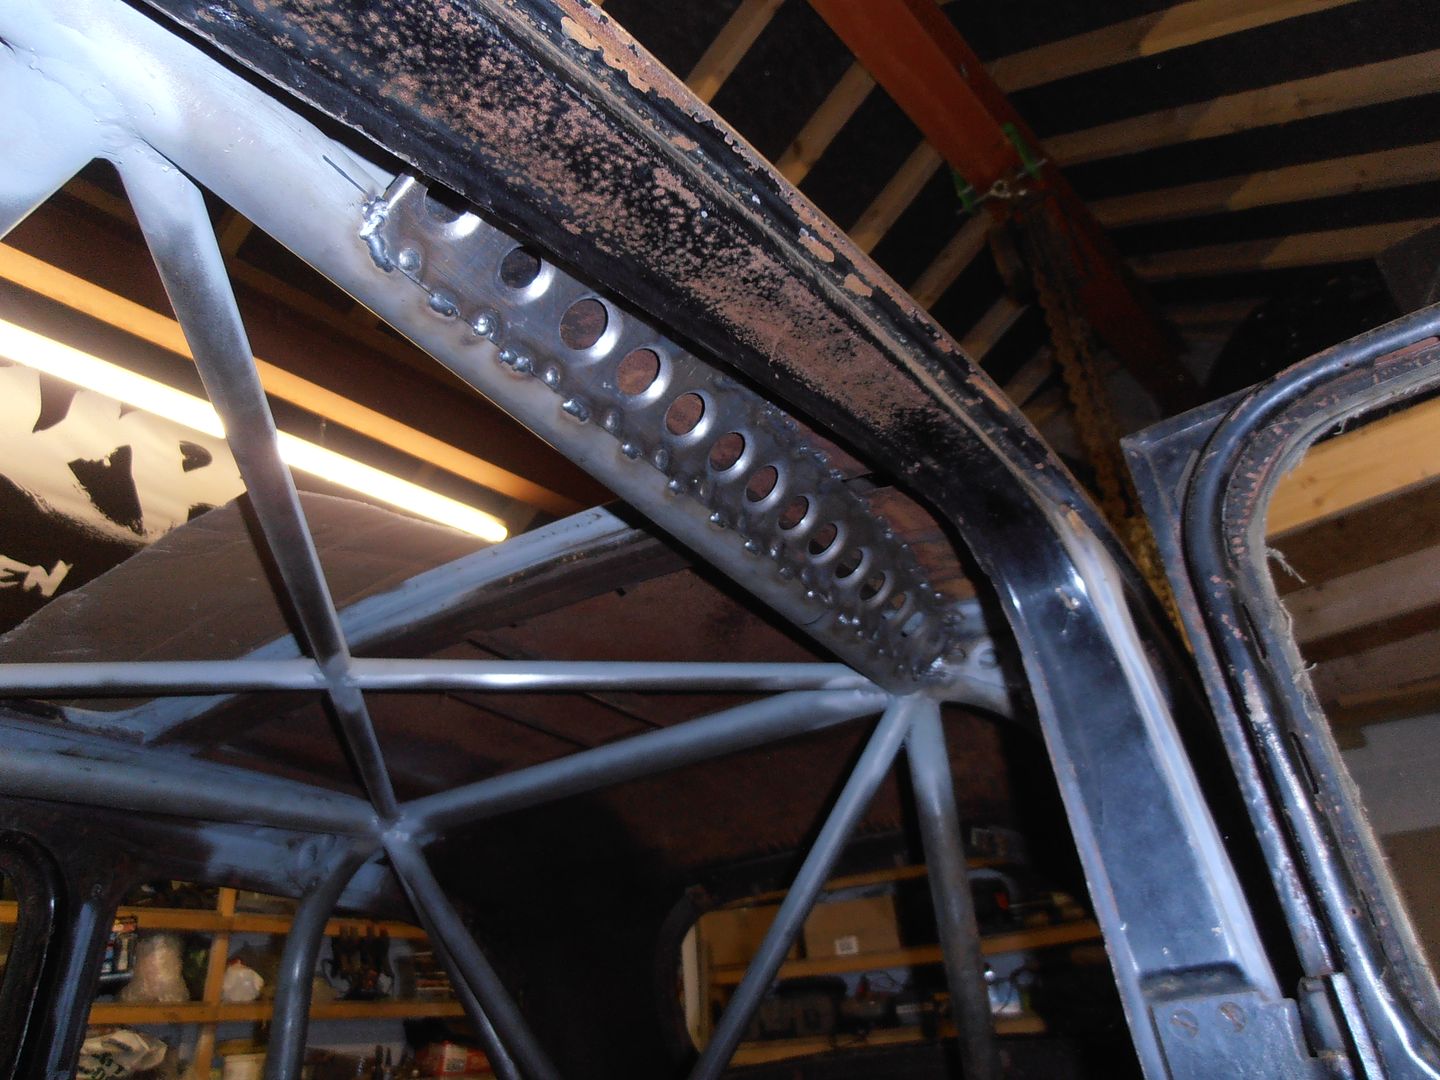
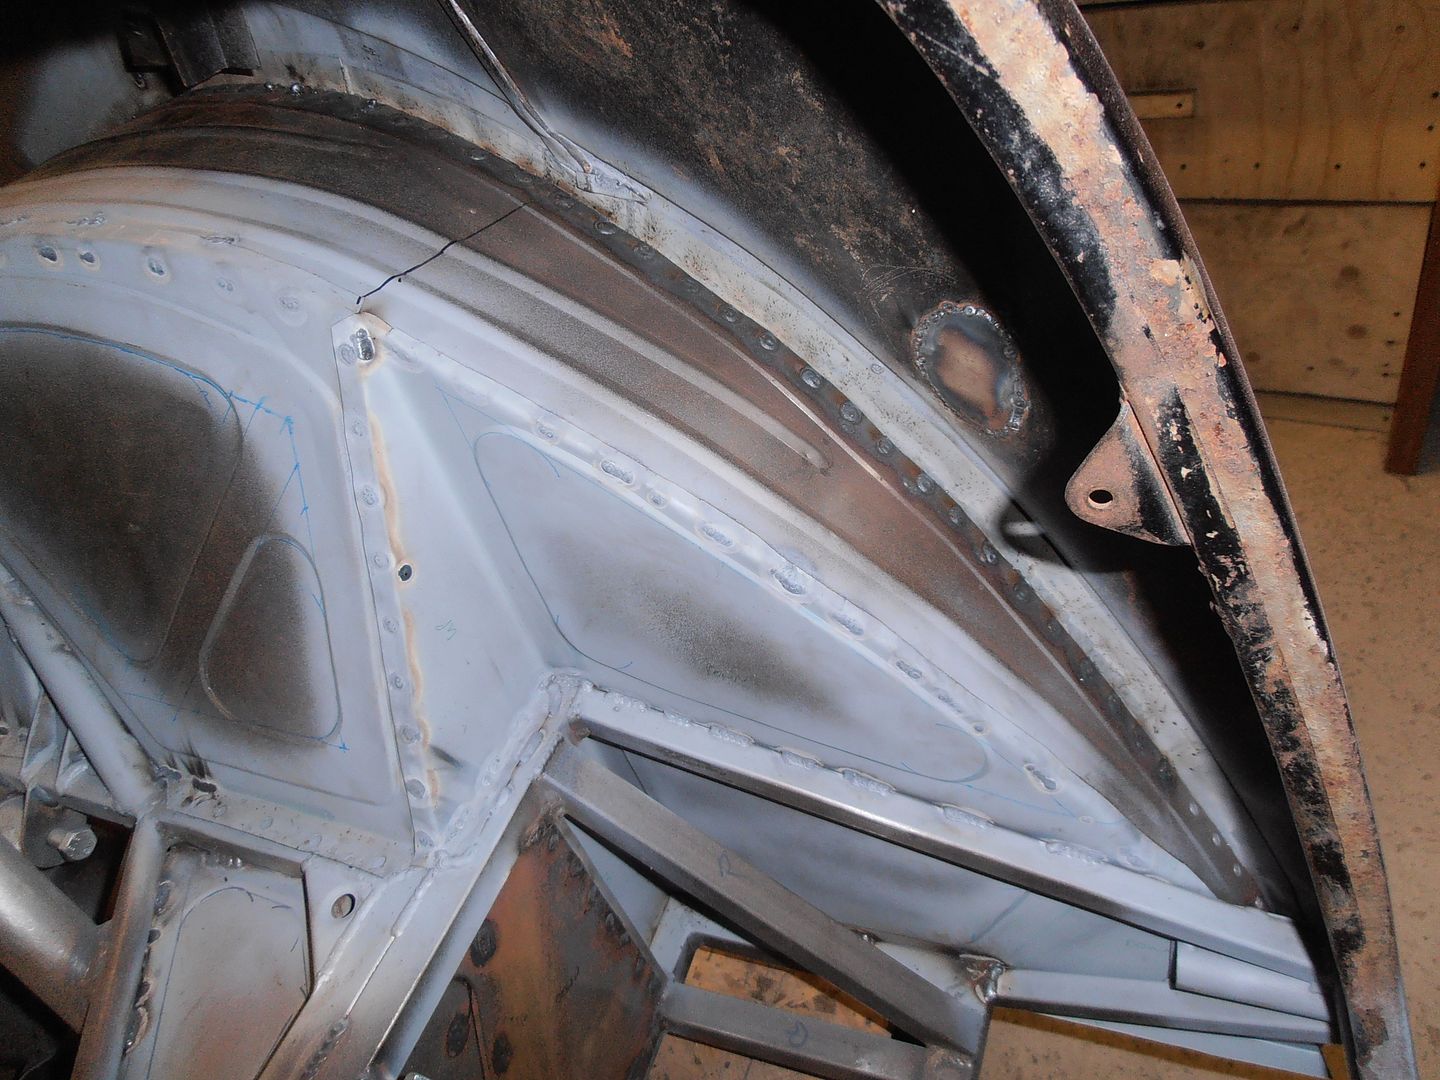
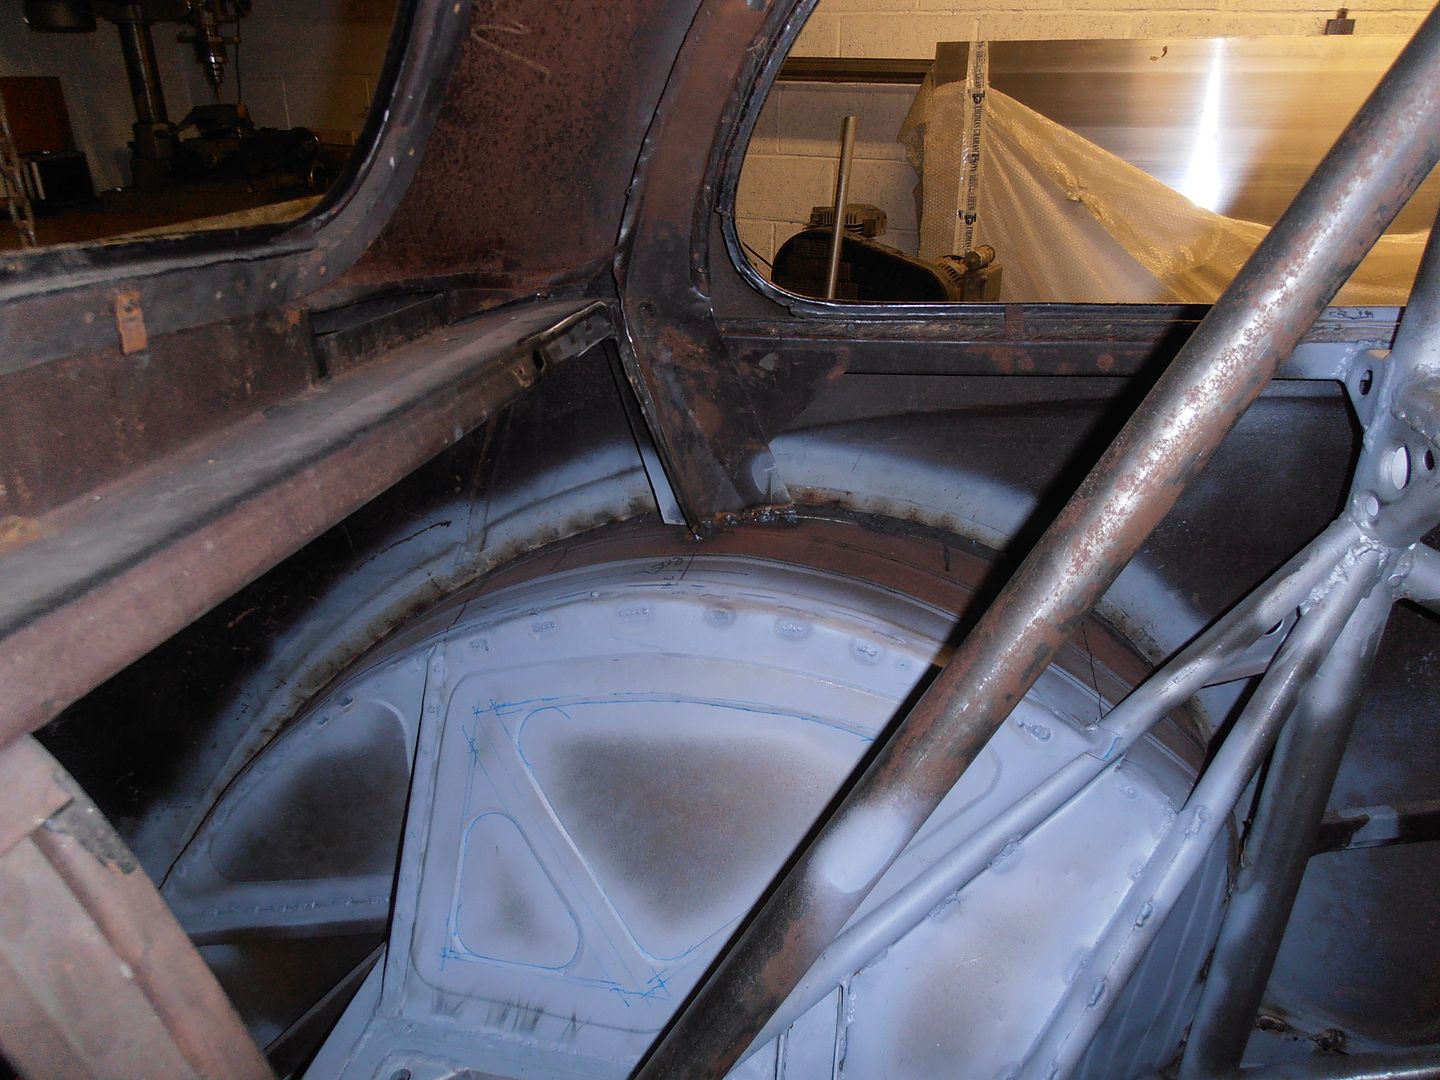
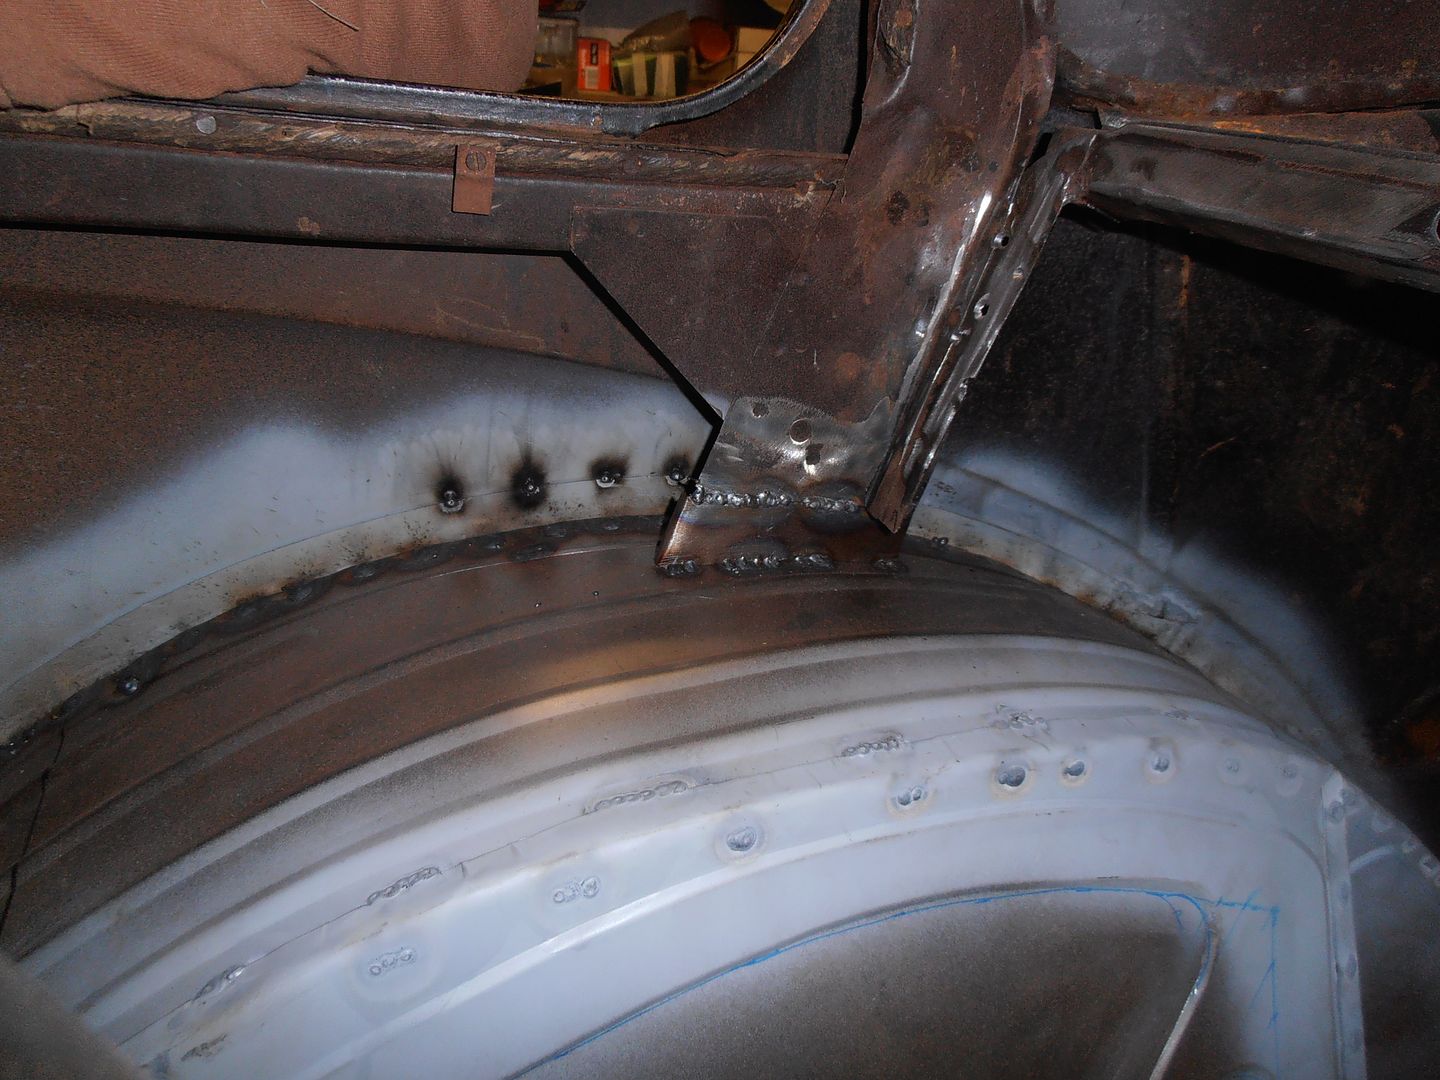
Some slight progress. Been suffering with severe motivation atrophy at present, so progress has been slow. I tacked in the internal mount for the rear arch support 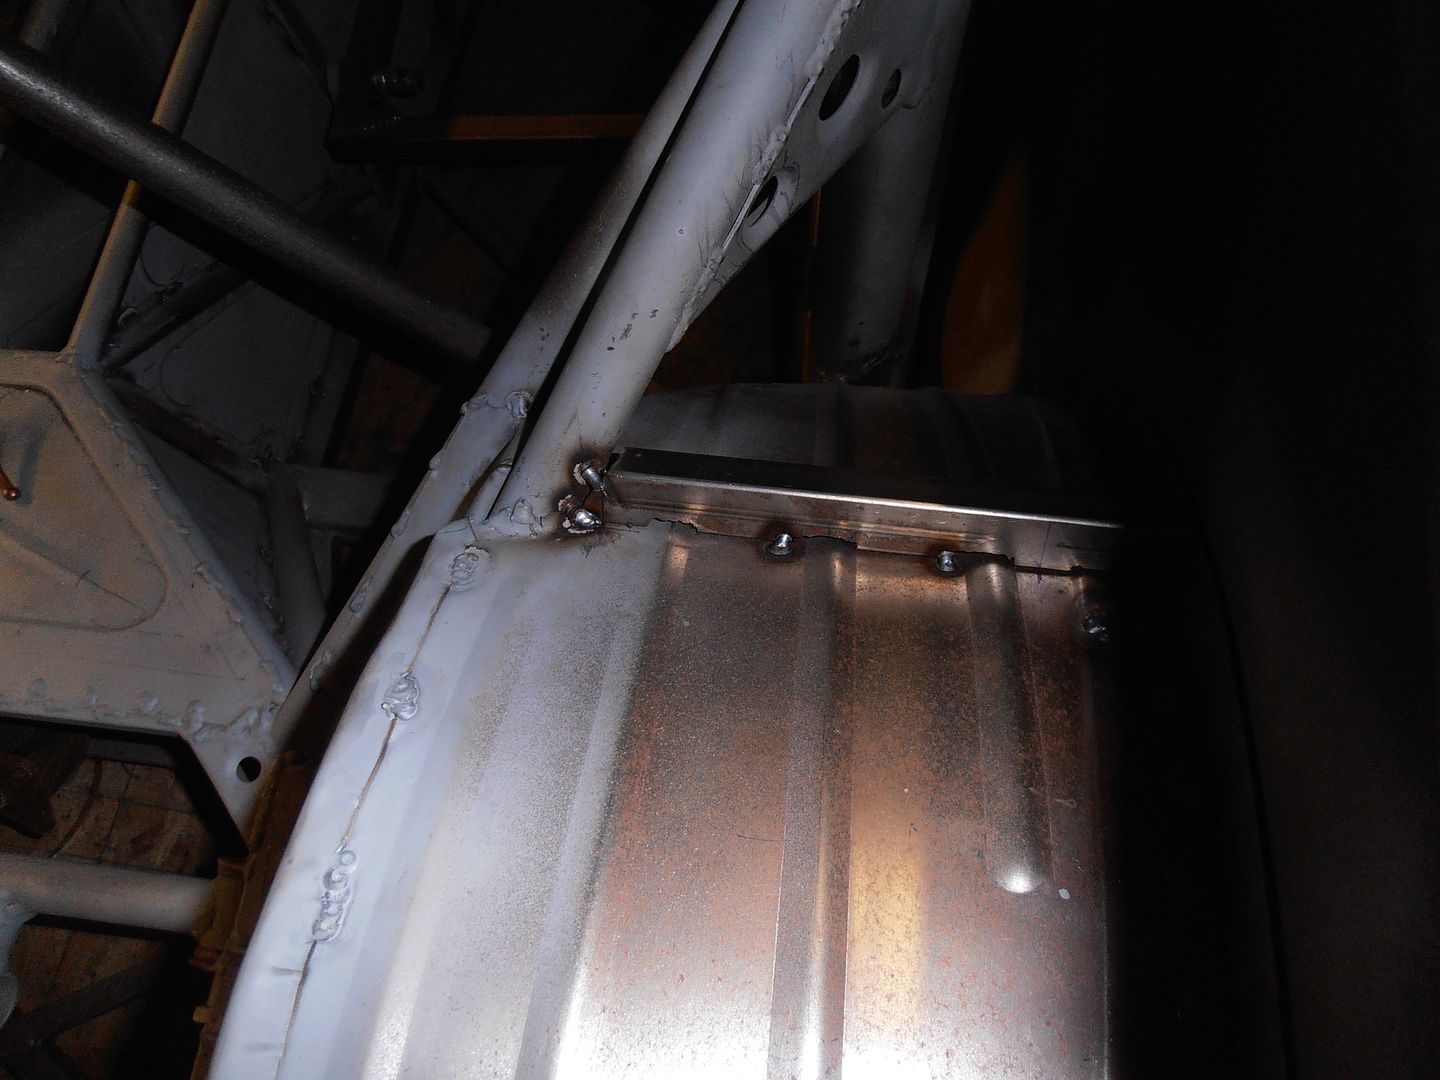 Drilled the holes, and got it lined up 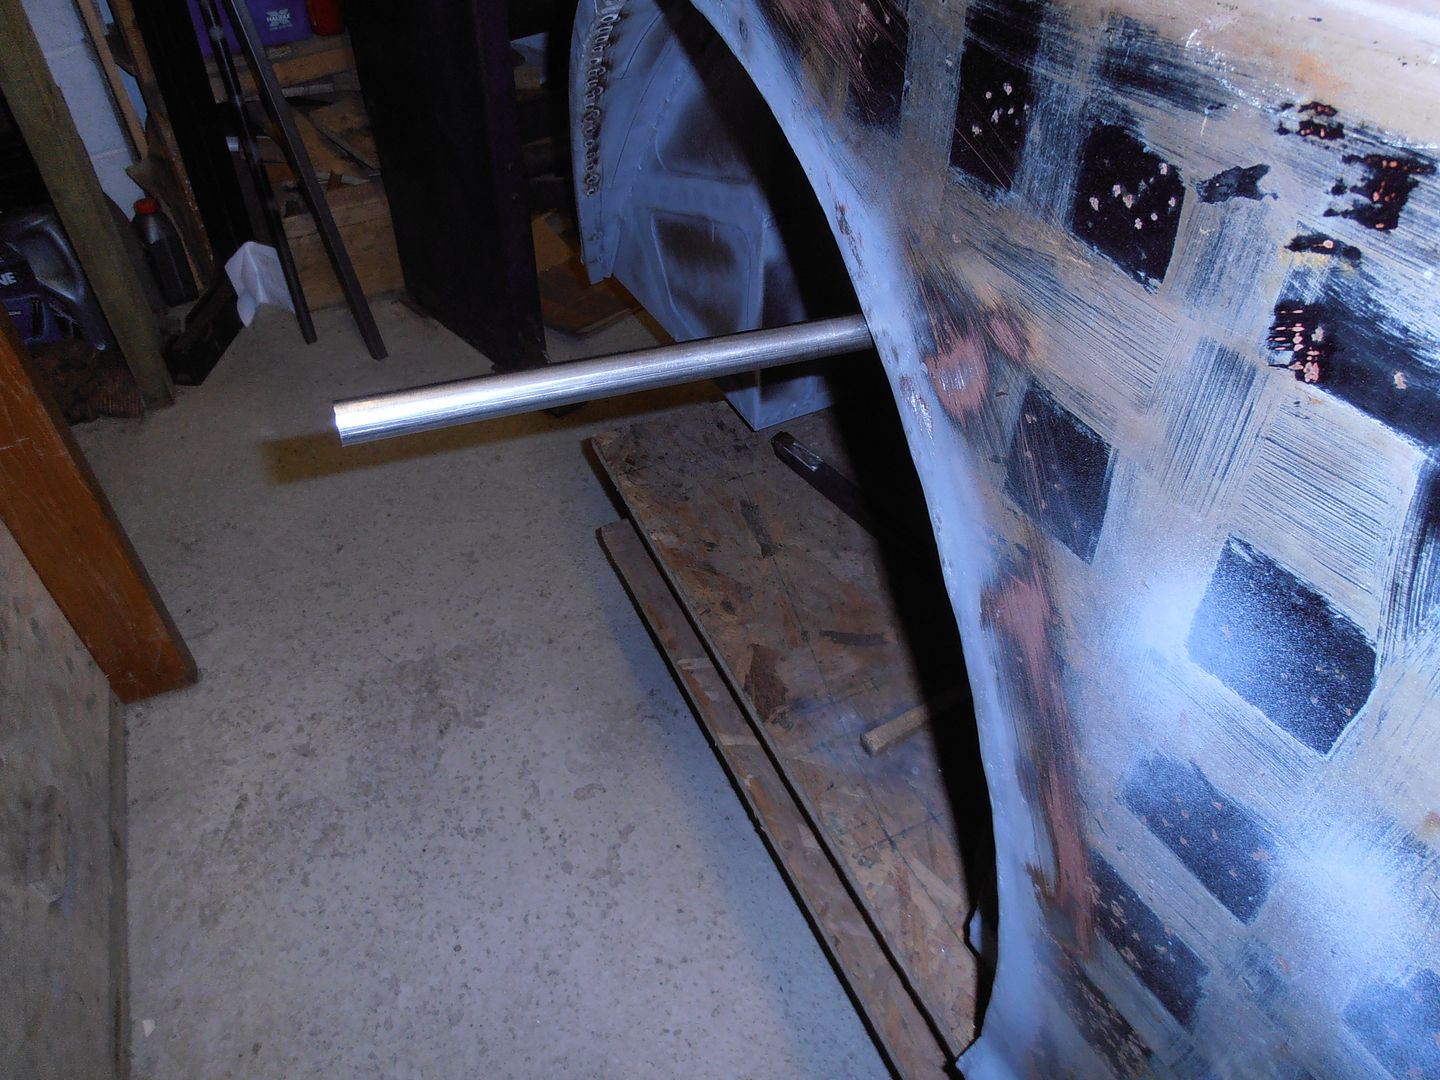 I forgot to buy cap head bolts the right length, so please excuse the any old bolts the right diam fitted 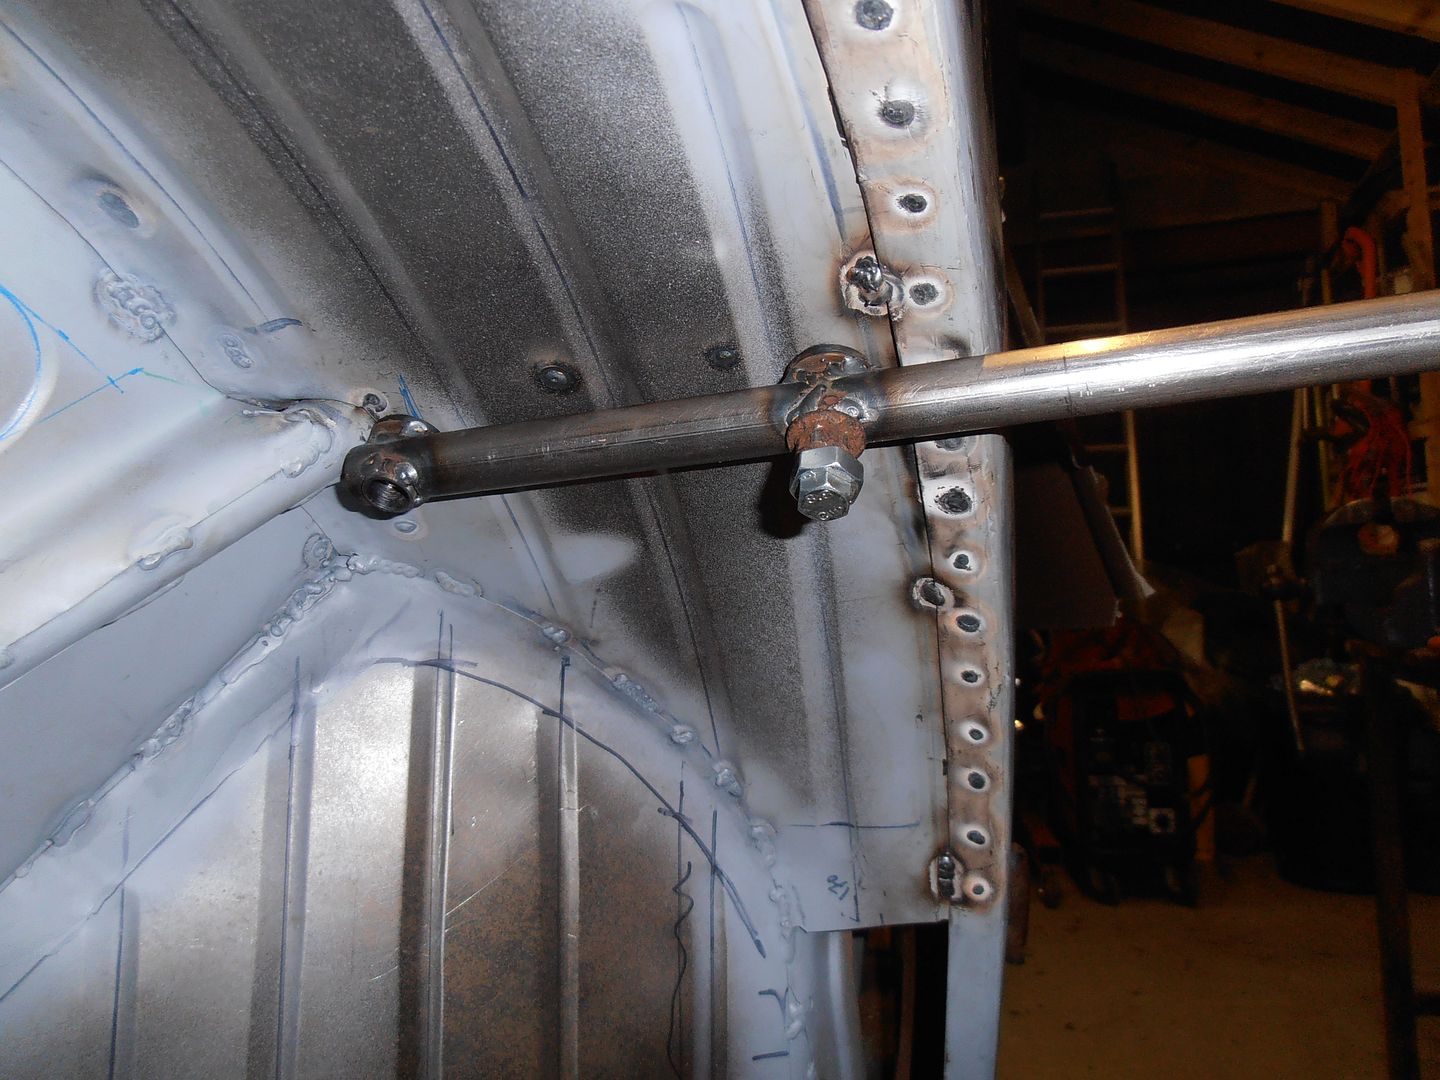 made up the rear mount 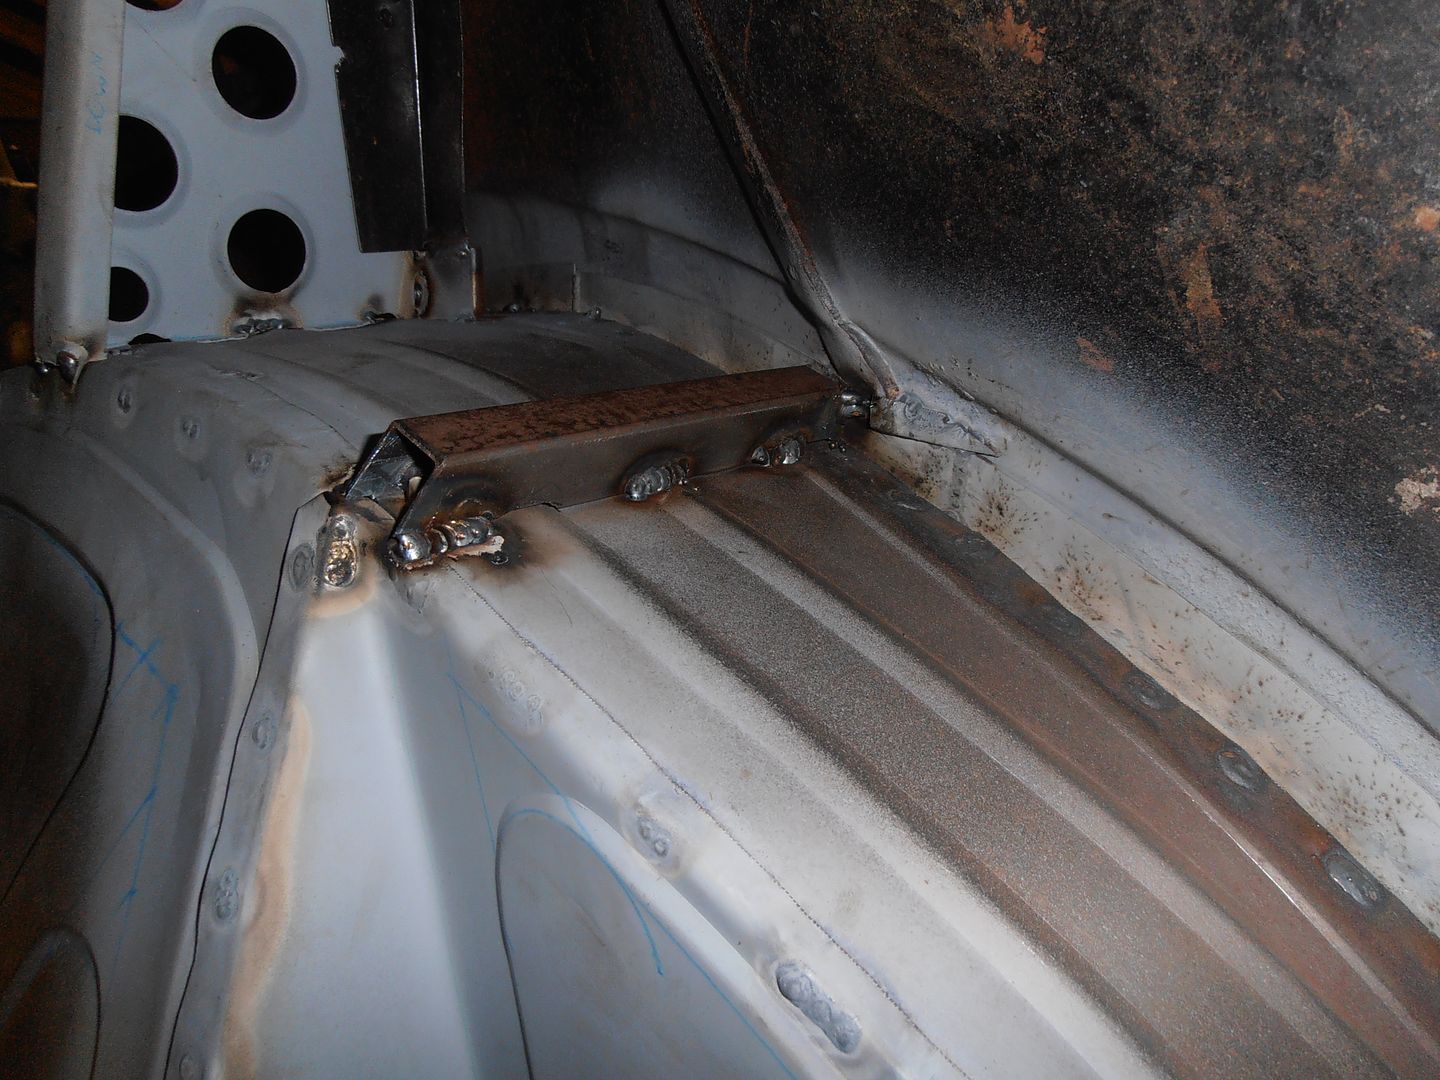 bolted in and trimmed both to the same length 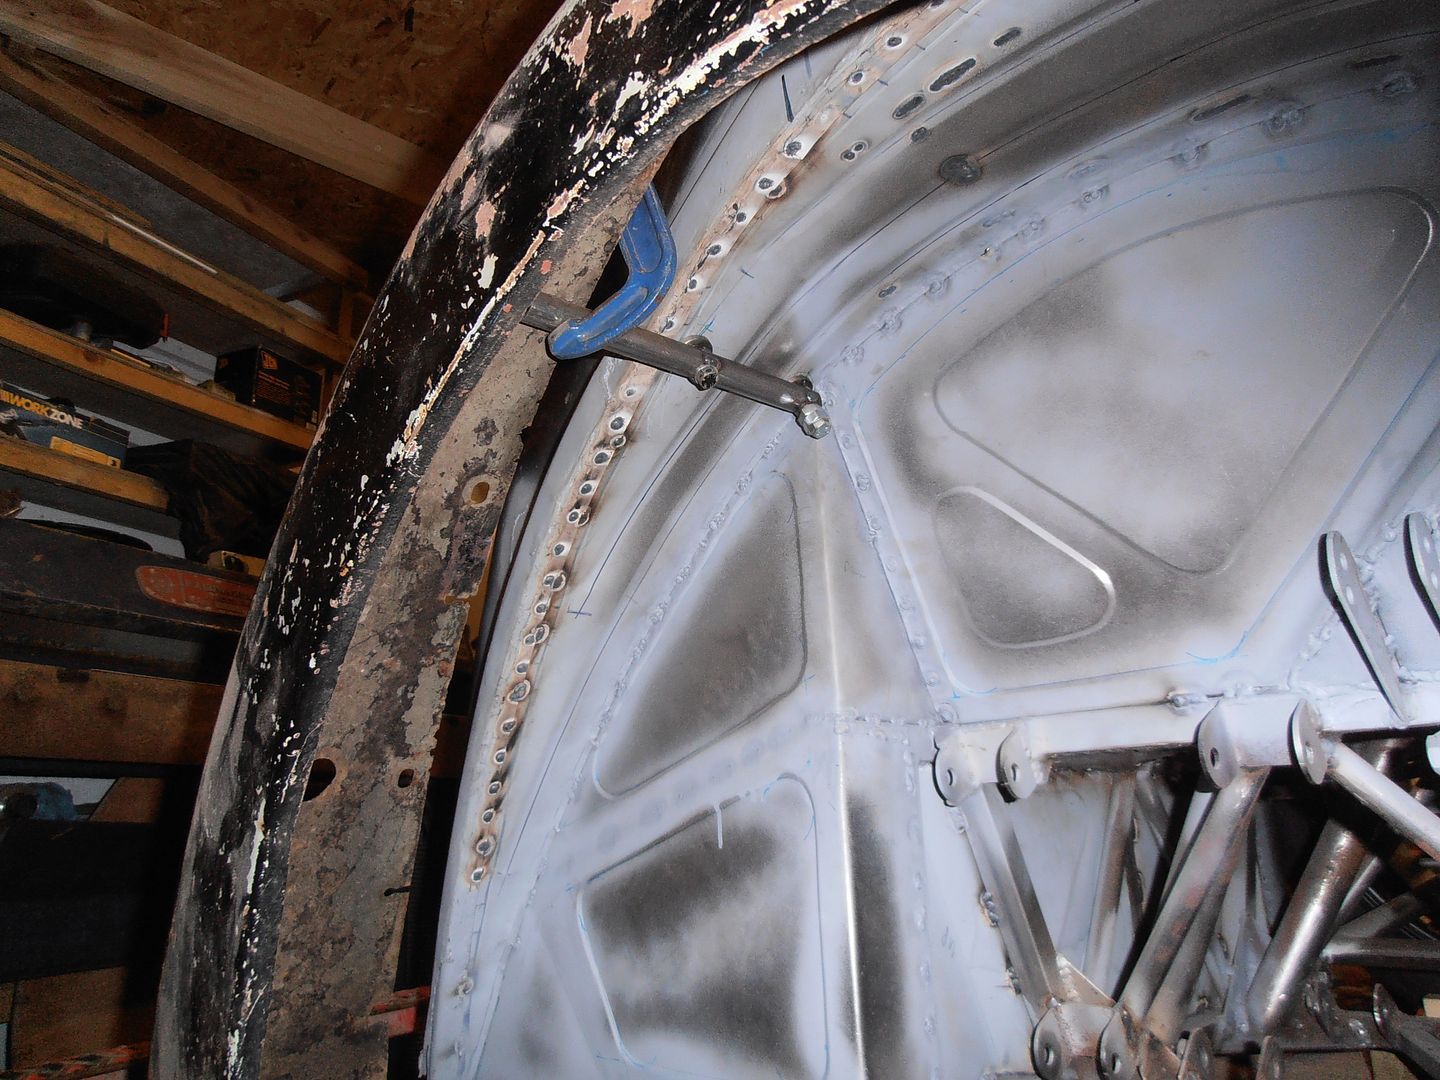 then roughly clamped the arch in place 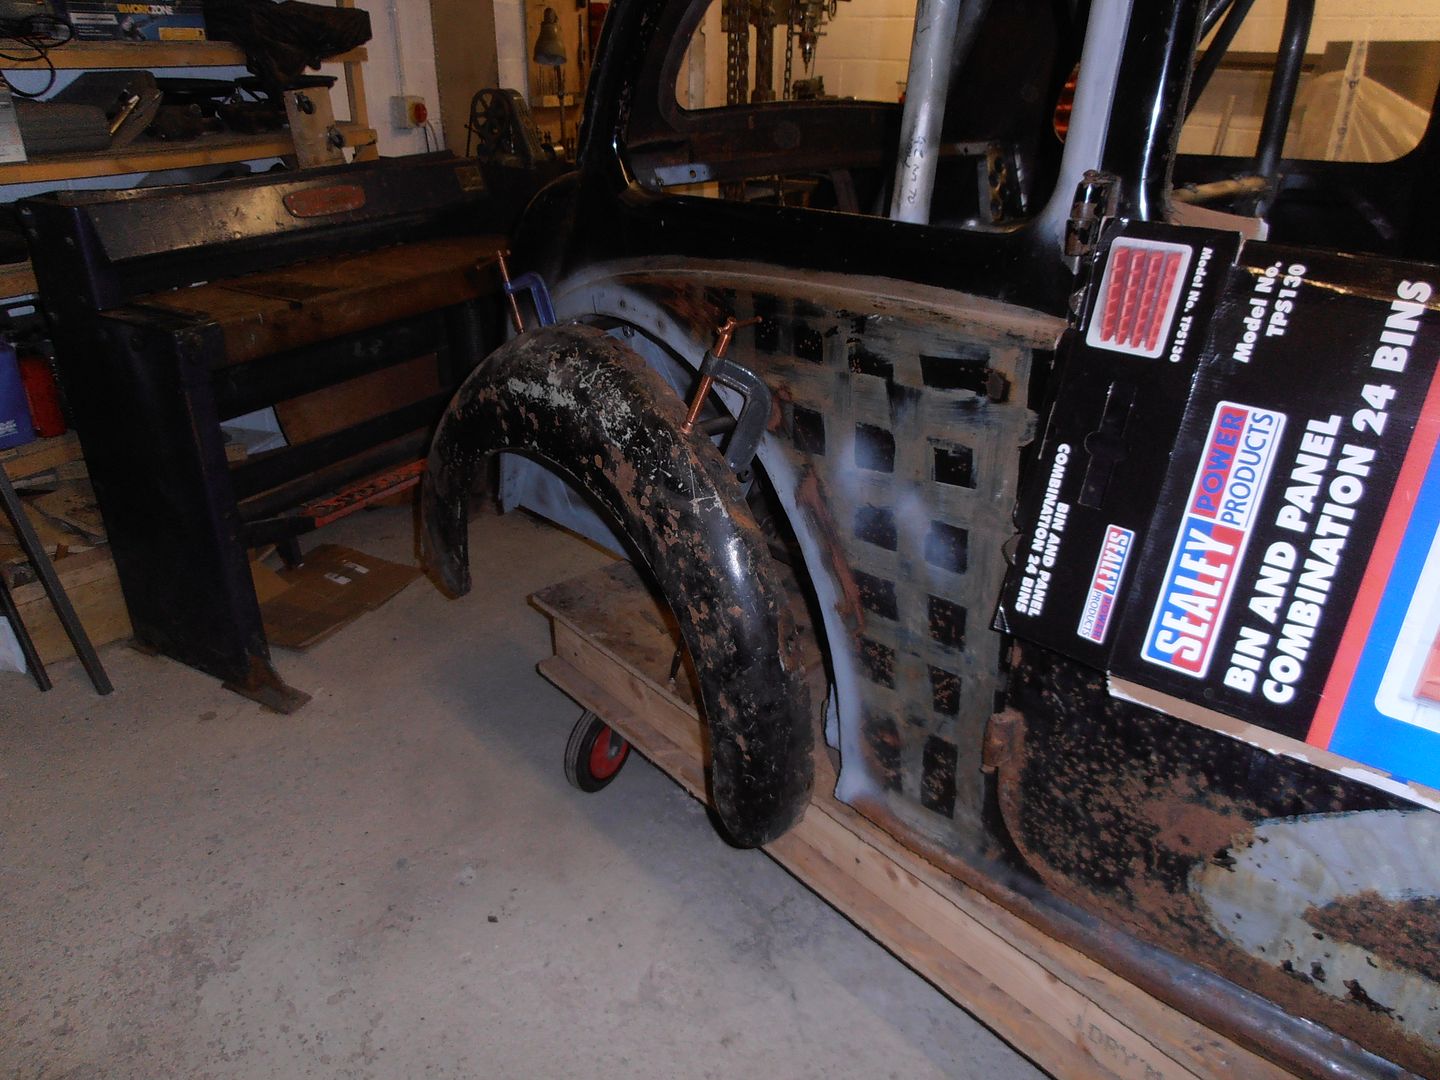 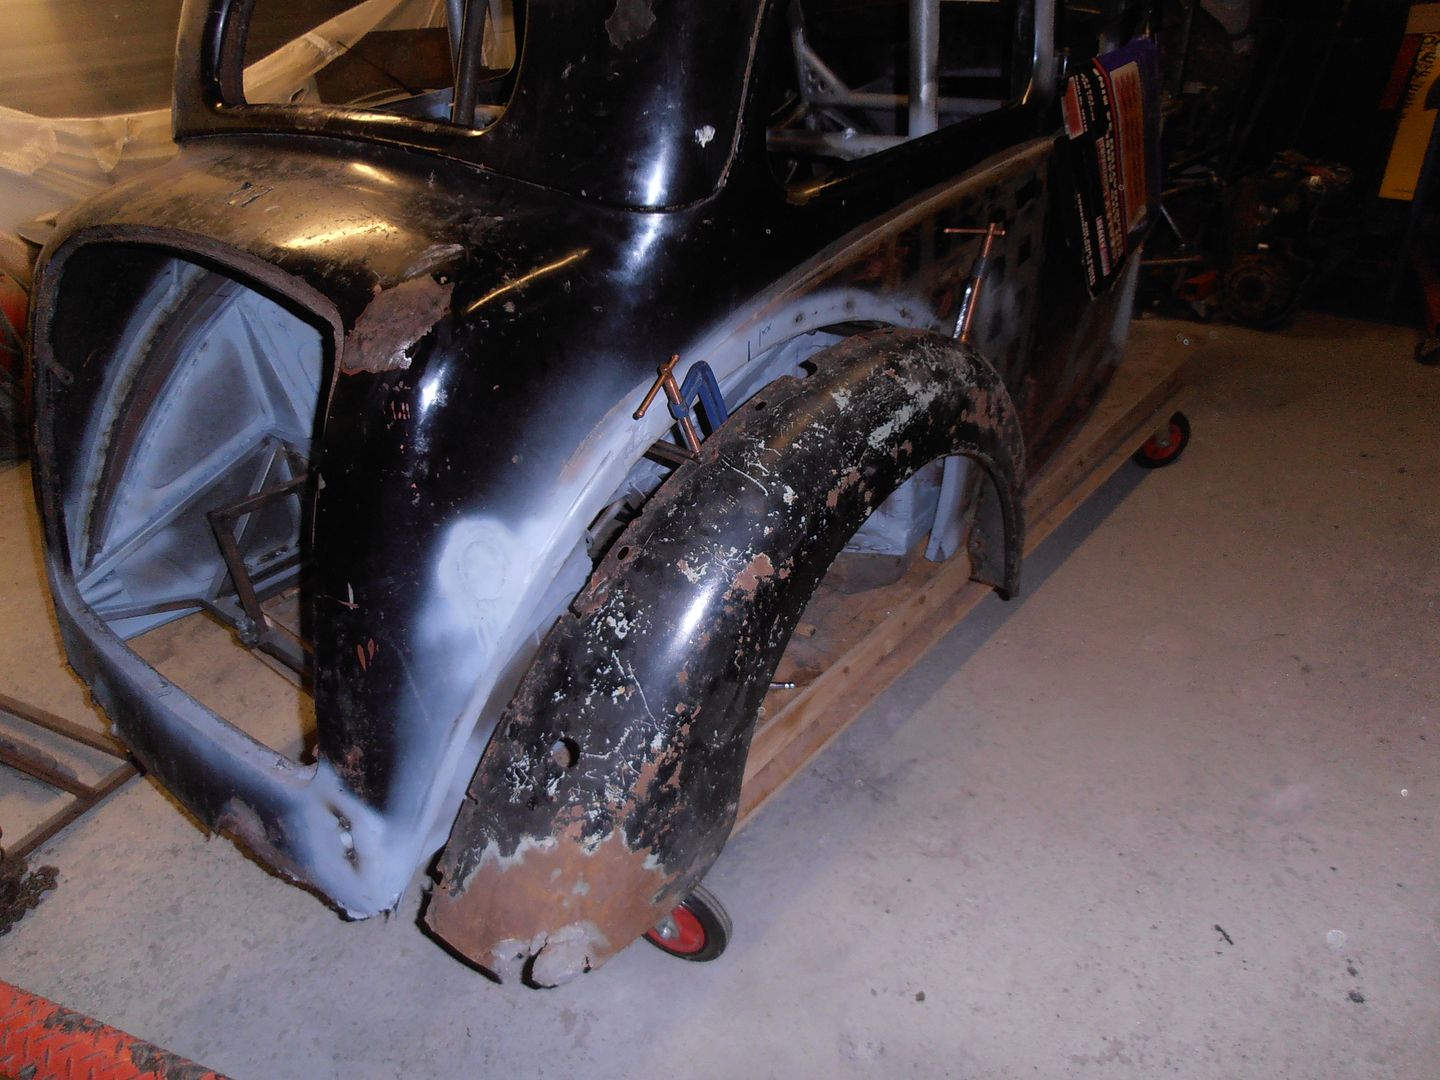 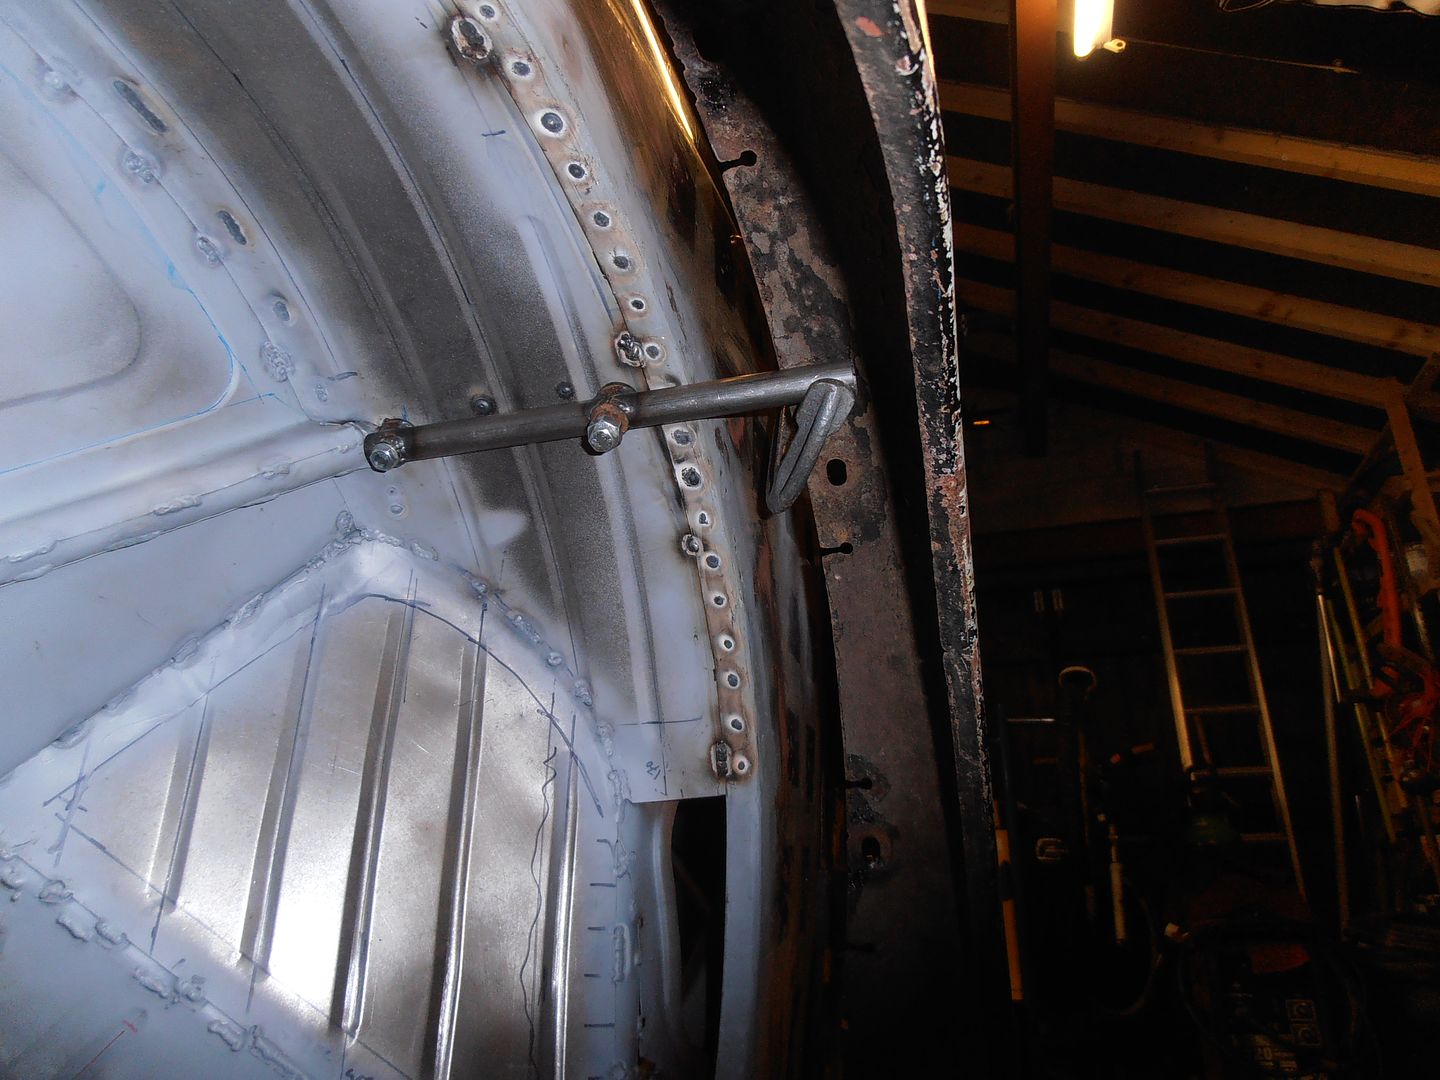 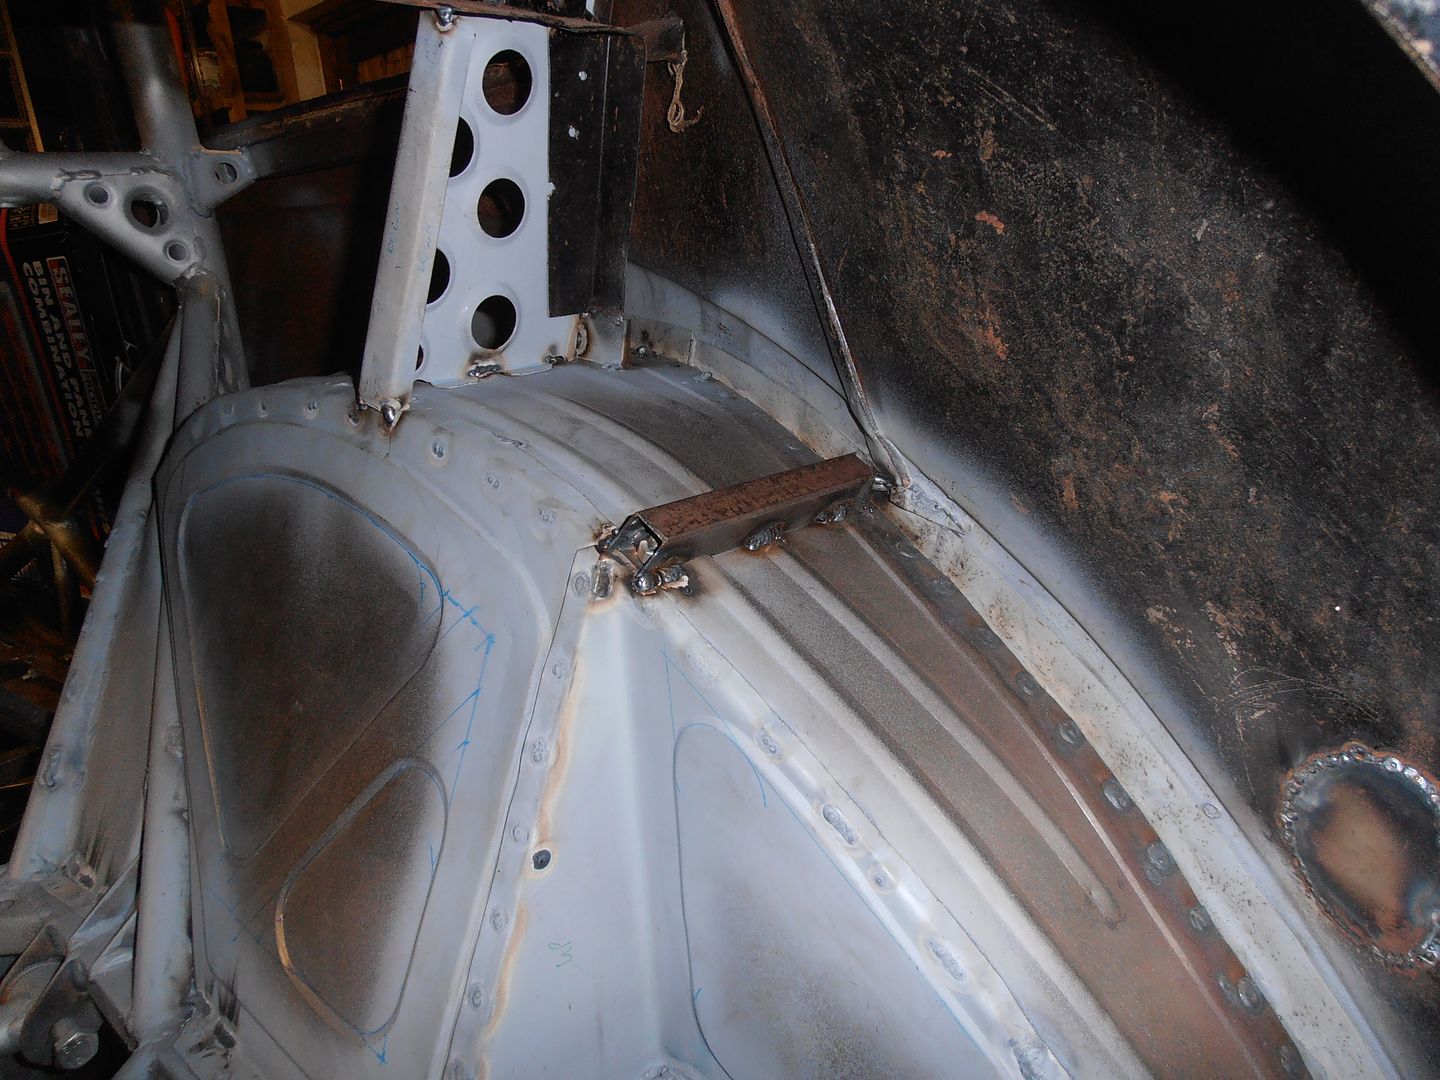 Then realised i'd forgotten to order any bar stock, or sheet material so got stuck and couldnt do the other side... So onto another job. Upper screen back to screen surround brackets. Its not really needed.... but i think it might look good. 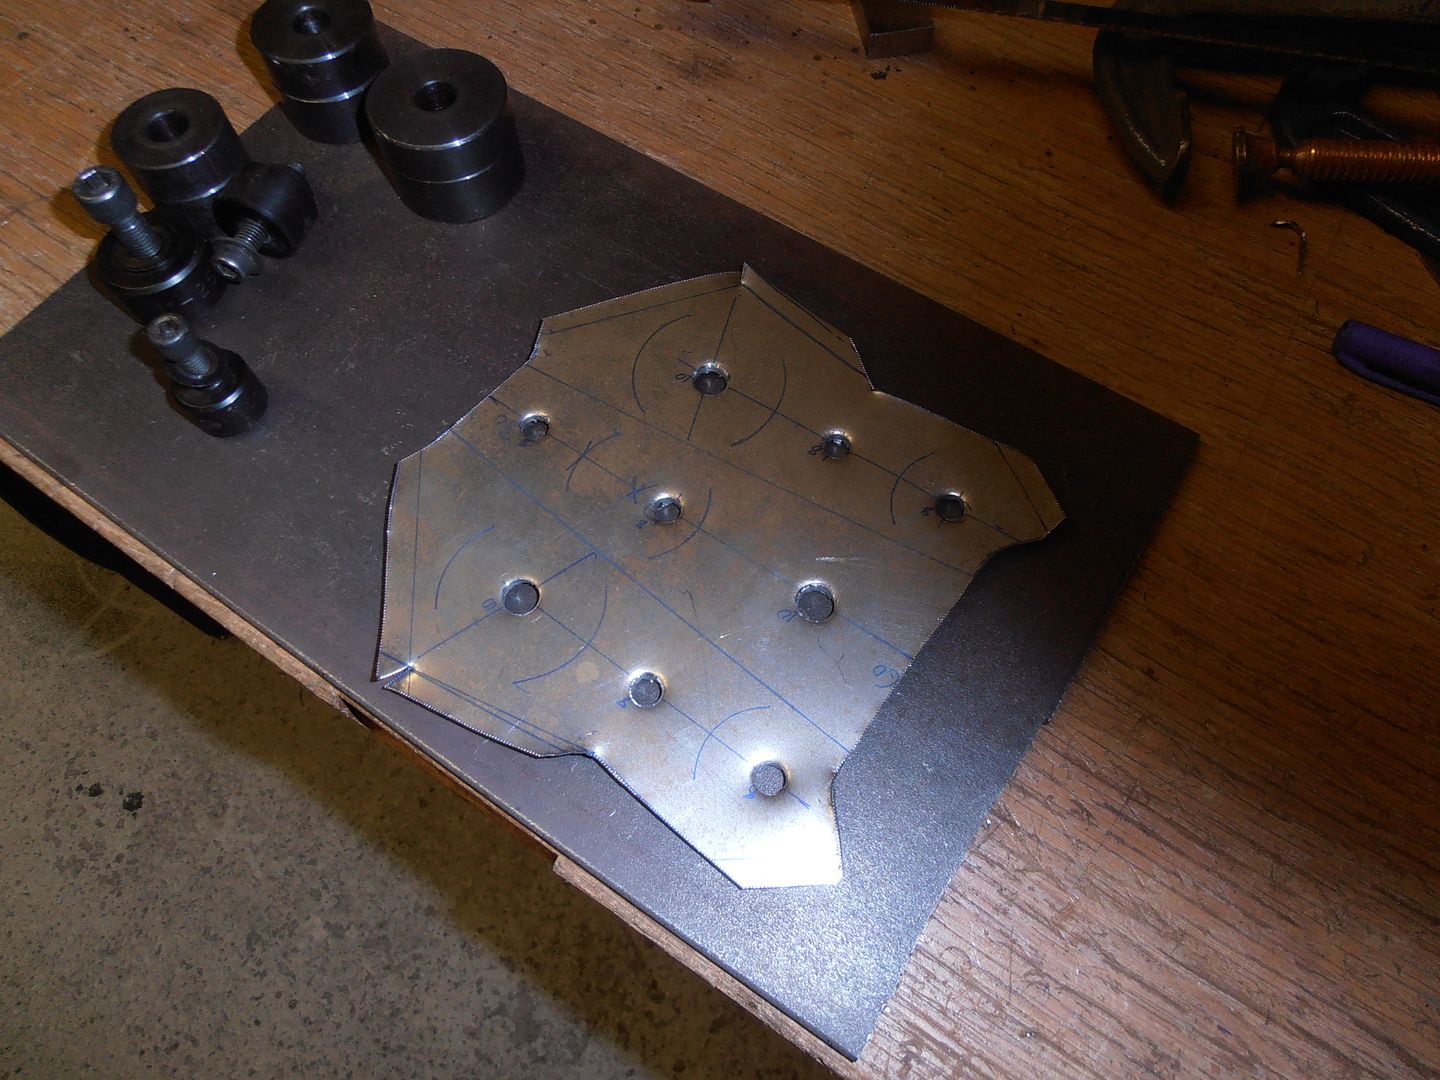 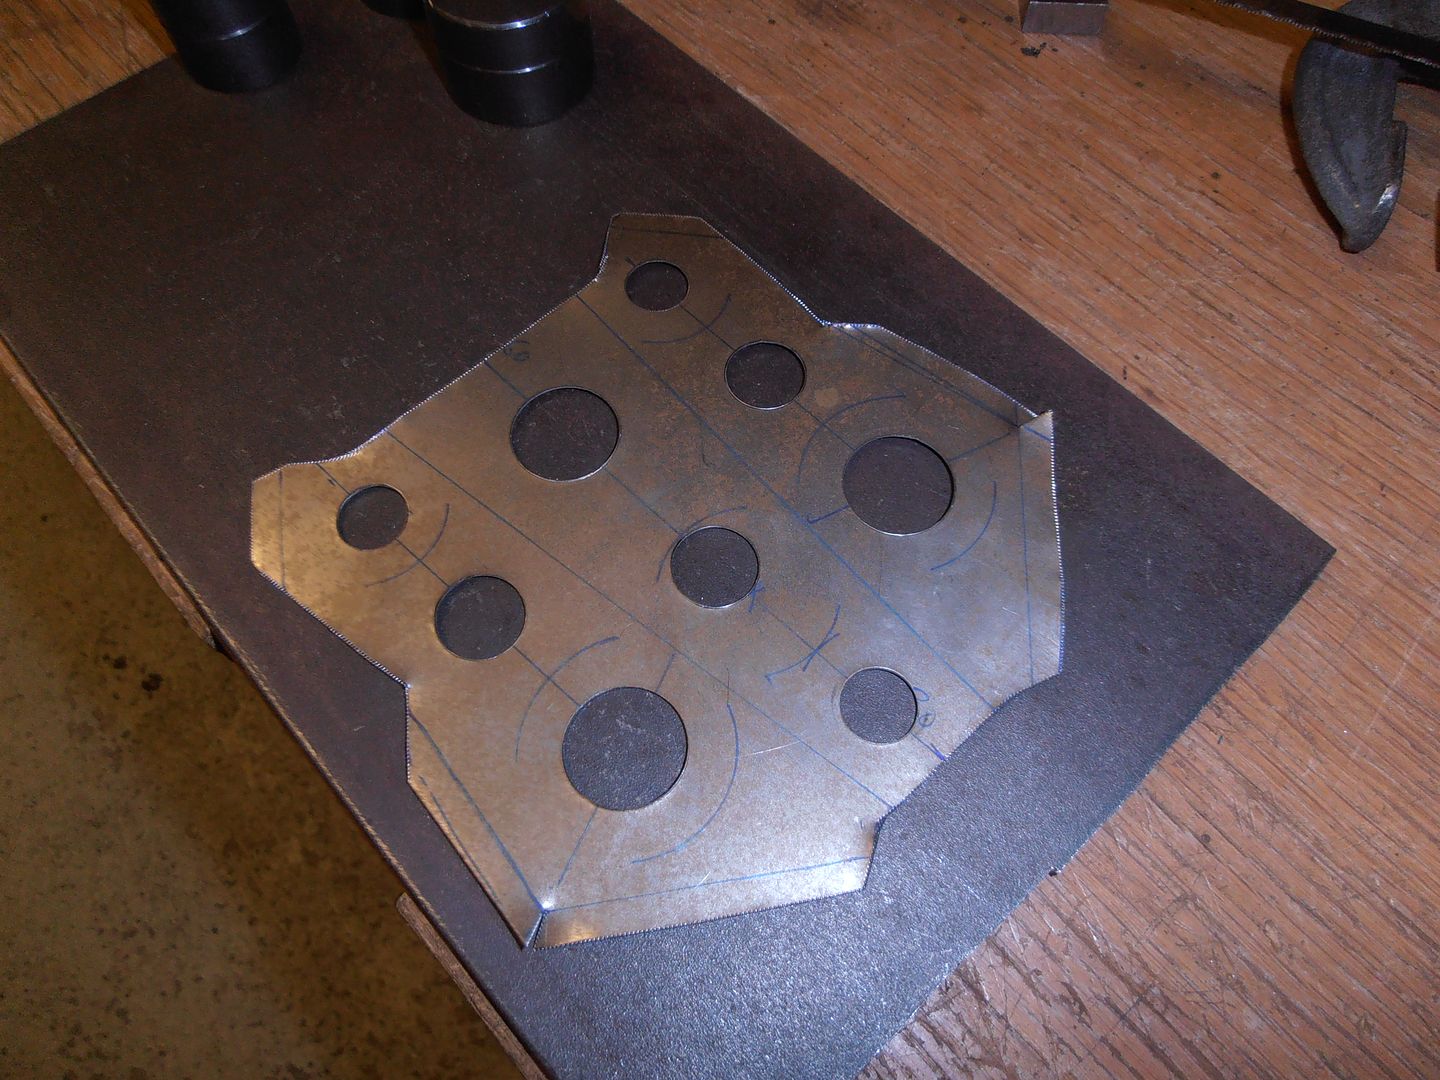 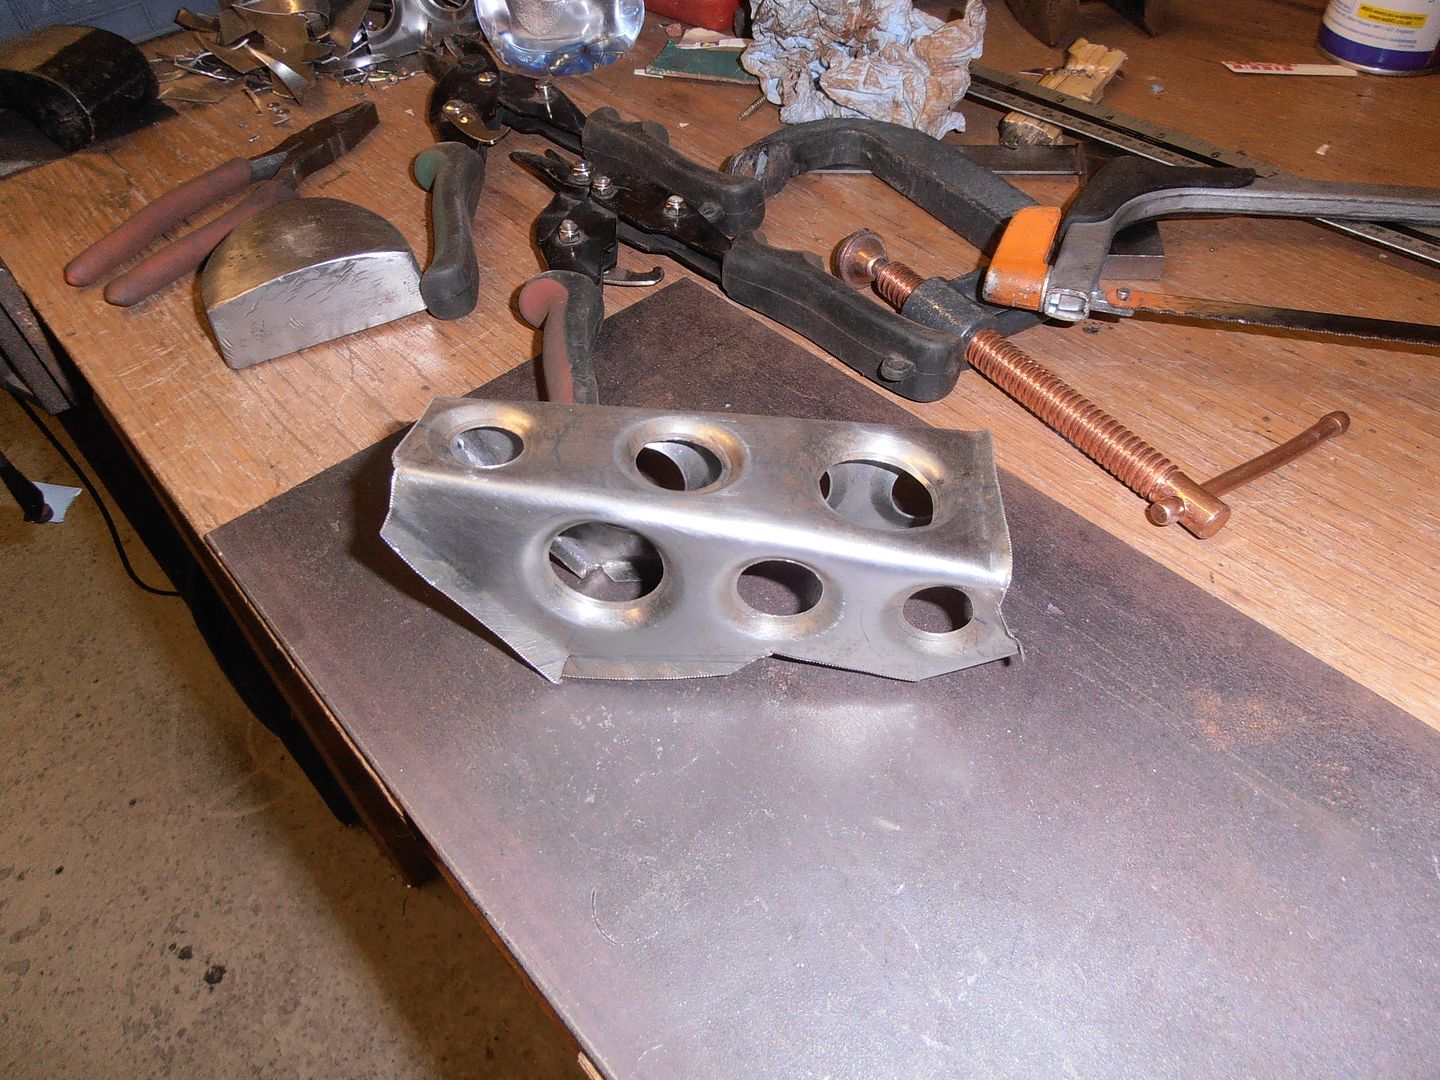 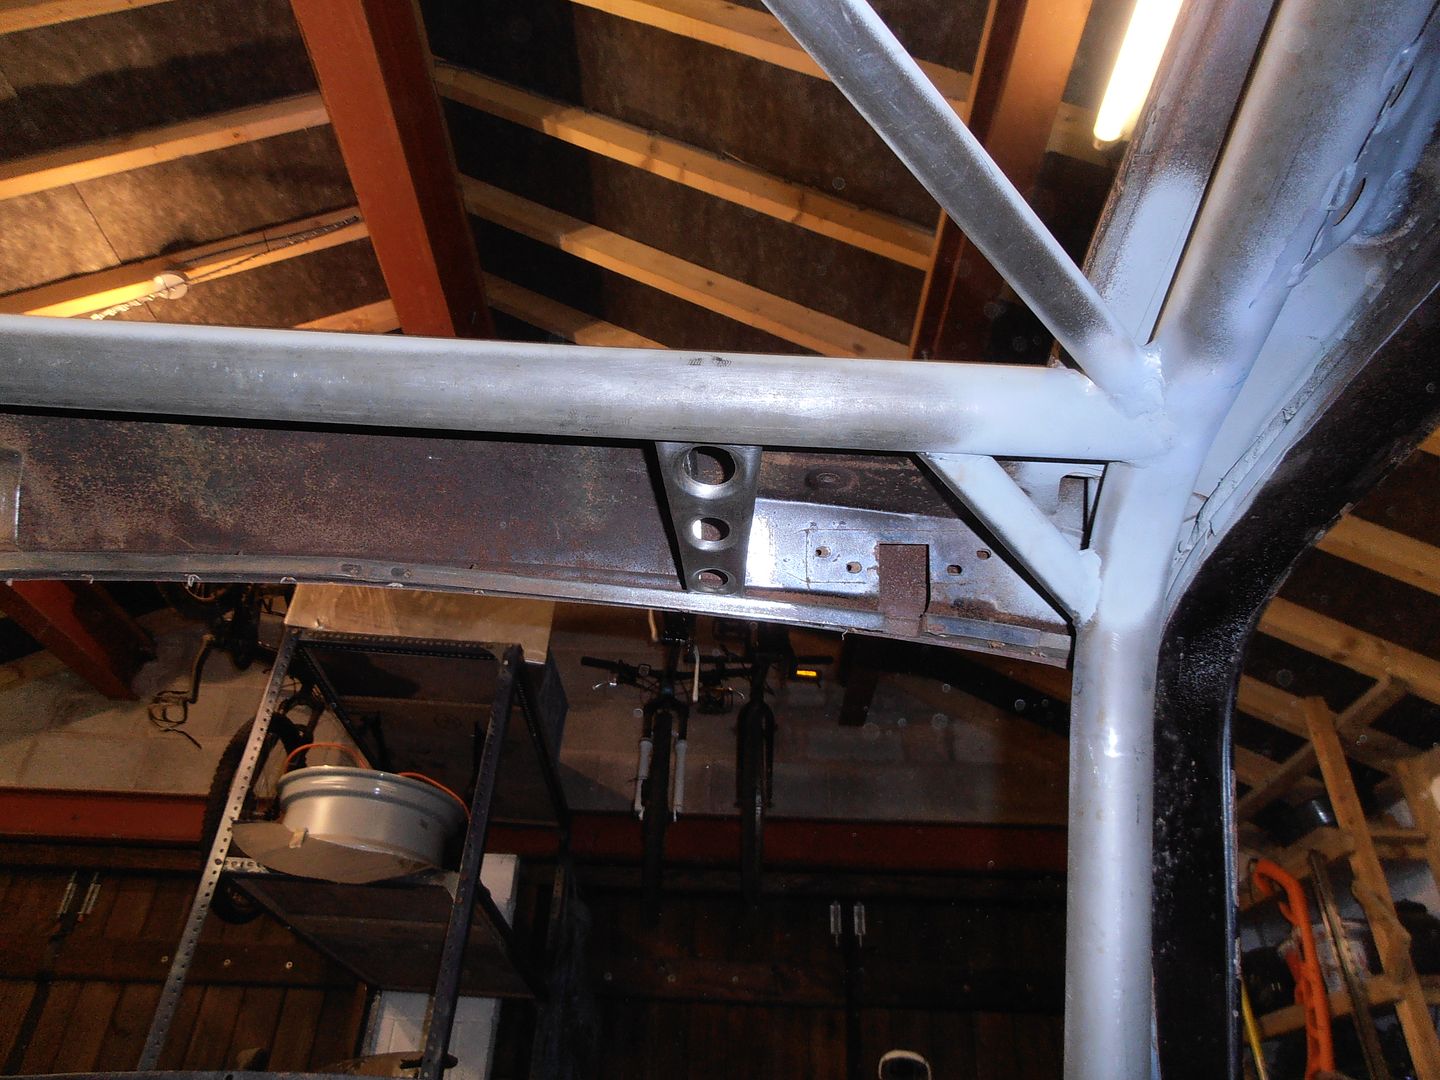 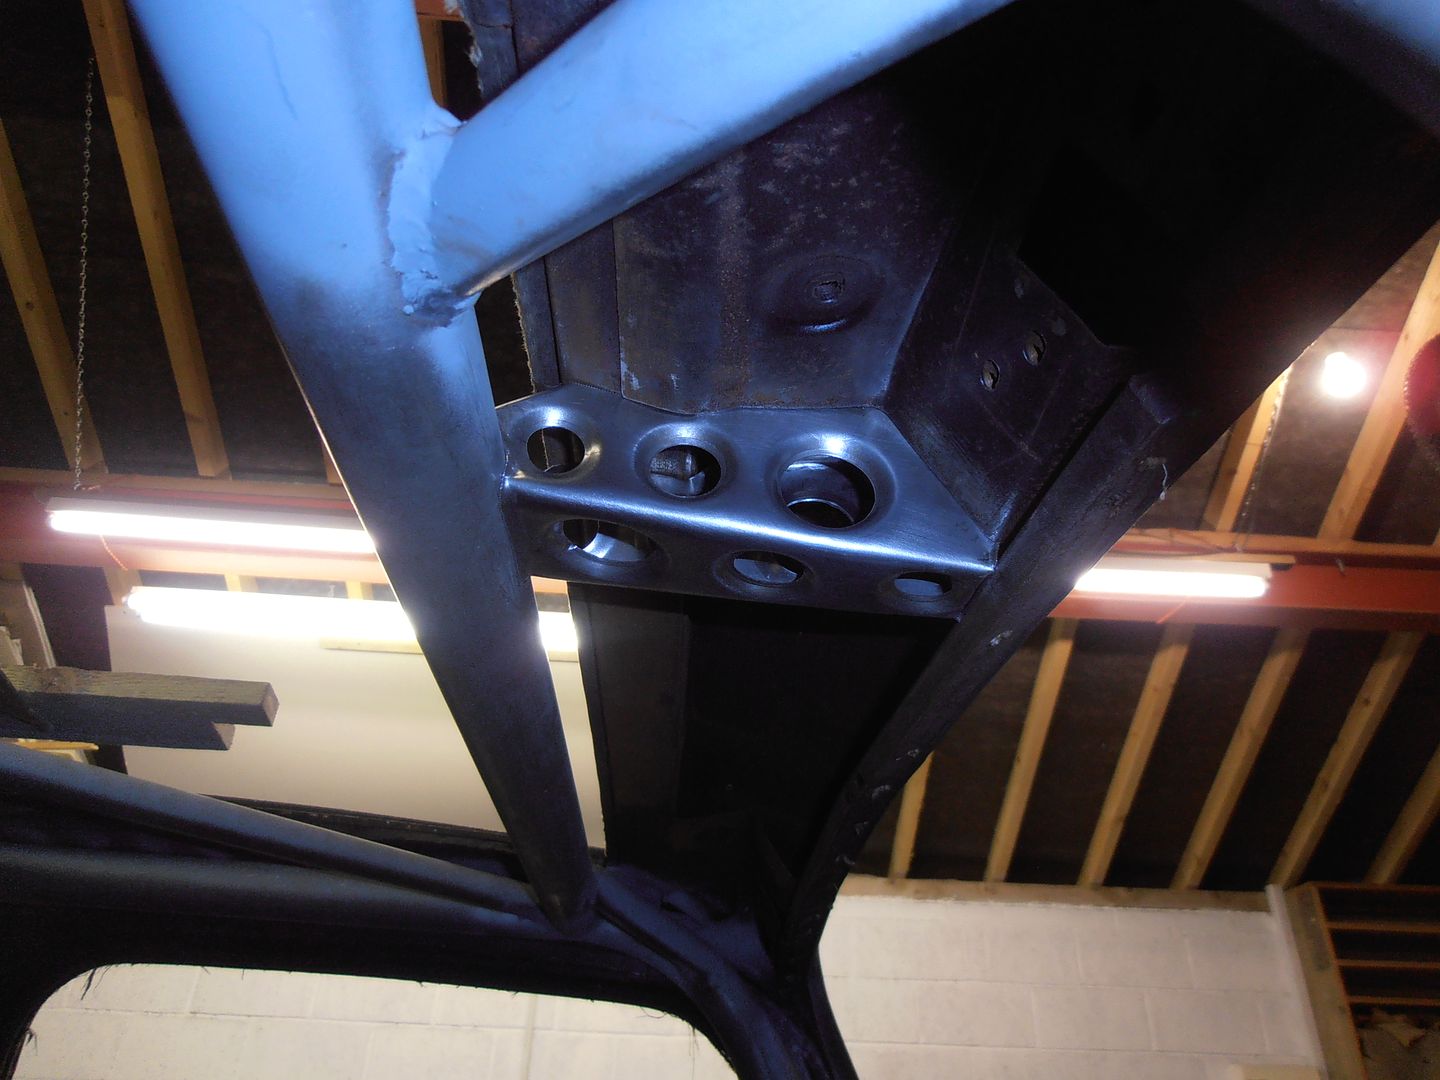 I made it symmetrical 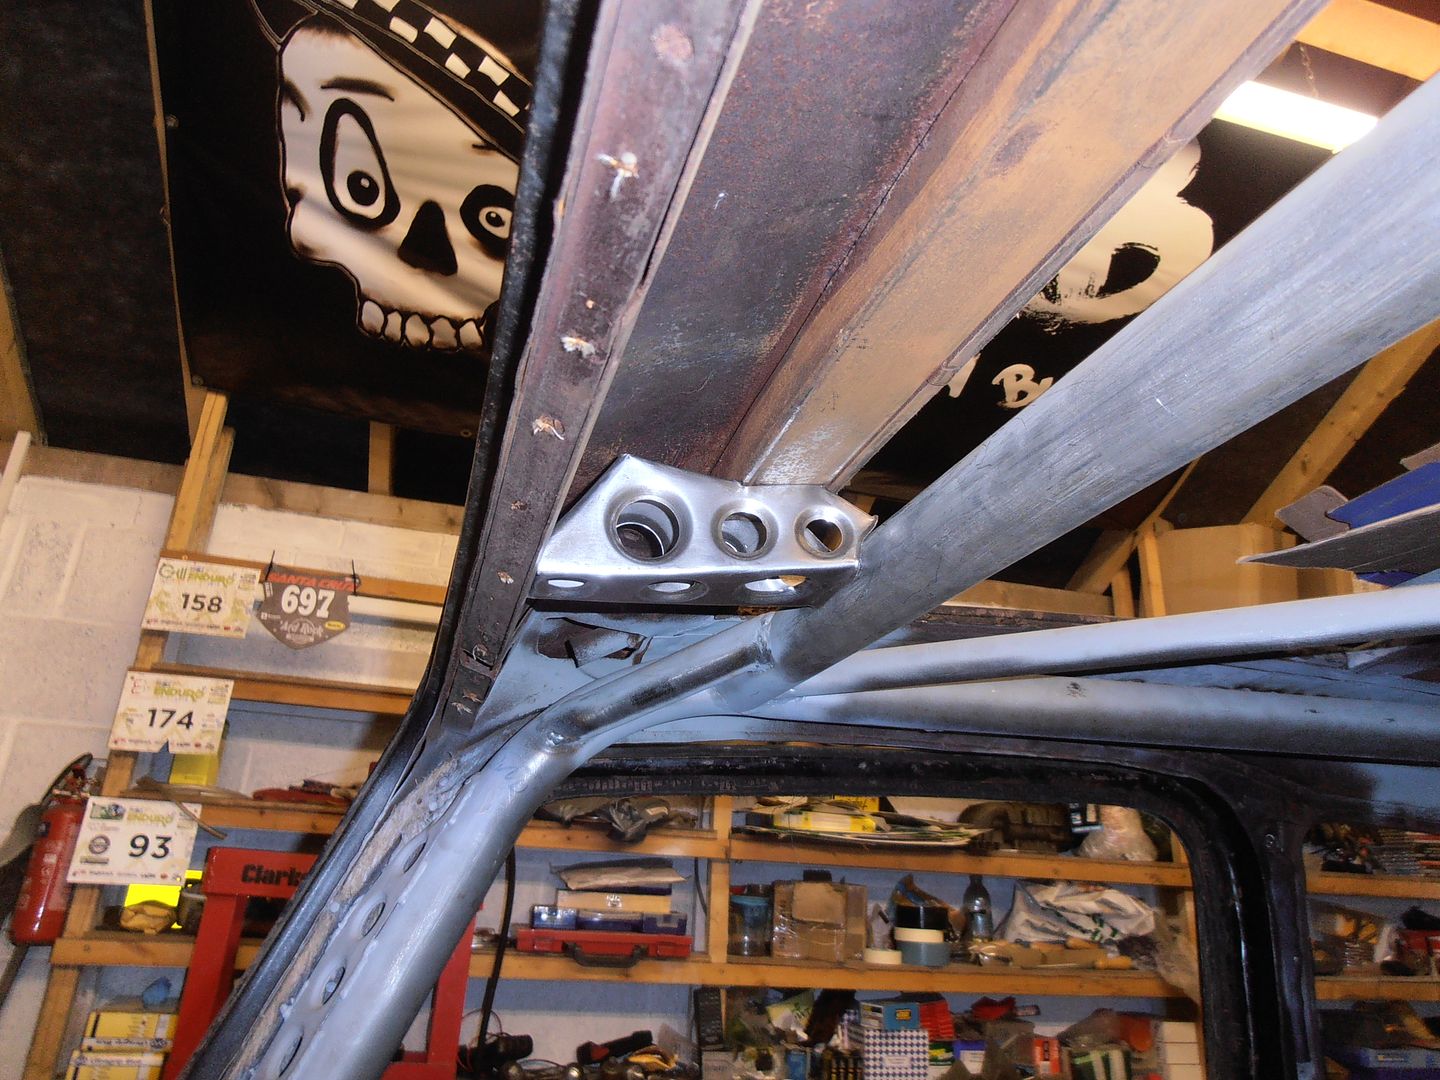 which made it look a bit sharp on the side that doesnt interface to the screen hinge brackets. I took it back out and re-profiled the top to a curve. then made the other side 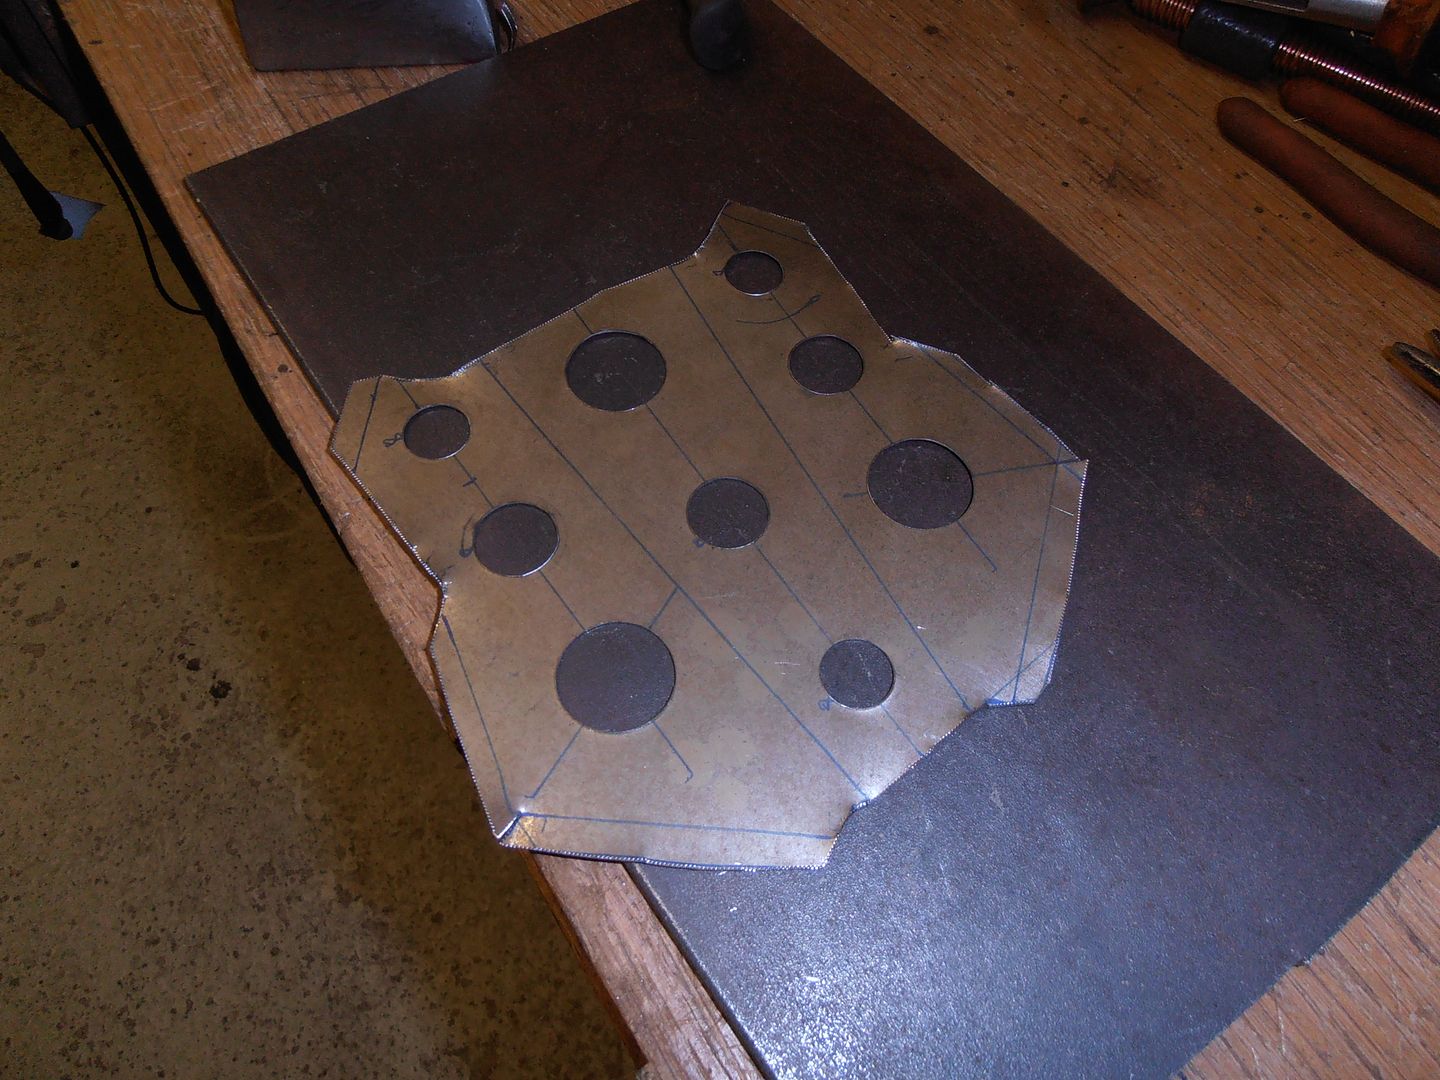 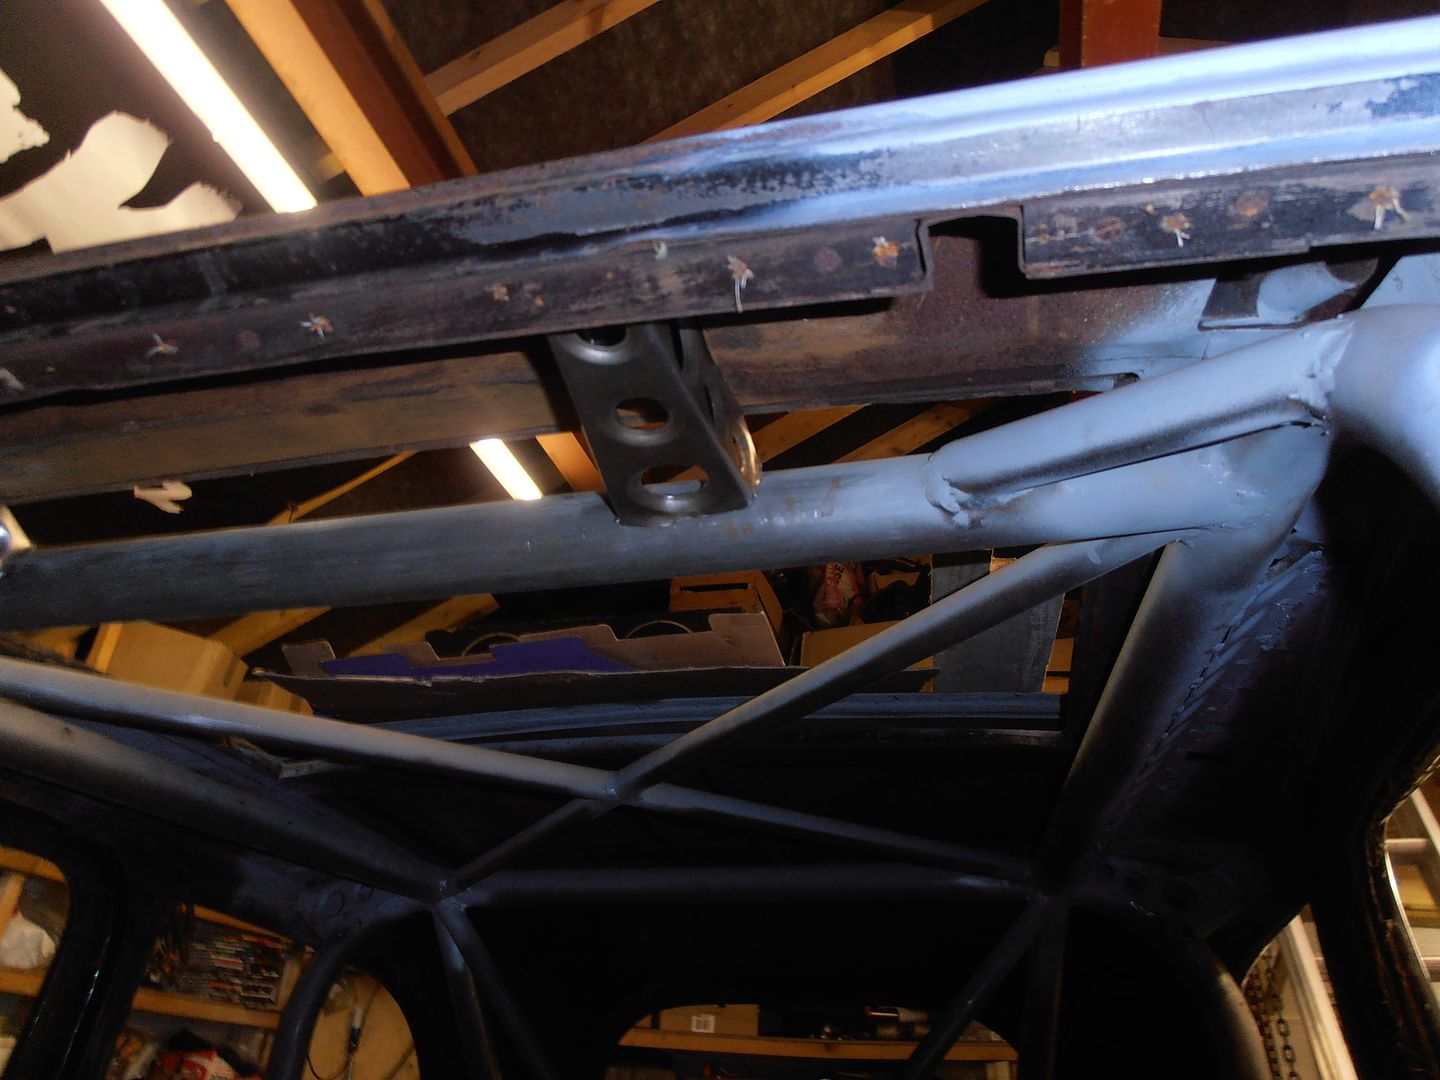 furthest away bracket shows the curved top 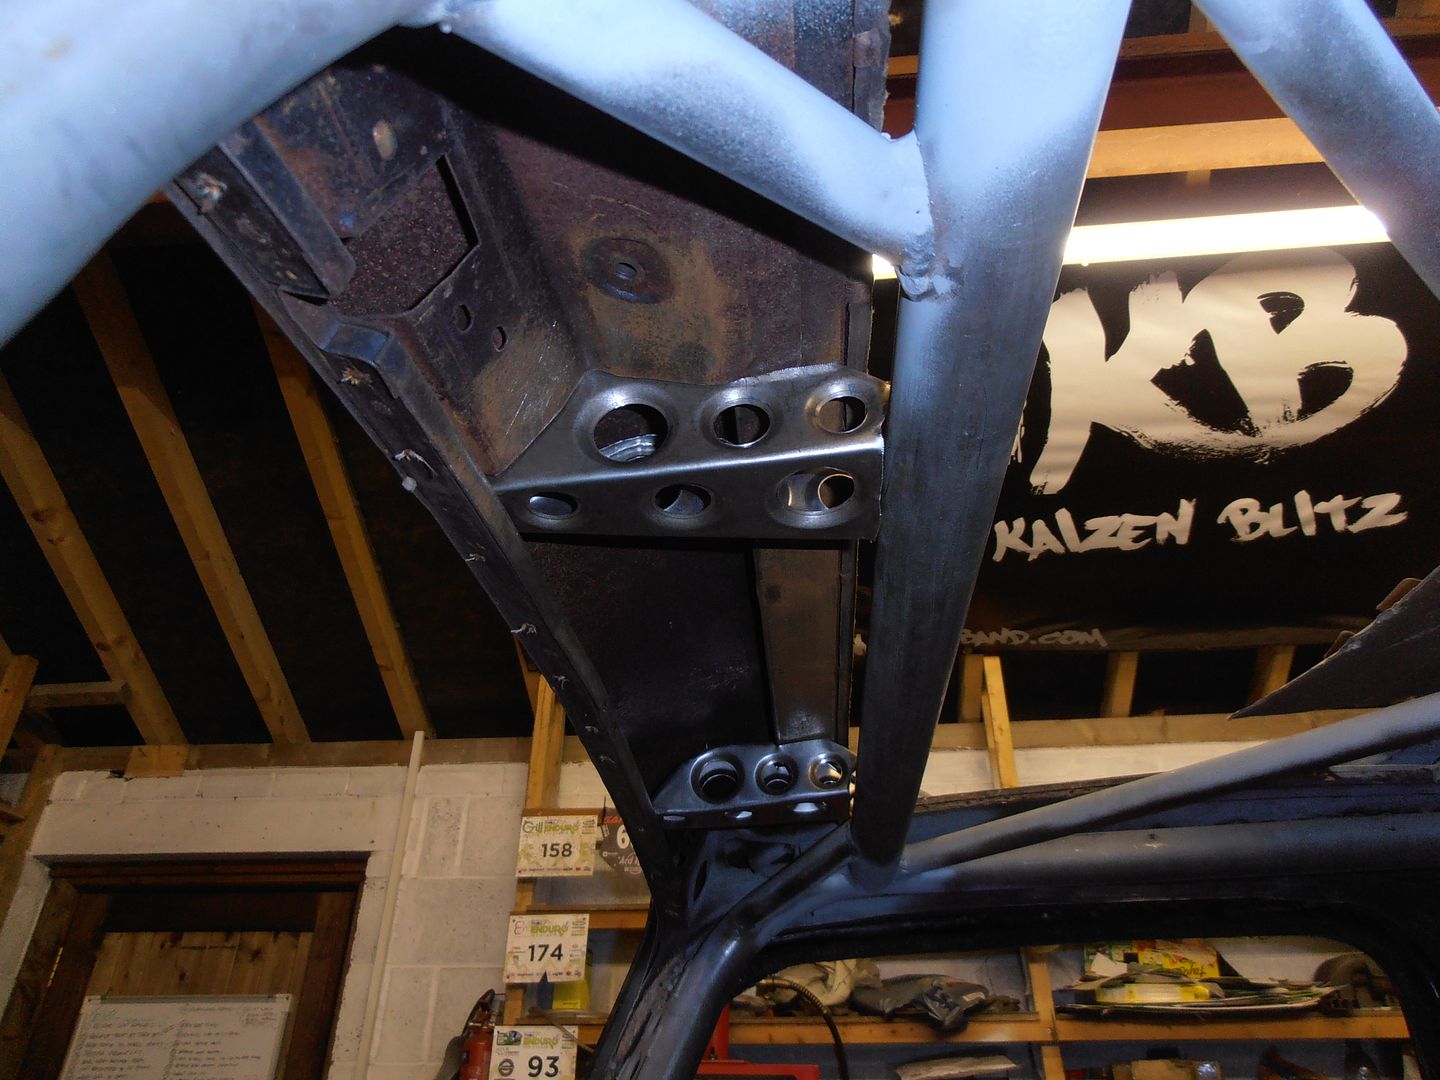 Not welded in as i've run out of weld through primer. Another thing for the shopping list. I then cut out the old seat support bracket as i got fed up of it stabbing me in the back each time i get in the back of the car. 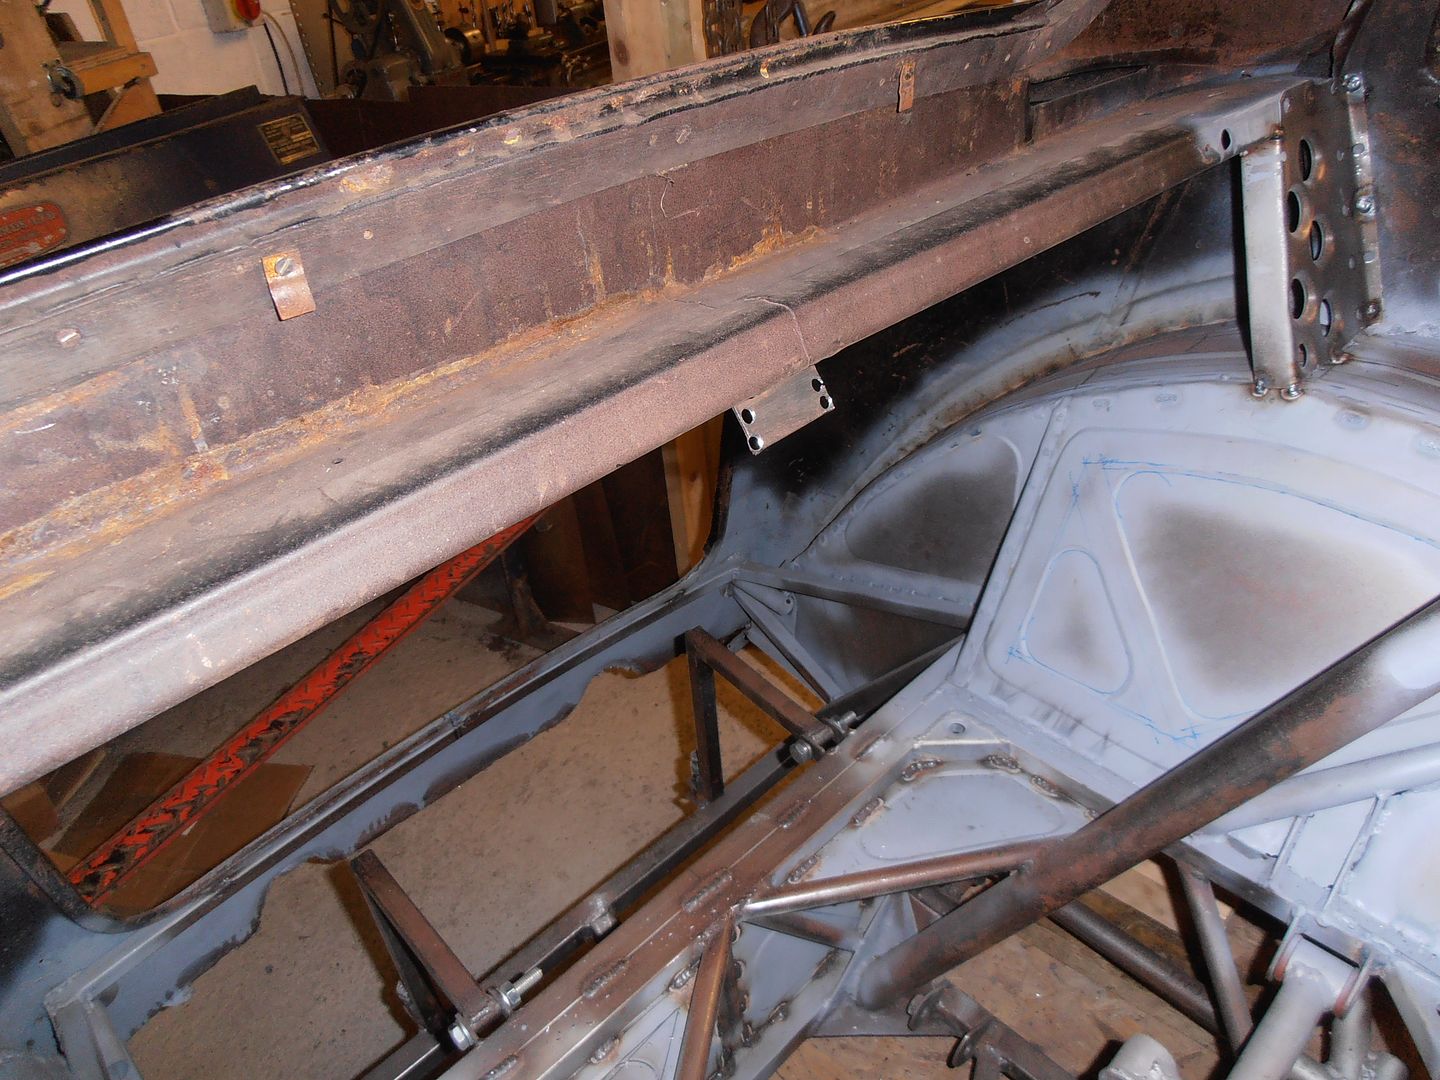 Should hopefully get some more done tomorrow as well. |
| |
|
|
|
|
|
|
|
|
Absolutely loving this thread! Awesome fab and welding too! I'm making one of those edging bolt tools tomorrow, been struggling with plies for years!
|
| |
|
|
vulgalour
Club Retro Rides Member
Posts: 7,268
Club RR Member Number: 146
|
|
|
|
|
It's hardly surprising you've got motivation slump with this, it's a hell of a lot of metal bending and gluing that you're doing here. Those rear arches are going to look good full of wheels though, hopefully thoughts like that keep you going with it.
|
| |
|
|
stonio
Part of things
 
Posts: 626
|
|
|
|
Hey Pal your fabrication skills are epic this build is right up my street, although ld be very tempted to leave the body as is.. This build is bookmarked  |
| |
|
|
|
|
|
|
|
|
The amount of swaged holes you've put in it, you should name it the armoured cheesegrater.
|
| |
|
|
jonomisfit
Club Retro Rides Member
Posts: 1,787
Club RR Member Number: 49
|
|
|
|
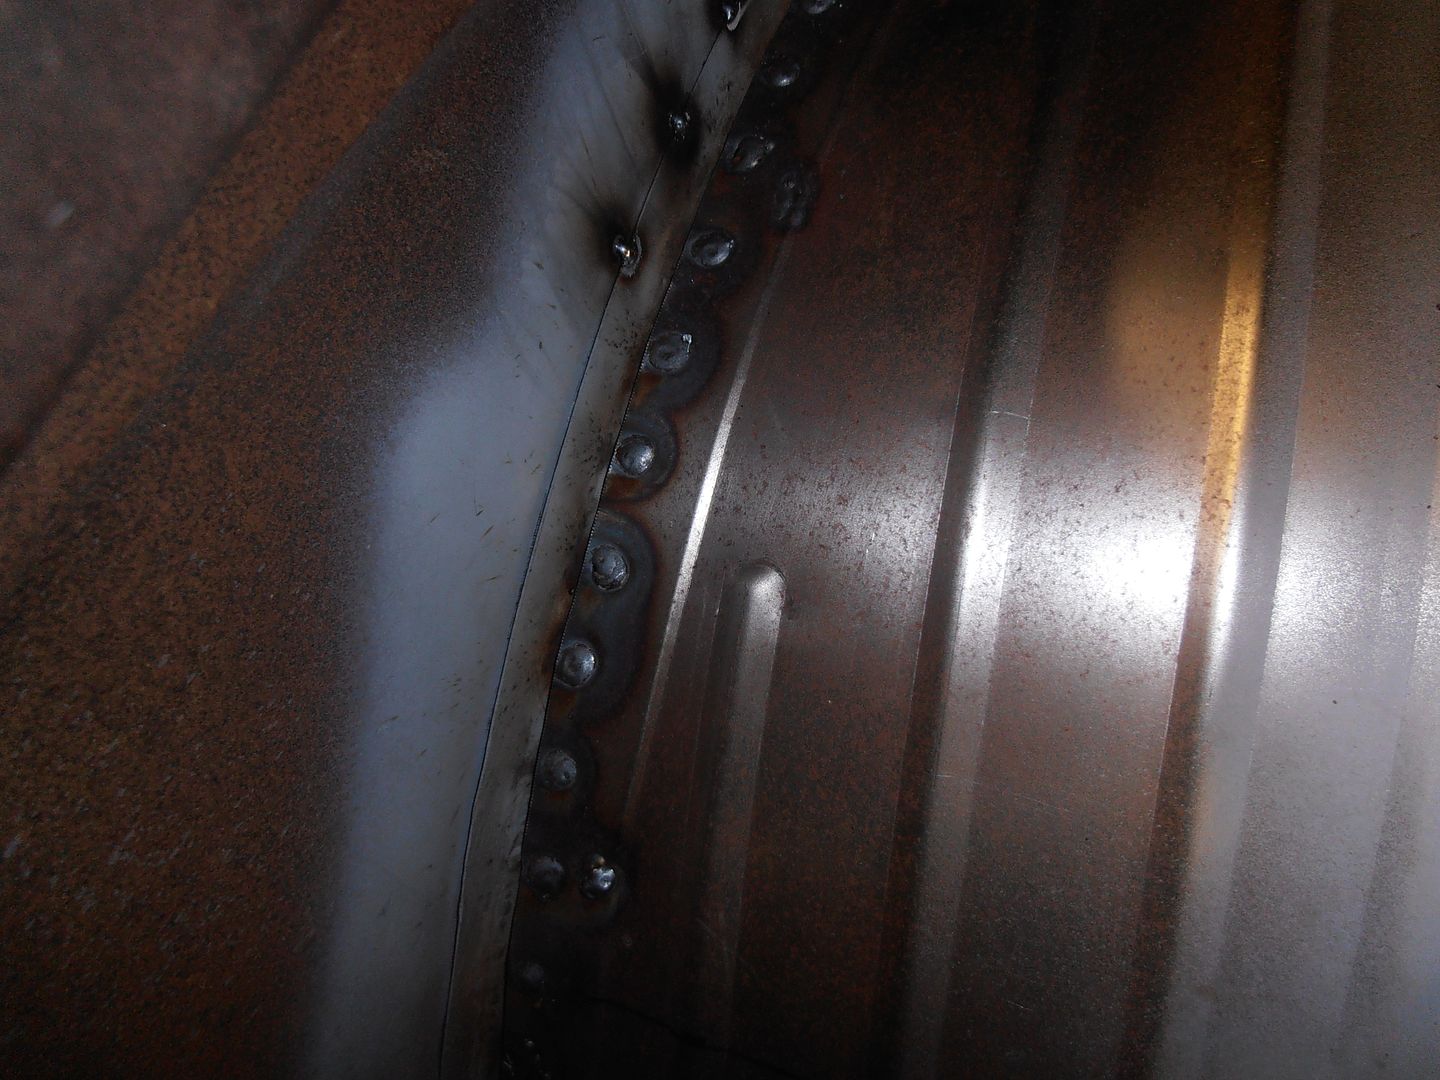
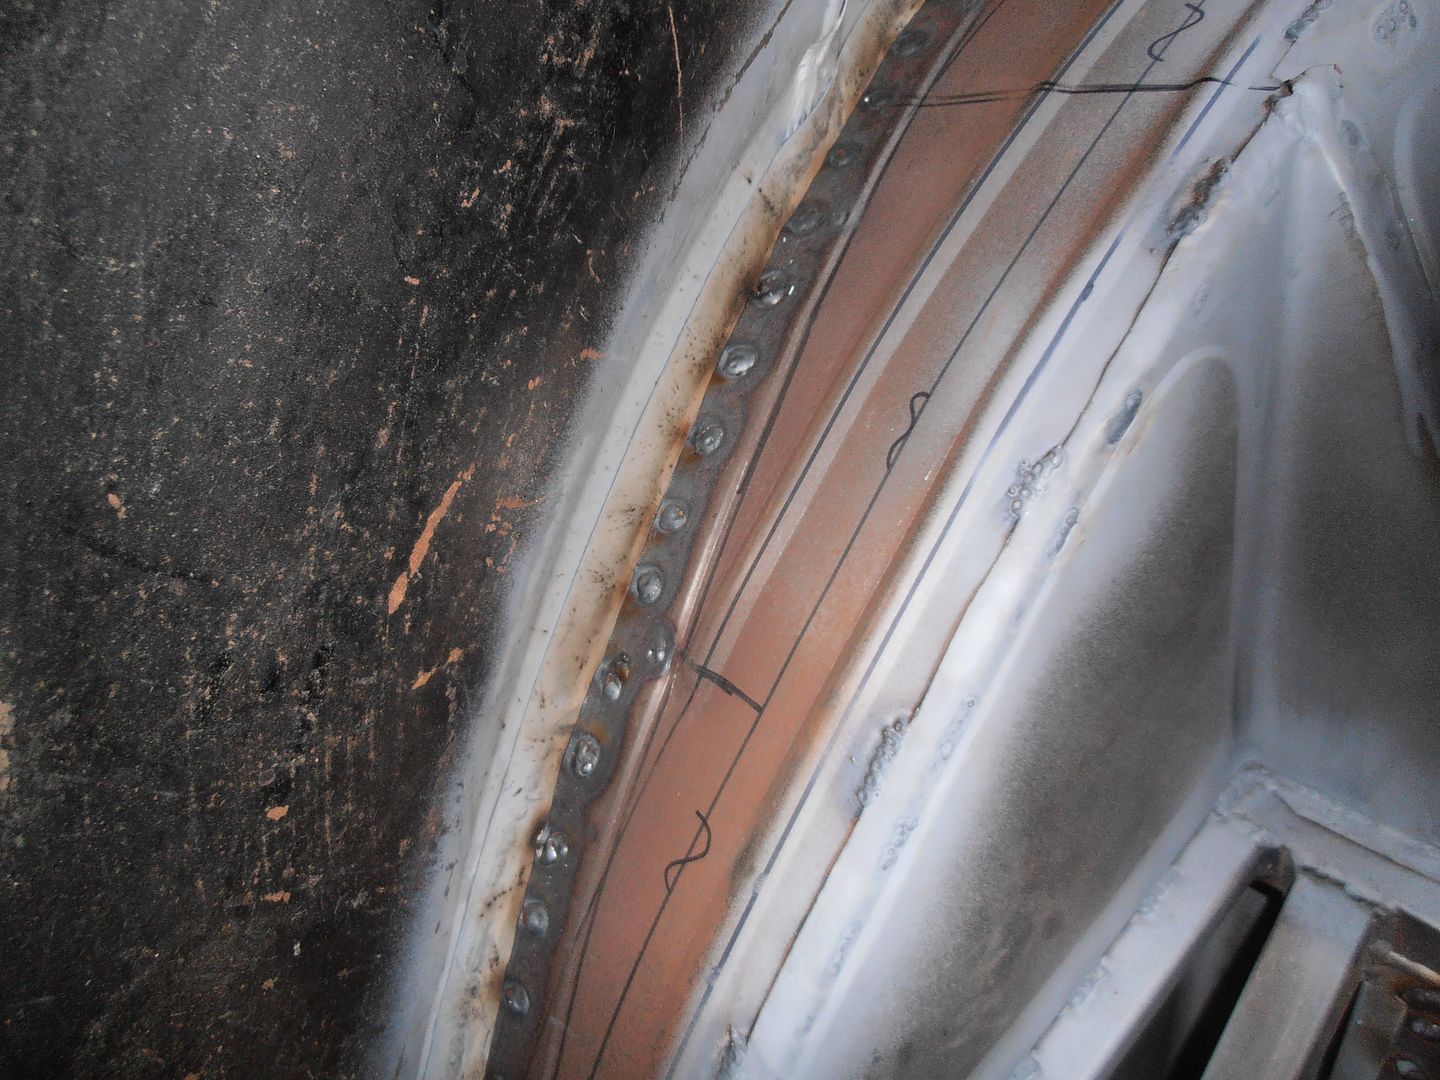
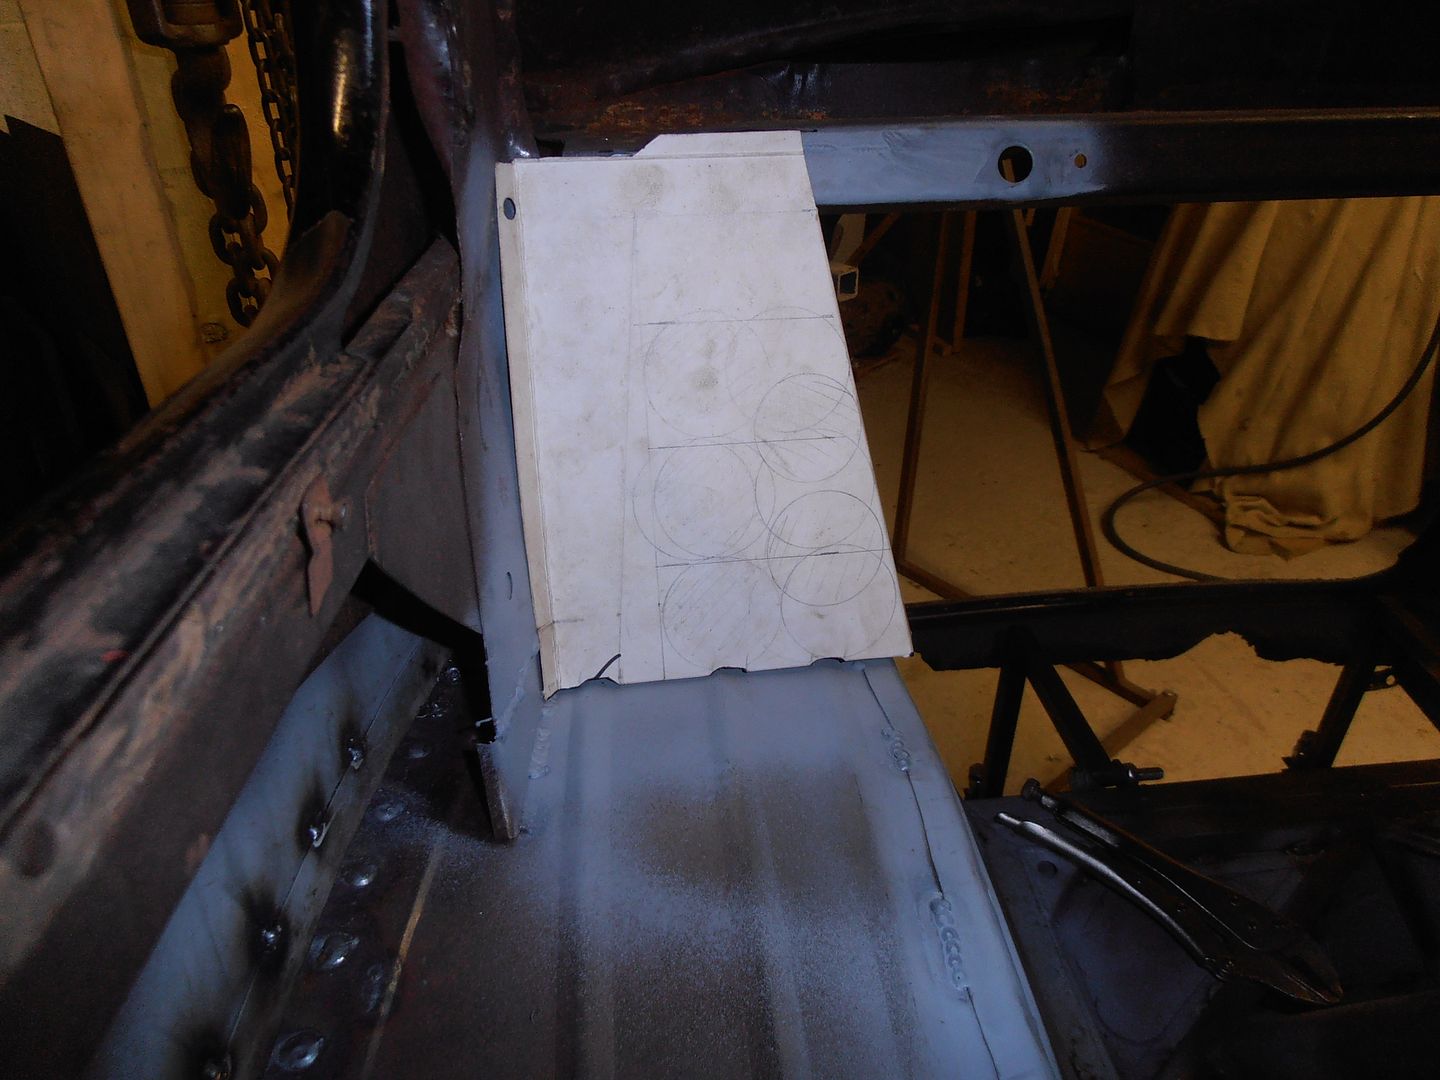
Thanks dudes. My edging bolt is only made from a bolt as that was what I had to hand. Other bits of metal work well. Something square probably work better. Minimal progress today. I was out taking destroyed fence panels etc to the tip. After wandering aimlessly doing important jobs like re-sharpening drill bits, i final started something. Made a list of jobs to do on the car - which runs to about 50 some of which are quite major to complete. Anyway, started easy and made the final arch patch on the driver side. Finish welding, and tidy up the stiffener attachments. 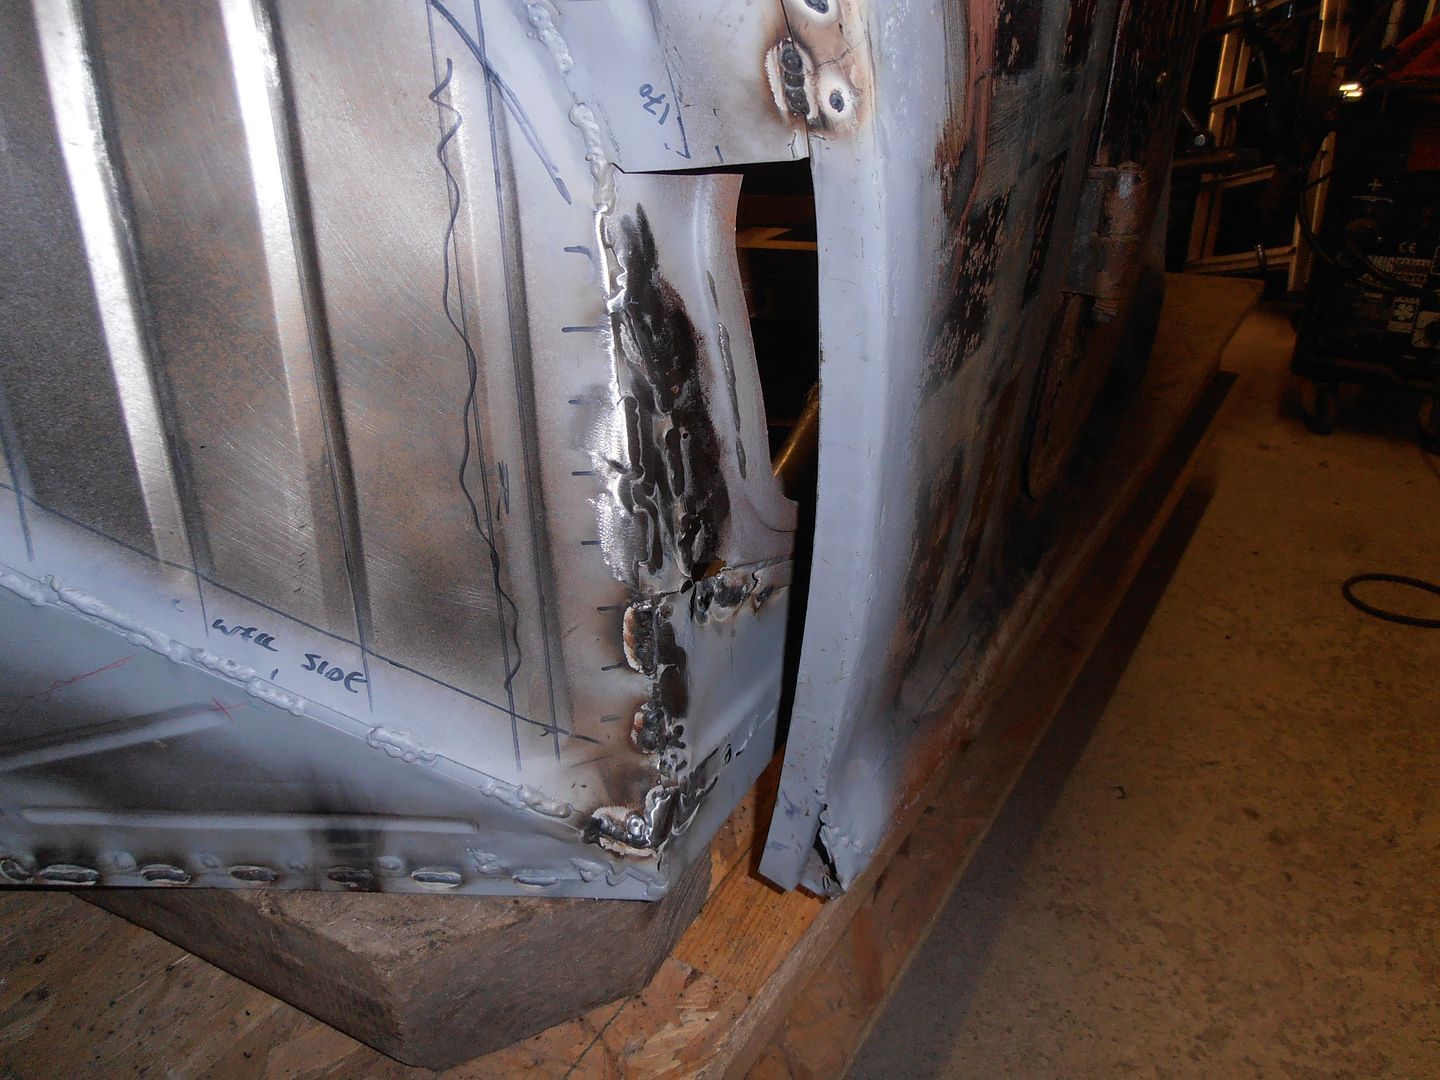 make a piece of steel to fit the hole 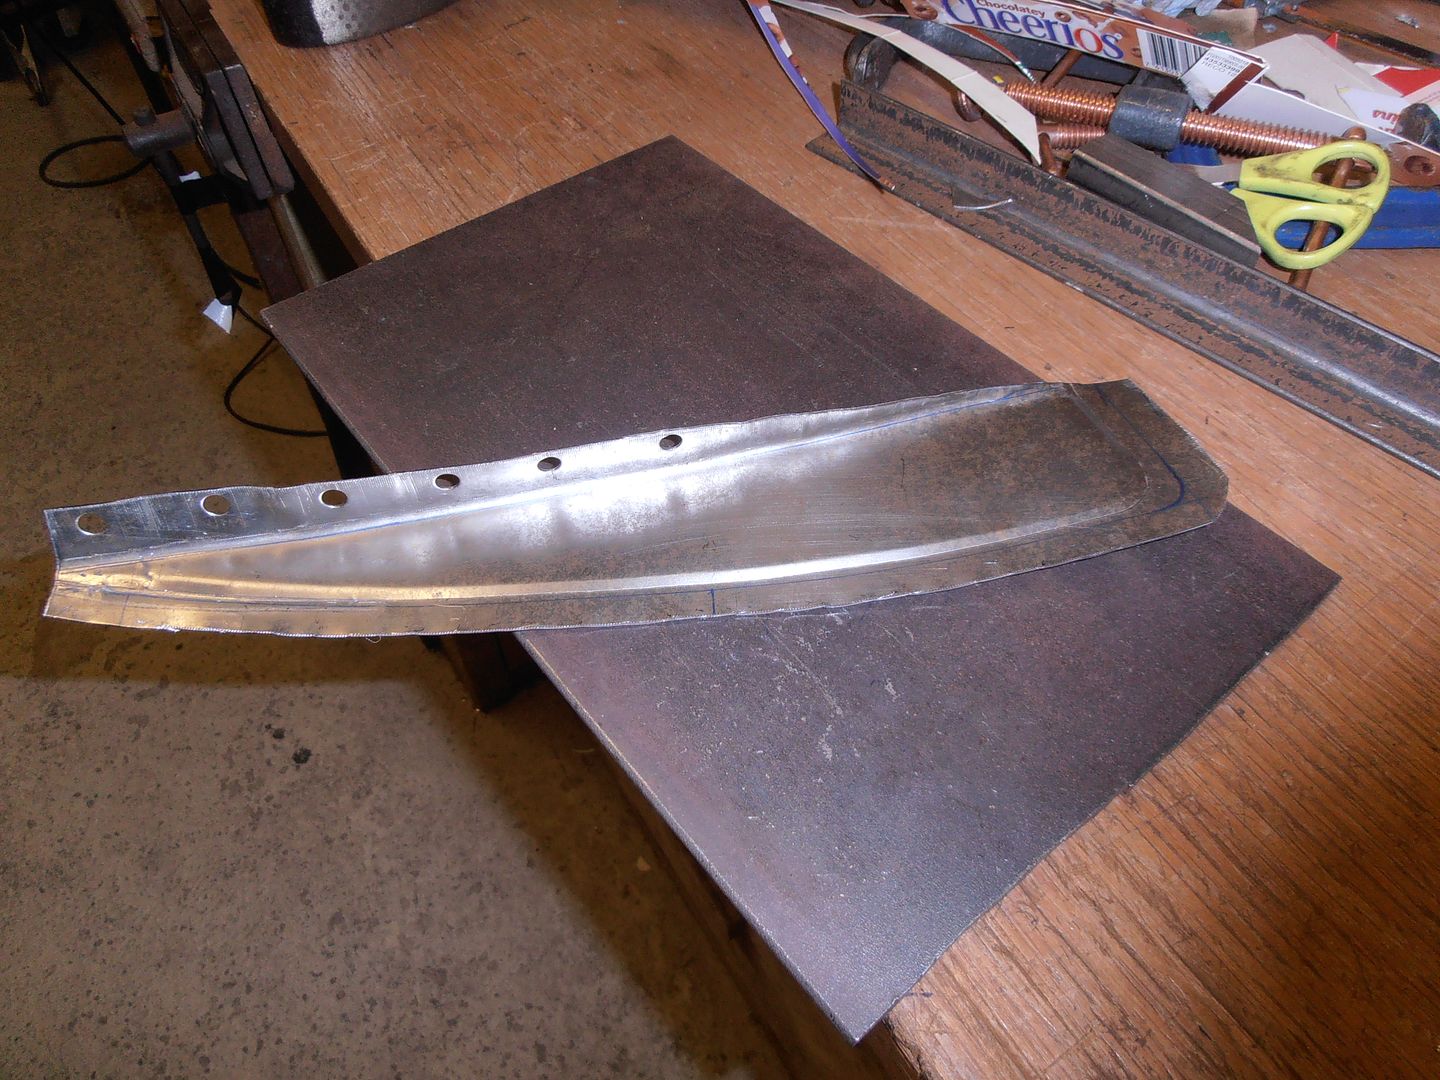 adjust it a lot to try and match the subtle double curvature it needs check in the hole 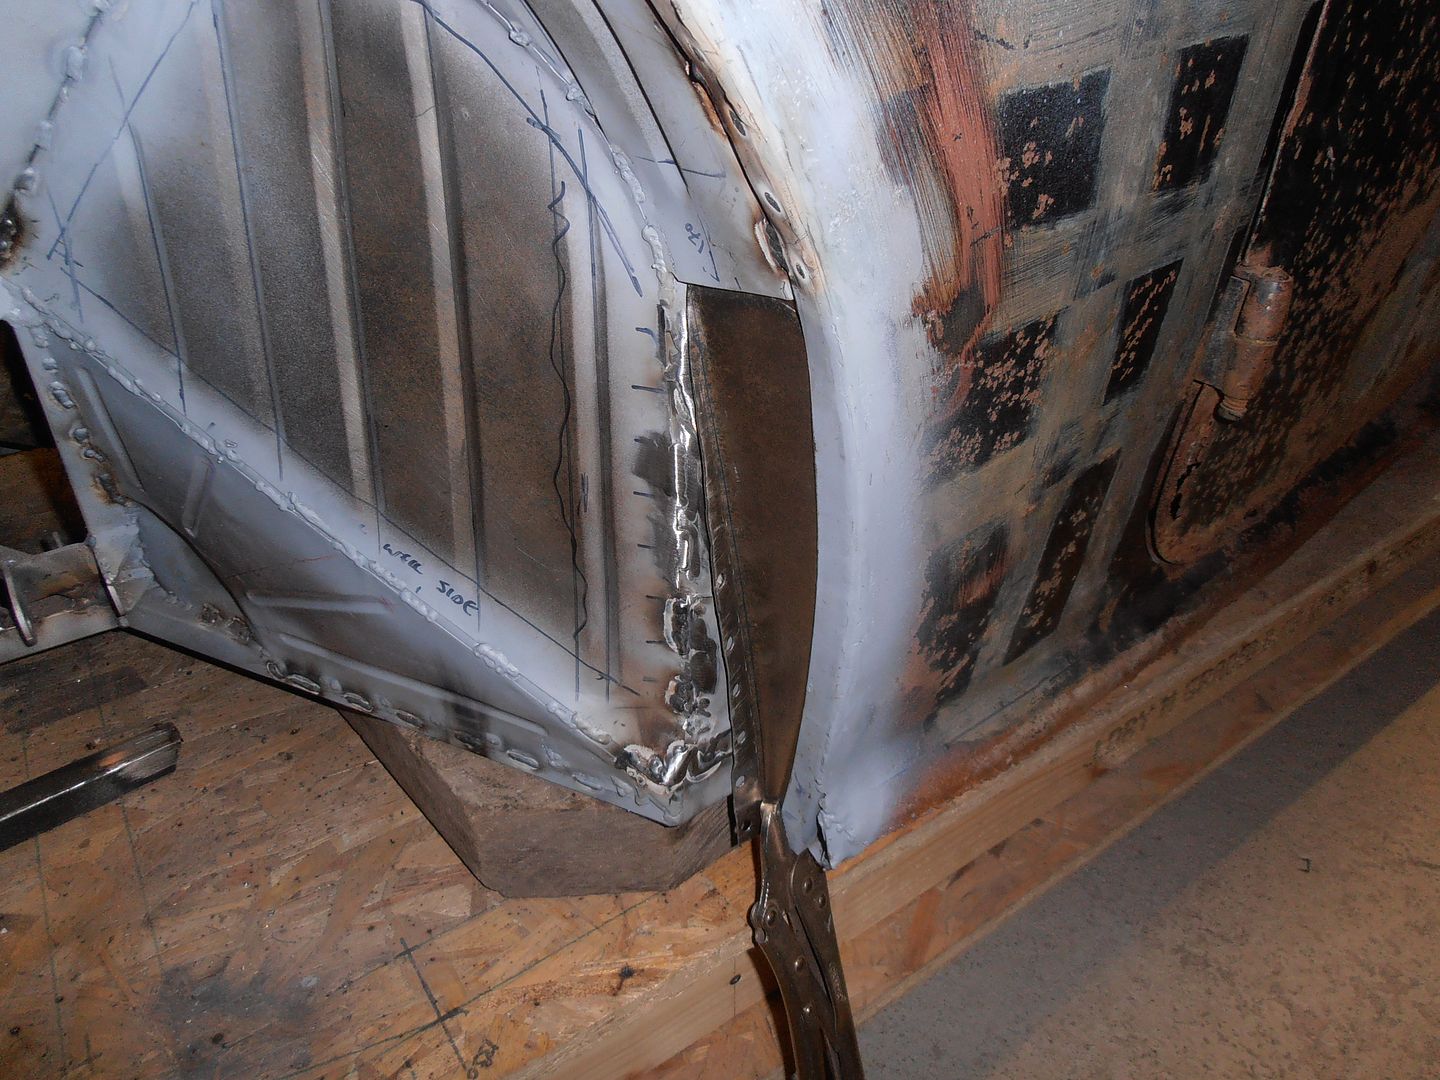 welded in 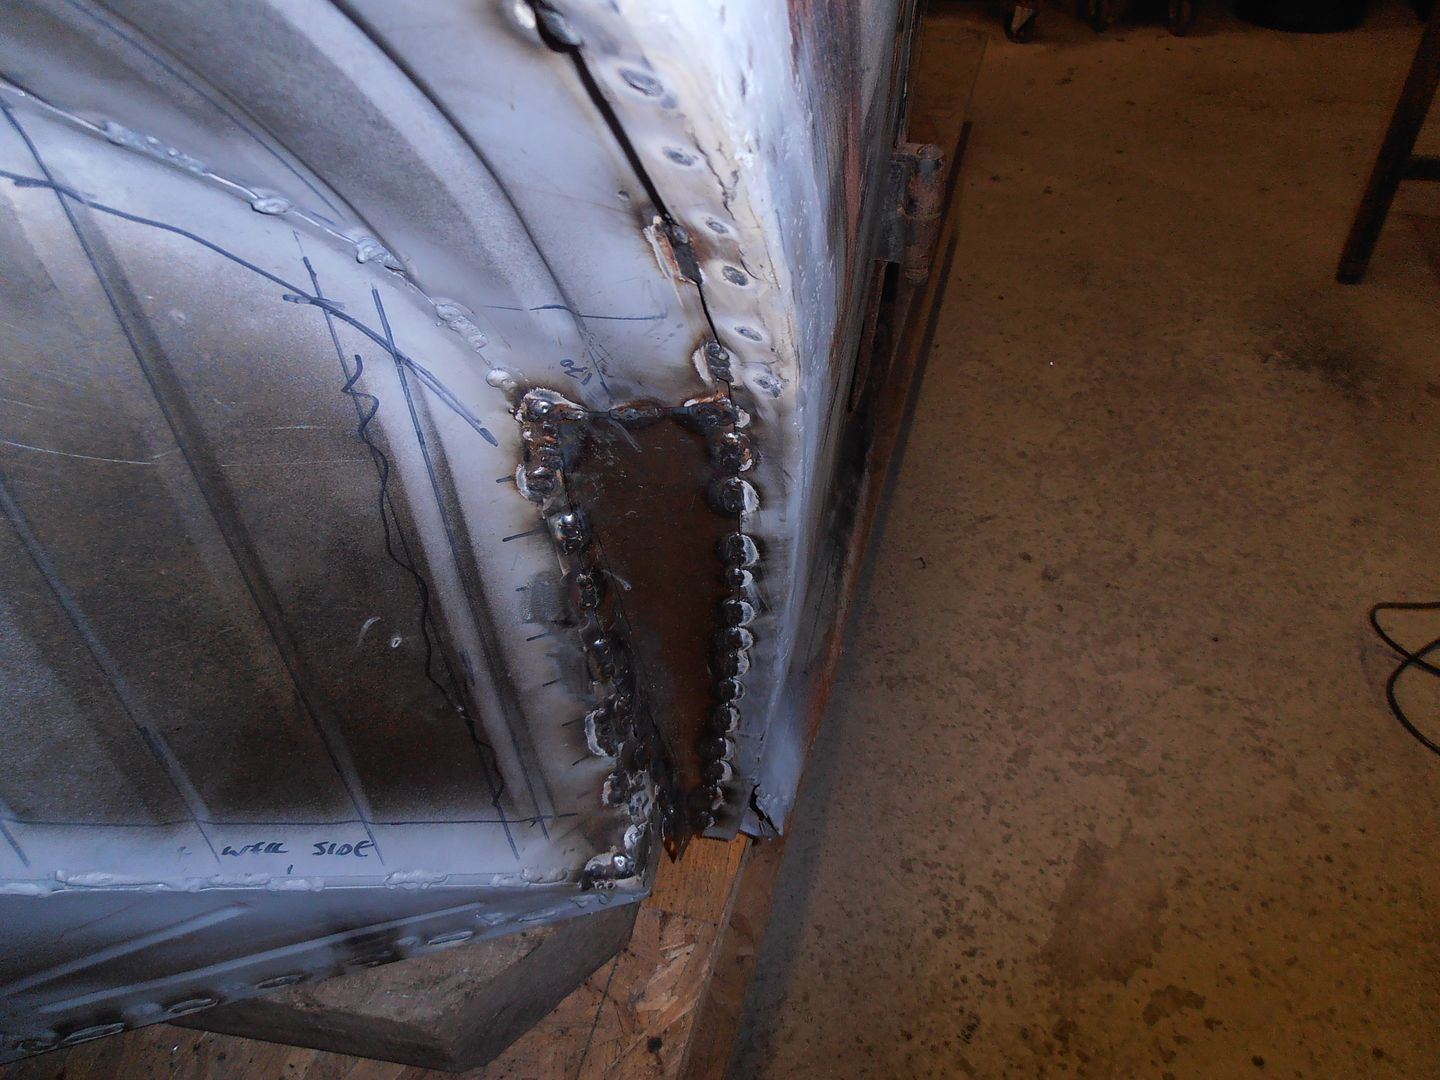 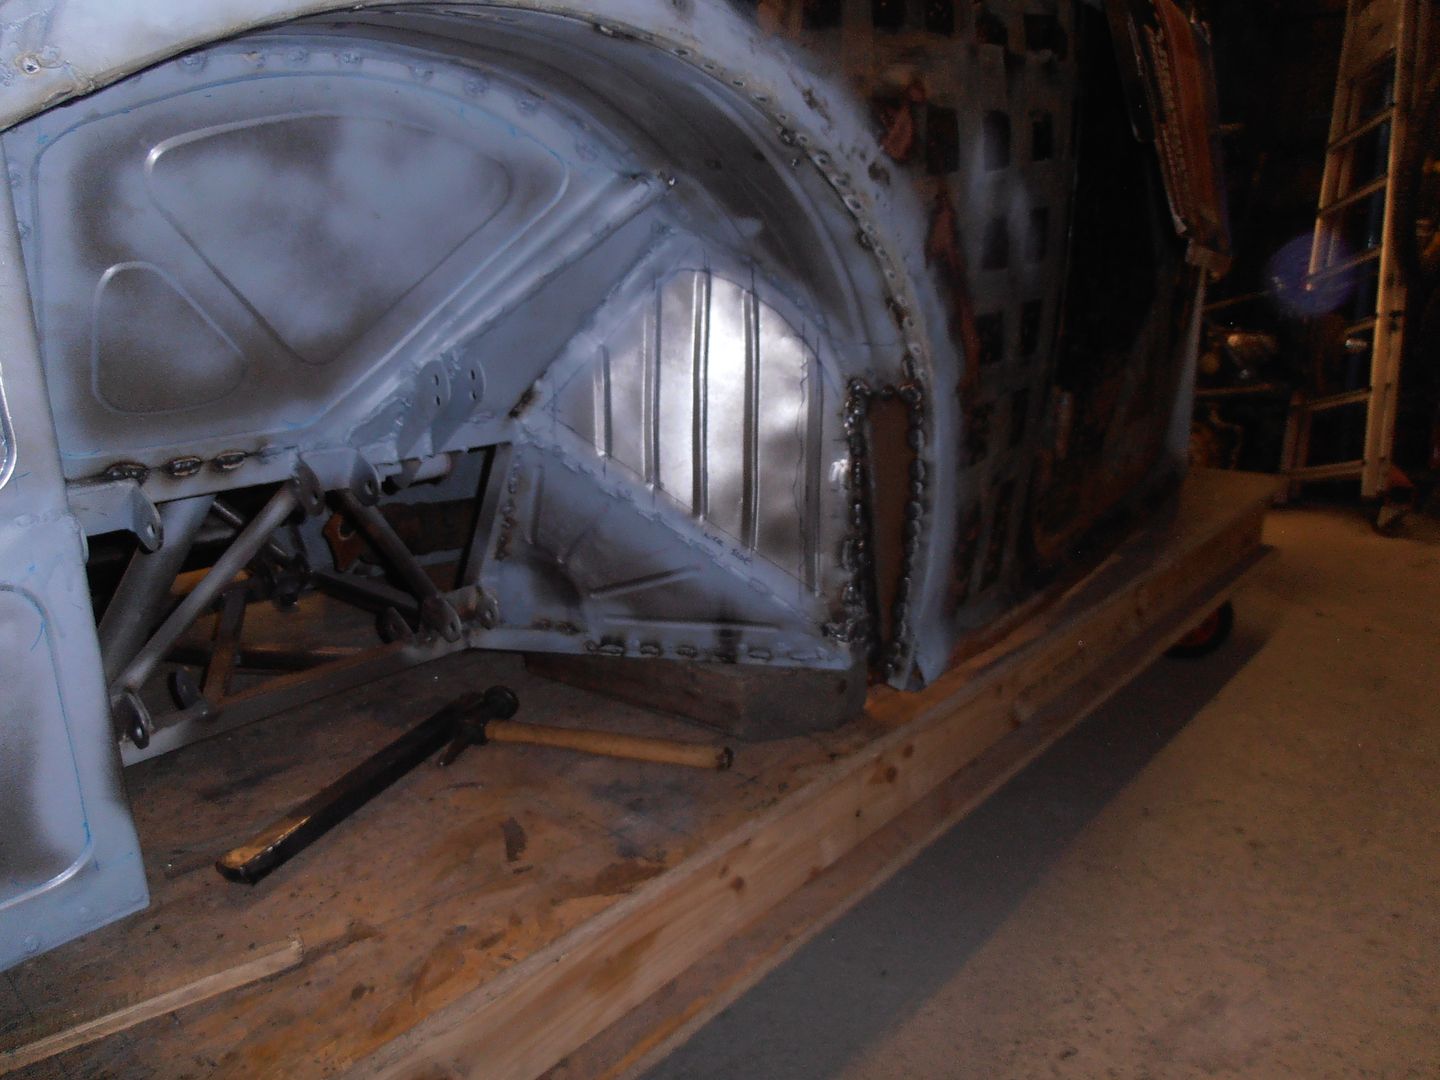 I then started thinking about what would look good as a seat for the car. Bomber inspired seats are going to be the way I think, although I suspect I will end up with something very over complicated. Will need to see when in the build schedule I do these, and also try modelling up in CAD first |
| |
|
|
|
|




 ?
?


