|
|
|
May 22, 2013 19:22:35 GMT
|
|
i thought it might be pretty simple, the rear of the MR2 basically being the front of a corolla and all haha
and 74BHP aint bad!! what is it? a 1.3? i think my civic's supposed to have about 70BHP, doesnt feel like it does anymore lol
|
| |
|
|
|
|
|
|
|
May 22, 2013 19:52:52 GMT
|
the corolla came with the 4age from the factory in the form of the fx16 gt. Simular looking front to mine but the uk got the 3 door hatch only. Another swap I've seen is the starlet/glanza turbo, now I bet that would be fun  Yep 1.3 12v Oh exciting update, new rocker cover gasket ordered today |
| |
Maximum signature image height = 80pixels
|
|
|
|
|
May 22, 2013 21:01:27 GMT
|
|
Good job on finding one with so low mileage, if you are looking for bits and pieces for this corrola try south africa there are tens of thousands still on the road today, i personally know of 8 eight people that still have one being driven daily and parts are a plenty. Funnily enough a good friend had similar damage after a run in with a gate post, a few days later at the dump i picked up a headlight indicator sidelight and bumper all in condition that an old man was throwing away also got door cards and seats in beige easier on the eye than the blue vinyl lol. it should prove to buy your bits in ZA because of our poor exchange rate about 1 pound to 15 rands sad i know. Keep it up
|
| |
No my car is not modified its just had an update!!!!!!!
|
|
|
|
|
May 23, 2013 18:44:25 GMT
|
great info! I hadnt even considered africa for parts, google here I come  |
| |
Maximum signature image height = 80pixels
|
|
|
|
|
Jun 29, 2013 20:03:32 GMT
|
prepare for the most exciting pic everrrrrrrrrrrrrrrrrrrrrrrrrrrrrrrrrrrrrrrrrrrrrrr rrrrrrrrrrrrrrrrrrrr...... ready? Boom! 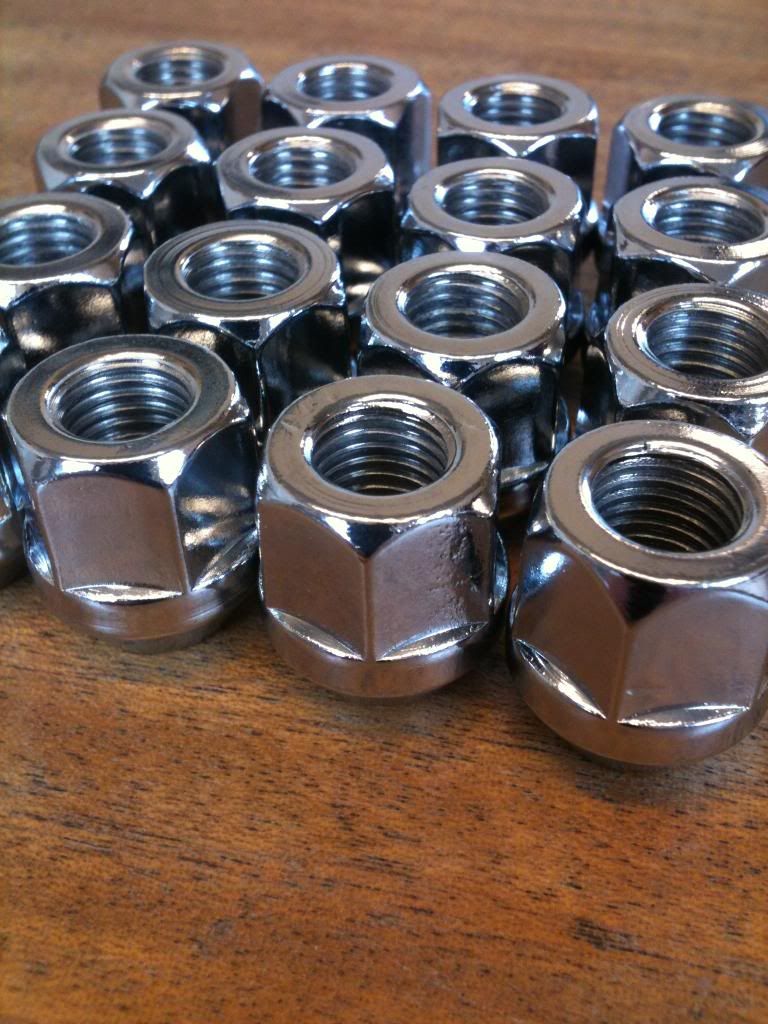 ok I may of lied about the most exciting pic ever but these are the new wheel nuts ready and waiting for my new wheels to arrive  Again, I've drawn the short straw in work this weekend, usually I'd have one of the two days off but not this week I'm working it all and as payback I used my time constructively and cleaned the car. The paint on the wheels had started to dull so I flicked them over with some nice shiney new paint too. Have some pics 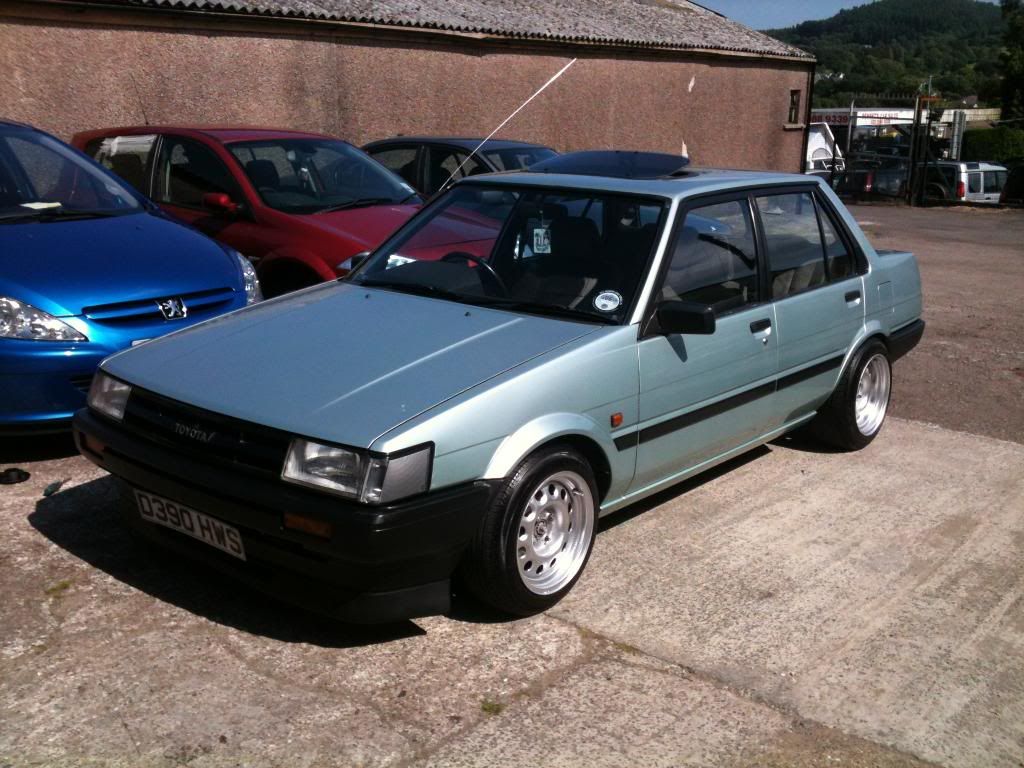 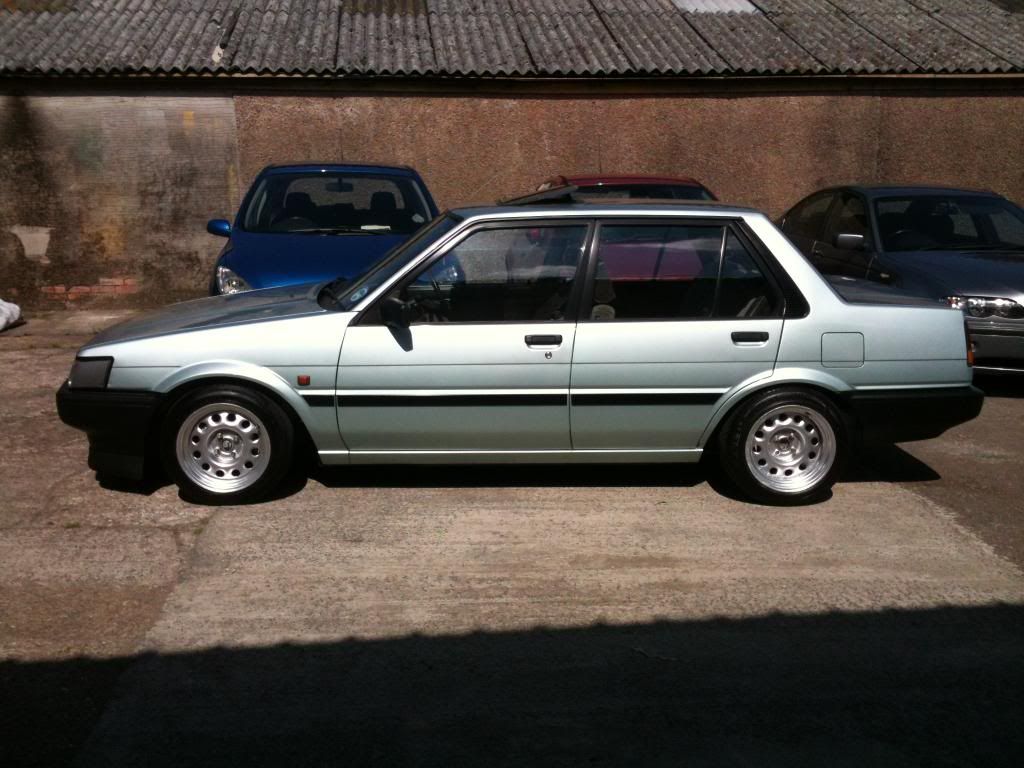 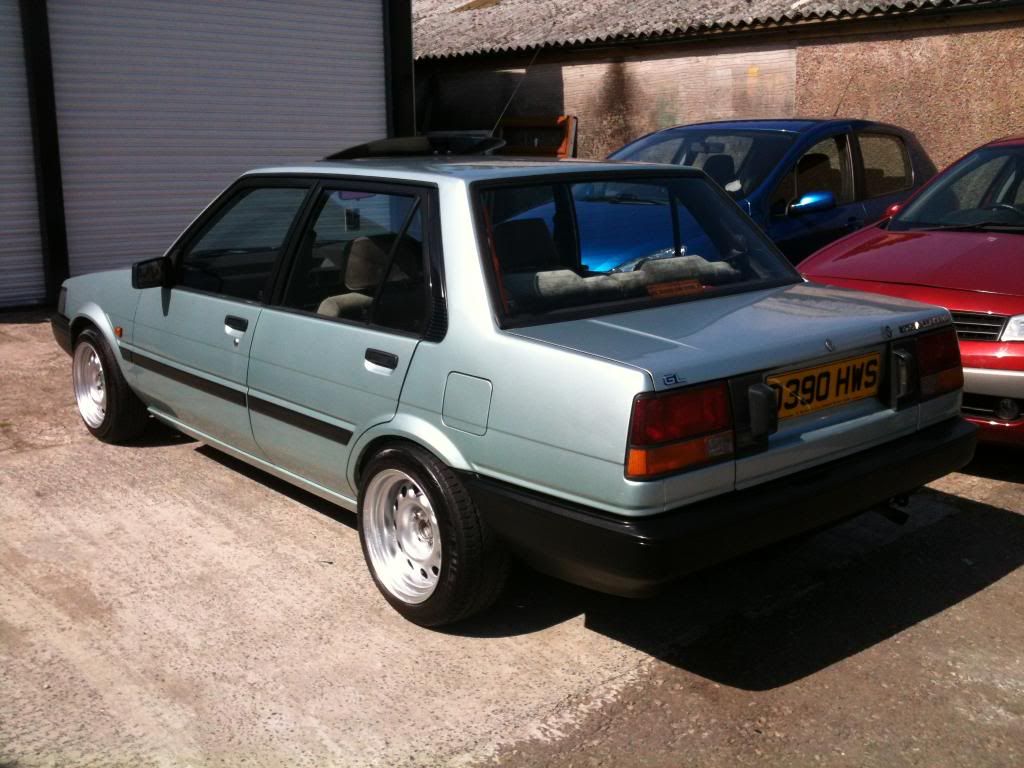 no centre caps in the pics as the wheels were still tacky Oh and pics with the front spoiler fitted too ^^^^^^^ Did anyone actually notice?? |
| |
Maximum signature image height = 80pixels
|
|
|
|
|
Jun 30, 2013 17:32:53 GMT
|
one more just for luck 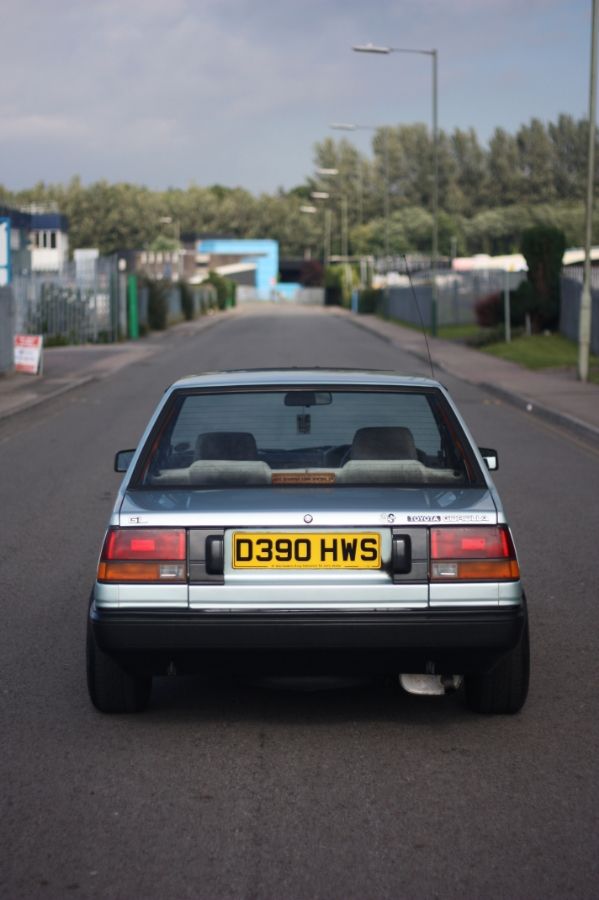 |
| |
Maximum signature image height = 80pixels
|
|
Geordie
North East
Course I'm out of my mind...........it's dark and scary in there!!
Posts: 2,520
|
|
|
|
I loved reading this thread from start to finish, as I like seeing the usually unloved examples of old J tin getting the love and attention they deserve. Your progress on this has actually made me consider doing something eye-catching with my N13 Sunny, even though I personally love the 'just rolled out the factory' look for my cars. Speaking of my Sunny, I was always amazed at how similar the ee80 Corolla and the N13 Sunny were. They could almost have shared body panels and parts... Your brown interior... 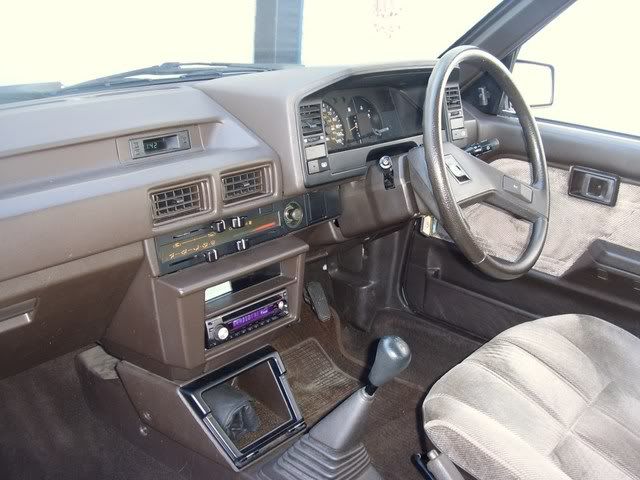 My brown interior... 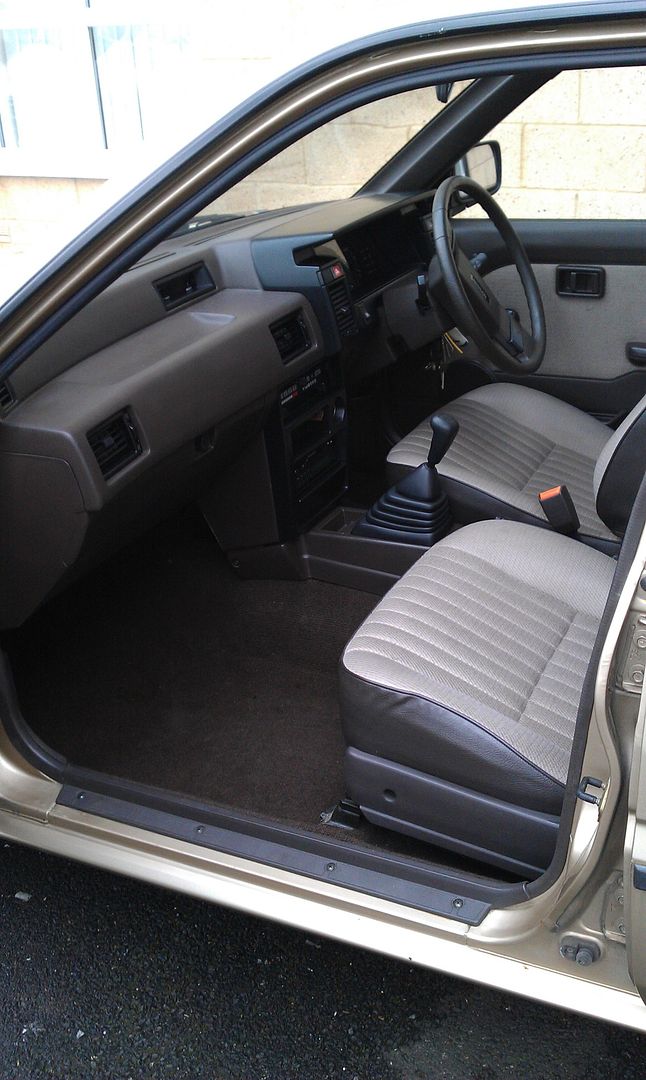 Fronts...  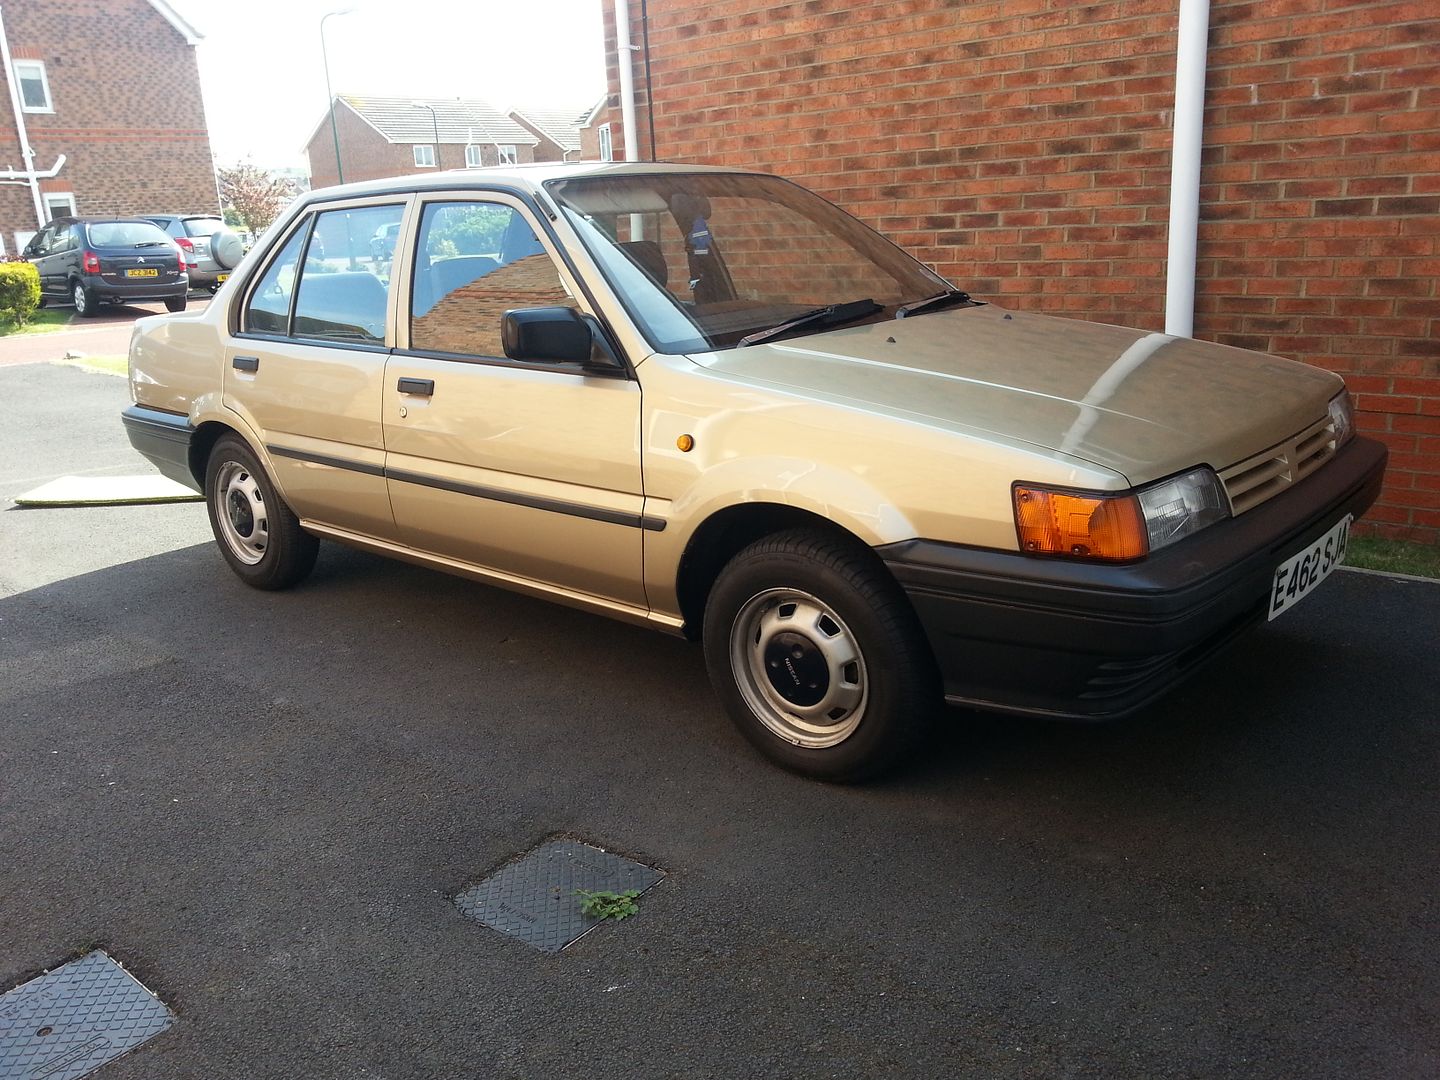 Rears...  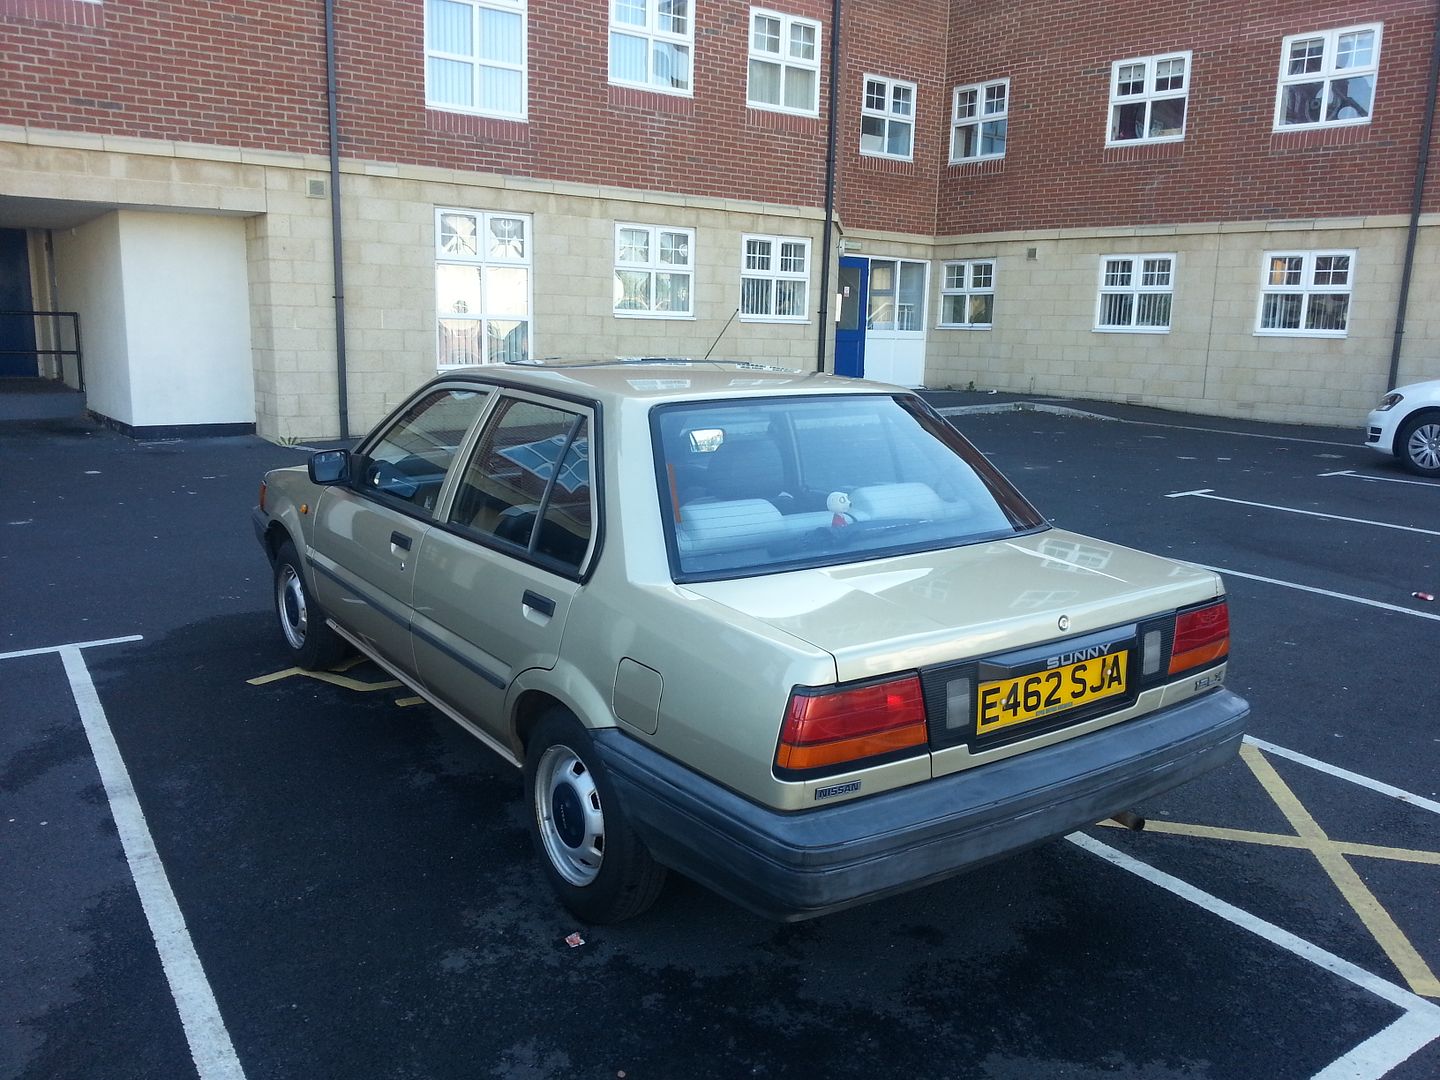 Oh, and there is another more specific similarity between our motors. This is your MOT pass... 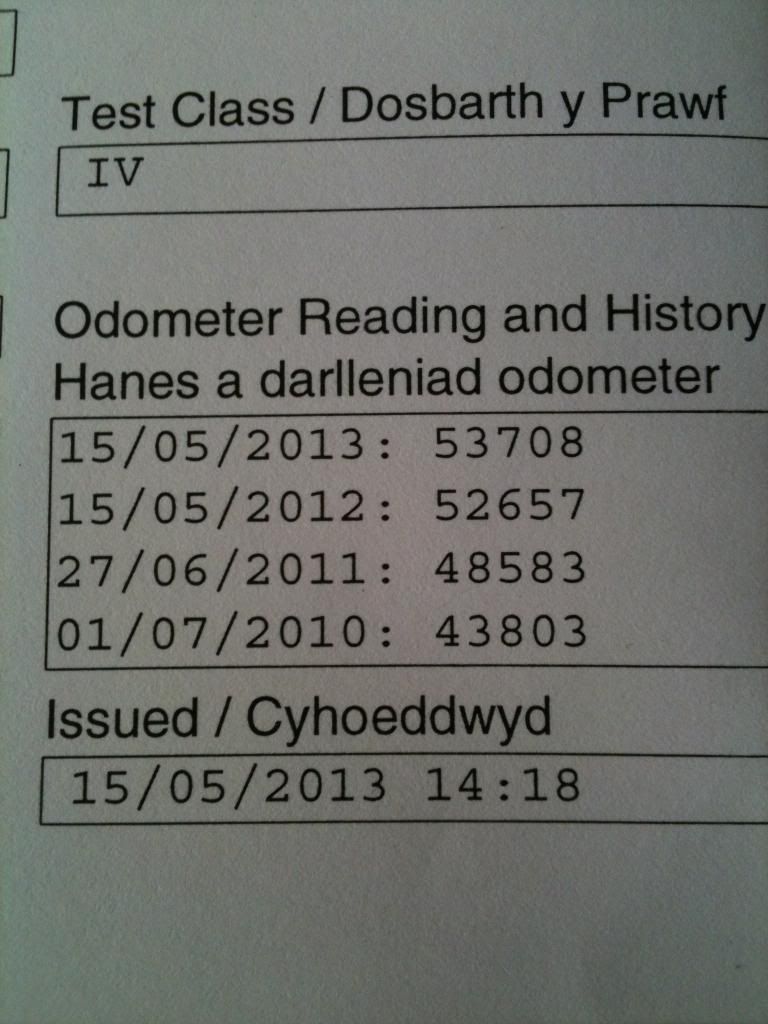  Almost identical mileages! Keep up the good work. I shall be watching! |
| |
Last Edit: Jul 1, 2013 10:08:15 GMT by Geordie
CURRENT FLEET
'95 Rover 623SLi (65k miles)
'99 Renault Laguna Executive
'55 BMW 318i (52k miles) for sale
'06 Audi A6 (18 year old 'modern' daily)
|
|
|
|
|
|
|
wow they are surprisingly similar! I knew they were but didn't realise just how close the two actually are! The main reason for buying the corolla was that it was different and the interior tipped the scales. I saw it and had to have it  There's nothing wrong with the straight out of the factory look, its refreshing to see sometimes. Everything I've done so far is easily reversible to put the car back to how Toyota intended. My original plan was jdm arches but I just couldn't bring myself to do it. Clean and simple is the way forward instead for this one |
| |
Maximum signature image height = 80pixels
|
|
|
|
|
Jul 29, 2013 19:24:37 GMT
|
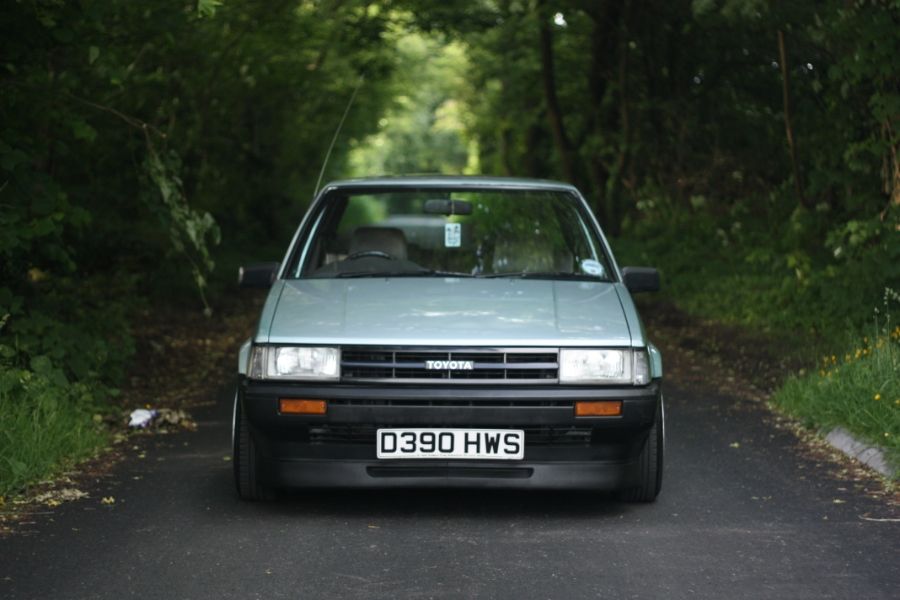 New wheels have been purchased! I've been after a set of this style of wheel for a while and a set of five popped up on here. A huge thanks to damageandy who dropped them to my door as he didnt want to risk them getting damaged or going missing with a courier. 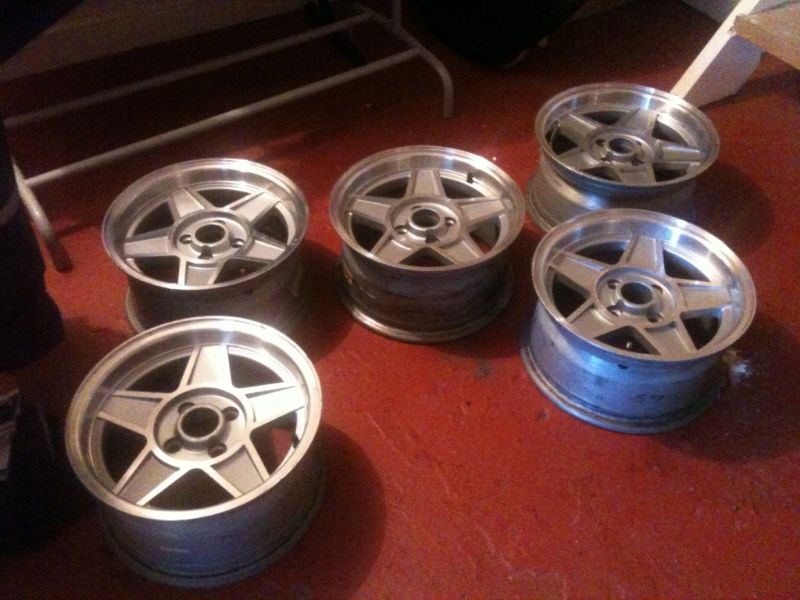 No marking on the wheels so I'm not sure who they were made by. Theres a sticker on them saying made in Africa and they are light?  ? Anyone got any ideas? Test fit time............ 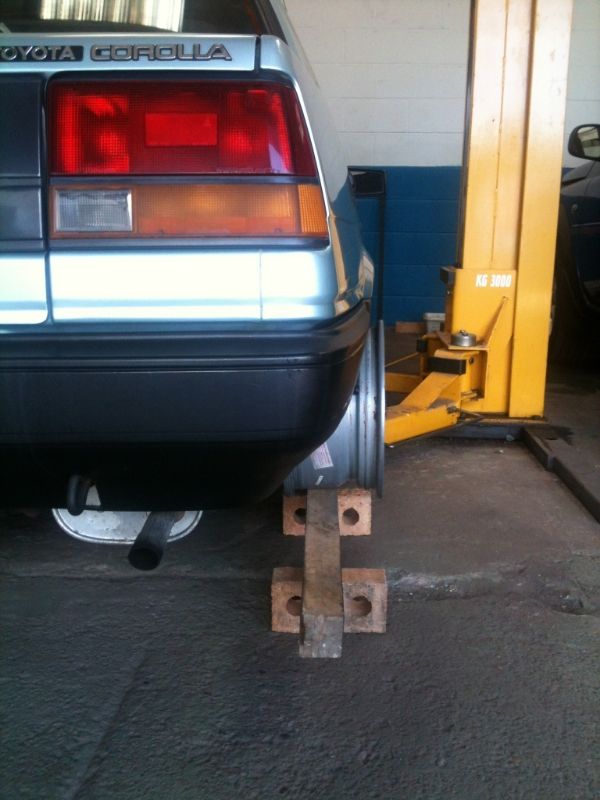  They need a light refurb due to the laquer starting to spider in places. The plan is to have a go myself, its been years since I've poilshed a set of wheels but really fancy having a go. Time to say bye bye to my finger tips. The plan is to polish the lips and the raised areas on the spokes and around the centre (the bits with the red dots) 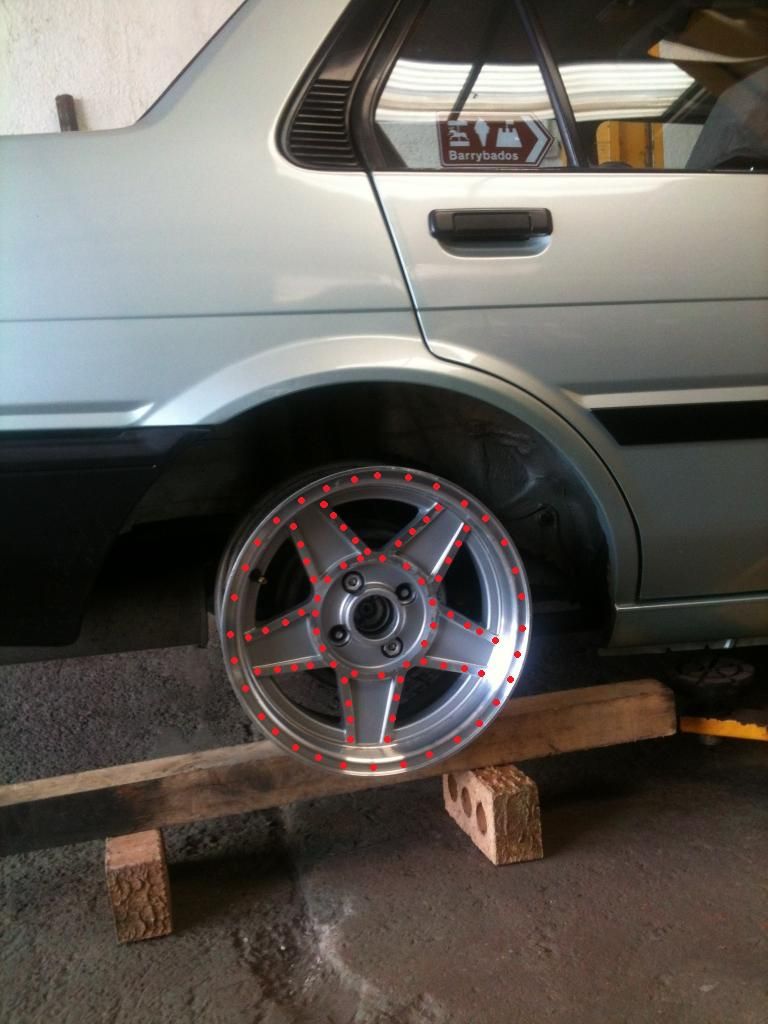 This polishing kits winging its way to me as we speak  |
| |
Maximum signature image height = 80pixels
|
|
|
|
|
Jul 29, 2013 19:38:59 GMT
|
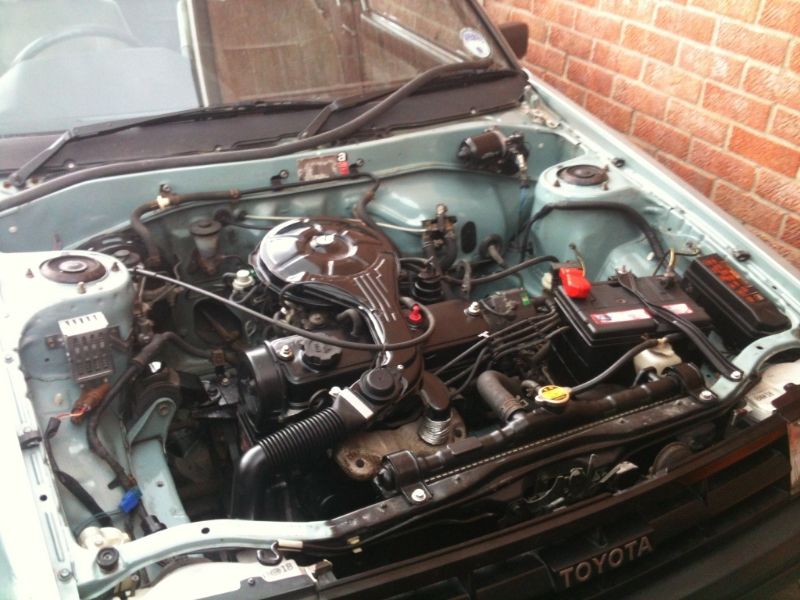
one of the guys on a local forum I use has achieved this on his drive doing it all himself  I opened my bonnet today and was greeted with 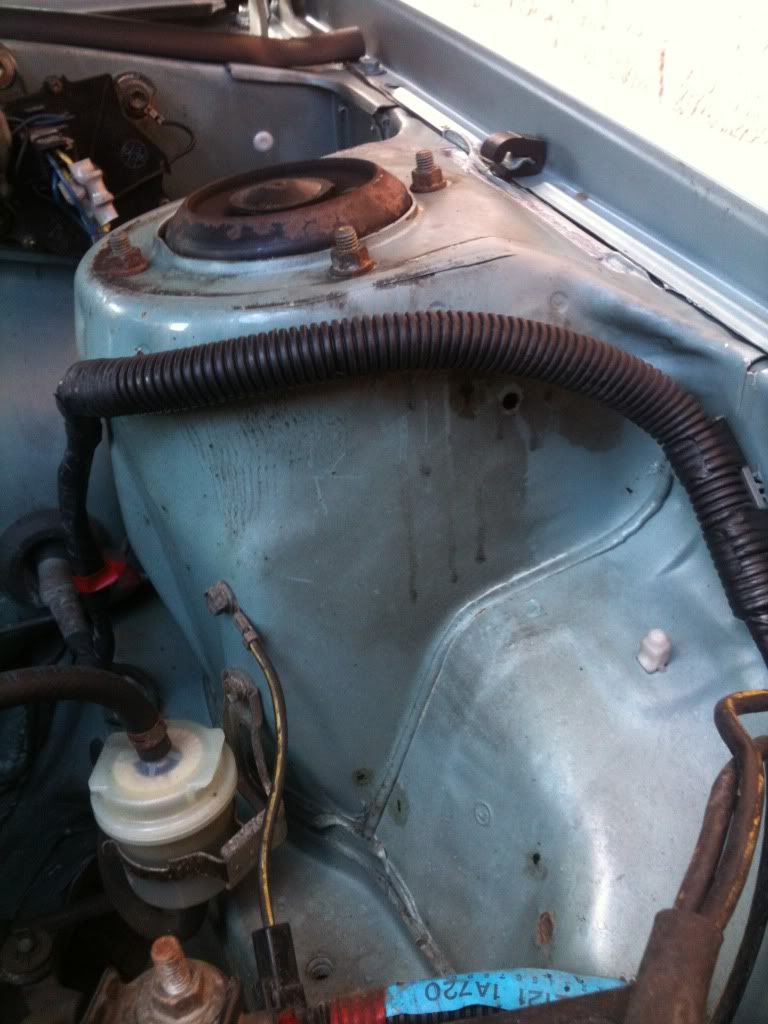 I was disapointed, so broke out some tools, degreaser and polish. One inner bay done 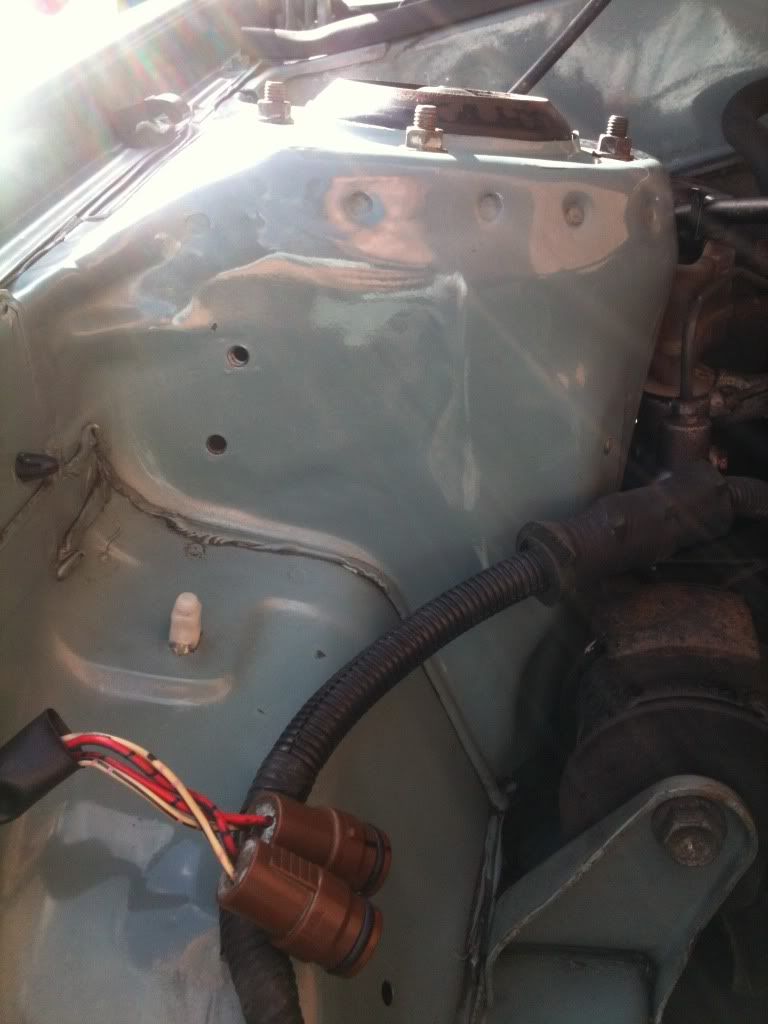 the holes are where the dip dim unit sits. This has now been polished but will have a quick once over once my polishing kit arrives. Top rad supports have also had the same treatment but will need a fair bit of work before I'm happy. All the rusty bolts are currently sat in a glass of coke (without j.d) removing the more stubborn bits of rust. I almost got carried away at this point and started looking for places to hide the loom but soon come to my senses and decided to leave it alone. The engines been laquered at some point and its gone flakey and poop. The air filter is now half done but here it is with one little section polished with G3. 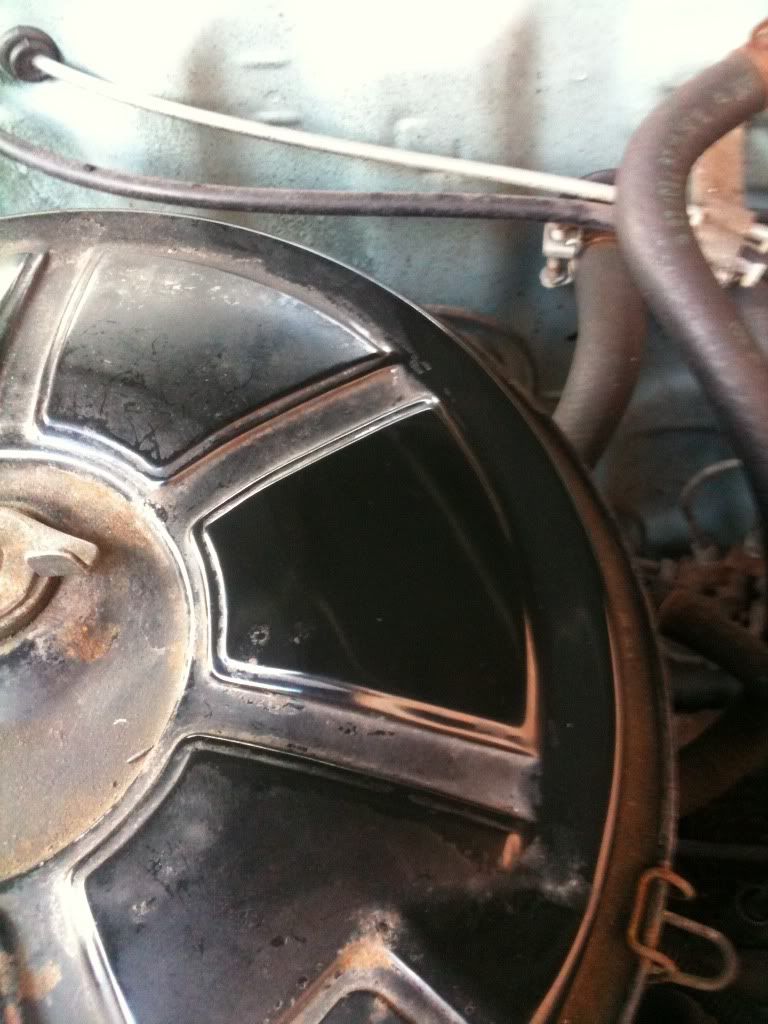 I'm hoping to have a few hours spare later in the week so hopefully I'll get the bay mostly finished off. |
| |
Maximum signature image height = 80pixels
|
|
|
|
|
|
|
|
|
|
This looks fantastic! Great work mate, very impressive!
|
| |
|
|
stevietuck
Posted a lot
   Never argue with idiots,they drag you down to their level then beat you with their expertise!
Posts: 1,350
|
|
Jul 30, 2013 11:36:34 GMT
|
Don't know how many times iv said this now but I'm going to say it again ... I love this forum because cars iv never thought twice about before come up on here and I just think wow!! I want one!! keep up the good work fella. cheers steve.  |
| |
|
|
|
|
|
Jul 30, 2013 19:40:02 GMT
|
cheers guys  I managed to get the air filter housing finished tonight. It took alot longer than I thought but now looks like this 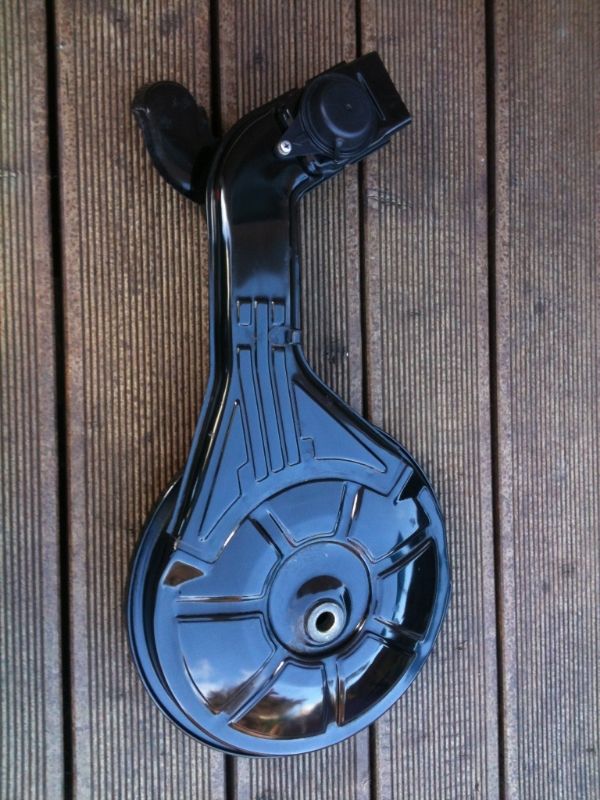 I also made a start on the bracket that holds the cold air feed to the air filter housing. Started like so 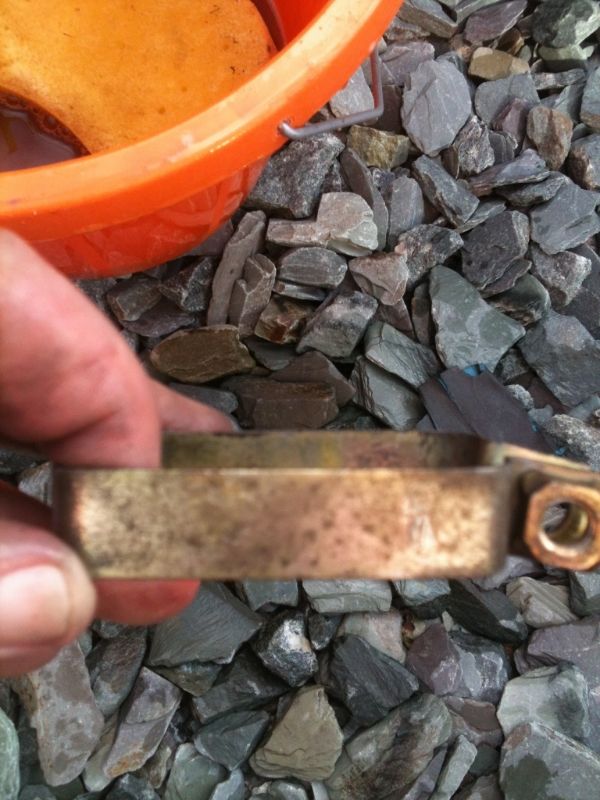 and ended up like this 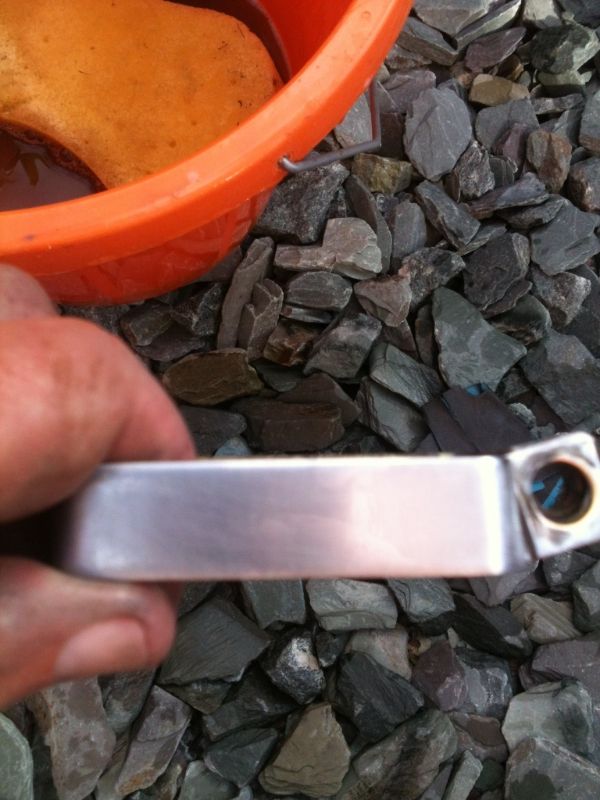 Its still not completely finished but its going in the right direction |
| |
Maximum signature image height = 80pixels
|
|
|
|
|
|
|
I started on the first wheel this week. The flat raised areas around the spokes was easy using an electric sander to remove the old paint and laquer. The lips were a nightmare so I picked them up chucked them in the car and dropped them to the metal poilshers. This allowed me to sit in the garden all afternoon enjoying the sun and having a few beers  For anyone thinking of polishing their own wheels seriously don't bother. I've probably spent not far off the cost of getting them done on bits to do it myself. It really isnt worth the hassle. I'm slowly working my way around the engine bay now, next on the list was to sort out the top of the rad which like the air filter housing had been treated to laquer and had gone flakey. A quick rub down and a blow over with some satin black had this done. No pics though. The radiator fan housing looked ok from on top but I dropped it off anyway and I'm glad I did now 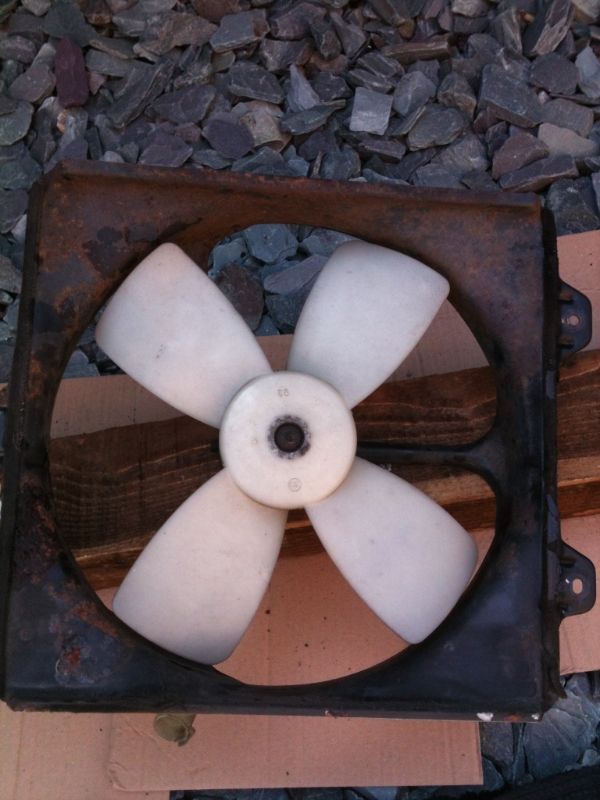 Yep that needs some love 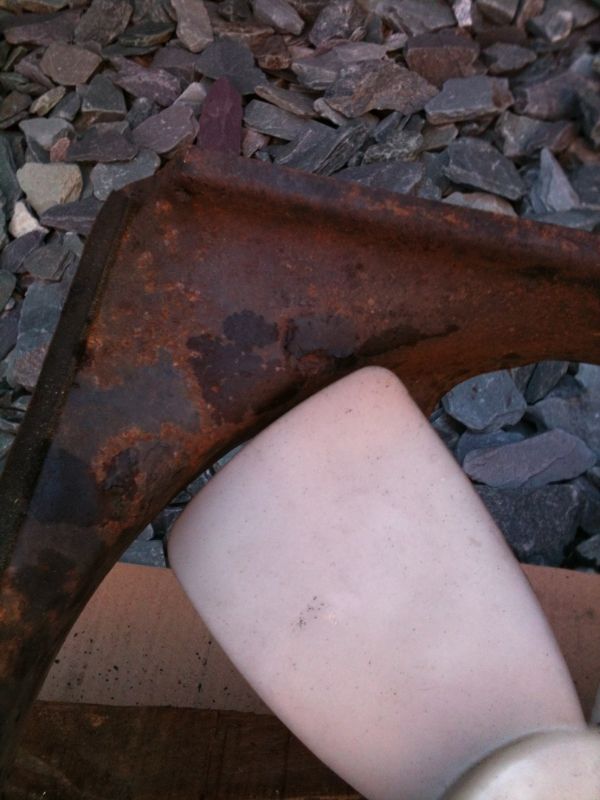 I broke out the drill with a wire wheel on and attacked it. Then it was time to treat it, prime it and get it painted 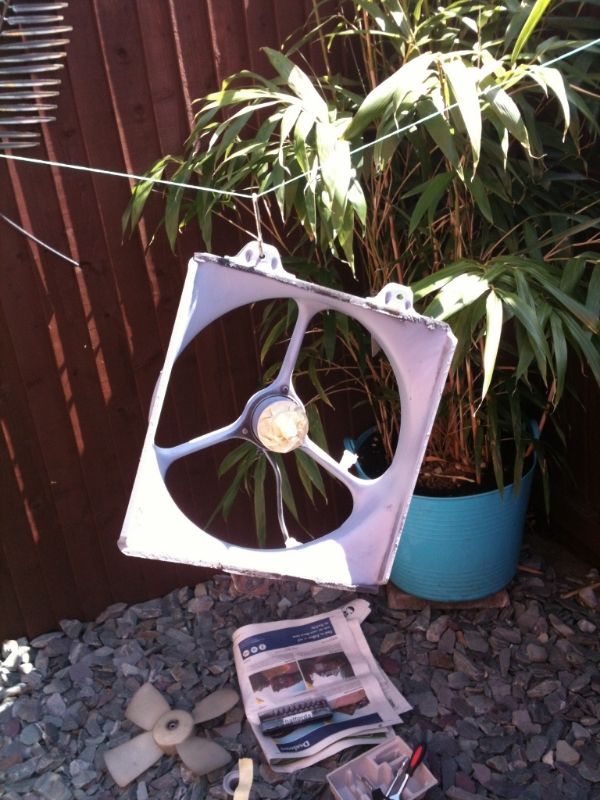 The back stuff along the top and bottom was foam which stops the rad and housing rubbing together. This will be replaced with some nice black high temp silicon to stop them having water babies when its all back together 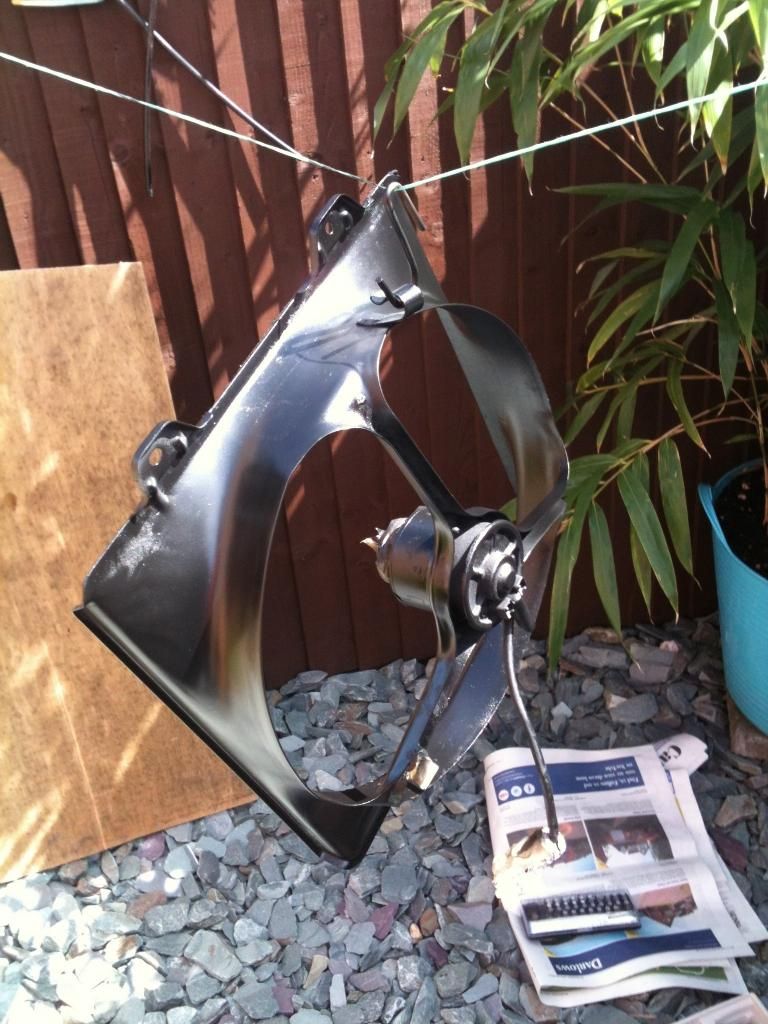 Theres a bit which reacted badly so that will be flatted back and redone. Next up was the fan which had splashes of all sorts staining it. Out came the cutting compound and polish which brought it up like this 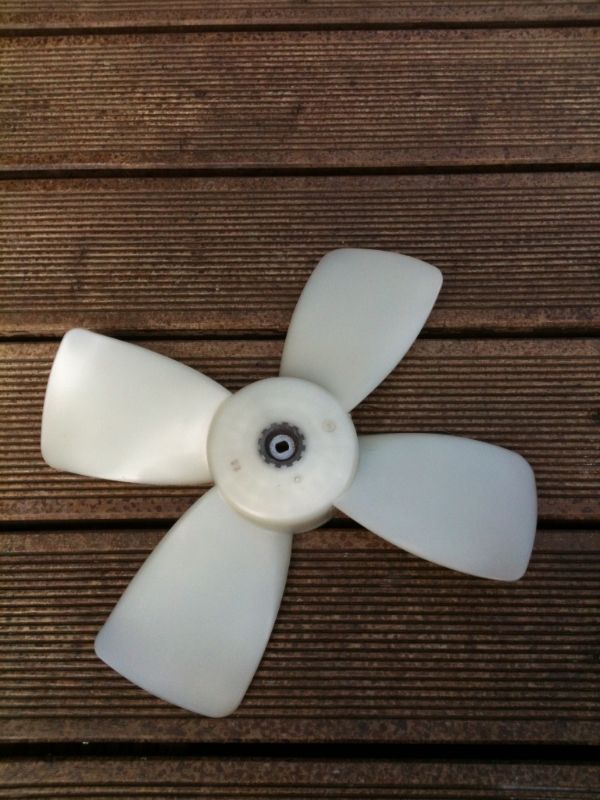 The battery stay bar which the same treatment as the fan shroud. Here it is between top coats 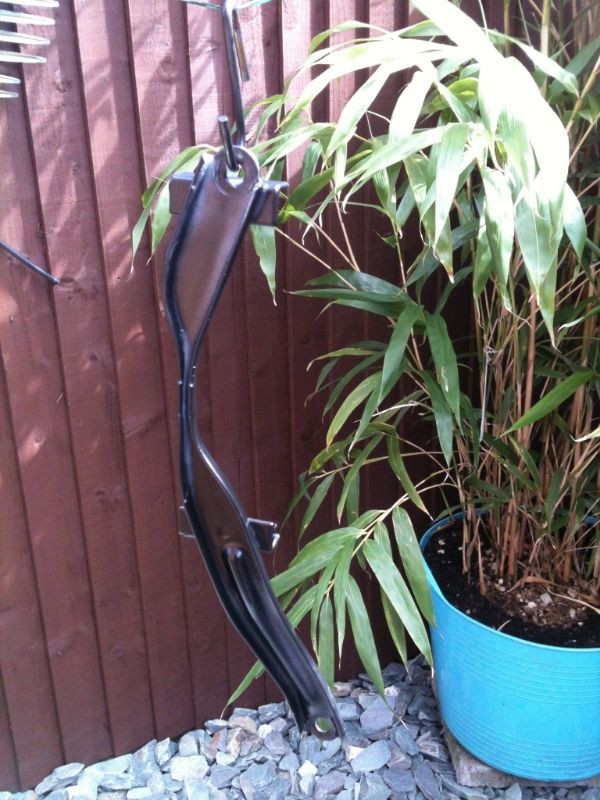 |
| |
Maximum signature image height = 80pixels
|
|
|
|
|
|
|
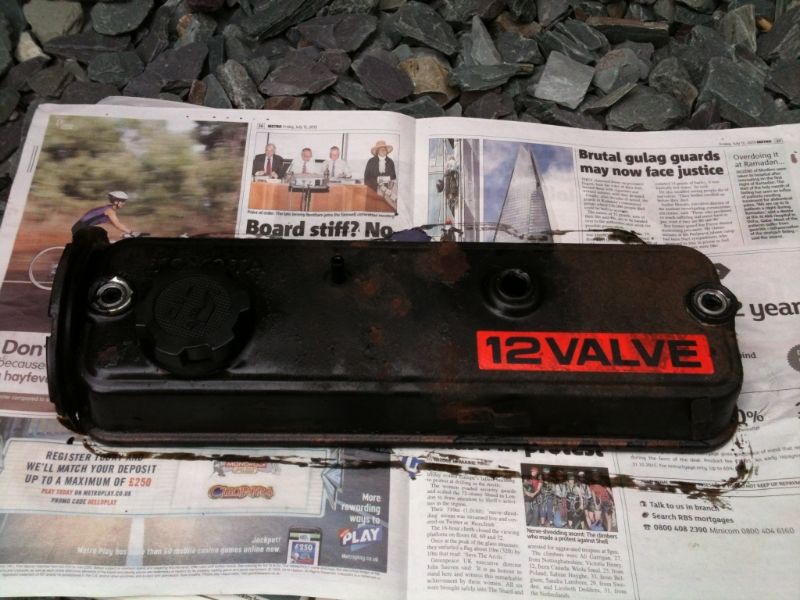 ^^Rocker cover^^. Attacked with a wire wheel in a drill then a flap wheel. Then it was time to loose some finger prints and smooth out any rough bits by hand. I almost polished it at this point but the metal was pitted due to the rust. Primed, painted and left to dry in the sun 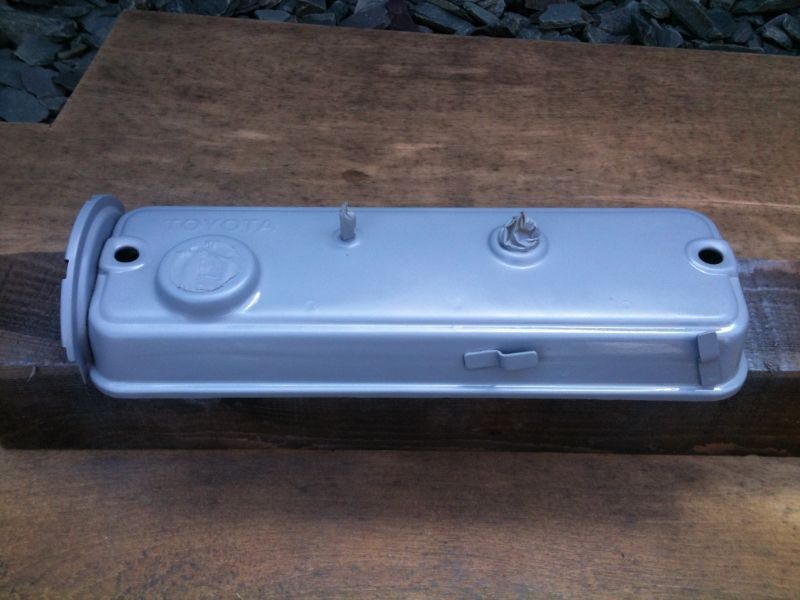 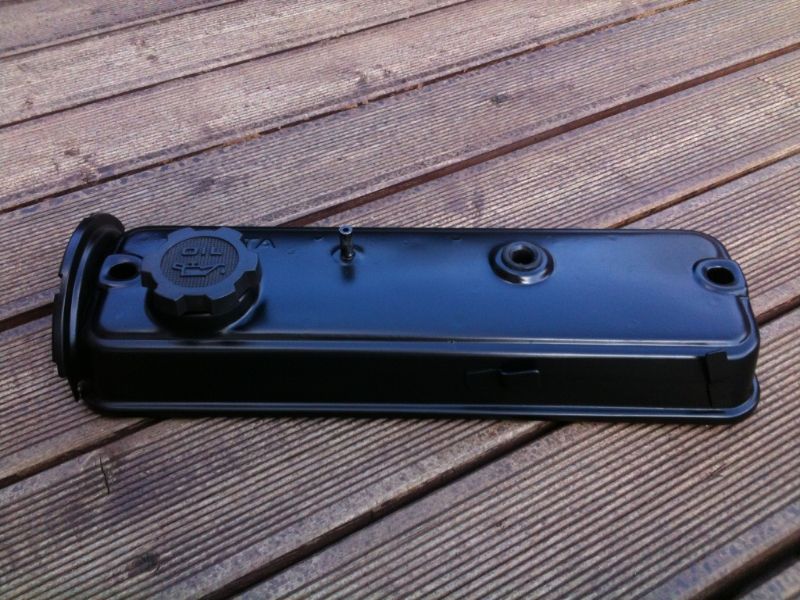 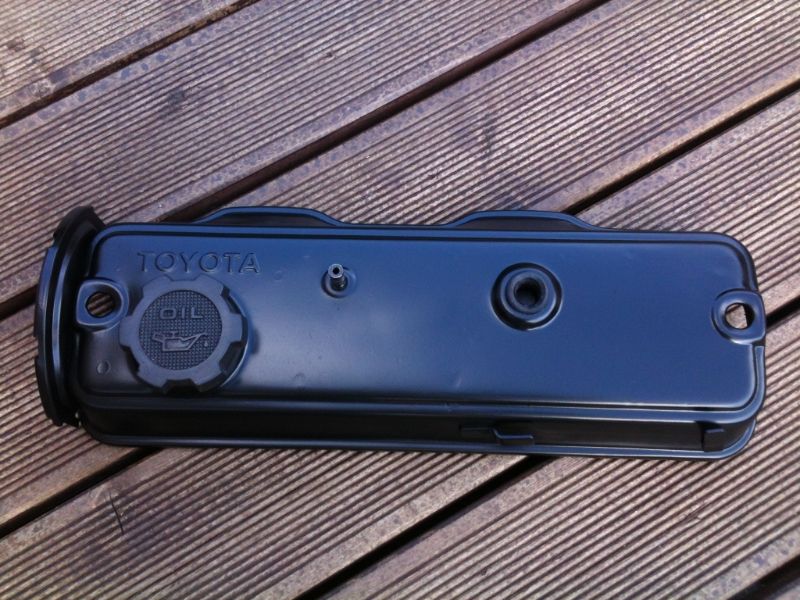 A quick flat and polish and its done! The wheels are also back from the polishers. they're stinking here but you get the idea 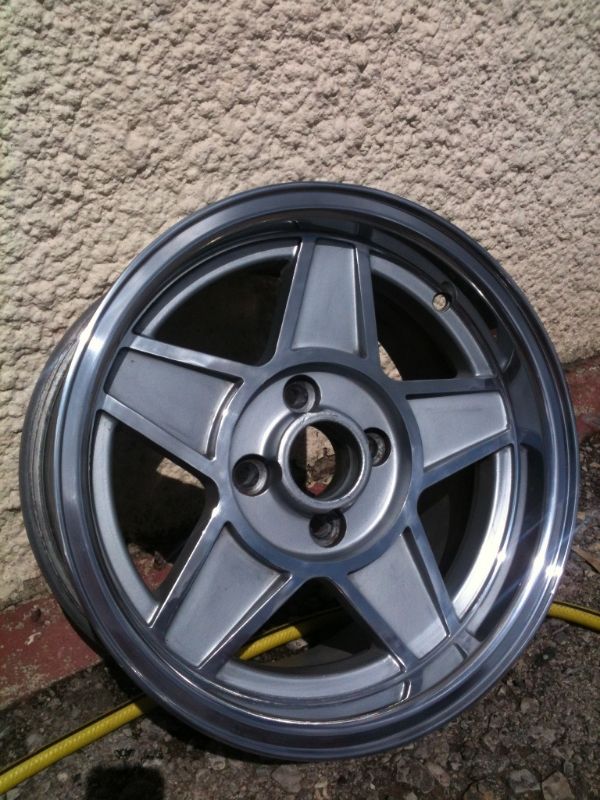 The raised bits between the spokes havent come up as well as the lips so I might spend a bit of time on those next week |
| |
Maximum signature image height = 80pixels
|
|
|
|
|
|
|
|
|
I thought performance challengers originally but there are some really subtle differences. The biggest being the centre of the wheel where the centre cap fits. The challengers got a small cup centre cap has quite a bit of space between it and the bolt holes where as mine uses flat centre caps and the bolt holes are cut into where the cap sits  |
| |
Maximum signature image height = 80pixels
|
|
|
|
|
|
|
Few more bits done this afternoon. Lots of bits painted black, rocker cover put back on with new gasket, seal washers and bolts. Air filter housing back on and the bulkhead cleaned and polished. O/s engine mount stripped and painted. Carb vac units cleaned (just noticed I've missed one) 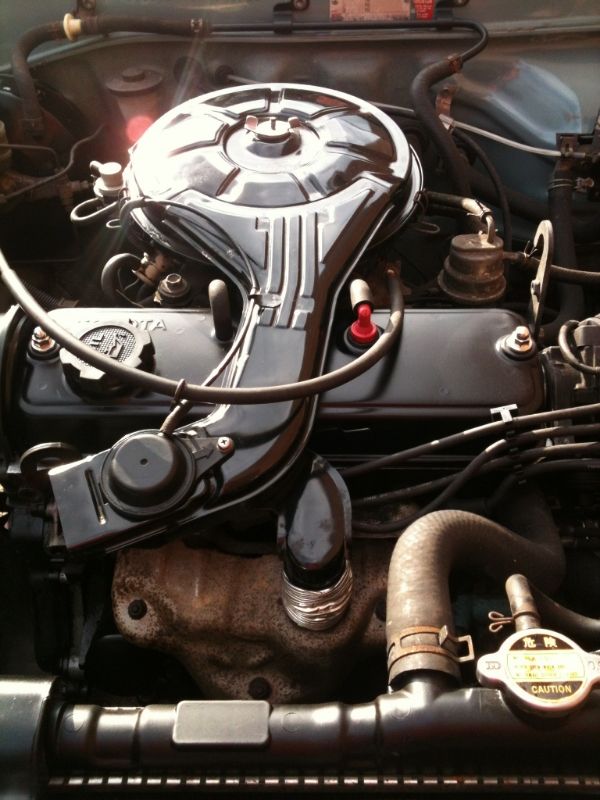 Things left to do, n/s inner bay, remove the engine hoist hook, polish/paint fuel pump, polish paint the heat sheild on the manifold and the engine side of the front panel needs cleaning and polishing. Also need some new jubilee clips. Whats best for cleaning old engine hoses? |
| |
Maximum signature image height = 80pixels
|
|
|
|
|
|
|
|
fuel pump done today, n/s bay done, rear of front panel done, earths cleaned and reconnected, cold air feed put back on, Fuse box cover de-laquered and cleaned, bonnet seal refitted blah blah blah.
I'm seriously tempted to remove the dipdim unit, move an earth strap, fuel filter and some loom and have the two inner bays free from clutter.I doubt this will happen though I want to get onto the suspension and get those wheels fitted
|
| |
Maximum signature image height = 80pixels
|
|
|
|
|
|
|
|
|
| |
Maximum signature image height = 80pixels
|
|
|
|




 ? Anyone got any ideas?


