The next coming year, I've got a LOT of projects I need to do. Some small-ish,some... rather impressively loud and hot!
FIRST:
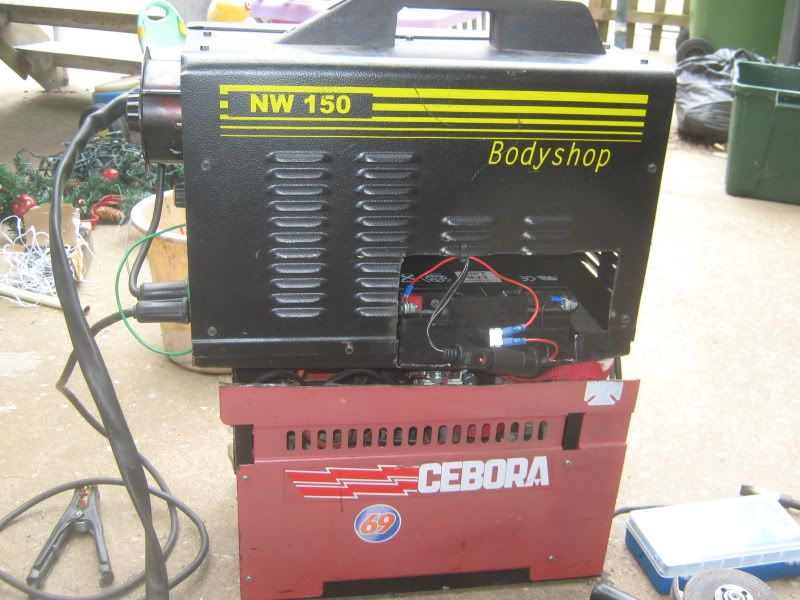
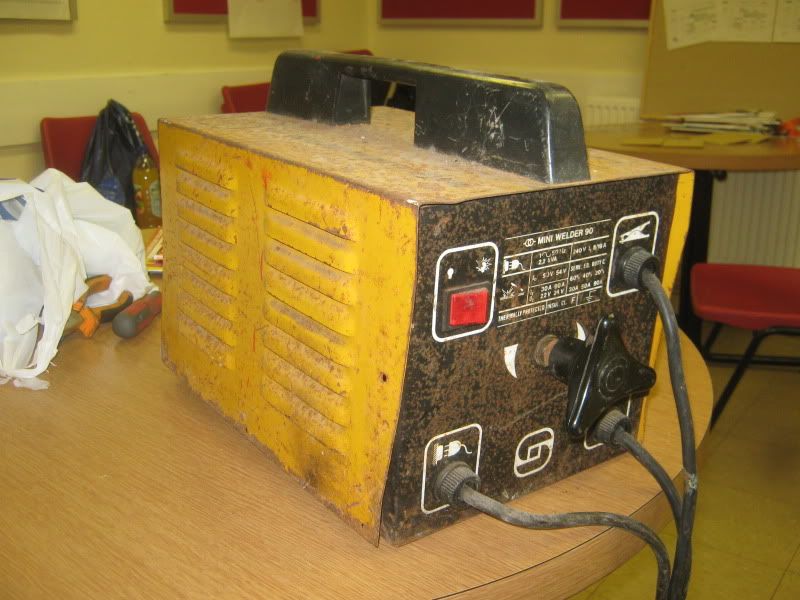
Fix/upgrade the MIG welder
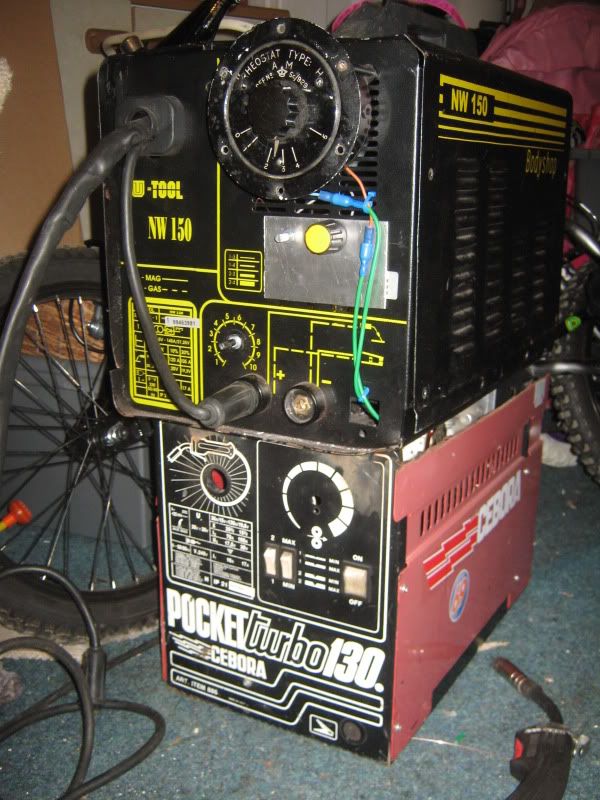
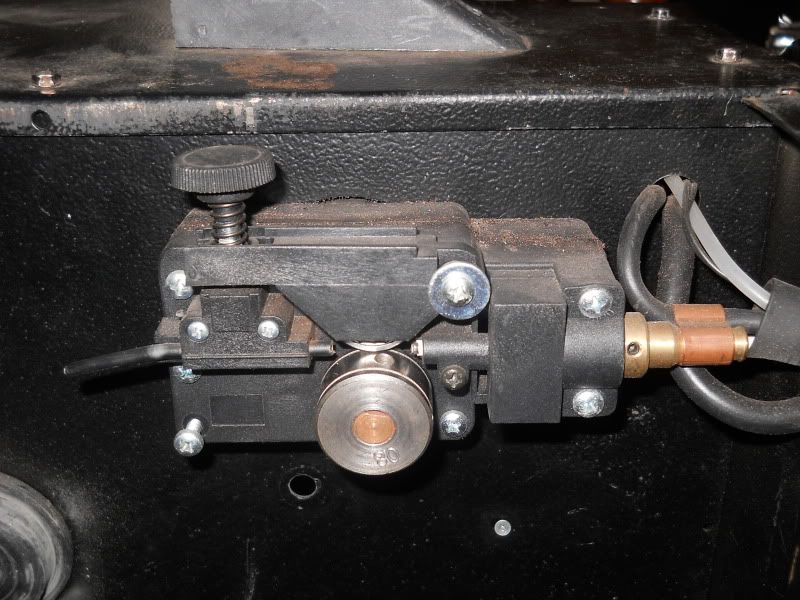
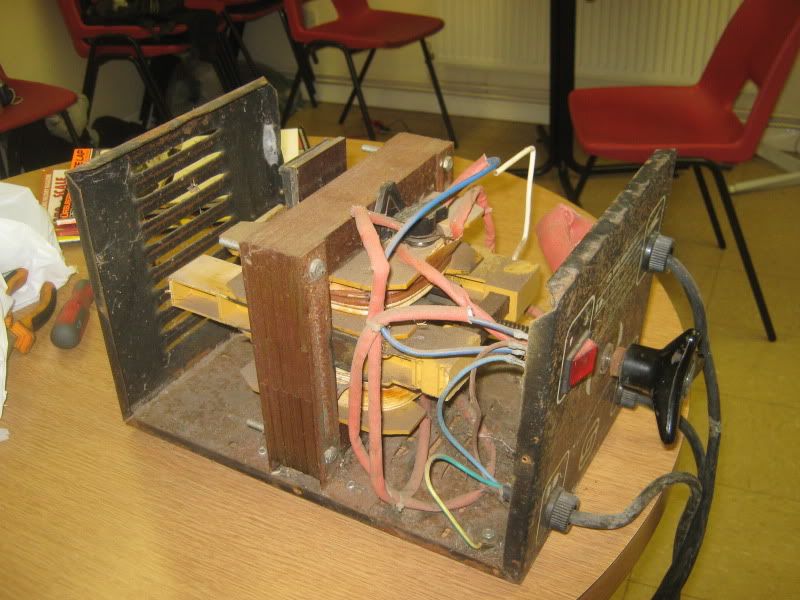
MY MIG welder isn't exactly what you'd find in a shop to begin with - the lower half, is the remains of one welder, used purely as the power supply, with the top half used for the wirefeed.
One thing broke after another (standard parts) and as it currently stands, the wirefeed is pretty much:
12v battery --> lighter socket --> WWII spitfire rheostat --> motor
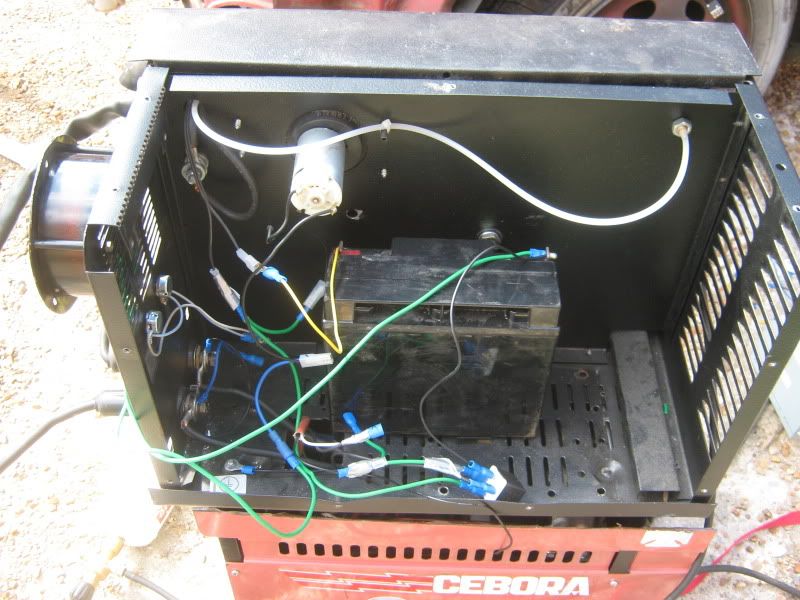
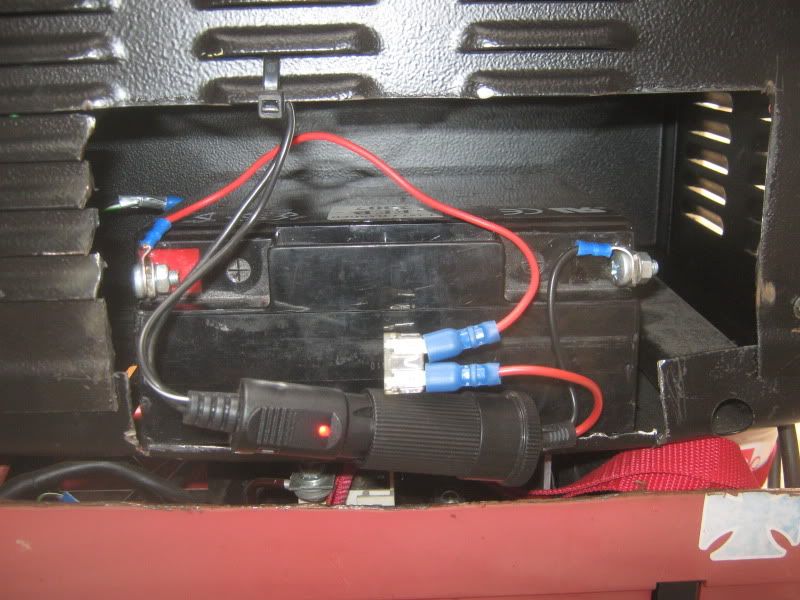
I *did* try it with a modified pc power supply:
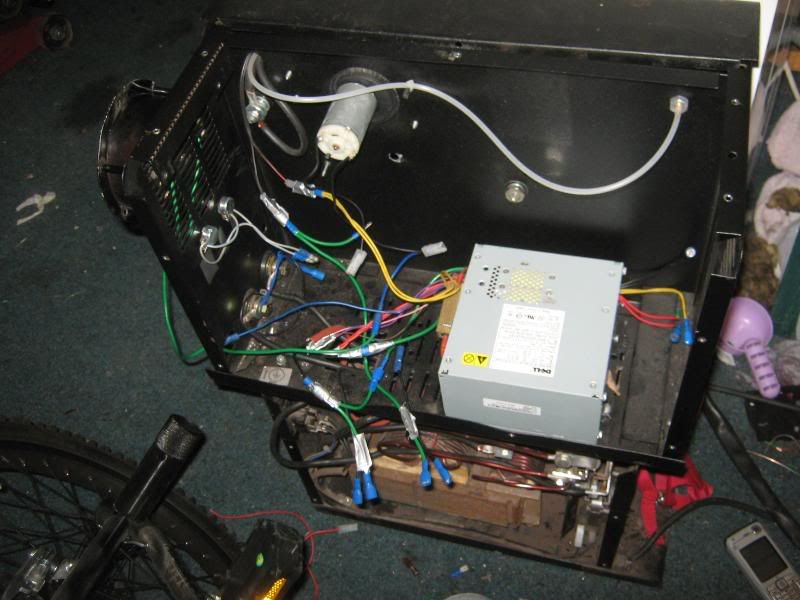
but they don't like large amounts of currents being turned on/off, and they go into safety mode, for a good 5 mins at a time. And 5 minutes between letting go of the trigger, and being able to weld again, is NOT useful! The 12v battery, I had lying around - and supplies a nice smooth supply, with LOTS of current!
This works, and does a fine job... but it also means at slower speeds, due to using a rheostat to limit current/voltage, the motor has naff-all torque
So, the plans is to add a bit more technology - an arduino!! ;D As they can be bought for less than £20, and have PWM outputs that can directly control + run MOSFETS - it works out cheaper than just a generic DC-PWM controller. Smaller variable resistors will be used, rather than the HUGE rheostat, and the generic "LED dimming" example program most people use to get to grips with how to upload programs, is actually all I need.
My housemate has had an entire module at uni programming these, so it may end up with a couple more features too - like voltage display, possibly current display, and an LED bargraph to show wirefeed rate (0%-100%)
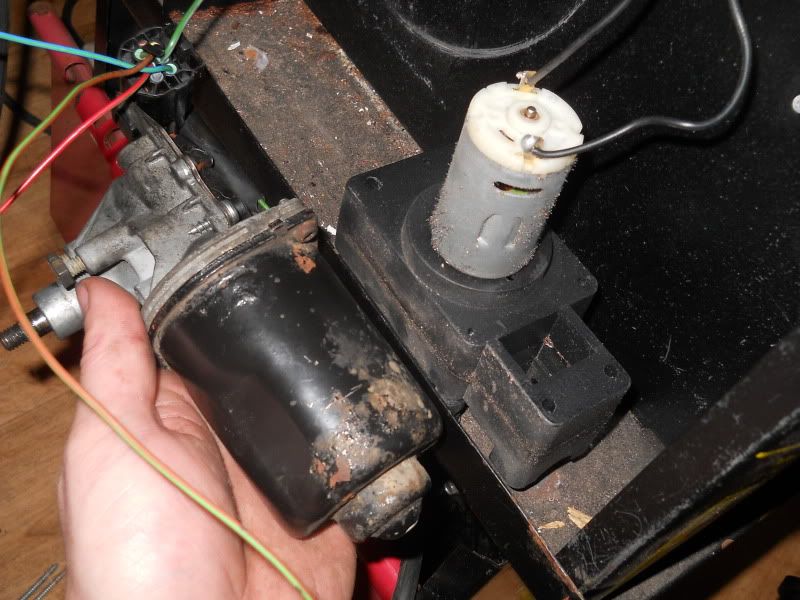
After sorting that, I've got an old wiper motor that I swapped off my car, as the park switch mechanism had died...

[generic google image]
this may end up being used to power the wirefeed, as it can go the right sort of speed, and has enough torque to pretty much ignore any resistance it meets! Some experimenting will be required for this though. The standard fitment is a tapered spline, with a threaded end - tighten a nut down, to force the metal plate onto the splines. The roller fitment on my welder is the fairly standard D-shaped hole, held on with a circlip. May end up cutting the end of the shaft off, and welding on a suitable endpiece instead. Time will tell....
It would also be nice to change from the rubbish trigger-valve thing for the gas, to a solenoid controlled gas feed
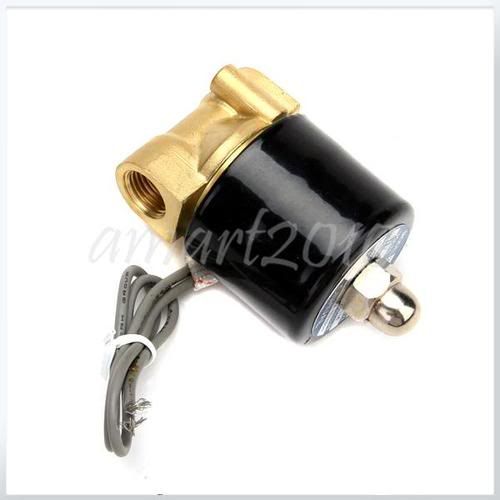
this beastie can be had for £12 posted! Adaptors to screw into it, can be had for a couple of quid too. The valve in the handle will just be hollowed out, so only the switch in the handle actually does anything
And that.... is one of the welders
SECOND:
Welder number 2 - TIG conversion!
I've got an old ARC welder, which turns out is an ideal candidate, to power my TIG torch!
I originally fixed an old generator I was given, and made it run a modified car alternator (only a weensy 40A mini alternator) but this was problematic, noisy, cumbersome, and could only be used outside for obvious reasons!
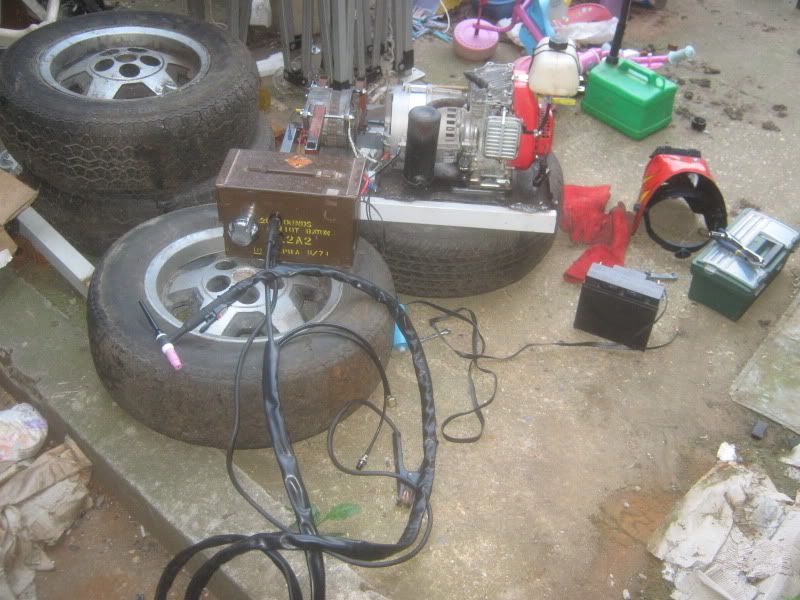
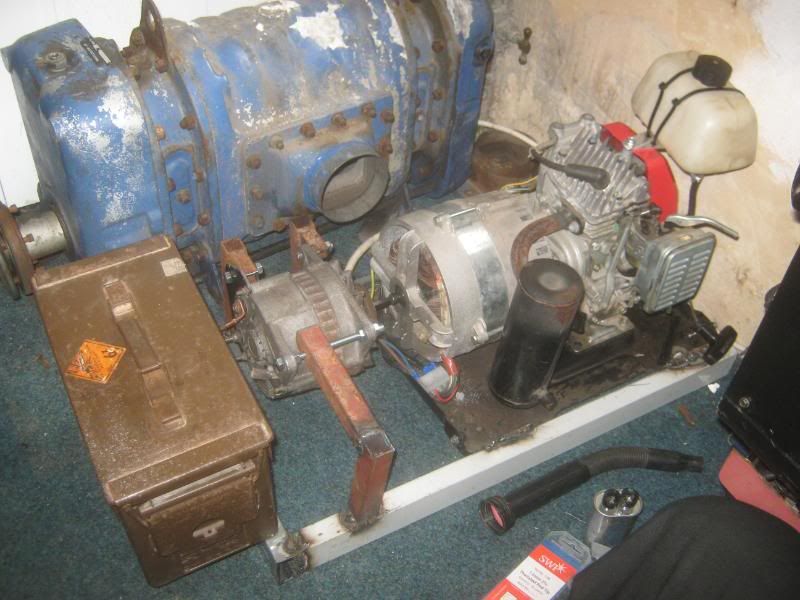
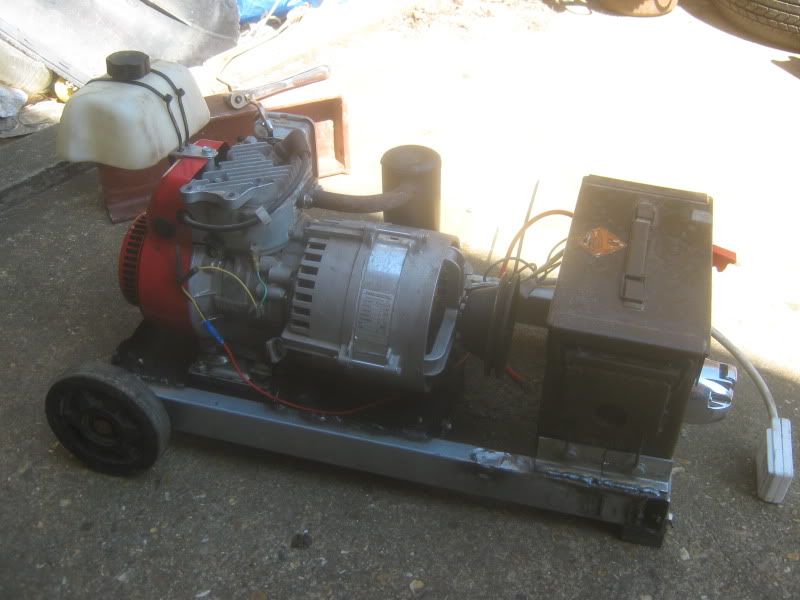
After the original drive system broke (hex headed bolt, with a shortened allen key for drive) and I accidentally kinda smashed the carb whilst converting to a pulley-drive.... I just lost all enthusiasm for it.
But I digress.....
An ARC welder can run a TIG torch directly - I just need to add a second box to rectify the output to DC, fit the TIG torch and ground clamp (which for TIG, the ground clamp, is actually positive) another gas valve - and just make do with scratch-start. My last HV starter circuit, ended up being a bit TOO high!
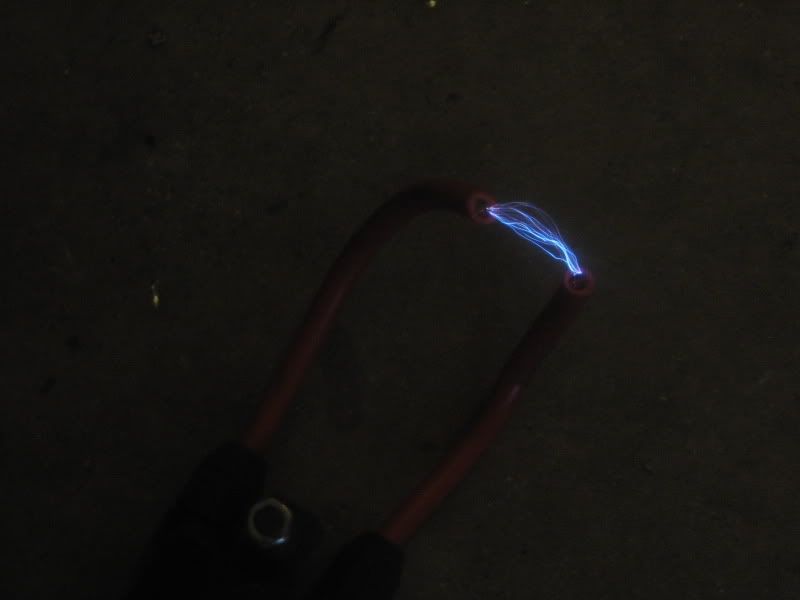
Those wires are starter motor cable... That's about a 2" gap.... it jumped any and all insulation I put across it! Lol
THIRD
Build my third furnace. The first one was good, the second one was HUGE... and I was never "allowed" to start them.
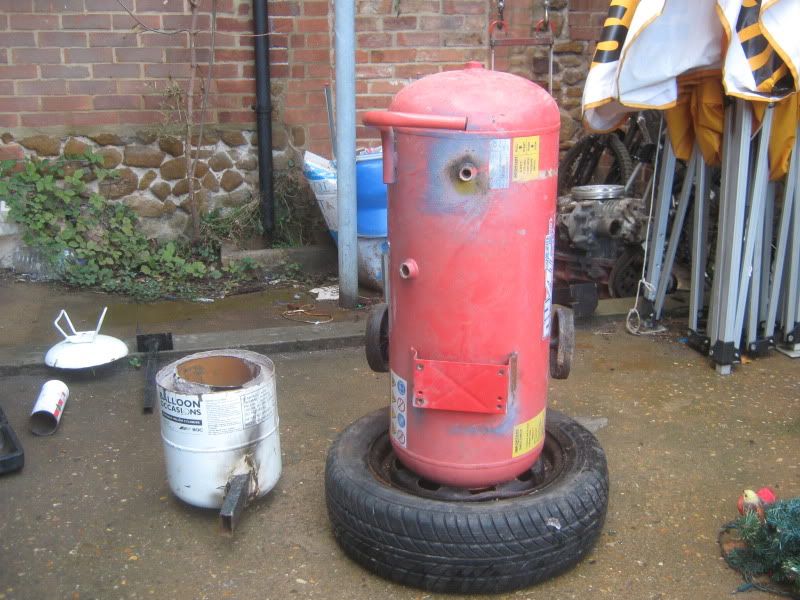
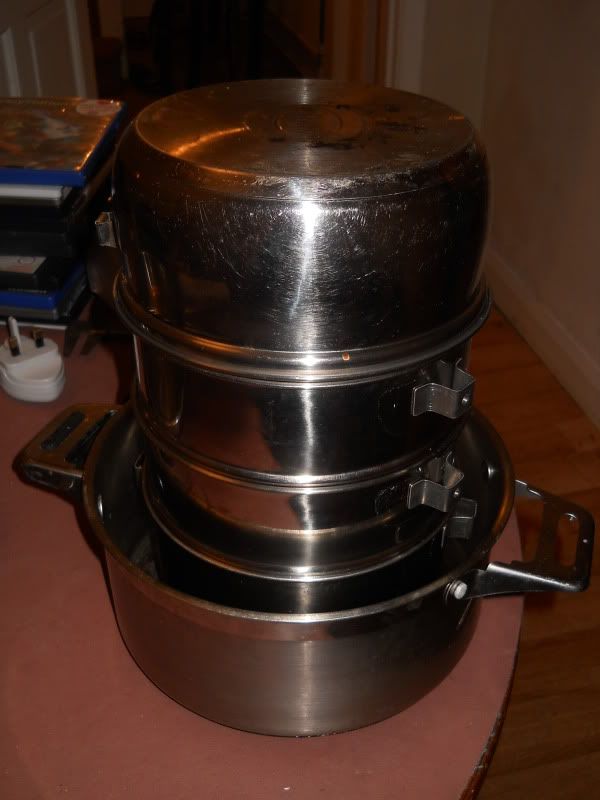
the original small one, next the the unfinished large furnace
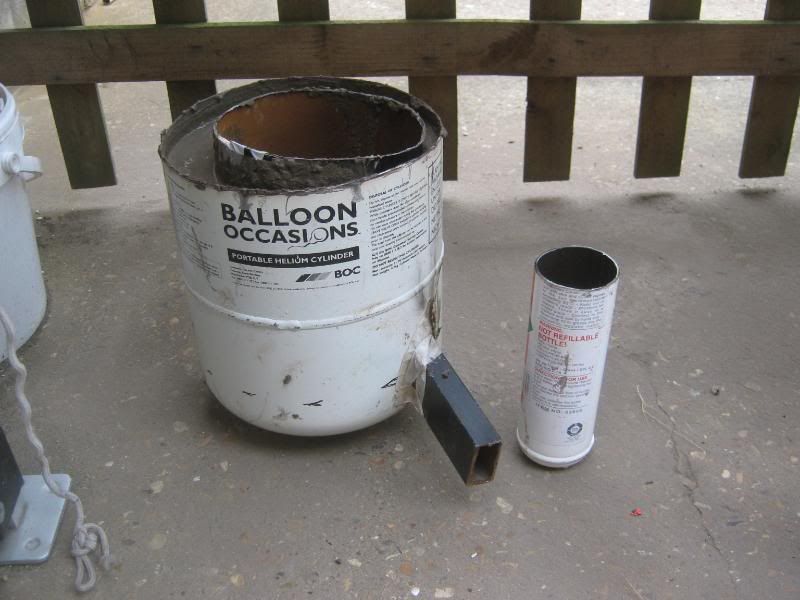
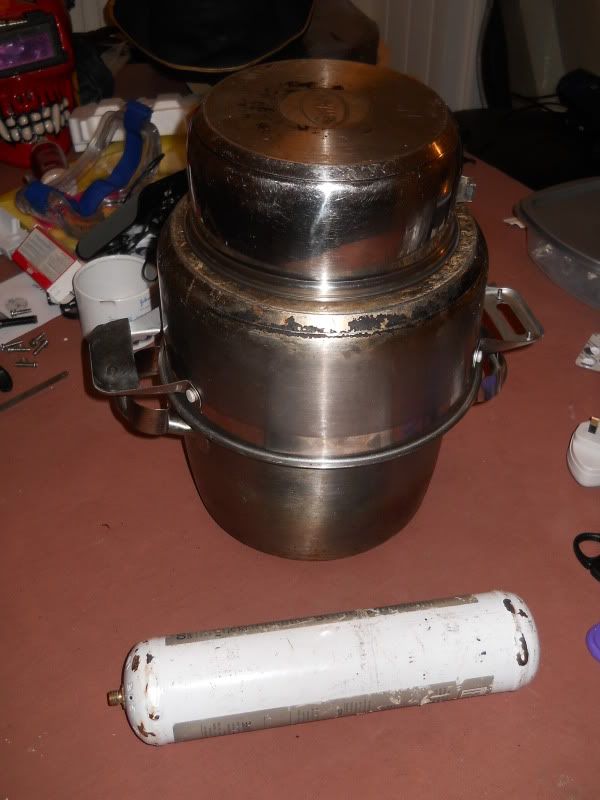
mini heater, converted into a high-power blower

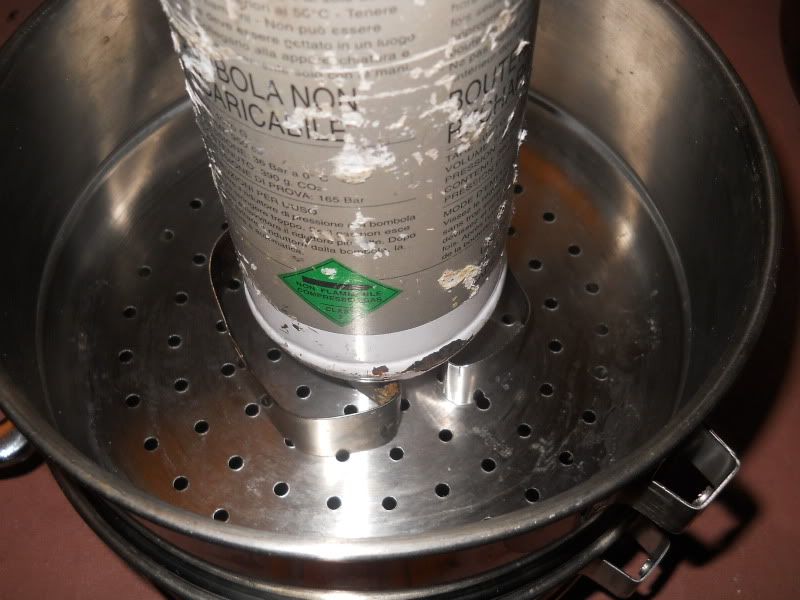
Helium tank, turned into a crucible for the large furnace. Hung via one adaptor, pivoted with another adaptor. Which was to be hung from the medium-sized crane I made, that fitted to the back of my car:
Had to get rid of them, due to space constraints
The NEW furnace, will be entirely stainless steel construction - almost exactly like a thermos flask in design (just a tad larger,lol) The crucible will be a disposable welding gas bottle again, as they're a useable size for my needs. Fuel will be charcoal, supplemented by the blower to reach the required temps to melt aluminium.
Even better, according to my calculations, the old small furnace was going to transmit about 280w of heat per second, the new one? A grand total of about 34w per second! This means more heat to melt the aluminium, not just heating the air around it
This is going to be used for....
FOUR
Mechanical VNT control
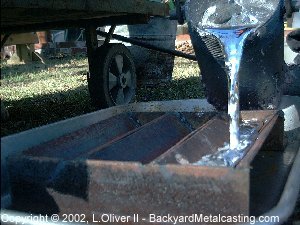
For my final year project and dissertation at uni (Automotive Engineering BEng), I'm making a 100% adjustable VNT turbo control system, that uses the throttle to determine when it's active, or "open", boost pressure referenced, AND exhaust manifold pressure referenced. The main body will be cast in aluminium, using the lost foam method. I'm hoping to get quite a few foam templates cut at uni, so I can make 10-20 units.
FIVE
Picking up a collection of Rover L-series parts on sunday, using these parts, I can make a jig, to make adaptors.
The eventual plan is:
1) People send me their desired VNT turbo
2) I make the adaptors to enable it to bolt upto a standard downpipe
3) I setup the controller, to their turbo
4) post off the combination of parts back to the owner, with a bit of money for my effort
SIX
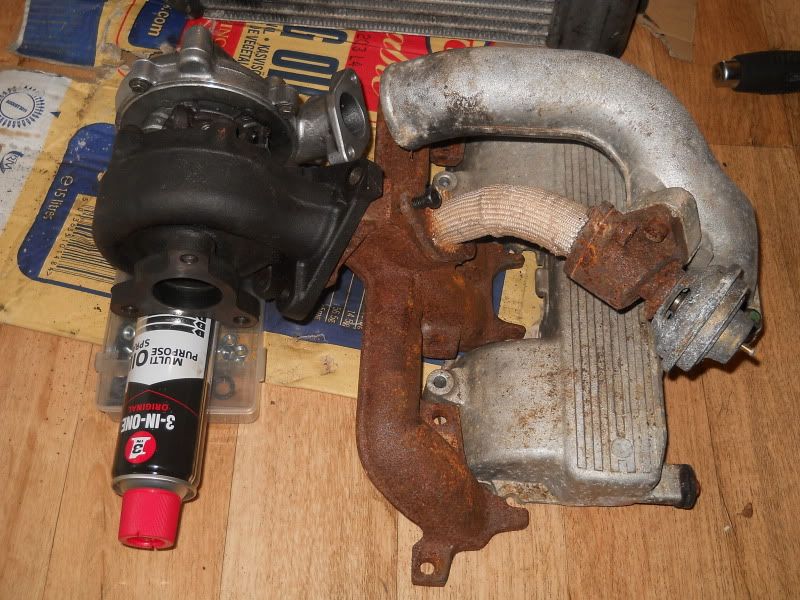
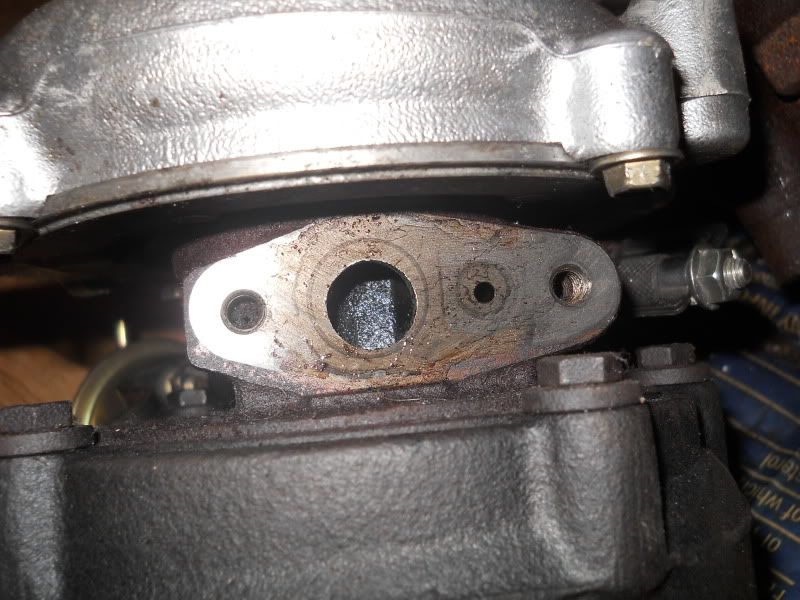
After getting enough spare pennies - convert my GT1849v turbo, into a hybrid GT1852v (52mm exducer, rather then 49mm)
Then, grab a camplate from a freelander 2L TD to fit into my pump, to give ridiculous amounts of fuelling
And shove on some Discovery 300TDi injector nozzles, to REALLY add some fuel!
This should see me have the engine go from the factory 85Bhp - to a nice 220Bhp ;D
erm... I think that's it? Lol, will update this thread, once progress is made on any of the projects!
FIRST:
Fix/upgrade the MIG welder
MY MIG welder isn't exactly what you'd find in a shop to begin with - the lower half, is the remains of one welder, used purely as the power supply, with the top half used for the wirefeed.
One thing broke after another (standard parts) and as it currently stands, the wirefeed is pretty much:
12v battery --> lighter socket --> WWII spitfire rheostat --> motor
I *did* try it with a modified pc power supply:
but they don't like large amounts of currents being turned on/off, and they go into safety mode, for a good 5 mins at a time. And 5 minutes between letting go of the trigger, and being able to weld again, is NOT useful! The 12v battery, I had lying around - and supplies a nice smooth supply, with LOTS of current!
This works, and does a fine job... but it also means at slower speeds, due to using a rheostat to limit current/voltage, the motor has naff-all torque

So, the plans is to add a bit more technology - an arduino!! ;D As they can be bought for less than £20, and have PWM outputs that can directly control + run MOSFETS - it works out cheaper than just a generic DC-PWM controller. Smaller variable resistors will be used, rather than the HUGE rheostat, and the generic "LED dimming" example program most people use to get to grips with how to upload programs, is actually all I need.
My housemate has had an entire module at uni programming these, so it may end up with a couple more features too - like voltage display, possibly current display, and an LED bargraph to show wirefeed rate (0%-100%)
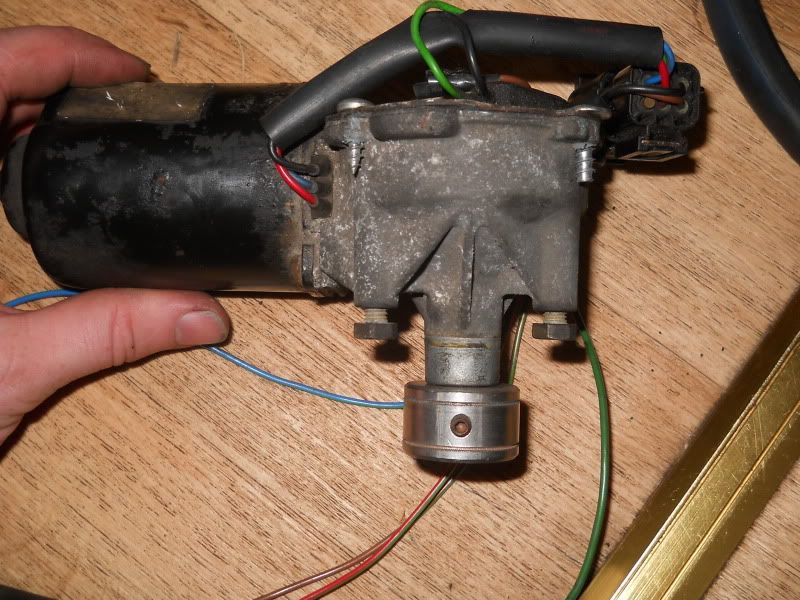
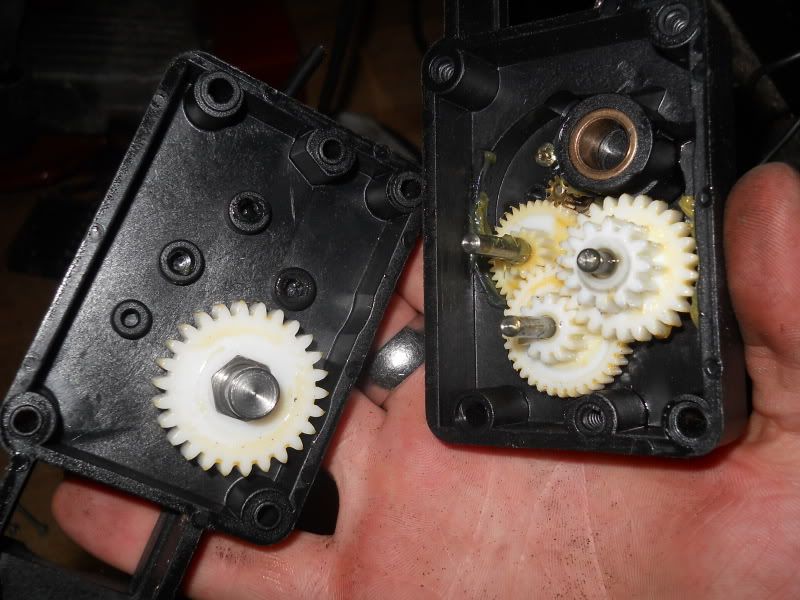
After sorting that, I've got an old wiper motor that I swapped off my car, as the park switch mechanism had died...
[generic google image]
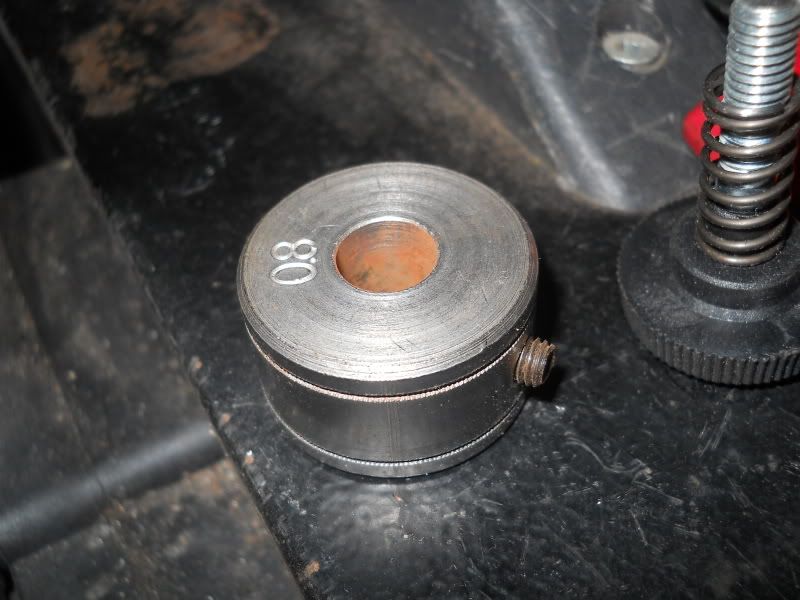
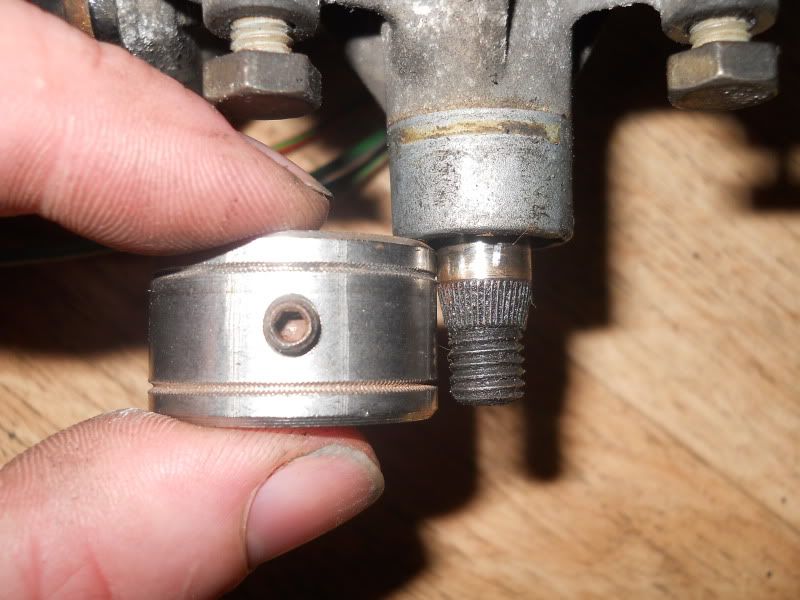
this may end up being used to power the wirefeed, as it can go the right sort of speed, and has enough torque to pretty much ignore any resistance it meets! Some experimenting will be required for this though. The standard fitment is a tapered spline, with a threaded end - tighten a nut down, to force the metal plate onto the splines. The roller fitment on my welder is the fairly standard D-shaped hole, held on with a circlip. May end up cutting the end of the shaft off, and welding on a suitable endpiece instead. Time will tell....
It would also be nice to change from the rubbish trigger-valve thing for the gas, to a solenoid controlled gas feed
this beastie can be had for £12 posted! Adaptors to screw into it, can be had for a couple of quid too. The valve in the handle will just be hollowed out, so only the switch in the handle actually does anything

And that.... is one of the welders

SECOND:
Welder number 2 - TIG conversion!
I've got an old ARC welder, which turns out is an ideal candidate, to power my TIG torch!
I originally fixed an old generator I was given, and made it run a modified car alternator (only a weensy 40A mini alternator) but this was problematic, noisy, cumbersome, and could only be used outside for obvious reasons!
After the original drive system broke (hex headed bolt, with a shortened allen key for drive) and I accidentally kinda smashed the carb whilst converting to a pulley-drive.... I just lost all enthusiasm for it.
But I digress.....
An ARC welder can run a TIG torch directly - I just need to add a second box to rectify the output to DC, fit the TIG torch and ground clamp (which for TIG, the ground clamp, is actually positive) another gas valve - and just make do with scratch-start. My last HV starter circuit, ended up being a bit TOO high!
Those wires are starter motor cable... That's about a 2" gap.... it jumped any and all insulation I put across it! Lol
THIRD
Build my third furnace. The first one was good, the second one was HUGE... and I was never "allowed" to start them.
the original small one, next the the unfinished large furnace
mini heater, converted into a high-power blower
Helium tank, turned into a crucible for the large furnace. Hung via one adaptor, pivoted with another adaptor. Which was to be hung from the medium-sized crane I made, that fitted to the back of my car:
Had to get rid of them, due to space constraints
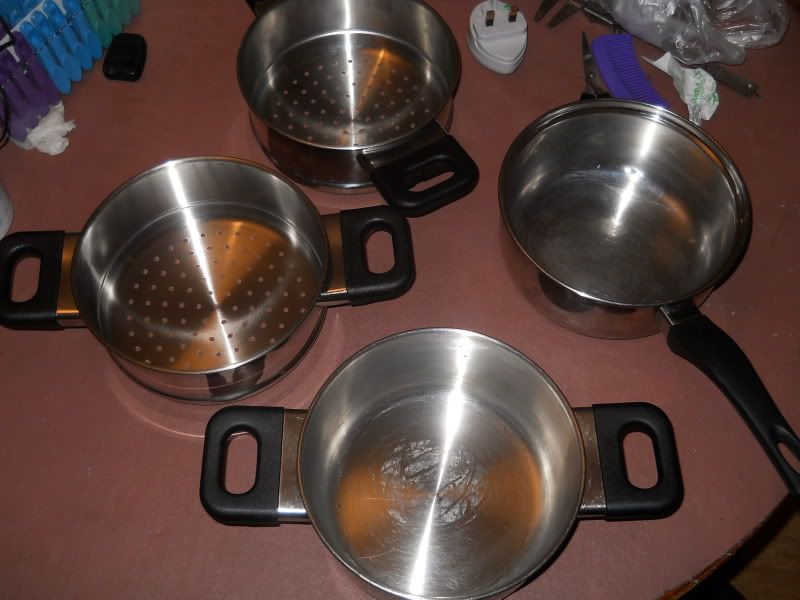
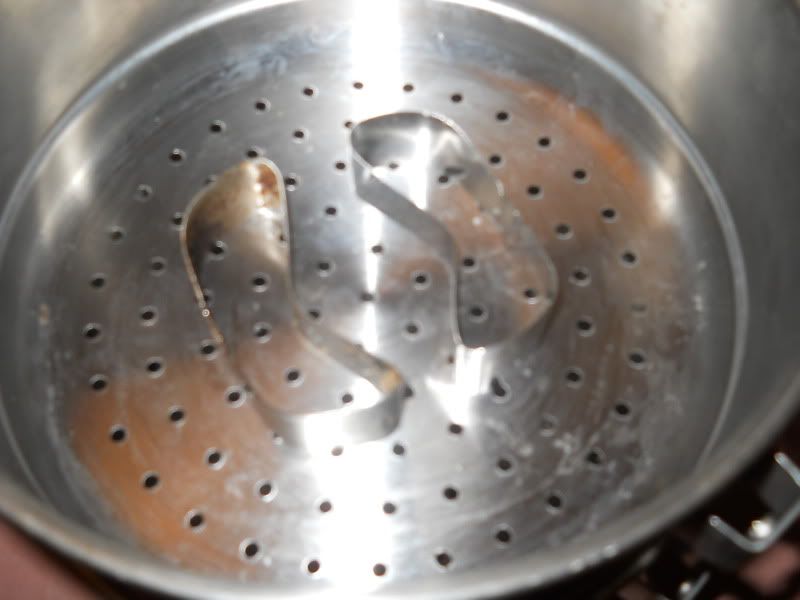
The NEW furnace, will be entirely stainless steel construction - almost exactly like a thermos flask in design (just a tad larger,lol) The crucible will be a disposable welding gas bottle again, as they're a useable size for my needs. Fuel will be charcoal, supplemented by the blower to reach the required temps to melt aluminium.
Even better, according to my calculations, the old small furnace was going to transmit about 280w of heat per second, the new one? A grand total of about 34w per second! This means more heat to melt the aluminium, not just heating the air around it

This is going to be used for....
FOUR
Mechanical VNT control
For my final year project and dissertation at uni (Automotive Engineering BEng), I'm making a 100% adjustable VNT turbo control system, that uses the throttle to determine when it's active, or "open", boost pressure referenced, AND exhaust manifold pressure referenced. The main body will be cast in aluminium, using the lost foam method. I'm hoping to get quite a few foam templates cut at uni, so I can make 10-20 units.
FIVE
Picking up a collection of Rover L-series parts on sunday, using these parts, I can make a jig, to make adaptors.
The eventual plan is:
1) People send me their desired VNT turbo
2) I make the adaptors to enable it to bolt upto a standard downpipe
3) I setup the controller, to their turbo
4) post off the combination of parts back to the owner, with a bit of money for my effort
SIX
After getting enough spare pennies - convert my GT1849v turbo, into a hybrid GT1852v (52mm exducer, rather then 49mm)
Then, grab a camplate from a freelander 2L TD to fit into my pump, to give ridiculous amounts of fuelling
And shove on some Discovery 300TDi injector nozzles, to REALLY add some fuel!
This should see me have the engine go from the factory 85Bhp - to a nice 220Bhp ;D
erm... I think that's it? Lol, will update this thread, once progress is made on any of the projects!