eurogranada
Europe
To tinker or not to tinker, that is the question...
Posts: 2,556
|
|
|
|
Hmmm that is a tempting offer but I just know you'll forward me the 'packaging' devoid of any contents aside from a handwritten note stating "You ***** ***, Balding **** **** * No, Not ever" [You think, I do!] OUCH, or, Great deeds are performed by lesser mortals whilst standing on the shoulders of others  Please do! I may try and claim someone at customs also recognised and valued the contents and stole it before it got to you?  Nah, conning people out of hard earned cash and name calling aren't my thing... All in good fun (for those who don't know we've built a genuine friendship). I've mailed you the details on the Louvre purchase and contact details in case you want to pursue. If I can be of any assistance just let me know! |
| |
|
|
|
|
thomfr
Part of things
  Trying to assemble the Duett again..
Posts: 695
|
|
May 23, 2024 21:06:04 GMT
|
|
With! Looks great and so period!
Thom
|
| |
73' Alfa Giulia Super
64' Volvo Duett
65' Volvo Duett
67' Volvo Amazon 123GT
09' Ford Focus 1.8
20' VW ID4
71' Benelli Motorella
65' Cyrus Speciaal
The difference between men and boys is the price of their toys
|
|
spot
Part of things
 
Posts: 105
|
|
|
|
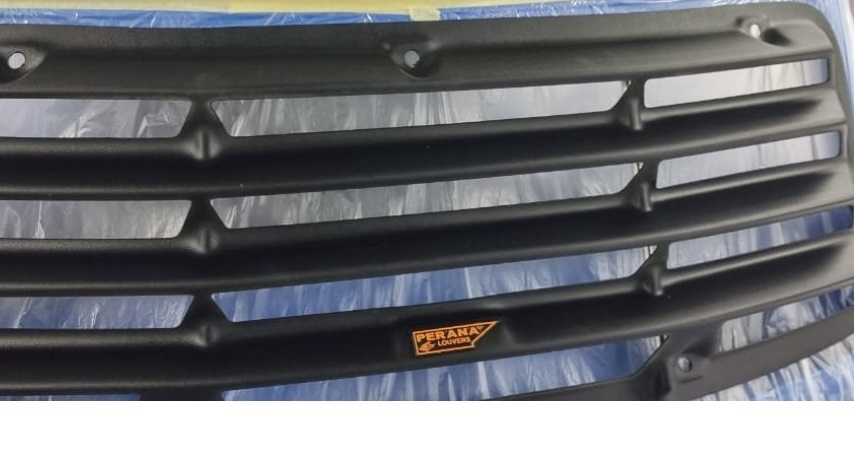
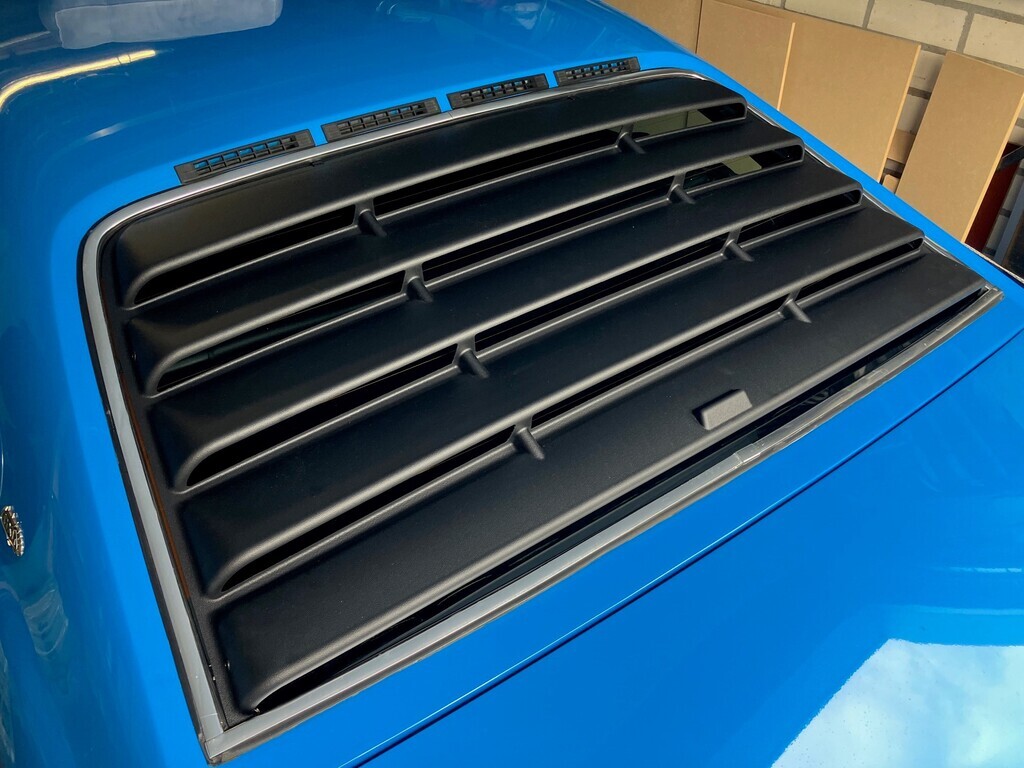
Alex, you know it's all in jest  In all honesty; I think it adds that finishing touch that the back end was lacking. Ties in with the bonnet graphics and balances out the black accents front and rear. "What's the purpose of the extrusion on the bottom rung?" Looks to low down to be effective as a high level brake light housing: Perhaps it's just a placement area for a badge? Thanks for the info: much to ponder! |
| |
Last Edit: May 25, 2024 8:53:02 GMT by spot
|
|
kh97
Part of things
 
Posts: 25
|
|
May 25, 2024 11:58:23 GMT
|
|
I really like the louvre on a coupe!
|
| |
|
|
eurogranada
Europe
To tinker or not to tinker, that is the question...
Posts: 2,556
|
|
|
|
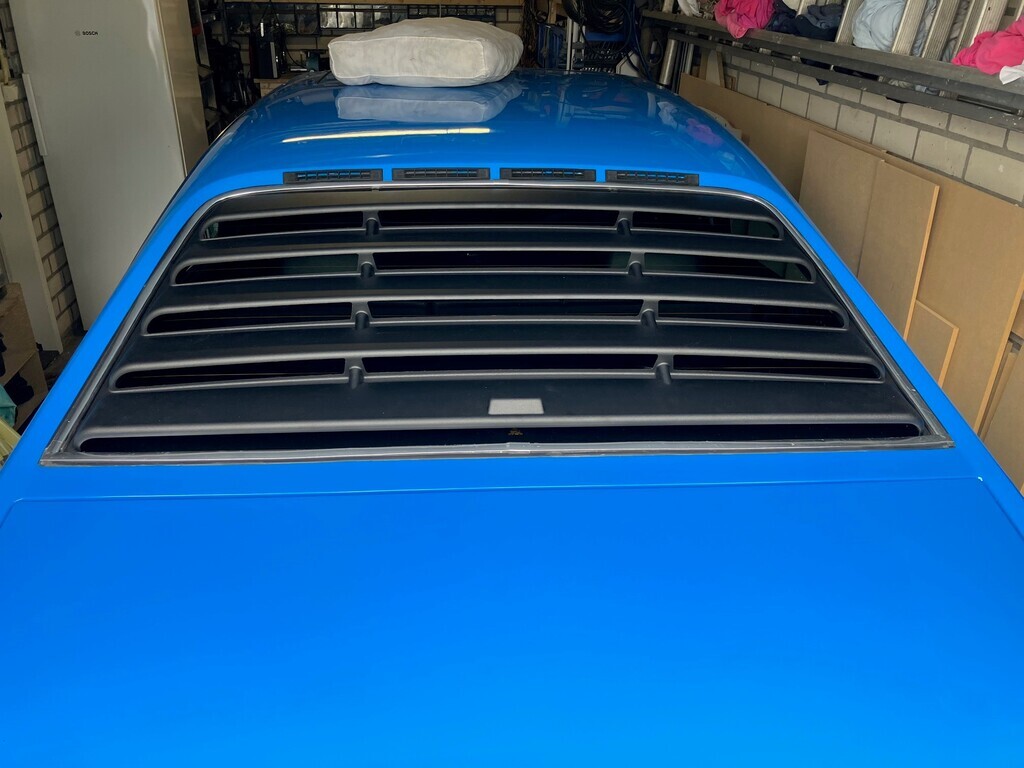
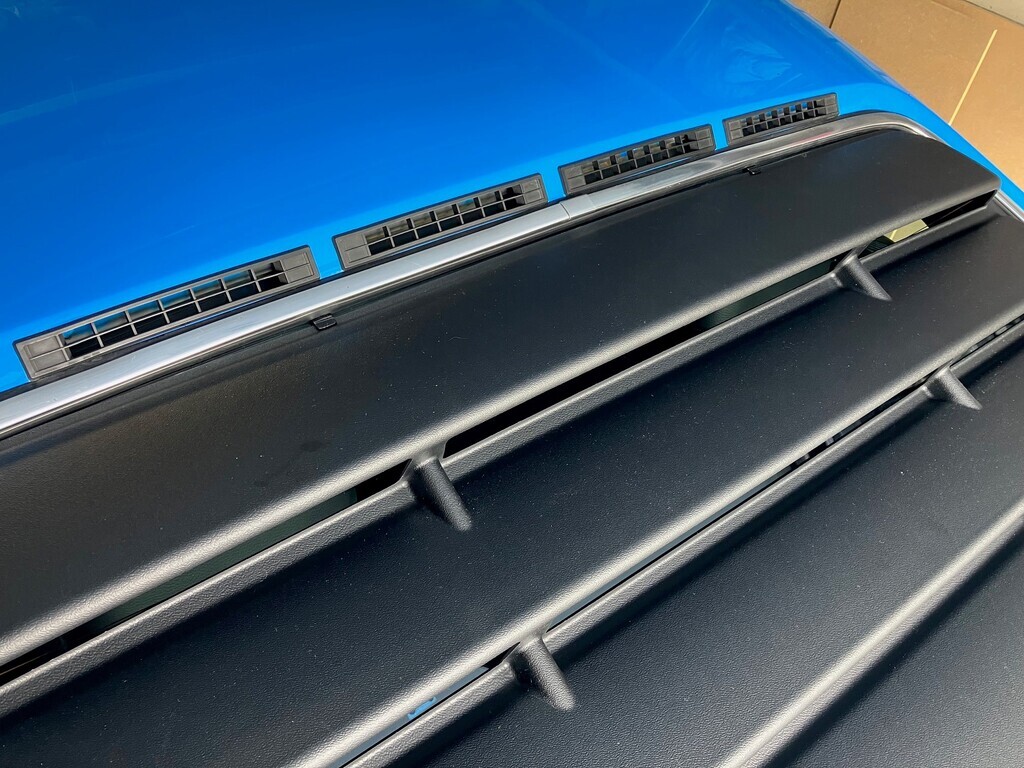
Alex, you know it's all in jest  In all honesty; I think it adds that finishing touch that the back end was lacking. Ties in with the bonnet graphics and balances out the black accents front and rear. "What's the purpose of the extrusion on the bottom rung?" Looks to low down to be effective as a high level brake light housing: Perhaps it's just a placement area for a badge? Thanks for the info: much to ponder! Hi Paul, Yes I know it is all in jest, just wanted to make sure others new as well.  I agree on the finishing touch and the tying in the black comments completely. I've never missed it on teh car but it does seem to add something. I too don't really see a purpose for the raised bit on the lower rung. I also assumed originally it would have housed a brandname/logo or something. It really is far too small for a brake light. Hm, this comment makes me consider that I have added a third brake light at the top op my rear window that I don't know how it will be affected by the louvre. It can always be disconnected, but I quite liked the idea of the added safety. Still in doubt on how to mount the thing though. 1. Easiest is a sealant/glue from a tube in the caulking gun. But that is non removable and means no more cleaning of the glass. 2. Velcro or the 3M updated version are other options, which allow for it to be taken off (but also by others if one would want to) so cleaning the window can still happen. Velcro is thinner than the 3M stuff and including the thickness of the louvre itself theres a max of 3mm before it starts sticking out above the rear screen rubber/trim. 3. Making stainless steel metal tabs to secure the louvre in place. They have about 8-10mm to go under the rubber. Extra sealing may be in order. Disadvantage is having to drill holes through the louvre. Ideally two each side and two at the top. With a suitable screw this can look fine but it is a risk. 4. 3M double sided tape for car applications could be used. Again, no way of removing so no cleaning if needed. And if you ever need to get the stuff off again it's a time consuming job! Mostly on the louvre side due to the plastic nature of it versus the glass. So what is wisdom??? Ideally I'd like to have it mounted before the FordFreaks event in two weeks time. Although if it's not, it's not... |
| |
|
|
gess
Part of things
 
Posts: 220 
|
|
May 27, 2024 10:13:36 GMT
|
|
First of all, congrats on the louvers. In my opinion, the Granada needs it to complete the rear, especially on the sedan version.
I have had a look at the Consul Granada Klubb Norge Facebook page. The guy selling these louvers is a member there. The raised bit on the bottom rung is for the Perana emblem, it was mounted with poprivets. So i guess you will have to make your own emblem and put on, cossiemonster emblem. :-)
The installation should be with two tabs on the sides of the louvre. You stick a piese of plastic with a "keyhole" under the gasket an on the lovre there should be a keyhole aligning with the tab. The ypu insert the "key", rotate it 90 degrees and the luvre is locked in place. Your lovre is missing this feature. The original Perana lovre also had two bars running down the window inside the strengtheners you can see between the rungs. If these two bars were connected to something, I cannot see from the pictures.
On the sedan version, there are locing "keys" on the bottom corners, in addition there are two pieces of plastic holding it down at each side. the plastic bits are pressed in between te window and gasket. In addition there is a rod with a plastic fastener in each end. The plastic fasteners are pushed in between glass and gasket to hold the rod in place. On each end of the rod, one can thread the laouvre onto it to hold it in place.
I think you need to alter the lovre a bit to allow for some plastic bits to go between the glass and gasket to hold it in place in addition to some velcro. If you google Autoplas lovre fitting kit, you might find some hints.
|
| |
|
|
eurogranada
Europe
To tinker or not to tinker, that is the question...
Posts: 2,556
|
|
May 27, 2024 11:48:19 GMT
|
First of all, congrats on the louvers. In my opinion, the Granada needs it to complete the rear, especially on the sedan version. I have had a look at the Consul Granada Klubb Norge Facebook page. The guy selling these louvers is a member there. The raised bit on the bottom rung is for the Perana emblem, it was mounted with poprivets. So i guess you will have to make your own emblem and put on, cossiemonster emblem. :-) The installation should be with two tabs on the sides of the louvre. You stick a piese of plastic with a "keyhole" under the gasket an on the lovre there should be a keyhole aligning with the tab. The ypu insert the "key", rotate it 90 degrees and the luvre is locked in place. Your lovre is missing this feature. The original Perana lovre also had two bars running down the window inside the strengtheners you can see between the rungs. If these two bars were connected to something, I cannot see from the pictures. On the sedan version, there are locing "keys" on the bottom corners, in addition there are two pieces of plastic holding it down at each side. the plastic bits are pressed in between te window and gasket. In addition there is a rod with a plastic fastener in each end. The plastic fasteners are pushed in between glass and gasket to hold the rod in place. On each end of the rod, one can thread the laouvre onto it to hold it in place. I think you need to alter the lovre a bit to allow for some plastic bits to go between the glass and gasket to hold it in place in addition to some velcro. If you google Autoplas lovre fitting kit, you might find some hints. Thank you very much for this elaborate explanation. I read it three timed and think I can follow most of it. I knew before hand this louvre was designed for sticking/gluing to the screen, it's just that I am a bit pigheaded and want to use it differently, want it to remain removable. I'll have a look at your suggestions. But I do kind of feel like making metal tabs and drilling the louvre... This design has the two supports in the middle, effectively making it a three sectioned thing visibly, but no supports or bars. However, when pressed to the screen, the rigidity of it all keeps those supports nicely to the window. I was planning on putting velcro under those to prevent any type of flapping/vibration in addition to any tabs or velcro round the edges. On the badge mount, you had me smile, because I had actually thought of making something custom up to put on there. But cossiemonster might be a bit of a long word to put in such a small space... I'd thought of making it a bit like a gel covered thing. But that is for the future. |
| |
|
|
thomfr
Part of things
  Trying to assemble the Duett again..
Posts: 695
|
|
May 27, 2024 18:11:02 GMT
|
|
A dot of black screen kit in every corner will do the job.
Thom
|
| |
73' Alfa Giulia Super
64' Volvo Duett
65' Volvo Duett
67' Volvo Amazon 123GT
09' Ford Focus 1.8
20' VW ID4
71' Benelli Motorella
65' Cyrus Speciaal
The difference between men and boys is the price of their toys
|
|
gess
Part of things
 
Posts: 220 
|
|
May 27, 2024 18:11:34 GMT
|
|
I hope it was a bit of help at least. It was difficult to explain without pictures. If you register on the consul granada klubb norge Facebook page, you can see some information on the scanning and pre work on the louvres. It is not only for Norwegians. The guy Selling them copied the perana louvres, but not all the detail.
Some metal tabs and fasteners will probably suffice. It is nice to be able ro remove it without damaging it. It is a rare piece.
|
| |
|
|
eurogranada
Europe
To tinker or not to tinker, that is the question...
Posts: 2,556
|
|
|
|
I hope it was a bit of help at least. It was difficult to explain without pictures. If you register on the consul granada klubb norge Facebook page, you can see some information on the scanning and pre work on the louvres. It is not only for Norwegians. The guy Selling them copied the perana louvres, but not all the detail. Some metal tabs and fasteners will probably suffice. It is nice to be able ro remove it without damaging it. It is a rare piece. Yes it was helpful, especially after doing what you advised: google on autoplas mount kits. I'm pretty convinced by now on the metal tabs idea. Even if it means drilling the louvre. I have ideas to make it a very nice fit. I'm not too interested in the origin of this louvre really, or it being an exact copy or not. I just like the look of it. Even as an aftermarket (copied) part it's quite rare and it's well made at least. There's also really no evidence of the production process itself. Now to try and get it all done before the 8th of June... |
| |
|
|
CaptainSlog
Part of things
 
Posts: 510
Club RR Member Number: 180
|
|
|
|
|
|
| |
|
|
eurogranada
Europe
To tinker or not to tinker, that is the question...
Posts: 2,556
|
|
|
|
|
Thanks, good to see those. Is it me or do they look a bit more bulky on many of their versions?
I'm going to try and get it fitted this weekend...
|
| |
|
|
eurogranada
Europe
To tinker or not to tinker, that is the question...
Posts: 2,556
|
|
|
|
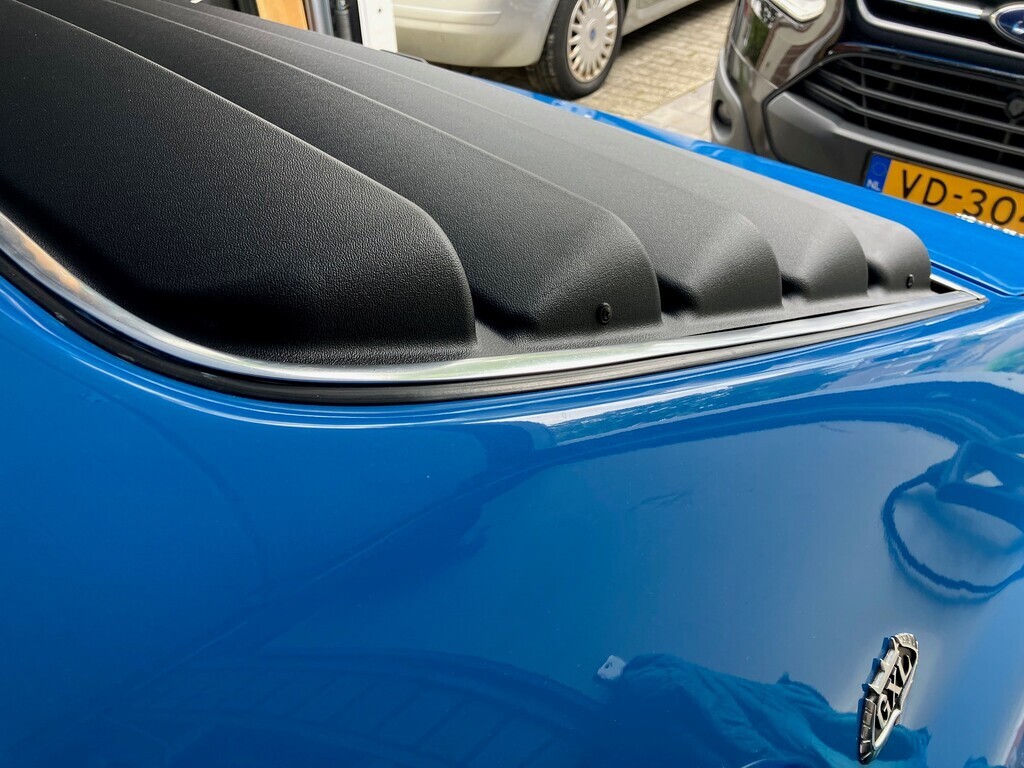
So, my event of the year is coming up next weekend and I had that new accessory to fit… I wasn’t going to do much about the rest of the car but a wash and a vacuum or dust off. It’s been pretty reliable if fuel gets to the engine and with bigger vent holes I now hope to have none of those issues anymore. So… There was nothing for it but to make work of fitting the louvre. I had decided on making it removable, thus making brackets. Given the way the louvre sat and not wanting it to flop around on the rear screen I decided to use Velcro in addition on the two inner supports that each rung sports that rests on the glass. On the sides I was pretty set on making a bracket that slips under the window molding and can then be screwed to the louvre. I started making four. I’d have liked to have worked from a bit of 1mm stainless plate, but I couldn’t source that easily enough. Next best thing was some brackets from the hardware store that would allow me to make them into something that could work. Not very pretty as they had holes in them already, but it will have to do for now. So, what I’ve made now, in my opinion, is proof of concept stuff not the end product, but how long it all will be on there is anyone’s guess. If it works the need to do better is not as big obviously… The brackets aren’t complex. A simple bend at a decent angle to work. Still, making the four of them fit nice took some time. I guess I’m no Teaboy yet. 😉 I had doubts on what screws to use. The louvre is not too thick at around 3 mm or so. I had a screw that could disappear in the louvre plastic almost unseen, but it also would mean that if anything went wrong it had a higher chance of cracking it and or pulling through as it would need a much more beveled hole. I could either tap the bracket for it’s threads or add a rivnut. I also had another nice black screw that had a little coarser thread but more importantly a flat wide head. It looked good and was a self tapper. I decided to use this one. I still wanted to have it a little bit recessed though. But it would clamp over a bigger area and not need a beveled hole. It felt the stronger and safer choice. Scary stuff though! Drilling holes in a very expensive part! I taped it off, measured once, measured twice, checked over my measurements a final time and then drilled a first hole. I had used a wood drill as on a test piece of MDF that was the perfect drill to result in a perfectly flat faced recess, that could than be drilled in the center. Much to my disgust, on the plastic this didn’t work as well. Leaving me to have to use a combination of different sized drills to achieve the recess. They are a little less neat than planned. But the screw head hides it all. I had hoped to use a spot weld drill and though I know I have one, it was m.i.a. when I needed it. Still I managed to get the desired overall result I think. I also relieved some material from where the brackets go to the side under the moulding so the louvre would sit als low/close to the glass as possible. This was done with a Dremel and was really scary. A file neatened that up nicely. I mounted the louvre on the brackets to mark where exactly to drill them for the screws. Center punched them and drilled them. Using a sacrificial screw to ‘tap’ the brackets ahead of the first attempt of fastening the louvre to it. Anything to reduce risks as it takes a bit of force to drive it through the slightly undersized hole. A test fitting was quite satisfactory. The louvre stays put on the sides and the top, for which I had made a special set op small external brackets. The plan had been to use brackets to go under that top edge. Problem was however two fold: no room for a screw as it can’t protrude through the thin bracket as it would hit the glass and too little thickness in the louvre to make this work without weakening the part too much. So I chose to make some clamping brackets held down by the pressure of being lifted up on the louvre. They are therefore visible, but I don’t think they are ugly. I blacked them out with a board marker to give an impression of how they would look in full black paint and decided I was happy with that. Stress free tests of the louvre on the rear screen showed a good fit but a potential for the two supports in each rung to be flapping about a bit, if a road surface would be less than ideal. So I decided to add Velcro to those 8 supports. I also decided to do so on the side edges and the top center bit. It’s all still removable, the rear window cleanable, but hopefully it would also negate any flopping about. If this proves inadequate I can always go for gluing it down. Either on just those areas or all around. Anyway for now I’m committed to this approach. I haven’t yet fitted it on as the car needs a good wash before I do and I just didn’t find the time for that this weekend. But it’s all ready. Brackets have now been painted, but the pictures are with the unpainted ones. I’m quite curious as to what you guys think. Did I do well or did I ruin the part? 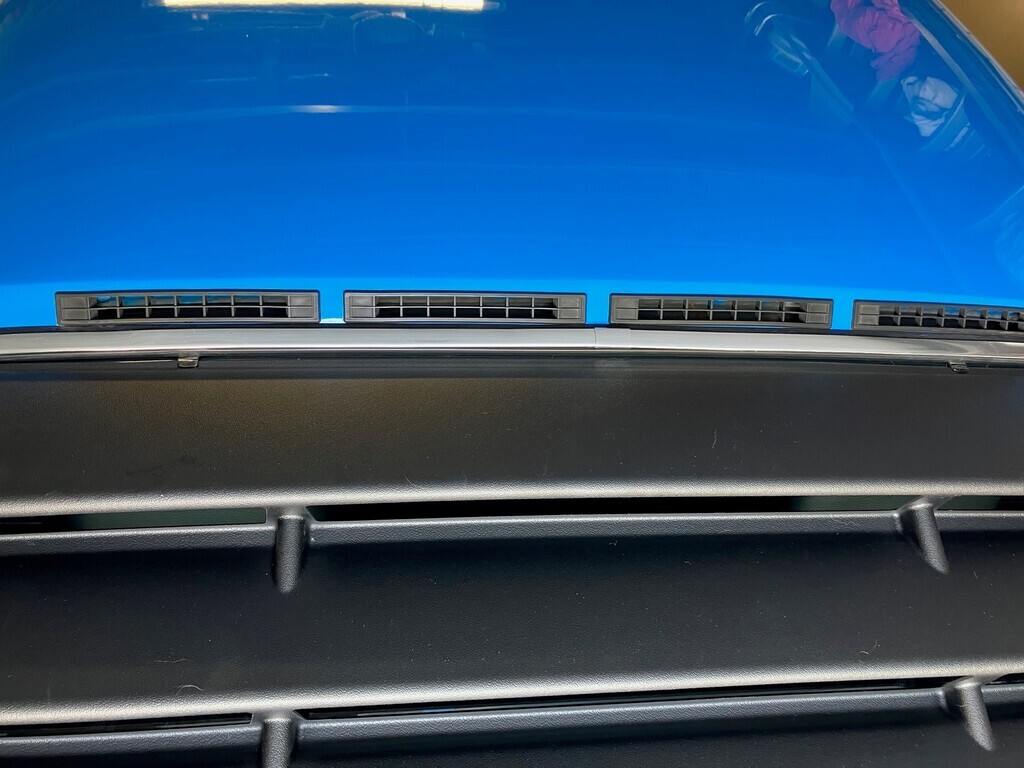 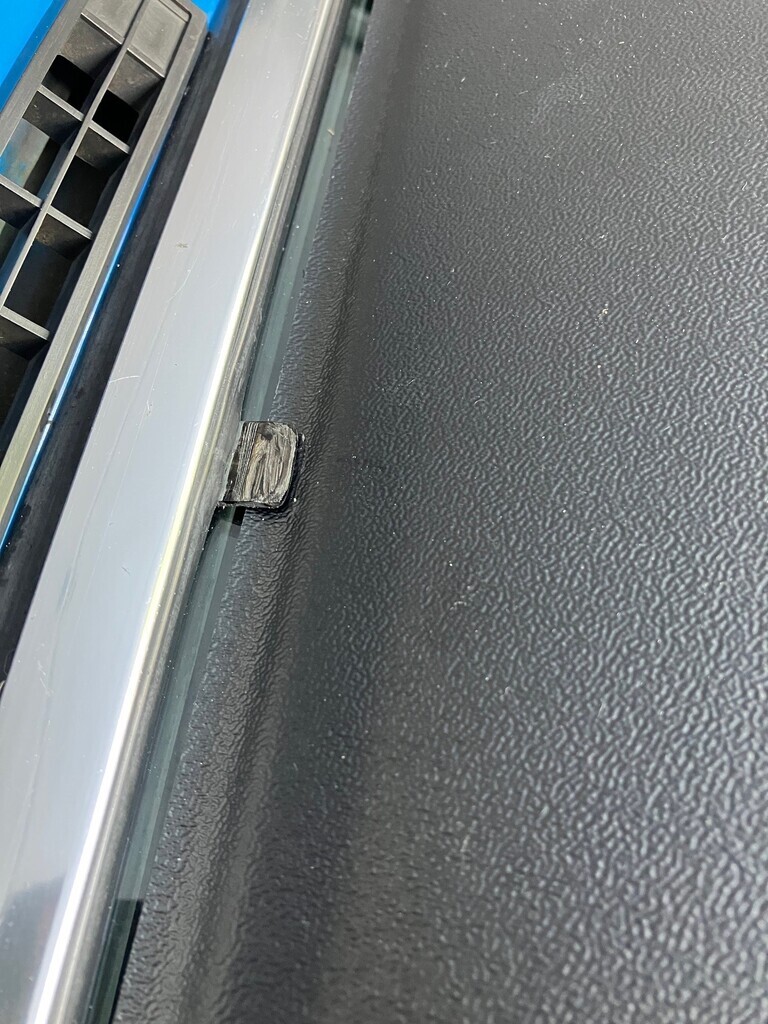 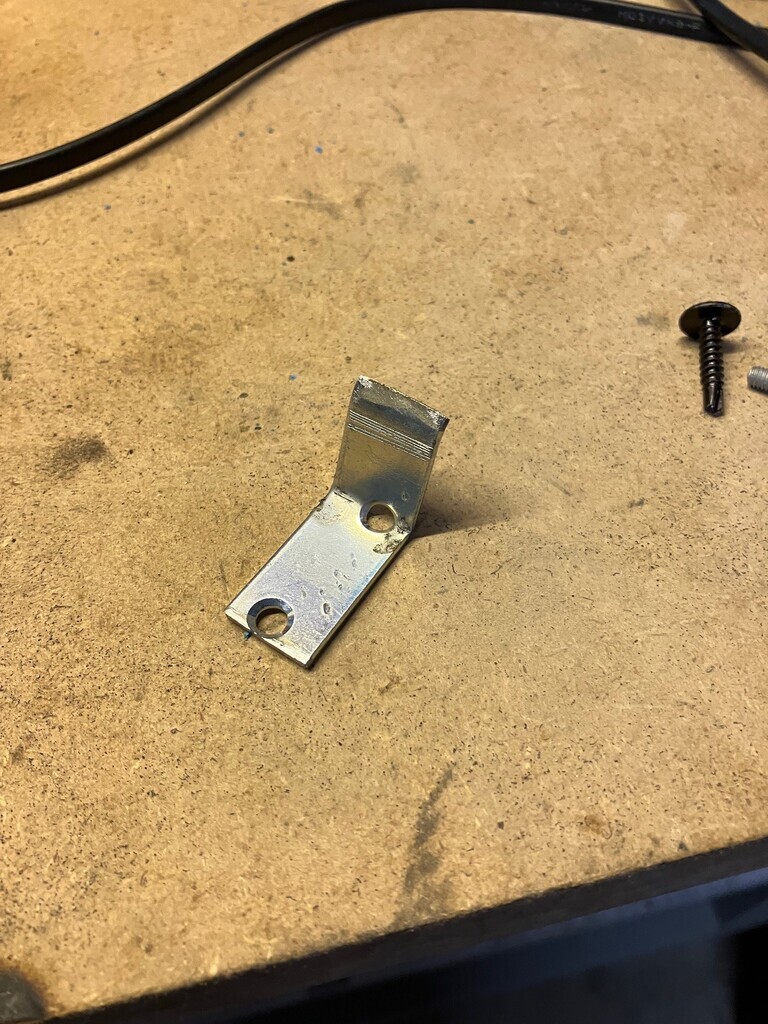 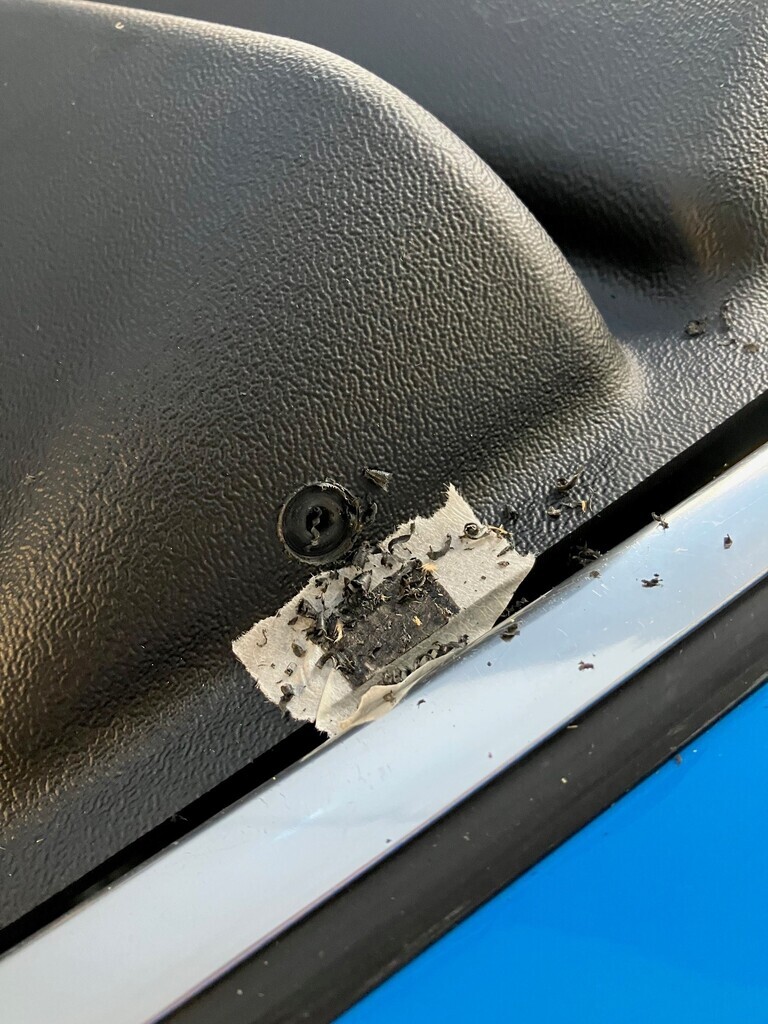 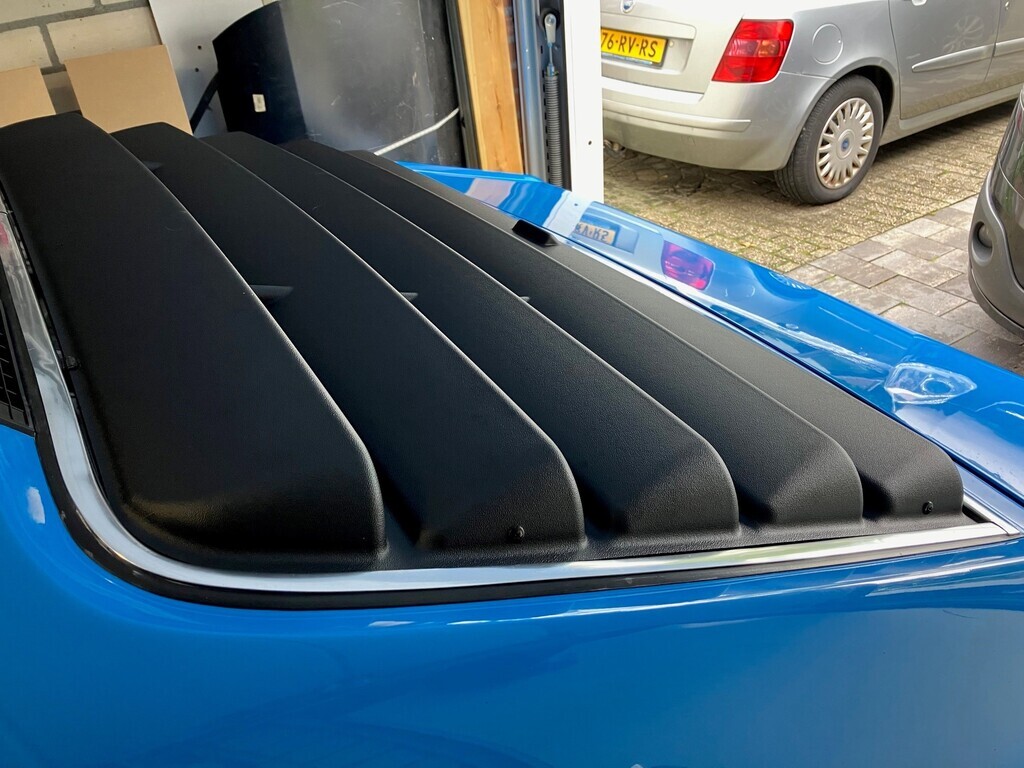 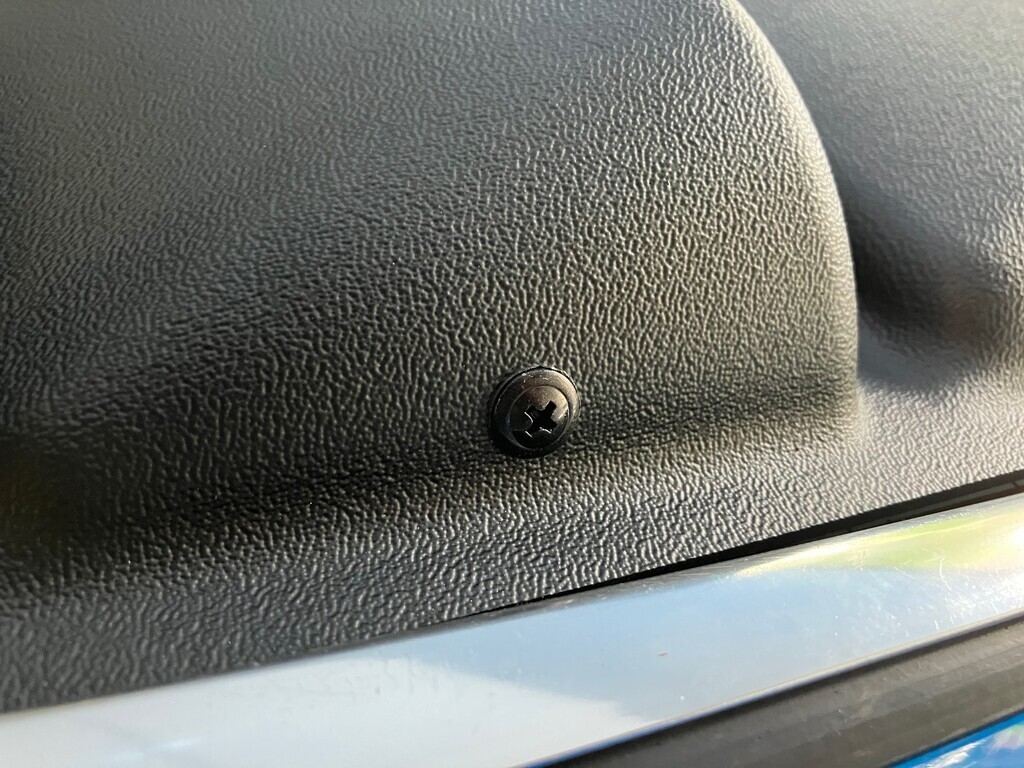 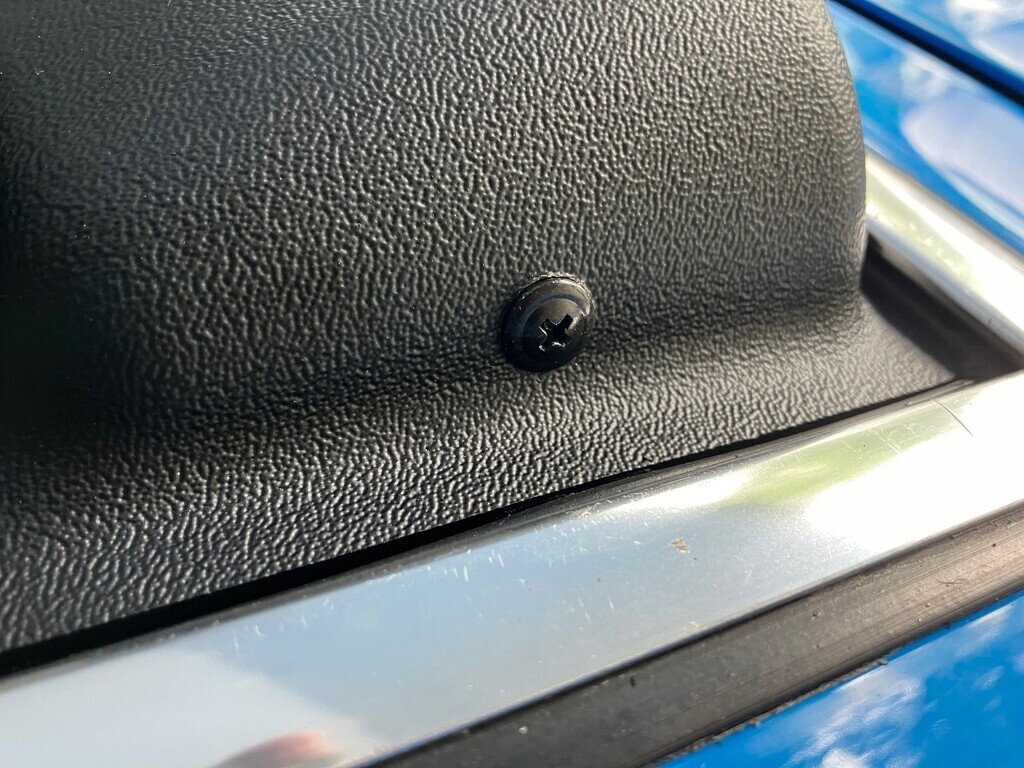 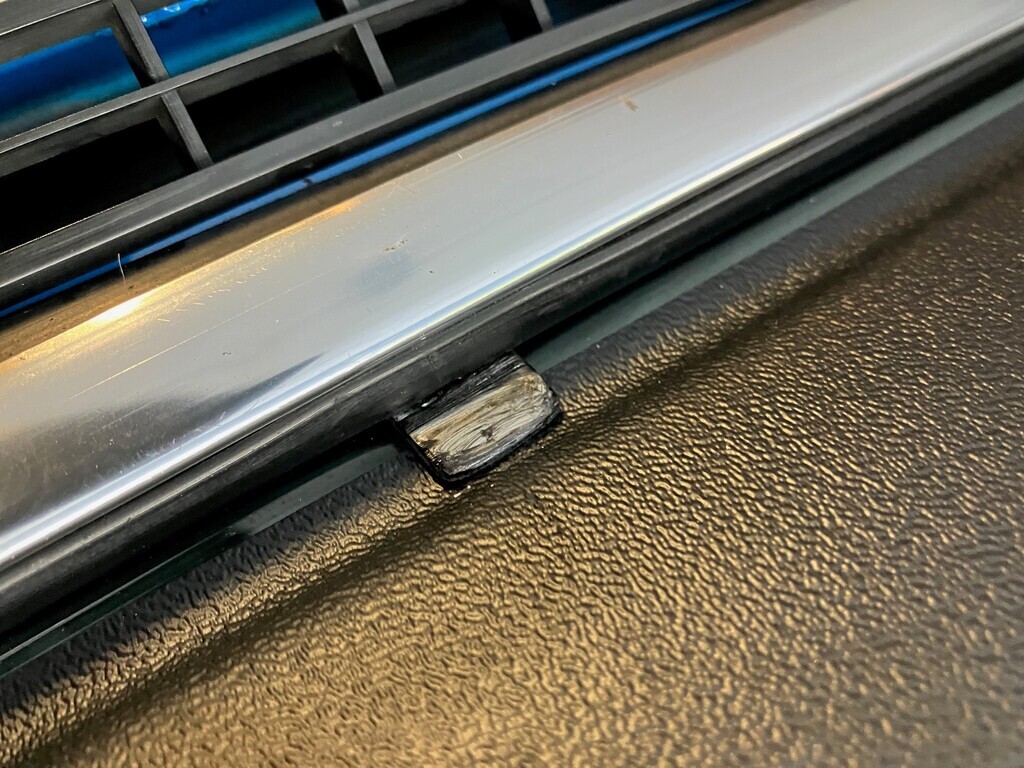 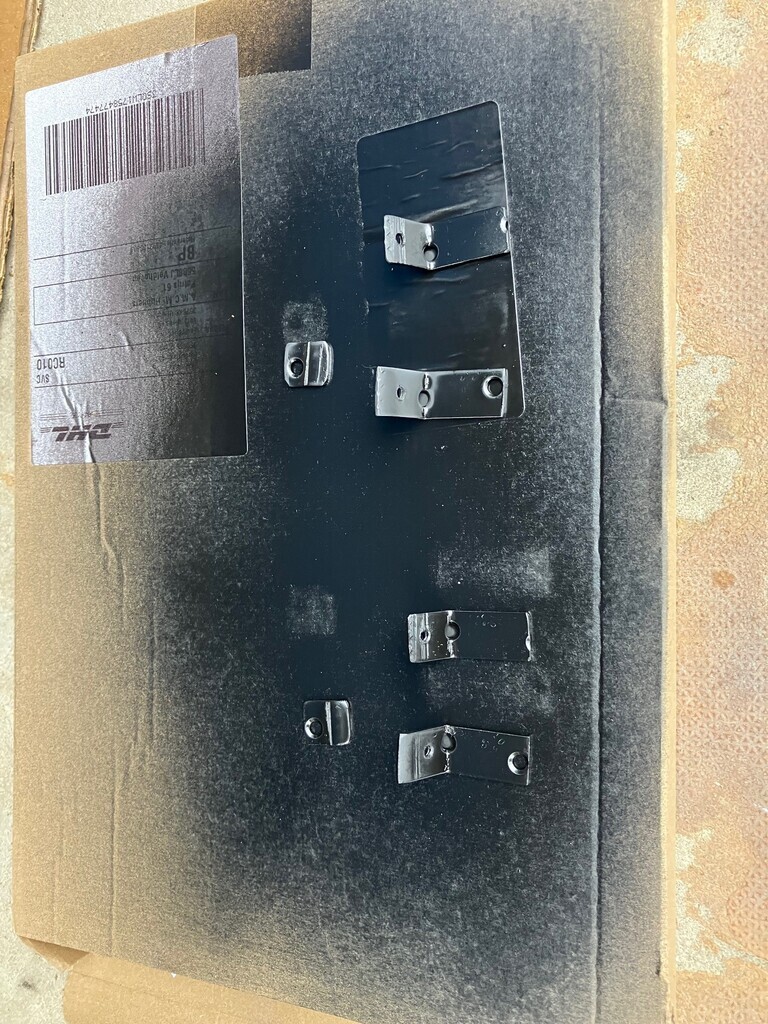 |
| |
|
|
eurogranada
Europe
To tinker or not to tinker, that is the question...
Posts: 2,556
|
|
|
|
|
|
| |
|
|
|
|
|
|
|
|
it looks great but I suspect you were right to consider stainless. I can see it being an uphill struggle to keep rust away from the brackets, needs a test at speed to make sure there are no strange aero effects or noises.
|
| |
|
|
Darkspeed
Club Retro Rides Member
Posts: 4,884
Club RR Member Number: 39
|
|
|
|
All the best cars have louvres  |
| |
|
|
eurogranada
Europe
To tinker or not to tinker, that is the question...
Posts: 2,556
|
|
|
|
it looks great but I suspect you were right to consider stainless. I can see it being an uphill struggle to keep rust away from the brackets, needs a test at speed to make sure there are no strange aero effects or noises. Yeah, that is why for now I at least painted the brackets. They are coated, but cut edges and vice impressions don't do that any favours. The plan is still to redo the brackets in stainless, once I source a suitable bit(s). I have yet to drive it and I do really hope it is all sturdy enough to stay put. I'd hate to see it fly off. Guess I'll start off slow. But Saturday if all goes to plan will see a 175km motorway journey on the cards. Back the same on Sunday. |
| |
|
|
|
|
|
|
|
|
I very much doubt it will come off I was thinking more of flutter and whistles etc from windnoise.
|
| |
|
|
eurogranada
Europe
To tinker or not to tinker, that is the question...
Posts: 2,556
|
|
|
|
Ok… With the louvre now fitted it was time for a test drive. Good thing generally as the weekend holds a two day 350-400km trip while the car hasn’t been used much lately and when it has, it’s only been on short journeys that had ended in their own troubles (remember the fuel starvation due to a vacuum?). I negated those, at least I hoped so! So when weather was nice and sunny later in the day yesterday and I had to pick up my daughter at our horsey’s stables anyway, I decided in a spur of the moment to take the Granada instead. It fired right up and it was out of the garage in seconds. It was still a bit early so the car had to wait for a few more minutes before being taken out in earnest. The time to leave came and I was off. The more the car warmed up the nicer it became to drive (I really should find the cause for the O2 error in the ECU as I suspect that to be related). I was still a bit early when I arrived at my destination, or rather, the young lady (and her friend) were a bit behind, which I’ve come to expect really as it’s more often than not the case. No problem, I’ll just check the louvre fitment and take some pics of the car and its new louvre in the open air. I checked the louvre and it was nice and solid still. It also had not caused any wind noises, whistling or flopping about. This most likely from the addition of the velcro holding the center bits down to the screen. So then I parked the car for a few pictures… As it is I always take a few more than I need to, which only makes choosing the best later on more difficult. Anyway I remembered something I get called out on every now and then by my friend spot. So what follows now is all on you mate! spot seems to feel that in order for a picture to be good enough, the car’s lights need to be on. True I often forget and I’m not quite sure if I feel the same way, but hey, I aim to please so I switched on the lights and foggies to boot! Anything for mate Paul, right?! I spent a couple of minutes, really not much more, taking the same pics over again but now with the lights on. I was finished and so were the girls. So I was ready to take off, but the Granada wasn’t. Starter wouldn’t even spin!! Despite the battery having been on charge to full charge (according to the charger) only last weekend!! Not easily phased since having far worse and scarier experiences, but being mocked for the car being soooo unreliable by my daughter who was gloating at that, I tried the work around of starting the car directly on the starter. This to rule out the ignition circuit itself. Starter spun but without much power and it didn’t throw out the Bendix. Ok, battery it is then! As I usually only carry my decent starter cables when taking trips, they were in the daily van (as I quite regularly get called upon to rescue others). My daughter’s friend was by car but had no cables, and being an automatic push starting wasn’t an option (at least to my knowledge). As there was no-one around I decided to send them home and asking her friend to drop my daughter off while I waited for the AAA/ANWB. I registered my call on my daughter’s phone as I had 2% left in mine and no charge cable with either. Besides that would put a small drain on the battery as well. While waiting I tried it once or twice more, and this time the Bendix got thrown out but there was just no way it would make enough of a rotation to catch. Nothing for it but to wait. My phone died minutes into the wait. I was just settled I with a comic book I had in the back for moments of waiting (for my daughter usually). I was quite surprised to see the ANWB man arrive within 30 minutes of the call as the predicted waiting time was over 90 minutes. At least I’ve developed a sort of mental state of acceptance for these moments by now. Anyway, the guy pulls up and gets out and first thing he says is that he’s seen this car before and how beautiful it is etc. I have a good memory for faces and recognized the man as the guy who arranged transport for the Granada on the way back from the very meeting that I’m about to attend this weekend. Back then it was the fuel boiling every few kilometers. That had since been addressed. I don’t know if it’s a good or a bad thing that the ANWB man knows your car and you, but it did make me smile. Shows that for them, dealing with these automotive pieces of jewelry is something that colors their day as well. The battery was tested and a big fat red X marked the display. A booster was attached and after 5 seconds of it doing a routine I got to start the car and it fired right back up. So time for a new battery then! This one I got gifted as old stock from a Vauxhall dealer friend working in logistics about 8+ years ago. So it’s no real surprise it’s had it by now. My spare battery is not even showing a full charge on the charger after days so that won’t be going in either. Now, for the picture bomb. I hope you enjoy them Paul!  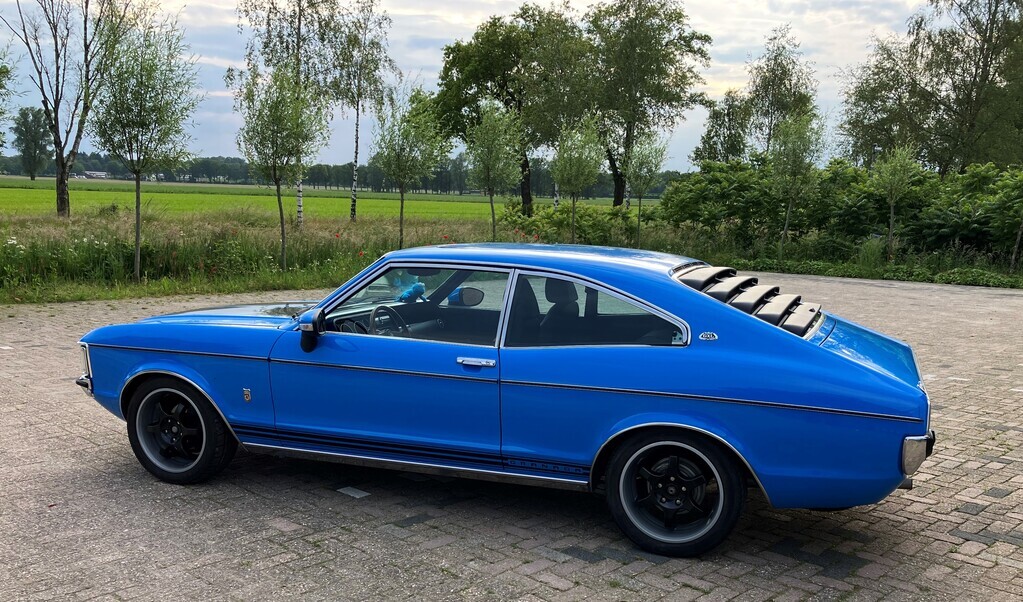 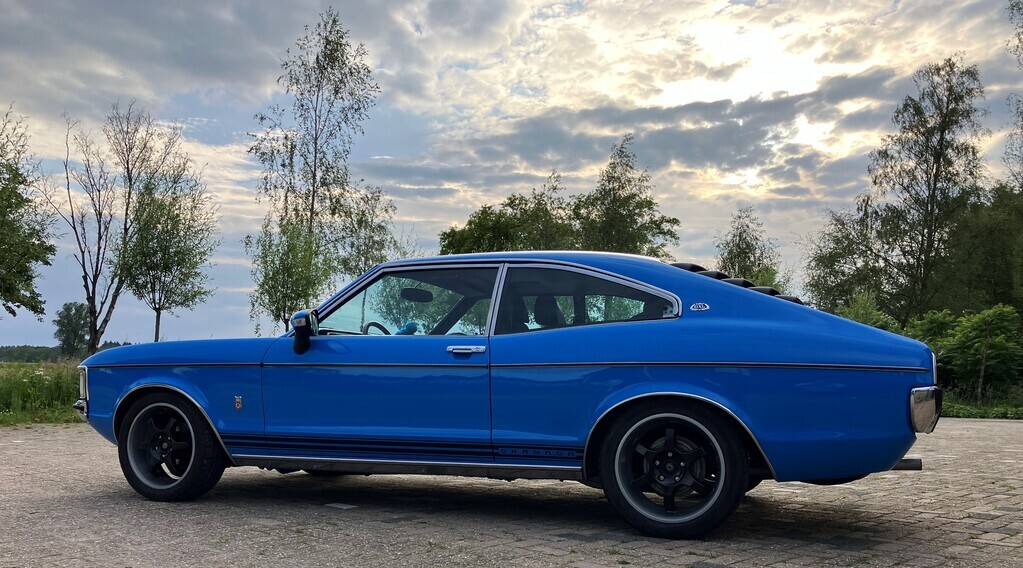 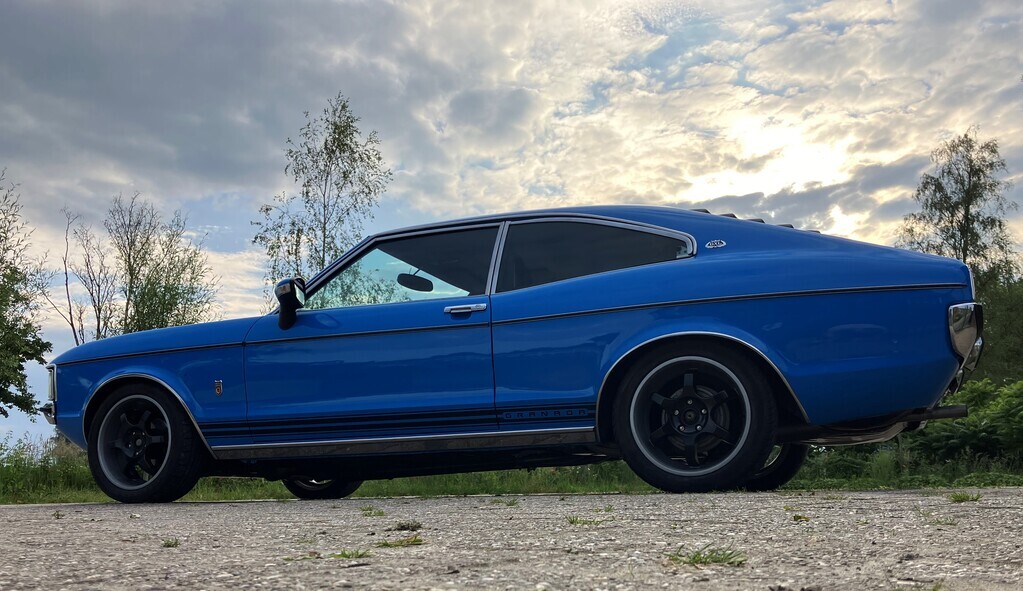 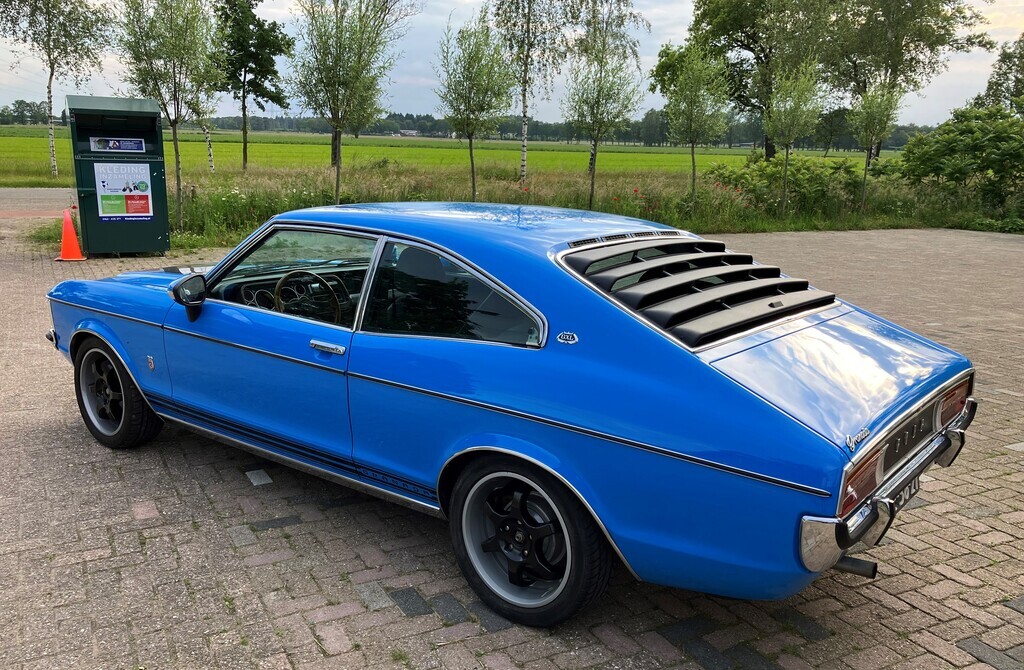 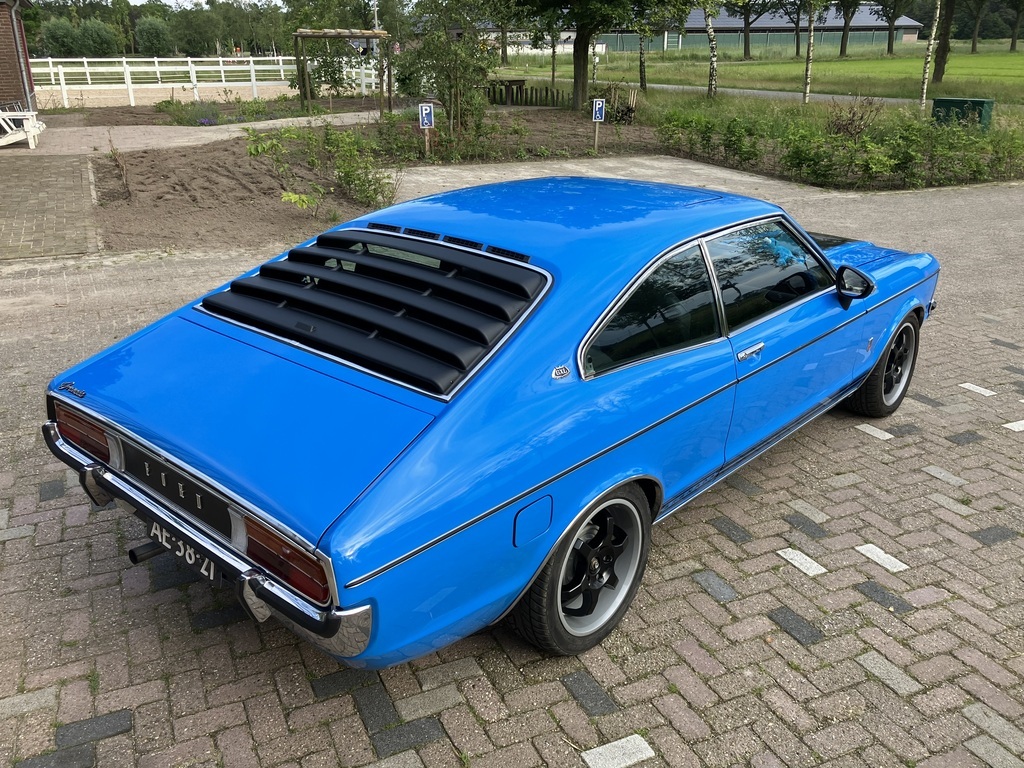 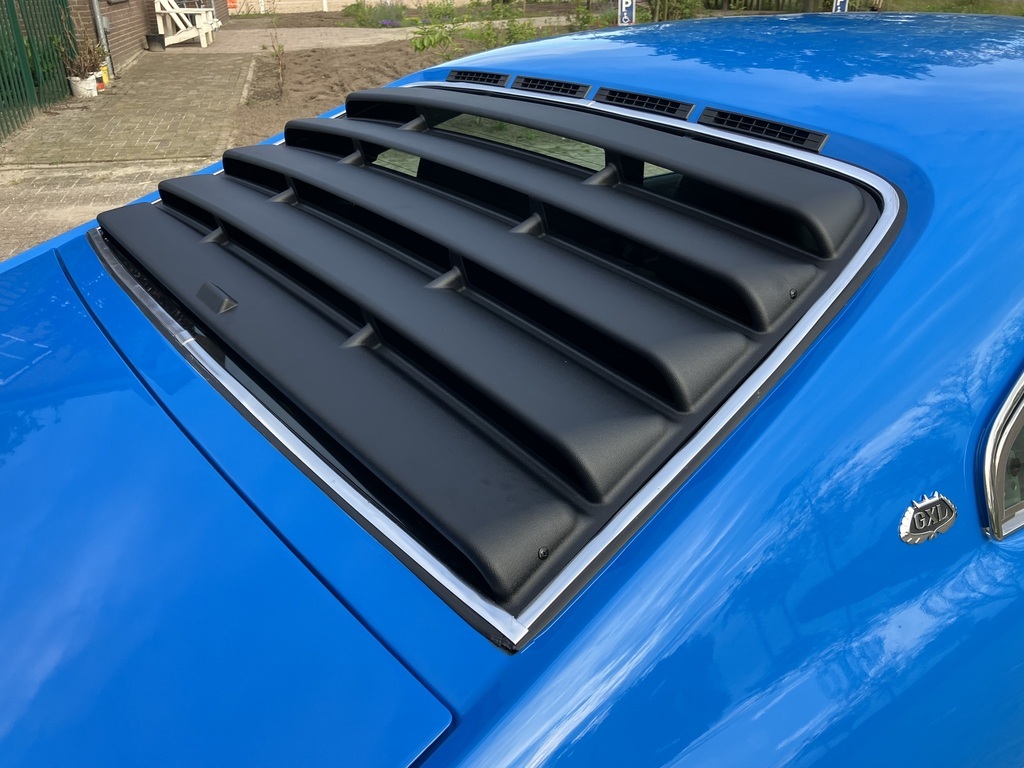 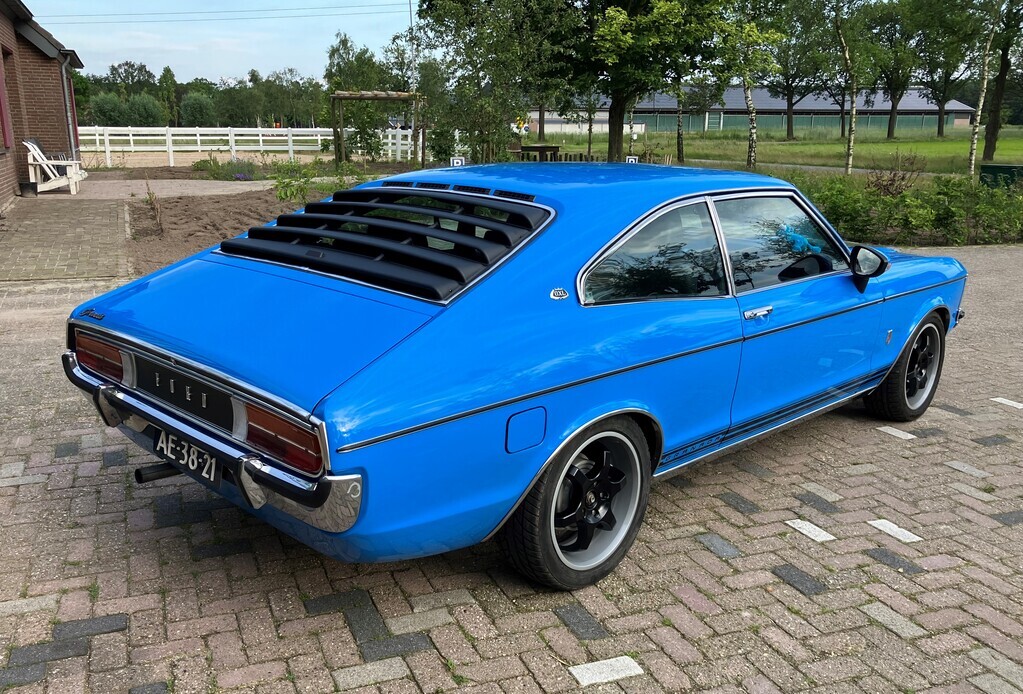 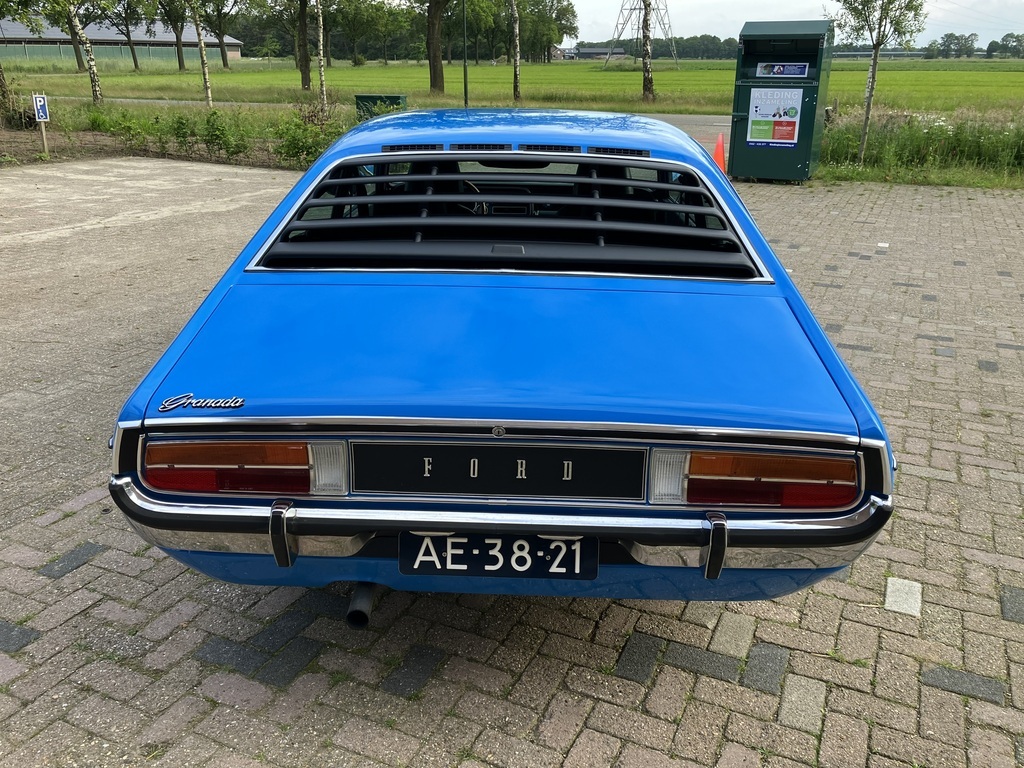 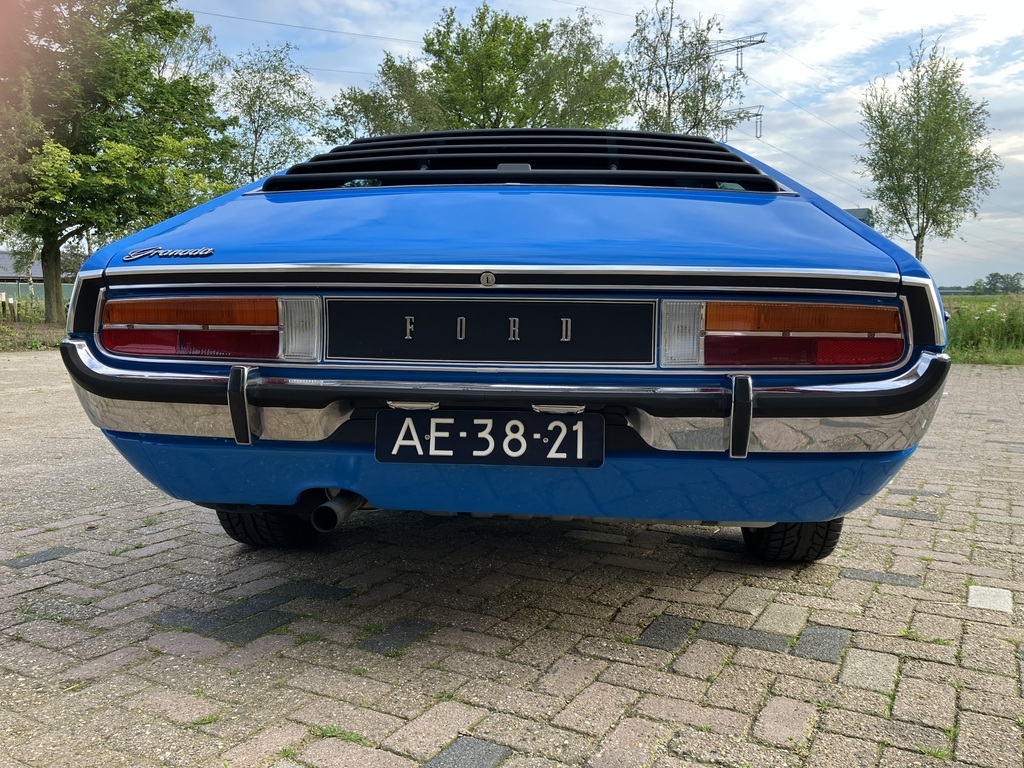 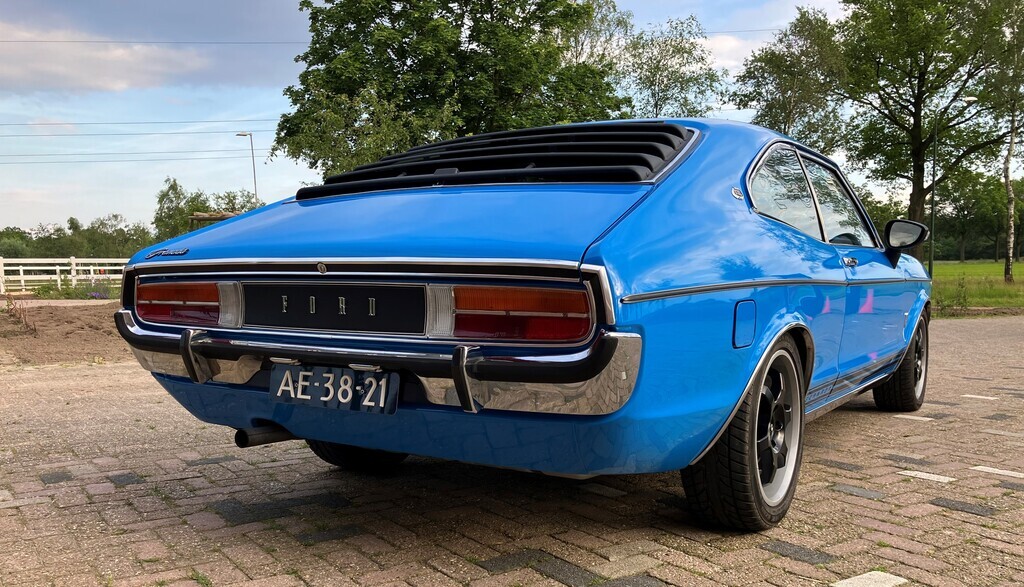 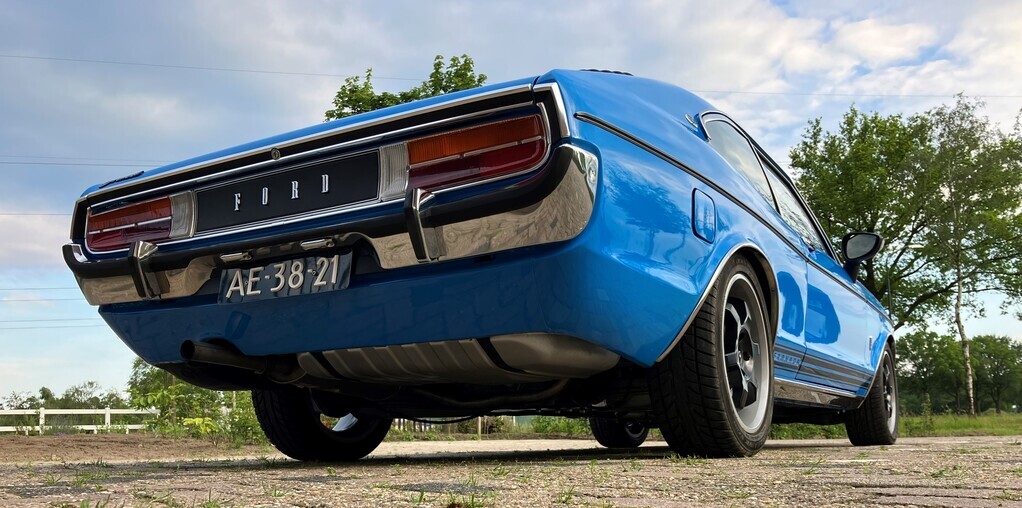 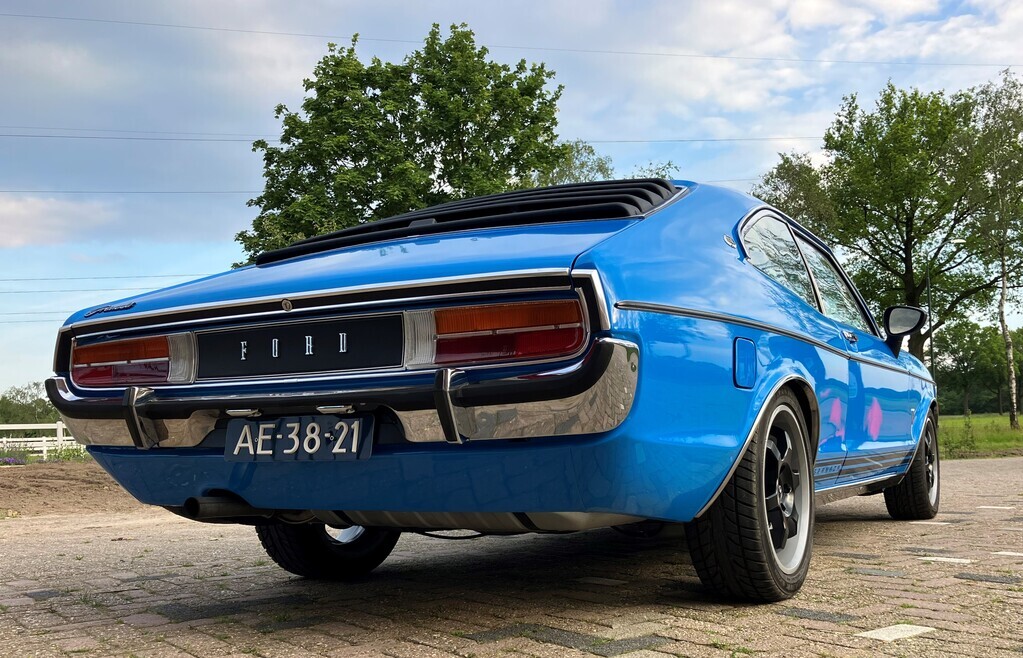 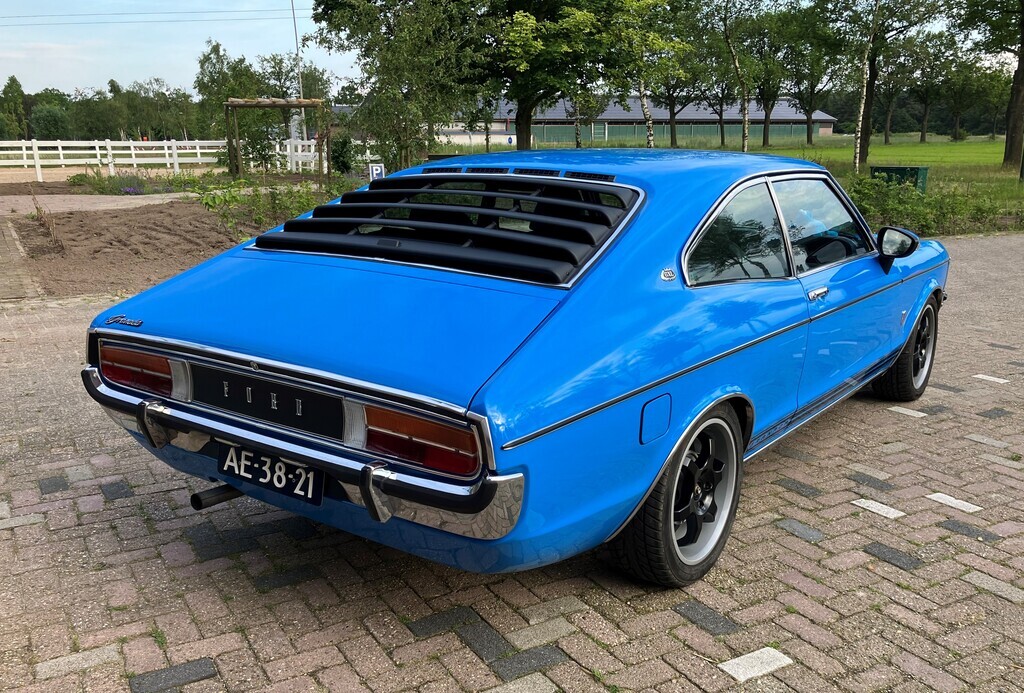 Which is the better picture/crop: this 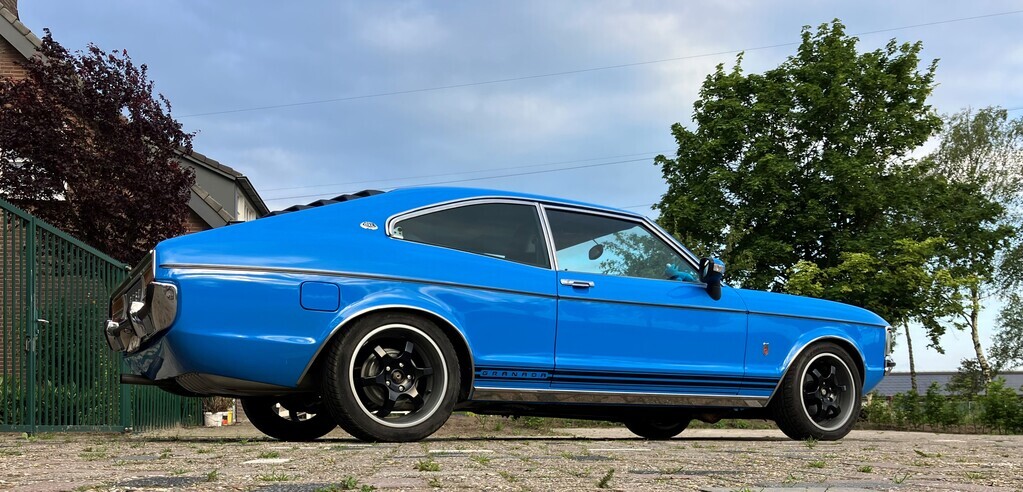 or this 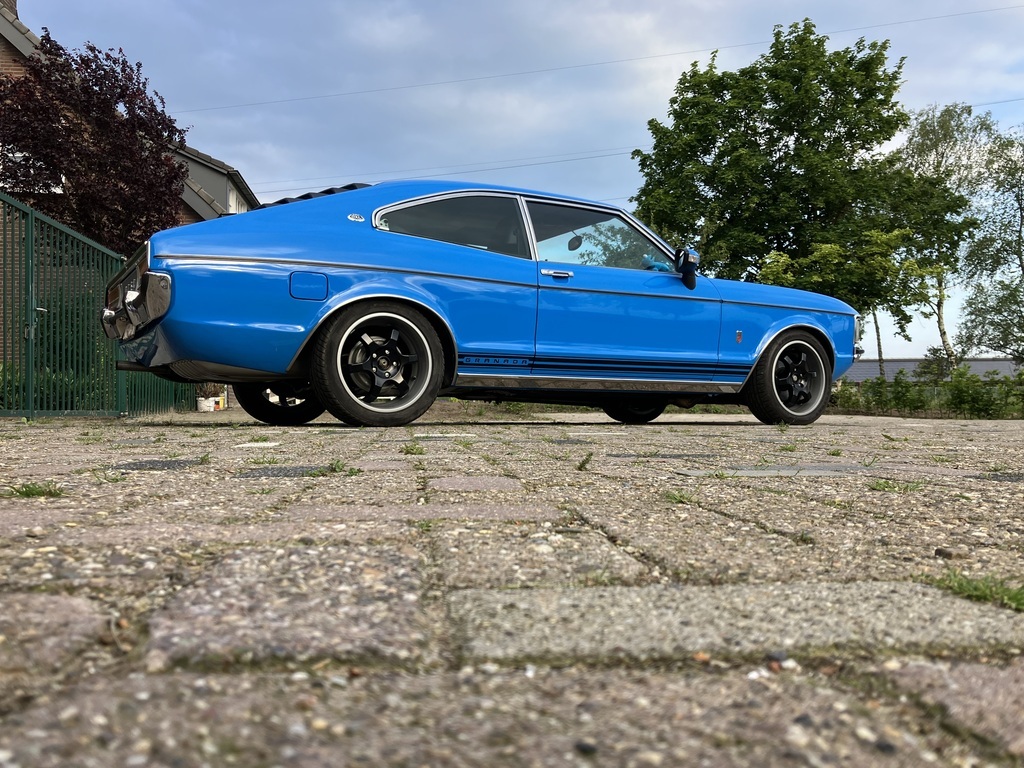 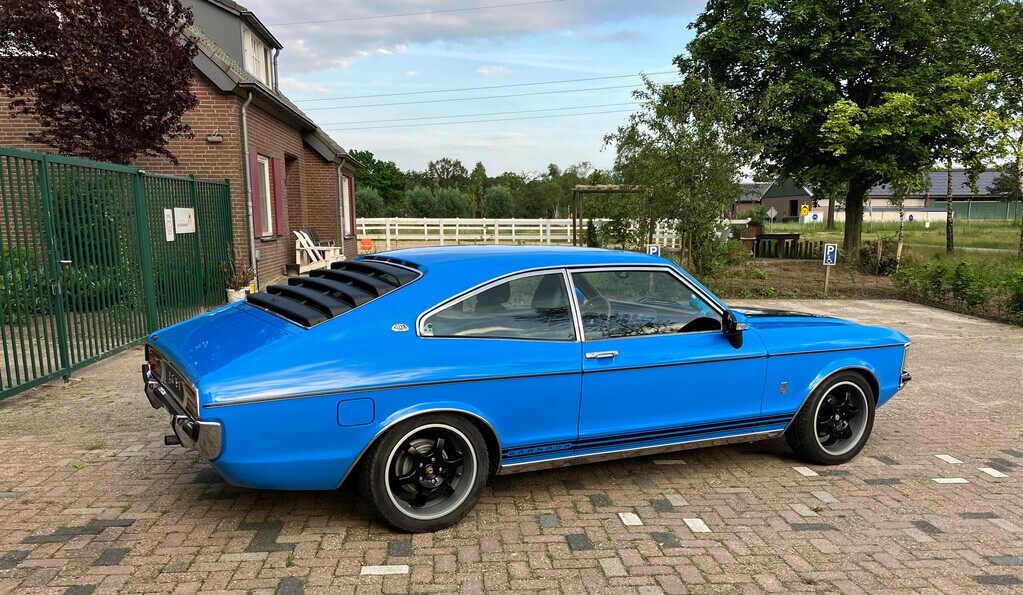 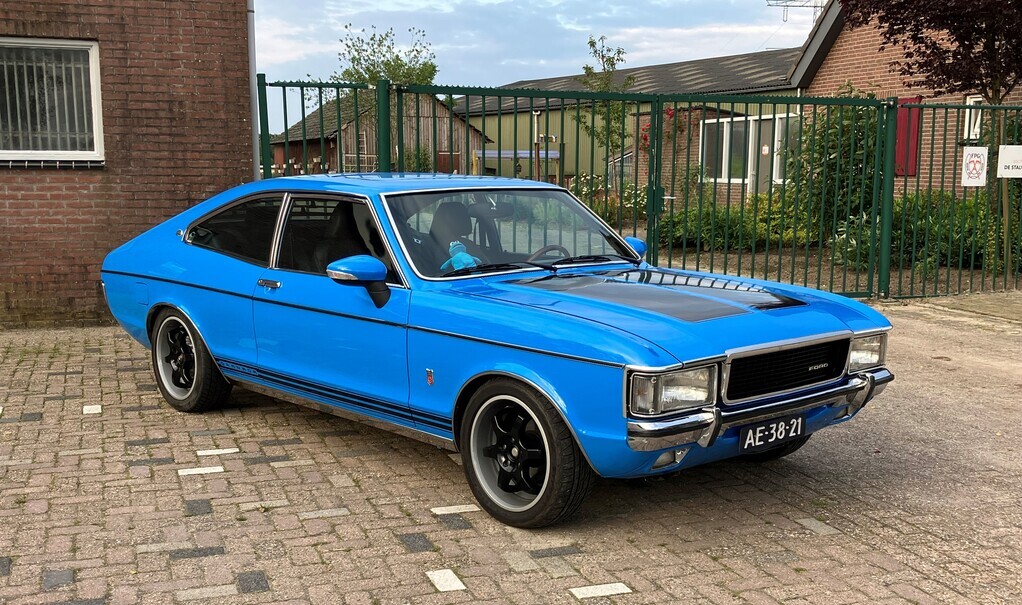 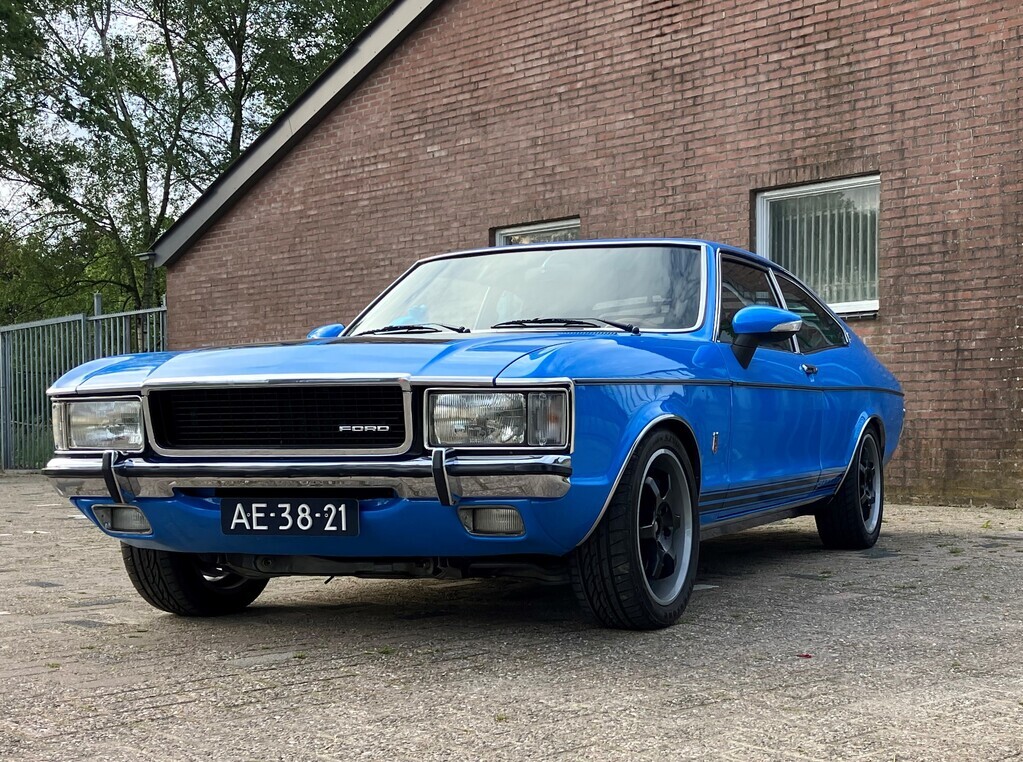 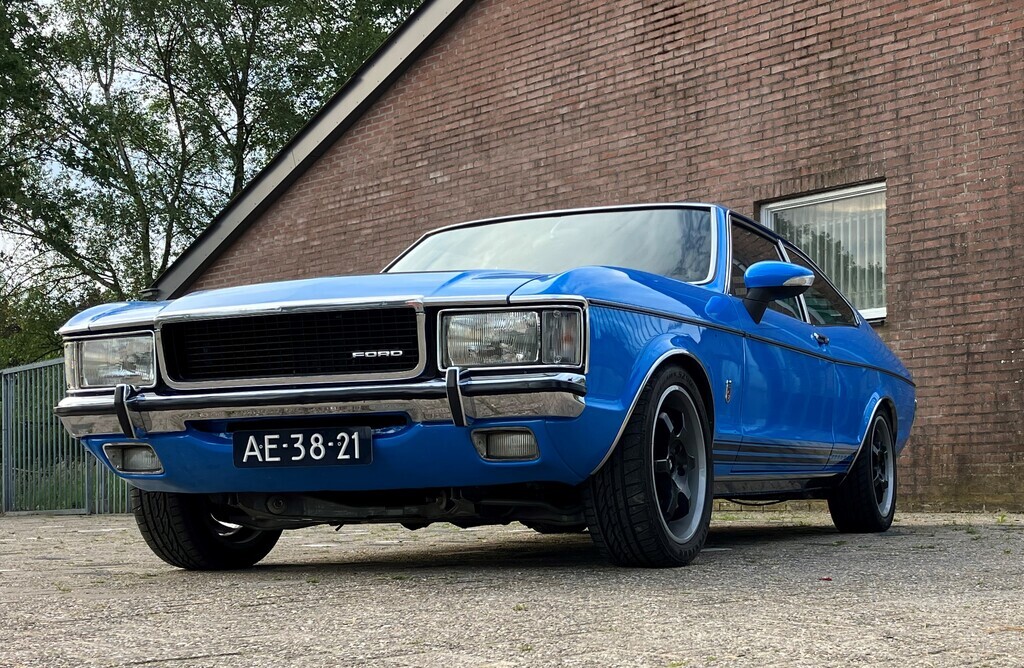 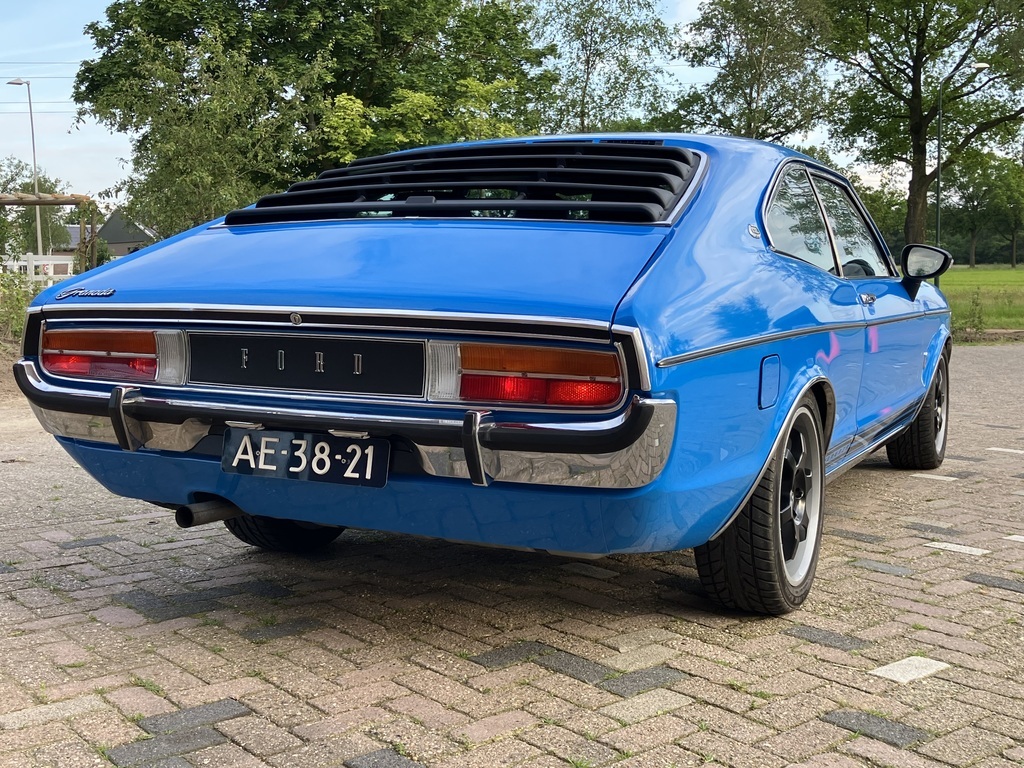 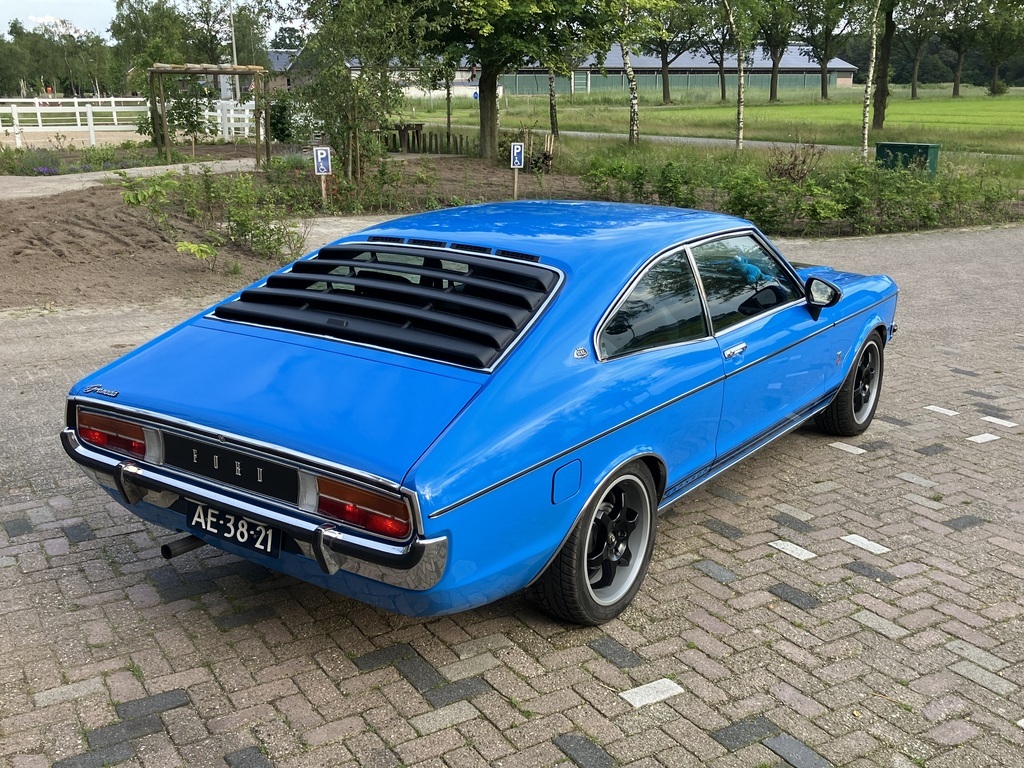 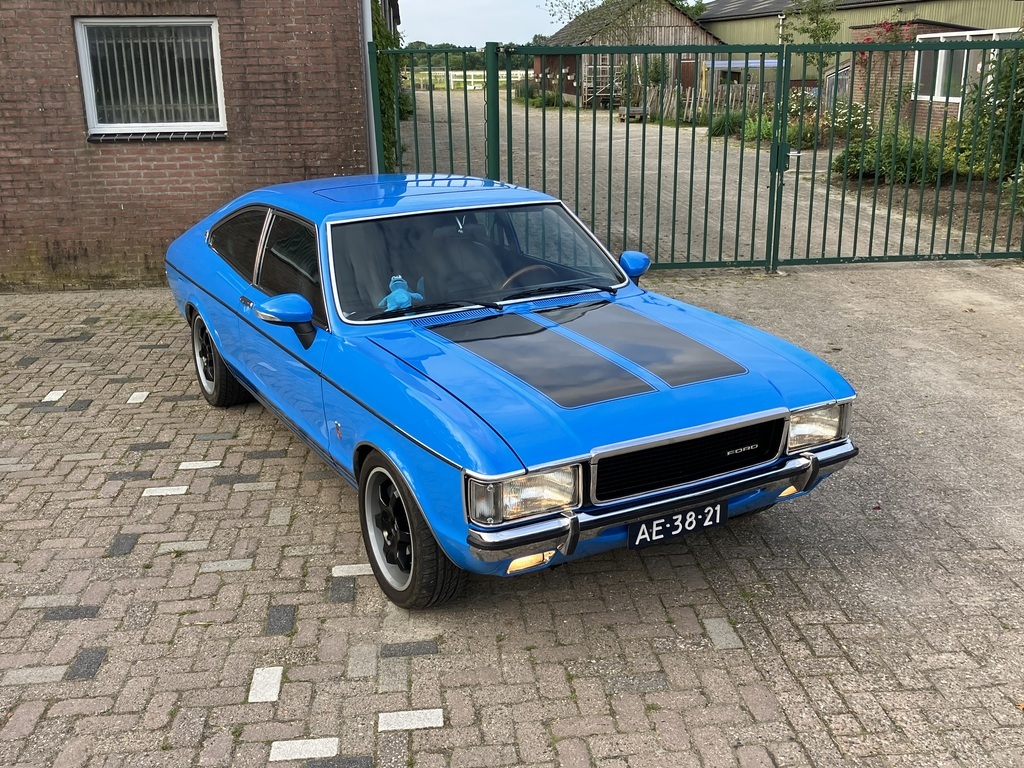 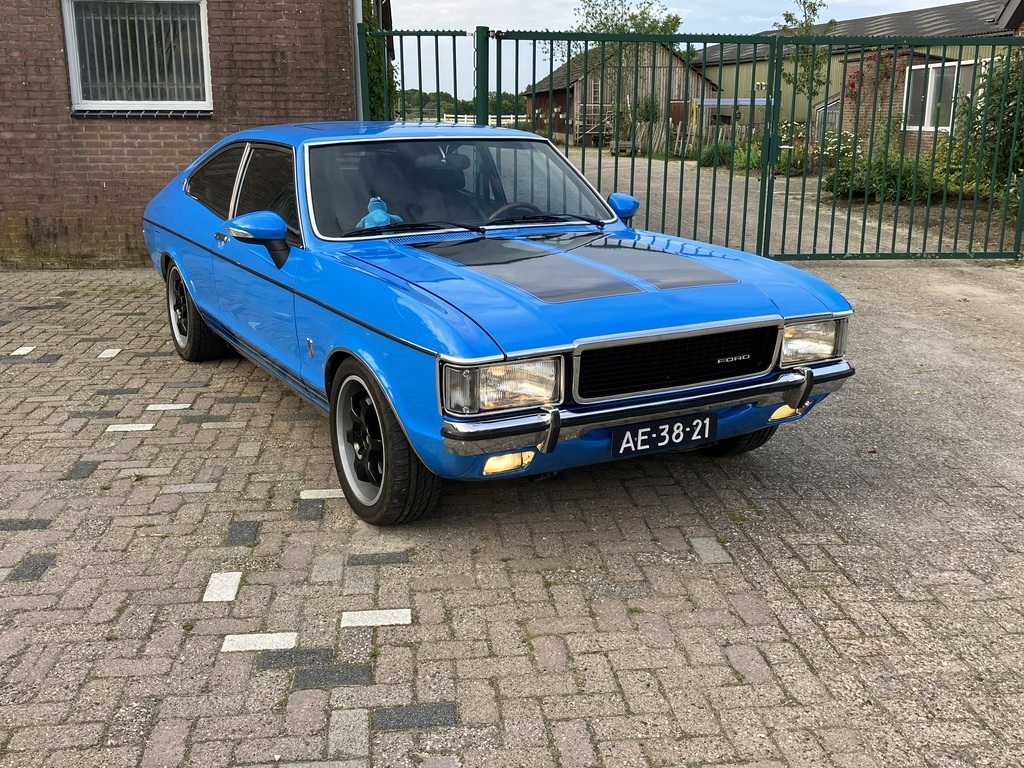 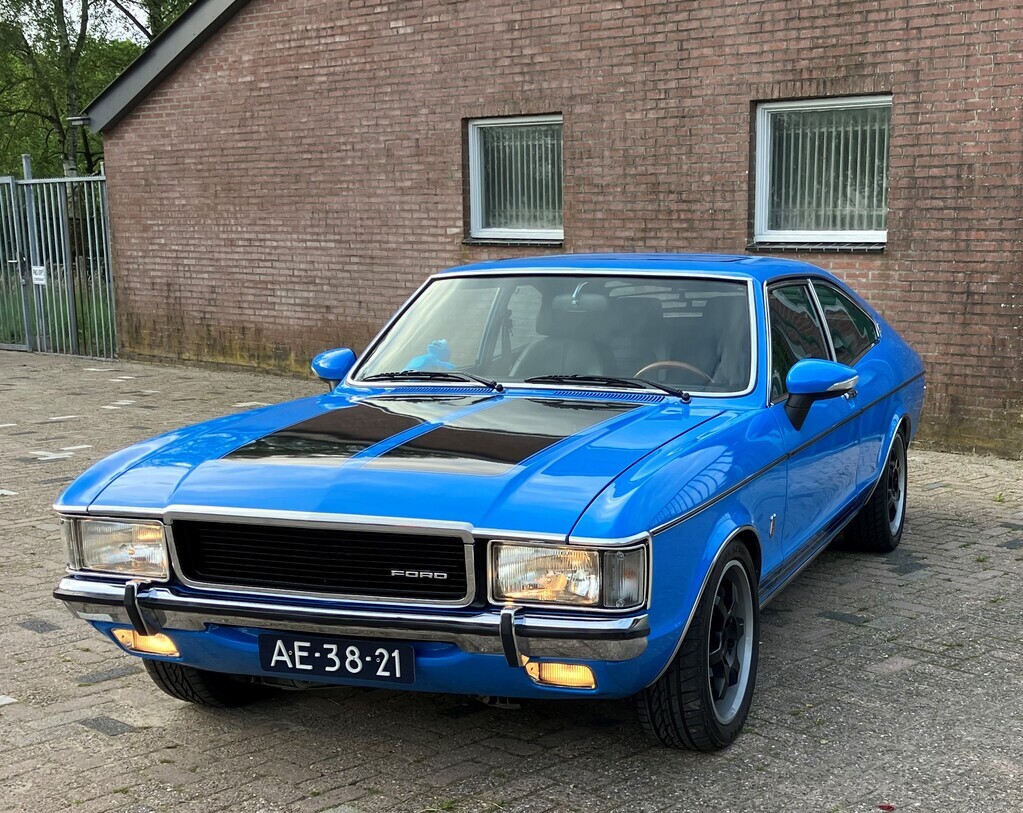 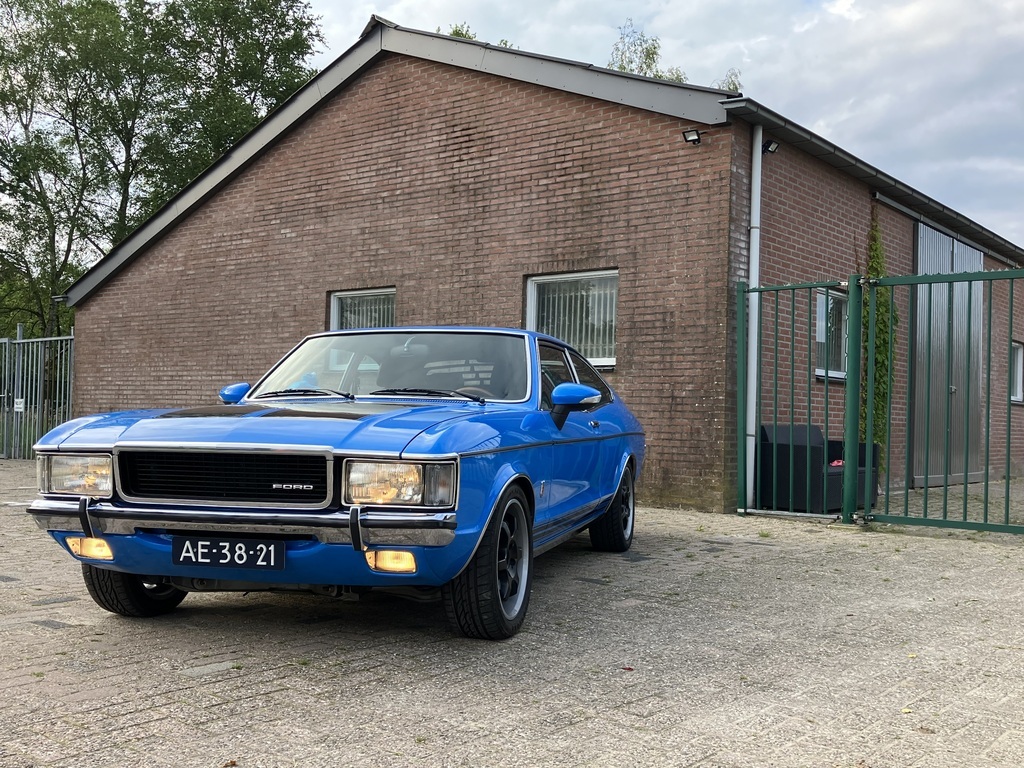 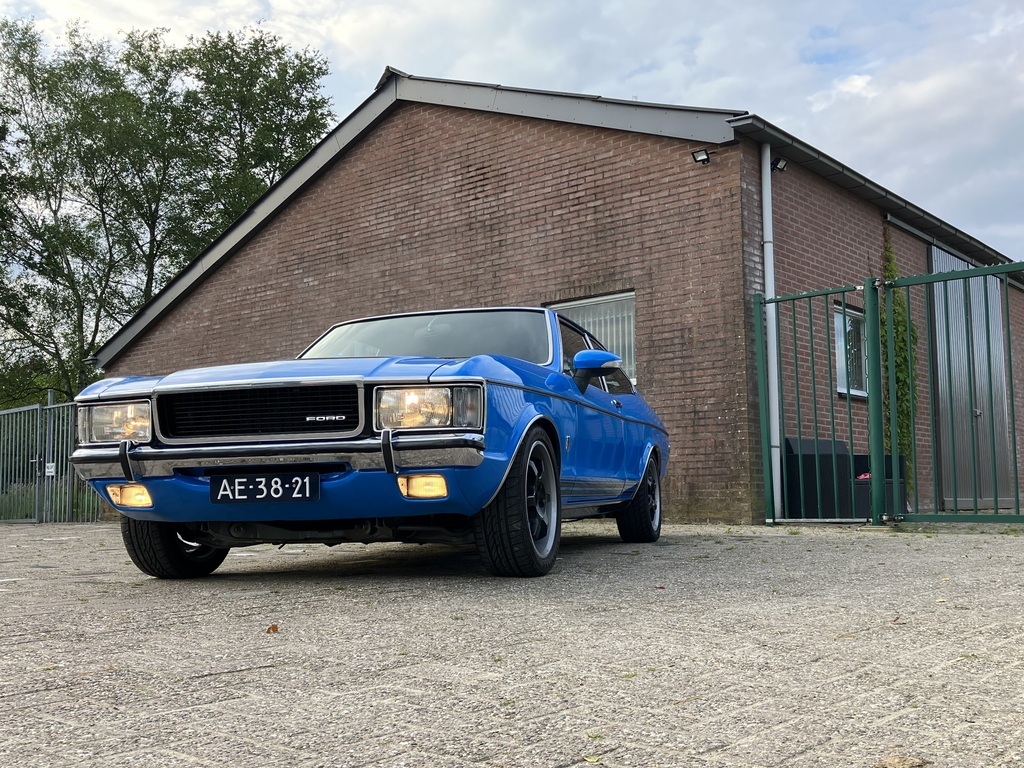 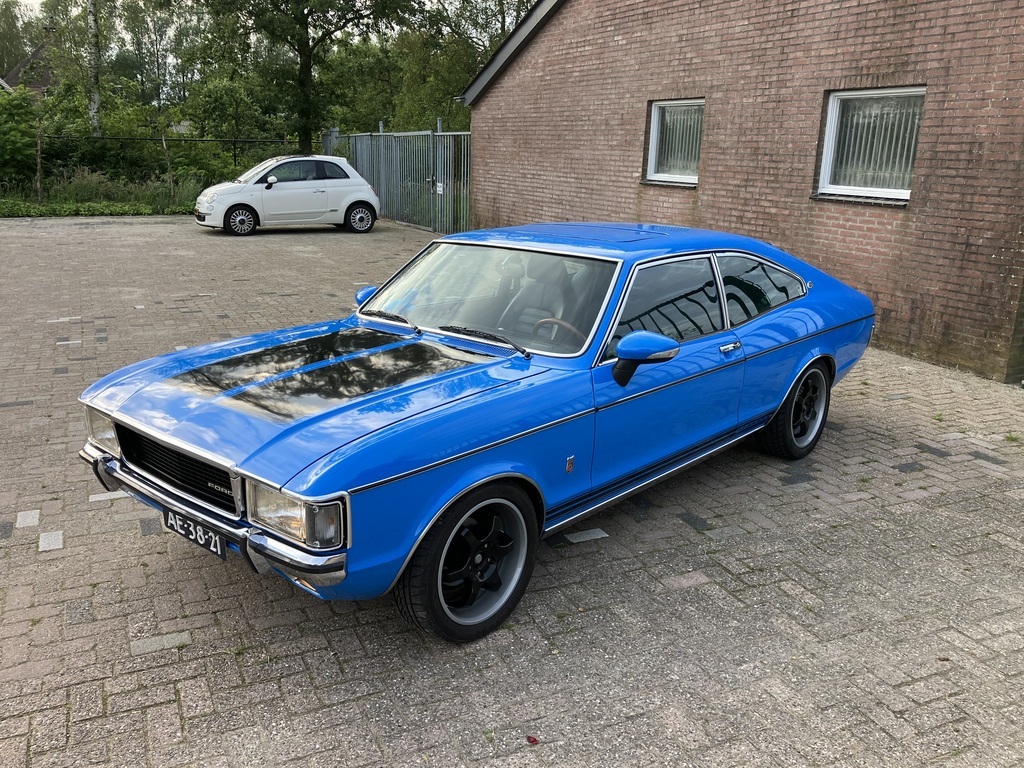 |
| |
|
|
eurogranada
Europe
To tinker or not to tinker, that is the question...
Posts: 2,556
|
|
Jun 11, 2024 10:07:19 GMT
|
Last weekend, for me, was the one weekend of the year that really counts when it comes tot he Granada: FordFreaks Nieuwleusen 2024. This year was it’s 22nd installment of the event. Those who’ve kept up know that in my preparations to go to this event, I wanted to fit the new louvre and had run into a last minute dead battery situation. The louvre was successfully fitted and tested for both staying put as well as additional noises etc. Both tests it passed. The battery situation was remedied by a last minute online order and hoping for timely delivery. Part of the final prep on Friday was a quick going over the car. I washed it as it gets dusty doing nothing much and actually dirty being used. Thankfully this always is a quick wash to keep up so half an hour or less. Next up: cleaning some of the glass and the interior dash and door panels before ending things with a quick hoover of the floor mats. Car looking fine, ready for tomorrow. With no battery in sight I put the car back in it’s rightful dry place. The battery eventually came in at around 21:30 so I quickly replaced that. Car fired up instantly so all good there. 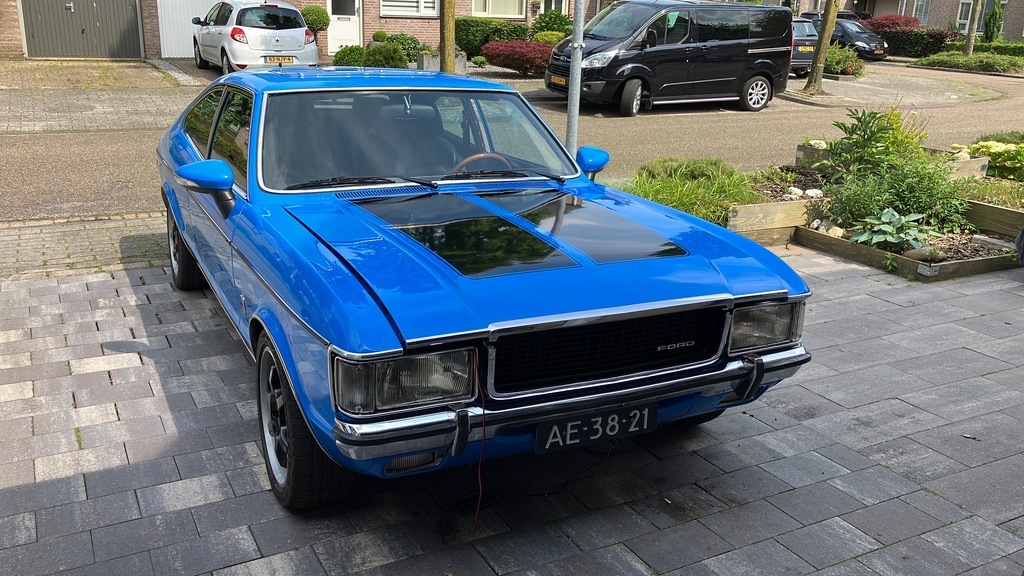 I spent the rest of the Friday on a shopping spree for a party for which we choose to go to Germany and gathering the stuff I’d need to take with me. My list was longer than last years’ and I felt more prepared. I still found that if it wasn’t on the list I’d off course forget things so I added to the list during my stay at the event. But I was definitely better prepared than last year. I now had a way of creating shade, had an air mattress that held air, had a book to read in quiet moments, had enough food and drink and even some stuff to mark my area so others wouldn’t think to take my nice spot for when I had to do a food run for a warm meal. Anyway, Saturday came, the car was loaded up with the last of the stuff which had this time invaded the interior as the boot was full. Although I think I can start leaving many of the fluids and stuff I carry back at home as I never have to use it. And what I might need is always the stuff I haven’t got with me anyway. I was about to set off when I figured I best check that the battery is receiving a charge from the alternator. Didn’t doubt it much as the old battery on a charger just simply went from dead to full way too quickly, but better safe than sorry. All good there, thankfully. So off I went. The first 25 kilometers not feeling completely at ease. Too much tuned in to each and every little thing the car did. But as the car showed to have no problems with the drive so far, I relaxed a bit more and even turned on the radio. Temps, pressures etc. all looked fine. I decided to even forego the usual mandatory first and or second check stops and just keep moving. After just under two hours I arrived at my destination. At that time most of the cars there were the local crowd and some visitors from the UK. I toured the terrain and quickly found a good spot. With my spot chosen I now had to make the car presentable again, which meant making camp to get the stuff from the interior of the car a place to not be in the way visually. A two second tent is almost literally up in two seconds. You just need about 5 minutes or so to anker it to the terrain. I made my bed and put away my stuff and it all looked rather comfy for the night to come! Best decision ever was to take a decent chair with me this year.  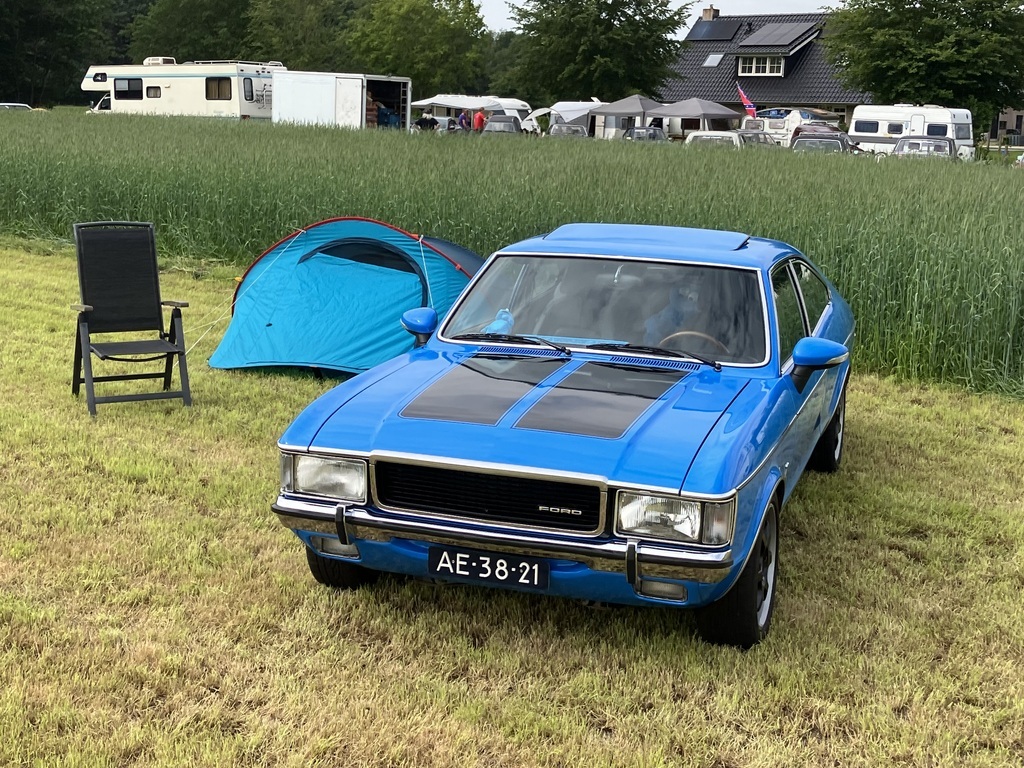 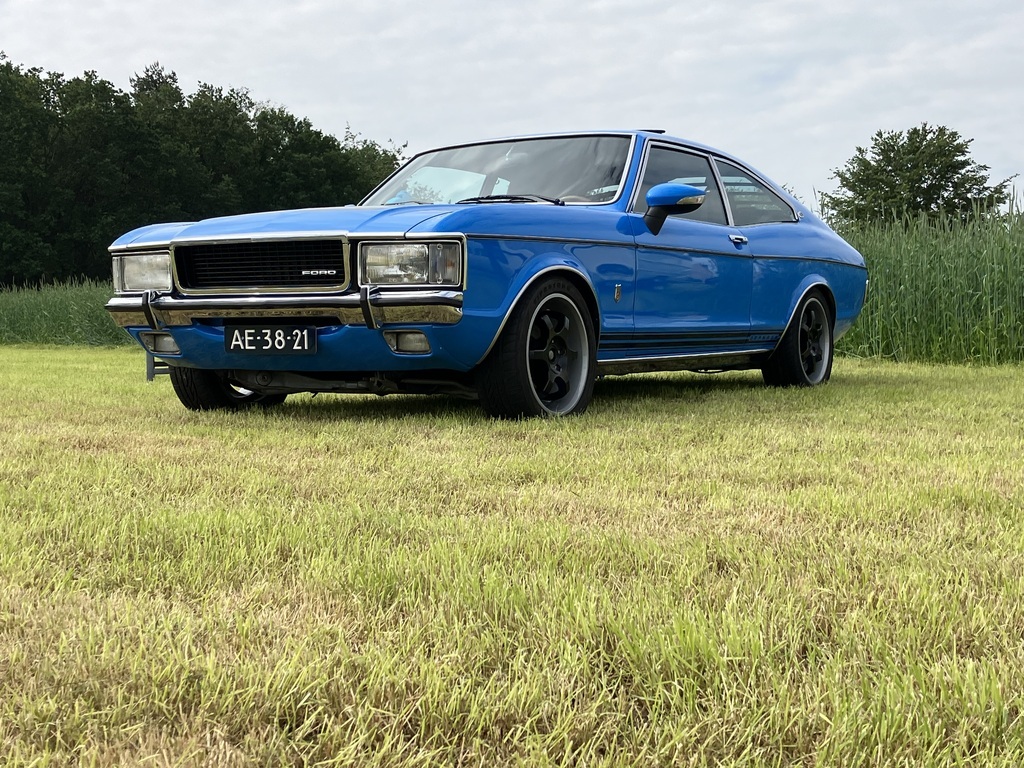 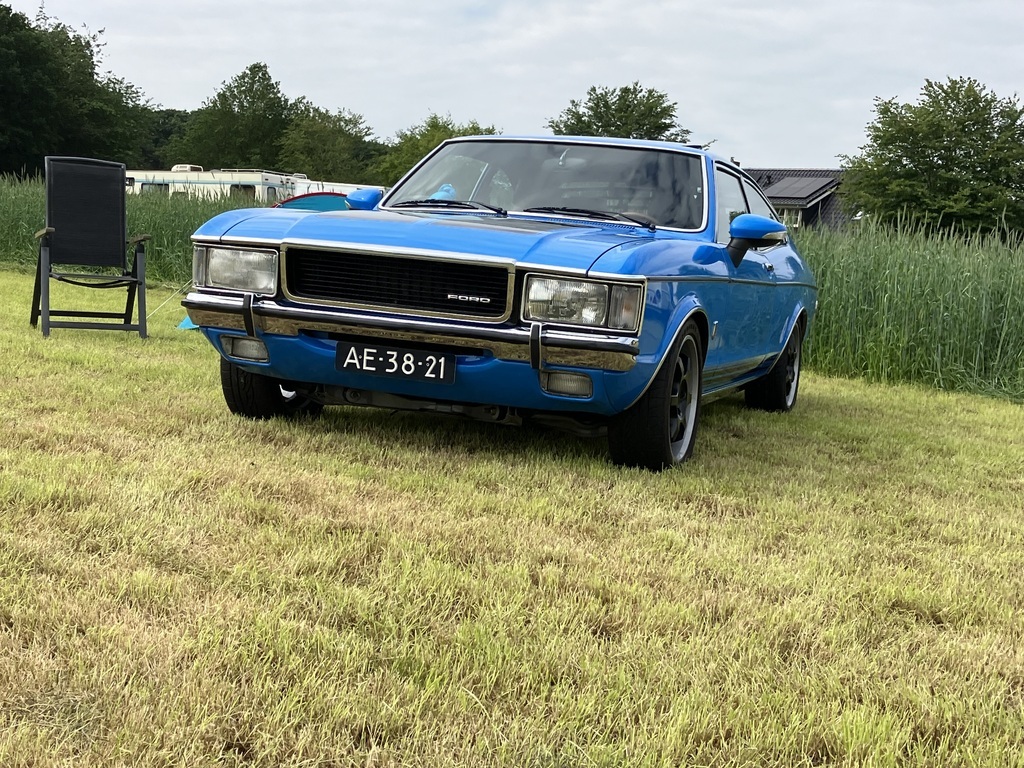 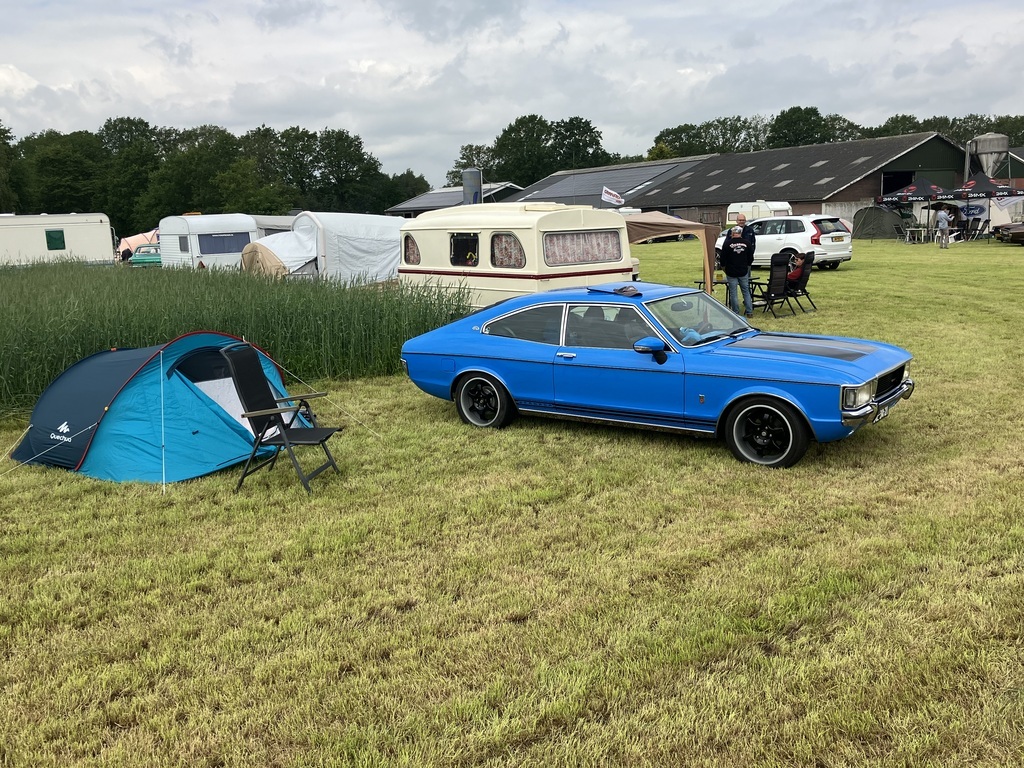 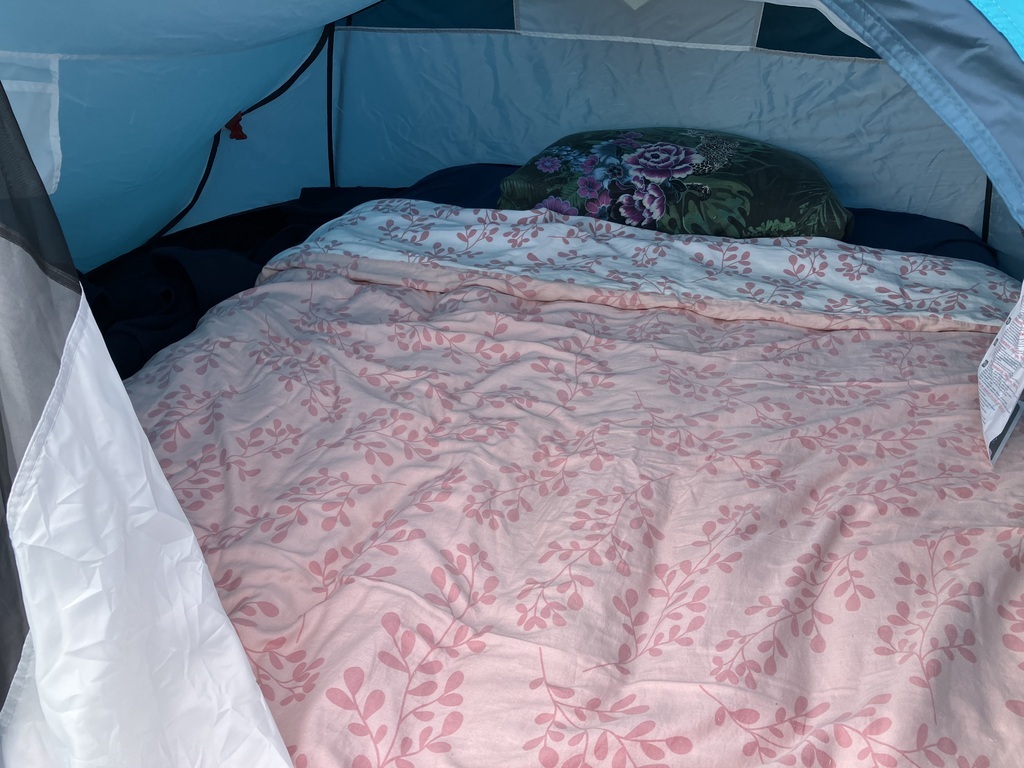  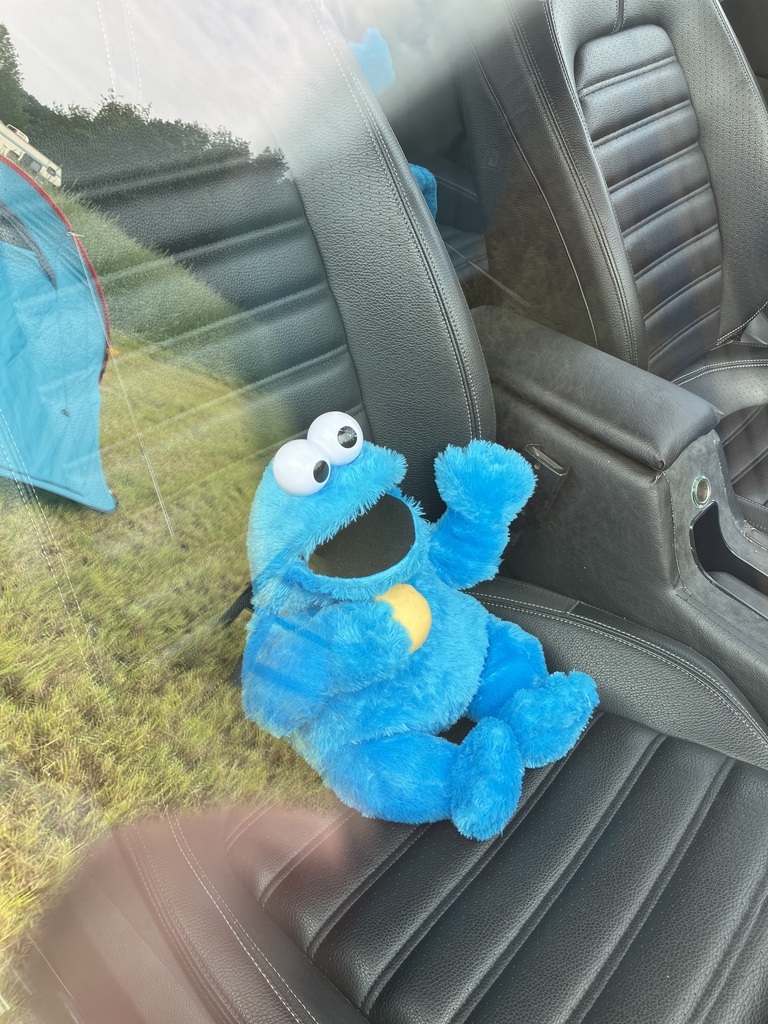 And then it was time to enjoy the event. See the cars, talk to the people. Weather on the Saturday was precarious with showers and high intensity sunlight fighting for dominance. The cool breeze meant one didn’t feel the sun’s heat as much and combined with a much sunnier Sunday meant my head was red like a tomato by the end of the meeting, despite using my cap. 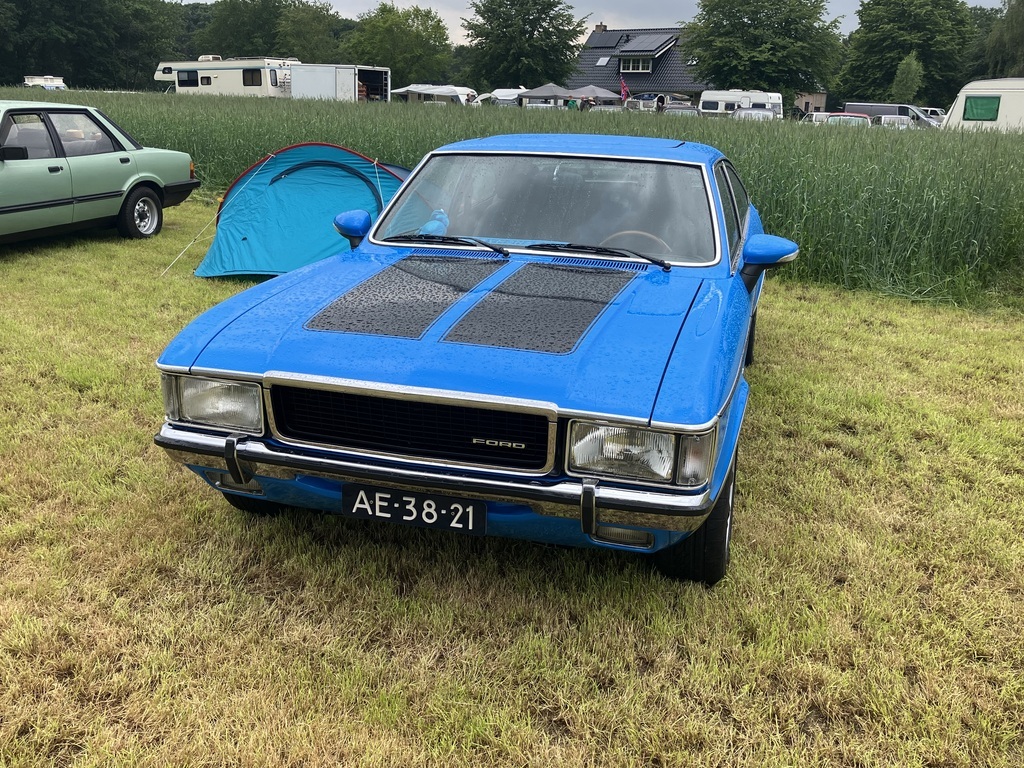 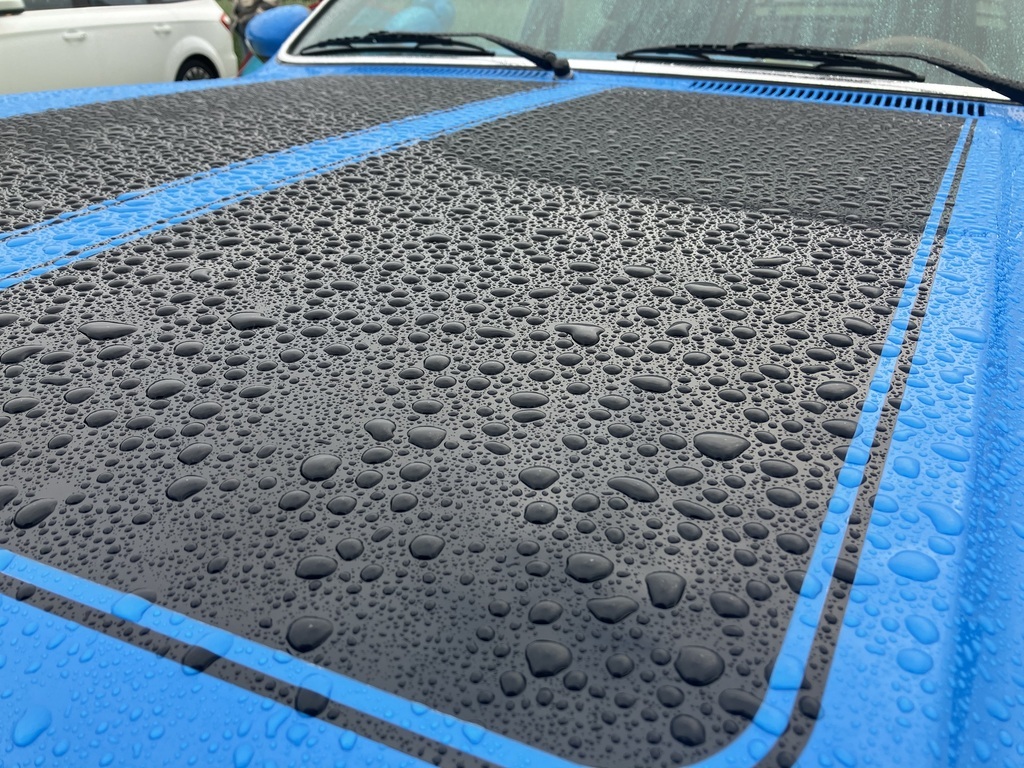 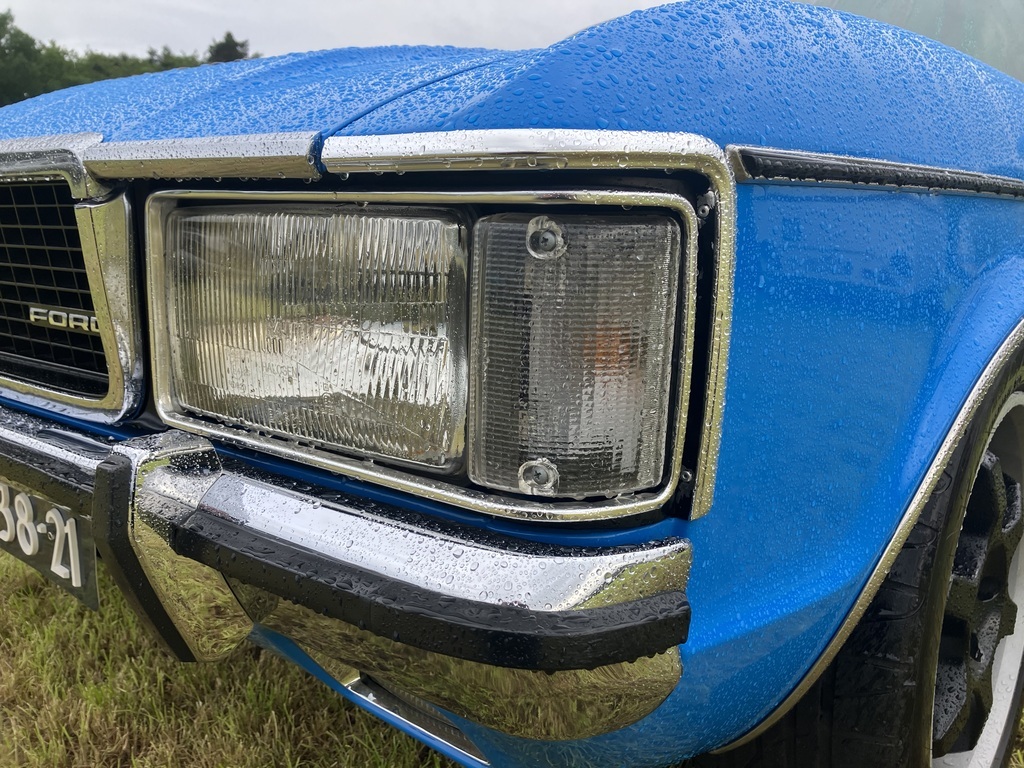 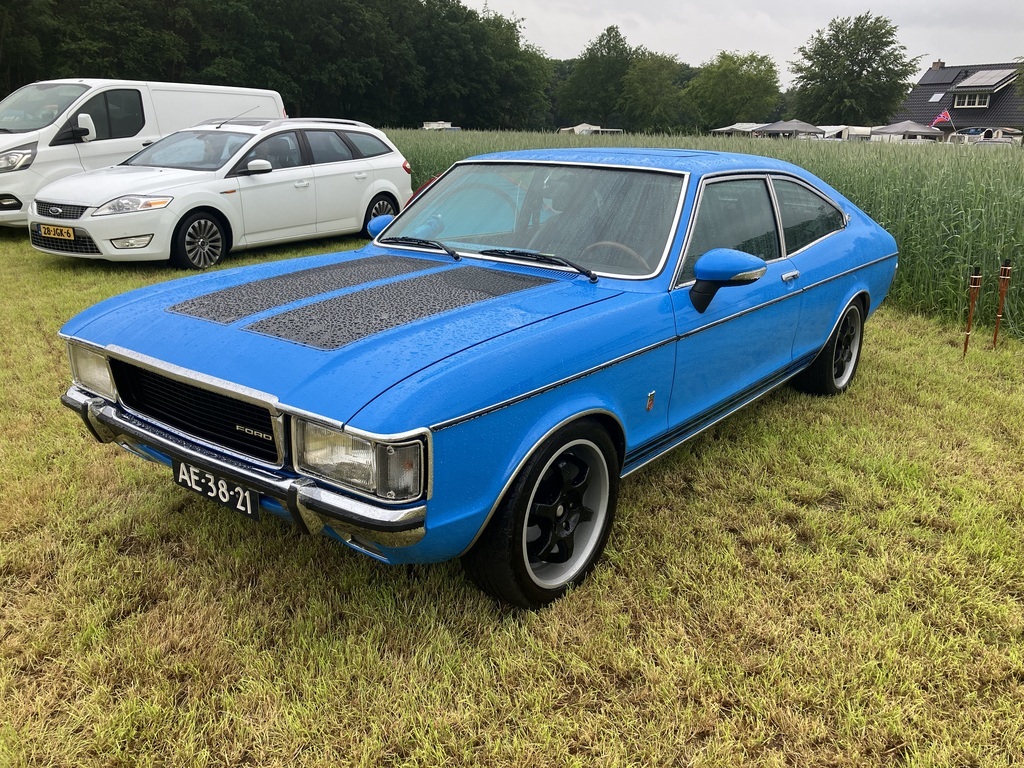 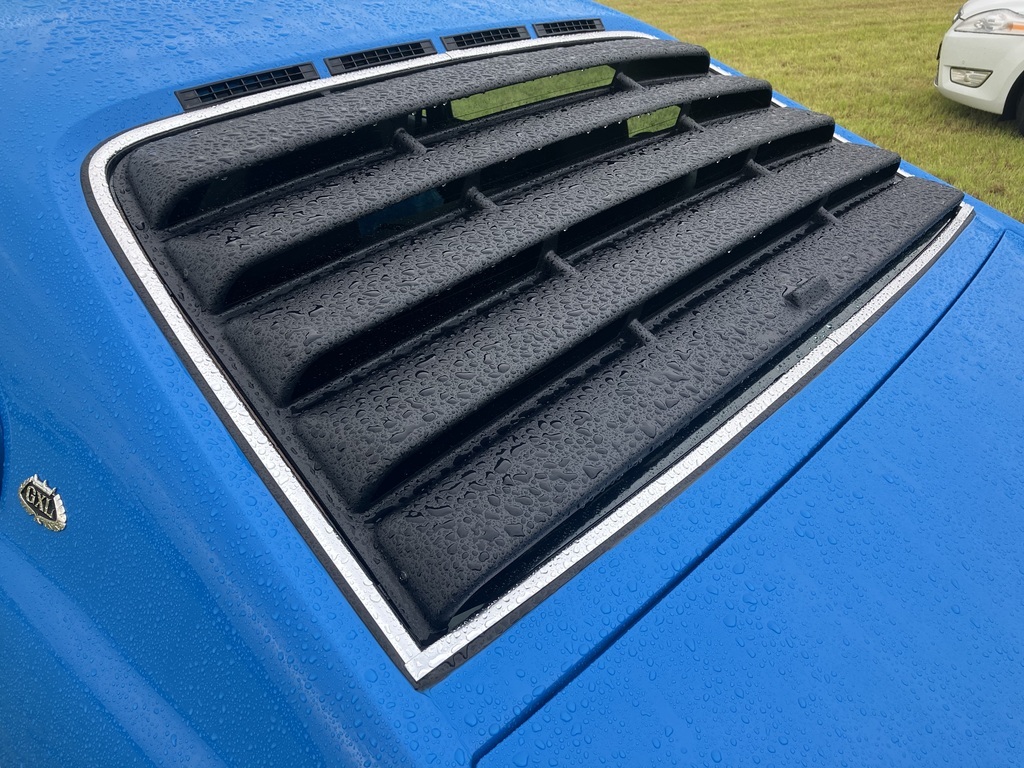  Primitive dinner 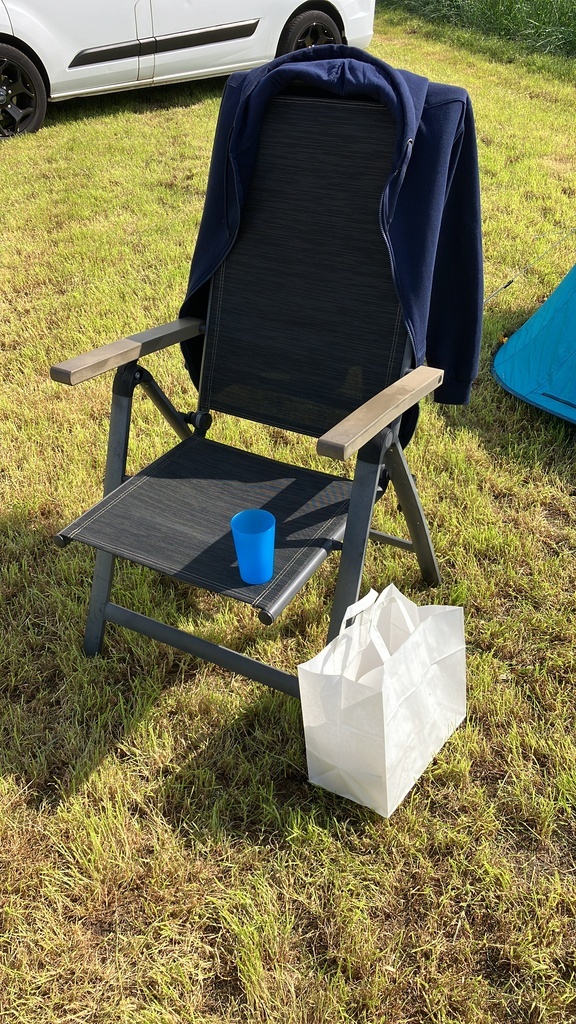   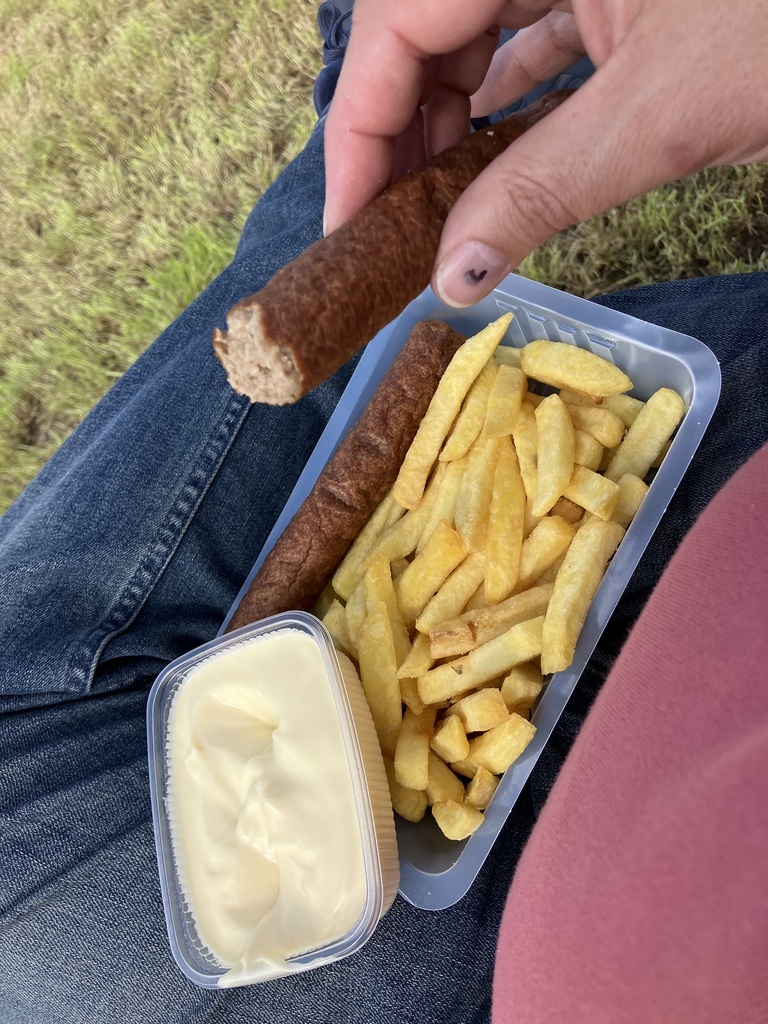 Wet car going in the night.  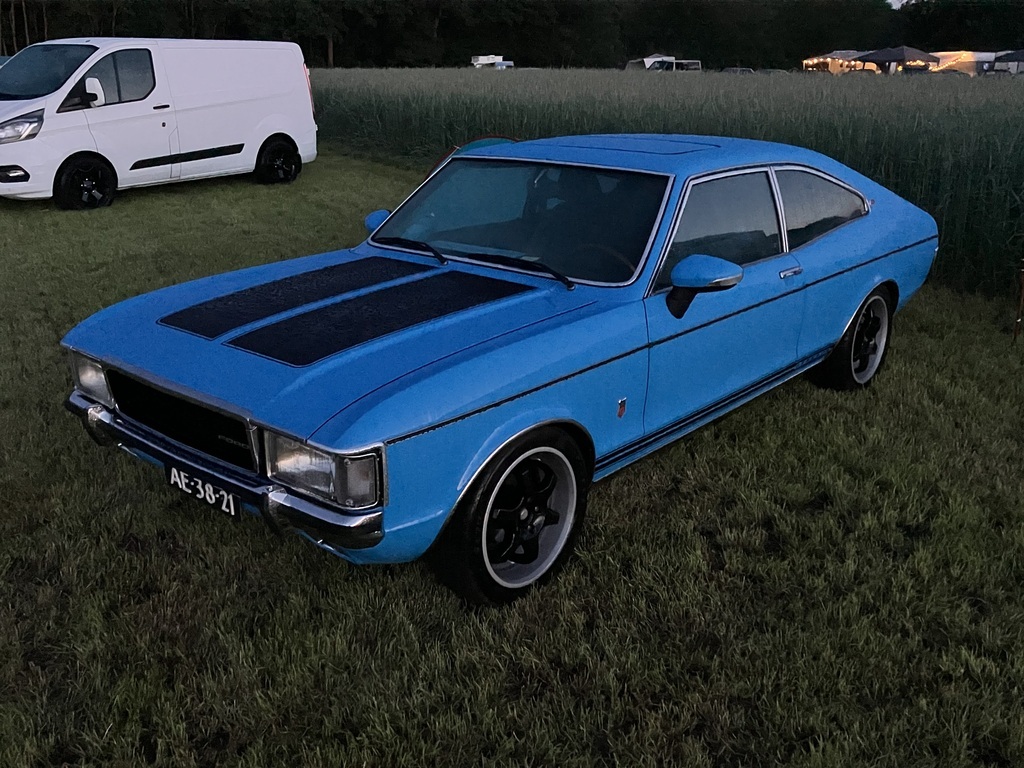 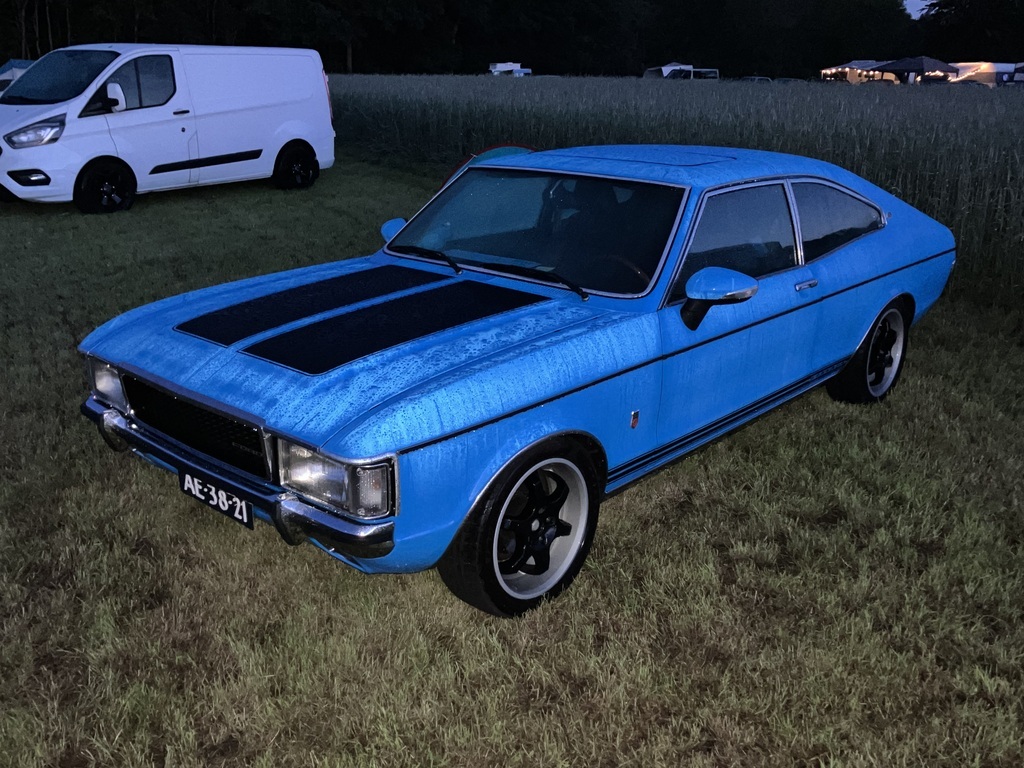 And the next moring after a very cold night in the tent. It was only 3-4 degrees, much colder than expected. 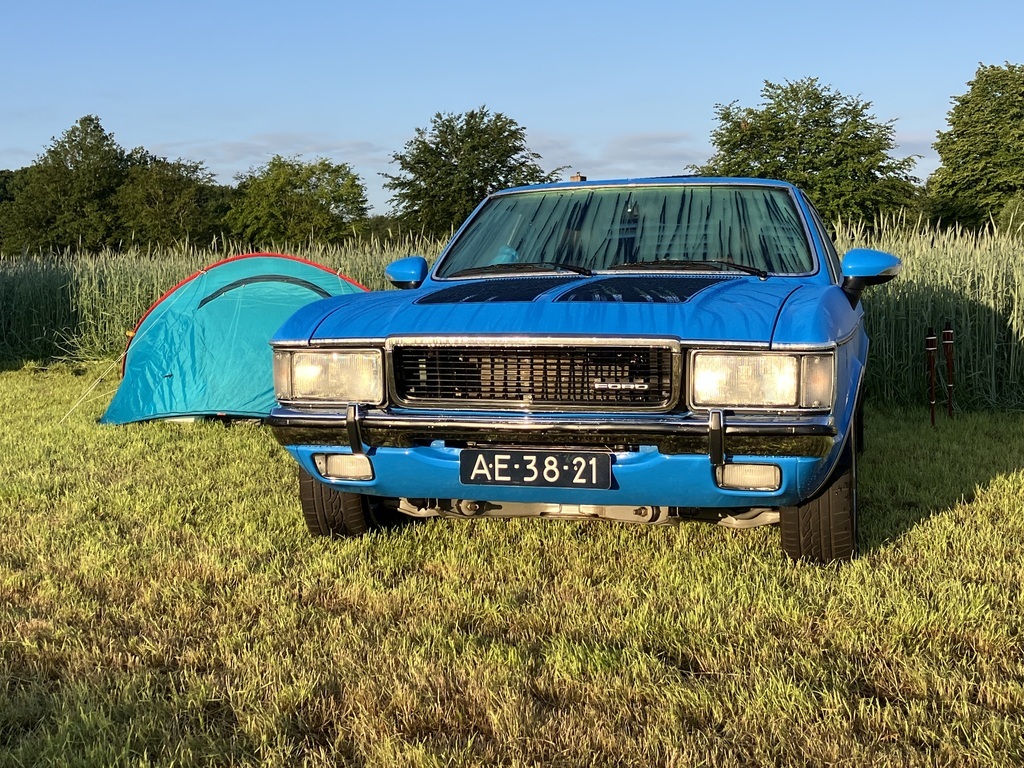 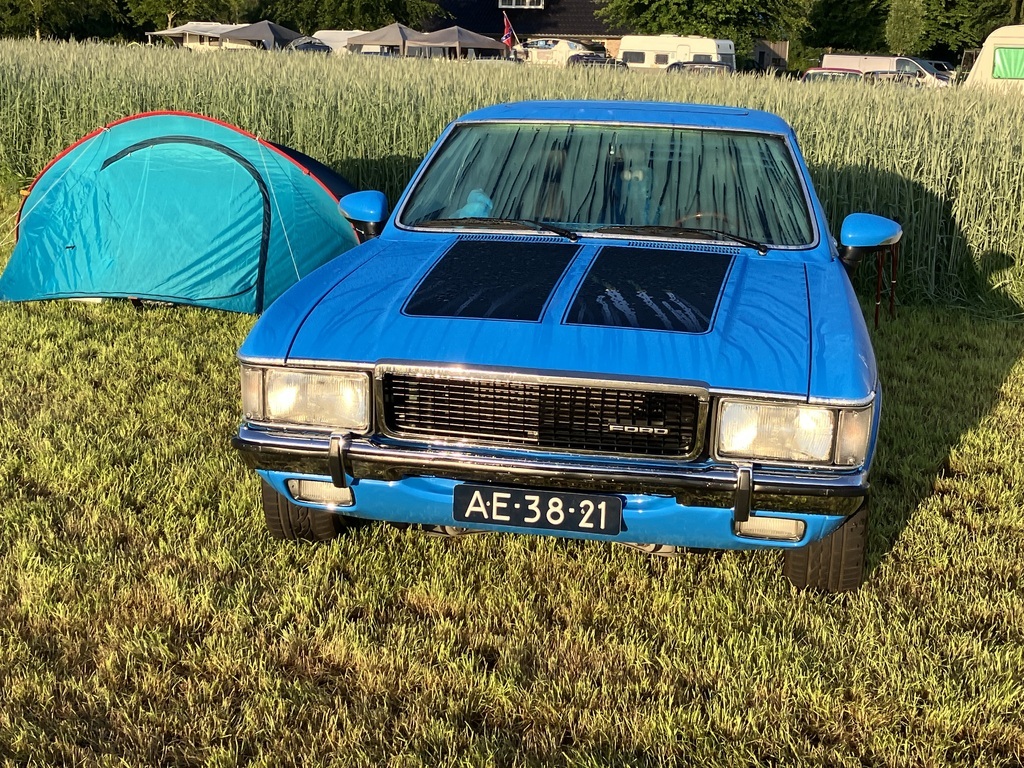 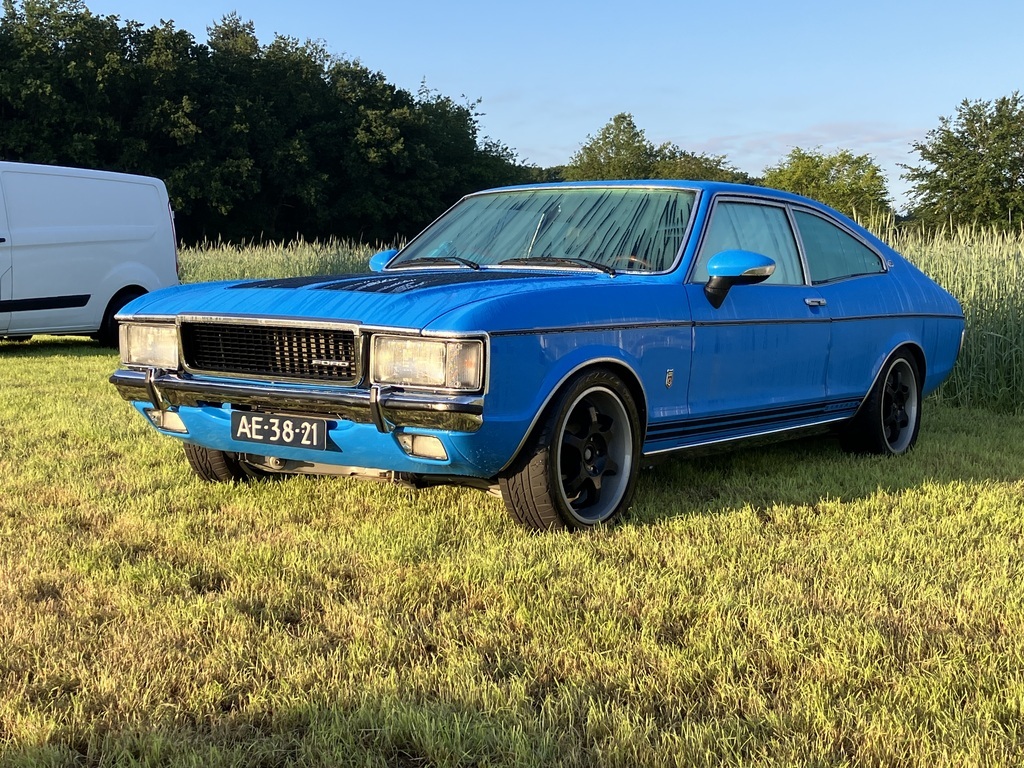 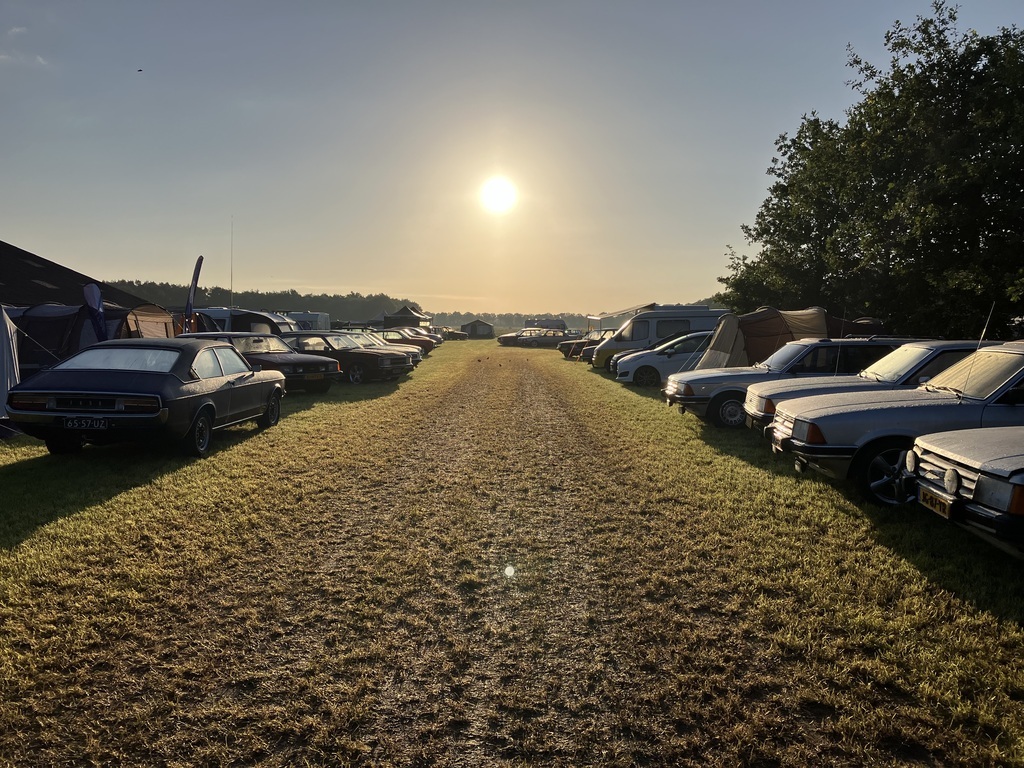 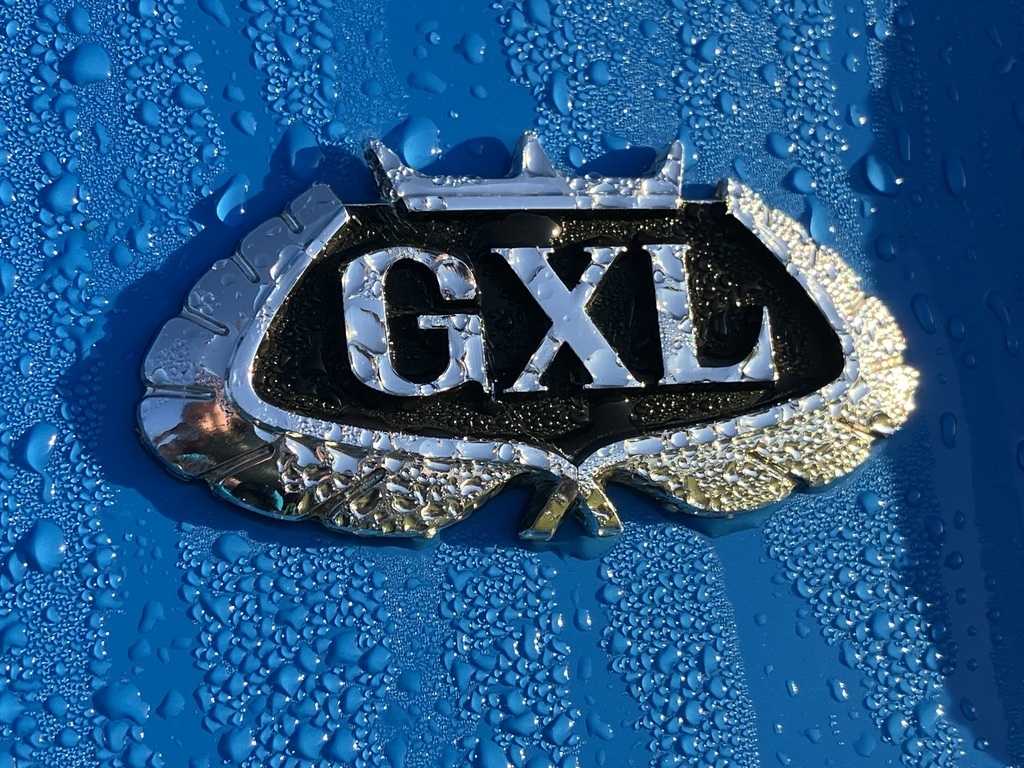 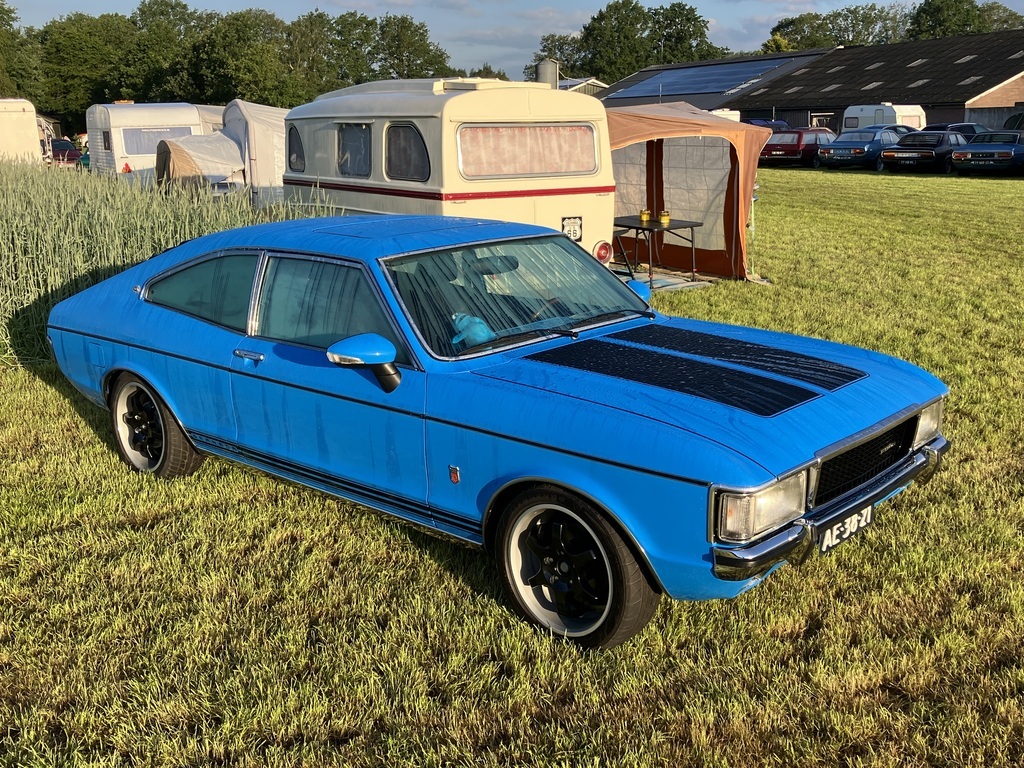 Long story short, I had a ton of interest. I was a bit surprised by how many viewers walked by without a further chat, usually my car elicits conversation. On the Sunday however many of those folks came back around for a chat. All but one comments were positive or superlatives. I got my energy and enjoyment mostly out of those lovely conversations, several in English with the UK visitors. It felt somewhat awkward at times, the praise I got. But a fact is that what I built speaks to soooo many people! And I got rewarded for that by receiving the best coupe of show award. The judges had unofficially created two categories. The coupe’s and the estates as they felt the latter cars are often overlooked from the more popular coupe’s. Personally I think a MkI estate is just as special and beautiful as the coupe. The best car of show subsequently went to my friends Granada estate, well deserved as well. 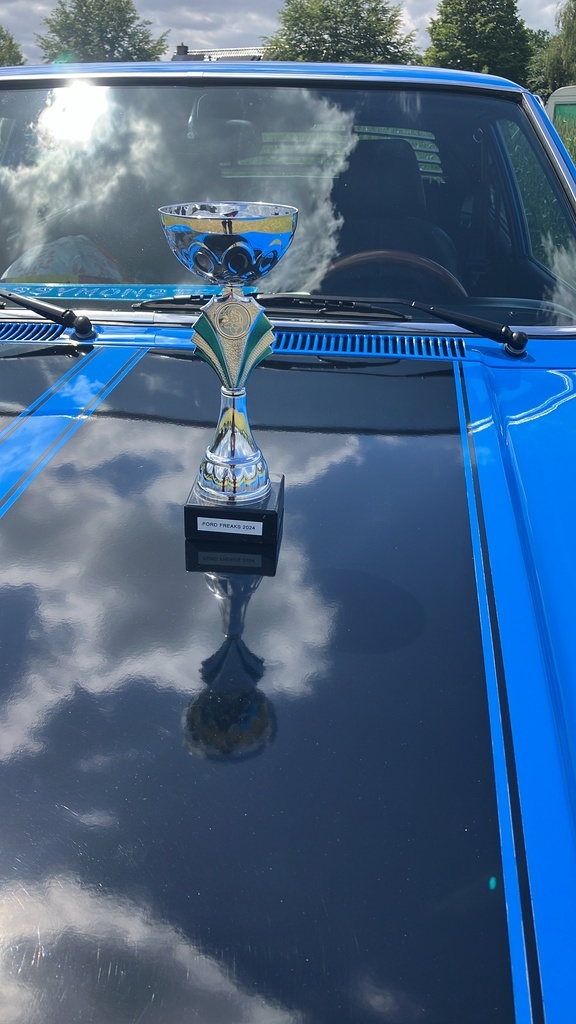 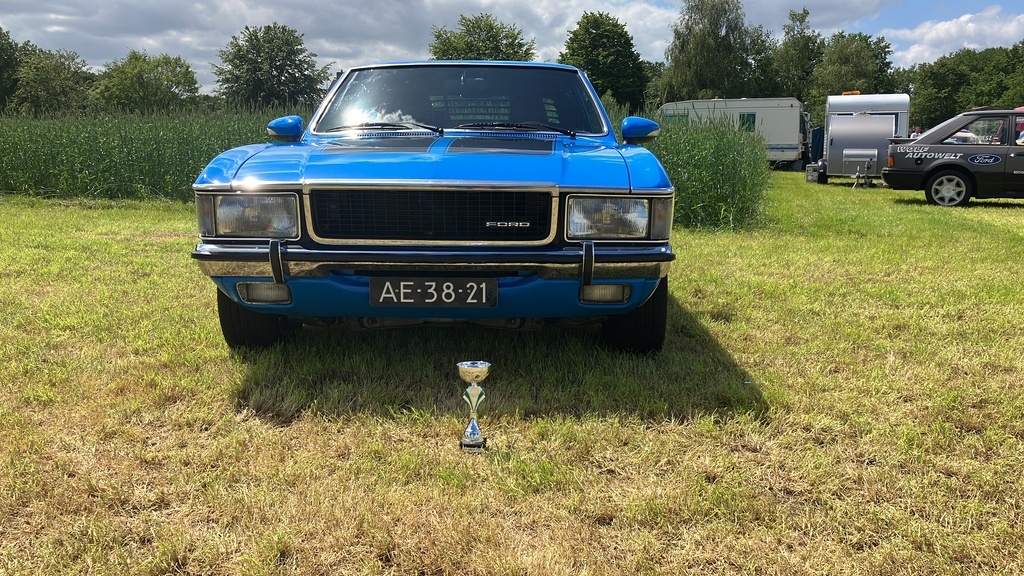 It was mid afternoon by now and I had another stop planned, so I packed up the last of my stuff and set off. 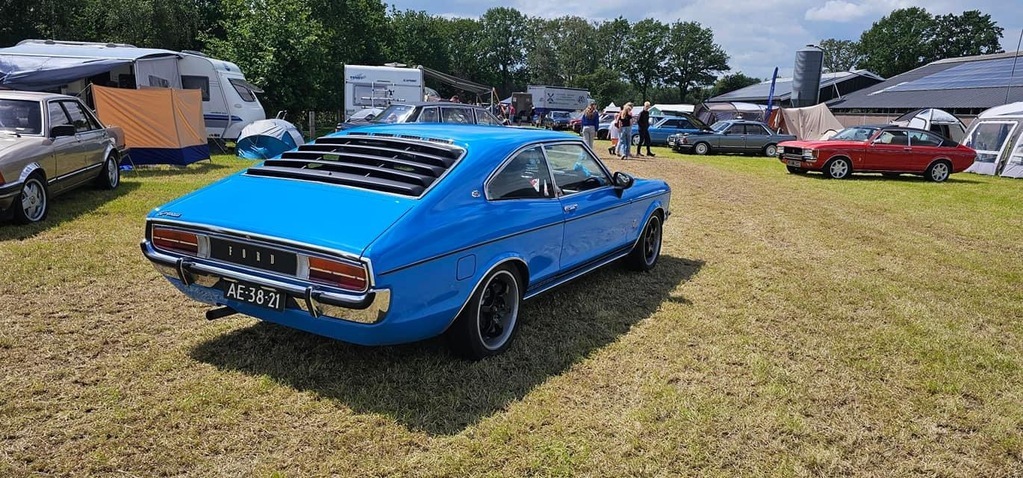 You see, this meeting is up north from where I live and brings me back to the area my mother was originally from. So I’ve had a large chunk of my family live in that area for most of my life. As a young boy we were impressed by the amount of room and the size of the houses and farms and the land, later it was a good occasion to practice driving with a 400 km round trip which I’ve done loads of. Even later I bought my first Mustang in that area and years after that my Granada came from the same village. You’d almost think there were higher powers at play there. Anyway, the additional stop was at my grandparents final resting place. Just a quick visit while I was so close anyway. I had wanted to do that for years but other times there was always something to prevent it from happening. Being able to visit them this time felt good. Don’t know if they’d be proud of me or not, but being there reminded me of the warmth they had always had about them. I cleaned the headstone a bit and then set off towards home. I had noticed the engine being slightly hotter at the back road driving, which seemed a bit a-typical but I had seen recently before on a trip to McD’s. It settled to normal on the more open road. 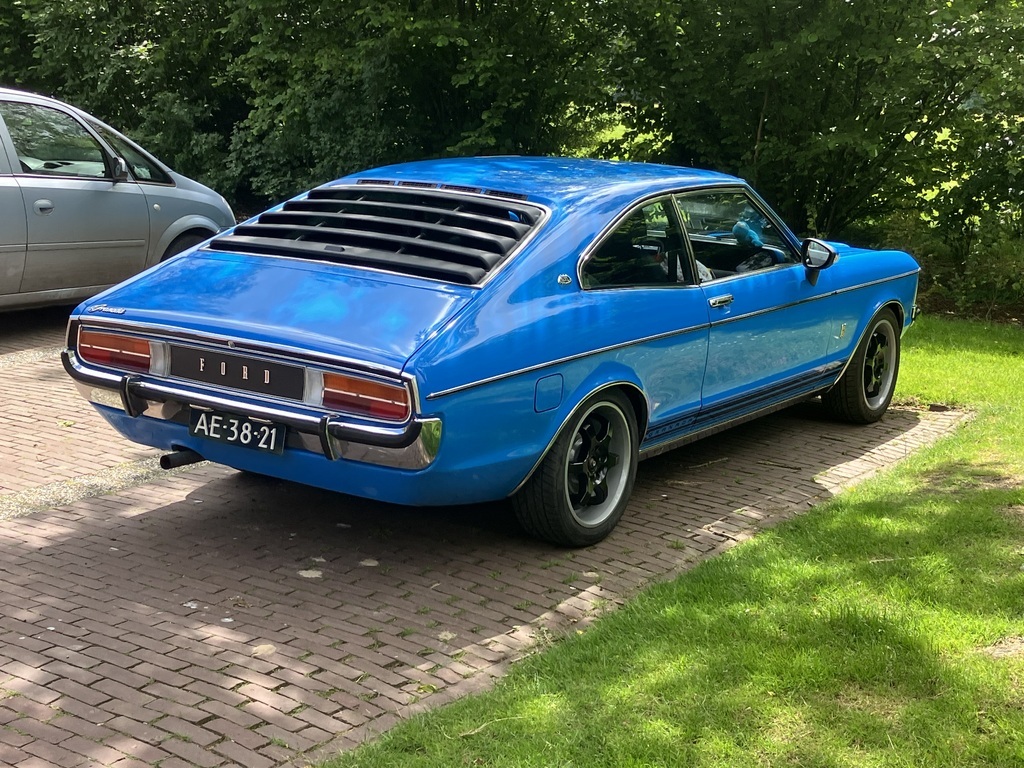 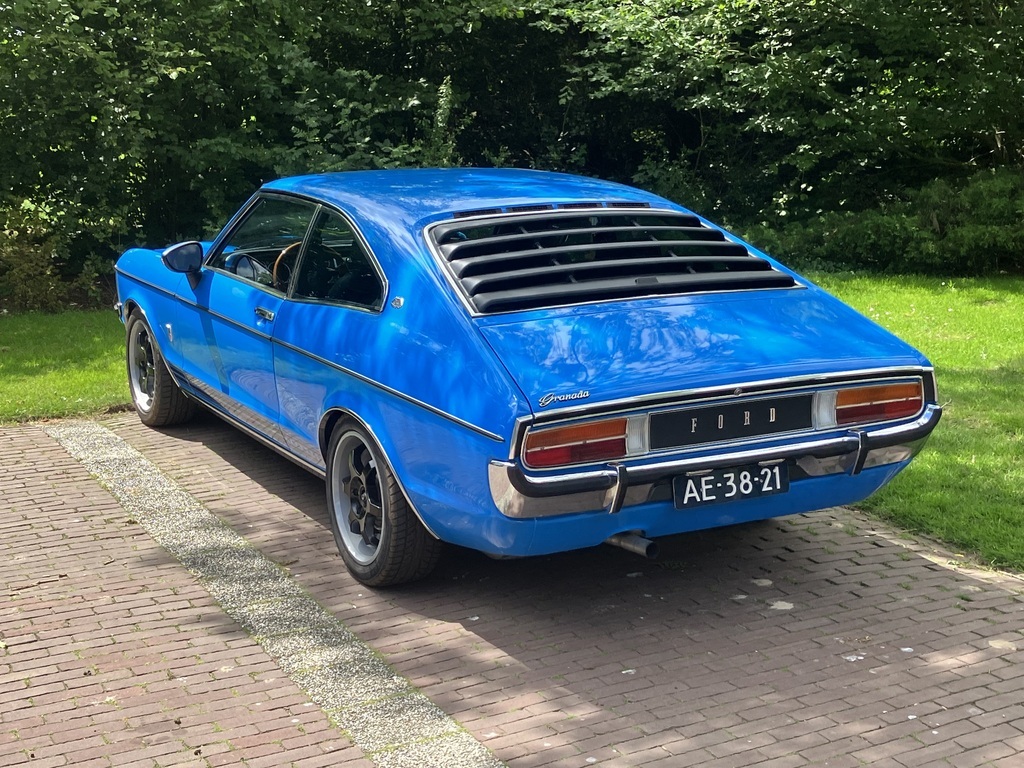 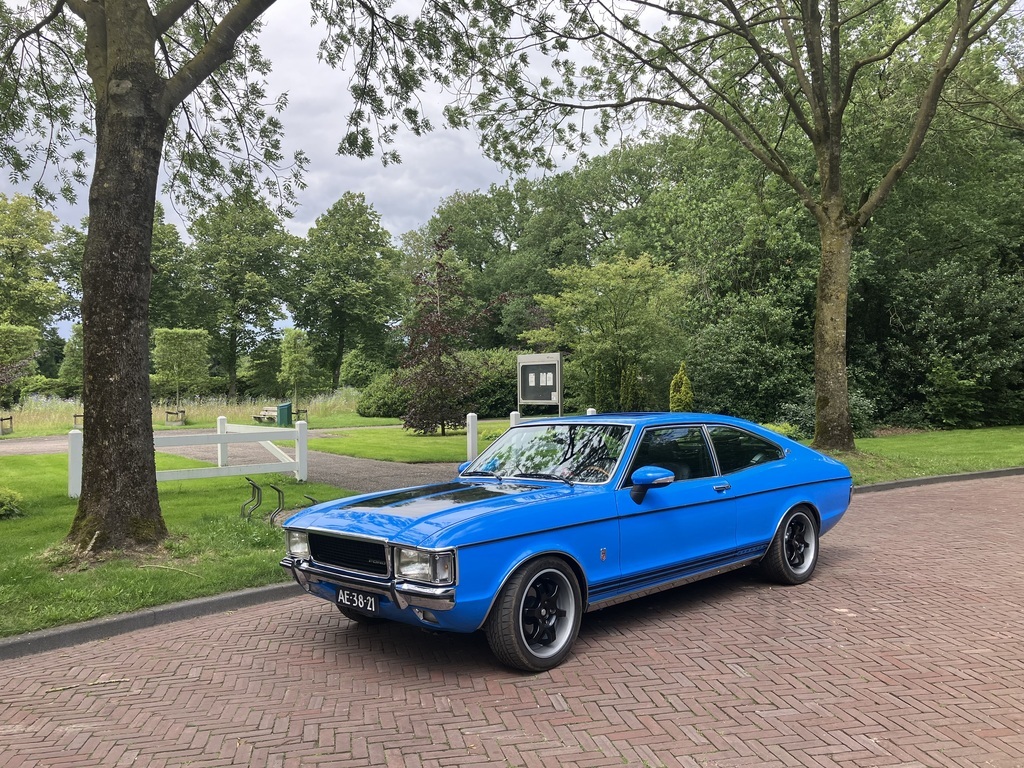 I filled up the tank so I wouldn’t run out of petrol at least and made the two hour journey back home in one go again. A good end to a great weekend….. . . . . . . . . . . . Well, not quite. I think either this event, the car, or me as the owner is still cursed. As stopping at home on the street to get the daily out of the way for the Granada so I could empty it out I noticed some fluid running down the subframe and onto the street and drive. It was immediately idientified as coolant and a quick look with the bonnet up seemed to have it come from within the V valley of the engine. Now this engine has a coolant junction in that area. There’s a hose from the thermostat to the valley going under the head which is a known possible culprit and there’s also a pipe with o-rings going to the back for the heater and there’s a short hose to the other head if I’m not mistaken. So basically three possible points of failure. Depending on the location of freeze plugs that might be a fourth possibility. Less likely though given the flow of the water. 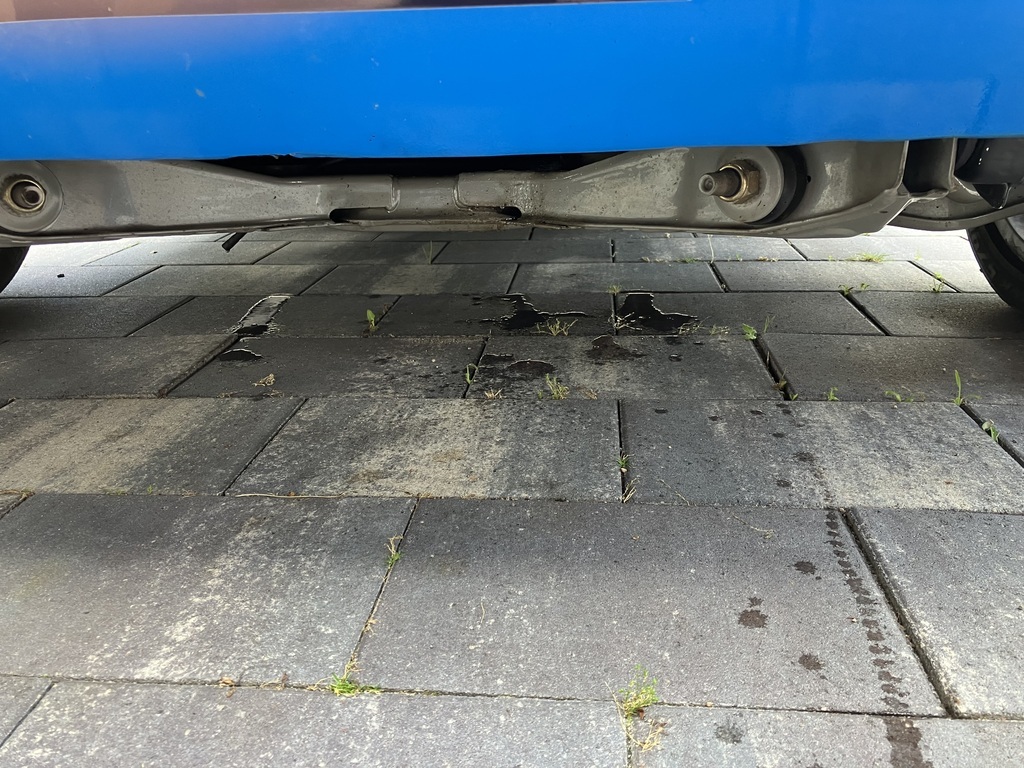 Although this obviously wasn’t how I wanted this weekend to end, as I’d like to think the damned car would finally be fully reliable, I couldn’t get too upset about it. Thankfully it happened at home. But my daughter now feels even more entitled to call my car unreliable. And the worst bit is I can’t completely deny she’s right. I don’t know how I really feel about this final twist in the story of my Granada. Anyway, questions that are now in my head is why did anything break. Was the pressure too high? If so why? Was it just old age of an o-ring (the parts have all been taken apart and reassembled before) or the hose? How does one check if a water pump is still up to the job? The BOB pumps are unobtainable and the only recourse is using a BOA one with modifications. But do cast metal impellers really wear to be insufficient? I thought water pumps fail on bearings and leaking. I have some investigating to do. But this is a big enough job, requiring pulling the intake and fuel rails. I didn’t have water in my oil at last check, so I don’t think it’s a head gasket. |
| |
|
|


