eurogranada
Europe
To tinker or not to tinker, that is the question...
Posts: 2,556
|
|
Sept 27, 2022 8:09:42 GMT
|
Impressive work on the wiring system. You really have got a stamina worth admiring. The effort and dedication is impressive! I do believe that you will make it work properly and safe. The state the engine loom was in terrified me. All that cracked insulation and green copper was a disaster waiting to happen. It will take some time but the end result will be way better than it was. Keep up the good work, we are cheering you on! Thanks gess. Very kind of you to say... It's easy for me to forget as I'm very critical of myself, but when you put it like that it's hard to ignore. I guess I do have quite a bit of willpower and dedication. I don't give up easily, although as regular readers know, this usually is preceded by a serious dip. Only to put my shoulders into it a bit later. And yes, I like to do things thouroughly. In this case I could have made it easy on myself and just replaced the damaged wires and tried again. But there were just too many doubts about the cause. And then I took the chance to improve on what it was there before. So the job got bigger and bigger. In the end it's not all just the hobby and liking working on the car though, this in part is also given in by the fact that if I don't get it fixed, I have a 25k paperweight sitting around... And on a bad day I can't help but think that right after I have fixed the wiring and get the car running again, the engine will finally self destruct... But for now I'll slowly be moving ahead. And yes, those 90's looms of the early environmentally friendly type turned out to be horrible where subjected to moisture and heat. Many a Scorpio has been scrapped for just that reason. That is also why I'm now replacing all wiring even though much of it looks ok. It just feels hard and inflexible and I just don't know how it would take all the twisting and turning it takes to get the loom to go where it needs to go. So better safe then sorry. |
| |
|
|
|
|
eurogranada
Europe
To tinker or not to tinker, that is the question...
Posts: 2,556
|
|
Sept 27, 2022 8:13:05 GMT
|
|
|
| |
|
|
|
|
|
Sept 27, 2022 11:36:37 GMT
|
|
I'm amazed how bad the insulation is, I've pulled looms out of 60's cars stripped them and found the insulation to be perfect, even the stuff in my 80's range rover is perfect by comparisson.
As said above great progress and it will be worth it in the long run, left as it would just get so unreliable you would probably never want to use it.
|
| |
|
|
eurogranada
Europe
To tinker or not to tinker, that is the question...
Posts: 2,556
|
|
Sept 27, 2022 12:18:42 GMT
|
I'm amazed how bad the insulation is, I've pulled looms out of 60's cars stripped them and found the insulation to be perfect, even the stuff in my 80's range rover is perfect by comparisson. As said above great progress and it will be worth it in the long run, left as it would just get so unreliable you would probably never want to use it. This loom is a result of a typical 90ies issue, manufactureres were forced to use more environmentally friendly materials. Unfortunately for the insulation on these models, it couldn't cope with the heat and moisture cycling in the engine bay/engine v-valley. It's not unique to ford either, as mercedes and others apparantly suffered the same for a while as well. But in ford circles, thiese models are wll known for it. |
| |
|
|
spot
Part of things
 
Posts: 105
|
|
Sept 28, 2022 16:48:31 GMT
|
|
Alex,
Whilst you have the interior out, is there any worth you looking at alternative front seats that don't require any power to move 'em?
Cannot help thinking that pulling a lever or two wouldn't be better than waiting in the rain for the seat to power forward, then back, before you're even seated.
As you have Passat seats installed I followed the blood line and spied that Scirocco (and Eos) seats are remarkably similar in shape and pattern; Dependant on the runners being swapable - but just as importantly, can be folded forward in an instance - think they may also be heated: if you like that sort of sensation!
|
| |
Last Edit: Sept 28, 2022 16:51:21 GMT by spot
|
|
eurogranada
Europe
To tinker or not to tinker, that is the question...
Posts: 2,556
|
|
Sept 29, 2022 6:57:39 GMT
|
Alex, Whilst you have the interior out, is there any worth you looking at alternative front seats that don't require any power to move 'em? Cannot help thinking that pulling a lever or two wouldn't be better than waiting in the rain for the seat to power forward, then back, before you're even seated. As you have Passat seats installed I followed the blood line and spied that Scirocco (and Eos) seats are remarkably similar in shape and pattern; Dependant on the runners being swapable - but just as importantly, can be folded forward in an instance - think they may also be heated: if you like that sort of sensation! Hi Paul, Hmm, you raise a point that in the past I have dwelled on for quite a while... In the end I decided that for me the way the seats work is no problem. You are right, the same optical design of the seats has been used in different models, so yeah, there may be seats that fold and still fit. But it's also a matter of what was available and affordable... So why do I not have any problem with their current workings? Well, first of all, the Granada is a nice weather cruiser, so the rain scenario is not all that likely to happen in real life. Then, the seats only have to move to let people in the back of the car. In reality the Granada is mostly driven by myself or with one passenger (either the wife or one of the kids). The times that we were in the car with the four of us I think I can count on 3 fingers... So this too is not really a valid concern. In the case that the rear does get used, it also doesn't take an hour to move the seats forward. I think it takes about 30 seconds or so to move it forward and fold the seatback forward. The same to get it back to where the front passenger can get back in. In the rain 30 seconds is very long, but on a dry day... Obviously it cannot be denied that this is more of a hassle than it would be with foldable seats, but given the above it's really not too much of a bother for me. This is however why the seats need to be able to move with a door open before ignition is on. I did consider adding some sort of foldable base to the seats. But I deceided against it seeing it doesn't get much use at all. The VW seat runners appear to be integral to the seat base. I'm not sure if they are/would be interchangeable (might have a look now they are accessible), although as I've never felt the need I didn't really investigate if they can be taken off. I did investigate however that changing the Granada floor to accept the new seats runners instead of the seats to the Granada runners was the better way to go. The Granada seat runners are of an inconvenient design (3 different height mounts) in an inconvenient position and rather high and would have meant the seats would be stuck to the roof. With the modified floor the seats fit nicely and can just about scrape by the headliner with the headrest in the highest position. For fun and giggles I'll see what's available that has the capability to fold, but funds wise it's really the lowest of low priorities. |
| |
|
|
eurogranada
Europe
To tinker or not to tinker, that is the question...
Posts: 2,556
|
|
|
|
So, another little update on the Granada… I had big plans at the start of this weekend, but I didn’t get anywhere near as far as I had liked, although a major move forward was made… The weekend was such a blur in a way that I can’t even fully remember why I didn’t really get anything done on Friday other than send out some inquiries into the last of the pins I’d like to have. I also pursued a specific type of pin I’d need for the first bit of Granada loom at a local-ish shop, so I could get stuck in, but struck out so ordered it online after all. I think that sort of blocked me mentally from seeing anything useful to do on the car until I had that pin. In the afternoon I had to take my son to a study fair, to see what kind of education he’d like to pursue after his current (high)school. As it would be hard to do anything useful really afterwards, I opted to watch Netflix with the wife. A bit of us time, lol. Started off the Dahmer series… On the Saturday I had quite a bit of “James” duties and some small errands to run. It seems to always be like that. I received that one type of pin (although to make the shipping worthwhile I obviously also bought more stuff like battery cable for both positive and negative terminals) reasonably early in the afternoon. Late afternoon I found just enough time to de-pin the EEC-V connector of its 70 pins. Quite fiddly without proper tools, but I managed. I also organized my materials in preparation for using them. Sorted all my connectors, crimps, shrink wraps and wires. I believe I had a bit of a fiddle with the first bits of loom to make in the evening while getting on with Dahmer. I had cut the old connectors from the car to remake the correct new section. I was very happy that my crimper seemed to crimp these connector crips very solidly. I could definitely not pull them apart. I was also happy that joining two wires in one crimp worked out fine as well. This would make for a much neater way of hooking up some of the BOB wiring. This section was to replace the burned bit of original wiring. It originated from the ignition switch and had a link to the column stalk, but it’s also where two Bob wires are to be connected. They now have a decent two-way connector instead of a collection of bullet connectors that proved not too successful in staying crimped to the wire as I found out a bit later (I had had my suspicions before on this very crimp). Happy that this all seemed to work out as desired the focus went more to Dahmer… 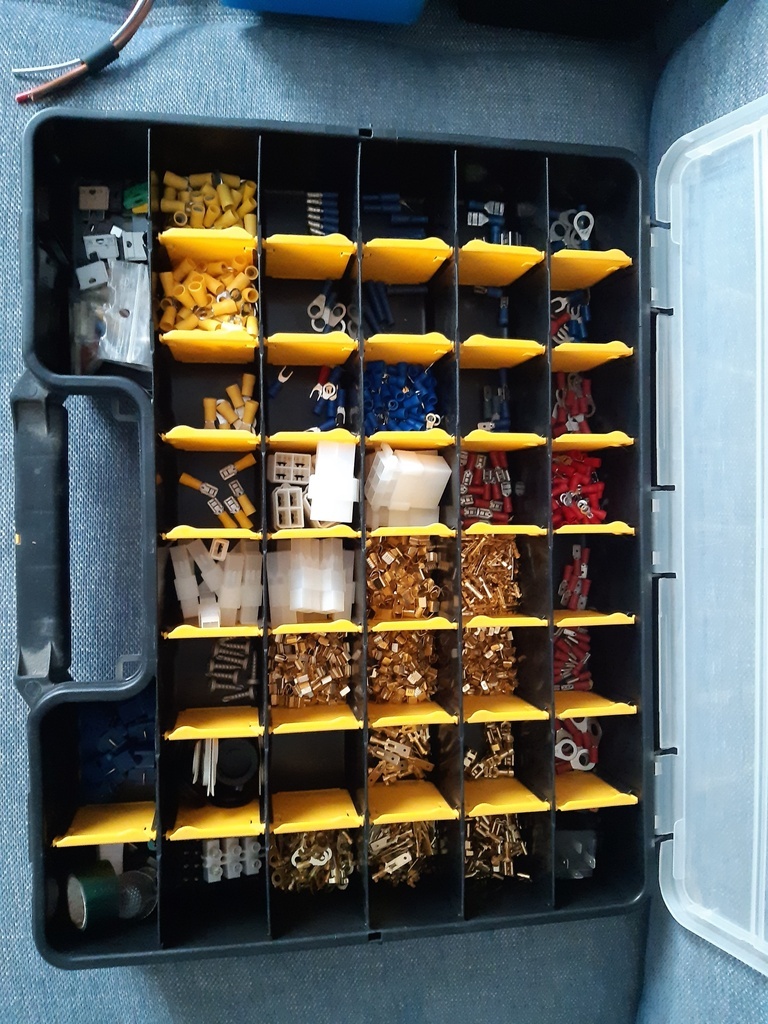 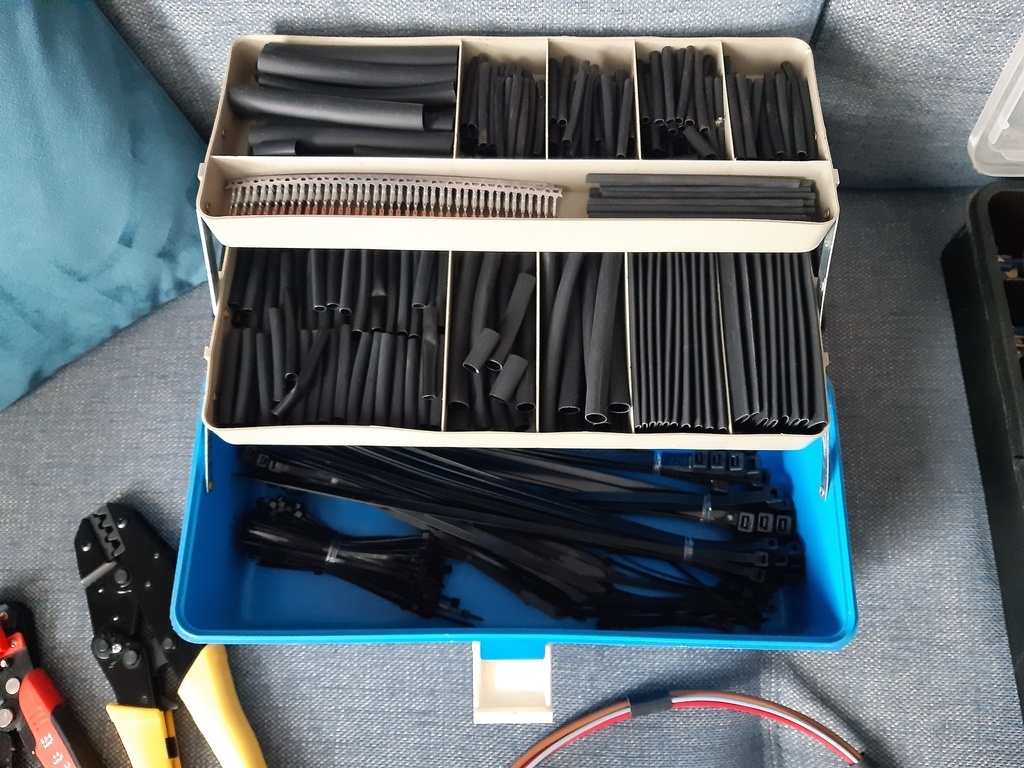 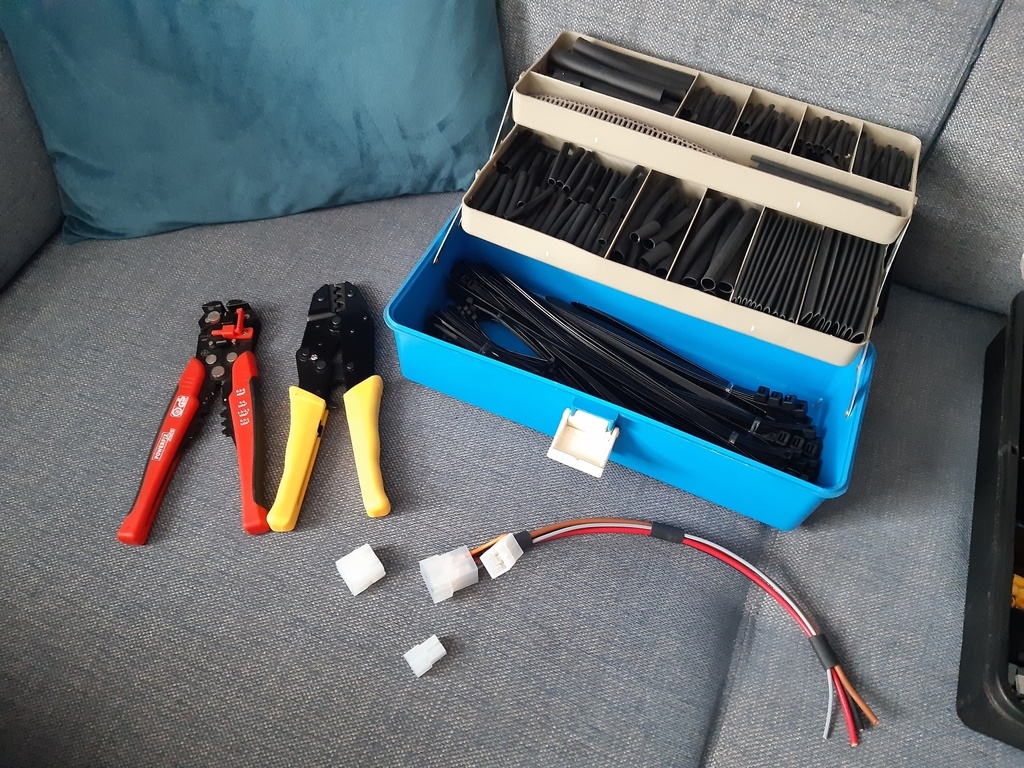 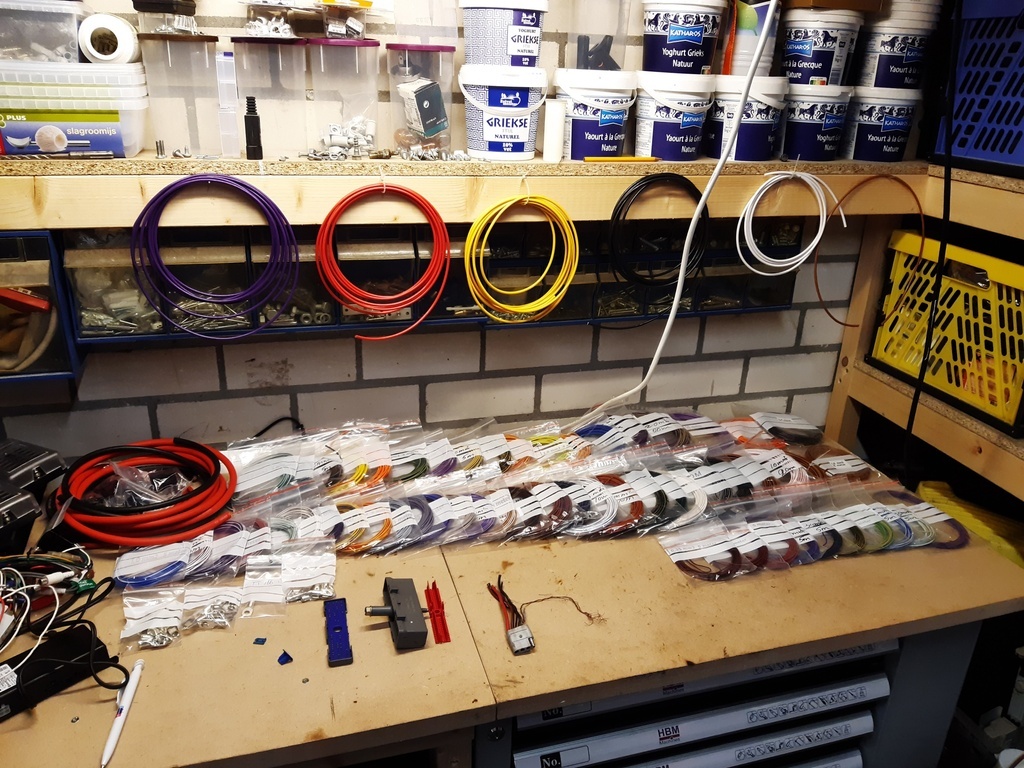 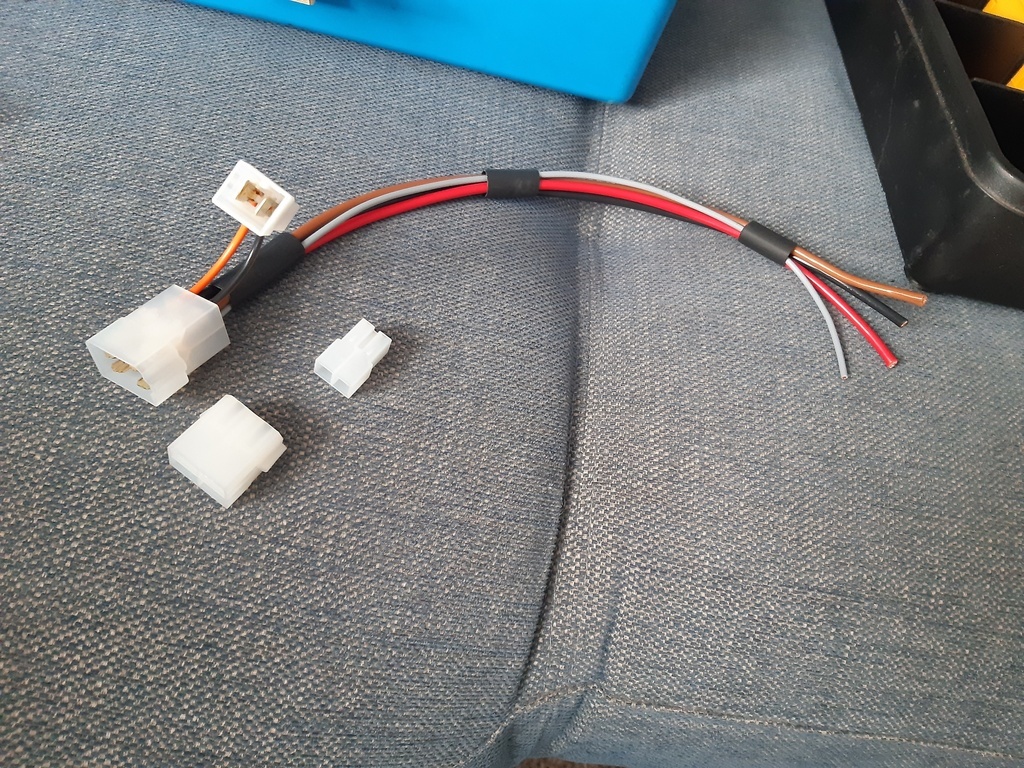 Sunday I finally made some real progress. After an initial distraction having to fix the brakes on my son’s bike, I just had more time without interruptions to deal with the car. So having made the first bit of loom the day before I now had to crimp on the terminals for the female end of the connector. This was an in dash in the car situation so less accessible but turned out to be pretty doable. I had four perfect crimps in the right size terminal and it all fit together nicely. I even managed to put all the pins in the right places not cross connecting things! On to the next bit then and again a four point connector to make. It was getting more and more routine and bits of this one could be made on the bench. So far so good. Now the last bit to get done to repair the loom damage in the car was to remove the remains of the wiring on the ignition switch and replace with the new loom connections. Should be easy right, well it wasn’t. First off my soldering irons both had trouble getting the solder on the ignition switch to melt. I started on the thinnest wire, on my back in the car. They were pretty big blobs, but still. I got that one off finally. Laying on my back I saw two neat little screws that seemed to keep the ignition switch in place. Undoing them meant I could take the switch out and work on the bench. Much more convenient. Then when I did get the old wires unsoldered I noticed that they were considerably thinner than I had expected. I had based my wire thicknesses on the newer 90ies loom section, but apparently in the seventies insulation was much thicker as the inner cores were much thinner then expected. The ignition switch had eyelets but my new wires would obviously not fit being thicker. Drilling them out would leave little to no material. Next tinning the ends of my thicker wires proved challenging as well, balancing the heat required to not melting the insulation. A theme that carried over to actually soldering the wires to the eyelets. It all worked out in the end with patience, but it was a lot more hassle. 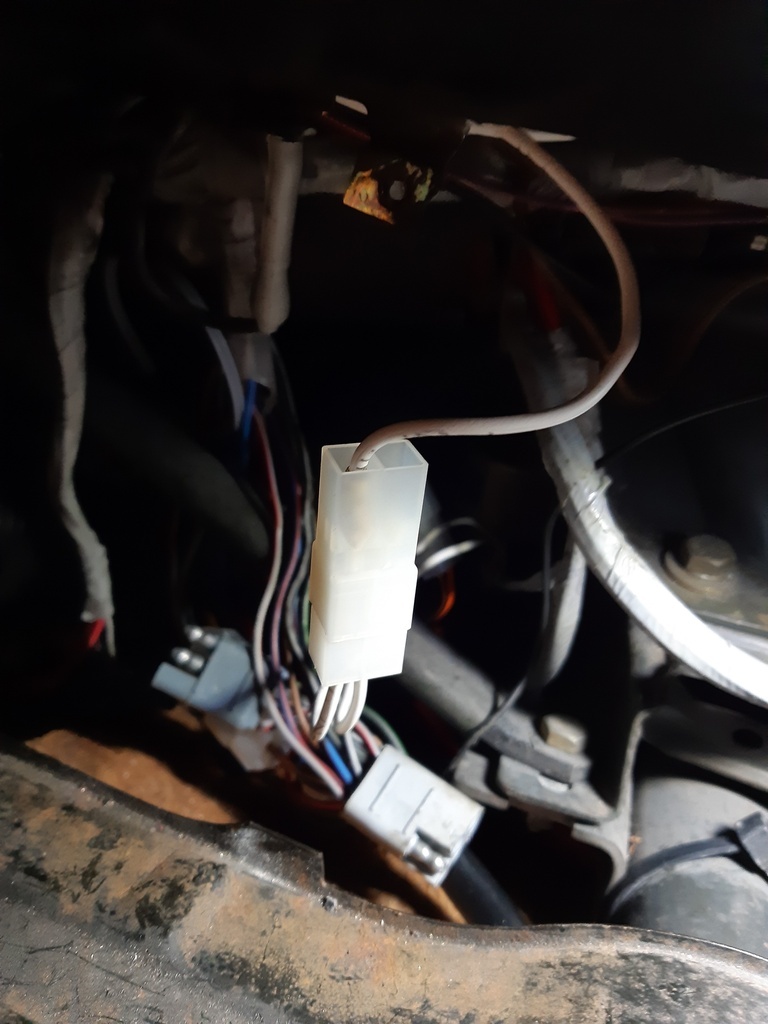 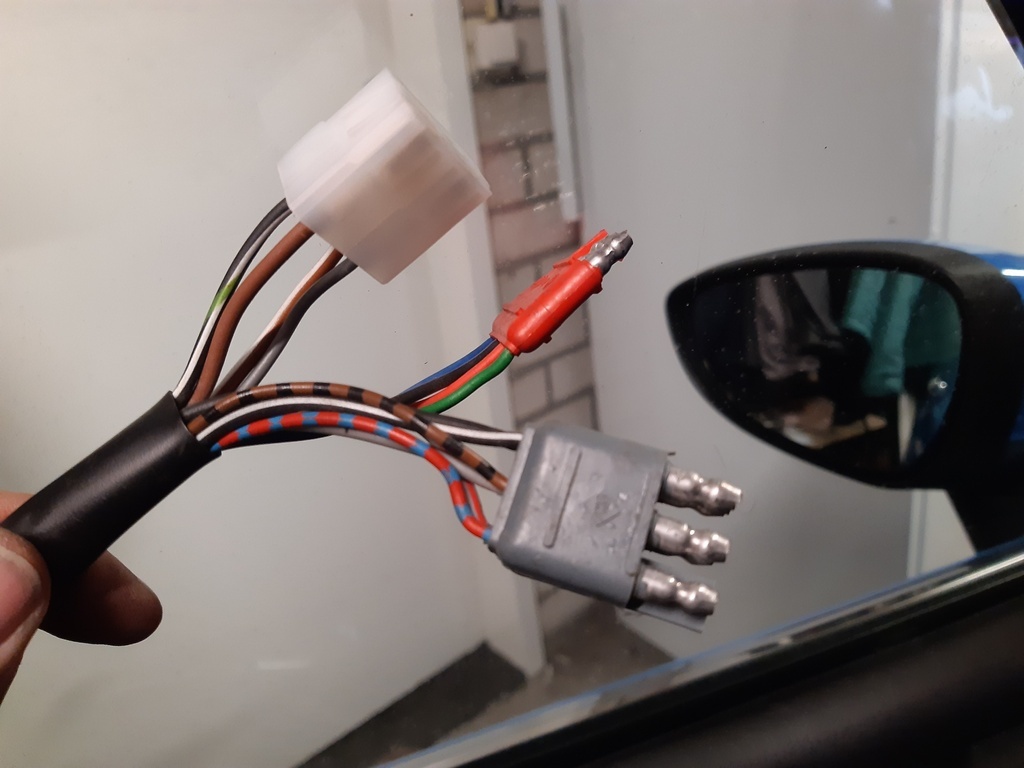 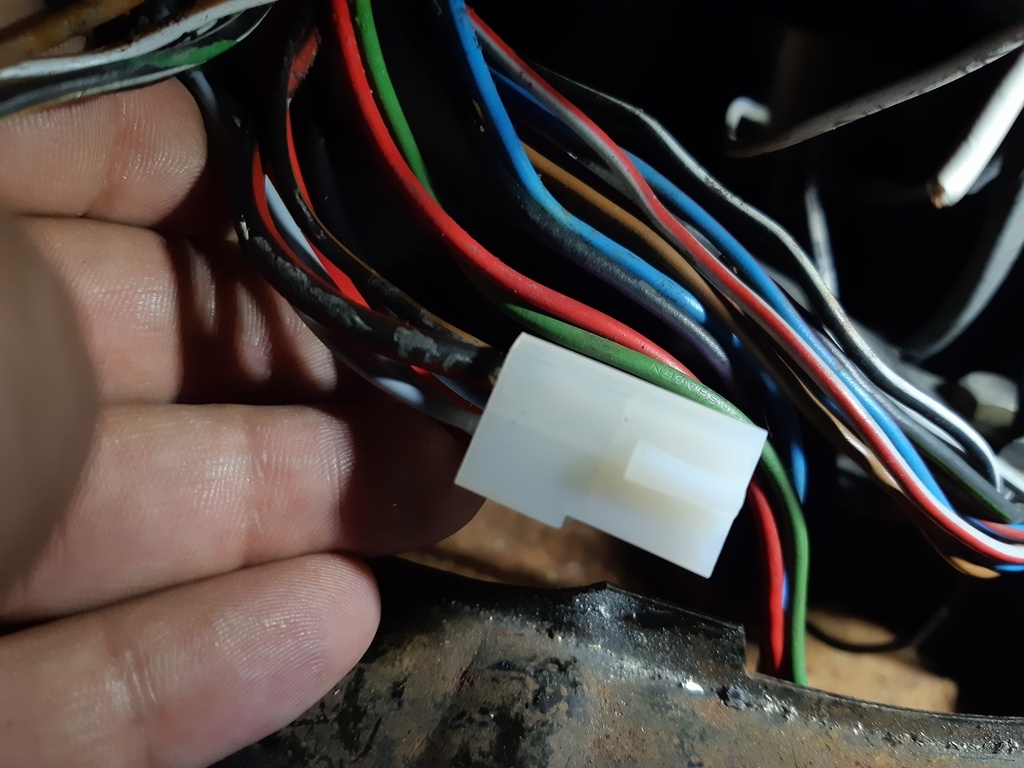 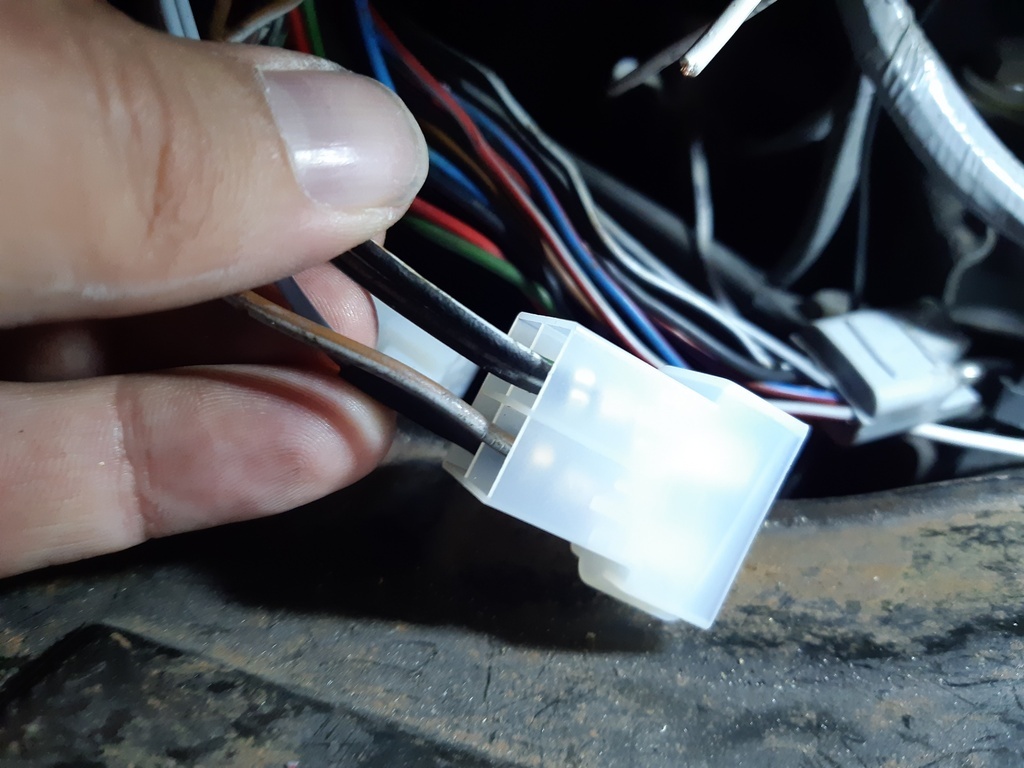 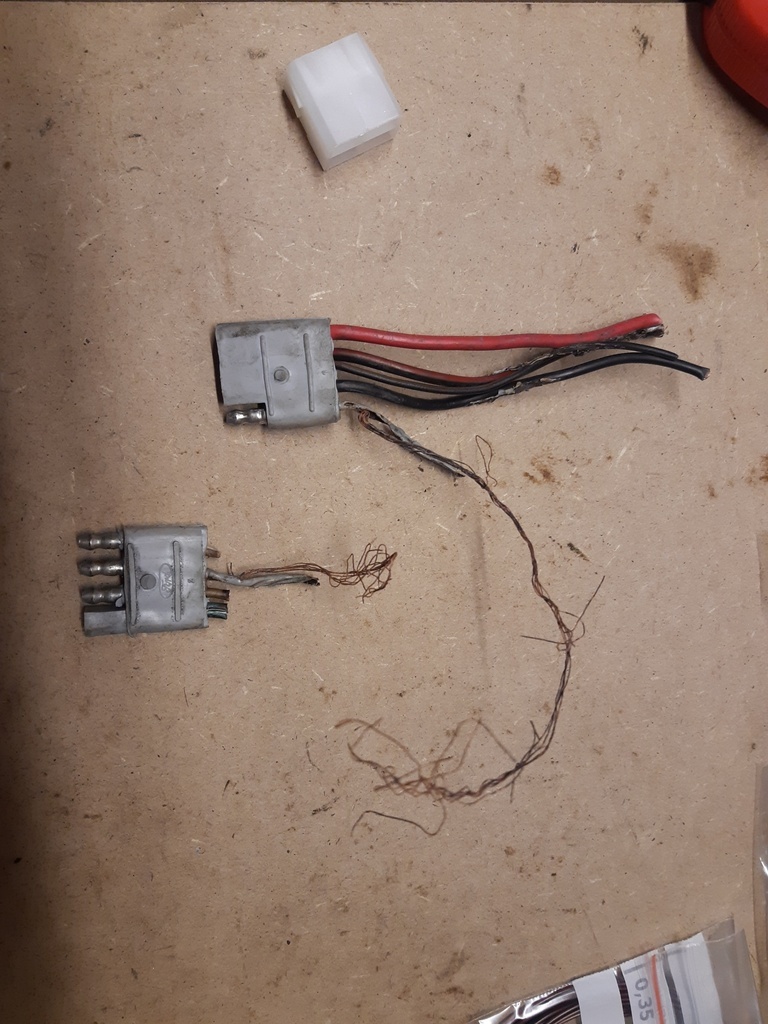 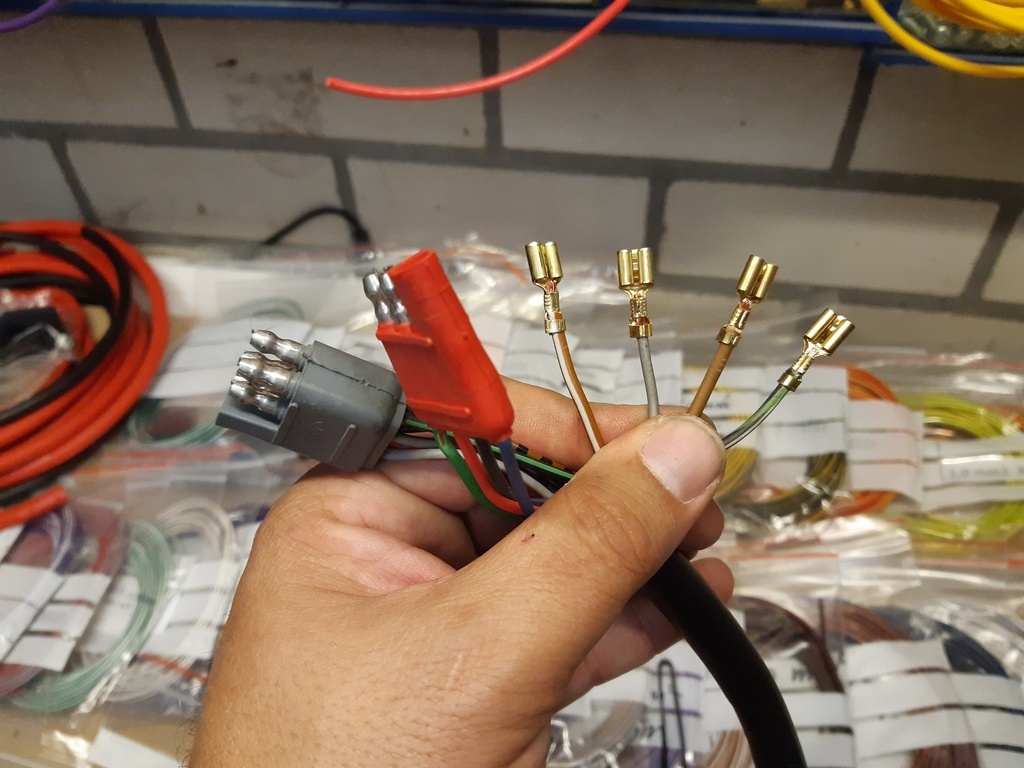 With the ignition switch replaced and the looms connected up I felt I was at a point where I could in theory test the original Granada wiring. Nothing dangerous was exposed. So I plugged in the switches, screwed back all ground connections I’d undone. I reinstated the negative battery cable by making the connections to the body and engine (as it wouldn’t be started I just used my newly added quick access ground point) and then I put the battery back in…. Being careful, I asked my boy to come help me. He’d be tasked with watching for magic smoke escaping and for turning the key and pressing the various pedals and switches for the test. A bit apprehensive but also supported by the fact I had not found any other damaged wiring anywhere on the visible parts of the loom I hooked the battery back up. No magic smoke. Ignition position one, no magic smoke. Ignition two, no magic smoke. City lights on, ok. Main lights on, ok. Indicators left and right, ok… Testing most systems, only one fog light seems to be dead. But is this a bulb issue or a wiring issue (or possible the main relay), that will need to be checked. And I forgot the heater… Dinner was ready and I quickly had to stow the seat and dash bits in the car again and hoist it back into its place. Anyway, this is all promising! I hope to hear some more on the last pins this week. If I can’t get them I’ll have to join the ends of the current bits. |
| |
|
|
eurogranada
Europe
To tinker or not to tinker, that is the question...
Posts: 2,556
|
|
|
|
|
The smallest of updates from me ever I think, lol...
The inoperable fog light, turned out to be due to a broken bulb. I measured the feed and it showed 11 volts (which is possible on this battery that has been powering the winch for a while now without any additional charging). Took out the bulb and although it looks perfect it does not work when power is directly applied. Unfortunately I didn't seem to have a spare H3 bulb. But the good news is this does not seem to be a wiring issue.
|
| |
|
|
eurogranada
Europe
To tinker or not to tinker, that is the question...
Posts: 2,556
|
|
|
|
Can anyone on here, perhaps kevins, help me find the partnumber from ford for the pins in the C110 connector as shown (from the scorpio cosworth 1995-)? My source has similar but without partno. he's not sure... 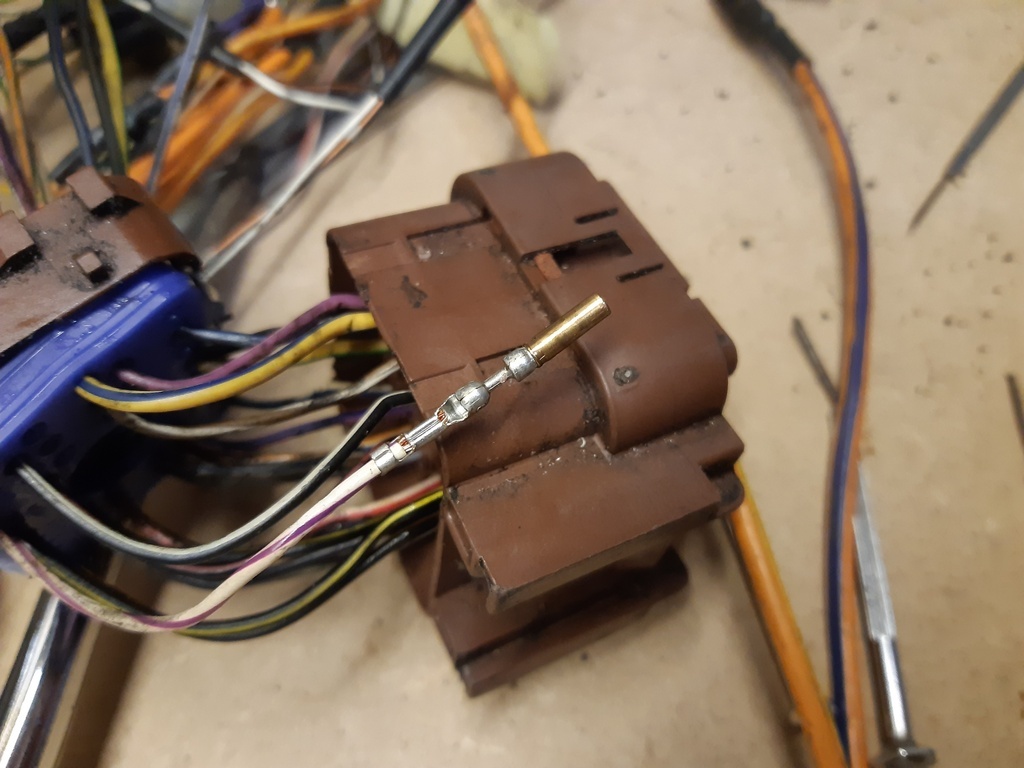 |
| |
|
|
eurogranada
Europe
To tinker or not to tinker, that is the question...
Posts: 2,556
|
|
Oct 10, 2022 14:01:10 GMT
|
I only spent half a smuch time on the car as I had liked this weekend. Even when I'm up early, it's sometimes just hard to set yourself to yet another session on the car... I decided that if I was going to make a good job of the loom creation I'd need to work out where the power for all systems was going to come from. I decided there's really only one place where this could all fit. On top of the heater box. In my ideal situation I'd like to make a raised platform by 3d print, but I have lost my ability to design and print 3d stuff. Anyway, it's the best place I could find. It will maken power and earth leads to both battery and ecu as short as possible. Powwer to components even benefit though not as much maybe. I decided to use the rather empty corner besides the heater box in front of the bonnet hinge as the spot to put my 6 relay bank. Need to make a bracket for it, so I'll dive into my materials to see what I can come up with... I then made a start by creating the switched and unswitched feeds to the fuse boxes. Then I made the earths. All this thinking and doing took some time. But it was nice to have all the materials and the tools to crimp it all together. The crimps can survive my best efforts of undoing them so I have confidence in them. I used adhesive shrinkwrap to make it all as neat as I can and add some weather protection. Obviously all wiring will be tucked away neatly and or wrapped when final install will be done. But, it's a start... I also found a dozen or so very small jobs just tidying up previous work. Vacuum lines that were longer than needed. Some things that could be routed nicer now the loom is out etc. But it all eats time. 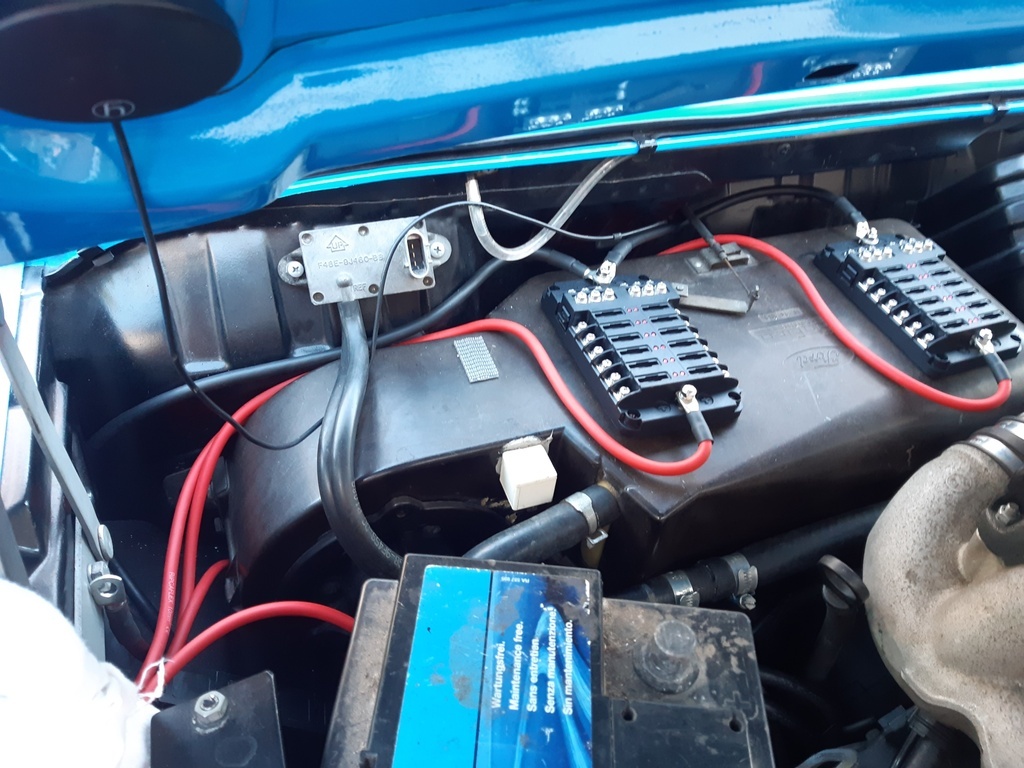 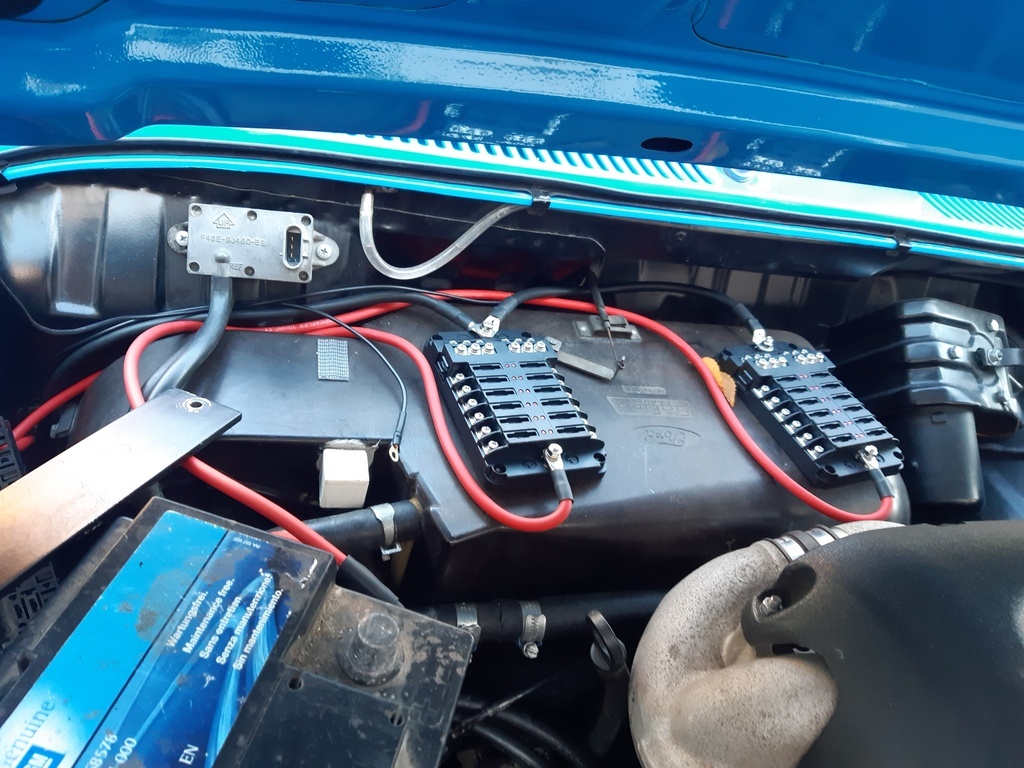 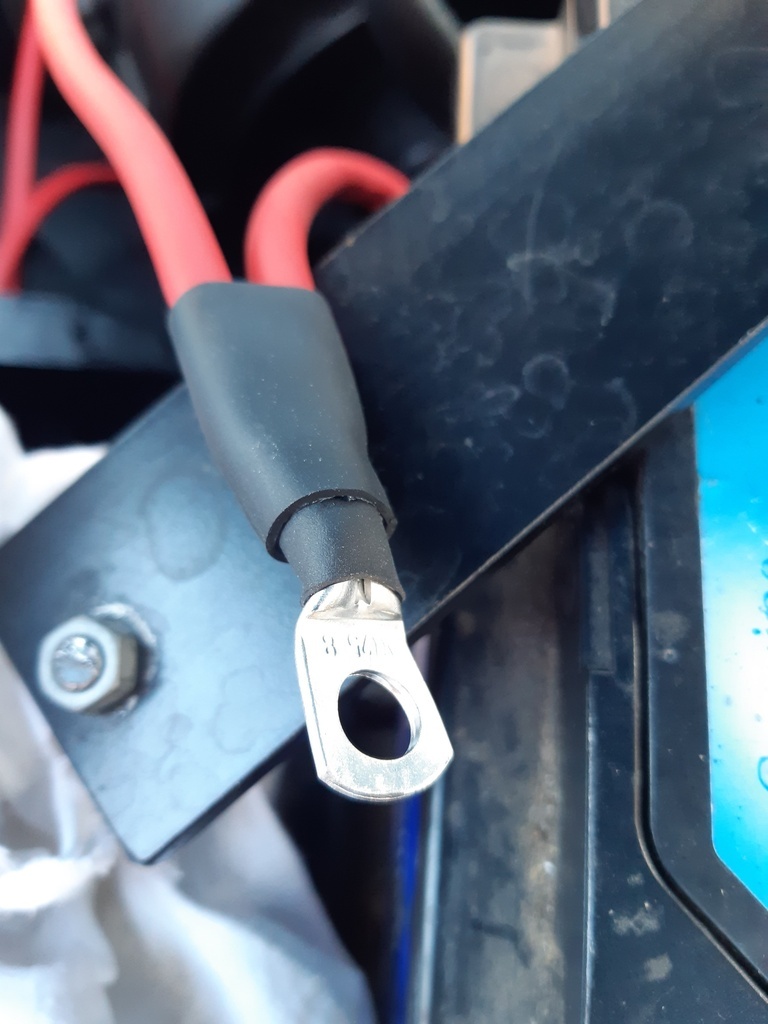 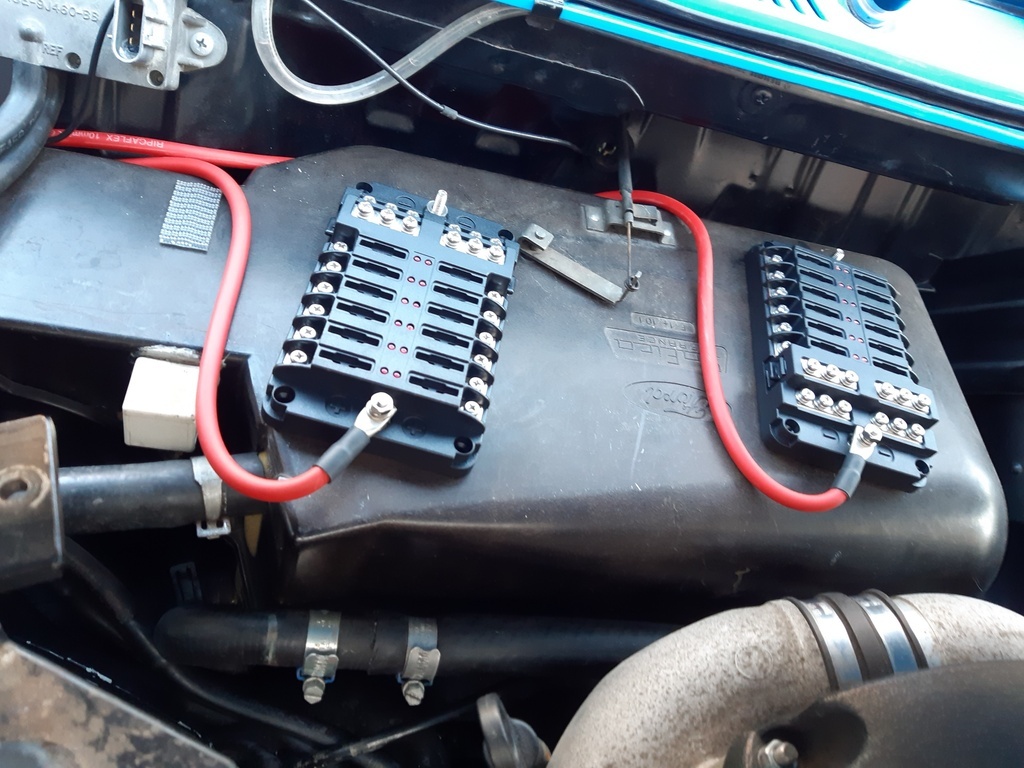 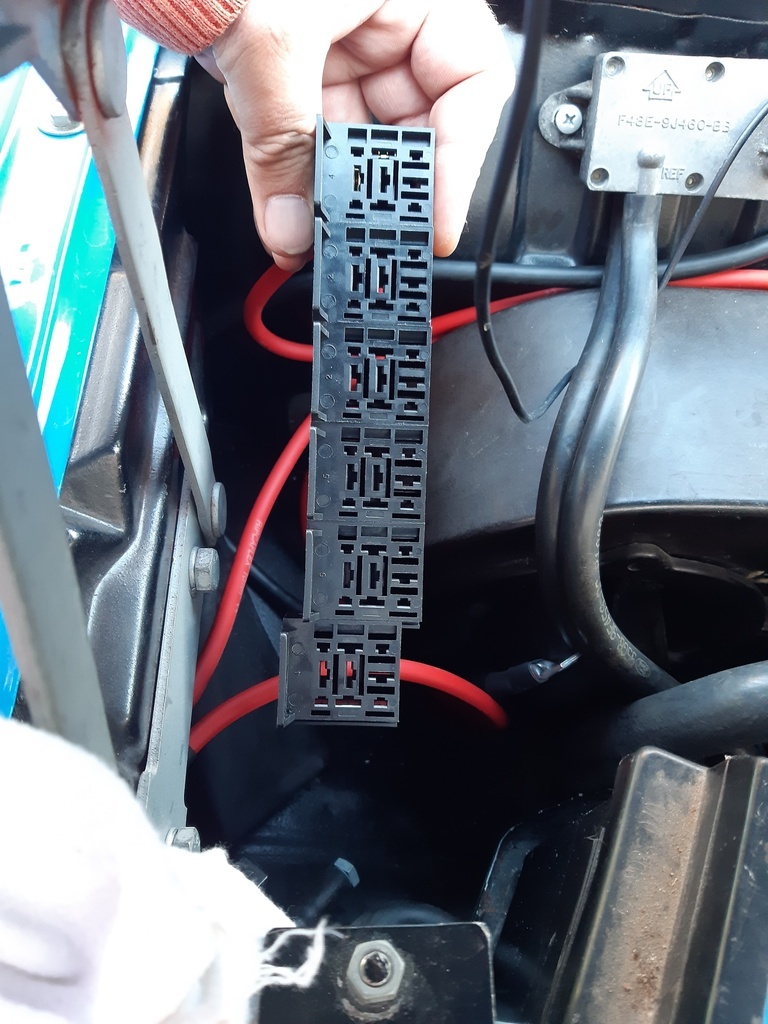 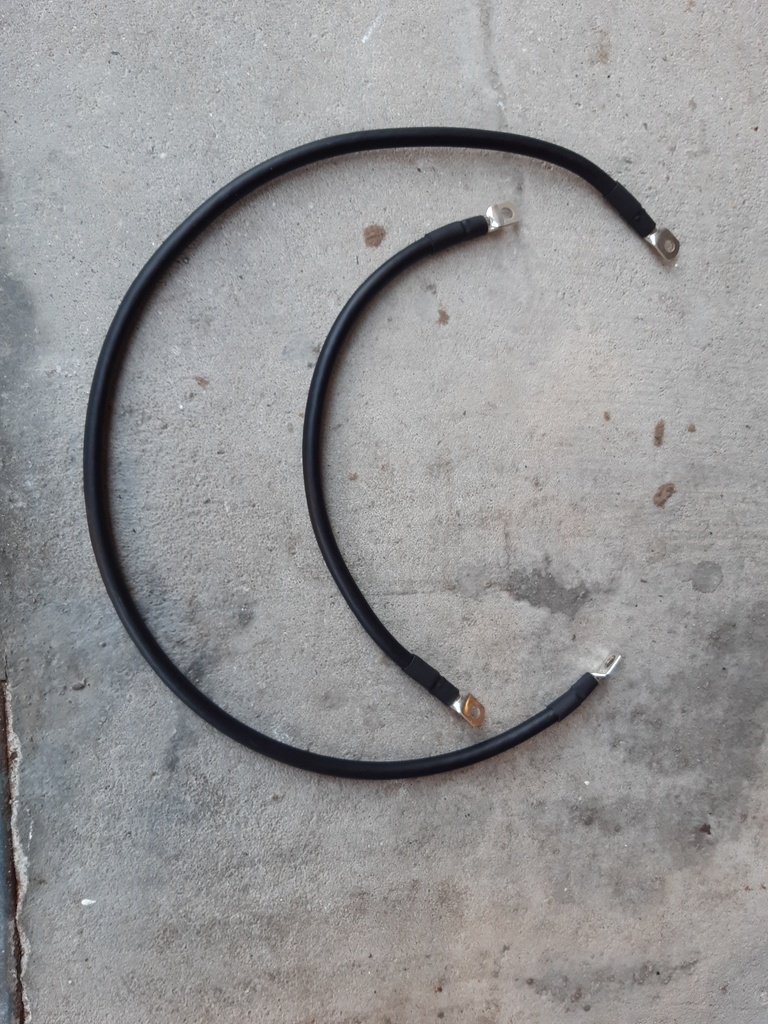 I also crimped the first of the power feeds to ecu pins, which also looked and felt good. Good thing I didn't go too thick with the wires as they wouldn't have fit. But as is, it's a nice decent crimp. I didn't install anything yet as I needed the power situation to be determined first. For the bulk of the work I'm still hoping for one of two contacts to come through with the correct pins... If it takes too long, I'll have to use the crimp to the end of original wire method, which I'm trying to prevent. I'm very much looking forward to actually making the bulk. Although it will be a careful process, especially if I get to use all new pins. But for now we have another work week first... |
| |
|
|
|
|
|
Oct 10, 2022 16:42:00 GMT
|
|
If you have to wait for the correct ends, can you not make the new cables 50mm too long and use the original ends until the new ones arrive ??
Then you'll still have enough cable to cut the old ones out and replace with the new,
Nigel
|
| |
BMW E39 525i Sport
BMW E46 320d Sport Touring (now sold on.)
BMW E30 325 Touring (now sold on.)
BMW E30 320 Cabriolet (Project car - currently for sale.)
|
|
eurogranada
Europe
To tinker or not to tinker, that is the question...
Posts: 2,556
|
|
|
|
If you have to wait for the correct ends, can you not make the new cables 50mm too long and use the original ends until the new ones arrive ?? Then you'll still have enough cable to cut the old ones out and replace with the new, Nigel I could, yes. But that sort of feels like double the effort. And it shouldn't be weeks before I know if I can or can't get the terminals. What I think I'll be doing in the mean time is laying it all out to the right places, make the right junctions for certain wires etc. and crimp on the new terminals when I get them or when confirmed I won't be getting them. The ecu end I can and will crimp with every wire I add to the bunch. With opportunity usually only between friday and sunday, it's not a quick process anyway. |
| |
|
|
eurogranada
Europe
To tinker or not to tinker, that is the question...
Posts: 2,556
|
|
Oct 16, 2022 16:10:08 GMT
|
|
Quick question. Three of the EDIS wires are originally shielded. I've obviously bought the right color wires but these equally obviously do not have any shielding.
Is there an easy and affordable way of applying shielding? This shielding is actually connected to earth in itself.
Any wisdom on here?
|
| |
|
|
jonomisfit
Club Retro Rides Member
Posts: 1,791
Club RR Member Number: 49
|
|
Oct 16, 2022 17:12:58 GMT
|
|
|
| |
|
|
eurogranada
Europe
To tinker or not to tinker, that is the question...
Posts: 2,556
|
|
|
|
Good question, not quite sure of the answer as, like you say, only the non twisted ends are visible. I'll have to strip some of the original shielding. The wires' insulation is cracked right up to where they all disappear inside the shielded bit. I'd like to try and not buy a different wire. Trying to keep it all color correct as much as possible and I already have the wires. But if need be... |
| |
|
|
eurogranada
Europe
To tinker or not to tinker, that is the question...
Posts: 2,556
|
|
Oct 24, 2022 10:31:51 GMT
|
|
So another week less to go in the year... Will I get the car running again this year still?
Well, if not it won't be for lack of trying. I've again put in some time on the wiring. I essentially worked my way back from the two main connectors to the ecu. Documenting things as I go so I should have reliable information to fall back on if need be.
I laid out the wiring from ecu to desitination, determined lengths and set about cutting the different colours of wire needed. I started taping things together as logically as I can. I'm trying to make a power feed section, a ground/earth section and sections per main connectors. Now I get into the realm of where things start to cross over these boundaries. So I set to taping the loom together to show its layout and test fit again. Looks good at least. With that looking ok, I now also seated the pins in the ecu connector. I figure I'm half way there...
If I had had the correct pins, I'd have more to show for my work. I may therefore shift my focus for a bit onto the three main relays to wire in before getting back to doing the other systems/connectors one by one.
Pics to follow later.
|
| |
|
|
eurogranada
Europe
To tinker or not to tinker, that is the question...
Posts: 2,556
|
|
Nov 17, 2022 11:43:44 GMT
|
|
So we're a couple of weeks on from my last update here. With many a side step into other honey do’s and appointments I’m still running wires…
I’d gotten to the point that I had the full ecu wired up to the connector ends. From there I decided to go connector by connector to fill in the missing wires that didn’t have a direct relation to the ecu. These are usually of the type that go from one connector directly to another or go to ground or power.
In doing so I came across some dubiously documented wires. It all made sense when I wrote it down, and it wasn’t wrong, just confusing when it came to the rebuild. It just didn’t seem logical. For instance: a connector of 0.25mm2 wires that would seem to connect to a 2.0mm2 wire in my registration. But when looking at the connector you’d only see the 0.25mm2 wire. Turns out these type of issues occur where these wires join a junction. You basically have a bigger 12v feed to said junction and 5 other wires take off from here. Including the thin one. But I used the least likely connector as the target in my registration.
Anyway, those types of issues take time. I’ve had to double back a couple of times to verify my work just because I found something weird in my registration. But in the end it seems I’ve done everything right so far, there are just some things to be mindful of when it comes to actually adding the connectors, crimping them.
So where am I now? Well, 30 wires away from completing the loom and 29 away from a meltdown. After adding the final wires I’ll be ready to add the connectors. I’ve found and ordered most of the pins I should need. Not all unfortunately, but fortunately those are mostly located in the bit/connectors between the new loom and the “ end user” like dash gauges or PATS reader. Bits that are still fine, that I’ll only rework if necessary for a nicer fit. All the major signal and power and ground carrying wires will have new pins on both ends. I’m expecting them any day now. So I should be done in a week or two.
My goal is to end up with a loom that is partially wrapped so it stays in the right shape and can be fitted for a test. I’ll hook it all up and then pray to whatever entity I need to prevent another meltdown and hope for a smooth fire up of the engine. From day one, the engine has always been good at starting so I hope it will do so after my intervention. In essence I’ve only been remaking what a friend made for me years ago… But the fact I still have no real clue why the ground wires burnt in the first place casts some doubts…
Honestly though, the past weeks it has become more and more difficult to work on the wires. Wet weather preventing me from making enough room in the garage meant working on the dinner table, but slower going. The afore mentioned issues in the registration and the extra checks did nothing for my mental state. Sometimes I felt I was going crazy going in circles checking checks I had just made. The fact it usually had to be done in short stints due to other commitments didn’t help either. The sheer amount of work left felt like a mountain to climb. The fun of it all had begun to make way for a need. I didn’t want to do this job anymore I simply needed to do this job. Like it or not. And I’ve been in an or not period of late. The realization I’m only 30 wires from completion and then a good session of crimping and fitting pins to connectors and soldering or crimping in the bits left came just in time.
So coming weekend I hope to finish the loom. Spending the next week or so crimping pins and transitioning the connectors I cannot re-pin. Then I can work my way to the test run. If successful the loom can be wrapped, the other systems plumbed in again, front end put back together and the interior as well. So still a good bit of work left, but at least there’s some hope I’ll have the car back together again before year end.
Now one thing I’d like is to find someone who can help me with some cad drawing and 3d printing…
|
| |
|
|
mk2cossie
Club Retro Rides Member
Posts: 3,064  Club RR Member Number: 77
|
|
Nov 17, 2022 17:42:12 GMT
|
That post was liked for the determined mindset of getting the wiring done and being down to "just" 30 wires eurogranada  I forget how easy I have it at work with space at the weekend (when I'm allowed there) and how much nicer/easier it is doing odd jobs with all familiar tools to hand. Is it worth upgrading the earth wires where ever possible to be certain they are all good? |
| |
|
|
eurogranada
Europe
To tinker or not to tinker, that is the question...
Posts: 2,556
|
|
Nov 17, 2022 18:55:02 GMT
|
That post was liked for the determined mindset of getting the wiring done and being down to "just" 30 wires eurogranada  I forget how easy I have it at work with space at the weekend (when I'm allowed there) and how much nicer/easier it is doing odd jobs with all familiar tools to hand. Is it worth upgrading the earth wires where ever possible to be certain they are all good? Thanks for the support... Yes, wherever possible I have used a thicker gauge wire for 12v and earth wites. And obviously I'm making very sure my earth points are clean and proper. |
| |
|
|
eurogranada
Europe
To tinker or not to tinker, that is the question...
Posts: 2,556
|
|
|
|
Spurred on by the imminent yet unknown arrival of the pins for many of my connectors, I felt I hade to make some headway on the loom this weekend... I had some obligations that cost my most of my Saterday and part of my Sunday so Friday morning was my best opportunity. By nine I had watched the previous nights car shows from discovery channel and had the loom and all the new wire etc. layed out on the dinner table and around me. Laptop fired up and just going through the list of connectors. Turns out I had only a few PATS wires to run and the rest was mainly power and ground/earth stuff. The most important one being a collection of several items that ground through pin 91 of the ecu via a bus bar. New pins for this are in the expected order so I skipped this bit. The other earths were also going to a junction, one that I'm not yet sure where to position. I feel that in order to finish the loom properly I will/might once more have to put it in the car so I can cut all the wires that have a bit over over length to size and decide on where to add the relevant earth points (jury's out on this one). So having concluded the above I decided to make a start with adding the first connectors to the loom. There are a pair of 16 pin conncetors that both only have very thin wires going to them. The 0.35mm2 gauge wire I bought to replace these is thick in comparison. One connector is the PATS one and the other the dash/gear shifter module one. So I started by adding the Pats one in. This one has a some 11 wires actually pinned. And there are some overlaps to keep track off. A good test to see if I have all the wires I was supposed to have. Turns out I did! Also all overlaps/crosslinks etc. seemed to be in place. So I soldered these wires together. Shrink wrapped them and wrapped this bit of loom up. With the one PATS connector came a bit of loom leading to another (the PATS ring hey reader) so I added that in as well. By the way, I tried crimping these wires on a bit of a test piece, but wasn't happy with the results of the pull test. The crimps I had were too large in size to work well on this wire thickness so I was forced to solder them. I do hope that the PATS signals will not be bothered by the solder joint. And that was end of play. I had wanted to label all power feeds so I can more conveniently group them on the fuse box but ran out of time. As we speak the loom is still on the table (thankfully I have a pretty understanding wife) and I hope to continue on the loom tonight. Revisiting the grounds/earths that remain for one and doing the labelling I wasn't able to before. I can also now start to de-pin the connectors to clean and prepare them for the new pins. I also need to check if I now have all relay wiring in place. So despite being well on the way now, still quite bit to do and all with the need to be precise... I must say that once I was back at the job i enjoyed it again. On the other hand I also still felt that it was very easy to choose other things over continuing the work... In that respect I'm not fully there yet... but I did get on a bit so I count that as a partial win. just a few images of the work: 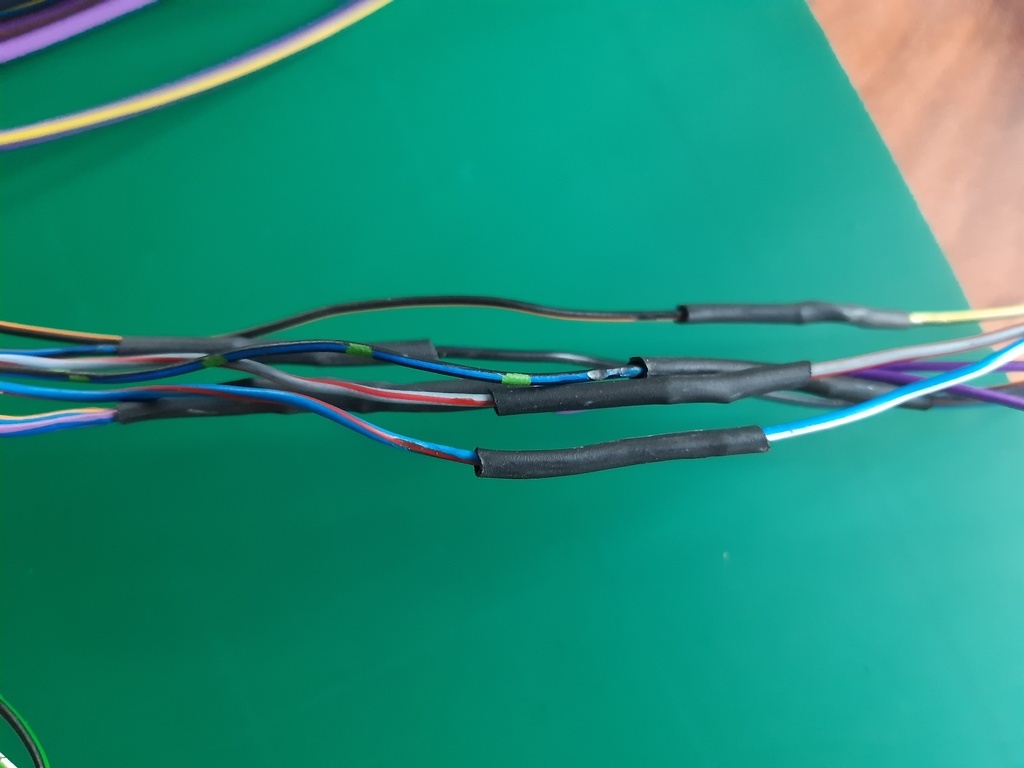 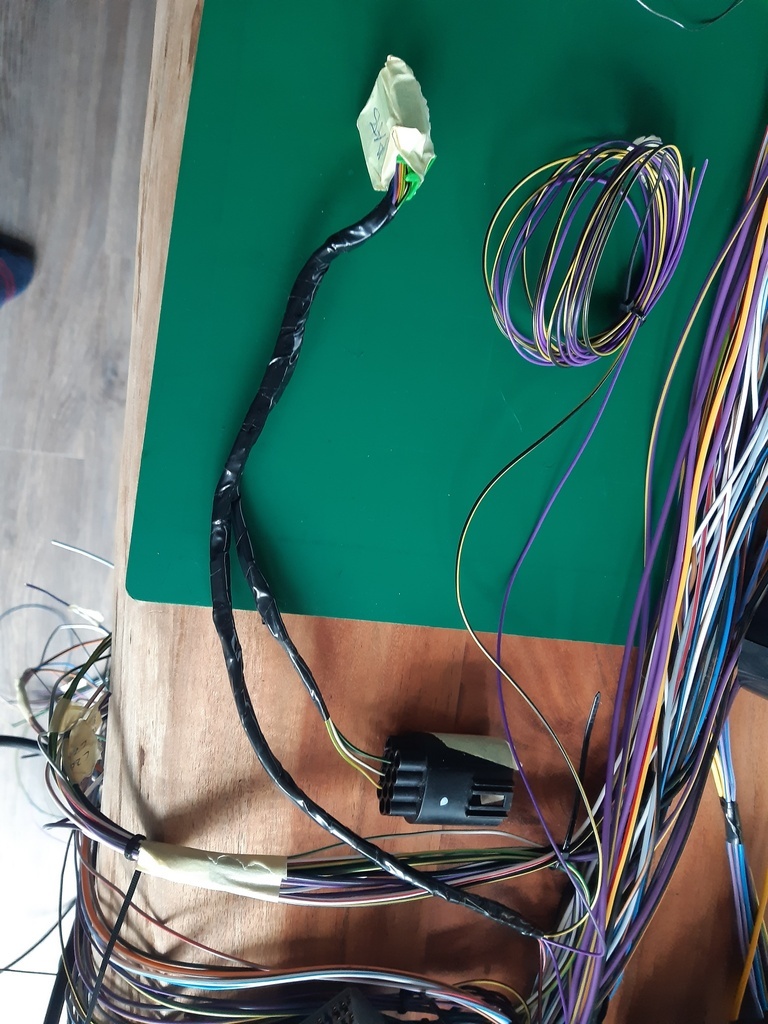 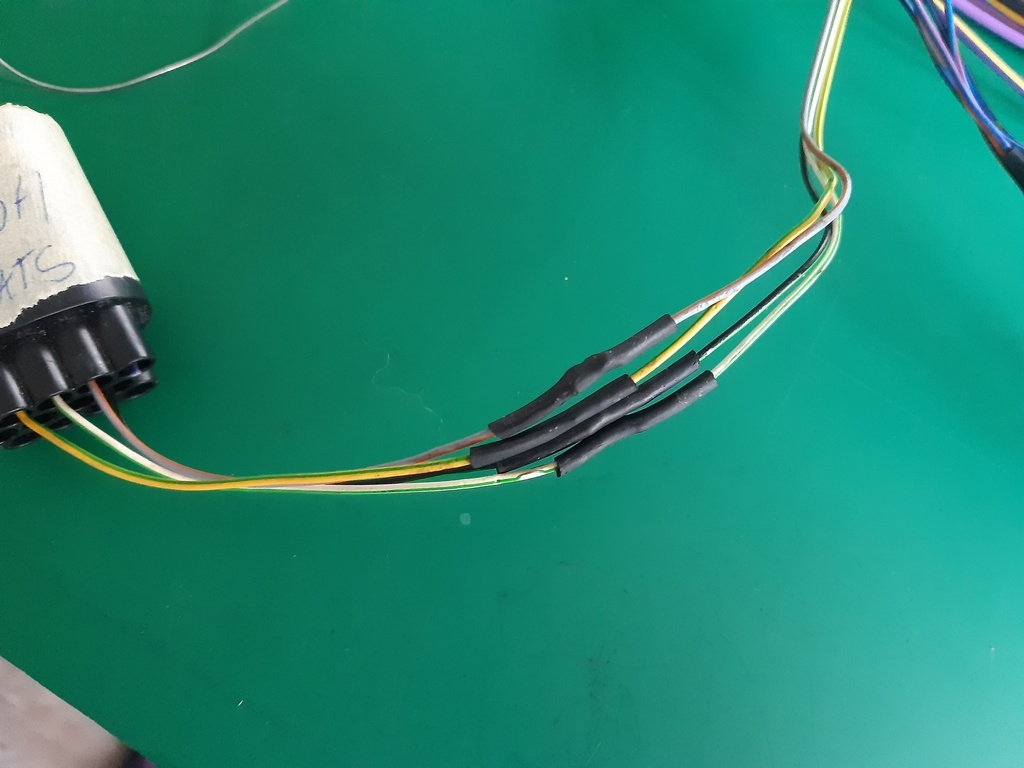 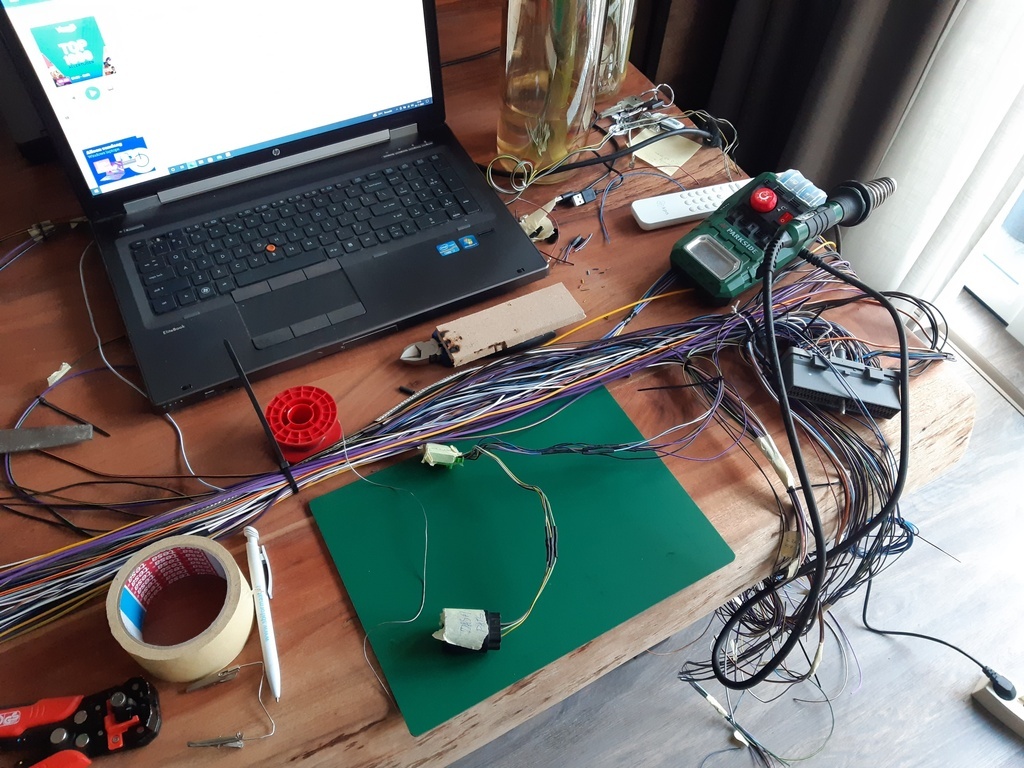 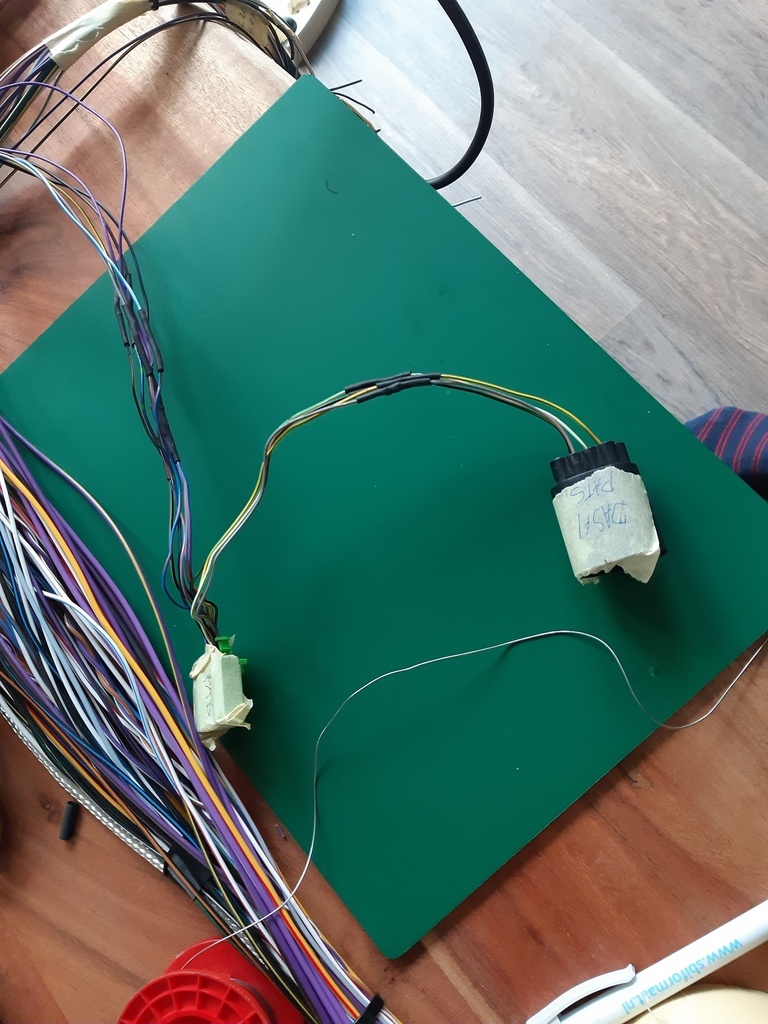 |
| |
|
|


