|
|
|
Mar 20, 2018 23:31:09 GMT
|
Spent most of the day sorting the rest of the door seals out along with the boot seal 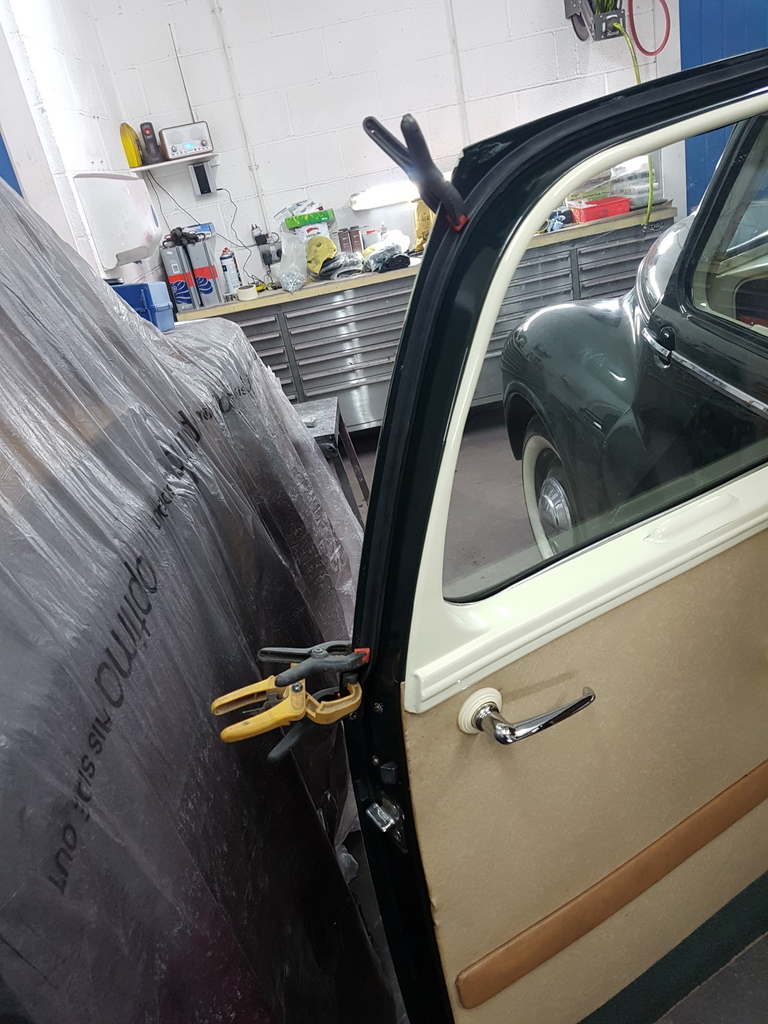 Very, very time consuming task that you simply cannot rush 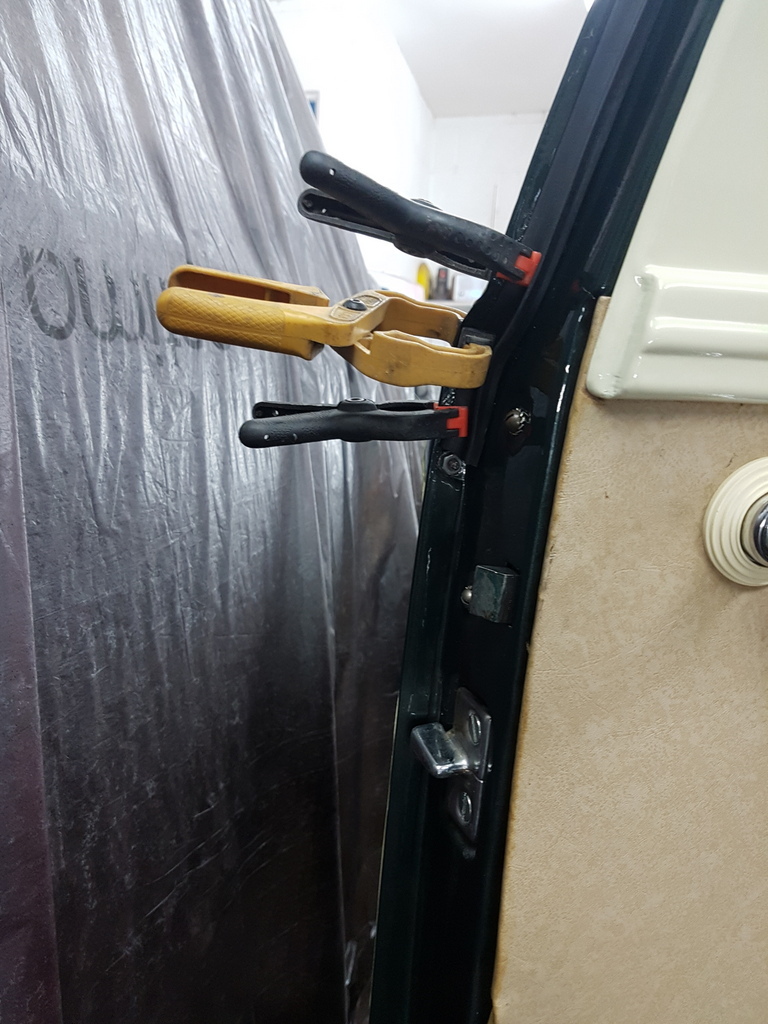 But now completed 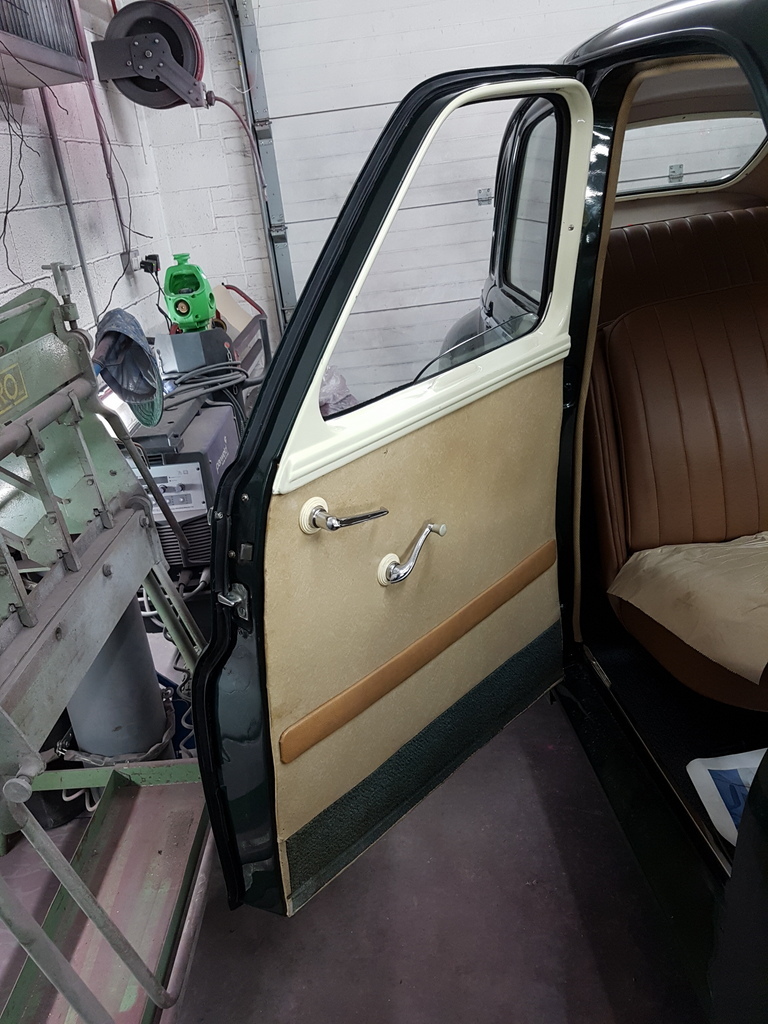 Also spent some time pulling the gear together for the restoration show - this is only part of it - still a fair bit more to sort yet  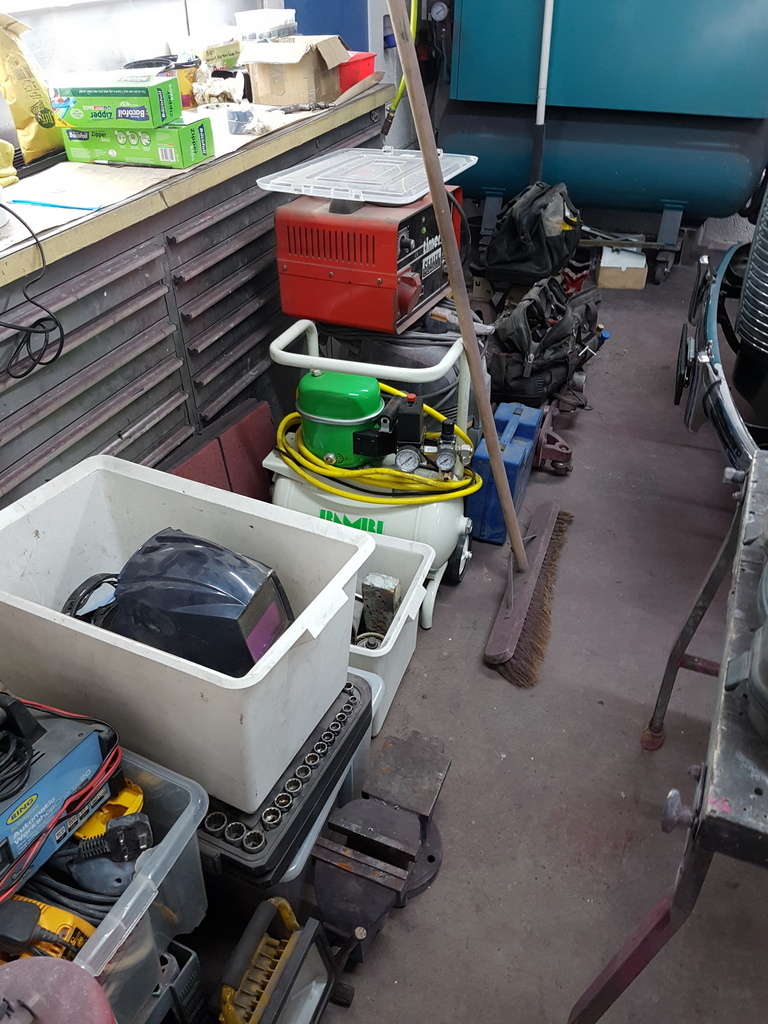 I will collect the hire van in the morning whilst Peter get his Javelin washed & cleaned ready for the trip |
| |
Last Edit: Mar 20, 2018 23:32:54 GMT by Deleted
|
|
|
|
|
|
|
Mar 21, 2018 11:45:18 GMT
|
|
That car leads a nicer life than I do ;-)
|
| |
|
|
|
|
|
|
|
Peter washed & preened his Javelin ready for the trip up to the NEC in the morning 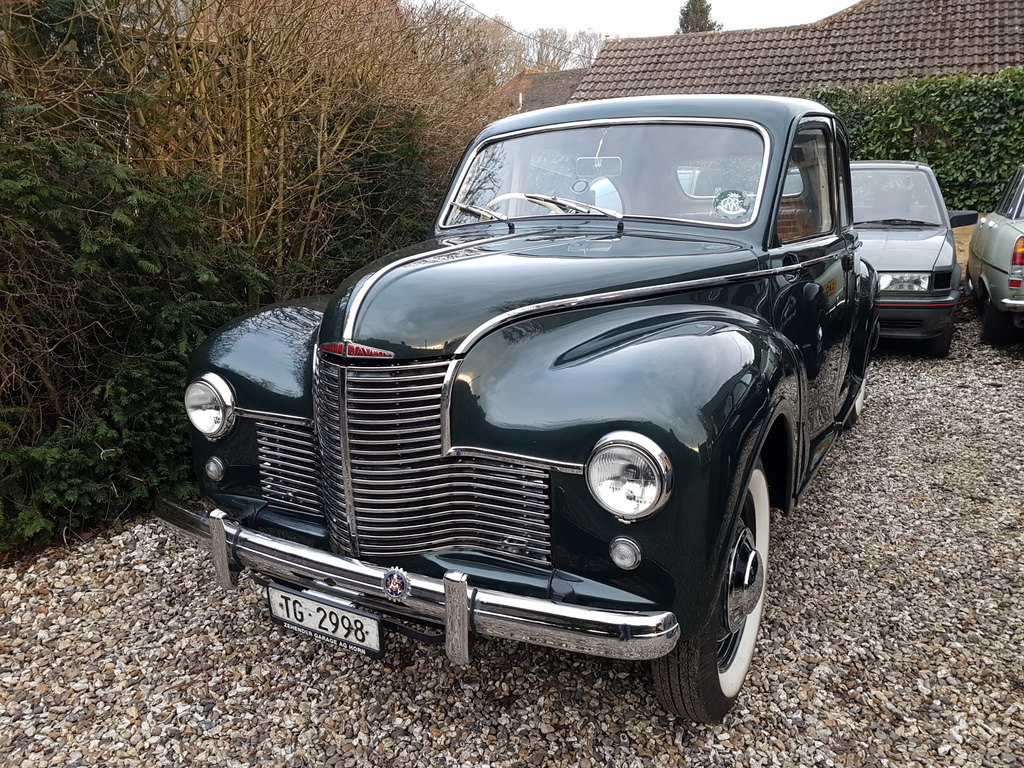 Whilst I collected a hire van then filled it with all the workshop gear for the show - We have always worked our stand - proper stuff too - no rebuilding a starter motor on a workmate type stuff for us - a proper muck & bullets stand  Come & say hello if you are at the show - pics to follow after the weekend for those that cannot attend in person - Chris |
| |
Last Edit: Mar 22, 2018 0:17:46 GMT by Deleted
|
|
melle
South West
It'll come out in the wash.
Posts: 1,984
|
|
Apr 16, 2018 10:17:36 GMT
|
|
|
| |
www.saabv4.com'70 Saab 96 V4 "The Devil's Own V4" '77 Saab 95 V4 van conversion project '88 Saab 900i 8V
|
|
|
|
|
Apr 16, 2018 11:31:26 GMT
|
Many thanks for this - already aware of the history but it's nice to see it written up and appealing to others  |
| |
|
|
|
|
|
|
|
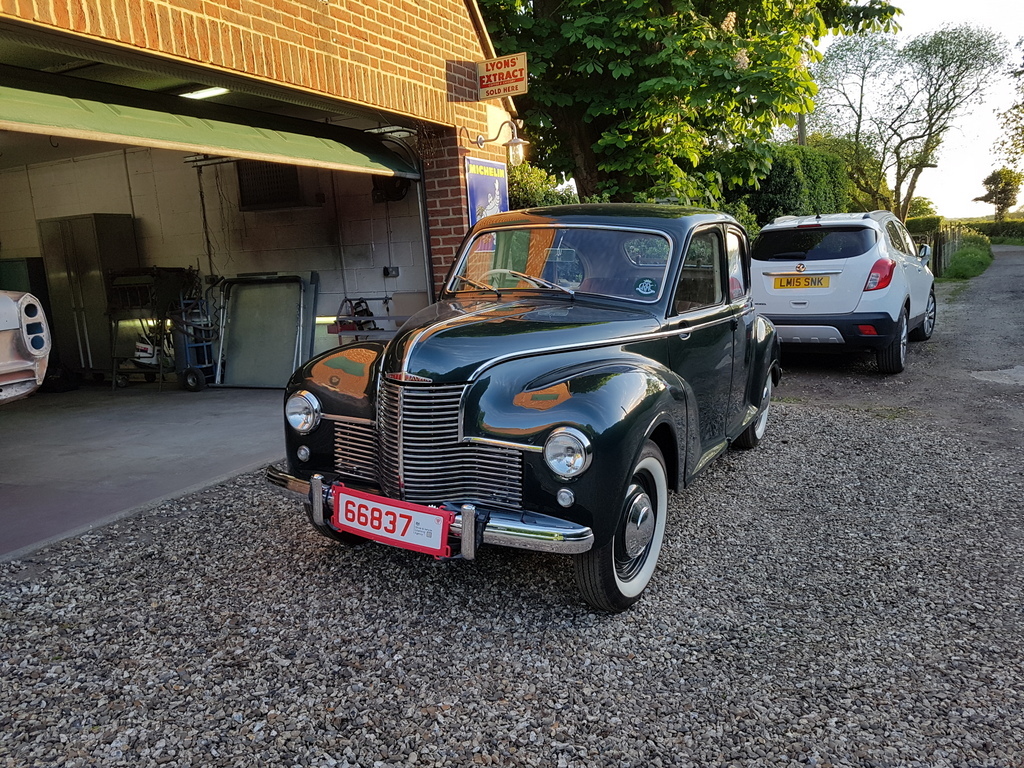
Peter left the Javelin with me and flew back home to Switzerland after the Restoration Show, It kept the car in the UK so that he could attend the Jowett Car Club National Rally in Harrogate 25th - 28th May 2018 - However he also left me with a list of things that required sorting on the car whilst also having various parts items shipped to me  This lot contained these 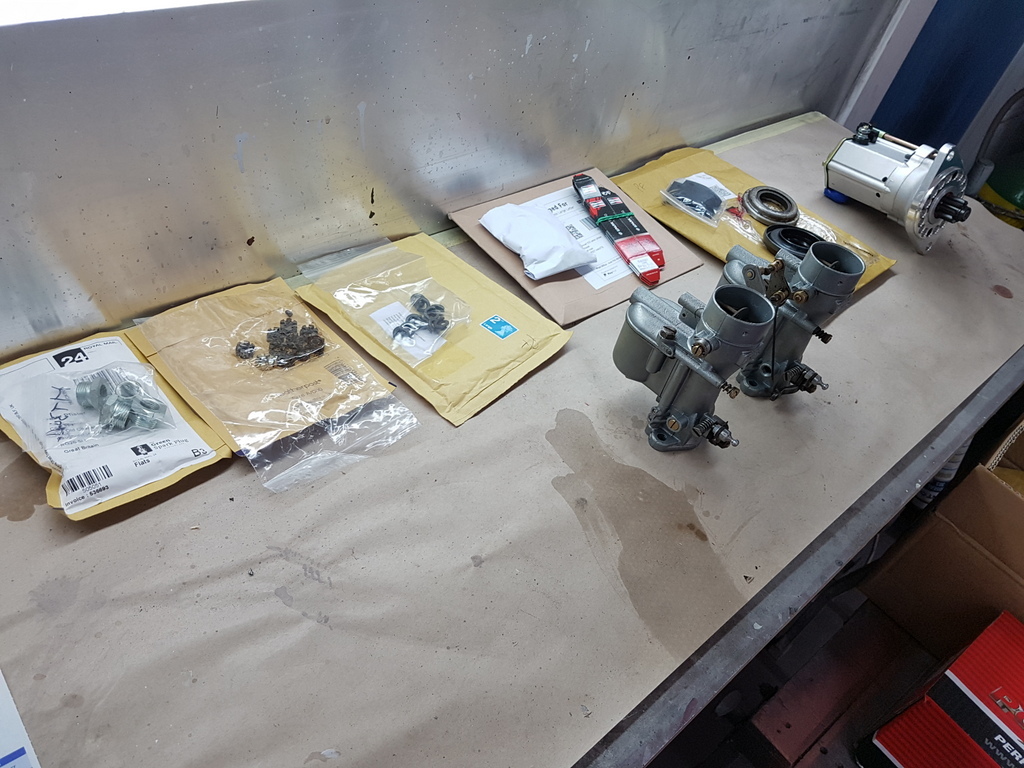 So I have a list to work through - first into the workshop with it 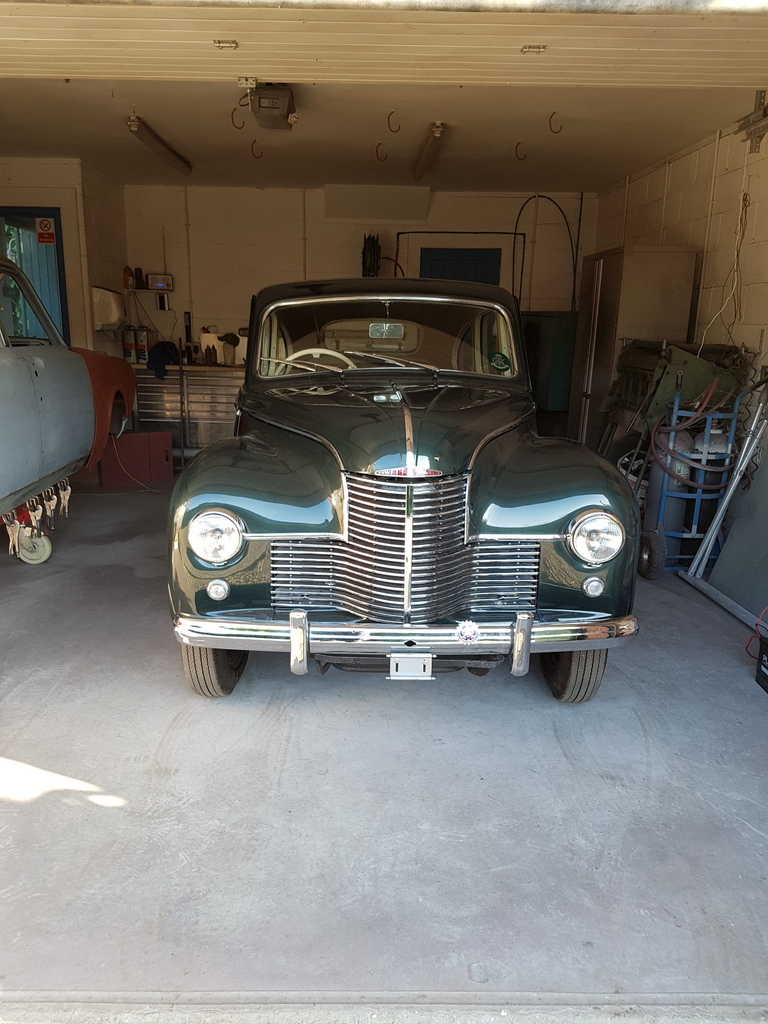 I did the carb change first - it had rebuilt carbs fitted to it when out in Switzerland but they could not be balanced and resulted in very poor starting / idling - after a chat with the supplier they kindly agreed to ship another set out for us to try 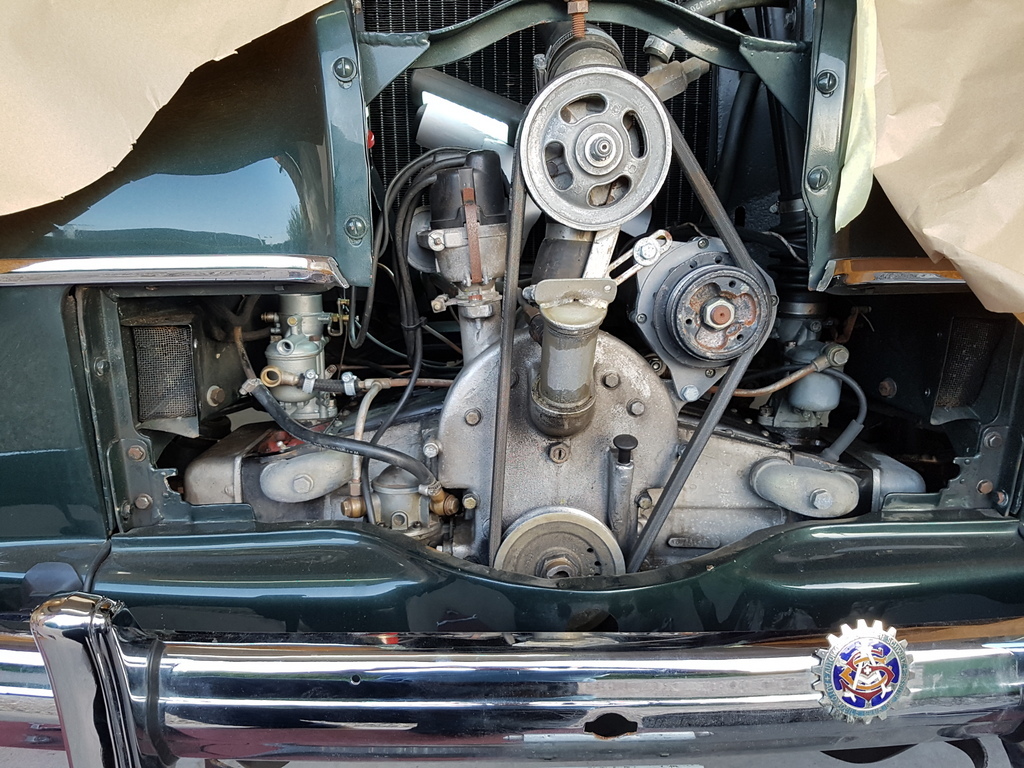 Access is pretty straight forward with the grille removed - although the carb changes are slightly fiddly 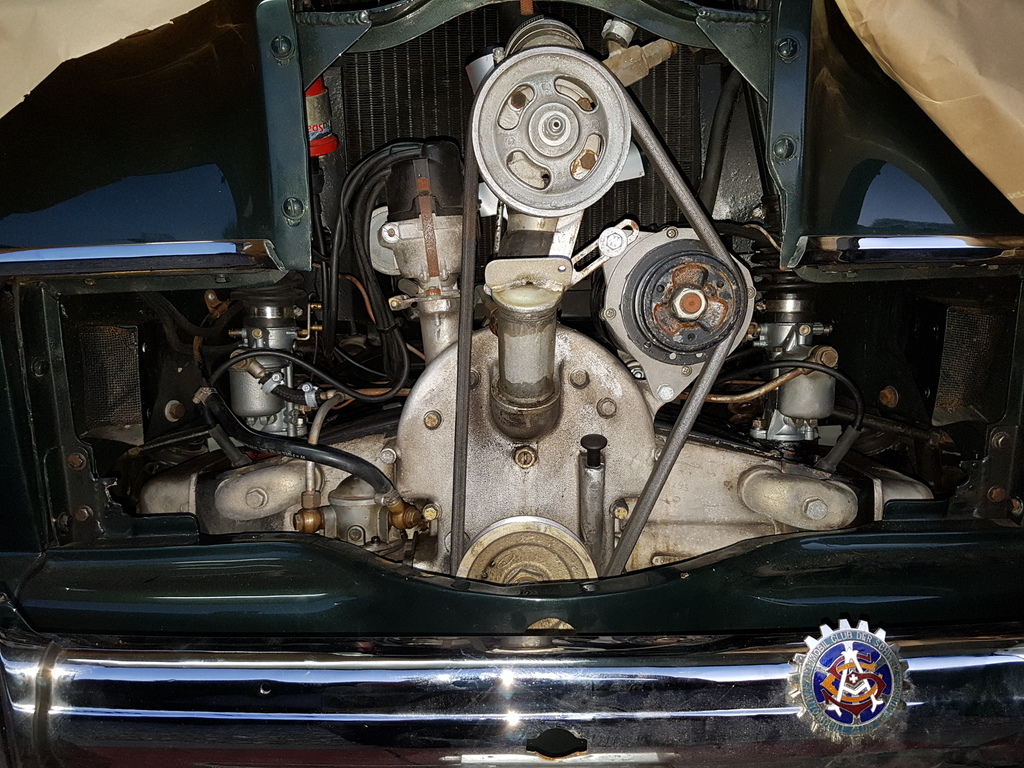 New carbs on and the car started straight up - I will balance them up today and roadtest them once I have the other mechanical bits on the list sorted More later |
| |
|
|
vulgalour
Club Retro Rides Member
Posts: 7,111
Club RR Member Number: 146
|
|
|
|
|
That club badge on the bumper is a bit nice.
|
| |
|
|
|
|
|
|
|
That club badge on the bumper is a bit nice. Something to do with a Swiss Automobile Club I think - I will take a close up of it when I am next in the workshop |
| |
|
|
|
|
|
|
|
First Job was to sort the flexible mountings for propshaft midship bearing panel - these had started to wear due to an inbalance - with the balance now sorted I obtained new mountings through the Jowett Car Club spares department Mountings fit between the panel and the chassis 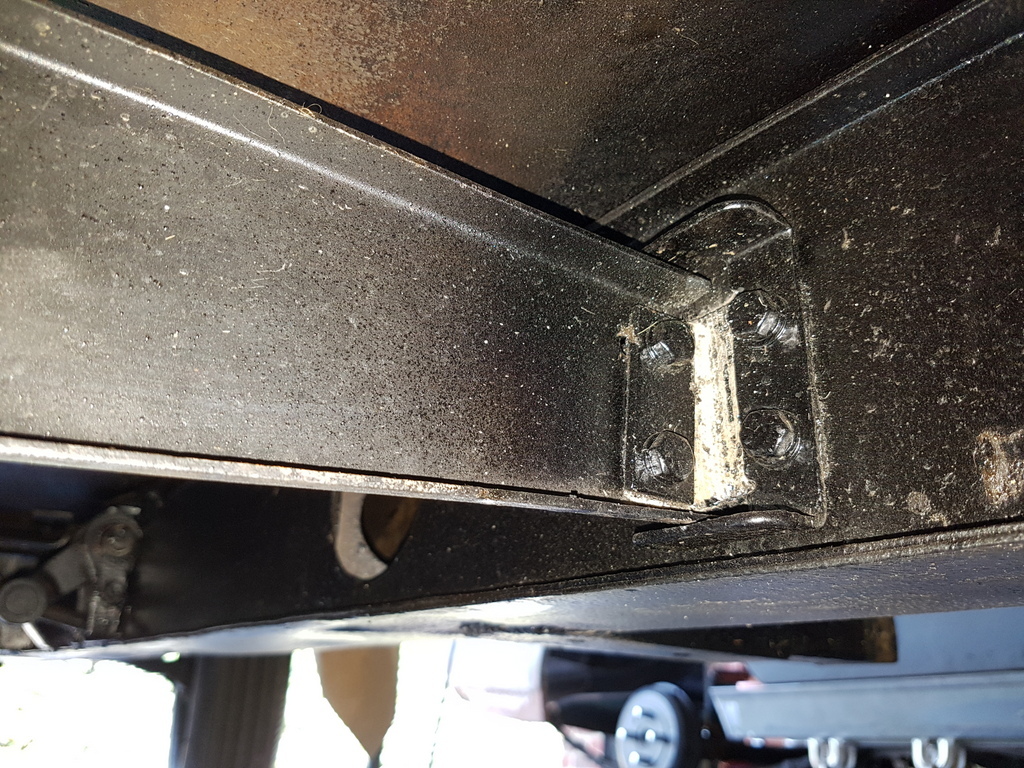 And support this panel / propshaft bearing 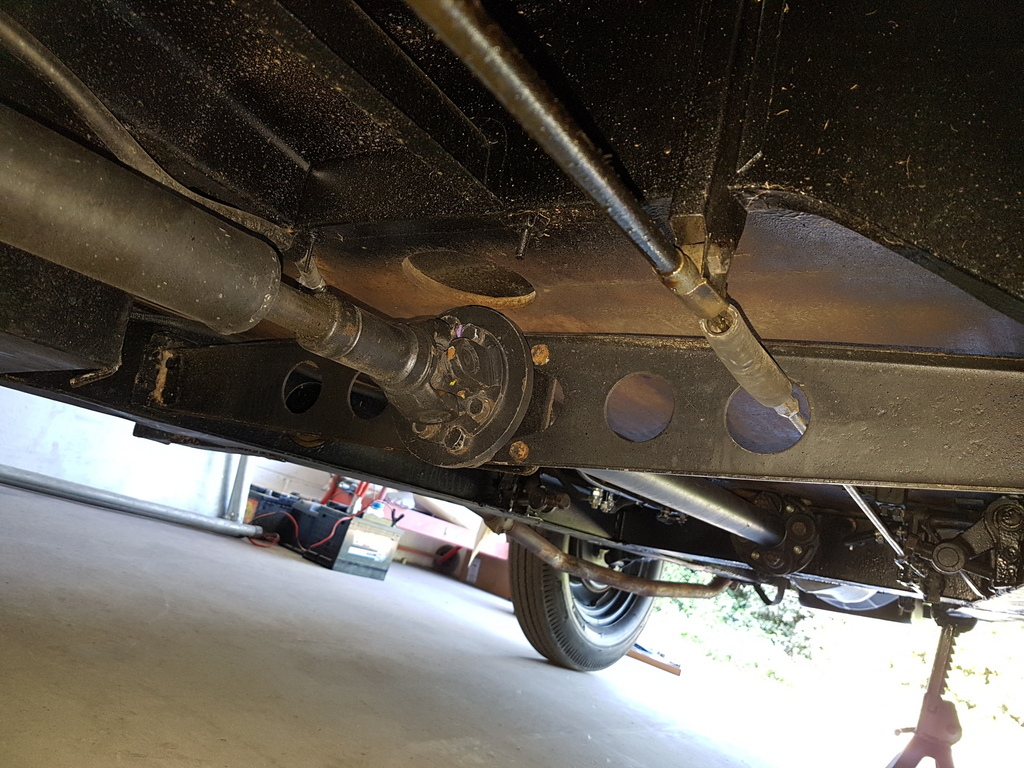 Old & new flexible mountings 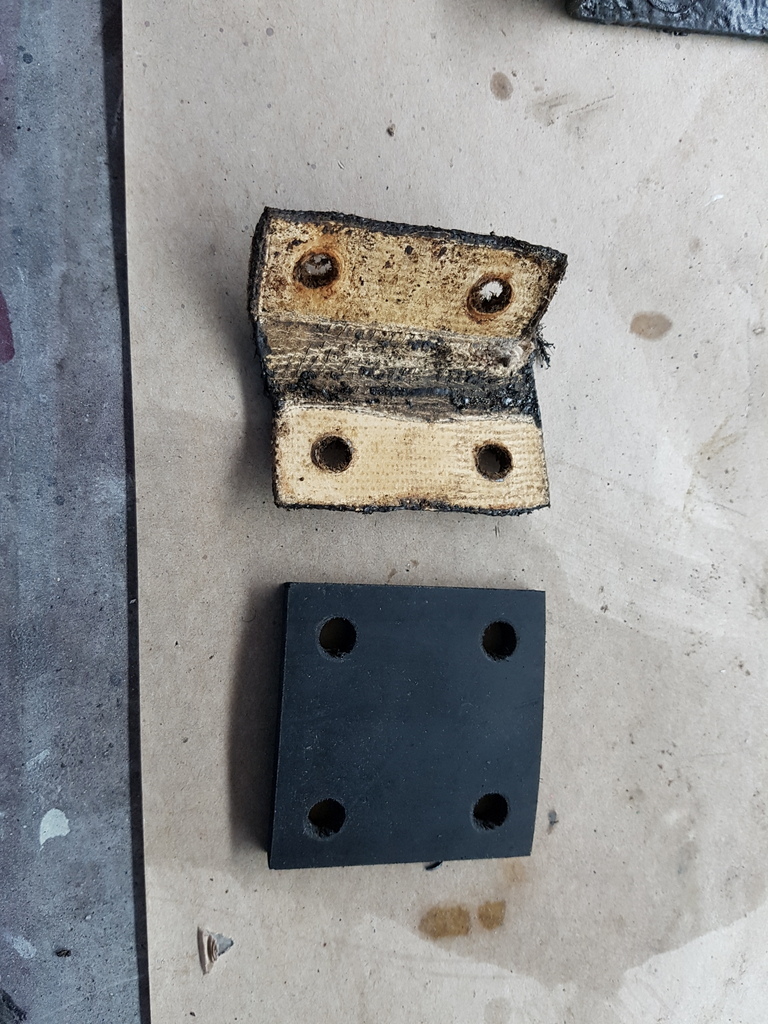 Both sides done next was the pinion seal on the differential which was throwing oil - got the flexible seal out ok but the steel ring section of the seal would not part from the pinion nose - it's quite thick steel - not your normal seal that you tap into and deform to get behind and leaver out - frustratingly both my pullers had arms / jaws that were too big to get in behind the ring - I'm not one to give in easily so within 10 mins I had fabricated one up from a few pieces of scrap steel and a couple of bolt threads 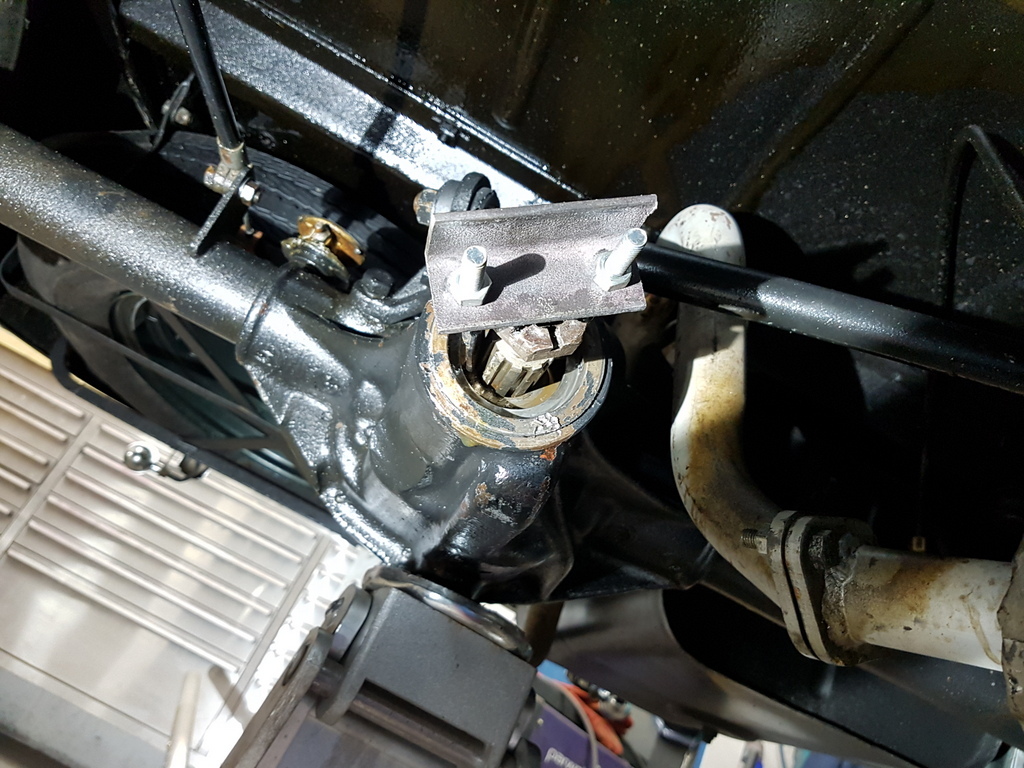 Out it came 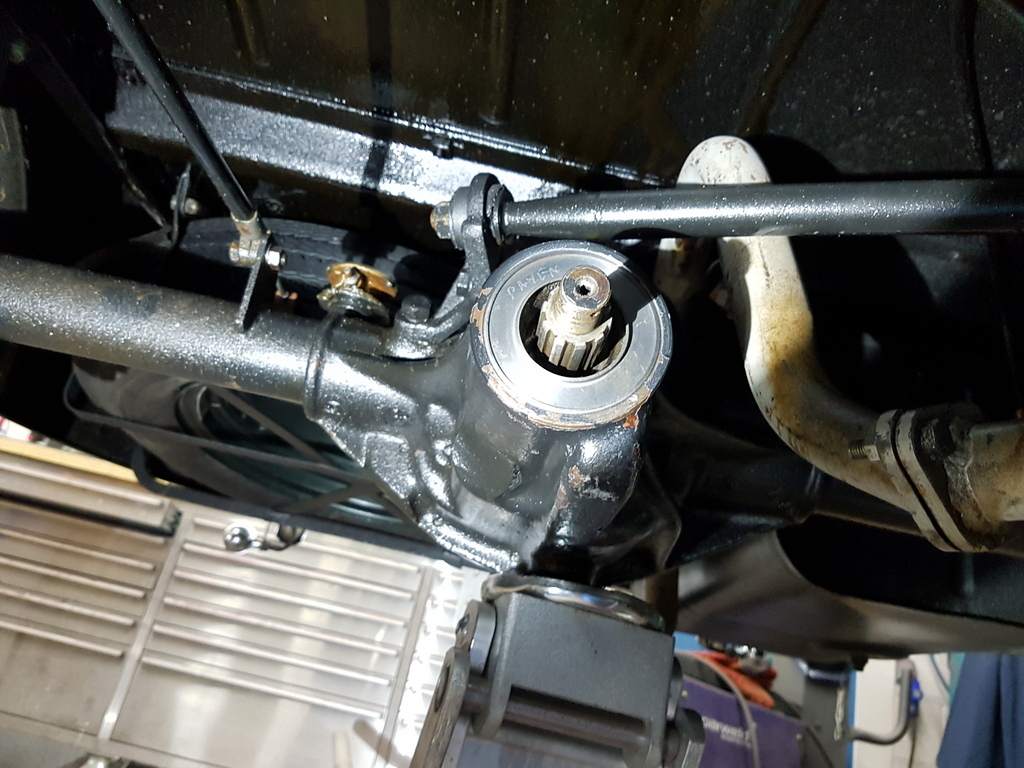 And in went it's replacement Several other minor odds were sorted some being just a matter of swapping over nyloc nuts for more period style locking nuts Next was another swap - old original inertia starter for new reduction geared - pre engaged starter 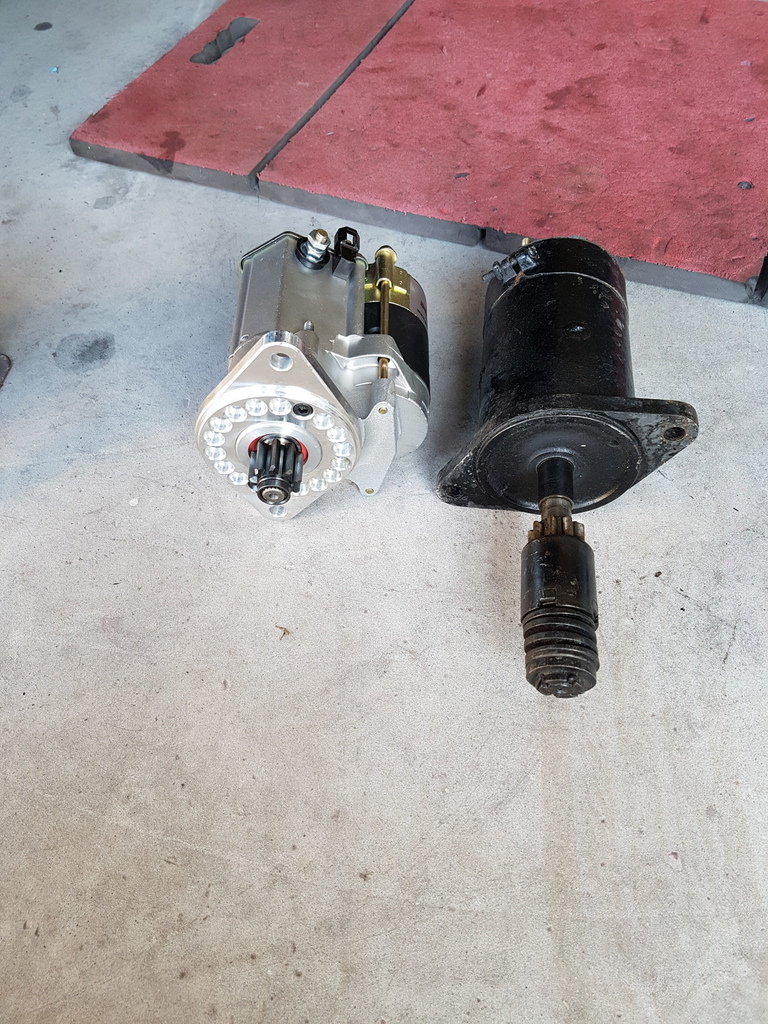 Just had to reset the mounting plate to ensure that it cleared the chassis & suspension 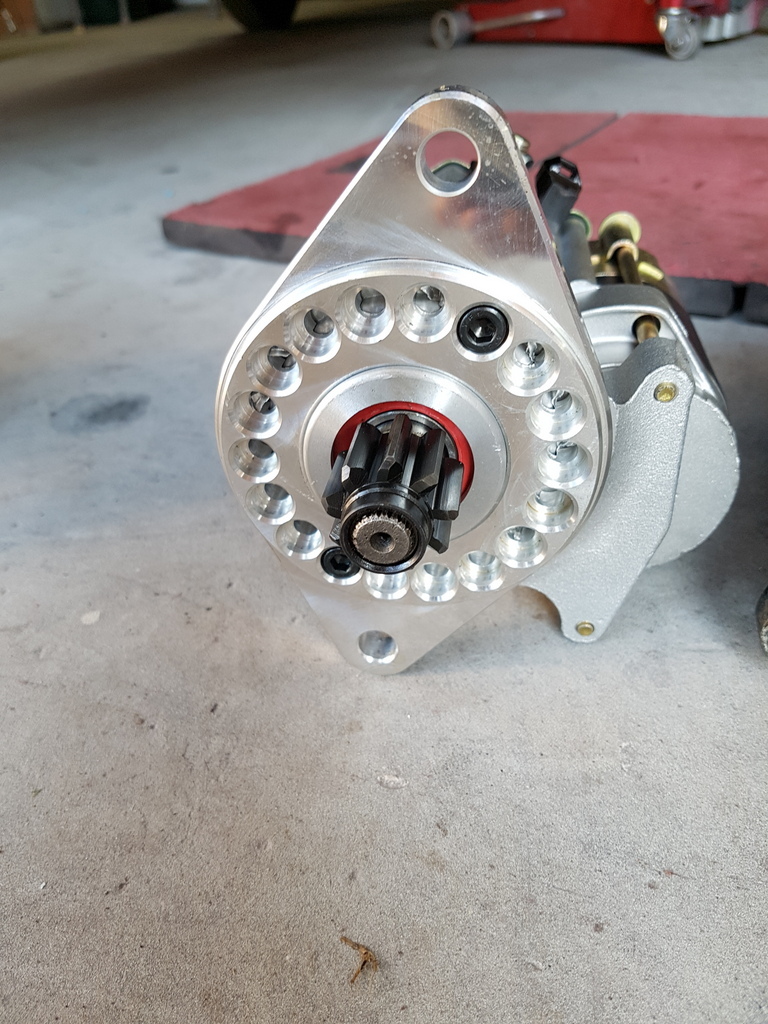 Fitted & tested 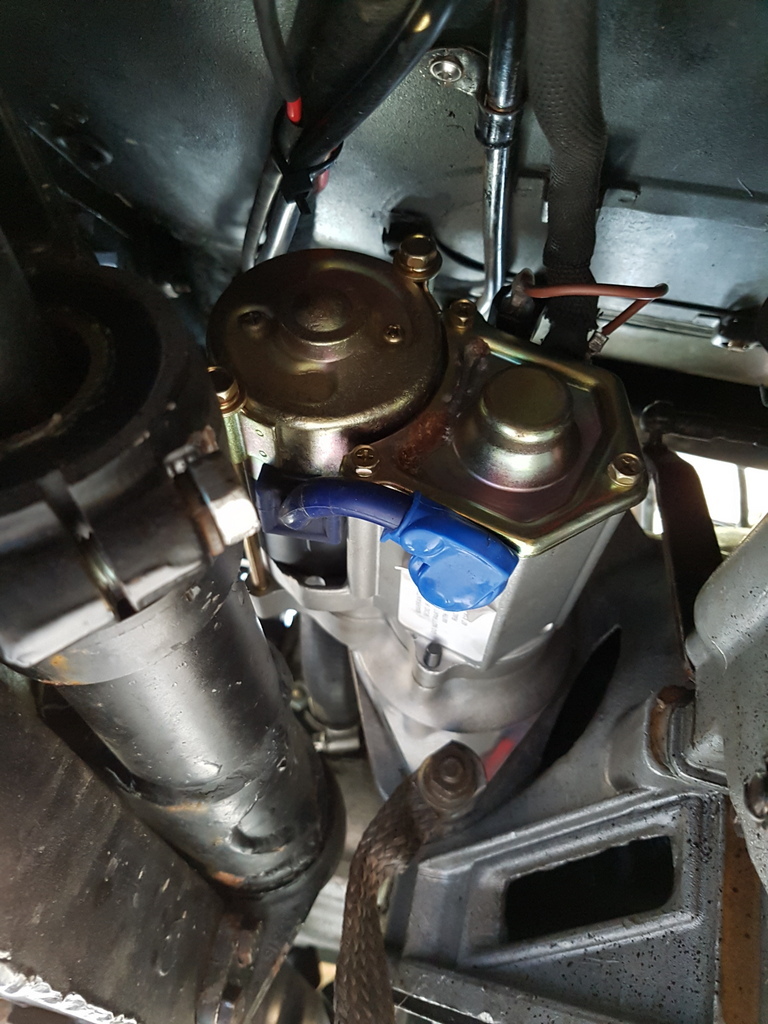 Had a grease around whilst under the car too - just have to nip out get some rear axle oil so that it can be topped up and thats all the mechanical bits done - just some items of cosmetics & trim to do now |
| |
Last Edit: May 6, 2018 20:38:24 GMT by Deleted
|
|
|
|
|
|
|
 Axle oil done - I put the trade plates on the Javelin and gave it a run up the road - still need to fettle the carbs - mixture is a little weak at present - I will give them another go tomorrow |
| |
Last Edit: May 8, 2018 21:06:33 GMT by Deleted
|
|
|
|
|
|
|
|
|
|
The June edition of 'Practical Classics' pages 132 - 134 features myself, workshop & Javelin with a technical 'How To' on lead loading - this was undertaken 18 months ago but has now featured in the magazine whilst it continues with it's Bodywork Basics series
|
| |
|
|
eurogranada
Europe
To tinker or not to tinker, that is the question...
Posts: 2,498
|
|
|
|
|
Catching up, but nice work als always!
|
| |
|
|
|
|
|
May 14, 2018 22:09:33 GMT
|
Peter asked me to have a look at the remaining trim in the car which to date had not been done - namely the door cards & side trim 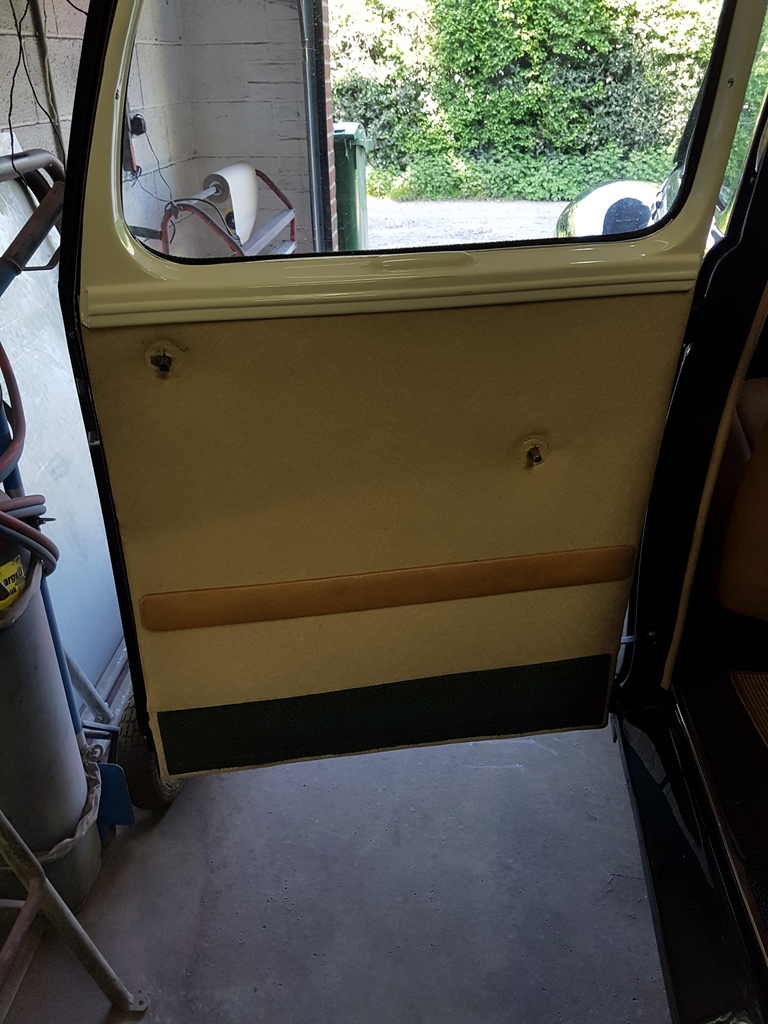 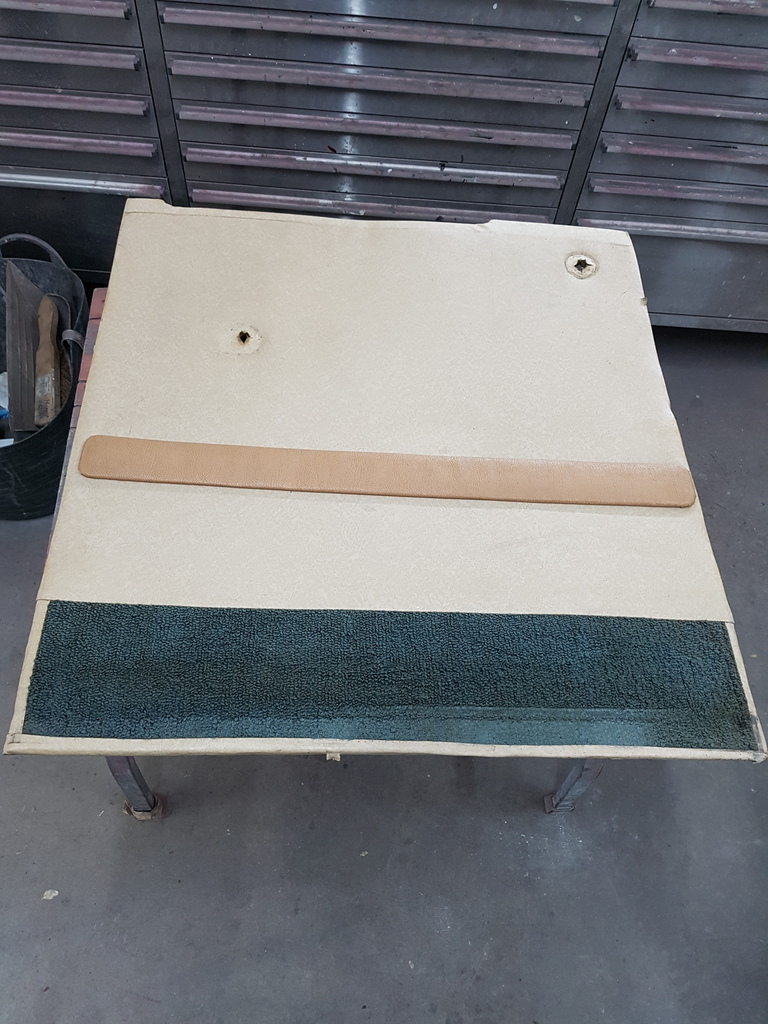 It looks like they had been recovered when the car was restored back in the 70's - but not very well - they had reused the old backings which are compressed cardboard - these were warped due to having been damp on numerous occasions 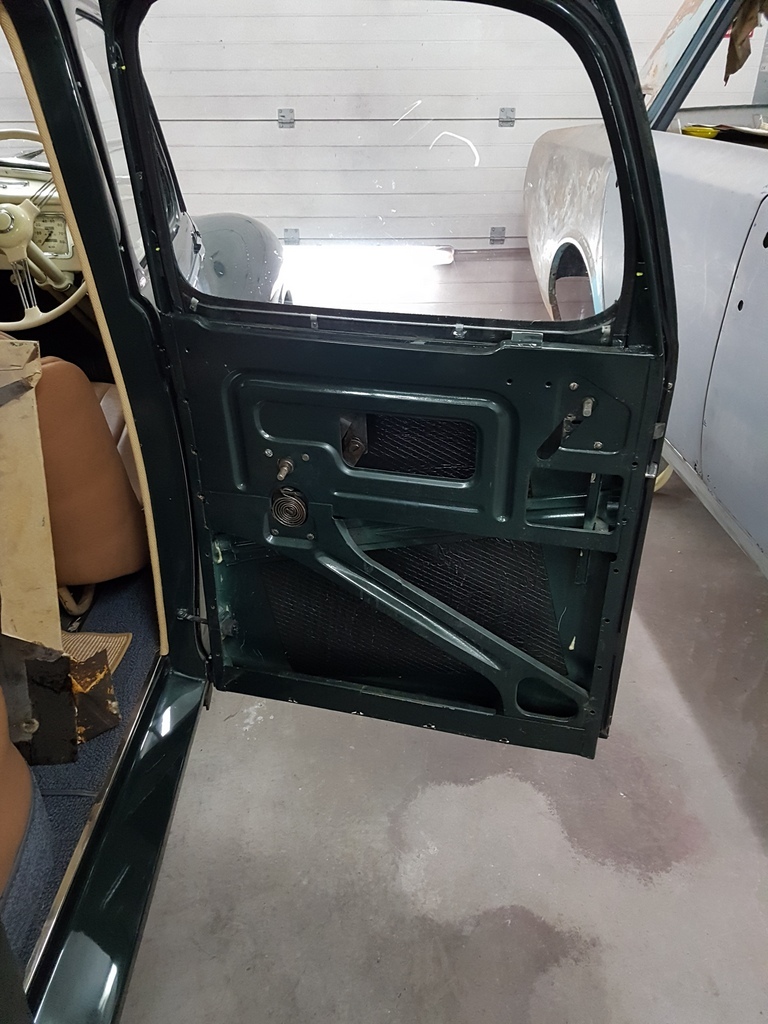 Removed from the doors 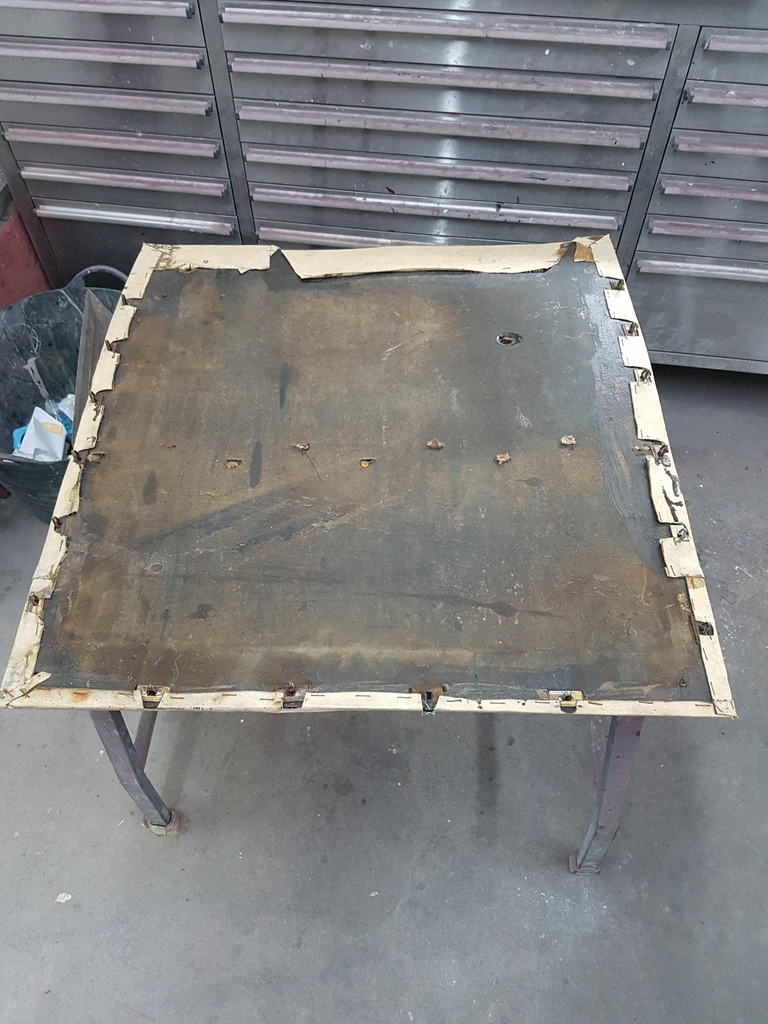 And are retained by this original style clip 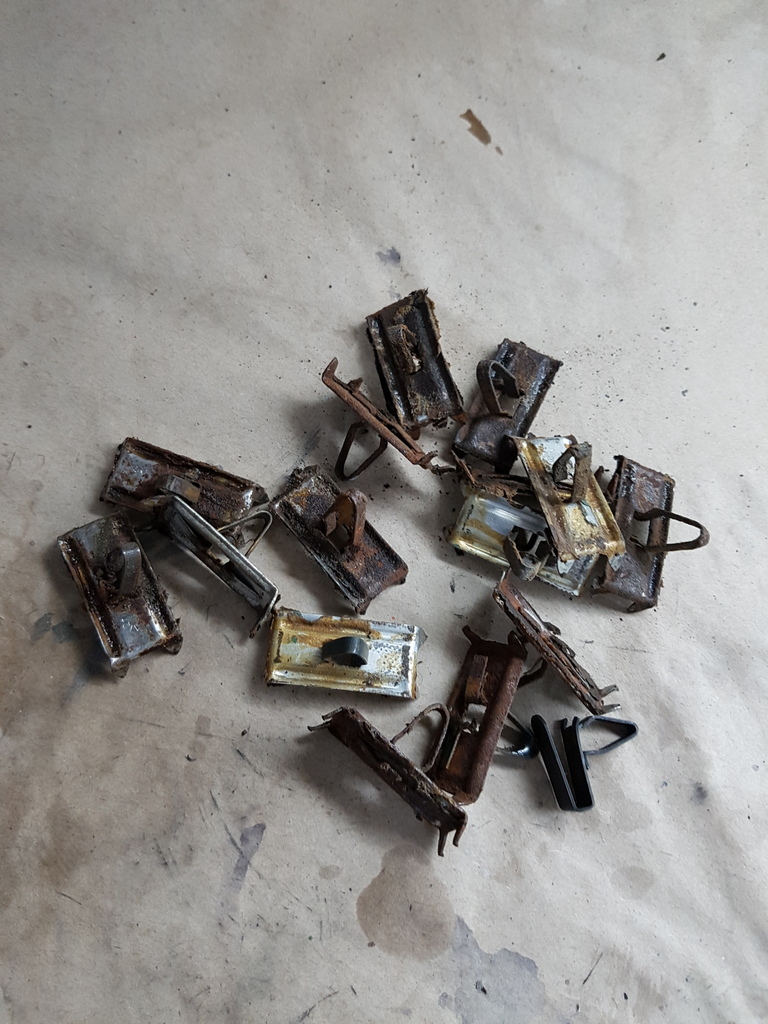 Good news was that I managed to source replacements through Bresco 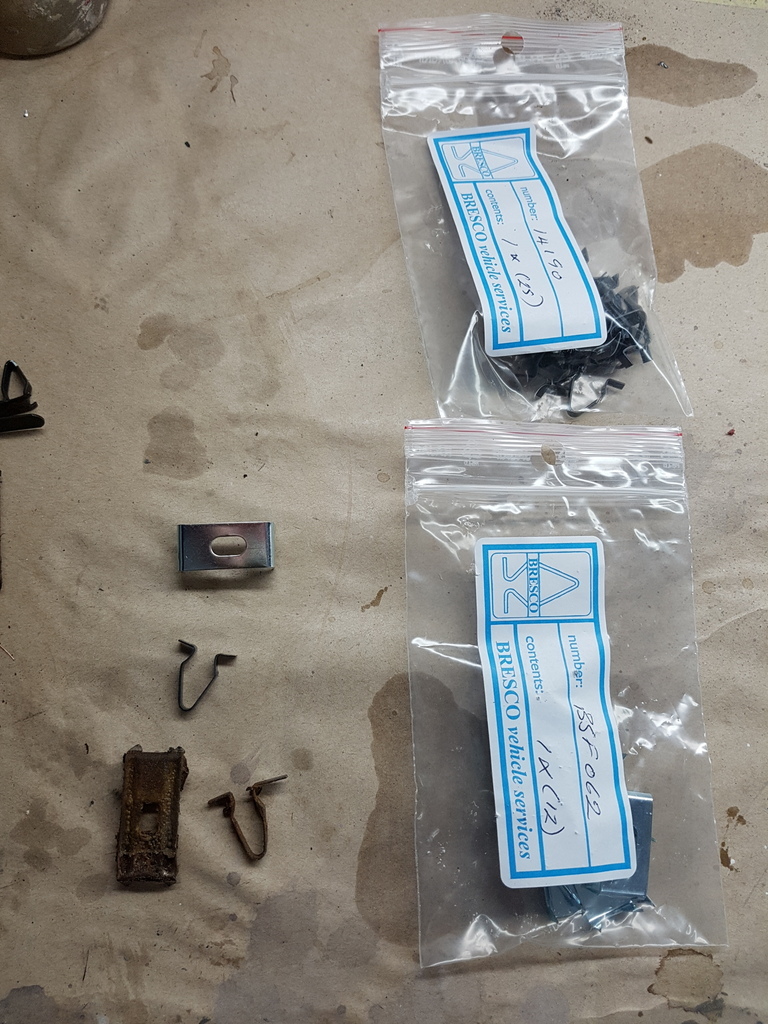 The old door cards were also oversize in some areas and prevented the doors from closing correctly 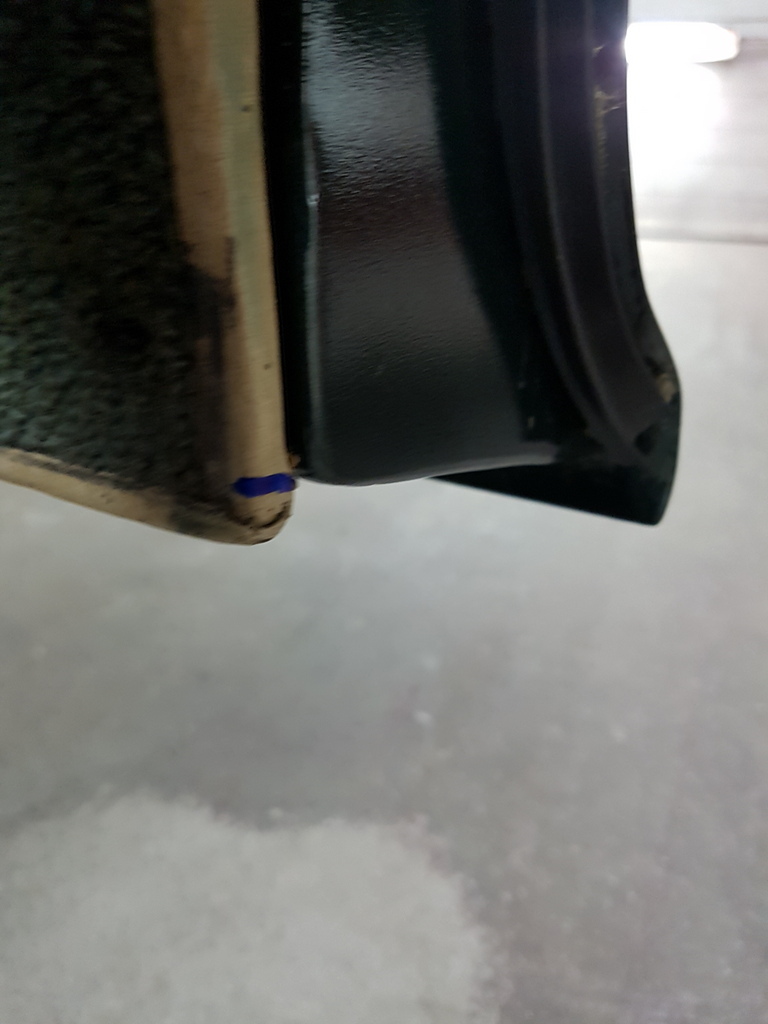 I made up a trial new door card from 3mm hardboard this allowed for enough stiffness but also enough flexibility to follow the slight curvature of the door fame - from experience ply is too strong and tends to spring off the door 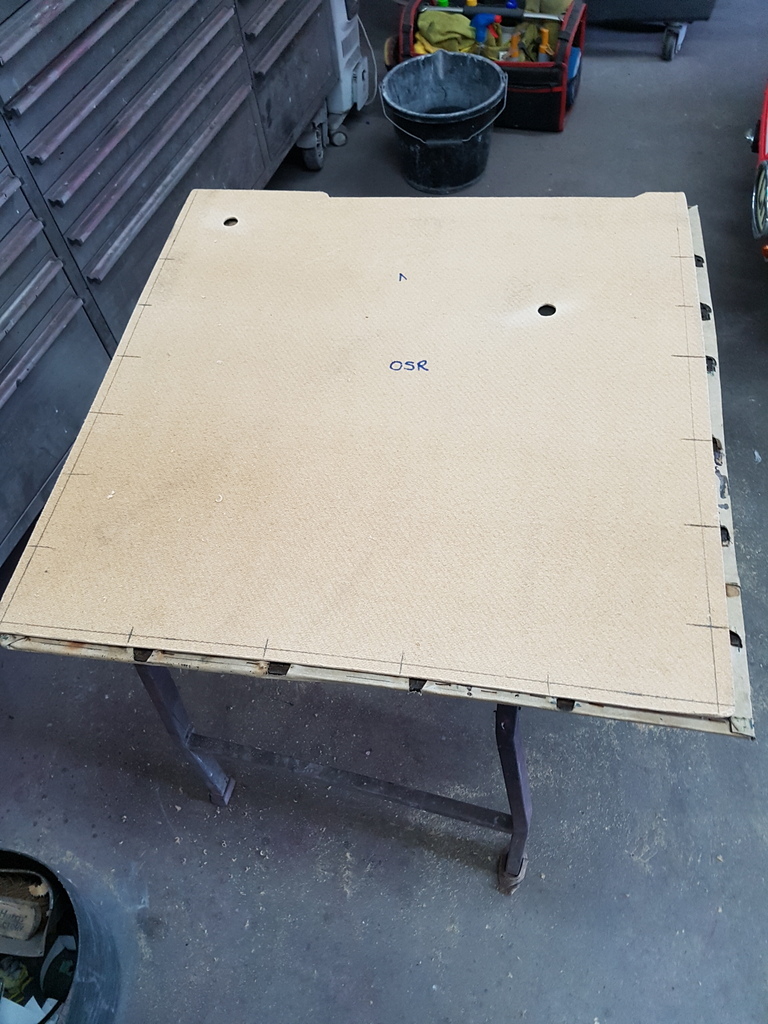 Bad news on the door card clips - they work once but then when you remove the door card again they all fall off - I needed a better solution - another order to Bresco came up with these 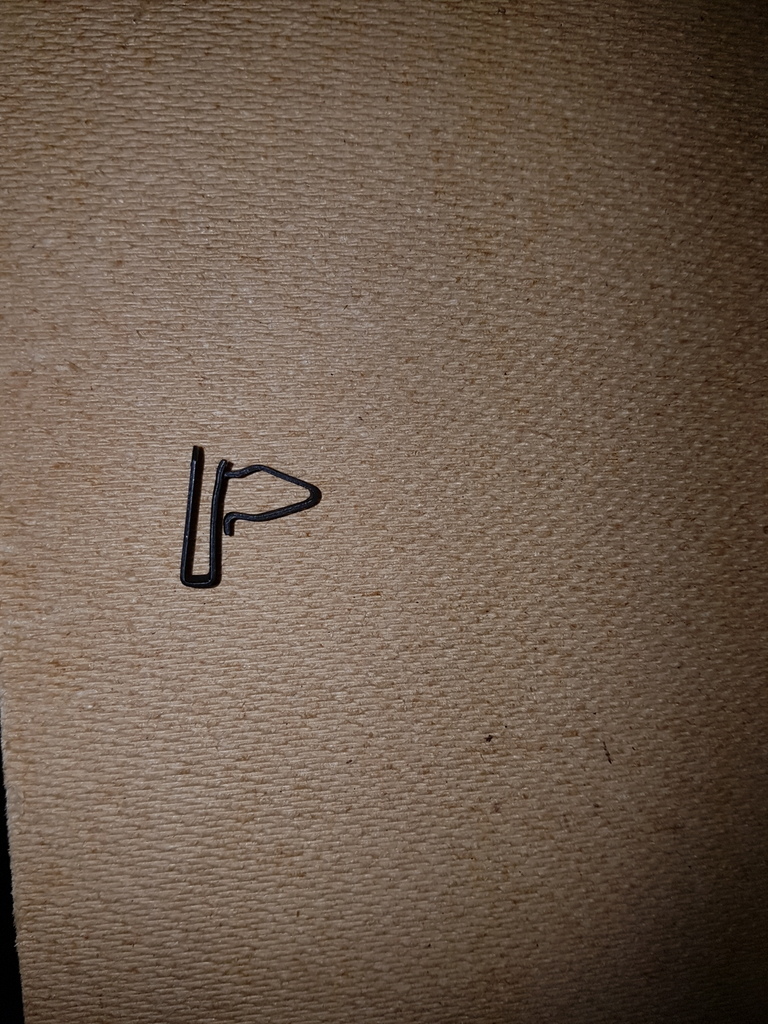 Which some people think they fit like this 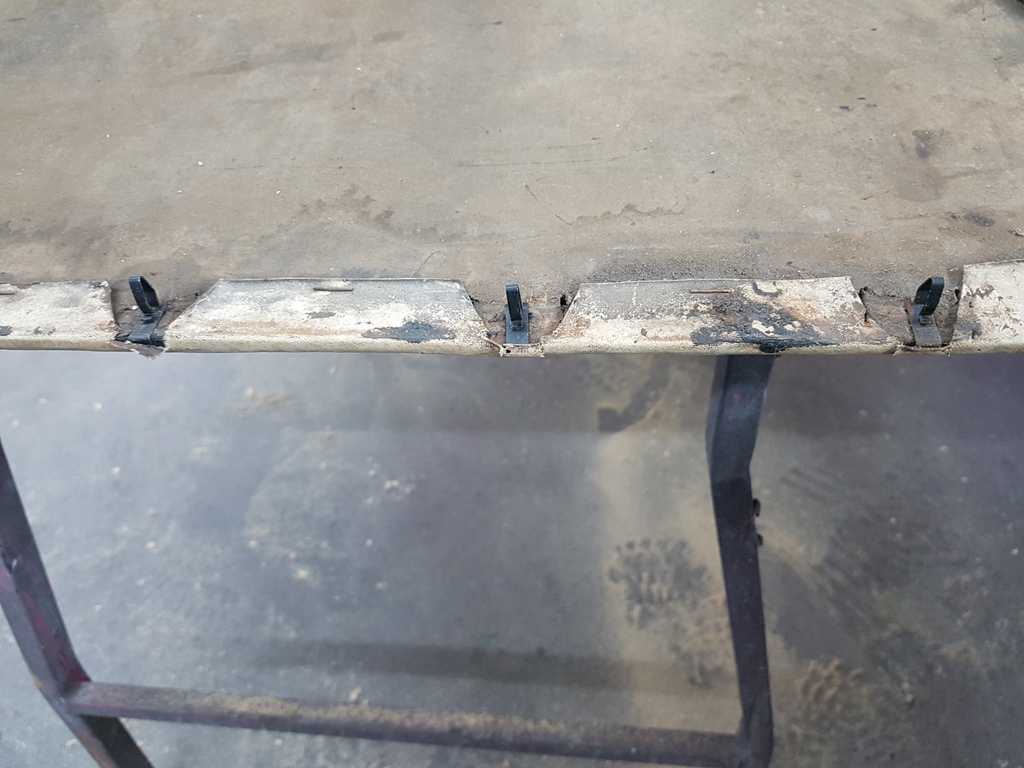 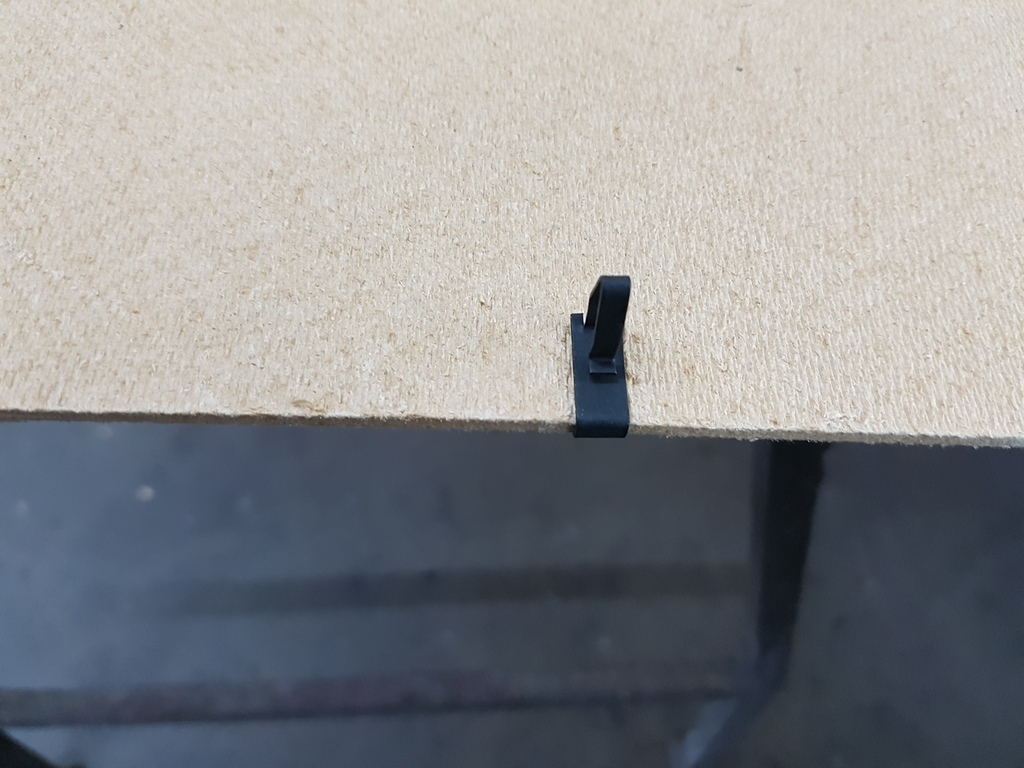 They don't but they do fit like this 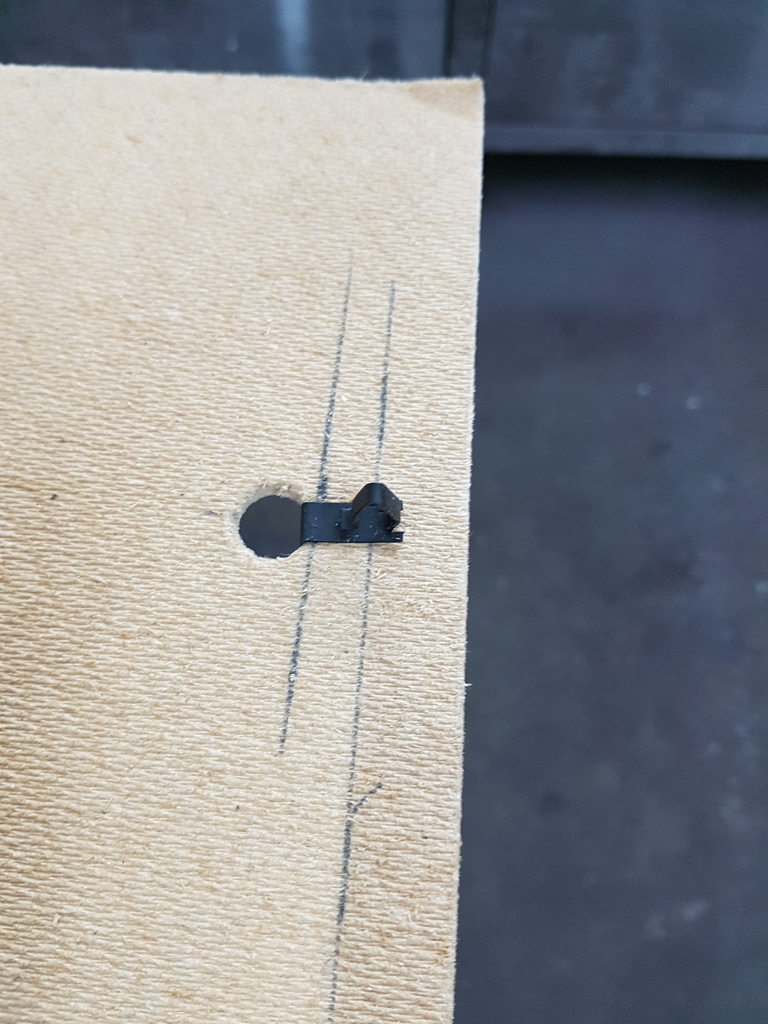 Much marking out and hole punching later 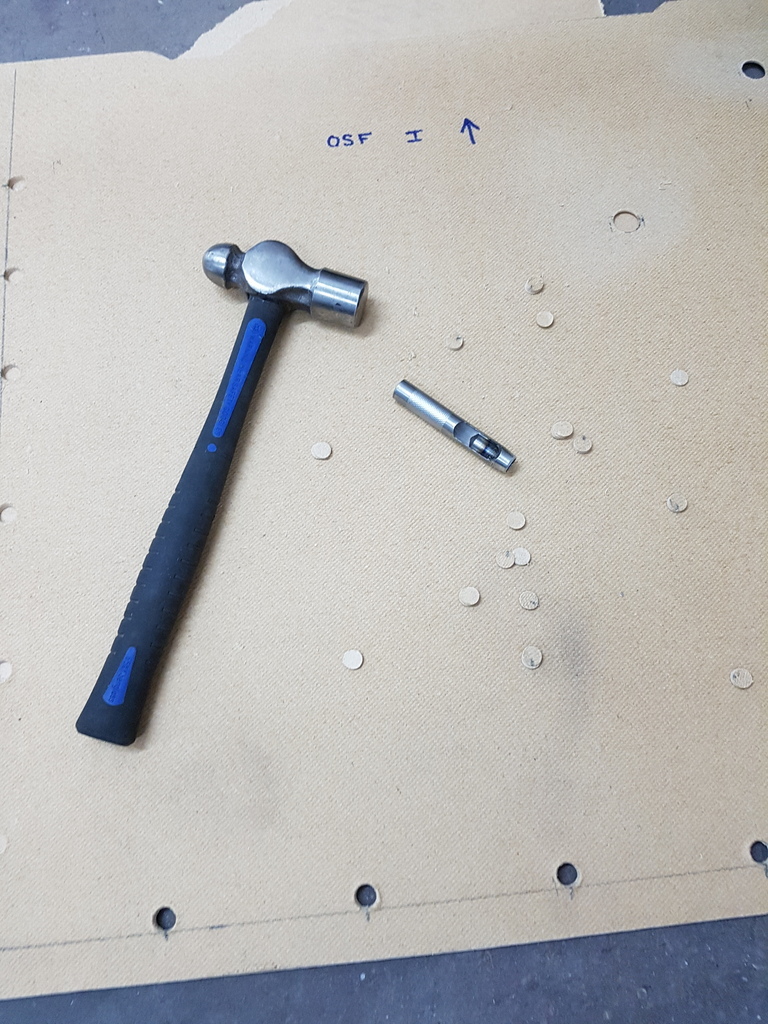 Resulted in this 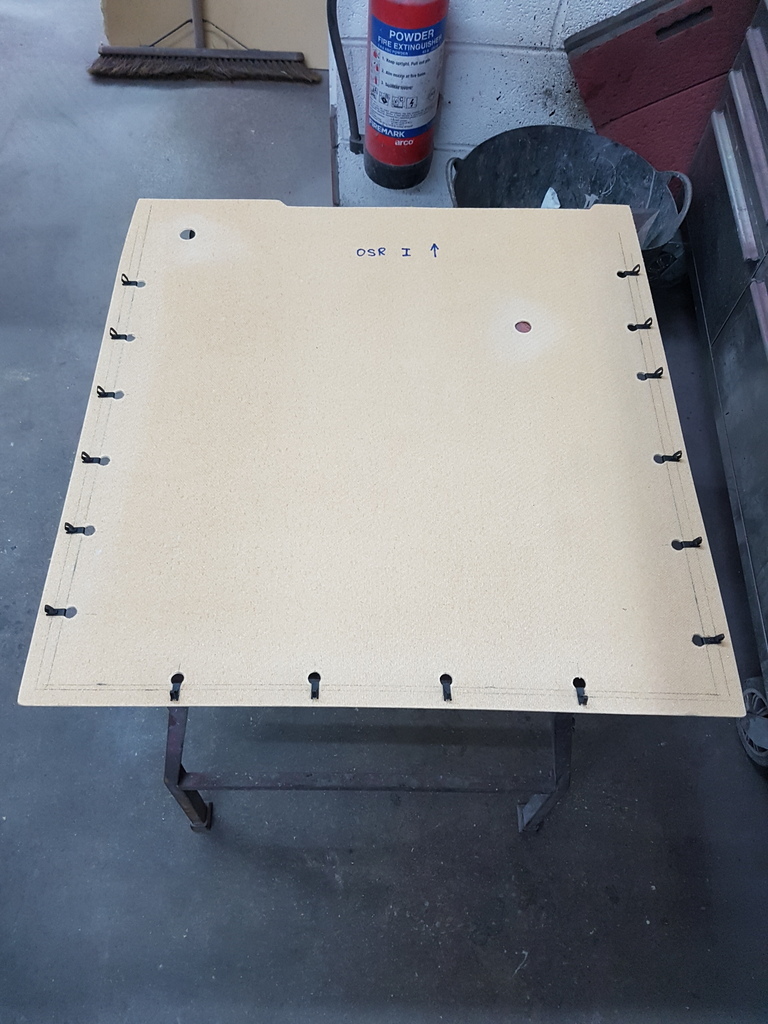 And this - these clips allowed for a degree of flexibility with the hole location for the clip 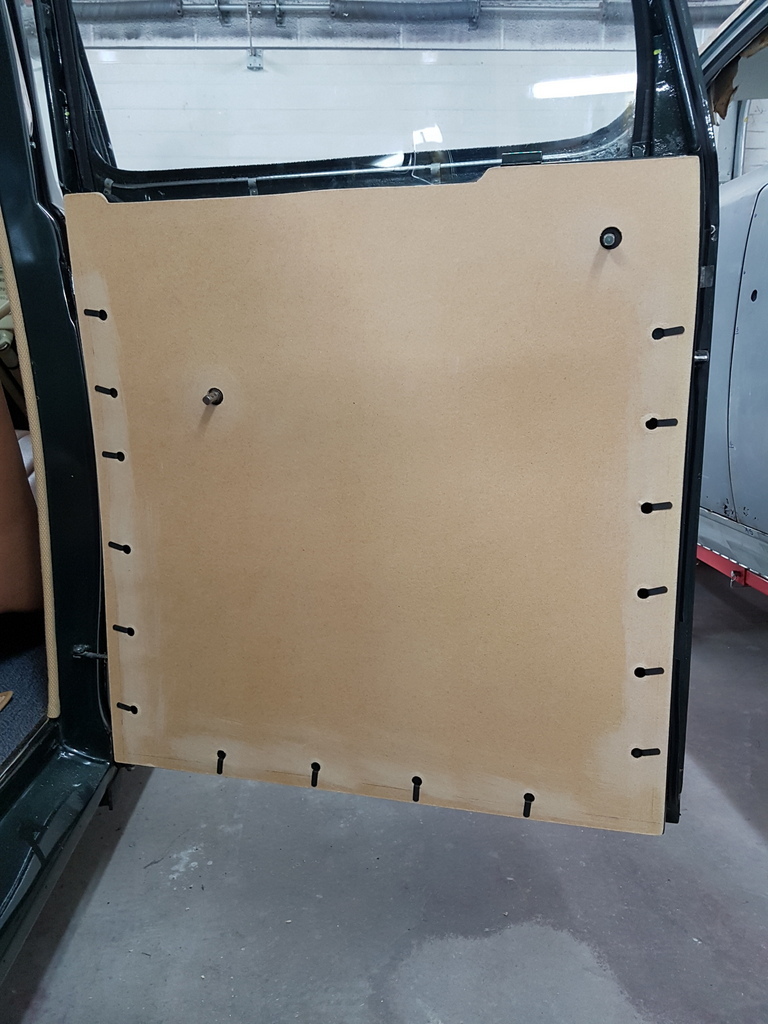 I have the carpet & vinyl already cut for the door cards but have to wait until Wednesday when SWMBO has time to stich the two together Meanwhile - I cut and fitted vapour barriers to the doors (lack of these caused the original door cards to become damp in the first place) 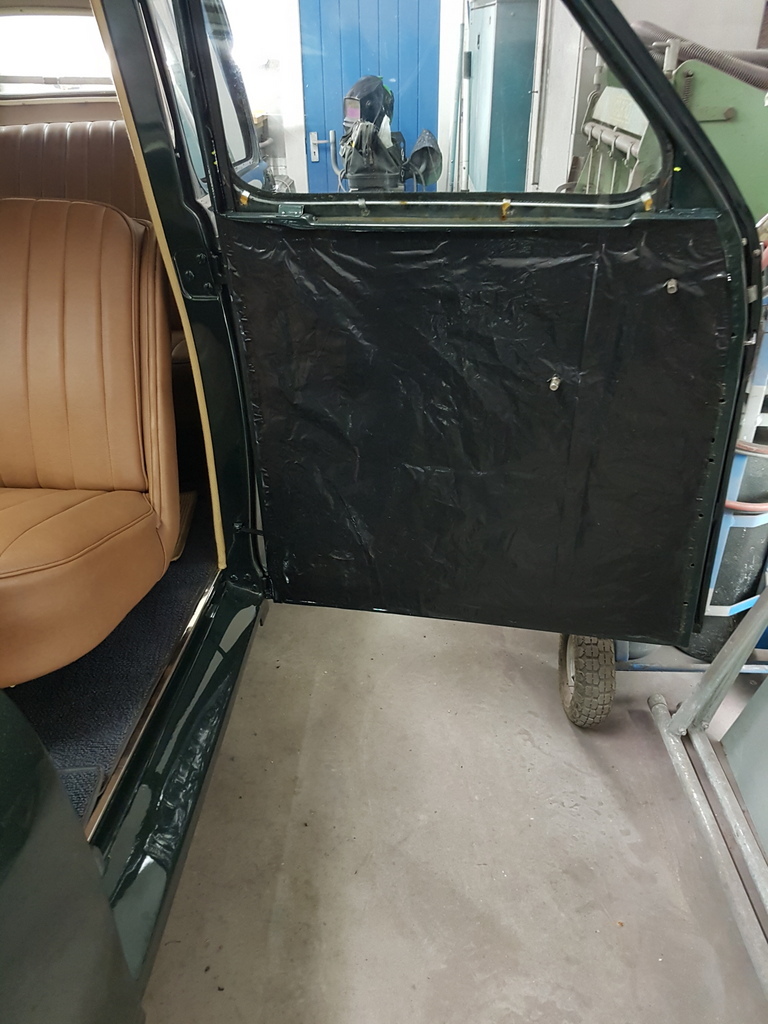 I then removed the side trims - one adjacent to the rear seat, one on the B post and one to the side of the bulk head / toe board on either side 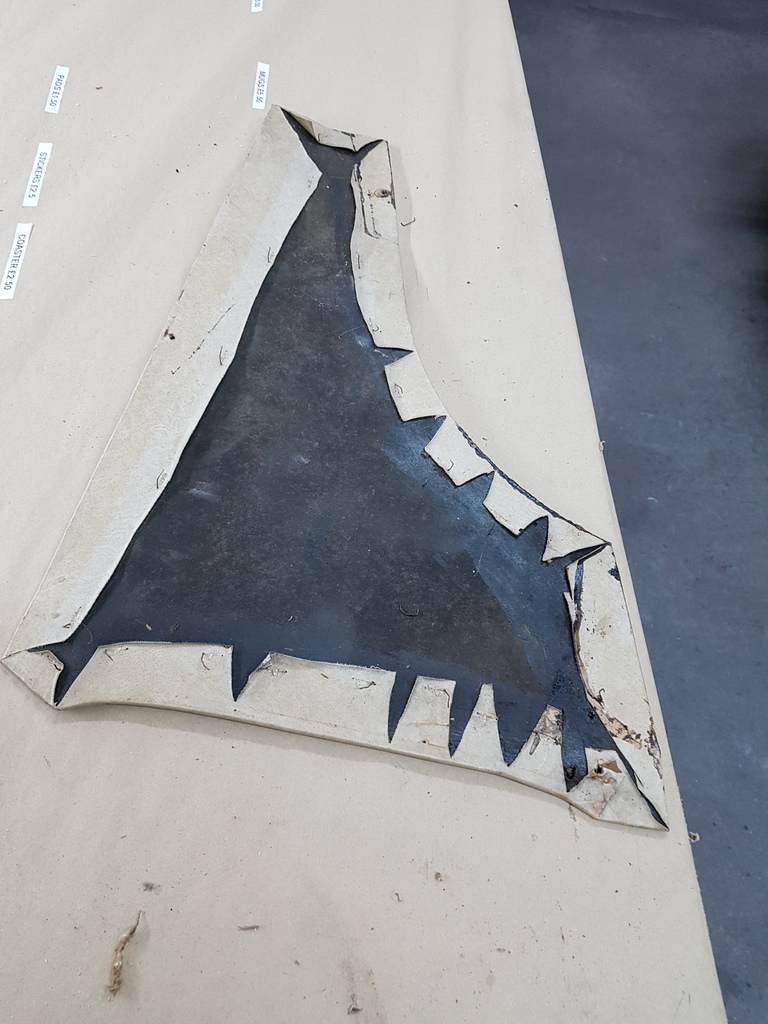 Then removed the vinyl covering that had been applied to them in the 70's 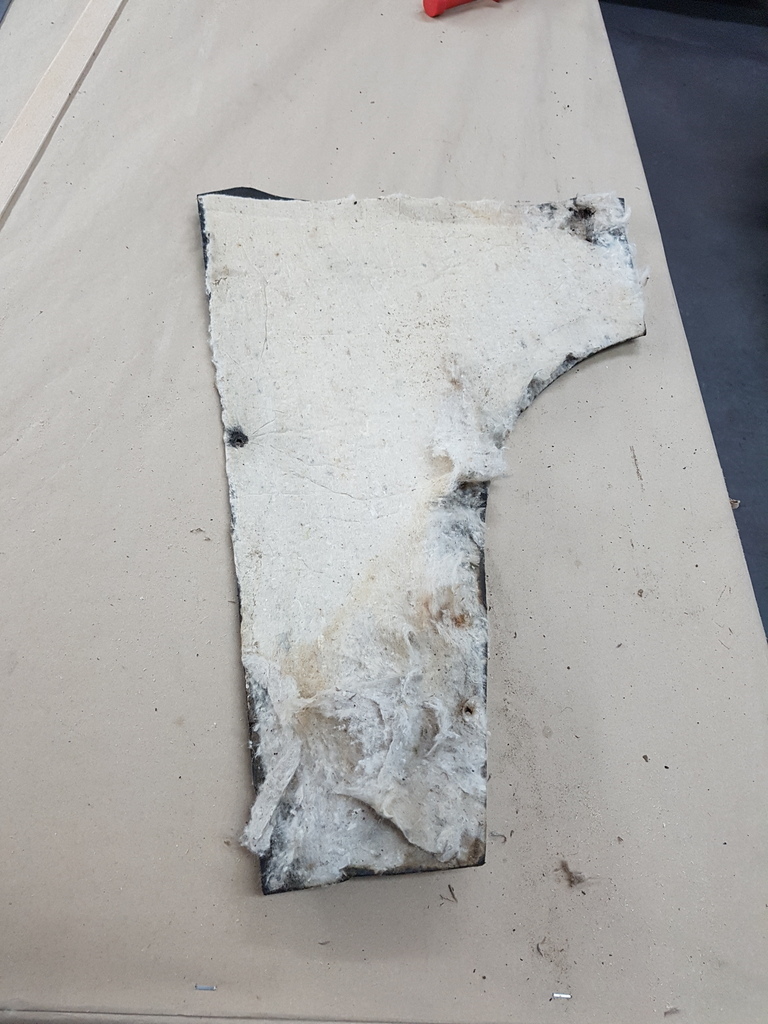 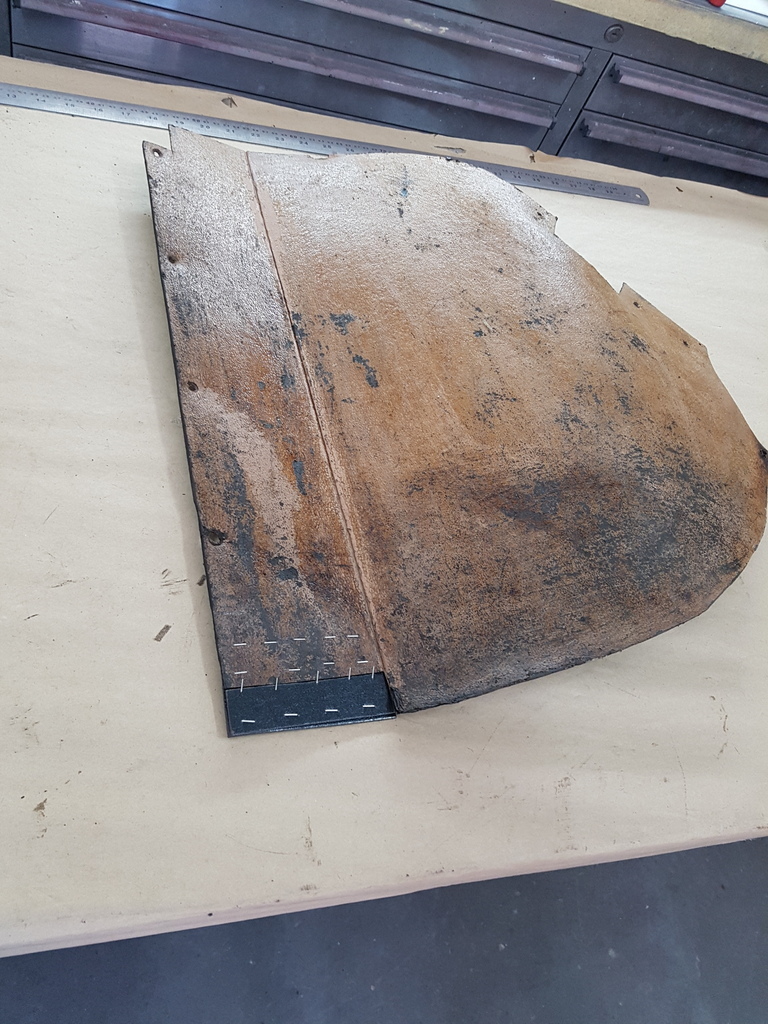 Cut some 3mm sponge scrim to pattern for each panel 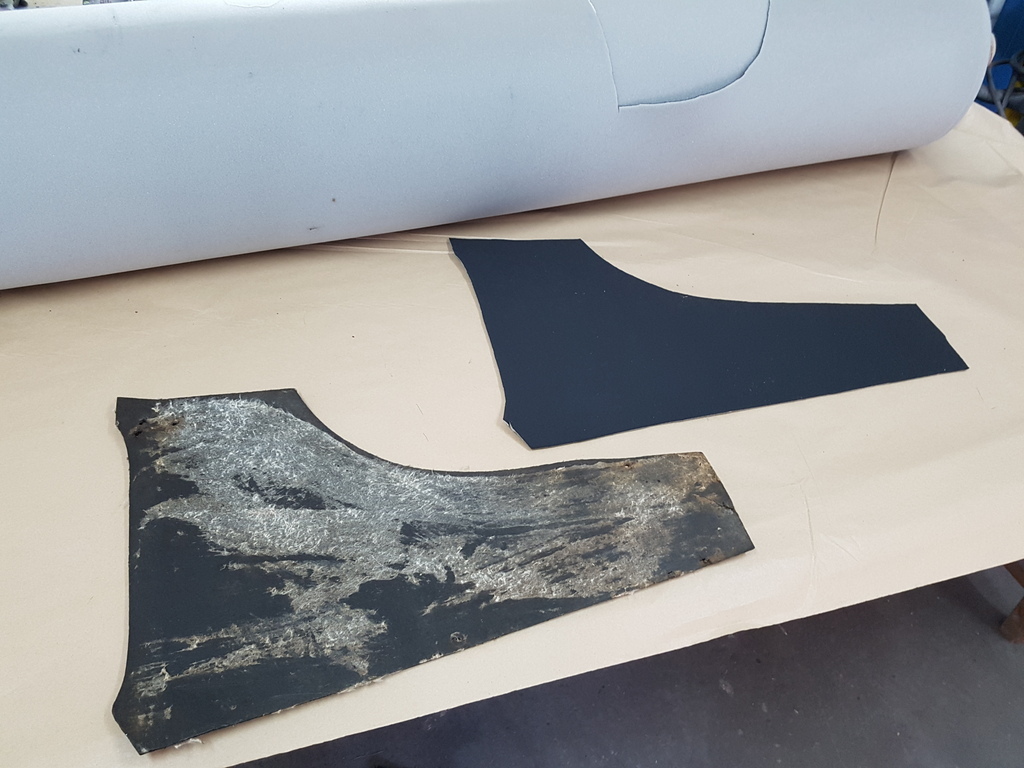 Then glued it to the panels with a aerosol contact adhesive 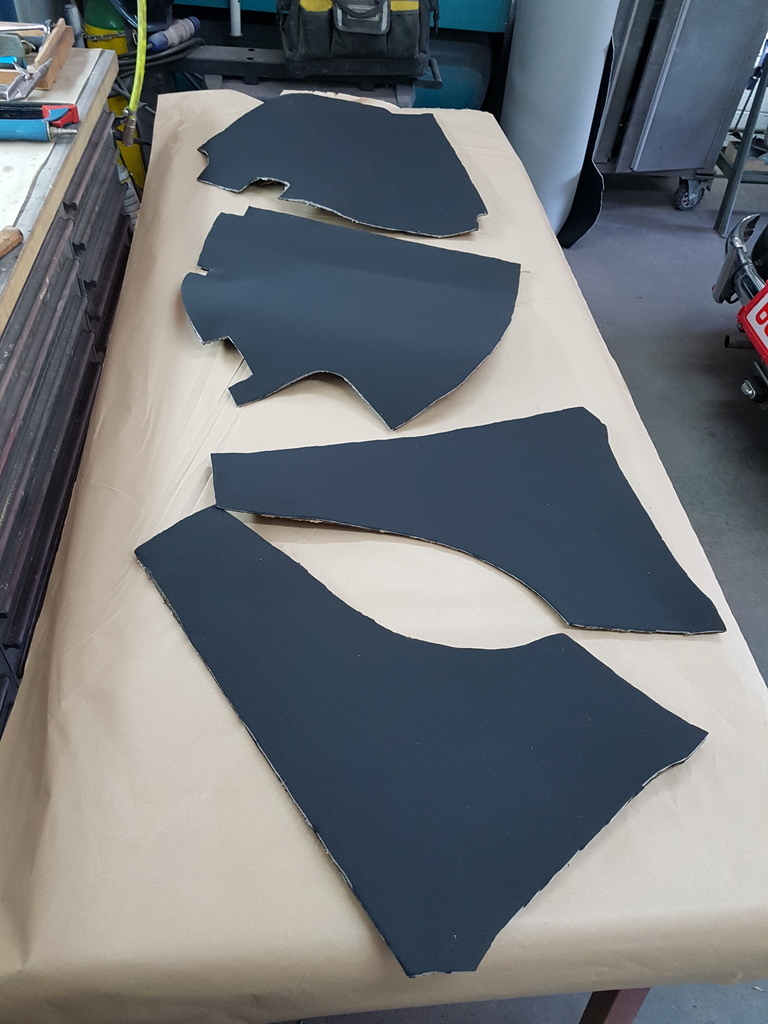 Then cut the vinyl to pattern - allowing plenty of overlap - then glued it to the scrim on the panel using the contact adhesive 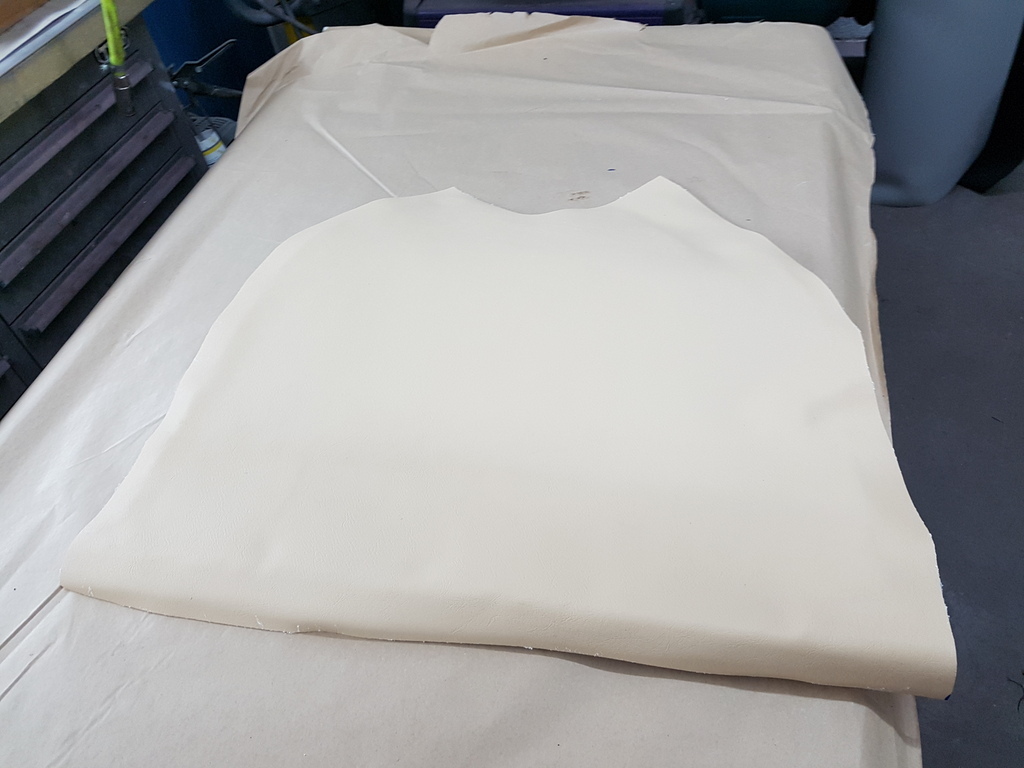 The overlaps on the underside were glued with a trimming glue that I brushed on 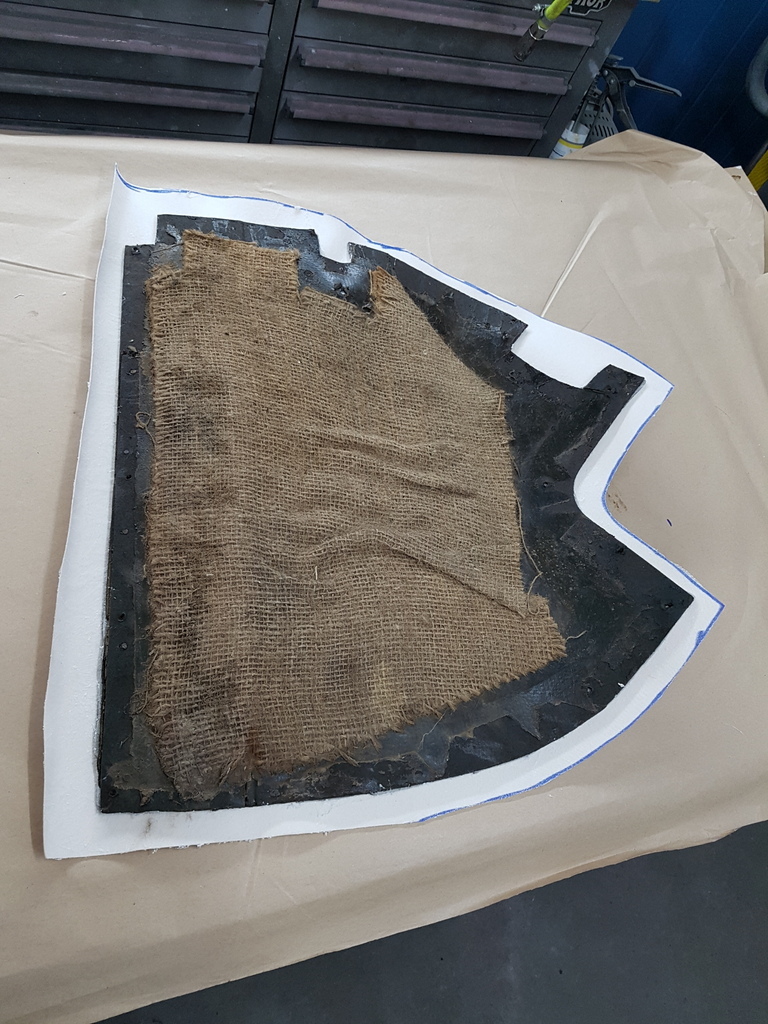 2 of the side trims completed & ready for refitting 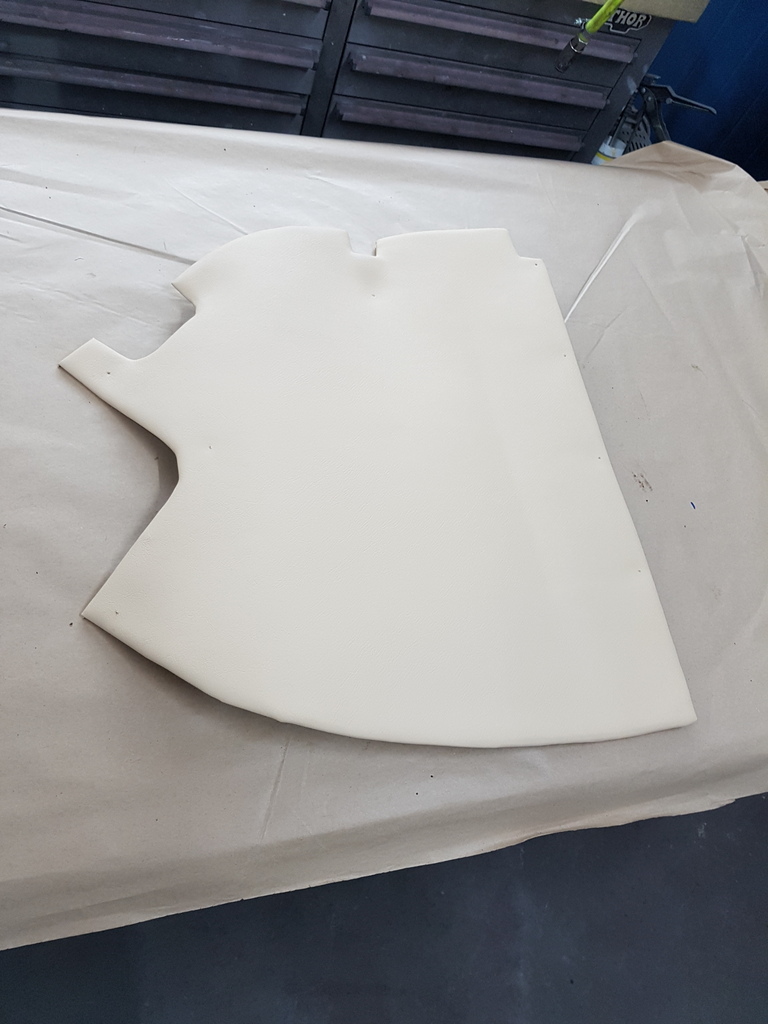 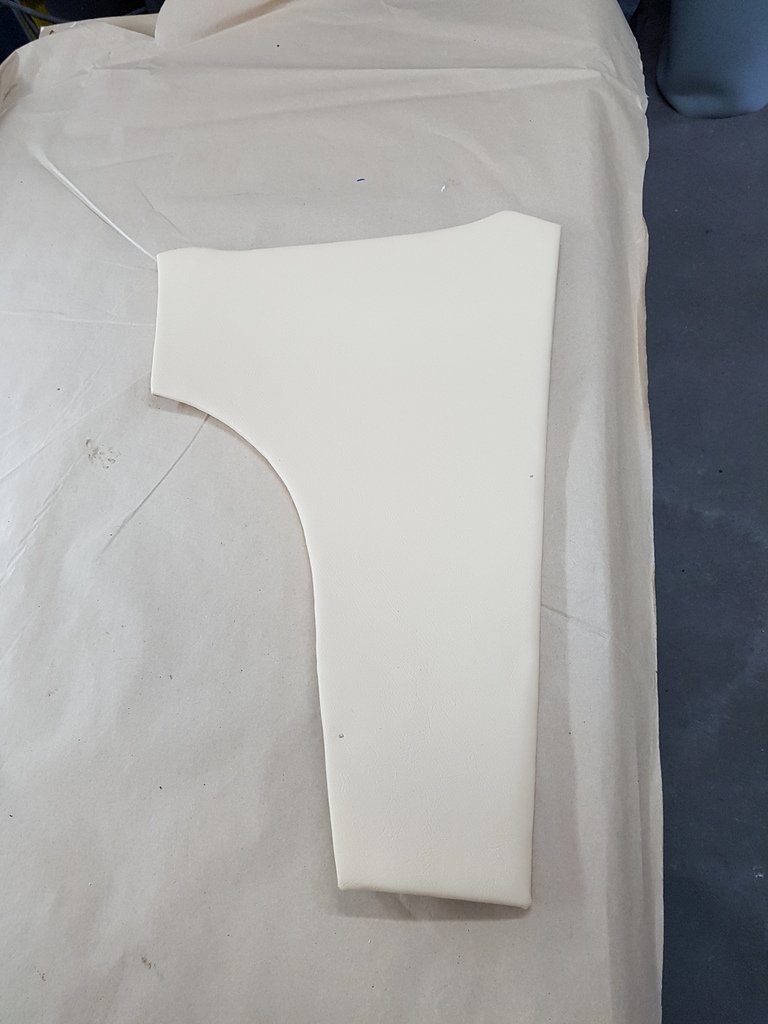 High temperature trim glue is must when doing vehicle interiors - use anything else but and the trim will fall apart has soon has the car gets warm 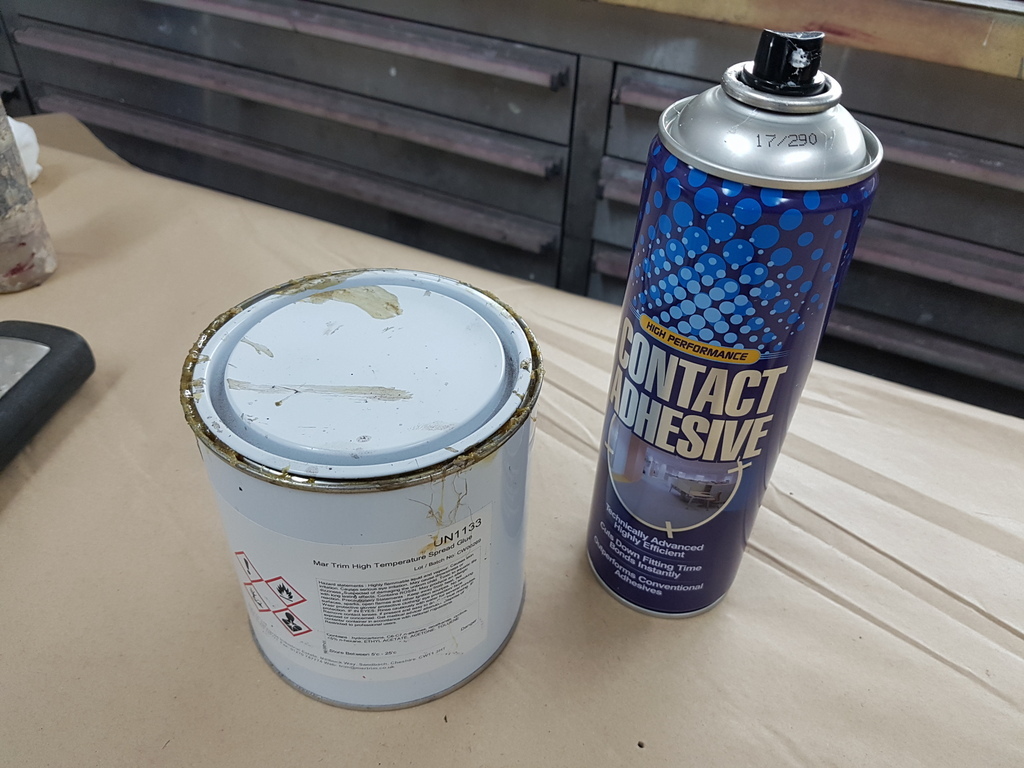 |
| |
Last Edit: May 14, 2018 22:13:24 GMT by Deleted
|
|
|
|
|
May 15, 2018 12:20:07 GMT
|
|
Did you fold the vinyl over and just stick it down?
Few clothes pegs overnight to hold it while the glue set.
Or did you staple it also?
|
| |
|
|
|
|
|
May 15, 2018 20:35:27 GMT
|
Did you fold the vinyl over and just stick it down? Few clothes pegs overnight to hold it while the glue set. Or did you staple it also? Just folded over on the underside - the trim glue that I use is very good - no need for staples or clamping |
| |
|
|
|
|
|
May 15, 2018 20:39:41 GMT
|
Managed to get another 2 of the side trims completed and then fitted 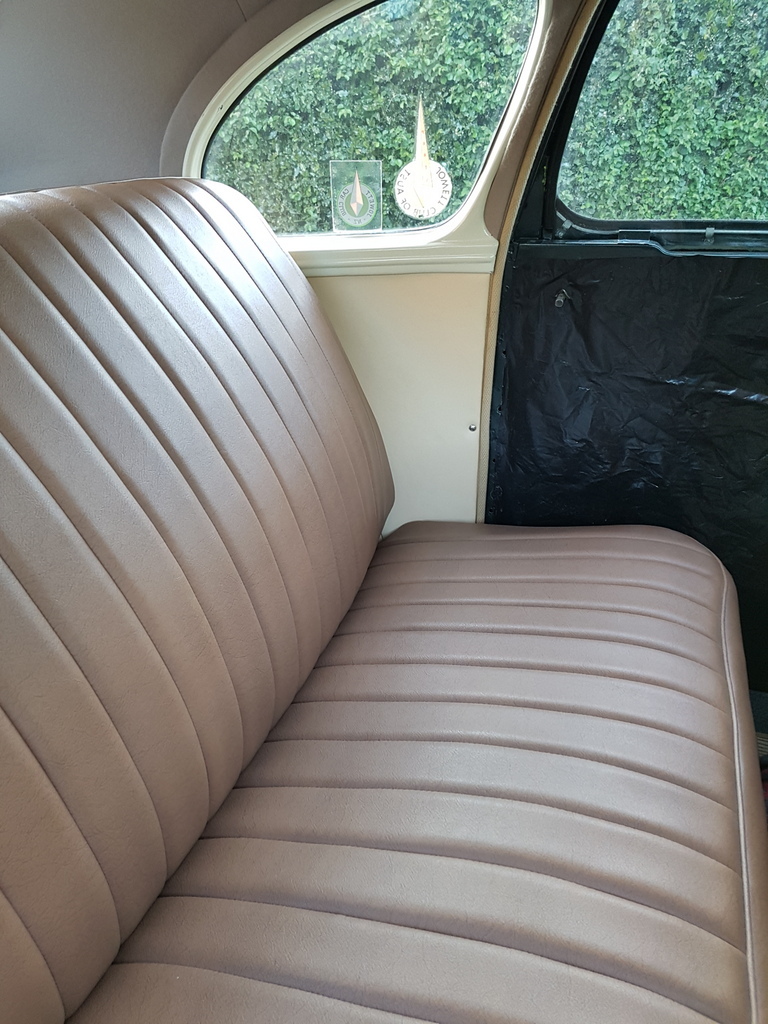 Rear trims in 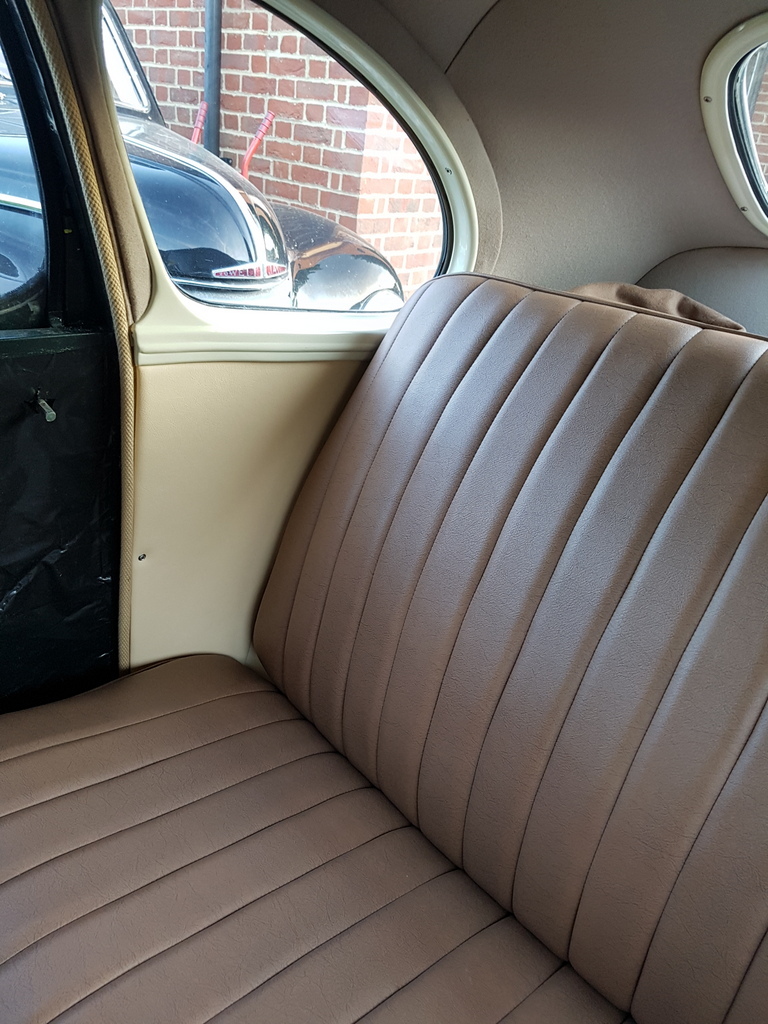 And the rear seat refitted 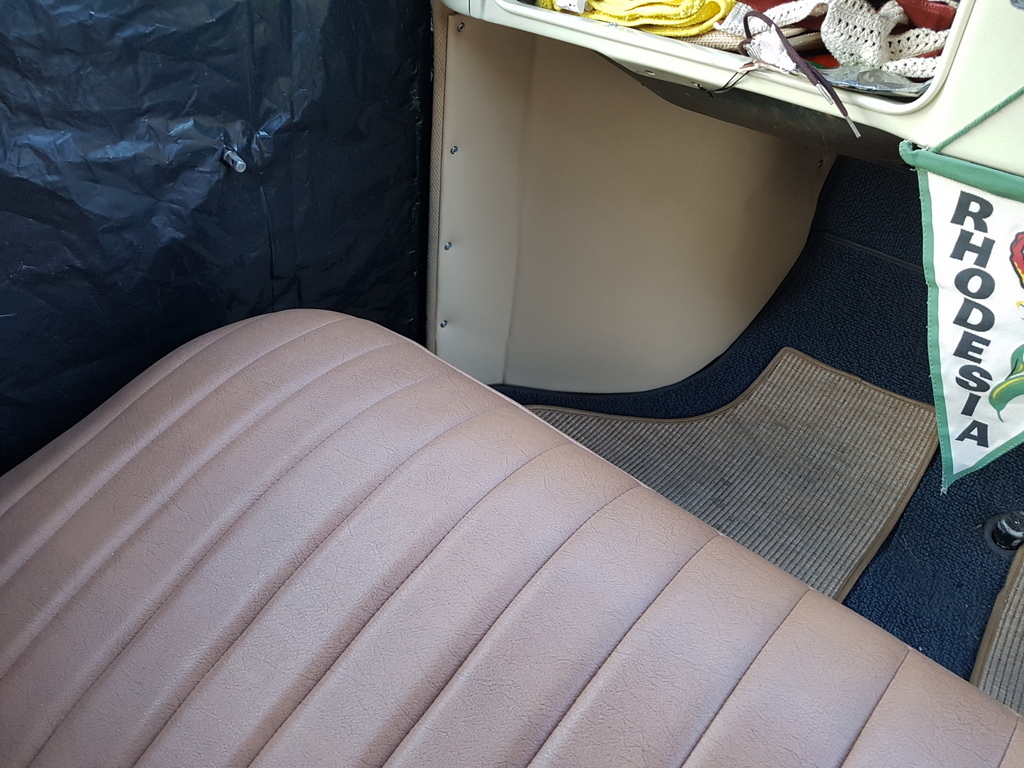 Front toe board / bulkhead trims fitted 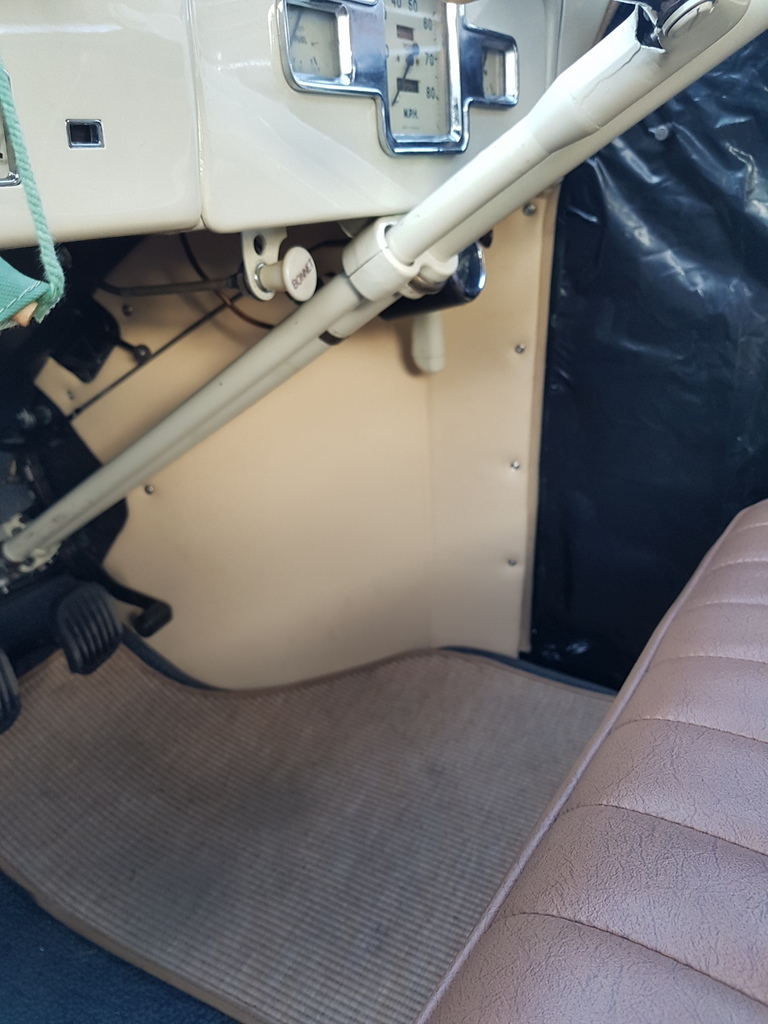 I will get the B post trims sorted tomorrow in-between lots of other things on other vehicles |
| |
|
|
|
|
|
May 15, 2018 21:14:31 GMT
|
|
what trim adhesive do you use Chris? links please?
|
| |
|
|
|
|
|
|
|
May 16, 2018 21:11:10 GMT
|
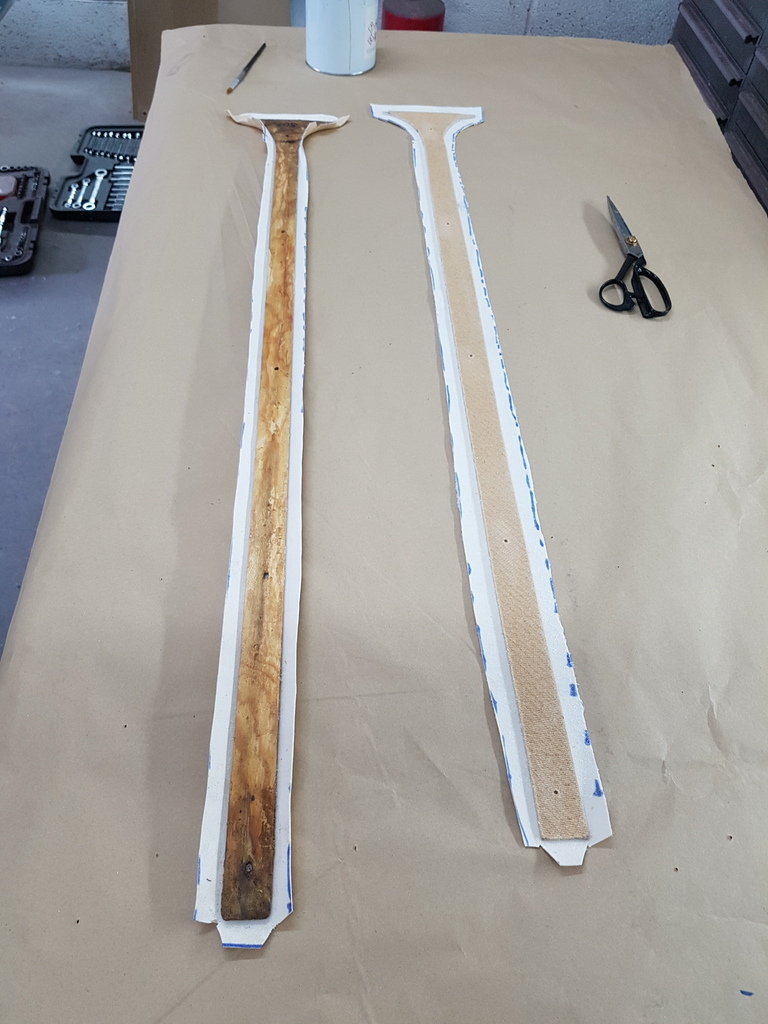 Recovered the B post trims 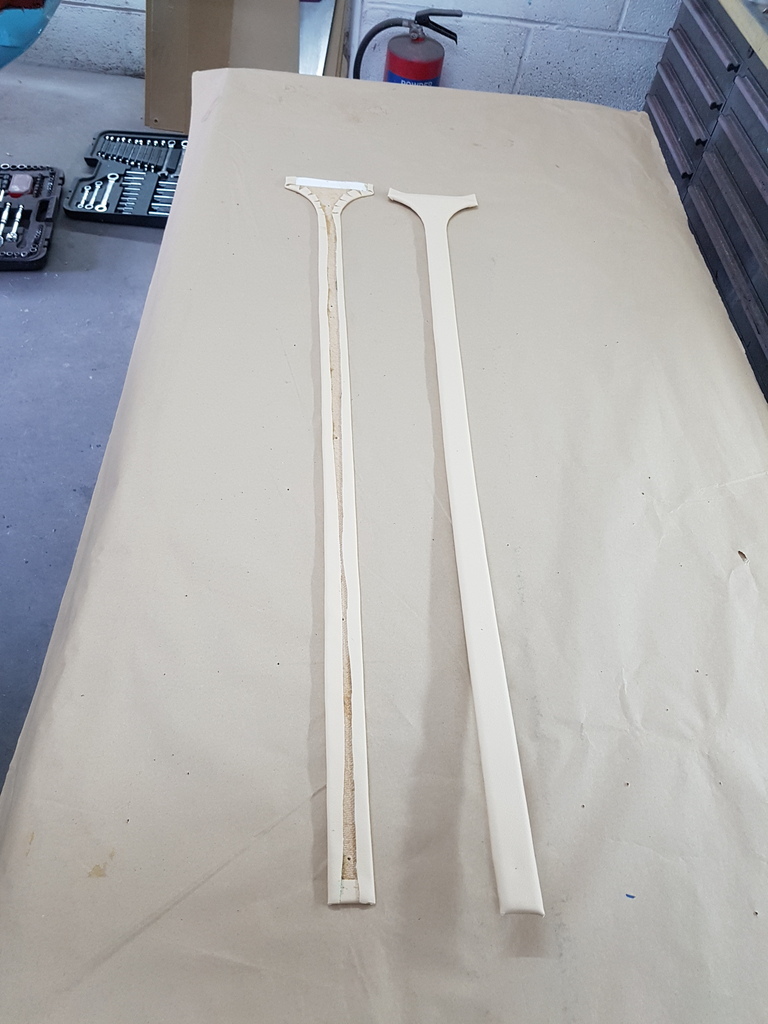 Then to sort the inset trims for the door cards 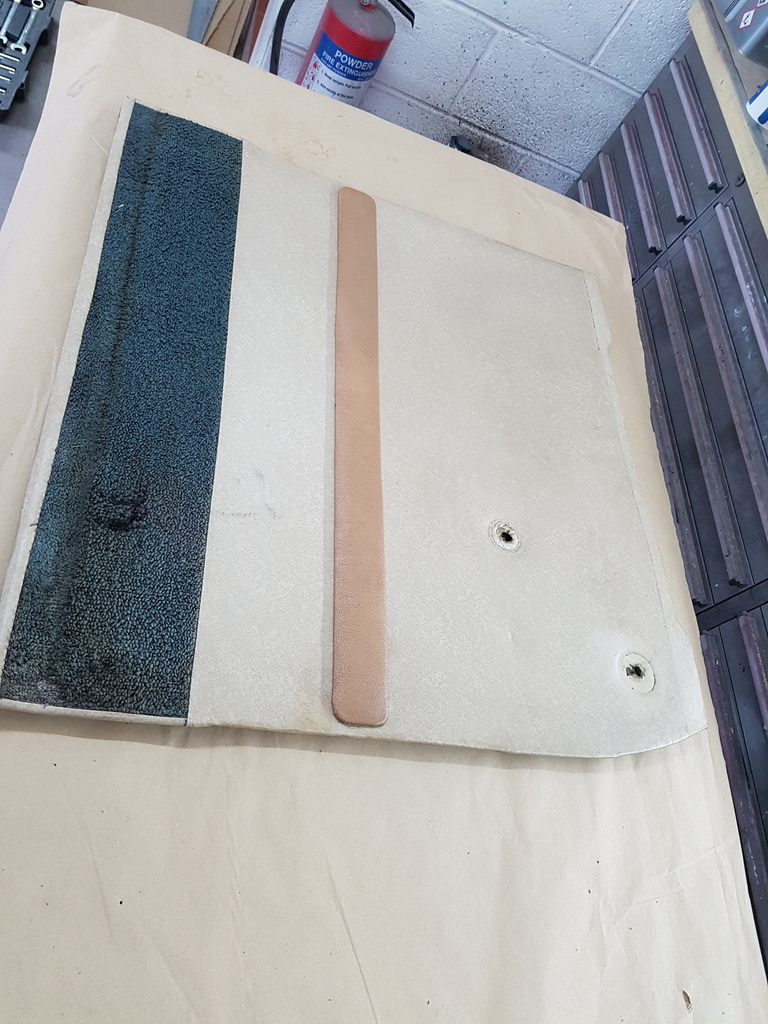 They are retained by metal tabs that travel through slots that will need to be cut into the door cards 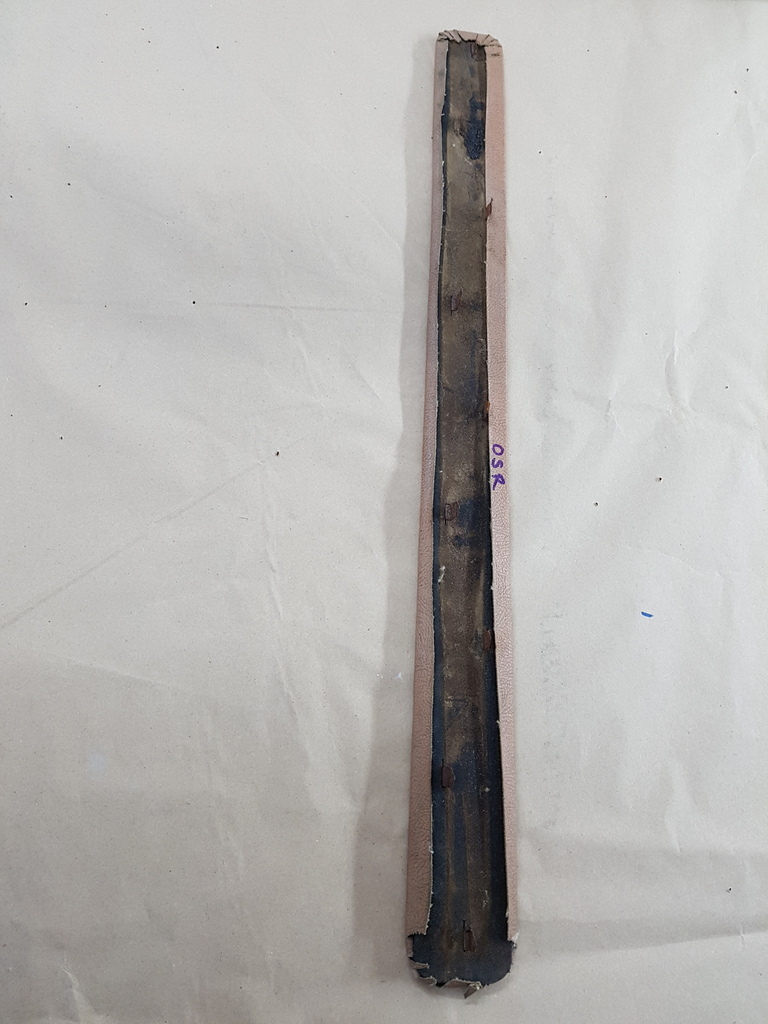 Old vinyl & scrim removed 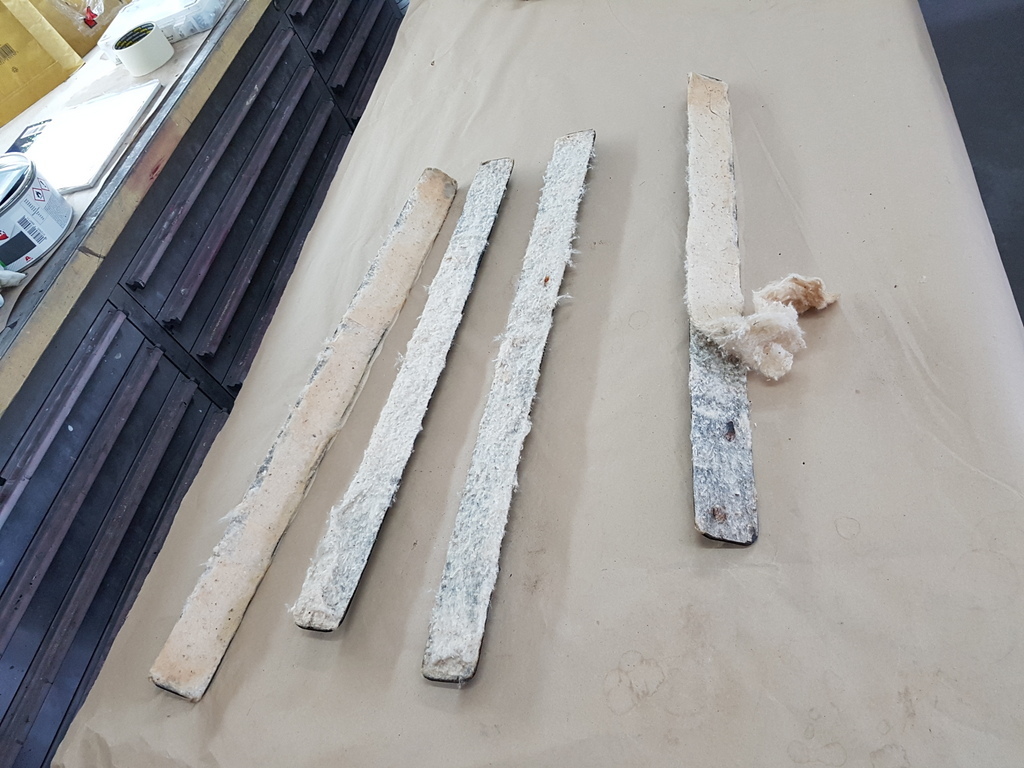 New 3mm sponge scrim glued to the original backings  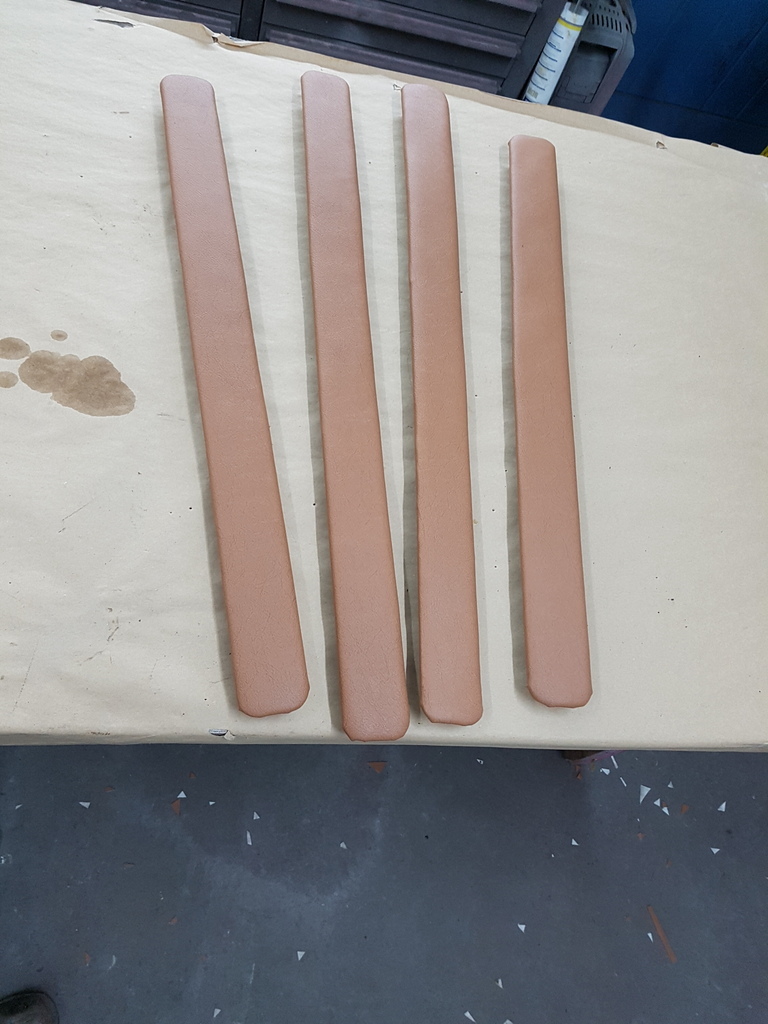 New vinyl cut, glued and finished - this colour now matches that of the seats that were recovered whilst the bodywork was being restored 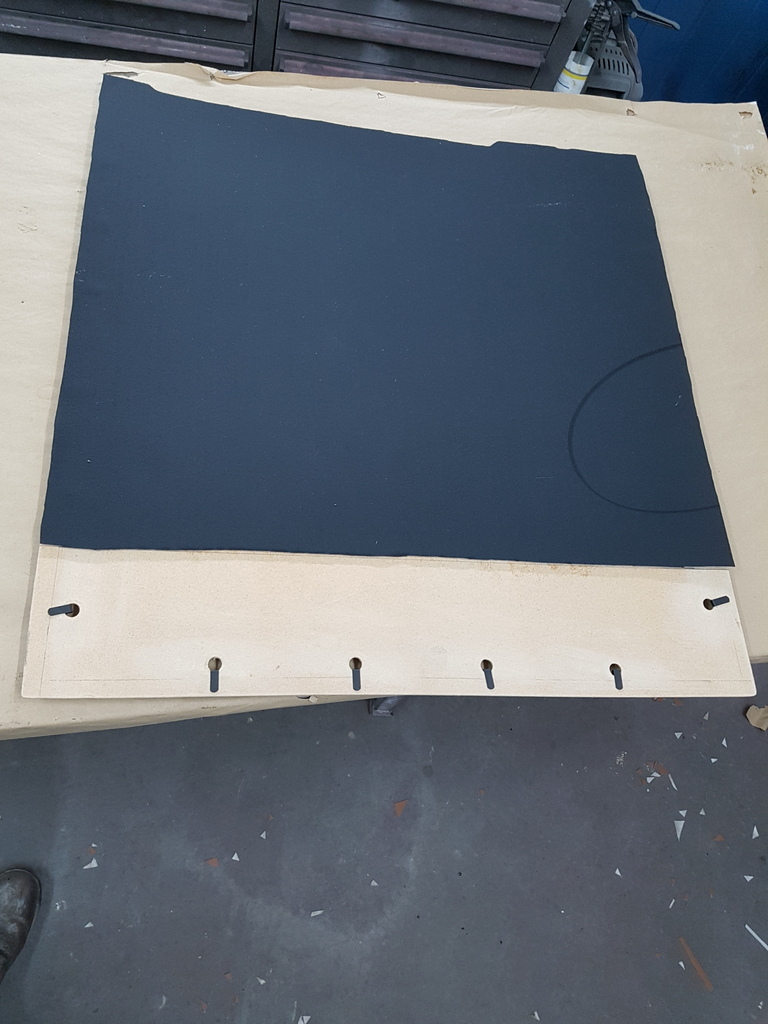 Door card set out and scrim glued to outer face 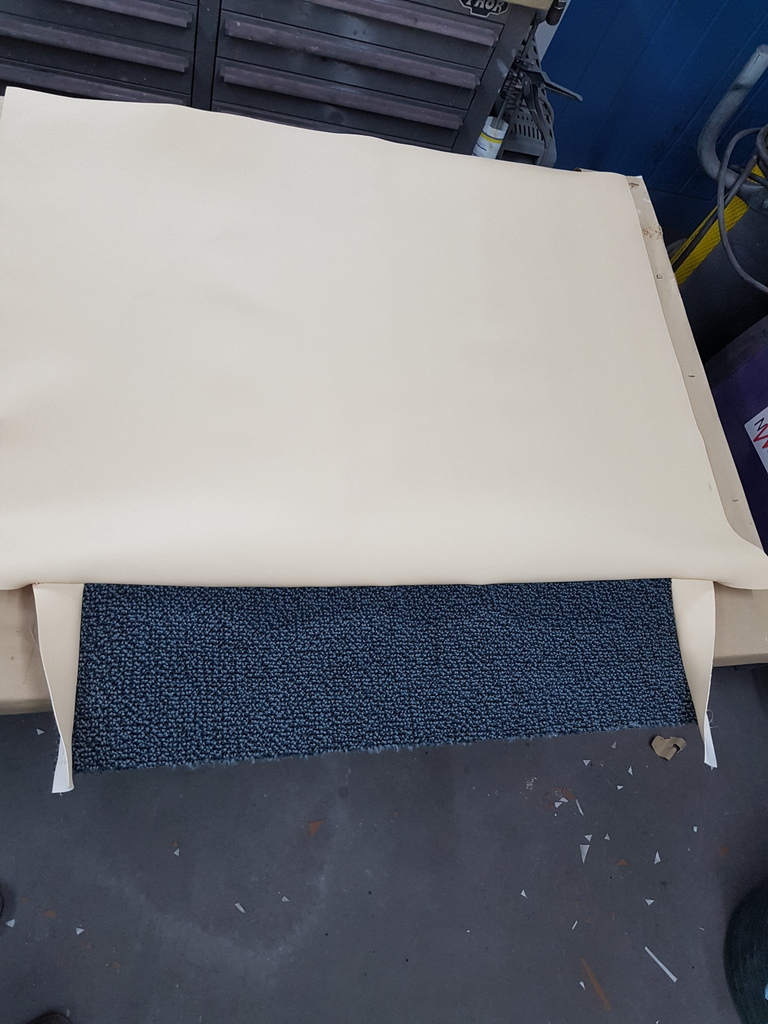 SWMBO had called at her studio after work and stitched the carpet to the vinyl for both the rear door cards 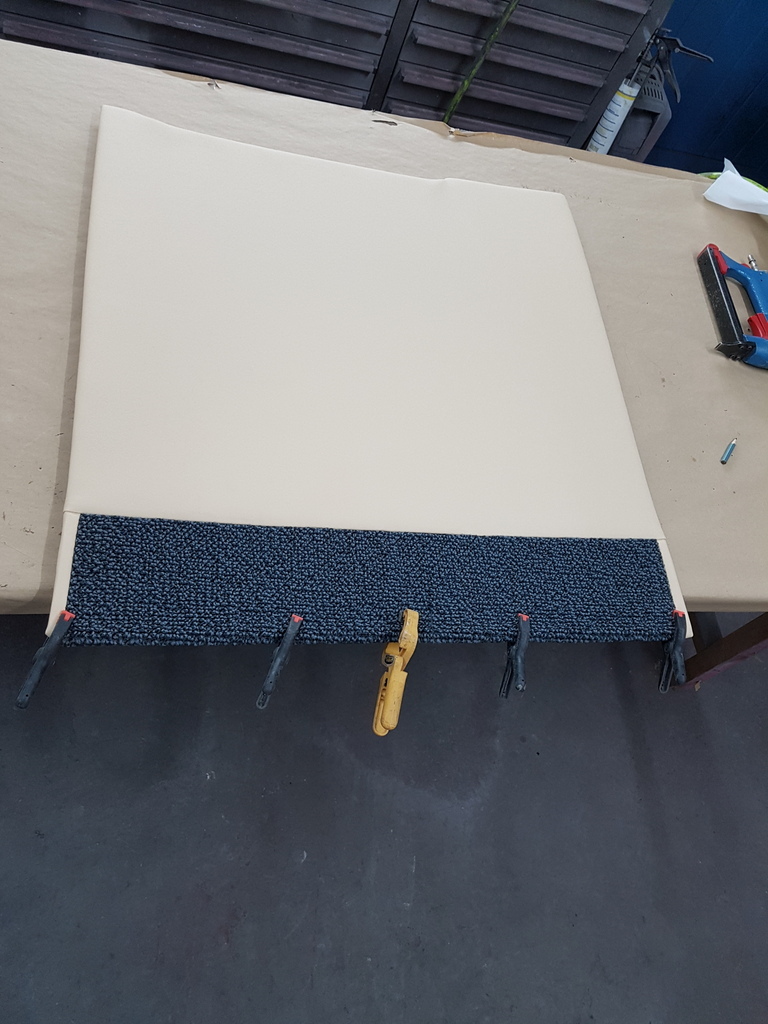 Some careful alignment, trimming, gluing & finishing later and the first one is starting come good 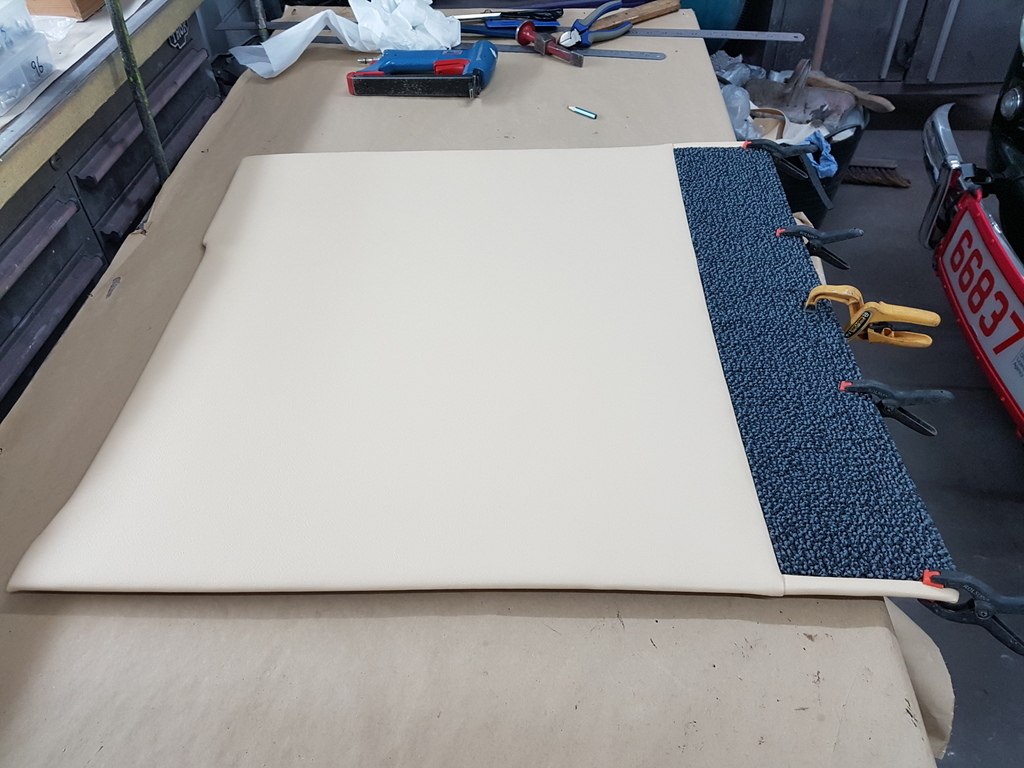 Still requires a bit more work plus the inset trim fitting & the holes for the door lock & window winder need cutting - I have some running around to do tomorrow but hopefully will further a little progress more with them |
| |
Last Edit: May 16, 2018 21:18:04 GMT by Deleted
|
|
jpr1977
Club Retro Rides Member
Posts: 656
Club RR Member Number: 18
Member is Online
|
|
May 16, 2018 22:01:31 GMT
|
The June edition of 'Practical Classics' pages 132 - 134 features myself, workshop & Javelin with a technical 'How To' on lead loading - this was undertaken 18 months ago but has now featured in the magazine whilst it continues with it's Bodywork Basics series Thought i recognized the flat cap as i flicked though the edition that had just landed on the doorstep over my wheatabix this morning... |
| |
|
|
|
|


