|
|
|
Jul 23, 2014 11:35:17 GMT
|
Final assembly of the structure continues....one piece at a time. Working on the wiper tray. Roof structure temporarily located. 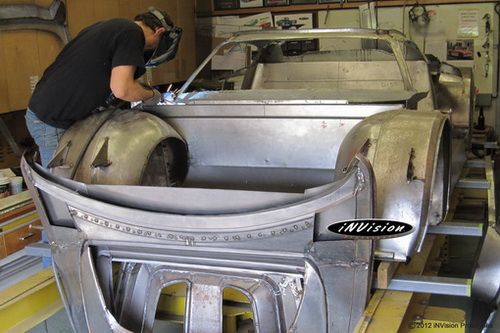 Attaching the body sides...temporarily. These will be removed after the body has been squared to the table. 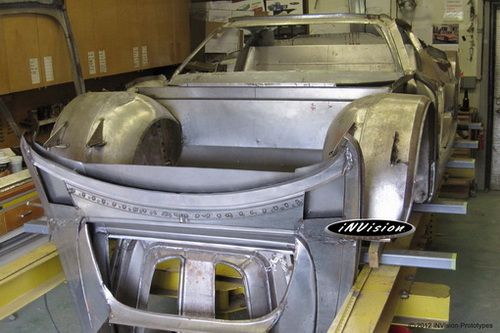 Squaring up the rear structure and drilling a multitude of holes soon to be plug welded. 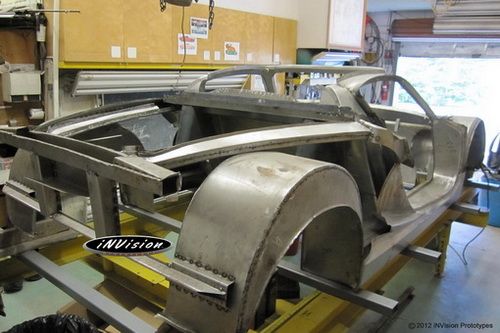 Rear trough pulled out yet again so panels can be welded. 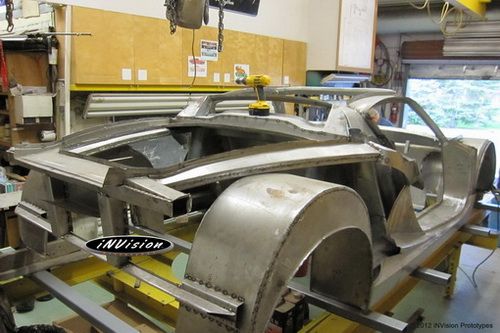 Rear moisture trough and rear window perimeter dropped in to help located other panels.  Rear trough reinstalled for final welding. 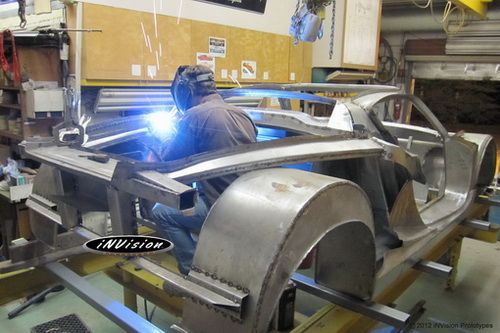 Earlier, the gas filler housing was formed and tacked. The time has come to complete the final welding on small parts such as these. 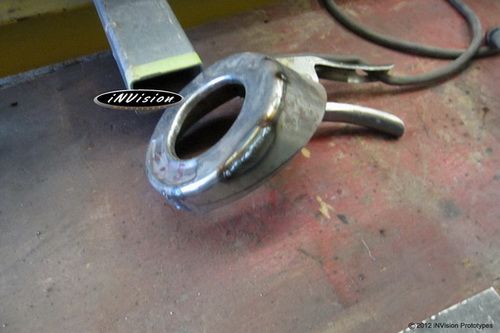 Welded up and ready for grinding. 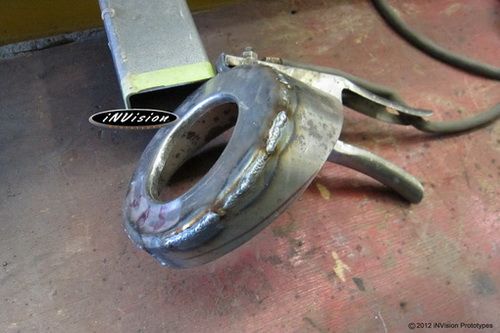 First pass with a course disk on the grinder takes down the weld pride. 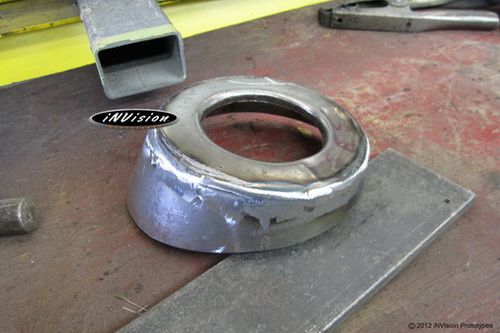 Second pass with the course disk. 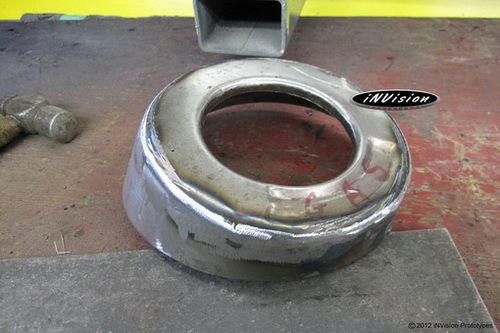 Gas filler housing smoothed out with a file and flap disk. Now to scribe and trim away the vertical flange for a perfect fit. 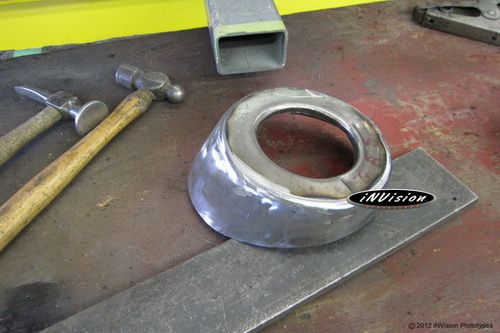 Have a great day and thanks for looking!  |
| |
|
|
|
|
Speedle
Posted a lot
   Need a Country Rock band in the Hampshire Area? https://www.facebook.com/DirtRoadDiaryUK
Posts: 2,221
|
|
Jul 23, 2014 14:49:21 GMT
|
Just epic! Love seeing updates on this! Thanks for taking the time to post all these detailed updates  If there is one thing we love here on RR it's pictures of epic fab work... and lots of em!  |
| |
|
|
|
|
eurogranada
Europe
To tinker or not to tinker, that is the question...
Posts: 2,556
|
|
|
|
|
I still get jealous everytime I check in on this thread. Mad skills...
|
| |
|
|
|
|
|
Aug 13, 2014 18:05:40 GMT
|
My Dad creating a part for R2. I've been his shadow ever since I could walk...following him around and always asking the question "why?". He always takes the time to explain how things work or how a solution can be approached and taught me everything I know.  Brother-in-law Steve designing templates for the rear structure. Basically the last pieces required before the structure goes into primer stage. 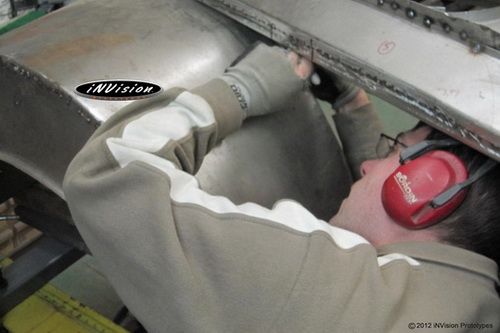 Steve did a great job fabricating and plug welding pieces for the rear structure. His fabrication skills have really developed since he started working with us on these projects. 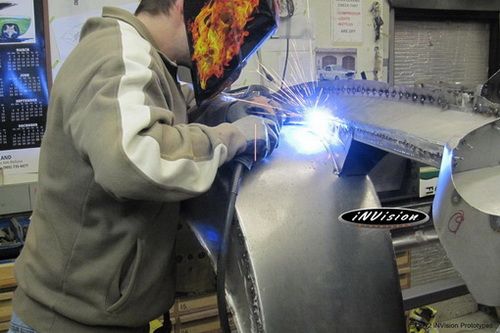 Final welding underway...  With the body sides temporarily located it was time to get the roof structure located.  Roof structure prepped to be welded. 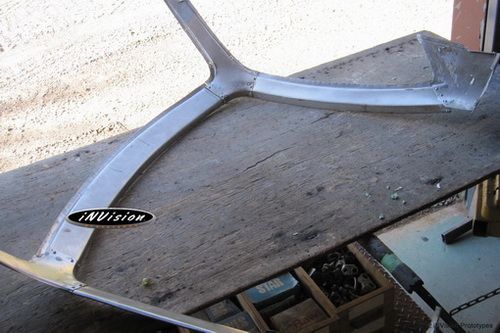 Roof structure in place tying together the front and rear firewalls and body sides. Time for some tacks to hold things in place. 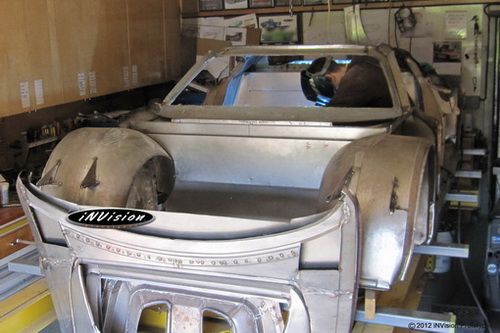 Sequentially moving around the body structure clamping joints together for plug welding. 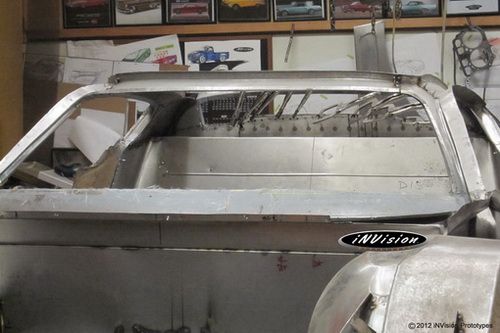 |
| |
|
|
|
|
|
Sept 15, 2014 15:23:20 GMT
|
Marking out the passenger side door jam for the hinge pocket. 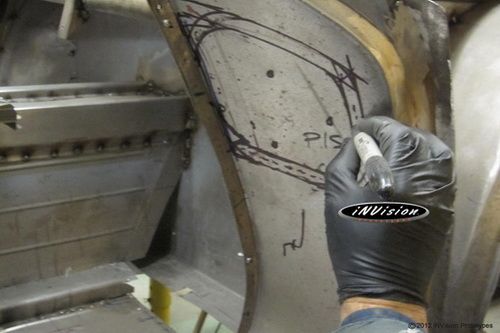 Keeping the zip disk on the inner black sharpie line the hole cut out nice and clean. 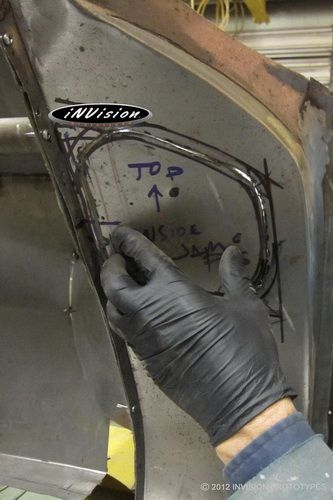 After de-burring the edges a little - this will be used as a template for the other side. 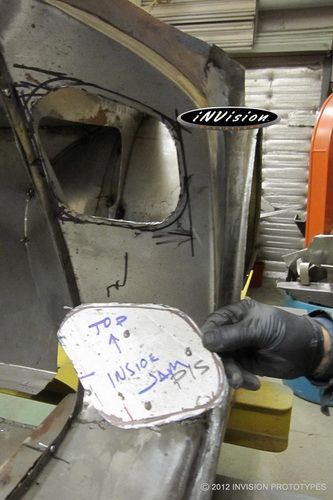 Piece from the passenger side flipped horizontally and traced.  Again, staying on the sharpie line, the hole is made.  Now it's time to make the hinge pocket. You'll see why we're going through all this once the hole for the hinge arm is created. 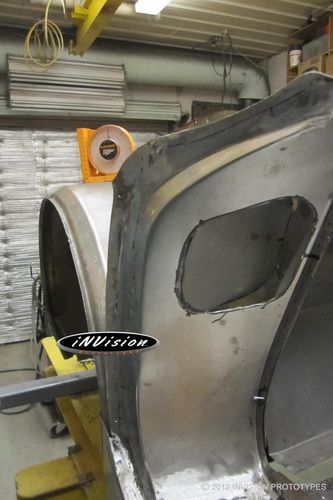 Welding continues on the rear hatch structure... 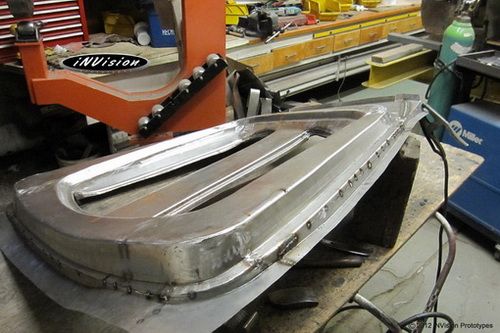 Cleaning up the welds 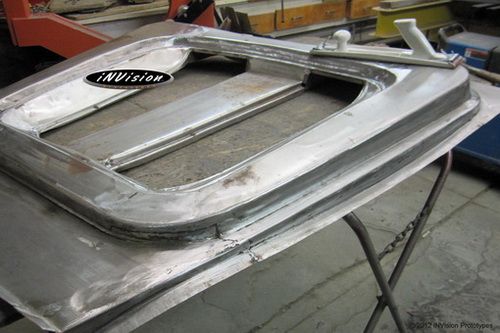 Running a long board over the panel with some course paper shows up the highs and lows in the metal. These areas can now be planished using on and off dollie techniques to bring up the low areas and lower the high areas.  |
| |
|
|
Copey
Posted a lot
  
Posts: 2,845
|
|
Sept 15, 2014 18:34:24 GMT
|
|
Holy curse word!!! Words escape me, simply awesome!!!
|
| |
1990 Ford Sierra Sapphire GLSi with 2.0 Zetec
1985 Ford Capri 3.0 (was a 2.0 Laser originally)
|
|
|
|
|
Sept 15, 2014 21:07:38 GMT
|
|
Thanks Bud!
|
| |
|
|
|
|
|
Sept 15, 2014 21:20:56 GMT
|
|
I think this may be my second time, but this is truly epic. Keep it up.
|
| |
|
|
|
|
|
Sept 16, 2014 7:51:09 GMT
|
Absolutely amazing standard of work. I wish you were a bit more local!!  |
| |
1974 Skoda S100 tarmac car
1998 BMW 750 daily
1994 Mitsubishi Evo2
|
|
|
|
|
|
|
Sept 16, 2014 11:37:33 GMT
|
|
Thanks very much Gents!
|
| |
|
|
|
|
|
Sept 16, 2014 11:47:07 GMT
|
|
Just fantastic !
|
| |
|
|
leegt
Part of things
 
Posts: 32 
|
|
Sept 16, 2014 11:54:25 GMT
|
|
Absolutely inspiring!!! Best build I'm following!!!! Big thumbs up
|
| |
|
|
|
|
|
Sept 17, 2014 11:20:57 GMT
|
|
Thanks guys!
|
| |
|
|
|
|
|
Sept 17, 2014 12:29:47 GMT
|
|
WOW!
|
| |
Remade In Australia
thereimaginarium.com.au
|
|
|
|
|
Oct 10, 2014 20:47:44 GMT
|
|
Any updates?!
|
| |
|
|
|
|
|
Oct 16, 2014 11:45:58 GMT
|
|
Hi Paul, Things have been crazy here at the shop with the roadster build as well as other projects. The work on R2 is moving forward but not as fast as even I like to do things. Thanks for your patience while I catch up this thread.
|
| |
|
|
|
|
|
Oct 16, 2014 12:03:38 GMT
|
Some progress on the door hinge brackets. The hinge bracket geometry can get a little tricky... 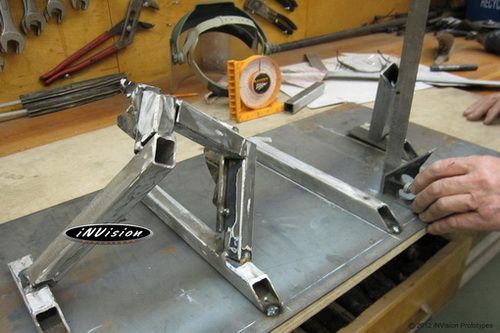 Translating dimensions to the second hinge. 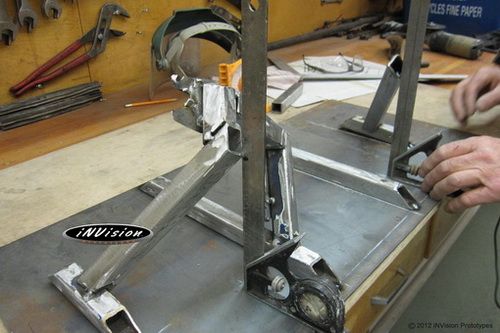 Cutting a few tacks to make adjustments on the hinge.  Work starts on the body’s rear structural webs…tying together the rear wall, rockers, wheel wells, and upper structure.  … 2 Per side - 4 webs in total 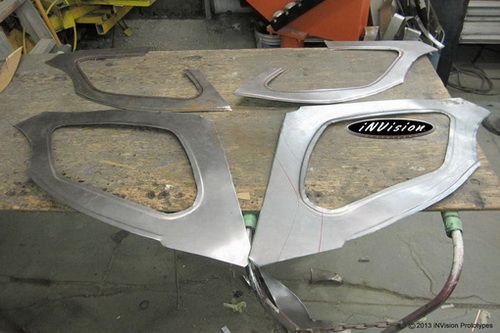 Passenger side webs mocked up so that the bridging pieces can be made. 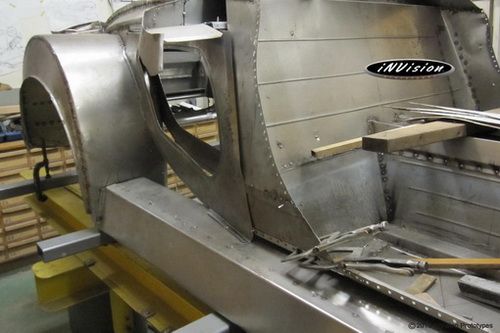 After the bridging templates are created they are transferred to sheet metal where appropriate flanges are marked out.  Offset flanges are created with the tipping wheel to allow the pieces to interconnect with each other. 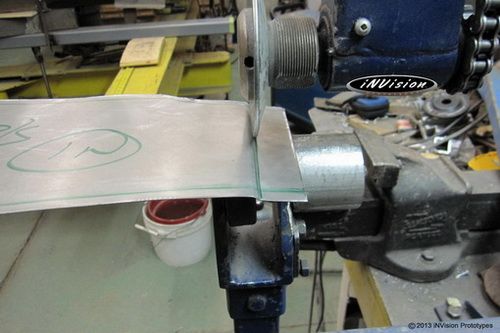 First pass though shapes the piece…second pass through will smooth out the highlight reflection… 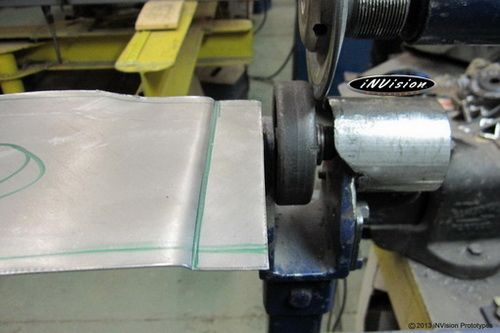 Lower wheel is changed to a skateboard wheel to create the side flanges. 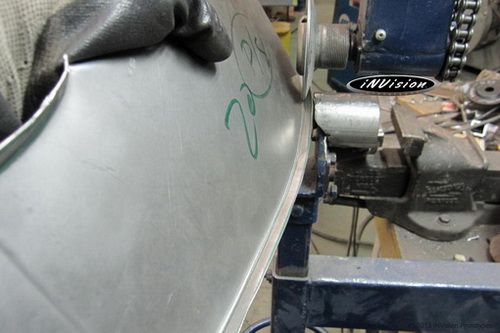 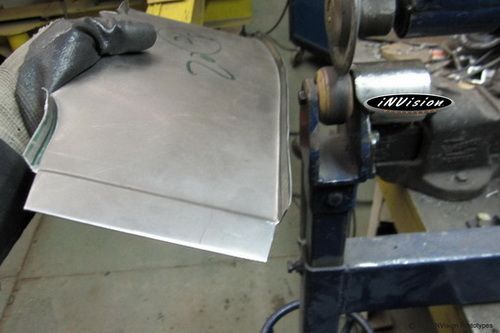 Once all the pieces are run through the tipping wheel they are put into the shrinker/stretchers to bend them into their appropriate locations. 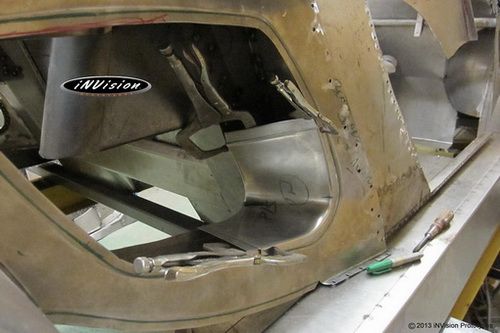 After about 30 minutes or shrinking/stretching the pieces are in place… ready for final tweaking to smooth out any deviations in the corner highlight and welded. 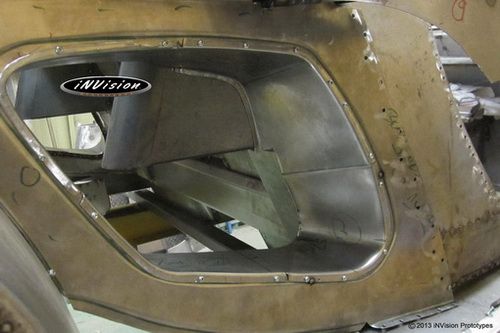 Pieces are removed, tweaked, plug holes created and welded together…except for the top allowing the part to be inserted.  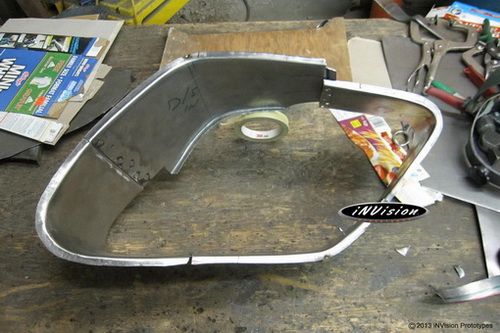 All the welds are smoothed out. 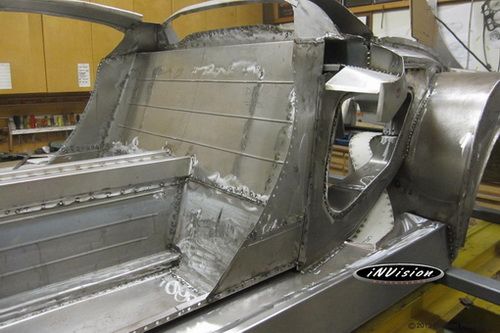 Taking a break from grinding the structure - making another list for details that still need to be finished before primer is applied. 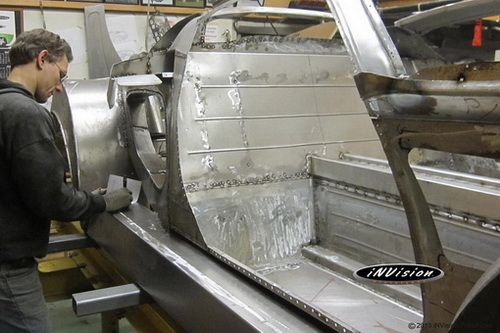 The body is really starting to take shape – even though it’s only the structure. It'll be a shame to cover all this fabrication up with the exterior panels.  Thanks for checking things out. Hope to post some more pictures soon. |
| |
|
|
phil1380
East Midlands
Only the depth varies........
Posts: 52
|
|
Oct 16, 2014 15:03:26 GMT
|
|
Good to see some CAD (i.e. Cardboard aided design) work going on here !!
And as per many previous comments I'm in awe of your skills. I can't wait to see the finished article, but I don't want to rush you lol !!
Phil.
|
| |
|
|
|
|
|
Oct 16, 2014 17:13:07 GMT
|
|
Do you use this version of CAD hardware as well?
|
| |
|
|
|
|


