|
|
|
Oct 28, 2023 16:12:03 GMT
|
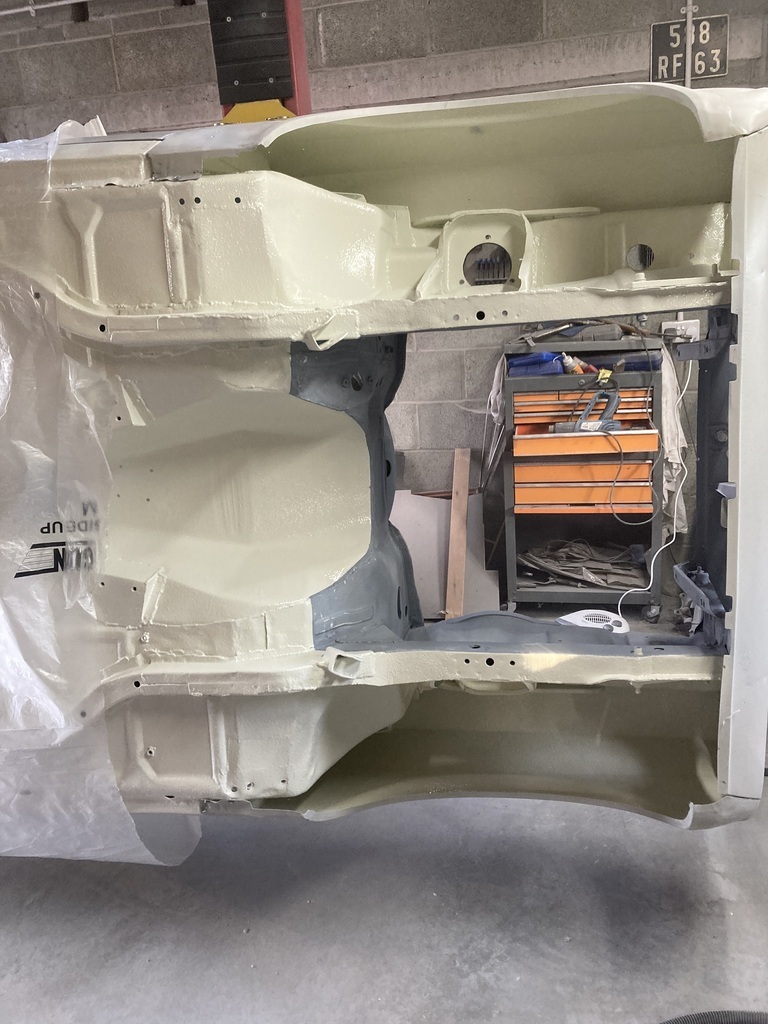
I’m working tomorrow, so I got a few hours in today. I thought I would make a start in the engine bay. Due to being pretty lazy, when I stone chipped the underside, I didn’t mask up the engine bay. It inevitably got splattered in some stone chip. Not a lot, but I wanted to get it off. 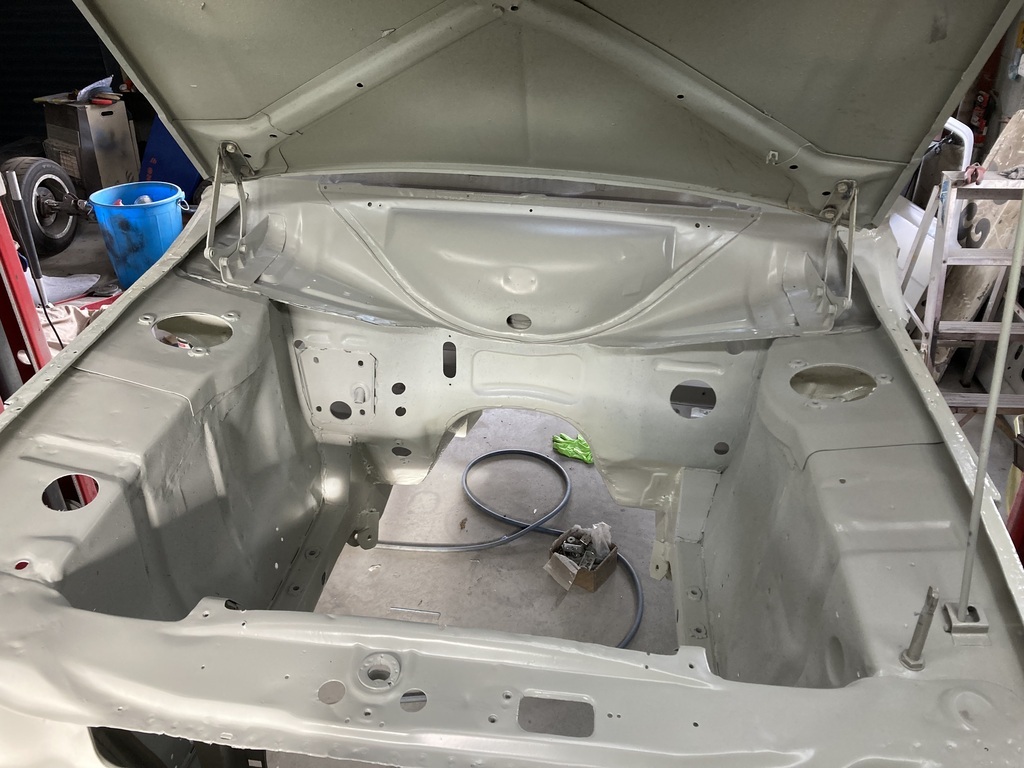 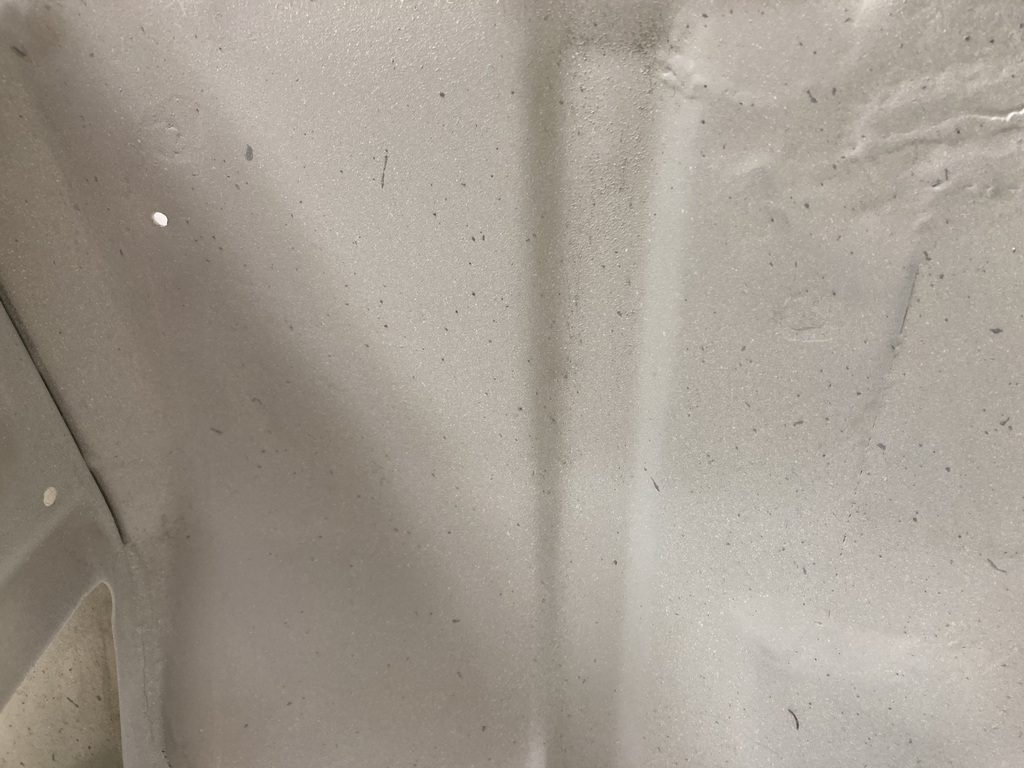 I thought I would attack it with the DA sander and some 80 grit, but it did not even touch it. I started to panic, thinking this is going to be a complete nightmare. I then realised I had not actually put a sanding disc on the sander. It worked a lot better after that. After what seemed like an eternity (probably 30 mins), it looked like this 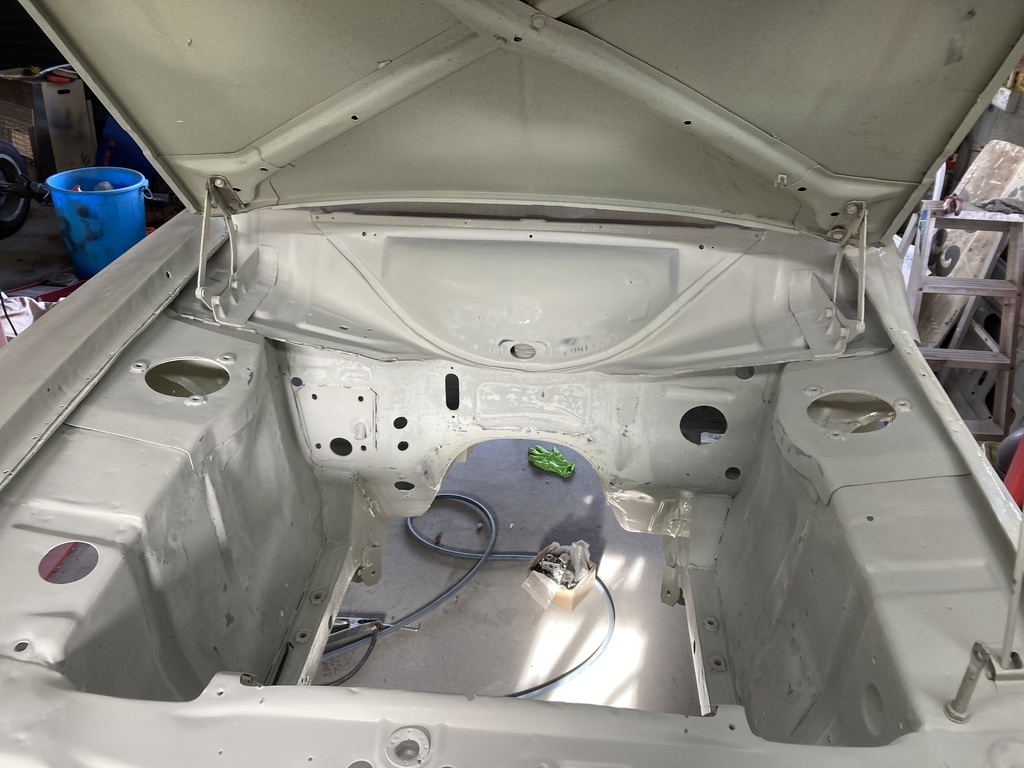 I then realised that after adding filler to the lumpy bits I would need some primer, and I didn’t have any. So I changed tack and decided to mount the wings to the shell instead. It appears I have not taken many photos of this. The tops got riveted to the inner wings. One rivet snapped half way up and needed grinding off 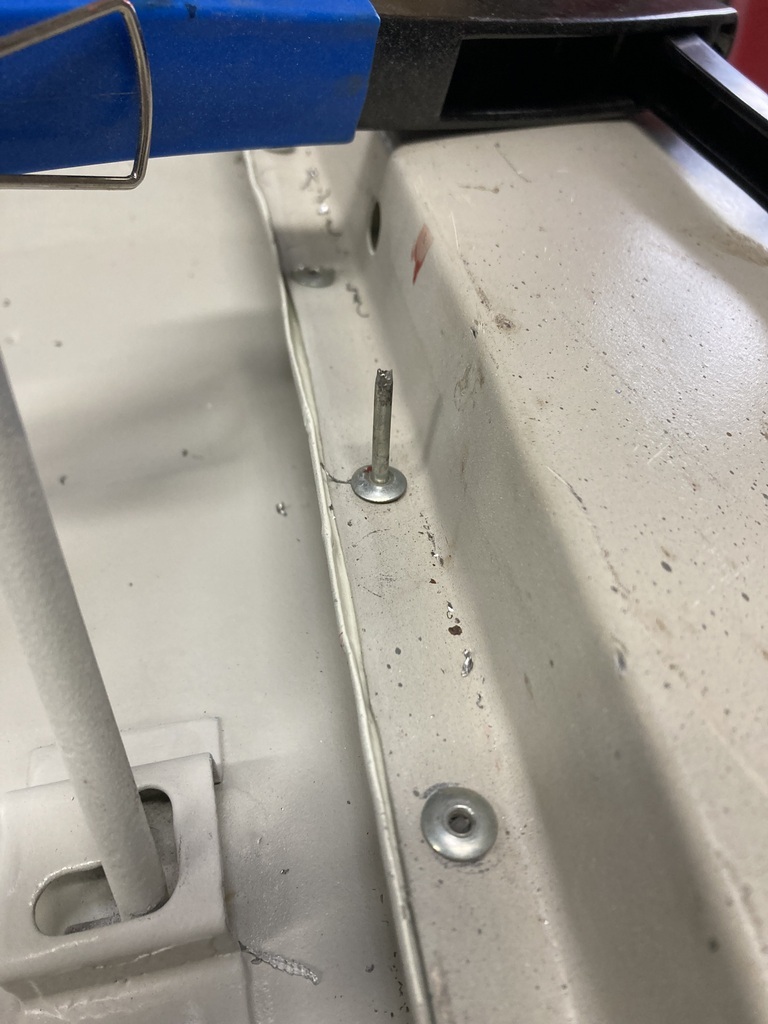 The fronts got bolted to the front panel. I’d bought some new m6 spire clips for this but there was not enough room to fit them. So the clip bit got cut off and just the thread bit used 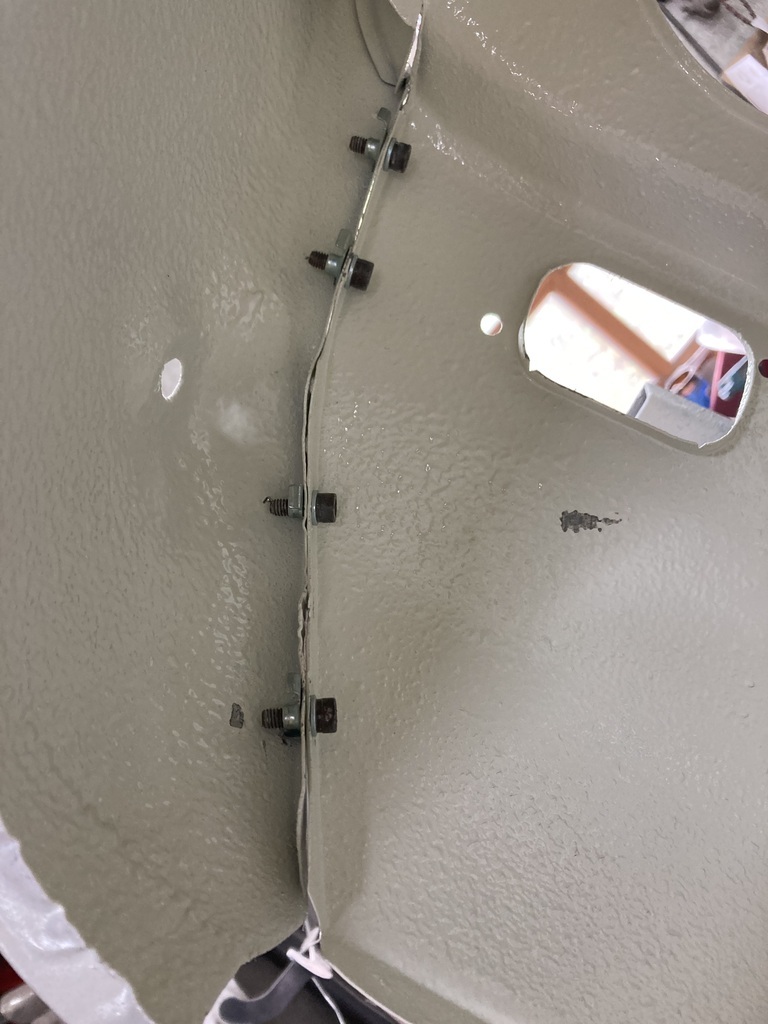 The holes I had drilled previously didn’t line up so I had to use this combo to redrill them 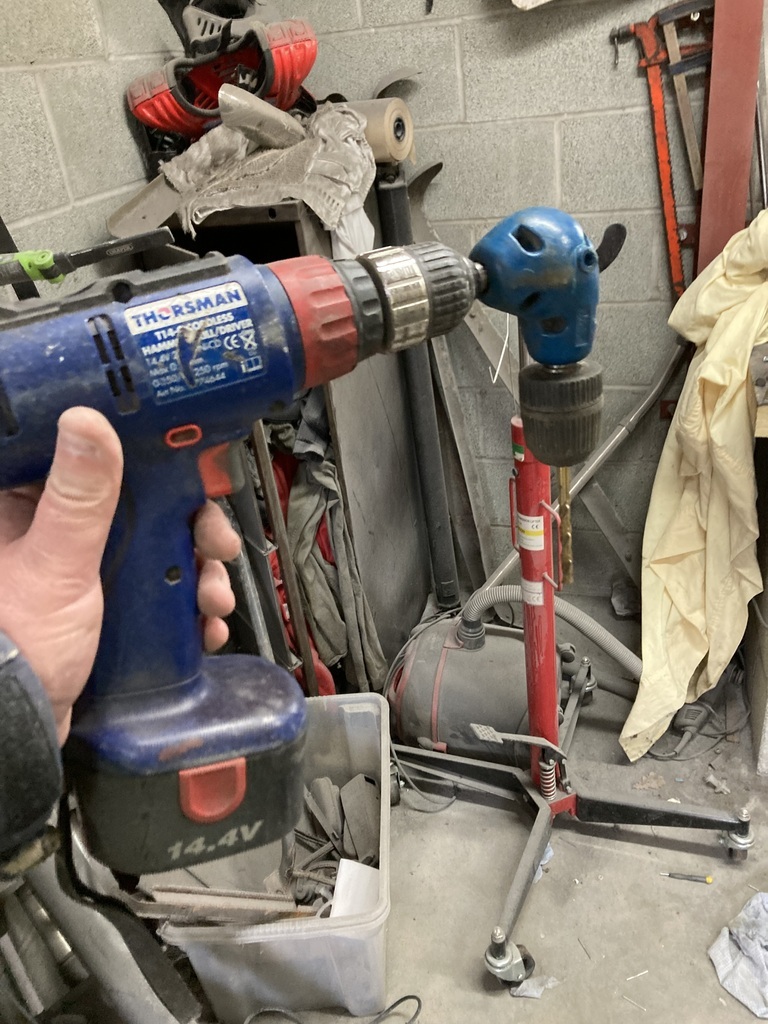 With the inevitable damage to the paint😩. I’ll touch it in with a brush. It’s only the bottom of a rally car after all. The other side only got three bolts as the bit of the flange where the 4th bolt goes has, at some point, ripped off. Never mind, three will do. 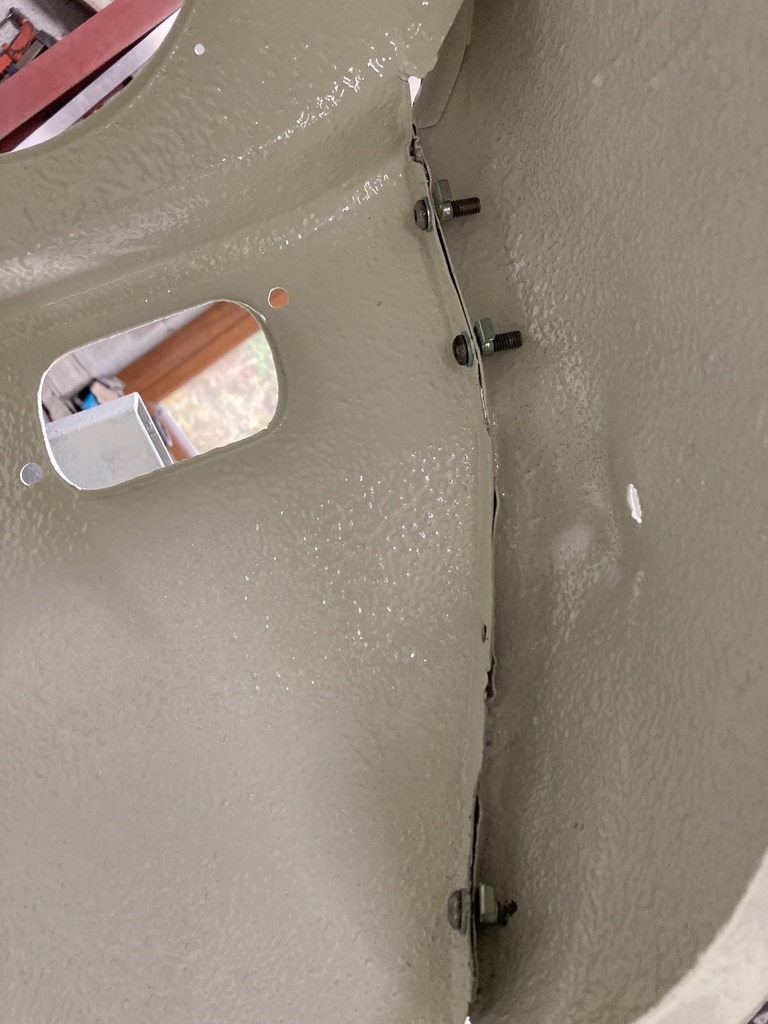 The headlamp sections got riveted too 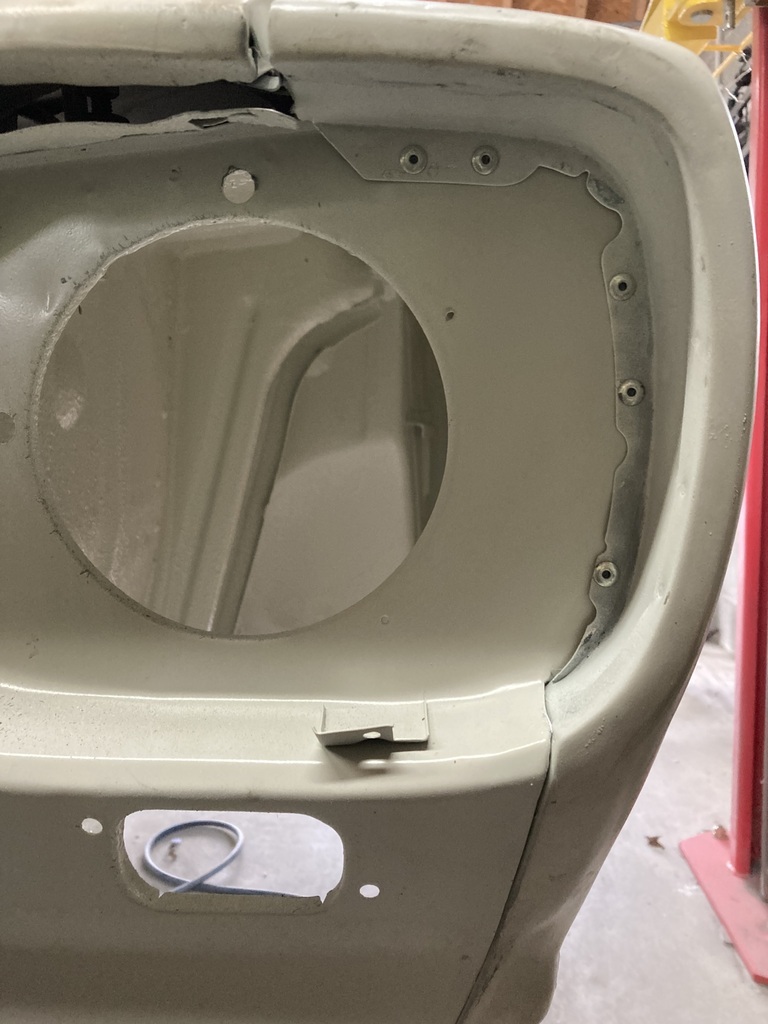 Passenger side gap, ok. 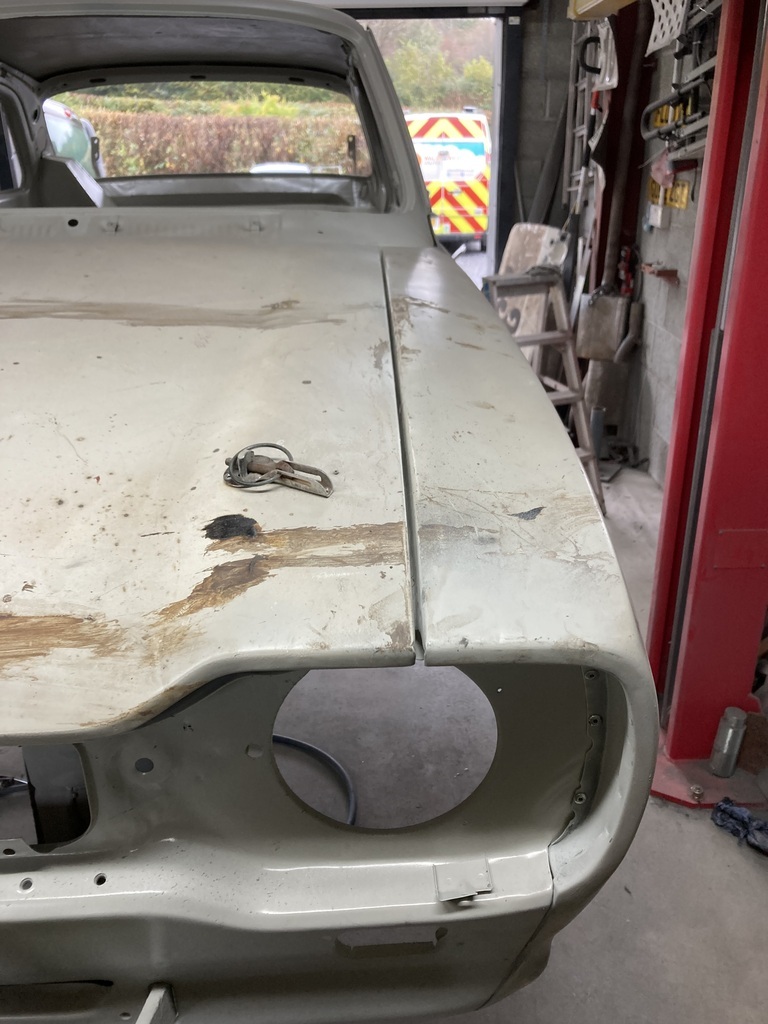 Driver side gap, somehow is too wide at the front for about 3” 😡 I don’t know how. I’d previously cut and shut this. Perhaps the wing is sitting different now it’s all fitted up, rather than just being held on with one screw either end. 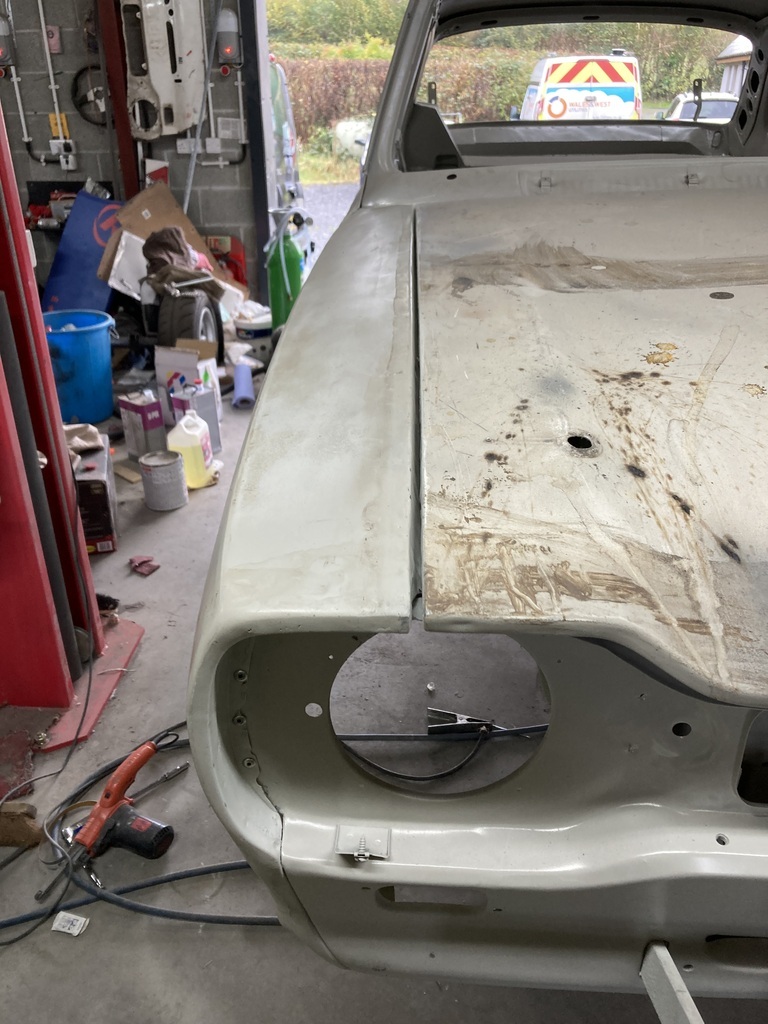 I don’t know whether to cut and shut it again, or just body fill it as it’s only a couple of mm. I’ll think about it. And finally a couple of shots with wings and doors on 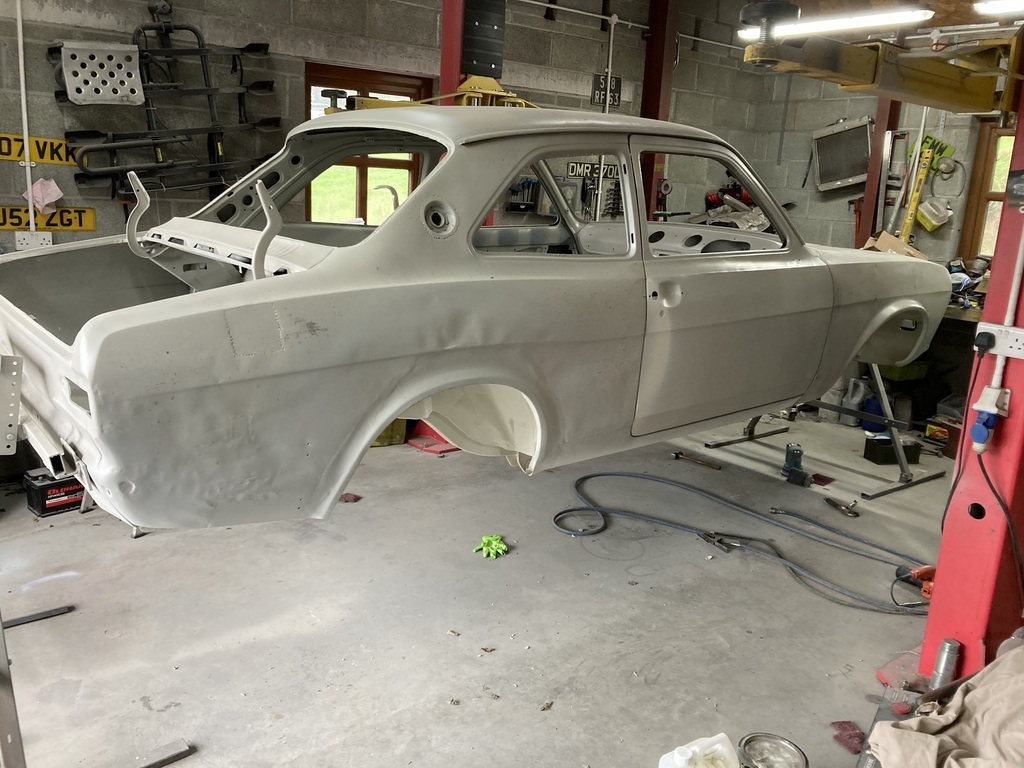 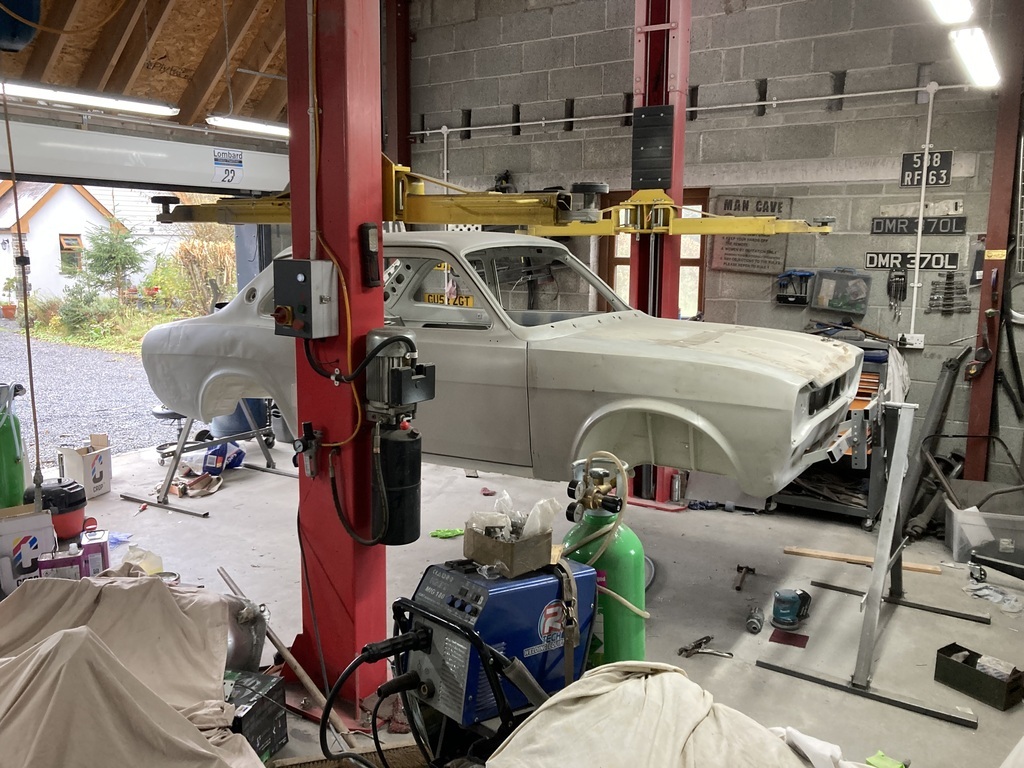 |
| |
|
|
|
|
|
|
|
Oct 28, 2023 16:39:42 GMT
|
|
If you took the rivets out of the headlamp panel and down the wing top would it nudge back over? have to say "rally car" I wouldn't worry!
|
| |
|
|
|
|
|
Oct 28, 2023 16:47:42 GMT
|
If you took the rivets out of the headlamp panel and down the wing top would it nudge back over? have to say "rally car" I wouldn't worry! It is literally the last 3” where I’ve cut it. The rest is good. I’m an idiot. |
| |
|
|
|
|
|
|
|
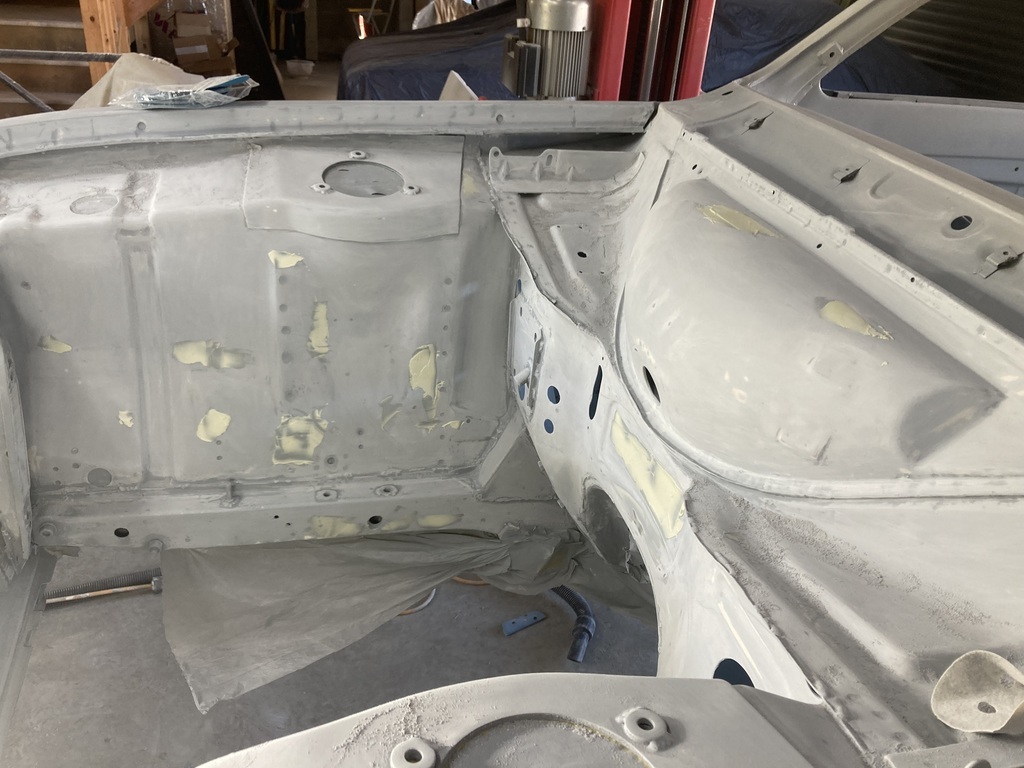
Another thing I’ve been dreading after painting the underside, is body filling over some of the scabby looking bits in the engine bay. When I bought the car back in 97, it had a pair of strut top replacement panel’s welded on each inner wing. The whole panel, which covers more than half the top of the inner wings, had been badly welded on over all the rust. So I cut them off back in 2007 and fitted new panels, cut down to size. Where the old panel was welded on is now all lumpy so I wanted to filler everything to look neat. I’ve not touched any body filler for over 25 years. I hate doing this sort of thing and have no desire to learn how to do it properly. It appears to me to be an expensive way to turn a paste in to dust. But it needn’t be expensive as I have a nearly full tub of body filler already. 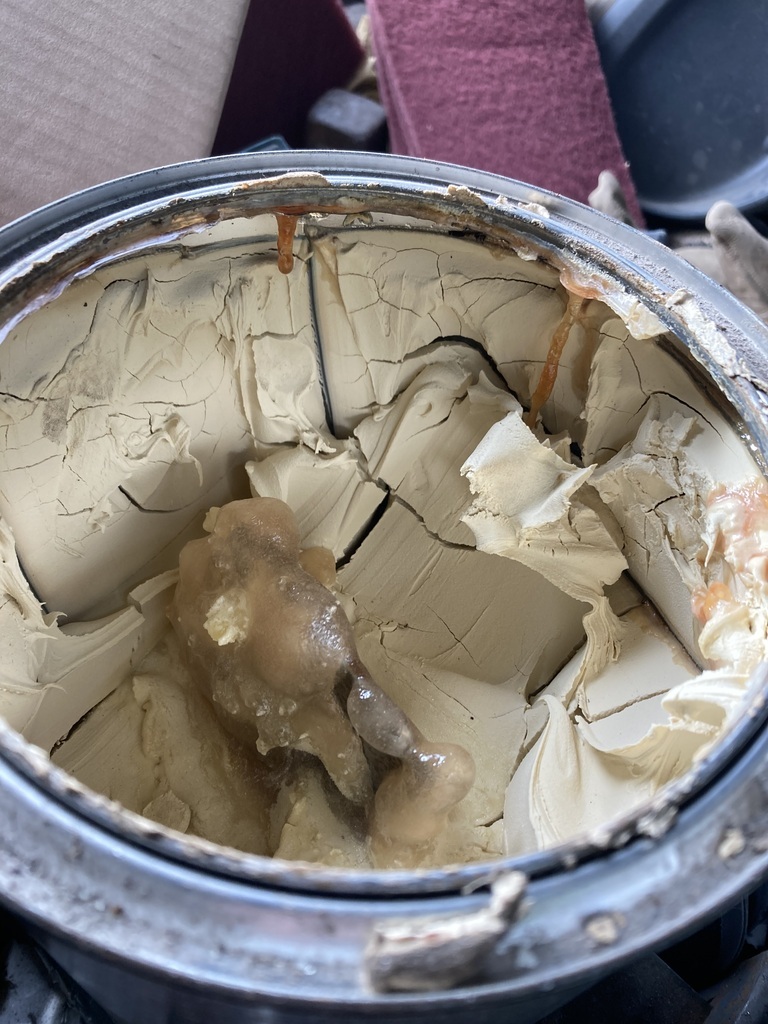 I have no idea what’s happened to that, so I bought a new tub 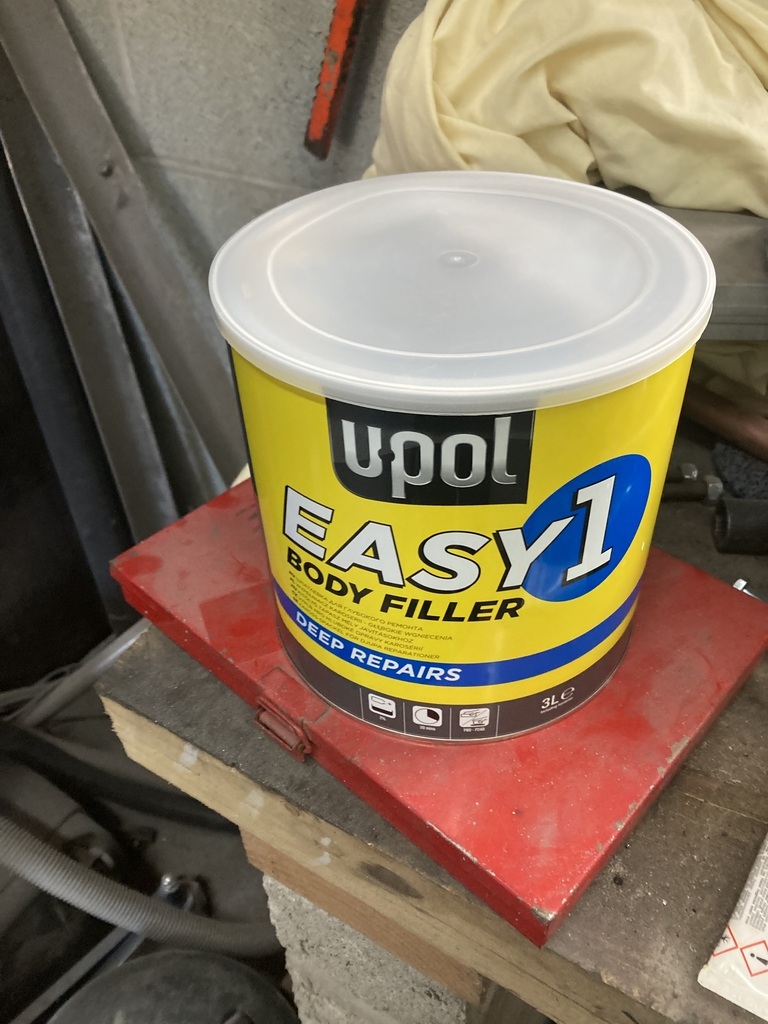 So I mixed some up and slapped it on. 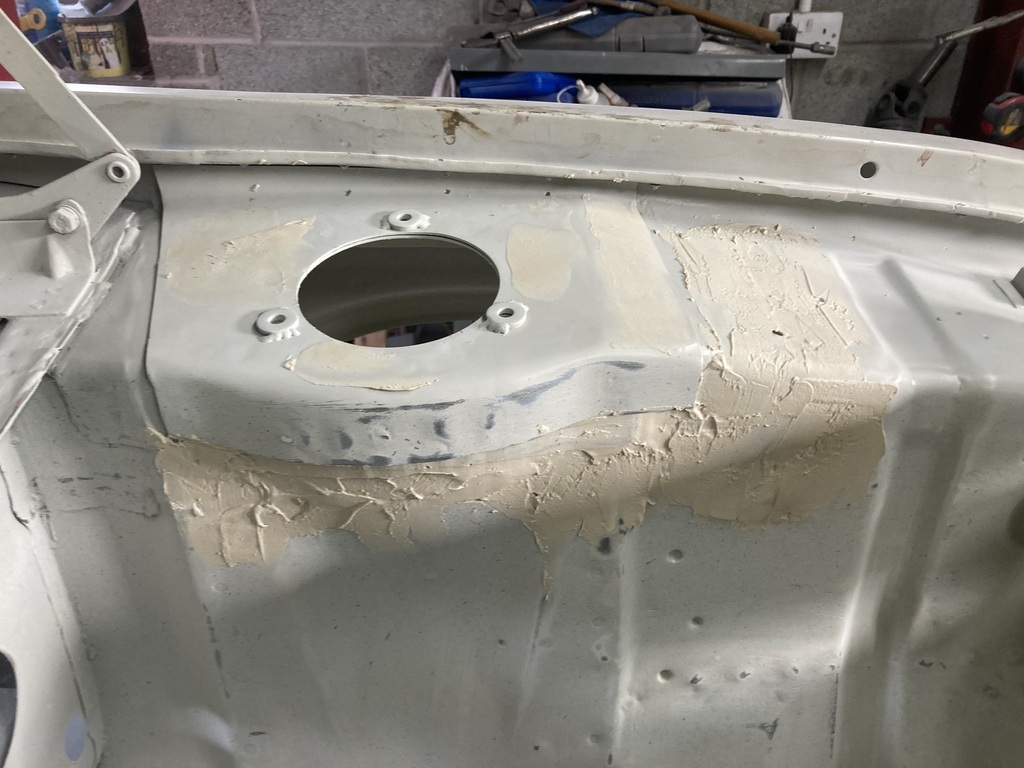 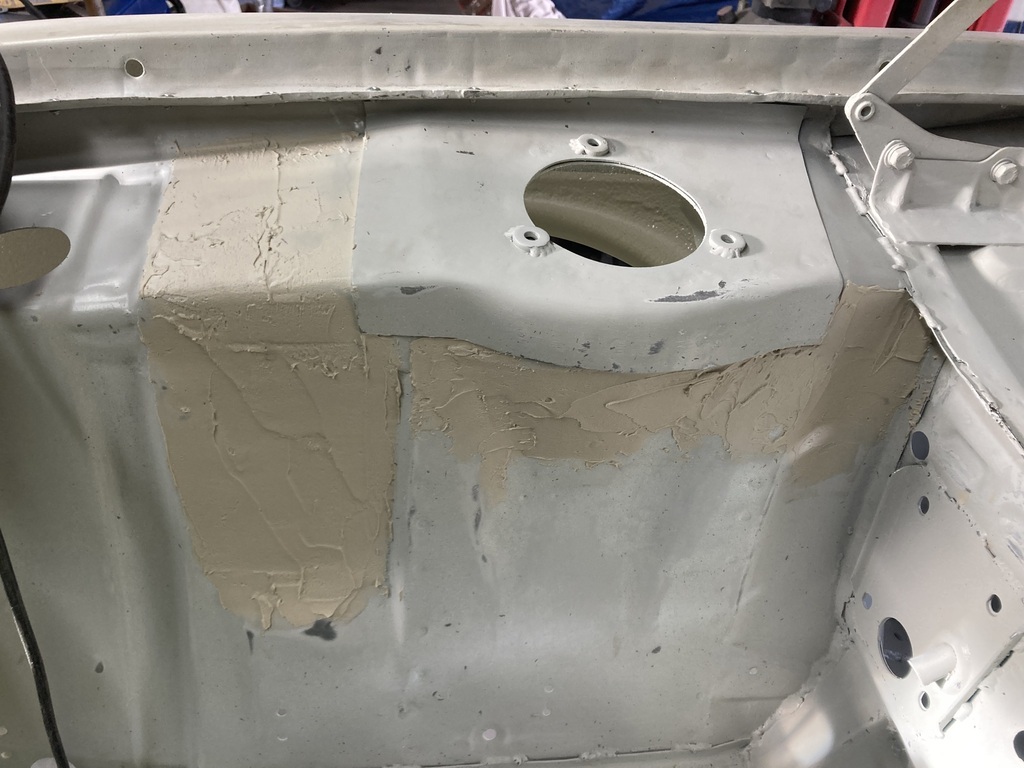 I used a heat gun to help it cure as there was no sign of it happening, probably because it was cold. I sanded for hours and hours (probably 30mins). And it was a right mess. No photo. So I added some more 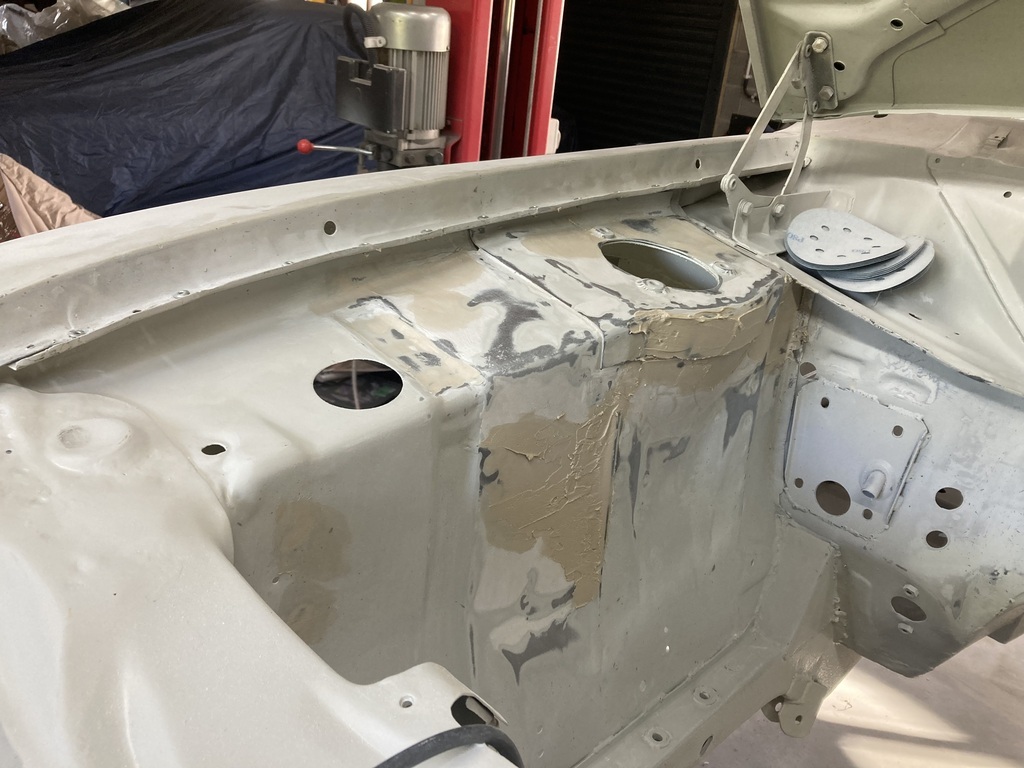 Looks the same, doesn’t it. At this point I was thoroughly board, so for some comic relief I went and did a food shop as instructed by Mrs Jonsey. She loves to find me things to do if I’m a day off. So I sanded some more when I got back and didn’t take another photo. But I did add some more filler and sanded some more, and then I added even more filler and did even more sanding. This left me with this 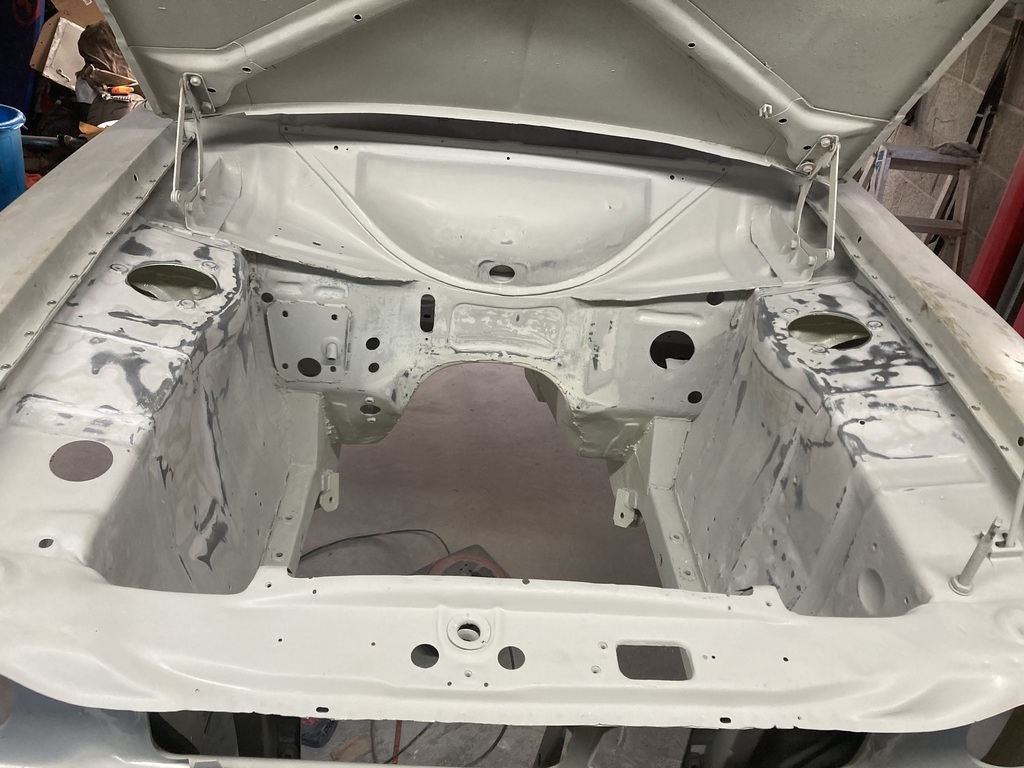 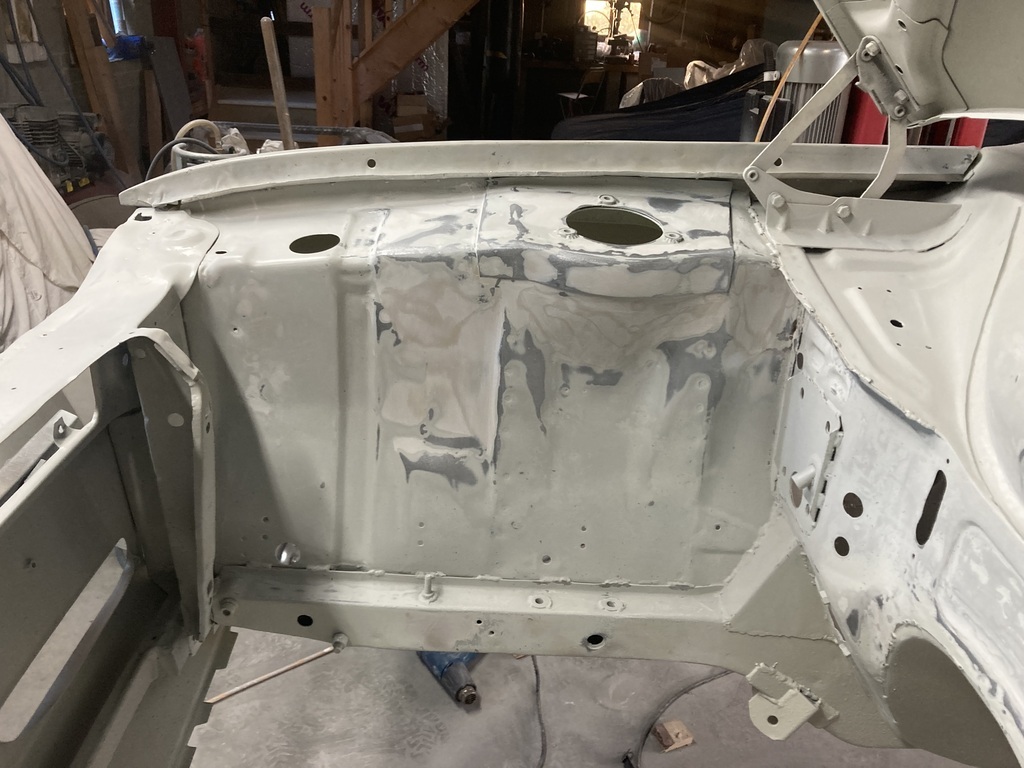 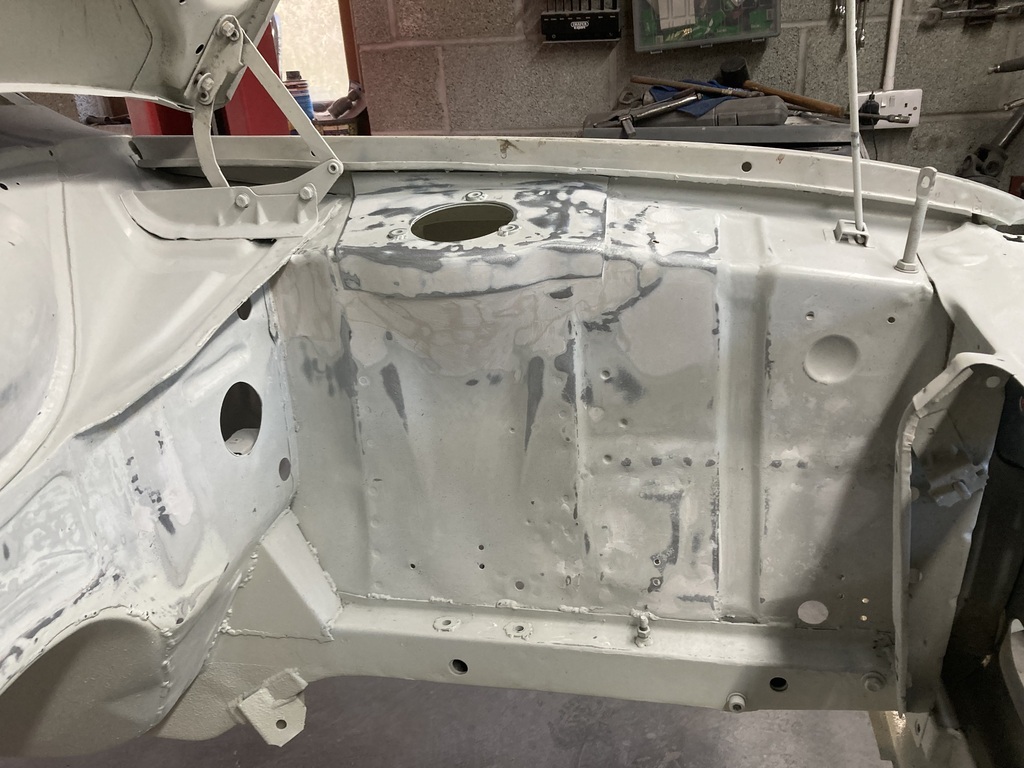 I’ve ordered some Dolphin Glaze to fill all the little air pockets due to my bad mixing. Hopefully it will come before the weekend as I’ve bought some high build primer that I want to put on. Ok, I don’t want to put it on, but I have too. |
| |
|
|
|
|
|
Nov 11, 2023 17:24:18 GMT
|
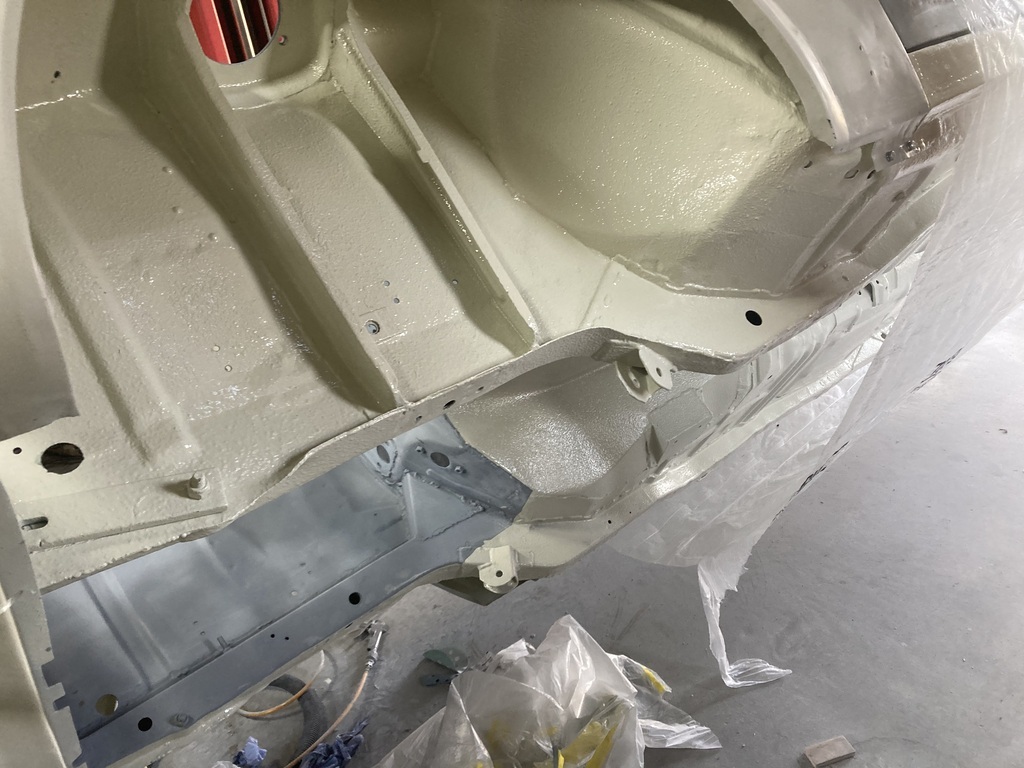
Today’s goal was to high build primer the engine bay. I was going to give it a once over with some sandpaper and then I remembered I’d found a rust bubble on the inner wing last week. I was gutted when I saw it. It was only small but we all know how these things like to grow. What more, is that the other side of the inner wing is already in paint. Behind the rust is one of the strut tower sections. No before photo but here it is after the rust was ground out 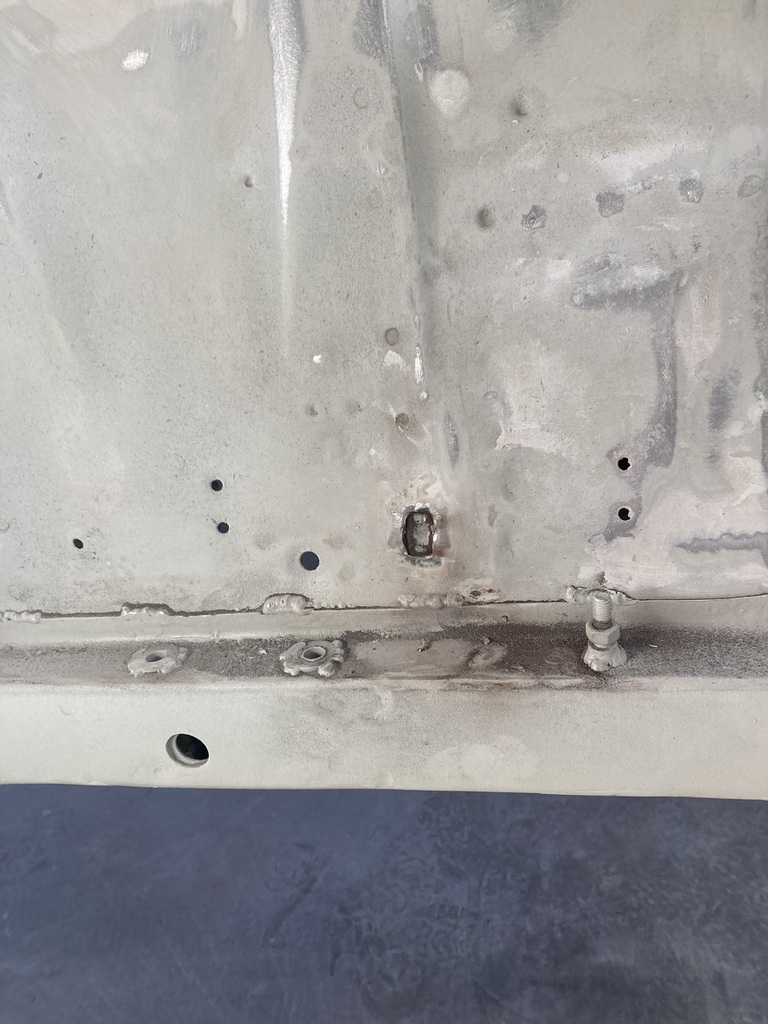 And a bit cut 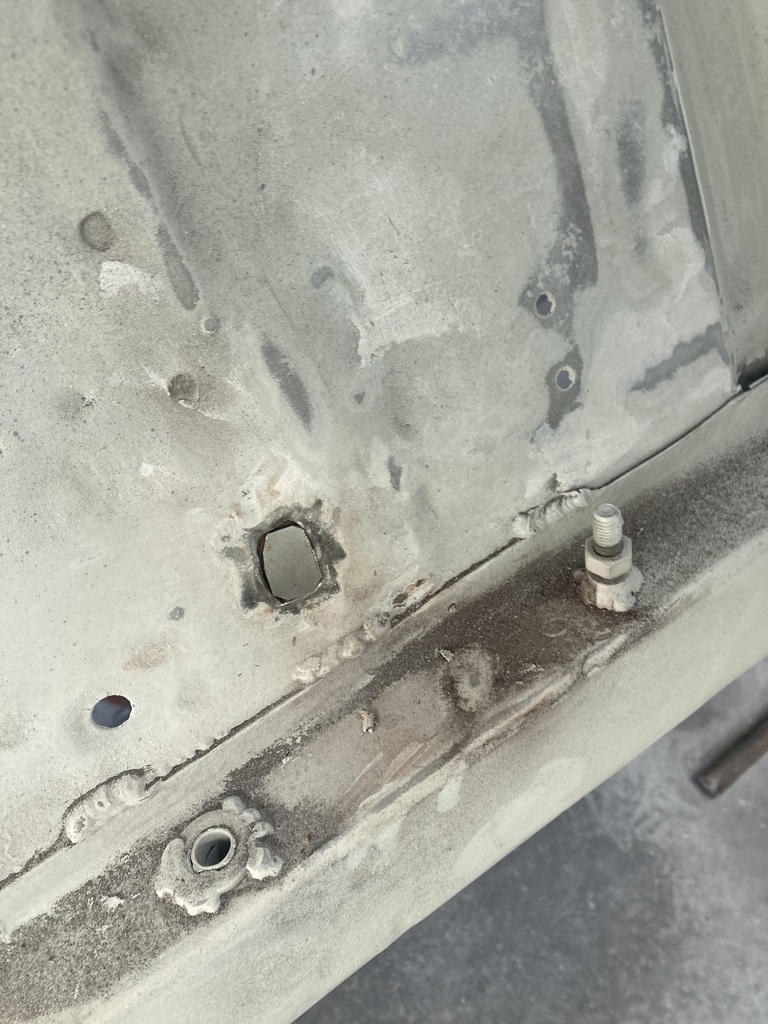 I tack welded the whole thing in using a blow jet on each tack immediately in an attempt to not ruin the painted surface behind. No photo of the weld but here it is all ground back 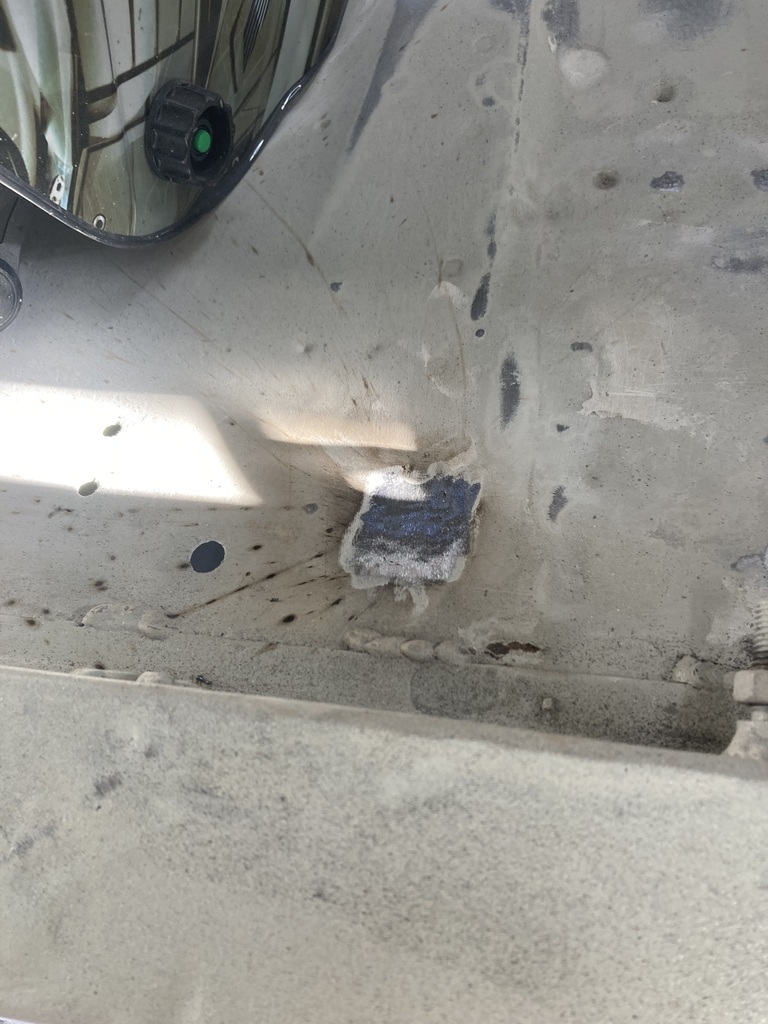 Luckily the blow jet did its job and the painted side was not damaged 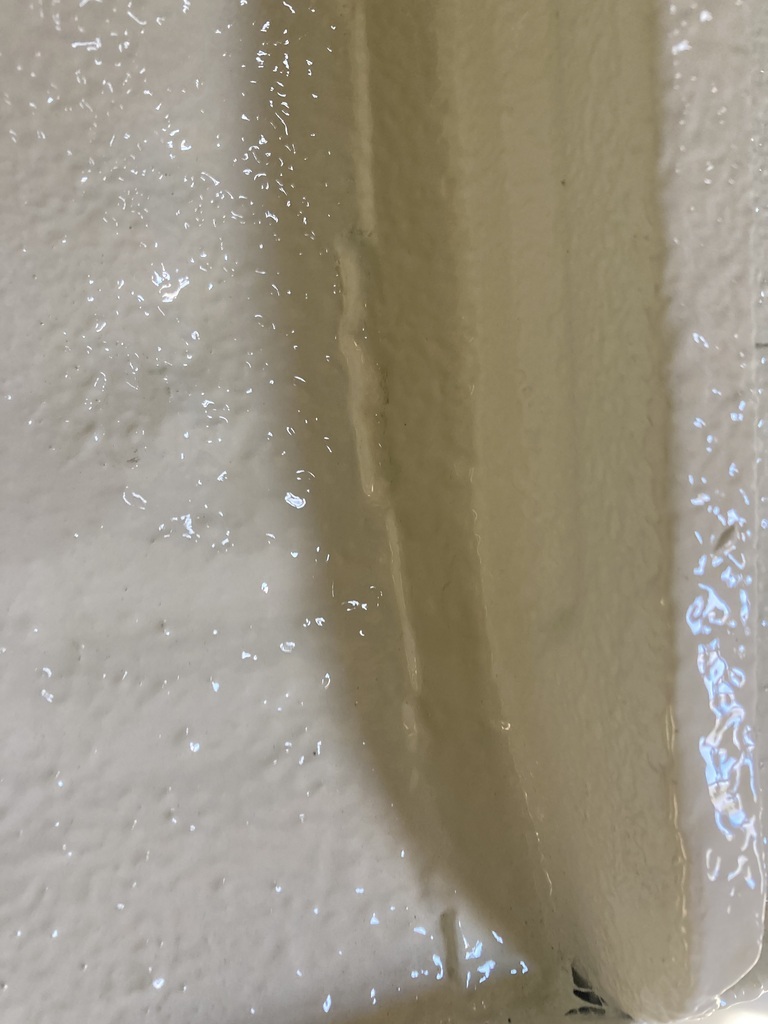 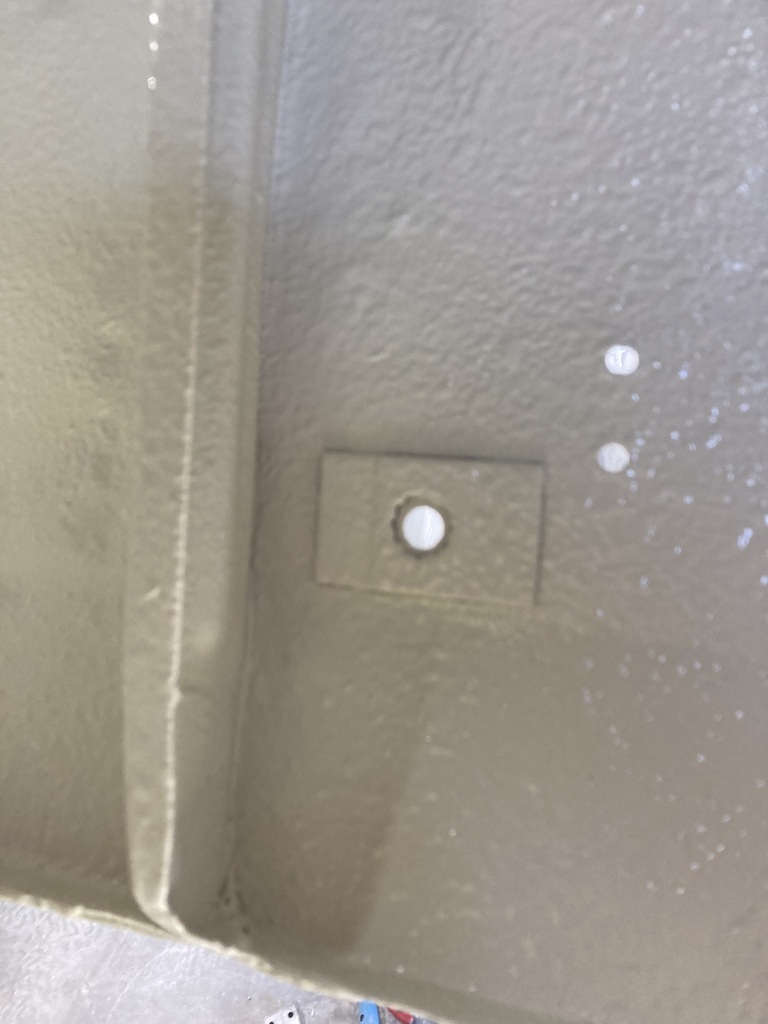 I dodged a bullet there. So after a quick sand I masked off the bottom of the car to avoid overspray. 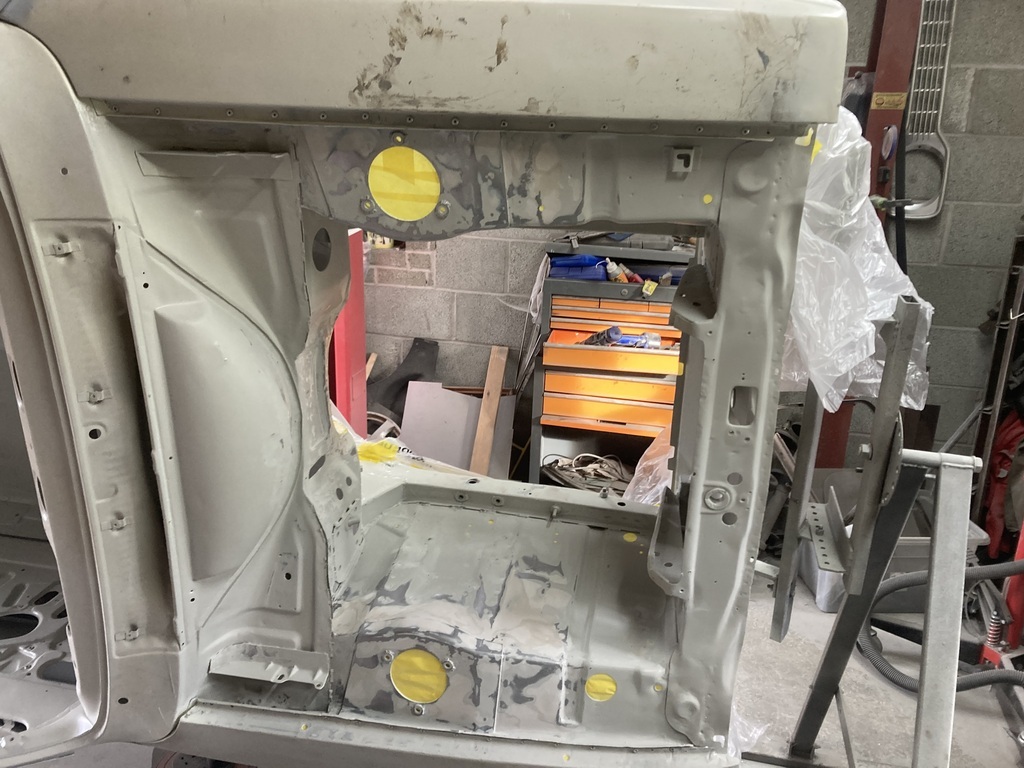 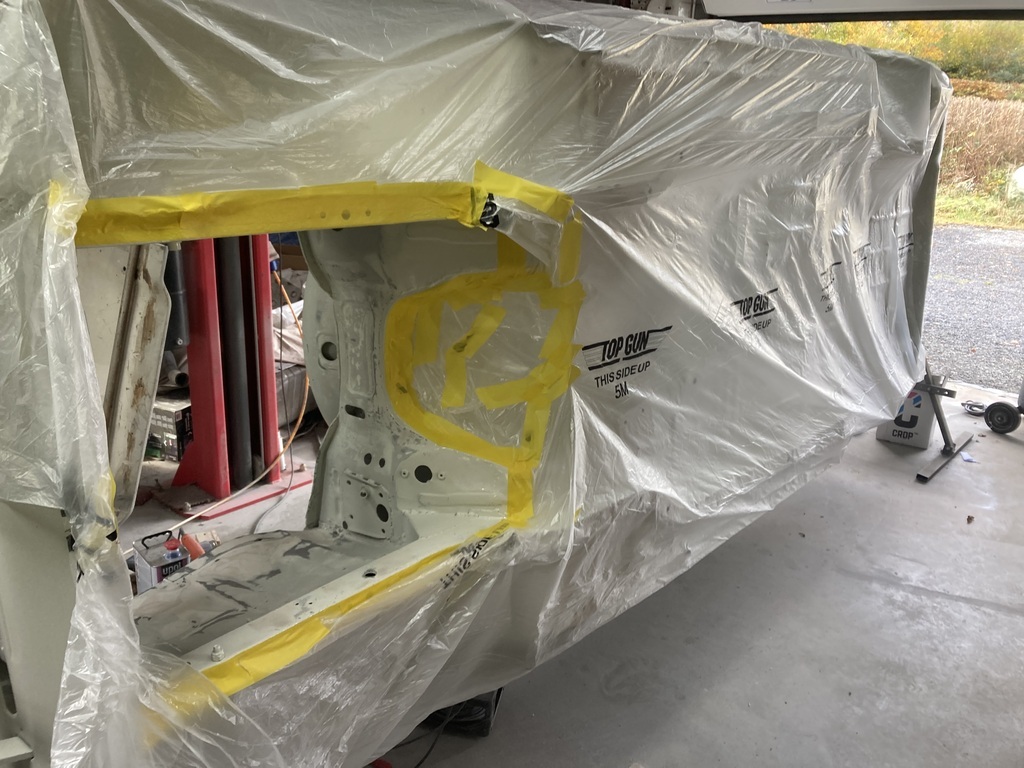 It was at this point I realised I hadn’t done the seem sealing so that got sorted. 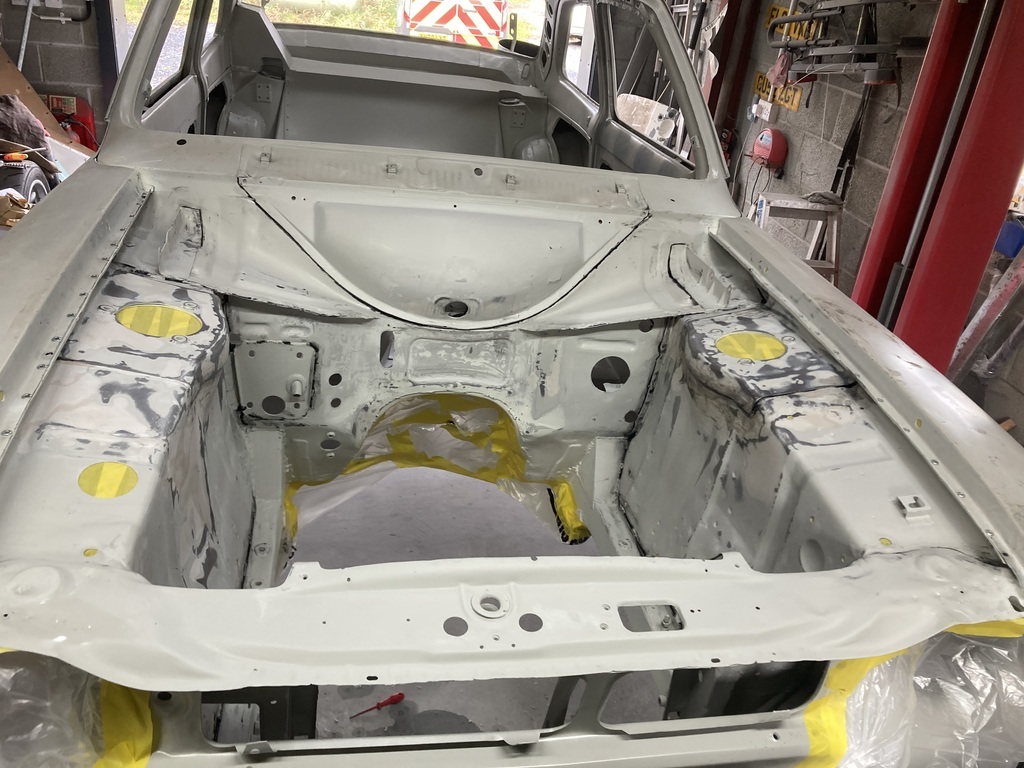 I mixed 500mm and blew it on. 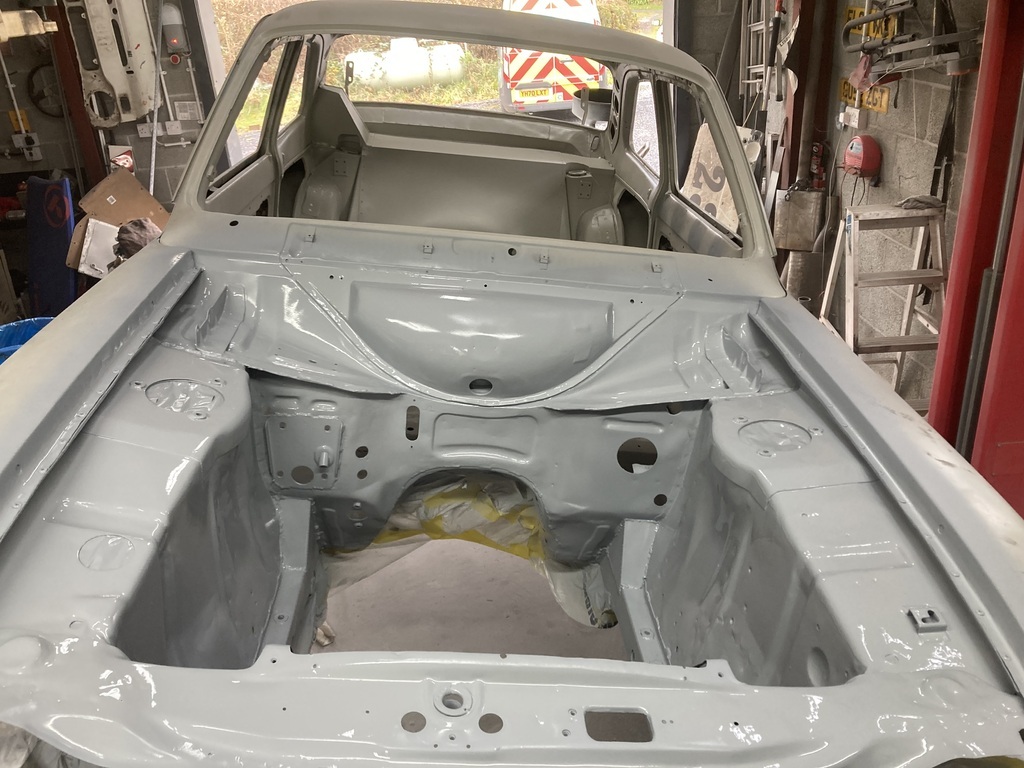 I ended up with a couple of curtains. 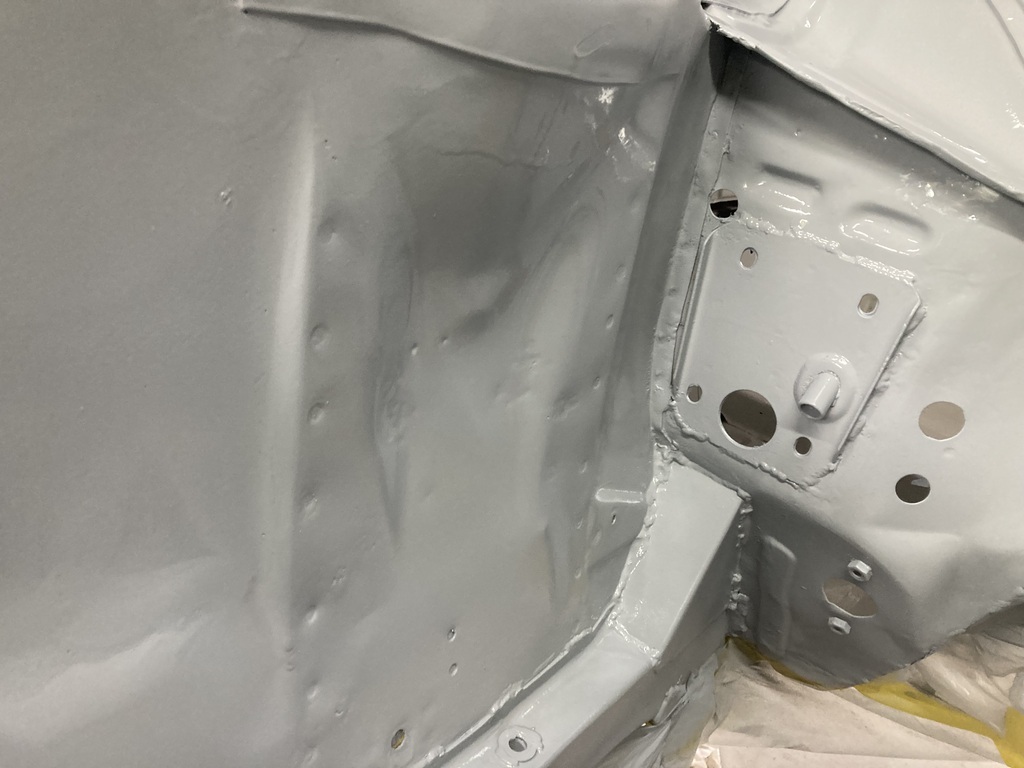 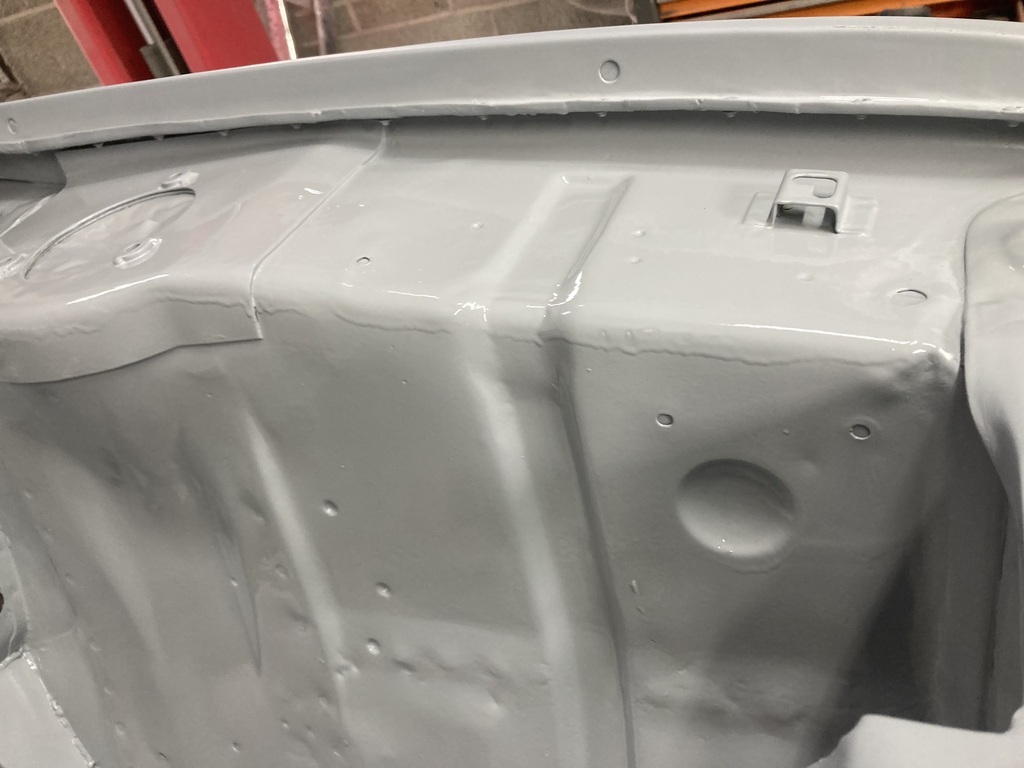 So I mixed another batch and wacked that on top . 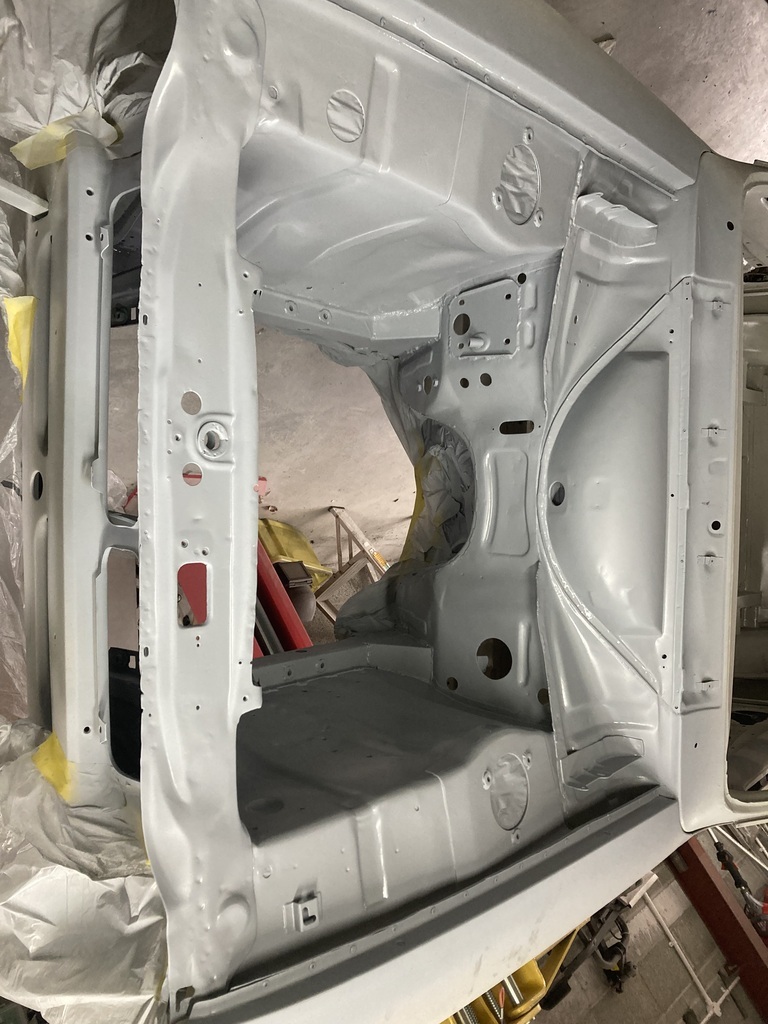 Now I have to sand it all again. The joy. This is the primer I used if anyone’s interested 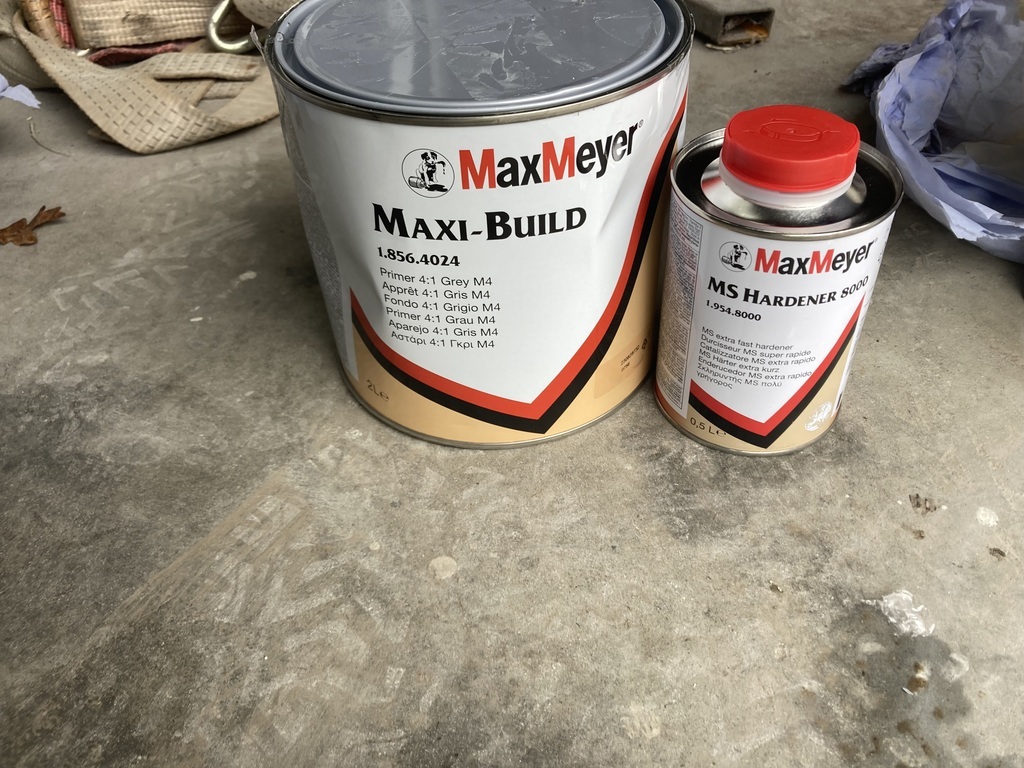 |
| |
|
|
|
|
|
Nov 19, 2023 17:51:34 GMT
|
This morning I picked up some MX5 stalks and and a wiper motor. My plan is to put them in the Escort. The wiper switch and headlight switch are both on the dash. Whilst strapped in, they are difficult to reach. I have found over many years of Motorsport that being able to see is a great advantage. The stalks will (if it works) allow these controls to be at my fingertips. The wiper motor will hopefully be fudged into the Escort mechanism and give me good wipers with the added bonus of intermittent wipe. 3.5 hours of my life was then spent rubbing down the high build primer with 180 grit. 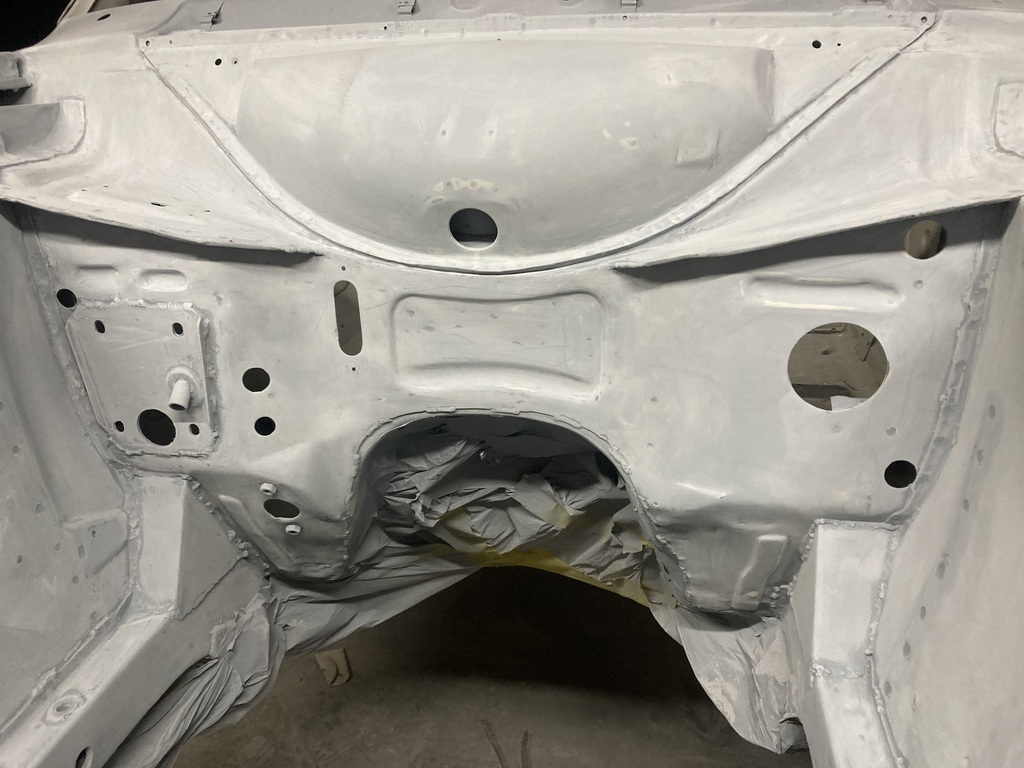 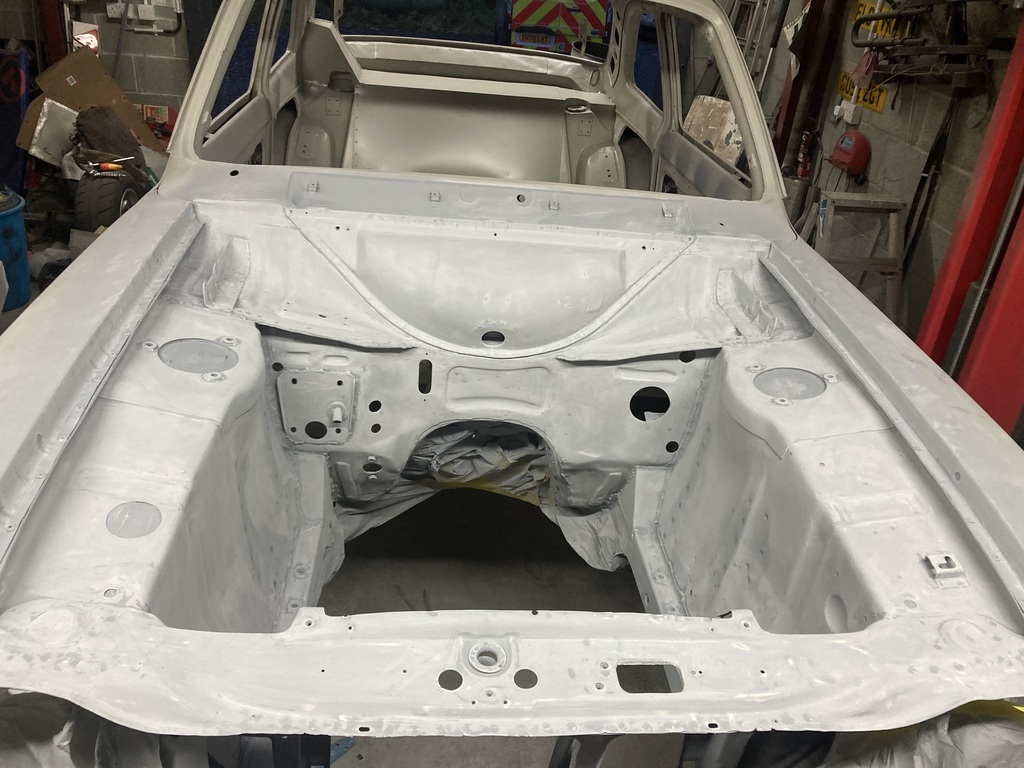 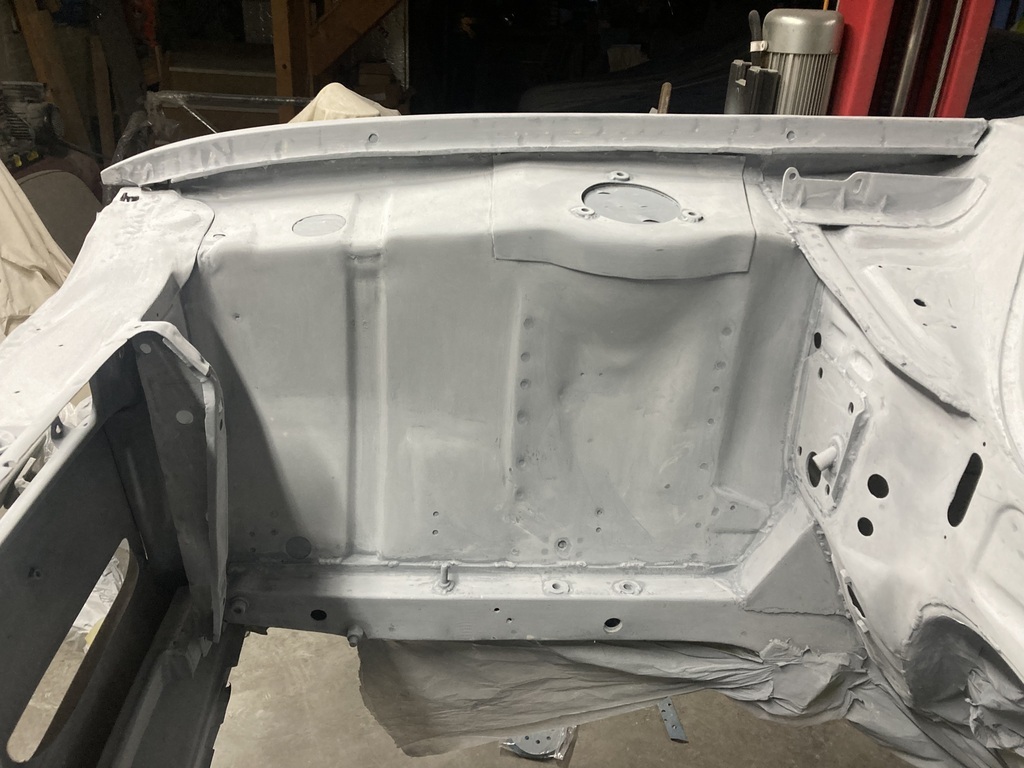 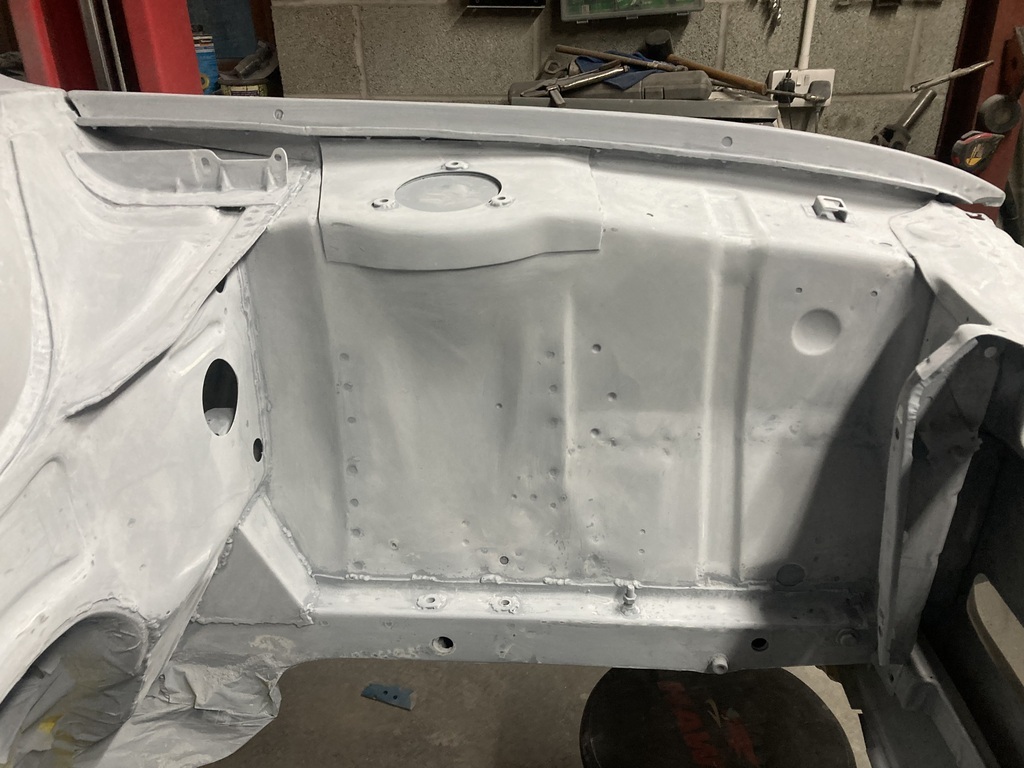 Thoroughly interesting photos. Anyway it does sand lovely (if something can sand lovely) and I can now see all the bits I’ve missed and the bits that need another skim. The joy. |
| |
|
|
teaboy
Posted a lot
   Make tea, not war.
Posts: 2,127
|
|
Nov 19, 2023 18:30:35 GMT
|
|
Yay more sanding!
I like the idea of having good wipers, I want some like Eddie Murphy had in 'Coming to America'.
|
| |
Last Edit: Nov 19, 2023 18:30:49 GMT by teaboy
|
|
|
|
|
Nov 19, 2023 18:46:56 GMT
|
|
😁
|
| |
|
|
|
|
|
Nov 20, 2023 13:55:01 GMT
|
|
I don't envy you having to do body filler - it's a soul destroying job!
I'm interested in seeing the wipers and switchgear stuff you've got planned
|
| |
1966 Ford Cortina GT
2018 Ford Fiesta ST
Full time engineer, part time waffler on Youtube - see Jim_Builds
|
|
|
|
|
Nov 22, 2023 17:24:34 GMT
|
I don't envy you having to do body filler - it's a soul destroying job! I'm interested in seeing the wipers and switchgear stuff you've got planned I hate it Jim. Not my cup of tea. I'm hoping the wipers etc will work. A preliminary look see has found the switches slip over the inner shaft but not the outer column. They do fit over the upper column bush though so shortening the outer and making up my own longer bush may be the answer.🤞 |
| |
|
|
|
|
|
Nov 25, 2023 15:29:06 GMT
|
|
|
| |
|
|
|
|
|
Nov 26, 2023 15:15:50 GMT
|
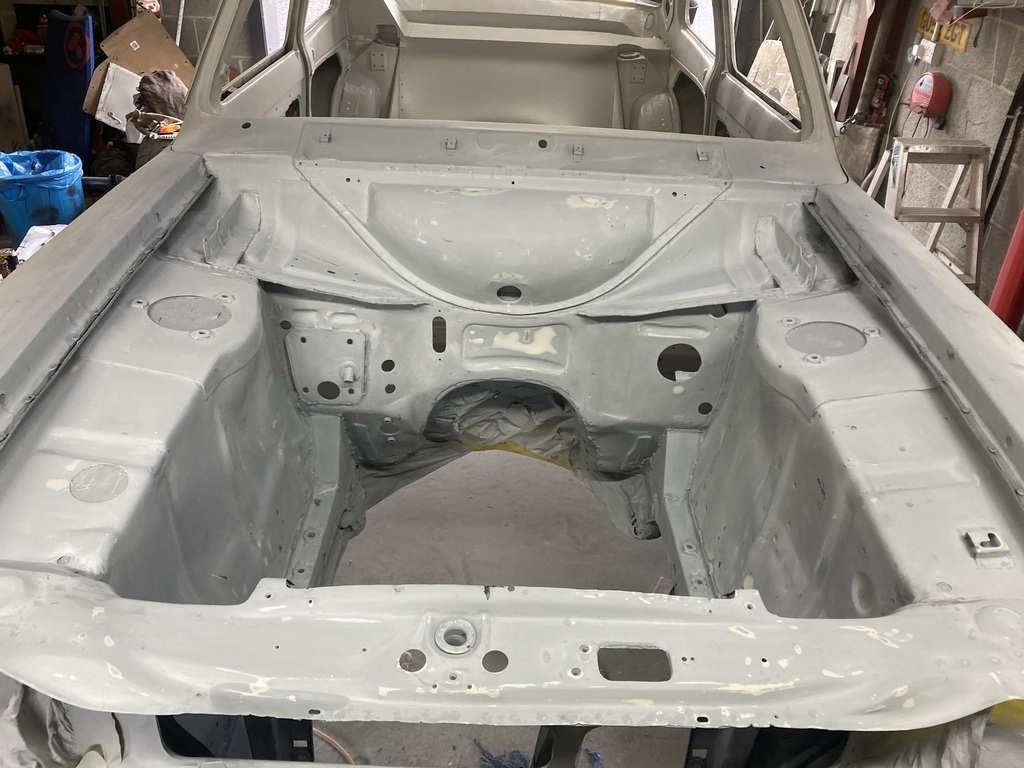
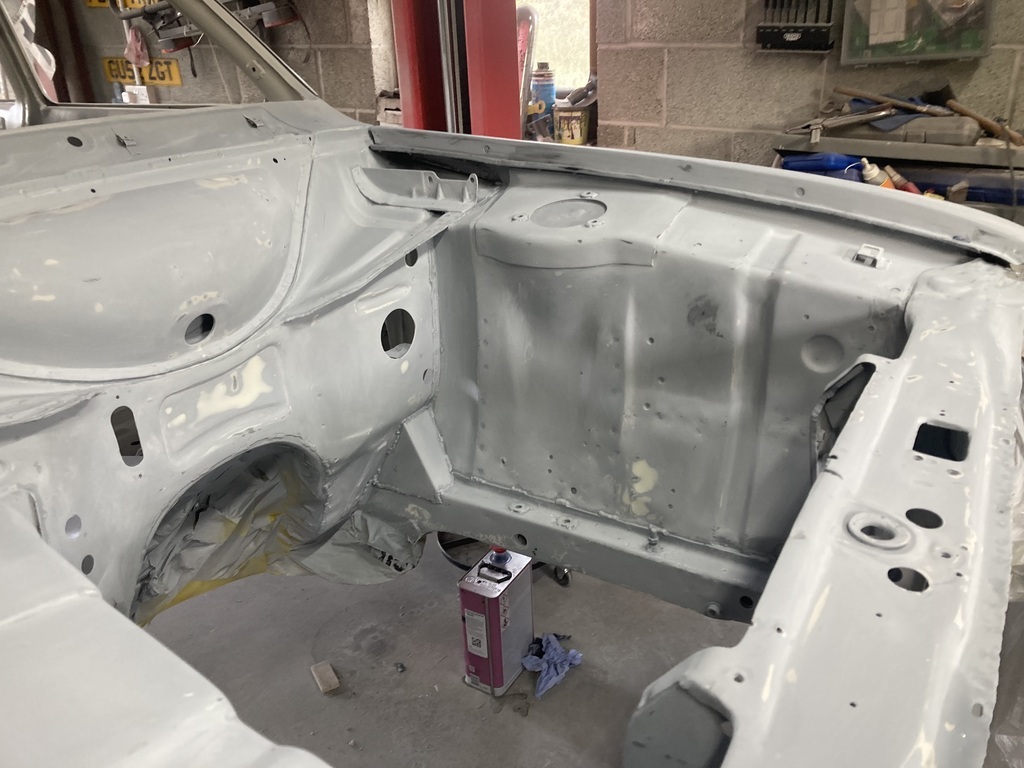
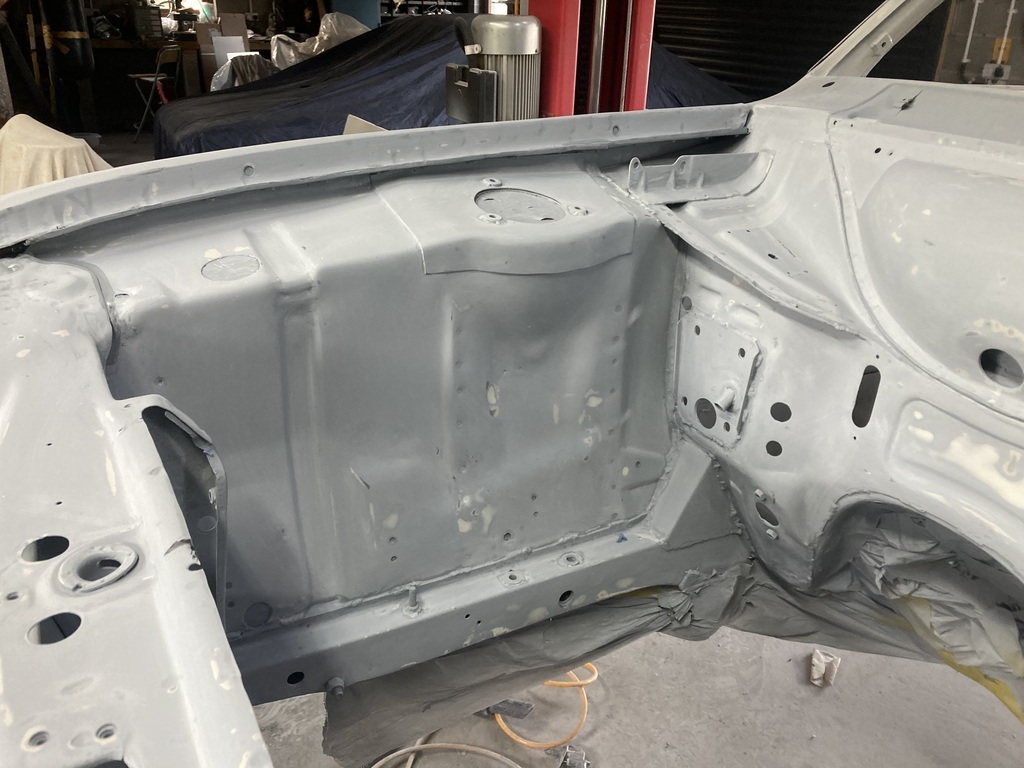
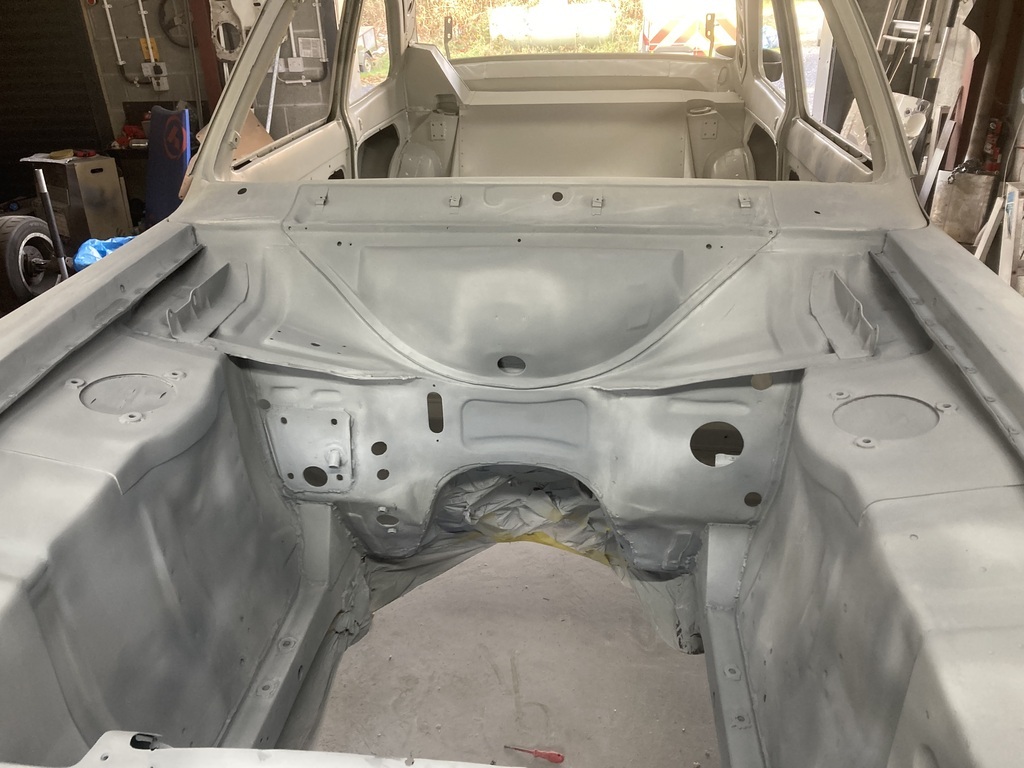
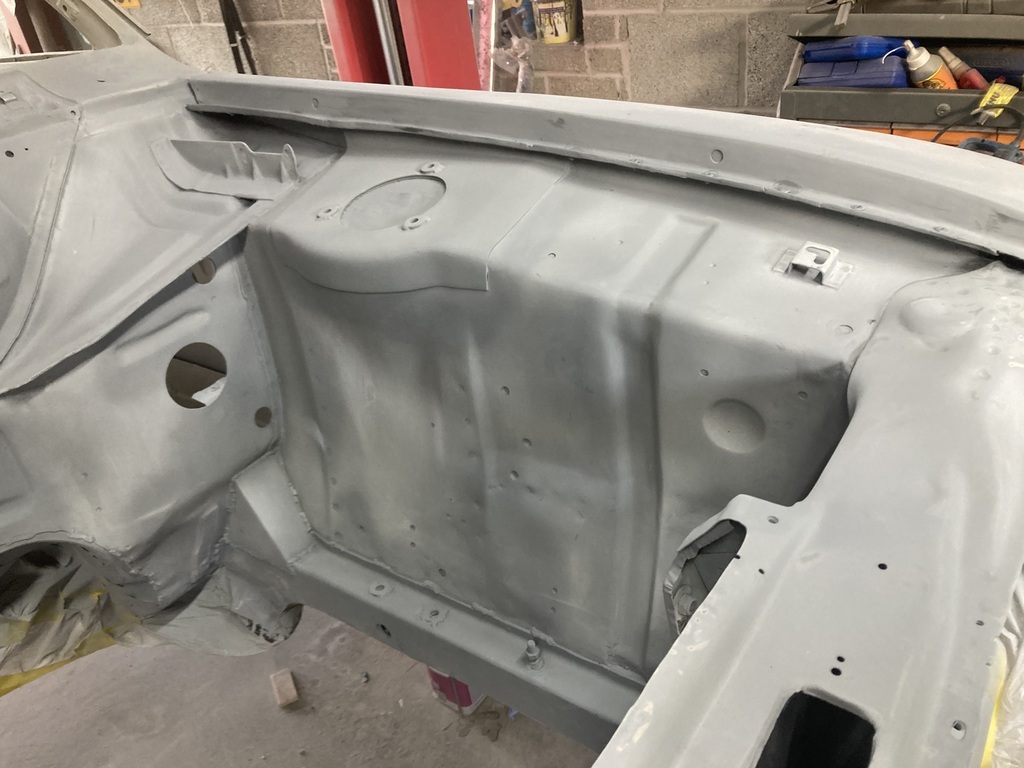
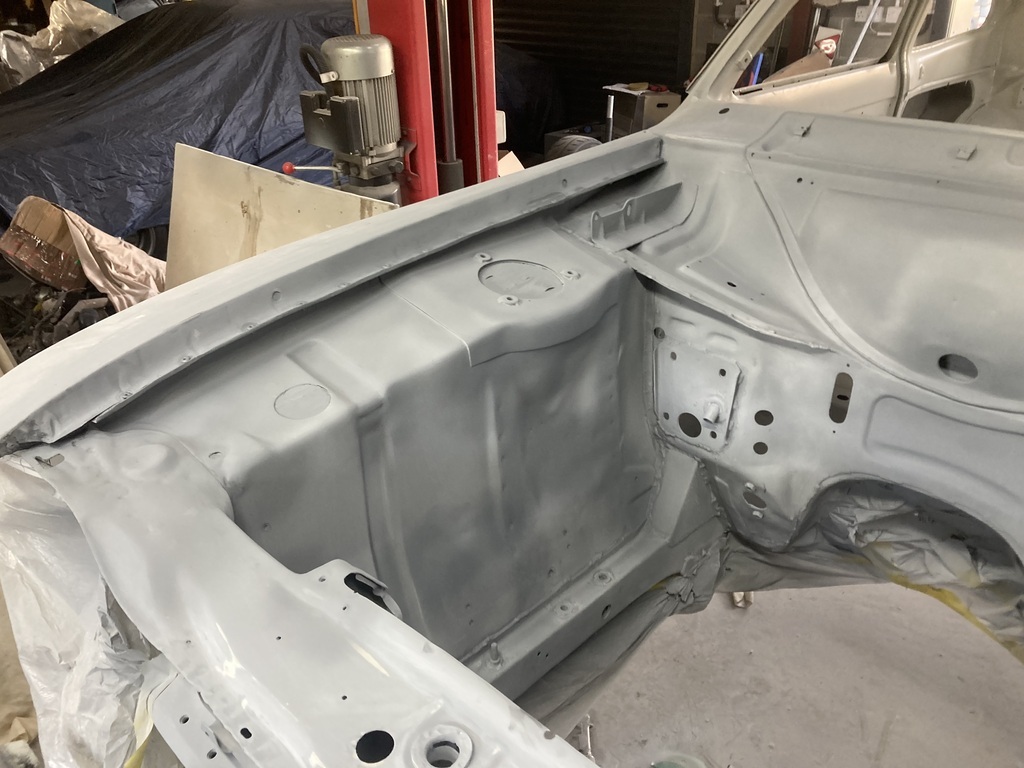
So after a visit from my mother and a trip over my brother’s to pick up a heater, 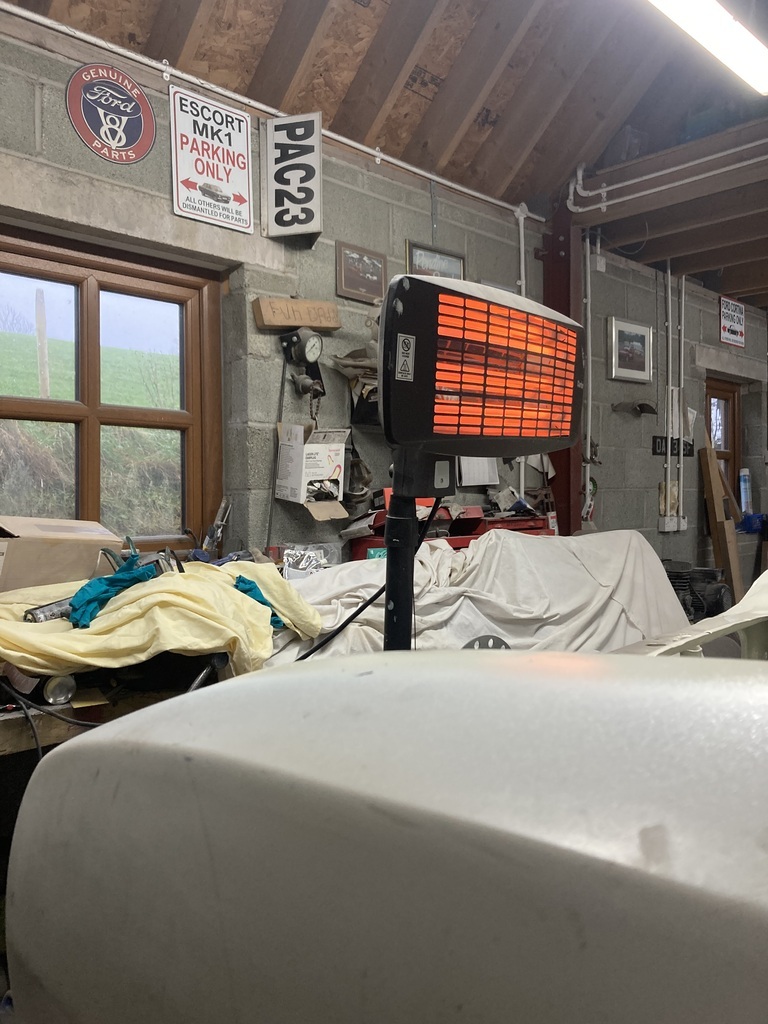 I used a scotch pad to knock back the spot primer. Then I masked the underside off again. 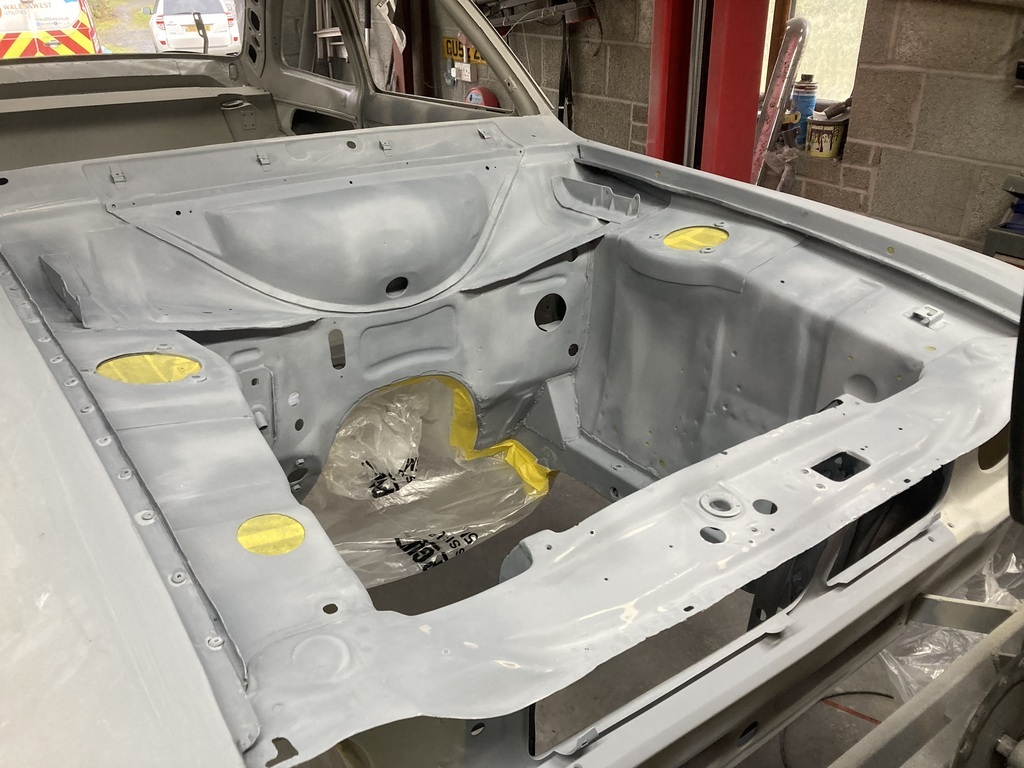 When I painted the bottom of the car, I used a primer gun with a 1.8 tip. I thought for the engine bay and inside, I wanted as good a finish as I could possibly get. To this end I thought I would buy a new gun with 1.5 tip. With the vast array of quality paint guns out there, I took a deep breath and plunged some hard earned into a new gun. £19.99 later, I had a new gun, complete with a set of instructions in the box for a totally different gun. I had a quick play with some gun wash in the pot to try and work out what everything did. Then filled it with some paint and prayed to the body shop gods for a good finish. To my surprise, it’s not to bad 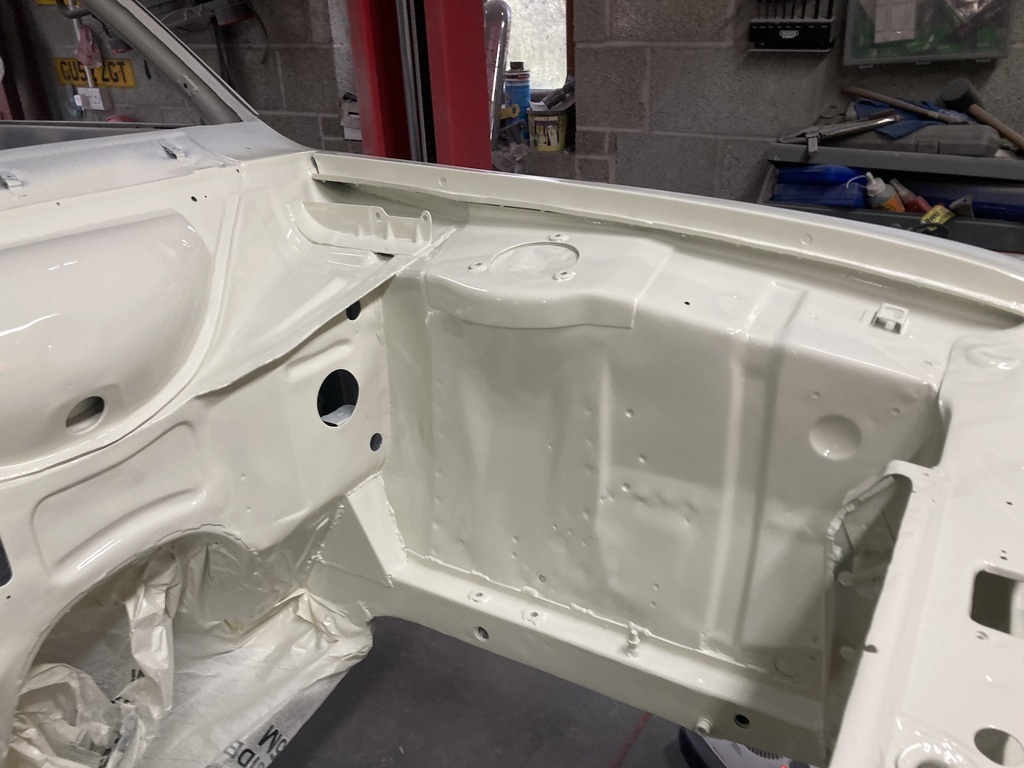 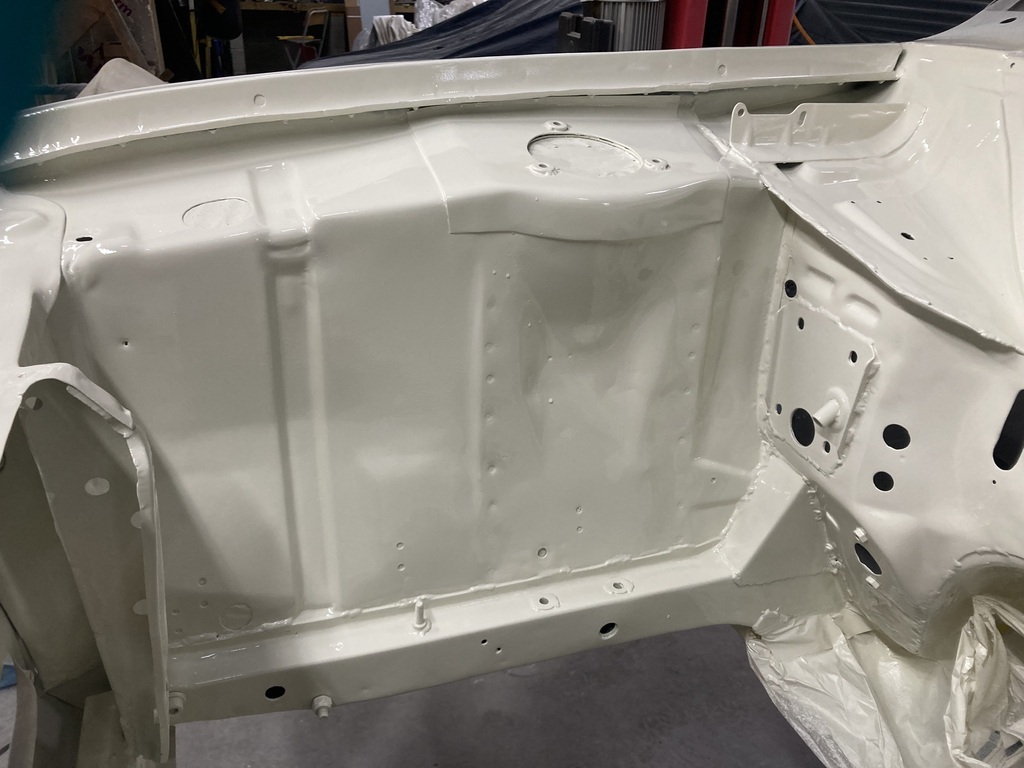 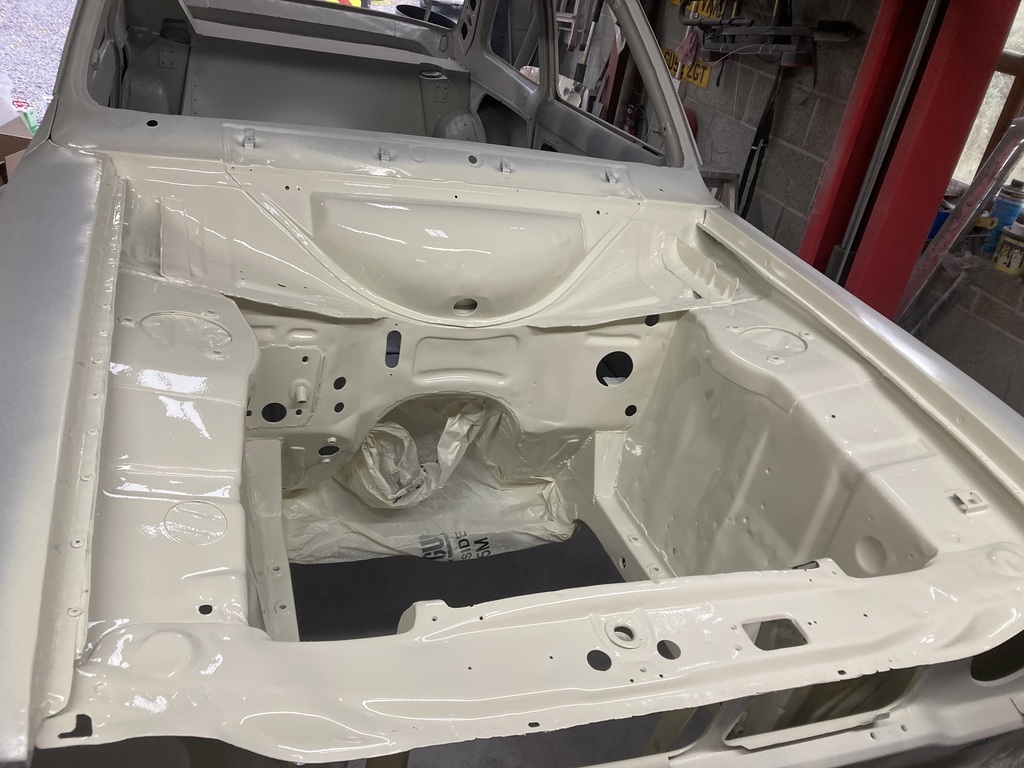 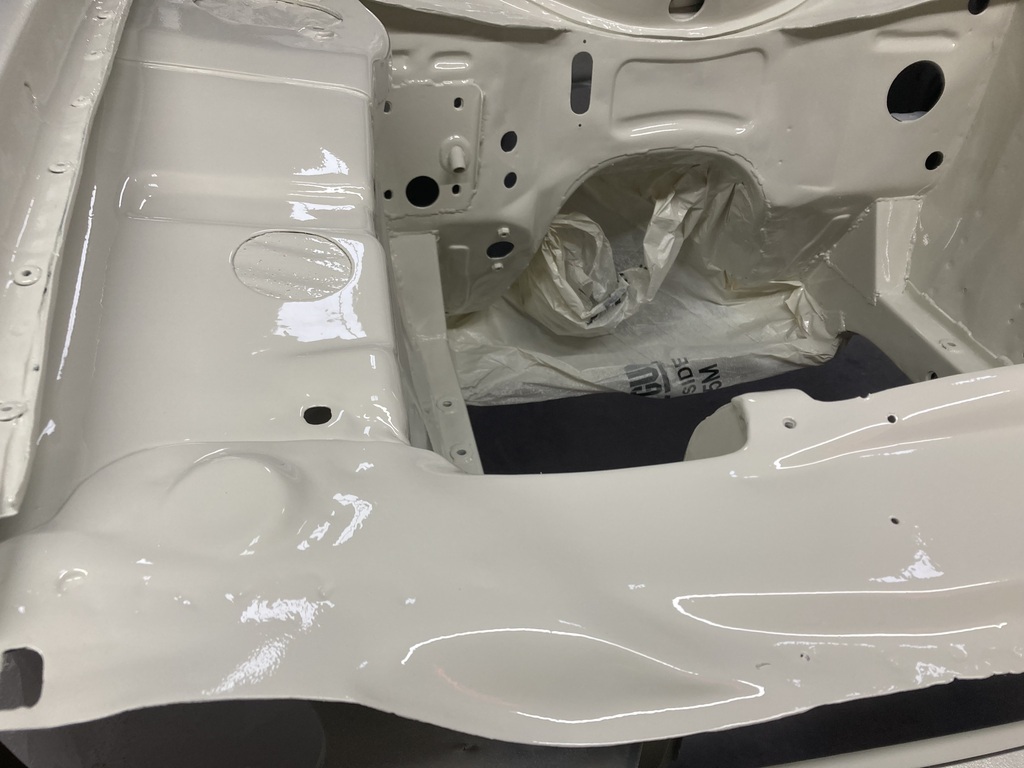 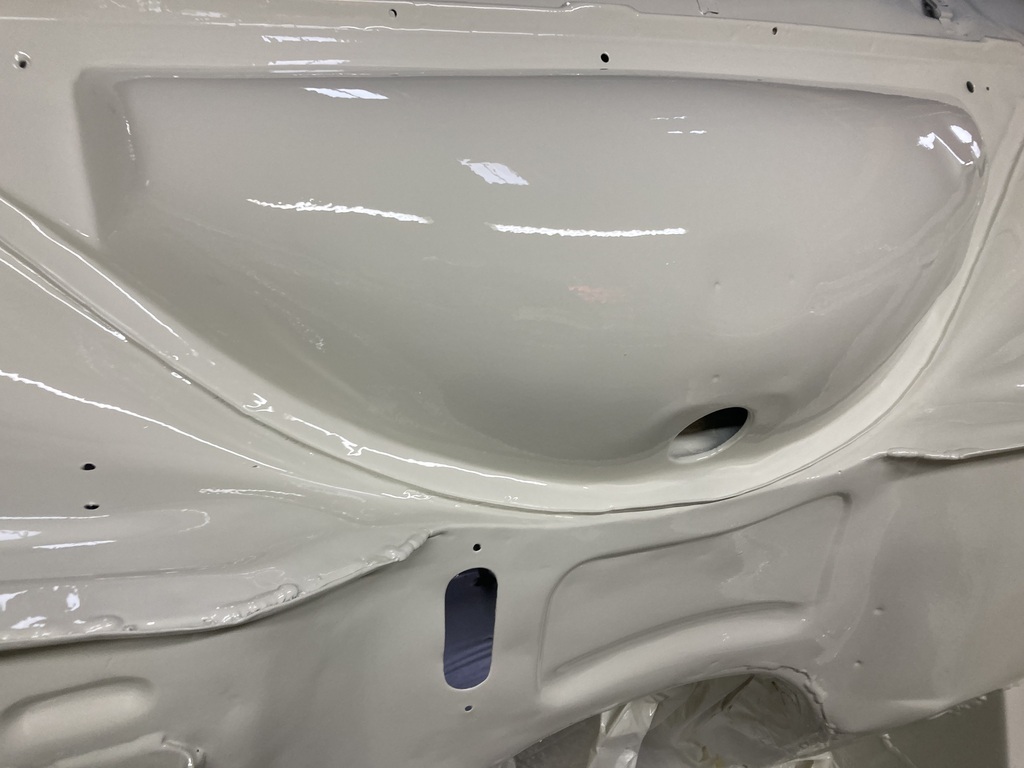 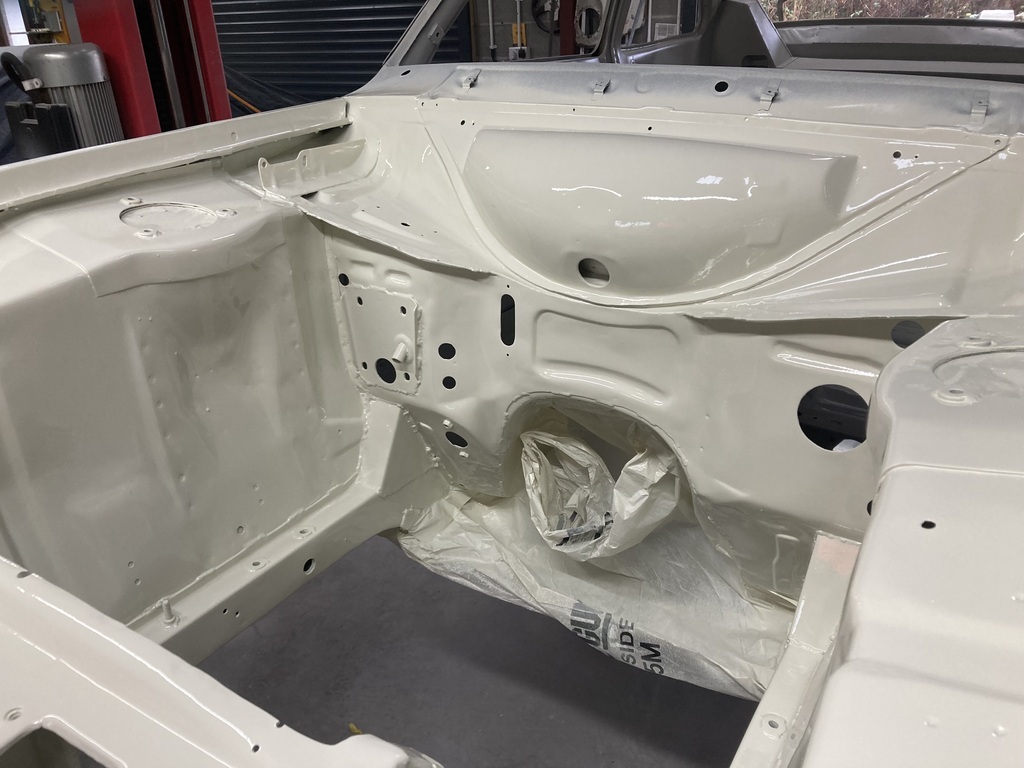 The down side of the “quality” gun was the fact some paint dripped out of the bl00dy lid onto the driver inner wing 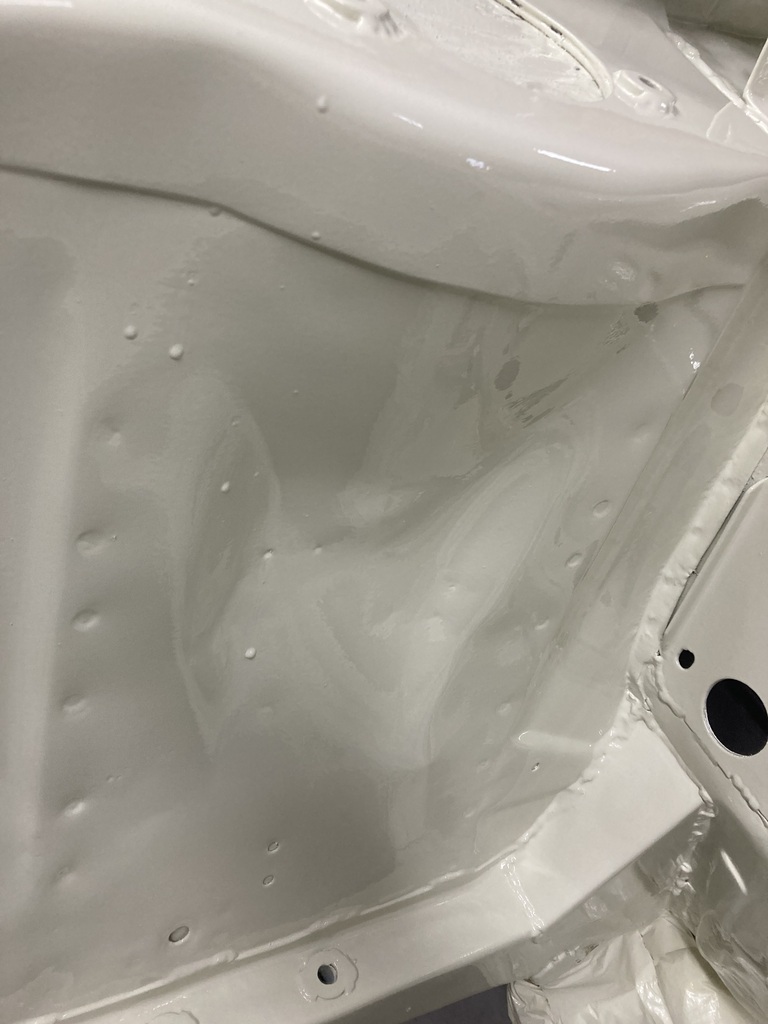 There’s about six blobs there that will need attention once it’s cured. Overall pretty pleased with myself though. |
| |
|
|
|
|
|
Nov 26, 2023 17:17:58 GMT
|
Looks good to me, Id be happy with that!  |
| |
|
|
|
|
|
Nov 26, 2023 19:00:51 GMT
|
Looks good to me, Id be happy with that!  Thanks Mr Viva. I’m over the moon |
| |
|
|
|
|
|
|
|
I’ve not been out the garage for a week. The paint is still on the engine bay. I was thinking it might of fallen off or something as it was quite cold when I sprayed it. All was good so I removed the masking. 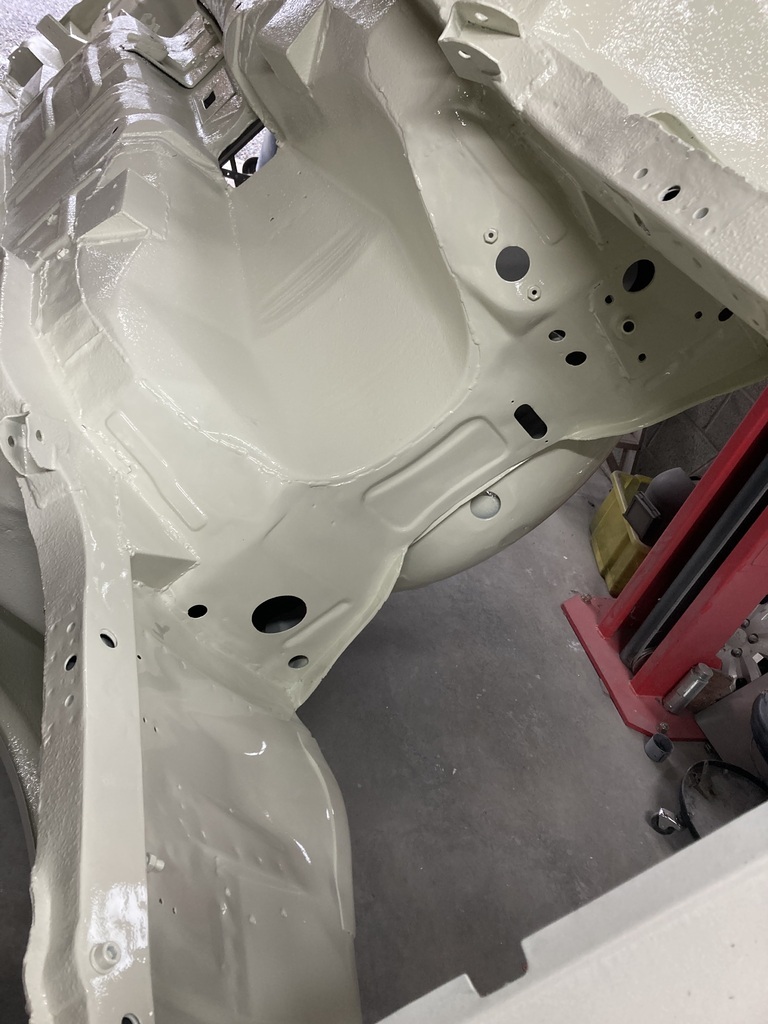 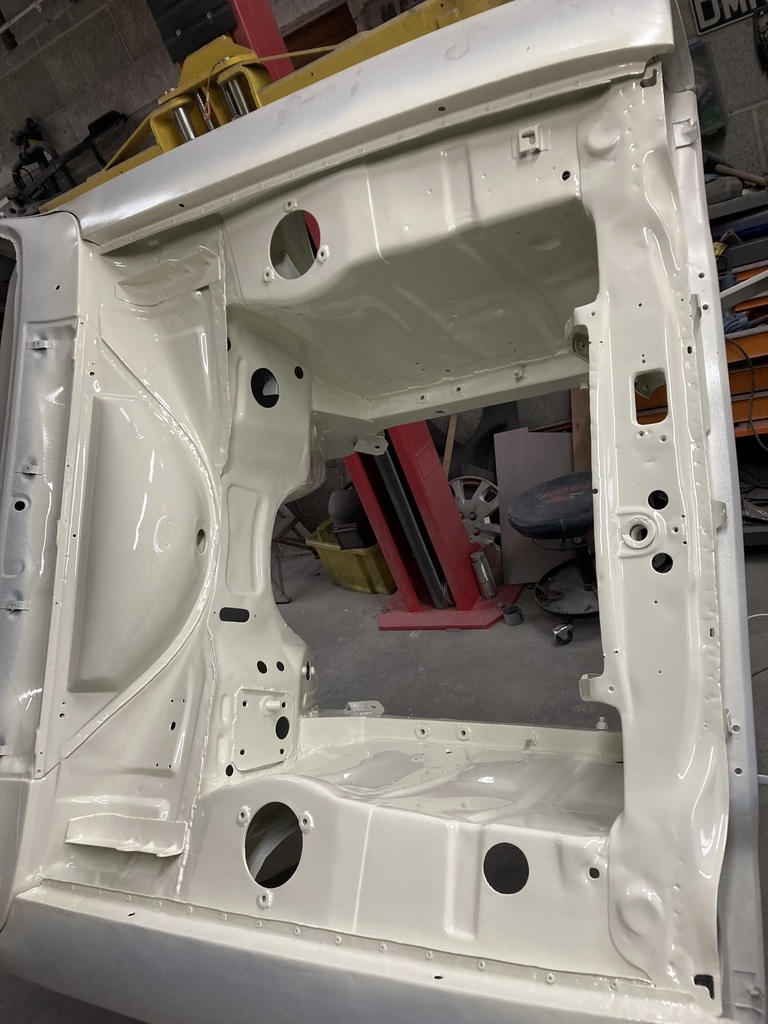 I then spent a delightful few hours sanding, scotching and seem sealing the inside of the shell. 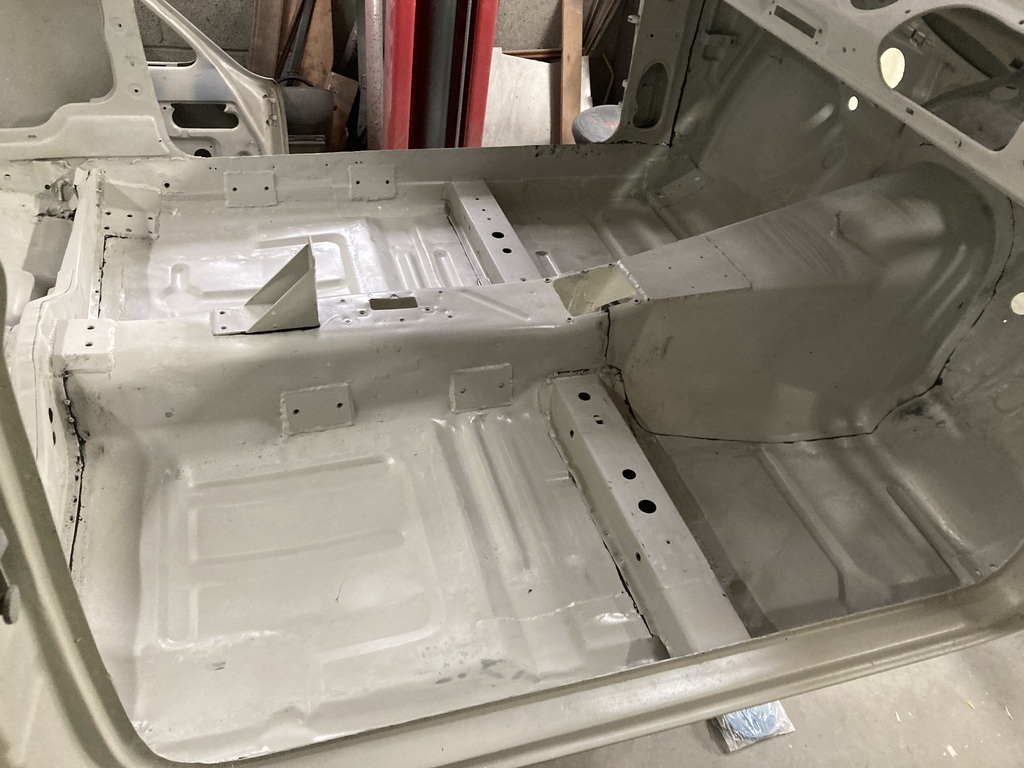 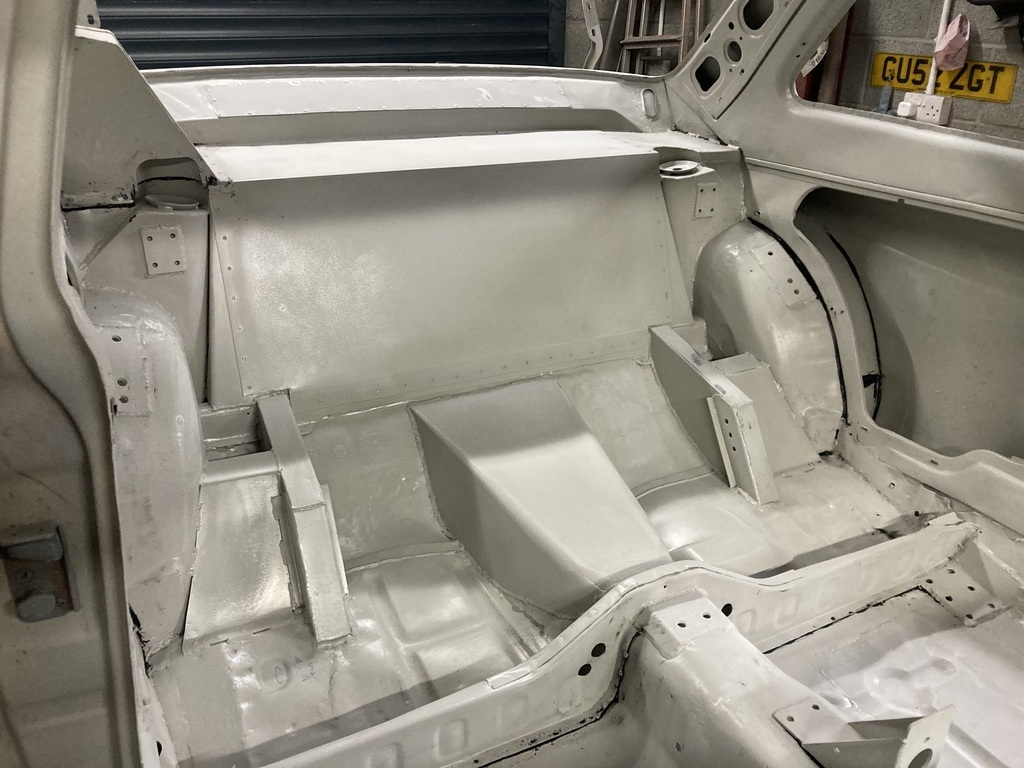 I then seem sealed the boot area 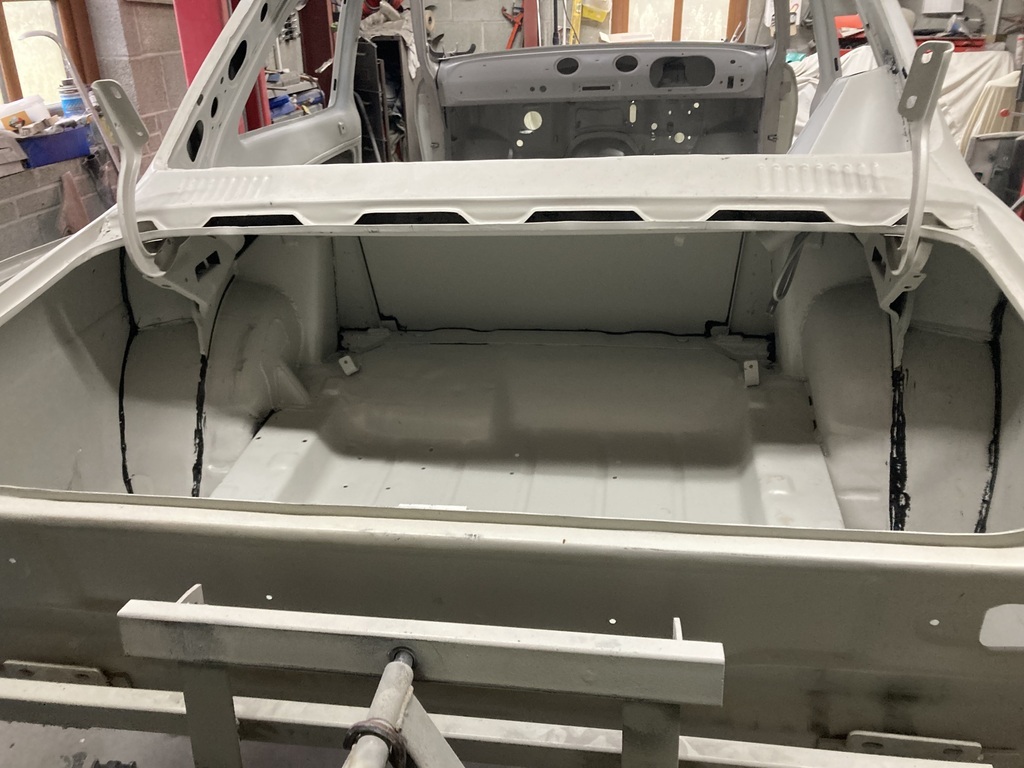 I was hoping to give the inside a coat of high build, but my Aldi regulator/water trap has broken so I’ve ordered a new one. It was £9 so hope it’s a good one. |
| |
|
|
|
|
|
|
|
I had a day off today as I’m working on the weekend, so I had time to work some more on the inside of the Escort. There were a couple of dents in some of the panels that won’t be hidden by trim panels or carpet so these got filled and sanded back to 400 grit 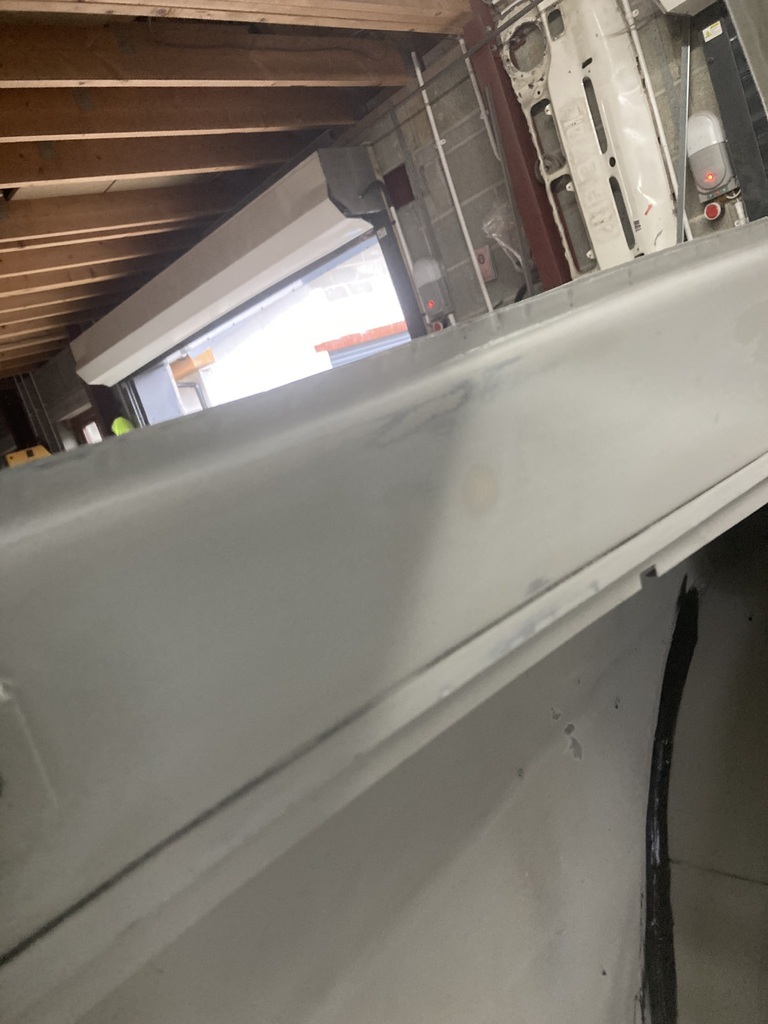 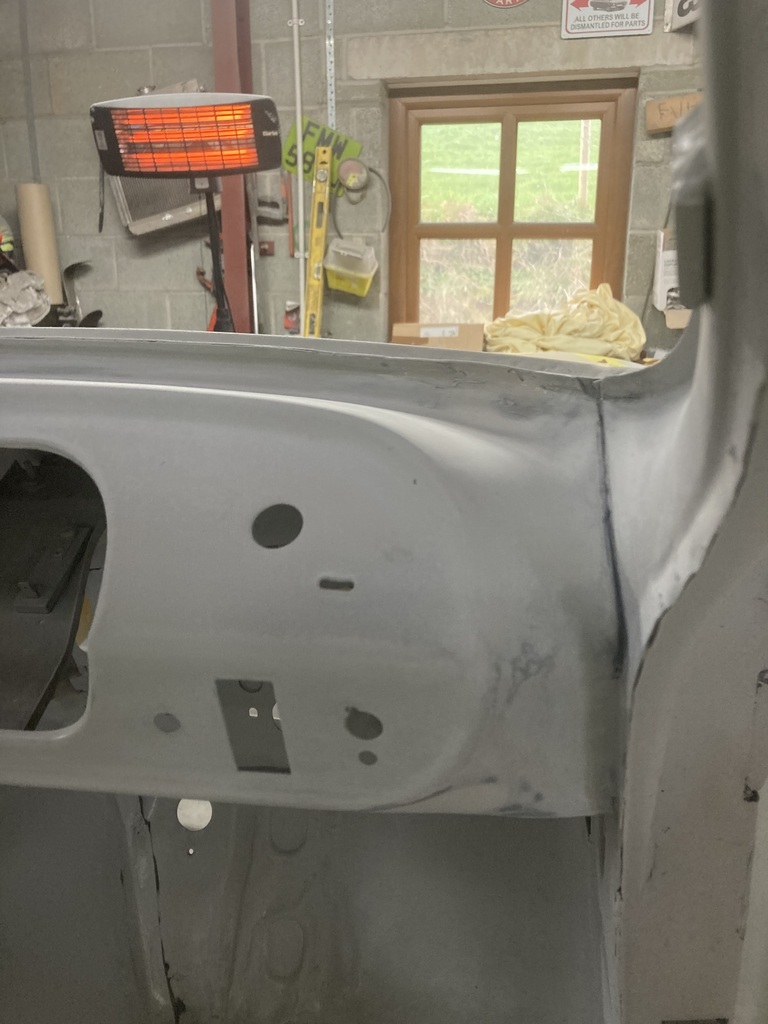 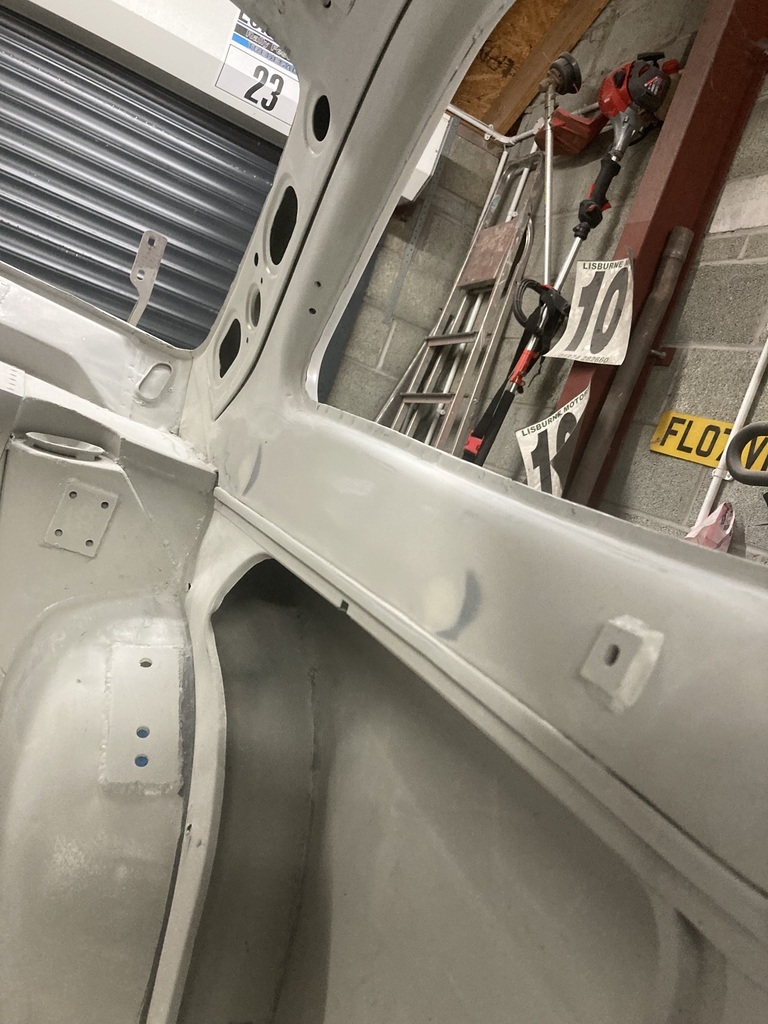 I then wanted to spot prime these bits so masked of the engine bay and wacked on some primer 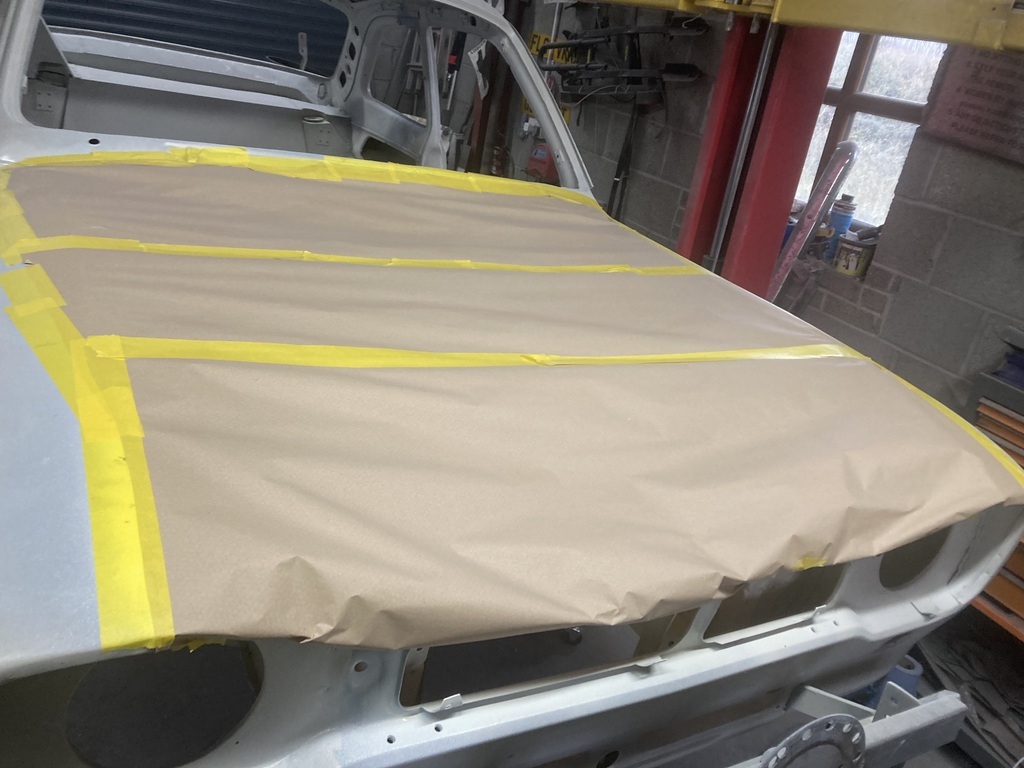 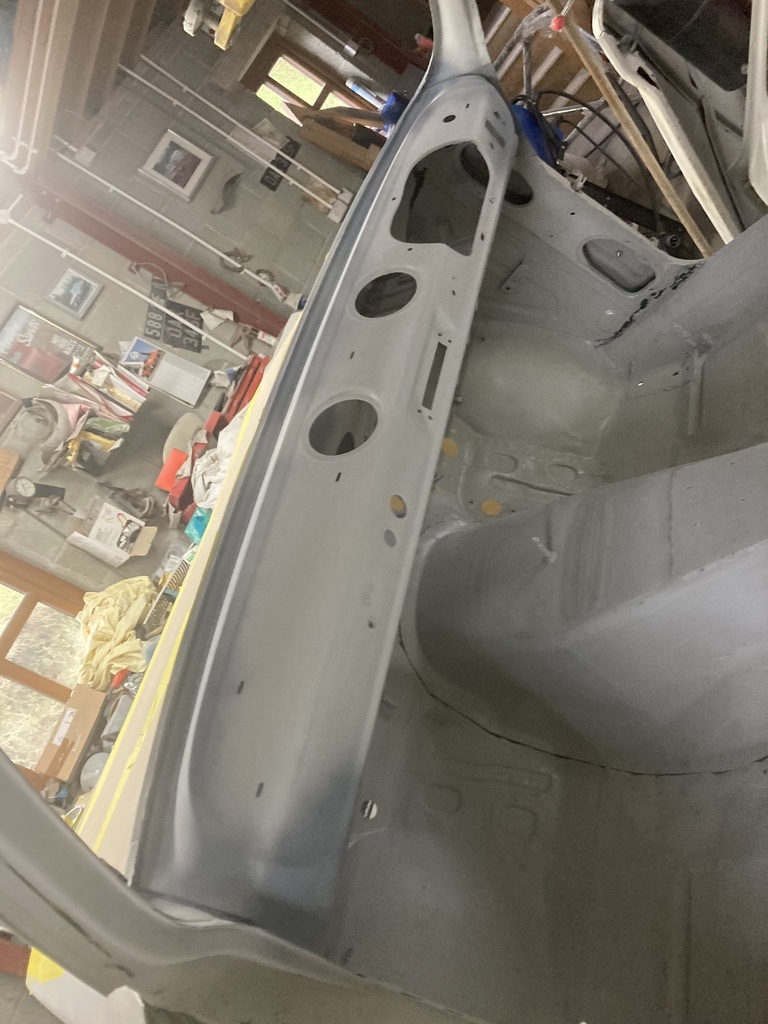 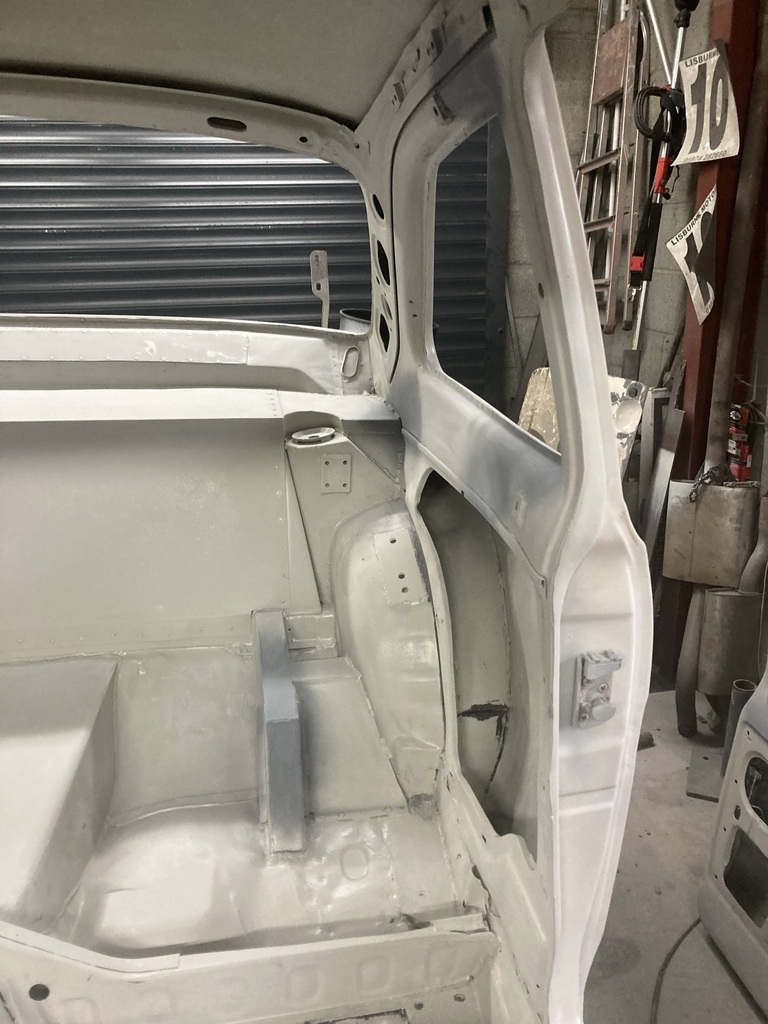 I also did part of the boot floor where I’d welded on the new chassis rail last year, as it was like a ploughed field 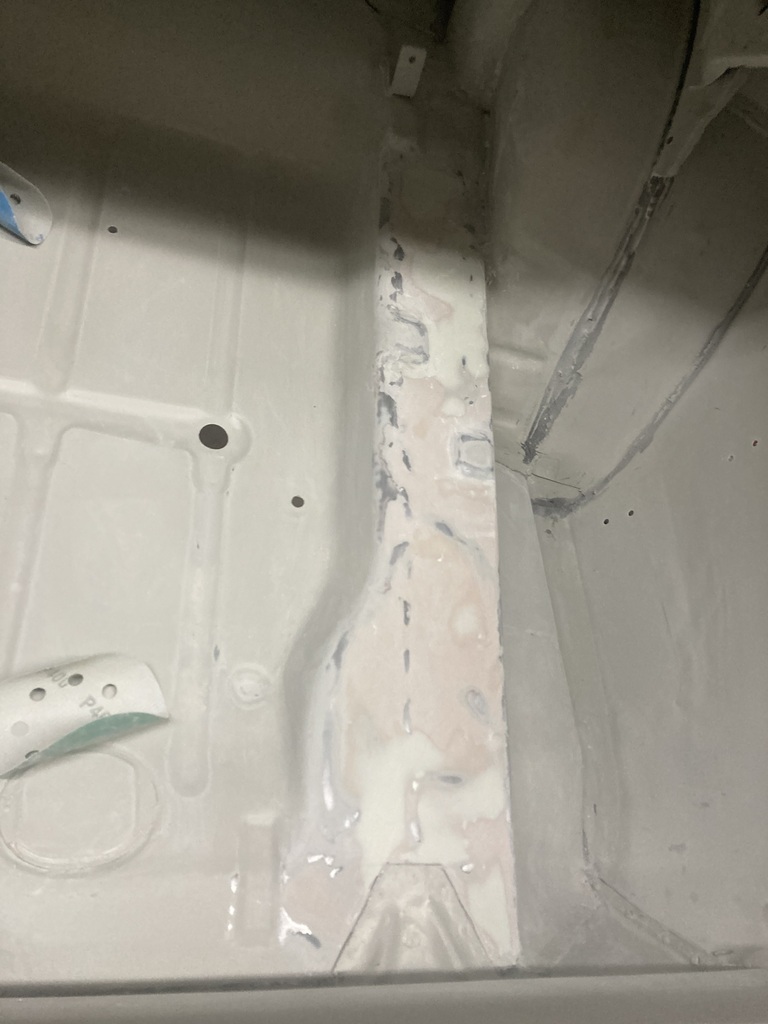 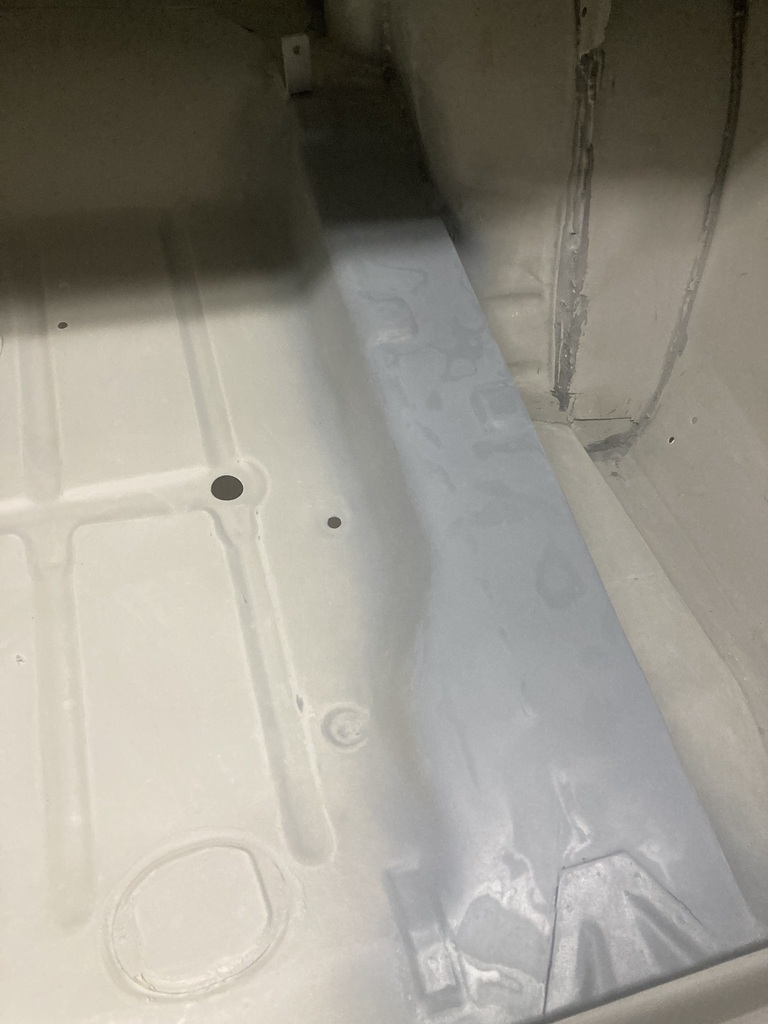 I may high build the boot area, but I may not. We’ll see. That was enough of that for one day. Those with good memories will remember that Jones Junior (the elder) started racing a MGZR when he was 14. It hasn’t been used for a few years, just covered up in the old garage. Well he’s doing another Motorkhana in a couple of weeks so we dug it out. 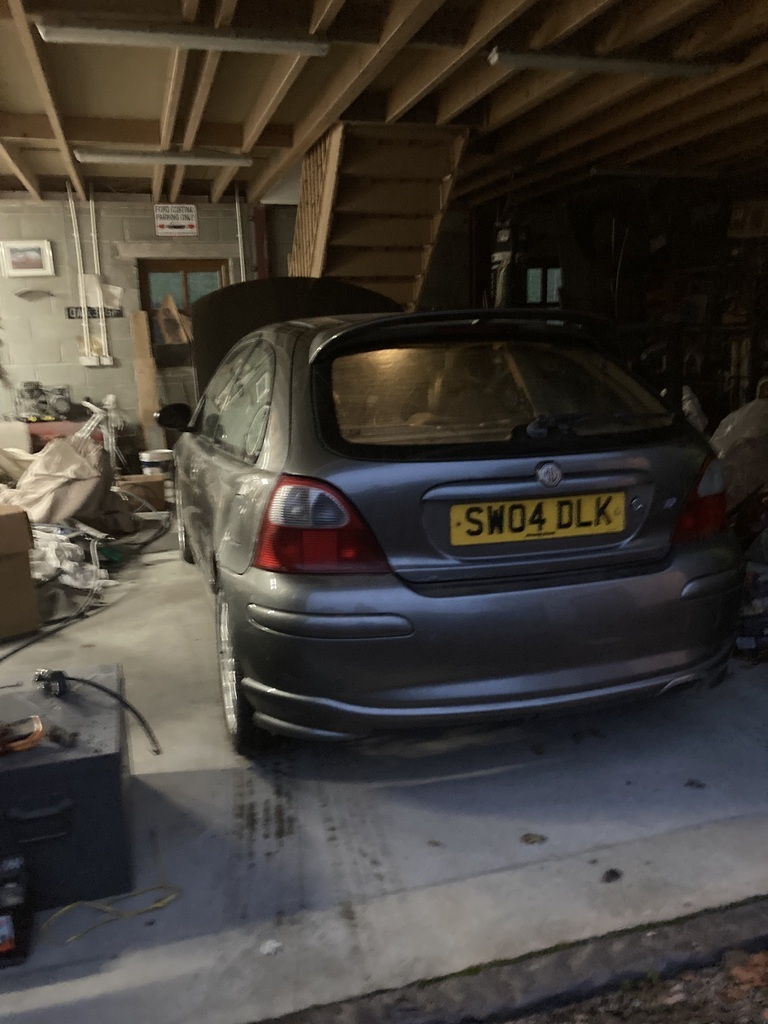 Last time he drove it the back box fell off as it was rotten. I ordered a new one and it arrived just after I locked up today 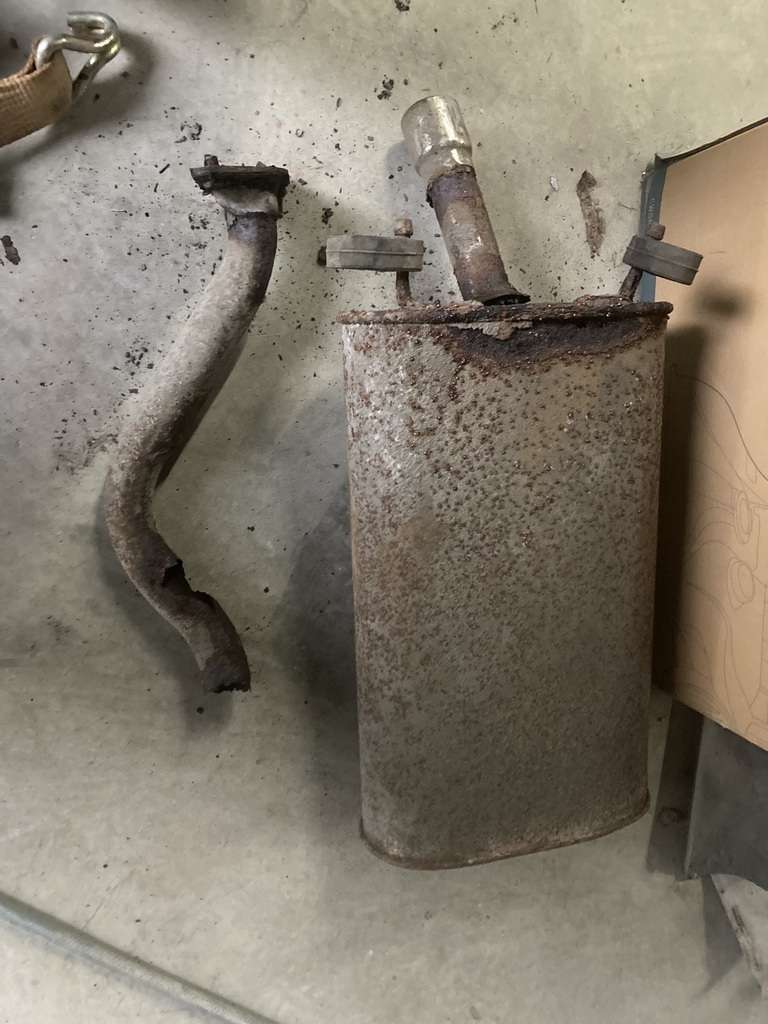 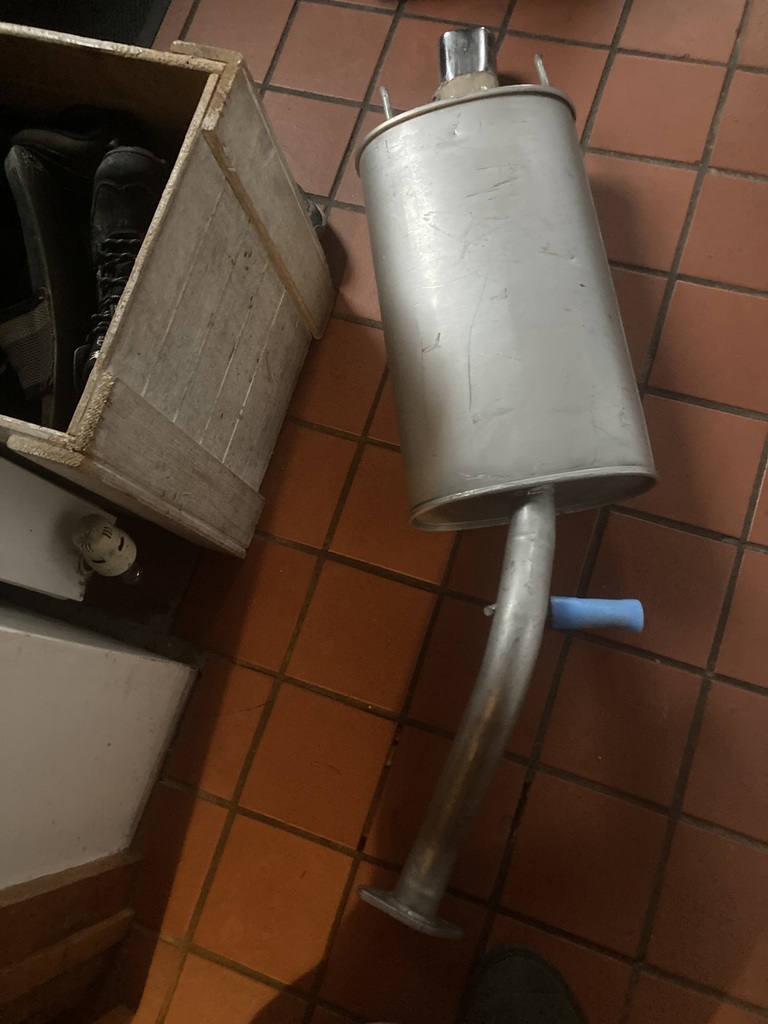 So I went back out to fit it quick, but one of the pins on the body that old the rubbers had rotted off so I thought I would weld a new one on, and then the earth snapped on the mig. 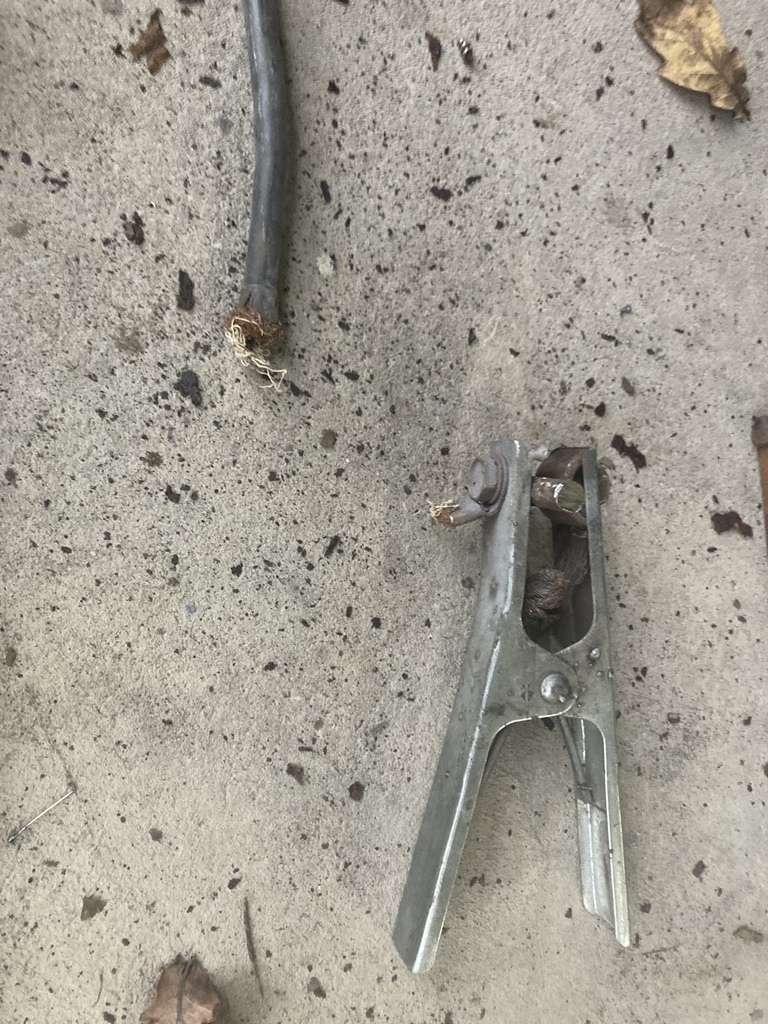 So I fixed it and welded on a spike i cut off the old exhaust 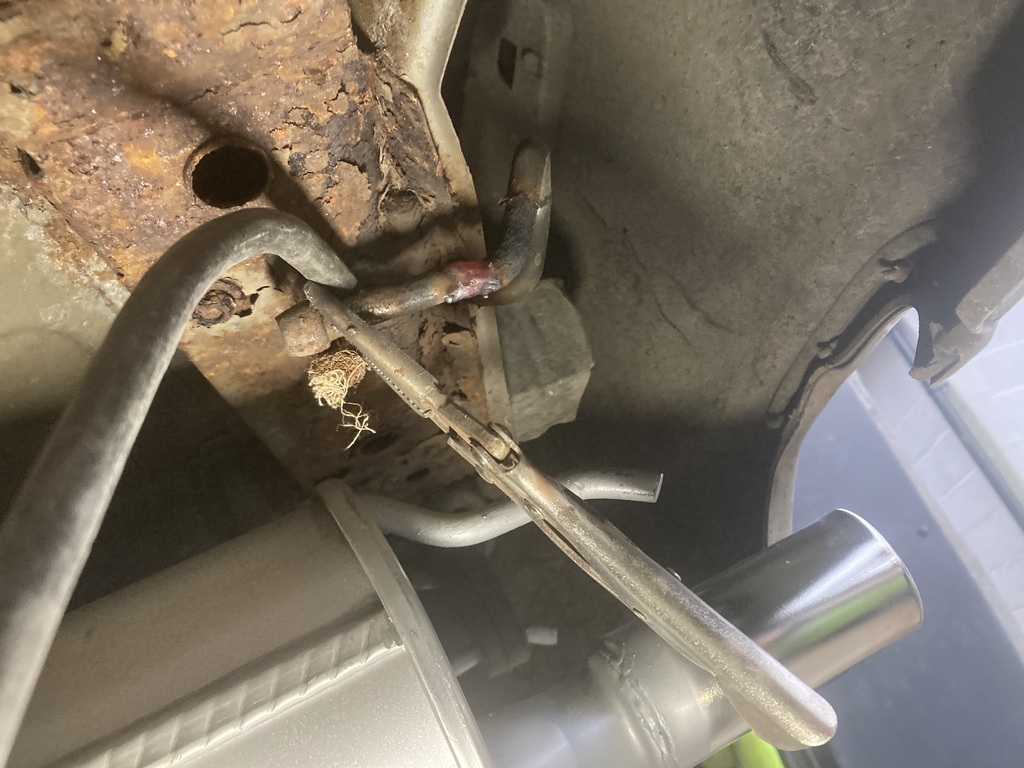 But this box won’t remedy all the exhaust issues. The bit it bolts to is also rotten 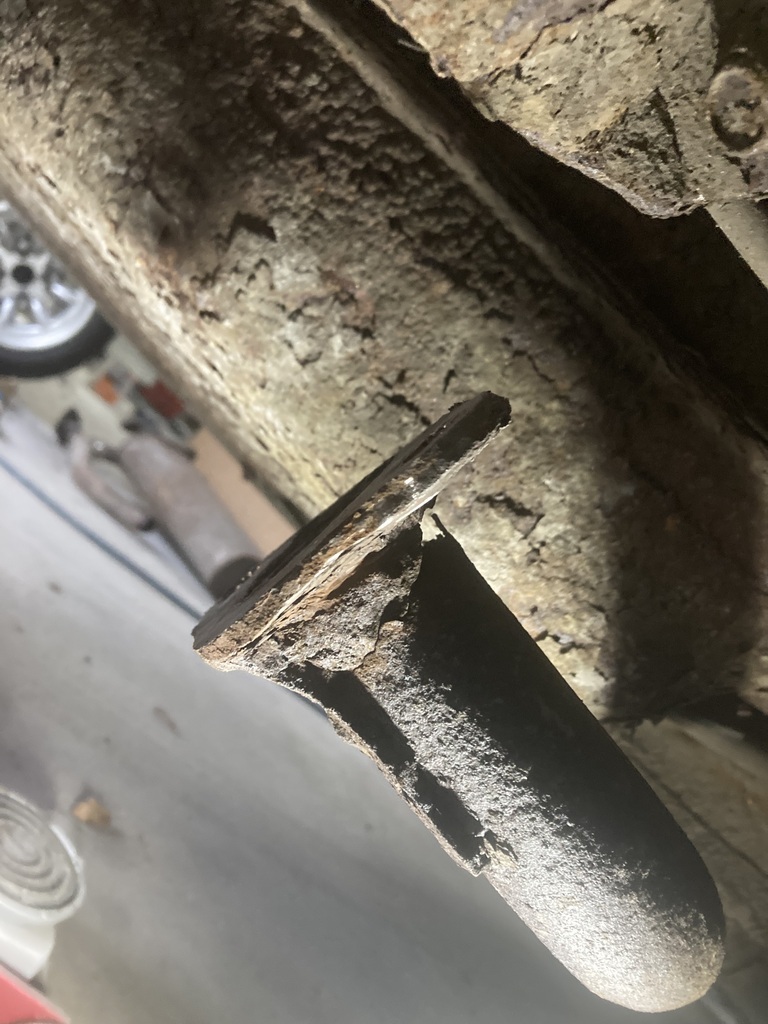 I’m not paying another £45 for a mid section so I will fix it with a bit of pipe left over from Gweek (remember him?). 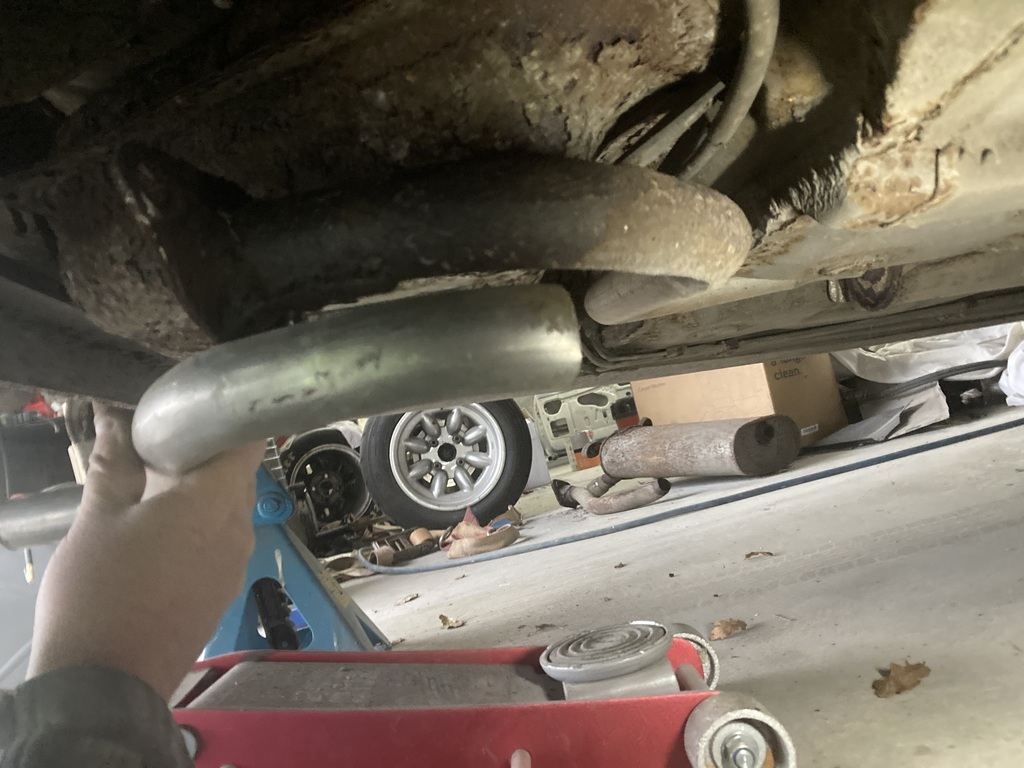 The starter motor has also packed up, so that cost me another £60. This is supposed to be cheap Motorsport. if only I had access to a 2 post lift. All this work would be much easier 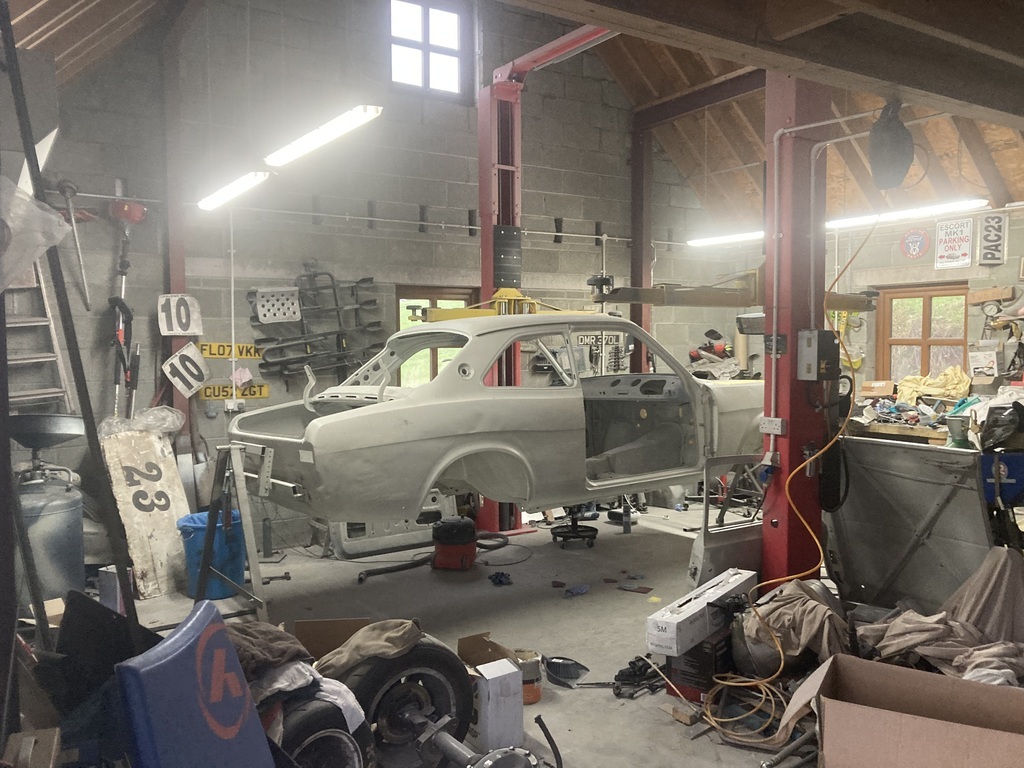 |
| |
|
|
teaboy
Posted a lot
   Make tea, not war.
Posts: 2,127
|
|
|
|
|
All this expense, it’s a conspiracy!
|
| |
|
|
|
|
|
|
|
All this expense, it’s a conspiracy! I know! I’m up to £120 in this race car already 😁 |
| |
|
|
teaboy
Posted a lot
   Make tea, not war.
Posts: 2,127
|
|
|
|
All this expense, it’s a conspiracy! I know! I’m up to £120 in this race car already 😁 Speed costs! How fast do you want to spend?  |
| |
|
|
|
|
|
|
|
I know! I’m up to £120 in this race car already 😁 Speed costs! How fast do you want to spend?  I don’t want to spend anything. I’m not even going to drive it as when I do I brake it😁 |
| |
|
|


