|
|
|
Jun 29, 2024 19:23:49 GMT
|
I didn’t achieve much today. The younger gave me a hand to bolt up all the P clips holding the fire extinguisher pipes to the tunnel (no photo). I removed the heater unit as the core has a leak. I have a couple of mk2 cortina units so thought I’d pinch a core out of one. 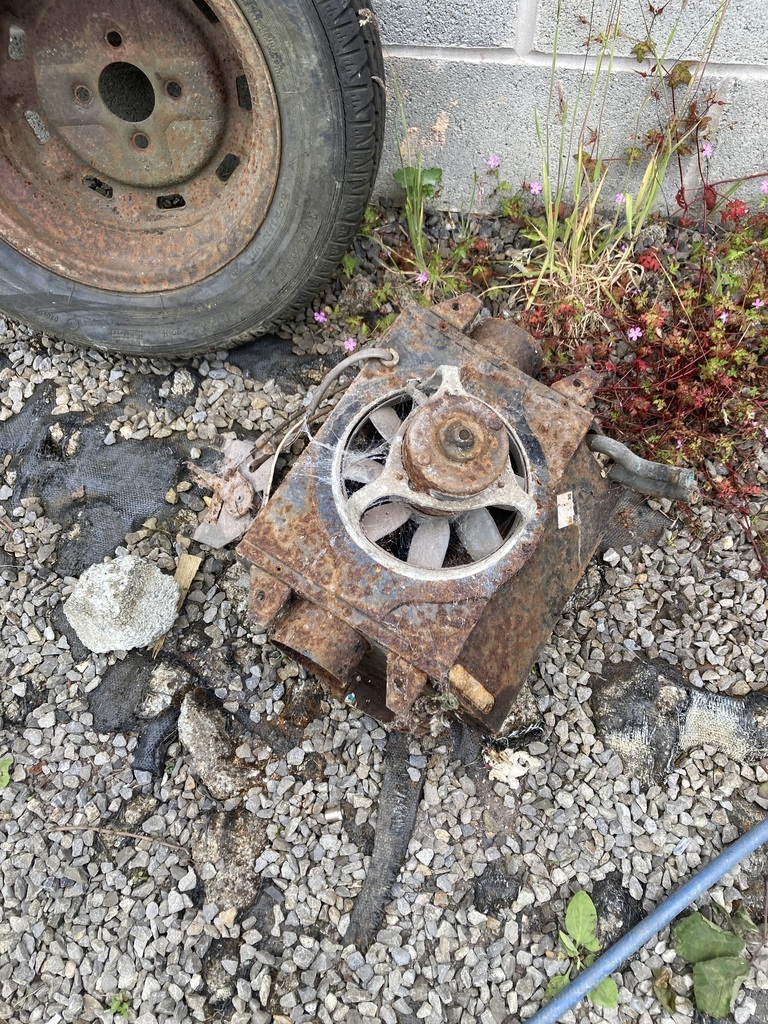 The core is the same but the pipes are opposite. 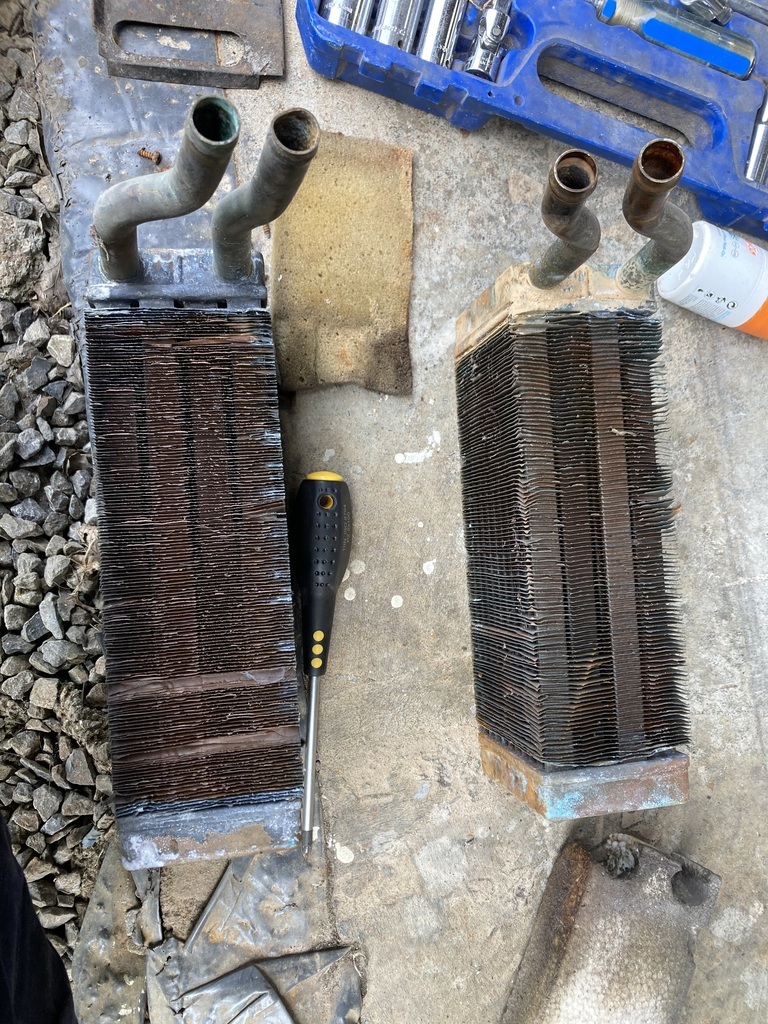 So as I’m a gas man, I thought I’d try and solder up the leak on the original. It was leaking where the top tank is soldered to the core and someone has tried repairing it before on one end. It is now leaking on the other side 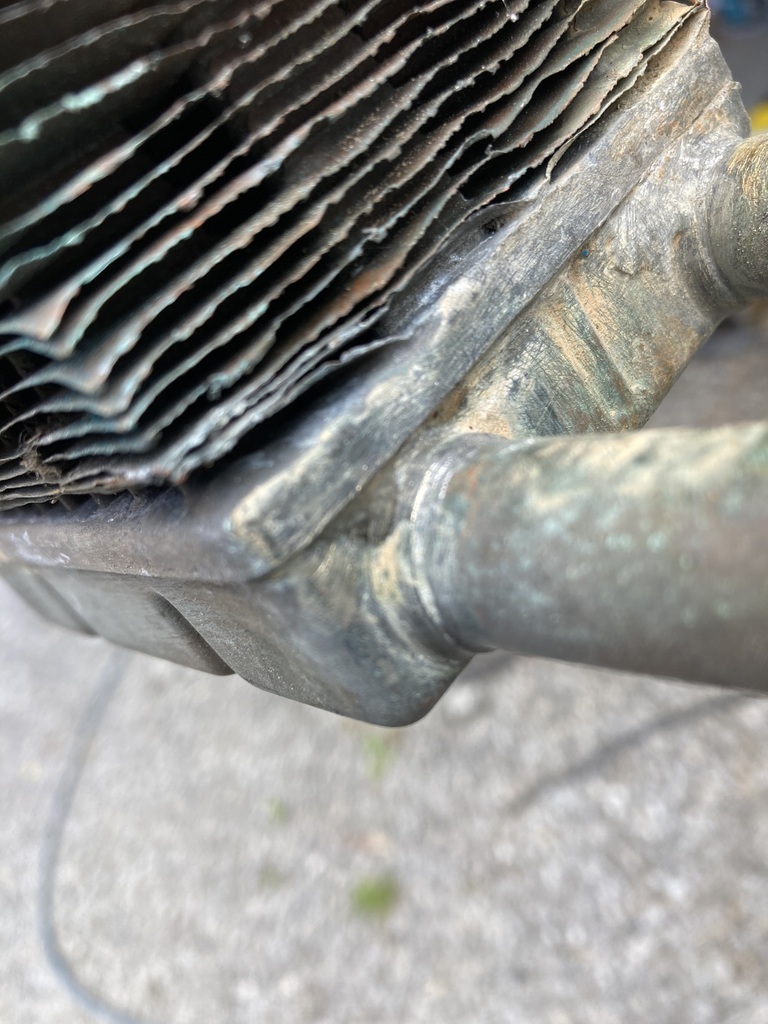 I know I should have unsoldered the tank, cleaned it and resoldered, but I didn’t. I just blobbed loads of flux and solder on the tank, testing and resoldering somewhere else it had decided to leak for about an hour. I tested to 2 bar as the core is only small so can take a bit more pressure and all seams ok. Looks cr4p though 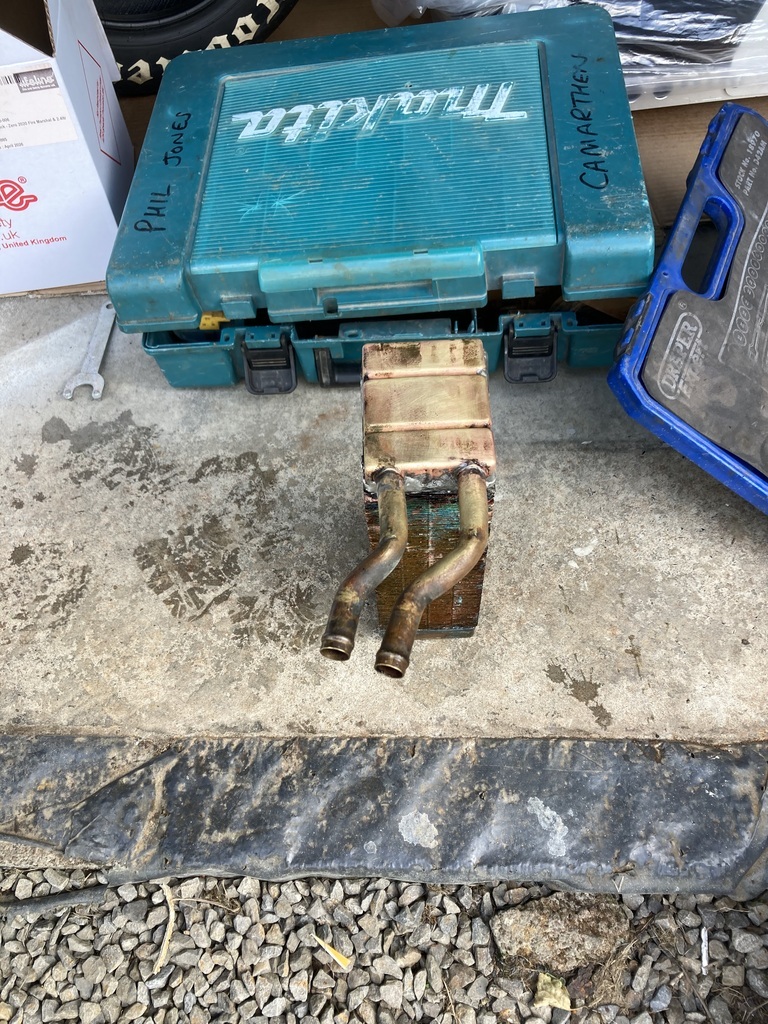 I put the core back in the heater unit and that was that. |
| |
|
|
|
|
|
|
|
Jun 30, 2024 17:12:02 GMT
|
So what have I been up to today? Before I fitted the clutch fork all those weeks ago, for some reason that I can’t remember, I cut the clutch fork and straightened out the bend I had put in it when I fitted the RS engine many moons ago. This meant that I no longer had any adjustment. You stupid boy. So I made a little “thing” (don’t know what else to call it), to give me back some adjustment. Here it is fitted as I didn’t take a pic of the bl00dy thing. 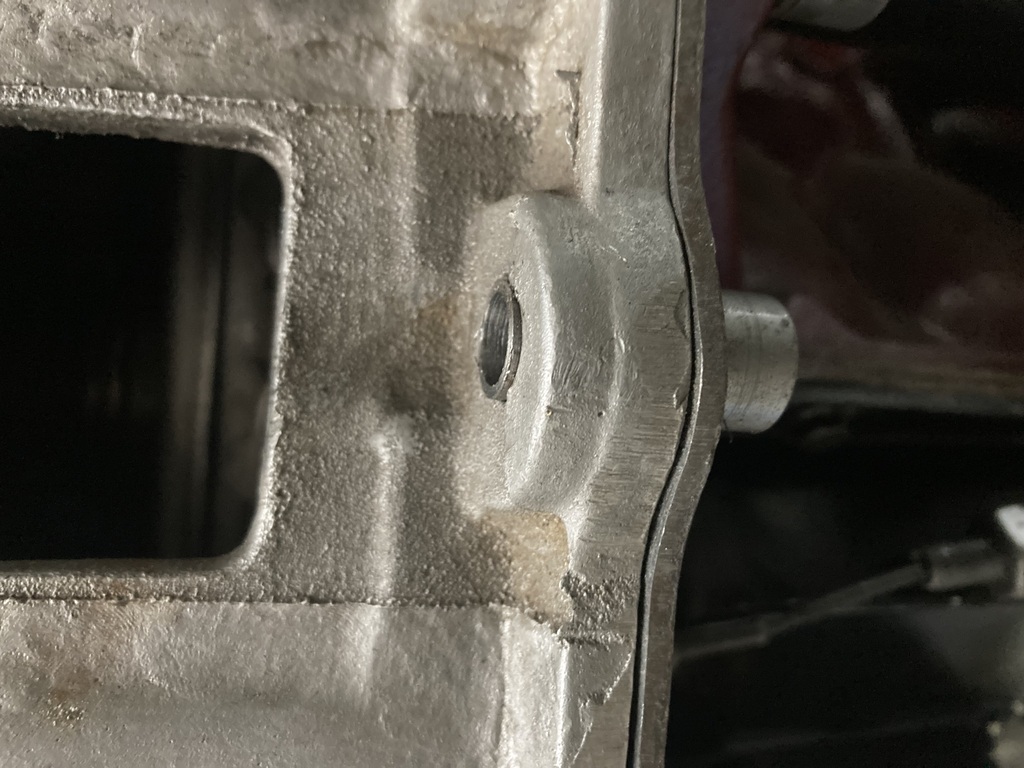 And clutch cable and return spring fitted 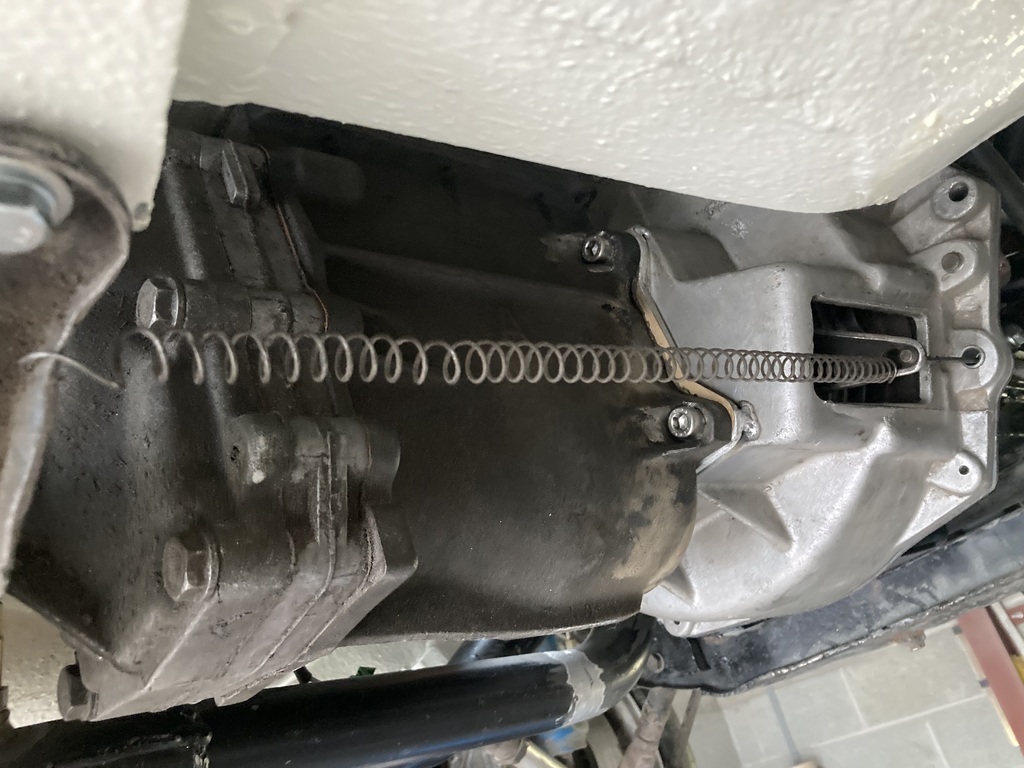 I only did this first as our shepherd hut guests hadn’t left and I didn’t want to make a noise angle grinding. As soon as they left, I did some angle grinding. Remember the hole I cut in the heater box to clear the MX5 wiper motor? 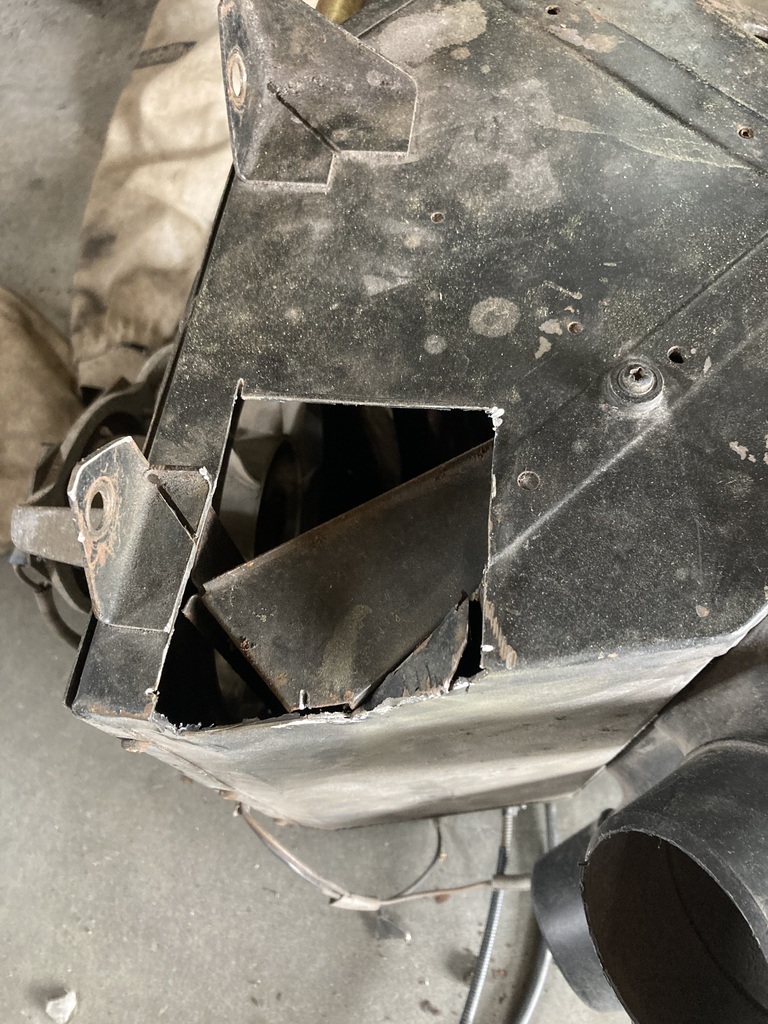 Well, the hole needed filling. So I made a filler 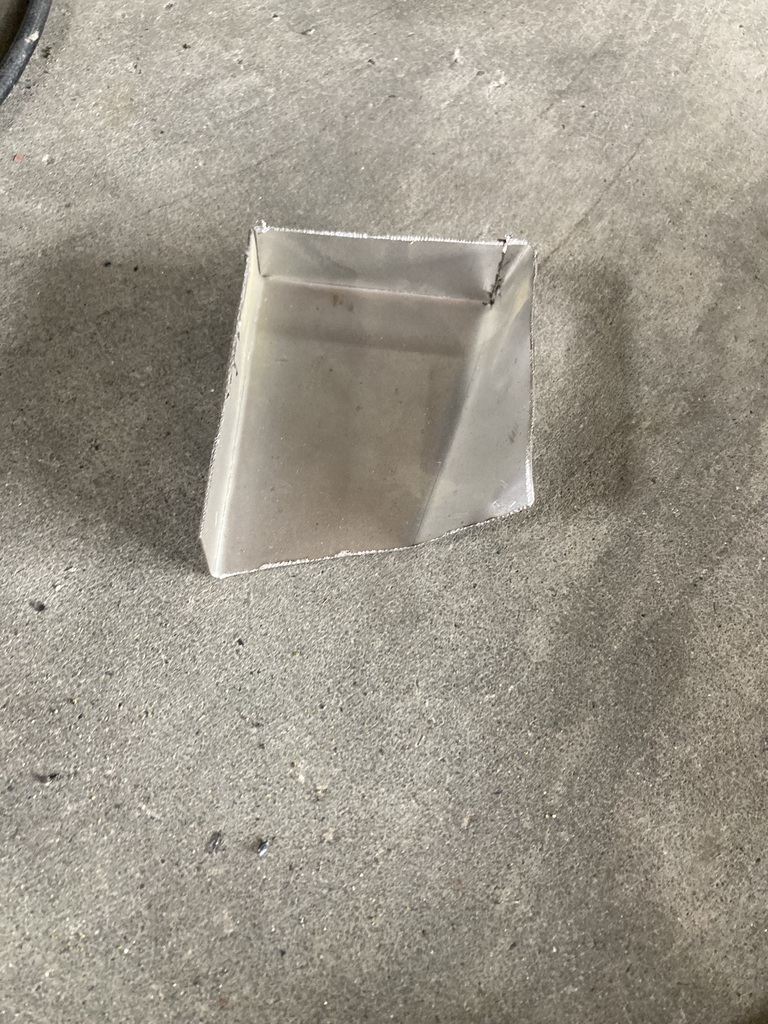 Welded it in 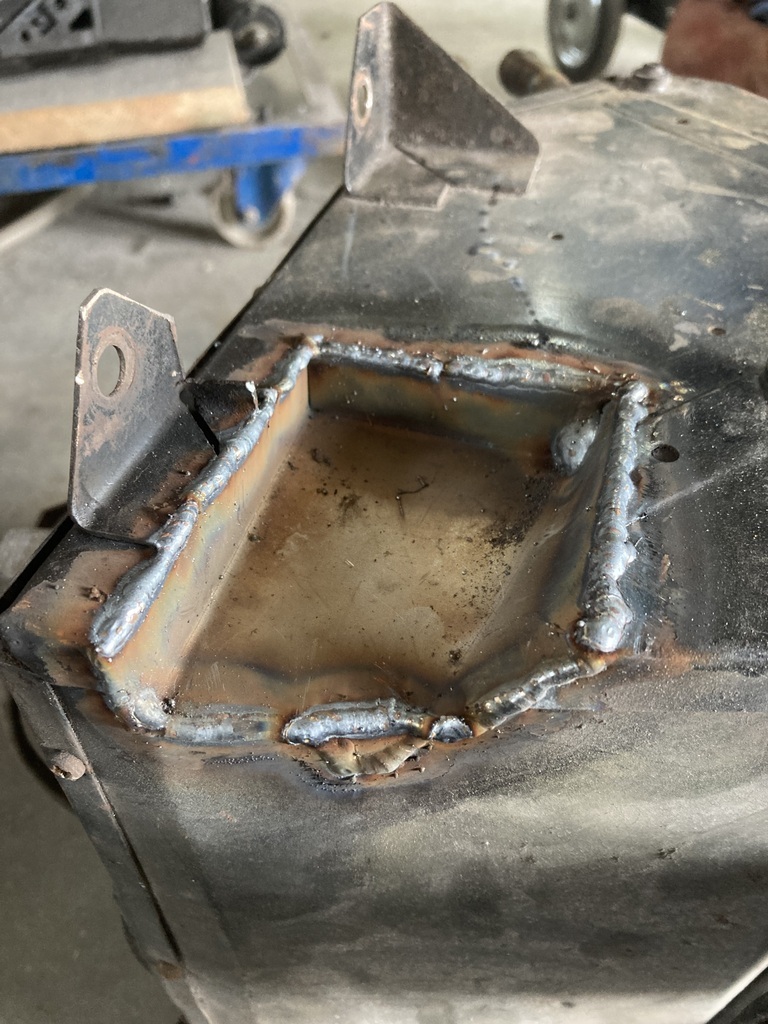 Ground it off a bit. Why, when it sits at the top of the dash? I don’t know. 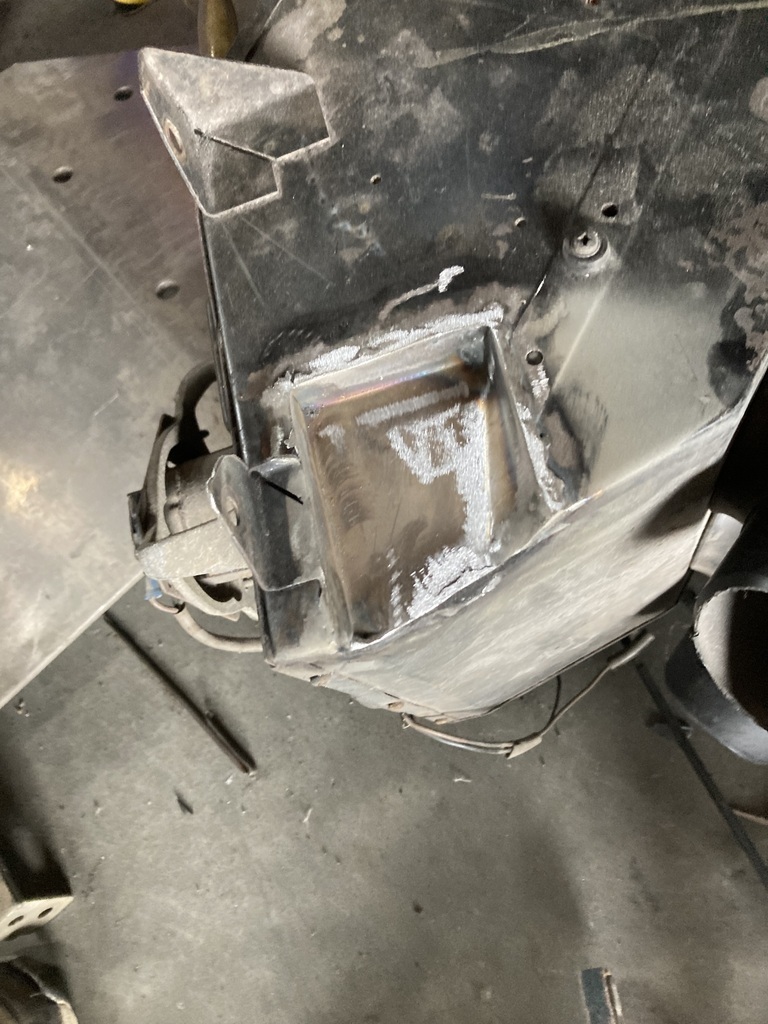 It then got a quick coat of satin black and a new seal fitted to the fan where it meets the top of the bulkhead 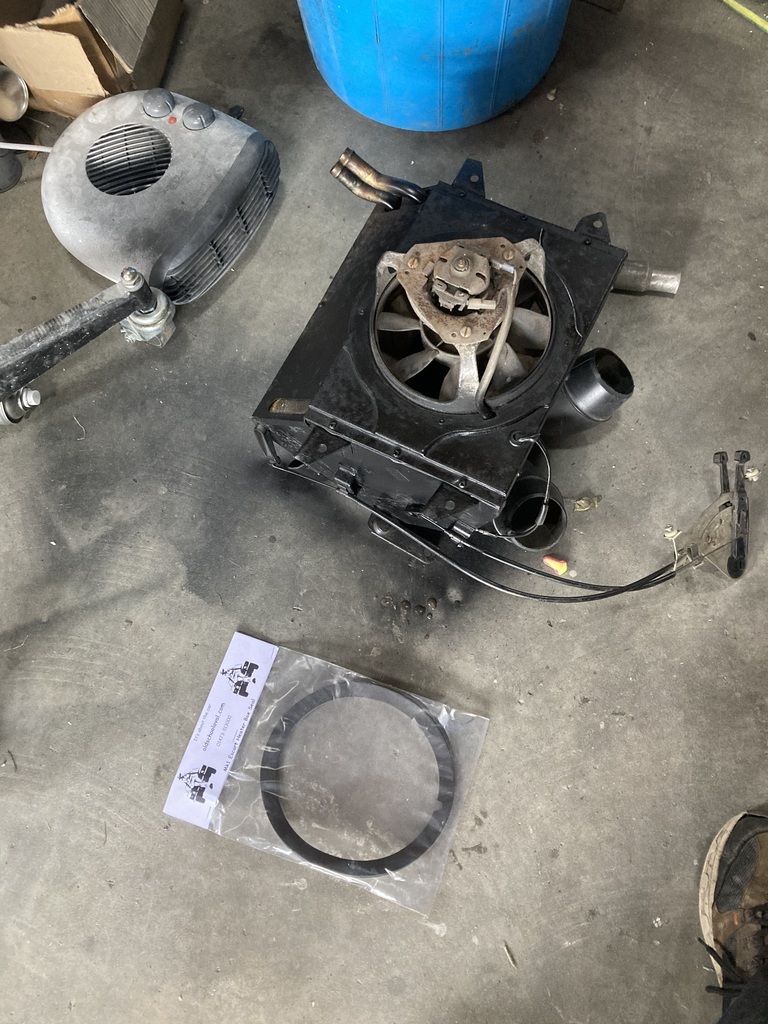 And fitted to the car for hopefully the last time 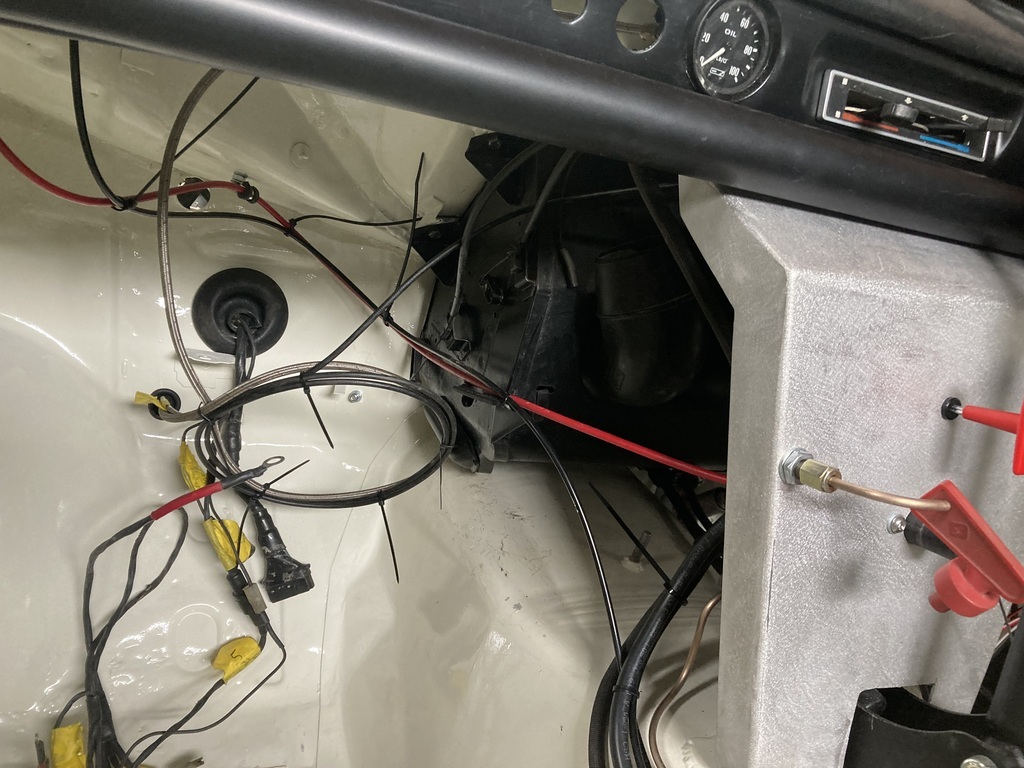 So on to the engine. New inlet manifold gasket fitted onto the head. Fits ok. 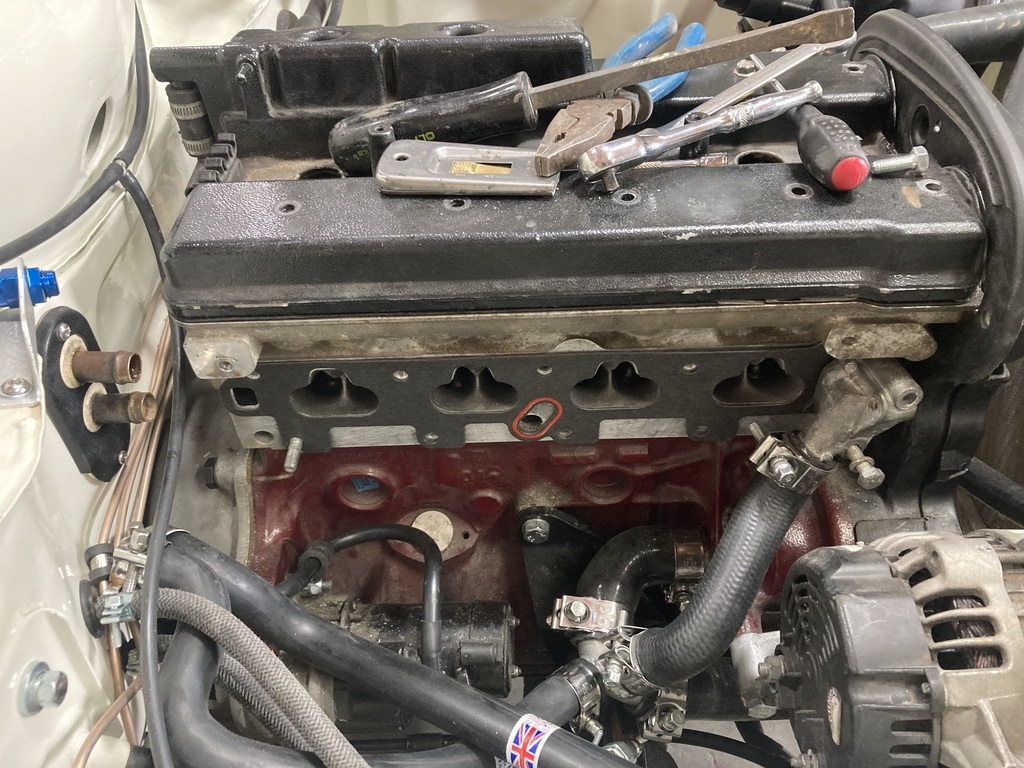 Same manifold gasket fitted to the inlet manifold 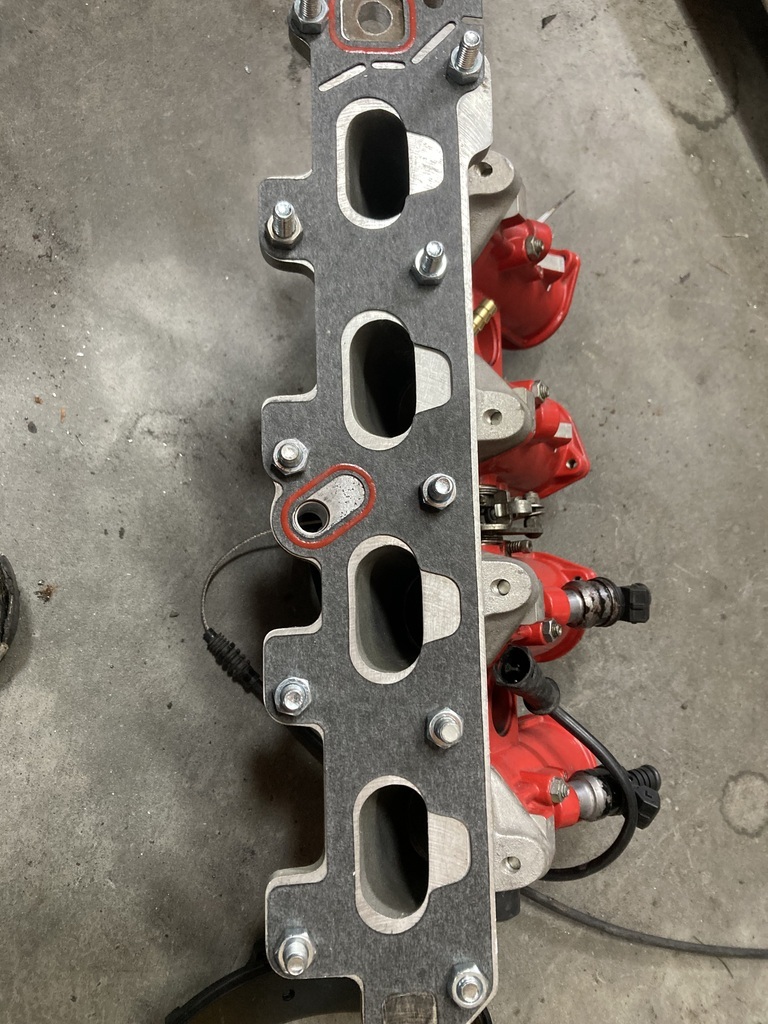 The ports are tiny in comparison. As there a several different port designs on this engine, the manifolds are sold with small ports so you can port it yourself to whatever shape you require. I’m assuming as this engine is from a Formula Vauxhall Junior which was a controlled race series, the manifold was not allowed to be modified. So I modified it by burring it out with the air die grinder and plenty of wd40 to stop the burr blocking up with aluminum 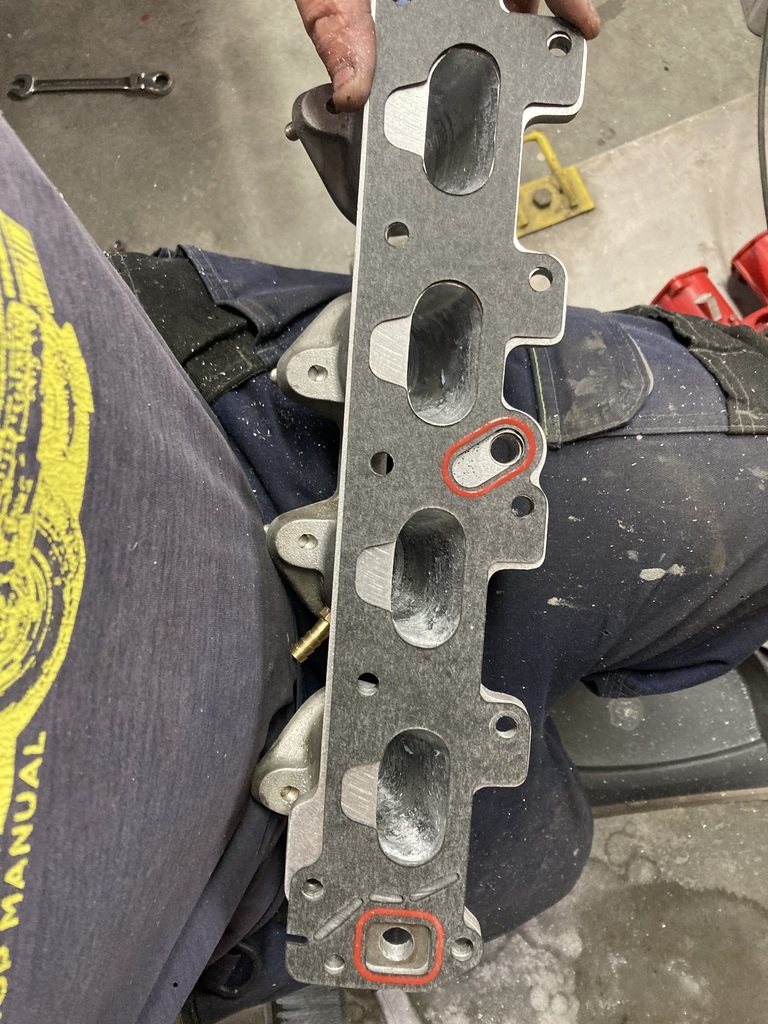 I also went over the ports with some emery cloth to smooth it a bit. For this I cut the head off a bolt, cut a slot down it about an inch, put a strip of emery in the slot, wound the emery round, wacked it in the drill and gave it a wiz around the ports, tearing off a bit of the emery every time it wore out. 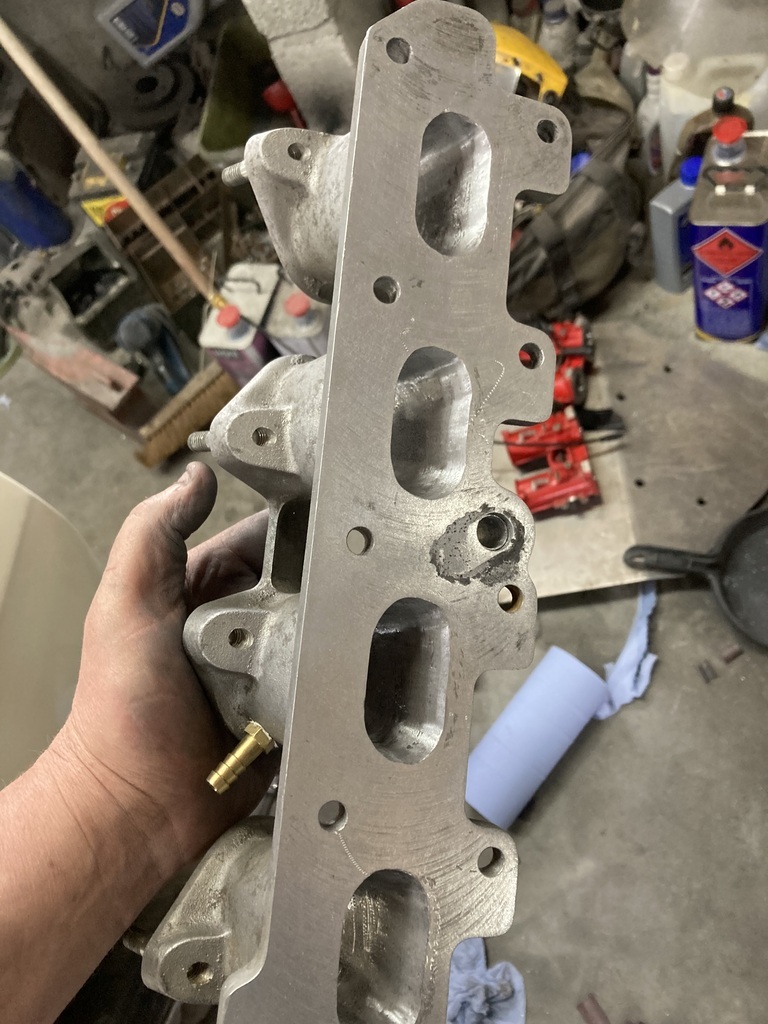 I think I would have had a better finish if I used a teardrop shaped burr instead of the cylindrical one, but that’s what I had. Manifold fitted to the cylinder head and heater pipes fitted 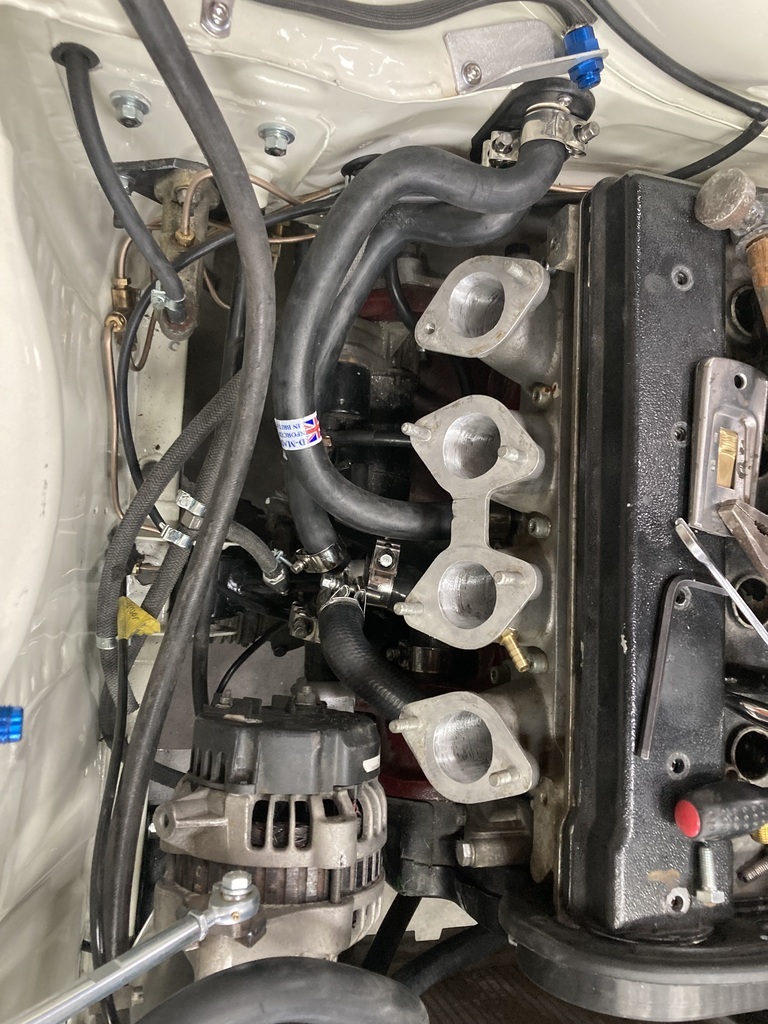 And throttle bodies back on 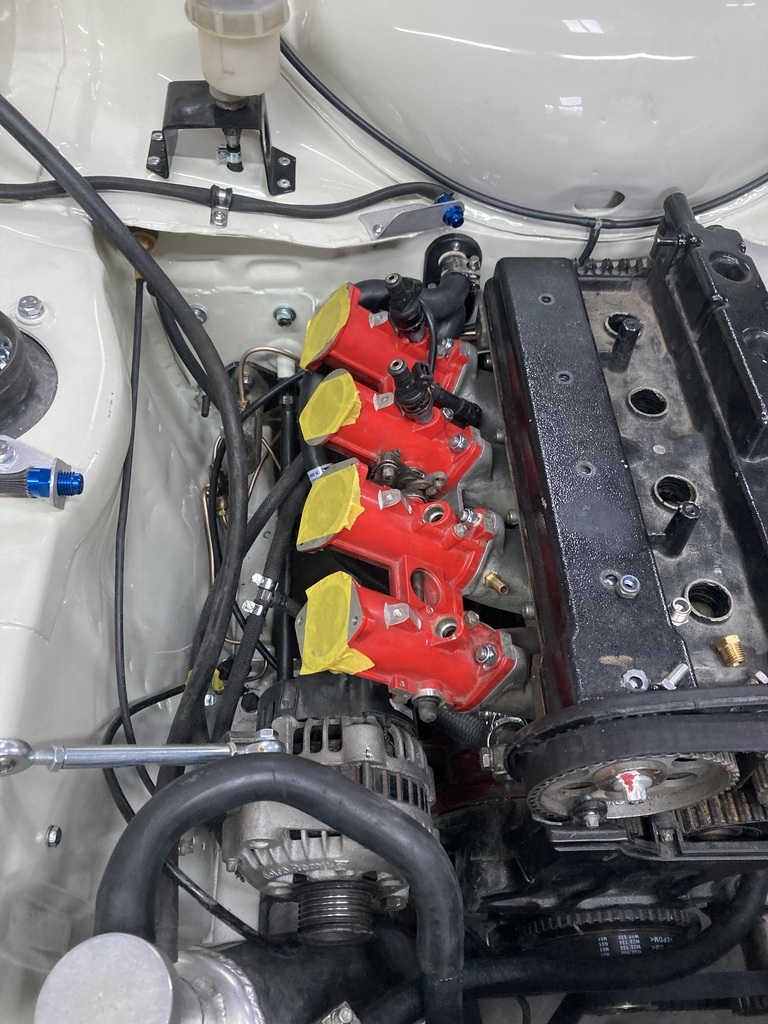 After all that it’ll probably go slower as I know nothing about porting. |
| |
|
|
|
|
|
Jul 13, 2024 17:27:37 GMT
|
I’ve not touched the Escort for a couple of weeks. Last weekend I was navigating in the Astra and the rest of the week i was working on The Elder’s Clio 182 (whole rear brake system) to get it through its MOT. 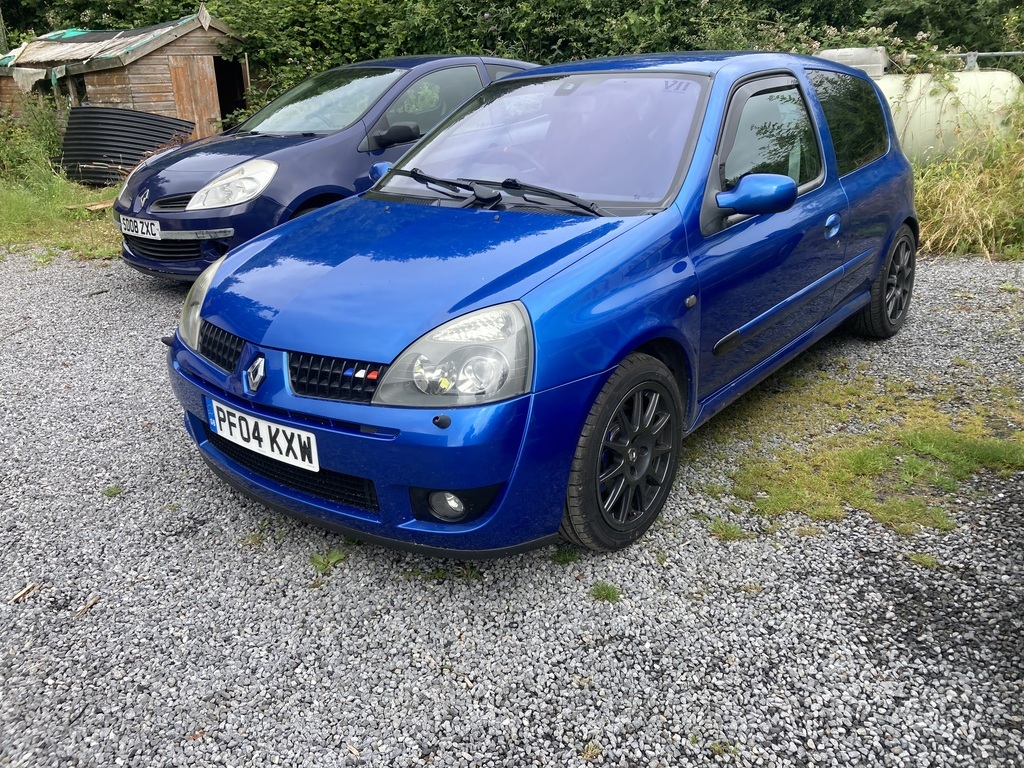 So after a visit to Mrs Jonsey’s aunty this morning, I got back out the garage. But I wasn’t sure where to start as it had been so long. Eventually, I decided to fit the lambda gauge in the console. It’s not something your going to be looking at constantly, so it went at the bottom 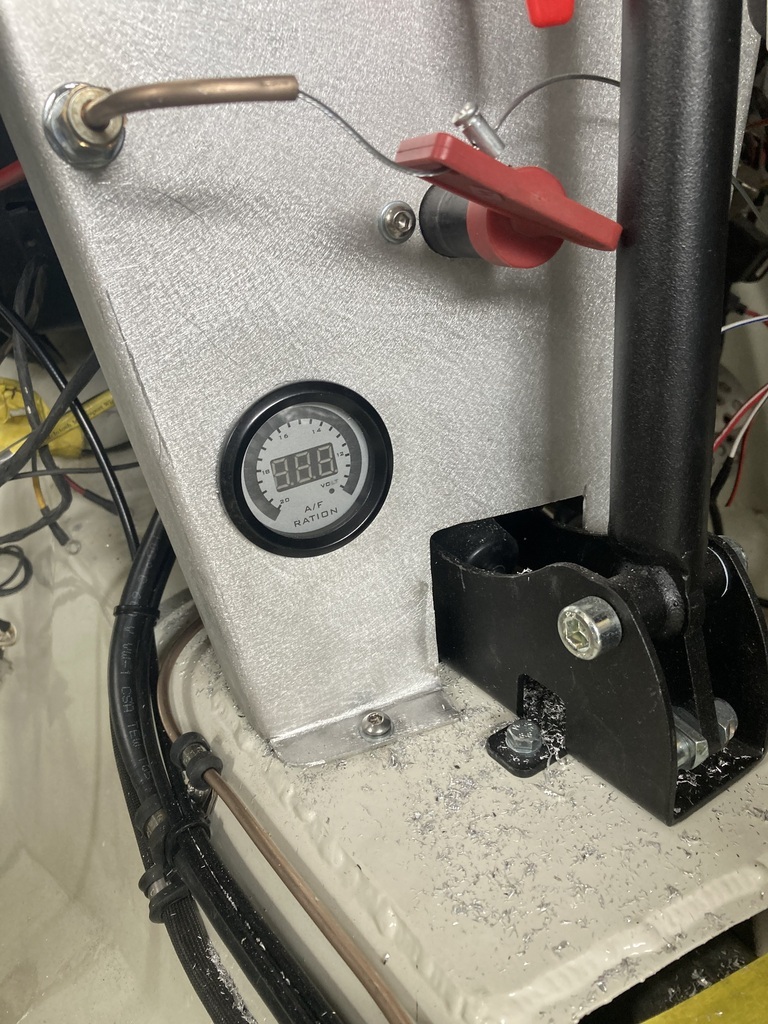 I also fitted the ignition/fuel pump switch and connected the start to the key. This is only temporary. 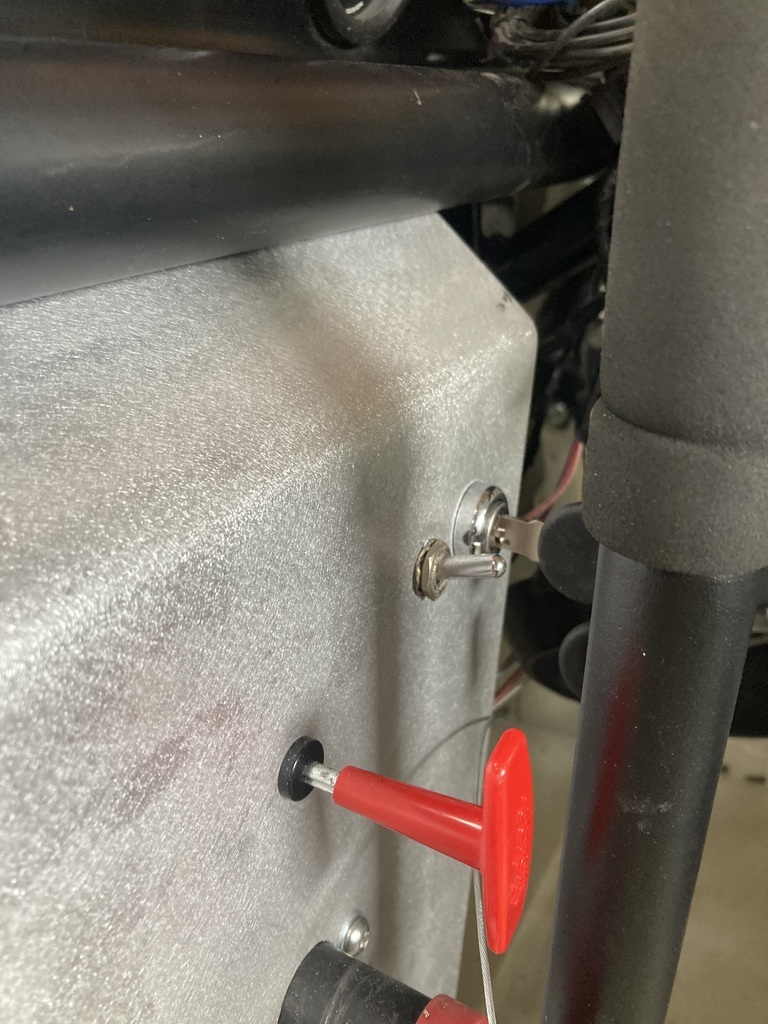 After hoovering up all the swarf I decided to refit the cooling fan to the radiator. To aid removal, I fitted rivnuts to the brackets with my new toy. 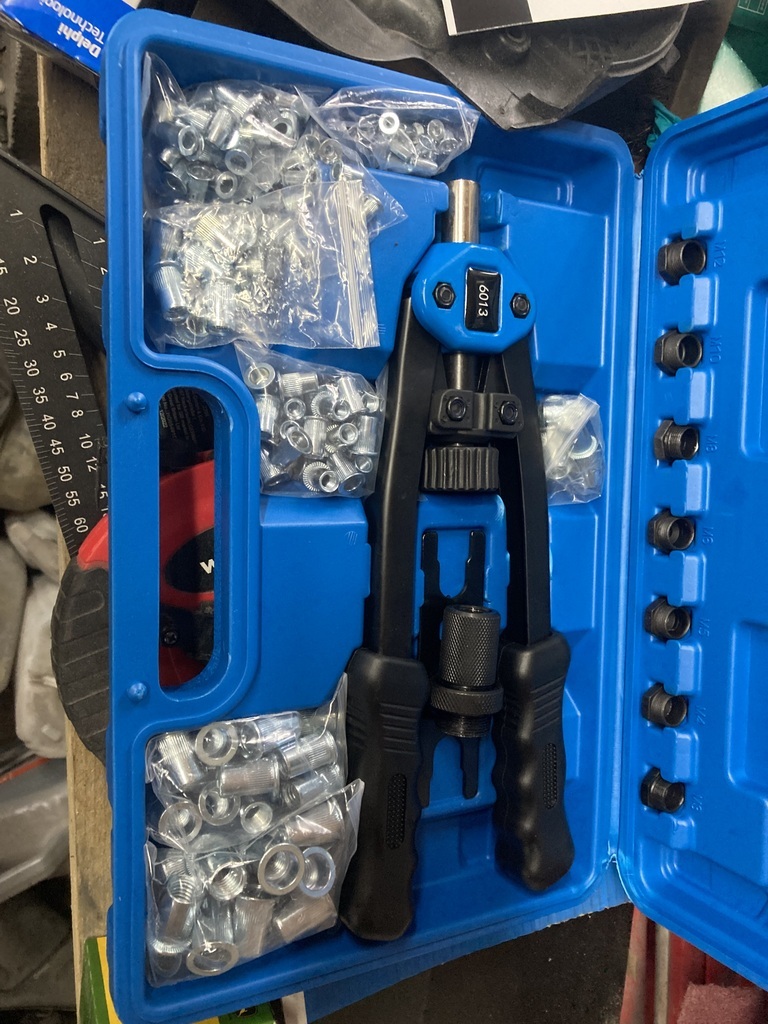 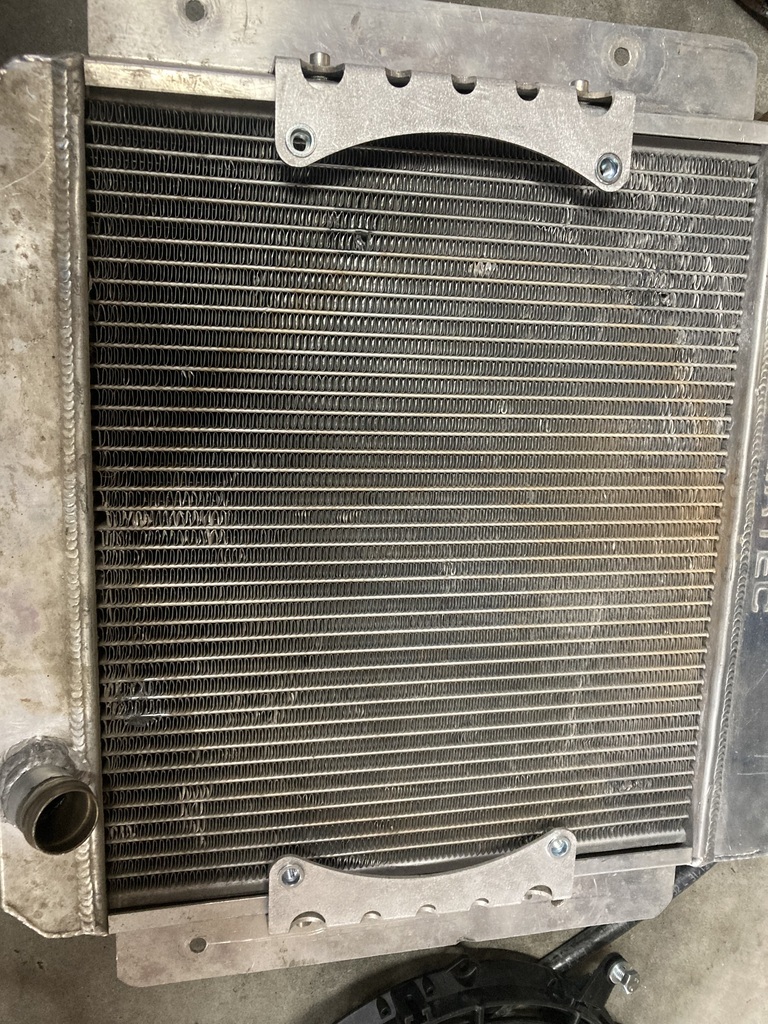 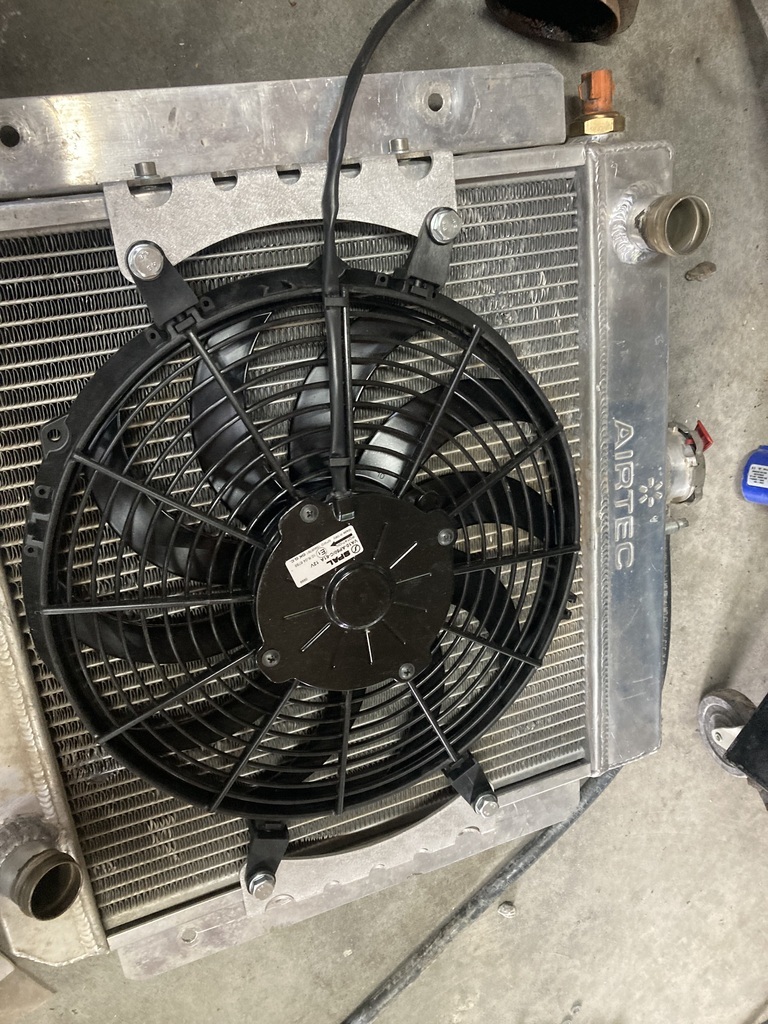 I made a new gasket for the fan switch 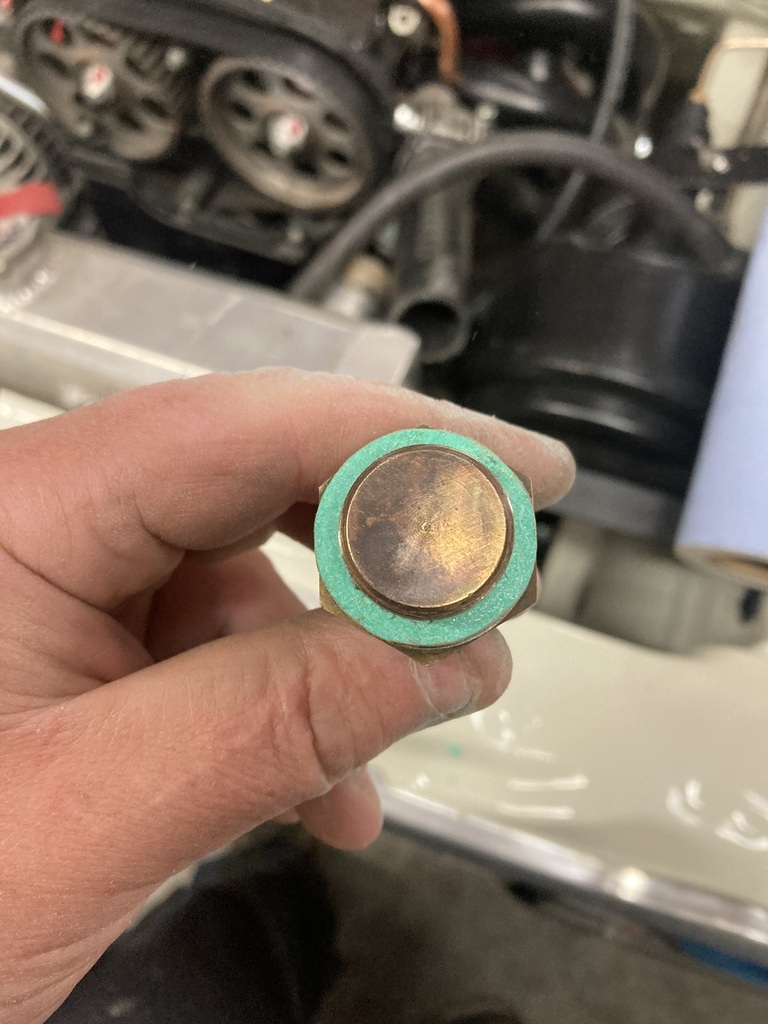 This switch is also temporary. Apparently these engines like to run cool so a 75°C thermostat will be fitted along with a lower temp fan switch. The fan will also have an override switch to manually turn it on. The thermostat switch is incase I forget. The rad went in along with the fan and the brake servo pipework to the inlet manifold 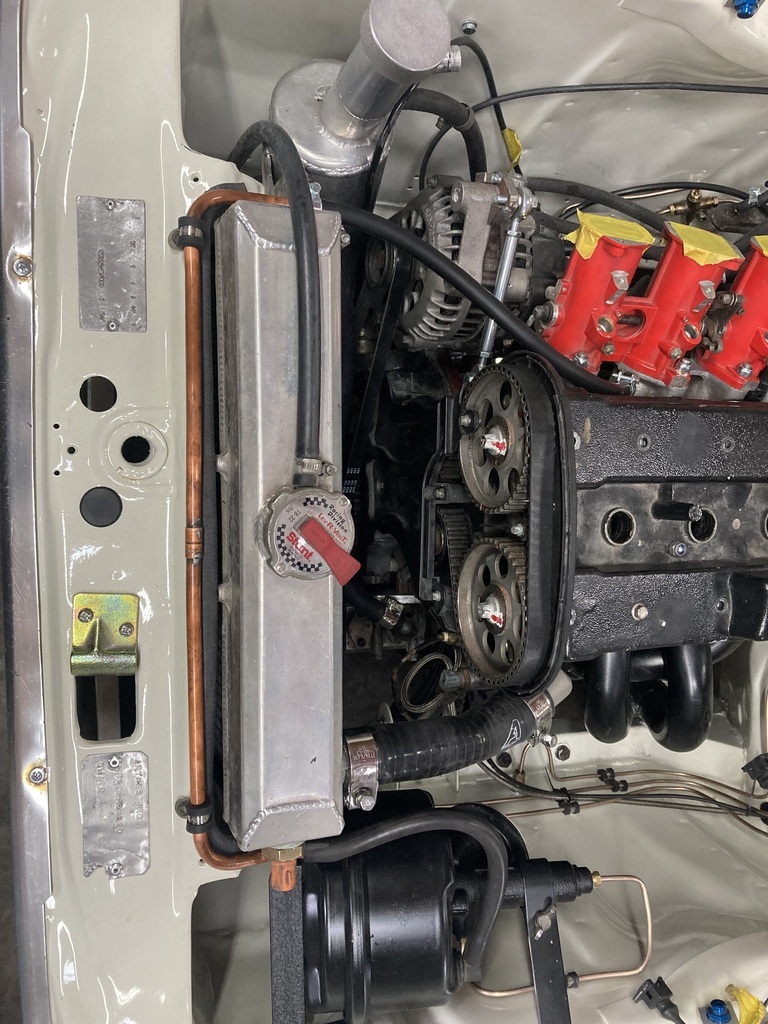 Those with a good memory will remember I picked up a spare head the other week. Well, the breather on the back of the rocker cover has always been a pain as when fitting the engine, it wants to hit the heater bubble and damage my shiny paint work. So the spare rocker cover was attacked with a hack saw and the breather cut off (no photo) and a new breather pipe made 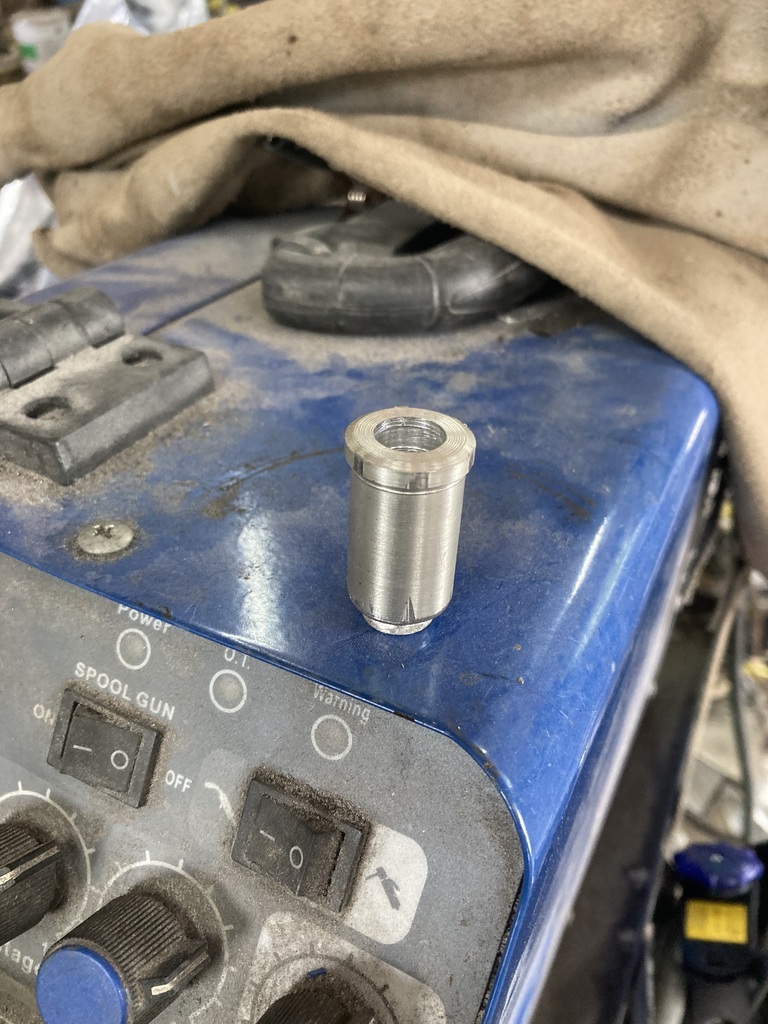 This was then welded on the side of the rocker cover and the redundant hole at the rear, welded up. There was also a 6mm steel breather there which had previously been blocked, so that was removed and welded up (badly), too 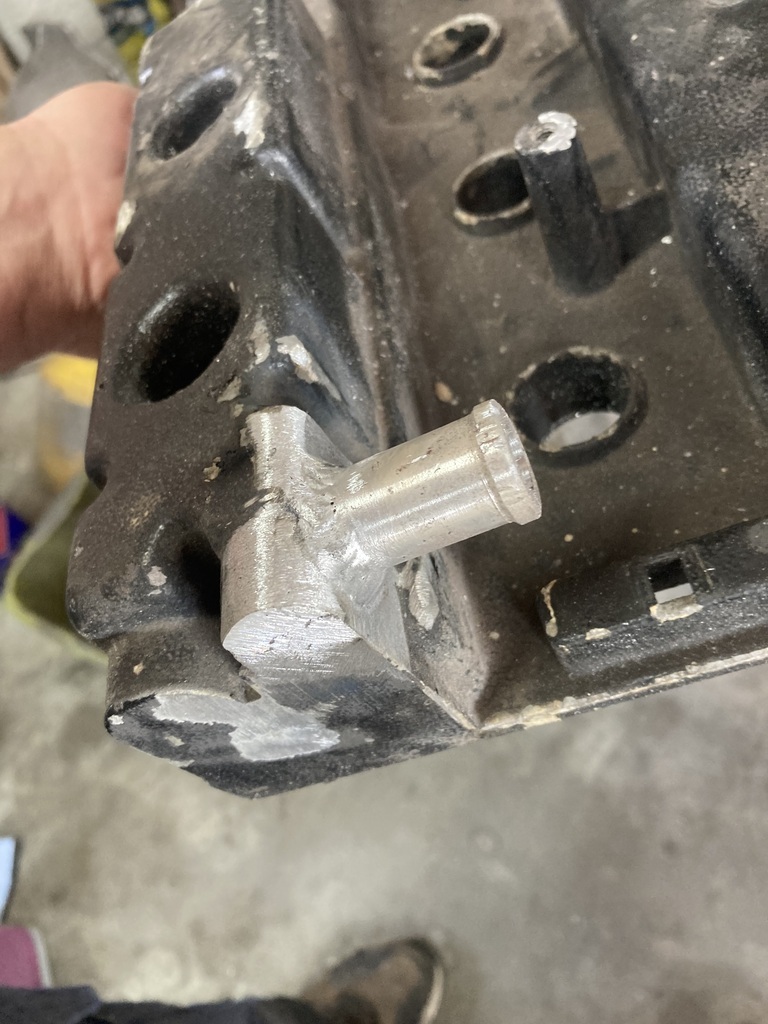 Now the raised up section of the rocker cover in the pick above, has a plate riveted below it. 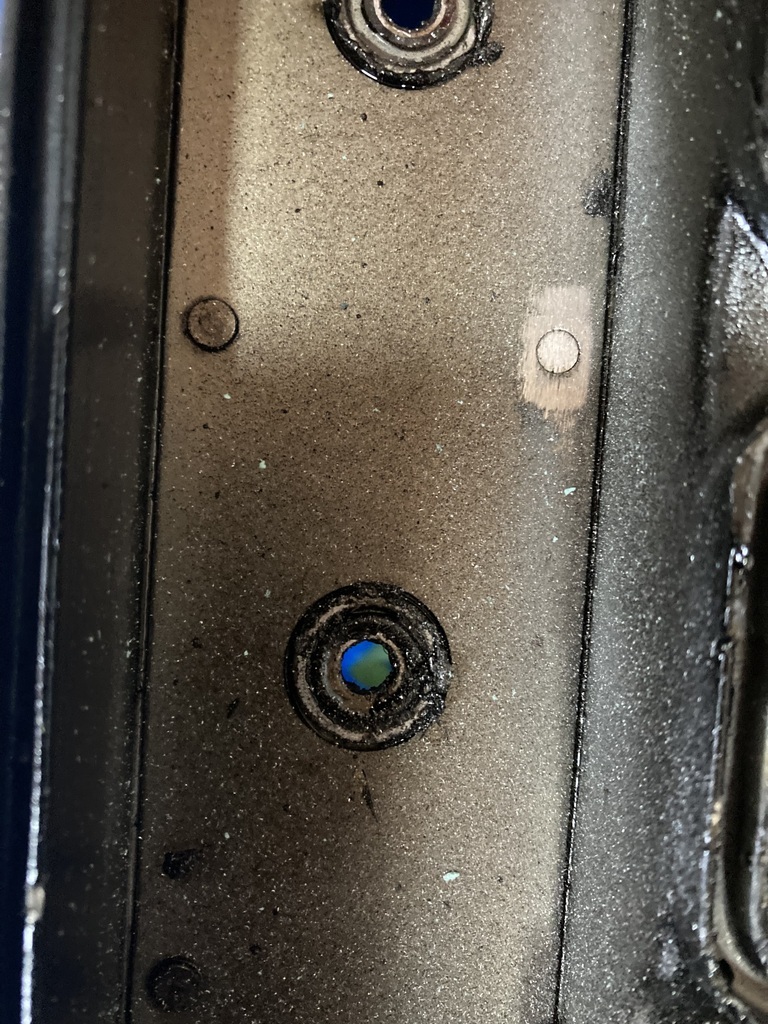 It is held in with some aluminum rivets which I’ve ground off to remove the plate and all the swarf generated when I drilled a new hole. What are this type of rivets called, and how do you get them to stay in?? Anybody have any ideas? More tomorrow |
| |
|
|
|
|
|
Jul 14, 2024 15:26:27 GMT
|
|
|
| |
|
|
|
|
|
Jul 14, 2024 18:12:36 GMT
|
Thanks for the reply Mr viva. I can’t get the link to work but I have seen the hammer in rivets with a slight thread on it. I didn’t think that they were spikes hammered flat. That makes good sense. |
| |
|
|
|
|
|
Jul 19, 2024 20:30:28 GMT
|
This bit of work was done last Sunday. I wrote it all up then, but my phone decided to eat it. I couldn’t be arsed to write it up again until now. The replacement cam cover is powder coated and it’s all flaking off. 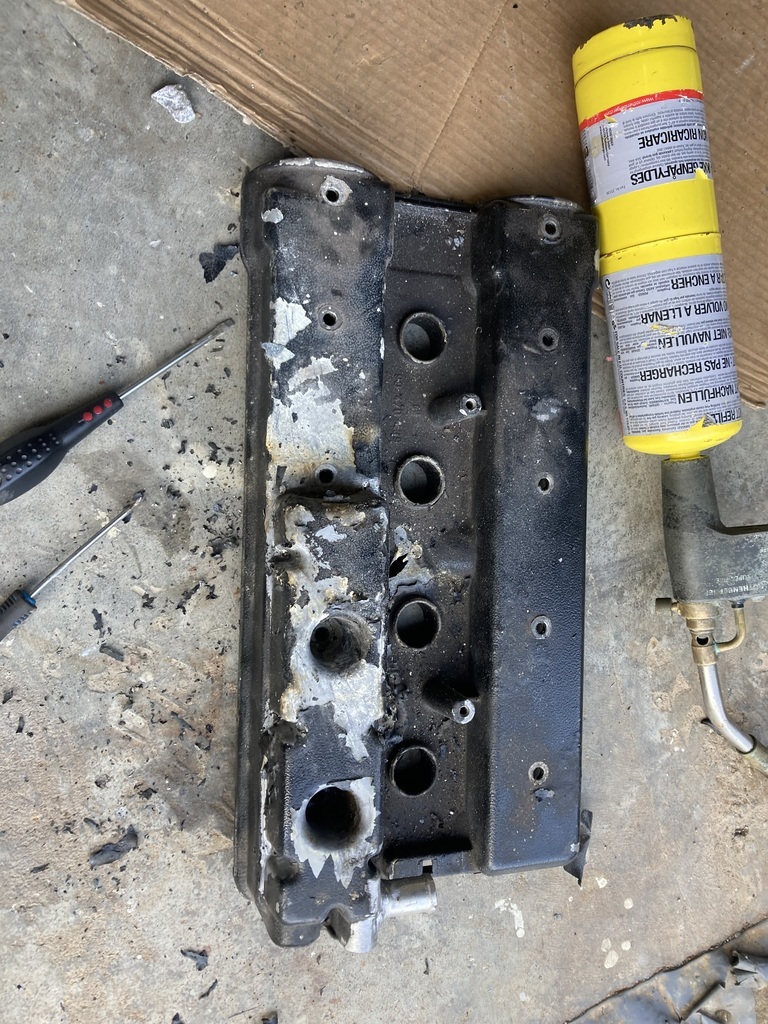 So I used a razor blade and scraped the rest off. When I drilled the baffle plate off I stupidly drilled all the way through the cover 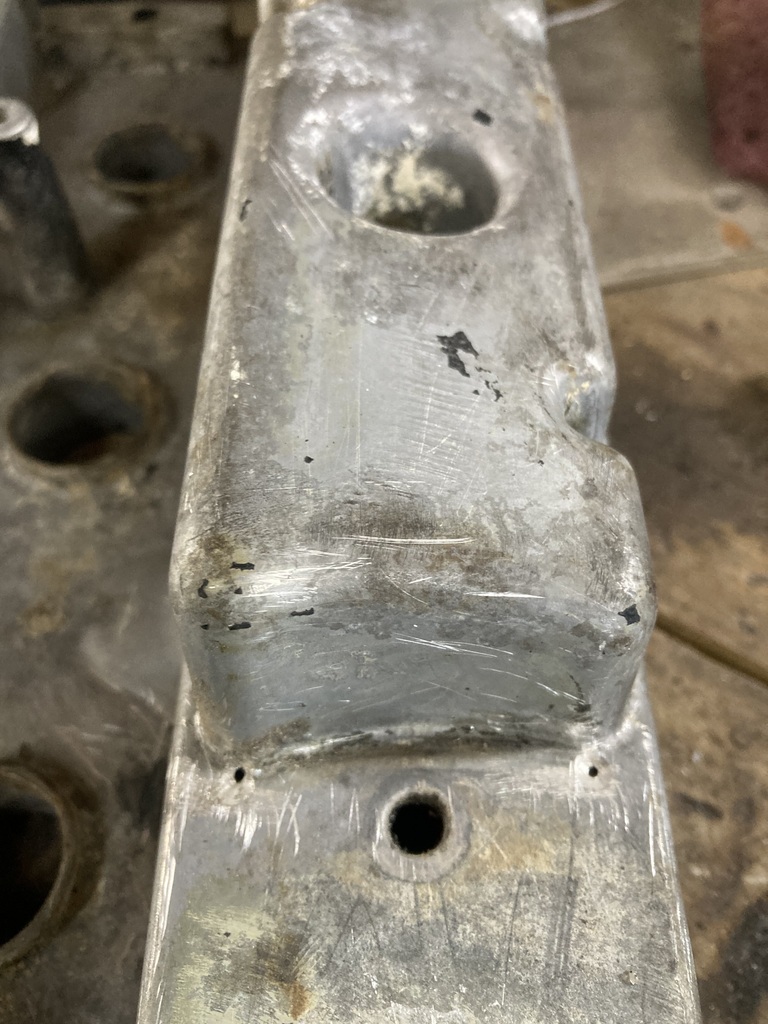 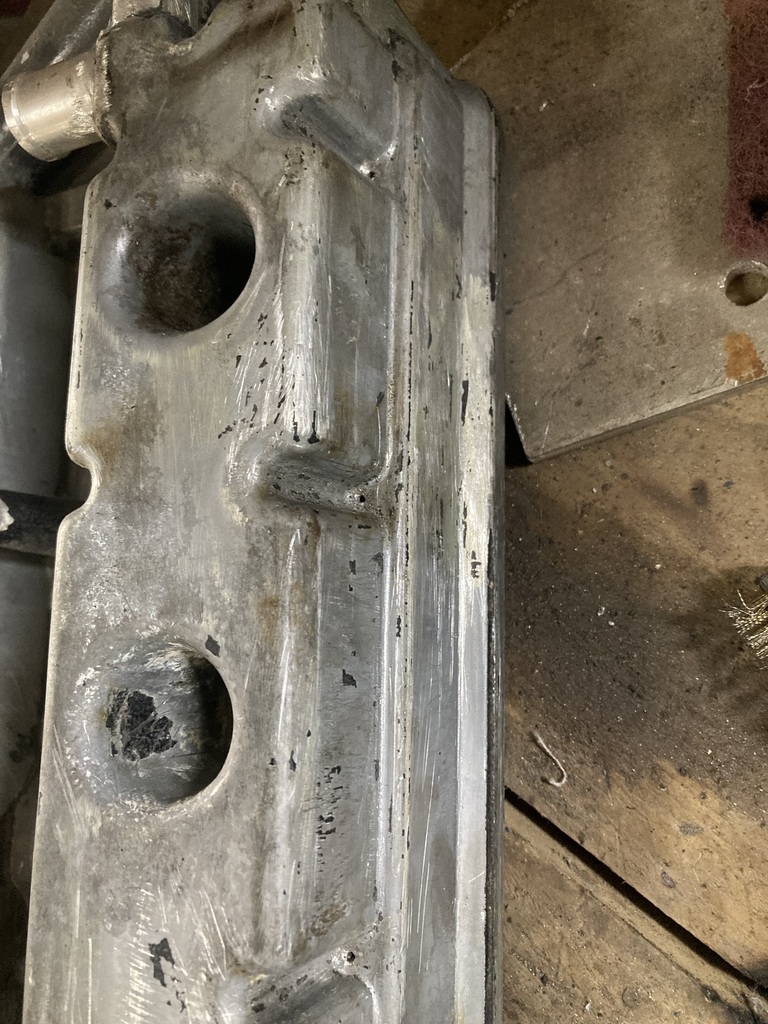 They got tig welded up 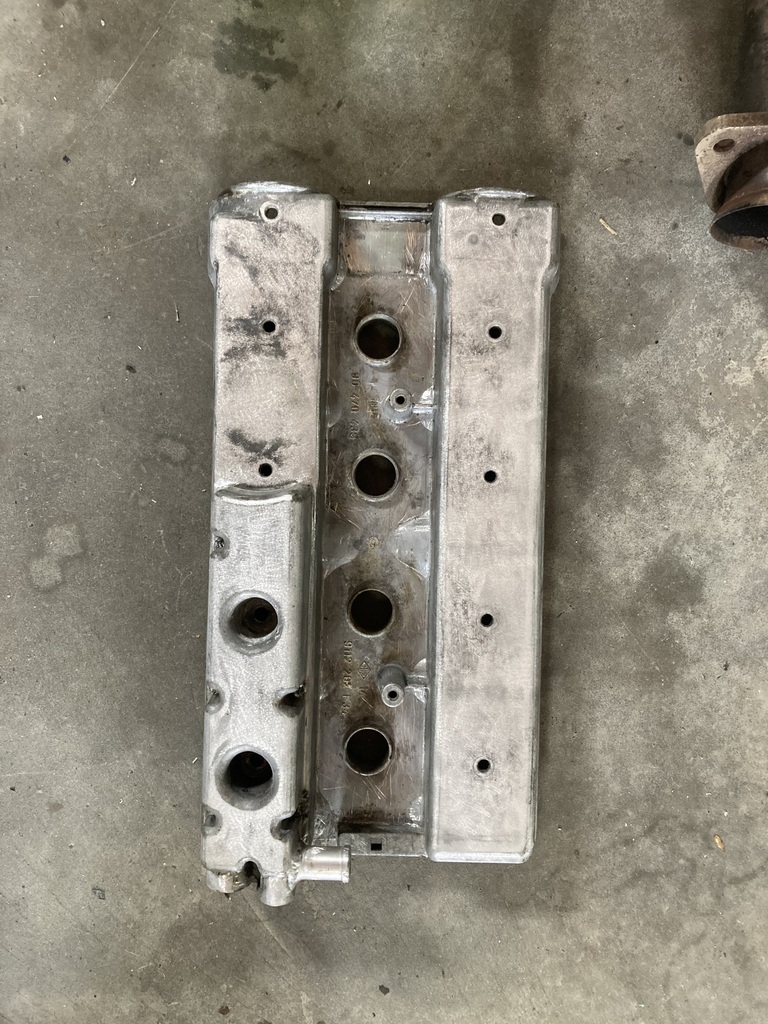 I have decided not to put the breather baffle back in the cam cover. As the engine is dry sumped, and has 2 scavenge pipes sucking oil from the engine, it should be negative pressure. The oil (hopefully) shouldn’t want to exit through the top. The engine has an oil pressure gauge but I also want an oil pressure switch. So I bought one 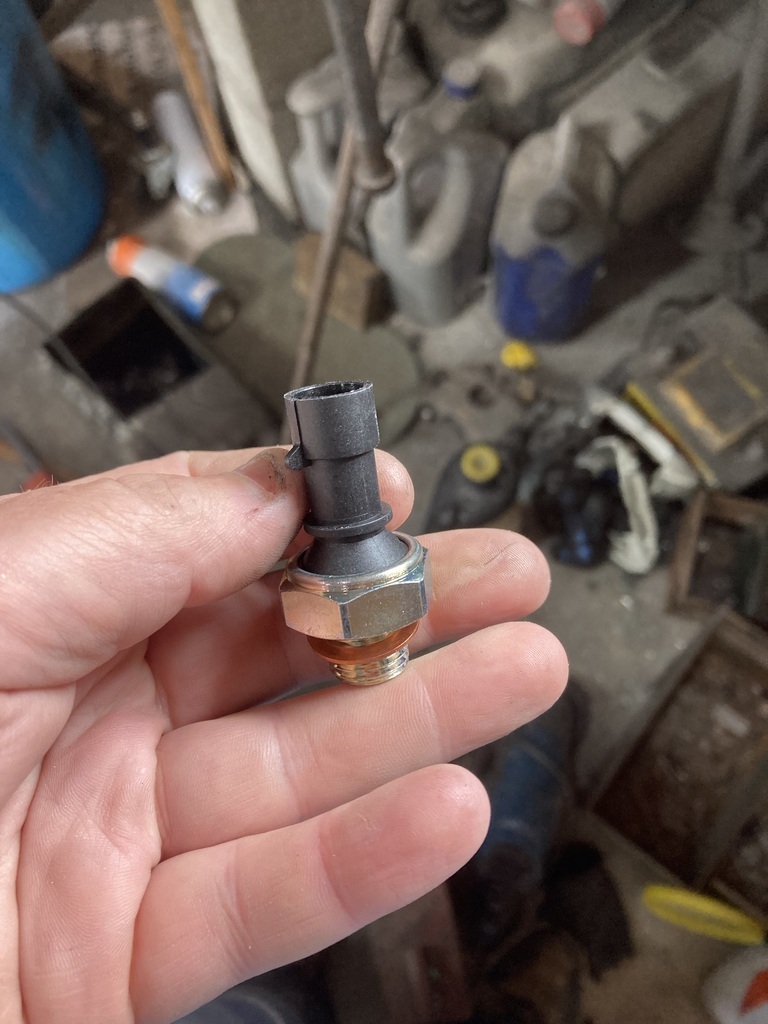 It goes here 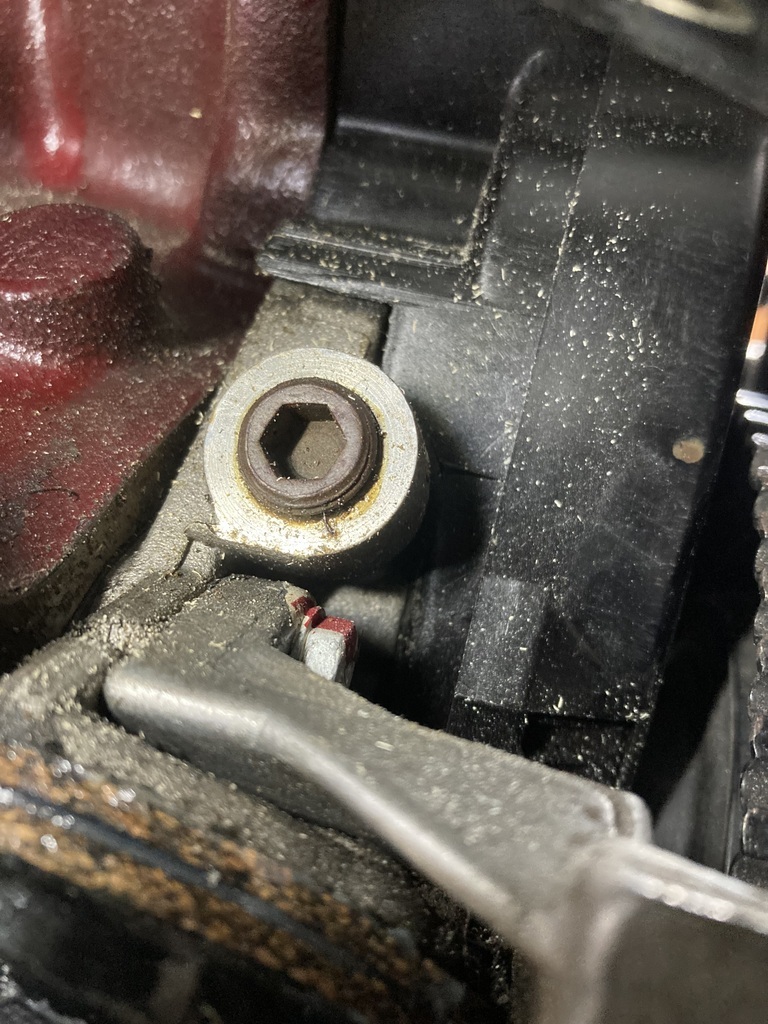 So that’s where I fitted it 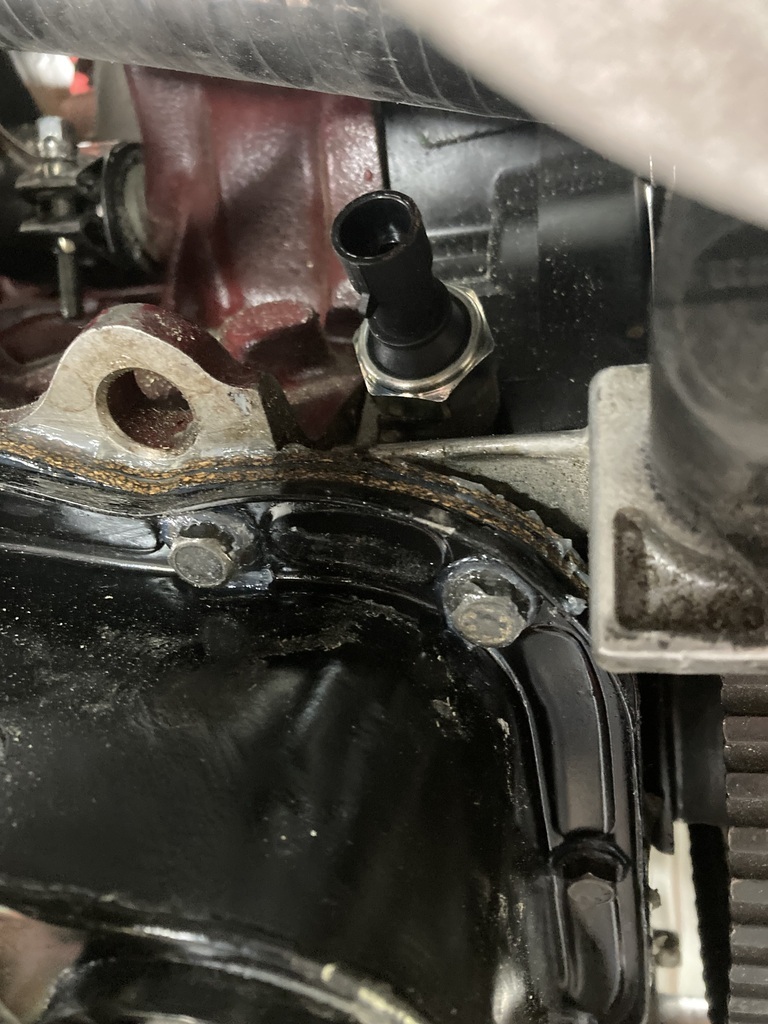 I made a couple of m8 steel bosses and welded them to the front cross member 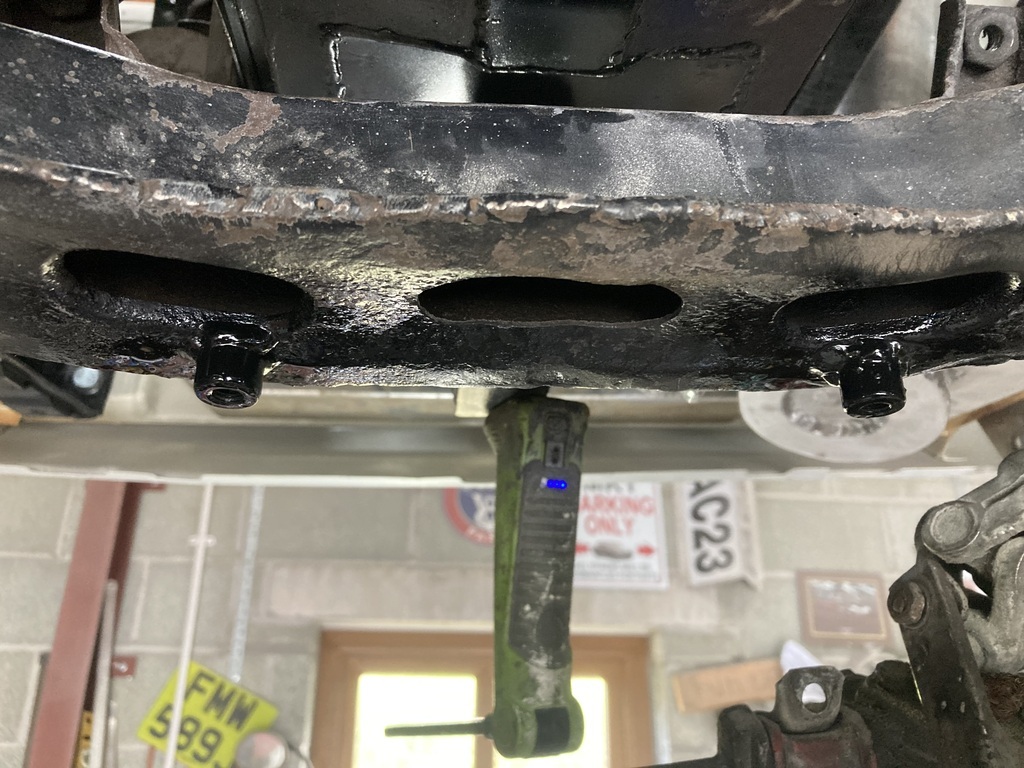 These are to hold the sump guard in place The steering rack mount on the passenger side is steel and spot welded to the rack itself. This had broken off where the spot welds had failed. So I snobbed it back on 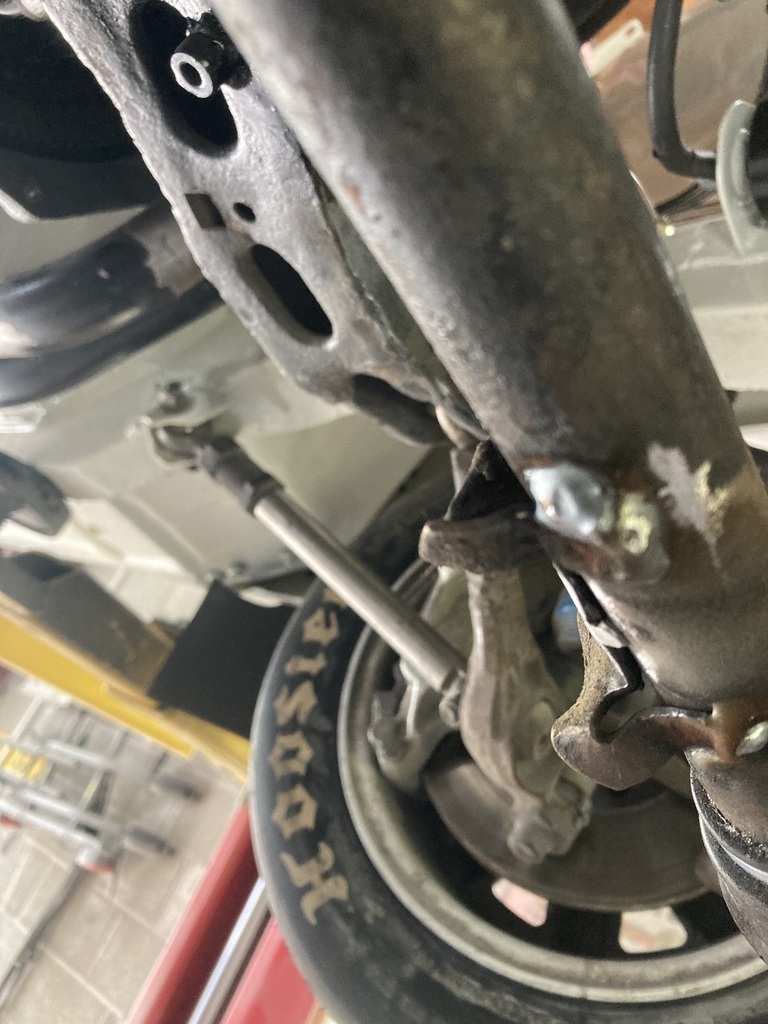 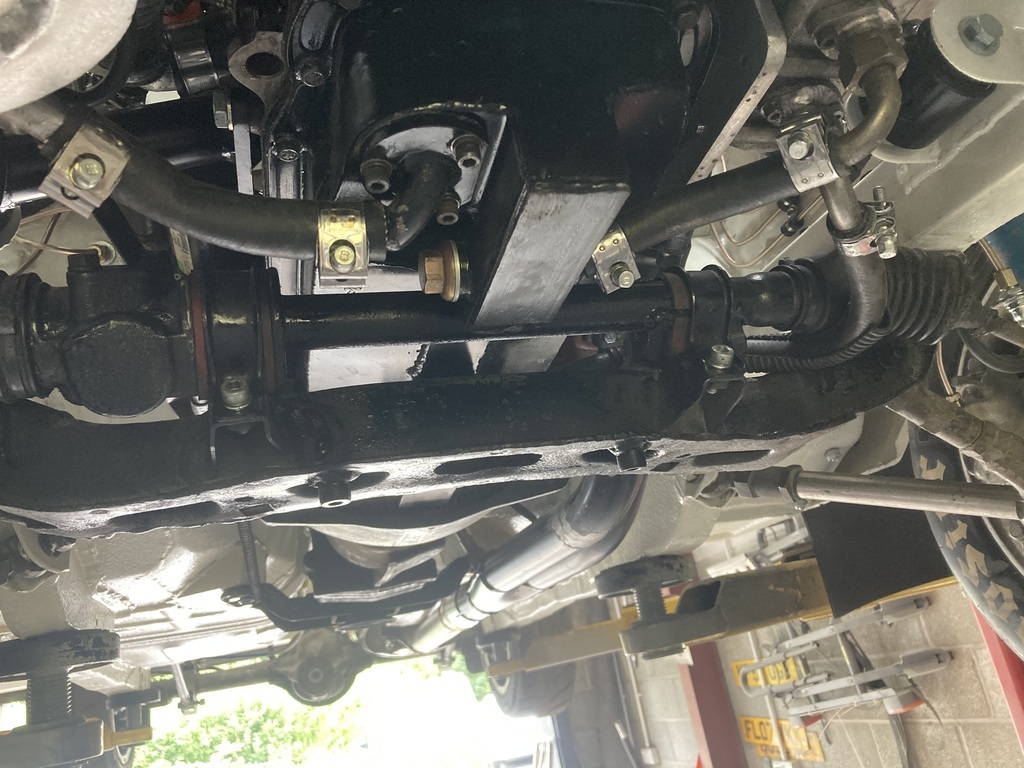 I also did a bit of work on th MGZR to get it ready for a Motorkhana on Sunday. A squirrel has decided to use the air box as a cupboard 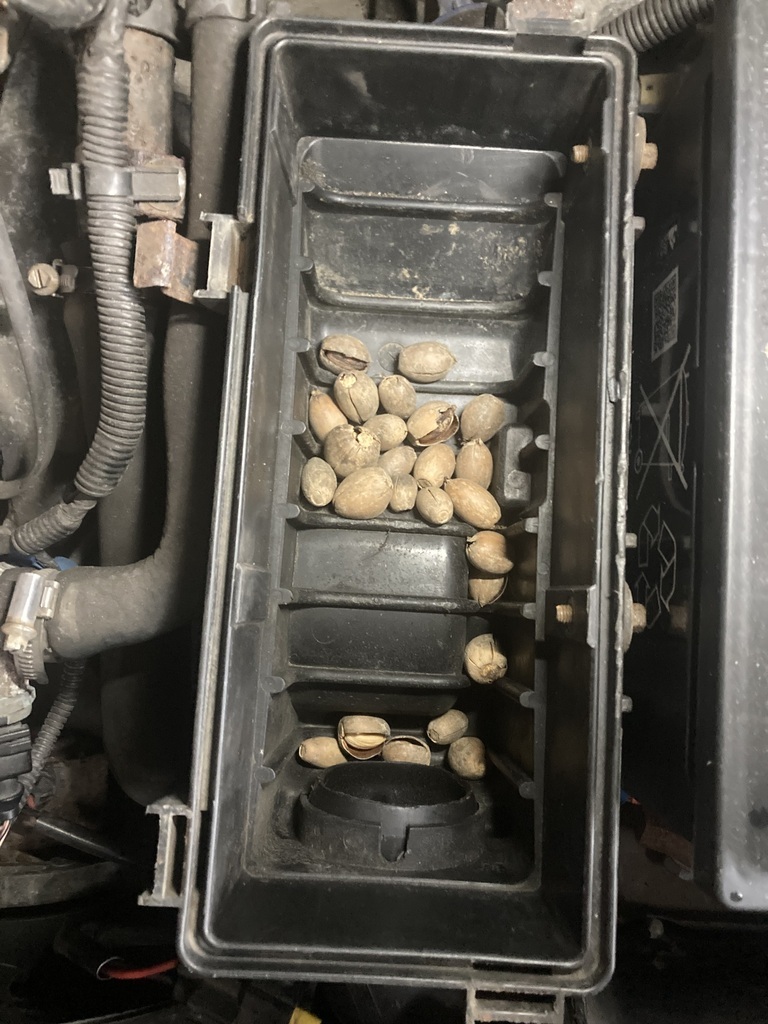 The Elder was supposed to be racing it, but somehow I told him the wrong date so he booked the wrong day off work so can’t go. This means, that for the first time in 2.5 years, I will be driving competitively. But I won’t be driving silly as I don’t want to break the car. I’ve already got to change the gearbox in the Trafic as it’s eaten itself |
| |
|
|
|
|
|
Jul 20, 2024 17:42:56 GMT
|
I didn’t accomplish a lot today. We went for a walk along the beach in the rain this morning. Got home 12ish. There was a break in the rain so put the trailer on the car, but before I could get the MG on it, rain stopped play. I retreated to the garage and cleaned the new cam cover thoroughly. I don’t think it was covered in powder coat as it is also inside the cover and fading out as if it’s spray paint. Anyway, I scraped the inside also and cleaned with gun wash and panel wipe until spotless. I then painted it in crinkle black. 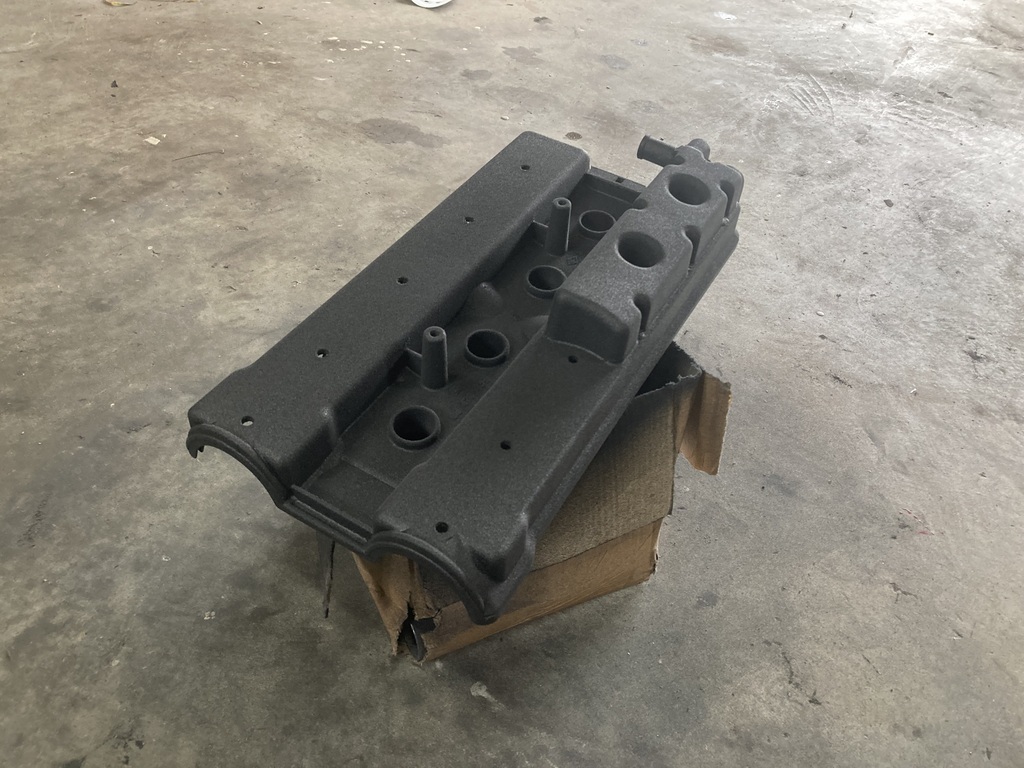 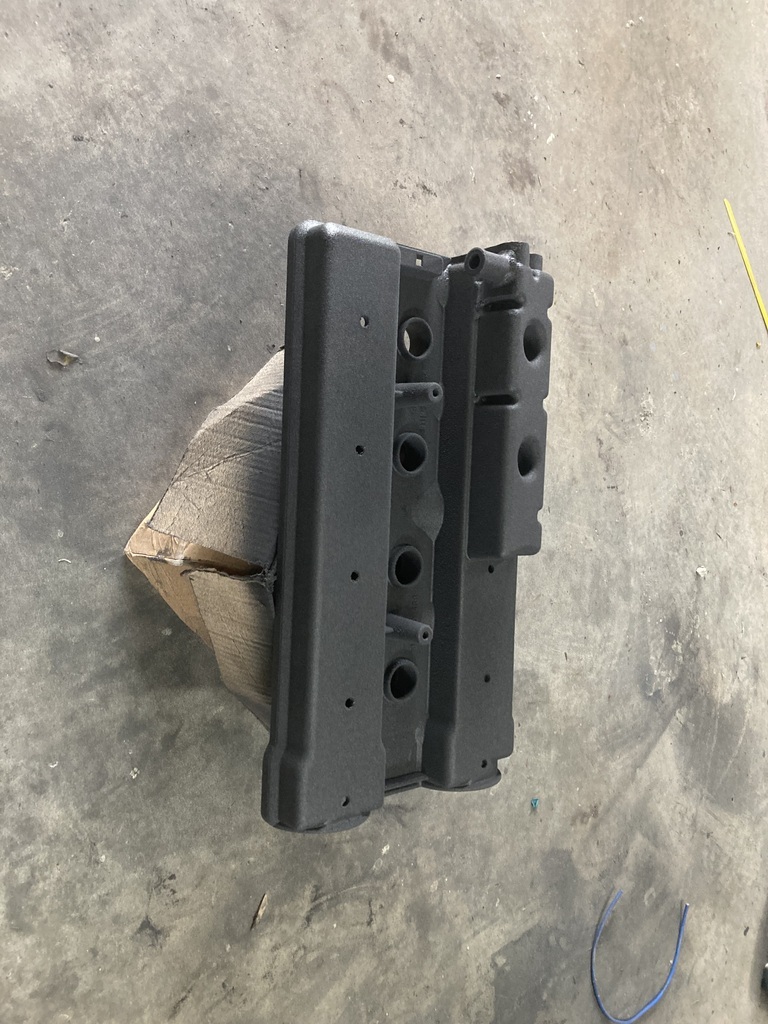 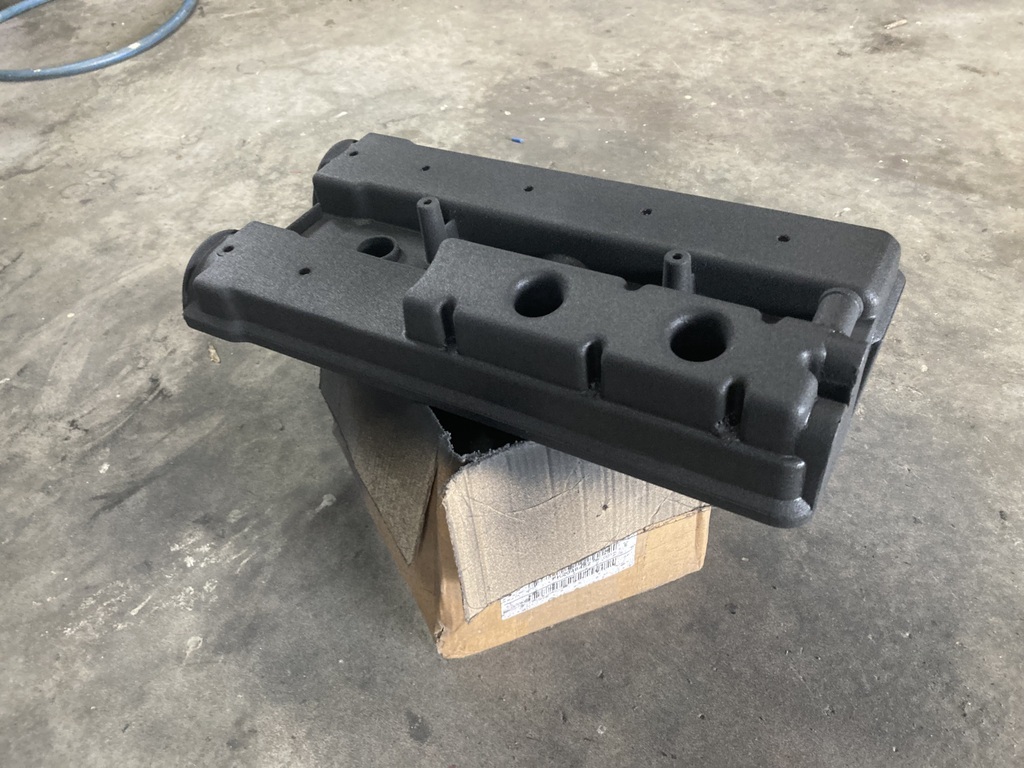 There you go, 3 pics where one would have done. Another break in the weather occurred, so back to getting the MG on the trailer ready for tomorrow. First I put half a Jerry can of super unleaded in it, got it on the trailer and the heavens opened again. Never mind, I’m wet now. I was bending down , putting the ramps back on the trailer, and I thought to myself “there’s a strong smell of petrol here “. Looking under the car, there was petrol streaming out of a hole in the tank. I’ve managed to break the car even before I’ve raced it. There were pin holes in the tank last year and I liquid metalled it. I should have got another tank then. So not only have I poured nearly £20 of fuel on the drive, I’ve also lost my £60 entry fee I took the car off the trailer and to console myself I shoveled a load of KFC into my face |
| |
|
|
glenanderson
Club Retro Rides Member
Posts: 4,357
Club RR Member Number: 64
|
|
Jul 20, 2024 19:17:21 GMT
|
|
Liked for the KFC only.
😉
|
| |
My worst worry about dying is my wife selling my stuff for what I told her it cost...
|
|
|
|
|
Jul 20, 2024 20:53:11 GMT
|
|
Liked for the cam cover, not the broken car or the KFC
|
| |
|
|
teaboy
Posted a lot
   Make tea, not war.
Posts: 2,125
|
|
Jul 20, 2024 22:42:24 GMT
|
Liked for the KFC only. 😉 Eleven secret herbs and spices!  |
| |
|
|
|
|
|
|
|
|
Liked for not lighting it
|
| |
|
|
|
|
|
Jul 21, 2024 15:25:40 GMT
|
Liked for not lighting it It came close. I’ve managed to get my entry fee back through as a reserve was able to take my place |
| |
|
|
|
|
|
Jul 25, 2024 19:57:26 GMT
|
I’m on call again today so a managed to get an hour or so in the garage after mowing the grass in the rain. Cam cover removed 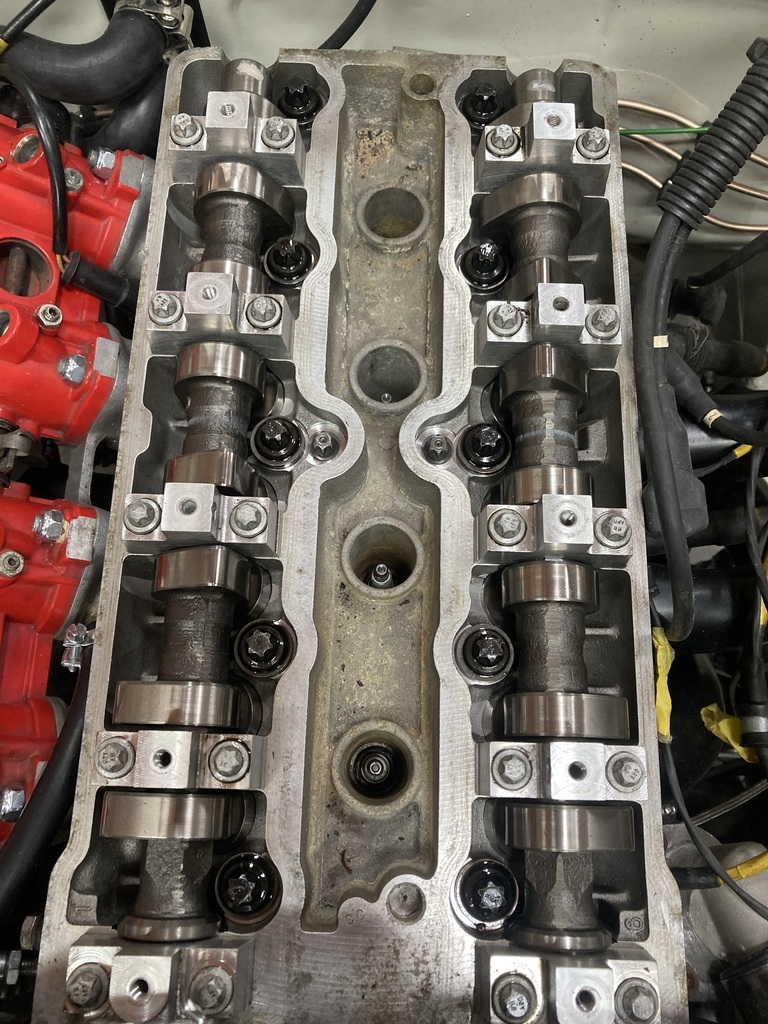 Hoovered out the sand from where the spark plugs are 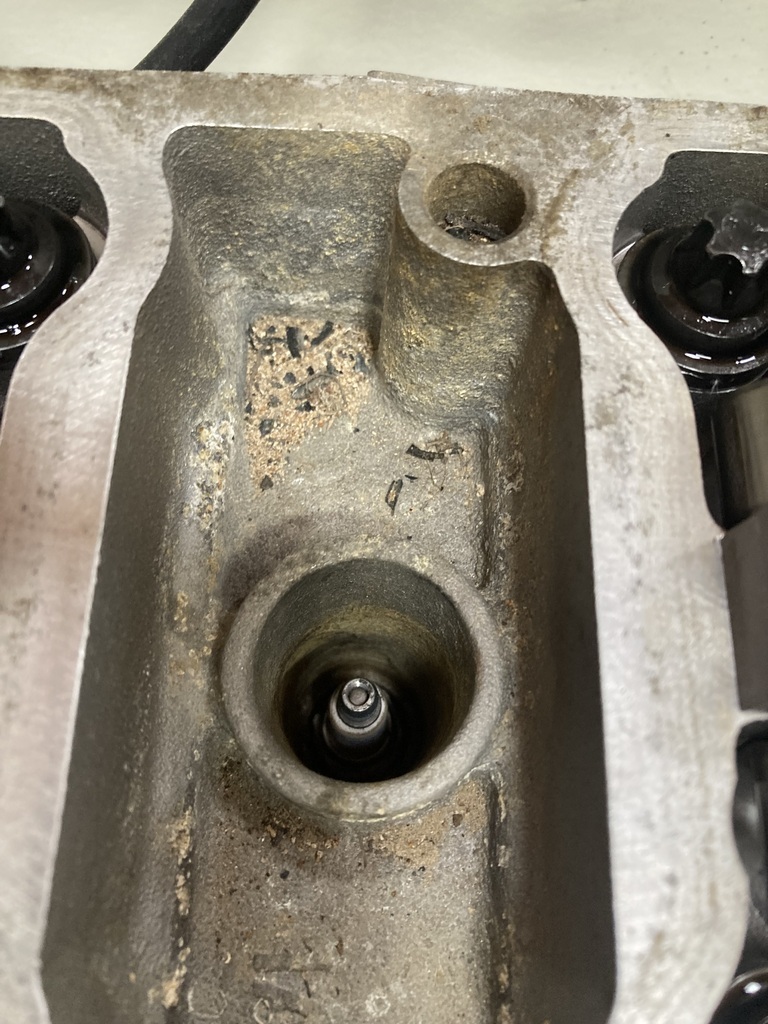 I fitted a new gasket to the new cam cover and plonked it on 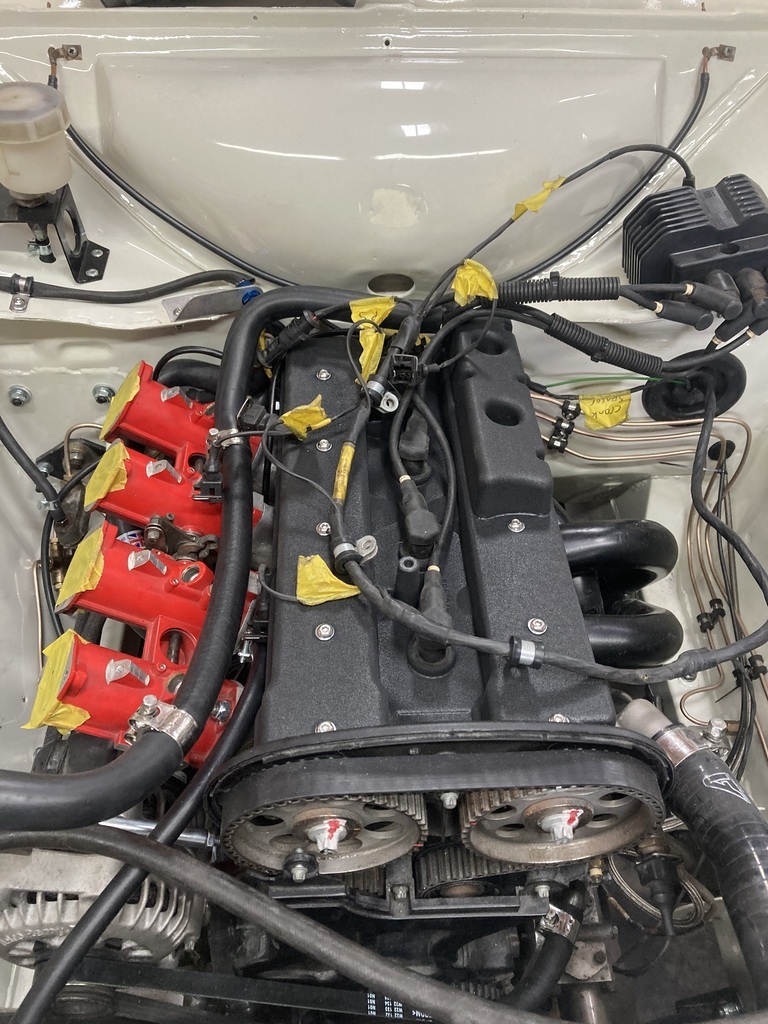 Remember the rear link boxes, where I modified them so a bolt goes through the chassis and through the link box? Well, I needed a longer bolt. I was going to make a bolt out of the rod that I used to locate the boxes, but the proper bolts are £4 so I splashed out on a couple One of said bolts 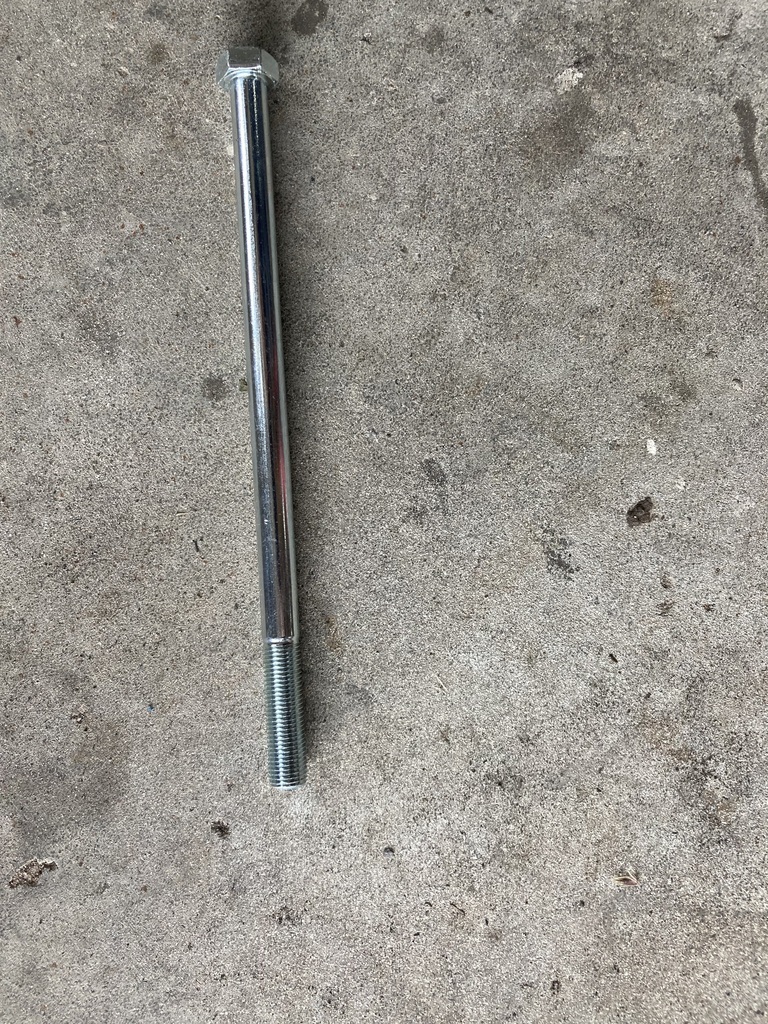 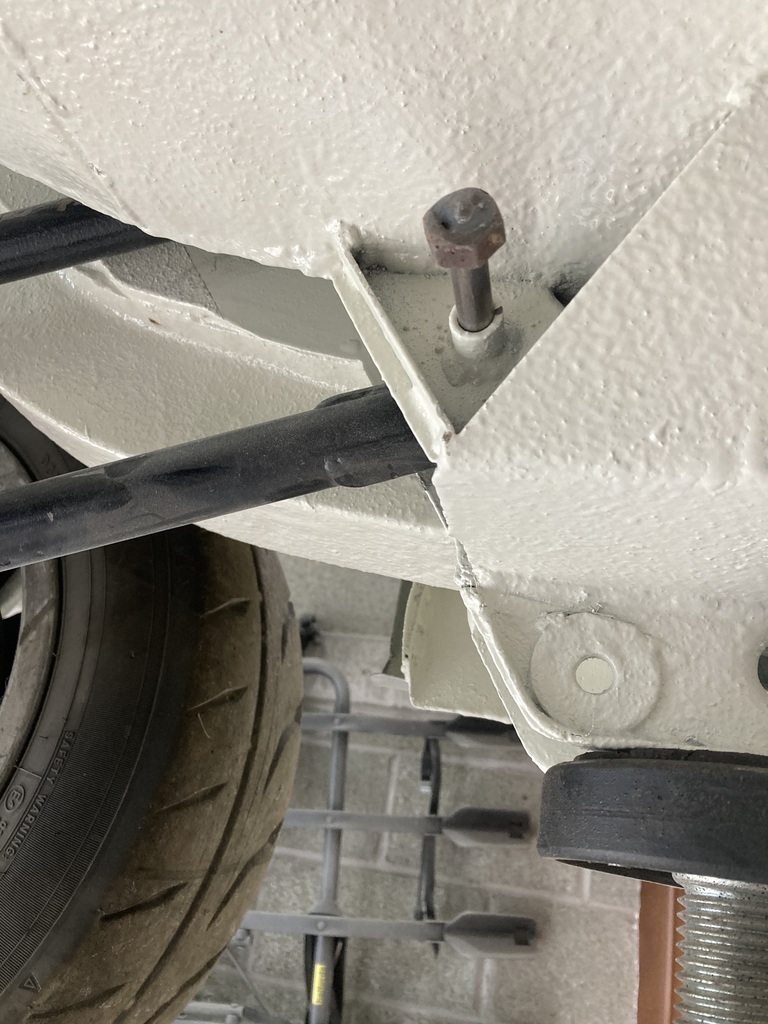 But the bolts weren’t long enough as the tube I’d welded through the chassis and link box was too long. So I ground them back 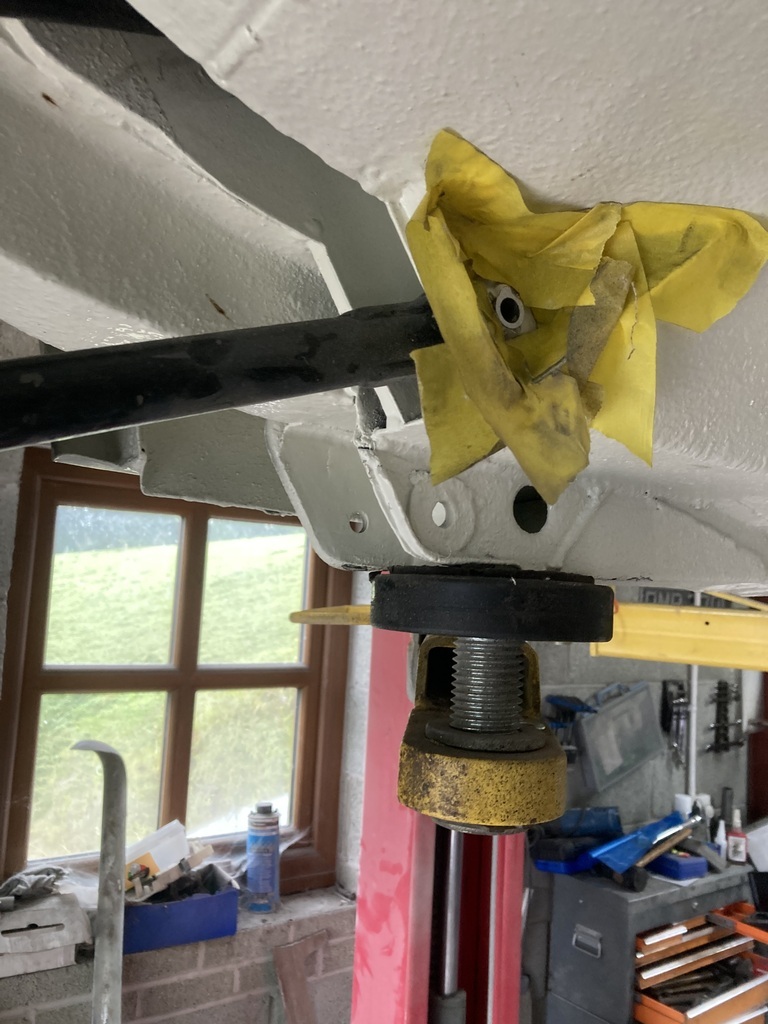 And fitted the bolts 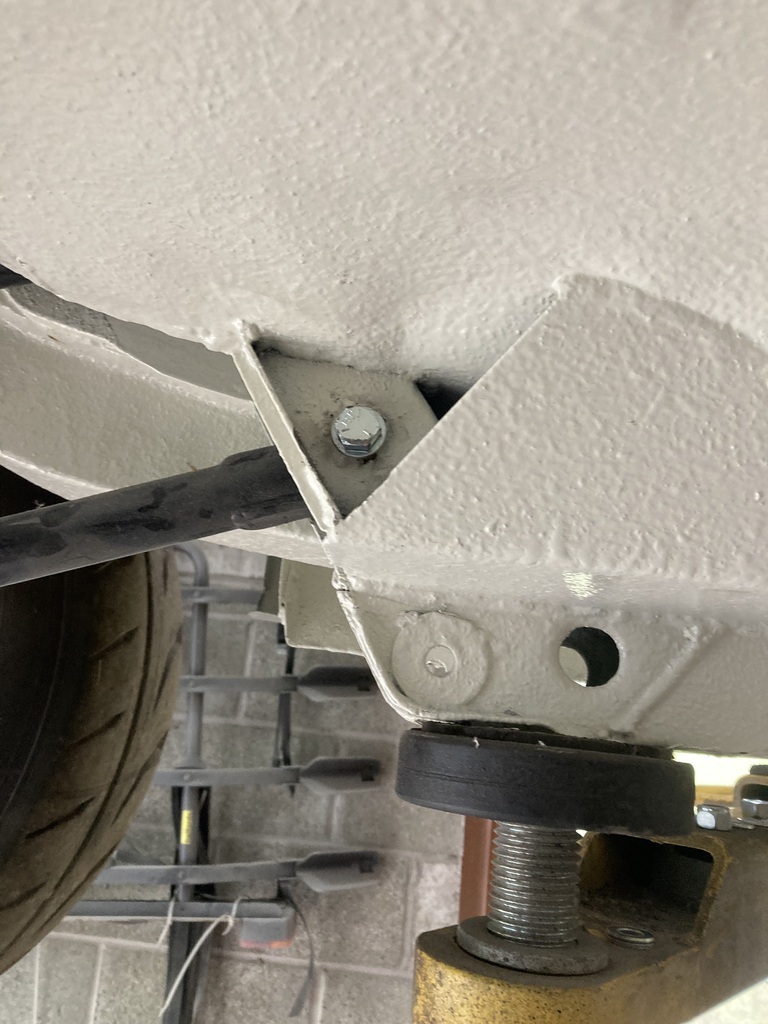 I also got the exhaust back on too as it was in the way of the passenger side bolt 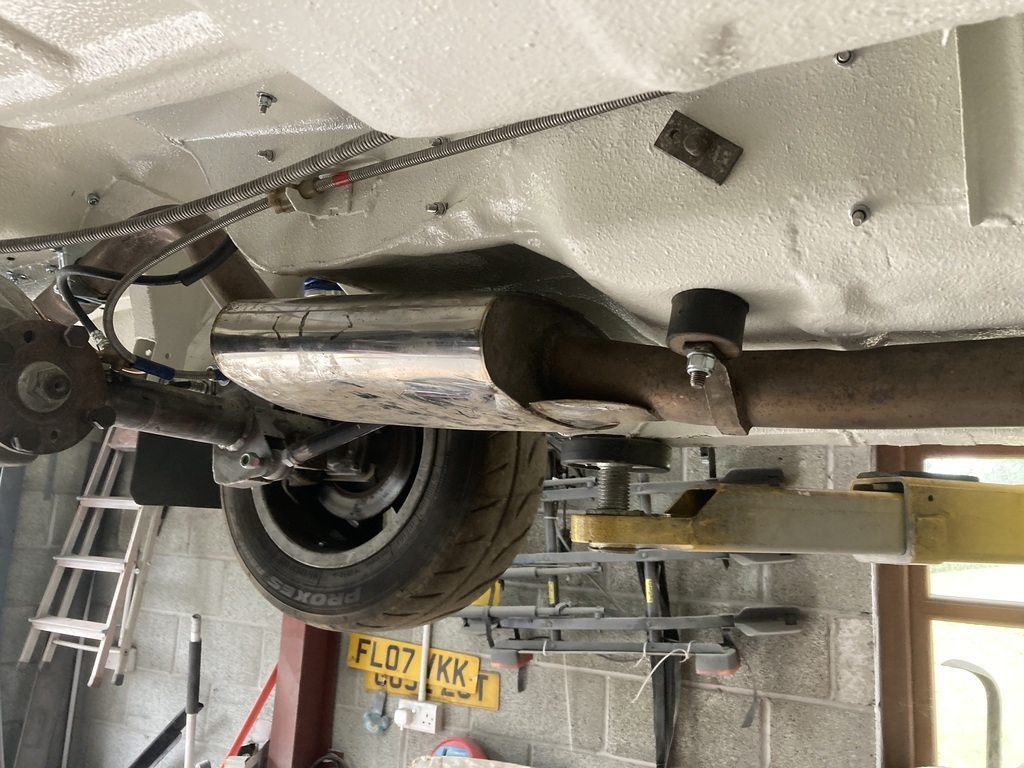 I then had a piece of cheese and went to work  (I only added that as there was a picture of some cheese in my phone) |
| |
|
|
|
|
|
Jul 26, 2024 18:20:31 GMT
|
Those paying attention will remember that I sent the injectors off to a local company to be cleaned. 2 of the 4 failed, as even after cleaning 9 times in the ultrasonic bath the spray pattern was poor. I looked for replacements and I couldn’t find any genuine Bosch ones. You can buy pattern ones on eBay but apparently they are cr4p from new. So I spoke to Mr Injector and he said he’d take a look. If they could not be cleaned he said he could strip them down as that may have rusted internally, but it would start getting expensive then. Not being able to get replacements, this was my only option. He had a 3 week waiting time but I had a million other things to get on with anyway. Off they went. I sent him a copy of the first test sheet I had locally. I had an email a couple of days ago to say Mr Injector had successfully cleaned all 4 injectors. Yay. I paid the bill - £115 and by the time I got home from work yesterday, they were here. They had been cleaned, new seals/ caps/ filters fitted, derusted, paint removed and repainted 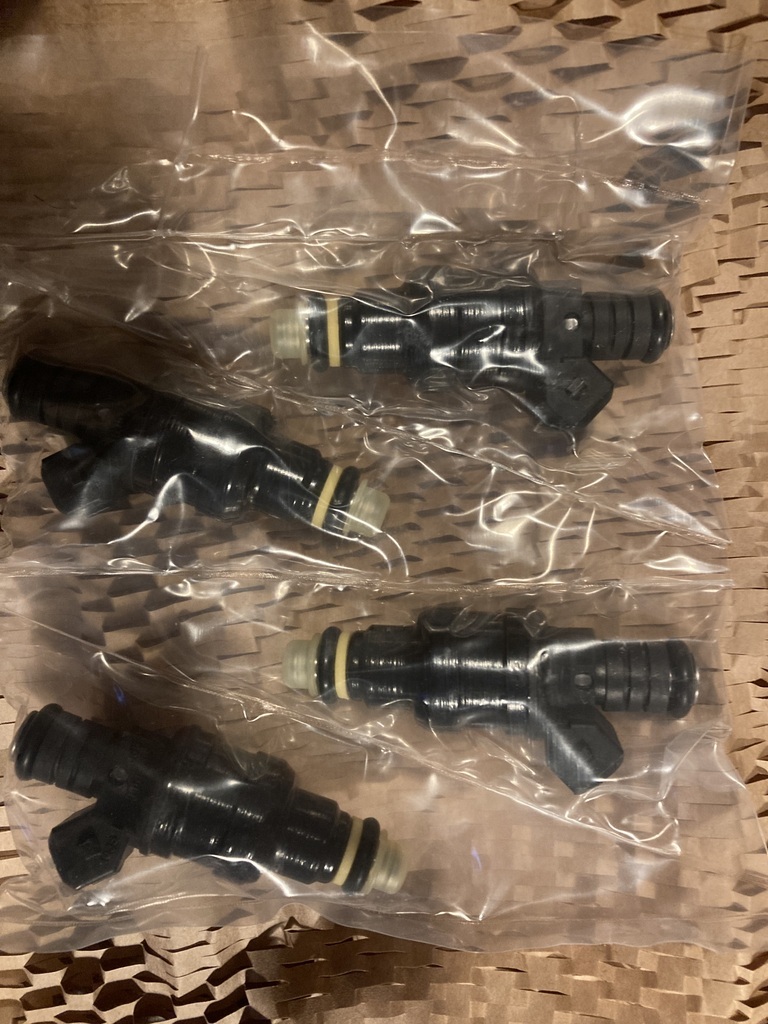 This is the report from the first place 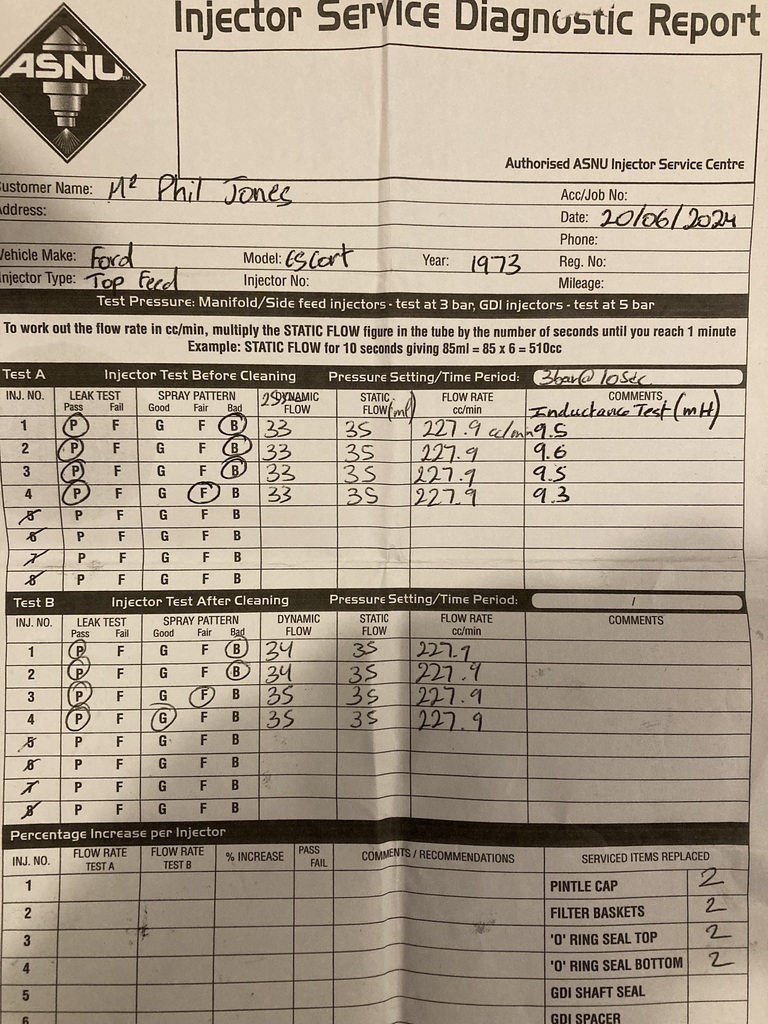 And the report from Mr Injector. 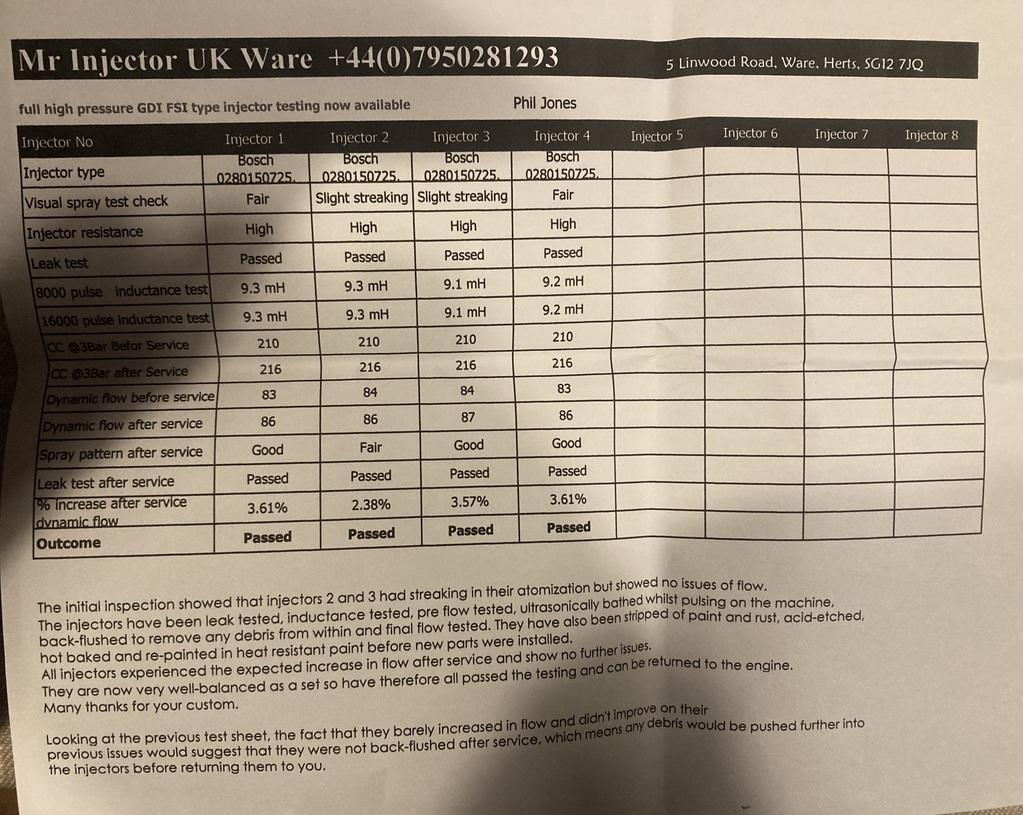 Looks like I wasted my 80 something pound the first time around as they probably weren’t reverse flowed to remove all the curse word the ultrasonic bath released. |
| |
|
|
|
|
|
Jul 27, 2024 21:18:34 GMT
|
Another few hours in the garage. Thought I’d start with the air filter mounting plate 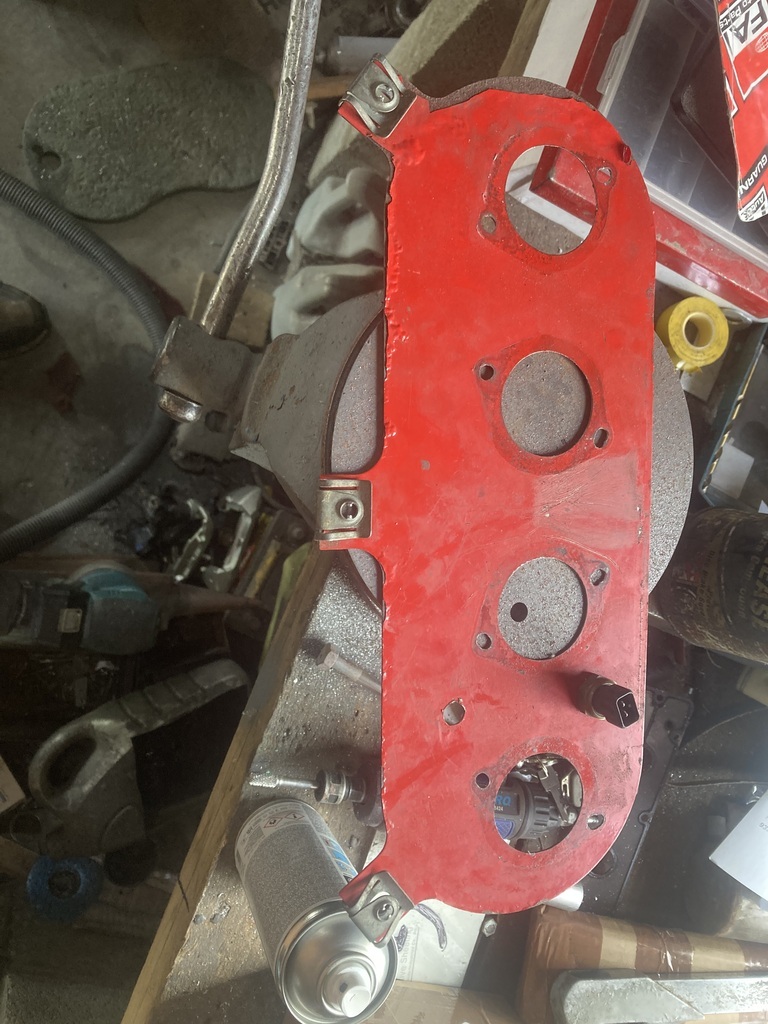 I had previously moved the air temperature sensor up a bit as the wire wasn’t long enough, so I needed to fill the old hole. Shaped a bit and welded it in 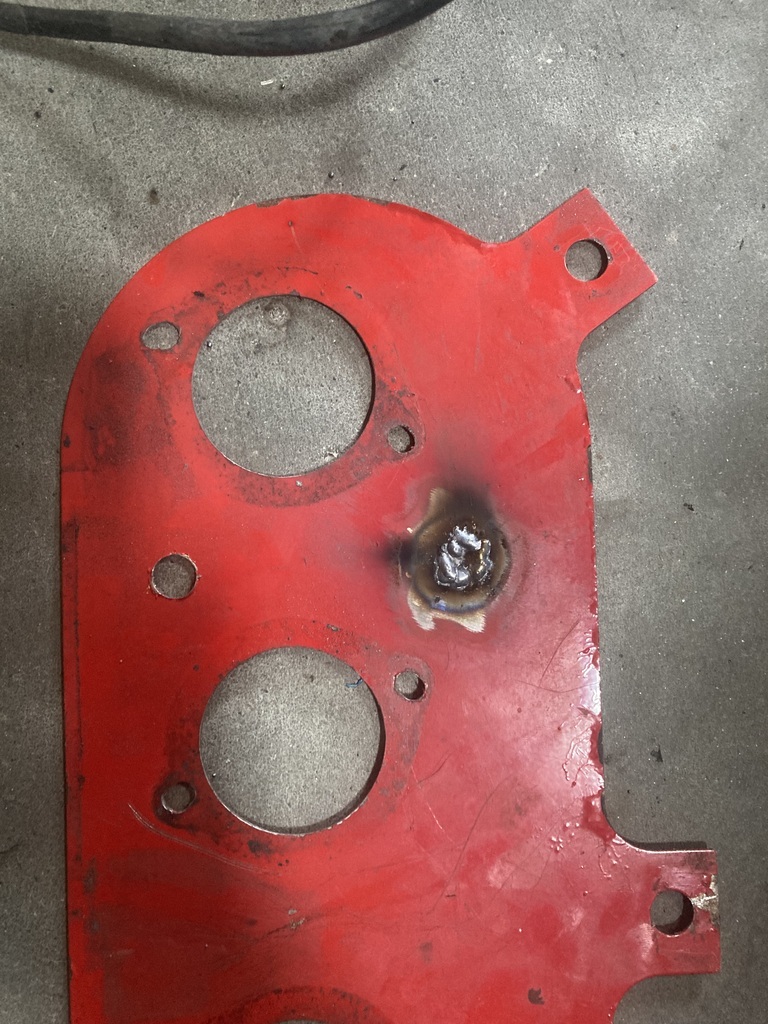 Ground it back and removed all the red flakey paint 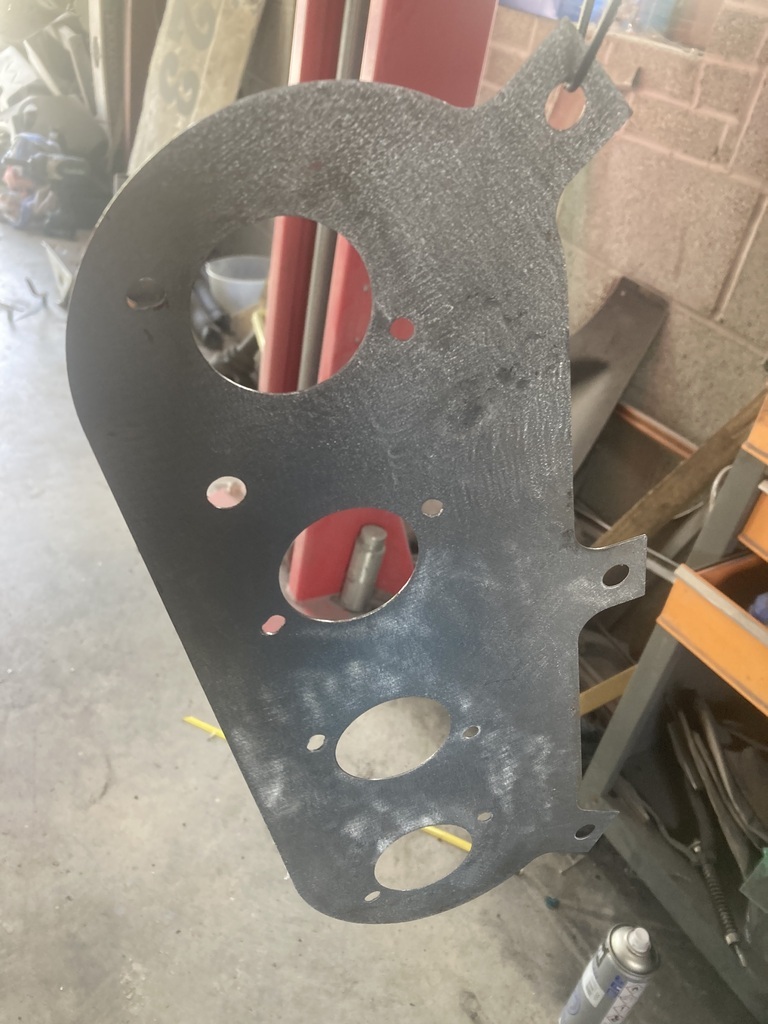 Then added a bit of etch primer 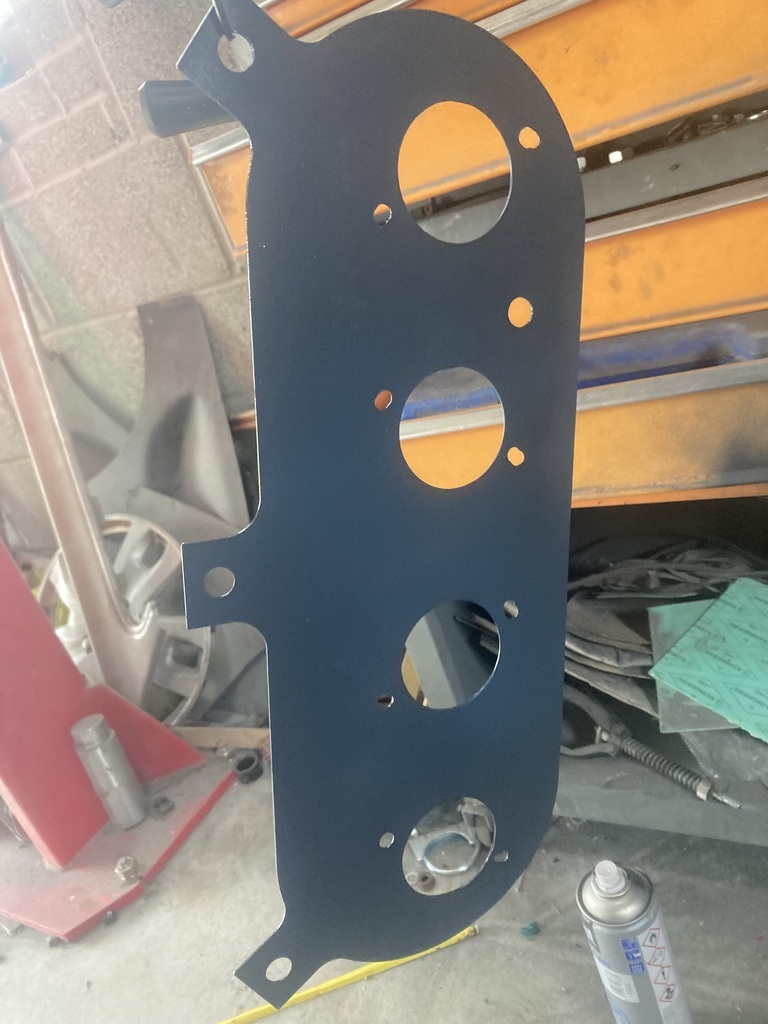 And finally a bit of satin black 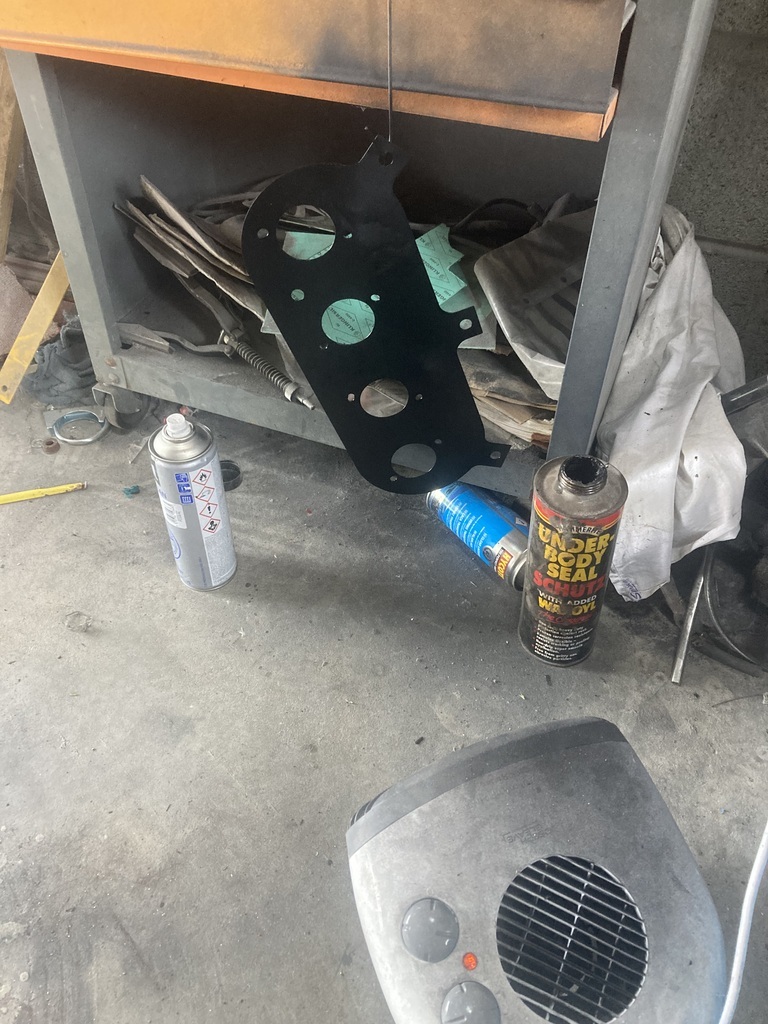 I then made a bracket to hold the loom up, away from the exhaust manifold 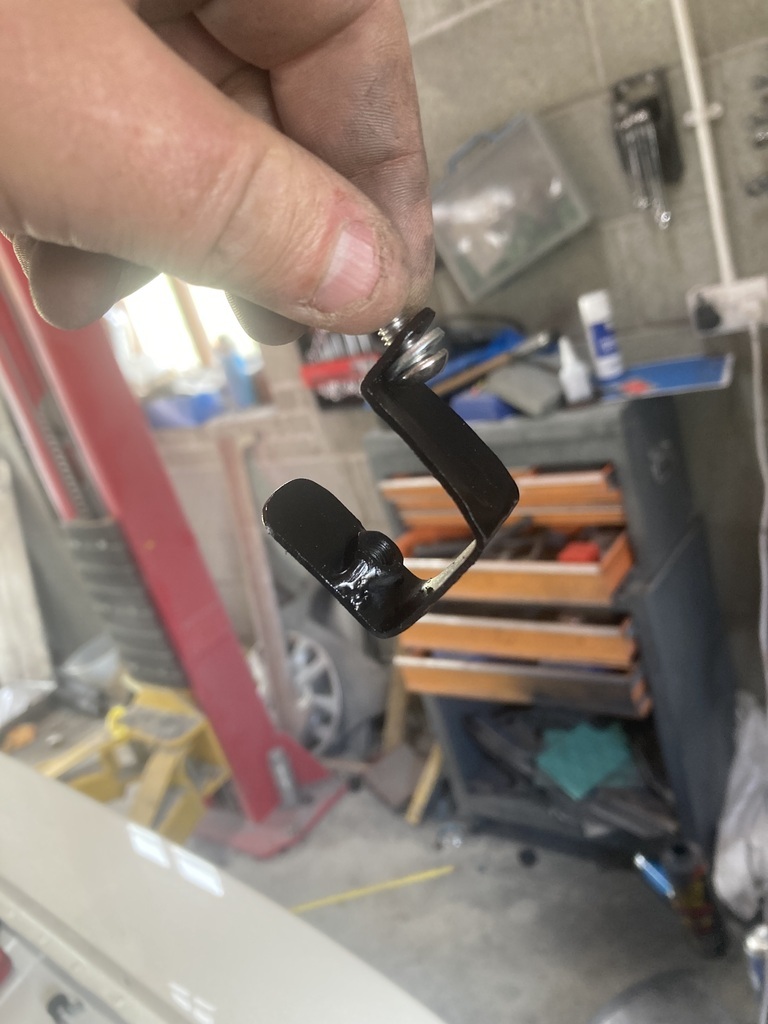 I meant to spray it satin black but picked up the wrong can and accidentally sprayed it gloss black. Well, to late now, it’ll have to stay like that. Infact if I had any foresight, I’d have welded a boss onto the cam cover when I was in the welding mood. But I haven’t, so I didn’t. Anyway, it goes here 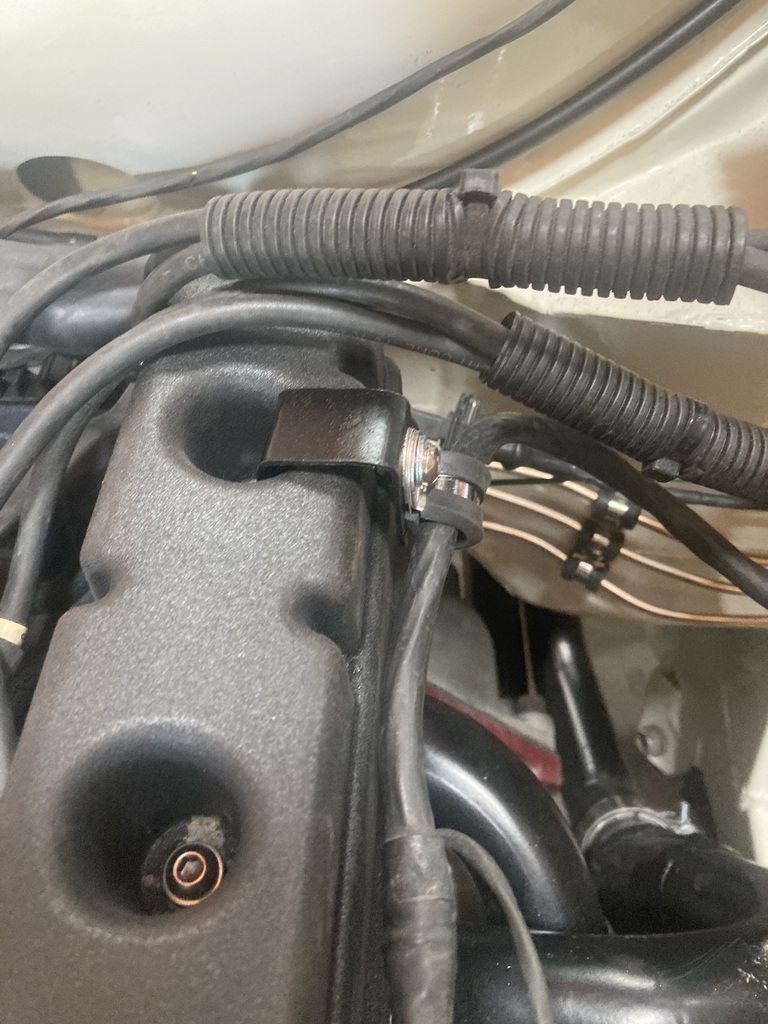 So it all got mounted, air filter plate, air temp sensor, injectors, fuel rail, loom and trumpets 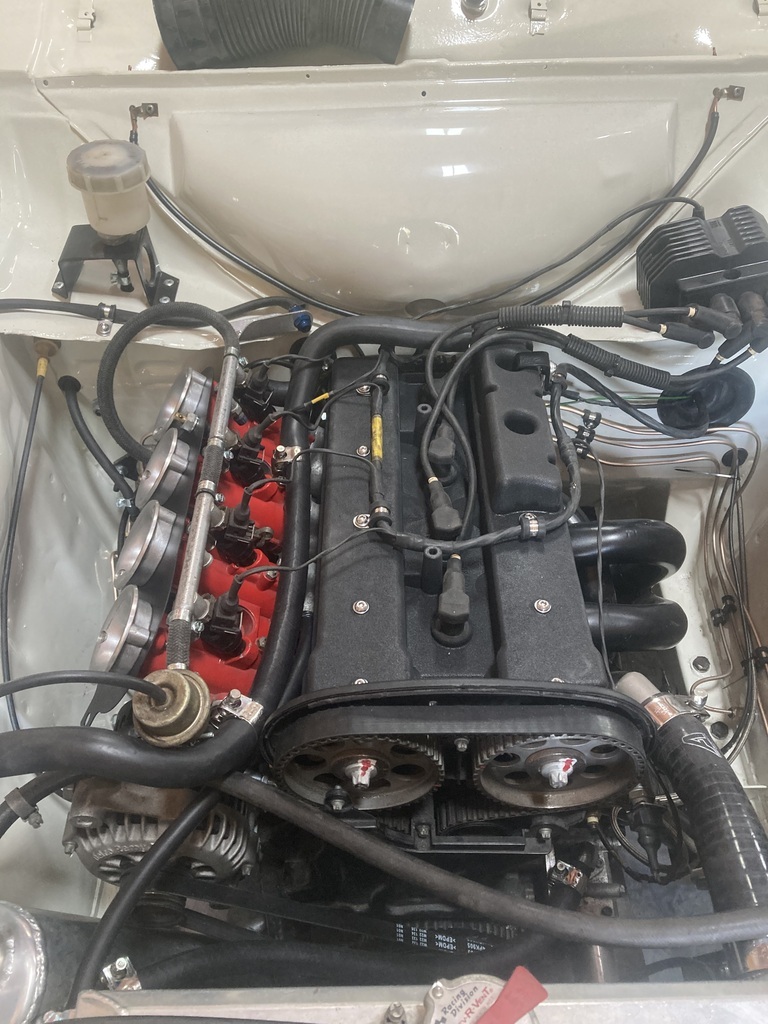 Next I removed the switch panel and coated it in etch 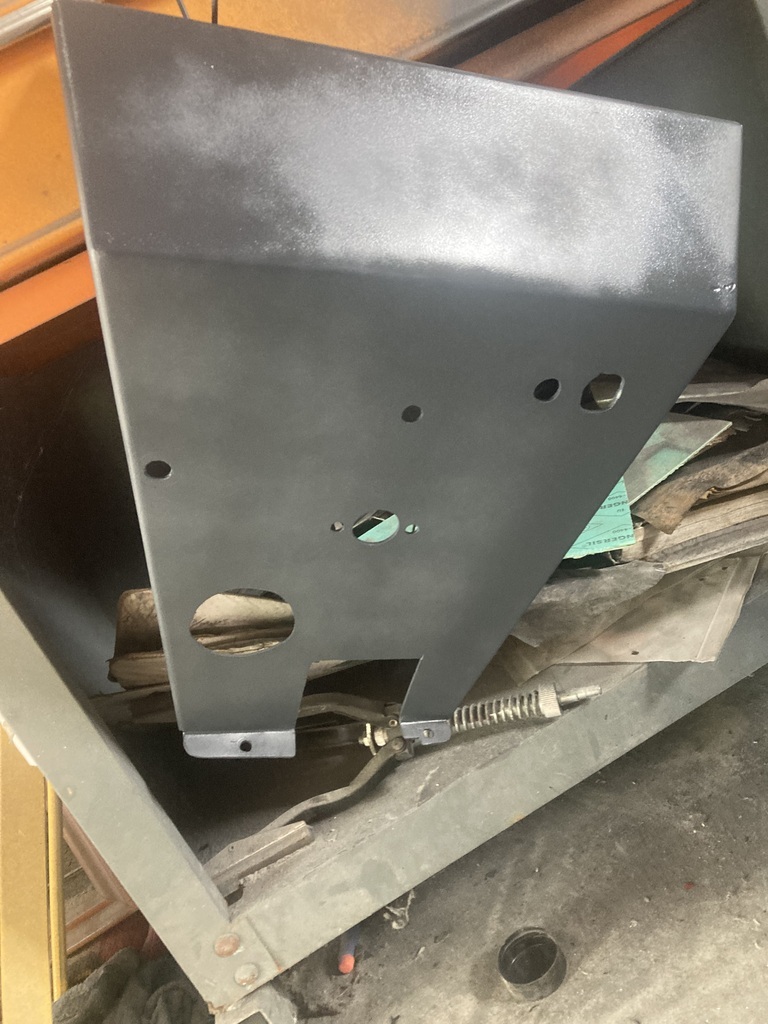 And then a coat of satin black ( I picked up the right can this time) 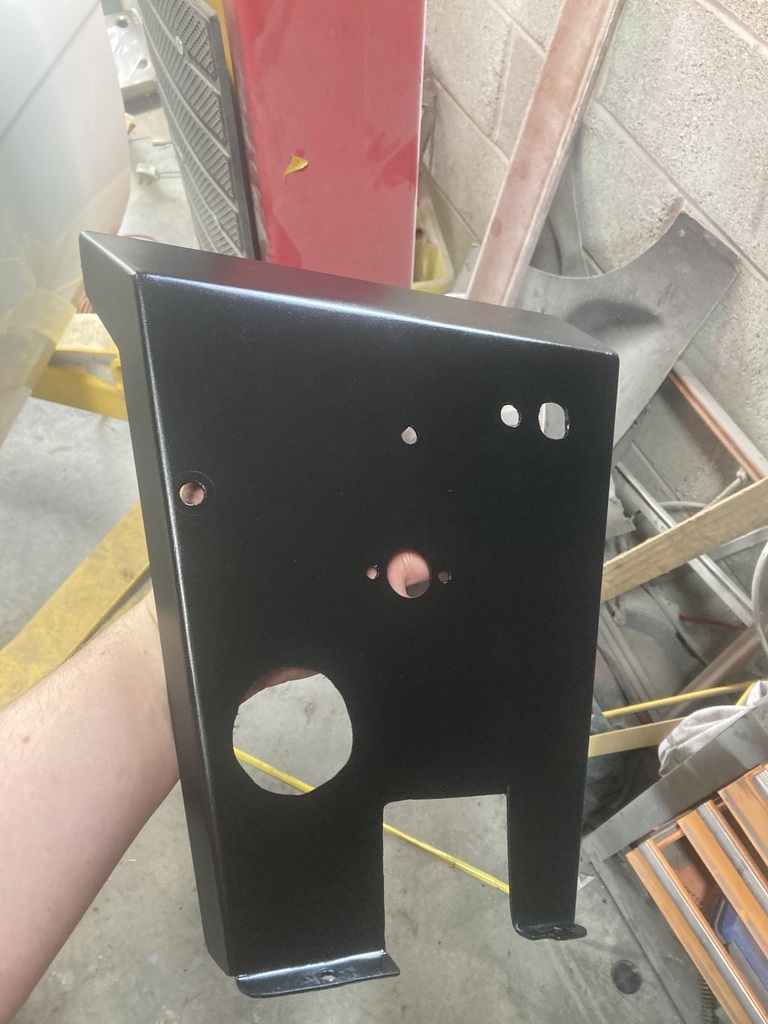 And refitted it 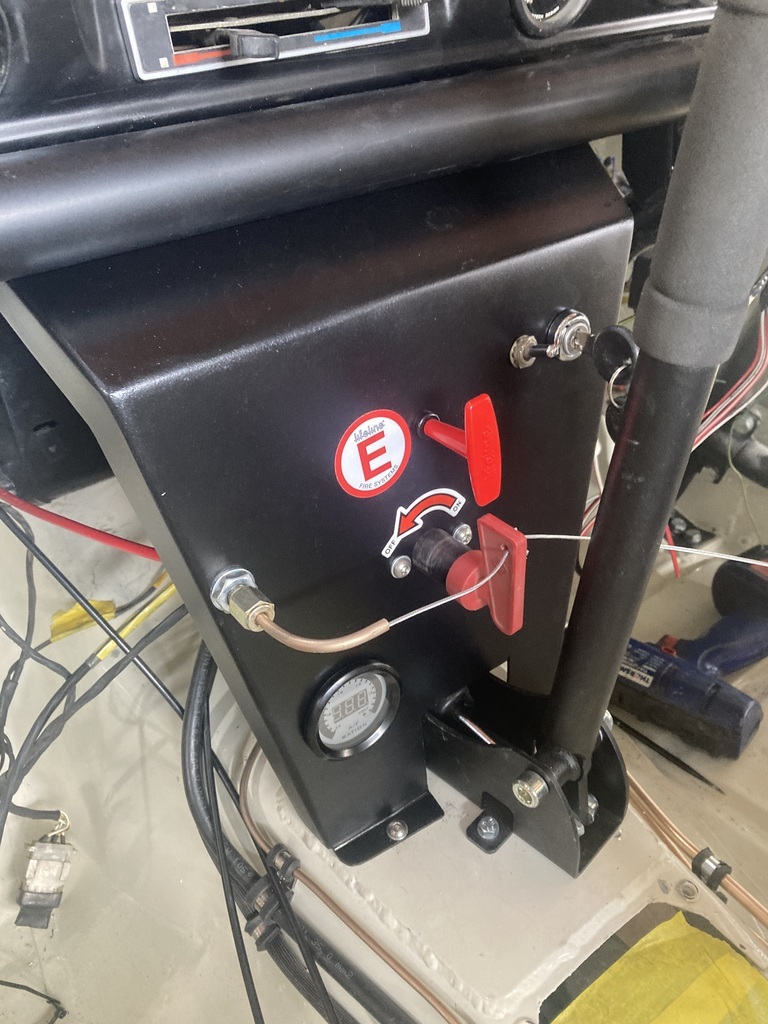 I then fitted a couple of riv nuts to mount the ecu 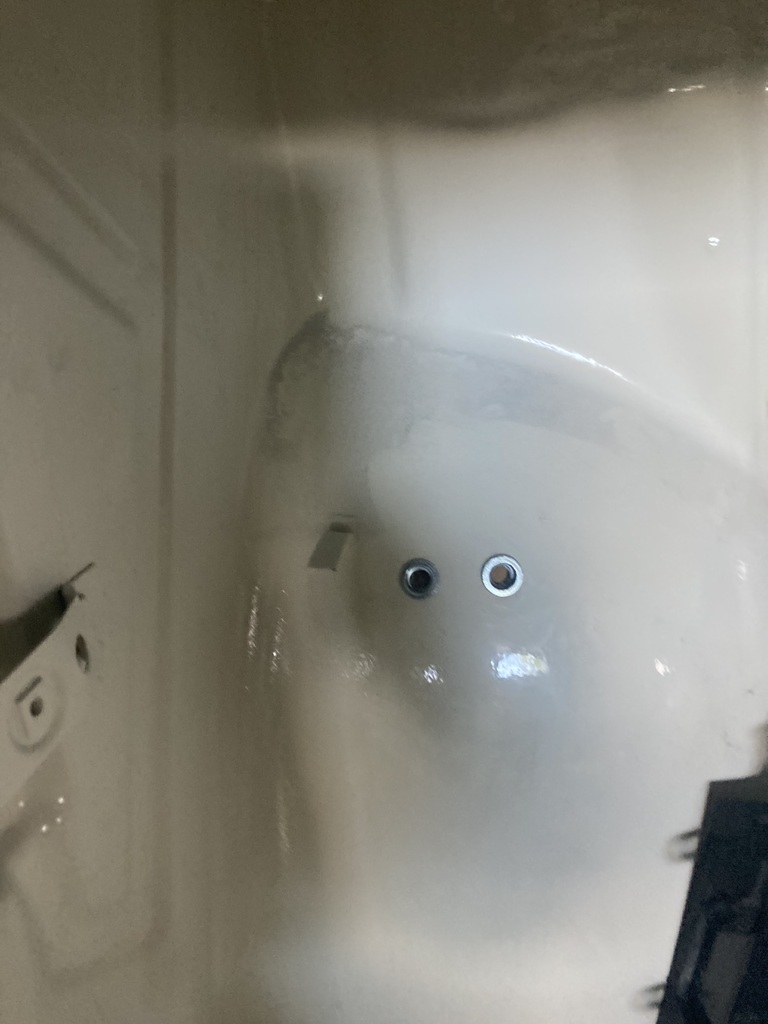 I also fitted the Ecu but no photo I took the battery out of the MG and refitted it to the Escort 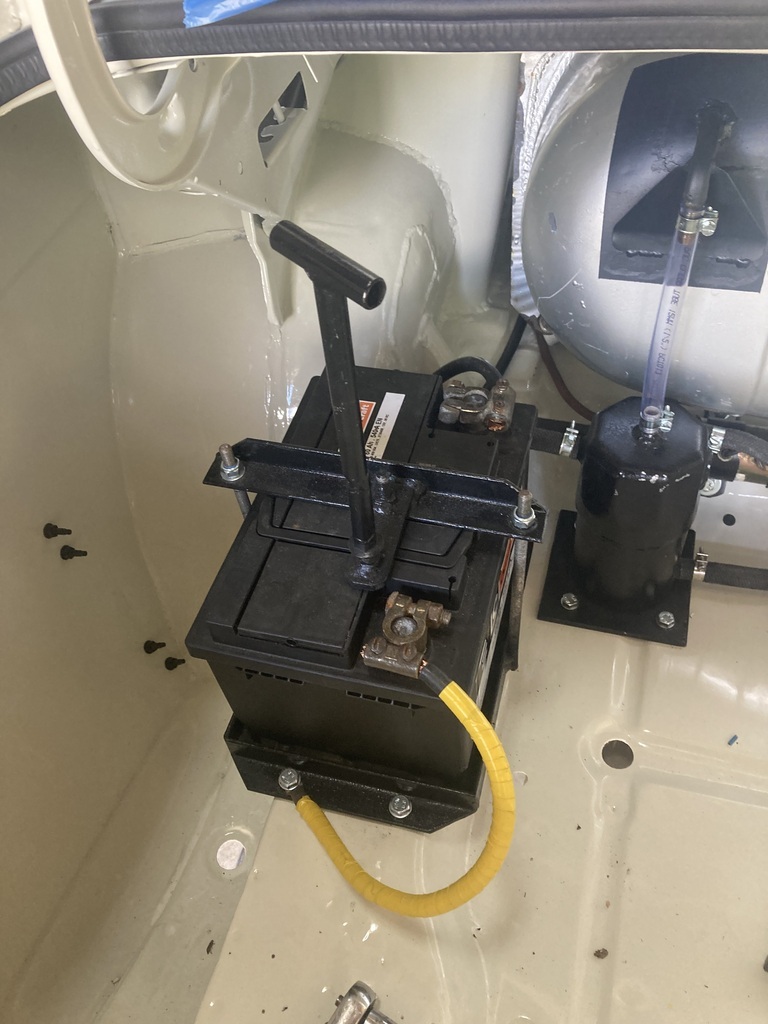 I also extended the wires to the 2 fuel pumps with a bit of 3 core flex I had laying around 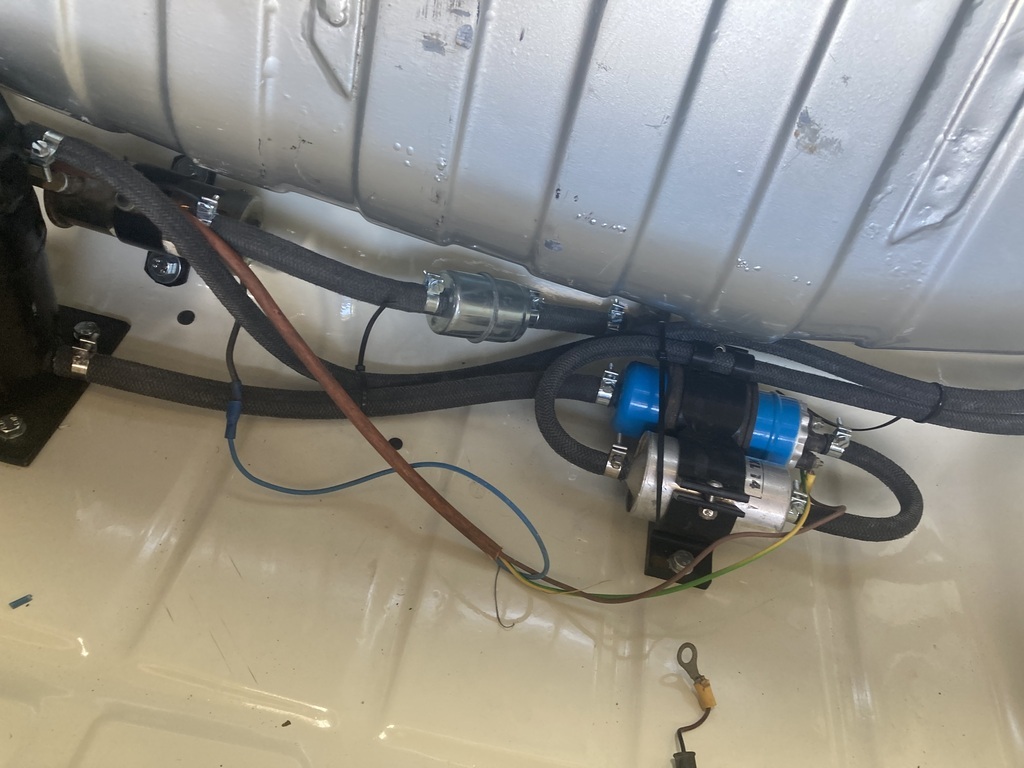 This means when I flick the ignition switch, the high pressure pump runs and when I turn the key the engine cranks. The low pressure pump doesn’t work as I stupidly painted the bracket black and the pump uses the bracket to earth. But the engine will run without it - it’s mainly to reduce fuel surge by keeping the swirl pot topped up. That feels like progress. I just need to add engine oil (on order), and put some fuel in (after sorting the low pressure pump earth) I packed up by 2 pm as I needed to finish cutting the lawns and I had to go to scrutineering at Pembrey Motorsport Centre as I’m navigating tomorrow. |
| |
|
|
|
|
|
Jul 31, 2024 11:31:37 GMT
|
Another call day, another couple of hours I’ve bought some more wheels and tyres. They are second hand but 2 of the wheels are brand new. The molded slicks are unused too, but they are a few years old, so past their best. They’ll do for testing though. I’ve now got three full sets of these wheels but will need to source more. 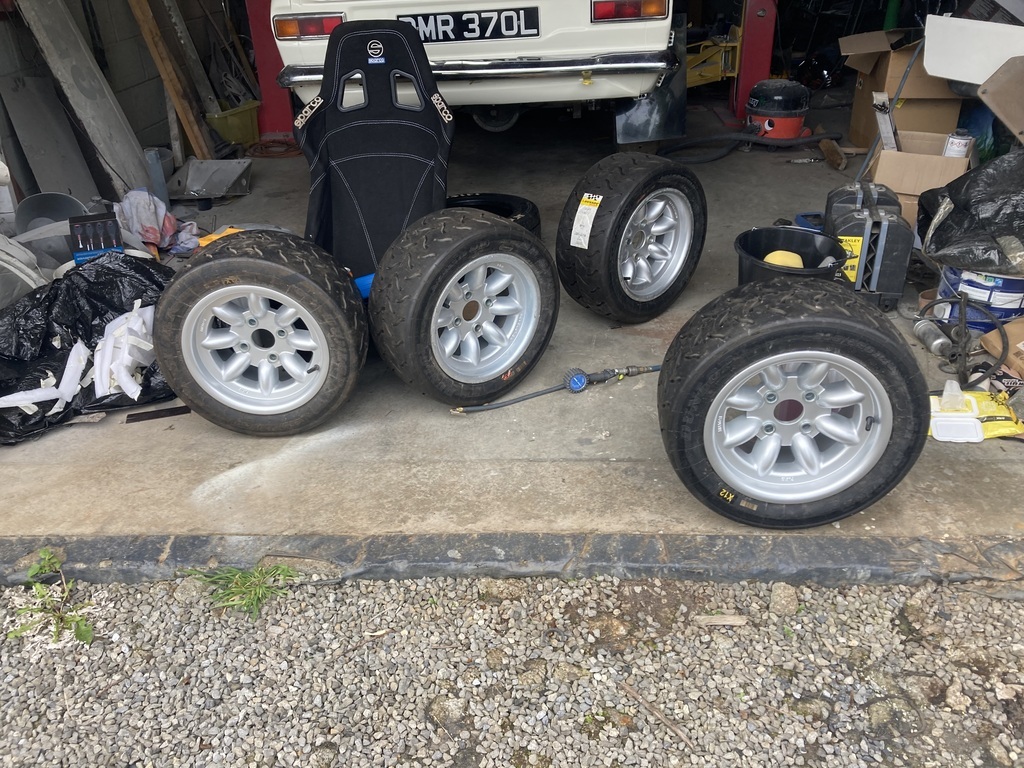 I put a lid on the ecu mount to stop the ecu falling out. My nephew is printing a new lid with some cable tie mounts to hold the cable in to it. There is nothing to stop it falling out currently - it was just cable ties in the single seater and thrown behind the foam of the seat. 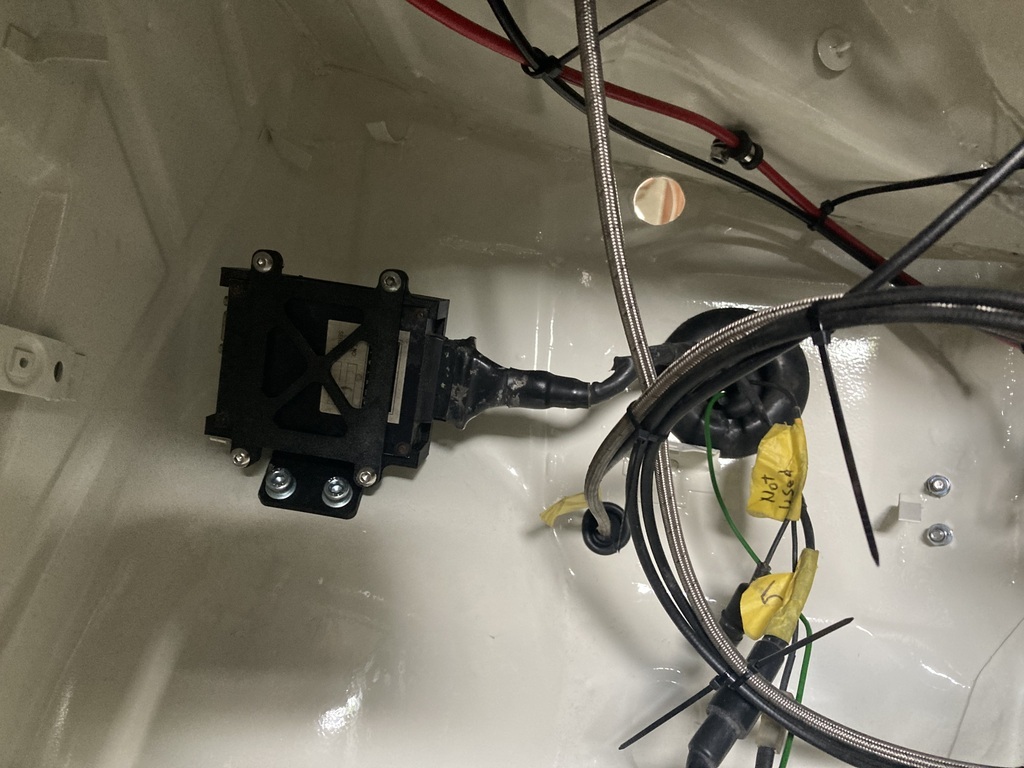 I mounted the pump for the air horn 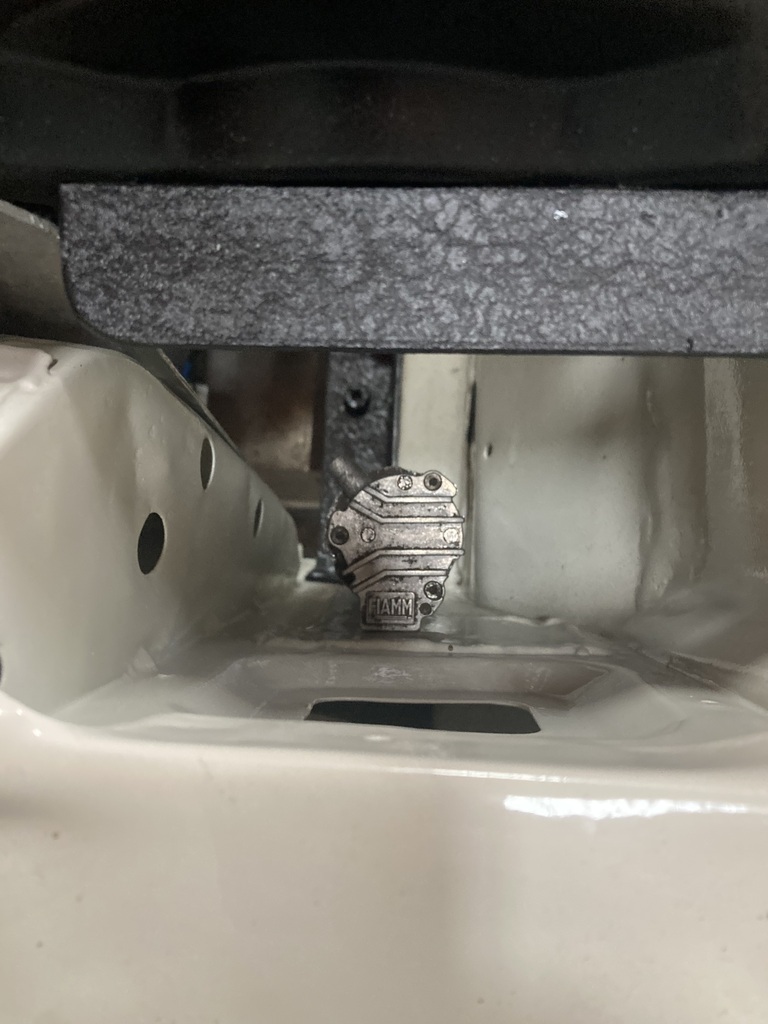 And made a bracket for the horns to mount. Since 2007 the horns had just been thrown behind the grille so I thought it was about time I sorted it The mount sits like this 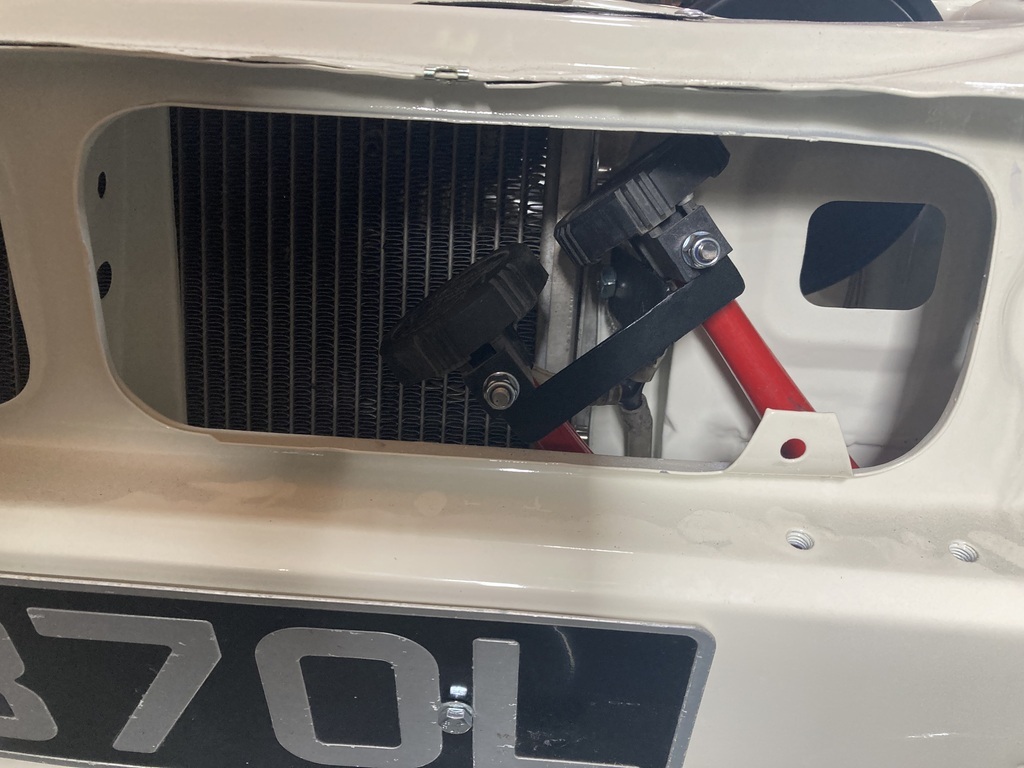 This wasn’t how they were supposed to sit. Somehow I welded it together in the wrong orientation but never mind. Grille back on 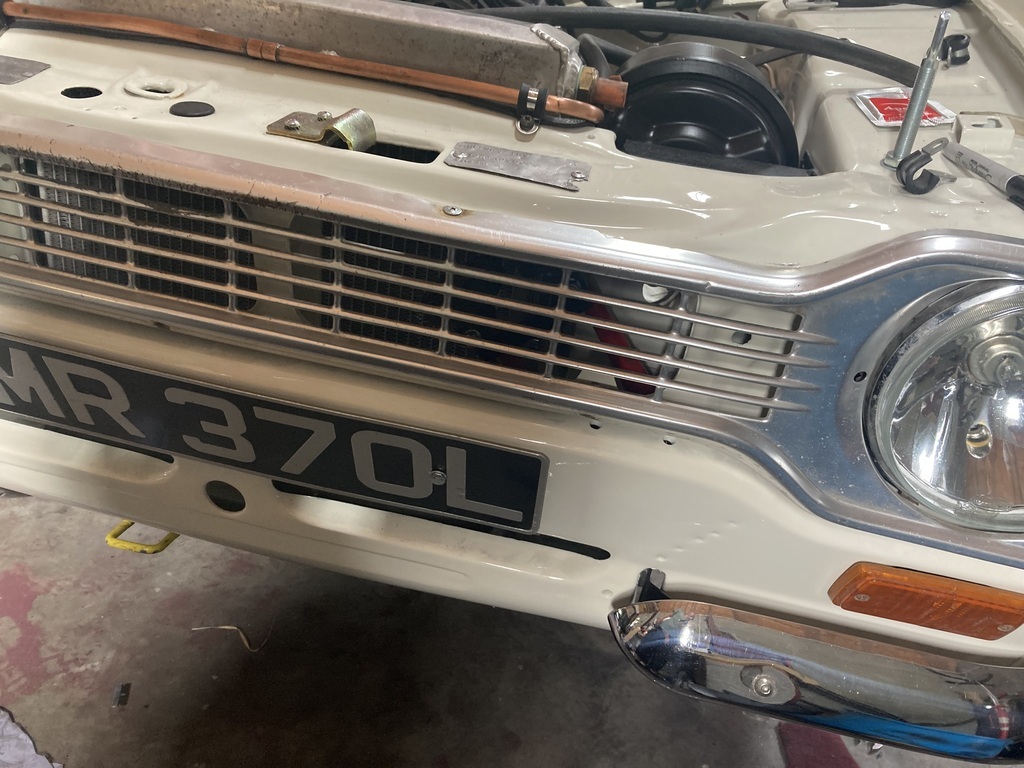 And prop shaft back on too. 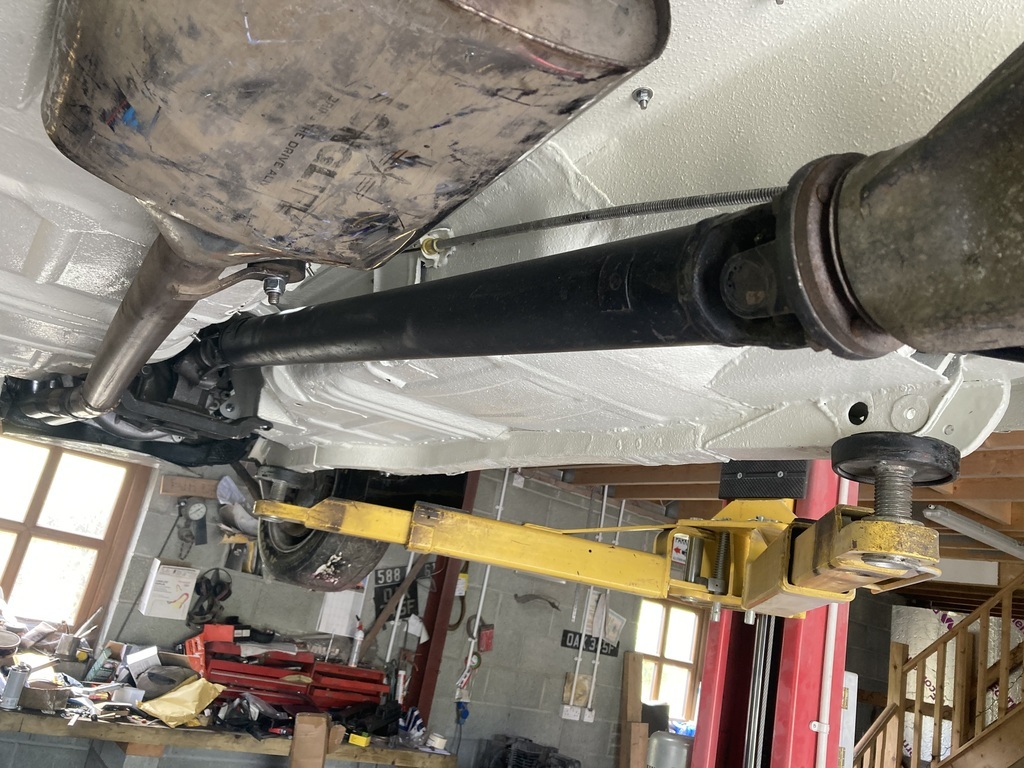 I also put an earth on the low pressure pump so that works too (no photo) |
| |
|
|
|
|
|
Jul 31, 2024 16:36:48 GMT
|
|
We must be getting very close to fire up time?!!
|
| |
|
|
|
|
|
Jul 31, 2024 19:23:36 GMT
|
We must be getting very close to fire up time?!! Hopefully Mr Viva. I’m just waiting on the engine oil. I’ve ordered millers 10W60, but it’s not turned up yet. |
| |
|
|
|
|
|
|
|
I had a day off work today, Yay. Because I’m working Saturday, Boo. The weather was glorious so I was up early to help Mrs Jonsey with the food shop. Was back before 9am and then fixed the icebox door in the shepherd hut’s fridge because a customer broke it off and neglected to tell us. That sorted I went to the garage. I removed the rear brakes and half shafts as I need to fit longer studs so I can run wheel spacers. Old and new. 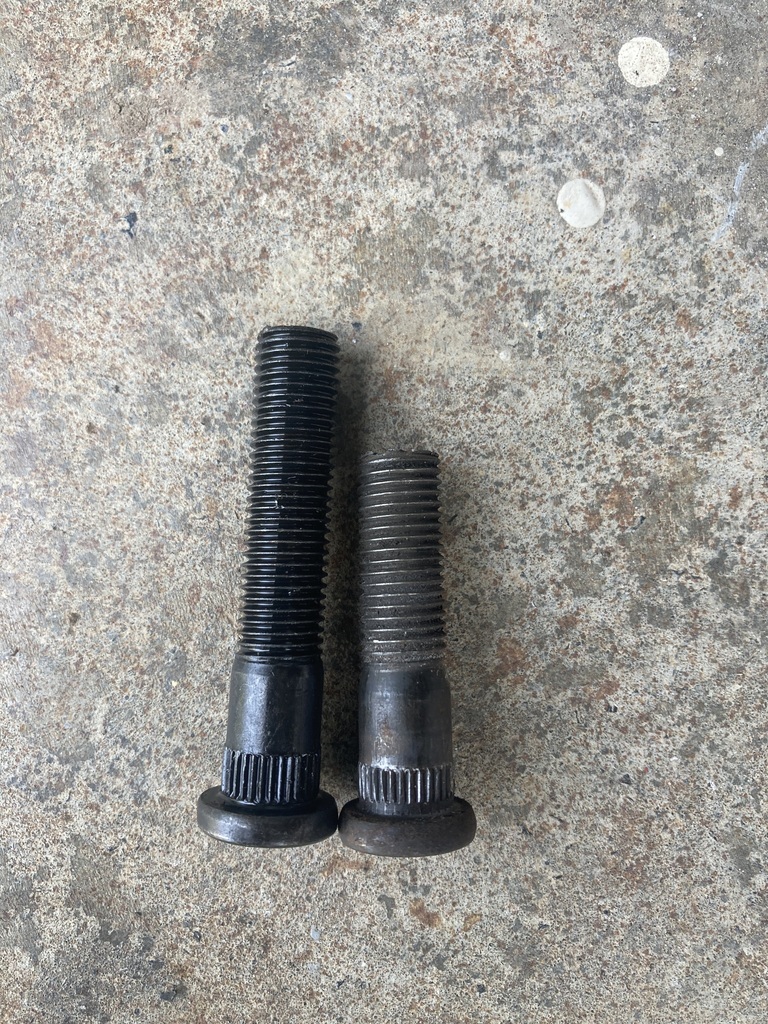 I used my brother’s hydraulic press to remove the old and fit the new. All done 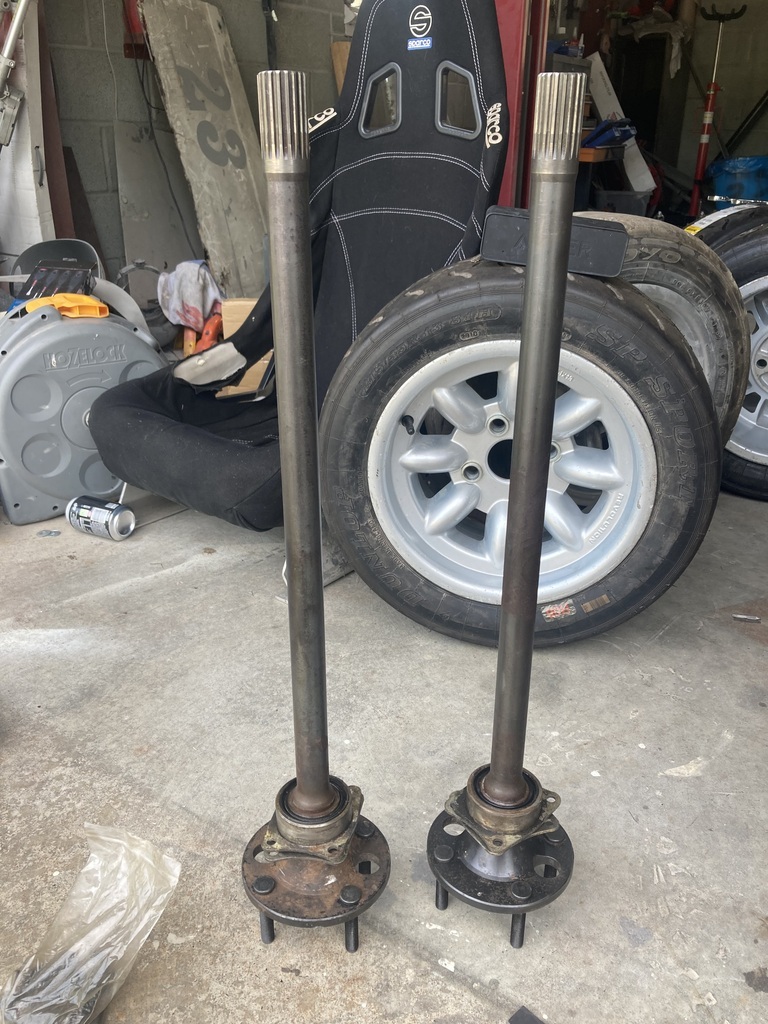 These shafts are 2 piece, 18 spline heavy duty items. They are beefy. The shafts were then refitted in the side they came from (I marked them with a letter punch to make sure) 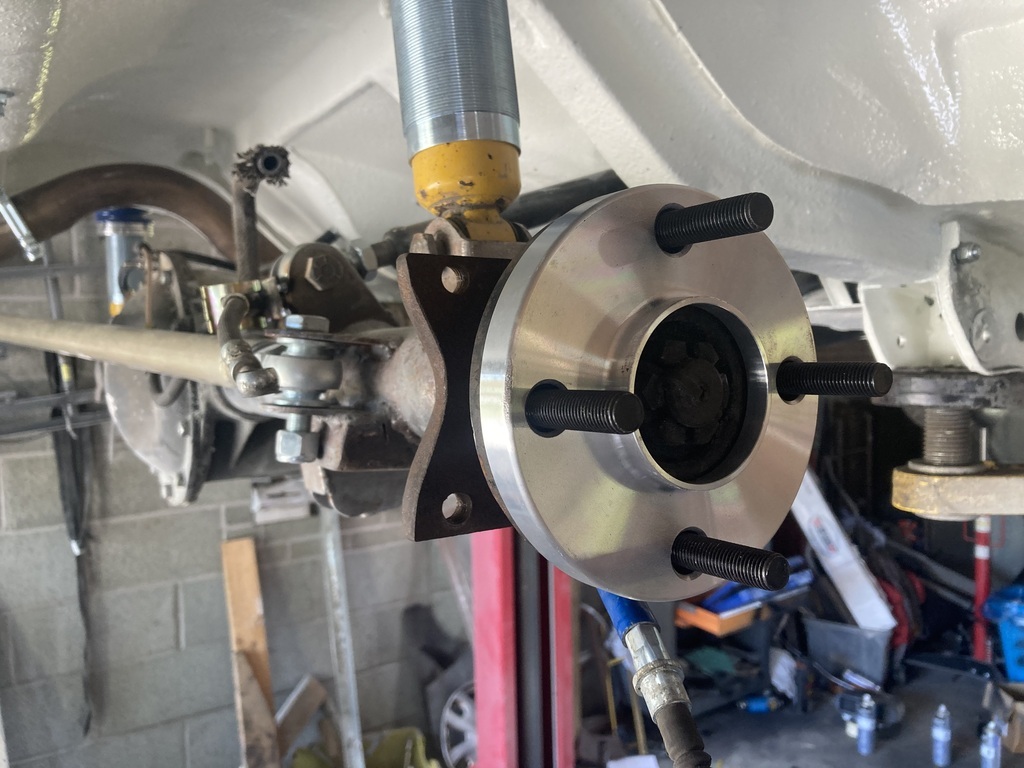 Ghetto spacers are now redundant 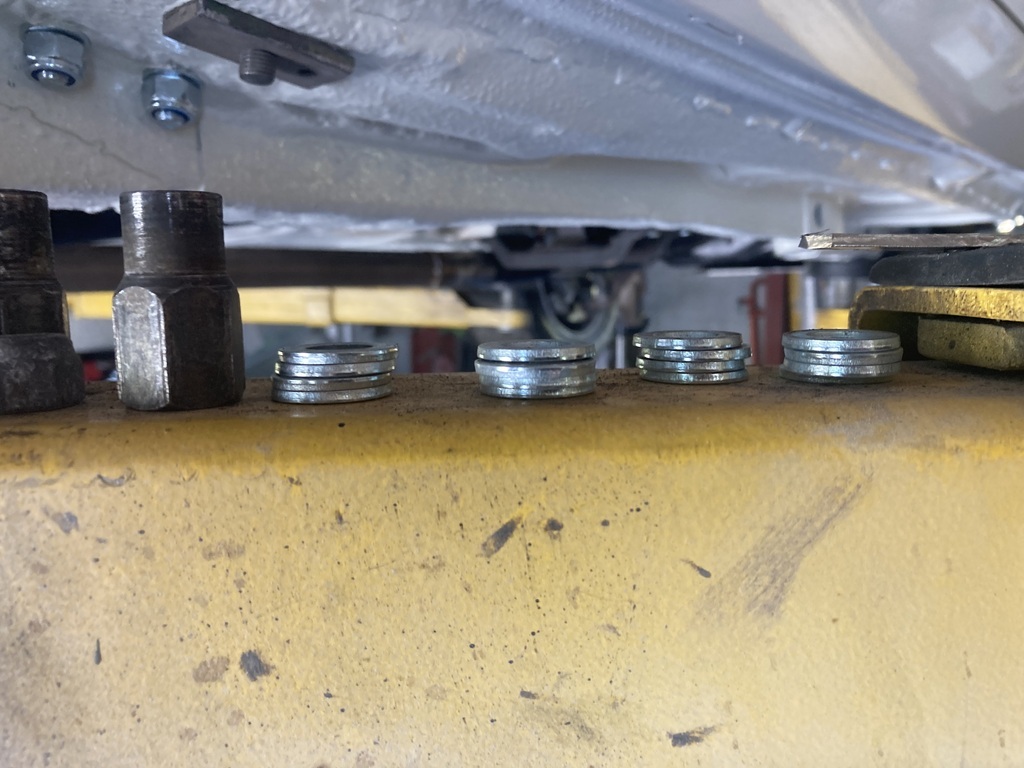 I also removed the rear coil overs to weld the mounting brackets on fully as they were only tacked to check for wheel clearance 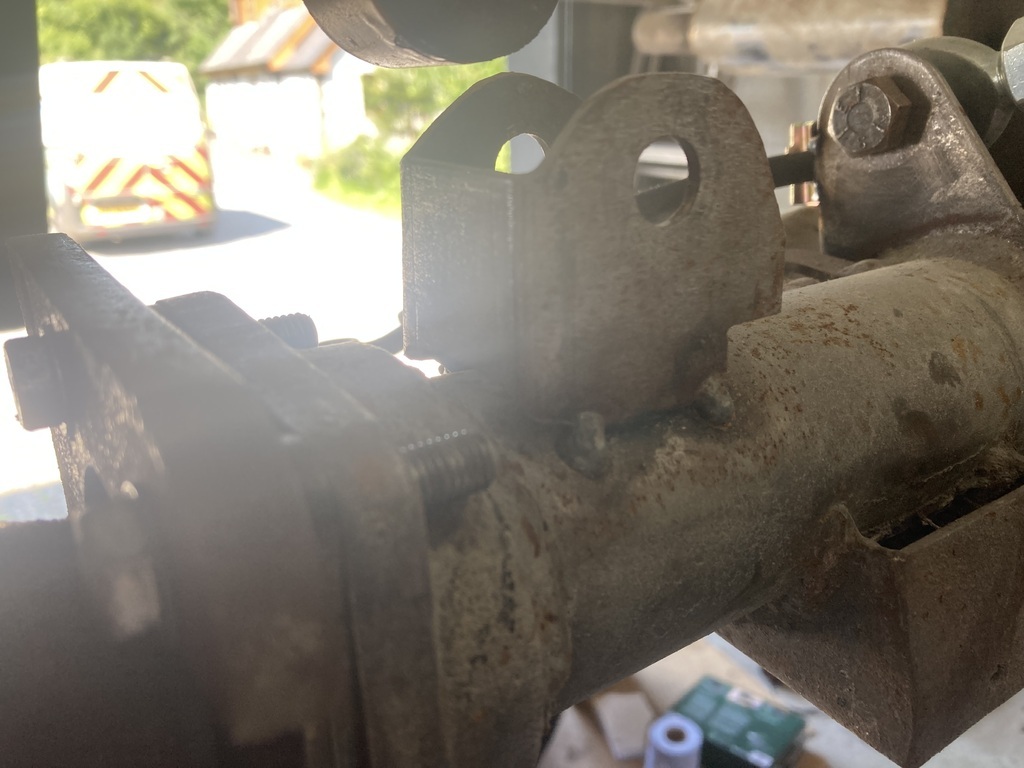 I also filled in the notches in the bracket that were there to clear the leaf spring U bolts when it was on leaf springs 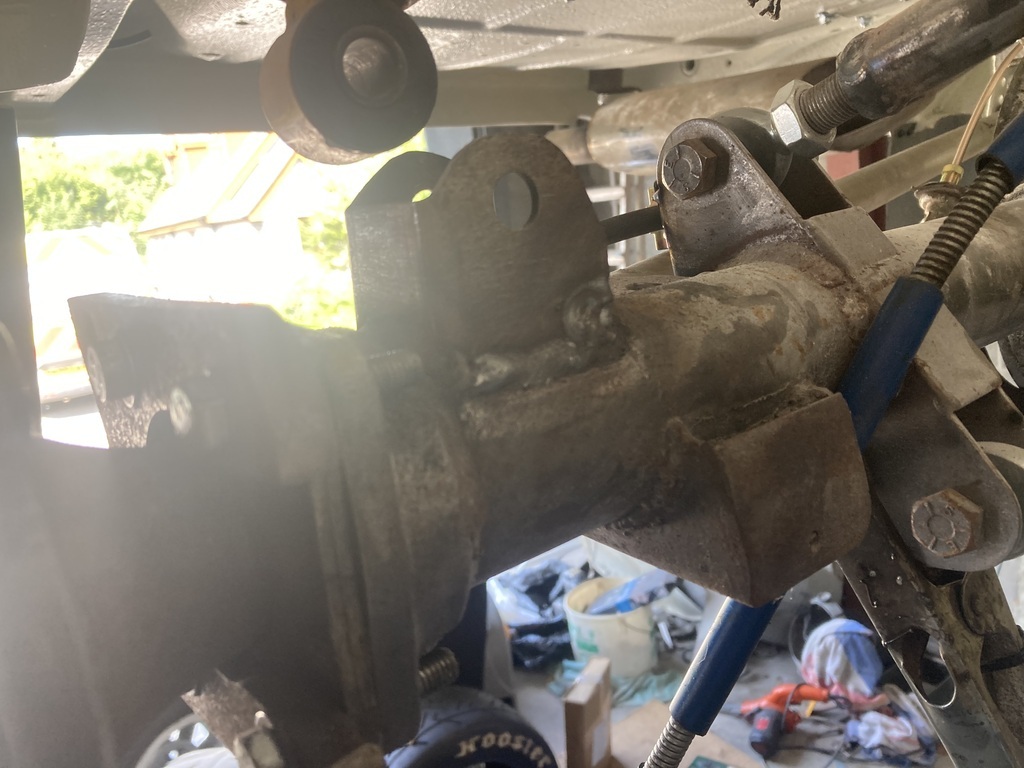 Did the other side too 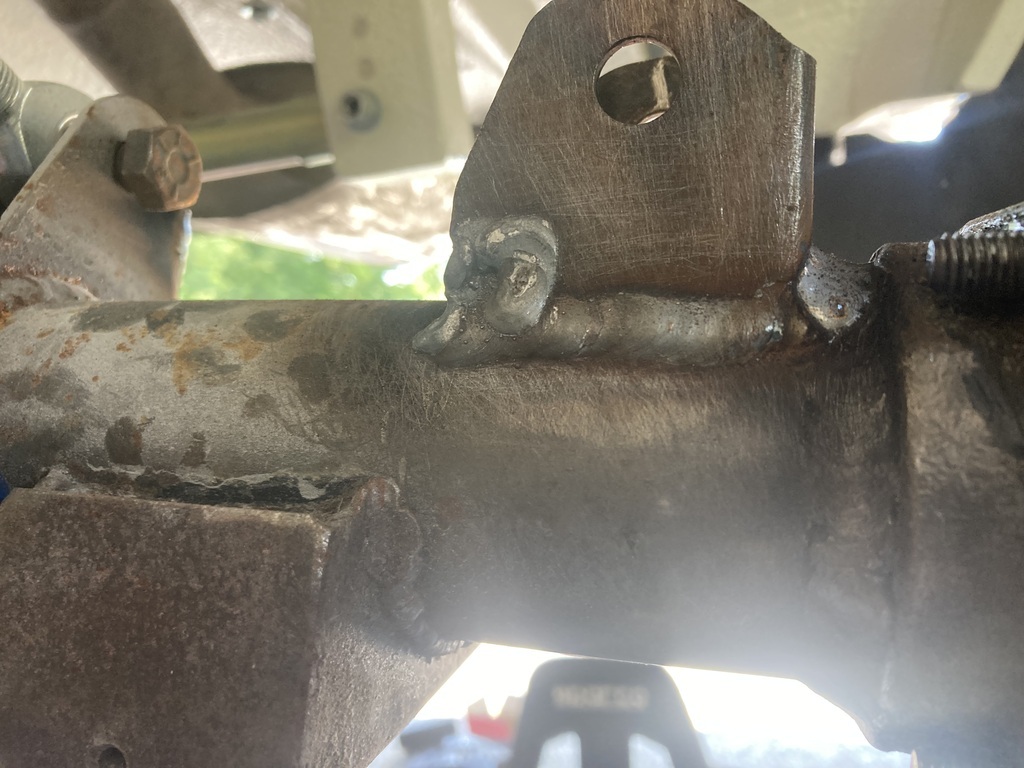 And also welded on the brake pipe locating brackets 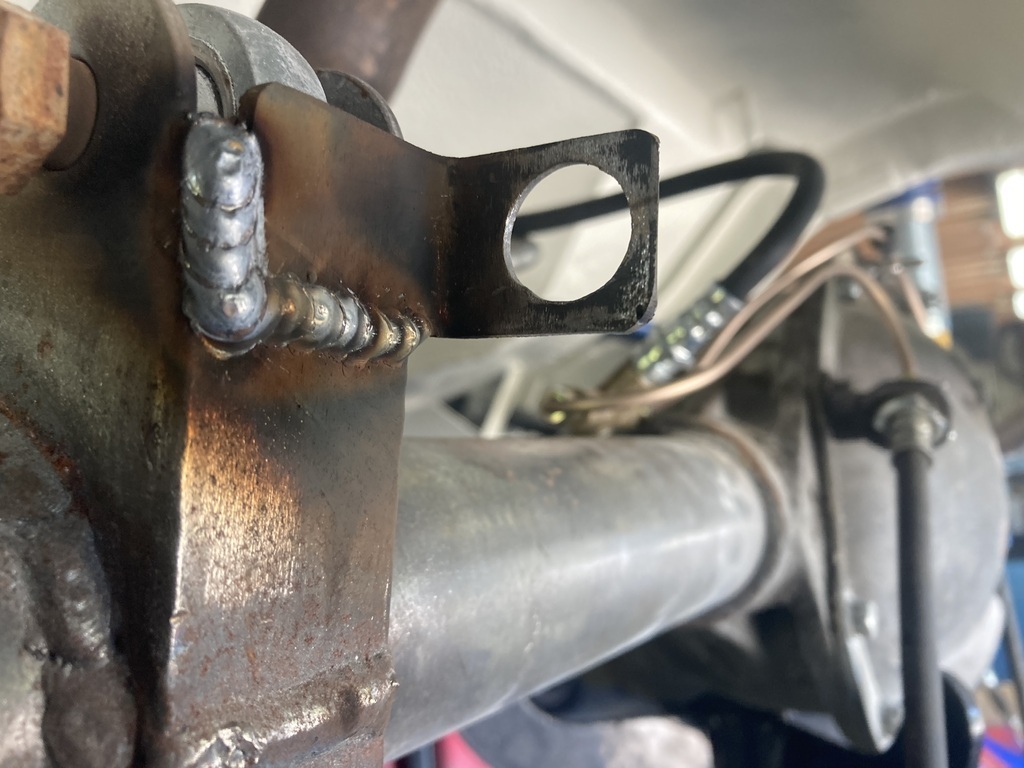 As the weather was so glorious, I downed tools early and we went to Costa Del Burry Port, the village a grew up in (I didn’t go in) 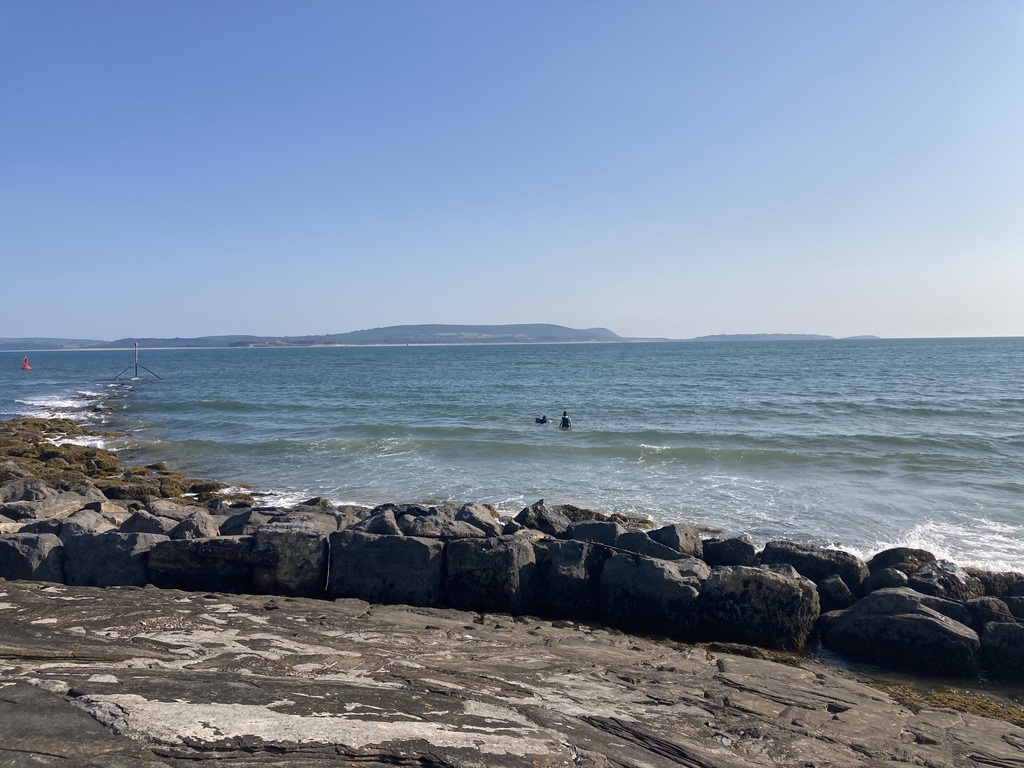 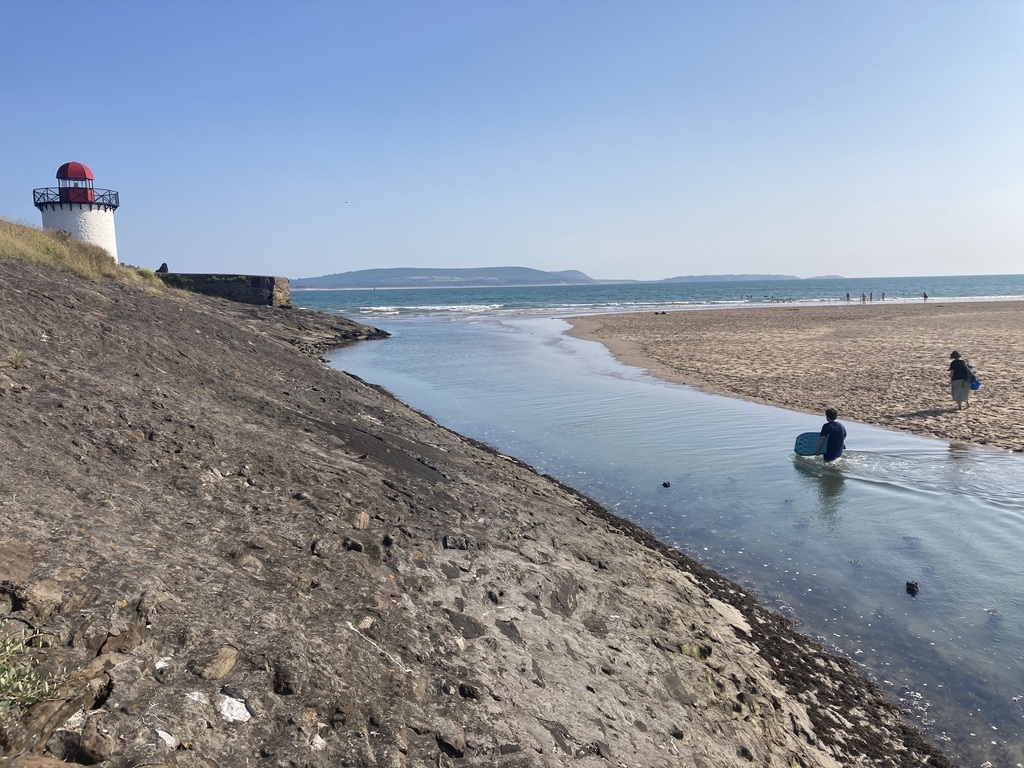 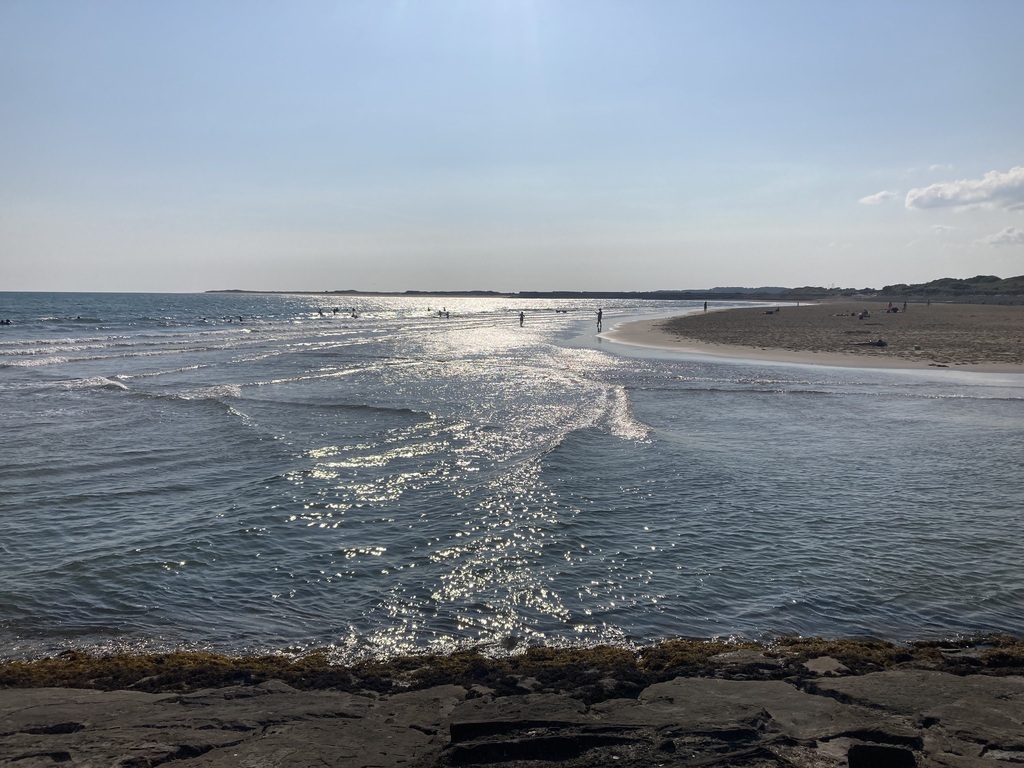 |
| |
|
|
|
|
|
|
|
Another day in the garage. My engine oil had turned up so I was hoping to get the engine running. I’d removed the oil tank and put some panel wipe in it and sloshed it about last Thursday. Today I emptied it, repeated and then gave a final sloshing with brake cleaner. The tank was then put back in and all the pipes reconnected. As The Younger wanted to be here when I tried to start it, and he’d gone for a walk with Mrs Jonsey, I killed a bit of time by refitting the rear calipers, fitting the wheels and tightened up the suspension bolts. When he returned, I put some of my expensive Millers 10w 60 racing oil. But there was a problem. I’d asked the PO how much oil the engine took, but he didn’t know. He just ran it by checking the oil tank after the engine had ran for 5 mins - 8” from the bottom of the tank was his guide. So I poured some oil in. I thought 4 litres would be a good starting point. But I couldn’t get 4 litres in. The oil was so sticky, it didn’t even pour out of the breather in the tank at first. We cranked the engine, but no movement and no oil pressure. I phoned my brother, who has a dry sump system on his Chevette HS rally car. He said I’d have to back fill the pump to prime it, or pressurise the tank to force it through. I clamped off the scavenge and used the air line to pressurise the tank. This was a big mistake. It blew oil everywhere. What made things worse was that I had such a fright, I forgot to leave go of the blow gun, and when I did , the gun has about a 5 second delay until it switches off. By this point I was mightily peed off. I cleaned the mess, well some of it, and removed the oil pressure switch and oil pressure gauge. Oil turned the engine by hand until oil came out of the pressure switch port. If there’s oil there, then we’re good to go. I removed the plugs and cranked the engine on the starter. 30 psi. That’ll do. Plugs in, and we’re ready to go. But first I wanted to put some coolant in, just incase I got carried away. So first I fitted my new 75°C thermostat 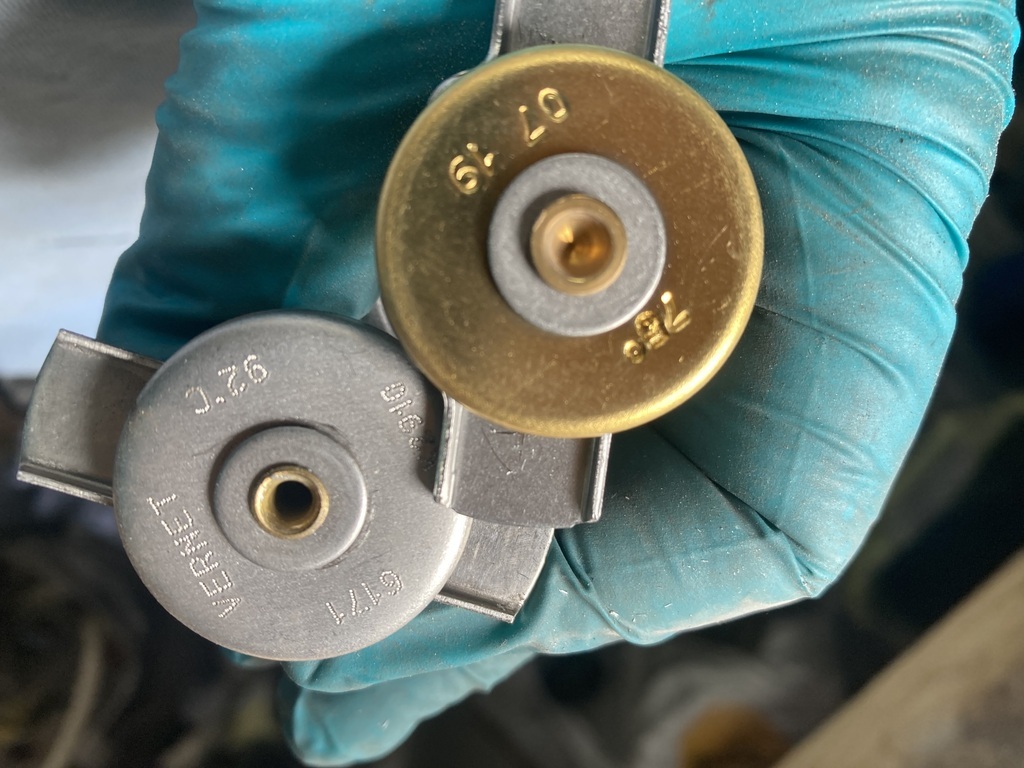 Tested first on the paint booth fan heater 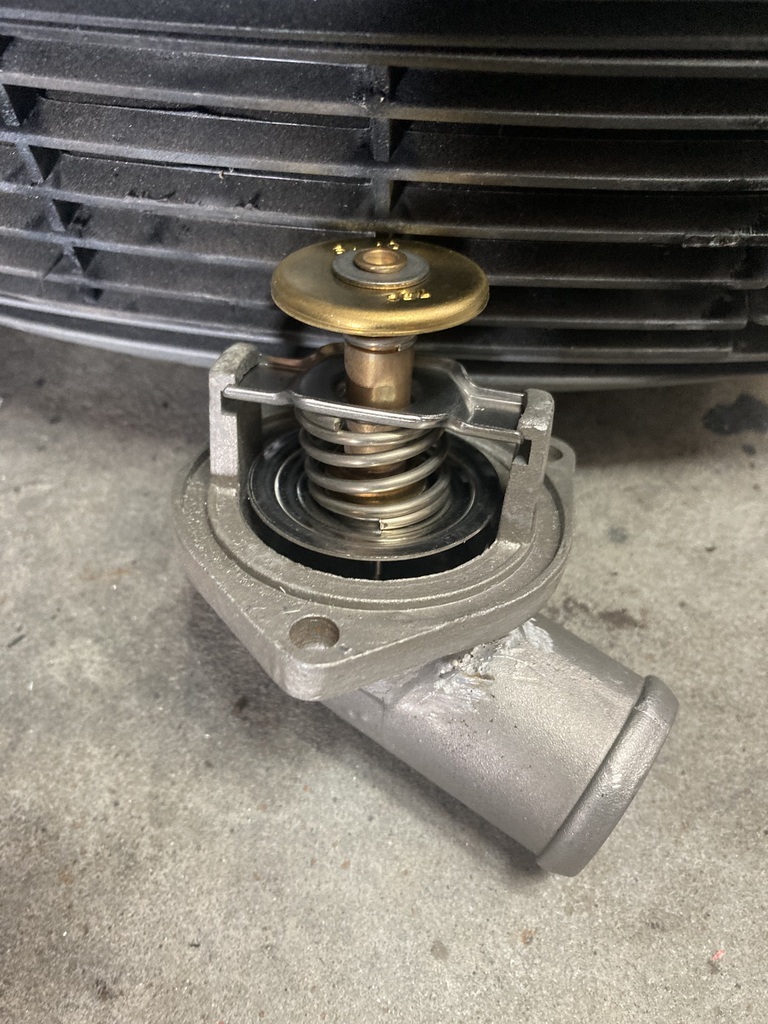 There is a coolant leak on the thermostat housing. I had previously cut and welded this to get the hose orientation right but it was a really porous casting. There’s a couple of pin holes. It’s going to get some JB Weld, but it’s good enough for know. A couple of gallons of 99 were added to the fuel tank, and the Younger hit the switch to prime the system. Leaks everywhere. I nipped up all the clips - all leaks sorted. I then give The Younger the go ahead to crank it. I was over the moon. It started first crank. The Escort has a running engine for the first time in over 2.5 years. It sounds like a sack of cr4p though as all the hydraulic lifters are dry. We ran it for a while. The oil was returning to the tank nicely and the thermostat opened too. Temperature gauge worked fine and the oil pressure showed nearly 40psi running. I tidied up some more mess then this happened I was over the moon. The engine is now running and the car is moving under its own steam. Well kind of. The engine has now quietened down now the lifters have some oil. So I thought, I can get the brakes working! No I couldn’t. I filled the pot with my expensive brake fluid and most of it landed on the passenger side floor as it was just pouring out of the bias valve on the transmission tunnel. I tried tightening it but no joy. And now I couldn’t get the unions loose. So I cut the pipes. I think I had the wrong unions in and they weren’t going fully home. So I re piped it. 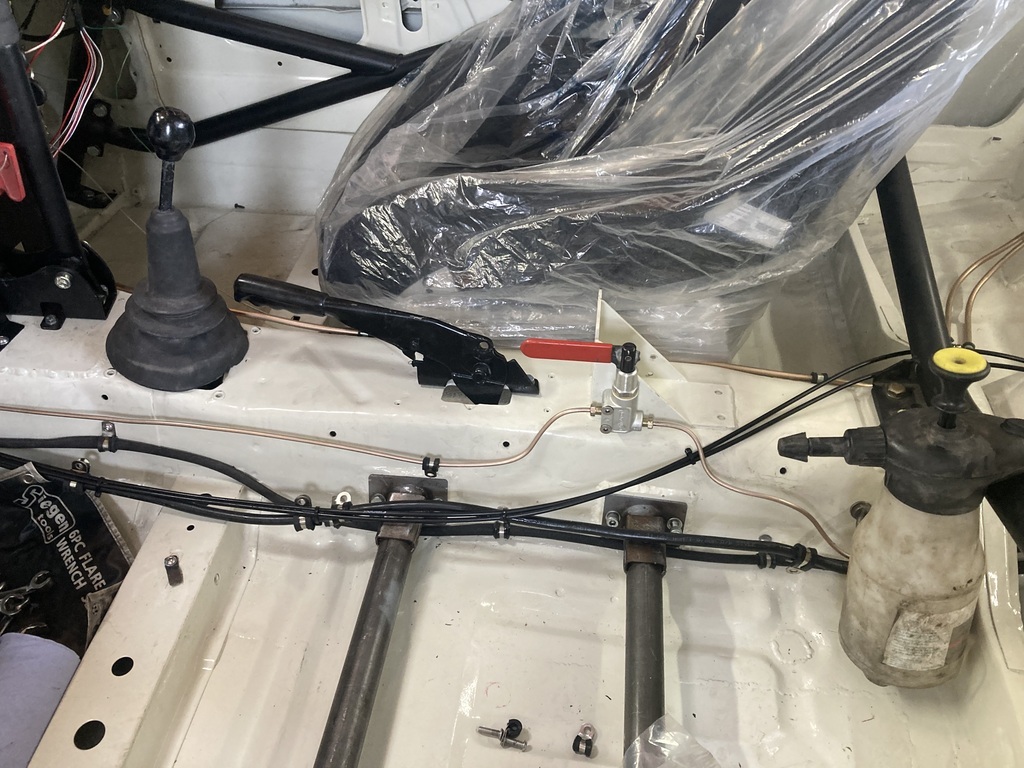 It seems ok now, but one of the rear calipers had a seized bleed nipple. I’ve tried welding on to get it out a few times after it snapped but no joy. Anyone now where I can get this drilled out and rethreaded ? So a few ups and downs, but overall, I’m well chuffed. |
| |
|
|


