ChasR
RR Helper
motivation
Posts: 10,309
Club RR Member Number: 170
|
|
|
|
|
Any updates?
I'll be honest. Your woes with the bottom end have not helped in the slightest with my rod bearing parania, especially after seeing the price of a secondhand engine or a new/undamaged and unground crank.
|
| |
|
|
|
|
|
|
|
Nov 23, 2017 11:59:32 GMT
|
|
|
| |
|
|
|
|
|
Nov 23, 2017 14:37:18 GMT
|
Another great thread, looking forward to updates especially the diff and subframe setup. Rock on!  |
| |
Still learning...still spending...still breaking things!
|
|
|
|
|
Nov 23, 2017 16:21:49 GMT
|
|
The diff/subframe has been put on the back burner for now. In the interest of getting the car working I’m sticking with the standard E21 diff for now.
The plan is to use a Mitsubishi starion LSD that I have lying around, but I think it will need custom half shafts which I was trying to avoid. Having said that, it’s not really any more work than fitting an E30 or E12 diff and this diff owes me nothing and is a better LSD unit than the bmw ones. I’ll have a look at it again next summer I think!
|
| |
|
|
|
|
|
Nov 23, 2017 18:55:29 GMT
|
|
love the work on that motor!....looks great
JP
|
| |
I know its spelled Norman Luxury Yacht, but its pronounced Throat Wobbler Mangrove!
|
|
ChasR
RR Helper
motivation
Posts: 10,309
Club RR Member Number: 170
|
|
|
|
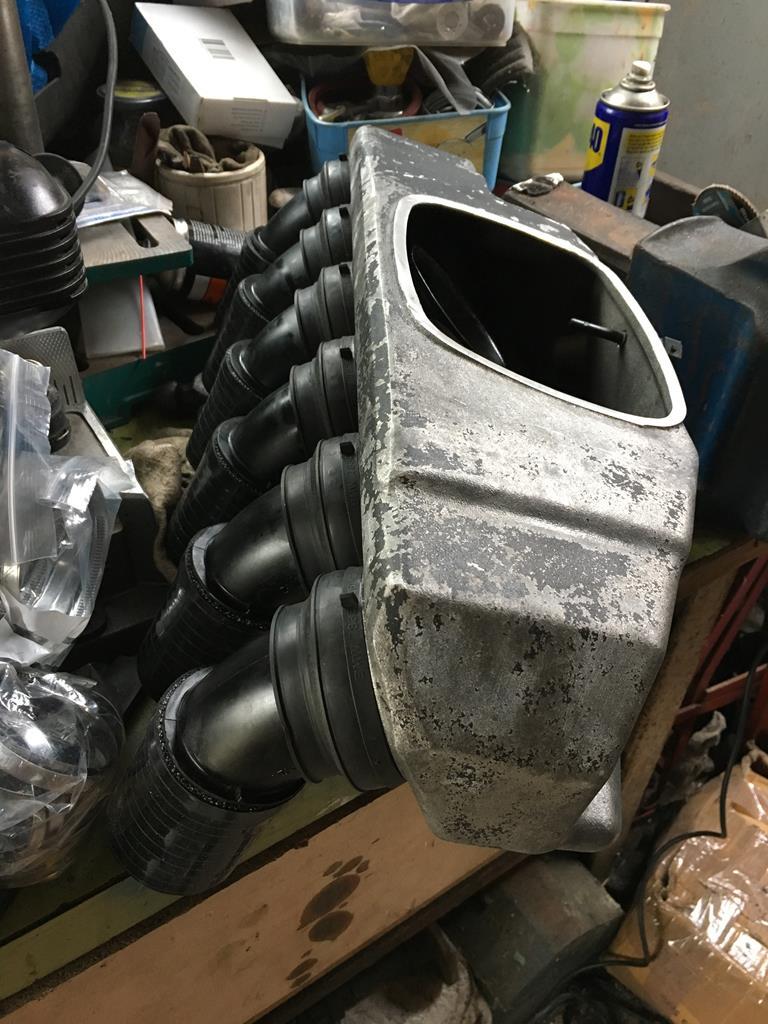
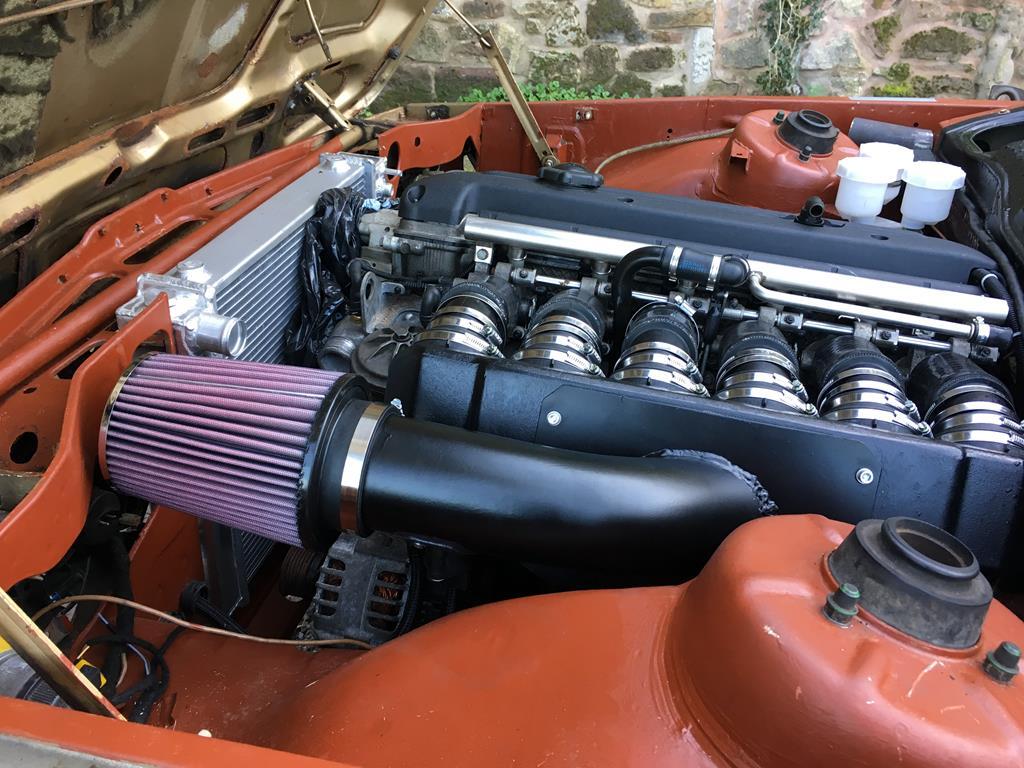
It's good to see this is progressing again. Is the temptation not there to go for velocity stacks? You can make them at home by chopping open the stock M3 airbox  . |
| |
|
|
|
|
|
|
|
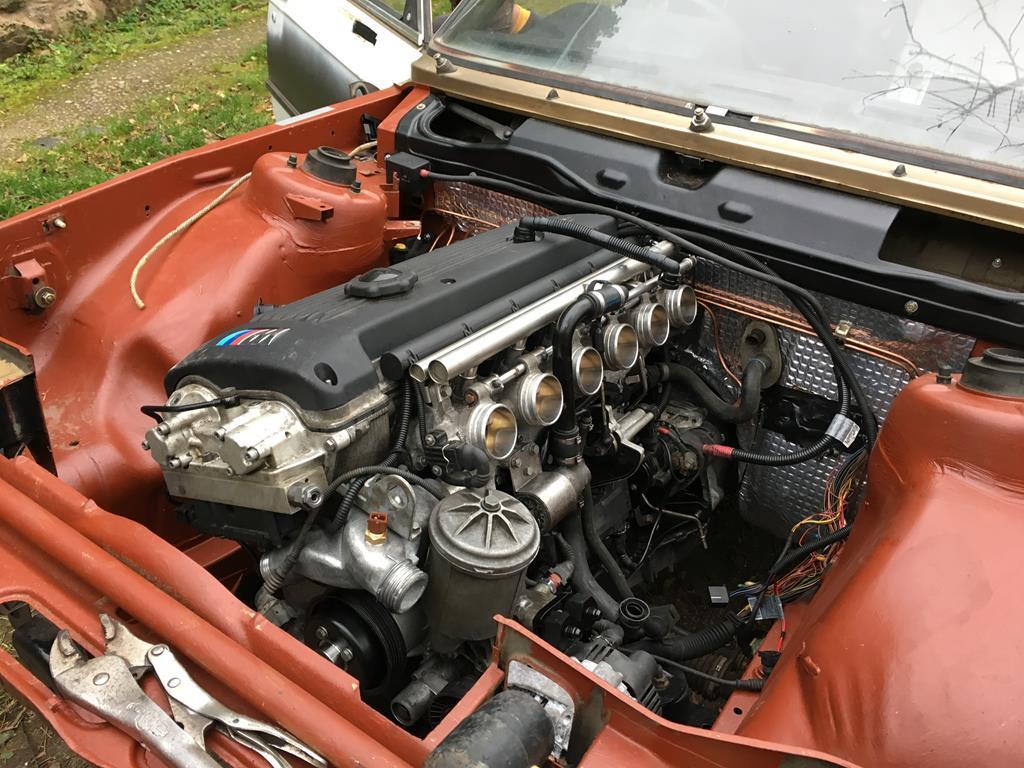
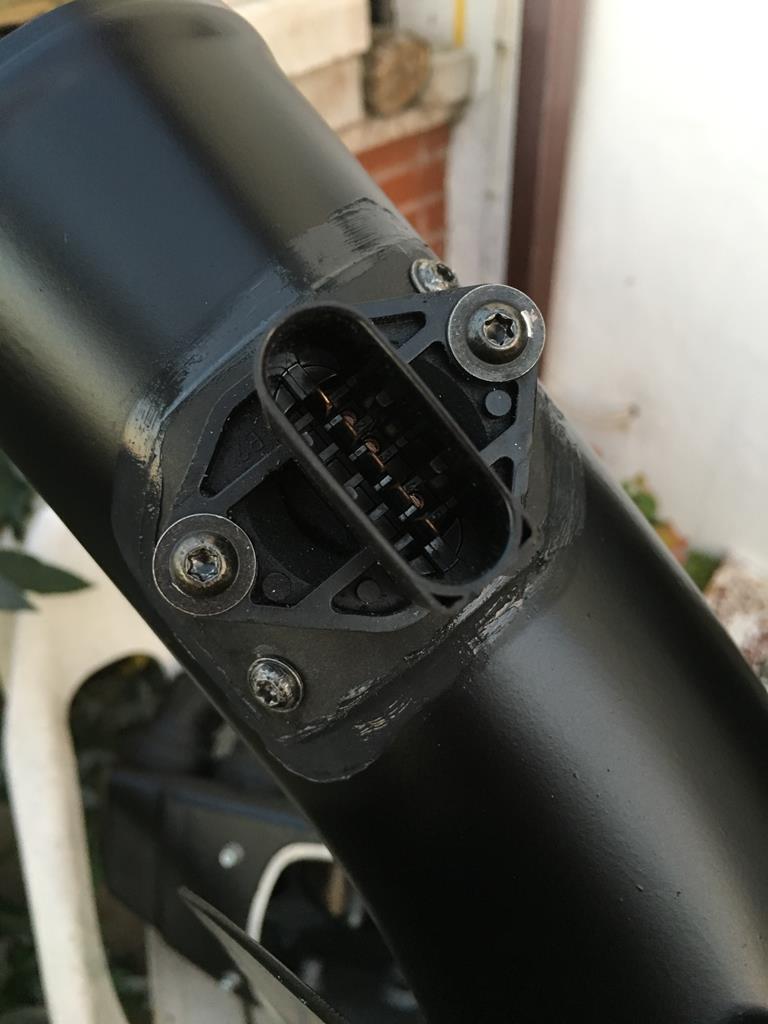
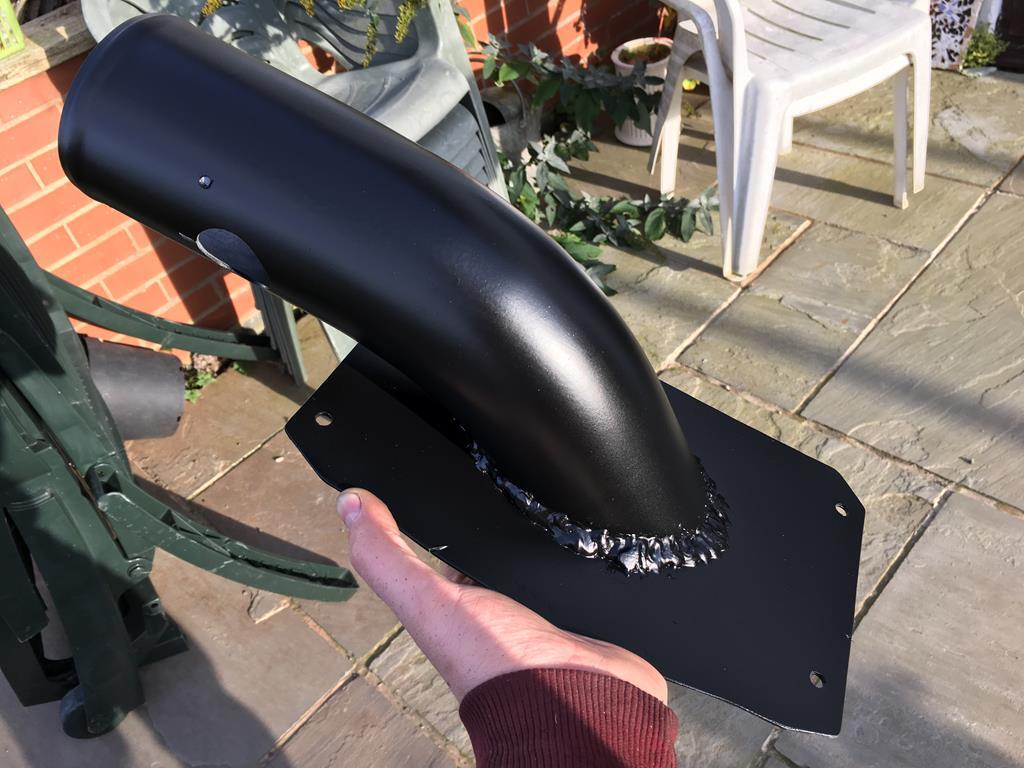
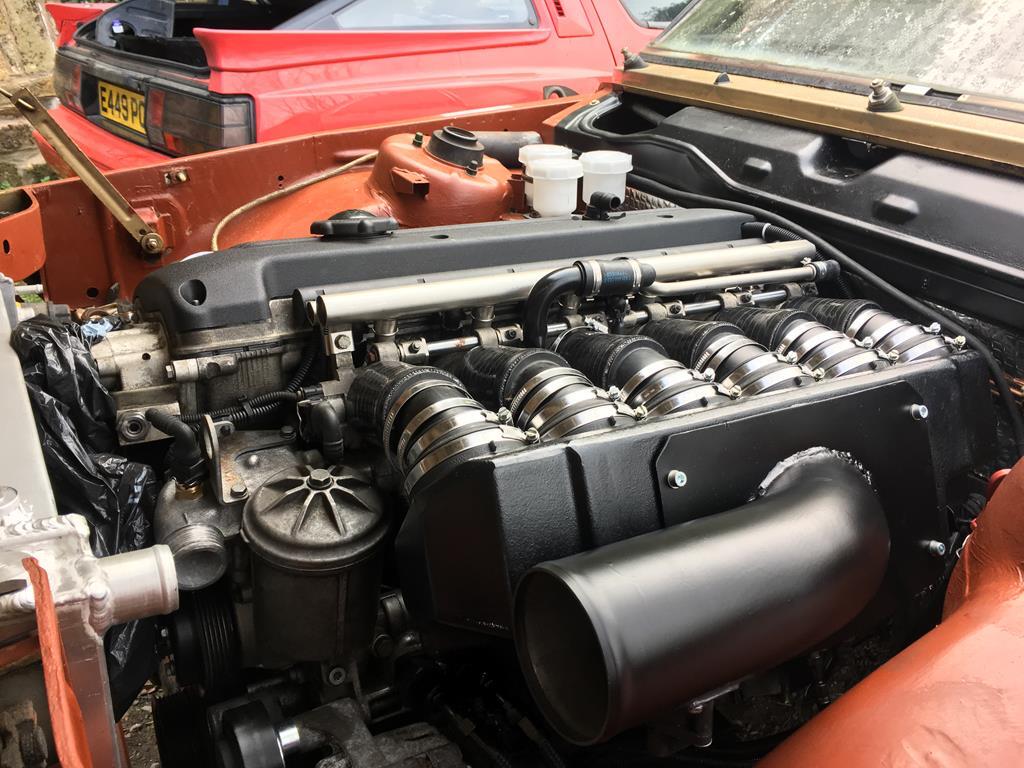
It's good to see this is progressing again. Is the temptation not there to go for velocity stacks? You can make them at home by chopping open the stock M3 airbox  . I've decided to stick with an airbox as they usually make better torque compared to open velocity stacks, and a MAF is usually better at calculating airflow than a MAP/TPS, especially on ITBs. I actually ended up using the velocity stacks from the E46 airbox in the E36 one! Also 6 sock filters and the heat shielding required was looking pretty expensive and i was struggling to think of a clean solution, so ultimately i went with the airbox. 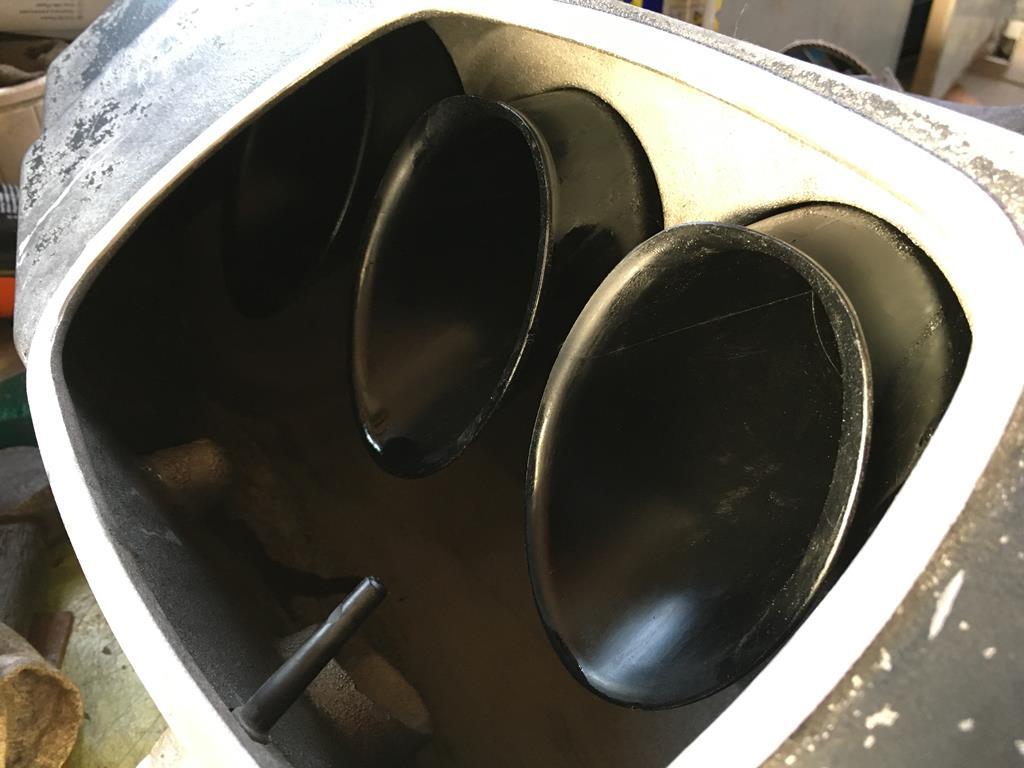 Anyway, after what's seemed like a never ending winter, i've been getting on with the brakes and suspension. Which isn't actually that interesting - just a lot of measuring and then drilling holes really! The Brembos are from an Mitsubishi Evo 6, as they are cheap and well matched (unlike, say, Porsche brembos). The front discs are E39 V8 estate fronts and the rears are E46 330 estate rears. 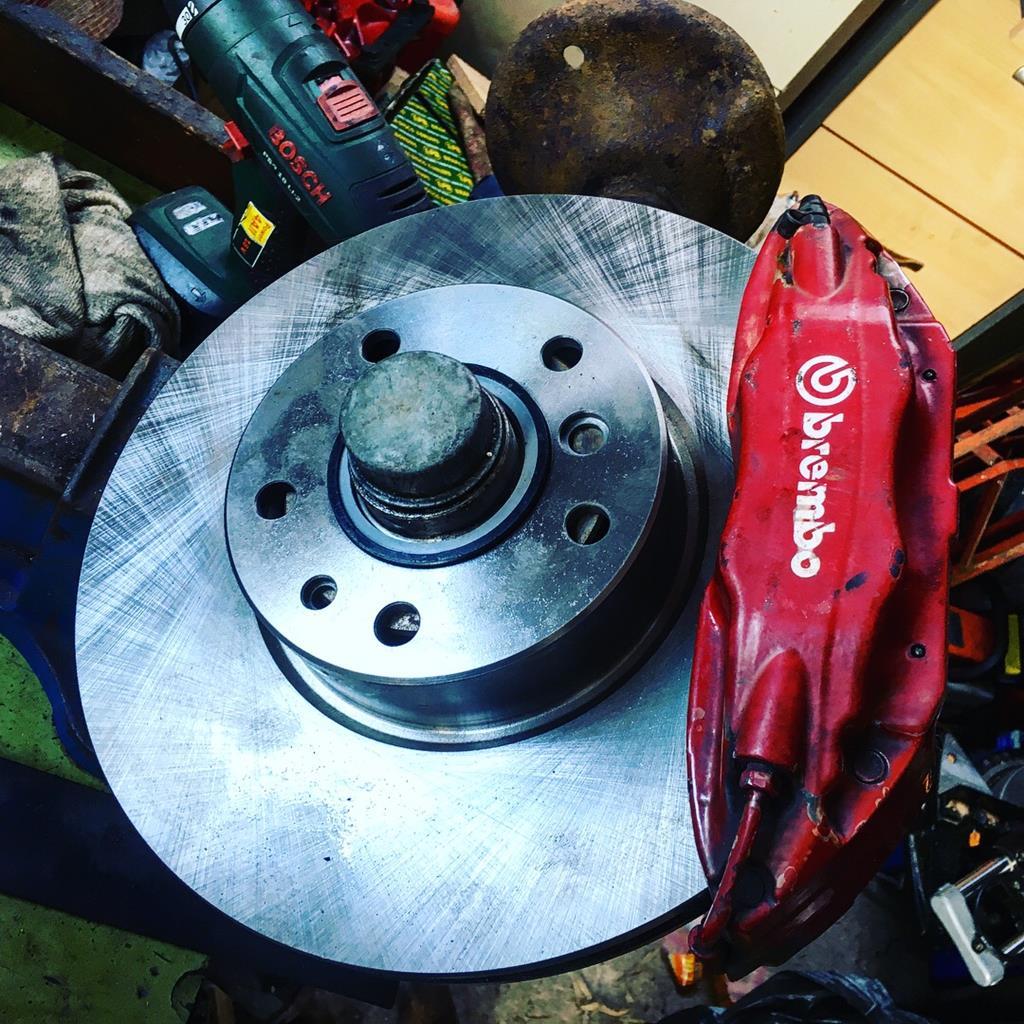 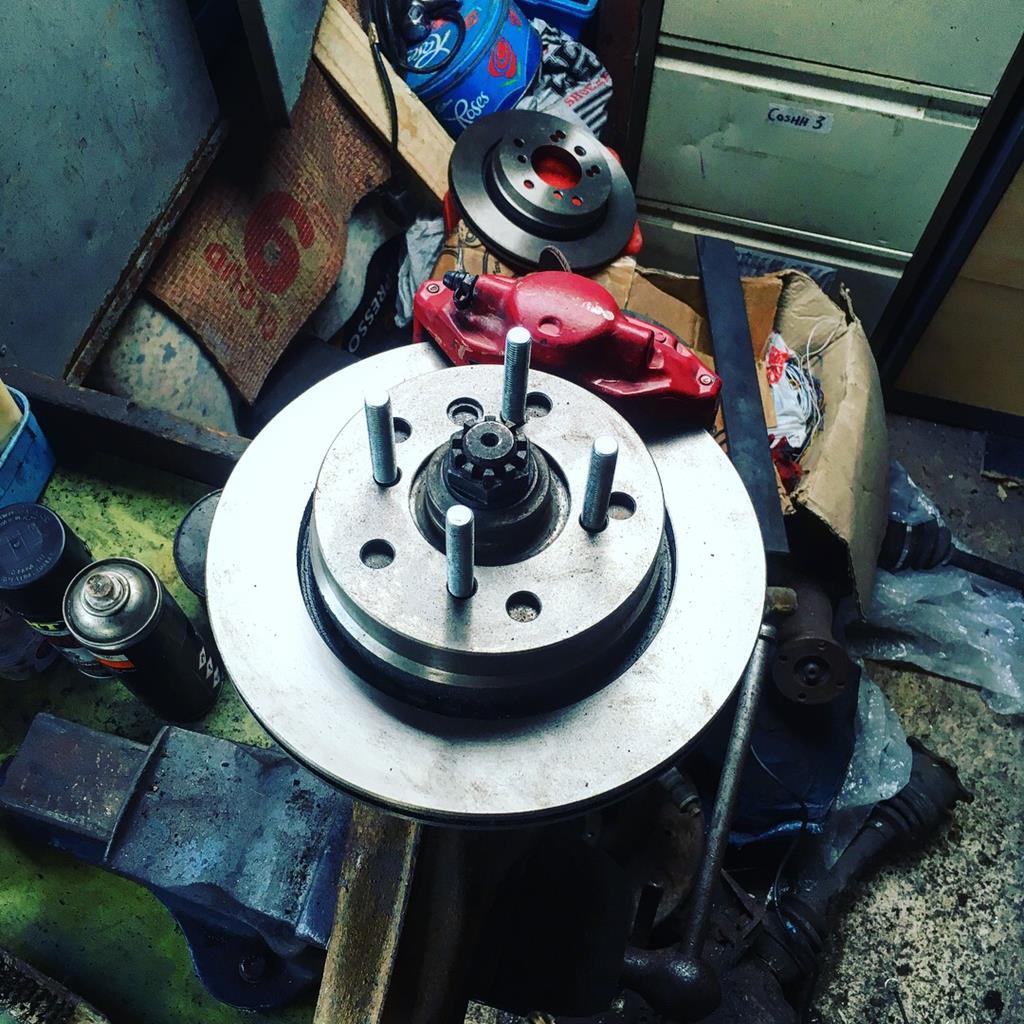 The fronts fit nicely under 16 inch wheels, but 15's are out of the question sadly. 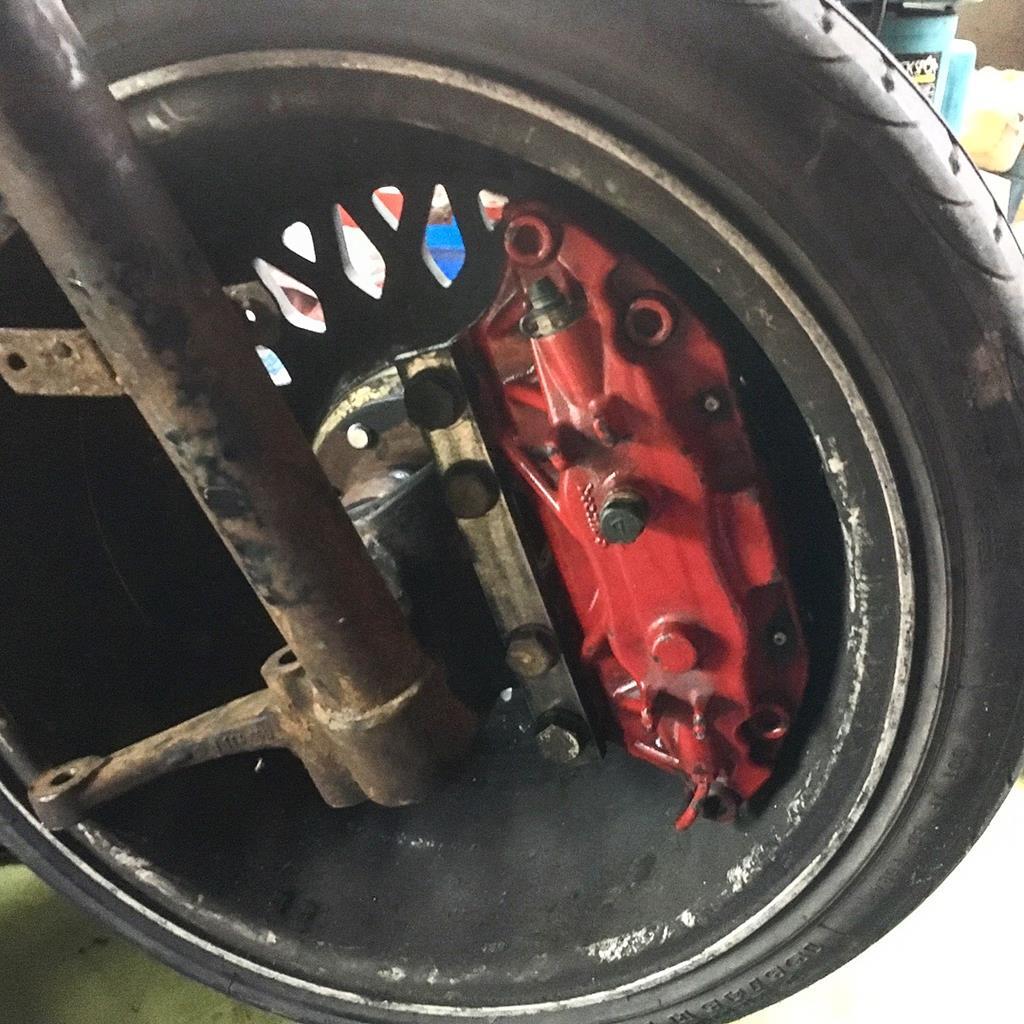 The main challenge was getting the drum in disc handbrake setup working, I ended up using the old drum backing plates and trimming them down. But then the mix of E46 handbrake shoes and expanding lock thing on the E21 cables and mount needed a lot of fettling to work correctly. In hindsight I should have stuck with all E21 323 handbrake components, but we got there in the end! 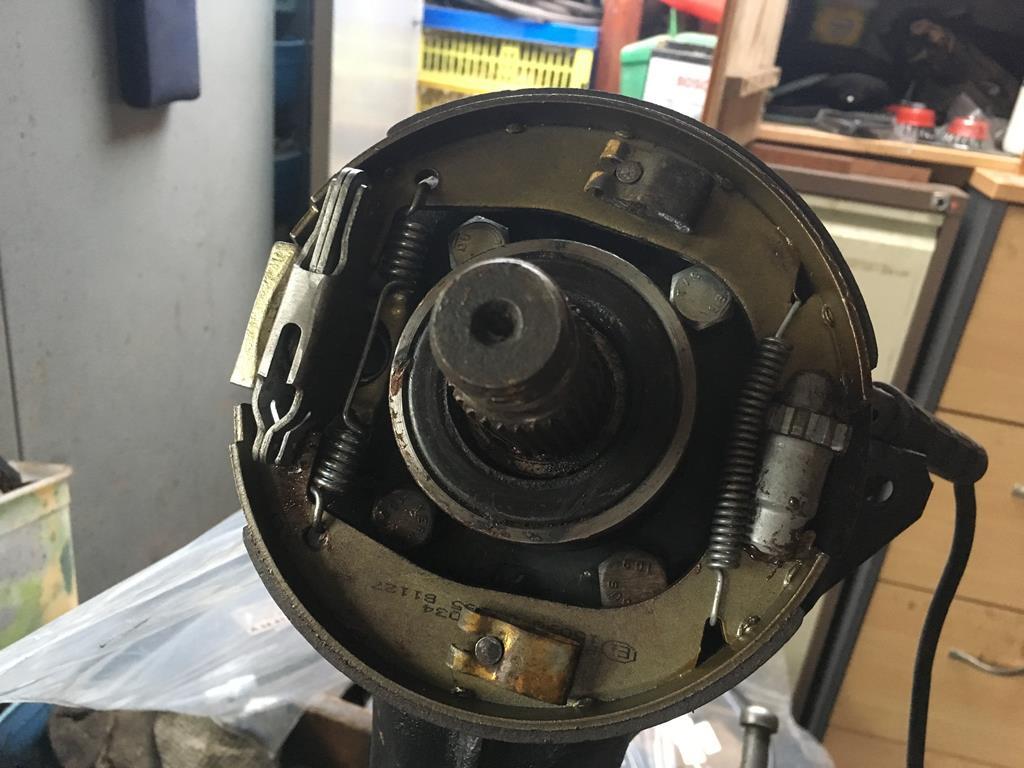 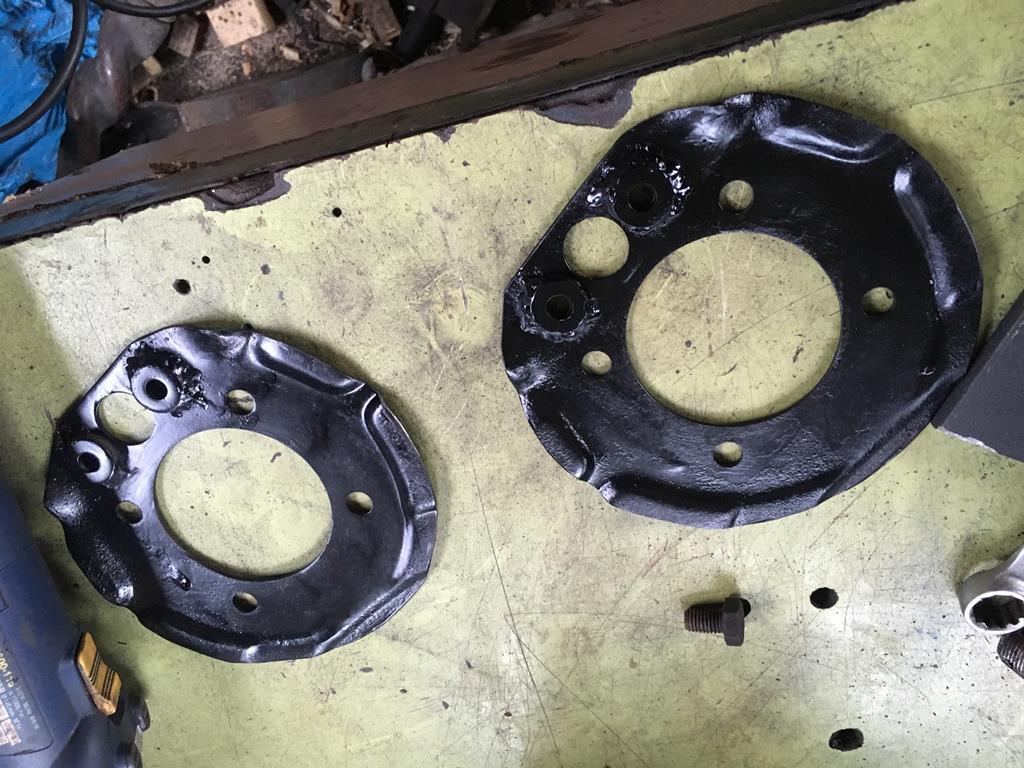 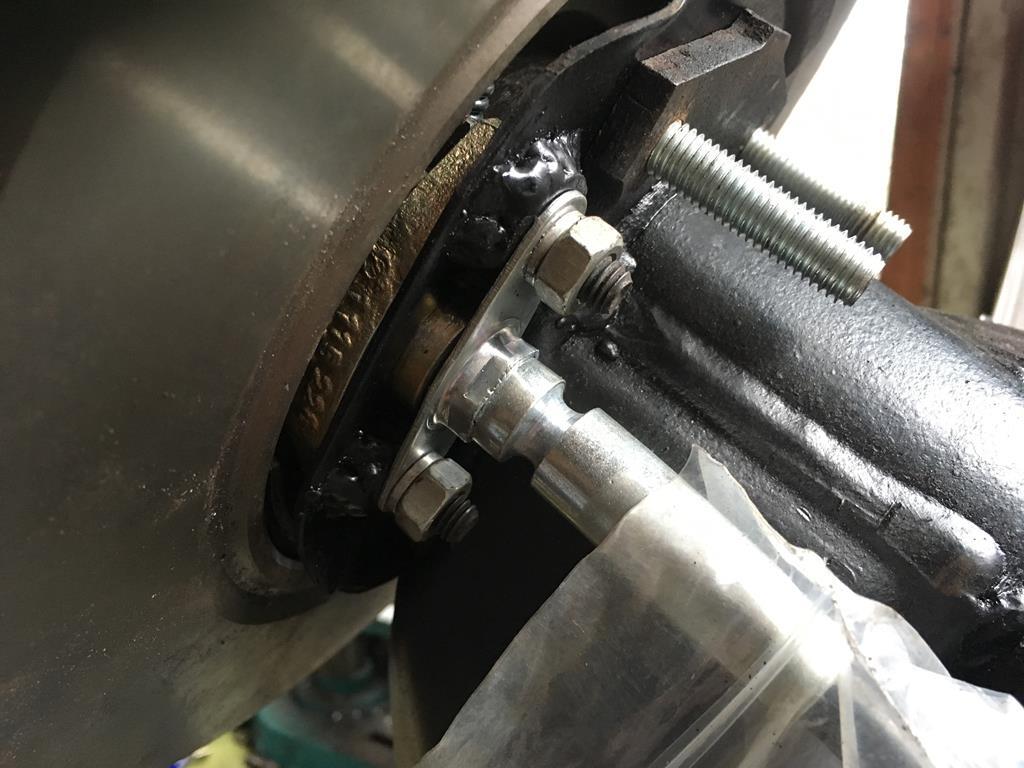 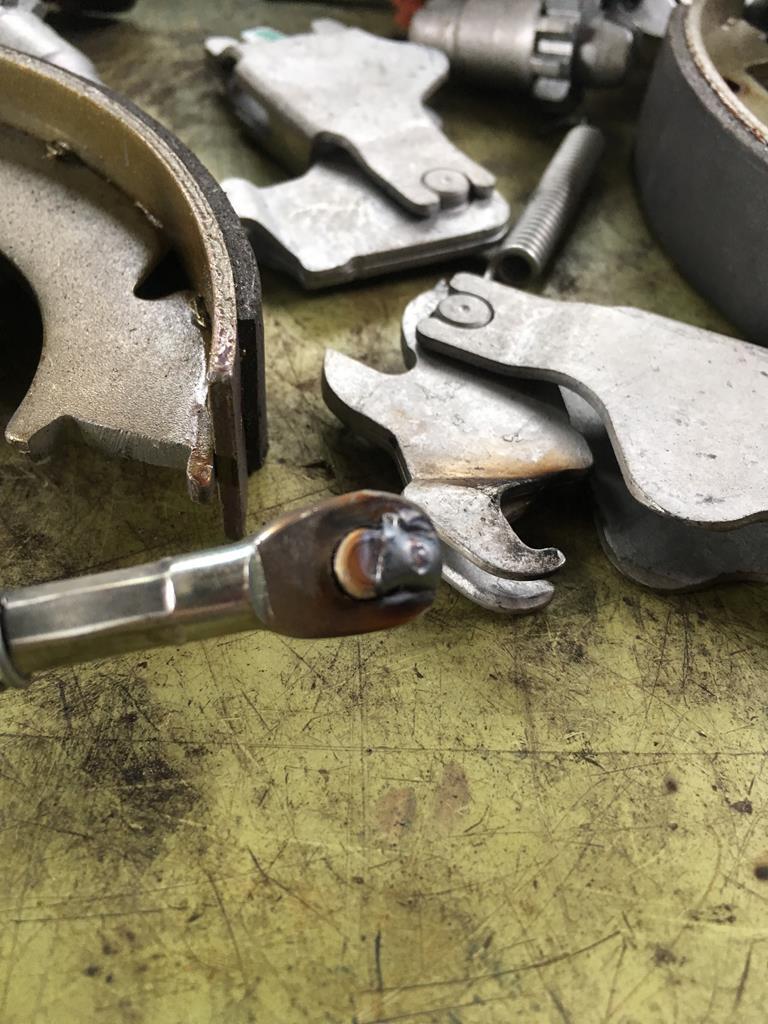 While the suspension was off the car I stripped and painted it all and fitted Spax shocks to the front. The rear already has Koni yellows that have never been driven on. I also modified the rear beam to accept camber/toe bolts and will flip the bushed to dial out the excess rear camber. 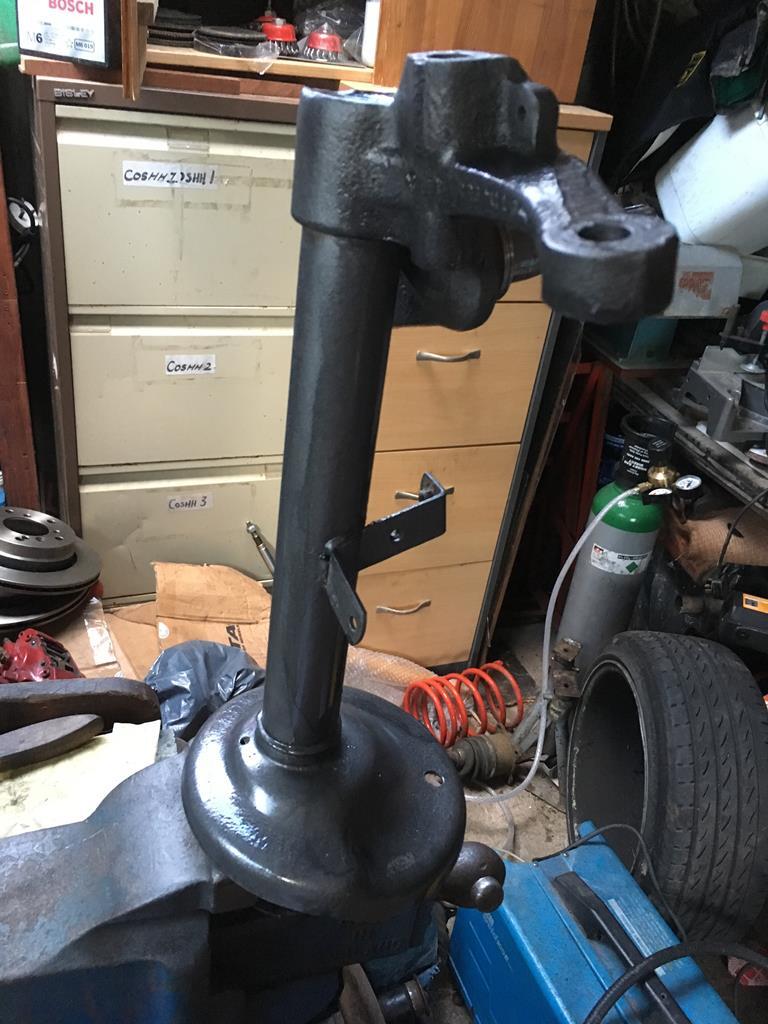 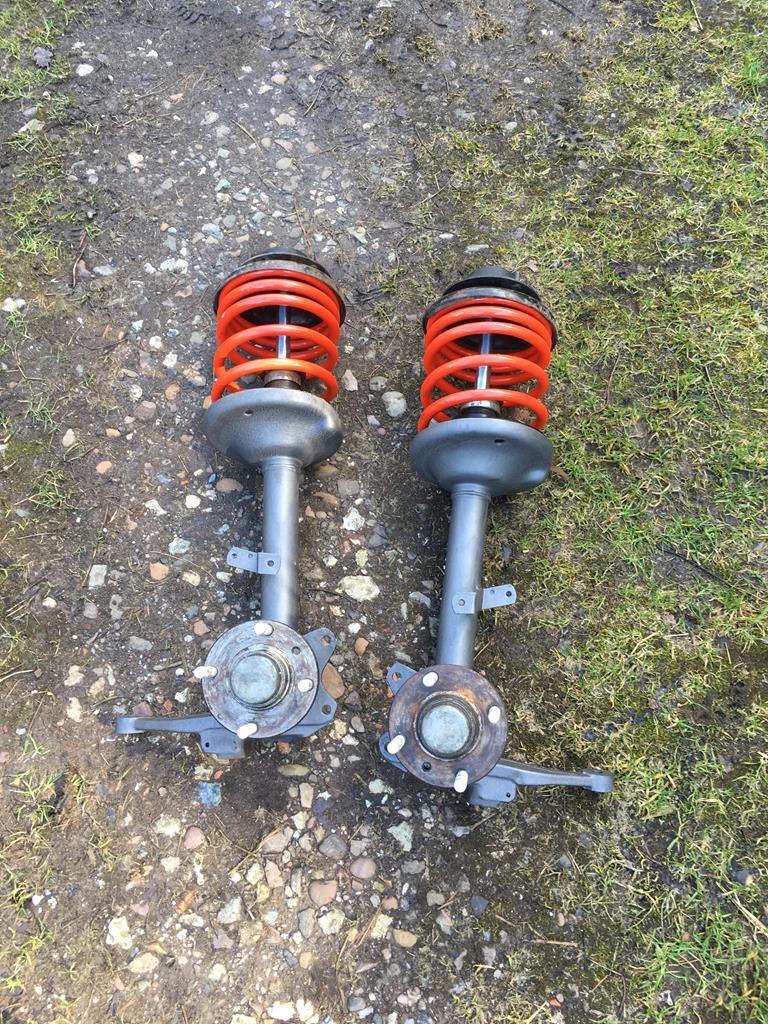 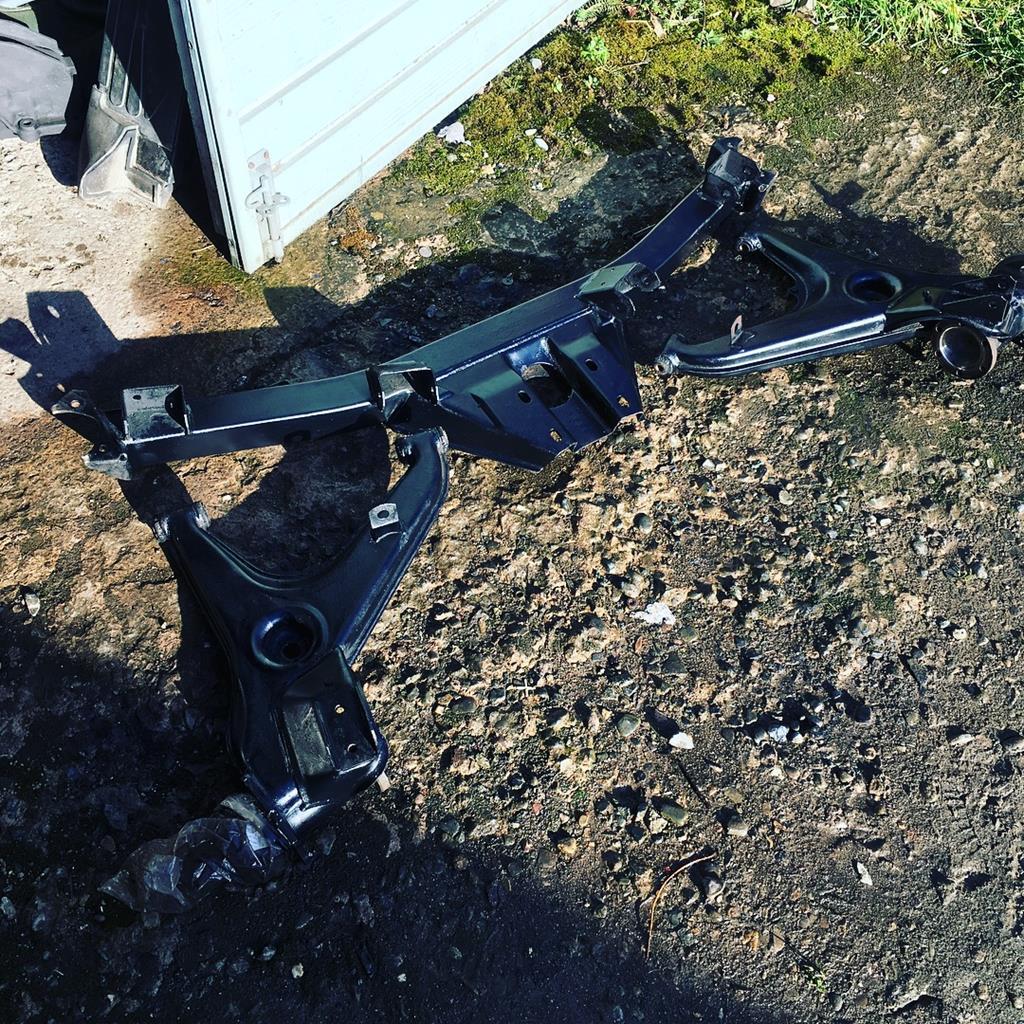 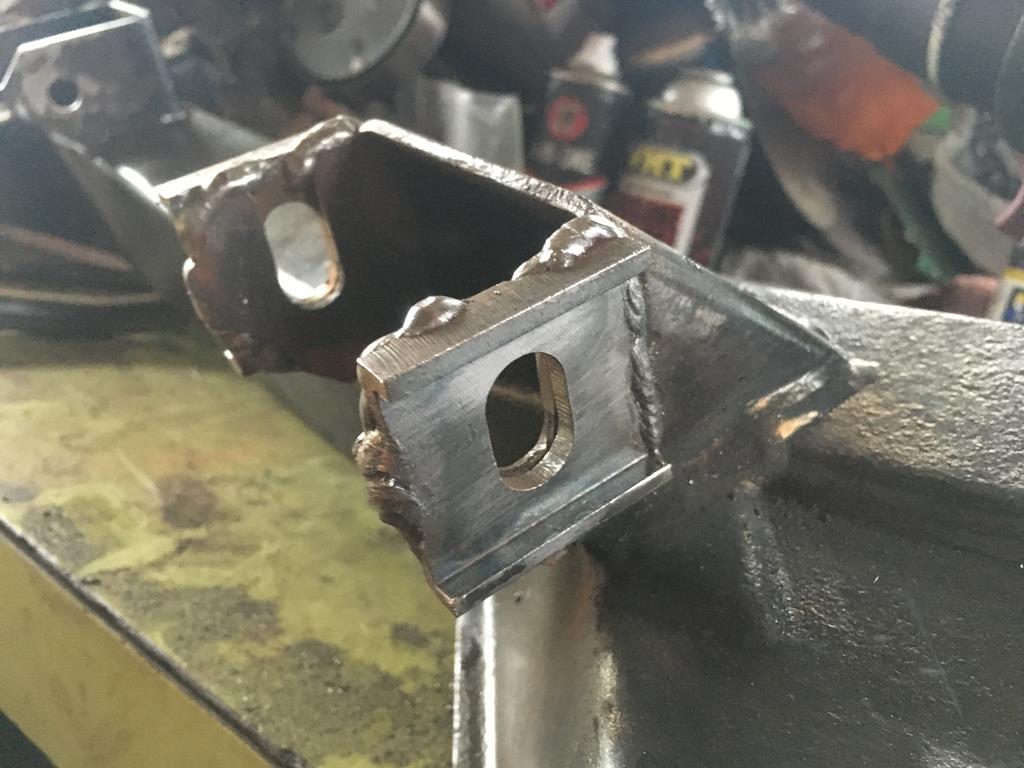 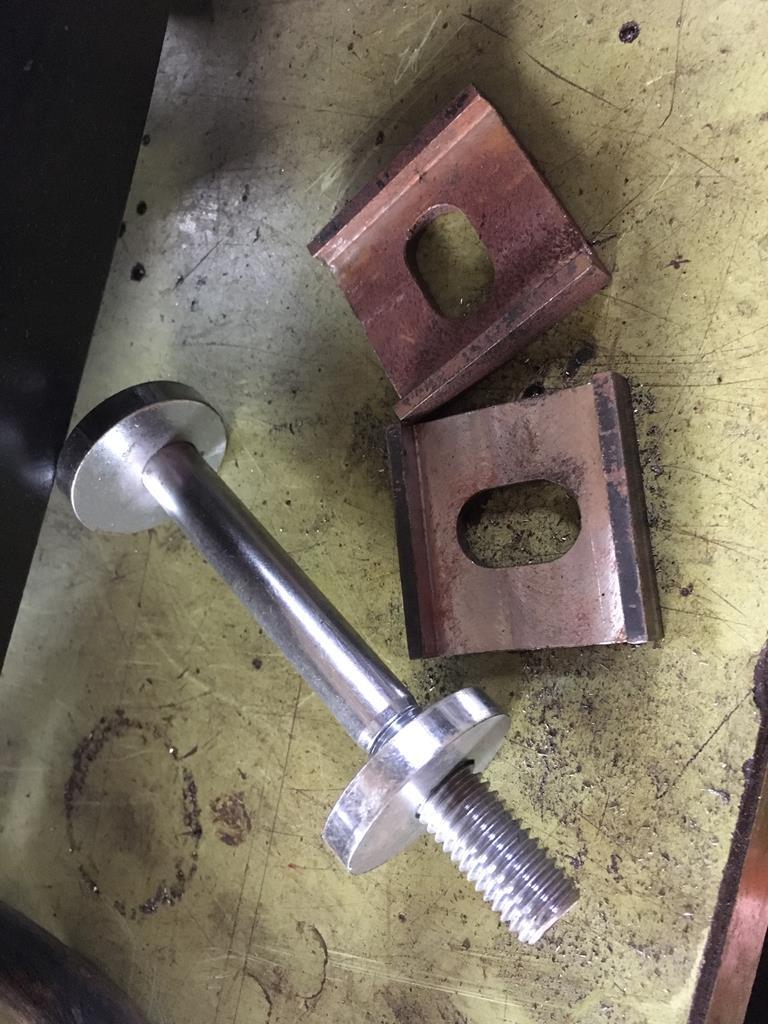 I also cleaned and painted the diff and fitted a cheap 'lunchbox locker' or LSD converter which i've modified the ramp angles of so it might actually work. It works on the same principal as a clutch type LSD but obviously doesn't have any frictions discs, so will probably need frequent oil changes. I dunno, it'll probably be wibblepoo but it's better than spending £600 on an E21 LSD that i'll probably blow up anyway. 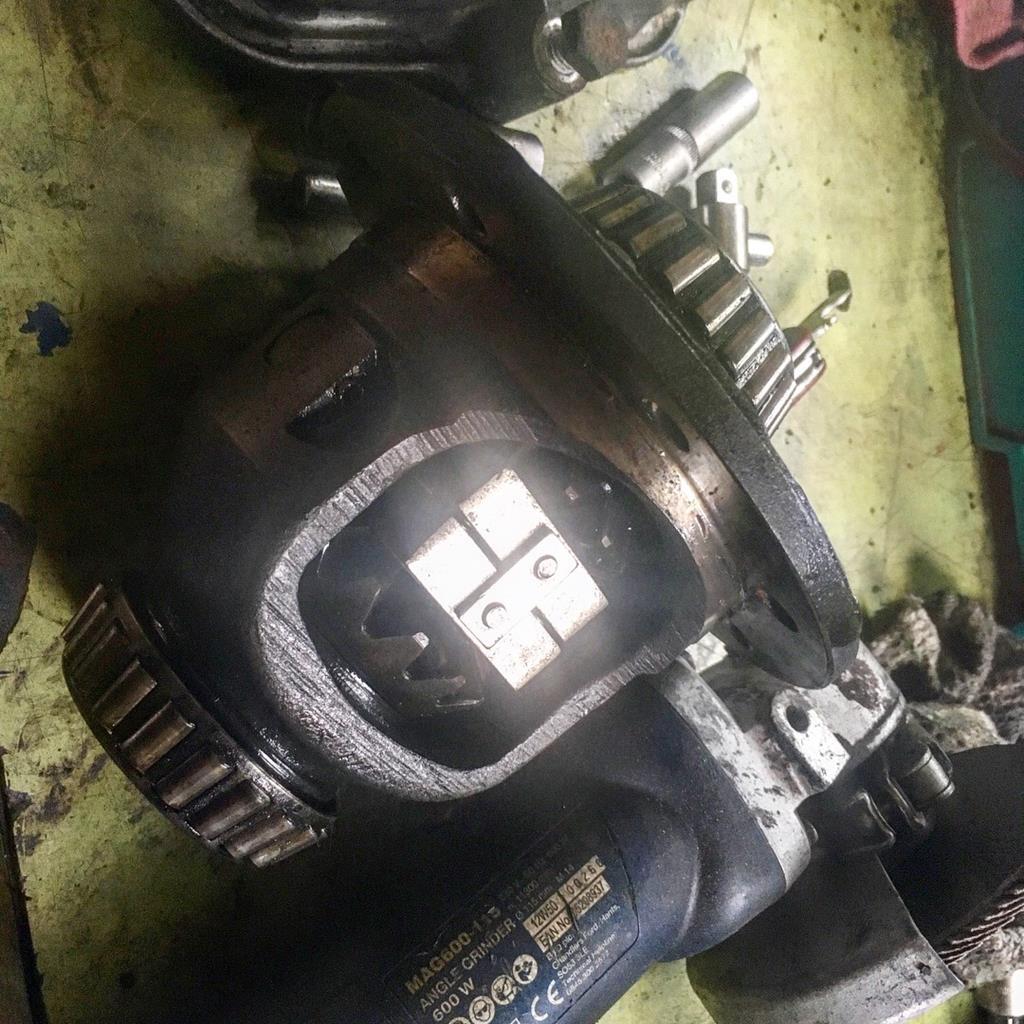 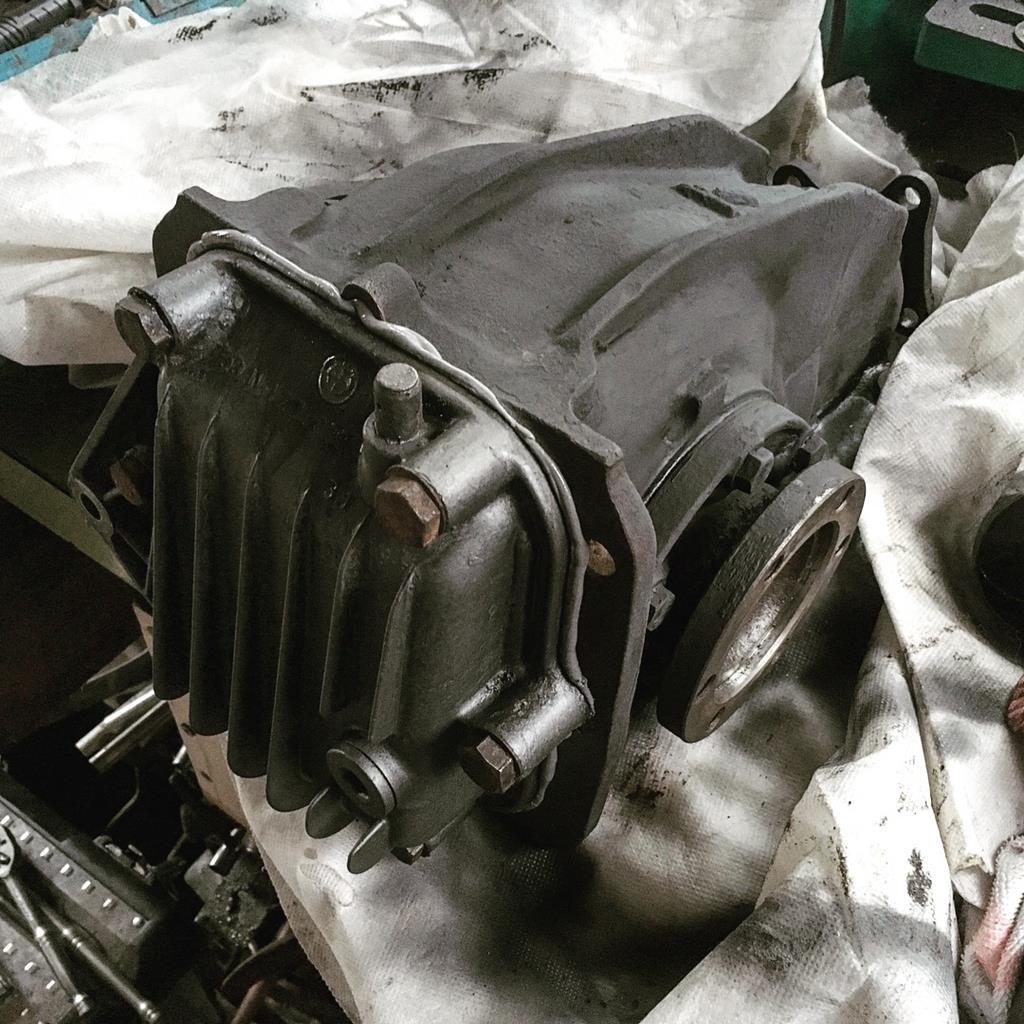 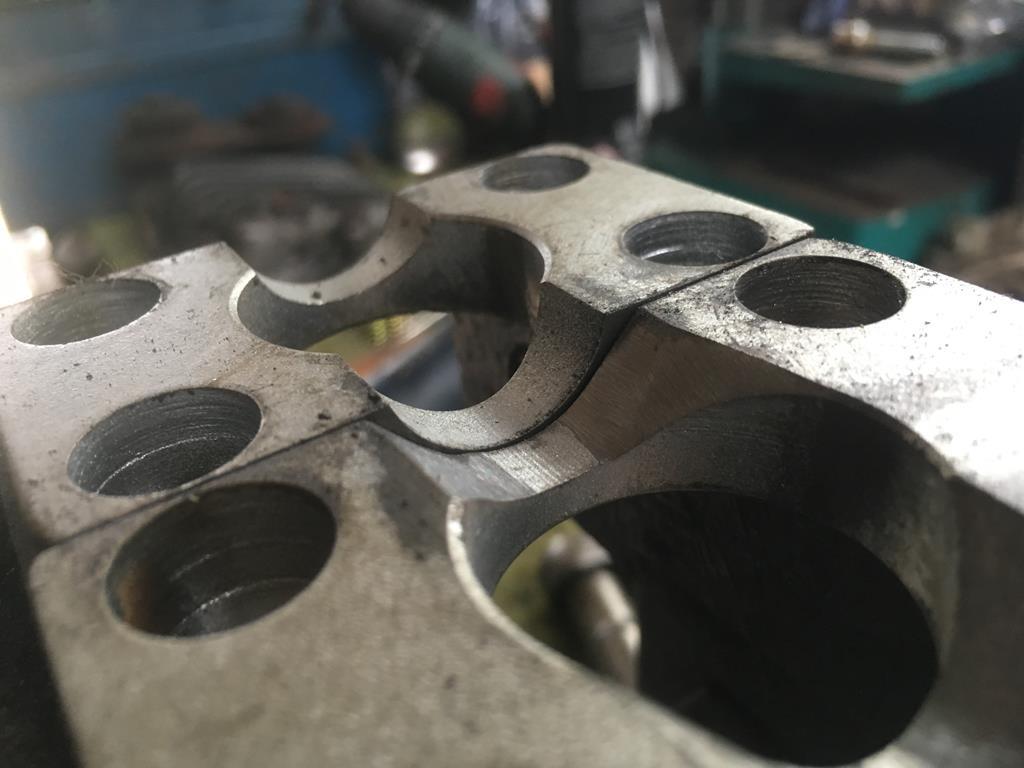 Still a few bits of welding to do before the rear beam can go on, but the fronts are all fitted up and ready to be bled! 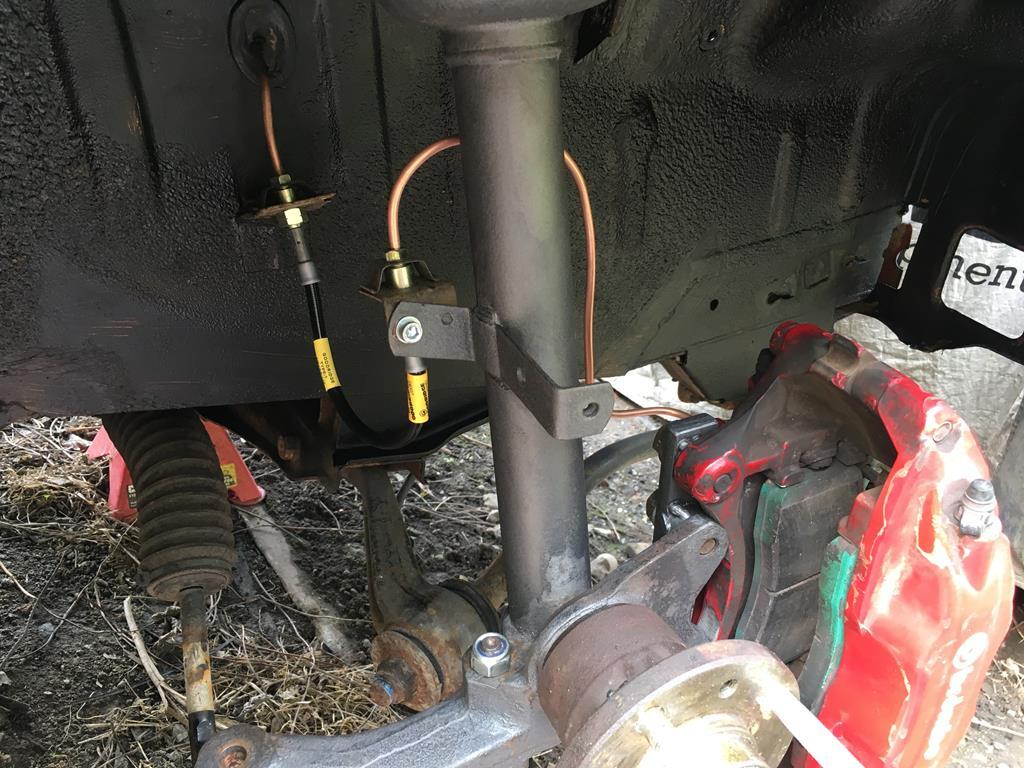 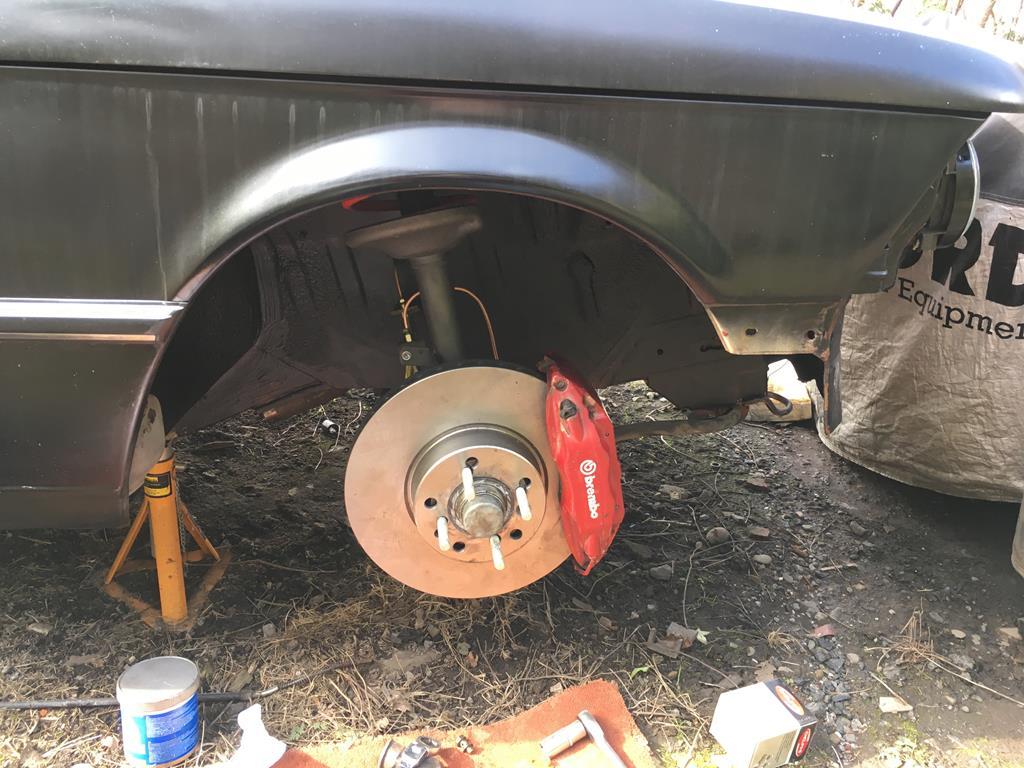 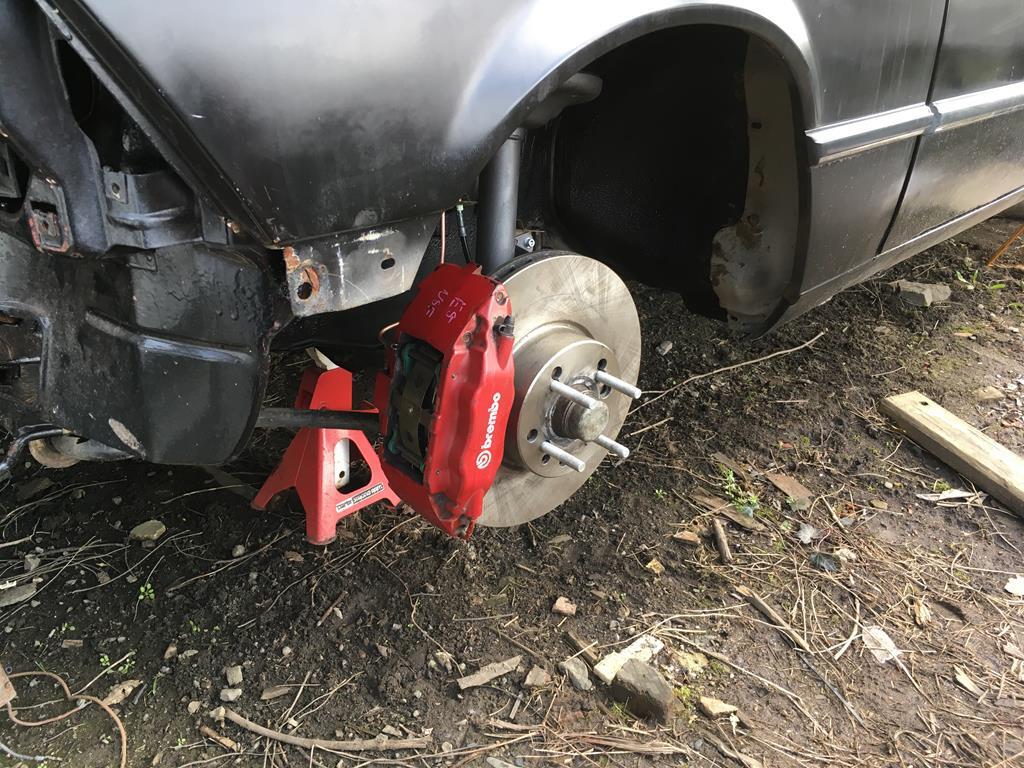 |
| |
|
|
|
|
|
|
|
|
Nice work, I spent a while chasing those handbrake springs across the garage recently, fiddly job. brake setup looks more than capable on the flyweight E21, it's going to be great
|
| |
|
|
|
|
|
|
|
Nice work, I spent a while chasing those handbrake springs across the garage recently, fiddly job. brake setup looks more than capable on the flyweight E21, it's going to be great yes, the brakes are probably overkill to be honest, but as i've deleted the brake booster i'm hoping the massive brakes will help keep the pedal pressure reasonable. Interestingly the new brakes aren't that much heavier than the old setup, the front brembo callipers are actually lighter than the cast iron E21 items! |
| |
|
|
|
|
|
|
|
|
really nice work!
JP
|
| |
I know its spelled Norman Luxury Yacht, but its pronounced Throat Wobbler Mangrove!
|
|
|
|
taz20
Part of things
 
Posts: 21
|
|
|
|
|
nice work and working outside aswell isnt fun . this will be a beast when its done
|
| |
|
|
|
|
ChasR
RR Helper
motivation
Posts: 10,309
Club RR Member Number: 170
|
|
Apr 23, 2018 13:14:10 GMT
|
|
Noice!
|
| |
|
|
|
|
|
Apr 27, 2018 11:15:30 GMT
|
Okay, so a bit of a random update, but i had some bits of welding/undersealing to finish off while the rear beam was off and just sort of carried on from there... The main bit was this patch behind the fuel filler pipe, along with undersealing and waxing the sill ends behind the beam mounts. Then stone chipping both wheel arches, almost all of which I didnt get pictures of  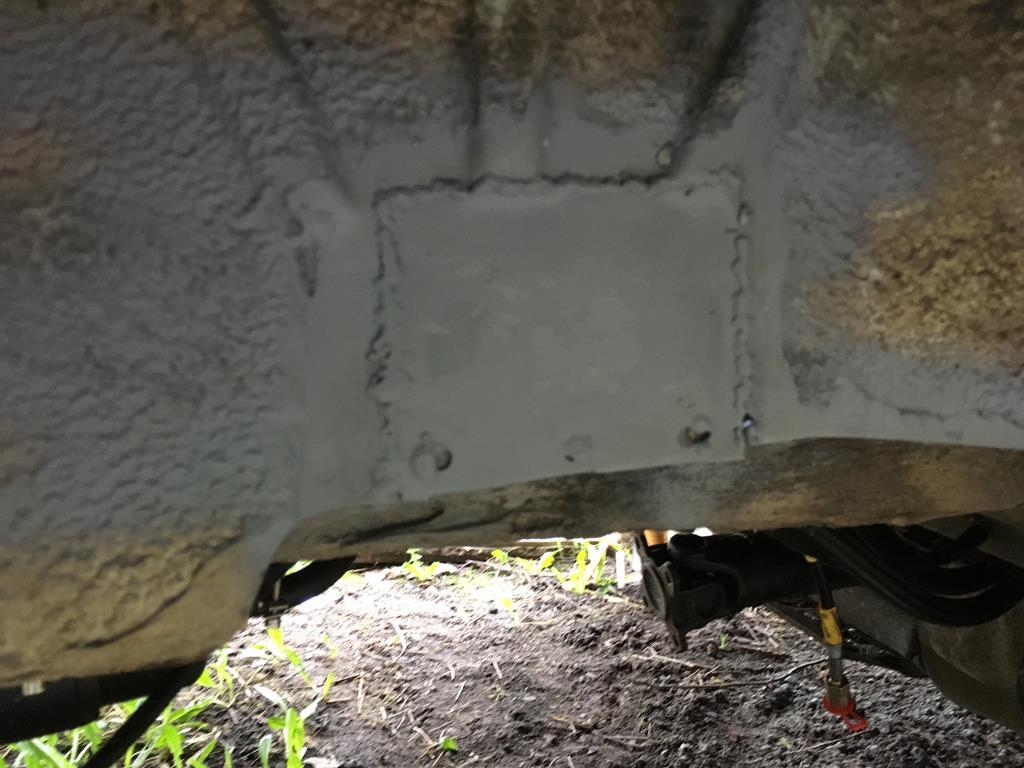 While I was at it I made up a decent battery mount and ground post in the boot. This used to be the E21 battery tray, just with the ends cut off to fit an E46 battery. 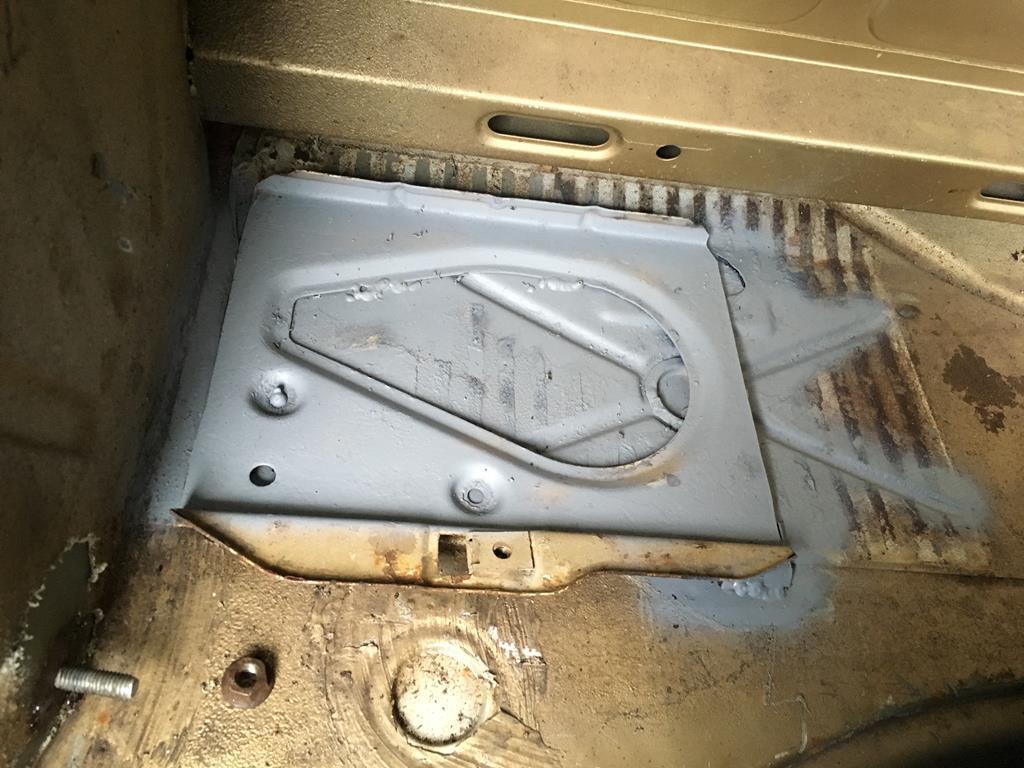 Then I went on to weld up the remaining holes in the boot, the worst of which was around the drivers rear light. But also the badge holes in the bootlid, the hole for the aftermarket aerial and a small patch behind the bumper end. Again, very few pictures... 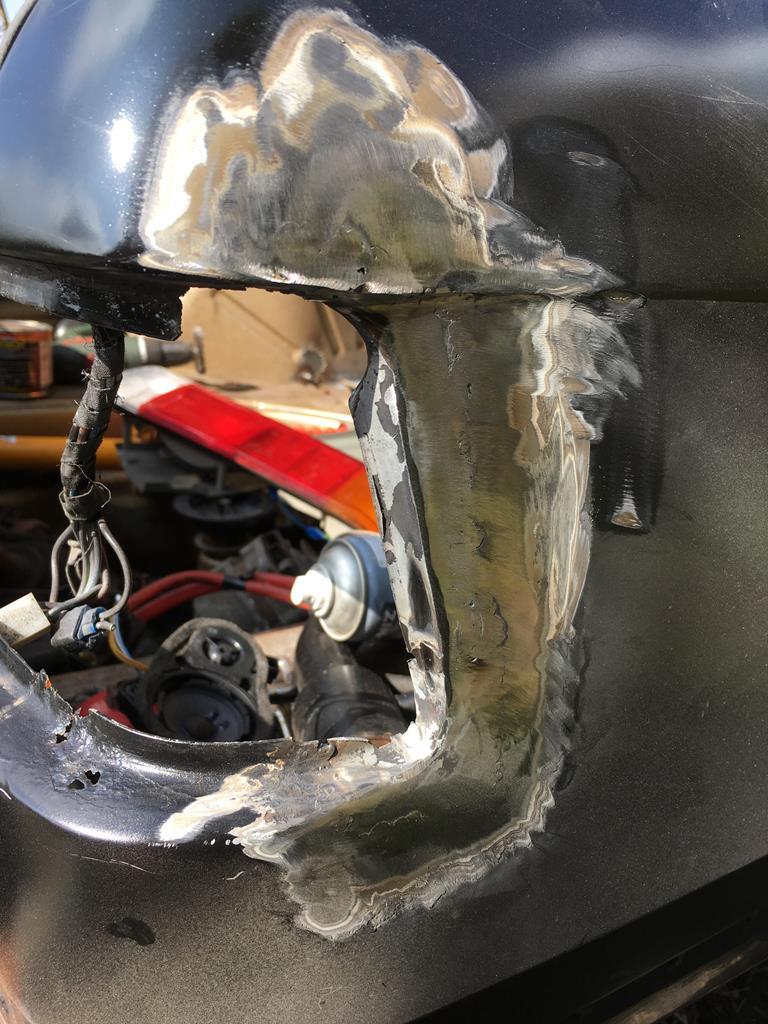 Then from there i cracked out the filler and paint and actually finished these repairs to an alright standard! I mean, it's not perfect, but the rest of the bodywork isn't exactly show standard... 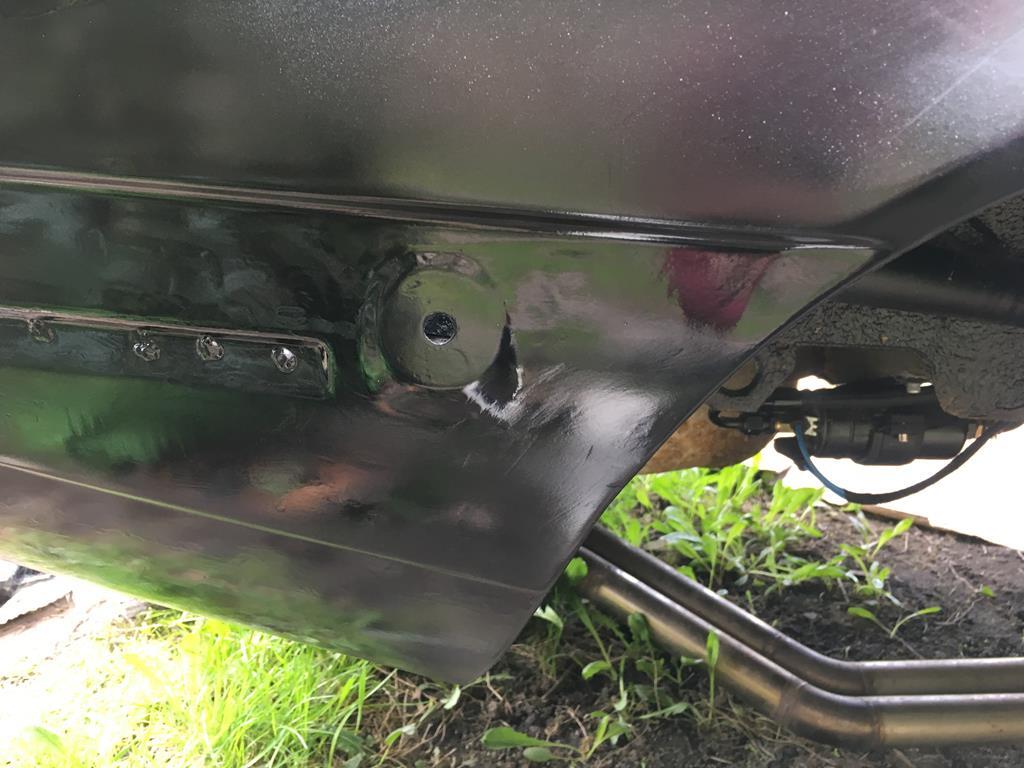 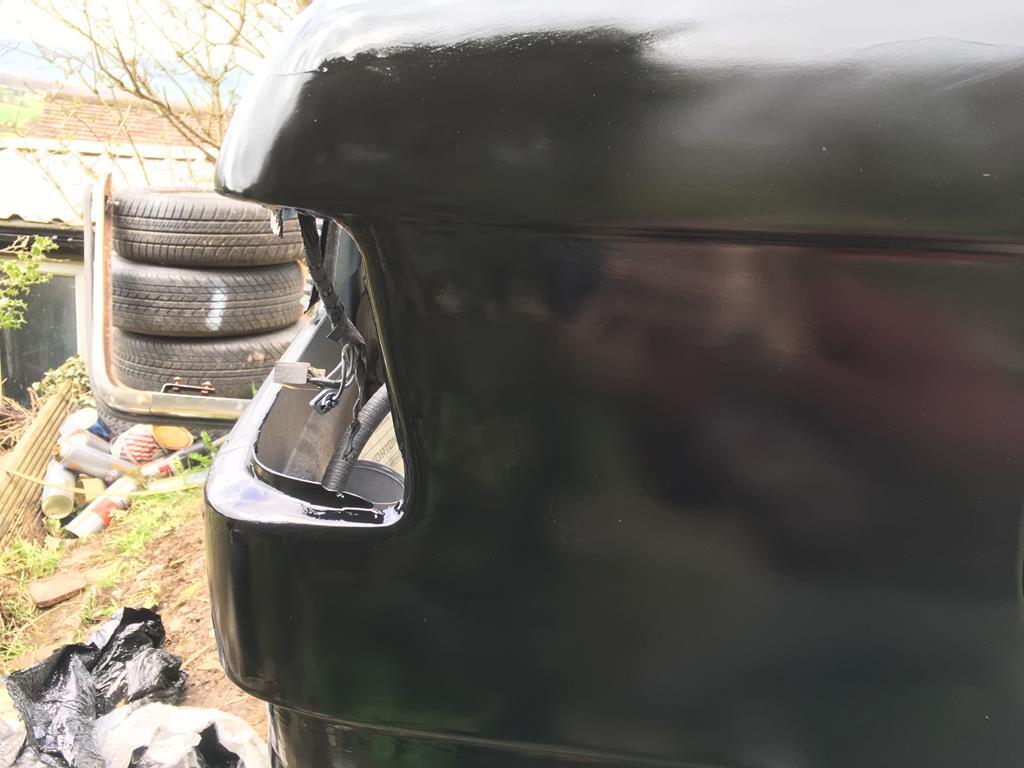 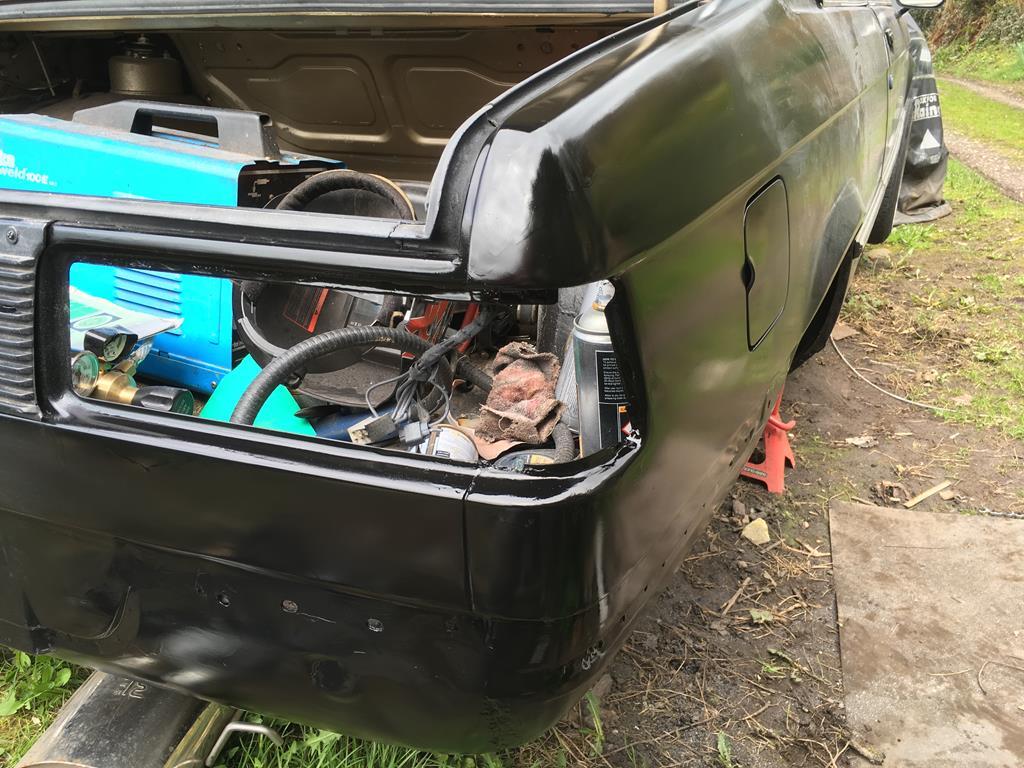 Which meant i could fit up the rear light and bumper and actually make the boot watertight at last! 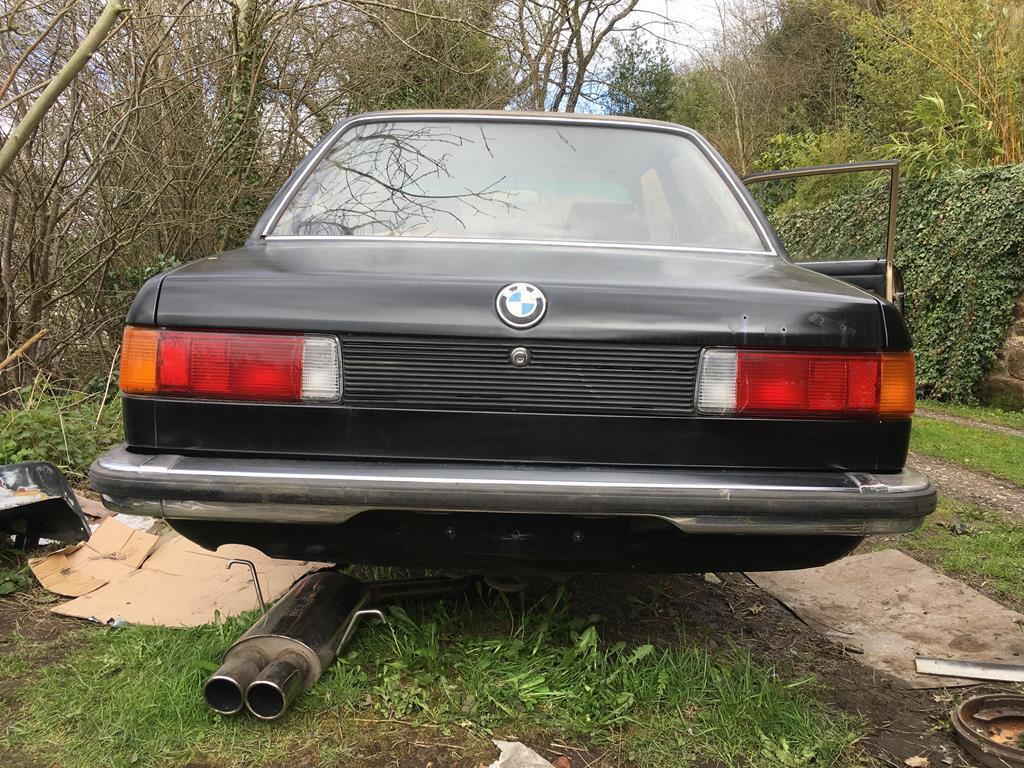 While I had filler and paint out I finished off rough sanding the front bumper and primed it, which of course showed up all the surface imperfections so i've since given it a good coat of filler primer to try and get a better surface for paint. Still not bad for a £30 motorsports bumper 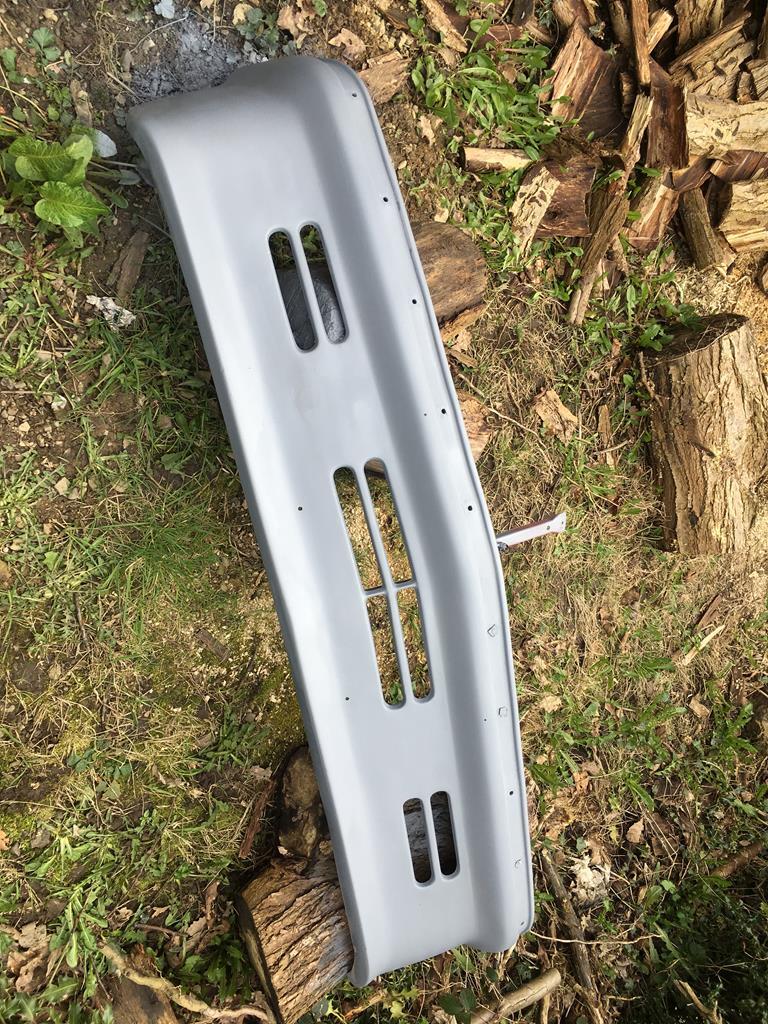 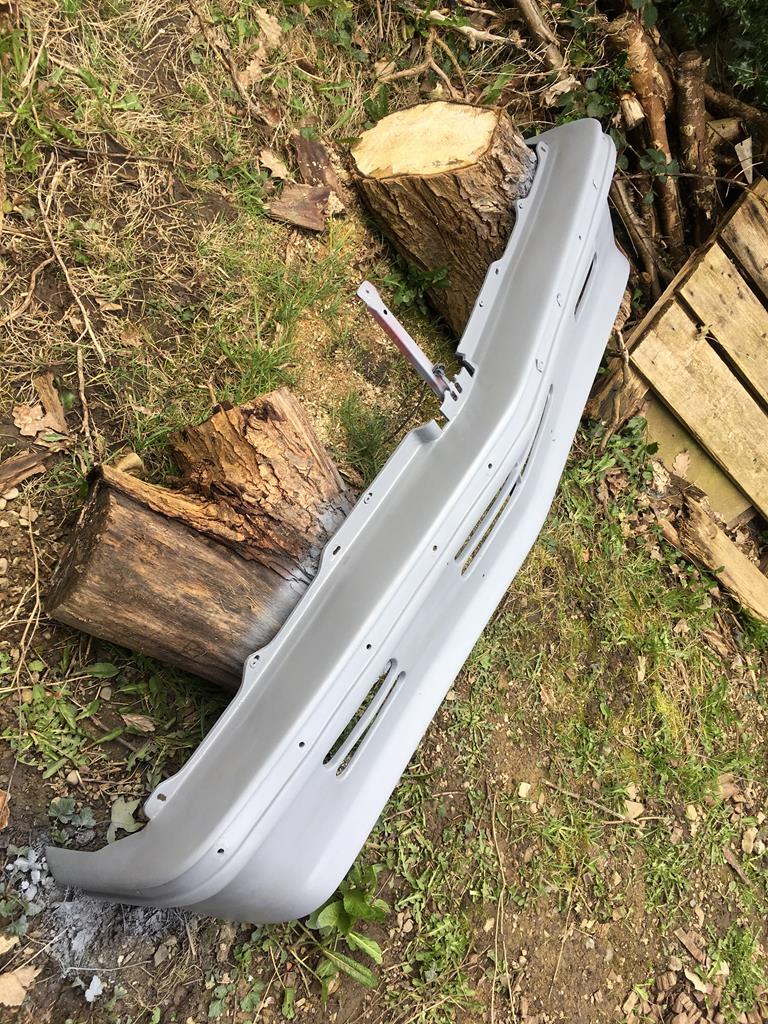 With that I got bored of bodywork and went back to doing important things, like fitting up the rear beam, diff and trailing arms. It's so nice working with clean, painted and brand new parts! 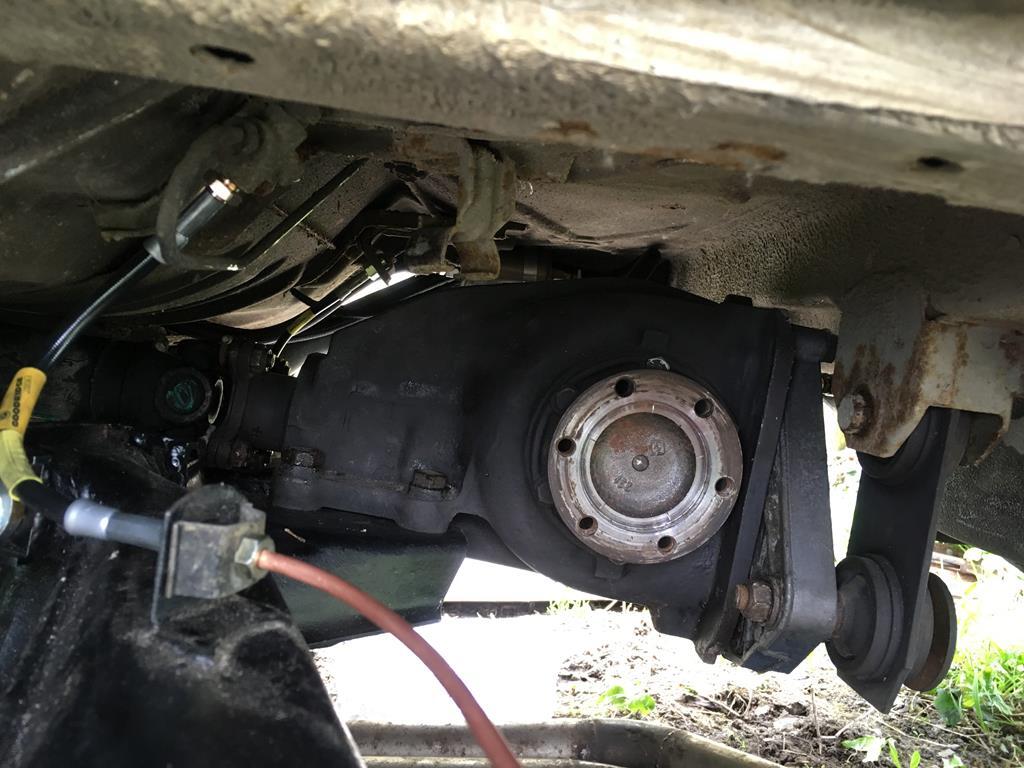 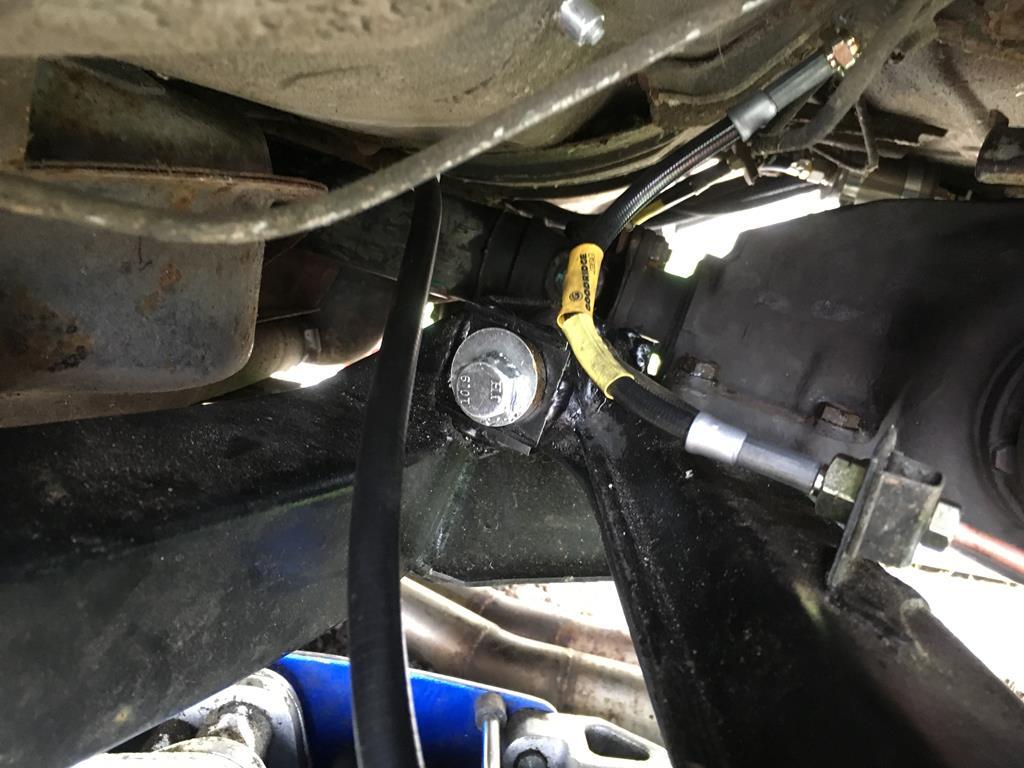 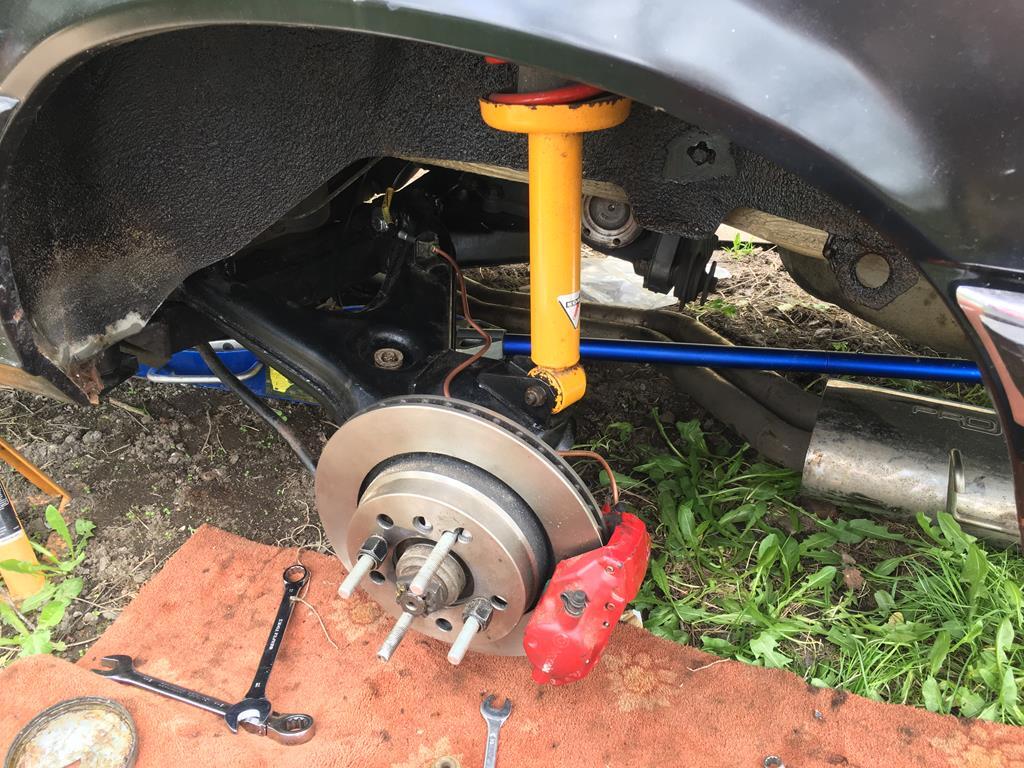 Then I set about finishing up the front end, the radiator is mostly mounted and the hoses made up, just need to mount the expansion tank and washer bottle and the engine bay is pretty much done! 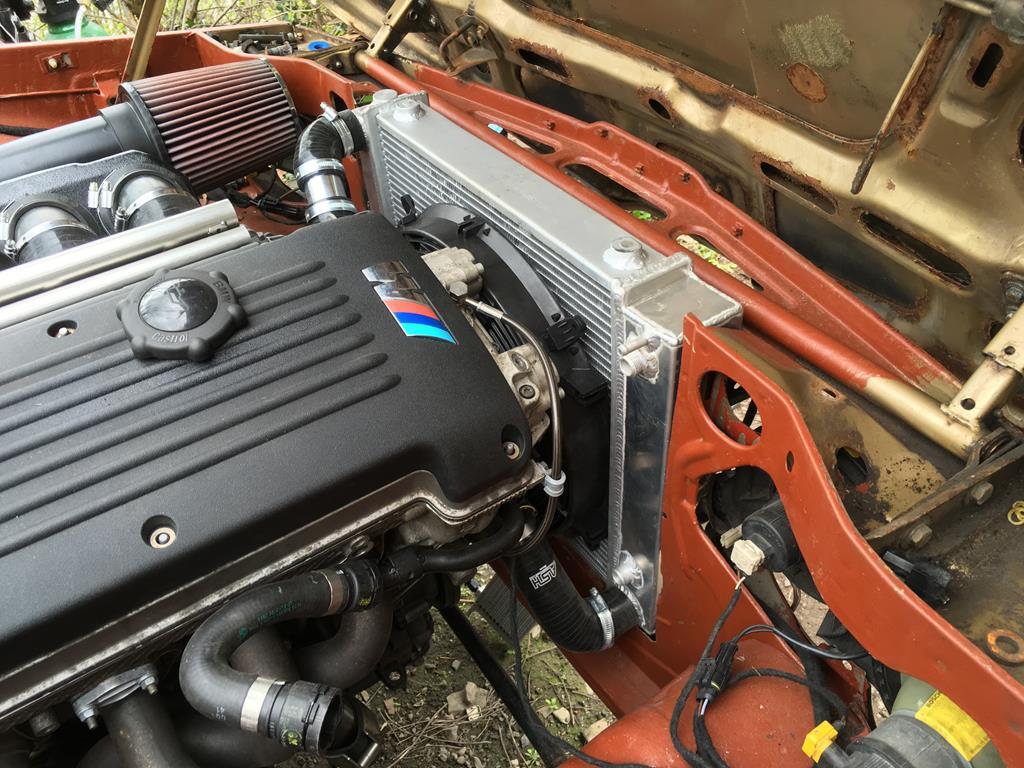 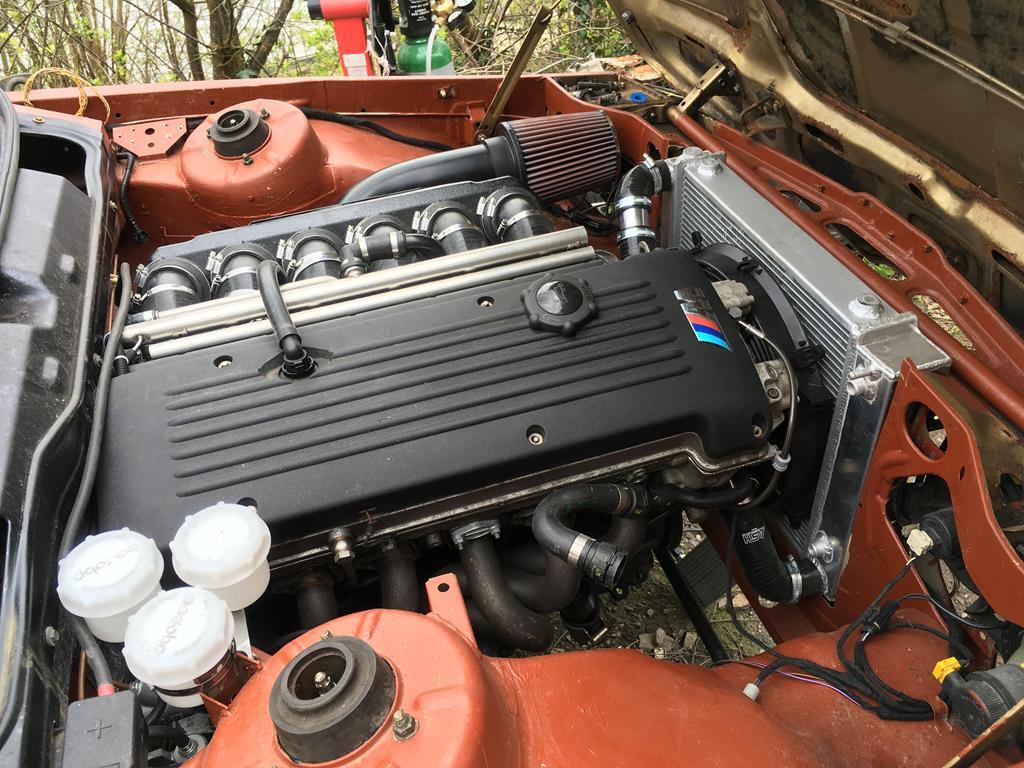 Next up is the exhaust i think! |
| |
|
|
|
|
|
|
|
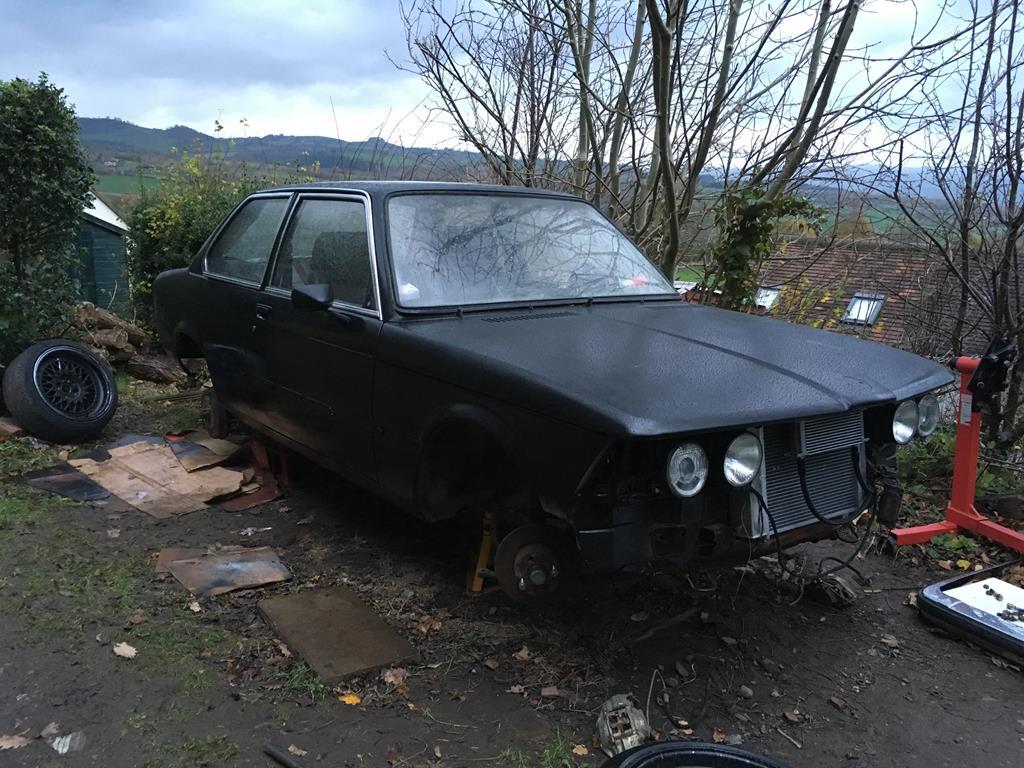
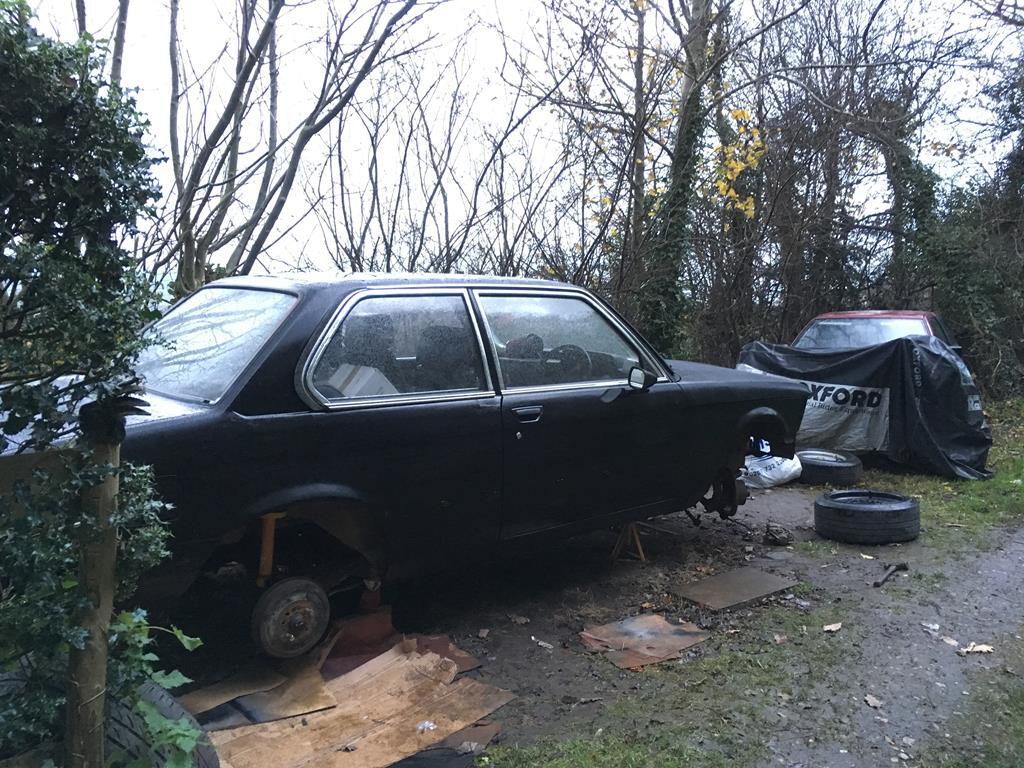
Well it's been a bit of a busy couple of weeks, but the E21 is now fully up and running! (although not MOT'd just yet) The last major hurdle was the exhaust, which I'd been putting off because I'm only working on axel stands in the dirt, and I was struggling to find decent twin inlet/outlet silencers that weren't silly money. A lot of people go with the 323i style twin backboxes on these, but i've always preferred the single backbox with twin tips (a la E36 M3). Eventually I bought an E46 330i stainless exhaust and a few bends to make up a centre section to join it to the manifolds. The manifolds are the standard M3 items but the front one needed modifying to fit past the steering column. I also replaced the standard flanges with V-band clamps to make life easier while fabbing. The exhaust then snakes under the rear beam and fuel tank to leave room for future diff upgrades. 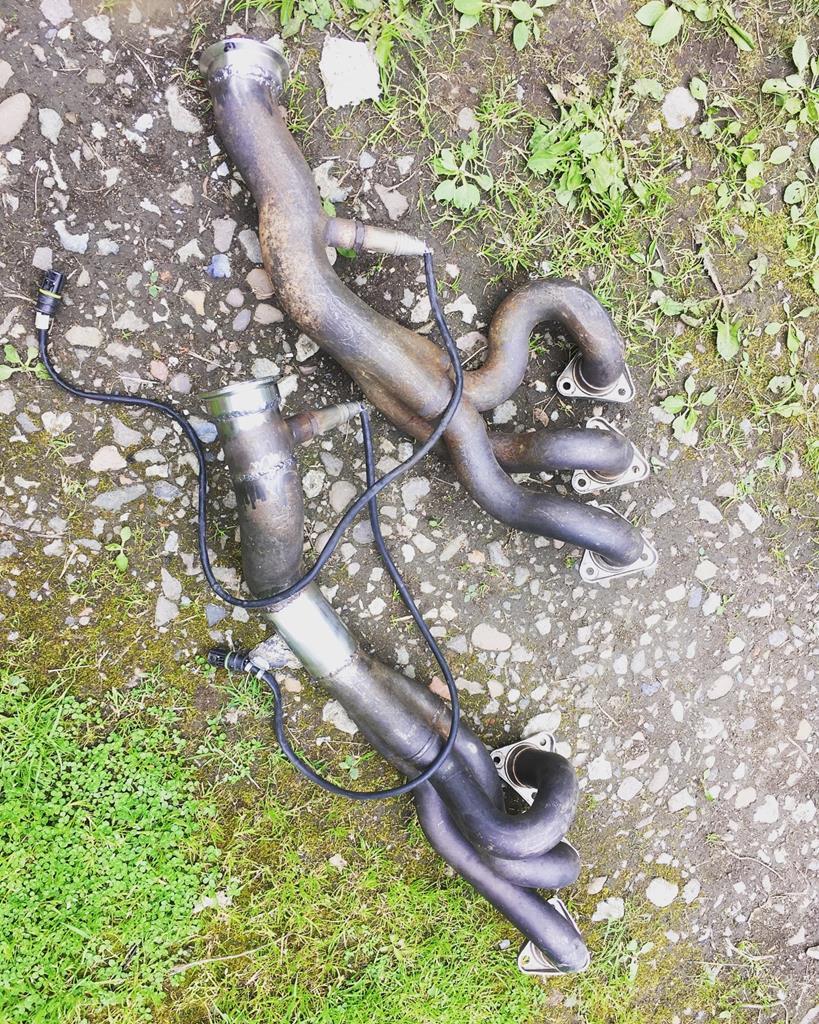 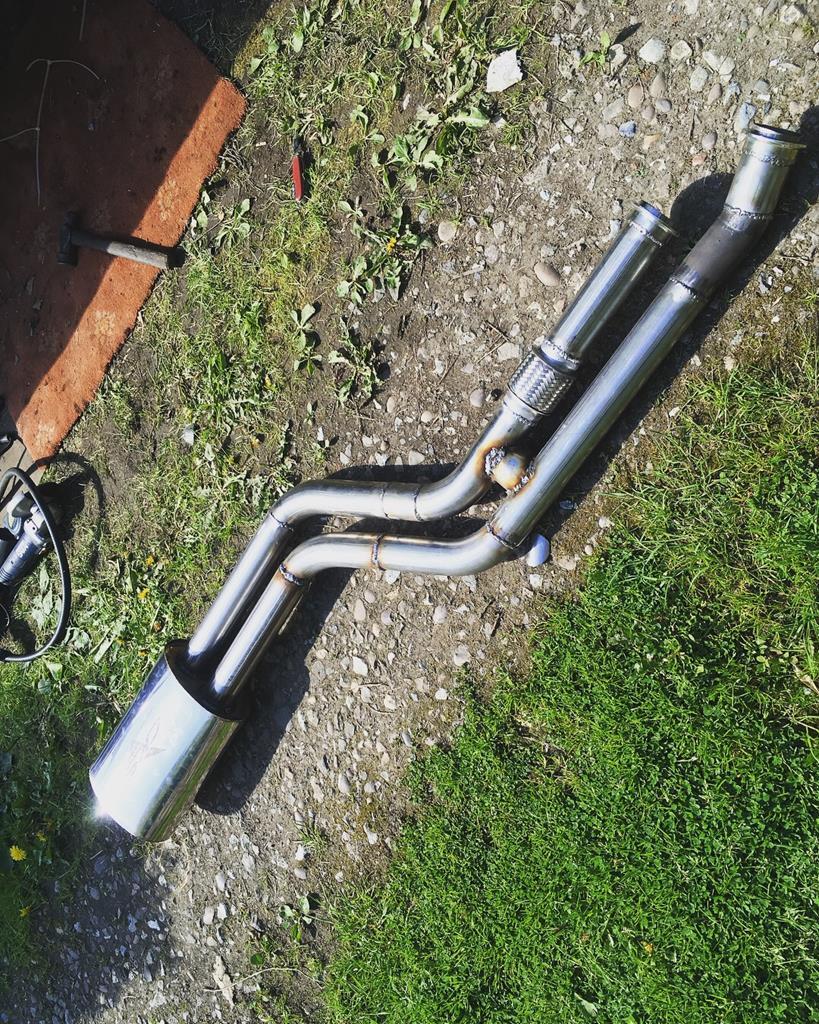 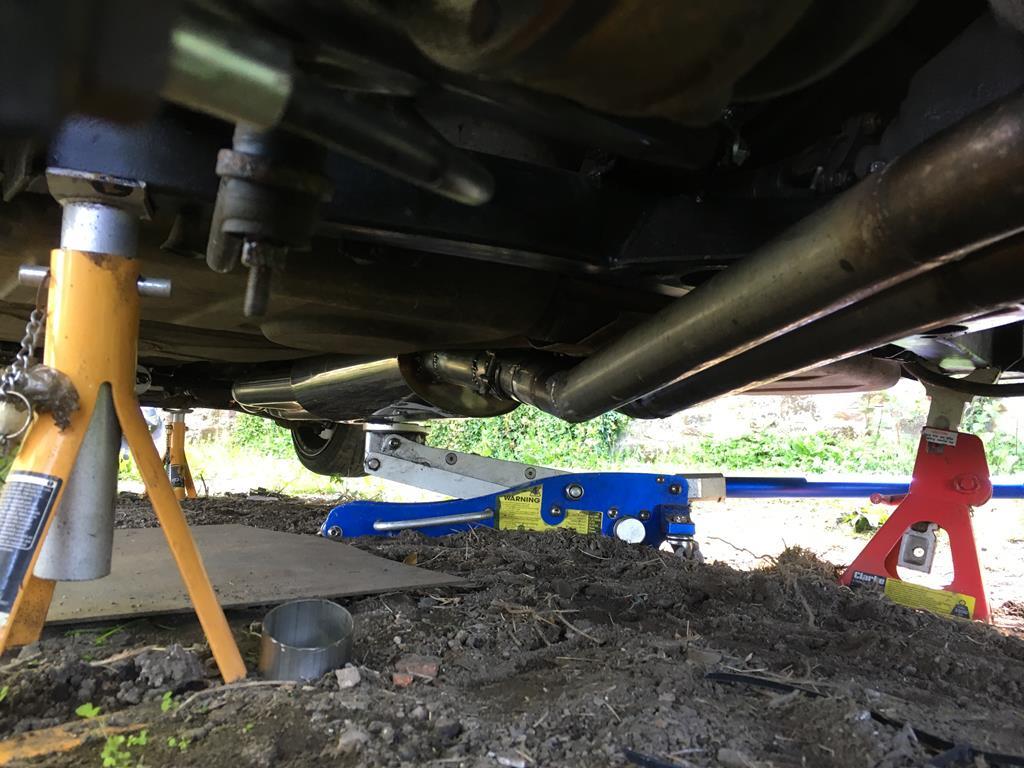 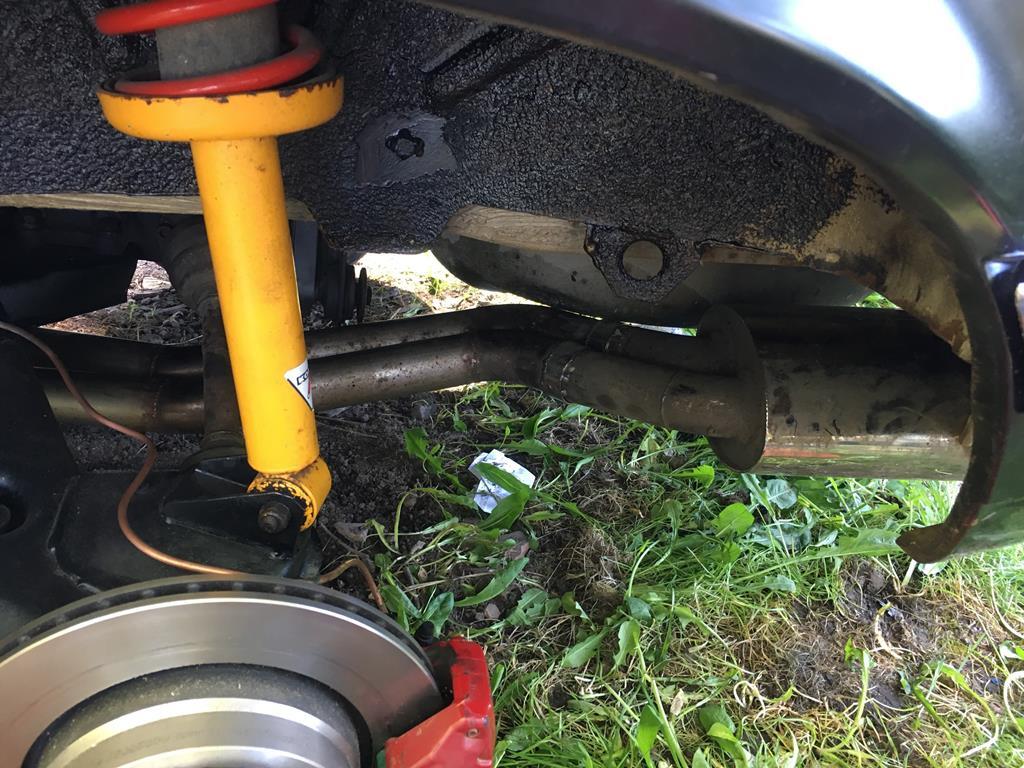 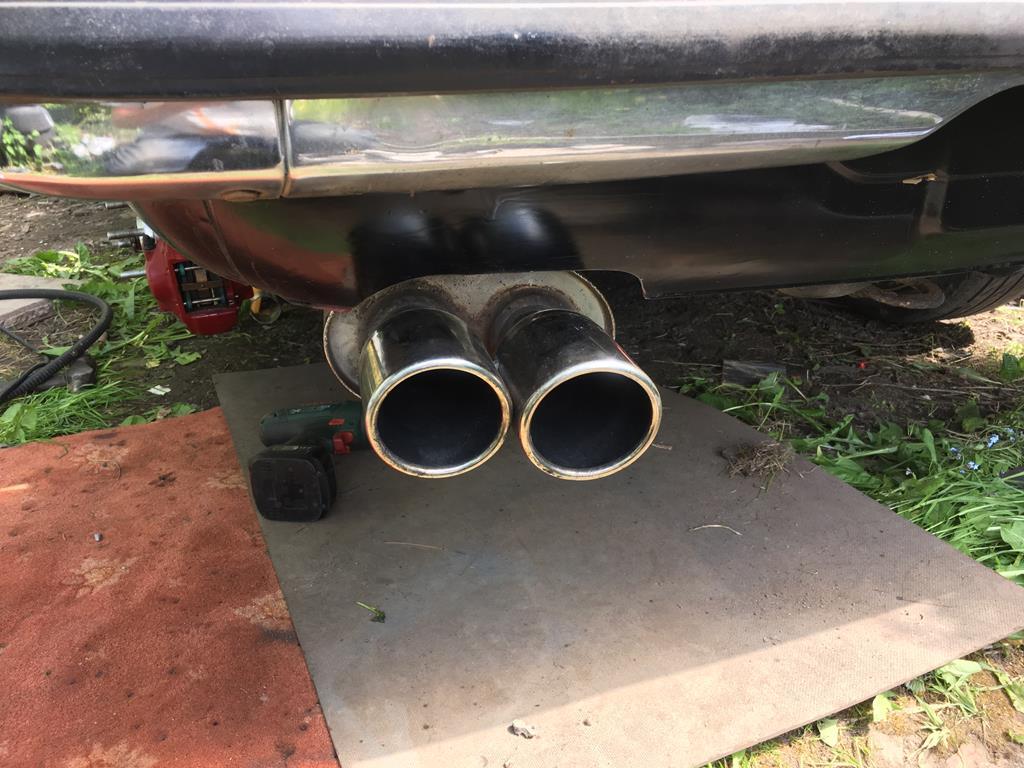 With all that done it was time for a sound test! http://instagr.am/p/Biz19jEFWNB Next up was finishing up the engine bay, which meant properly mounting the radiator and fan, the expansion tank and also the washer tank. Radiator wasn't too much trouble; a couple of stays at the bottom and then a removable strap for the top. 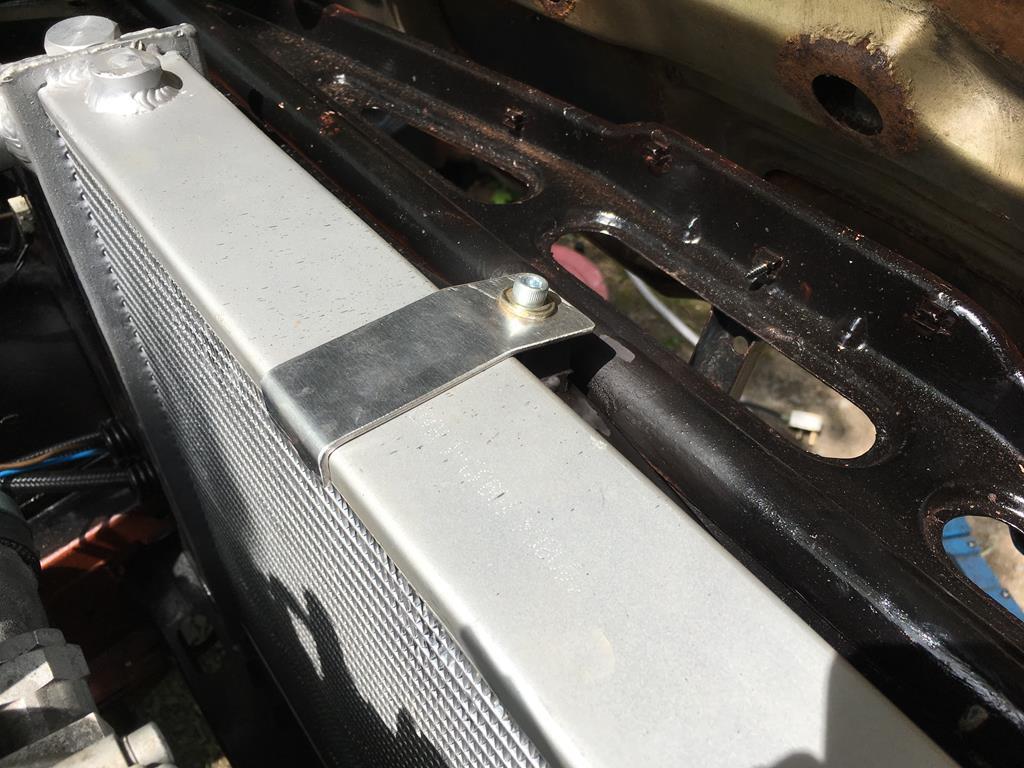 The expansion tank/washer bottle required this complicated and ugly bracket making to hold them both, but it does the job and can't be seen once fitted. 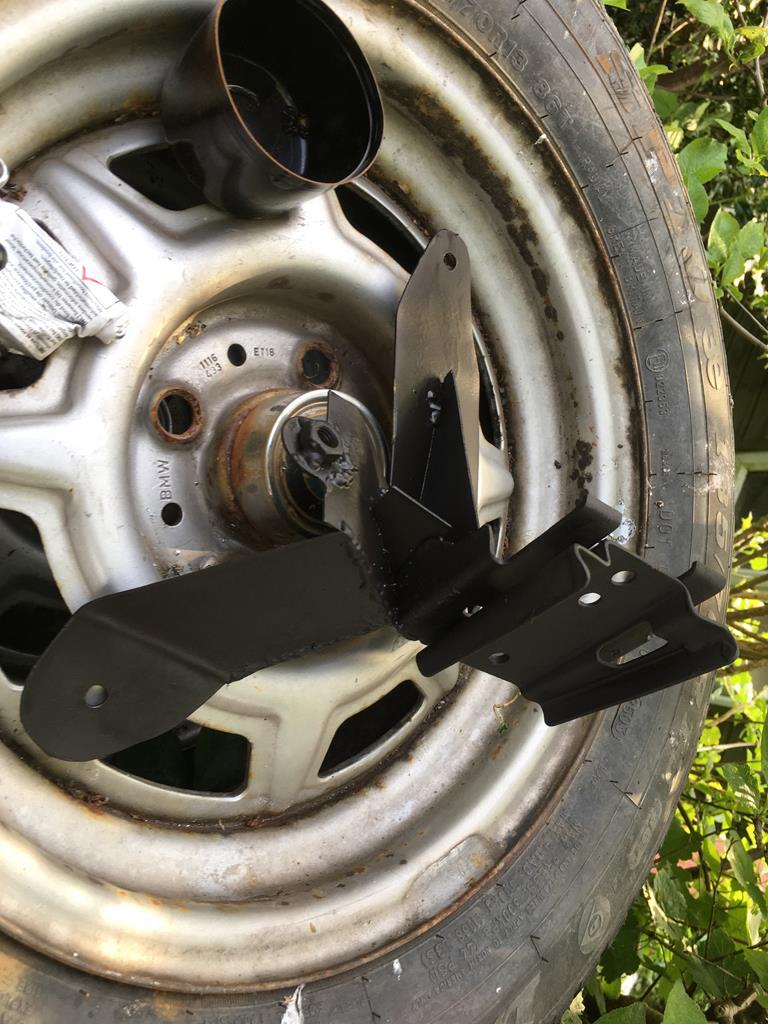 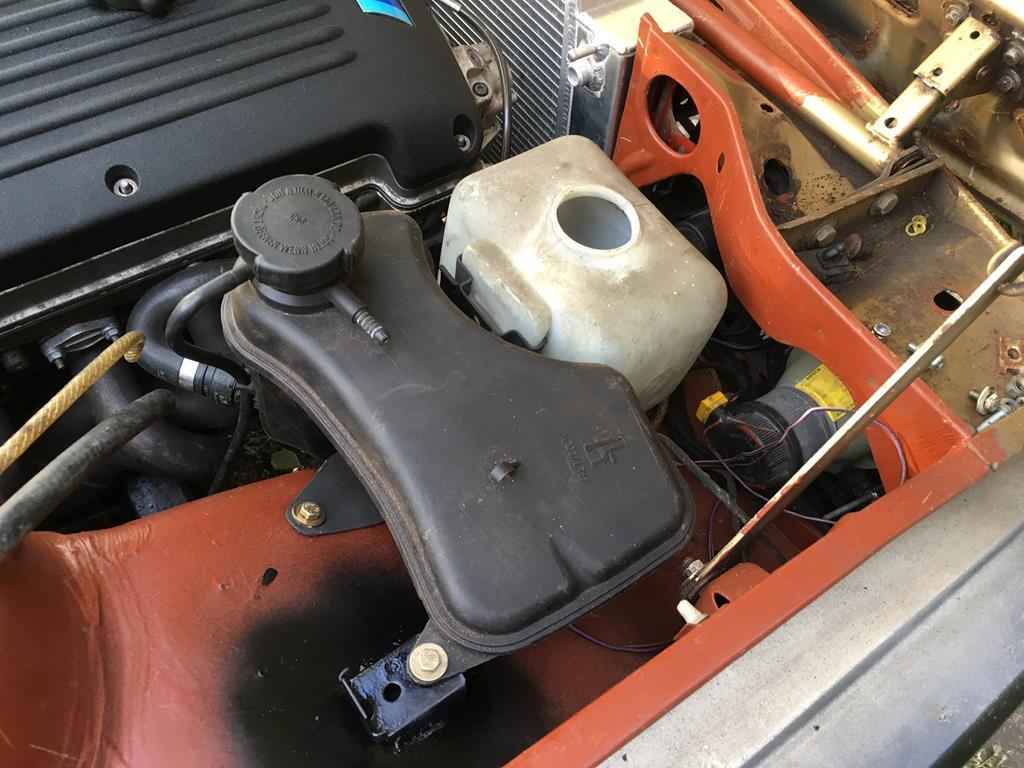 I also decided to paint the engine bay black before everything got fully fitted up. Again, it's just a shoddy rattle can job, but it does make the car seem more complete. 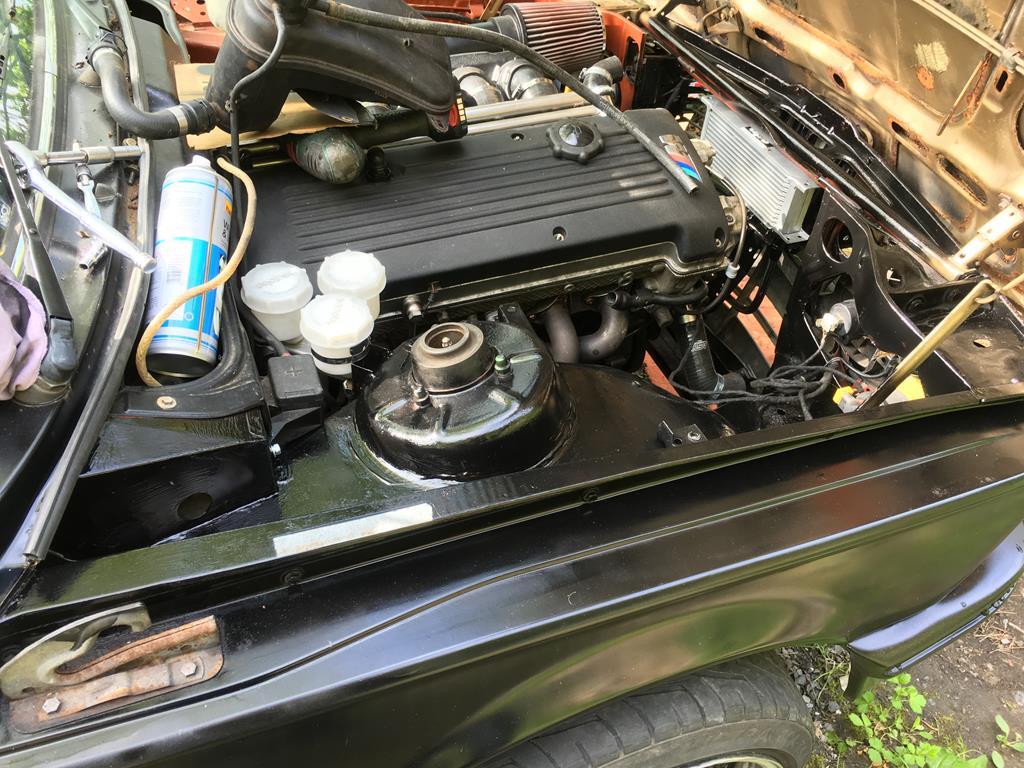 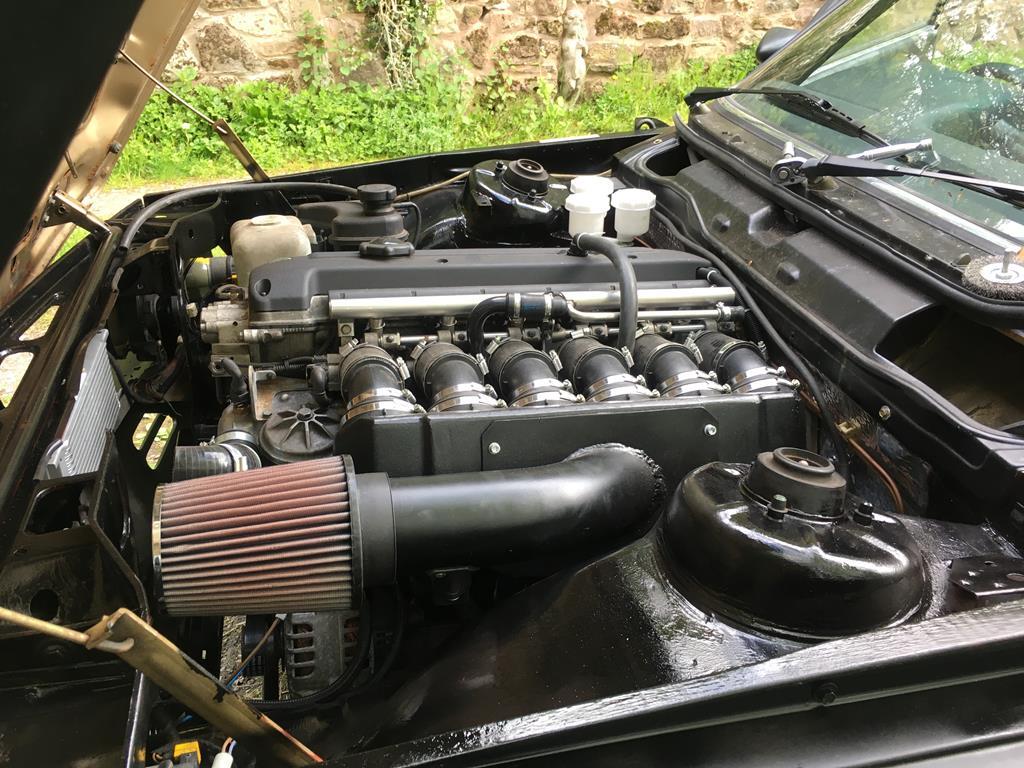 With the coolant system all buttoned up I ran the engine up to temperature to check for leaks and make sure the fan works as it should etc. All was going well when I gave it a few blips which resulted in the engine idling like a bag of spanners and misfiring up to about 3k RPM. I checked all the obvious things like coils, fuel and air leaks but couldn't find anything wrong. Since my mate was coming up with his arch roller at the weekend, i asked him to bring a code reader and we got the codes read. Clearing the codes made no difference and rescanning came back with 7 new codes: exhaust camshaft over advanced/system performance and then misfires cyl 1-6. This seemed to point to a vanos issue, but considering I'd rebuilt the mechanical side of the vanos, we started looking down the electrical side of things. A quick search on the internet suggested either replacement of the solenoid pack or cleaning of the solenoid valve body, so we figured we'd try cleaning the valve body first as it costs nothing. 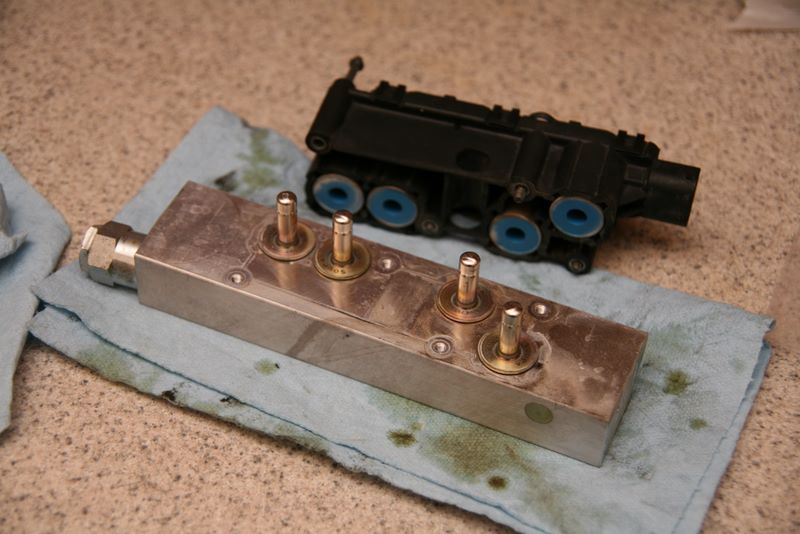 I have no pictures of my own, but essentially you just spray carb cleaner into the valves while operating them with a (very strong) magnet. The valve body is the silver part in the pic above, the 4 pins are the solenoid valves that are opened via the solenoid coils (electro magnets essentially) that are the blue things in the black plastic housing. Anyway, after an initial cleaning, we applied the magnet to the valves. 3 of them gave faint clicks when the magnet was near, one did nothing. This certainly seemed like it was the cause of our cam timing issue!! After a good clean all 4 valves gave a nice solid click when the magnet was near them so we threw it back together and fired it up. It was still lumpy at first but after a few seconds the vanos pulled the cam back into timing and it settled into a lovely smooth idle! Success!! For anyone looking for some proper nerdy stuff on vanos failures, head over to this site: www.beisansystems.com/procedures/s54_vanos_solenoid_procedure.htmAaaaaanyway, with the engine running nicely we got on with arch rolling and fitted the wheels ready for a test drive! 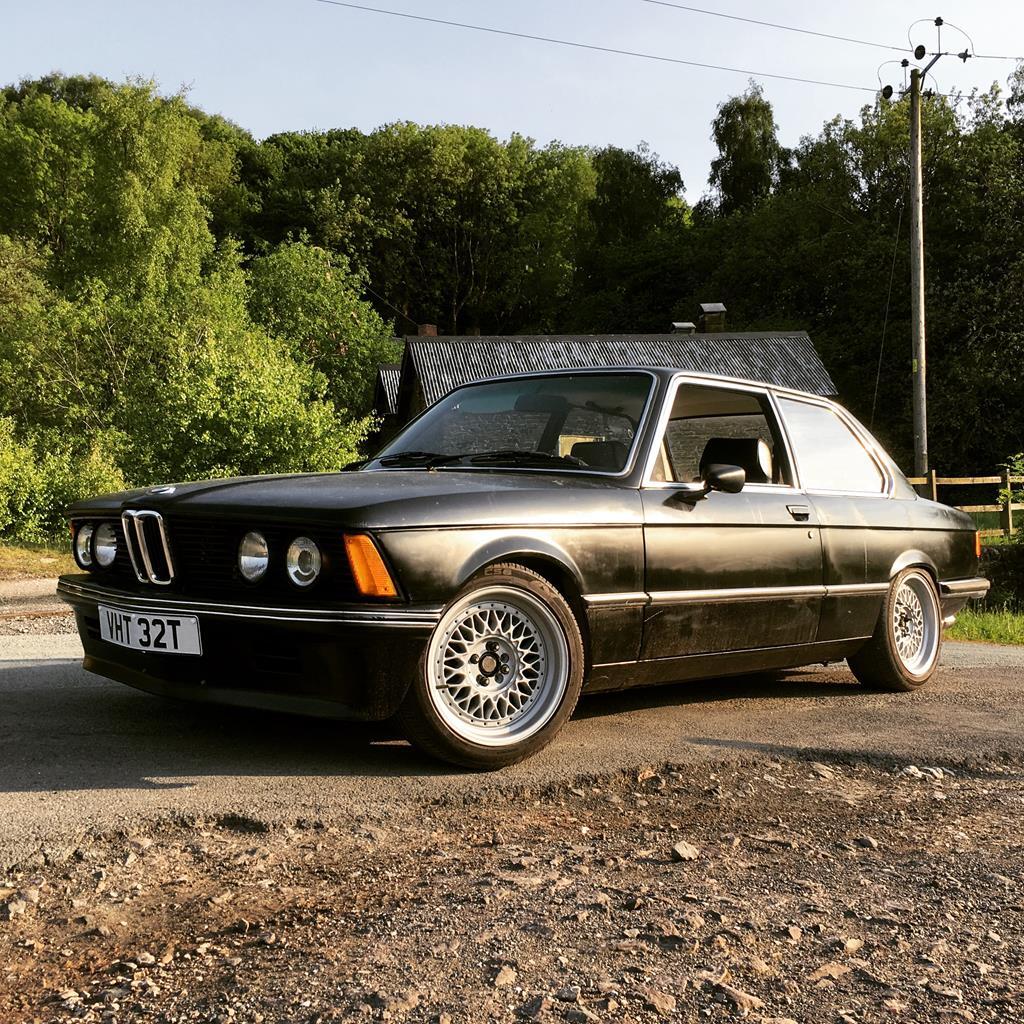 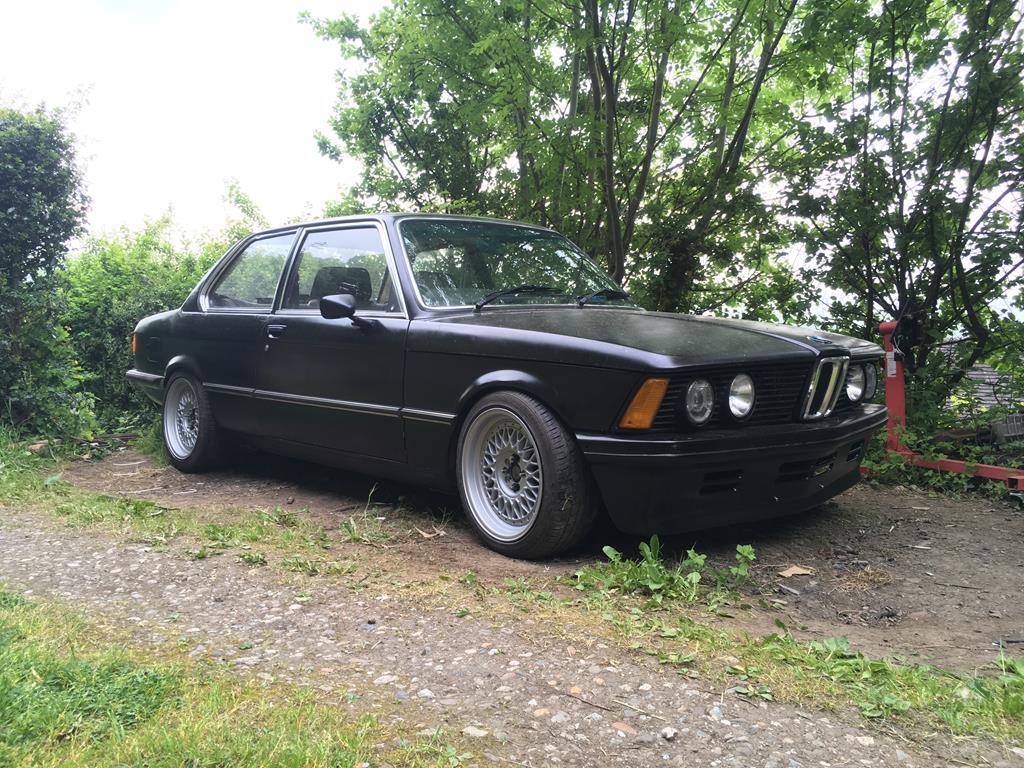 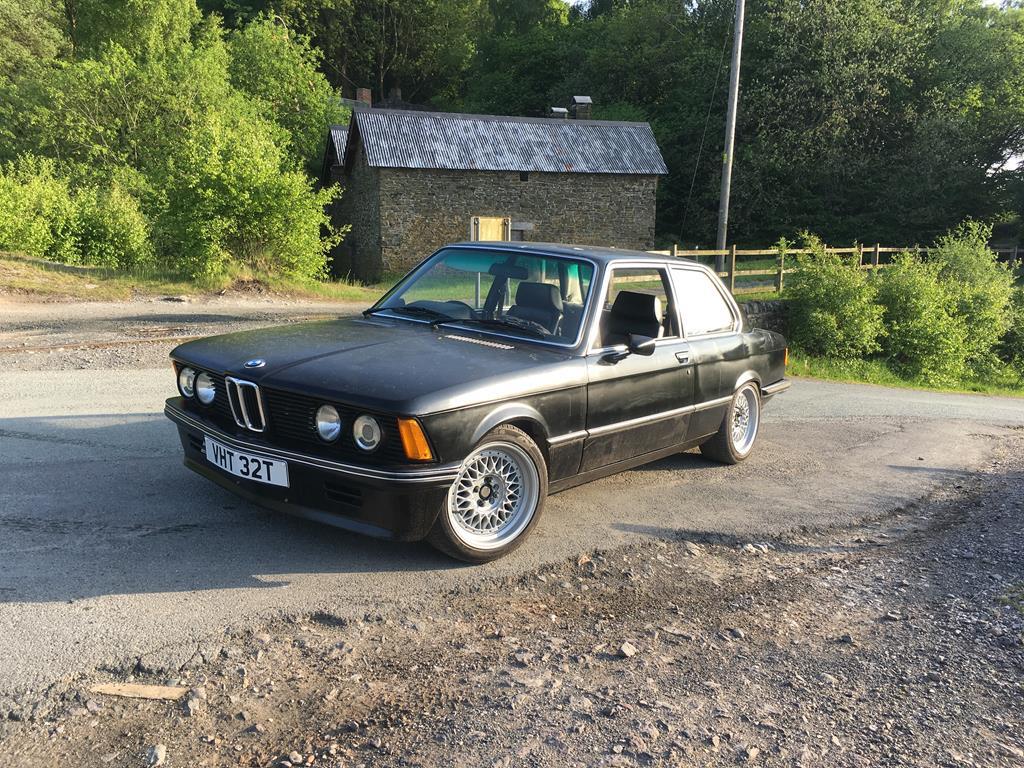 We only went about 5 miles, but man, it's so good to be able to drive it finally! For a bit of context, i've owned this car for nearly 4 years now, and before this weekend the only time its wheels have turned have been getting it on/off trailers! As my mate said as we were cruising down the road with the windows down "This is what you live for, this is the moment that makes all the hard work and effort worth it" http://instagr.am/p/BjViz0Sl5N5 |
| |
|
|
Bigdoors
Part of things
  cherwelldoors.com
Posts: 176
|
|
May 30, 2018 17:14:09 GMT
|
|
Awesome. Let’s see a video on full chat 👍
|
| |
Last Edit: May 31, 2018 5:20:25 GMT by Bigdoors
|
|
|
|
|
May 30, 2018 18:26:13 GMT
|
|
what a moment that must have been...congrats!
JP
|
| |
I know its spelled Norman Luxury Yacht, but its pronounced Throat Wobbler Mangrove!
|
|
|
|
|
|
|
I feel like i should update this thread, but nothing much has happened to be honest! Did a bit of finishing off to get it ready for an MOT, had another play with the handbrake shoes to get them to actually work. I ended up welding a bunch of pads to the backing plates to give the shoes something to sit against, and made some holders for the E46 retaining springs. This meant stripping the rear hubs down again, but it did make the handbrake actually work well enough to pass an MOT at least. 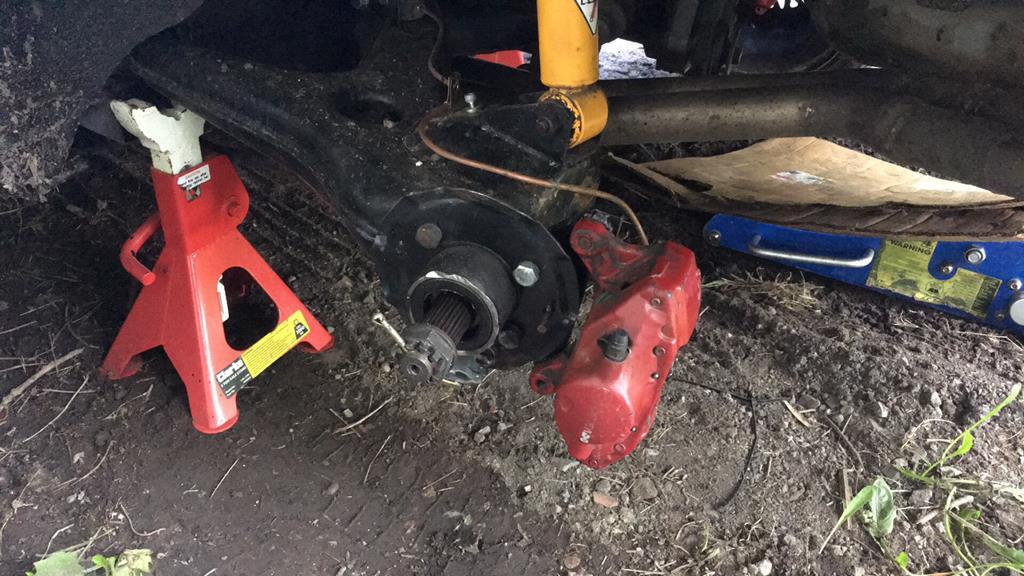 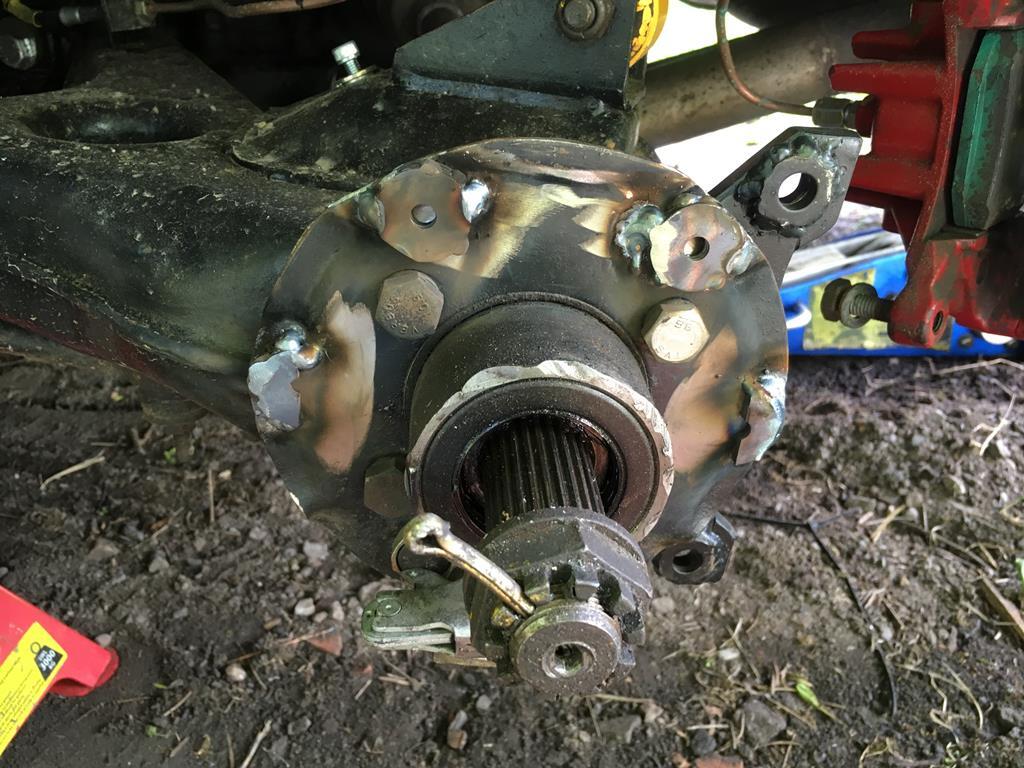 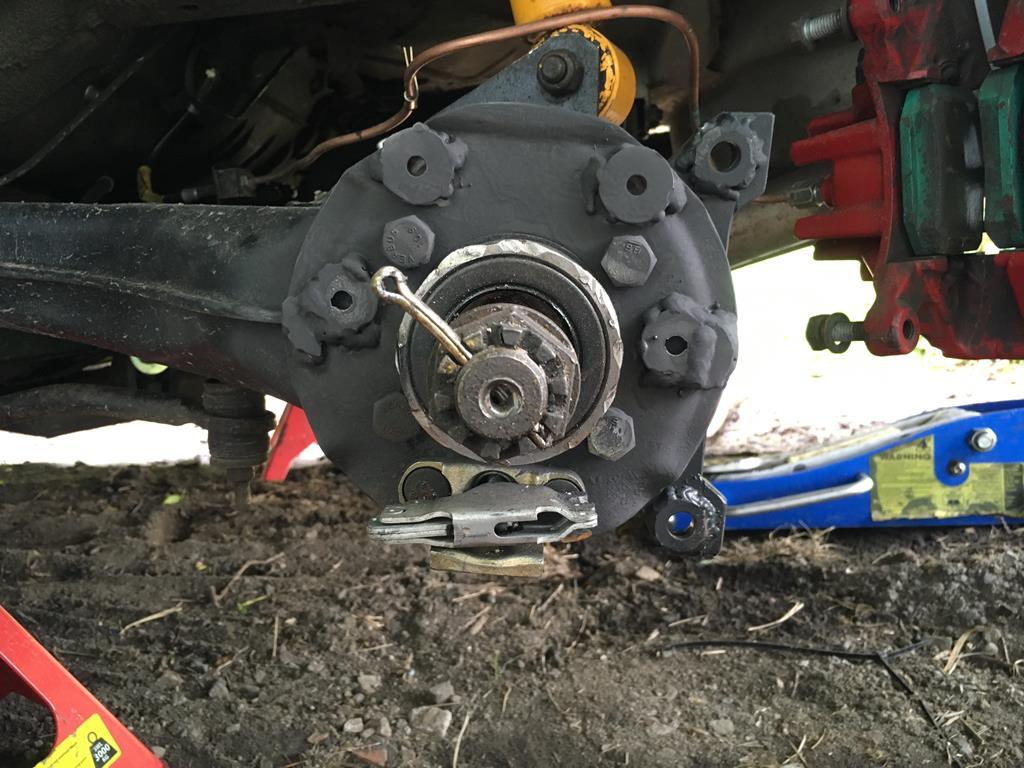 Next I mounted the ECU and made up a kickplate to stop it being trodden on. 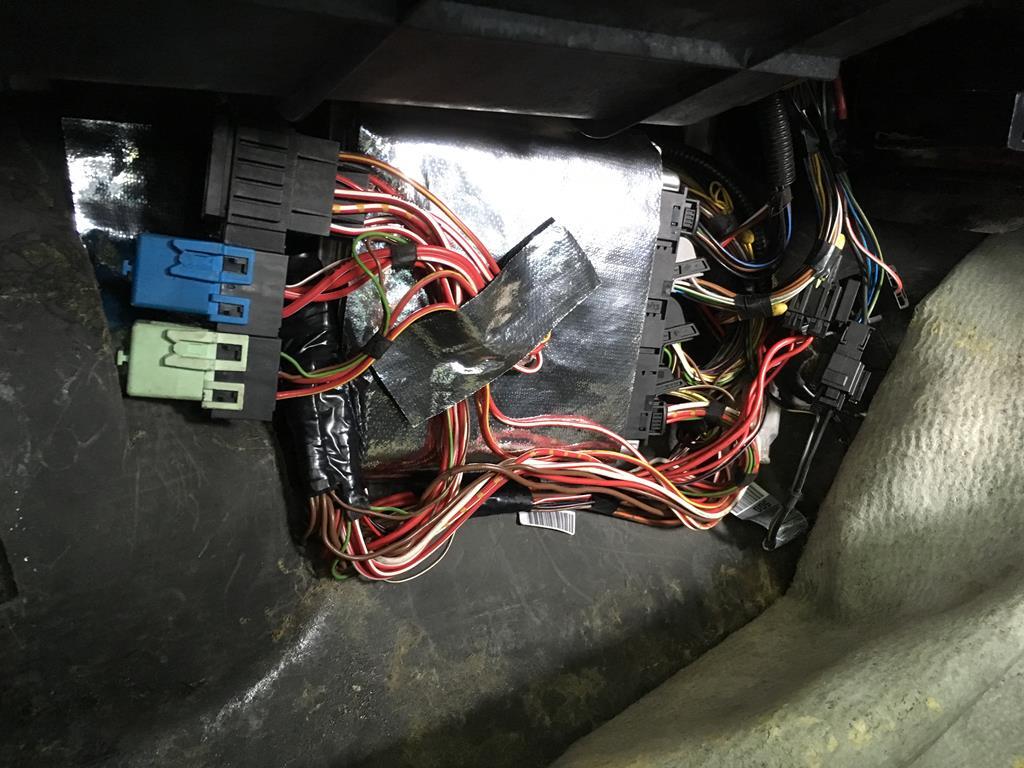 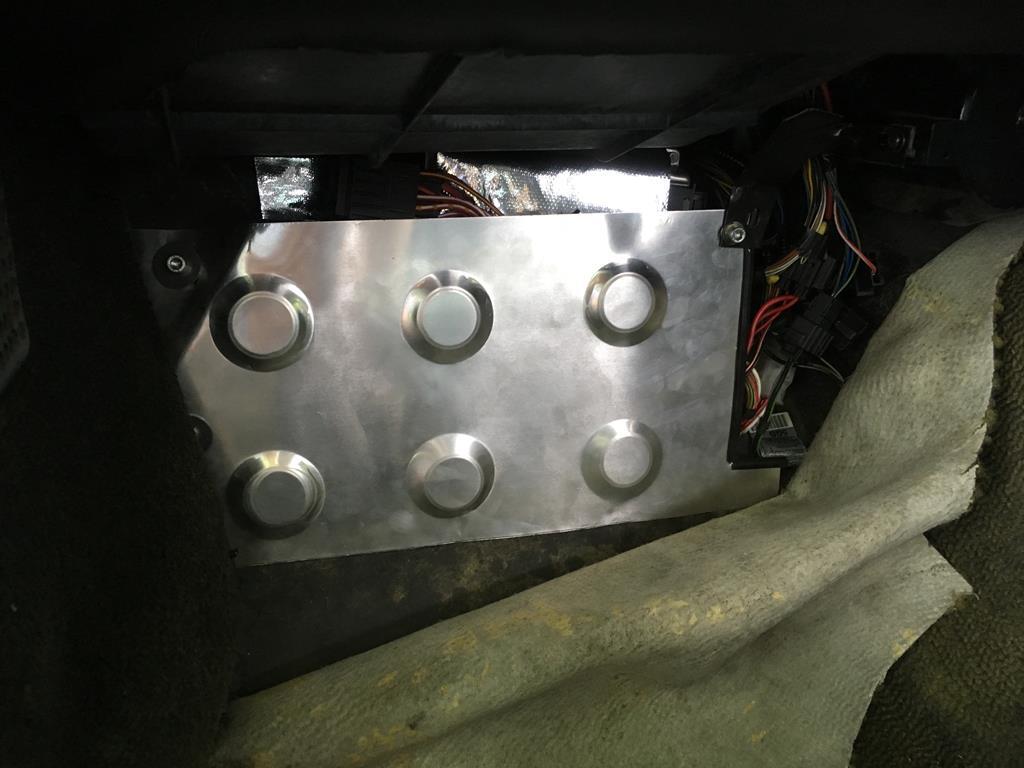 Then took it for an MOT, passed no problem! and one of the mechanics tried to buy it off me  Umm then i've just sort of driven it! Took the GF to wales as a maiden voyage, then off to see YamaChamois to help out with his imp project. 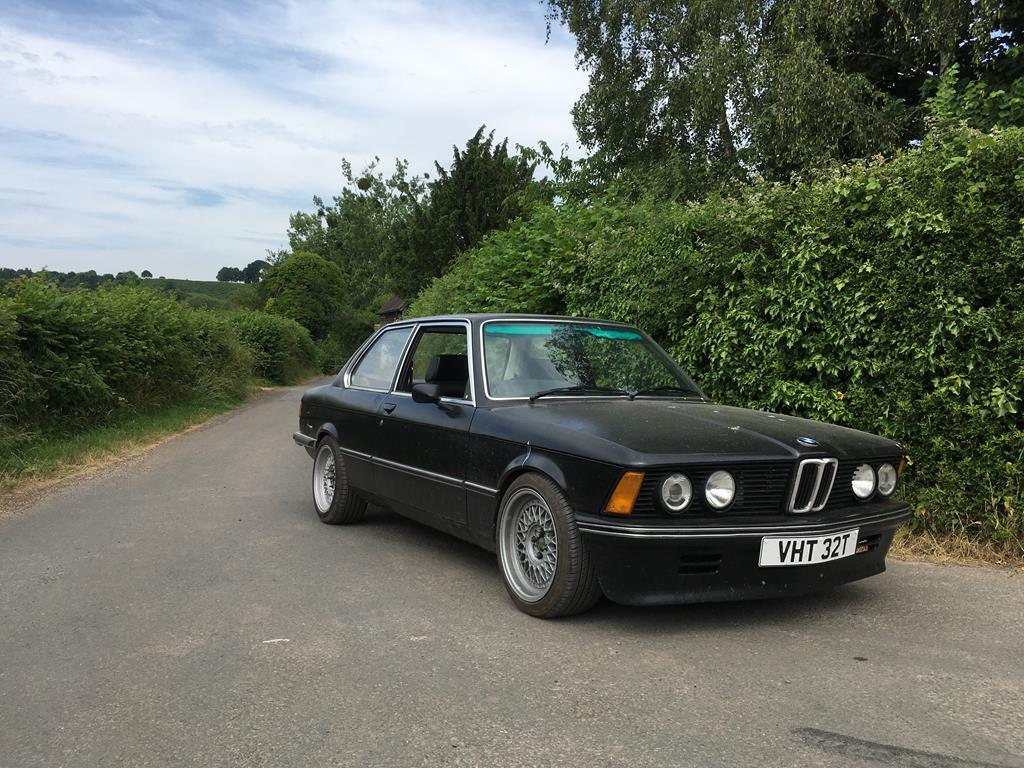 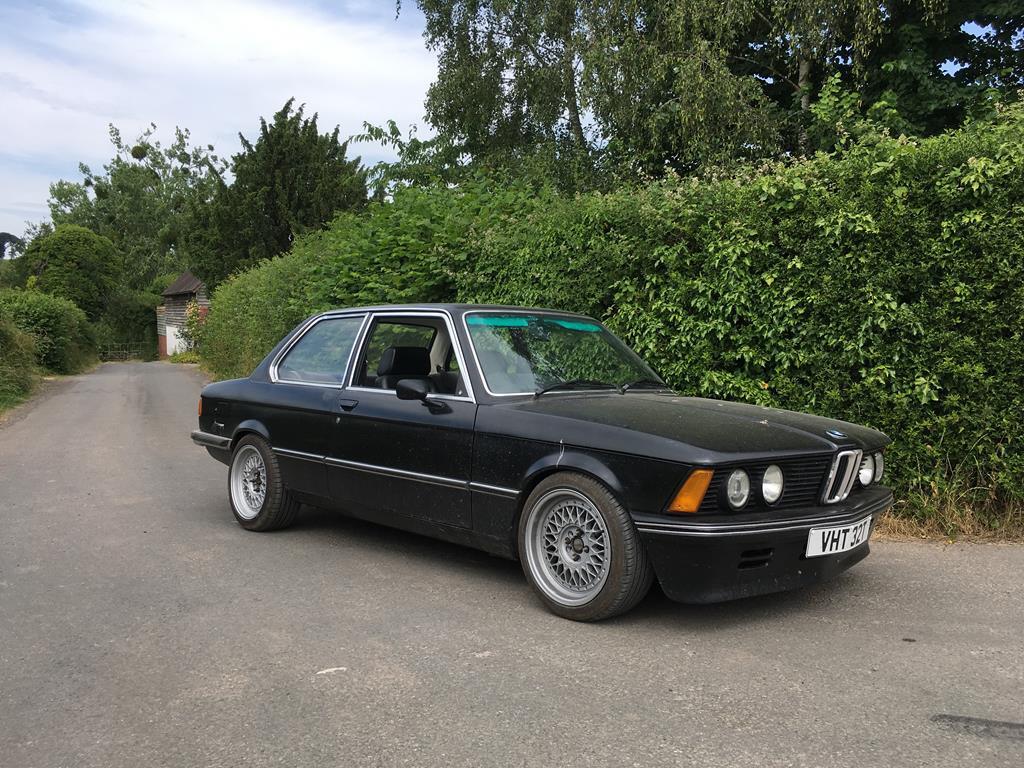 Then I got a new job, and it just happened the work car show was in my first week so I took the E21 along. Much to my surprise it won coolest in show! certainly a good way to start a new job! 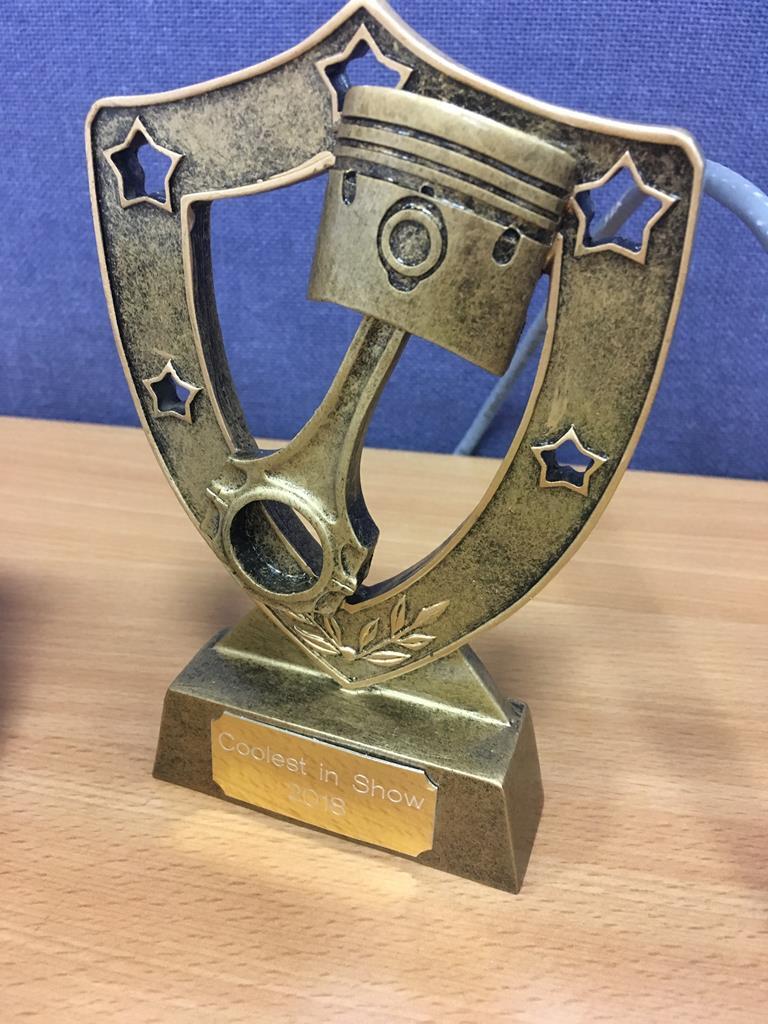 Then my daily let me down, so I ended up using the E21 for my 80 mile commute for 2 weeks. Not really what I had planned, but it took it all in its stride (although not the most relaxing thing to drive). So all in all i've done about 1500 trouble free miles in it already, well overdue its running in service I think... So next up change oil, give it a clean and see you all at the gathering! |
| |
|
|
|
|
|
Sept 11, 2018 20:16:55 GMT
|
In contrast to the Starion, the E21 has been a peach! Well, it did need a new battery, but the one on it was 4 years old and had been sat for most of that time... The sum total of prep work for the gather was really just give it a clean and change the oil. The o-ring split on the sump plug, thats about the most interesting thing to happen on this car recently! I think i'll change it for a different type next oil change as i expect it will happen every time its removed. 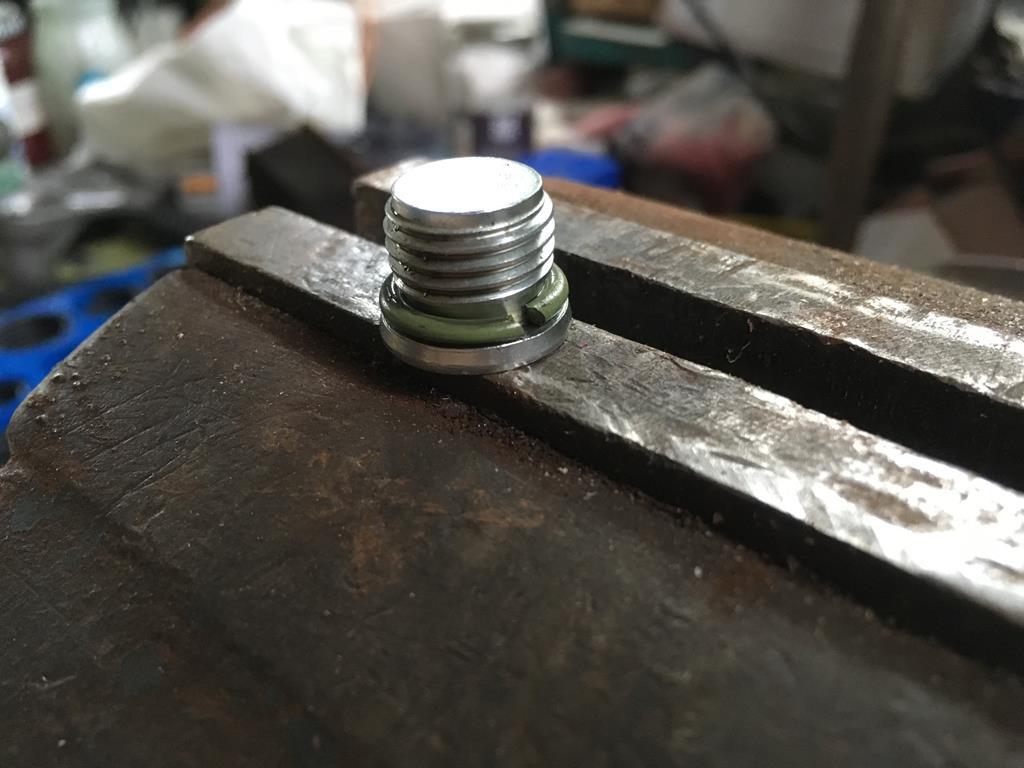 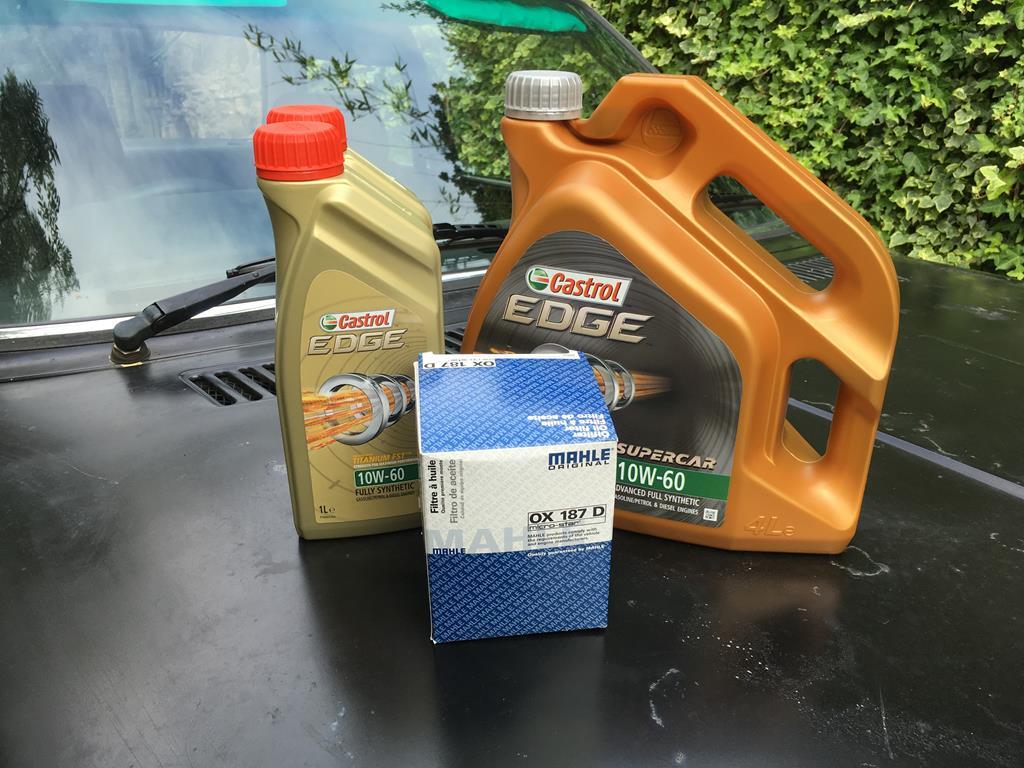 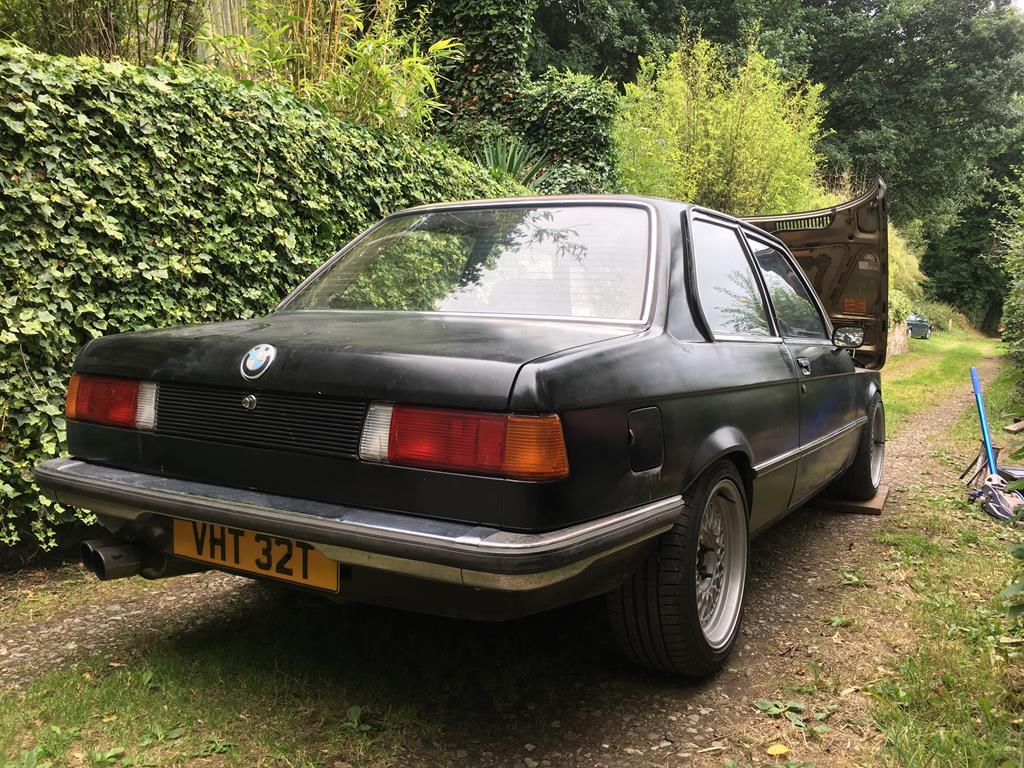 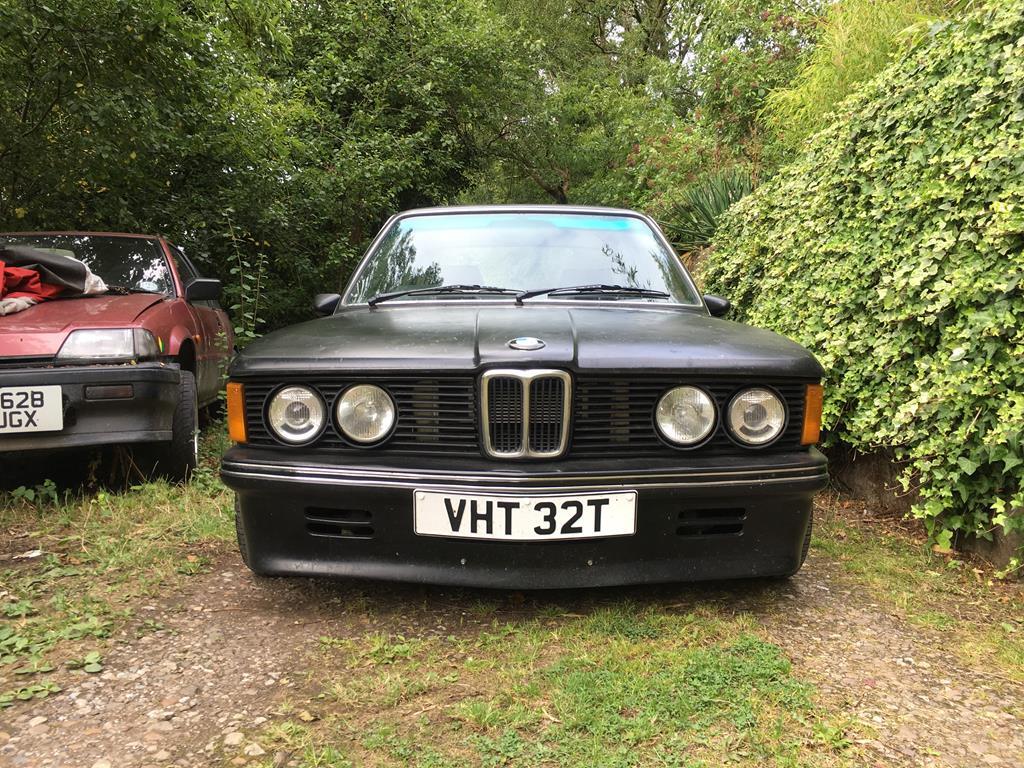 Then a nice cross country drive to the show with my dad following in the Starion. I didn't manage to get any pics myself, but here are a couple from facebook. 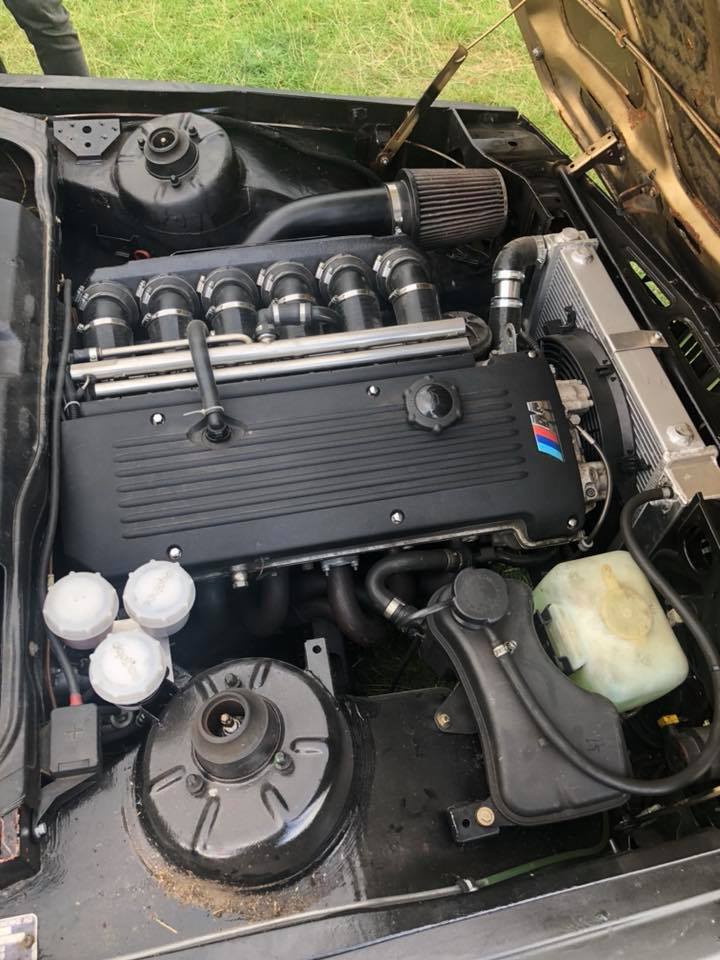 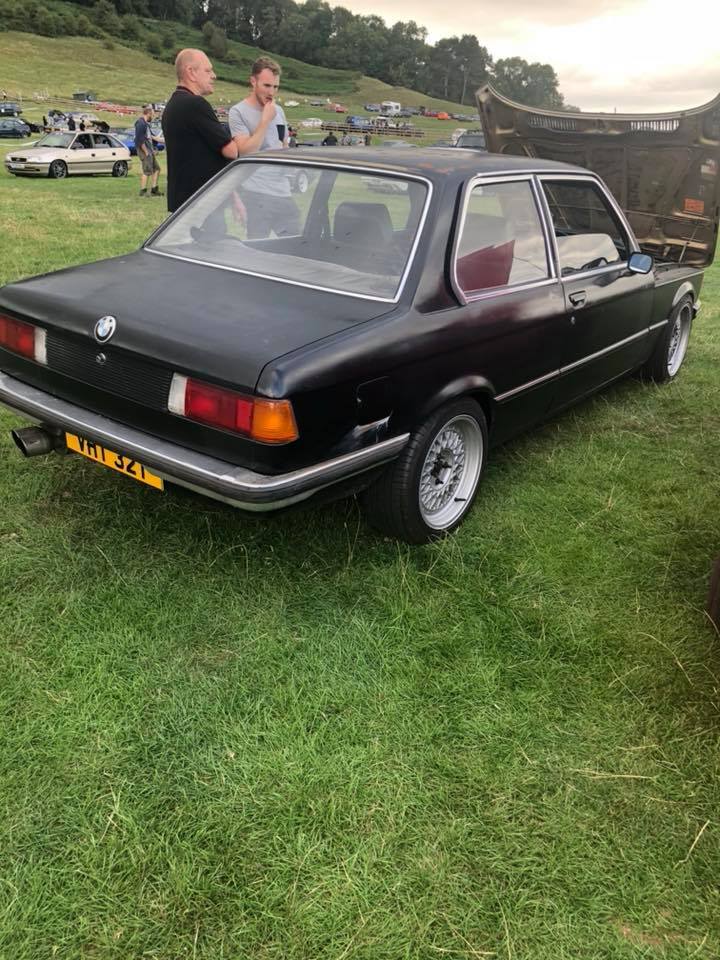 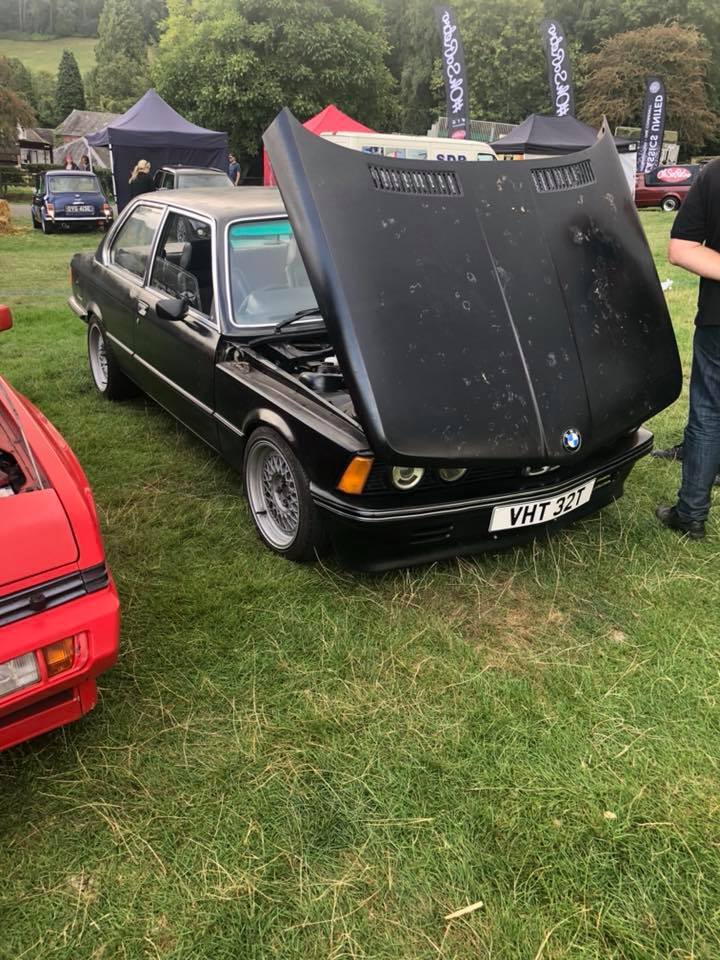 I will say the E21 didn't get anywhere near as much attention as the Starion. I guess if you're not into your BMWs it's just another old Beemer, whereas "when was the last time you saw a starion!". Aaaaand since then the E21's just been sat, which makes me sad... I had intended to swap between the Starion and E21 at weekends, but then the Starion disgraced itself and is now stranded in my other parking space at home, so i've not been able to swap it for the E21 (which is parked at my parents). I will try and get the starion running and swap them over this weekend - the E21 deserves to be driven, the Starion can sit and think about how it's behaved a little longer... |
| |
|
|
ChasR
RR Helper
motivation
Posts: 10,309
Club RR Member Number: 170
|
|
|
|
Some superb progress and it's a great take on an E21! The brake upgrade looks very good and well thought out. As for the sump plug, it has the wrong seal on. It should be a crushable washer. The filters from BMW (Also the Mahle OX187D), come with the crushable washer in the packet and I've yet to have a leaky sump. Sometimes, the old washer stays in place on the sump however, and yes it has caught me out! The sump plug will be fine  . I changed mine for a new one as I tend to on cars I buy, but there was no real need  . |
| |
Last Edit: Jan 19, 2019 8:09:02 GMT by ChasR
|
|
|
|


