Darkspeed
Club Retro Rides Member
Posts: 4,845
Club RR Member Number: 39
|
|
|
|
Still doing the brakes - quite a few hours gone into this now Copper pattern and finished Kunifer 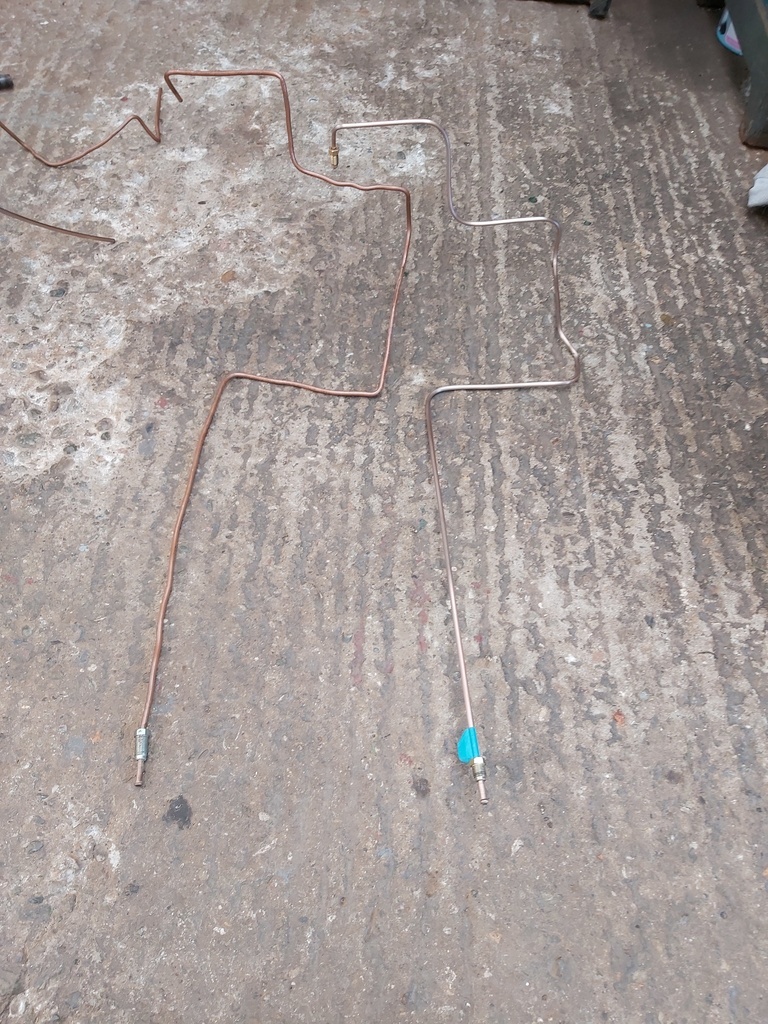 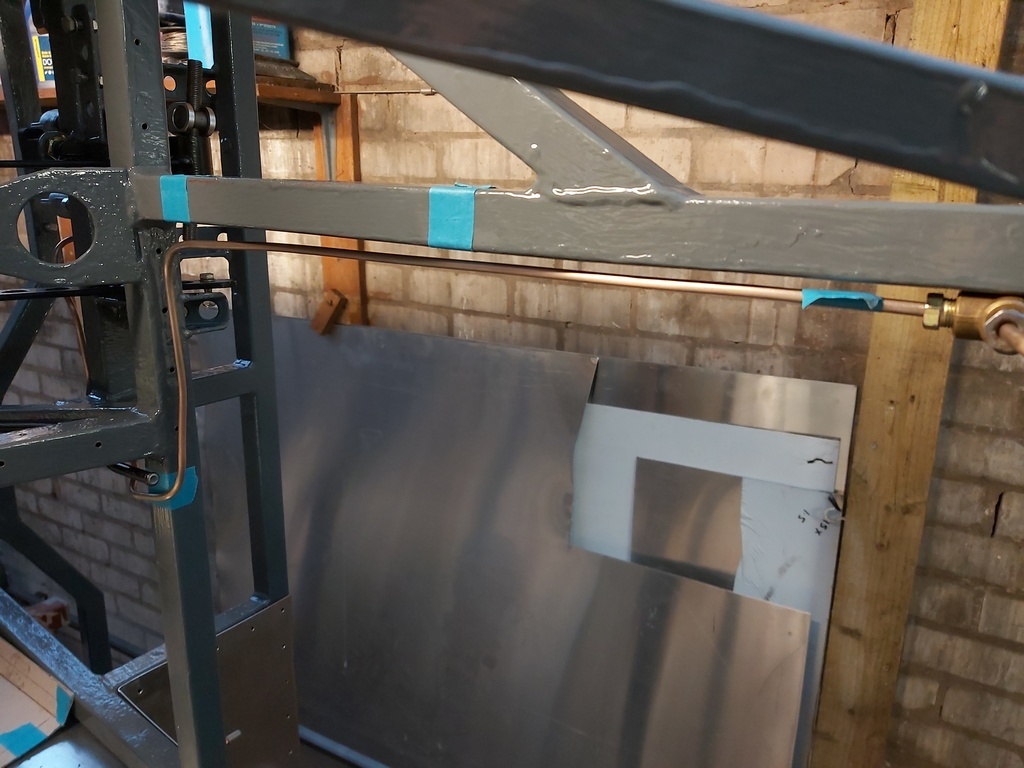 M/C to front junction is complete and M/C to rear is 60% completed - Tomorrow I should get them both finished with clips. Once that's all done I can start bonding the panels on. |
| |
Last Edit: May 5, 2024 22:14:17 GMT by Darkspeed
|
|
|
|
Darkspeed
Club Retro Rides Member
Posts: 4,845
Club RR Member Number: 39
|
|
|
|
|
|
| |
|
|
Darkspeed
Club Retro Rides Member
Posts: 4,845
Club RR Member Number: 39
|
|
|
|
|
Collected the paint today - may even use some of it on the cylinder head tomorrow and see if its a suitable colour.
Struck a few lines off the to-do list and made a start on the wiring. Just one last panel to bond and rivet which will be done after I have drilled a few holes for electrics cable management.
A small amount of time today placing orders for nuts, bolts and engine parts. Having placed all of the various fasteners in a larger bucket when I stripped the car there are hardly any that are the same length or the same brand even though there are only 4 sizes of M8 that keep most of the car together !
Photo's tomorrow
|
| |
Last Edit: May 9, 2024 10:40:30 GMT by Darkspeed
|
|
Darkspeed
Club Retro Rides Member
Posts: 4,845
Club RR Member Number: 39
|
|
|
|
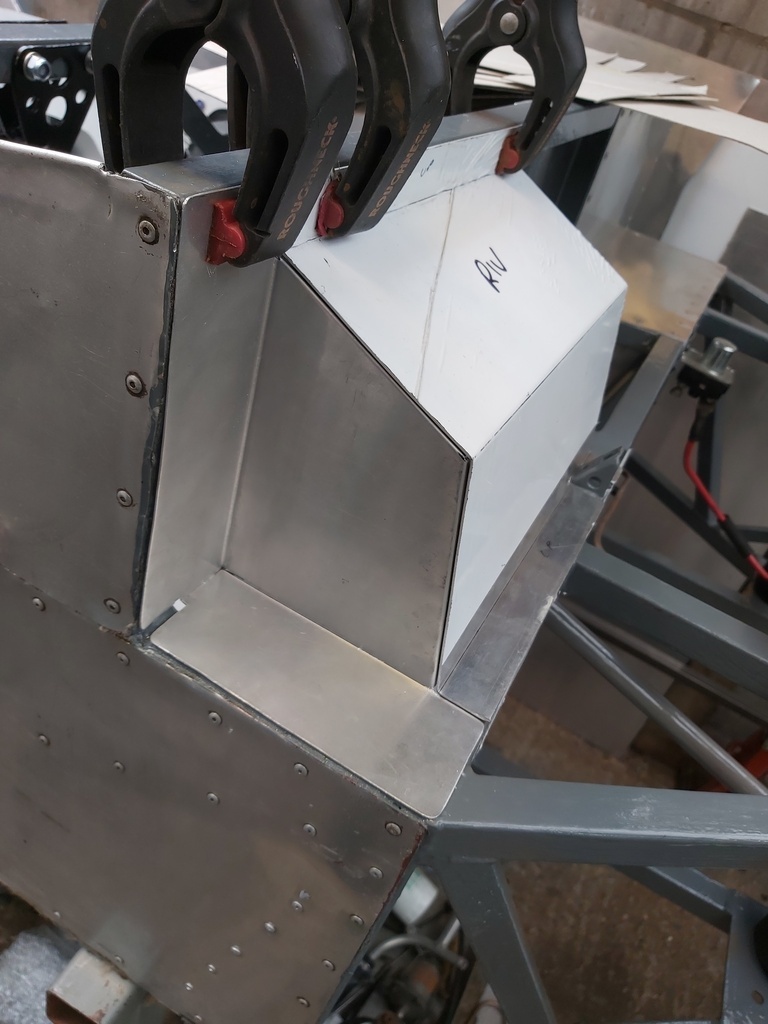
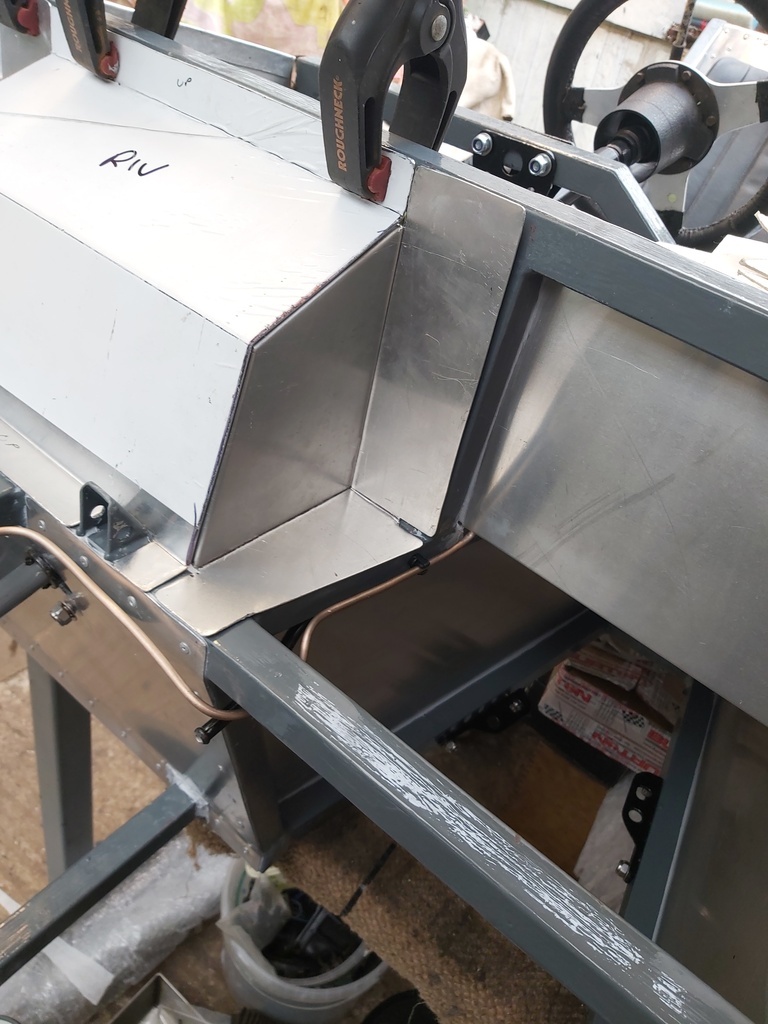
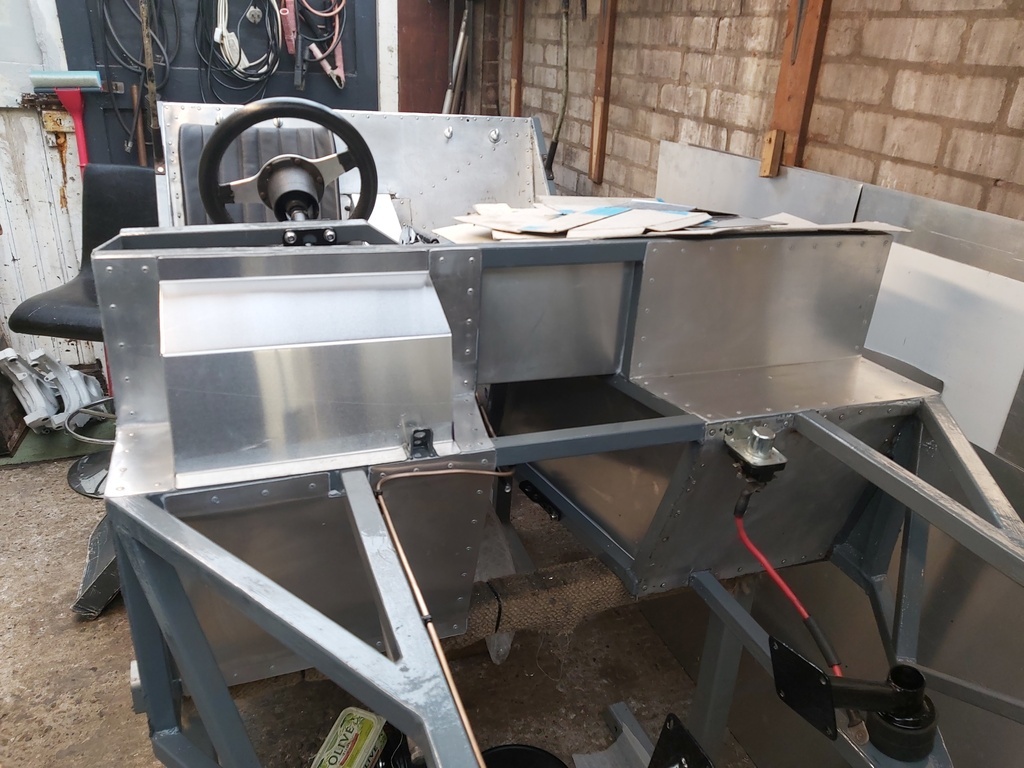
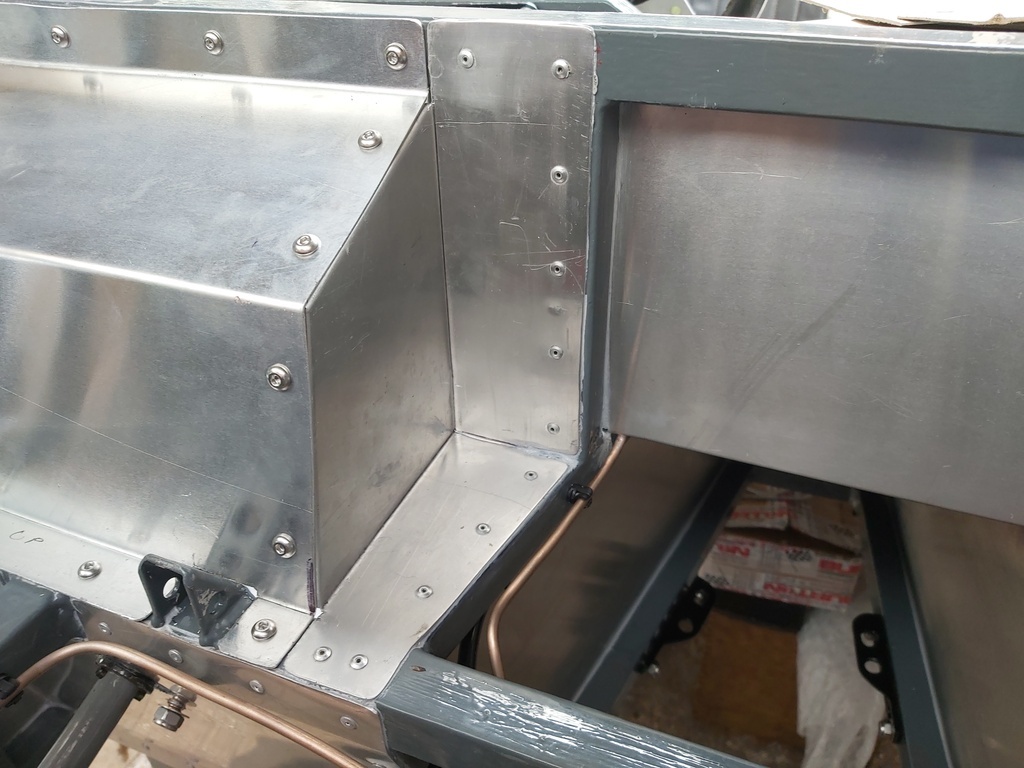
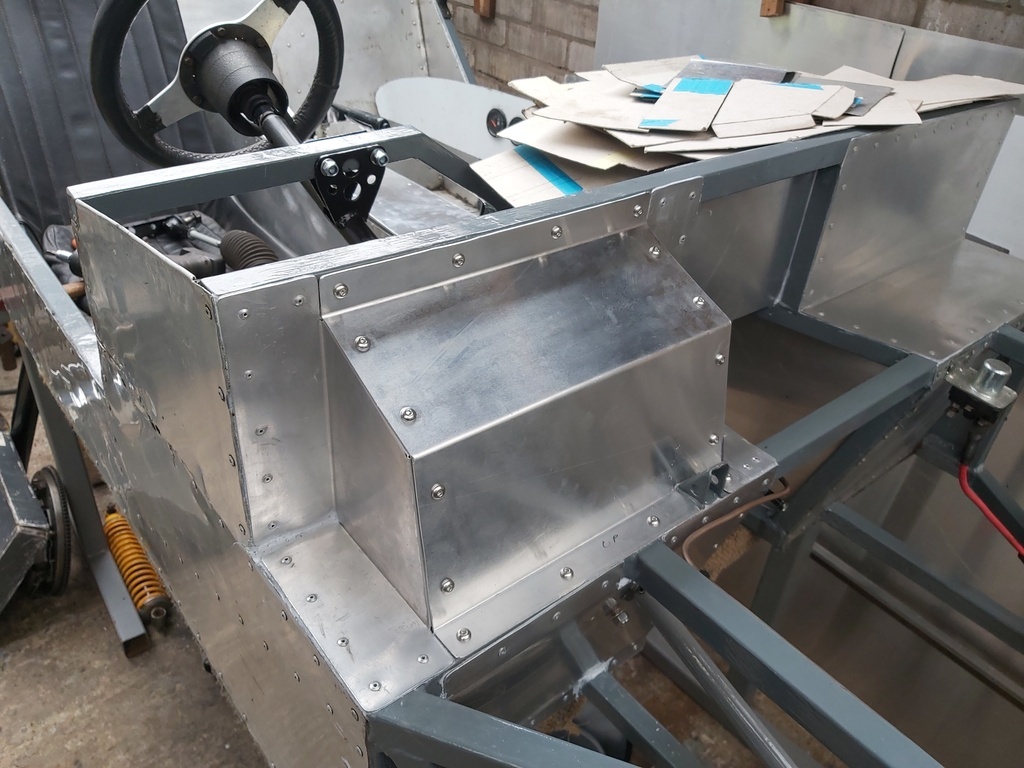
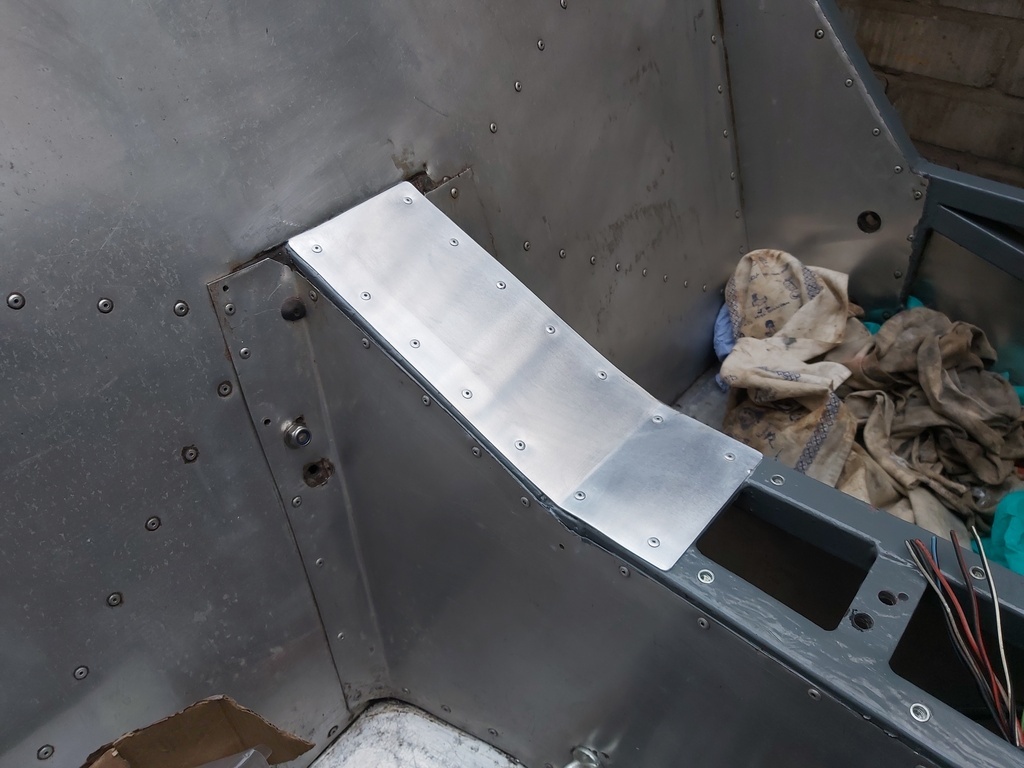
So, what did I manage today? The tunnel top panel got bonded on. Tested for wiring fit. 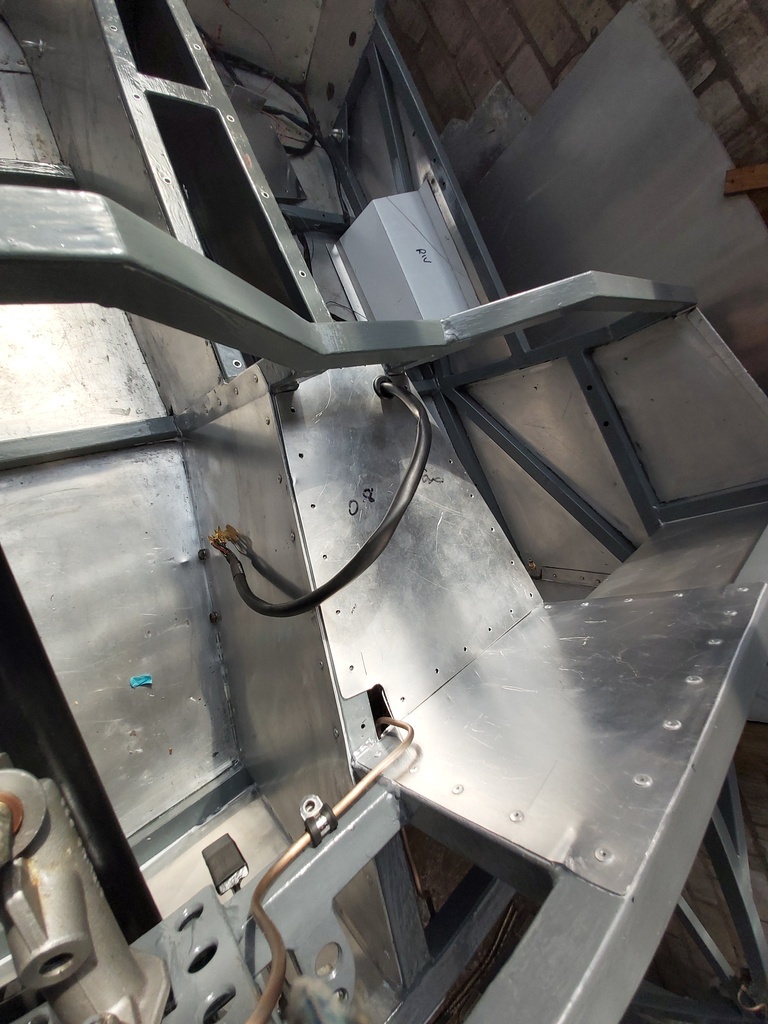 And then bonded 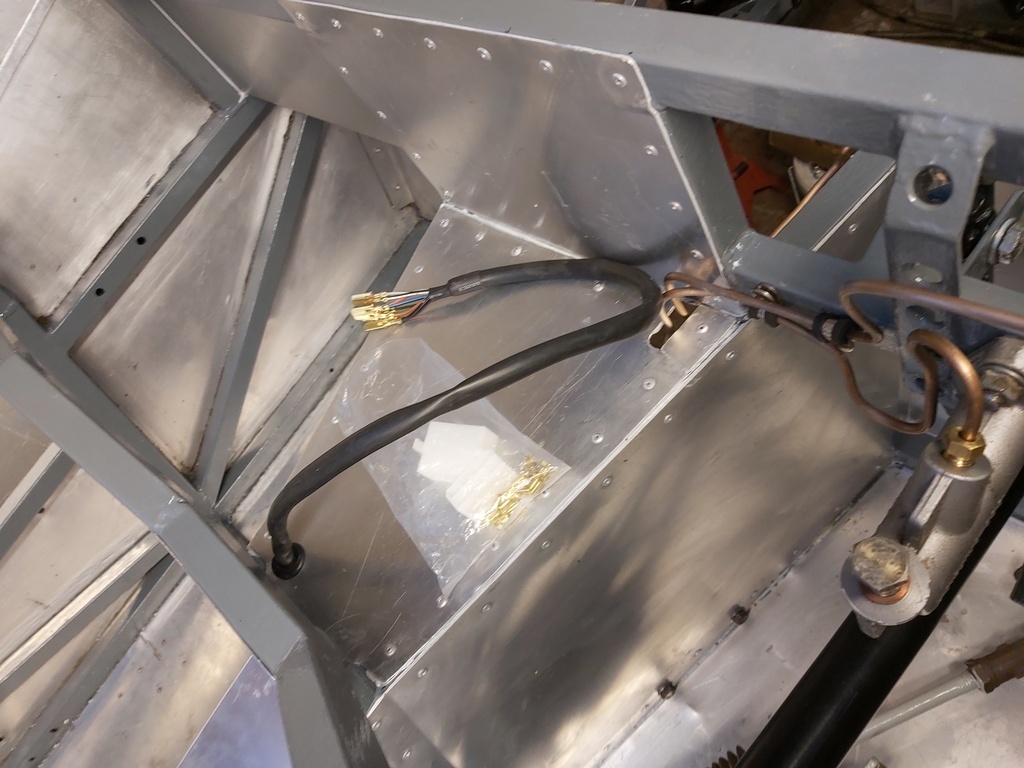 Made the loom good with some new sleeving and clipped it in - 8 cores to the rear should be more than enough Sides Brakes L/Ind R/Ind Fuel sender Fuel pump Earth And a spare by the looks of it  Cut the slot for the handbrake 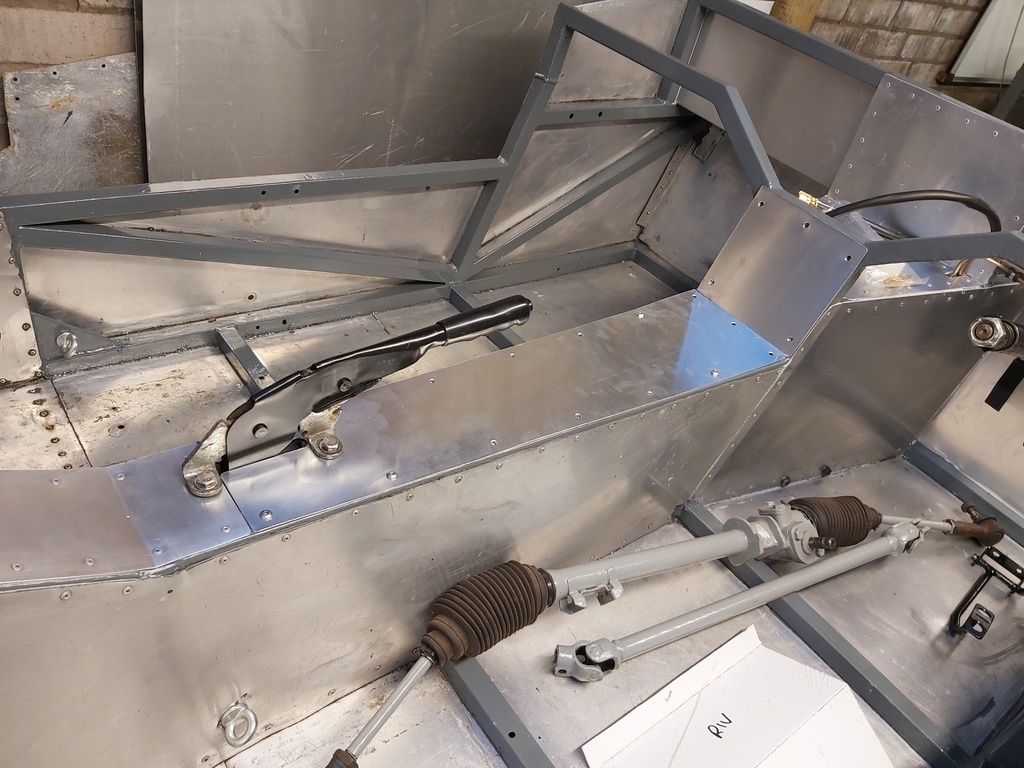 No painting, so that's on the agenda for tomorrow as is a trip up the barn to collect a few more parts |
| |
Last Edit: May 9, 2024 21:42:08 GMT by Darkspeed
|
|
Darkspeed
Club Retro Rides Member
Posts: 4,845
Club RR Member Number: 39
|
|
May 11, 2024 22:26:02 GMT
|
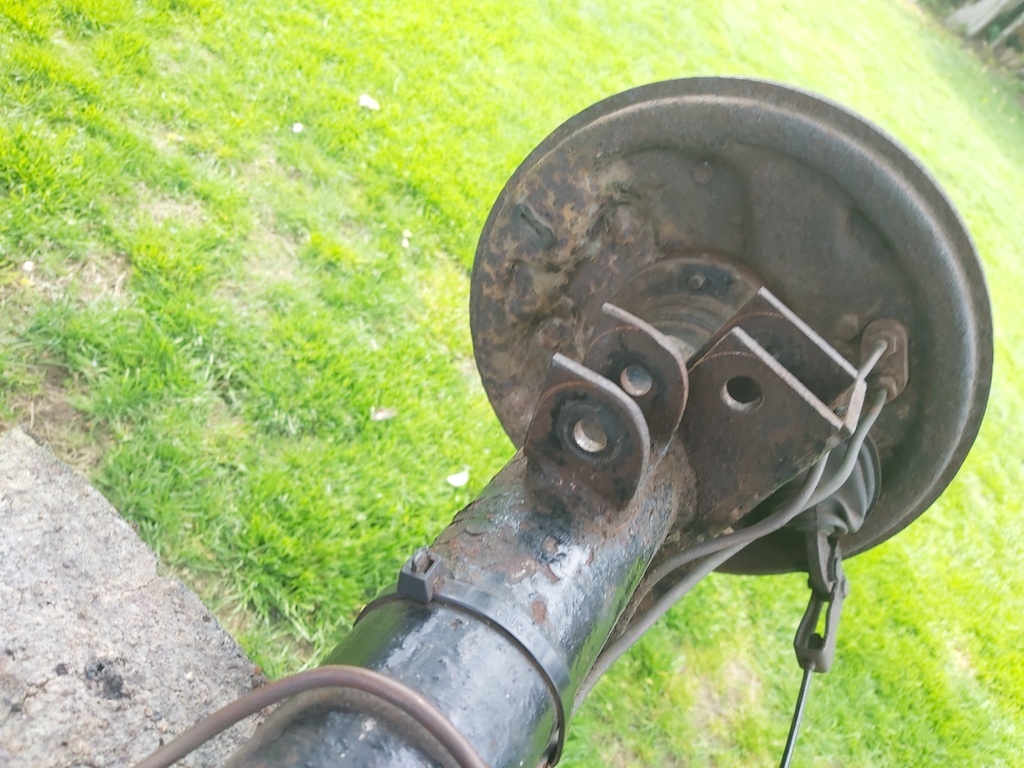
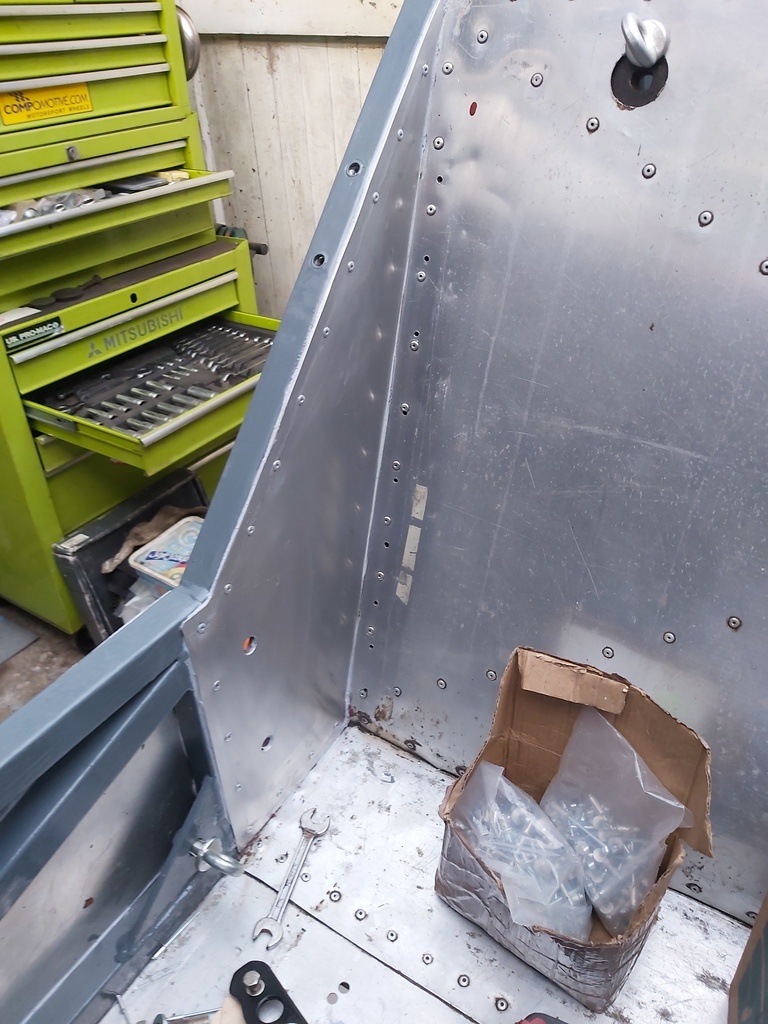
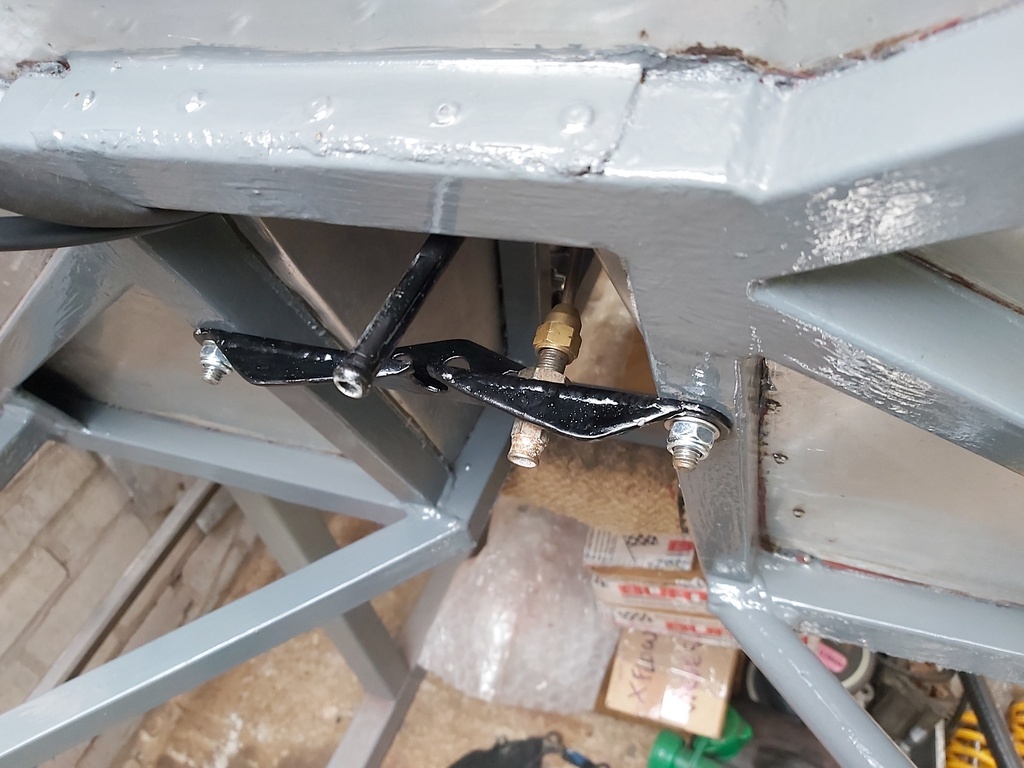
Parts have arrived - a box from Burton containing +60 1300 pistons plus a load of gaskets, and a package from Namrick with the required nuts and bolts. 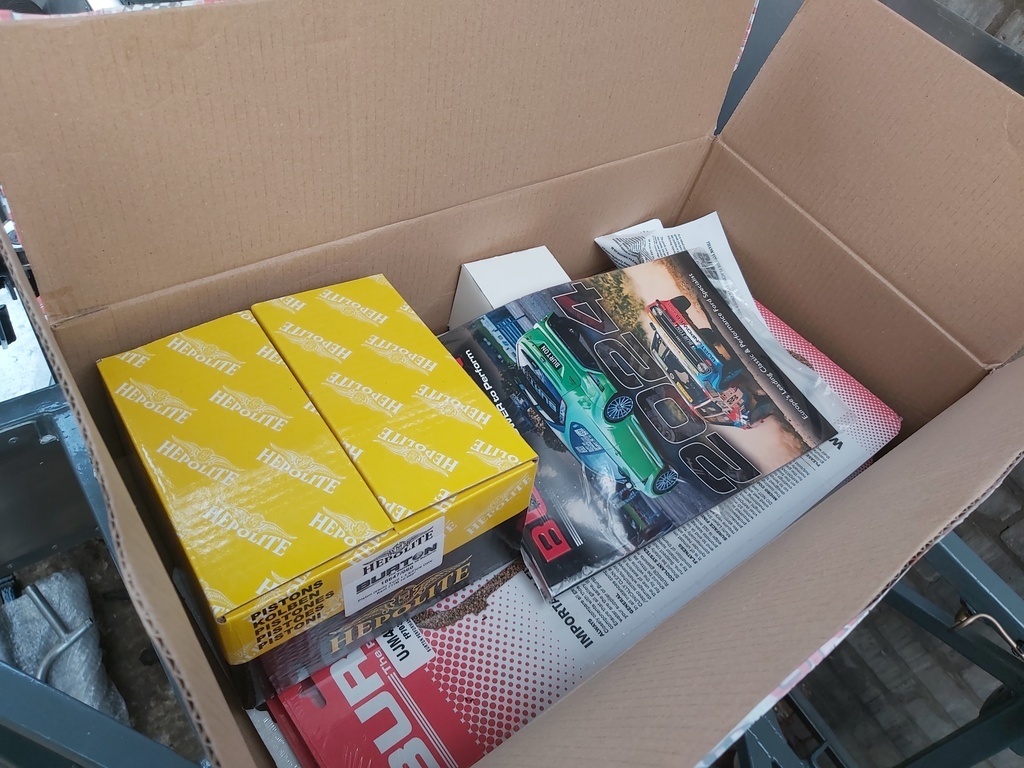 The bracket that holds the handbrake cable and the rear axle flexi needed some tidying up as it looked  but after a bit I deceided that the design was all wrong and inherently weak for the weight of the thing so I have made a start on a new stronger lighter version.  And made a start on measuring up for the roll over hoop   |
| |
|
|
Darkspeed
Club Retro Rides Member
Posts: 4,845
Club RR Member Number: 39
|
|
May 13, 2024 19:30:44 GMT
|
|
|
| |
|
|
Darkspeed
Club Retro Rides Member
Posts: 4,845
Club RR Member Number: 39
|
|
May 14, 2024 21:47:55 GMT
|
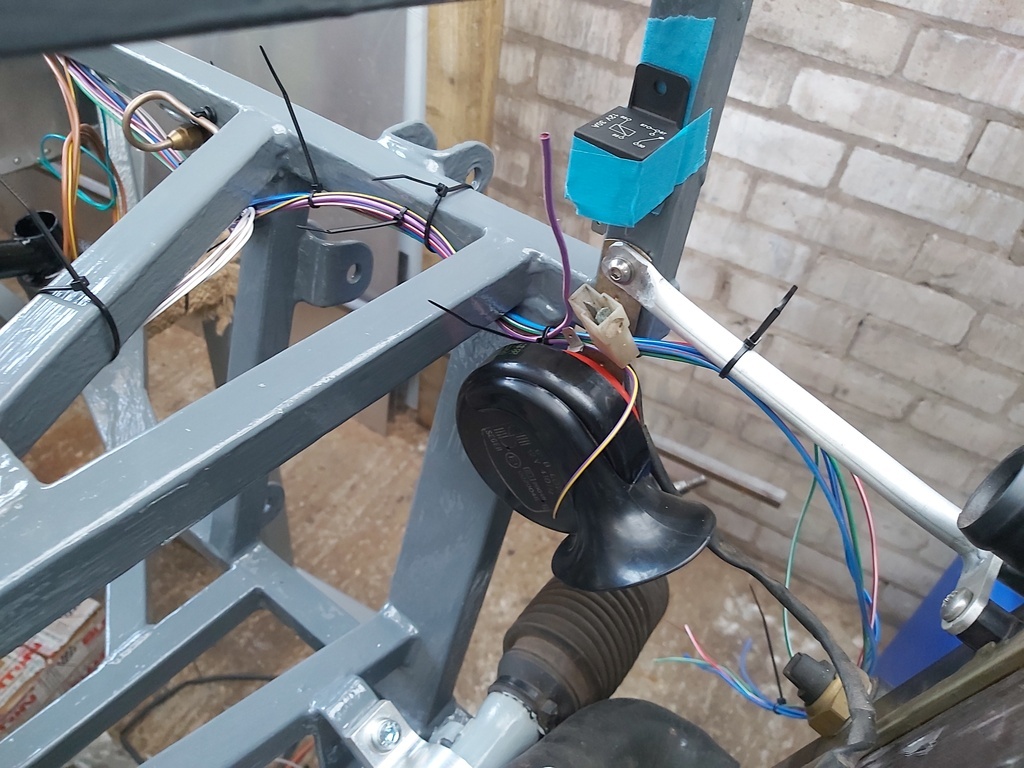
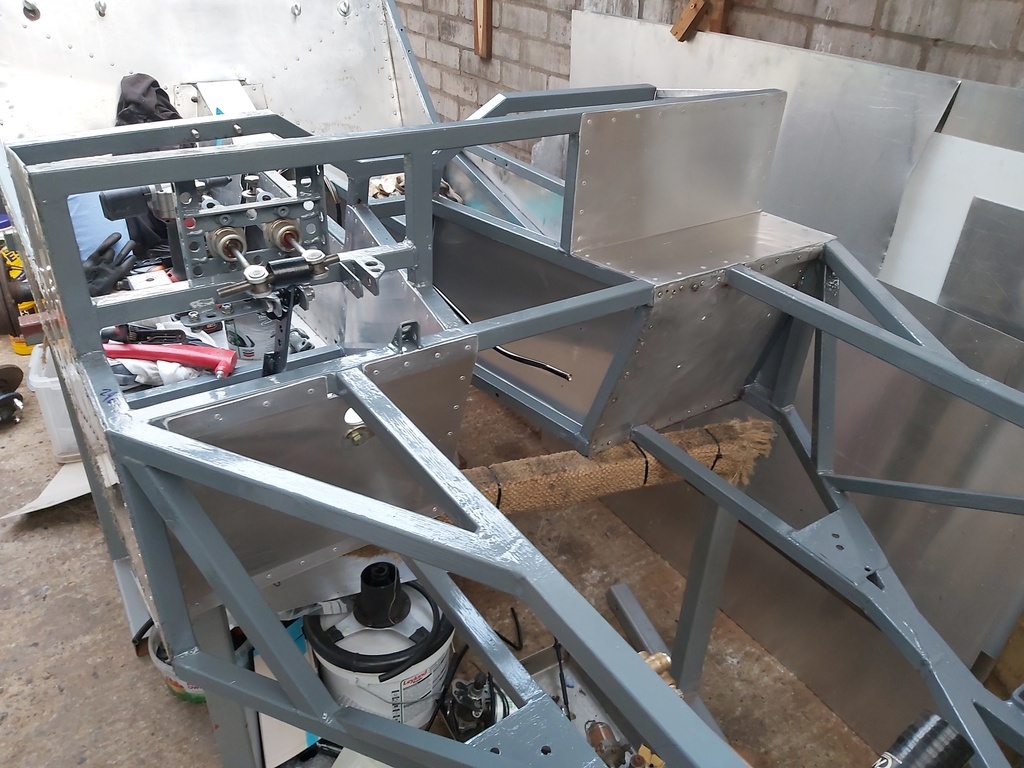
Started to have a look at the wiring - Using a loom from another project to lay out the best route and make notes of what needs to be included.  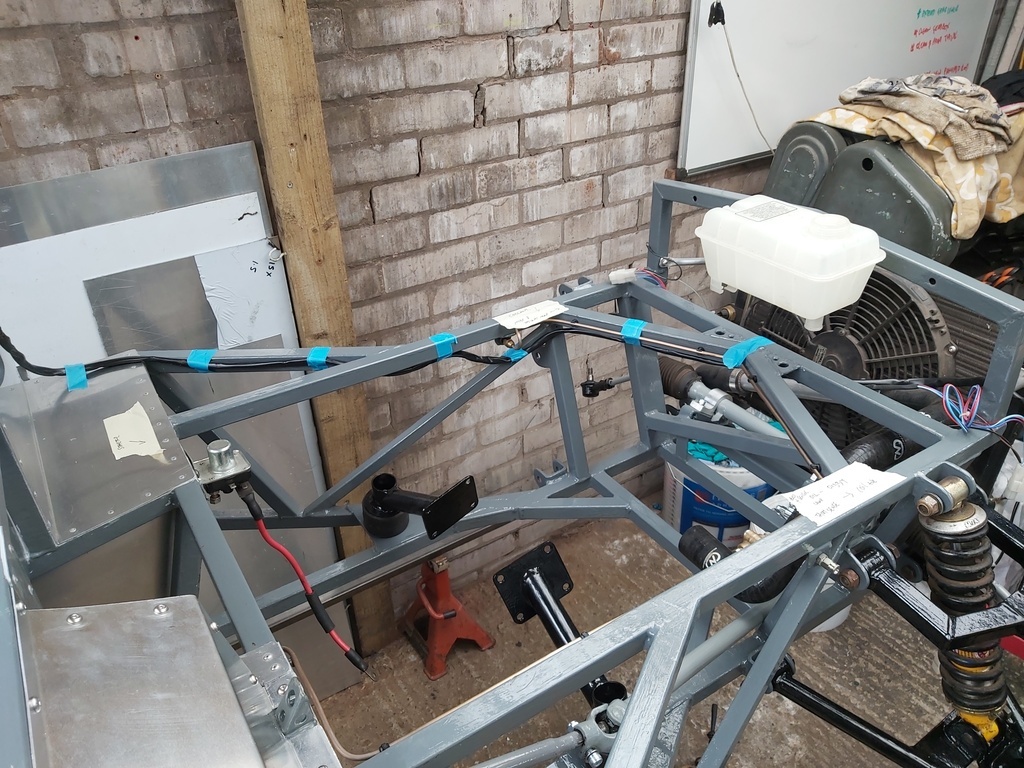 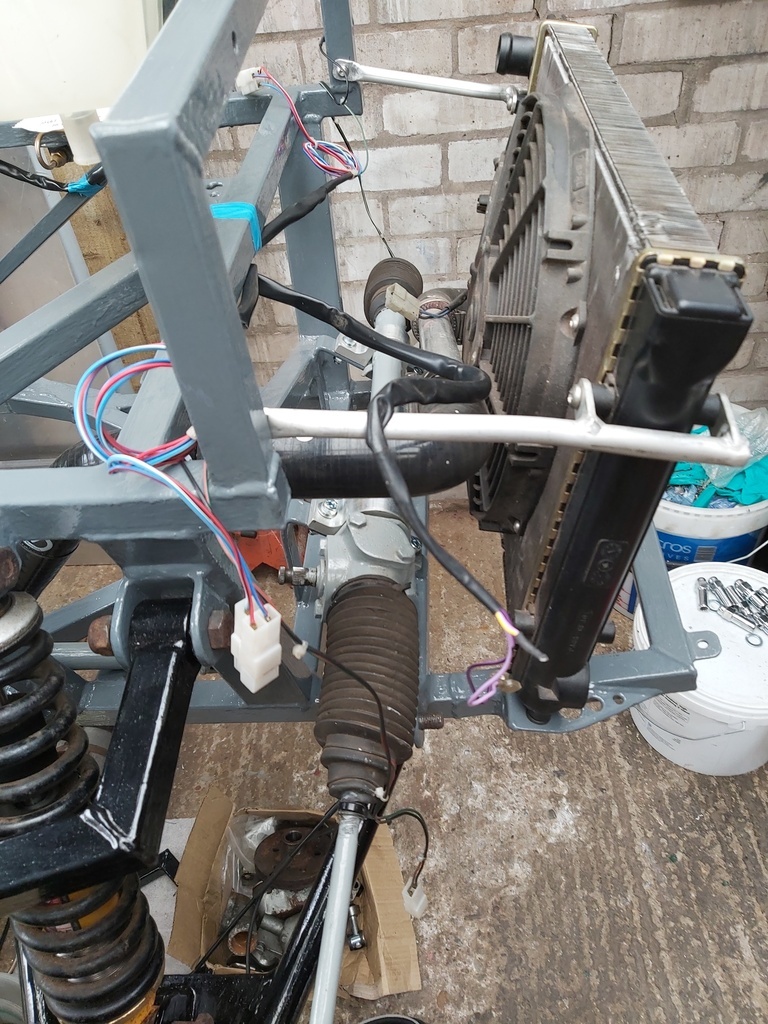 I will just have one loom that will run 3/4 of the way around the "U" of the engine bay. I will need to mount items like the ignition coil, horn and the fan switch relay. Whilst also trying to keep them out of the way and tidy. |
| |
|
|
Darkspeed
Club Retro Rides Member
Posts: 4,845
Club RR Member Number: 39
|
|
May 19, 2024 16:18:27 GMT
|
|
|
| |
|
|
Darkspeed
Club Retro Rides Member
Posts: 4,845
Club RR Member Number: 39
|
|
May 20, 2024 22:14:26 GMT
|
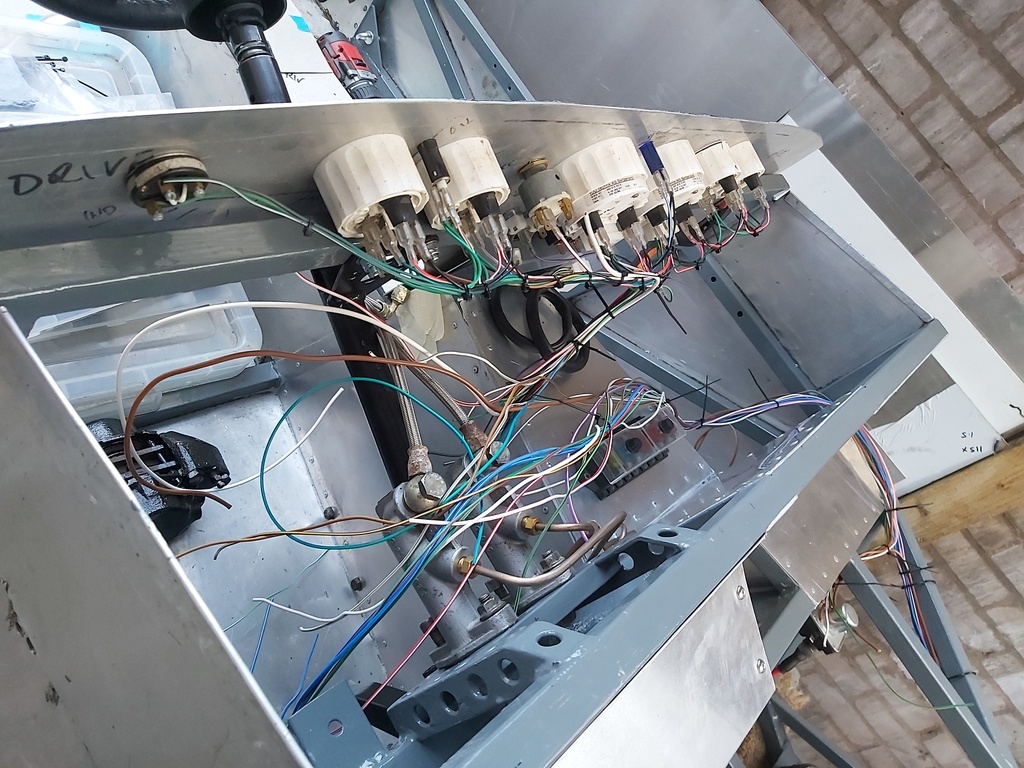
A few hours work this evening. The fuse box and the relay bases are in, and a few of the connectors are done. Almost finished the fan wiring, just the power connections to make which I hope to get finished tomorrow. 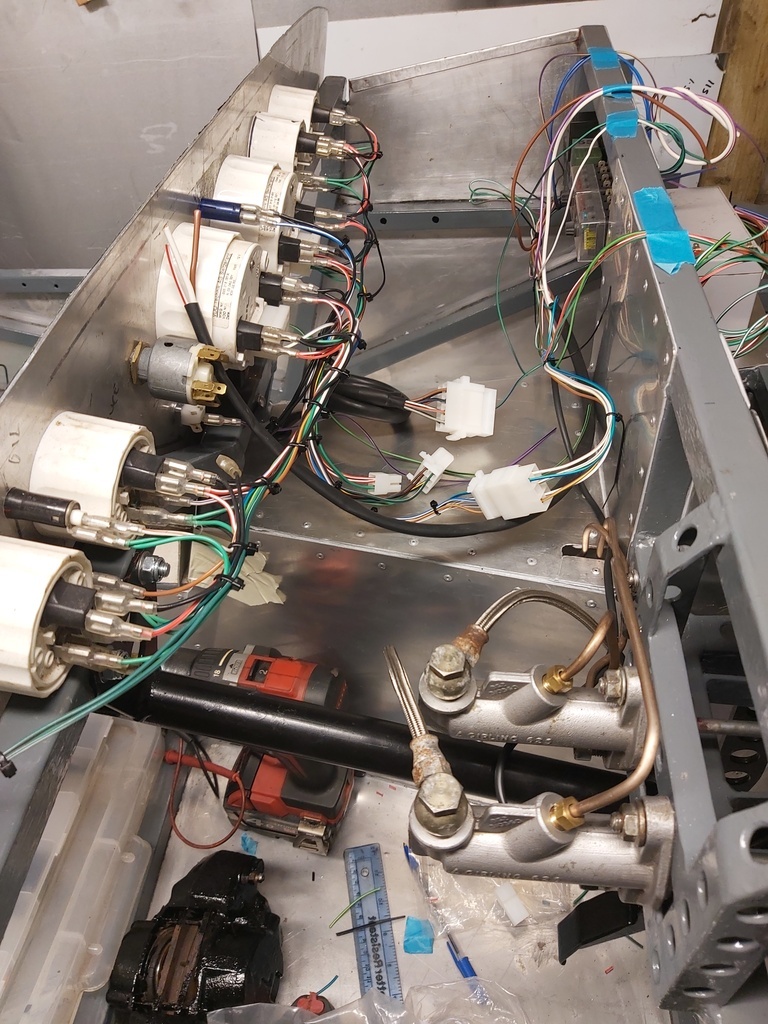 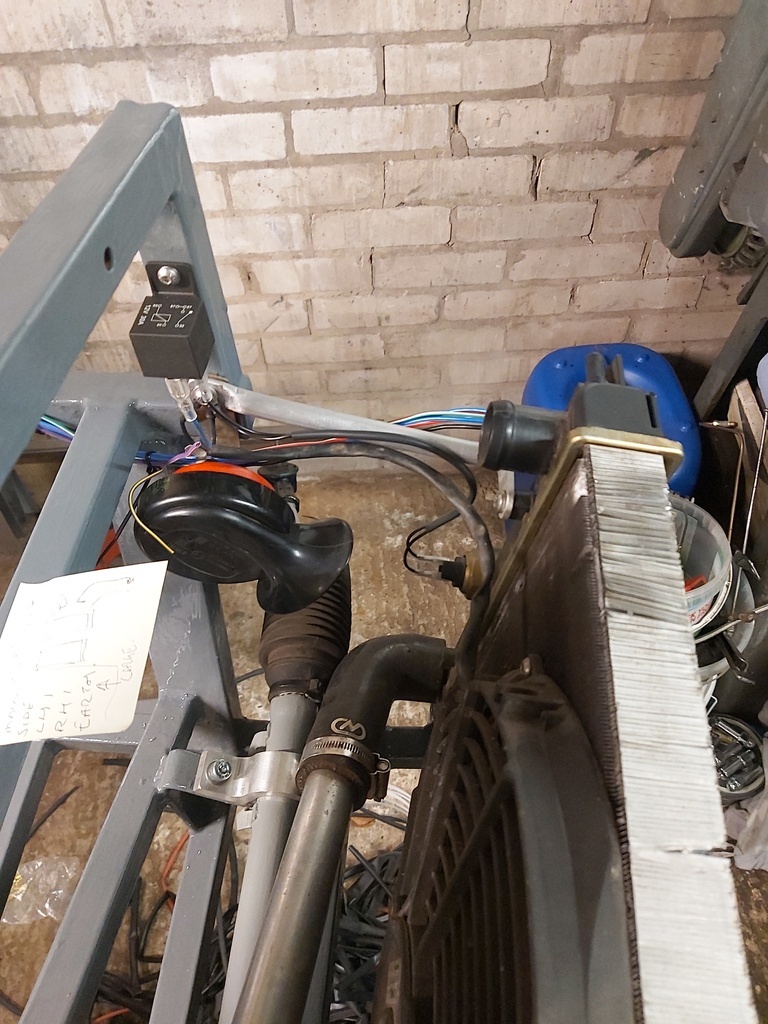 |
| |
|
|
Darkspeed
Club Retro Rides Member
Posts: 4,845
Club RR Member Number: 39
|
|
May 21, 2024 21:41:07 GMT
|
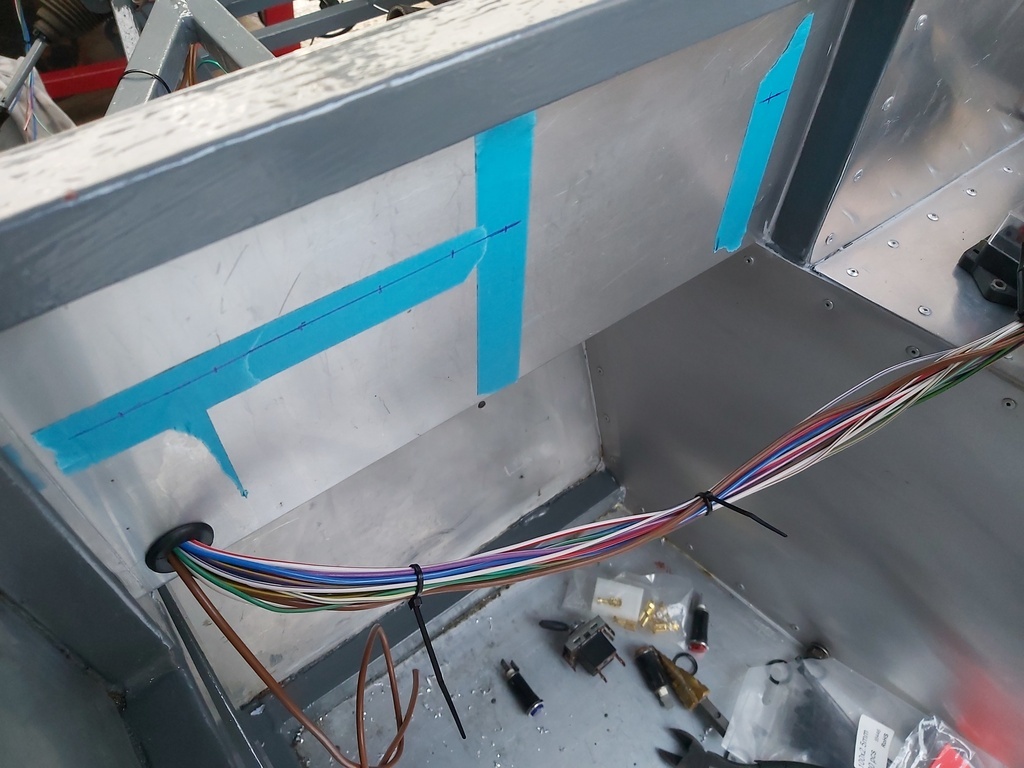
Sleeved in some vinyl this evening - Just need to drop a bit of heat shrink over the joins and some tape over the big T joint out of the bulkhead - I try and keep wrapping to a minimum and not a fan of the split conduit type stuff. 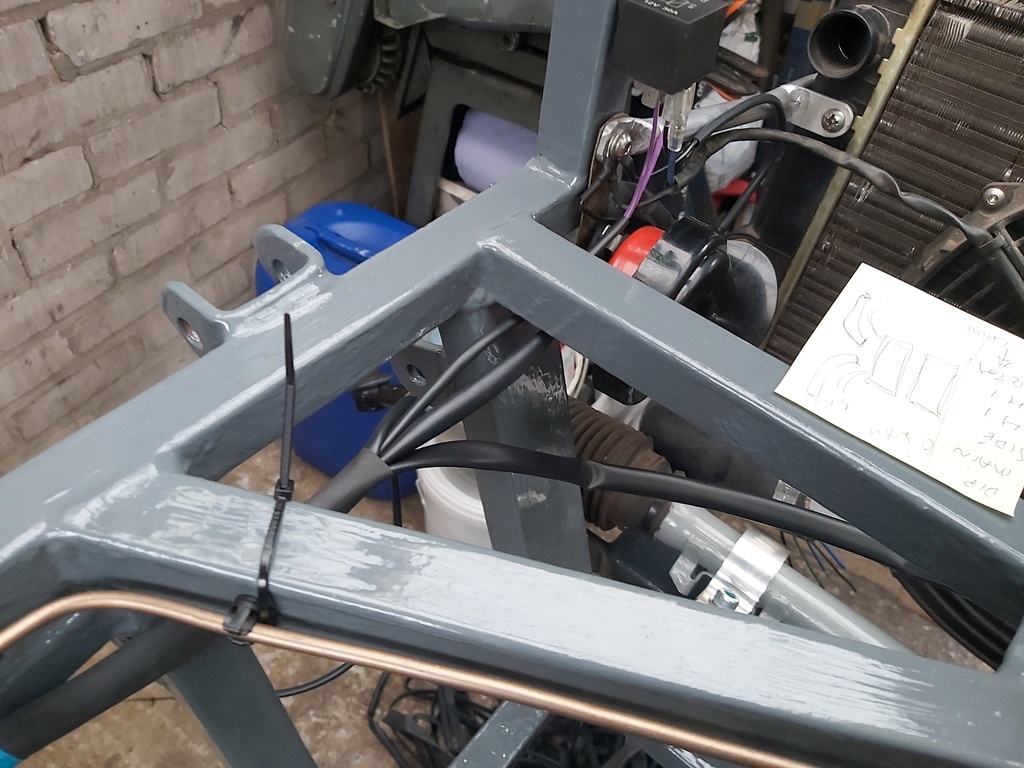 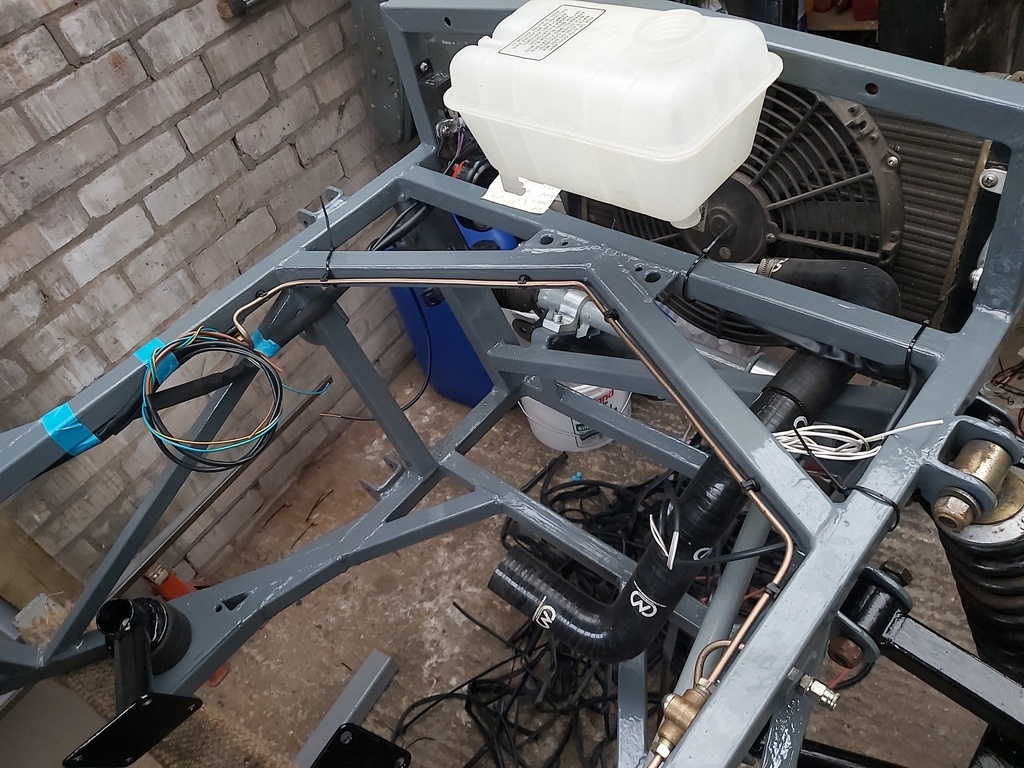 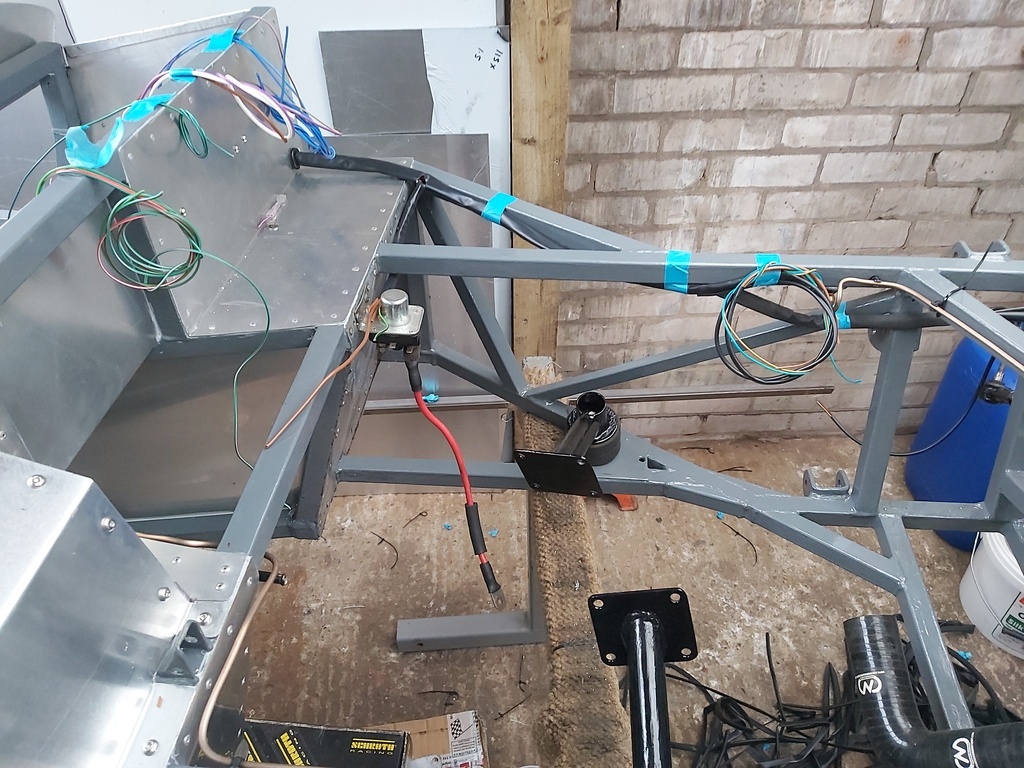 Hope I have not forgot any cores - Switches and relays next. |
| |
|
|
|
|
Darkspeed
Club Retro Rides Member
Posts: 4,845
Club RR Member Number: 39
|
|
May 25, 2024 22:13:40 GMT
|
|
|
| |
Last Edit: May 26, 2024 7:11:35 GMT by Darkspeed
|
|
teaboy
Posted a lot
 Make tea, not war.
Posts: 2,079
|
|
May 25, 2024 22:28:42 GMT
|
|
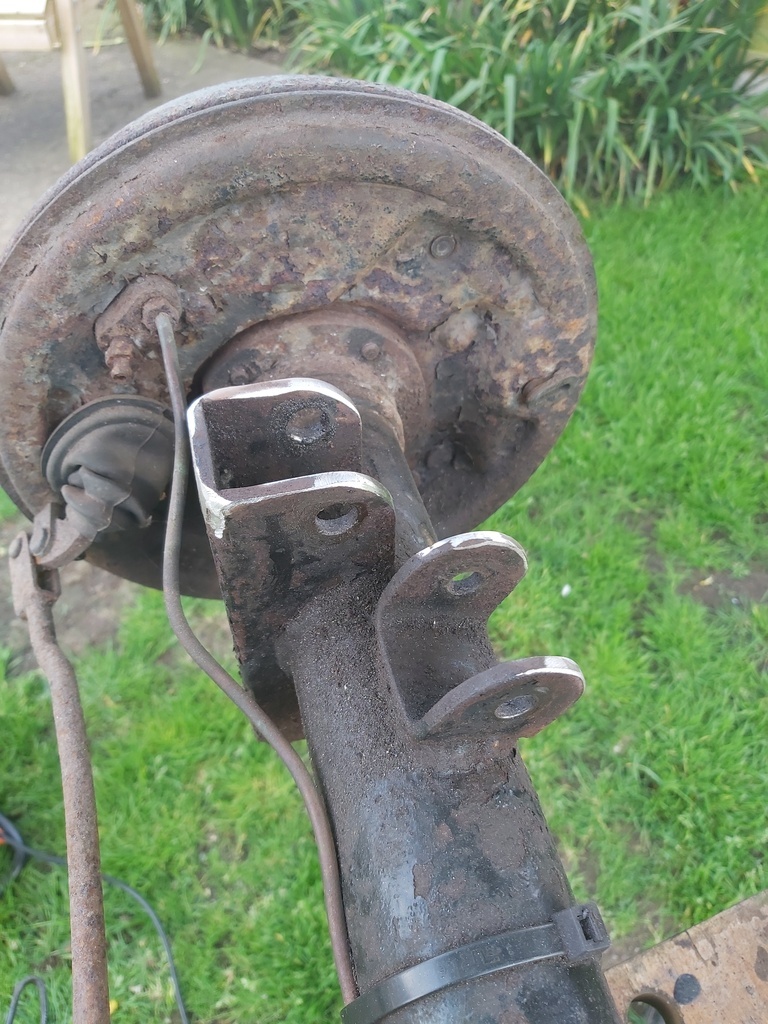
Nicely rounded off brackets are much better.
I say black uprights.
|
| |
|
|
Darkspeed
Club Retro Rides Member
Posts: 4,845
Club RR Member Number: 39
|
|
|
|
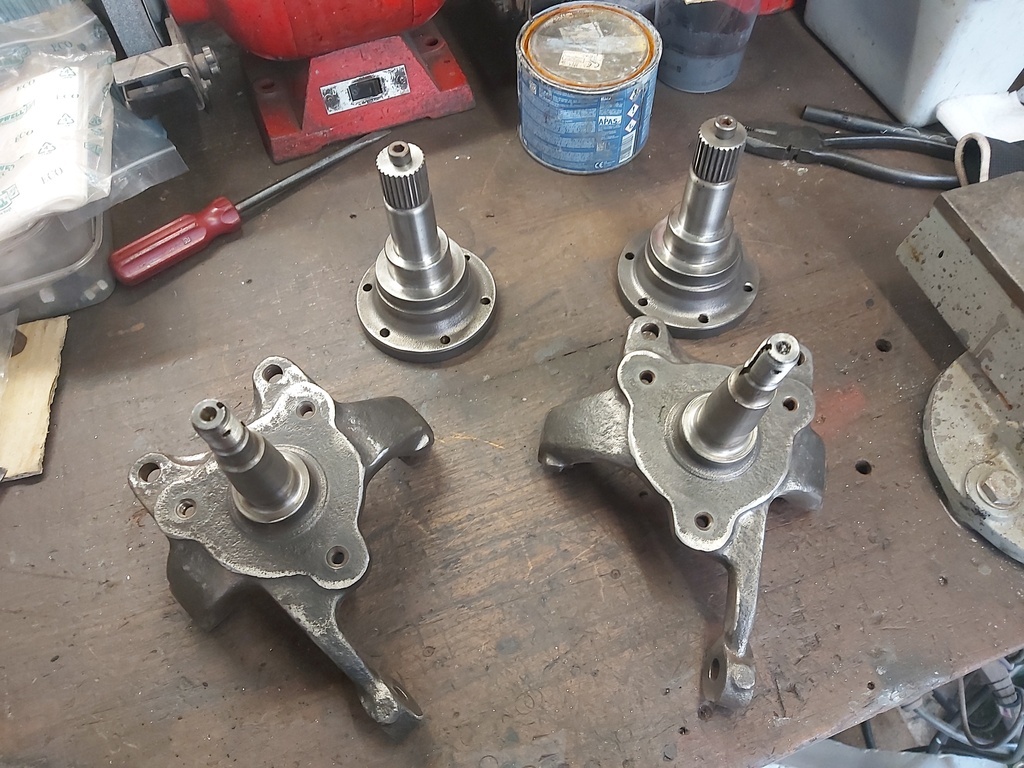
Hmmm.... I had near settled on Aluminium. This is mainly due to the G27 and the Litton having Aluminium uprights / axle carriers so it being a continuation of the theme of Grey Chassis - Black Suspension arms - Aluminium Uprights. Today's work will be interrupted by the F1 but the aim is to get more wiring completed, test a few circuits and order the roll hoops. |
| |
|
|
Darkspeed
Club Retro Rides Member
Posts: 4,845
Club RR Member Number: 39
|
|
May 26, 2024 20:59:13 GMT
|
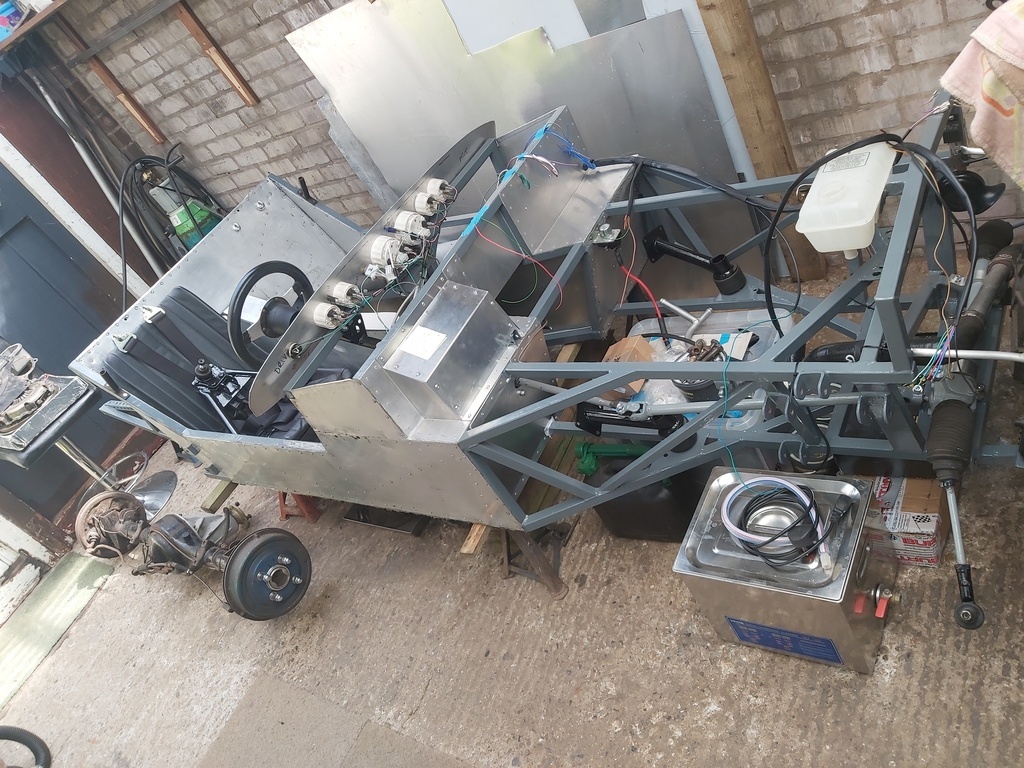
And Aluminium it was - I think they look lighter which is almost as good as being lighter  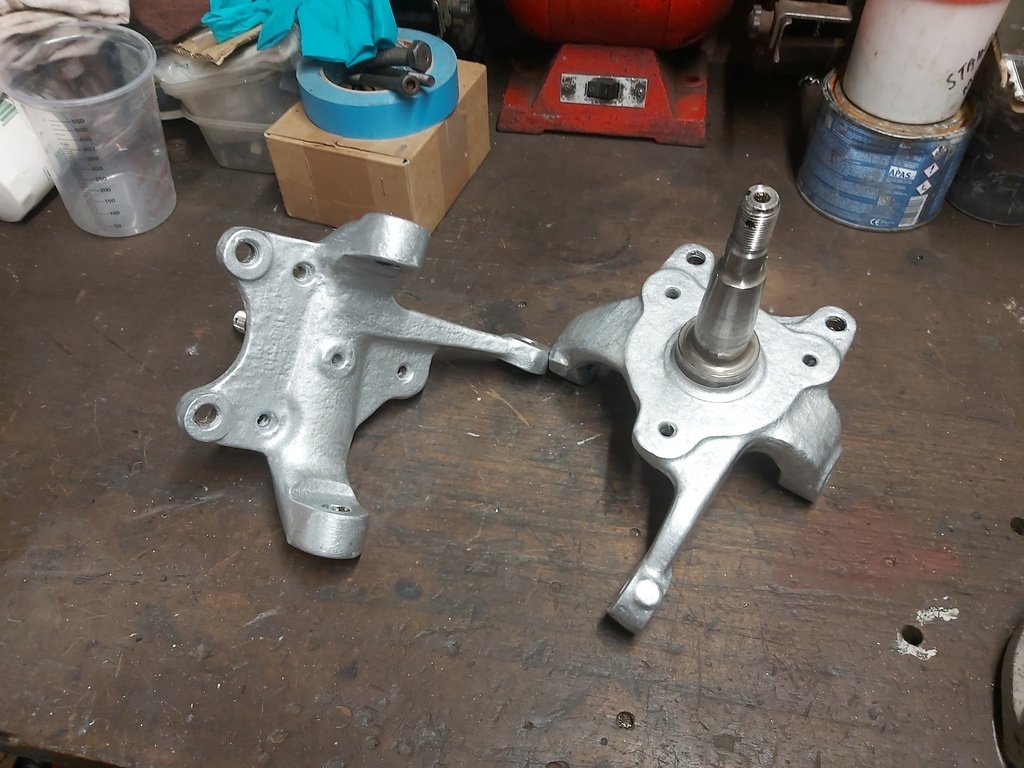 Not much wiring done as I made a brake reservoir bracket - I really should buy or machine up some dimple dies 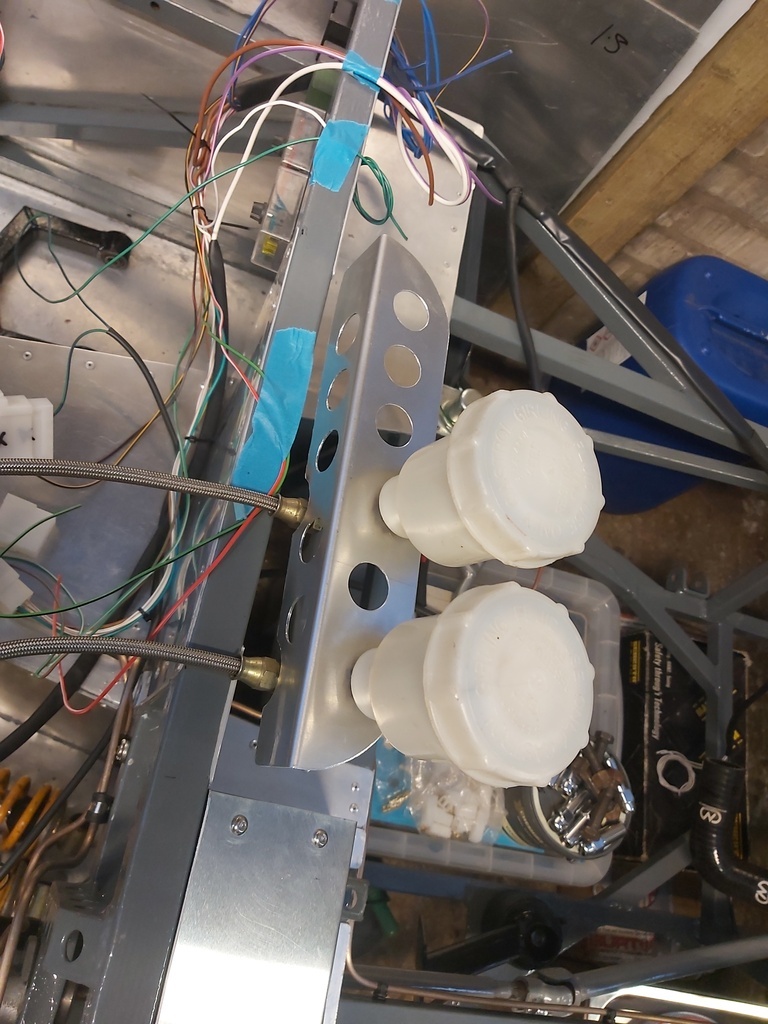 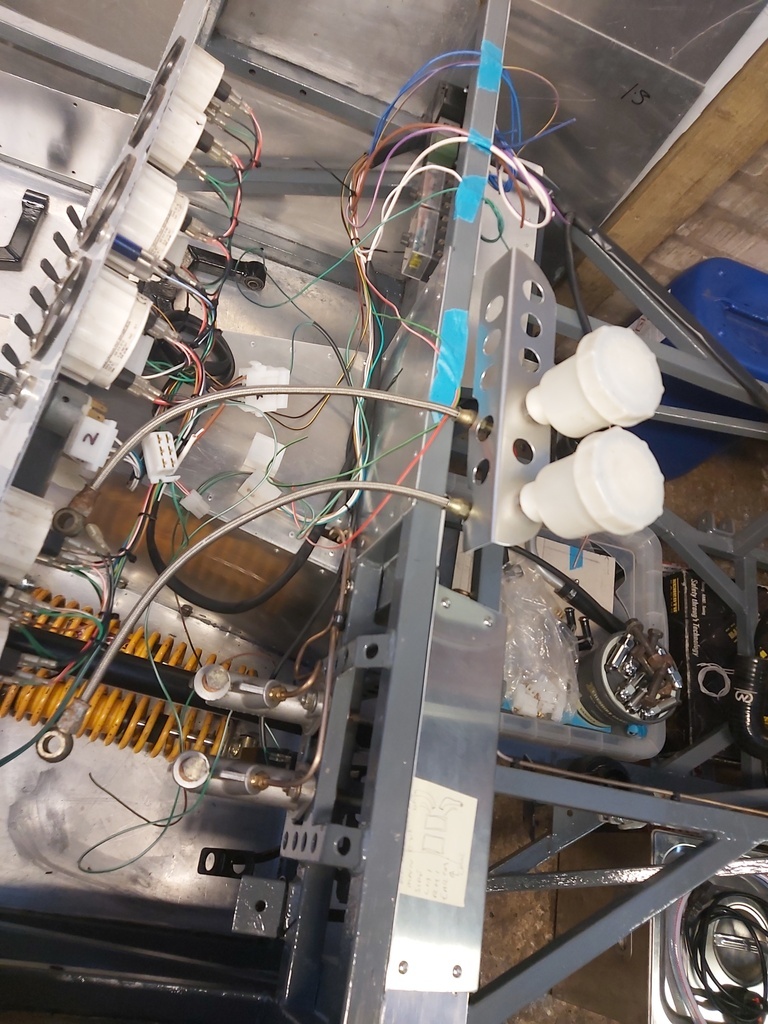 Get another day on it tomorrow so perhaps use that to progress the wiring - The speedo sensor is something I need to find and have a read about, as it may need to have the upright drilled to pick up on the disc mounting bolts. |
| |
|
|
Darkspeed
Club Retro Rides Member
Posts: 4,845
Club RR Member Number: 39
|
|
May 27, 2024 20:39:17 GMT
|
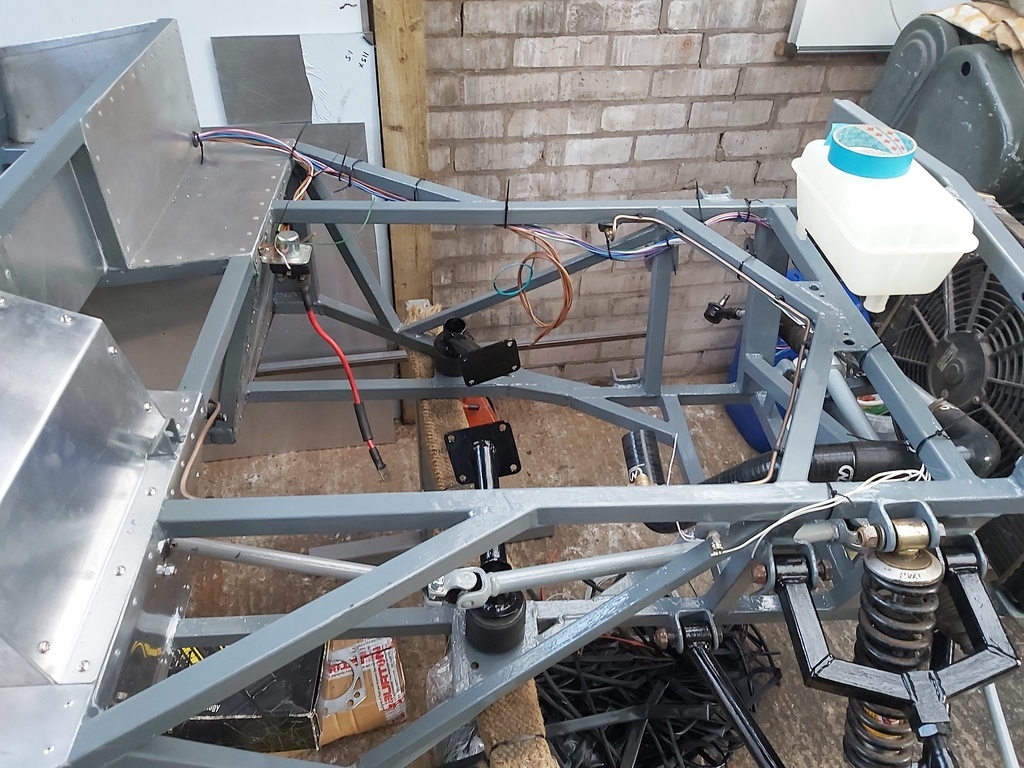
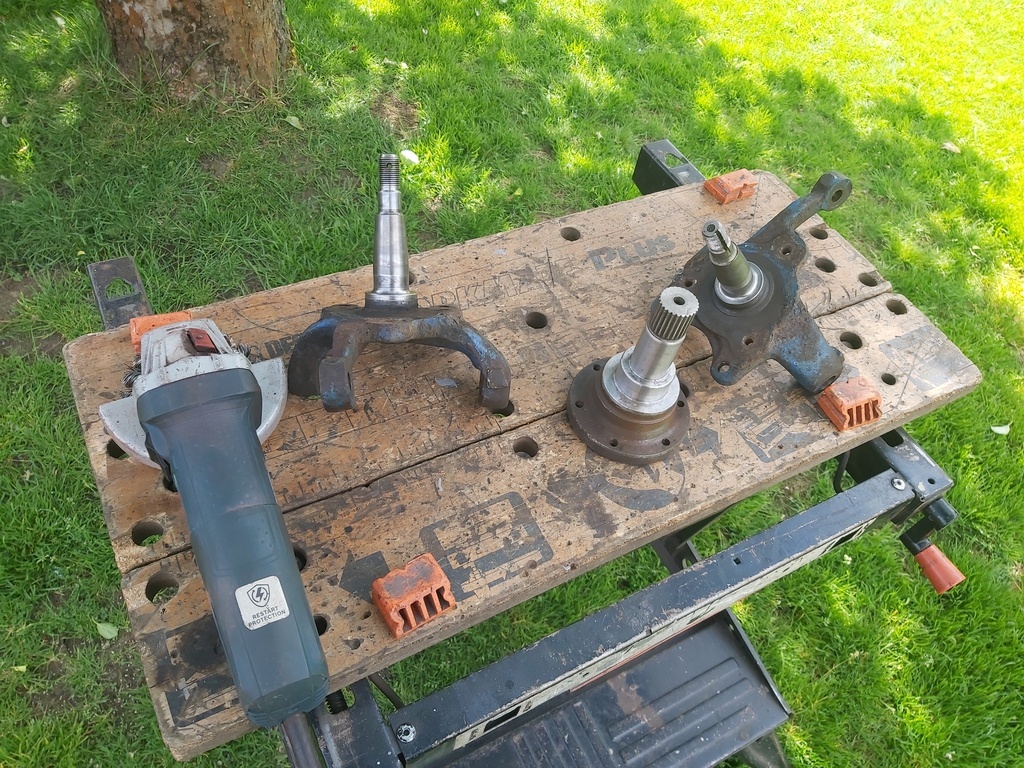
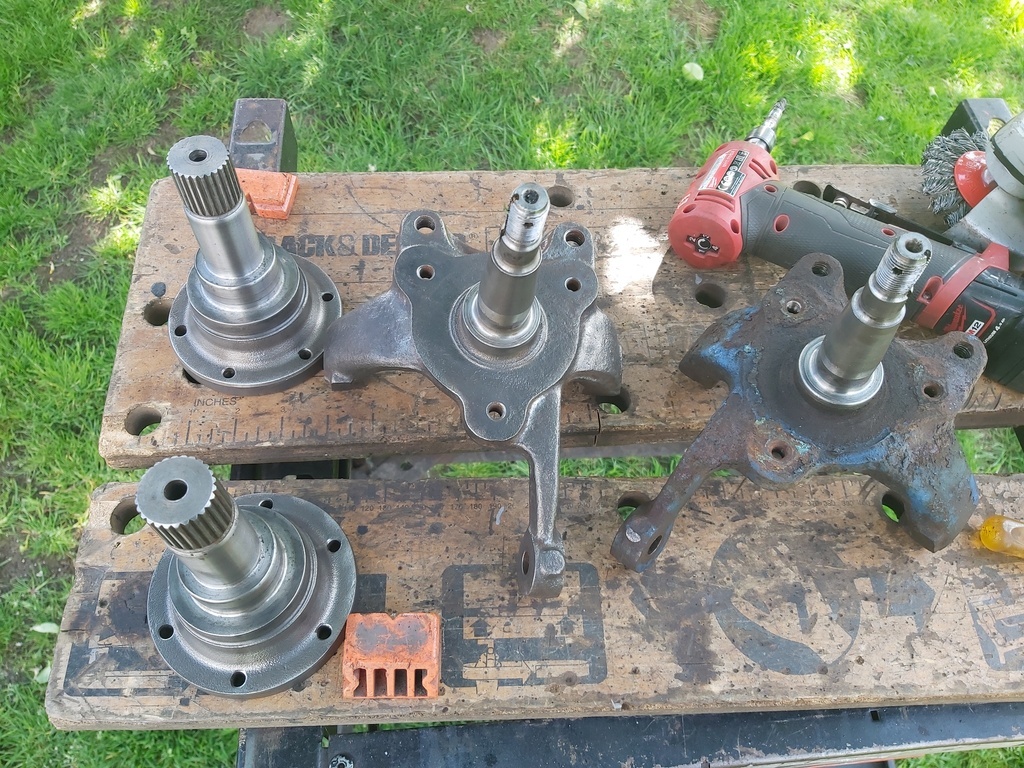
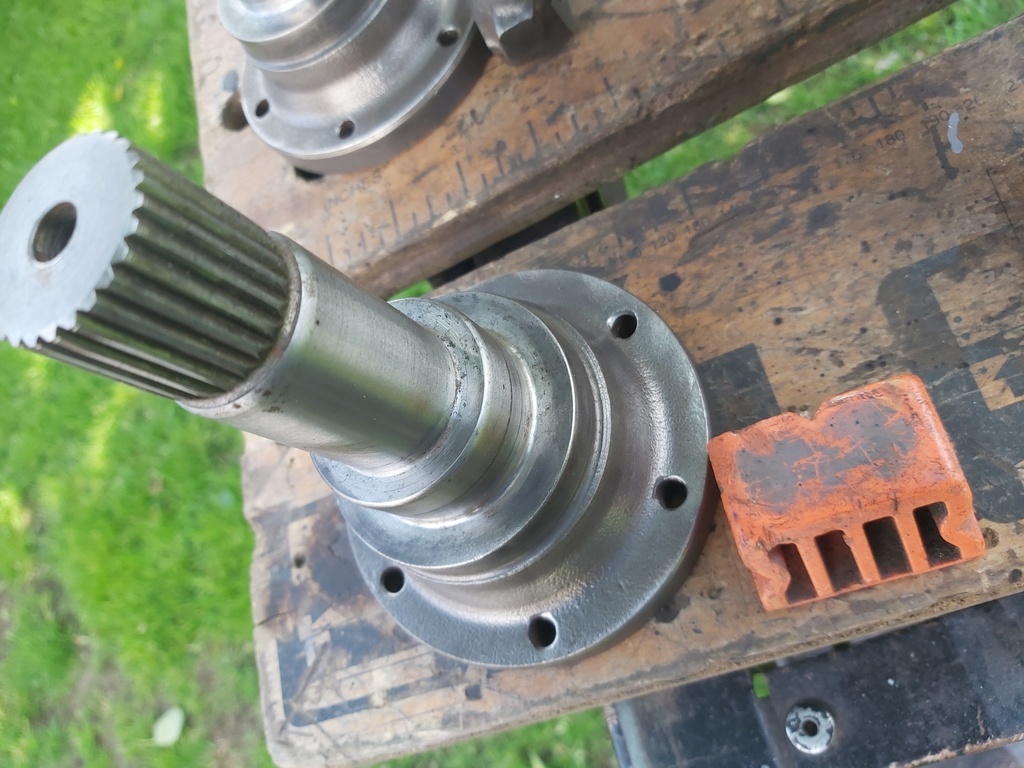
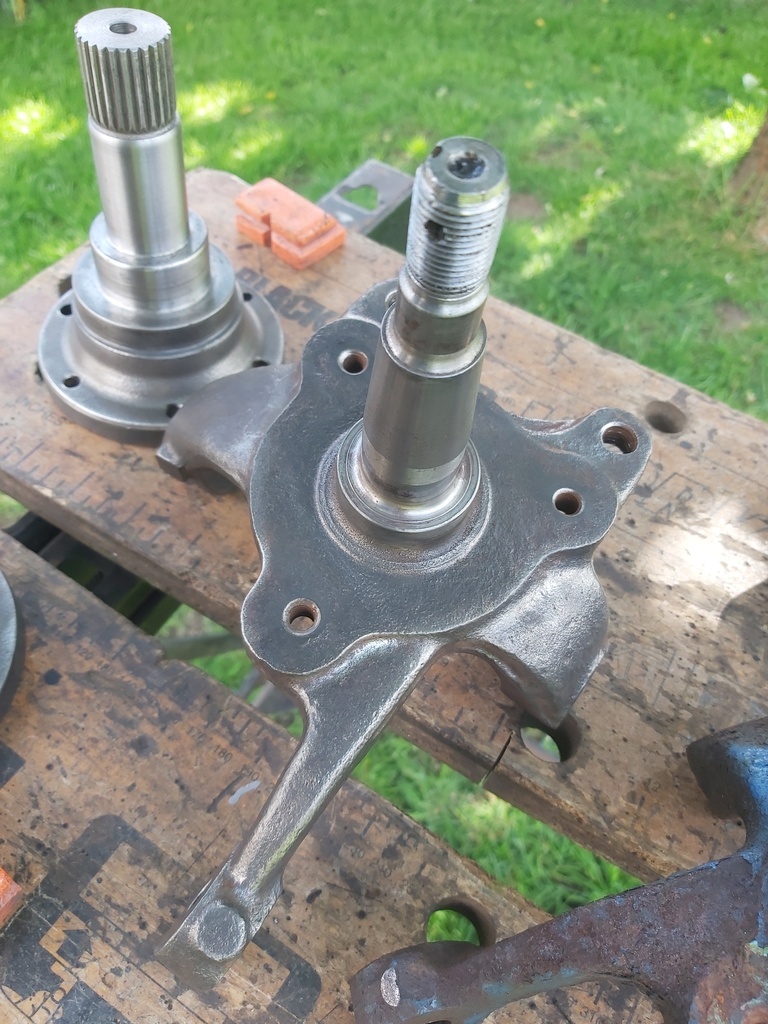
I fitted and piped up the brake fluid reservoirs - just a couple of grommets needed.  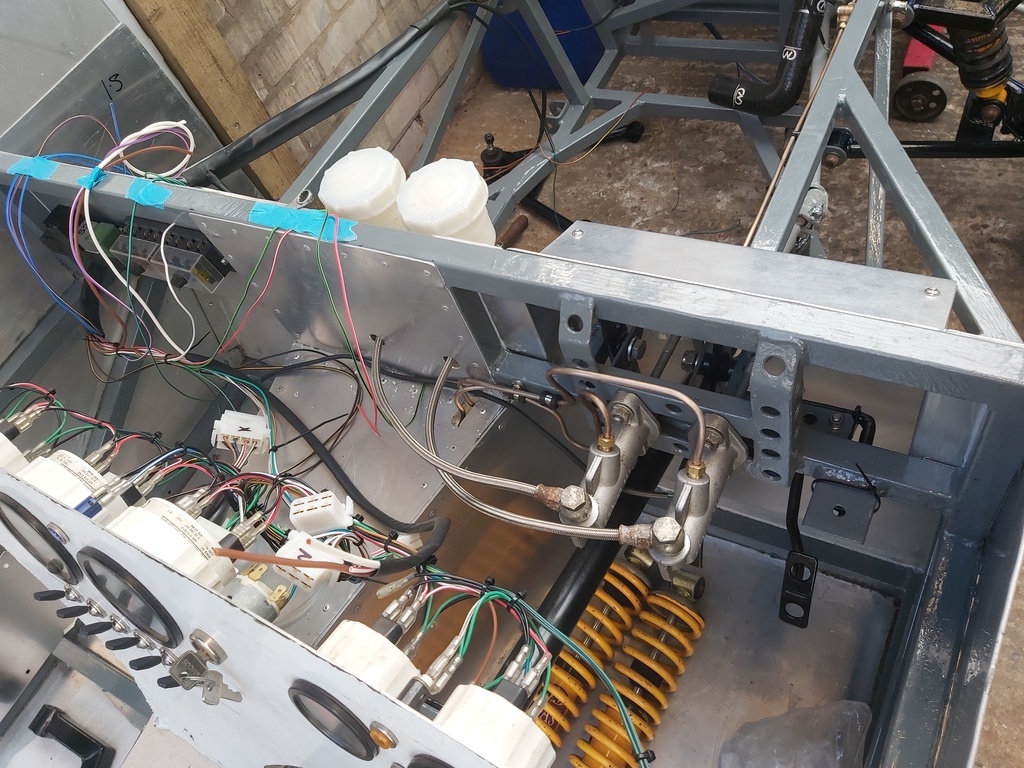 The prop got cleaned and painted 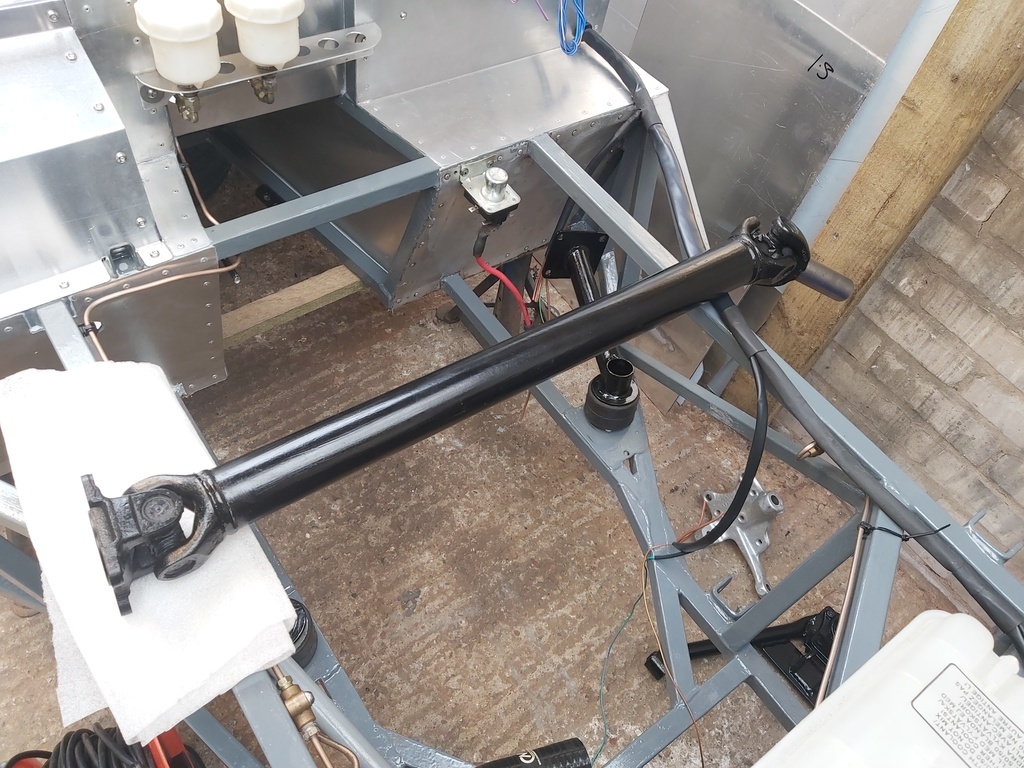 The front suspension is now getting assembled 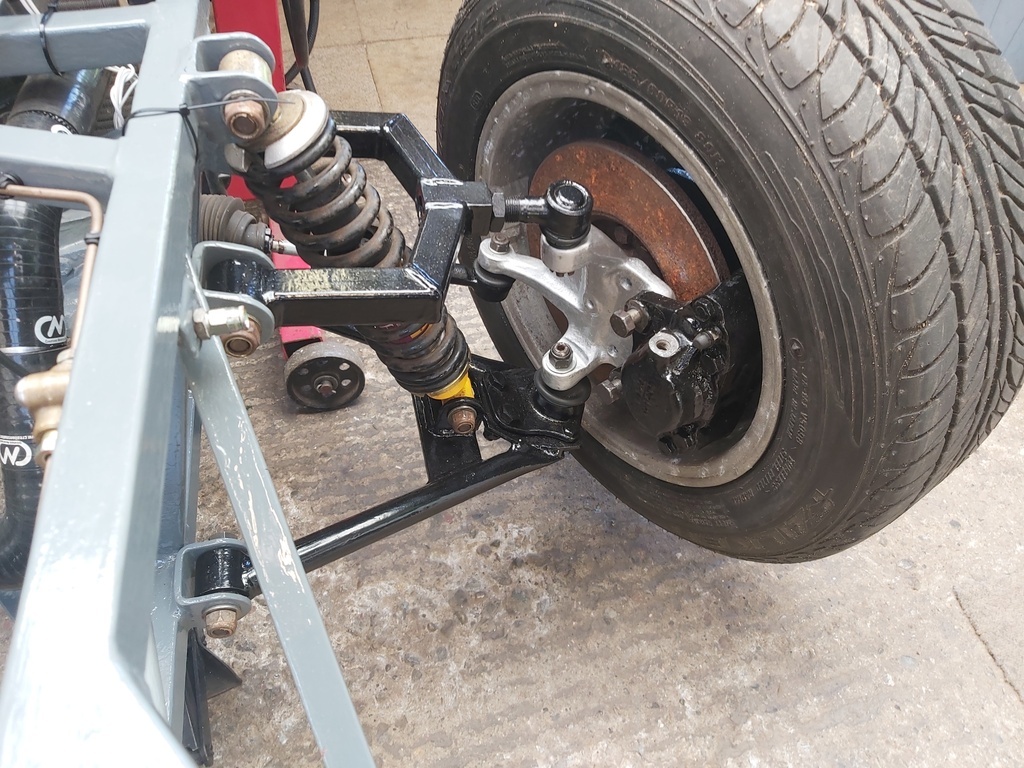 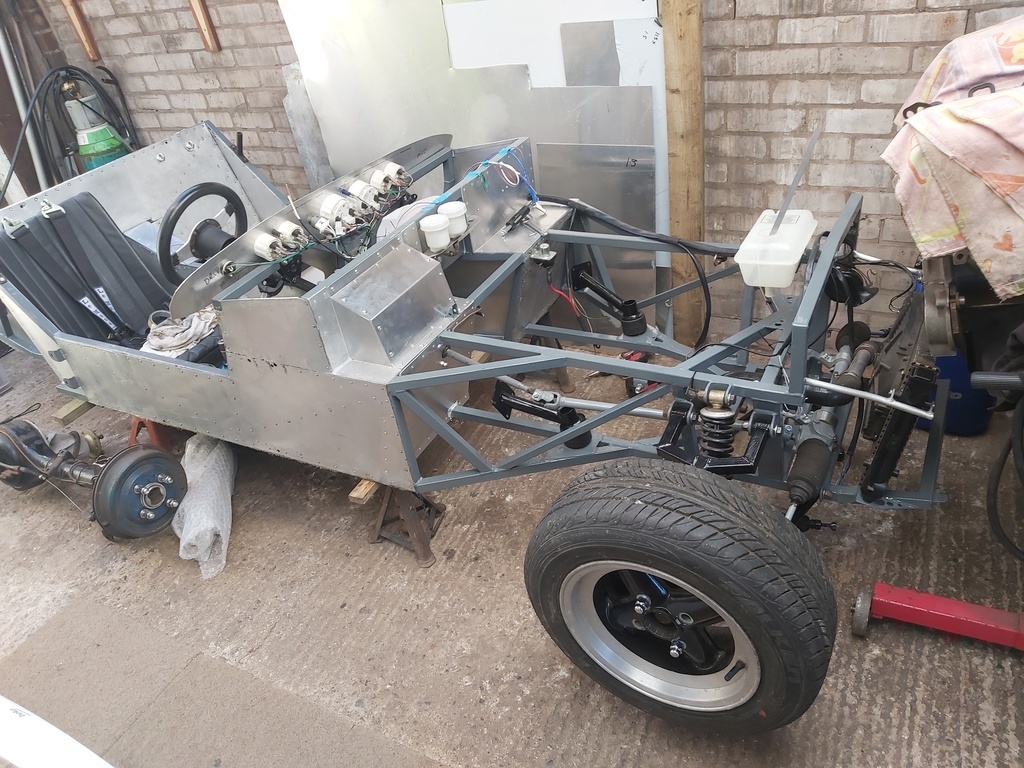 A very small amount of wiring was done - and some time was spent looking at possible coil mounting arrangements. Could not find the speedo sensor - not 100% on if I actually have one so that may need to go on the shopping list. Better get the block and pistons off to the engineers. |
| |
|
|
Darkspeed
Club Retro Rides Member
Posts: 4,845
Club RR Member Number: 39
|
|
May 27, 2024 21:23:43 GMT
|
Tank after its makeover 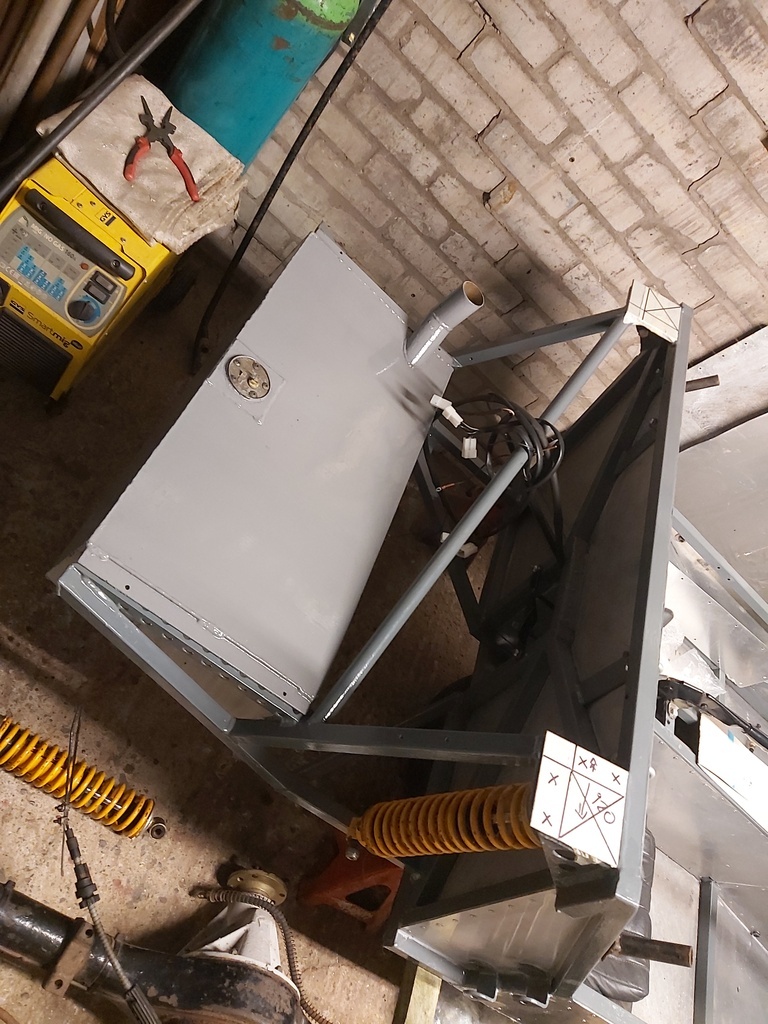 And an electrical test 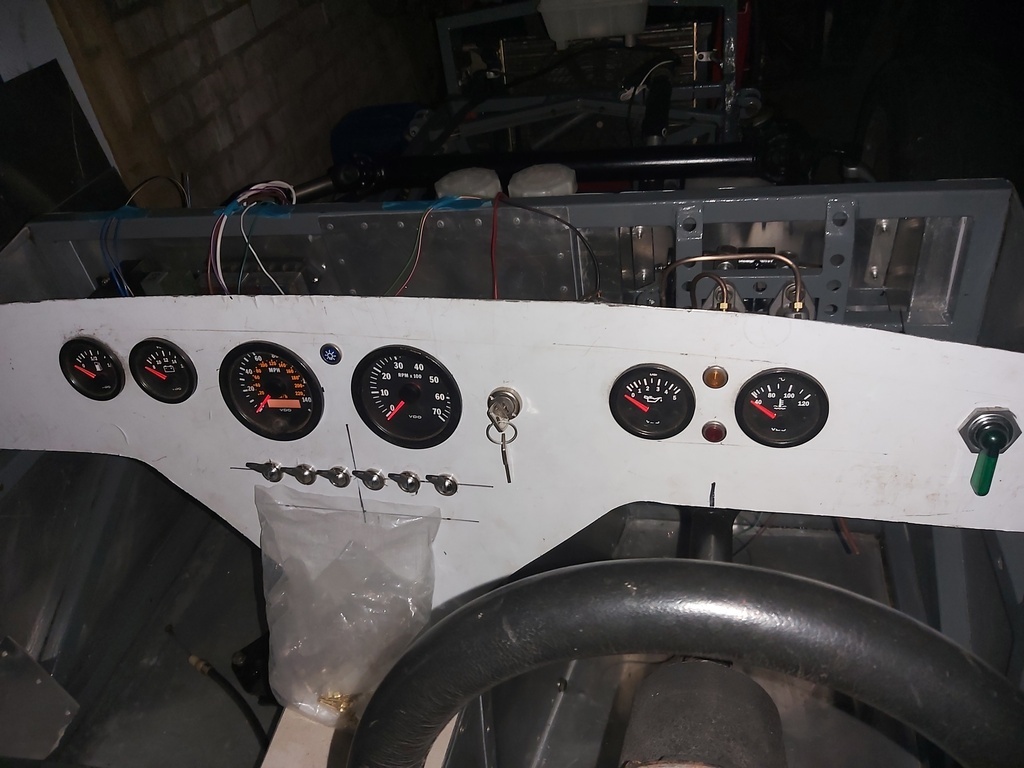  Would be nice to think I will be giving it a run out on a summer night this year |
| |
|
|
Darkspeed
Club Retro Rides Member
Posts: 4,845
Club RR Member Number: 39
|
|
May 29, 2024 19:25:03 GMT
|
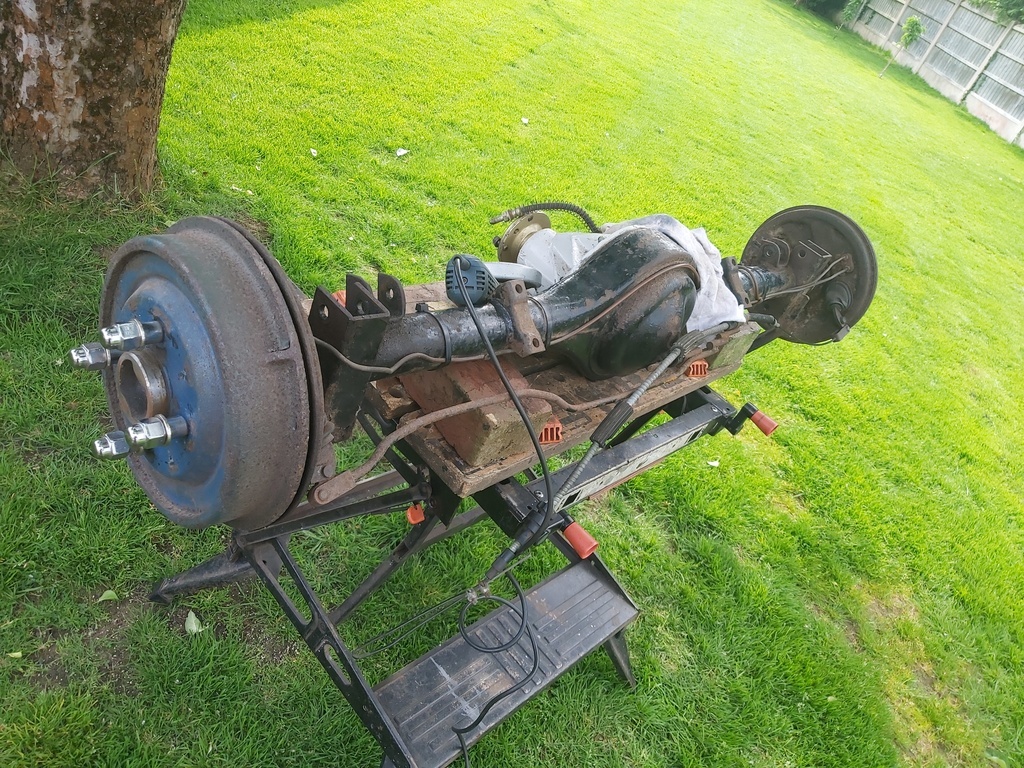
A quick couple of hours after work. Put the axle in 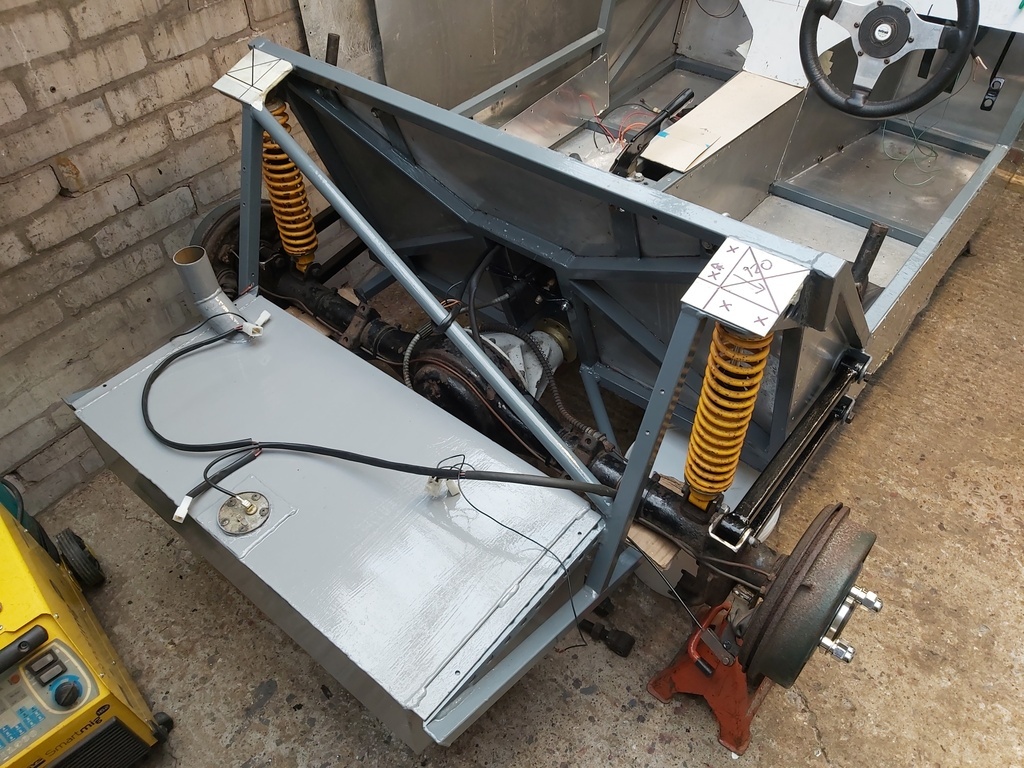 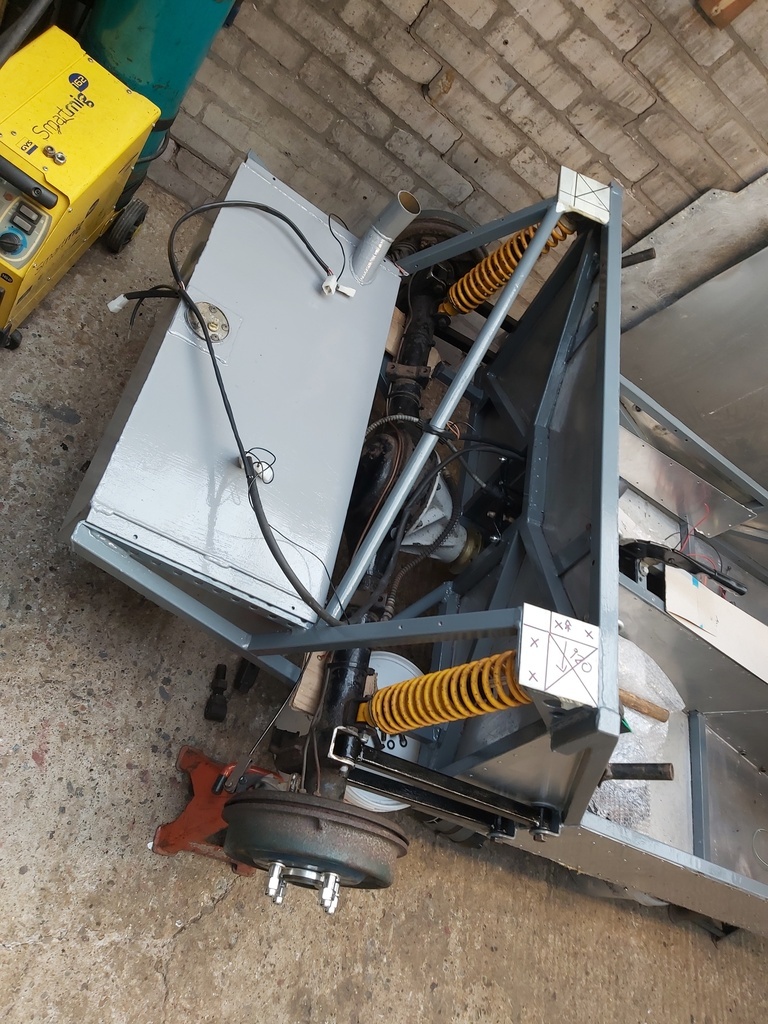 It centred its self perfectly 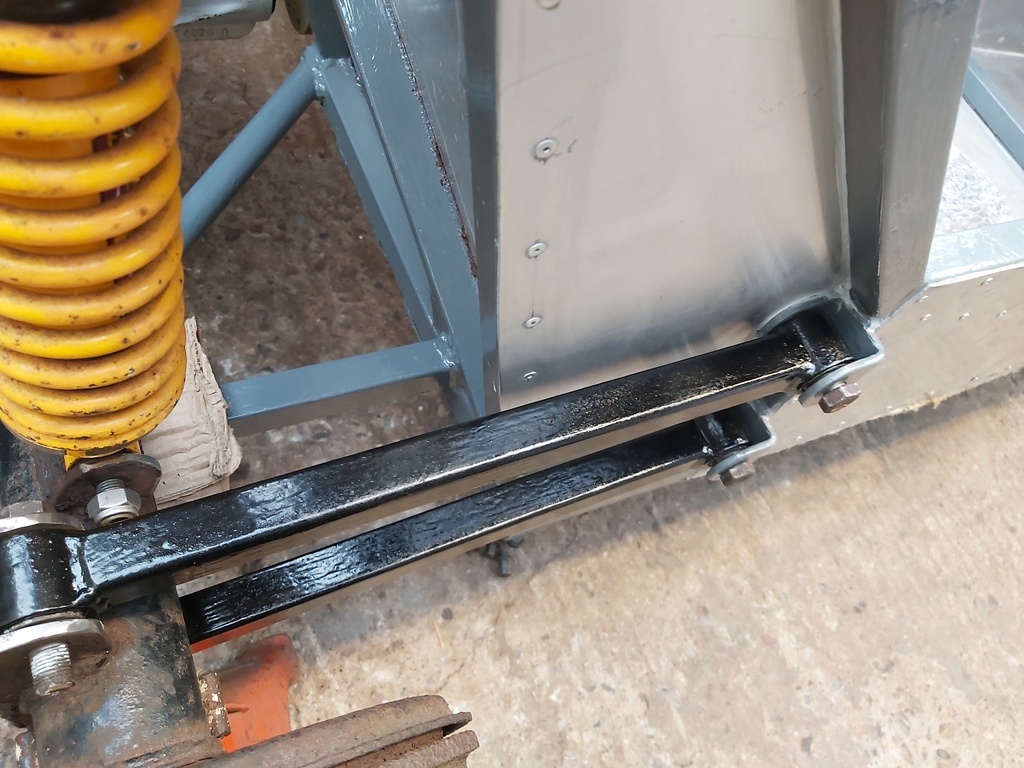 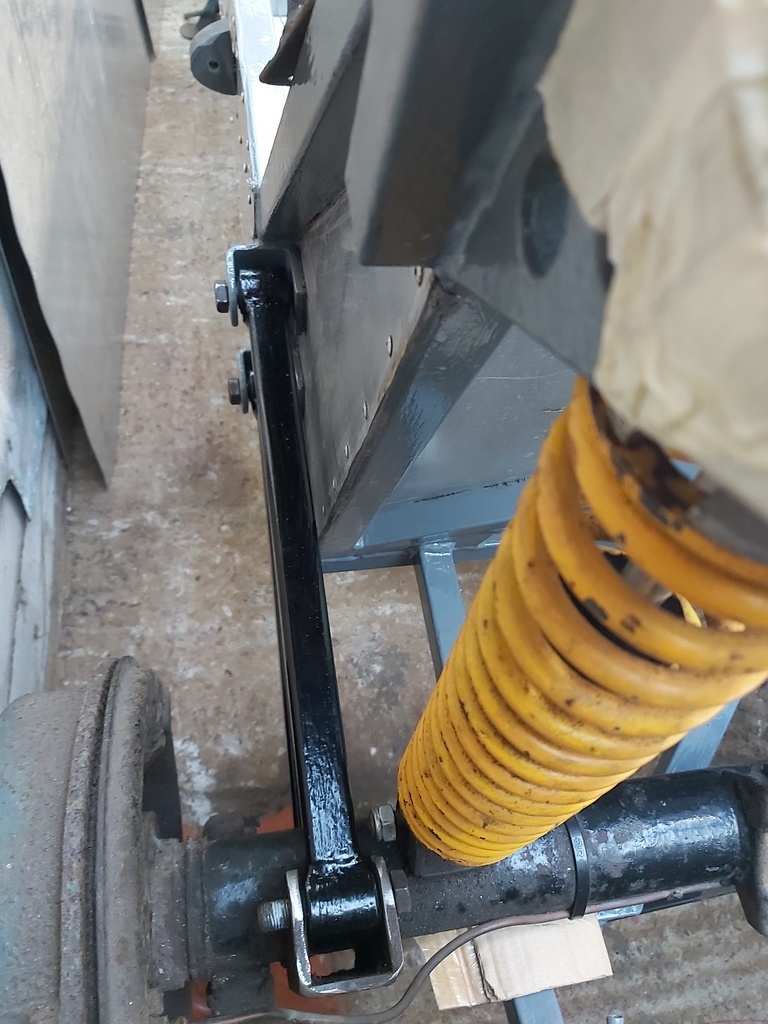 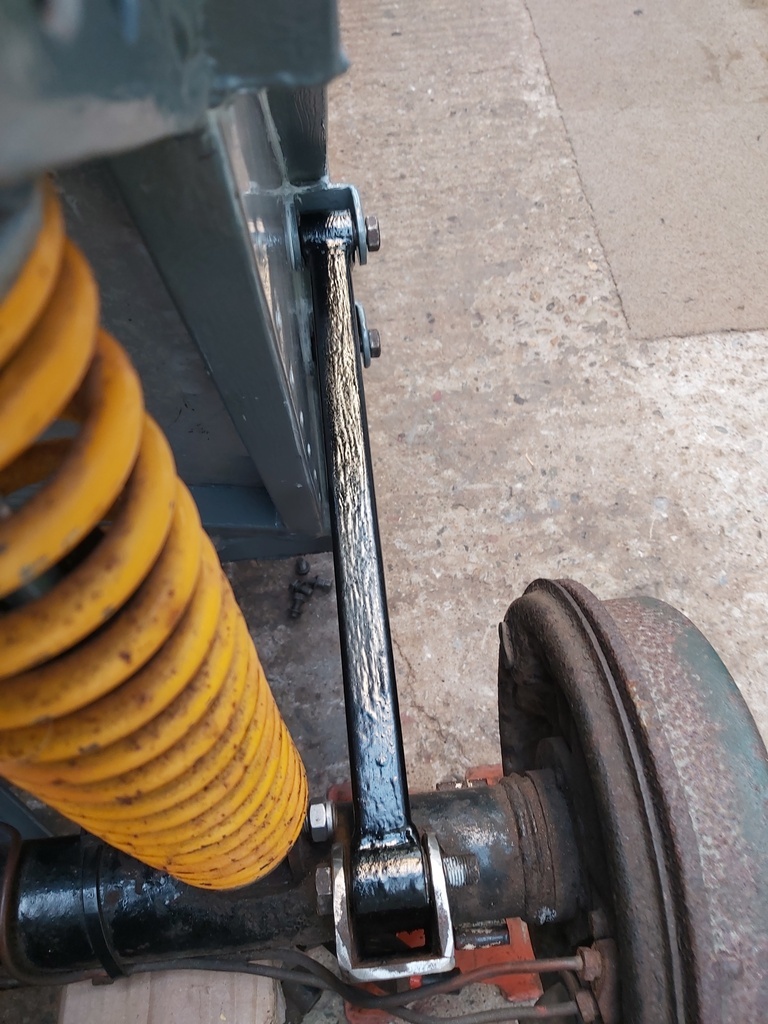 Which highlighted one issue I was aware of - The amount of thread engagement on the Panhard rod when in the correct position. 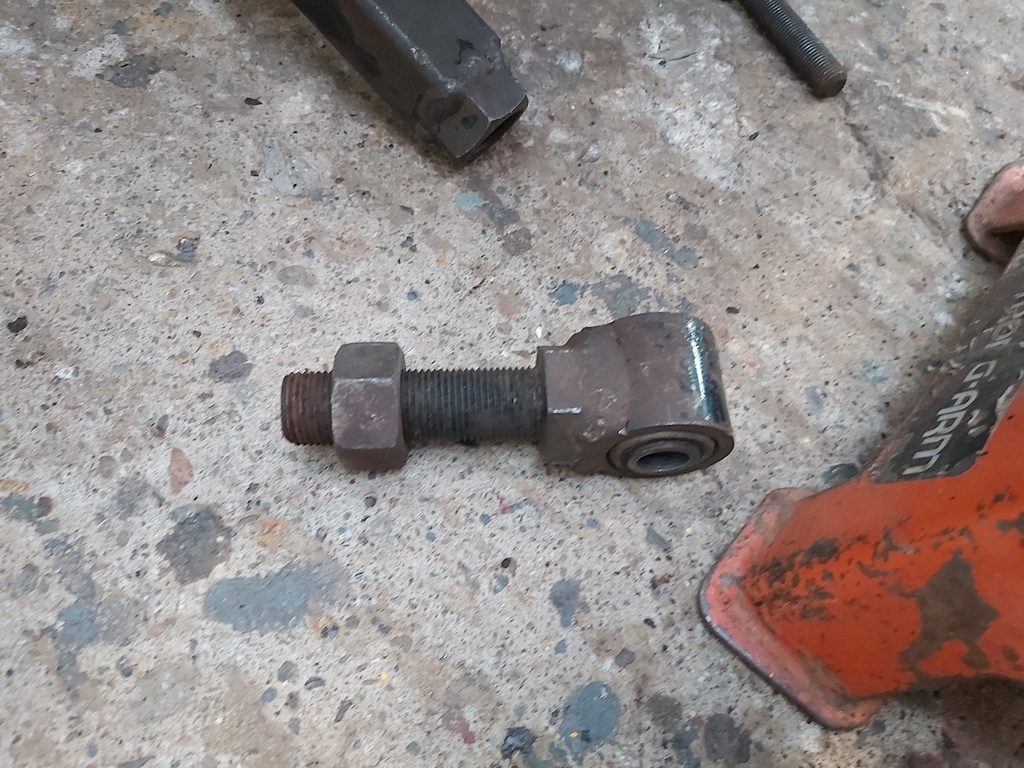 And one I had missed - How close the prop flange runs to the chassis 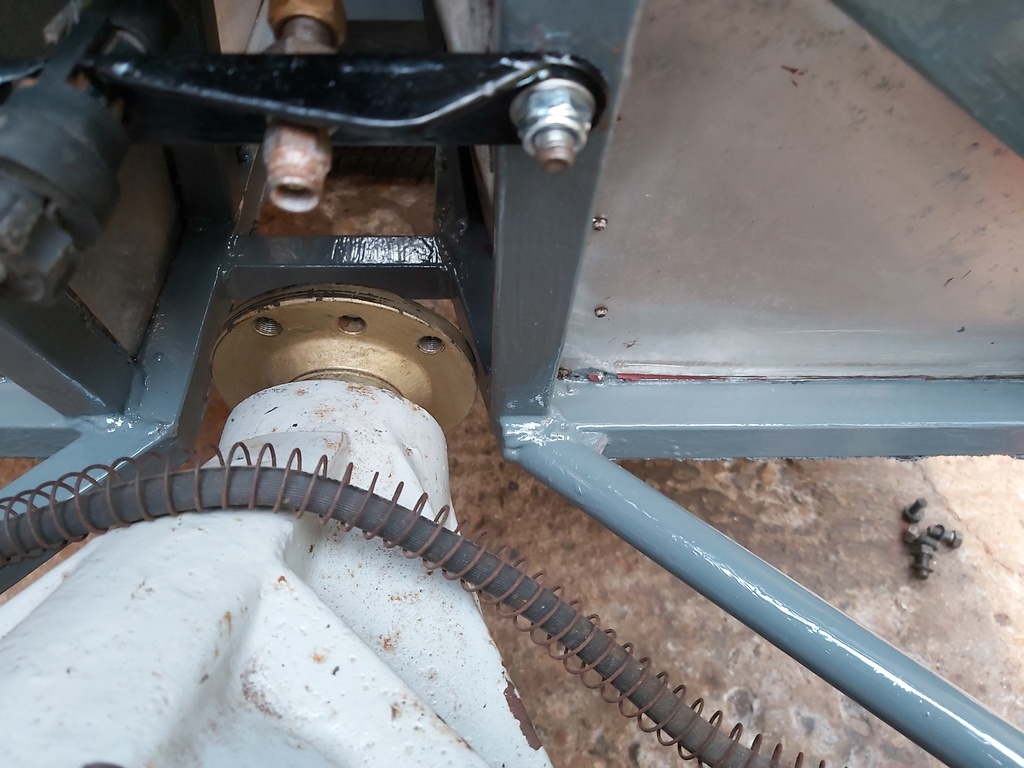 If you note on the LHS the vertical tube is to the left of the lower chassis tube - on the RHS it is on top of the lower chassis tube making it 1" closer to the prop - I believe that tube would be better at an angle following the line of rivets you can just make out. A miss is as good as a mile so I will see what happens through full axle articulation. It is also a bit closer as this is the big flange. As I am making a new Panhard rod 18mm longer I will fit a Rose joint on the axle end to reduce the amount of give provided by the rubber bushed ends. You will no doubt notice that I have not painted the axle yet - It is going to be used as is whilst I assess the 3.54 axle ratio and decide if I rebuild it with an ATB diff. As The axle will need to be fully stripped to paint it that can happen over a winter period. Almost a rolling chassis  No wiring done today  |
| |
|
|
mk2cossie
Club Retro Rides Member
Posts: 3,031  Club RR Member Number: 77
|
|
May 29, 2024 19:52:46 GMT
|
No wiring is a maybe, but still good progress there  The axle location tabs look so much better now as well 👌 |
| |
|
|
|
|
|
May 29, 2024 23:05:28 GMT
|
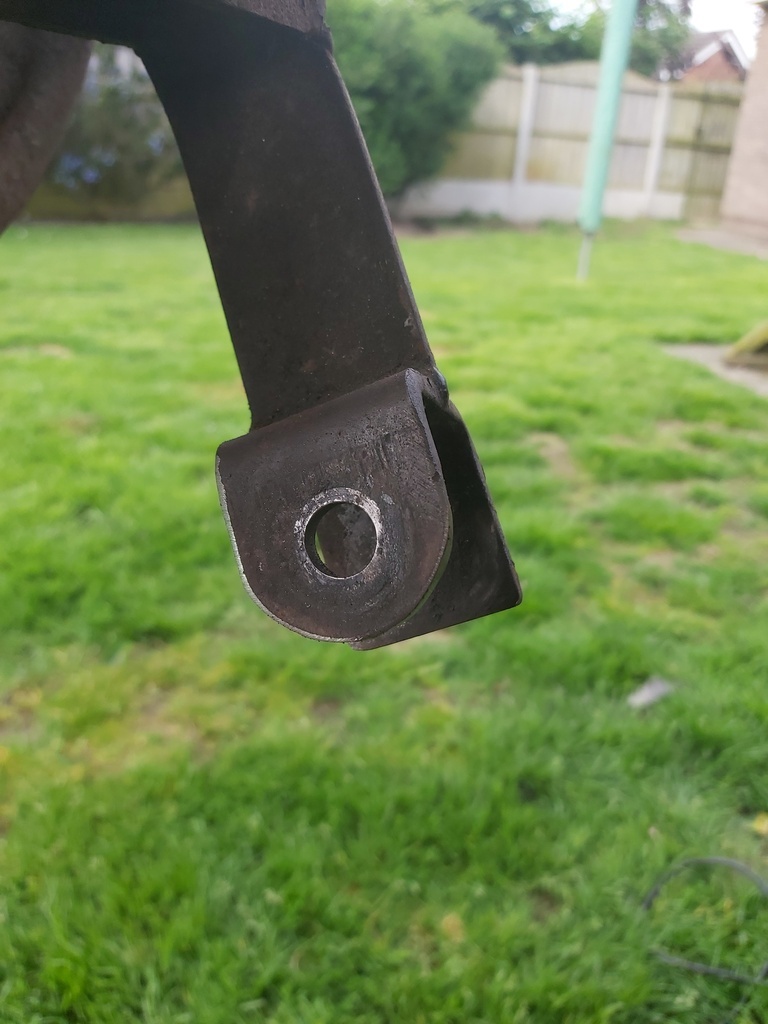
Every time I look at this thread in the menu list I always read it as an Elvira replica How can someone make a bracket & not radius it?  |
| |
|
|
Darkspeed
Club Retro Rides Member
Posts: 4,845
Club RR Member Number: 39
|
|
May 30, 2024 15:56:19 GMT
|
Every time I look at this thread in the menu list I always read it as an Elvira replica How can someone make a bracket & not radius it? LOL - I am sure someone somewhere in the USA will have one .... to go with Lily Munster, Morticia Adams and Vampirella.... For me it would be Santanico Pandemonium. But only as I am a Tito and Tarantula Fan... The list of WTF! - WOE? - FFS! - Really! on an Autotune chassis is extensive. |
| |
|
|
|
|


 - far too elaborate for what it does.