LowStandards
Club Retro Rides Member
Club Retro Rides Member 231
Posts: 2,718
|
|
|
|
Looking around on the interwebs at compact heaters for kit cars etc and came across this little gem. It's a tiny little thing made by T7 Designs. Claims to put out 3.5kw 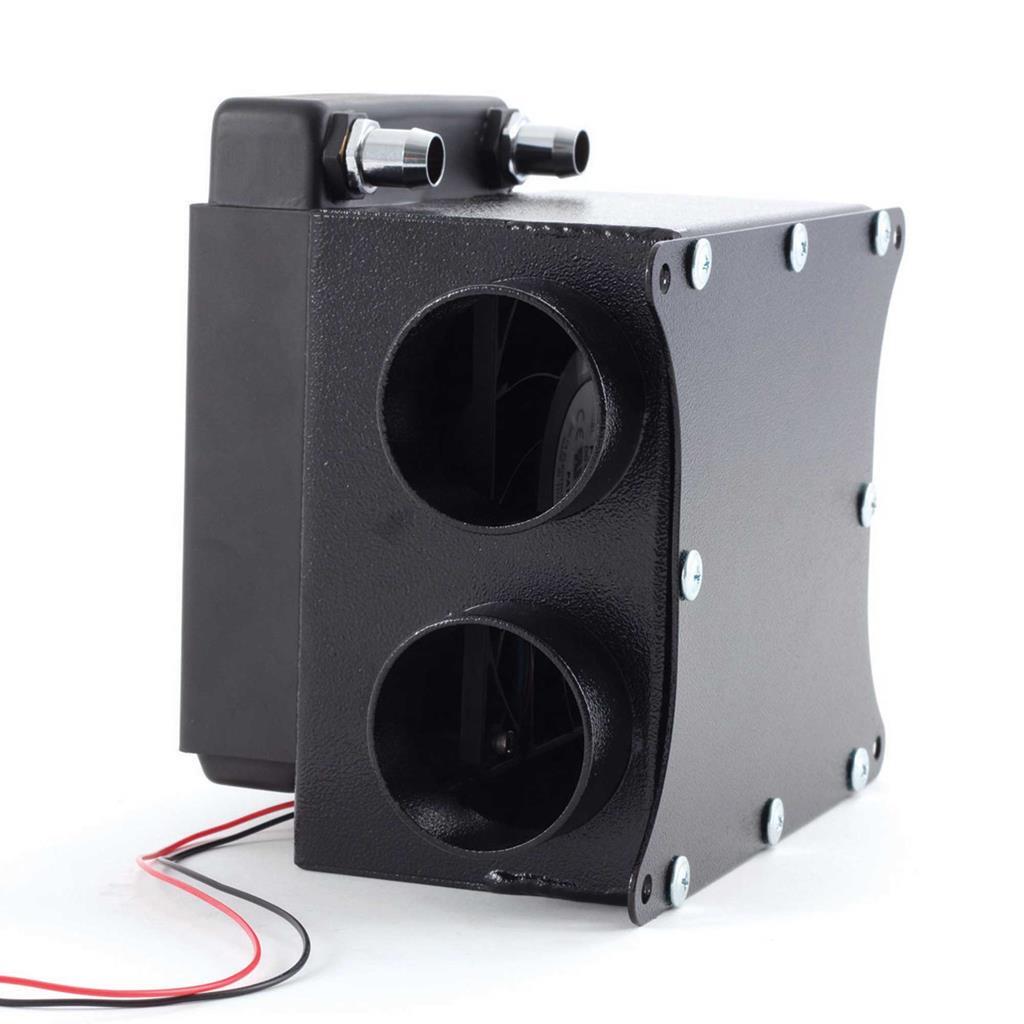 It's £130 though  So I looked at it a bit closer, I don't need the fan as I have one, and I don't need multiple vent posistions either, so basically the compact radiator. I've looked for ages at heater matrix's and couldnt find one small enough, but then a random eBay browse came up trumps 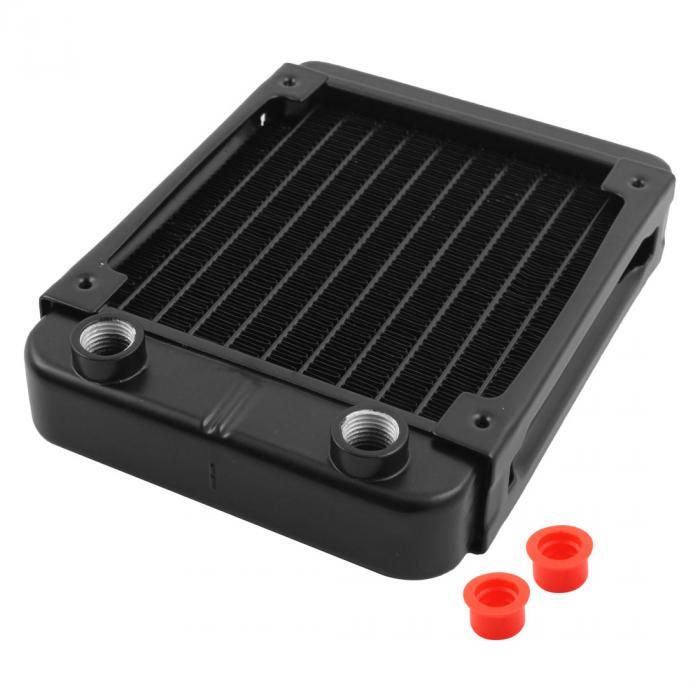 This is the exact radiator used on the T7 heater Turns out it's for water cooling computers. It also turns out they're £8 So i've ordered one of those. I was also sceptical about the claimed heat output of such a small radiator, but YouTube showed one fitted to a Lotus putting out over 55 degrees of crotch warming air |
| |
|
|
|
|
|
|
|
|
|
|
|
|
Funny how stuff comes from random places.
And like animal medication, often priced well above human generic equivalents due to the emotional nature of the purchase, it pays to look around and see where equivalency exits.
Ducting and direction should be reasonably easy too.
|
| |
|
|
LowStandards
Club Retro Rides Member
Club Retro Rides Member 231
Posts: 2,718
|
|
|
|
|
|
| |
|
|
LowStandards
Club Retro Rides Member
Club Retro Rides Member 231
Posts: 2,718
|
|
|
|
|
I'm having a single outlet Rian, under the steering wheel, straight at me.
I don't think i'll ever be in a sauna, but having something that just takes the chill off is worth the kilo or so in weight.
Also, they're small enough and cheap enough, that I can stack 2 or 3 up to up heat output if necessary!
|
| |
|
|
LowStandards
Club Retro Rides Member
Club Retro Rides Member 231
Posts: 2,718
|
|
Dec 30, 2019 15:04:41 GMT
|
Some things happened over the Xmas period inbetween cheese. I started her up with everything connected and ran her for a good 20 mins. Happy to report the temperature stayed around the 75-80 degree mark and the oil pressure at a steady rpm was nice and strong 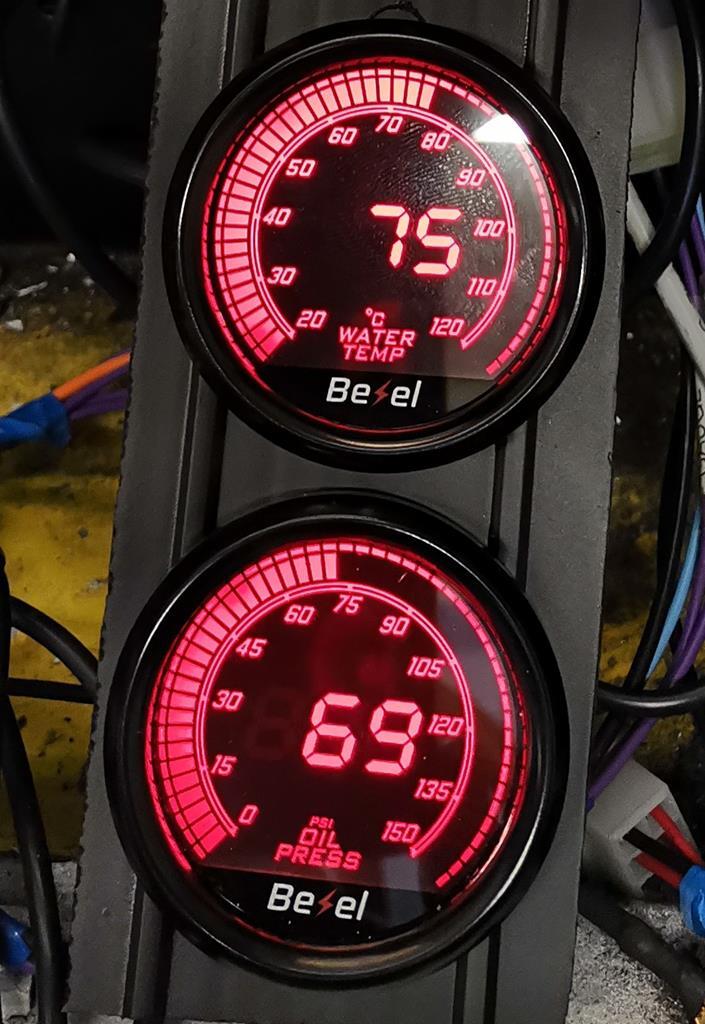 You'll note I haven't included a pic of the Tacho there. Turns out its a bit modern and wants a signal of 2v/4v from an ecu. My coil is throwing out around 7v/9v so I now need to build a voltage reduction circuit. Remember a long while back, the exhaust snapped on the way home from RRG. I found the culprit and Santa brought me the fix 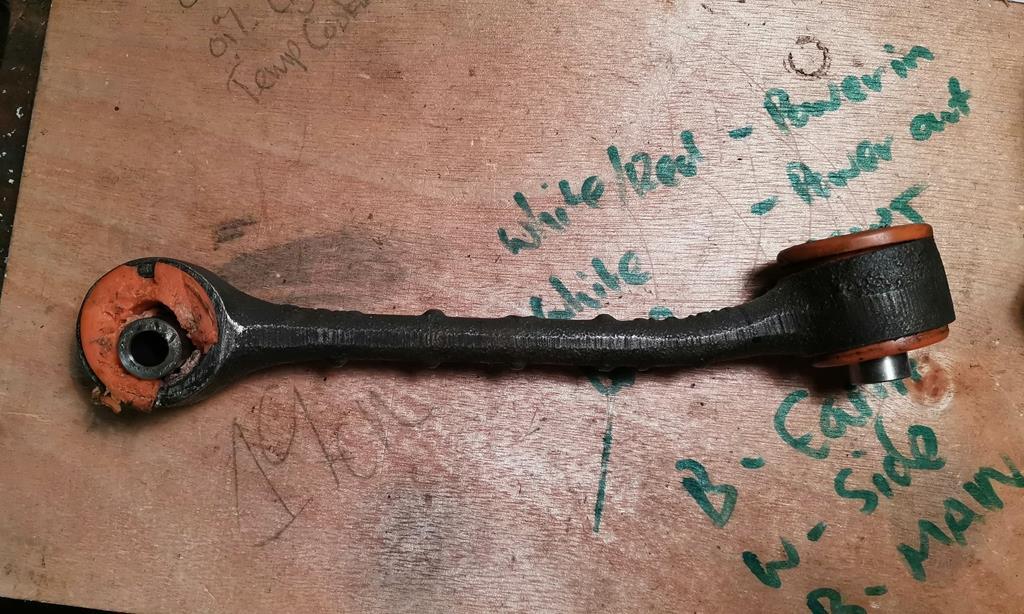 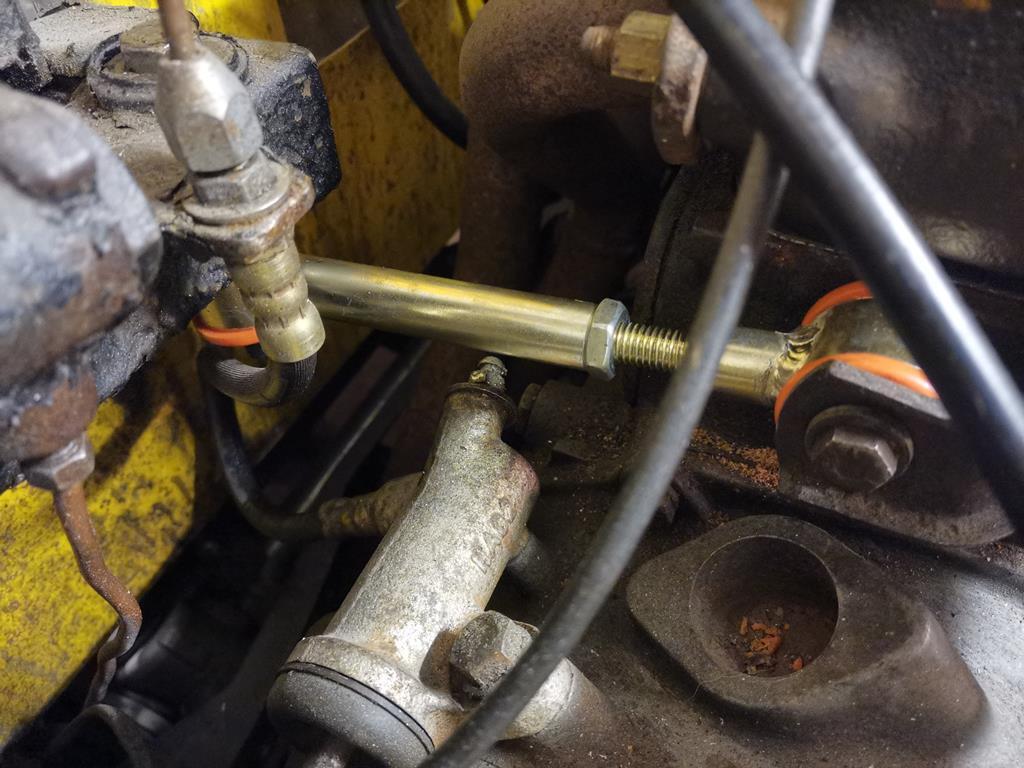 Top engine steady bushes were toast. Oh and it's bent! Lastly, my matrix arrived. I was going to go all cardboard-aided-design and build an elaborate steel enclosure, but then I was in Wickes and figured a few quids worth of duct reducers would work just as well. These have now been siliconed to the radiator to fill in the gaps and fit the 4inch fan perfectly. They're also really light. 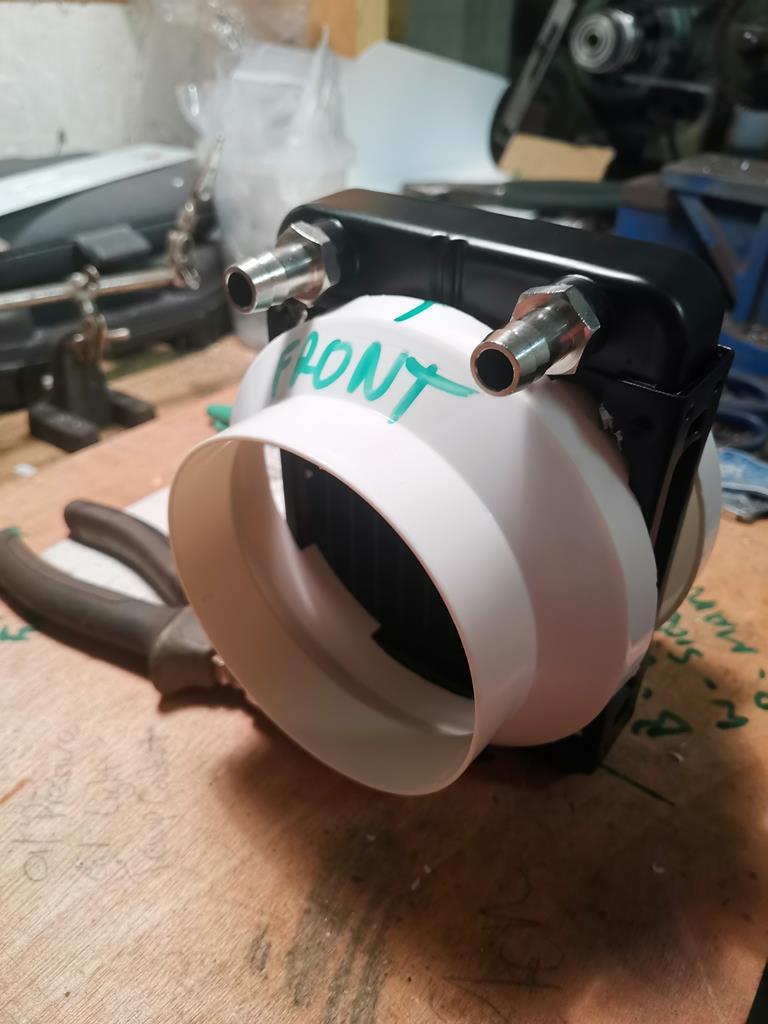 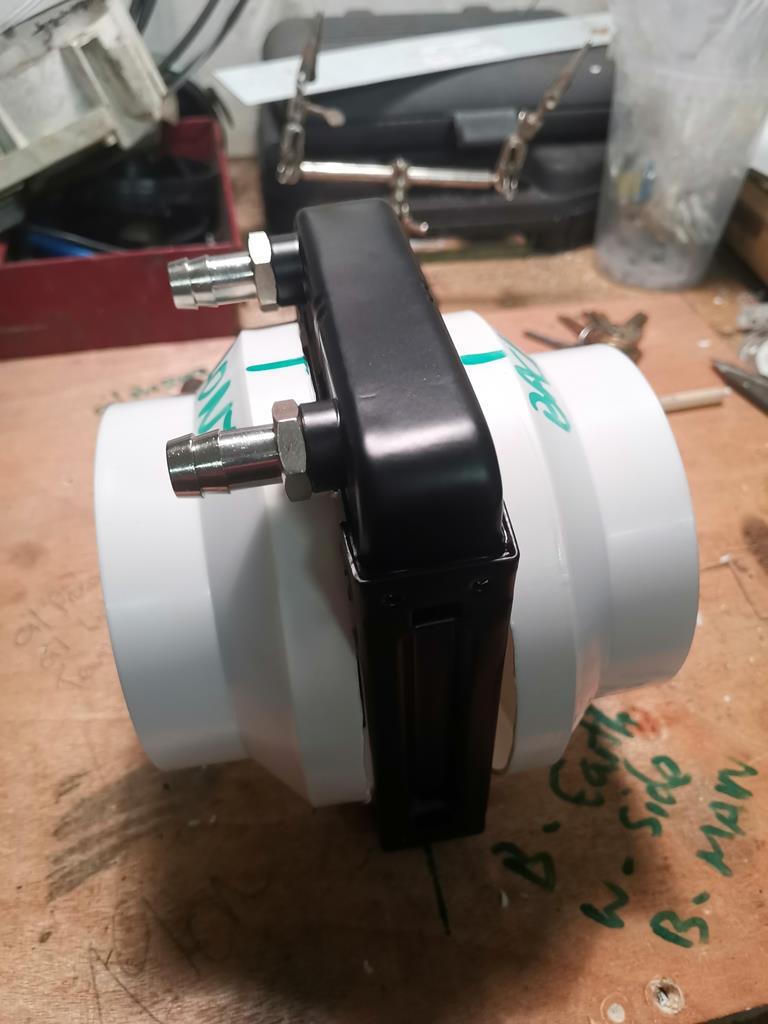 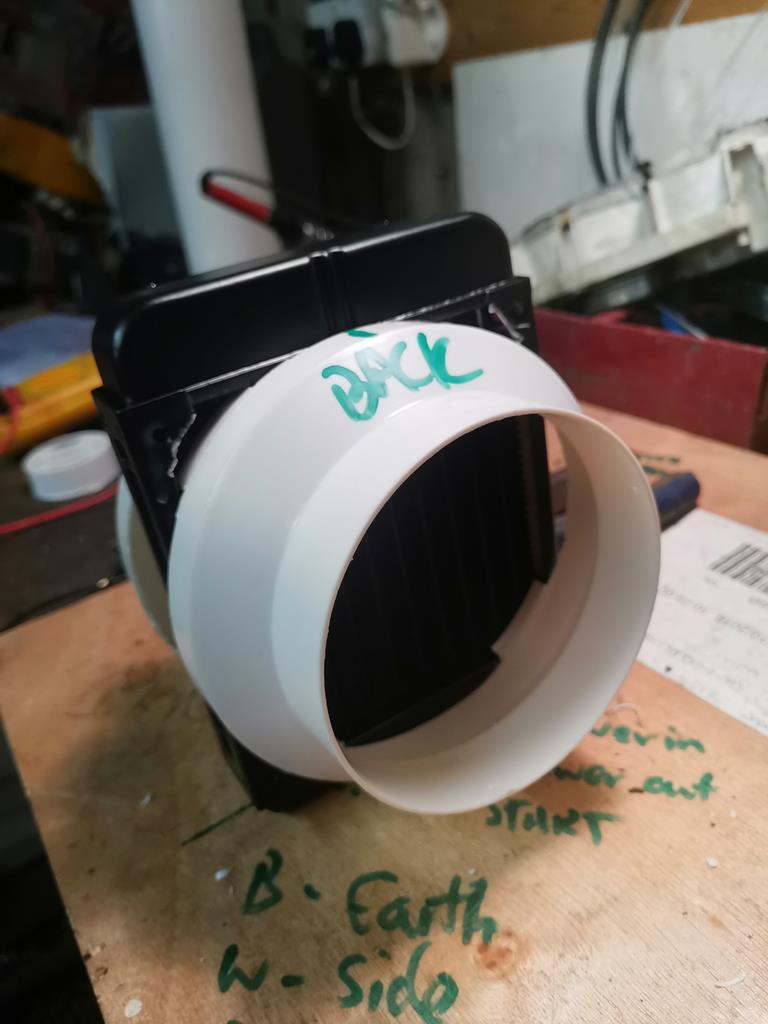 |
| |
|
|
LowStandards
Club Retro Rides Member
Club Retro Rides Member 231
Posts: 2,718
|
|
Dec 30, 2019 21:23:55 GMT
|
Managed to fit the heater today, had to massage the corner with a bangy stick. Scary stuff, it's not exactly thick and its alu, so I had to be careful. Got around 4mm clearance between it and the perspex, hopefully it wont damage it. 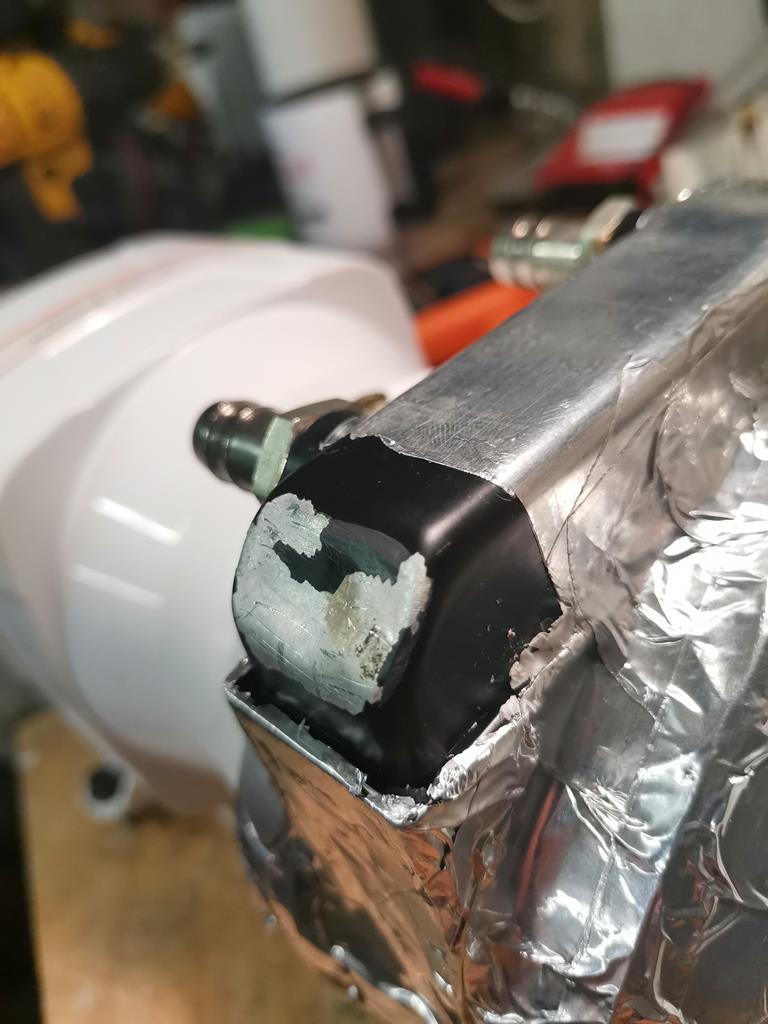 And here she is fitted, pretty happy with that. All behind the dash and well under 1.5kg 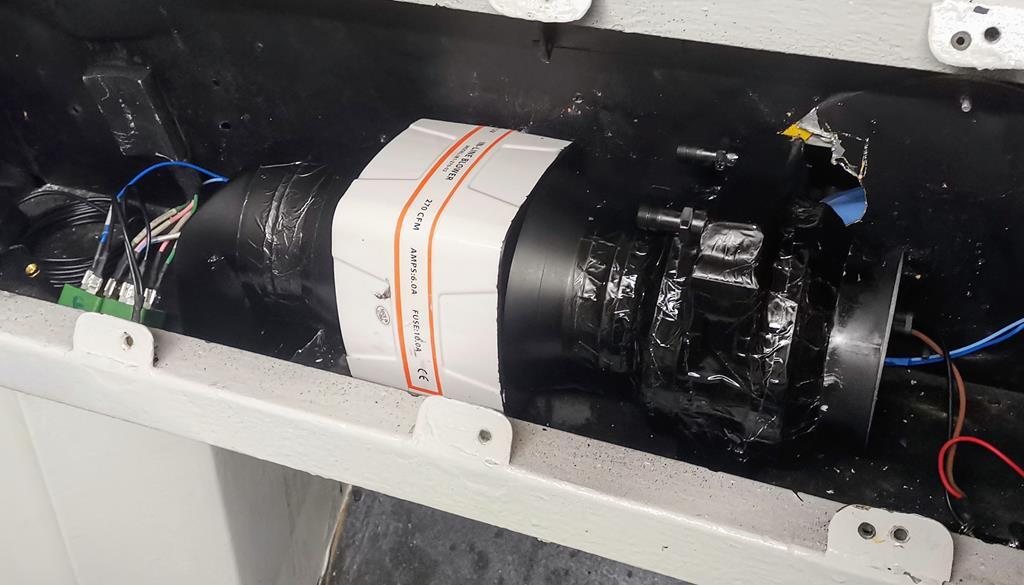 |
| |
|
|
LowStandards
Club Retro Rides Member
Club Retro Rides Member 231
Posts: 2,718
|
|
Dec 31, 2019 20:07:44 GMT
|
Bought some 13mm id heater hose today. I can now confirm that this little matrix does chuck out a reasonable amount of heat. I expect it will be better once out on the road and the engine is running at speed and it's bled through properly. Either way, it should provide enough warmth to stop me crying gently inside my goggles. I never did like the headlight bezels on the Scamp, they looked a proper afterthought even painted body colour. Just look at them! (Best not mention that vile grille either, I'll attend to that) 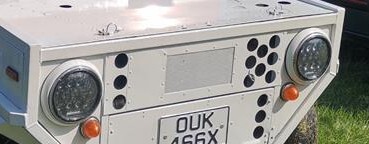 Luckily for me the led headlights have a kind of built in bezel as they can be used on motorbikes. Unluckily for me this meant new panel work as the current holes are huge and are also surrounded by mounting holes. So I took her face off 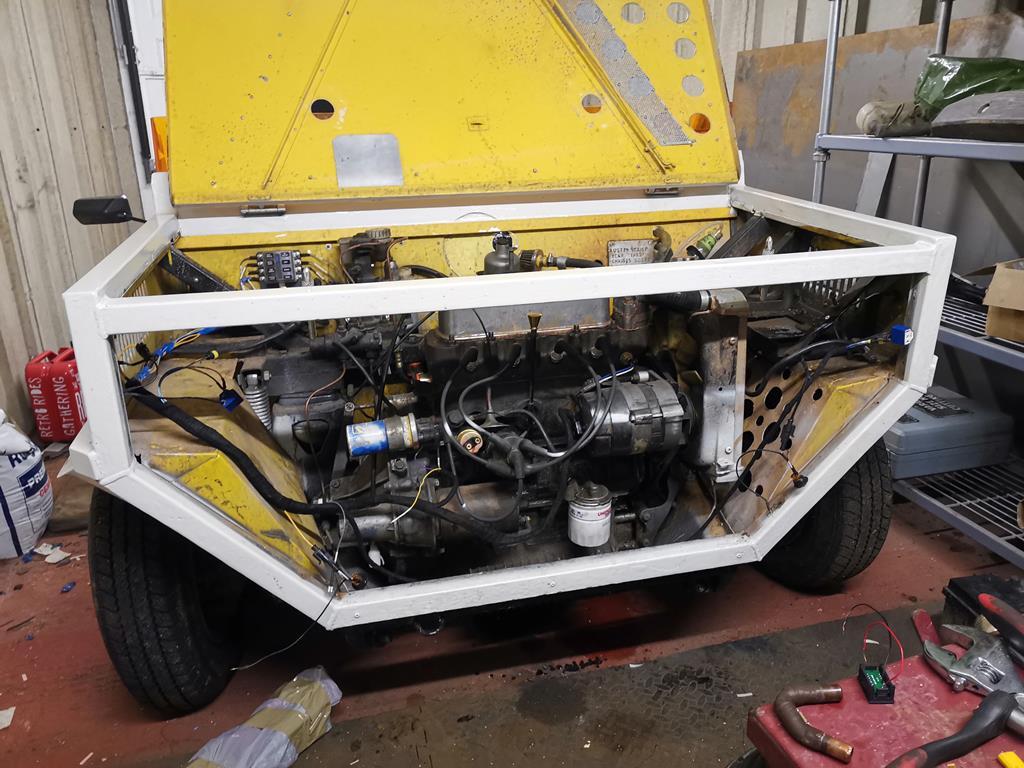 Then I battered the panel flanges flat 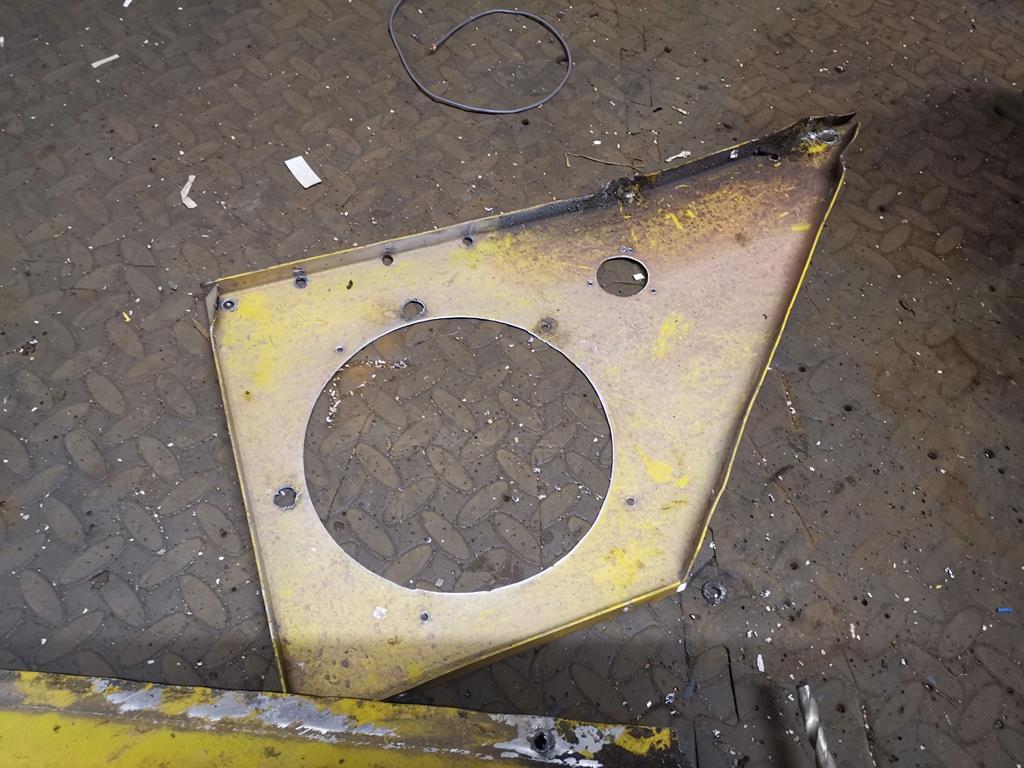 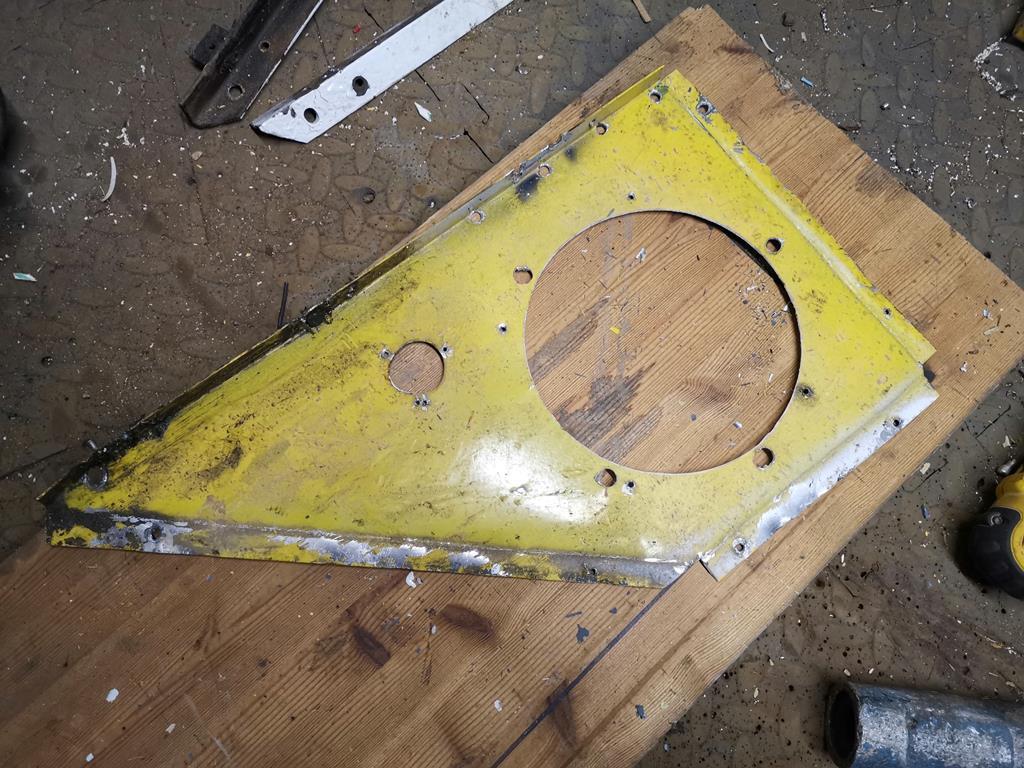 I marked them up on fresh aluminium, cut them out then bent them up in the folder. 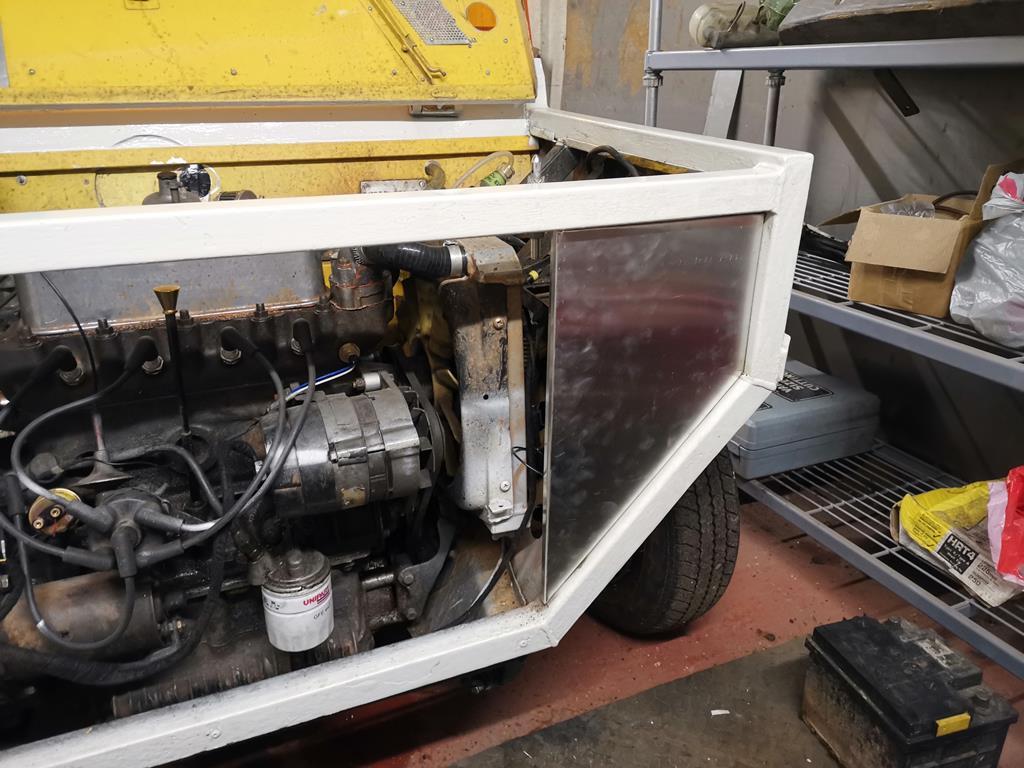 Made both sides and fitted the centre panel to check it's all good 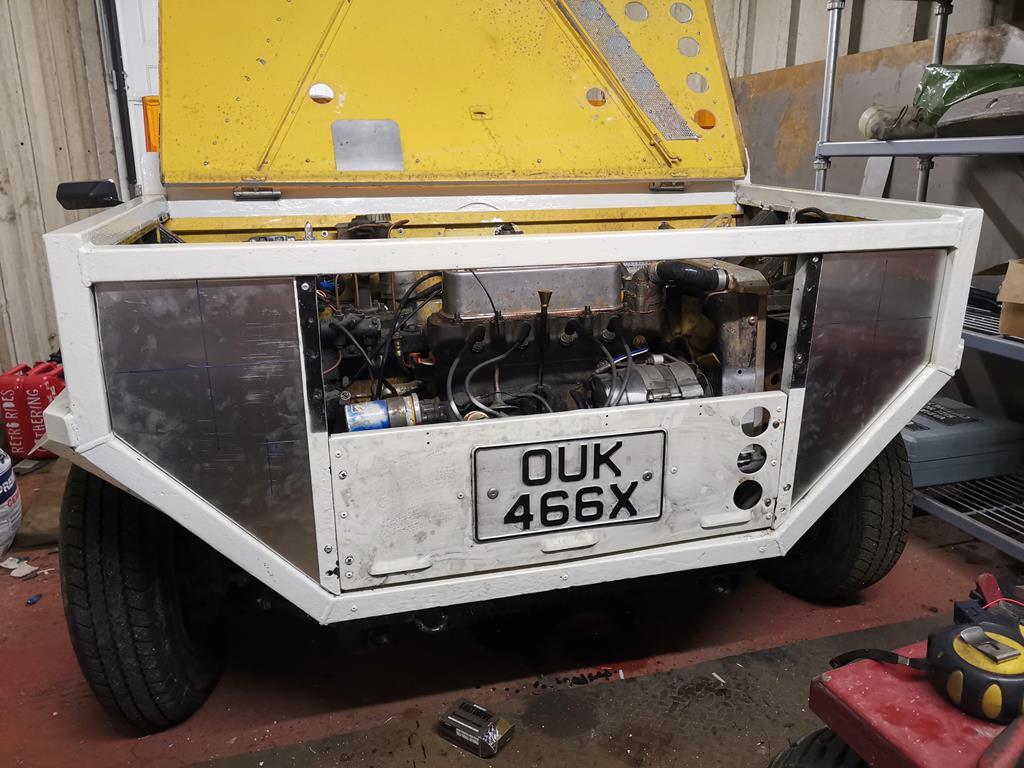 I've marked them ready to drill the new hole, I've got an adjustable hole saw for timber, but as it's really thin alu I'm hoping that will be fine? Anyway, it's new years eve so I'm inside now with a dry cider 👌 |
| |
|
|
fer4l
Posted a lot
   Testing
Posts: 1,497
Club RR Member Number: 73
|
1982 Mini Scampfer4l
@fer4l
Club Retro Rides Member 73
|
Dec 31, 2019 20:27:28 GMT
|
I've marked them ready to drill the new hole, I've got an adjustable hole saw for timber, but as it's really thin alu I'm hoping that will be fine? Clamp them (both at once for reduced wastage!) between some scrap wood & cut through the lot? Always works for me Love this btw  Happy New Year Matt |
| |
|
|
|
|
|
|
|
|
I've just read all the way through this thread and didn't see any mention of you deciding where the headlight switch was going to be. It may be a bit late now but have you considered a foot operated switch? It was a thing on some cars many years ago.
Love what you've done with this Scamp as well by the way, particularly those starship spec gauges. How far into the future did you have to travel to get them? Keep up the good work.
|
| |
|
|
|
|
LowStandards
Club Retro Rides Member
Club Retro Rides Member 231
Posts: 2,718
|
|
|
|
|
I've put the light switch in the column where the wiper switch used to be.
Logical really 🤦🏼♂️
|
| |
|
|
|
|
|
|
|
I've just read all the way through this thread and didn't see any mention of you deciding where the headlight switch was going to be. It may be a bit late now but have you considered a foot operated switch? It was a thing on some cars many years ago. Love what you've done with this Scamp as well by the way, particularly those starship spec gauges. How far into the future did you have to travel to get them? Keep up the good work. Hey you, foot-operated headlight switch; it was a thing on some cars many years ago.
I'll have you know it was de rigueur when I first started driving. Well OK that was a long time ago, well a very long time ago.
Actually very useful and easy to use. Good old days.
|
| |
|
|
|
|
|
|
|
norfolkshire: I also started driving many, many years ago. Probably not quite as many as you though. I vaguely remember foot operated light switches from my childhood but those days were over by the time I started driving. Anyway, sorry to have bothered you Mr. Low Standards. As you were.
|
| |
|
|
LowStandards
Club Retro Rides Member
Club Retro Rides Member 231
Posts: 2,718
|
|
|
|
Start the new year with a bit of sketchiness Fired up the plasterboard drill, set on 160mm or around 6.3 inches for you old folk. Nothing beats 2 blades spinning and a steel bar chewing through metal. Got there in the end, had to let it skim the metal as any pressure caused it to snatch, which isnt fun at all 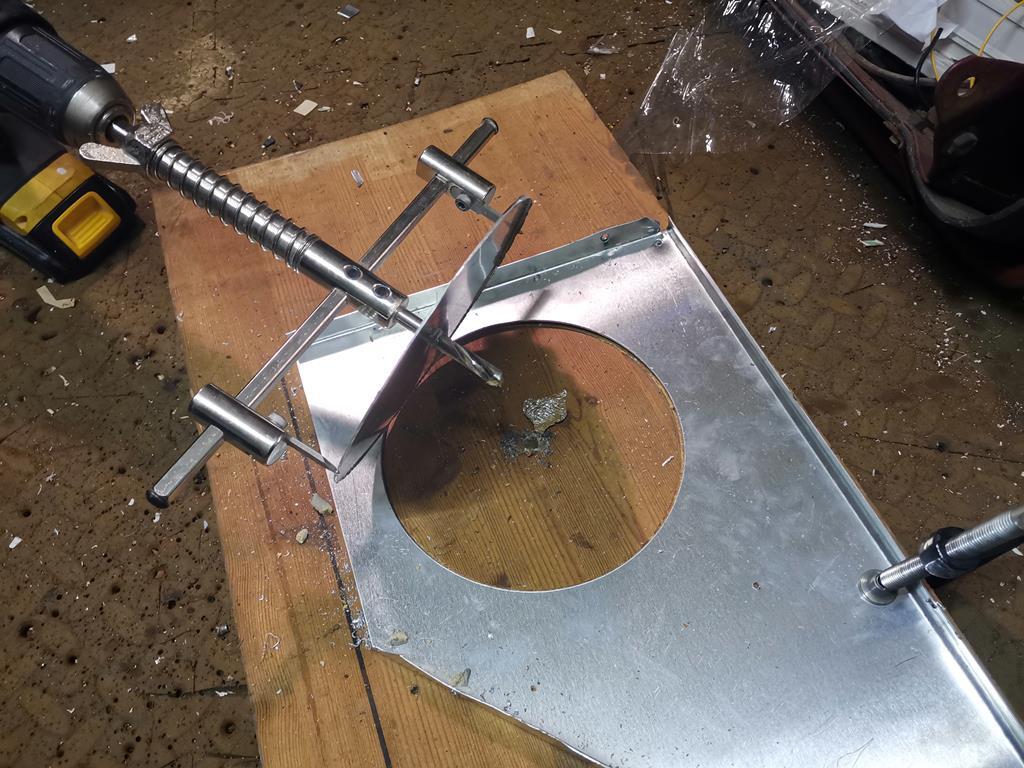 Chucked the first coat of colour on as well, getting there now 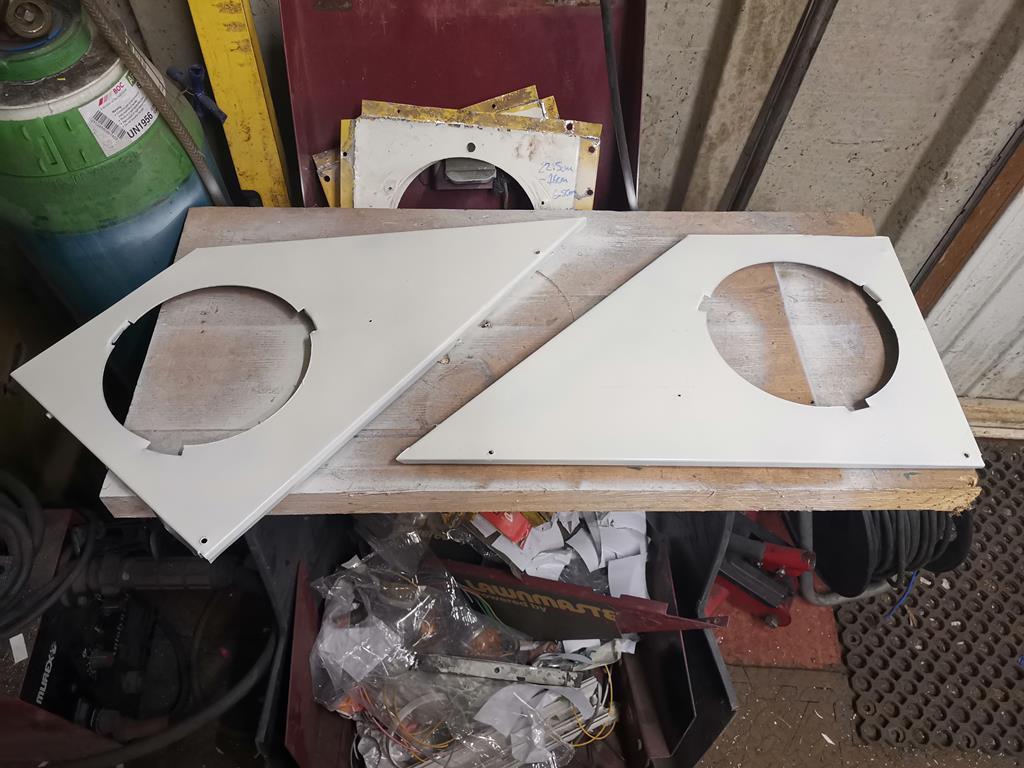 |
| |
|
|
LowStandards
Club Retro Rides Member
Club Retro Rides Member 231
Posts: 2,718
|
|
|
|
My see through smoke black perspex arrived from Trent PlasticsCan't fault the service and the price. So I ignored the front end of the car and slapped her in place, marked the bolt holes and also sussed out where I wanted the speedo. Look at that! That's all you'll see on the dash when the car is off. Very clean looking, I like it. 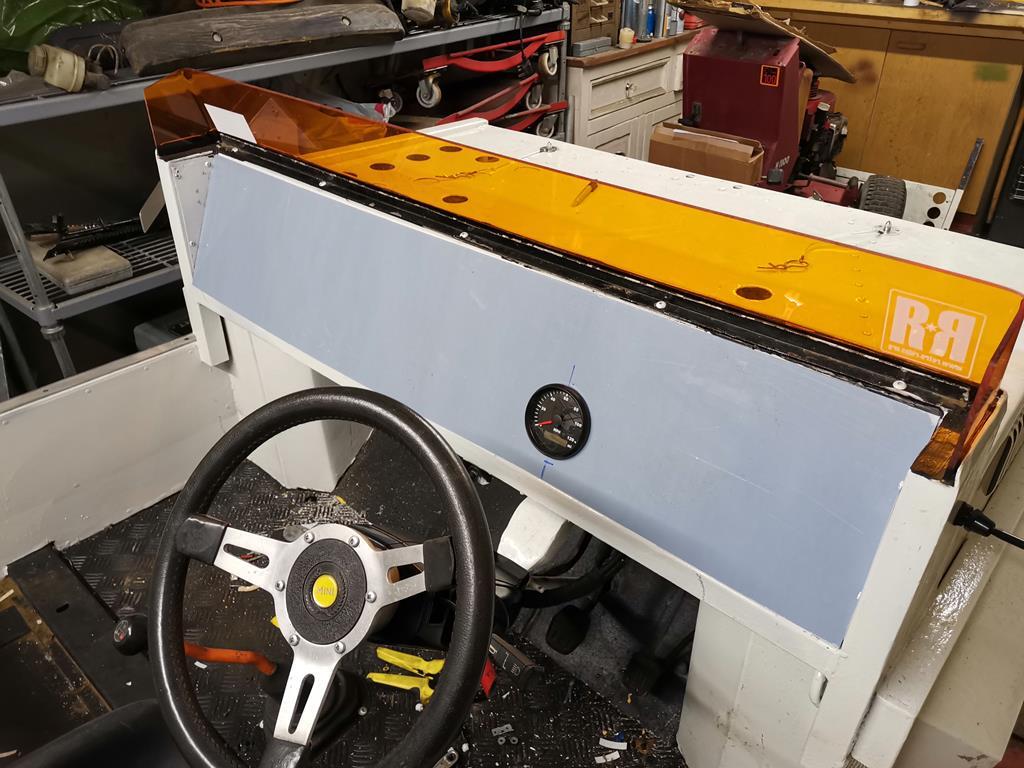 I got the Aldi sharpie ripoff out and started to mark where I can and can't see when sat down. Don't want a repeat of the mk1 dash 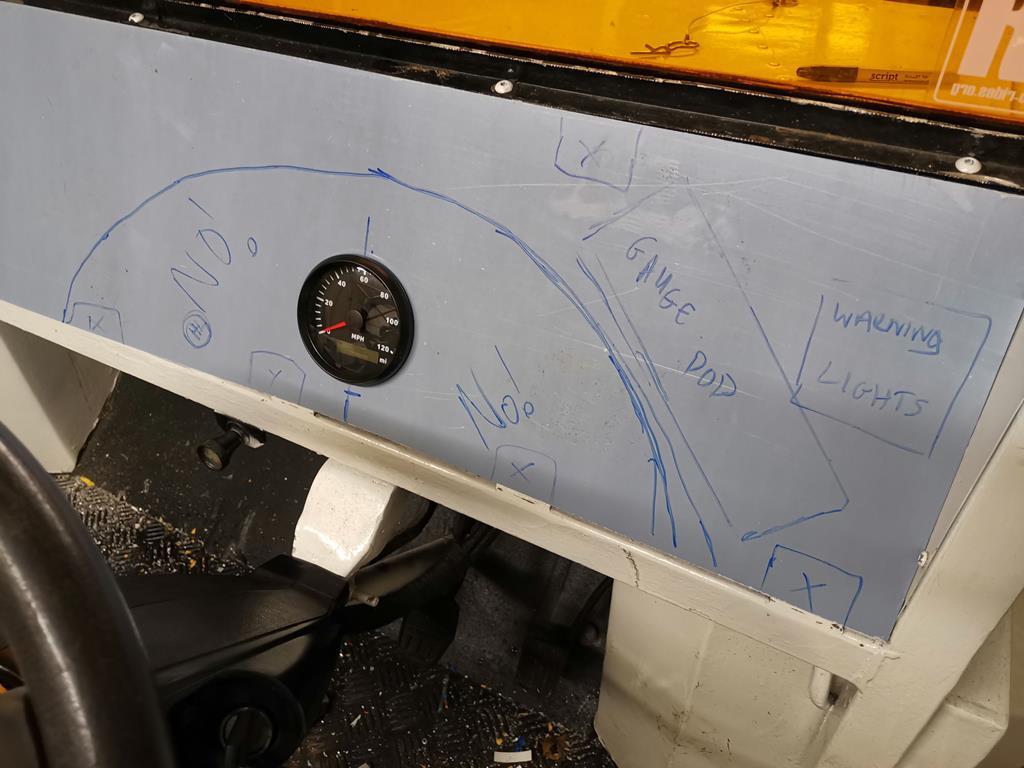 Once I was happy, I marked it out again on the rear and cut through the protective film in the places needed. Out came the PU sealant and it was applied to the gauges and warning lights 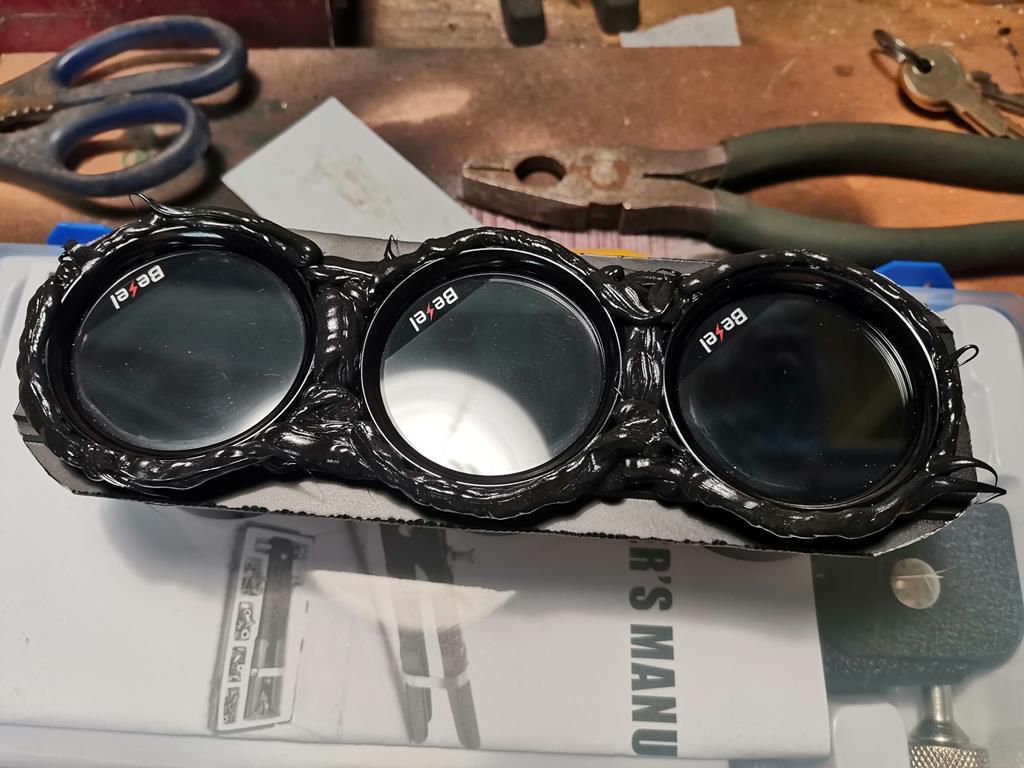 I placed the dash on a flat surface (the bonnet) and carefully placed the items where needed, then applied a bit of weight and walked away for the night. 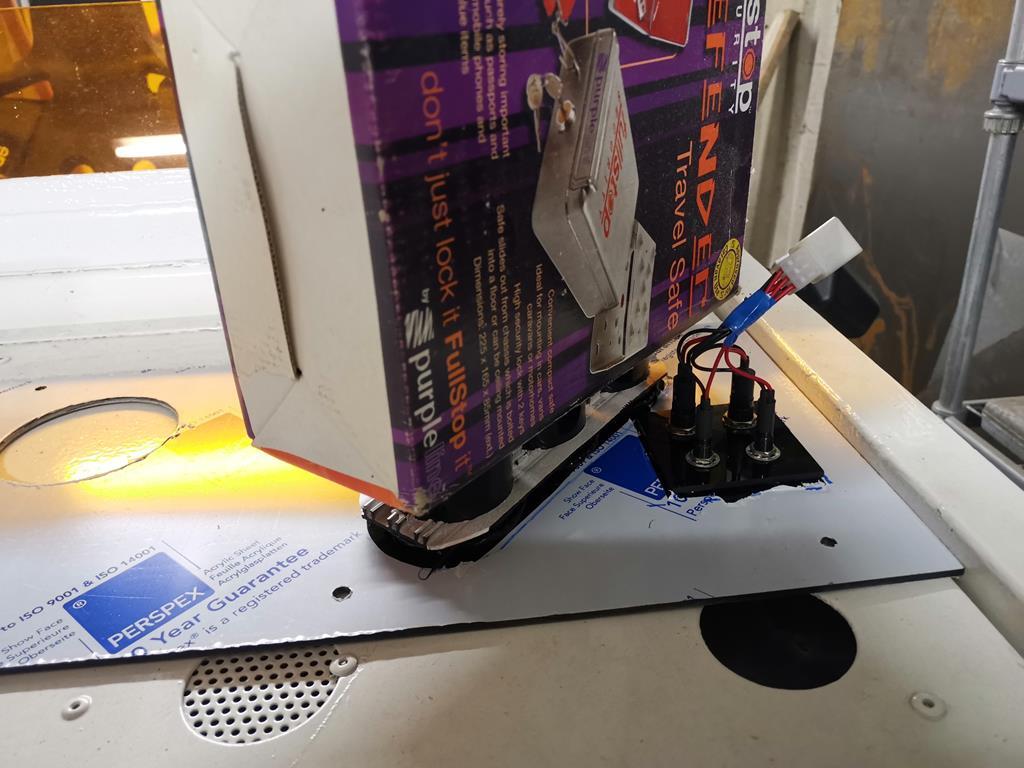 I'll go back in the garage later to check they're stuck and also apply more sealant to stop any light leaks around the edges. Next up is to mask the back of the gauges/lights and spray the whole thing in matt black. This will stop you seeing through the dash except where the gauges/lights are. Never done anything like this before and I can't say i've seen it done either, so it's pure hope that it will work. I guess we'll know in a day or so |
| |
|
|
|
|
1982 Mini Scampfr€$h&m1nt¥
@freshandminty
Club Retro Rides Member 99
|
|
|
|
I'm looking forward to seeing that dash all complete and backlit.
Shame you didn't do that with the speedo too really.
|
| |
|
|
LowStandards
Club Retro Rides Member
Club Retro Rides Member 231
Posts: 2,718
|
|
|
|
|
The speedo was unavoidable really.
I'm not sure you can get an led universal one anyways, but I also wanted it to be gps ready for the engine swap.
Bear in mind once the film is off the dash it will be black, so hopefully that will tone it down a bit
|
| |
|
|
Nathan
Club Retro Rides Member
Posts: 5,650
Club RR Member Number: 1
|
1982 Mini ScampNathan
@bgtmidget7476
Club Retro Rides Member 1
|
|
|
Looking around on the interwebs at compact heaters for kit cars etc and came across this little gem. It's a tiny little thing made by T7 Designs. Claims to put out 3.5kw  It's £130 though  So I looked at it a bit closer, I don't need the fan as I have one, and I don't need multiple vent posistions either, so basically the compact radiator. I've looked for ages at heater matrix's and couldnt find one small enough, but then a random eBay browse came up trumps  This is the exact radiator used on the T7 heater Turns out it's for water cooling computers. It also turns out they're £8 So i've ordered one of those. I was also sceptical about the claimed heat output of such a small radiator, but YouTube showed one fitted to a Lotus putting out over 55 degrees of crotch warming air I've just used their slightly larger version in the GT, it's now like the surface of the Sun in there! Recommended ;-) |
| |
Last Edit: Jan 9, 2020 10:35:20 GMT by Nathan
|
|
LowStandards
Club Retro Rides Member
Club Retro Rides Member 231
Posts: 2,718
|
|
|
|
|
|
| |
|
|
|
|
|
|
|
|
Nice work there.
Looks like it worked.
|
| |
|
|
|
|


