LowStandards
Club Retro Rides Member
Club Retro Rides Member 231
Posts: 2,720
|
|
|
|
Wonder how much nitrous the A series would take I doubt this one could take any Matt, it's pretty f***ed. The head gasket has gone again. To be fair I did cook the thing on the way to the last Gathering and made no attempt to check if the block or head was warped. I should probably look at that before I attempt the journey again  |
| |
|
|
|
|
stealthstylz
Club Retro Rides Member
Posts: 14,962
Club RR Member Number: 174
|
1982 Mini Scampstealthstylz
@stealthstylz
Club Retro Rides Member 174
|
|
|
|
Tired is good, ring gaps will have opened up to nitrous measures cos of bore wear.
K-Seal and a 20 litre drum of water taped to the bonnet would sort it
|
| |
|
|
LowStandards
Club Retro Rides Member
Club Retro Rides Member 231
Posts: 2,720
|
|
|
|
20L of water will double the weight  |
| |
|
|
LowStandards
Club Retro Rides Member
Club Retro Rides Member 231
Posts: 2,720
|
|
|
|
|
Talking of weight
When she had the mot the brake rollers gave a weight for the car.
I'm not sure how accurate they are but it came out at 743kg.
Ouch that's heavy. But then I remembered there was 2 blokes sat on the back to stop the wheels skating across the rollers. I didn't ask them for their stats, but they looked similar to me, so 75kg a piece i'd say.
So, quick math, 590ish kg
I was hoping for less than that, but hey
|
| |
|
|
|
|
|
|
|
|
...I can remember being 75kg...
|
| |
|
|
|
|
|
|
|
|
Always love seeing your updates.
This little car gets the super cool wall for me.
|
| |
|
|
|
|
|
|
|
Tired is good, ring gaps will have opened up to nitrous measures cos of bore wear. K-Seal and a 20 litre drum of water taped to the bonnet would sort it Sorry, I'm a little hard of hearing. Did you say K20?  |
| |
|
|
LowStandards
Club Retro Rides Member
Club Retro Rides Member 231
Posts: 2,720
|
|
Aug 15, 2021 19:08:57 GMT
|
5 days to go now As mentioned, the head gasket is spent again, I should probably attend to that and its cause Rocker off, mmmmm, mayo 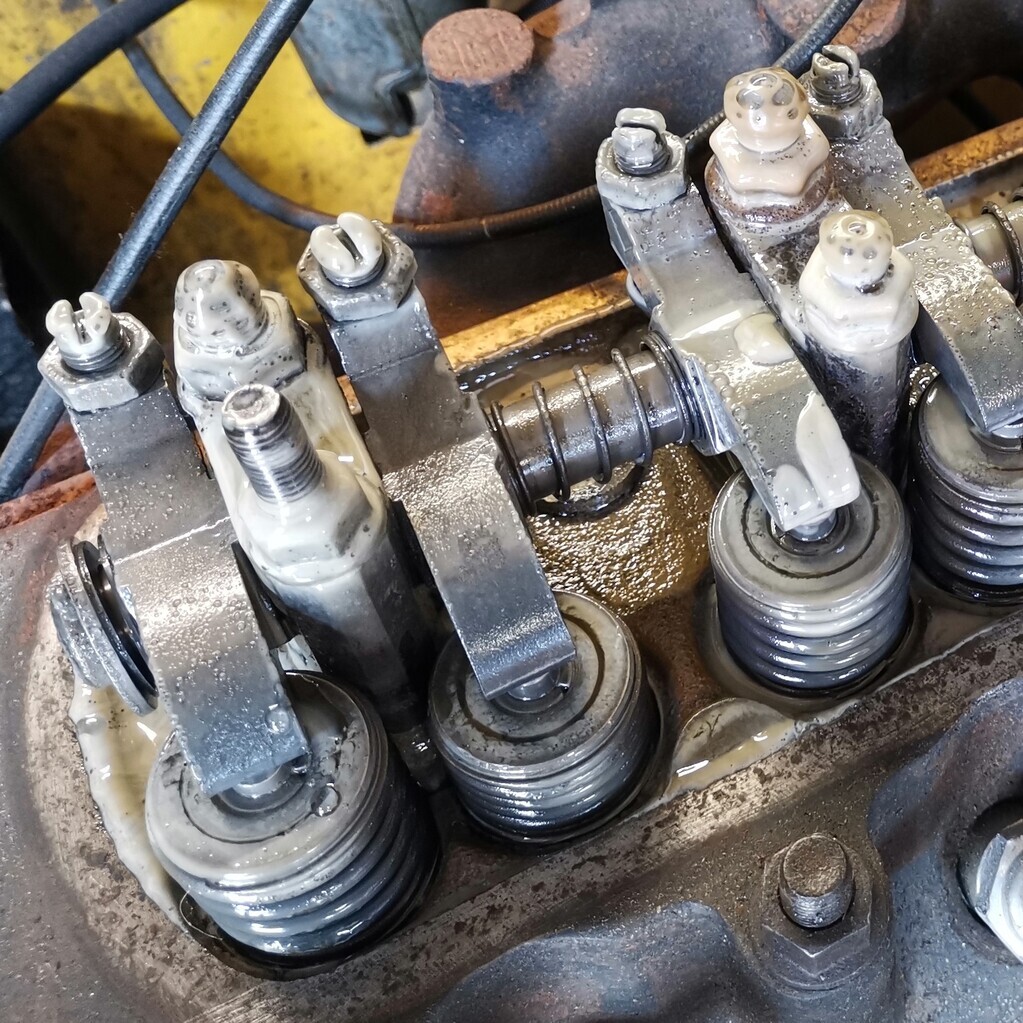 Whip the head off 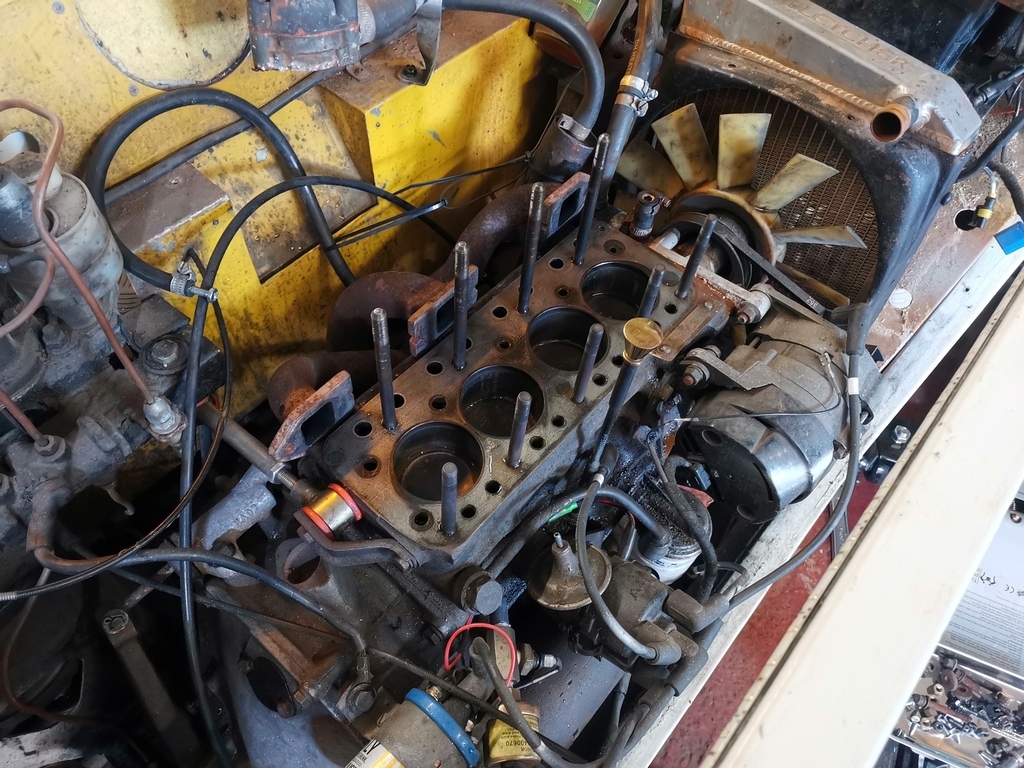 Everything looks as legit as a crappy a-series can be until I put a straight edge across the head, straight across 3 cyls, but a nice banana at the end. Not looking great, where does one find a head for a 998 in this tight schedule? I'll tell you where, from Rob at MiniLand on my doorstep. Transfered everything over from the old head, studs, plugs, senders etc 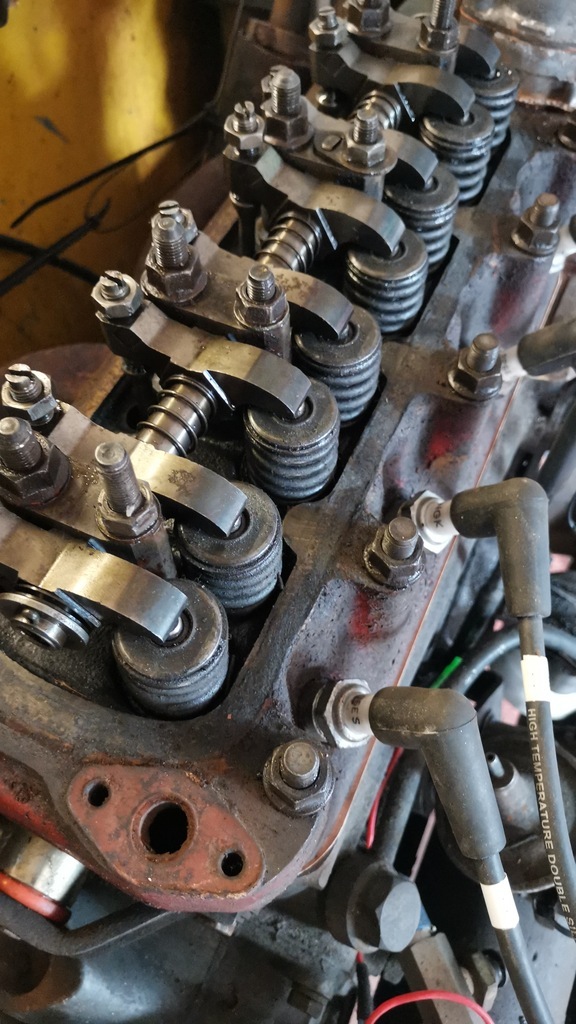 Bolted her on 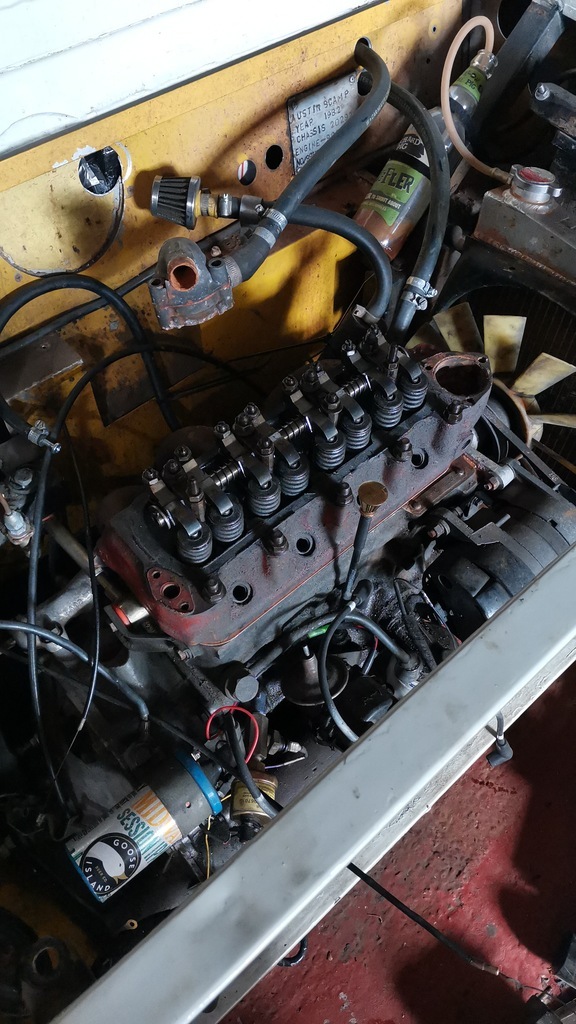 The savvy amongst you will notice this is a slightly earlier head with the heater take off on the left, so I'm waiting for some overnight parts from, err, eBay. Set the clearances and she fired straight up and sounded great, though I couldn't give her a decent test as there's no water. Bonnet is all strengthened now 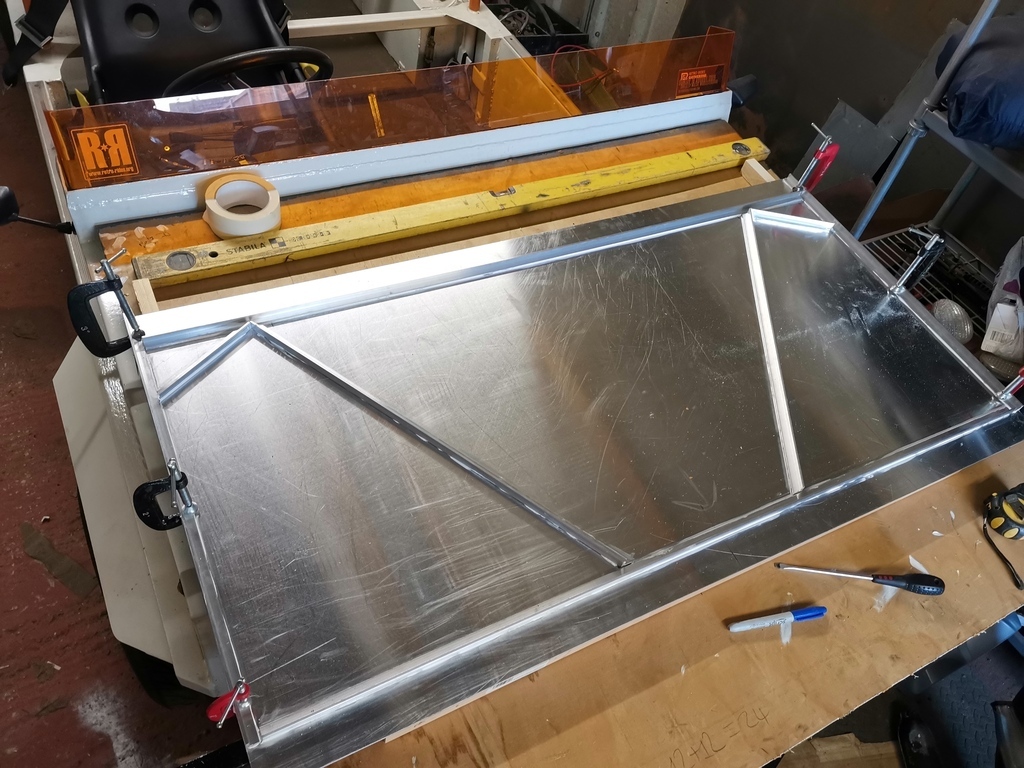 Waiting on hinges 🤞 Oh and for some reason I decided to pull her whole face off to redo, so there's that as well. Will she make it? |
| |
|
|
LowStandards
Club Retro Rides Member
Club Retro Rides Member 231
Posts: 2,720
|
|
Aug 16, 2021 12:49:52 GMT
|
Sorry, me again, just plodding along with tasks whenever I grab a moment. The front light panels I created a fair while back now were always just a stop gap to allow the smaller headlights to fit. I've never been happy with the fact they were made out of 1mm ally and also the mounting method was original and awful. They basically had a 90 degree fold and this was self tapped into the surround. They were very flexible and always loose 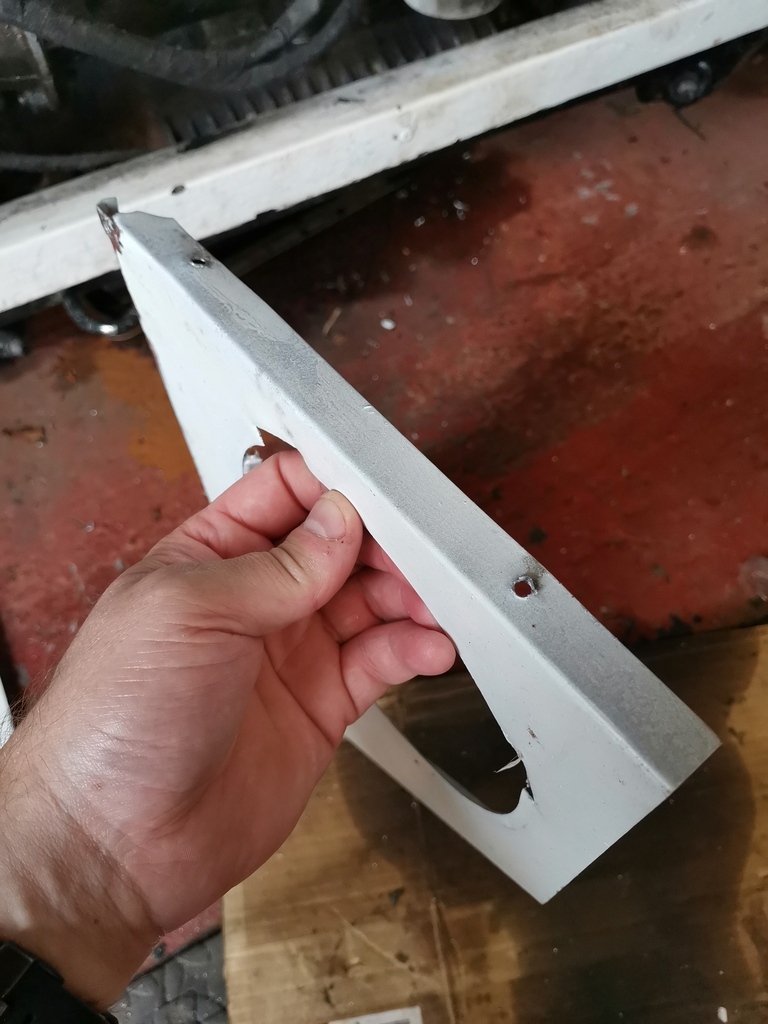 I've always wanted to make this better, so lets. The new panels will be made from 3mm ally so much sturdier. The mounting method is now some 1.5mm ally angle which is screwed and bonded to the frame. 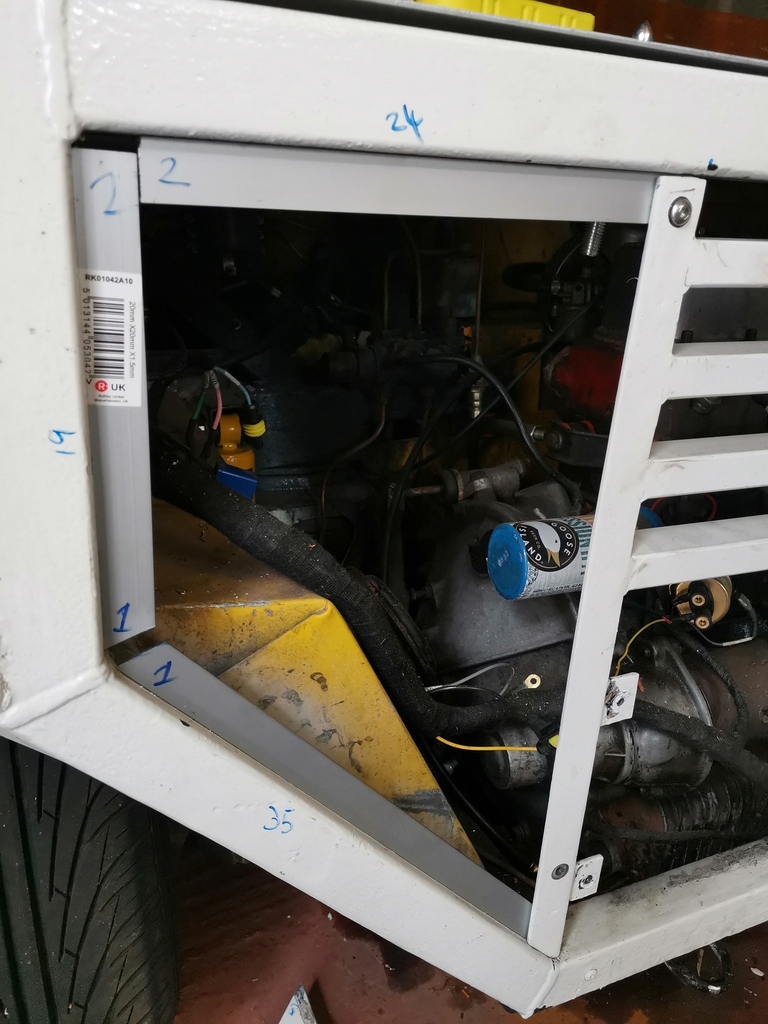 I cant decide if I should bond the light panels to this or use some descreet cap head bolts so at least I can get it off? I've also used this angle to properly mount the grill as this again was self tapped to the flimsy light panels and flapped around 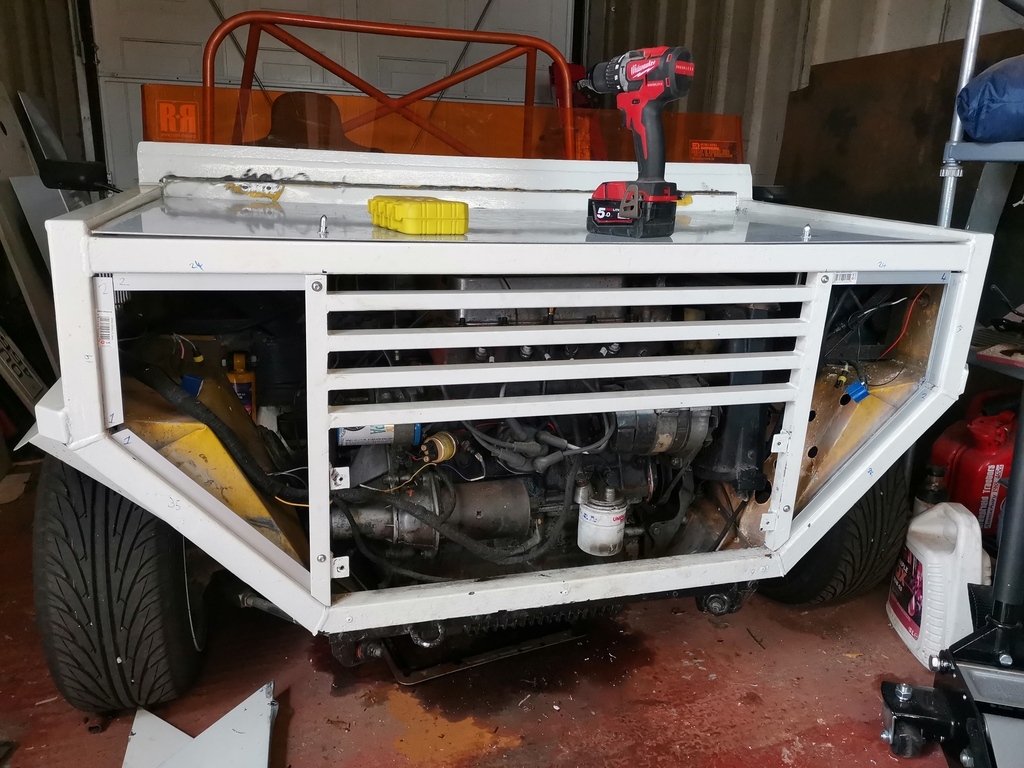 And that concludes this small update |
| |
|
|
LowStandards
Club Retro Rides Member
Club Retro Rides Member 231
Posts: 2,720
|
|
Aug 16, 2021 15:50:58 GMT
|
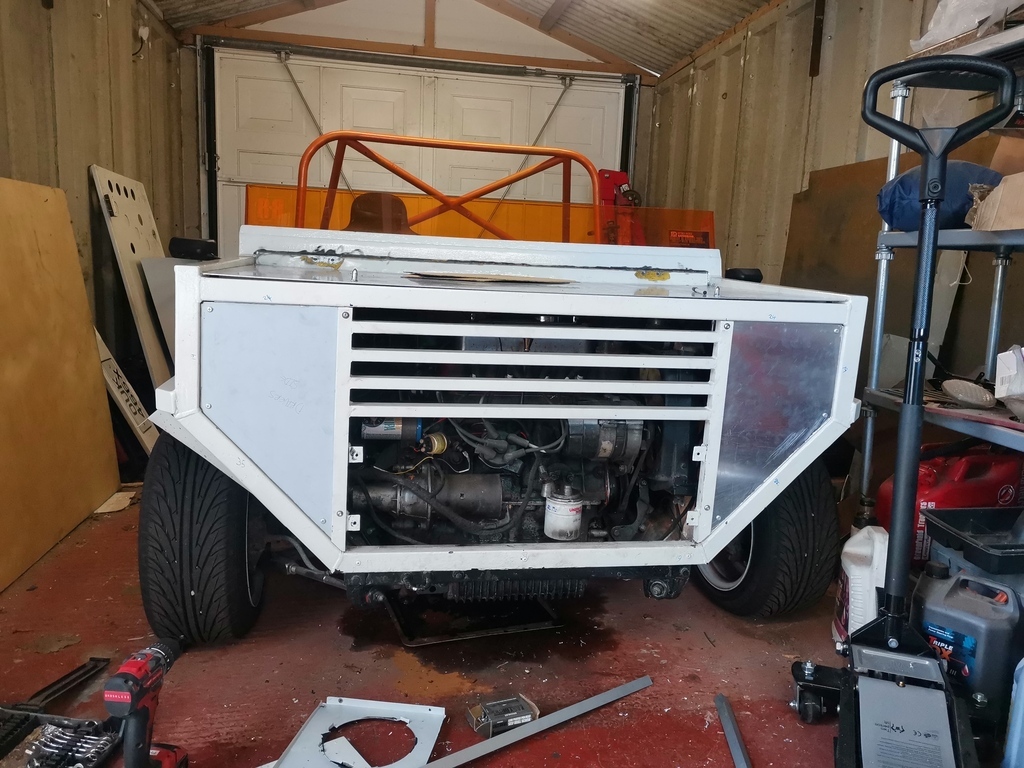 Light panels done, nice and stiff now  Decided on mechanical fixing, always nice to be able to remove them if needs be. Just some self tappers atm, but some stainless dome heads are on order |
| |
|
|
|
|
LowStandards
Club Retro Rides Member
Club Retro Rides Member 231
Posts: 2,720
|
|
|
|
Dragged out the scariest tool known to man. These things are bad enough when you're cutting through something soft like wood that it's actually designed for, let alone trying to force your way through 3mm ally 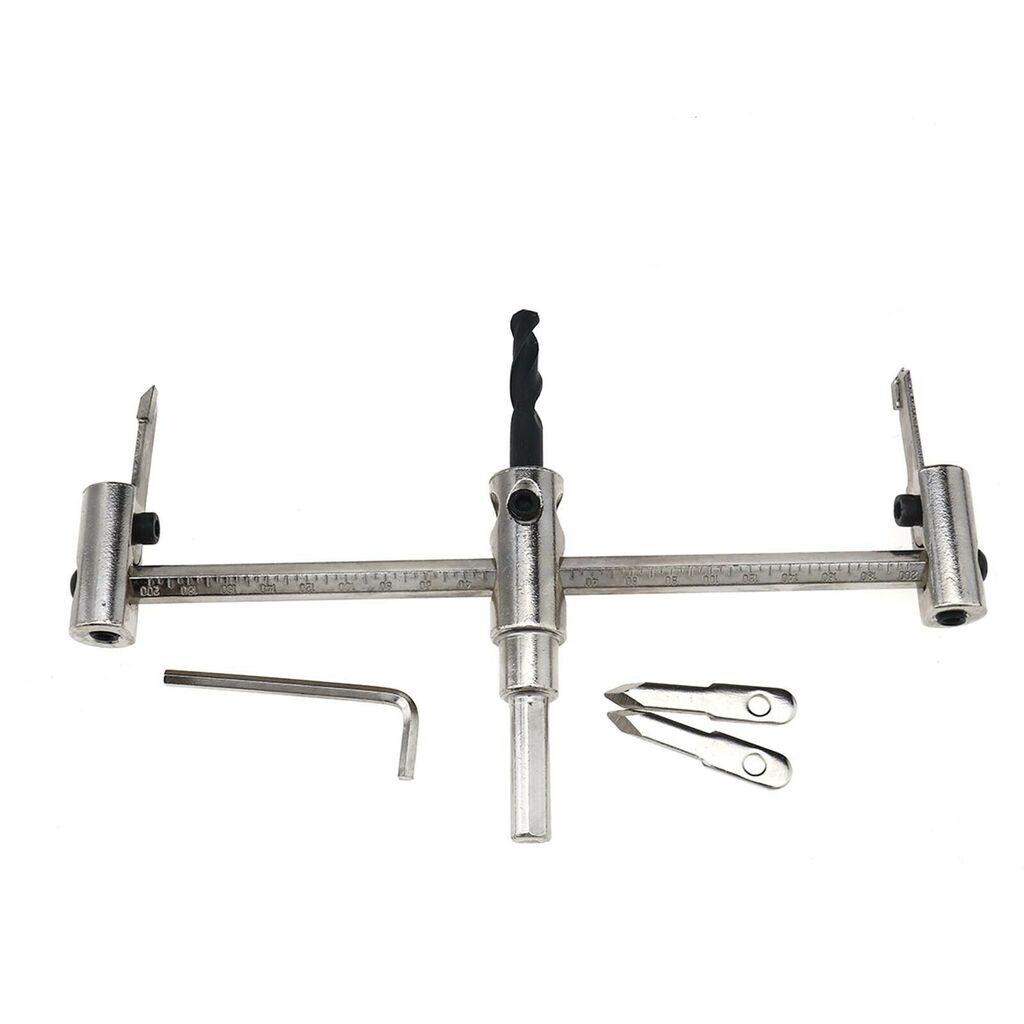 Many minutes were spent trying not to lose my feet, or snap my arms, but in the end we have 2 perfect 160mm holes 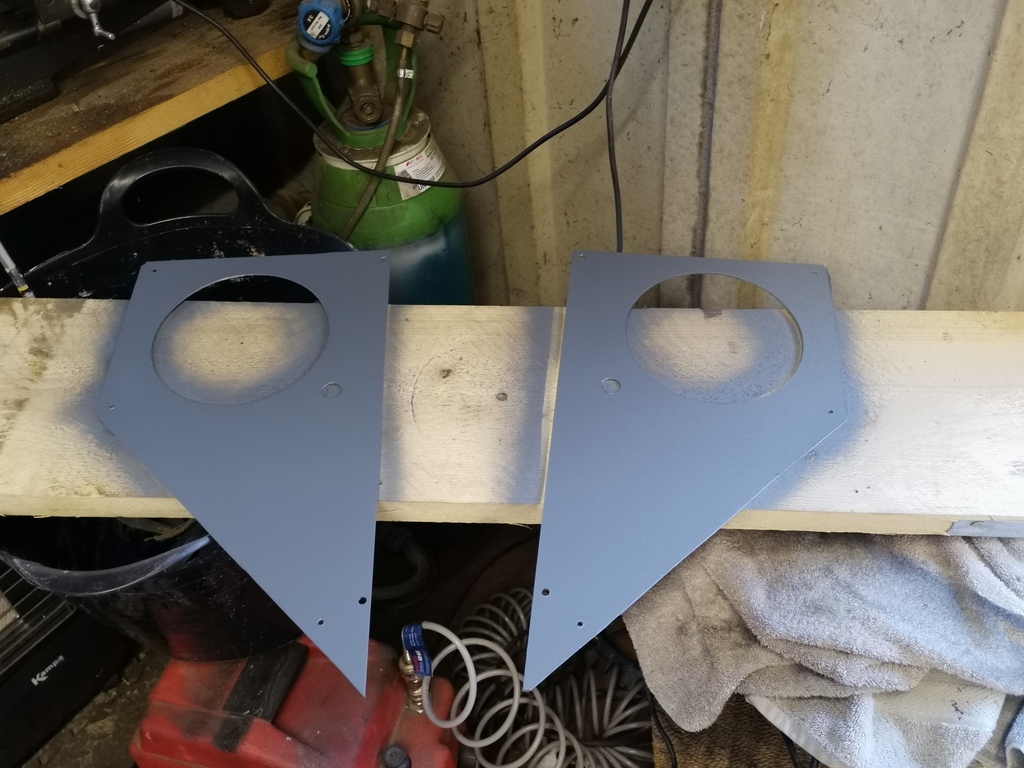 Might as well paint up the grill and whilst i'm at it, the old front panel as I just don't have time to make a new one 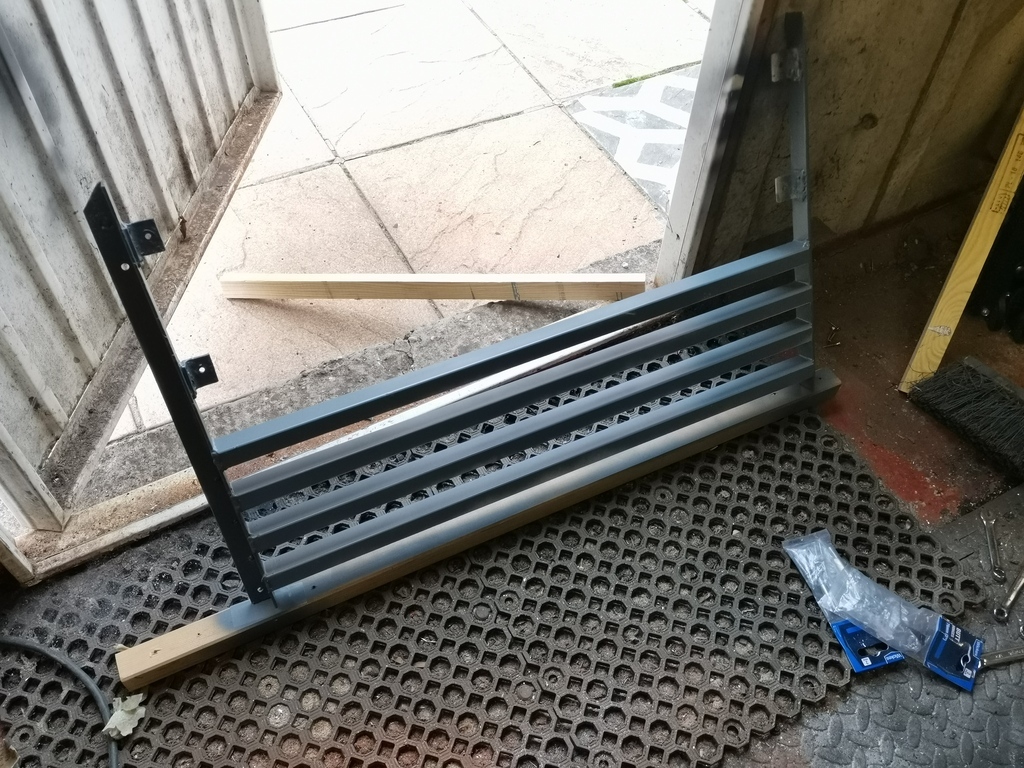 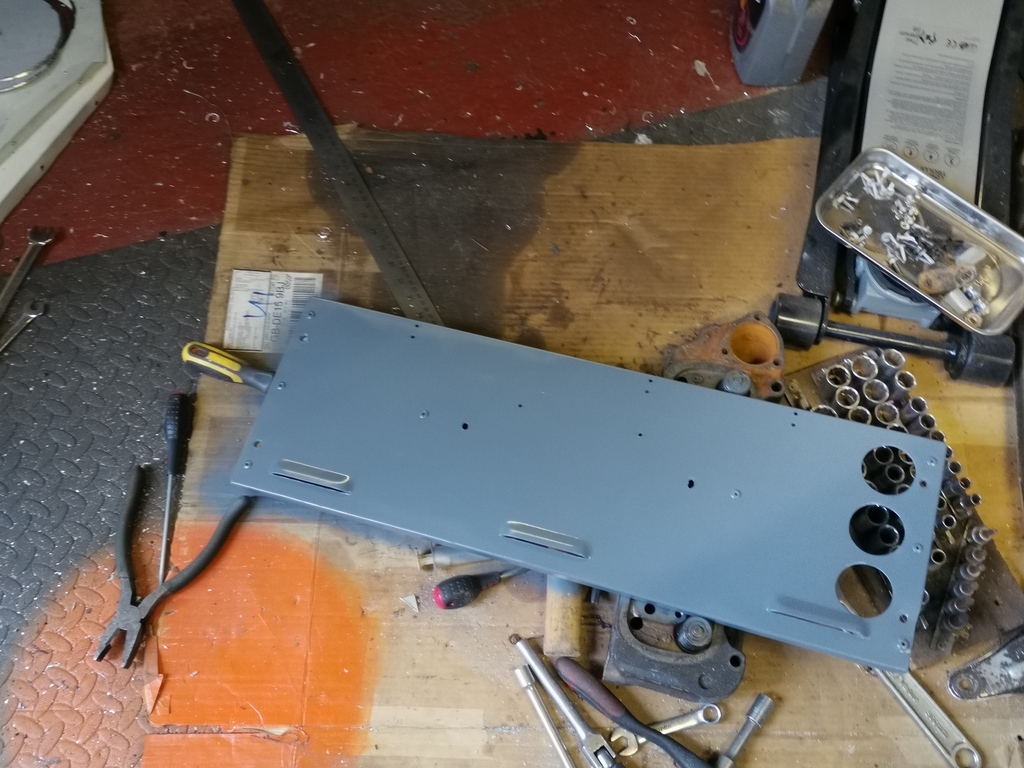 Get them fitted 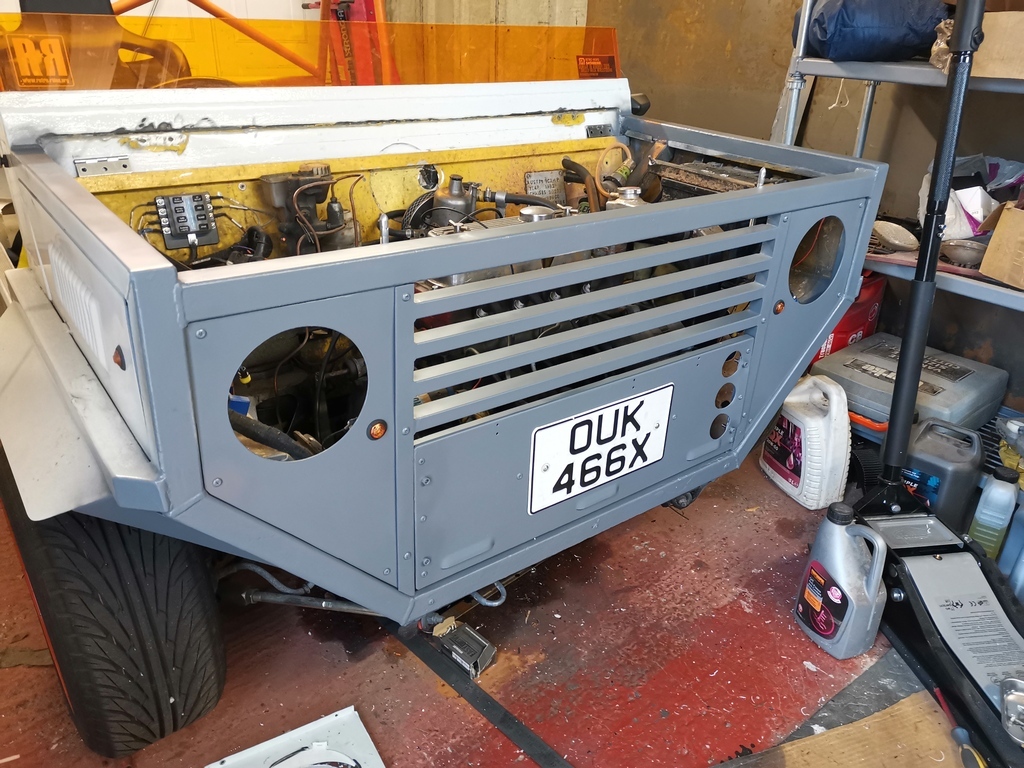 Now I had previously PU'd the headlights in place, less than ideal, but they don't have much in the way of mounting points as I guess they're designed for motorbikes. You can see here that they're a 2 part affair with the front being held on with M3 countersunk hex head bolts 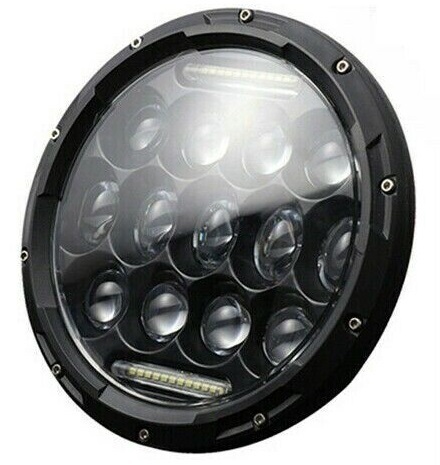 IDEA! Ordered me some longer M3 coutersunk hex head bolts and some nyloc nuts. I'm ashamed to say I had to use Amazon, something i'm truely sorry about, but I should have them for when I get home. The plan is to remove 5 of the current bolts, drill all the way through the body of the light and the panel and mount them like that. Should be much better. Lastly I 'sorted' the bonnet out. I'm almost as embarrassed with this as I am my Amazon exploits. But I really needed a way of holding the bonnet on in a short timescale. These are Wickes finest interior door hinges  They serve their purpose of holding the rear of the bonnet and allowing it to open. They will get replaced with either a full length piano hinge, or a lot of Scamp owners appear to use a C-channel and slot the bonnet in. We'll see at a later date. 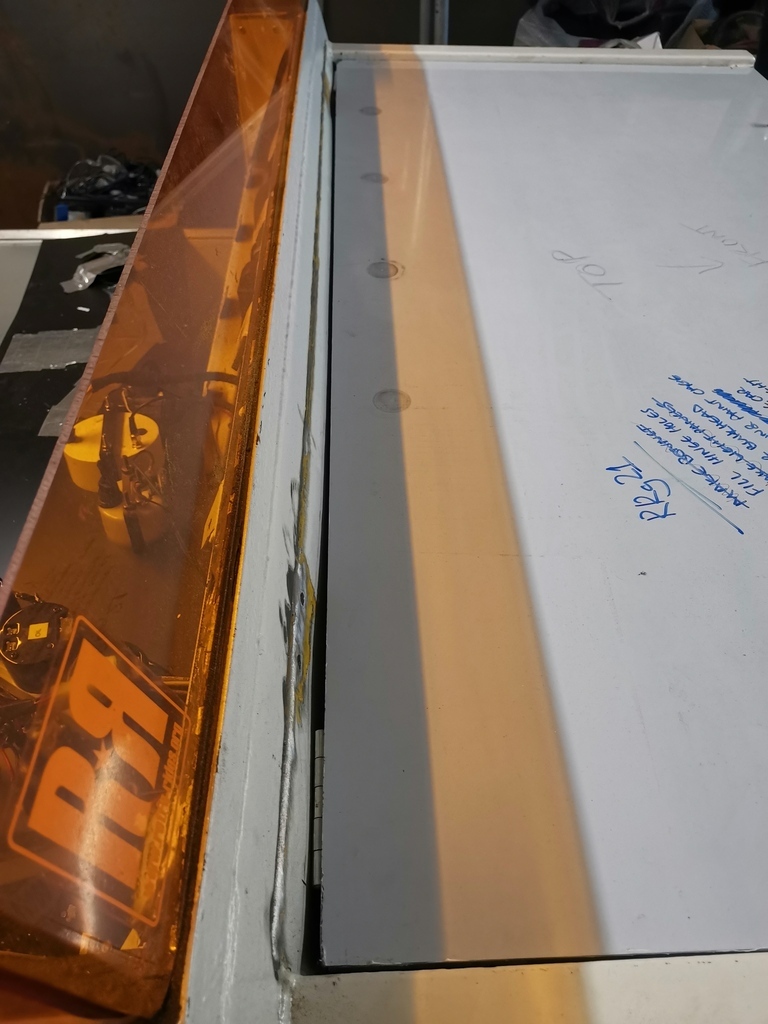 You can also see the bulkhead panel needs a little finessing and filler, it's 1.5mm ally so it's not surprising it's bent a bit where the old hinges were. |
| |
|
|
75swb
Beta Tester
Posts: 1,052
Club RR Member Number: 181
|
1982 Mini Scamp75swb
@75swb
Club Retro Rides Member 181
|
Aug 19, 2021 11:47:09 GMT
|
 Light panels done, nice and stiff now  Decided on mechanical fixing, always nice to be able to remove them if needs be. Just some self tappers atm, but some stainless dome heads are on order This was looking like a moon buggy type 80's Sci fi thing with the slats and the Ali. Needs headlights with slats matching the grille. Great work on this and best of luck on the deadline! |
| |
Last Edit: Aug 19, 2021 11:47:39 GMT by 75swb: Speeling
|
|
LowStandards
Club Retro Rides Member
Club Retro Rides Member 231
Posts: 2,720
|
|
Aug 22, 2021 20:25:08 GMT
|
|
|
| |
|
|
LowStandards
Club Retro Rides Member
Club Retro Rides Member 231
Posts: 2,720
|
|
Aug 25, 2021 11:05:11 GMT
|
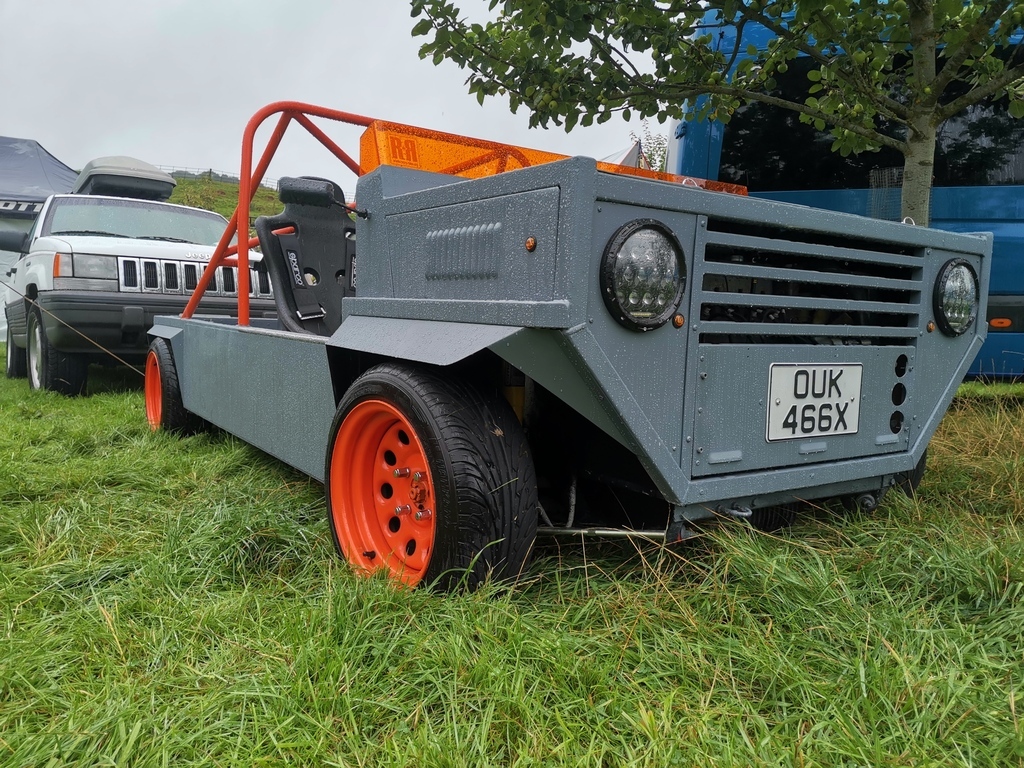
So a couple of things happened the day before the Gathering  Drove her to the unit early doors on the Thursday, body prep started. Rubbed her down with 240 to deglaze the old paint, get rid of a few runs from the rush last time etc. Any areas needing attention were filled and sanded. The cage was hella rusty, no prep first time round and the oil wasnt removed from the steel etc. Left it a little pitted, so a can of high build was used 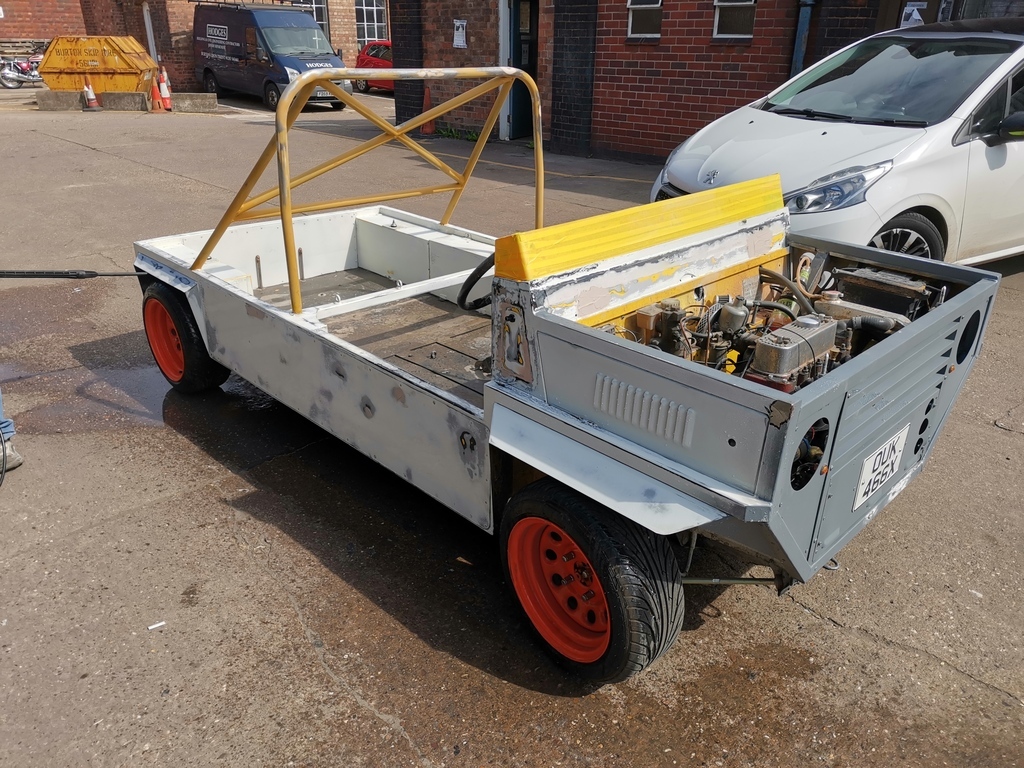 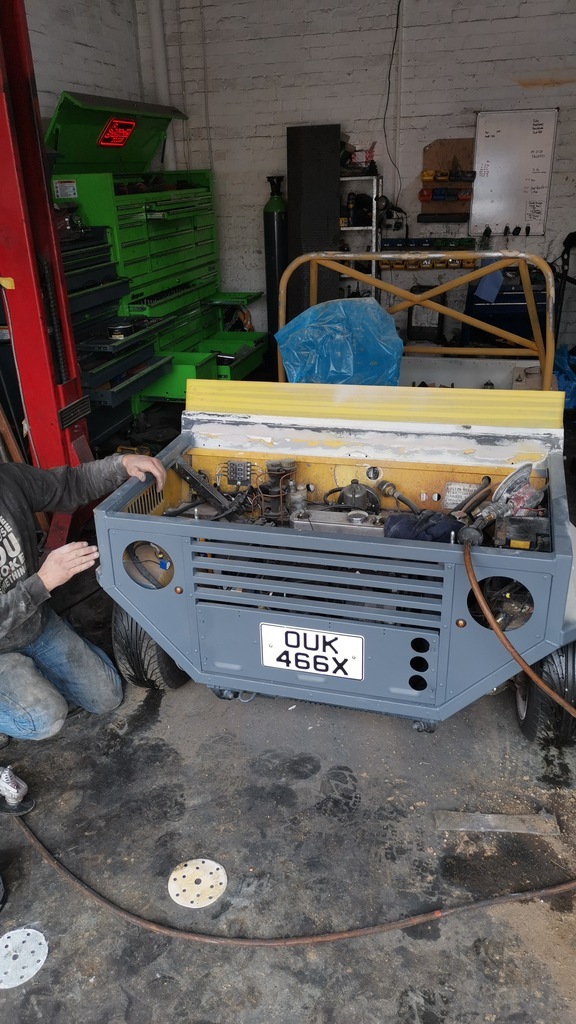 Jetwash all the dust etc off and let dry 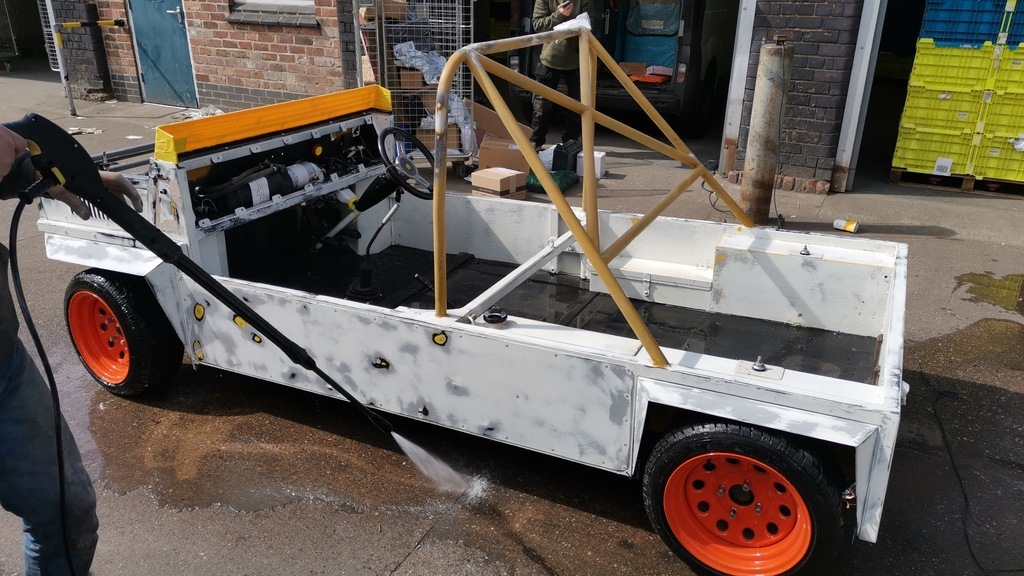 Paint the cage first 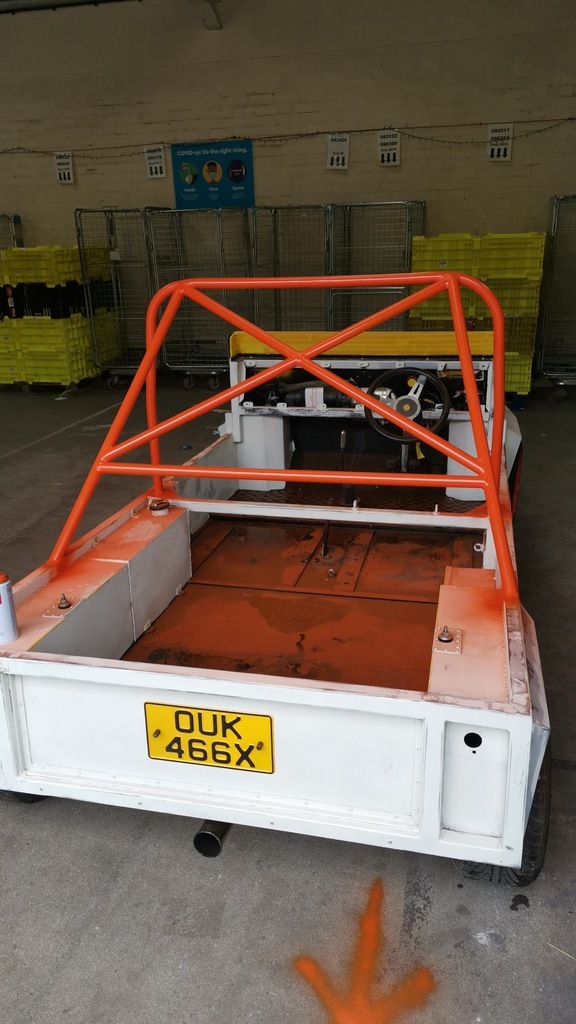 Wrap the cage, paint the rest 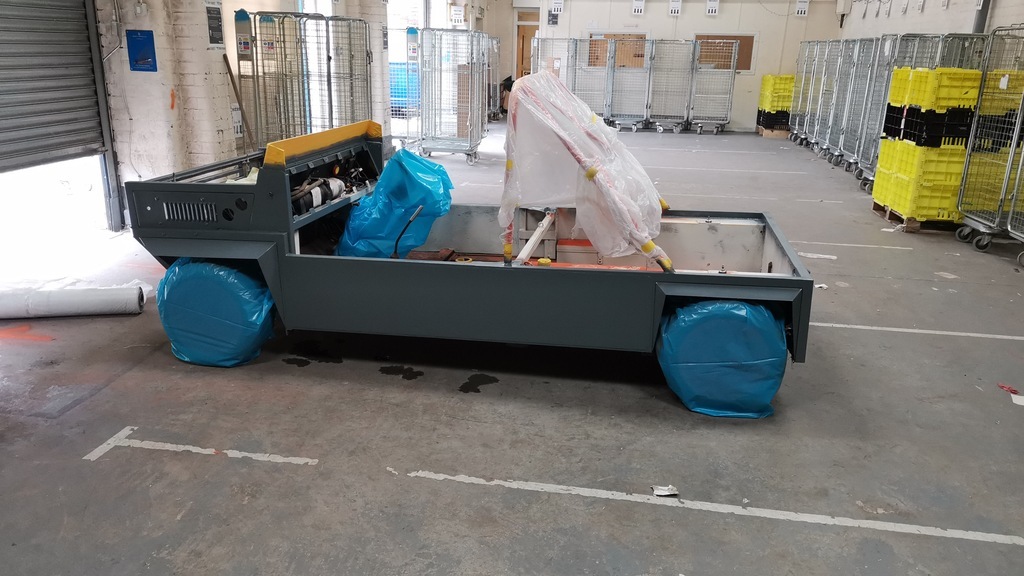 Leave her overnight. Get to the unit early again, we have to leave at 11am for the show. Bolt all the bits back on, then decide the inner arches need shultzing black, they're still a combination of yellow and overspray. 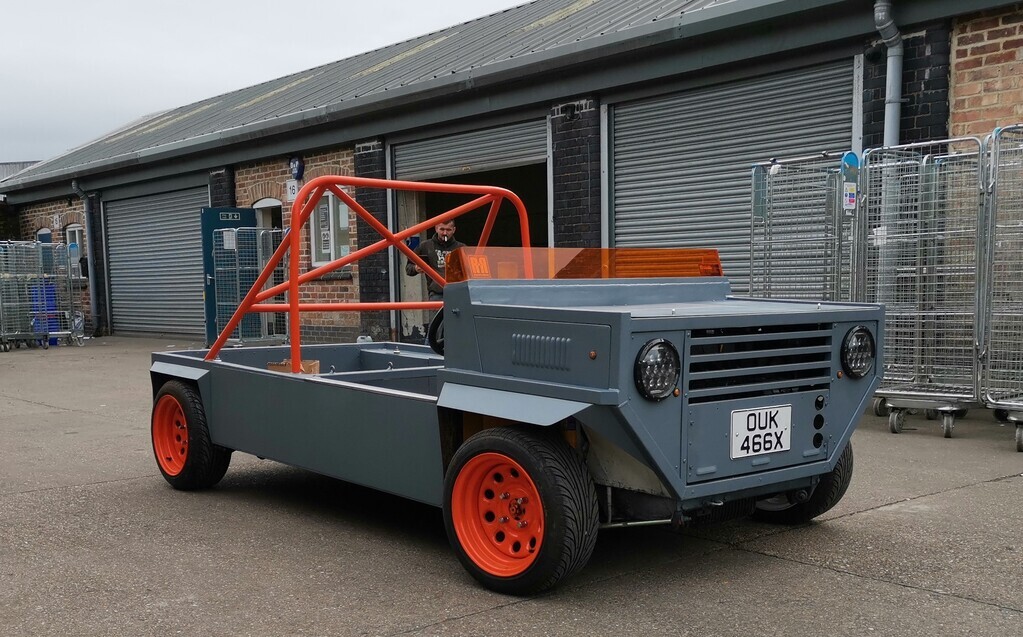 Once that's done, realise the bed is now a mix of orange and grey and will need attention. No time though, but a trip to Halfords on route gets the correct paint 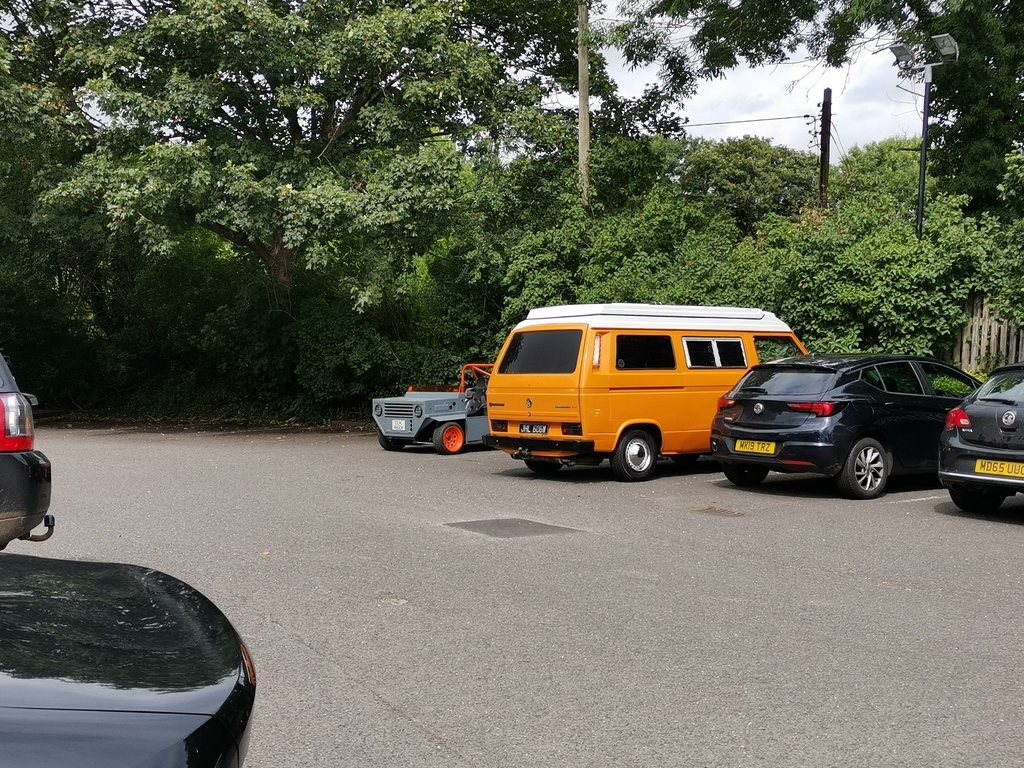 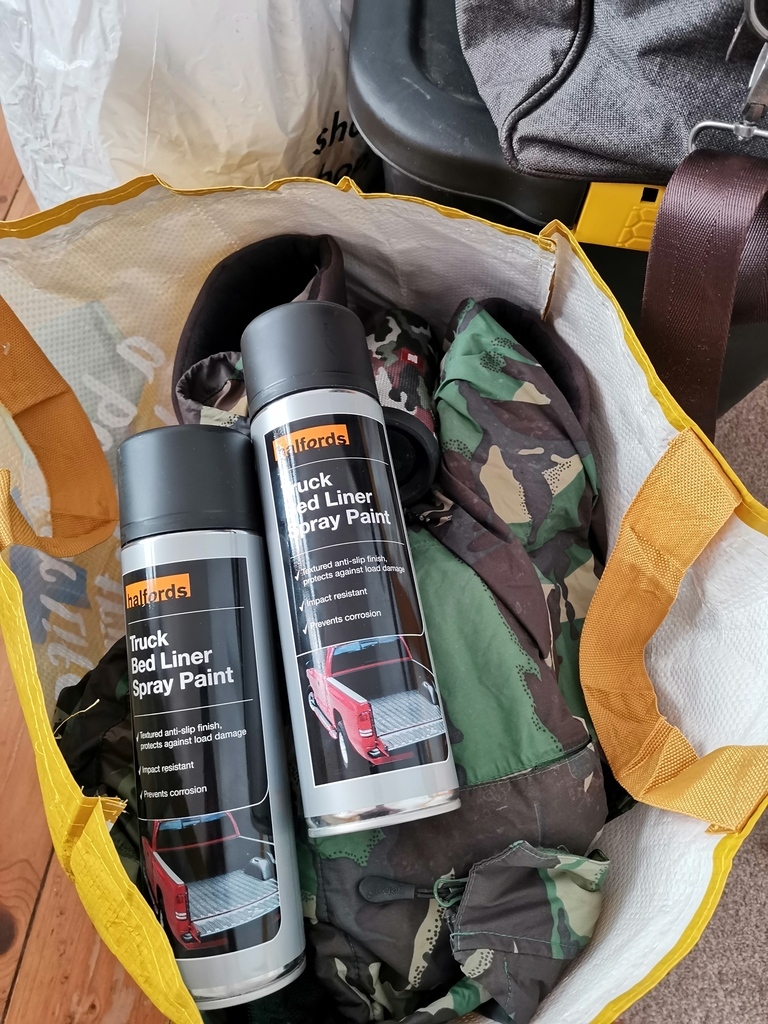 Arrive at the campsite, look at the sky, seems a little grey, feck it, mask up and go for it 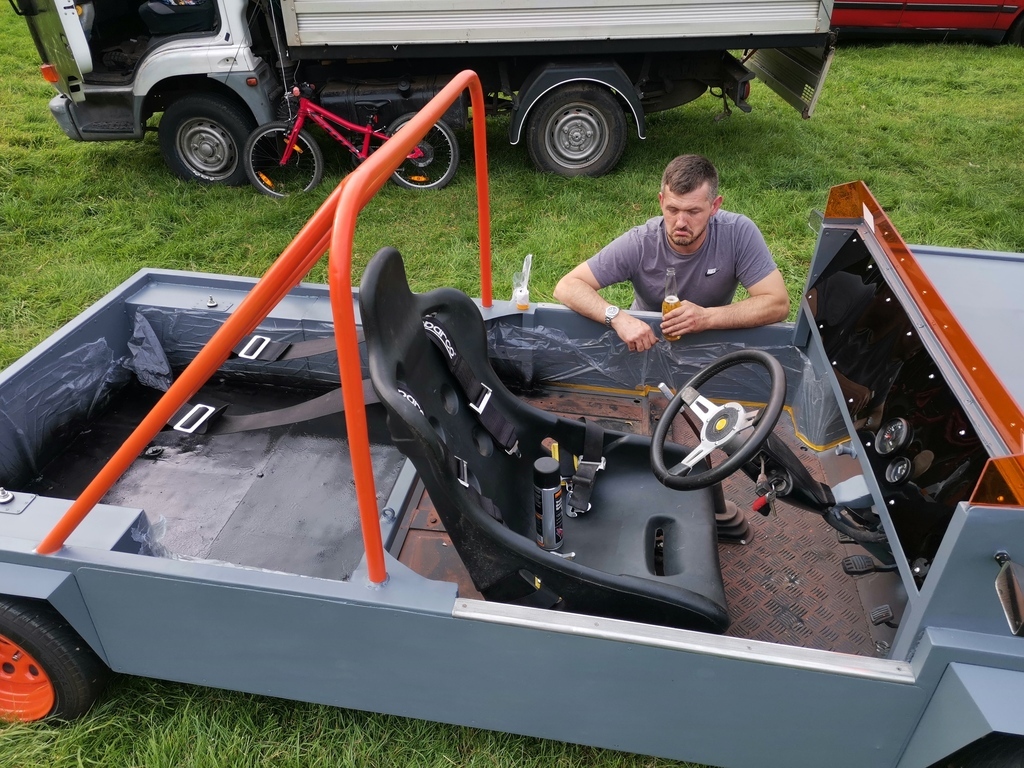 A great time was had 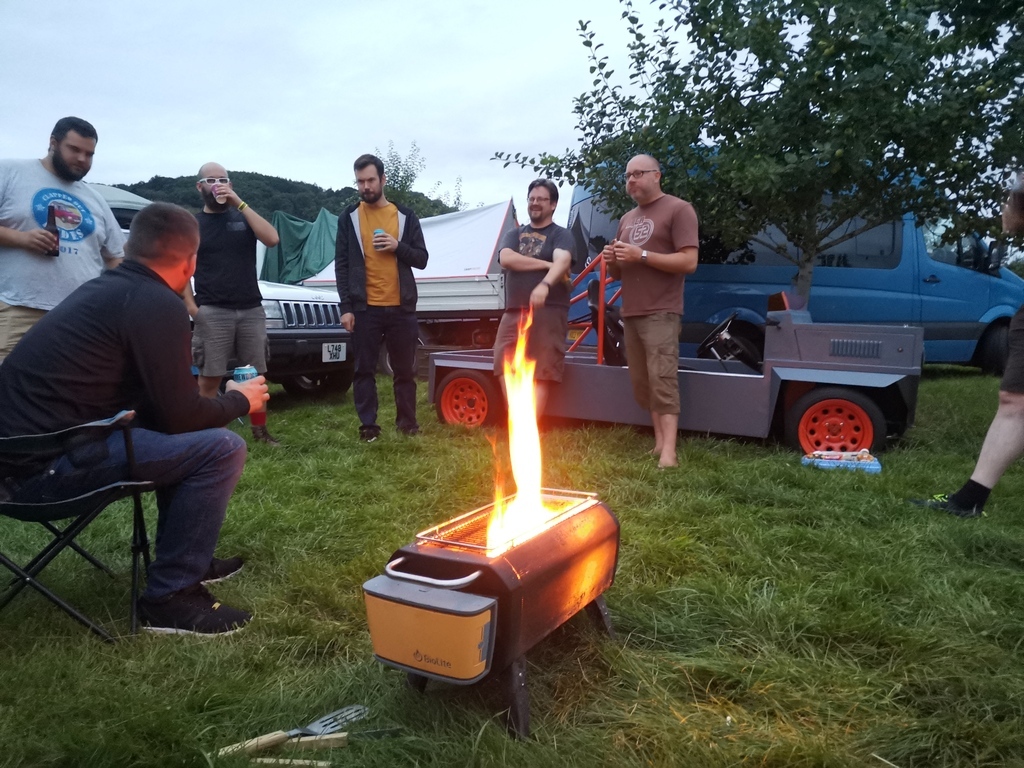 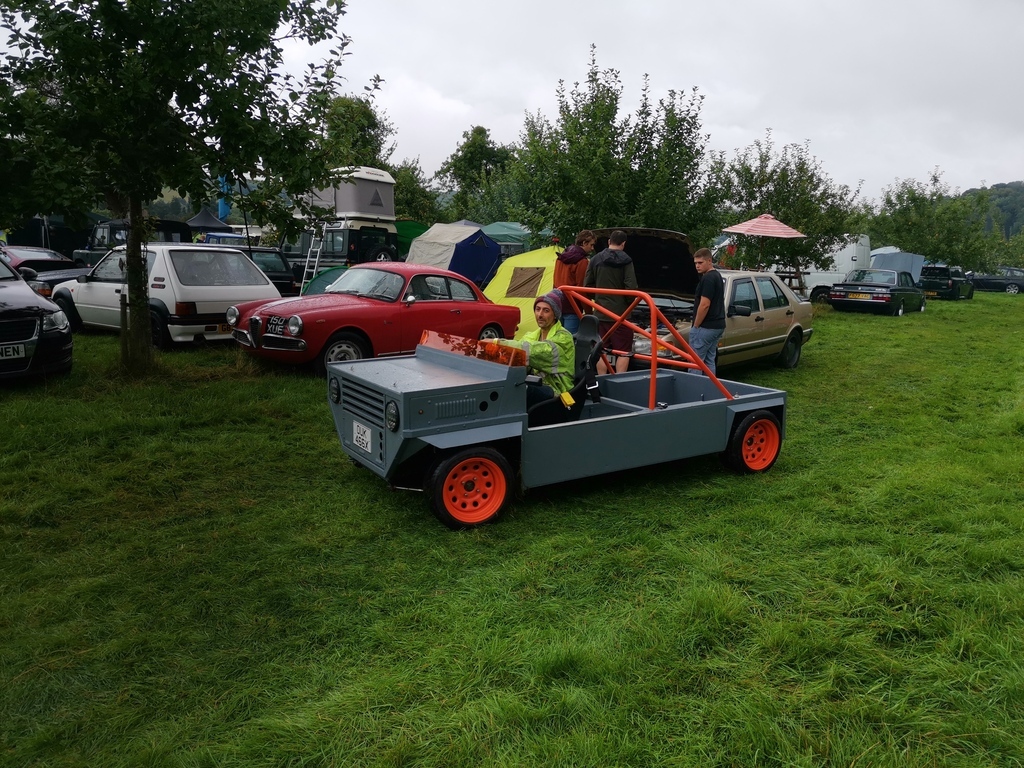 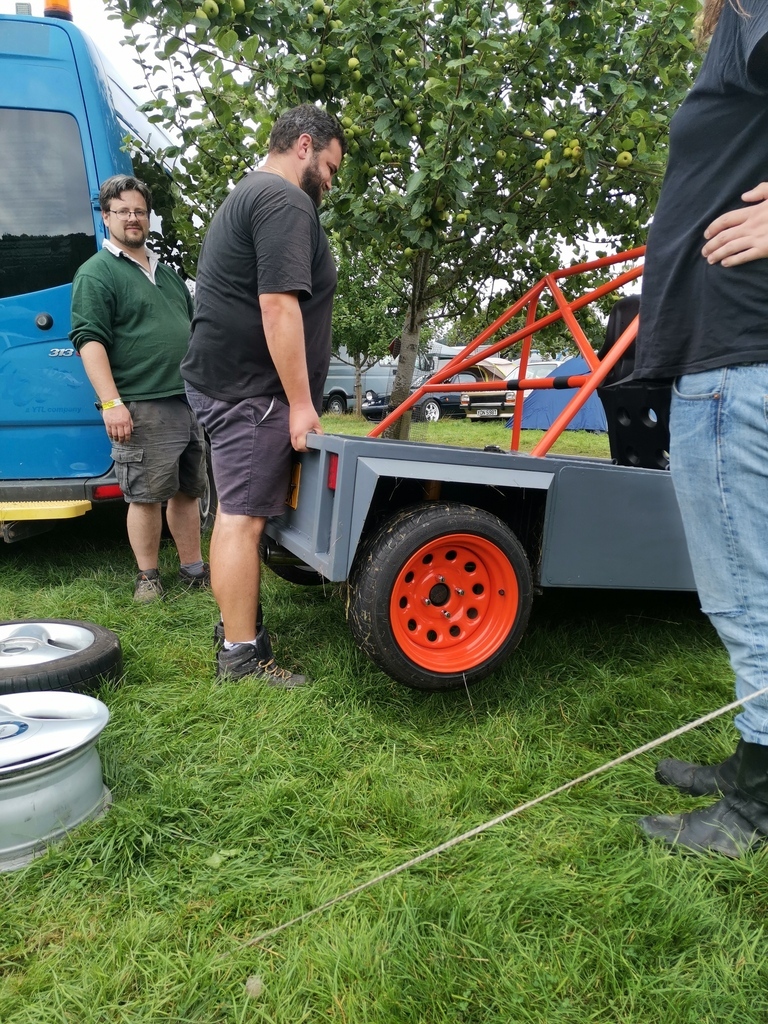 |
| |
|
|
|
|
|
Aug 25, 2021 19:08:36 GMT
|
|
I was hoping to find the build thread for this. Looked amazing on Sunday. One of my favourite cars there. I didn't realise all the work that had gone into as we only had a quick chat (I was the balding old git in a Land Rover t-shirt).
|
| |
|
|
LowStandards
Club Retro Rides Member
Club Retro Rides Member 231
Posts: 2,720
|
|
Aug 25, 2021 20:51:47 GMT
|
|
Mate, that's made my day
|
| |
|
|
stealthstylz
Club Retro Rides Member
Posts: 14,962
Club RR Member Number: 174
|
1982 Mini Scampstealthstylz
@stealthstylz
Club Retro Rides Member 174
|
Aug 25, 2021 21:02:37 GMT
|
|
Looks ace man, working out perfectly between getting more 'proper' but been even more silly
|
| |
|
|
|
|
|
|
|
|
This has turned out absolutely excellently. I wasn’t into it in its first guise at RRG 19, but now it’s one of those cars I really want to see irl. Love it!
|
| |
|
|
LowStandards
Club Retro Rides Member
Club Retro Rides Member 231
Posts: 2,720
|
|
Sept 20, 2021 9:42:26 GMT
|
Things I now have in my possesion: A 1999 Nissan Micra 1.0, lived near the sea i'd have thought, noting the I love Cornwall tat all over it and the lack of sills. 56k on the clock though, engine sounds lovely. 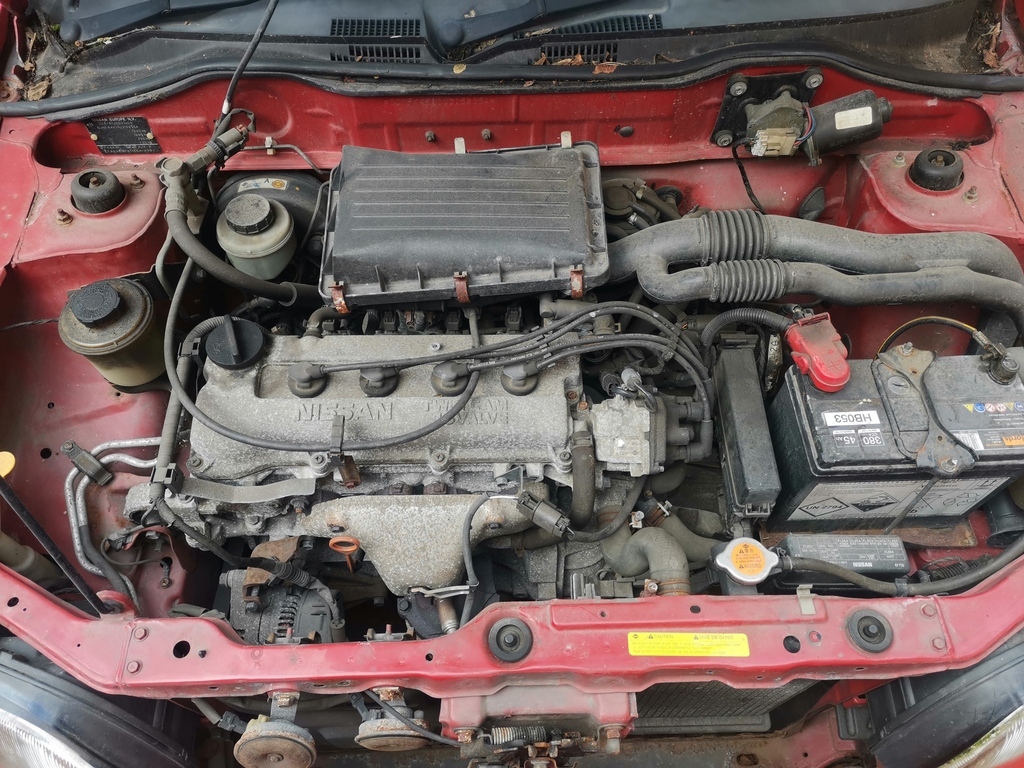 Oh, she doesnt have a passenger seat, it's been replaced by... 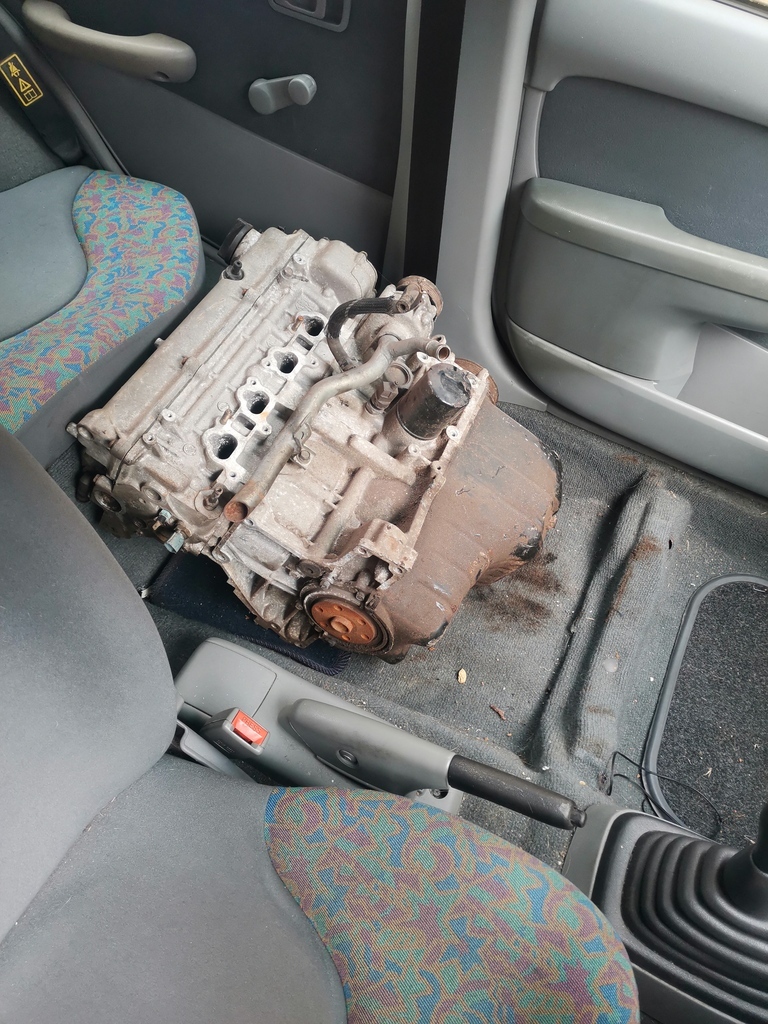 A CG13DE, the 1.3 Micra engine. Plans are to get the 1 litre in and running, then spend some time building up the 1.3 as something a bit tasty |
| |
|
|
75swb
Beta Tester
Posts: 1,052
Club RR Member Number: 181
|
1982 Mini Scamp75swb
@75swb
Club Retro Rides Member 181
|
Sept 21, 2021 8:35:15 GMT
|
Things I now have in my possesion: A 1999 Nissan Micra 1.0, lived near the sea i'd have thought, noting the I love Cornwall tat all over it and the lack of sills. 56k on the clock though, engine sounds lovely.  Oh, she doesnt have a passenger seat, it's been replaced by...  A CG13DE, the 1.3 Micra engine. Plans are to get the 1 litre in and running, then spend some time building up the 1.3 as something a bit tasty  |
| |
|
|
|
|


 They serve their purpose of holding the rear of the bonnet and allowing it to open. They will get replaced with either a full length piano hinge, or a lot of Scamp owners appear to use a C-channel and slot the bonnet in. We'll see at a later date.

