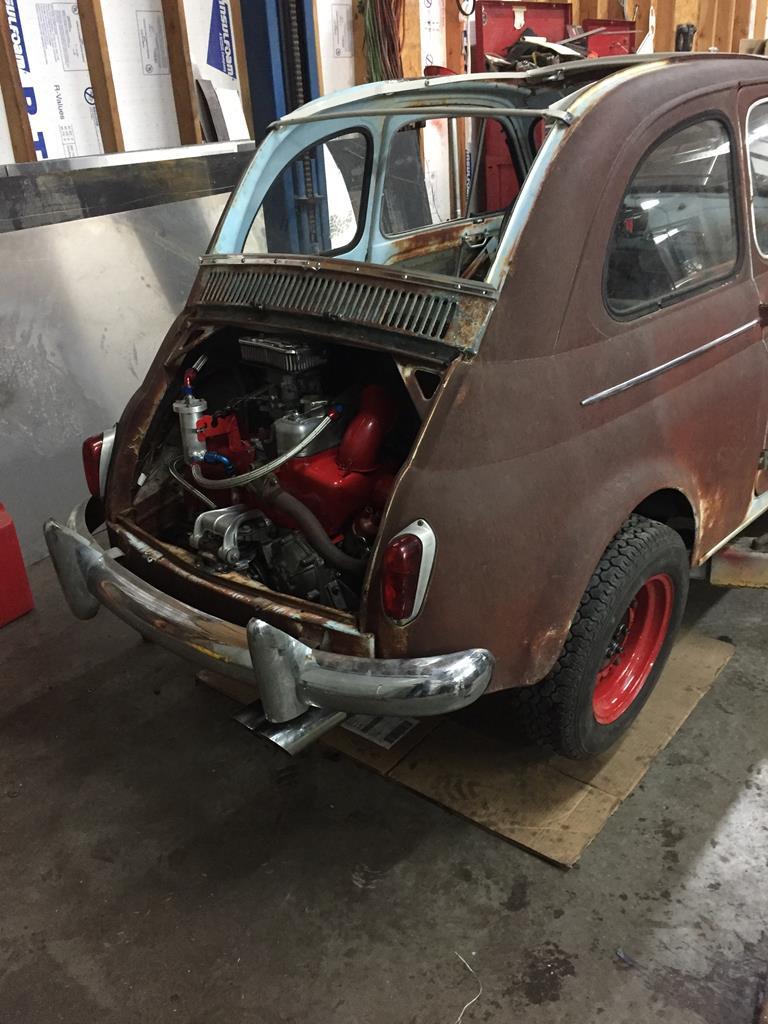
braaap
Posted a lot
  
Posts: 2,758
|
|
|
|
|
Hm, I see a wooden copper template before my inner eye with the word abarth cut out, the letters so wide that the tip of your mig welder fits in. Then you can spend several hours doing spot welds, so many that you form the six letters, a bit like 3d printing.
Not perfect, but maybe worth a try on some piece of sheet metal.
But let the weld spots cool down enough to prevent warping. (With your metalshaping skills shown up there I certainly wouldn´t have to tell you that).
|
| |
Last Edit: May 8, 2020 21:09:23 GMT by braaap
|
|
|
|
|
|
|
|
|
|
|
|
|
No, I'm trying out some ideas for better aero. I actually had already placed an order for a new set of Giardiniera rear fenders, to build the new shape off. But the vendor canceled the order because they were too large to ship internationally. So now I'm going to build something out of aluminum.  The cardboard is to give me a rough idea of where I'm headed, and I can change it over the weeks while I'm working on other stuff. So hopefully I'll end up with something I'm happy with... |
| |
|
|
|
|
|
|
|
This pic shows the airflow of the cooling air. 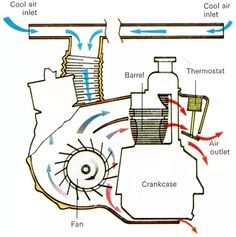 You can see in the lower right hand side of the engine tin there is a outlet for the air to go through a double layer of the oil pan. As a very rudimentary version of an oilcooler. But that is the stock sheetmetal pan, the cast versions have that double layer. So what happens if you put one of those on is that you end up with a big airleak of cooling air. There is a little piece of folded sheetmetal you can buy to block it But I thought there was a better way to fix it. The original shape. 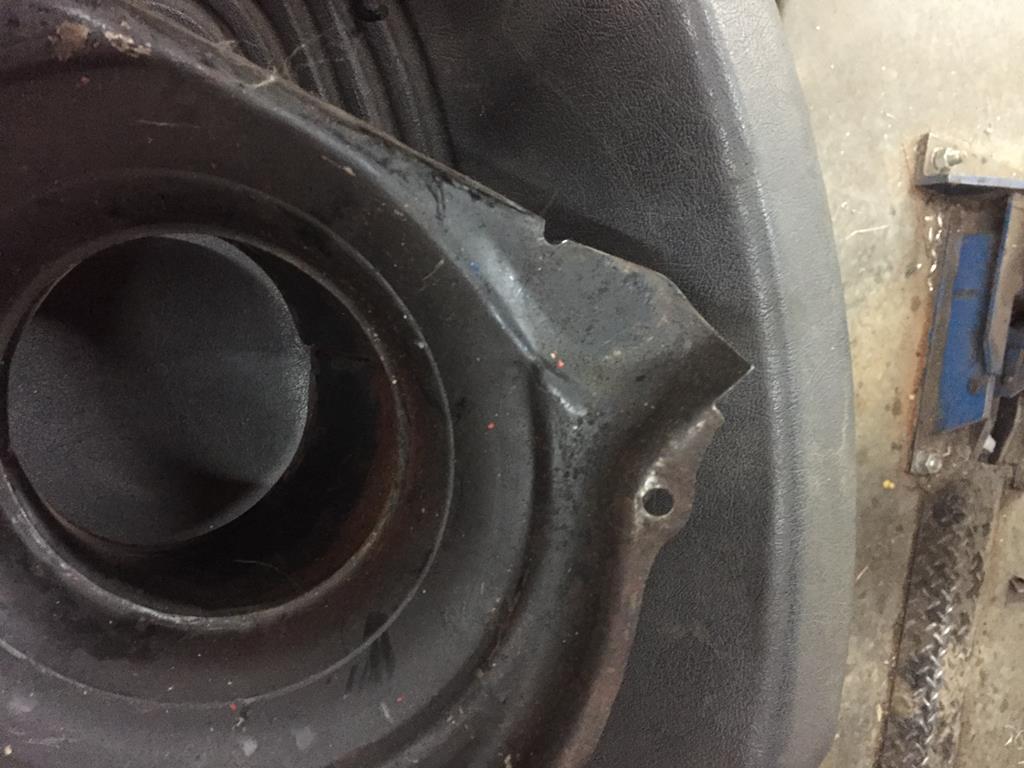 Cut the corner out. 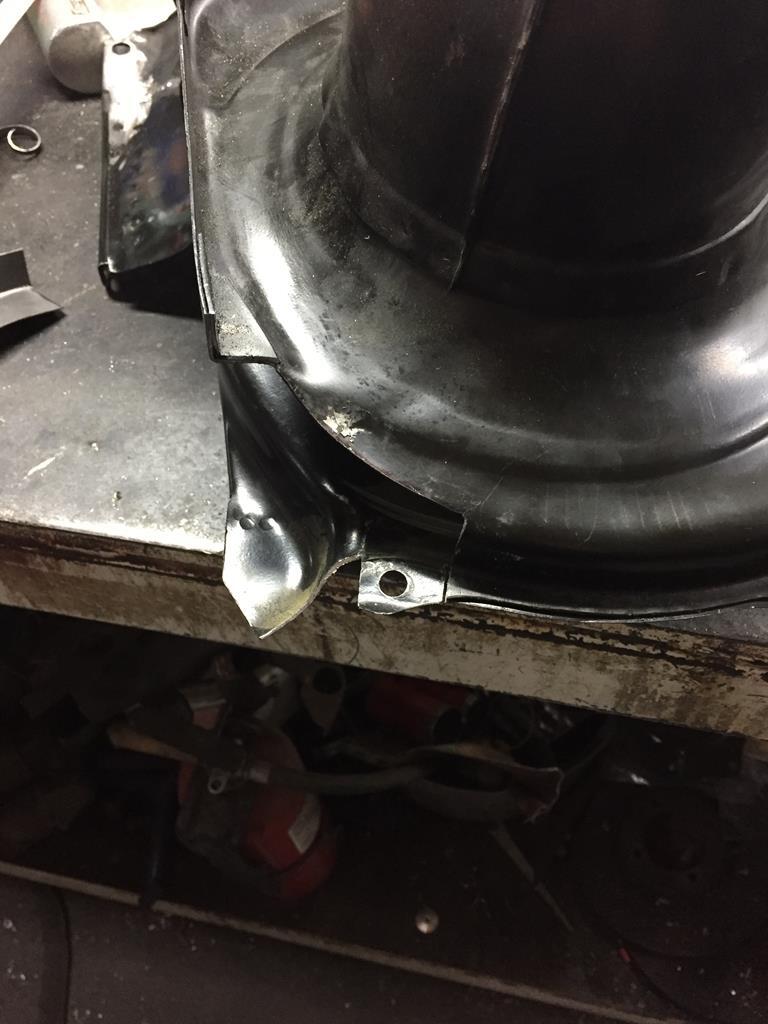 New piece welded in. 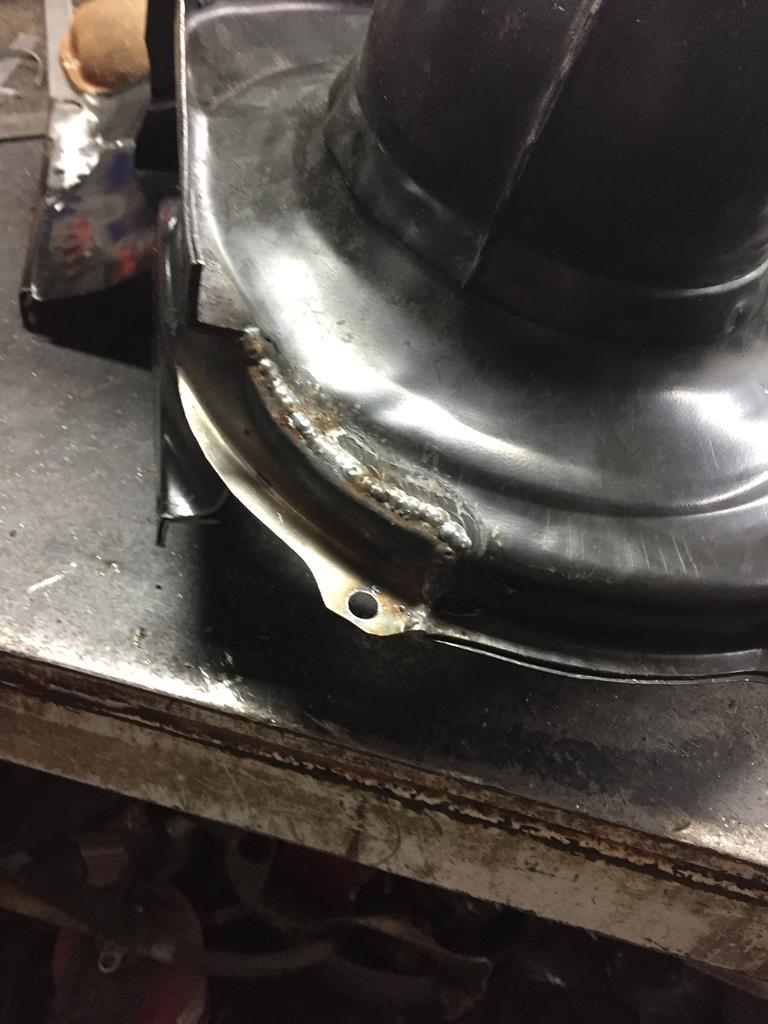 Ground down. 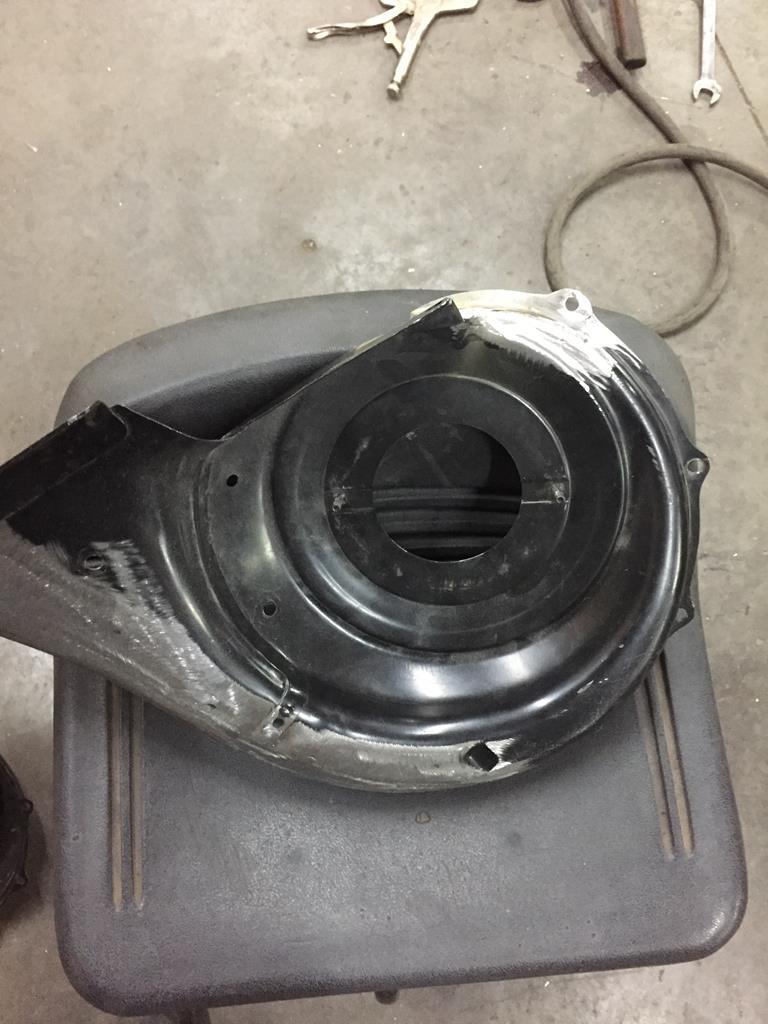 Finished. 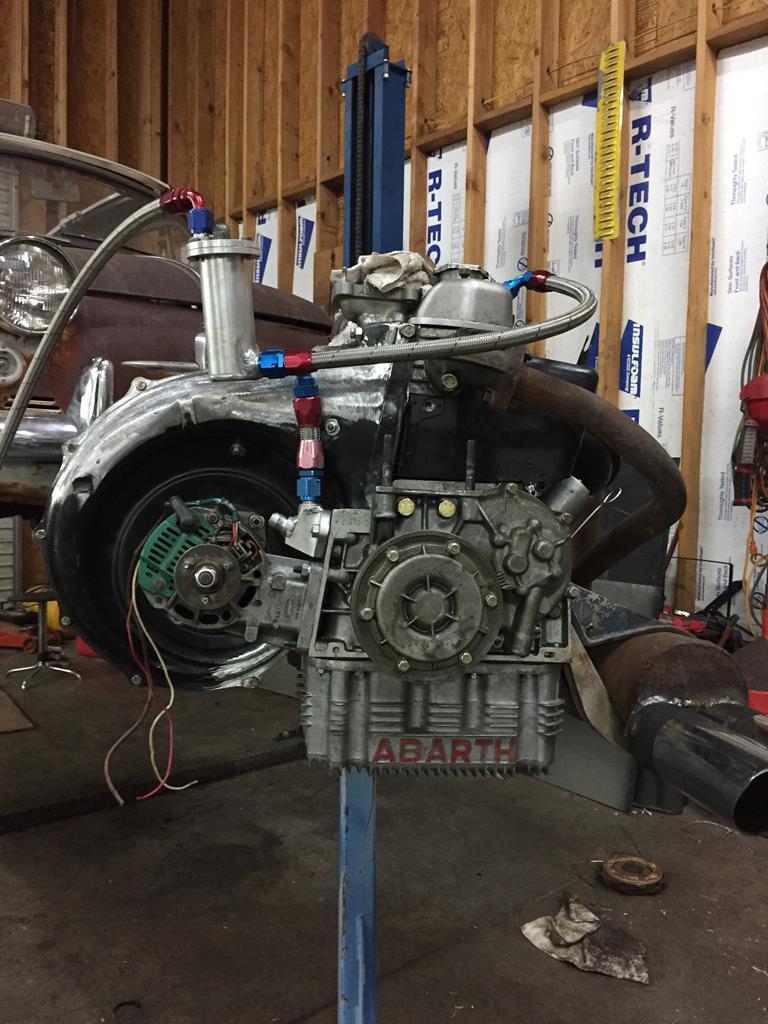 |
| |
|
|
|
|
|
|
|
I adapted the original throttle linkage ( basically a bellcrank at a weird angle ) to work with the new carb, and the new shape of the engine tin. Coming off the bracket that holds the pivot for the bellcrank is another bracket that holds the crank case ventilation baffle. And in that bracket is a slot that holds a grommet for the coil HT lead ( early cars had the coil on the LHS of the engine bay, all the later ones including the 126 this engine was for had them on the RHS ) Little things like that take a lot of time, but if something like a throttle linkage isn't right its aggravating every time you drive it... 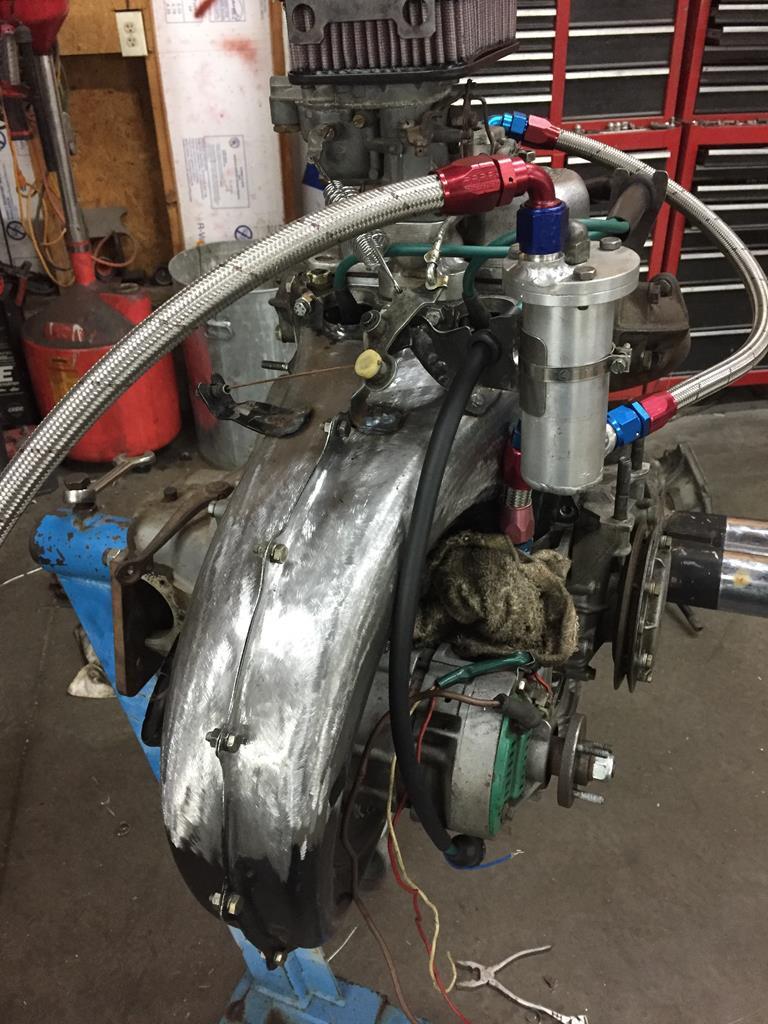 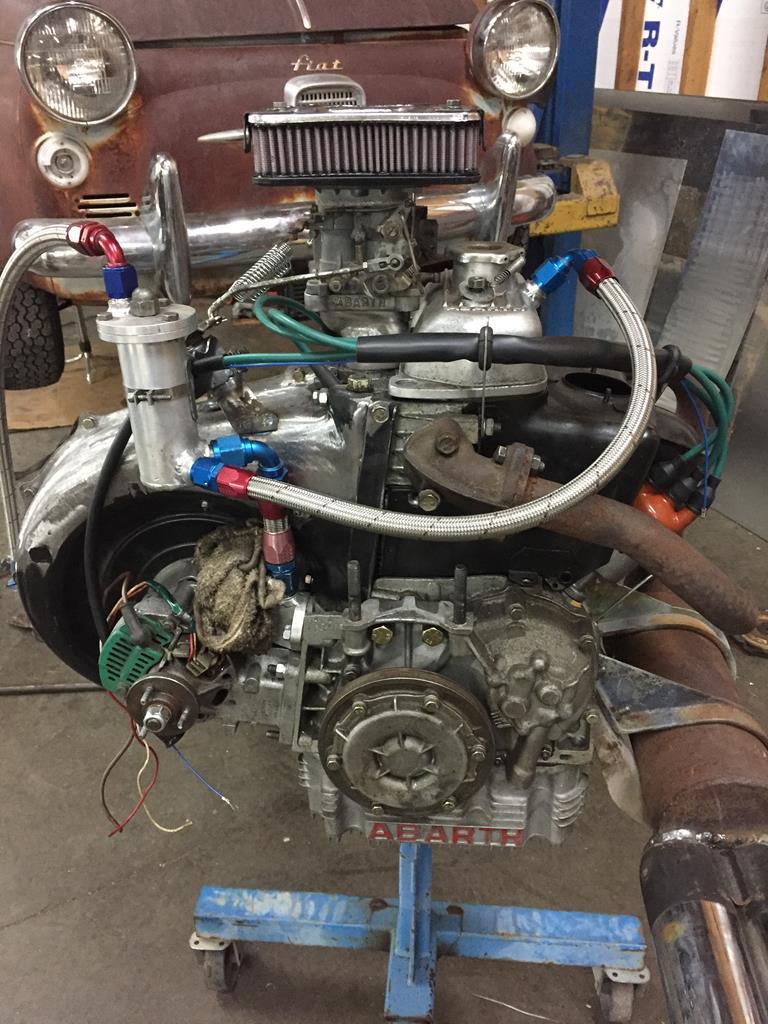 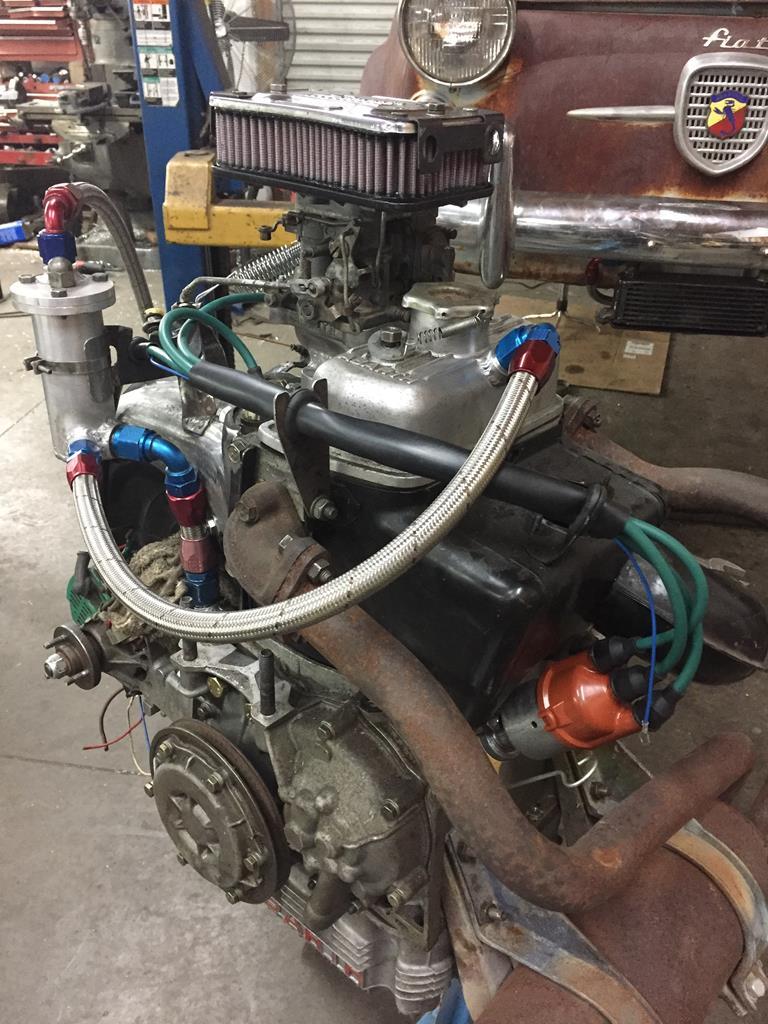 |
| |
|
|
|
|
|
|
|
All the cooling tin done and painted. 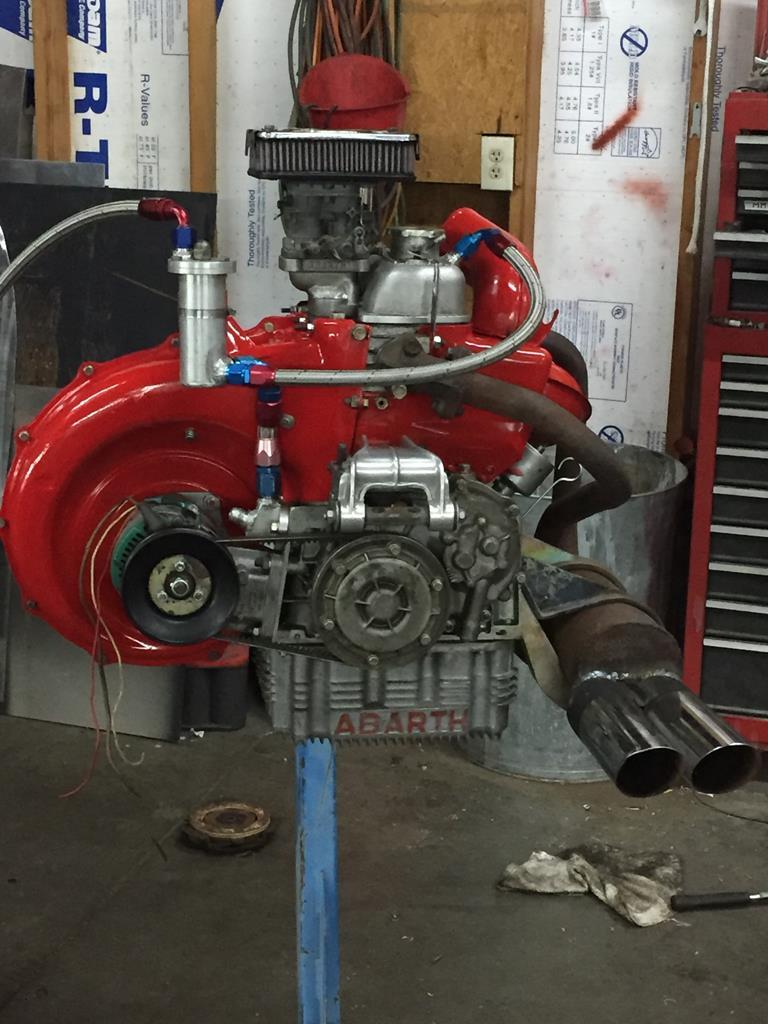 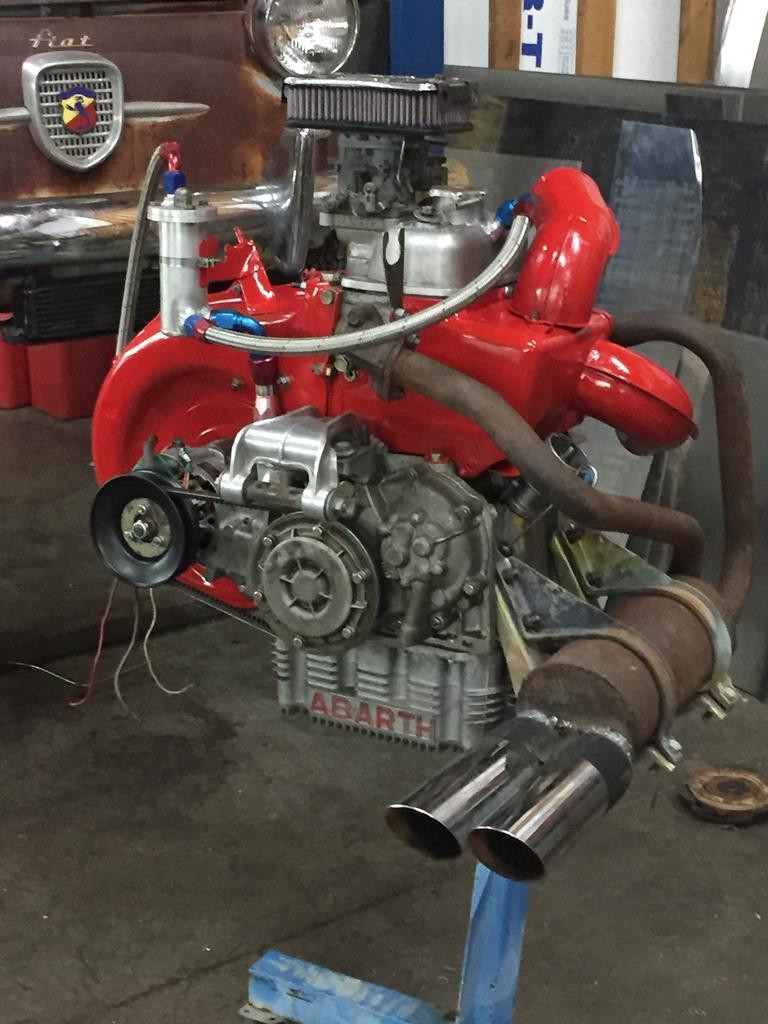 |
| |
|
|
|
|
|
|
|
|
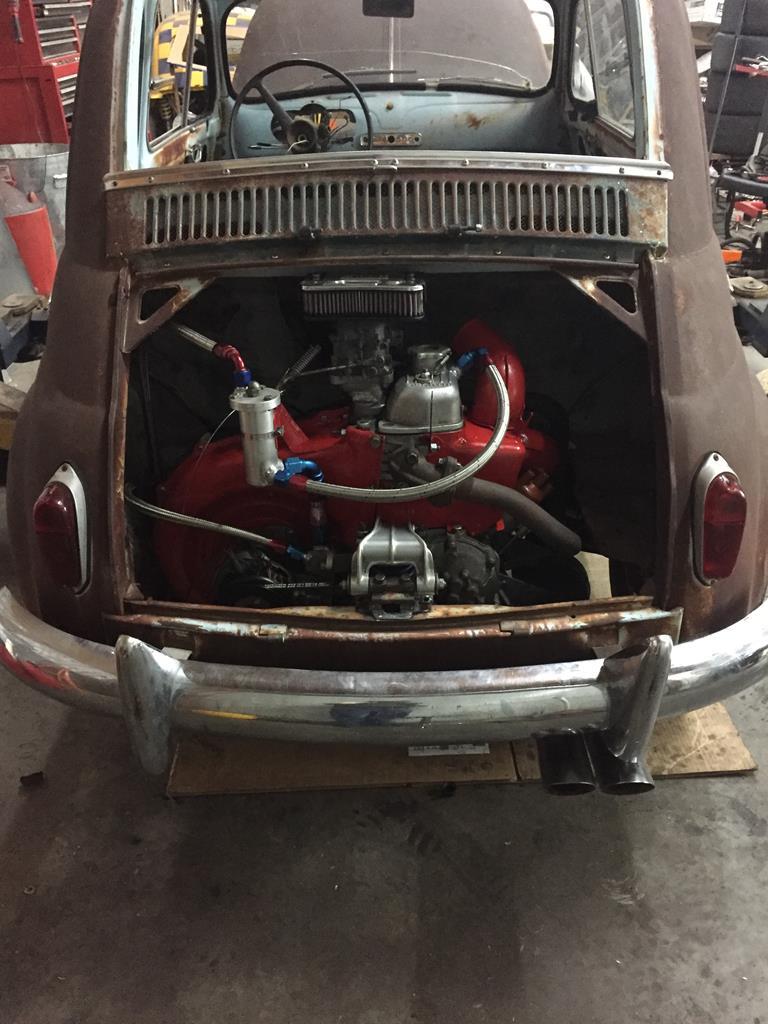
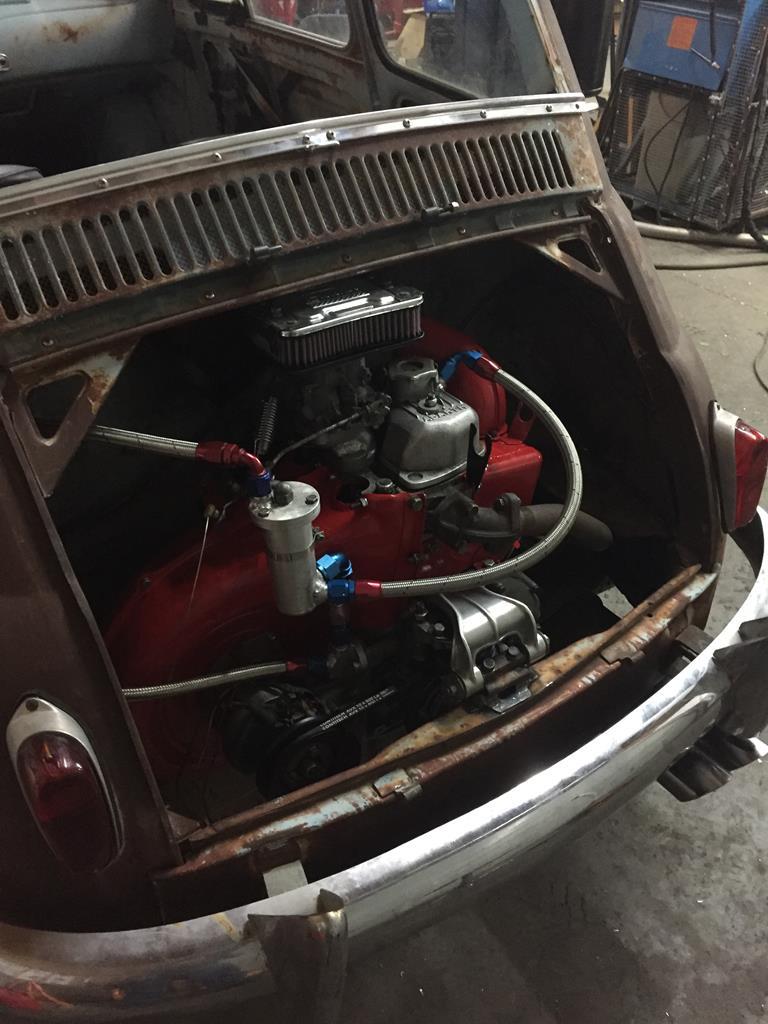
Can you explain the crankcase ventilation a bit for me, please? The aluminum can with the braided hoses, I assume, is the air/oil separator? Thanks, John
|
| |
|
|
|
|
|
|
|
Its basically a row of baffles connected by offset holes in them. So the air has to go through a little chamber, through a relatively small hole and then through a chamber again, etc until it reaches the top. So it goes through a series of sharp bends, speeding up and slowing down again, over and over. Air should be able to do this a lot easier than oil droplets suspended in it, so those should separate from the air and drain back down. It is based on the system Abarth used on the TC racecars, but a bit bigger because of the pressure pulses that happen in a 2 cylinder inline. 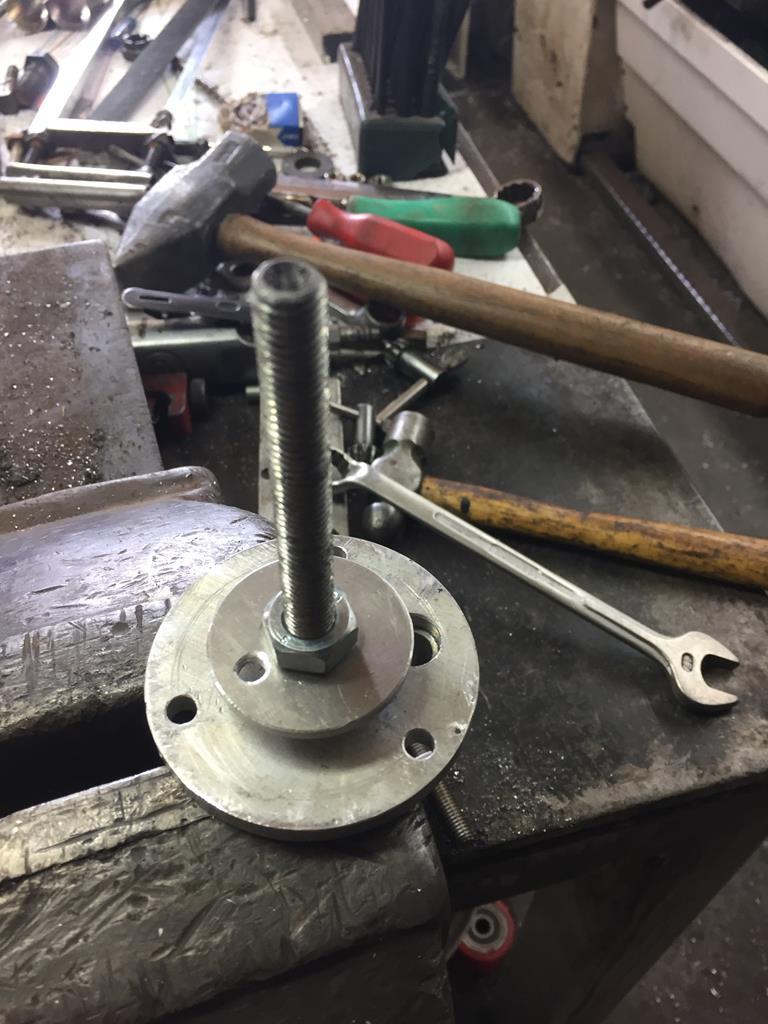 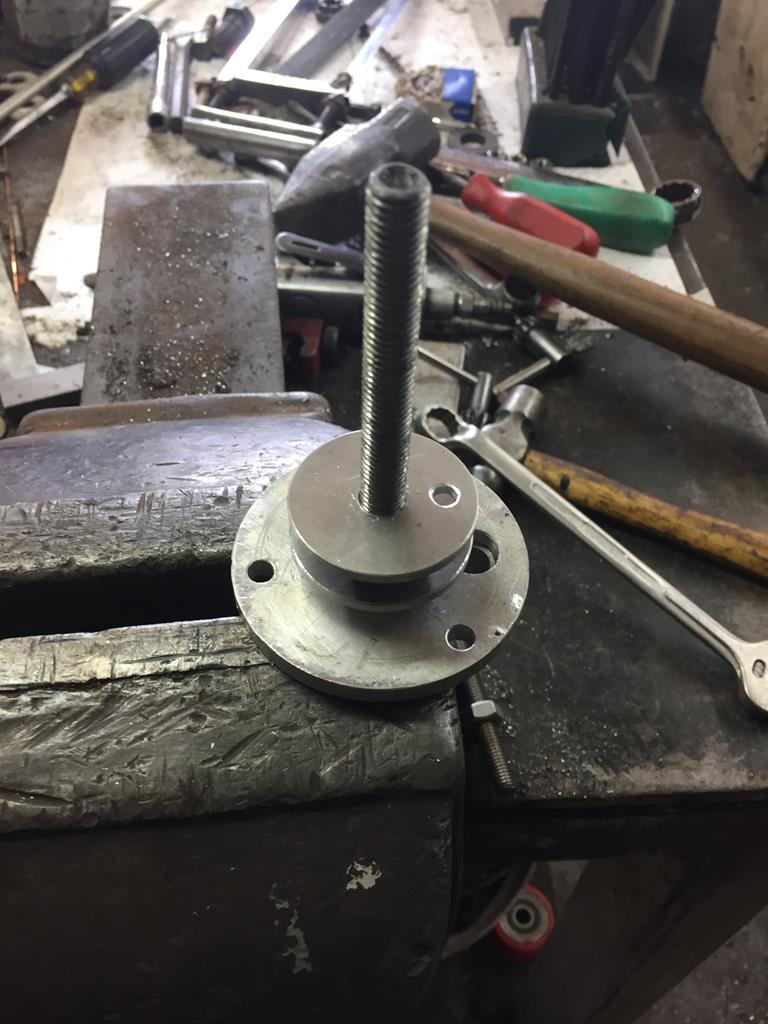 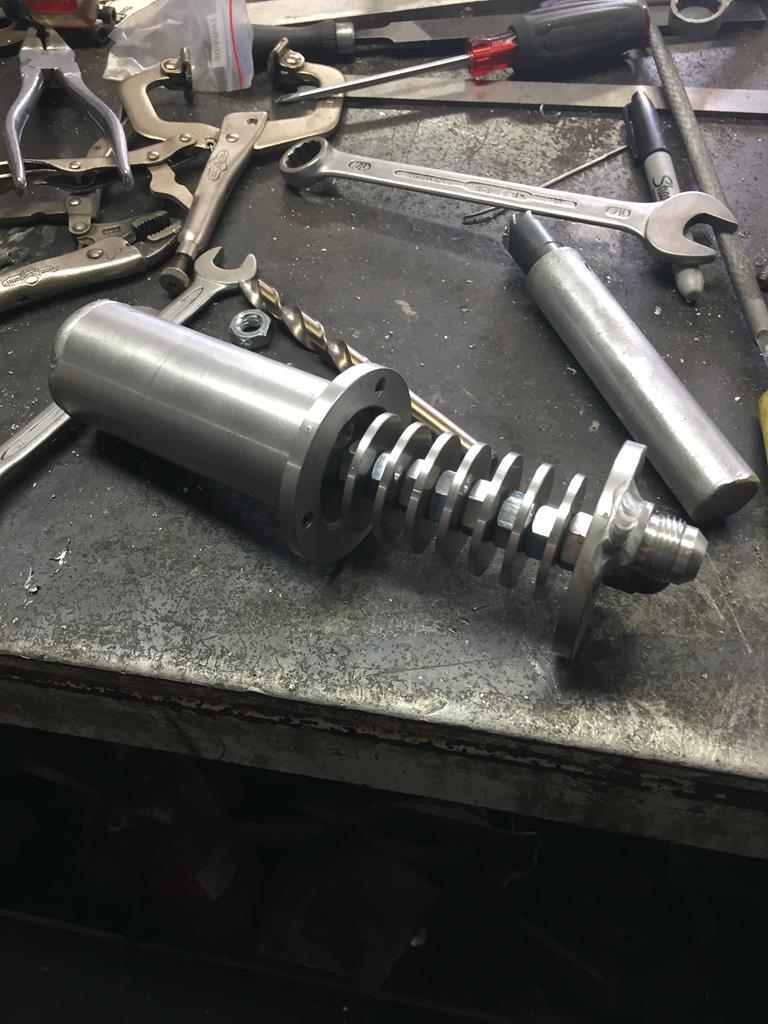 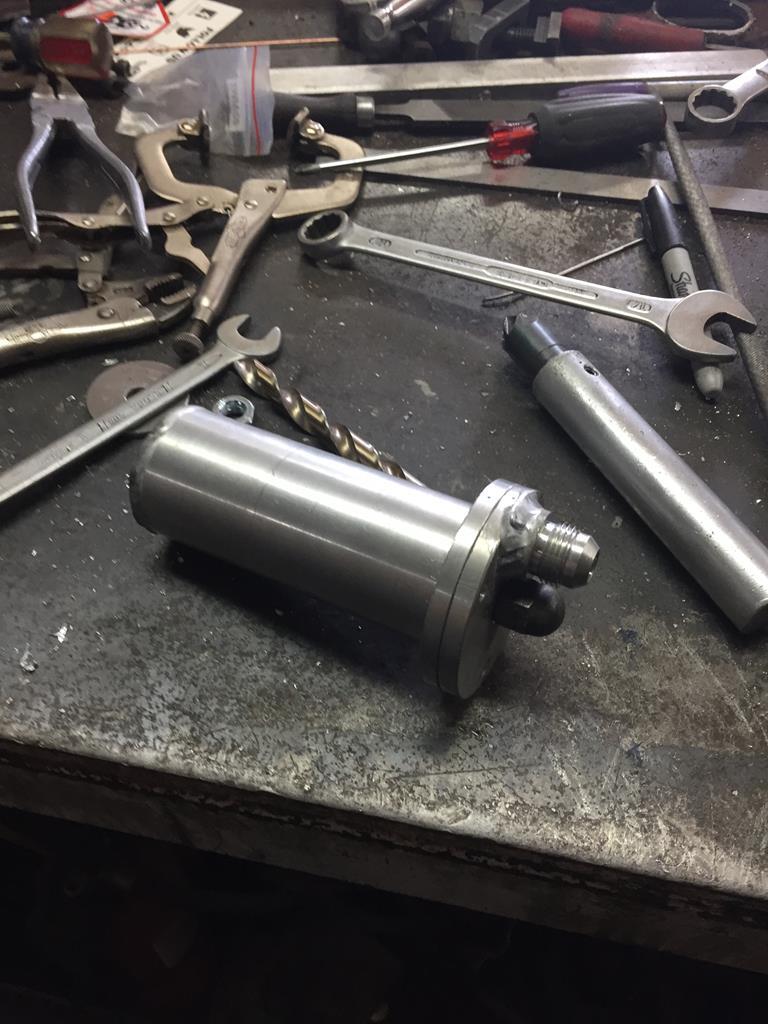 |
| |
|
|
|
|
|
May 12, 2020 16:22:39 GMT
|
|
Very cool, glad I asked. Worth you showing! I've had a few mechanically injected Alfa's with a neat oil separation system. I think it's one of those systems modifiers and tuners often seem to ignore/omit. I also remember years ago a mechanic showing me (with an Alfa on an exhaust gas meter) how the CO (or HC? Can't recall) went up when you removed the oil filler cap... opening the system. Now I'll need to think about that to figure out why ...
Great stuff you do. John
|
| |
|
|
|
|
|
|
|
May 12, 2020 20:05:23 GMT
|
Thanks.  |
| |
|
|
|
|
|
May 12, 2020 20:59:25 GMT
|
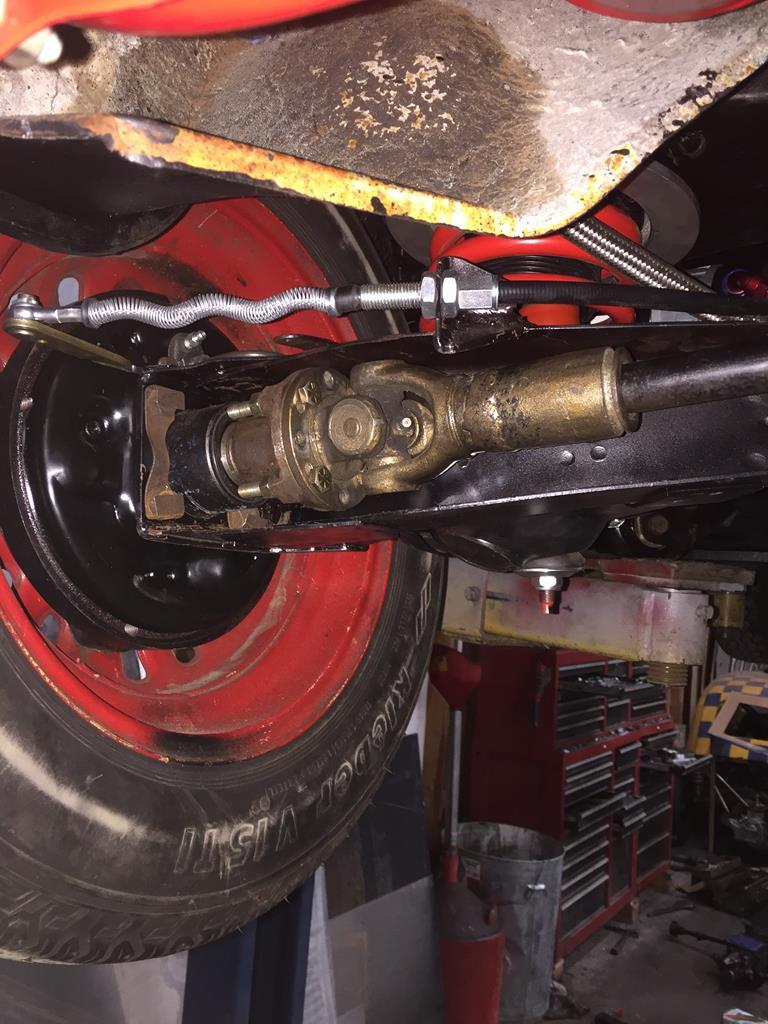
BTW, I'm not building this car for any kind of racing. Its a streetcar only, I'm not planning to ever put it on the track. But I'm doing some mild mods to it to make it more fun, and I'm paying a lot of attention to things like cooling because that has proven to be an Achilles heel in the past. Mechanically, it will basically be a brand new car ( the only major component that is used is the gearbox, but that was NOS before it went into the yellow racer. And it doesn't have much track time on it ) When I built up my old '72, a lot of new parts went onto that one as well. So there is the nostalgia of that. And, to me, it will be the best of both worlds. Being the earliest lightest version of the car with the latest biggest version of the engine ( not counting the Abarth race versions ) I'm hoping for some fun & trouble free driving...  ( I'm really looking forward to it...  ) |
| |
|
|
|
|
|
May 12, 2020 22:19:51 GMT
|
|
Loving your updates...these are fascinating little cars and i mean all of the Abarth cars, not only this one.
I happened to see another Abarth double bubble 750 for sale (same as you just finished for your friend), but it was really haggard looking and still 39000 euros or so...guess I´ll have to pass....
|
| |
|
|
|
|
|
|
|
|
Thanks man.
Yeah, the Zagato's are expensive...
|
| |
|
|
|
|
|
|
|
|
Looking at the somewhat agricultural exhaust "manifold" is there an upgrade opportunity here rather than abrubt right angle?
|
| |
|
|
|
|
|
|
|
|
The exhaust is a massive improvement over stock, and one of the better ones available.
The main thing wrong with it is that its old and I had to repair a lot of cracks.
These engines are not smooth, they try to shake anything you bolt onto them to bits...
But you are right, it could be improved from there.
When my '72 was my daily driver, I built an exhaust for it.
It had tuned length tubes ( with the help of Phillip H. Smith's book on exhaust and intake design), which merged into calculated dia and length secondary pipe, and then into a small muffler).
All Oxy Acetylene welded ( because that is what I had ).
I learned a lot about engine vibration and keeping stuff from falling apart because of that exhaust ( and the 2 less successful tries before that one )
It had a really nice sound, and if performed really well ( specially considering how few other mods were done to the engine )
When this one is beyond repair I think I may build a new version of it...
|
| |
|
|
|
|
|
May 13, 2020 10:09:51 GMT
|
|
Sounds fantastic - great information thank you.
|
| |
|
|
|
|
|
|
|
The original wiring loom was all there and not cut up, but it was brittle so I thought I'd better replace it. I can get a complete wiring loom for about 80 Euro, or a DeLuxe better loom for about 150 Euro ( correct color codes, etc ) I decided to splurge for the better one. 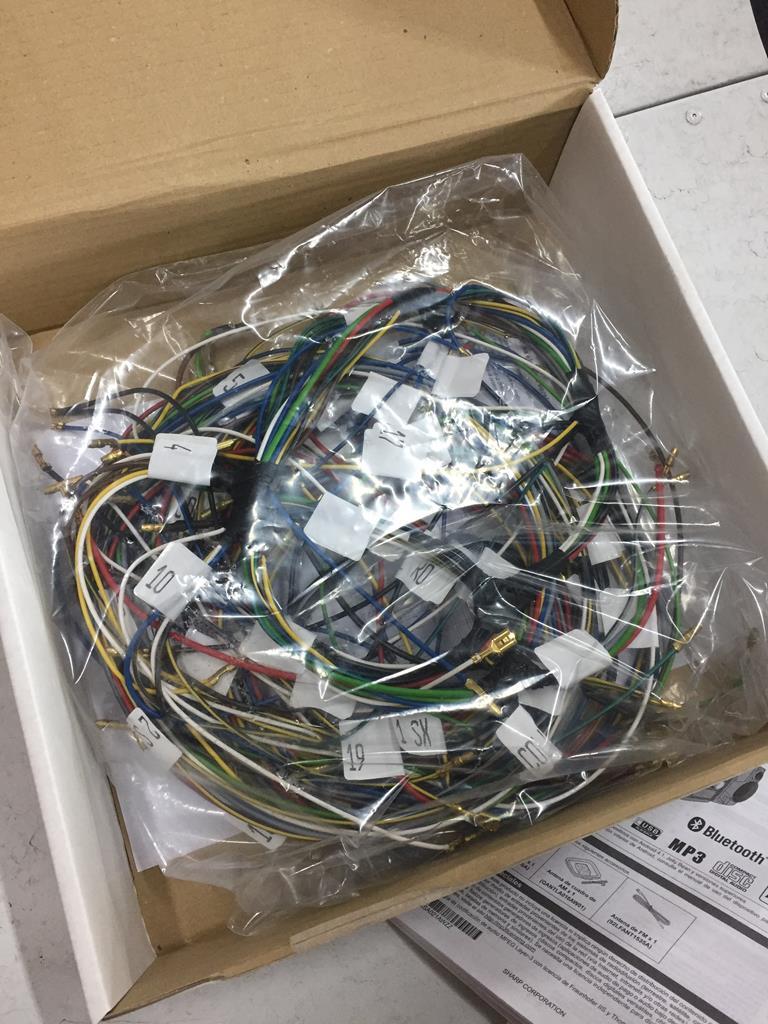 I put the back part of it in the engine bay, because that is a lot easier before the engine goes in ( only partially hooked up, because I will have to make some changes for the tach, oil temp, and alternator). Also, I still needed to finish the fuel lines. These also needed to be done before the engine goes in. 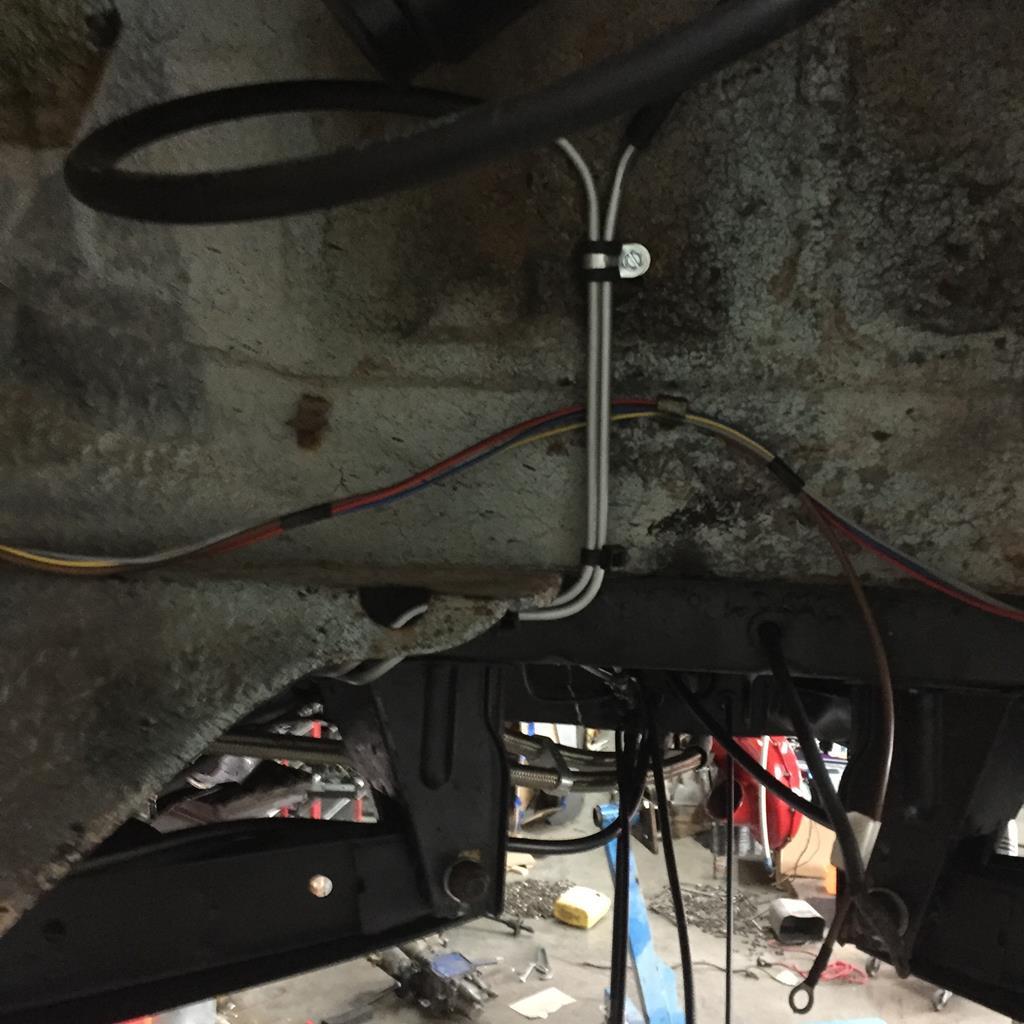 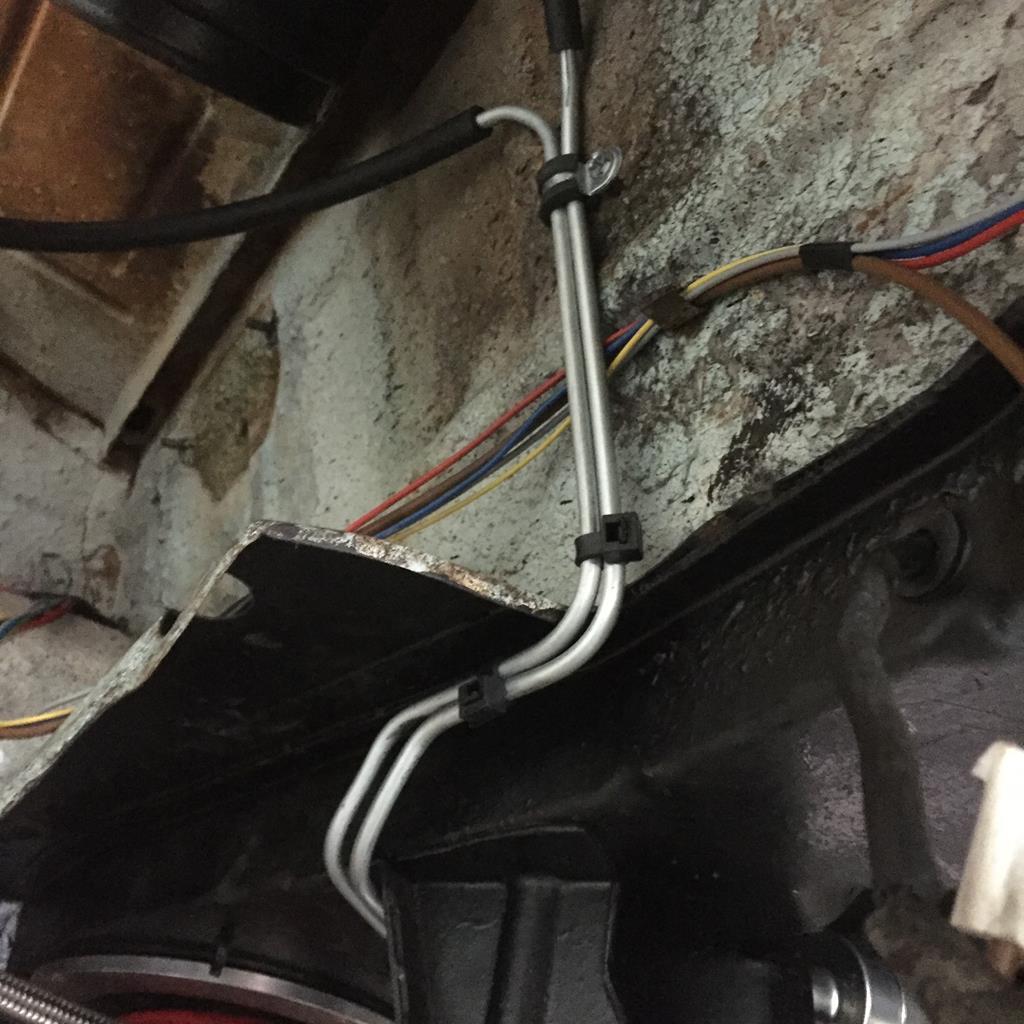 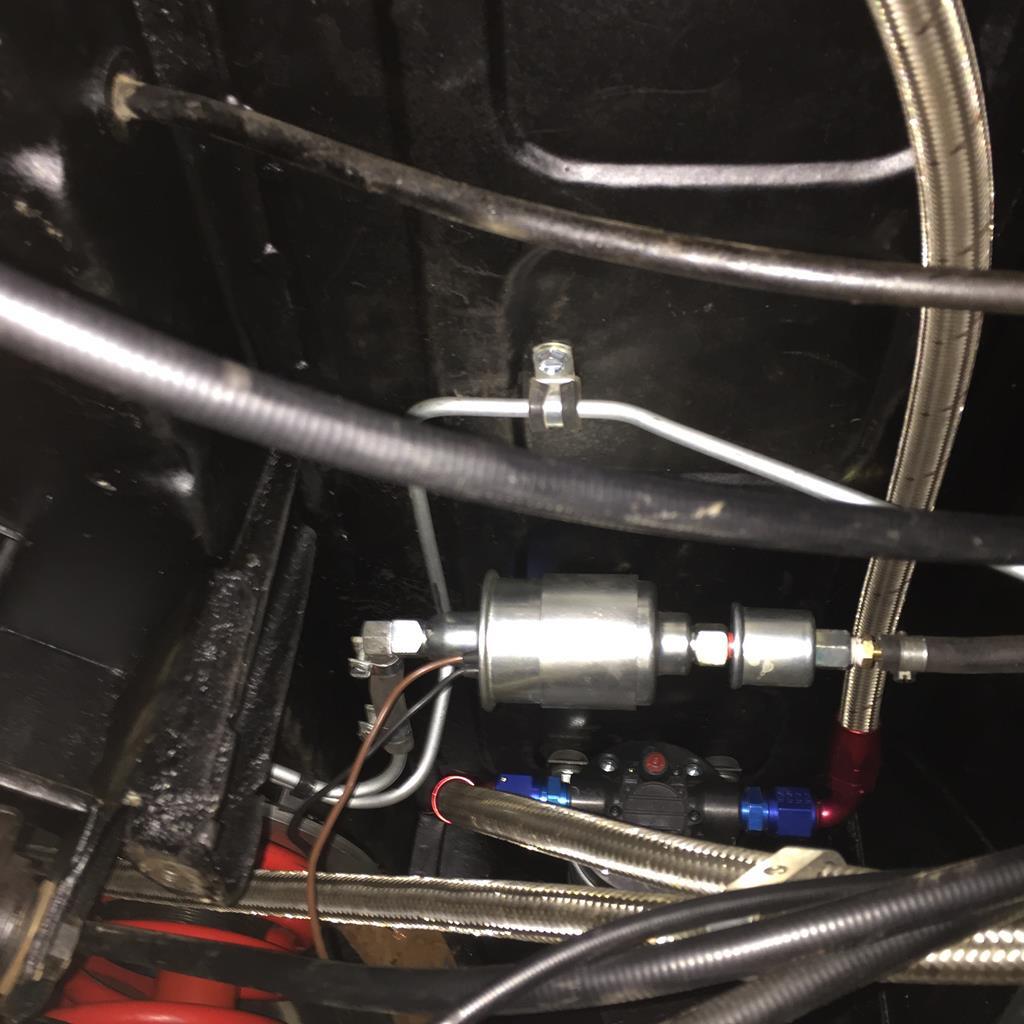 |
| |
|
|
|
|
|
|
|
The carb I'm using is a Weber 30DIC-1. off a Fiat 850 Spider/Coupe. I've been collecting those for a while for another project ( that hasn't happened yet ), so I could go through my stash and select a nice one. I also got a couple of 30DICA's, with is the same carb with some extra stuff on it, for the American market. Nice part about those is that they have a fuel return line. So fuel keeps moving and there is much less chance of vapor lock. I combined the DICA top with the DIC-1 body, for the best of both worlds. Some mods to the top were next I milled the throat down to about 1/2 its original size. Because I'm not using a choke it can be shorter, and also since I'm using a short airfilter I thought that would improve flow. 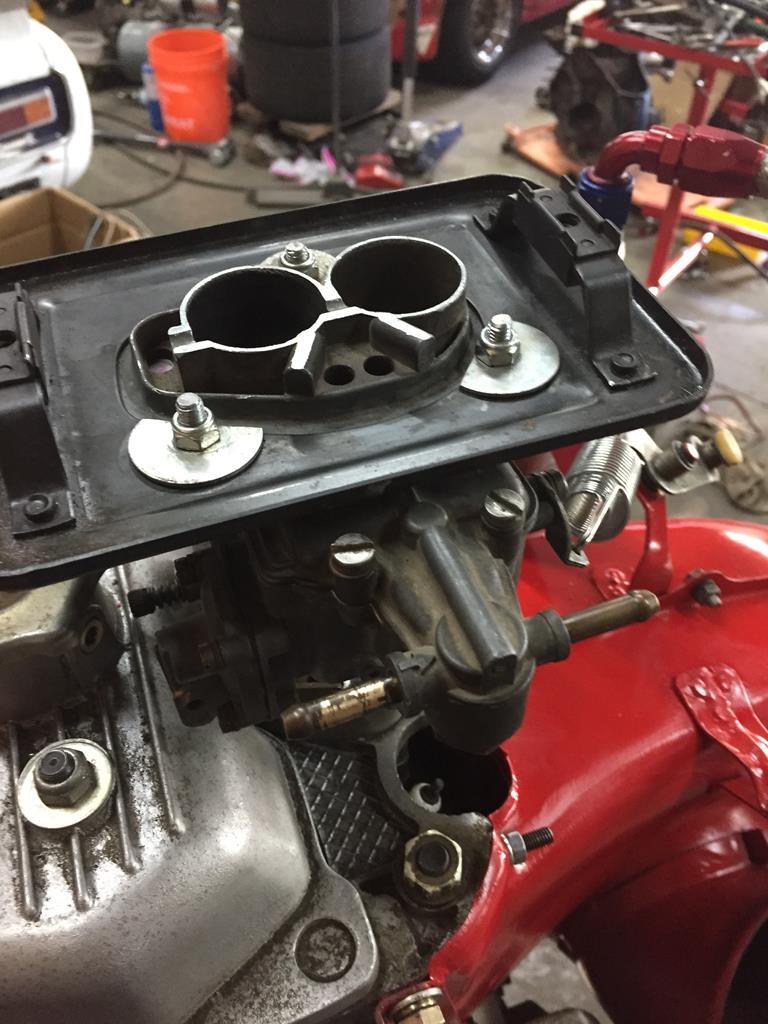 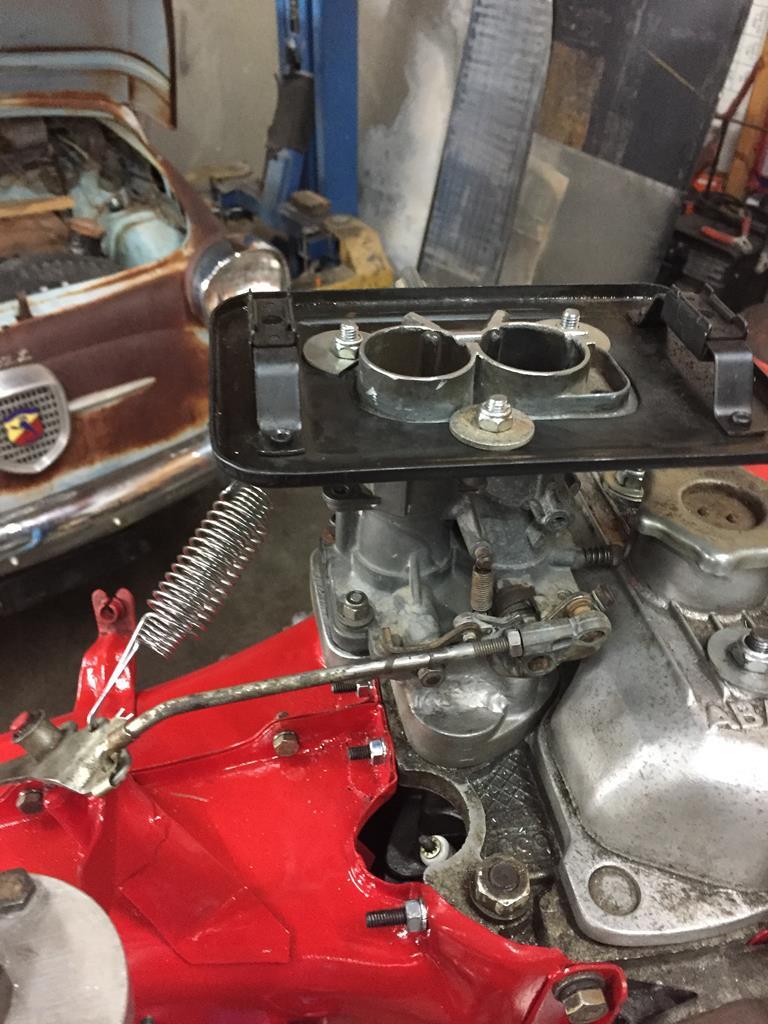 |
| |
|
|
|
|
|
|


