markbognor
South East
 
Posts: 9,970
Club RR Member Number: 56
|
|
|
|
Mark thats some good flex there I have cut the springs but the droop never entered the brain so thanks for that will do the same. Skoda I really like the swap to the correct side for driving. And those MN wheels do look good Put a good hour n a half on my 44 yesterday and no issues finally think the epoxy did the trick for the ring gear. Something I've noticed is the front universals don't quite line up with the king pins and at extreme lock can feel it binding slightly. Not sure if you lads have that issue also. Next upgrades are wheels some oil shocks and metal gears in the 2 speed. Who likes the 2 speed??? I'm loving it low gear has amazing control and torque just needs a slight 10mm lift up. How do I post pictures? To add pictures use the Add Pictures button to the bottom left of the post entry window - you might have to set the browser to 'View Desktop Site' or similar depending on you OS. I think Ampro Engineering print a version of the steel eight spoke wheel. 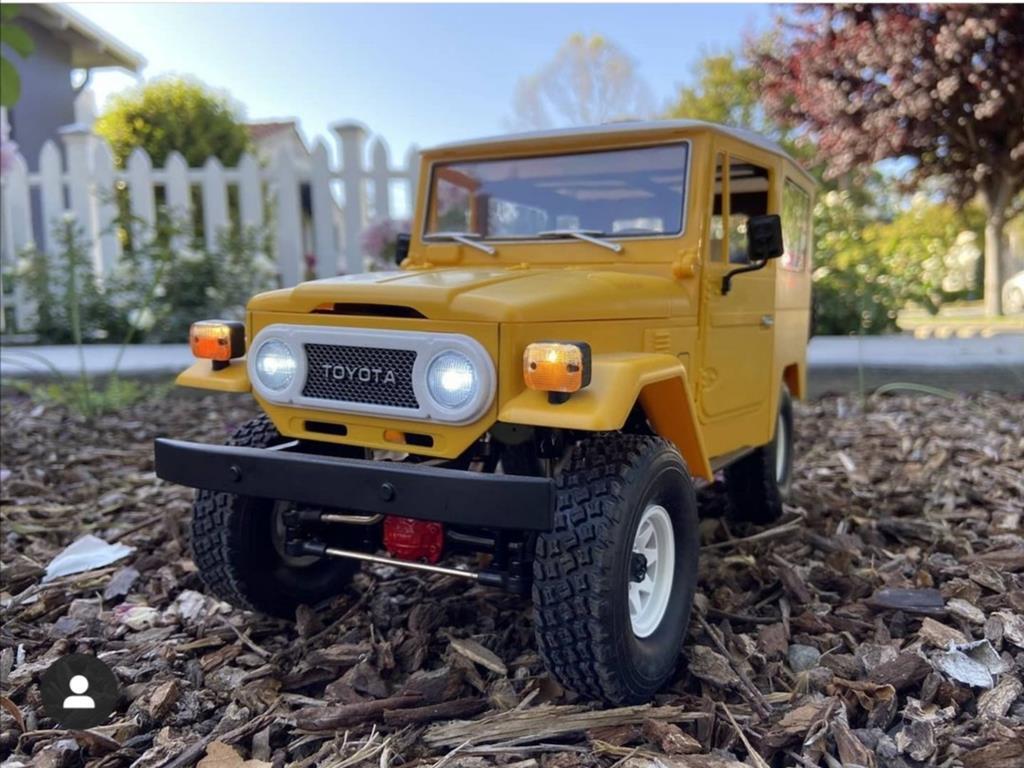 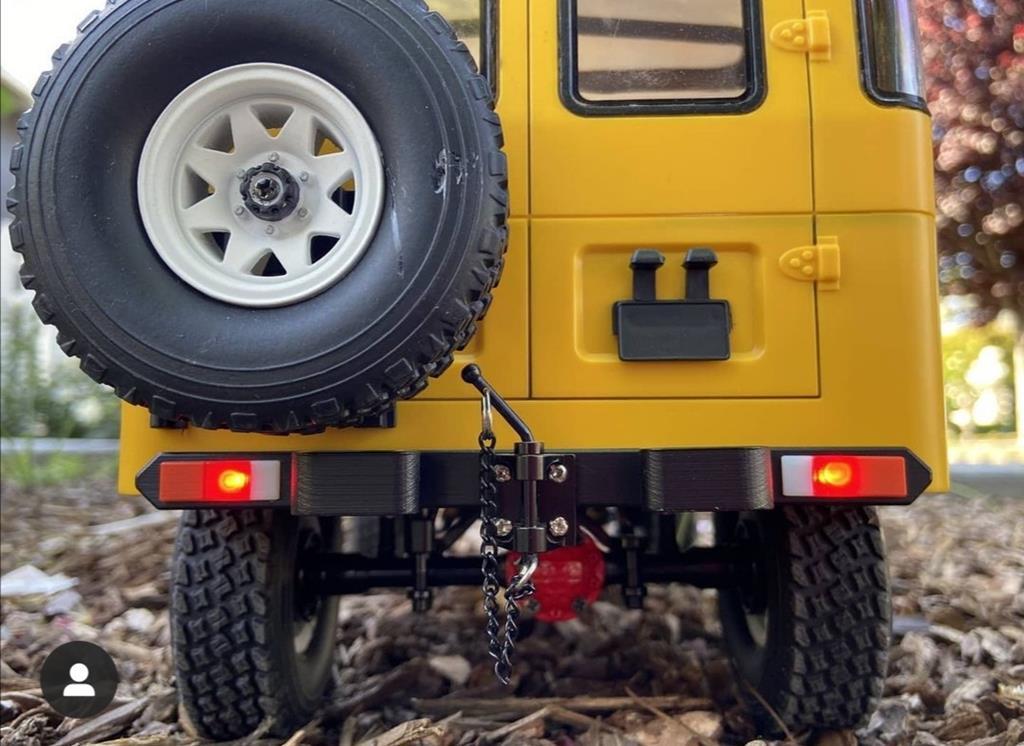 We have the two speed in My 44 and my son's 34. They are fun and as you say the low gear is brilliantly low, they can just be a bit of a faf to get, and keep working properly. The single speed is a compromise, but I do love the simplicity of it now that I'm running a 3s. I think the accuracy of the drilling on the axle knuckles can leave a little to be desired, but some can be corrected by where the uj is clamped down onto the axle, and whether the ring gear is clamped down in the right place - if the axle shaft isn't central, the uj on the wide side can't screw down far enough in. One side on my 44 is tight because of this error. |
| |
|
|
|
|
|
|
|
Aug 22, 2020 21:10:17 GMT
|
Mark thats some good flex there I have cut the springs but the droop never entered the brain so thanks for that will do the same. Skoda I really like the swap to the correct side for driving. And those MN wheels do look good Put a good hour n a half on my 44 yesterday and no issues finally think the epoxy did the trick for the ring gear. Something I've noticed is the front universals don't quite line up with the king pins and at extreme lock can feel it binding slightly. Not sure if you lads have that issue also. Next upgrades are wheels some oil shocks and metal gears in the 2 speed. Who likes the 2 speed??? I'm loving it low gear has amazing control and torque just needs a slight 10mm lift up. How do I post pictures? To add pictures use the Add Pictures button to the bottom left of the post entry window - you might have to set the browser to 'View Desktop Site' or similar depending on you OS. I think Ampro Engineering print a version of the steel eight spoke wheel.   We have the two speed in My 44 and my son's 34. They are fun and as you say the low gear is brilliantly low, they can just be a bit of a faf to get, and keep working properly. The single speed is a compromise, but I do love the simplicity of it now that I'm running a 3s. I think the accuracy of the drilling on the axle knuckles can leave a little to be desired, but some can be corrected by where the uj is clamped down onto the axle, and whether the ring gear is clamped down in the right place - if the axle shaft isn't central, the uj on the wide side can't screw down far enough in. One side on my 44 is tight because of this error. Hey thanks for all the help mate  spent a couple hours raising the 2 speed up 10mm. Its mounted up just need to tape up the rear drive shaft and finish modding the interior floor. Thanks for the help with the wheels i spent a good while searching and couldn't find them available but sounds like they will be at some point so might hold off on buying wheels for a while. Are you still running the plastic 2 speed gears? I'm about 5 hours on mine and no issues so far and it gets shifted alot too but the metals are on the way just incase:) 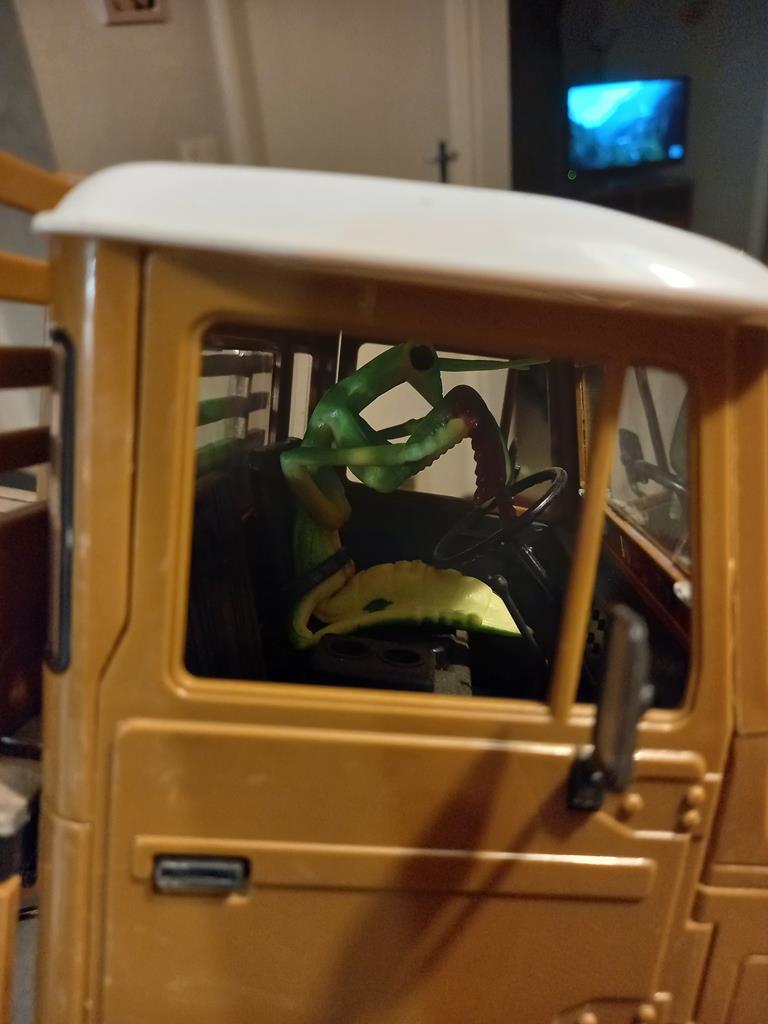 |
| |
Last Edit: Aug 22, 2020 21:19:31 GMT by jethronz
|
|
markbognor
South East
 
Posts: 9,970
Club RR Member Number: 56
|
|
Aug 22, 2020 22:17:34 GMT
|
Hey thanks for all the help mate  spent a couple hours raising the 2 speed up 10mm. Its mounted up just need to tape up the rear drive shaft and finish modding the interior floor. Thanks for the help with the wheels i spent a good while searching and couldn't find them available but sounds like they will be at some point so might hold off on buying wheels for a while. Are you still running the plastic 2 speed gears? I'm about 5 hours on mine and no issues so far and it gets shifted alot too but the metals are on the way just incase:)  No problem with my plastic gears so far. |
| |
|
|
|
|
|
Aug 23, 2020 18:34:40 GMT
|
|
Can any of you experienced chaps recommended a servo, esc and and some radio gear.
I've got some stuff in mind, but I'm open to suggestions from people who know more than me.
Thanks in advance.
😁
|
| |
|
|
|
|
|
Aug 23, 2020 18:40:20 GMT
|
|
My plastic gears are currently fine too. Keep them well greased and don't shift on the move and they should be fine for a while.
|
| |
Last Edit: Aug 23, 2020 18:40:54 GMT by skodacious
|
|
|
|
|
Aug 23, 2020 18:50:17 GMT
|
|
|
| |
Last Edit: Aug 23, 2020 18:54:24 GMT by skodacious
|
|
Rich
Club Retro Rides Member
Posts: 6,327  Club RR Member Number: 160
|
|
Aug 23, 2020 19:00:27 GMT
|
My plastic gears are currently fine too. Keep them well greased and don't shift on the move and they should be fine for a while. Shifting while moving is a misconception. The gearbox is a constant-mesh type with a dog clutch, like a real vehicle gearbox. Will shift fine on the fly. It’s also about 50/50 weather you should grease the ‘box. I greased mine, gears immediately started slipping. Was fine before I did. Retrofitted with metal gears now, noisier but tough. That said the plastic gearboxes can be pretty damn tough. |
| |
|
|
|
|
|
Aug 23, 2020 20:48:29 GMT
|
|
Aww well jolly good news then.
So spent a good bit of time but the gearbox lift is now done and very very much worth it a huge improvement. Basically have to cut the whole center of the floor out with the fake levers. Once I'm motivated again I'll refit it higher up. Four simple brackets with holes 10mm centre's lifts the box up.
The front shaft is fine the rear however is too short and to be honest is too short stock. The fix is get some alloy can material and roll it around the skinny section of the drive shaft and slip it along and into the short half then fix it there however you choose. It sits straight and nice after this and good to go.
I used the plastic from the fake engine to build the new box mounts but you could use anything and also made 4 shims/washers between the box and new mounts to keep the chassis rails straight.
Get into it definitely worth it. Next trick is build a nice belly skid out of sheet steel and some sliders
|
| |
|
|
|
|
|
Aug 23, 2020 23:18:22 GMT
|
I've just bought a kit, I haven't bought anything else yet. I've been looking to see what's available, I thought I'd ask you guys who've already got running cars to see what's what. I'm not new to r/c but I am new to these particular models. Seems like there's plenty of scope for mods, so I'd like to know what's good and what's not. Cheers for the links, I'll have a proper look. 😀 |
| |
|
|
markbognor
South East
 
Posts: 9,970
Club RR Member Number: 56
|
|
|
|
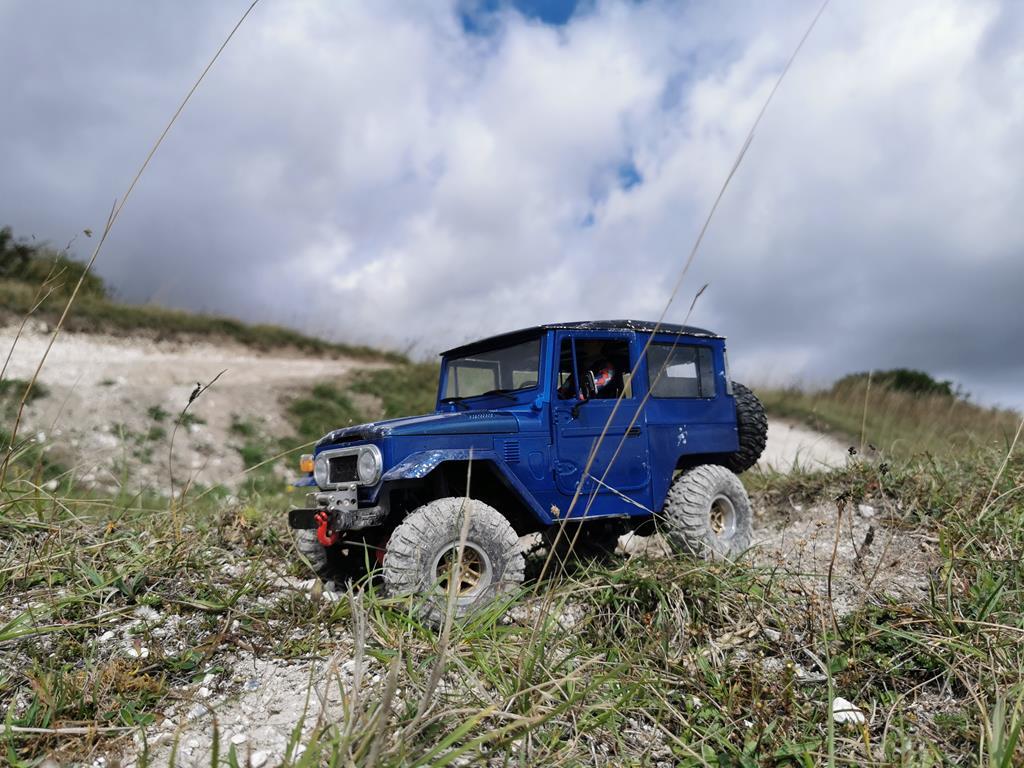
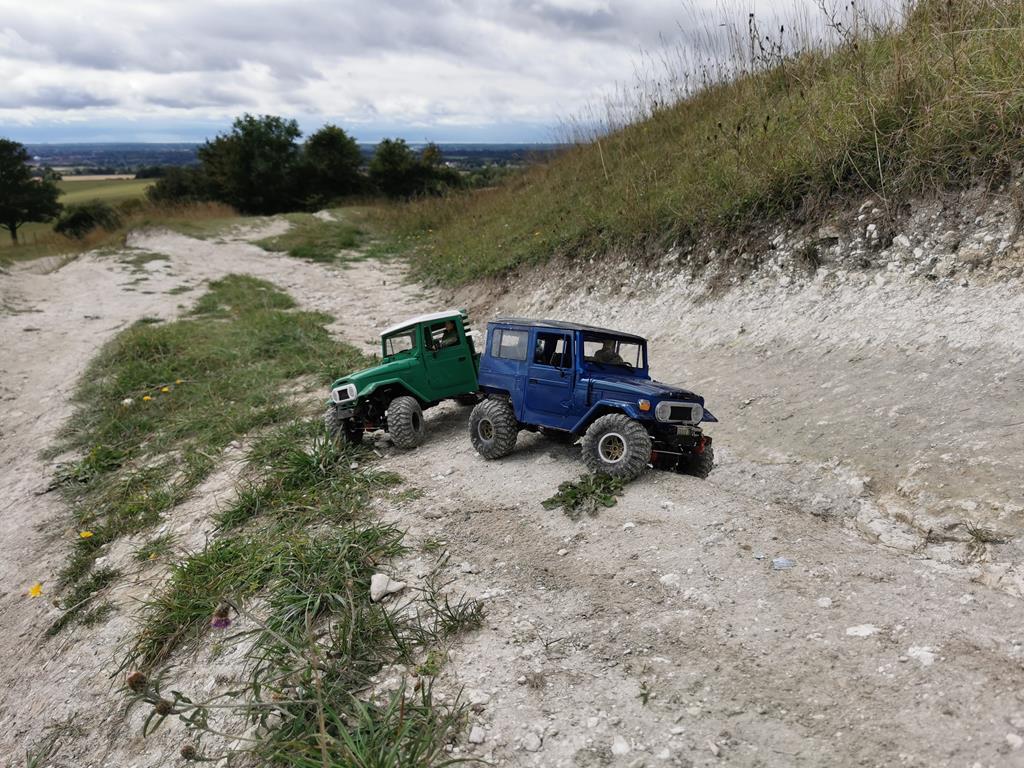
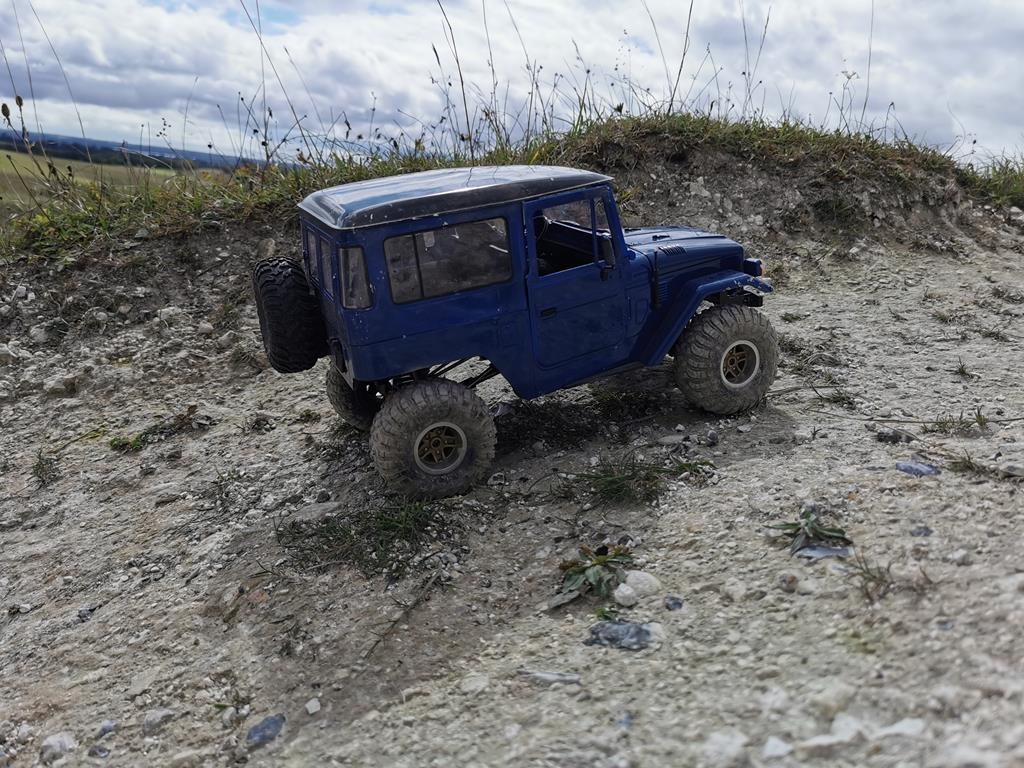
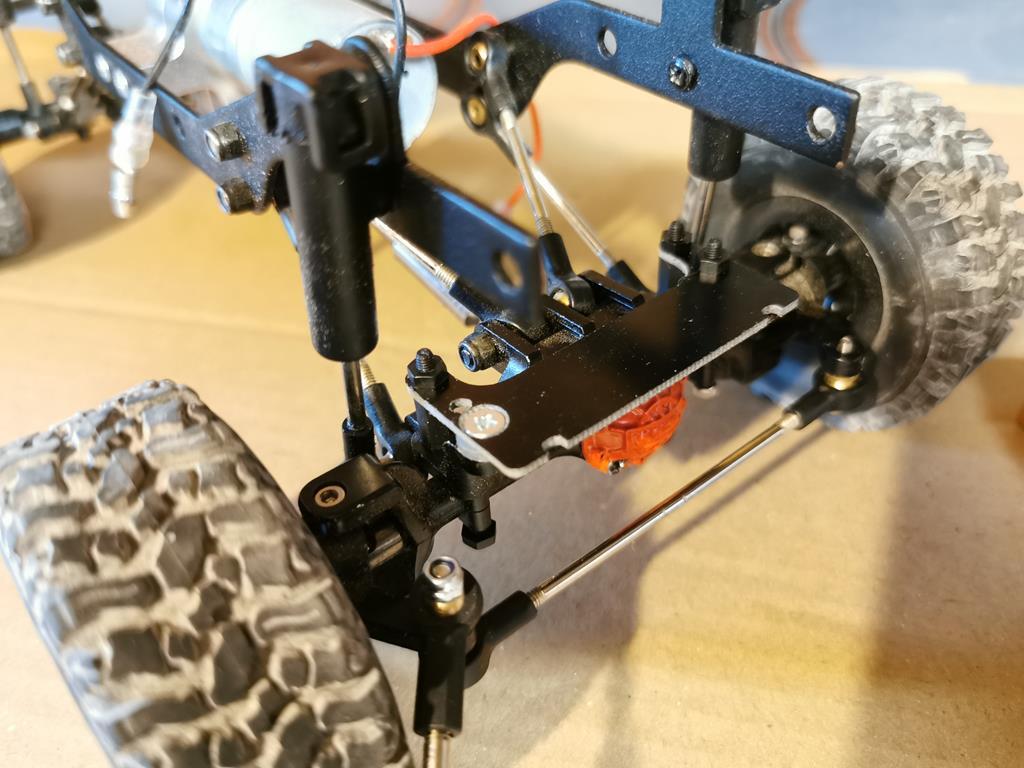
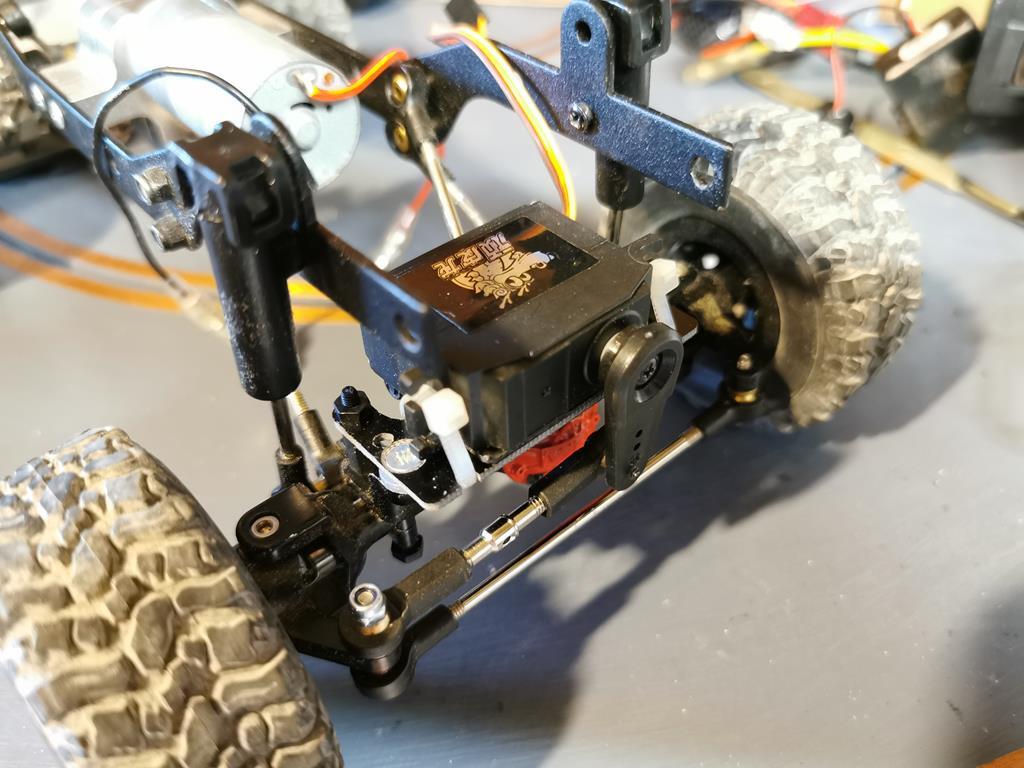
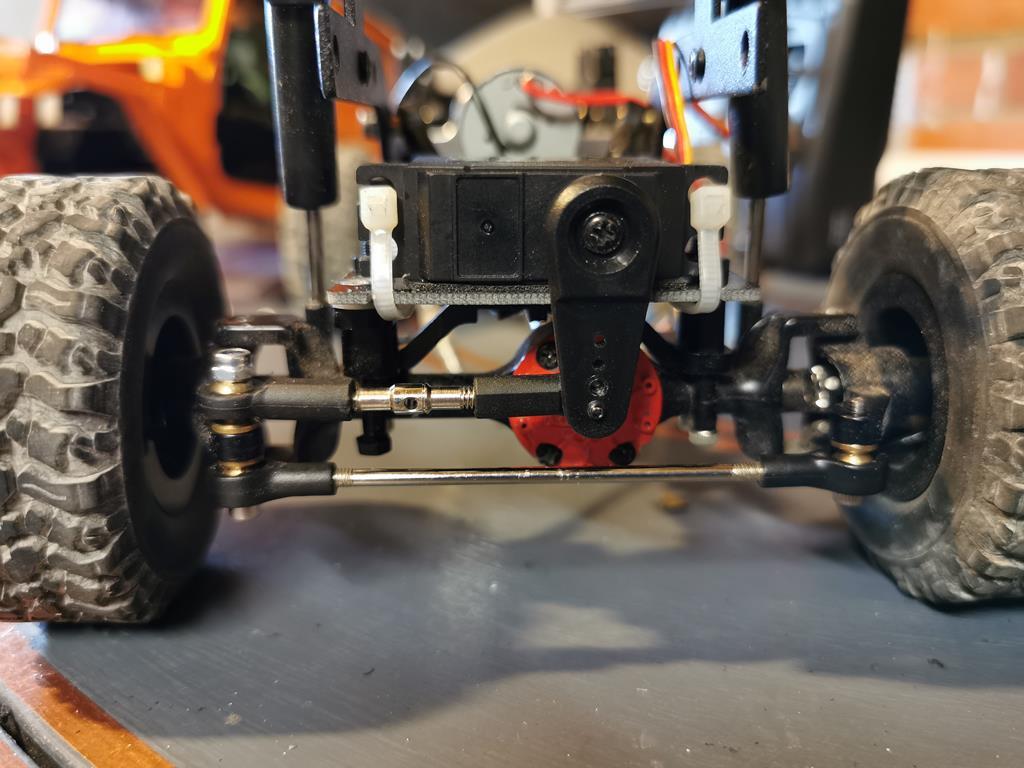
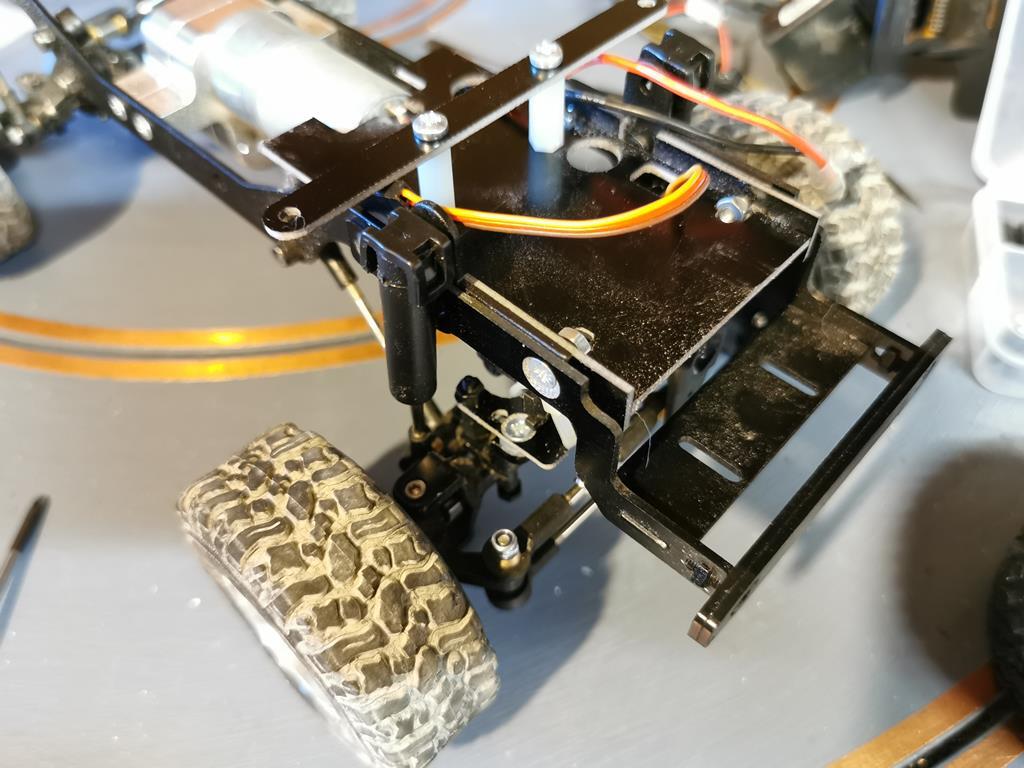
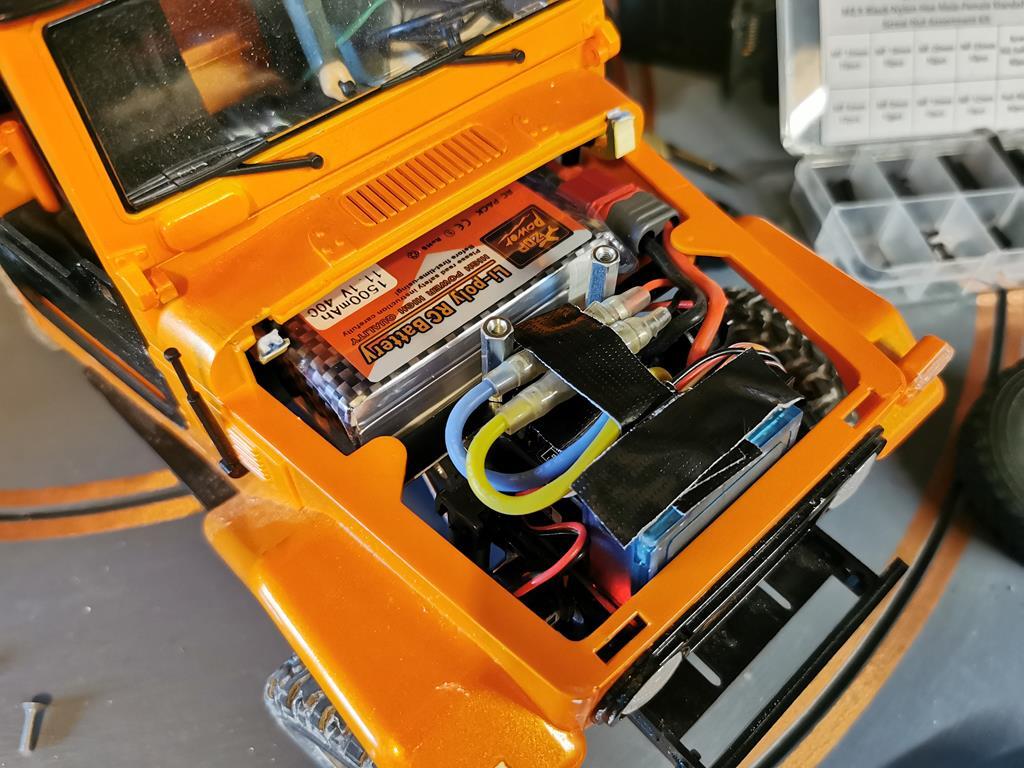
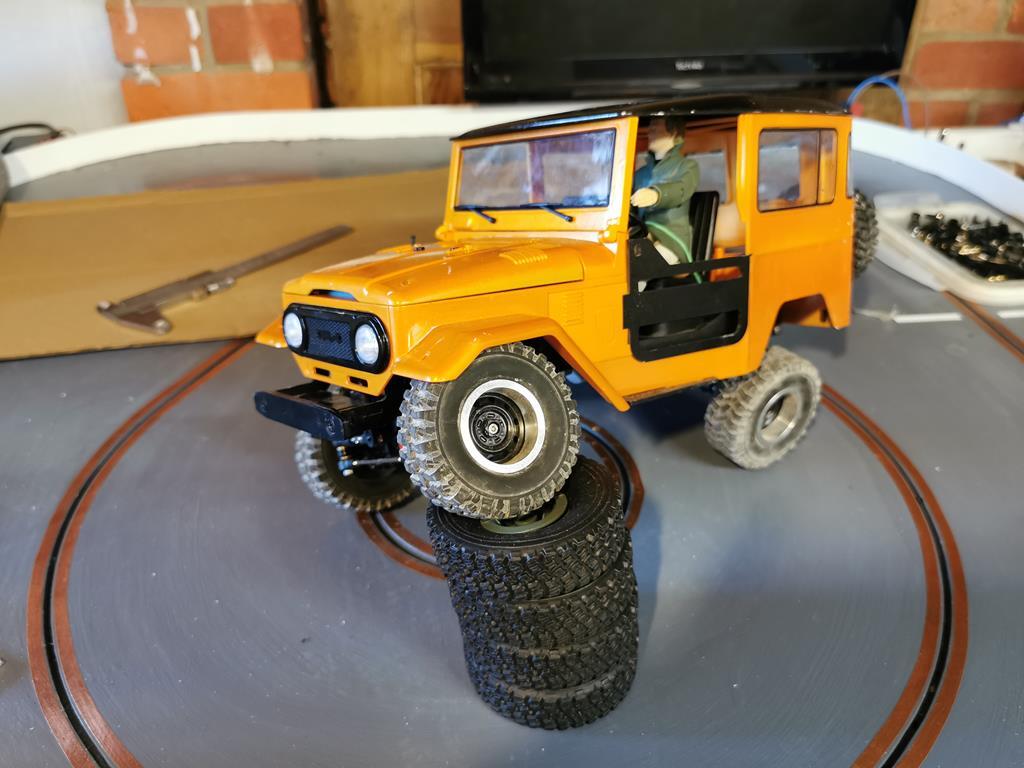
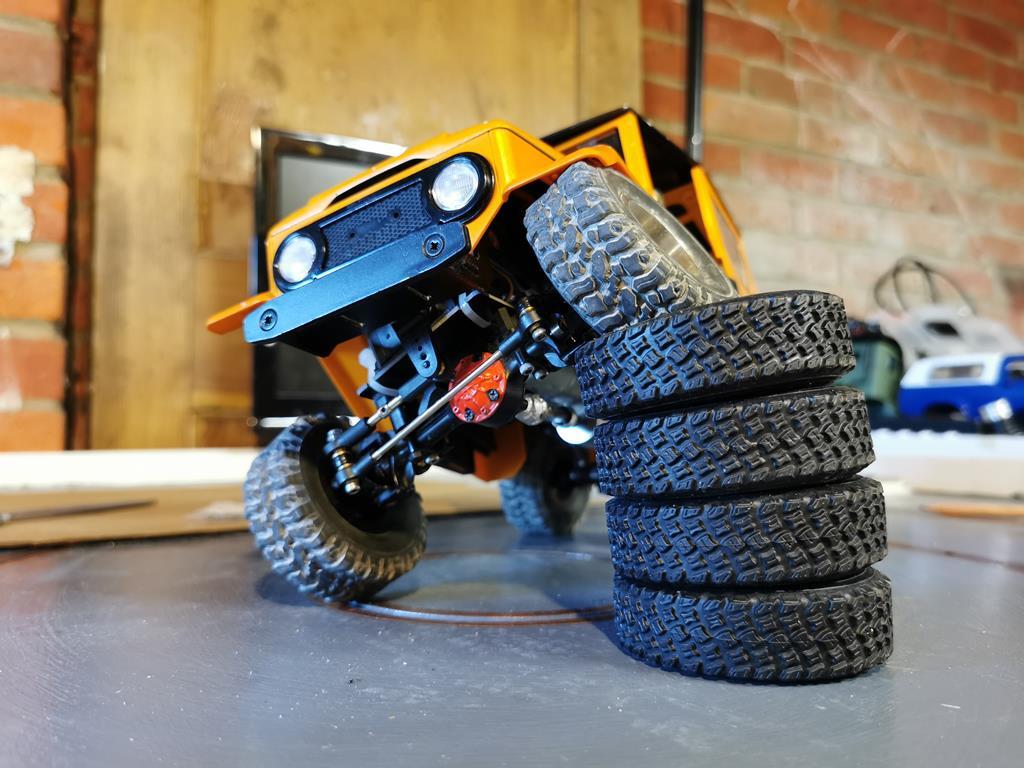
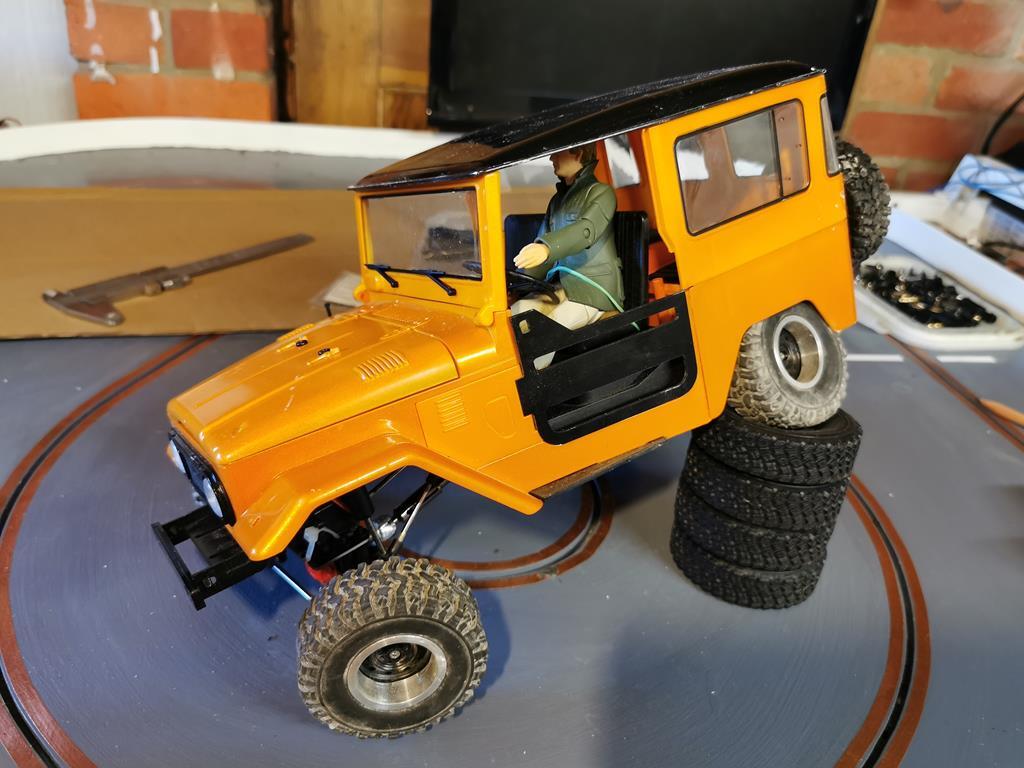
Over the last couple of days I've been making an axle mount servo and flat electrics tray for my C44KM. Initially I started off using the kit servo, mounted off the panhard rod mount and a bracket off two PCB mounts the other end. 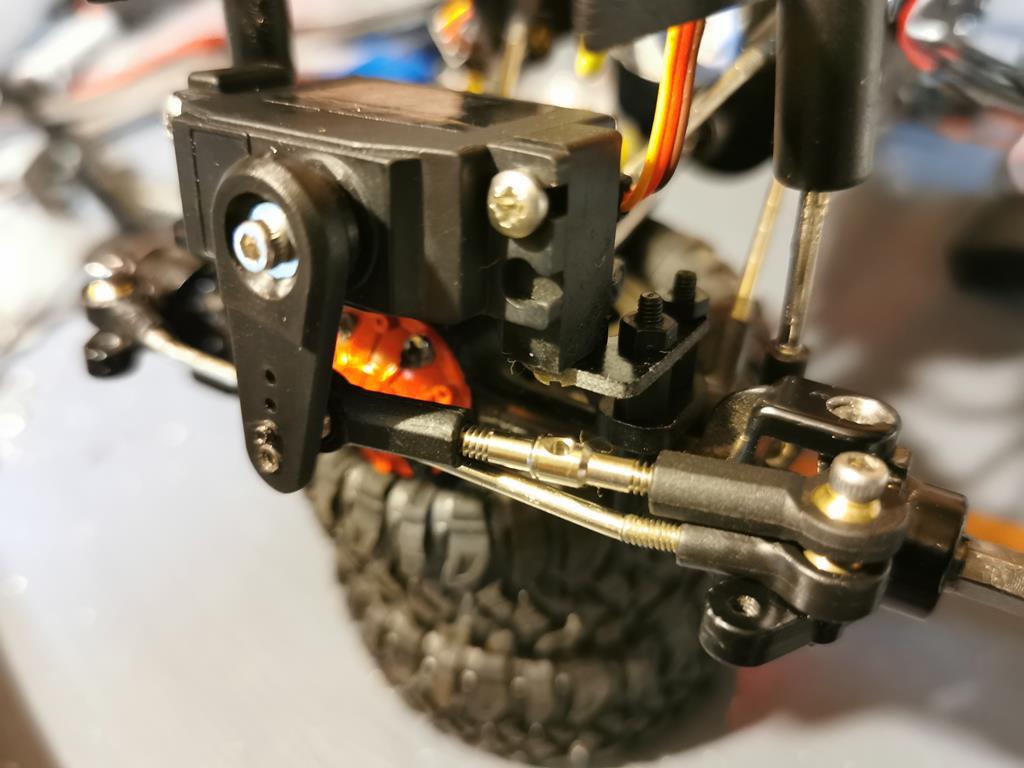 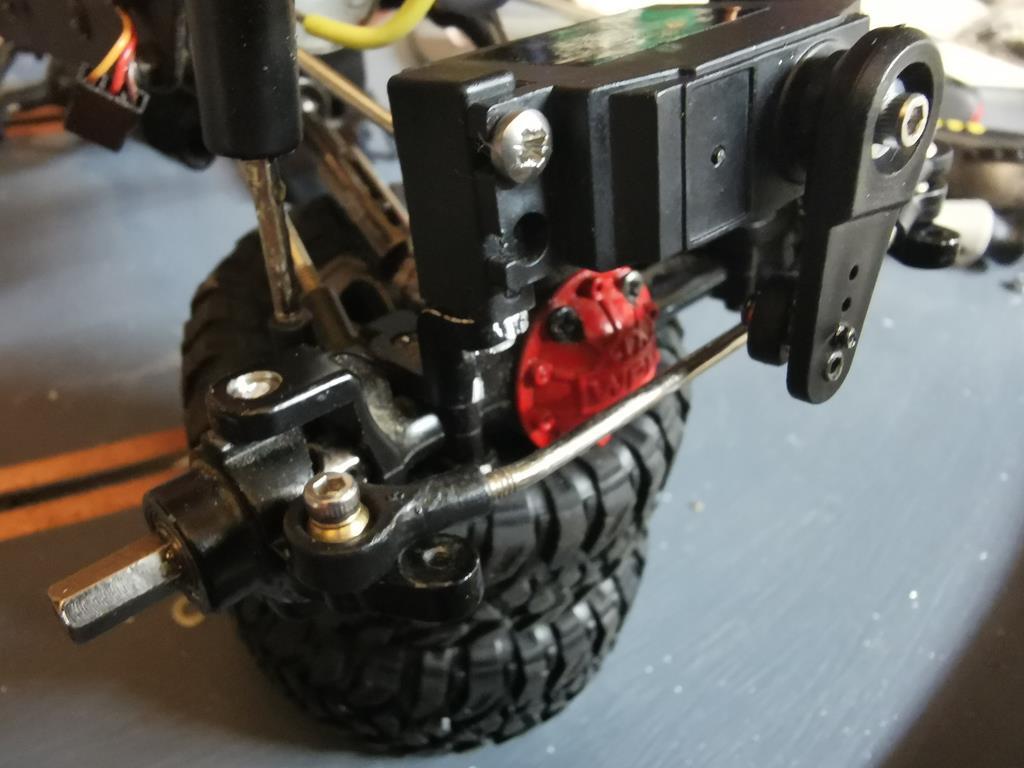 This sat the servo too far over and the servo mounts/lugs on the servo hit the chassis rail. I decided to abandon that scheme. I made a flat plate to carry a smaller servo mounted in the more conventional fashion from PCB standoffs both sides. I've attached this smaller servo with double sided foam tape for now. 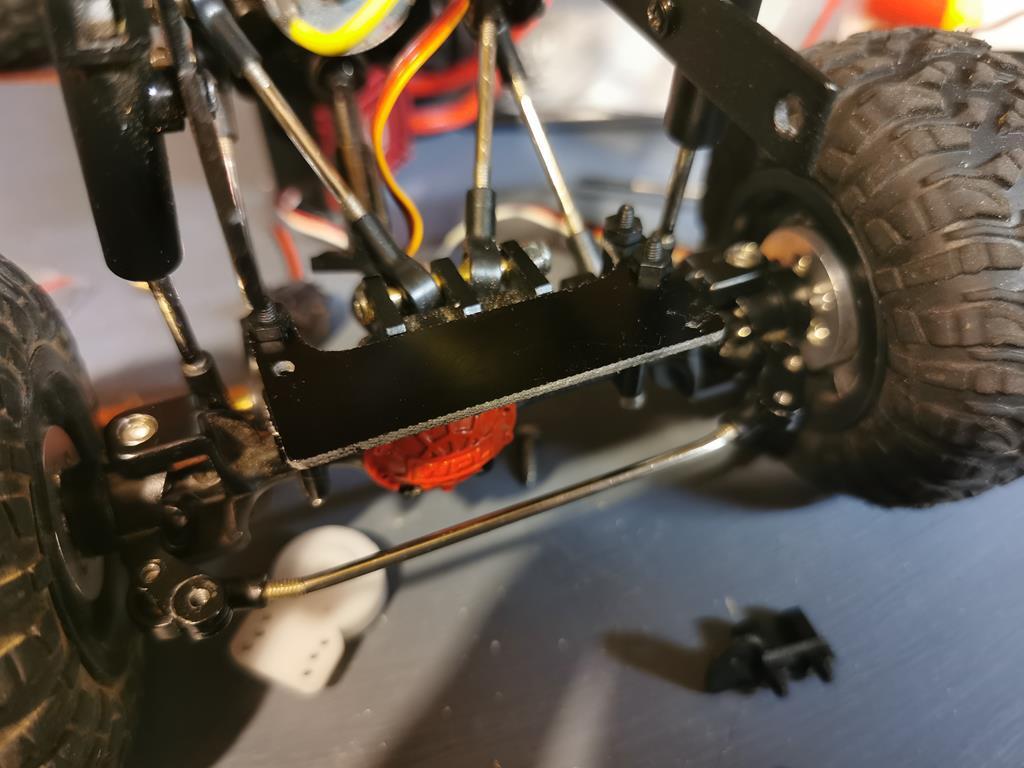 To go with this I've made a flat panel that bolts in place of the kit plastics, giving more space for the electrics. The body now mounts from under the bonnet with the two screws, there is enough space for the 2000mah 2s and 1500mah 3s packs that I'm using behind the mount bar, and more space for the electrics in front. The raised floor compared to the kit parts allows the servo on the axle to compress further before contact. 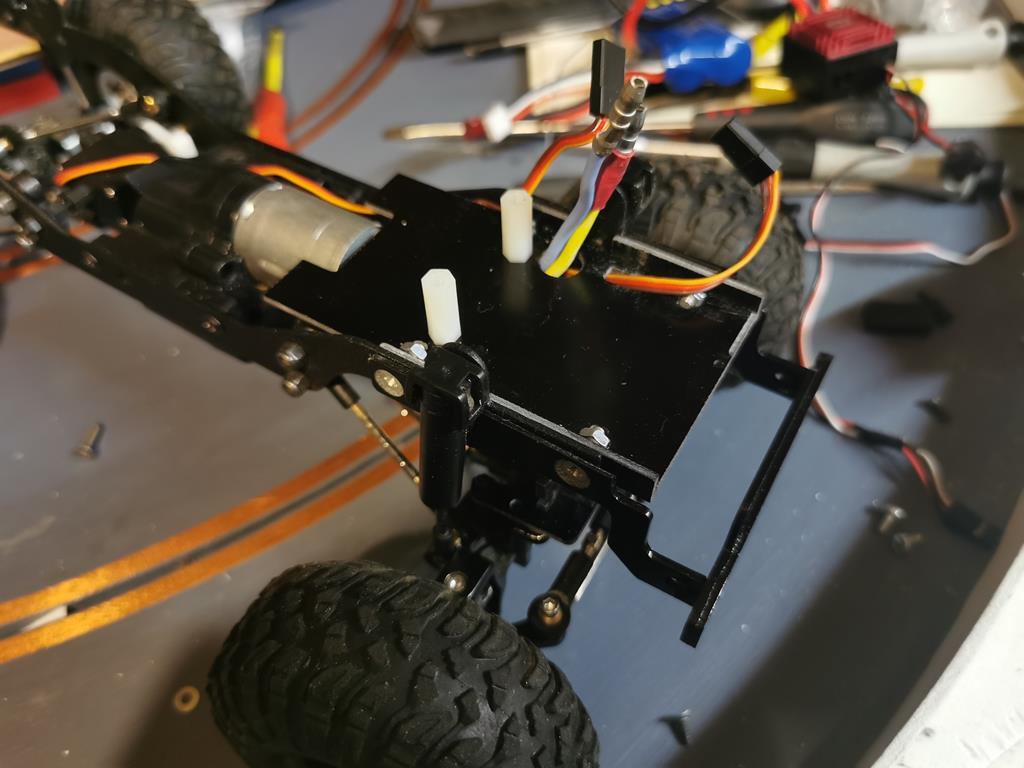 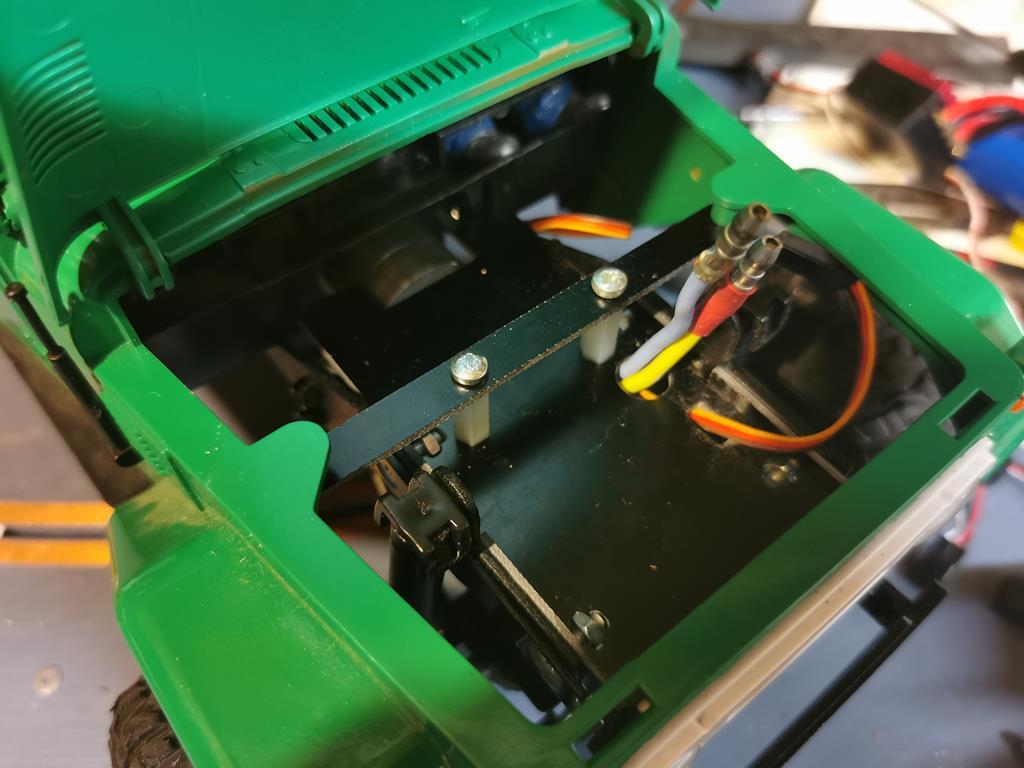 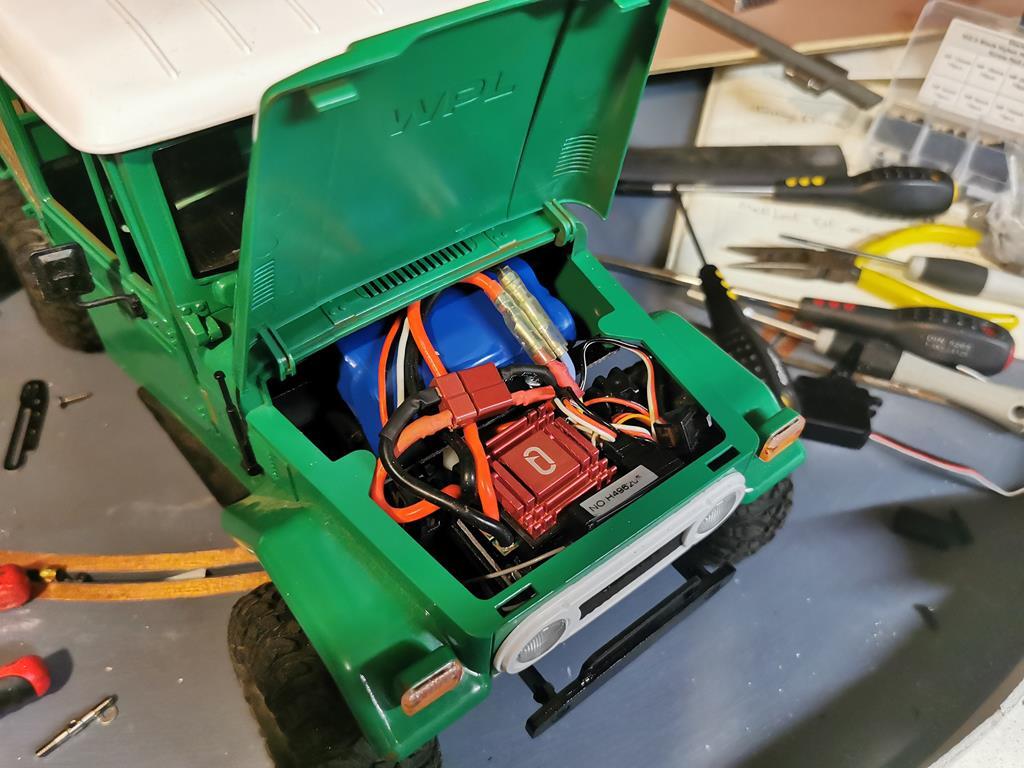 The front axle seems more able to flex smoothly between extension and compression now, without steering input effecting that. It also seems easier to drive over the test obstacles, with no unexpected steering input needed. |
| |
|
|
|
|
markbognor
South East
 
Posts: 9,970
Club RR Member Number: 56
|
|
Aug 24, 2020 14:23:23 GMT
|
I finished off the axle mount this morning and realised I didn't end up using the smaller servo - it's still the kit servo, but mounted more central, with the double sided tape and some cable ties to hel it out. 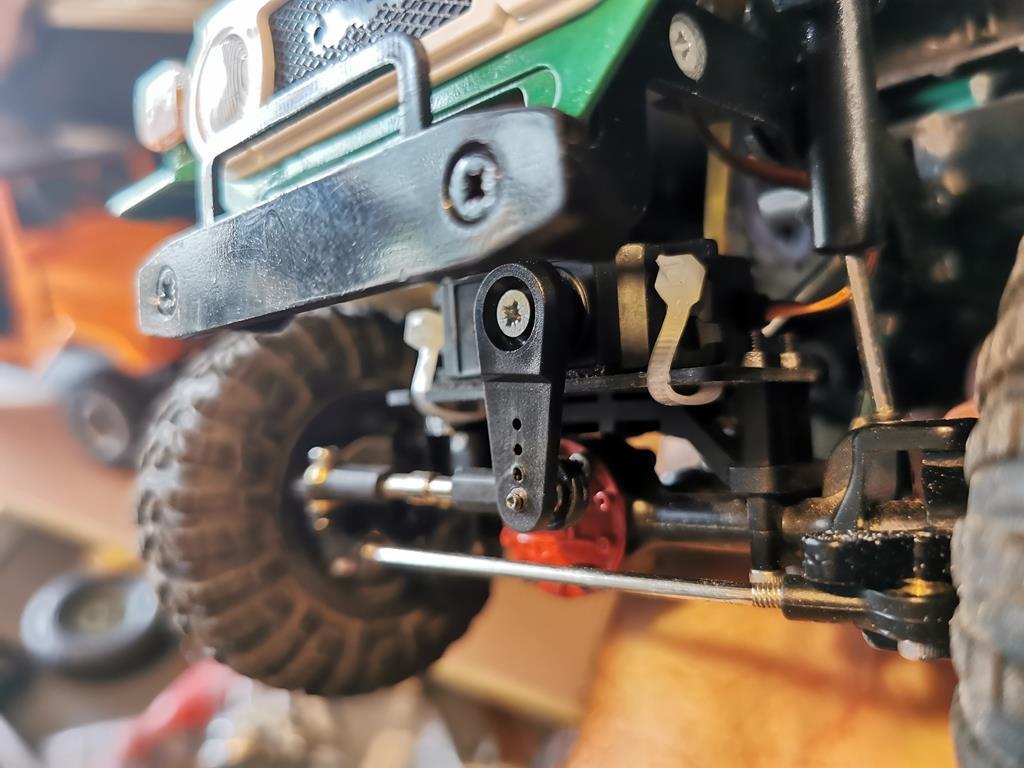 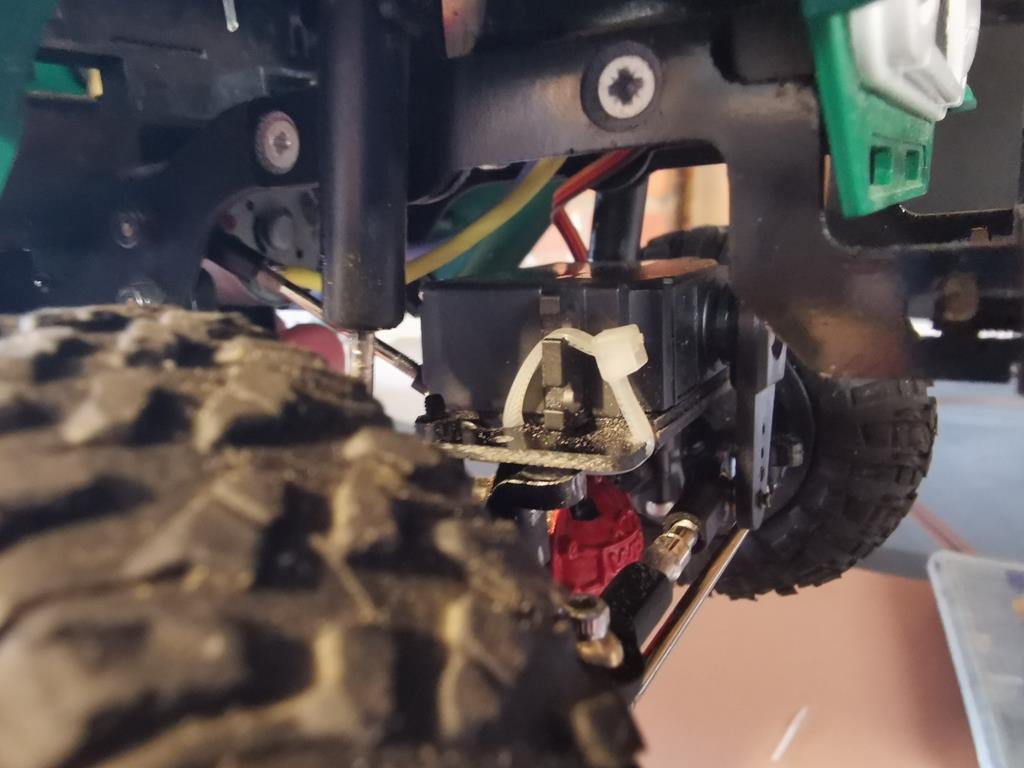 |
| |
|
|
markbognor
South East
 
Posts: 9,970
Club RR Member Number: 56
|
|
Aug 24, 2020 14:26:45 GMT
|
|
|
| |
|
|
|
|
|
Aug 24, 2020 22:18:13 GMT
|
|
Very very nice Mark. Love seeing kids enjoying real RC.
Are you happy with how the axle servo worked out?
|
| |
|
|
|
|
|
Aug 24, 2020 22:24:03 GMT
|
Got mine on the job site today. 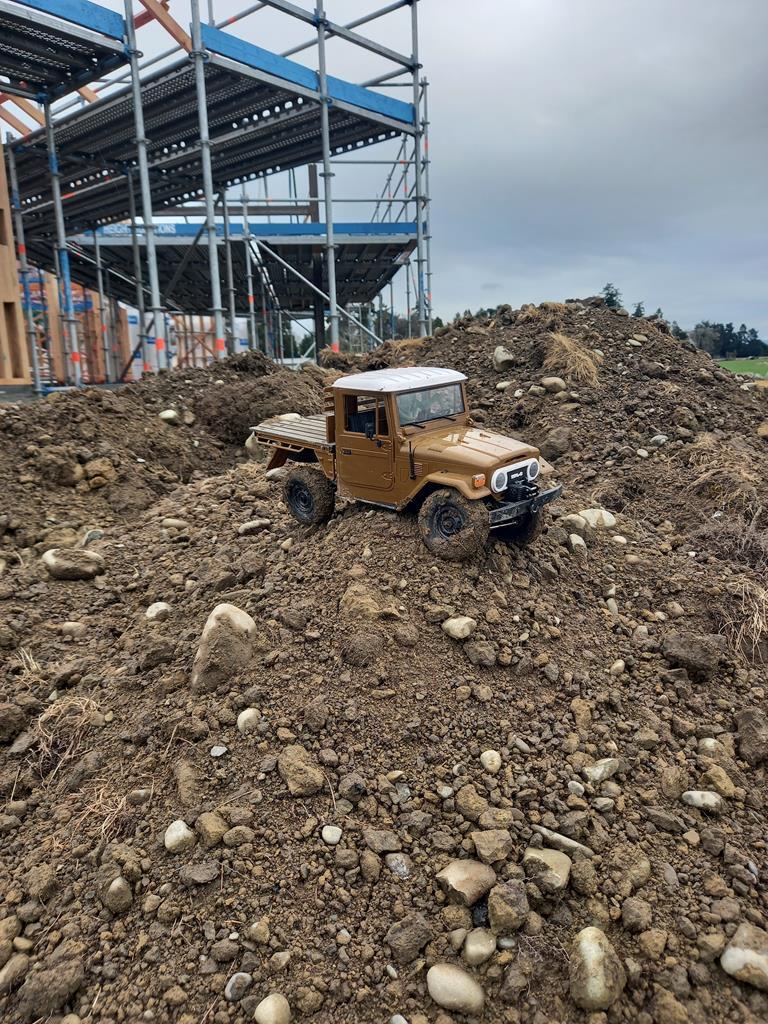 Out last weekend the four year old just loves it and was his idea of the mantis driver 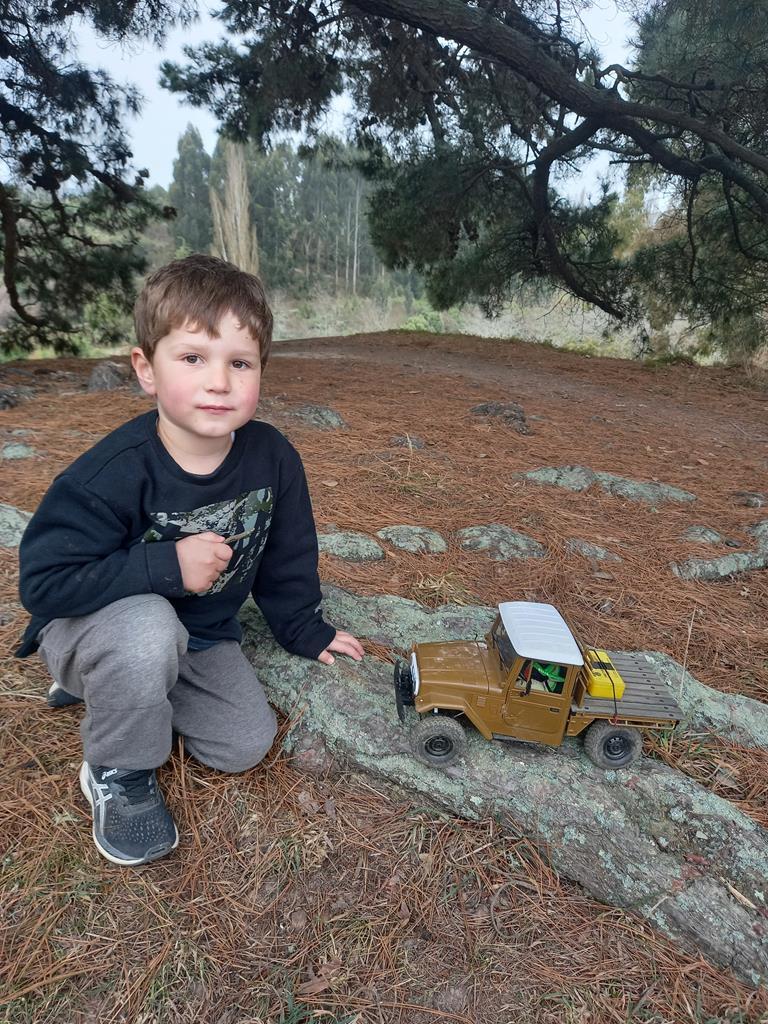 Going to need another as its odd trailing with the big scx10 |
| |
|
|
markbognor
South East
 
Posts: 9,970
Club RR Member Number: 56
|
|
|
|
Very very nice Mark. Love seeing kids enjoying real RC. Are you happy with how the axle servo worked out? Yeah it seems to have worked out quite well, I'll get some metal PCB standoffs to replace the plastic ones at some point. I don't know if I'll bother doing the same to the other trucks, but now I have the plot paths I can just run the parts whenever. The biggest difference has been the ease of fitting the radio/battery in with the flat tray - I'd really like that on the other trucks too. |
| |
|
|
|
|
|
Aug 25, 2020 15:12:22 GMT
|
Hi folks! My MN99 turned up today which is pretty good going because I only ordered it on the 15th August. Have charged it up and it works and seems pretty rapid. It is obviously much lighter than my C44 but that will change once I start changing bit over! The white roof I ordered arrived in the same package so will be swapping over and making up some side windows. Annoyingly the decals are painted on - is there any way to remove them - I was thinking nail varnish remover but am worried it will damage the plastic bodywork underneath? Anyway here are some pics including the C44 out in the garden. 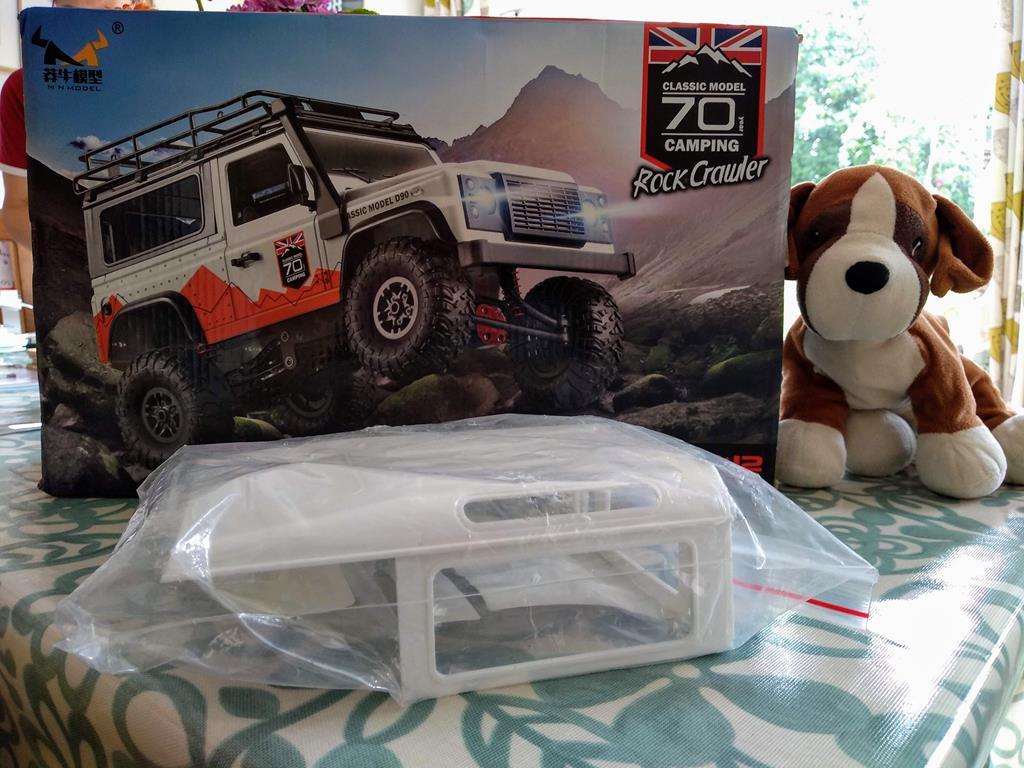 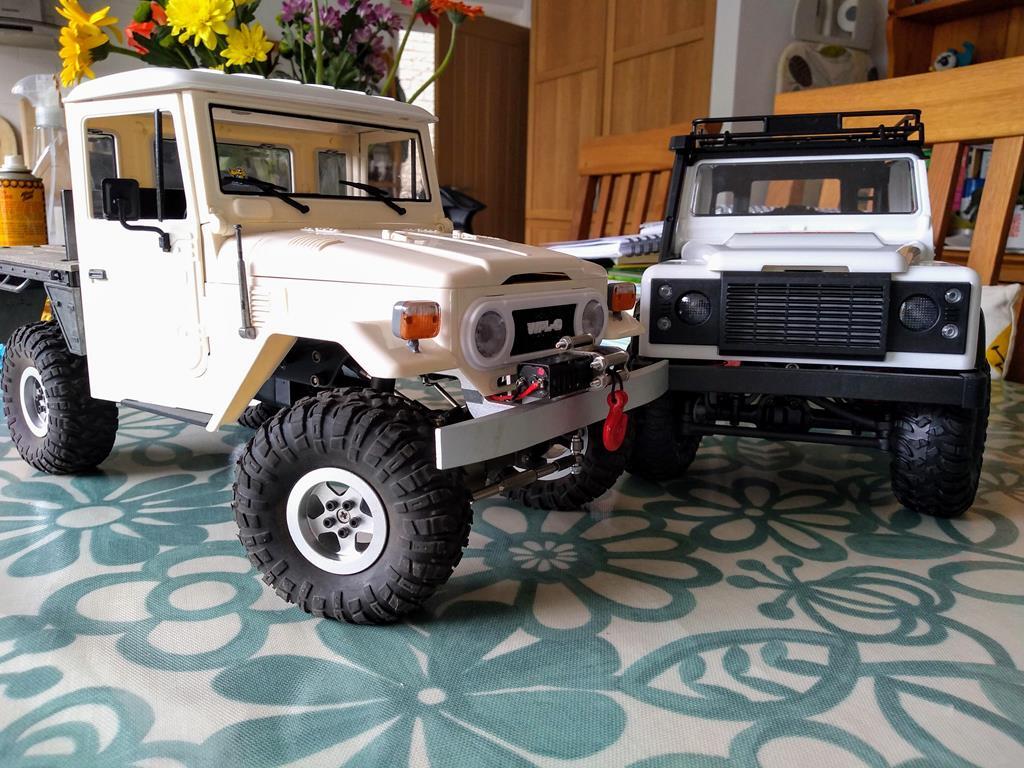 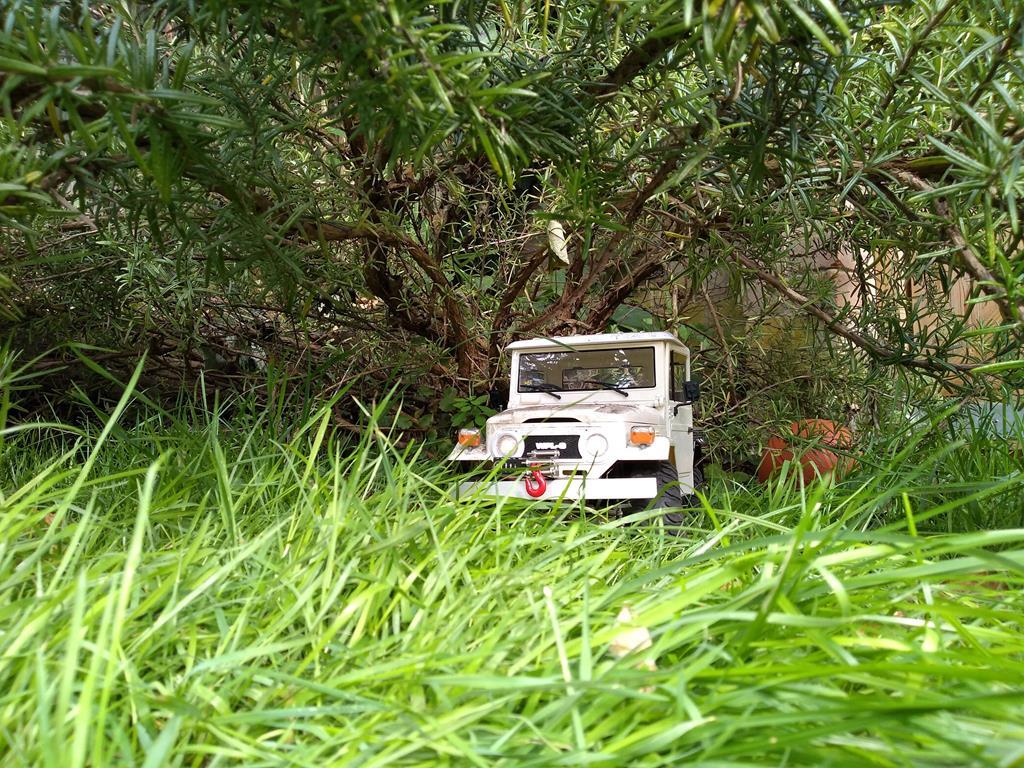 |
| |
|
|
|
|
|
Aug 25, 2020 15:55:59 GMT
|
|
When I need to remove printed on decals on my railway models I've always used T Cut on a cotton bud.
That might take a while on your MN99.
Might be worth a try on somewhere inconspicuous.
🙂
|
| |
|
|
|
|
|
Aug 25, 2020 16:38:36 GMT
|
|
Don't use nail varnish remover - tried that on mine and it made the plastic go white and cloudy. Best just doing as above and trying to polish them off.
|
| |
|
|
|
|
|
Aug 26, 2020 15:48:20 GMT
|
|
So after exactly one day of owning a standard M99, I have just put in a Banggood order for axles, wheels, link kit, 2 speed box and upgraded driveshafts. Will have a few weeks of standard running and see how it goes!
One thing is that it is really unstable compared to the C44 and keeps falling over. My 5 year old son Eddie managed to make it do a summersault on the tricky descent section in the garden but landed on its wheels and carried on. Needless to say repeated attempts to recreate the stunt have failed 😁
|
| |
|
|
markbognor
South East
 
Posts: 9,970
Club RR Member Number: 56
|
|
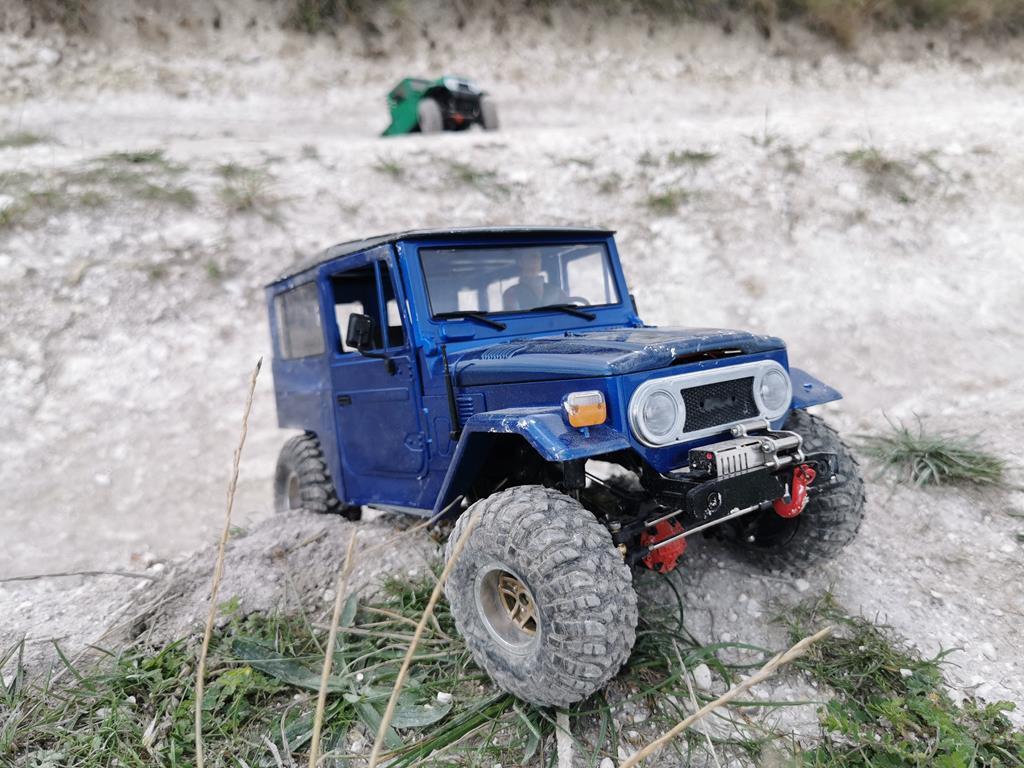
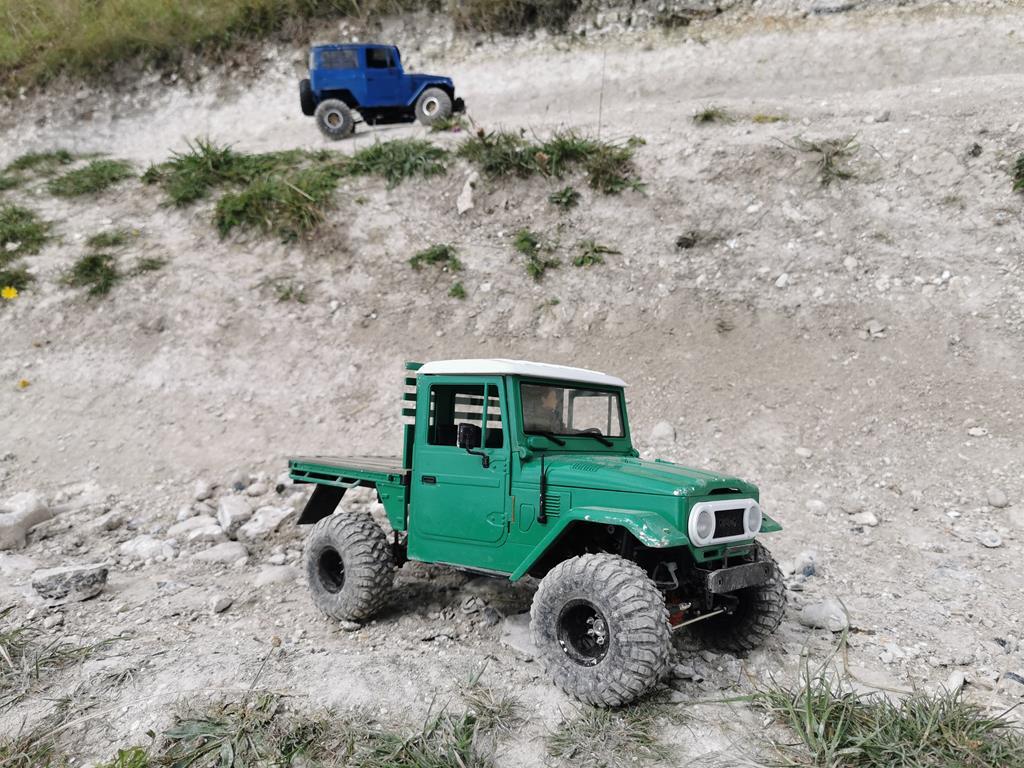
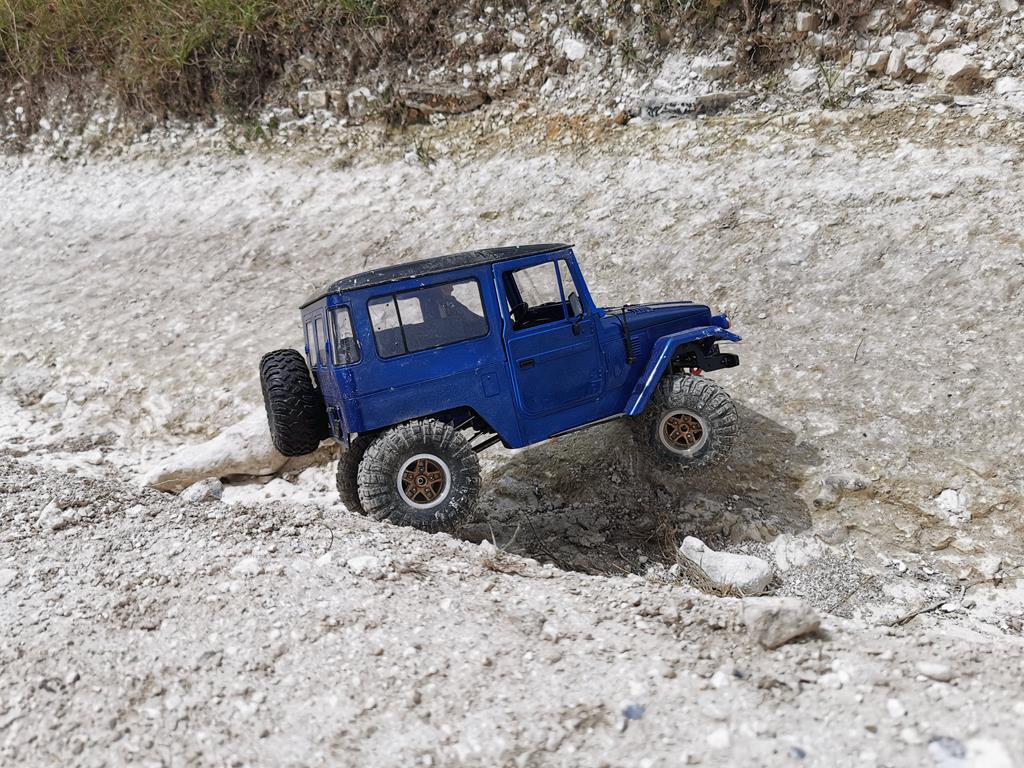
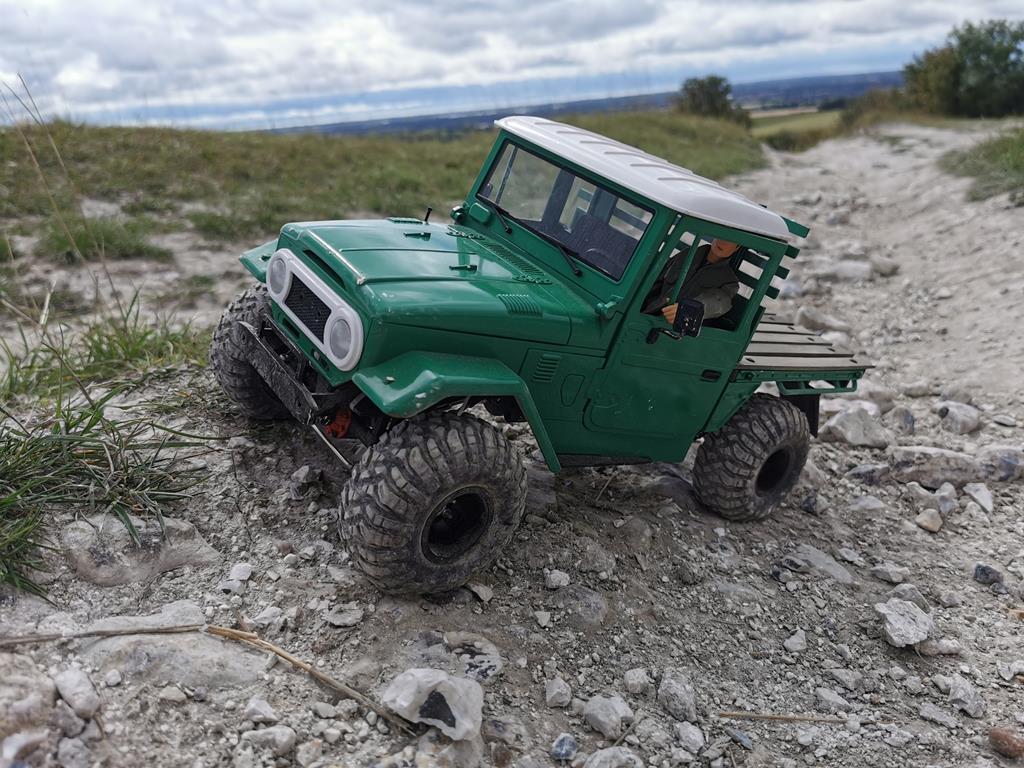
Aug 27, 2020 20:47:06 GMT
|
|
|
| |
|
|
|
|


 spent a couple hours raising the 2 speed up 10mm. Its mounted up just need to tape up the rear drive shaft and finish modding the interior floor.


