|
|
|
|
|
|
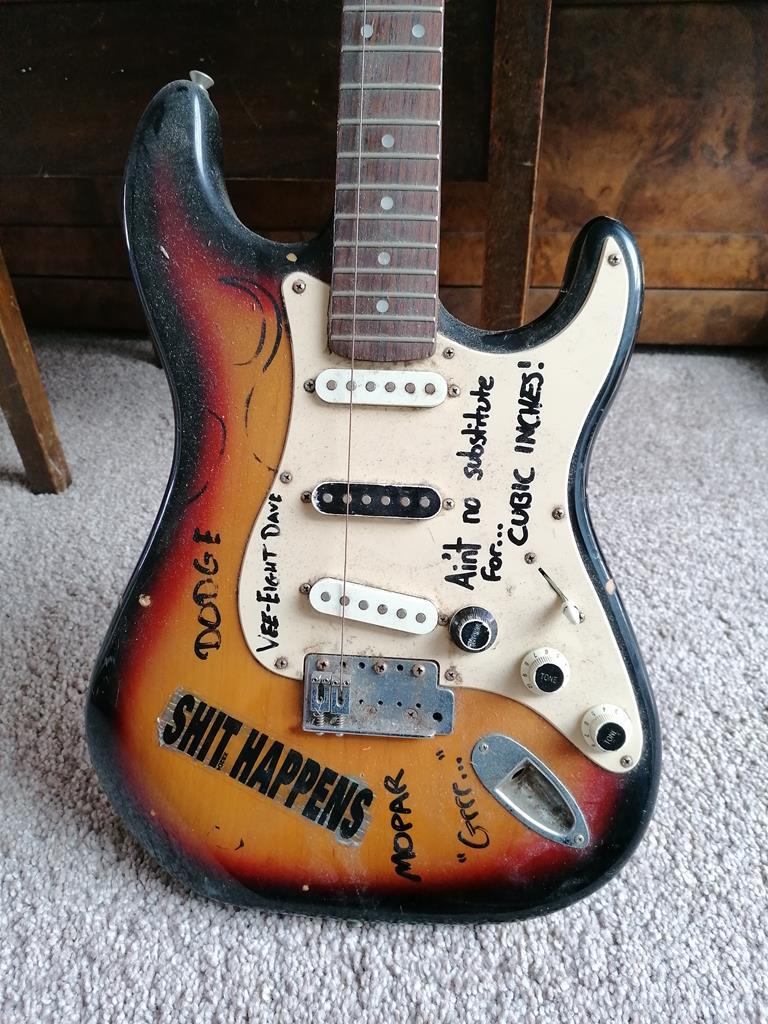
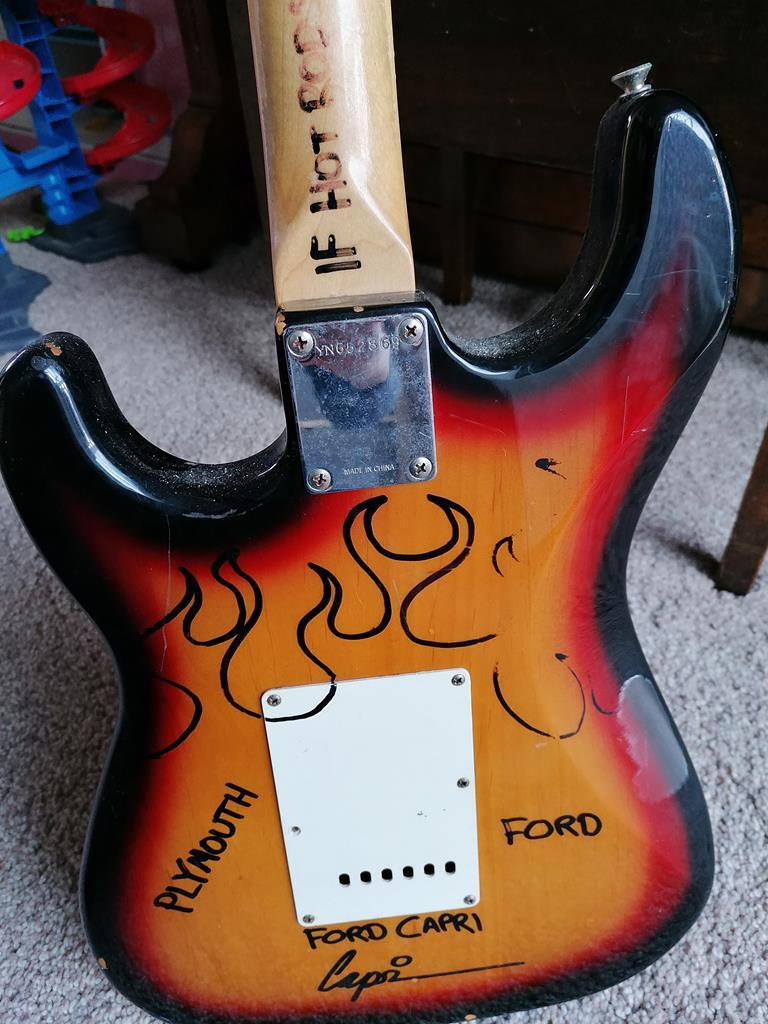
So... I got this guitar back in '96 when I was 12 years old. It's a 50th anniversary Fender Squire Stratocaster. Loved it to bits but I was restringing it a few years later and curiosity got the better of me... I took it to bits to see how it worked! Sadly, taking it to bits didn't really reveal how it worked and various springs popped out (amongst other things) that rendered my Fender inoperative.
Since then, I've dragged it around everywhere I've lived with the hope that one day I'd fix it. My wife actually took it to a repair shop about 6 years ago and he said it's not worth doing as you'd get a similar quality guitar for less than a rebuild cost. I know it's only ab entry level guitar but it has sentimental value so I threw it in the loft again.
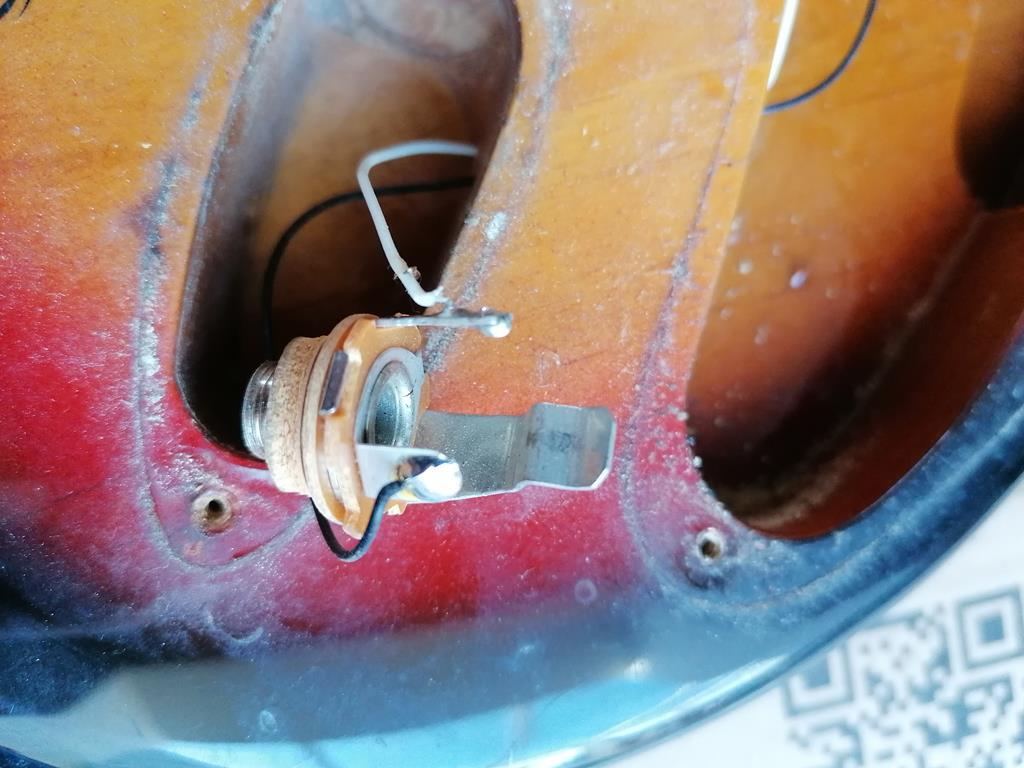
Last week, I was restringing my wife's electro acoustic and needed to fix the jack as it had fallen in the body. All it needed was a shallow nut to fix it so I went in the loft to take the jack nut from my Strat. Job done - electro acoustic all good but I was suddenly inspired to strip the Strat again. Surely, with Internet access and YouTube I'd be able to make sense of it this time?
|
| |
|
|
|
|
|
|
|
|
|
|
|
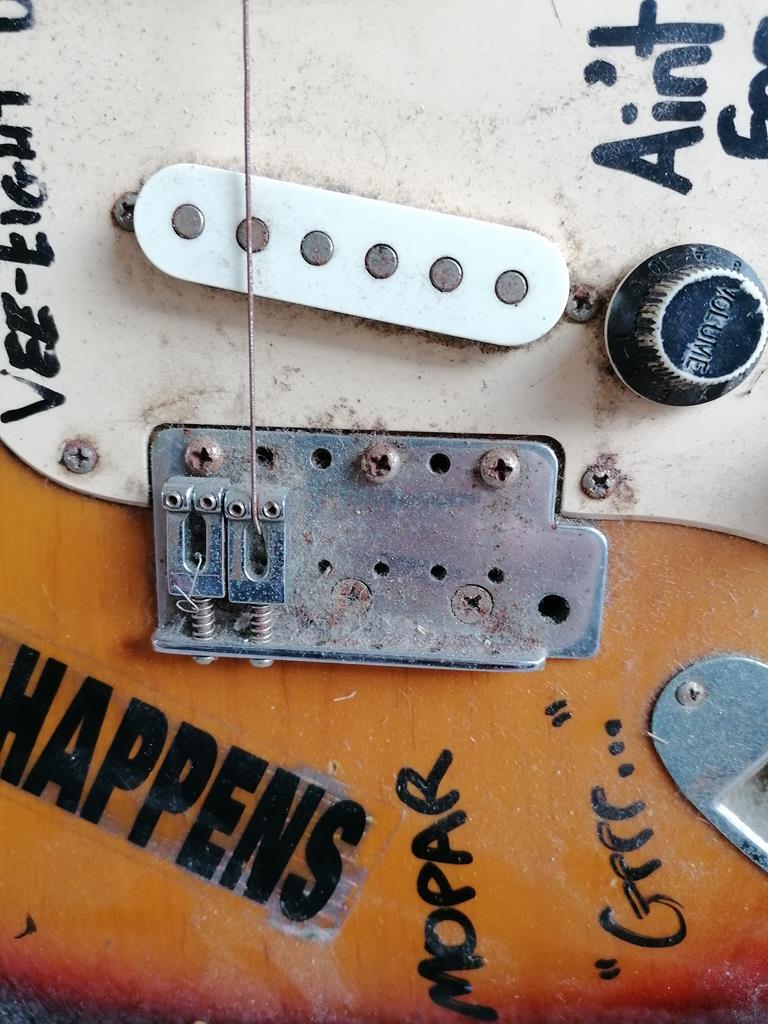
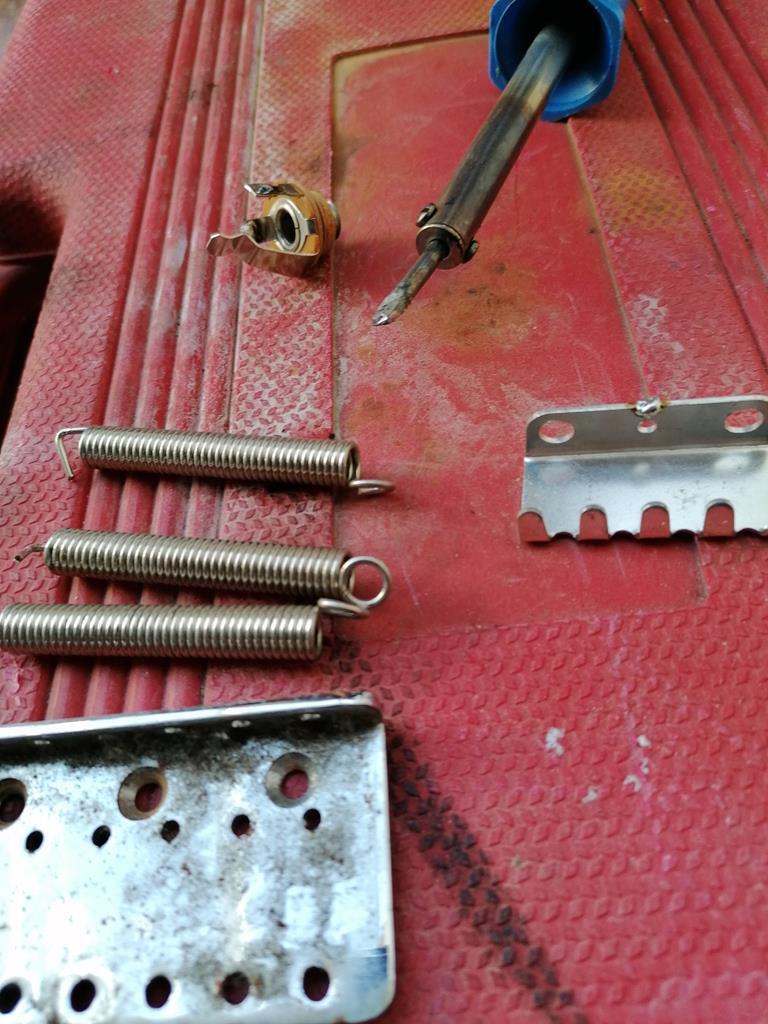
So, I began by taking the last string off and removing the bridge. I believe this is called a tremelo bridge as it used to have a wammy bar for bending all of the strings at once. I'm not a huge fan of doing that so it'll be interesting to see if I have to replace it with a tremelo or if I can fit a fixed bridge instead. I'm learning as I go by the way! 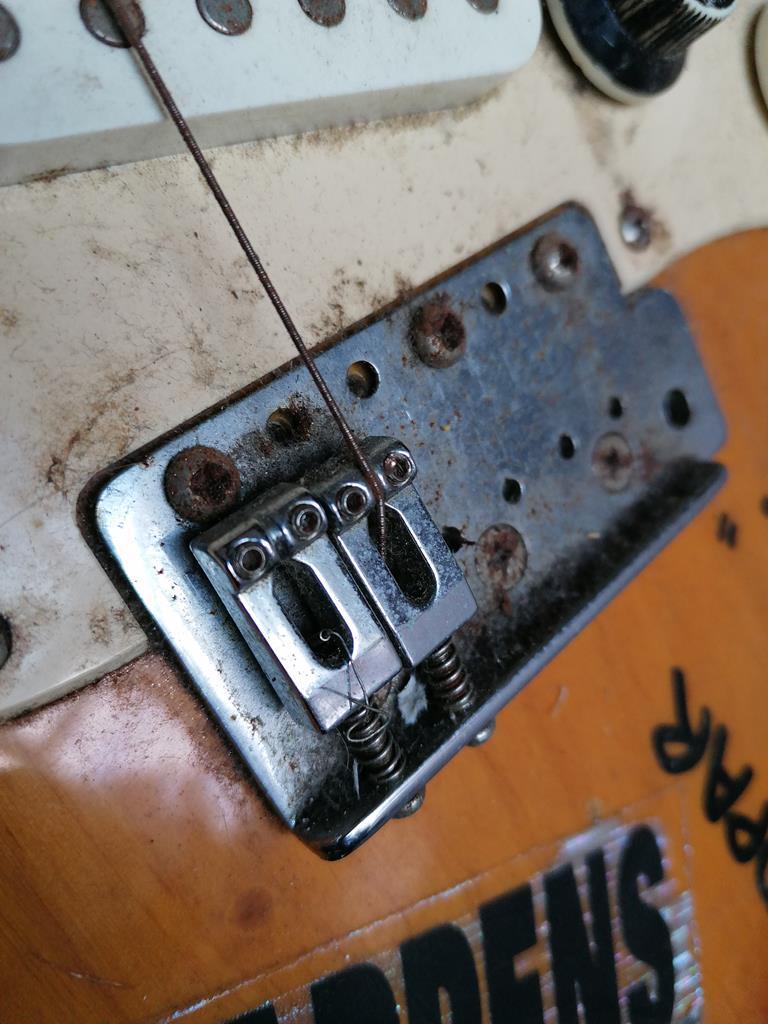 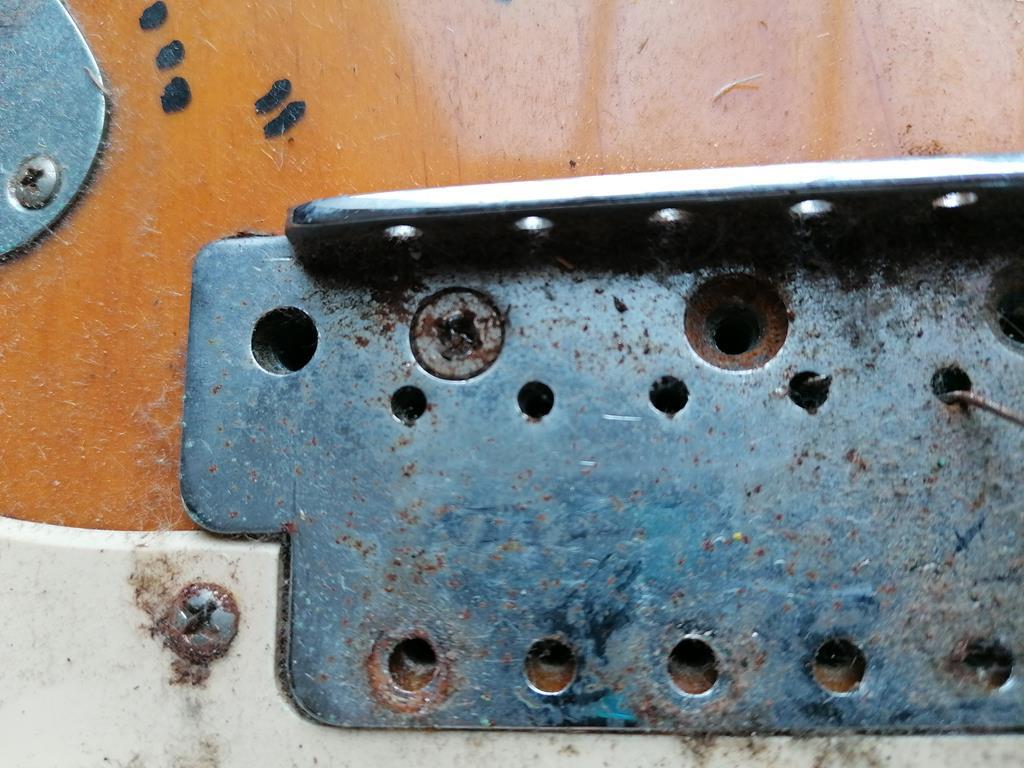 |
| |
|
|
|
|
|
|
|
Had a rounded screw in the bridge that took a bit of persuading, but once that was out it began to come apart with ease. The confidence for stripping the unknown that I've gained over the years was certainly put to use - I can't believe I've not thought to do this before but it held some sort of subconscious mystery that must've been from my early teens when I was so disappointed to have bust it! Anyway, more pics.. Taking the back plate off I saw these springs that I realised must hold the tension in the bridge when messing with the wammy bar. 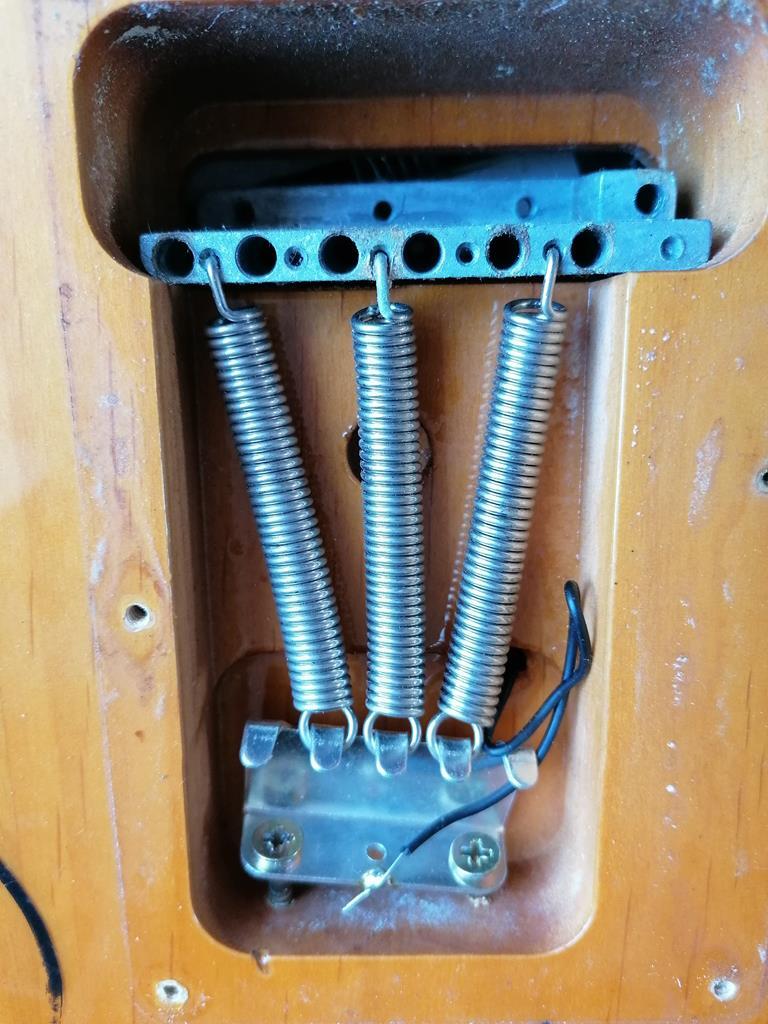 Out they came, along with everything else.  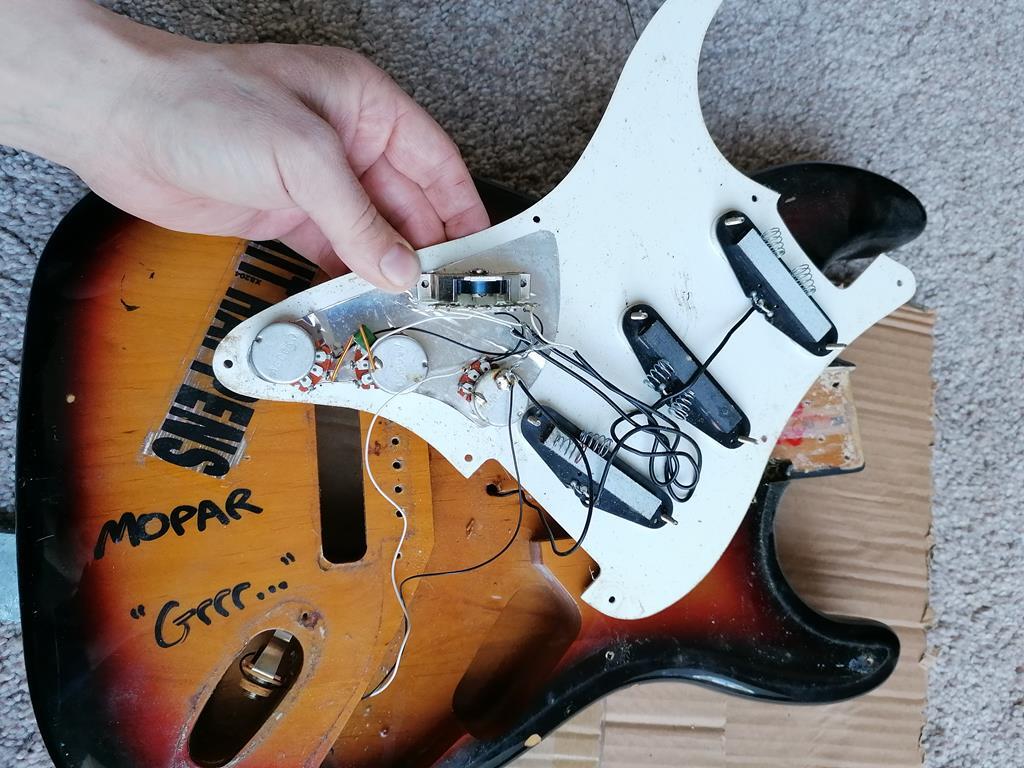 |
| |
|
|
|
|
|
|
|
|
|
Once it was totally stripped I began cleaning the body and neck to see what I had. Its funny, when I last certain chips I can still feel the pain of when they happened. I remember dropping it when trying to polish it and it felt like my world had been destroyed for a good while after! 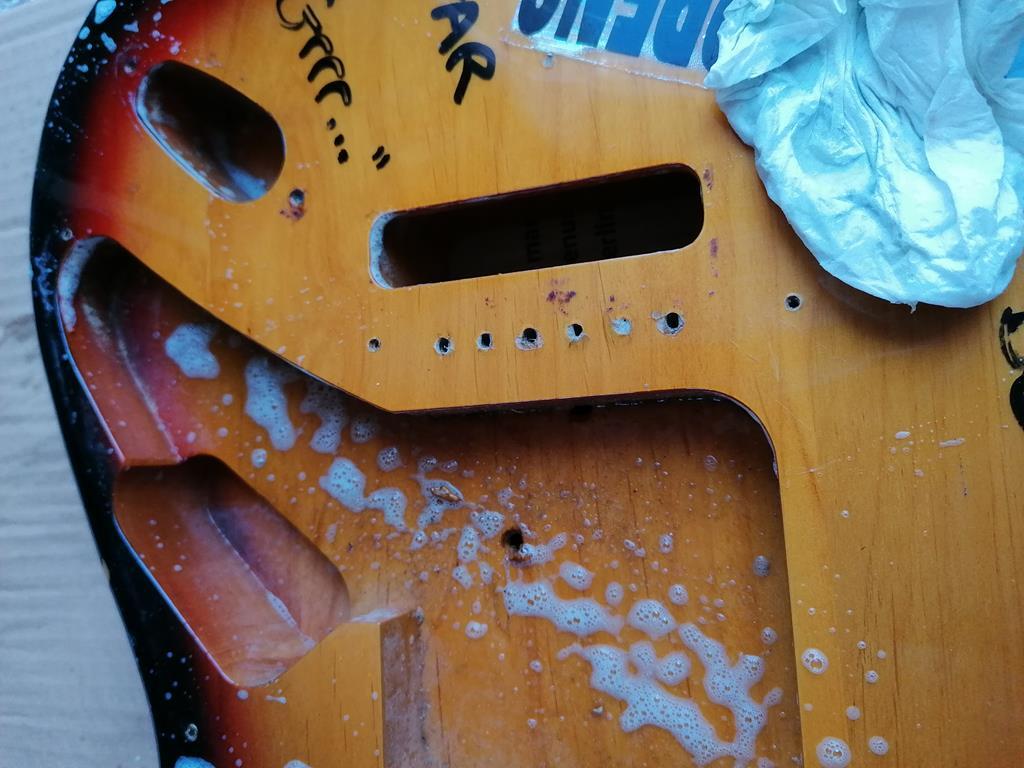 Took all of the 'interesting' Sharpie text off it.. 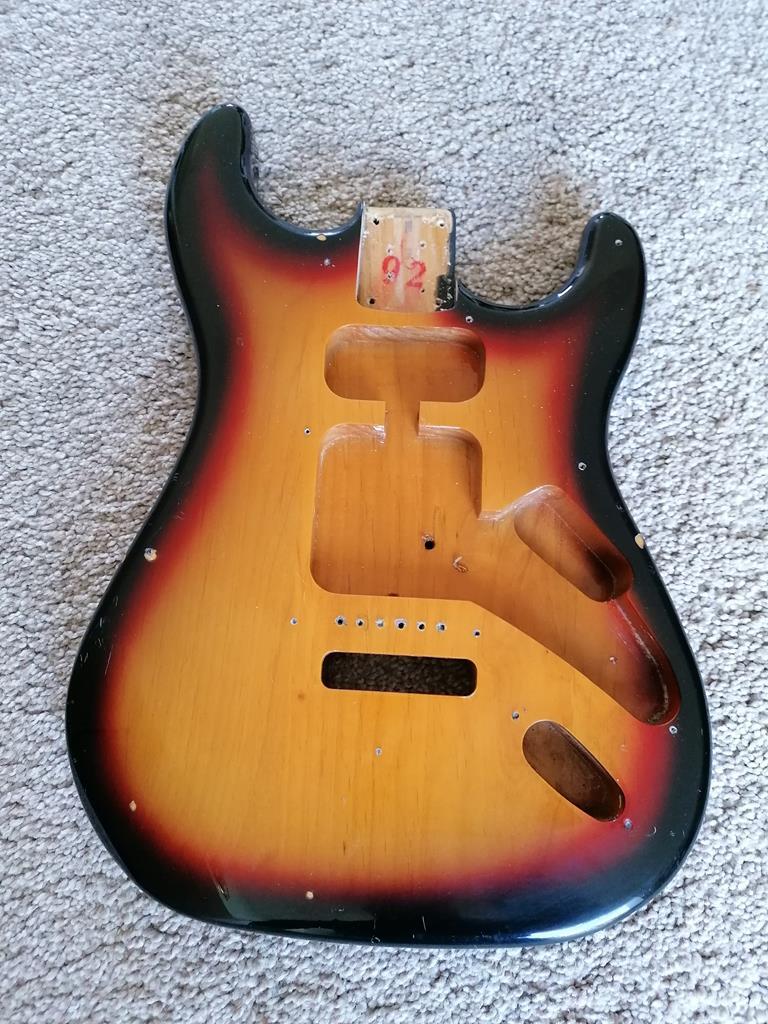 |
| |
|
|
|
|
|
|
|
|
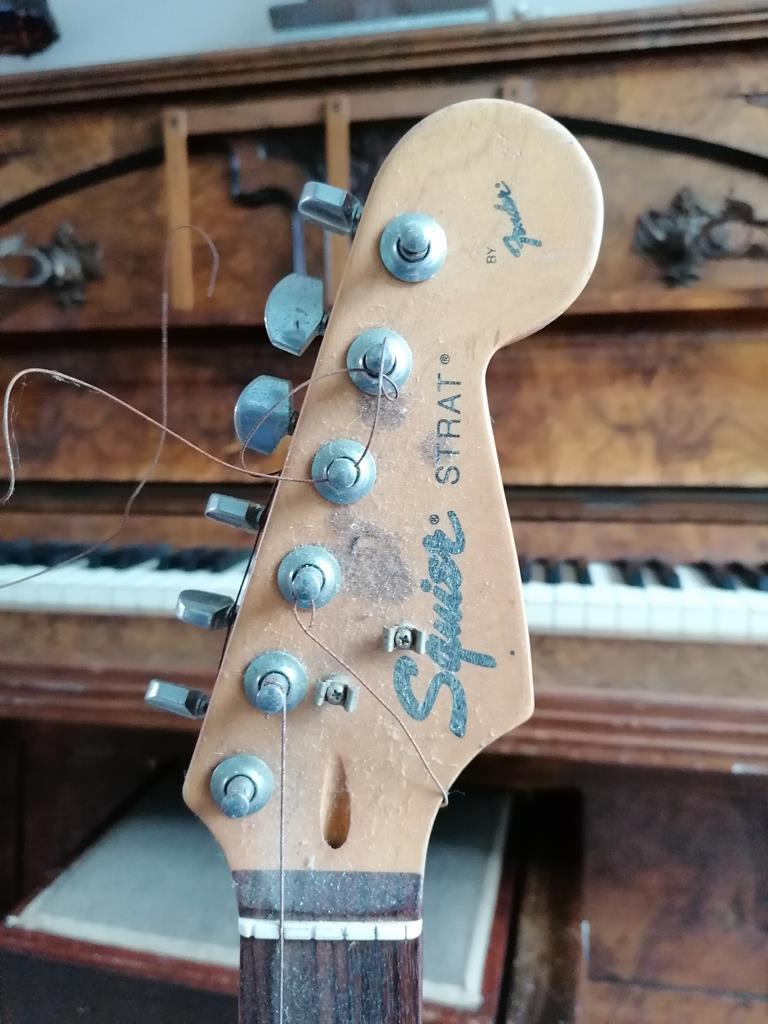
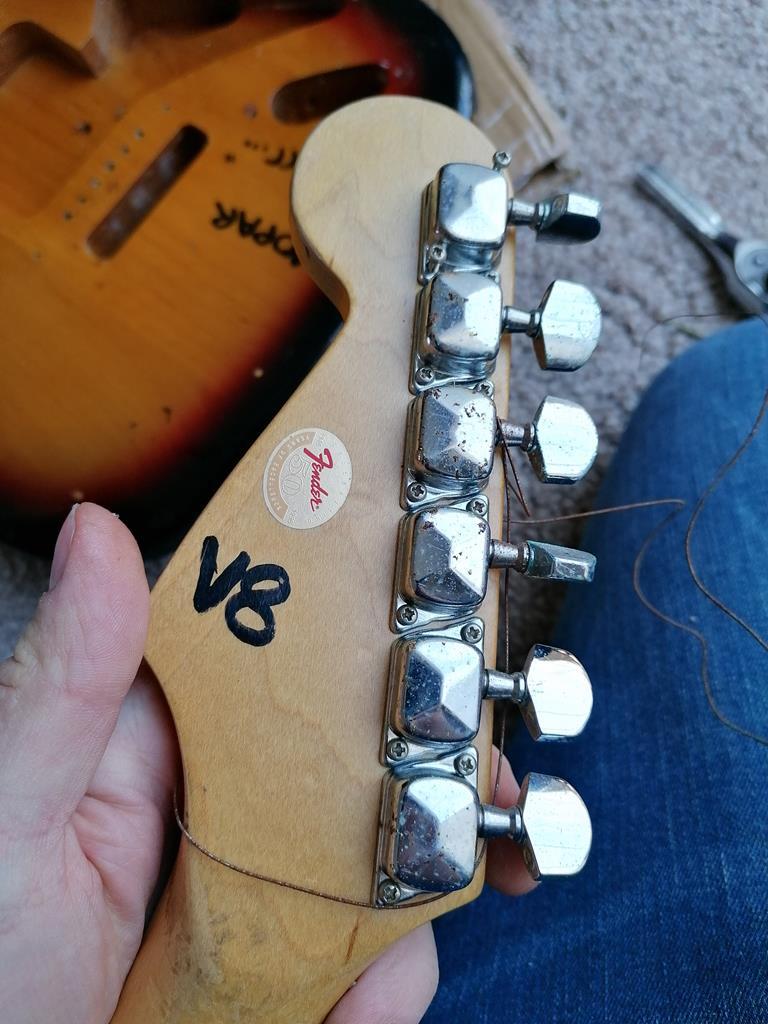
I changed the title to 1992 or 1996 as it has a 50th anniversary sticker on it and I certainly got it in 1996 but after removing the neck it's stamped 92. So who knows?! But it doesn't matter.
Edit. Definately 96.. October 96 to be precise! Found another stamp on the neck.
|
| |
|
|
|
|
|
|
|
At this point, I was thinking I would sand the chips out and paint it a solid colour. I began sanding through some of chips. However--on seeing the wood under the chips, curiosity once again got the better of me and I started to take more off... 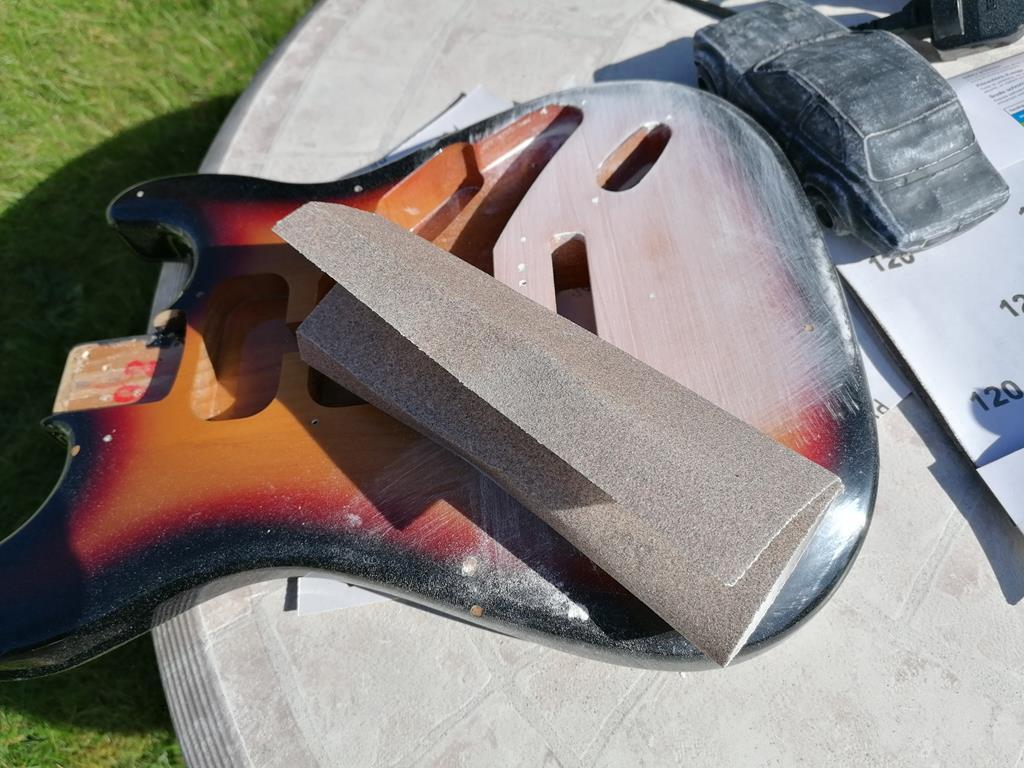 |
| |
|
|
jpsmit
Posted a lot

Posts: 1,254
|
|
Mar 13, 2020 12:32:02 GMT
|
looks like a great project - and, glad you removed the sharpie - silly to call it a V8 when obviously it is an inline 6!  |
| |
|
|
|
|
|
Mar 13, 2020 13:20:16 GMT
|
looks like a great project - and, glad you removed the sharpie - silly to call it a V8 when obviously it is an inline 6! 😂😂 Very true! |
| |
|
|
|
|
|
|
|
Mar 13, 2020 13:46:37 GMT
|
I started sanding a bit more and realised I wanted to get all the paint off, as every bit of wood showing through looked like it had potential. I had an old Black and Decker mouse so I bought some 50 grit and 120 grit pads and set to work. 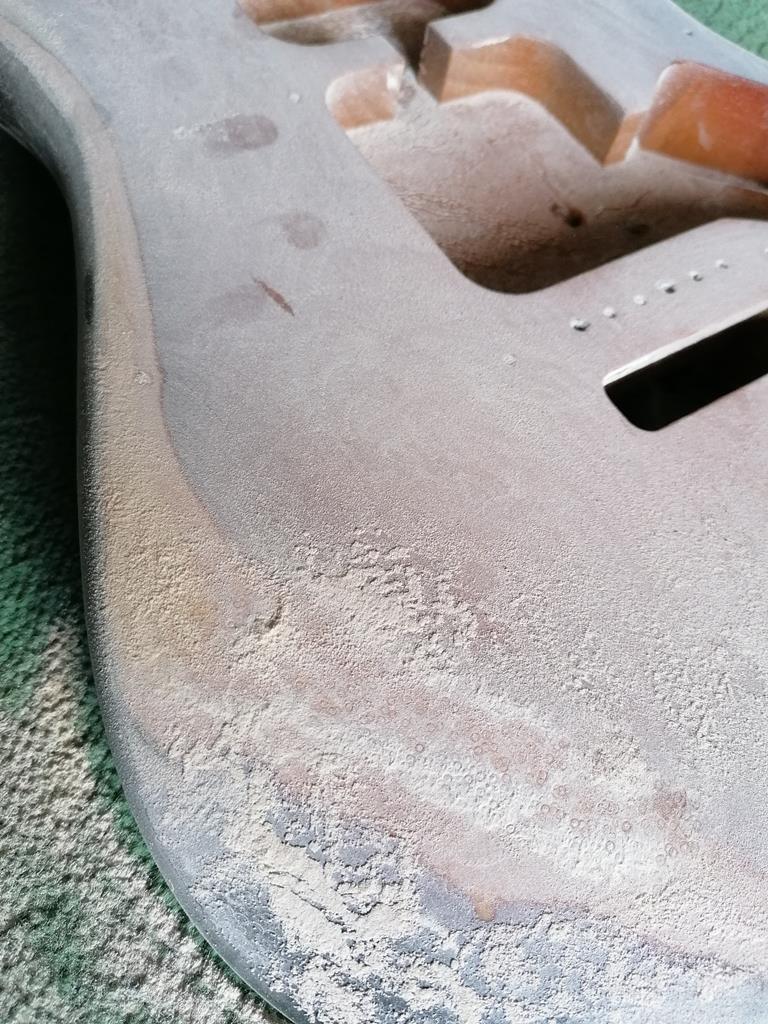 It was starting to look great  But 5 minutes after that pic flames started licking out of the sides of the sander! Luckily, my mate had a tool I could borrow so onwards the sanding went. The top coats came off without TOO much of a fight, but underneath that was a white coat the was pretty stubborn and required a lot of sanding. However, the more that came off the more I realised that the grain of the wood is really beautiful, and I'm now wanting to just put some oil on it instead of hiding it with paint. 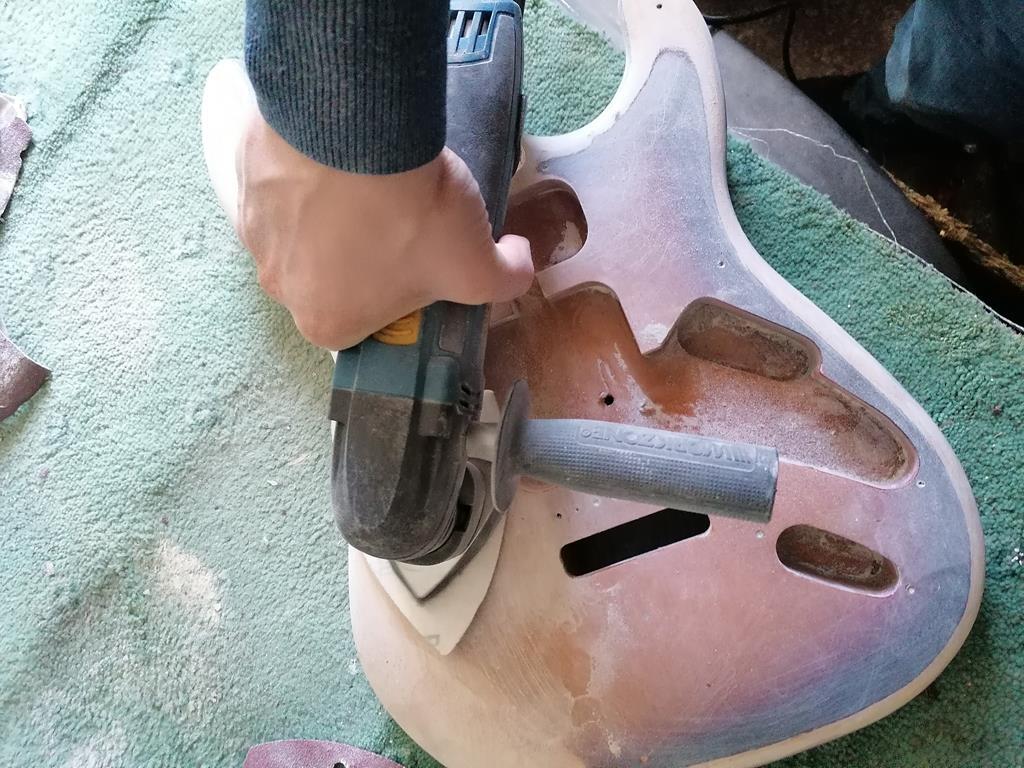 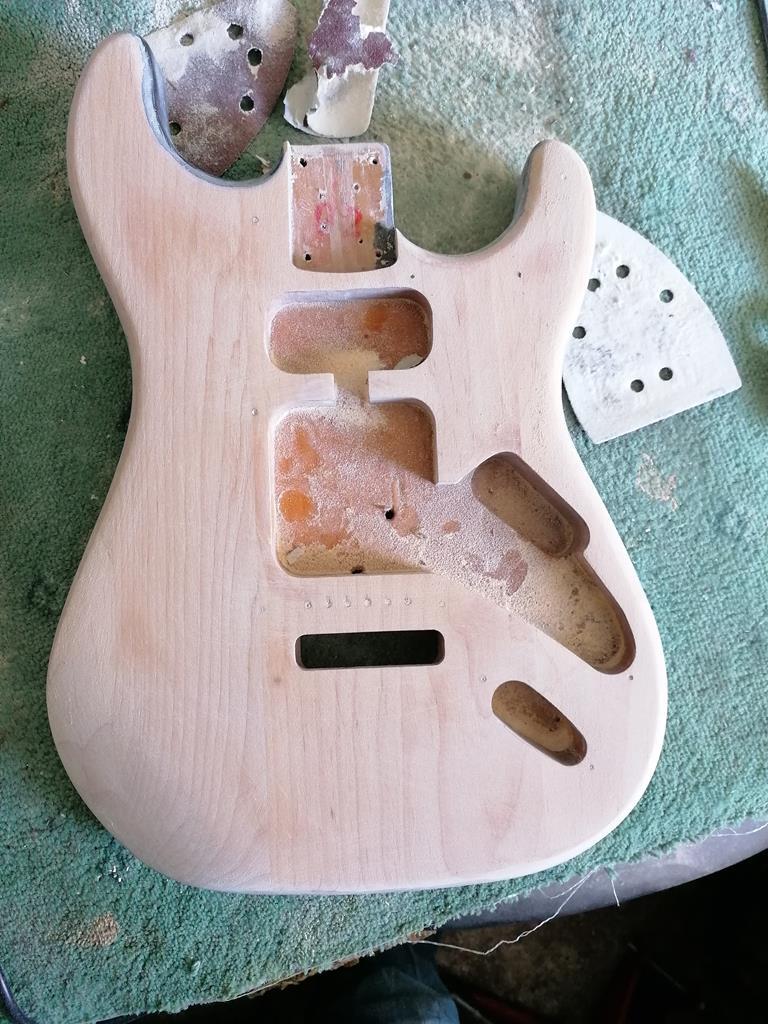 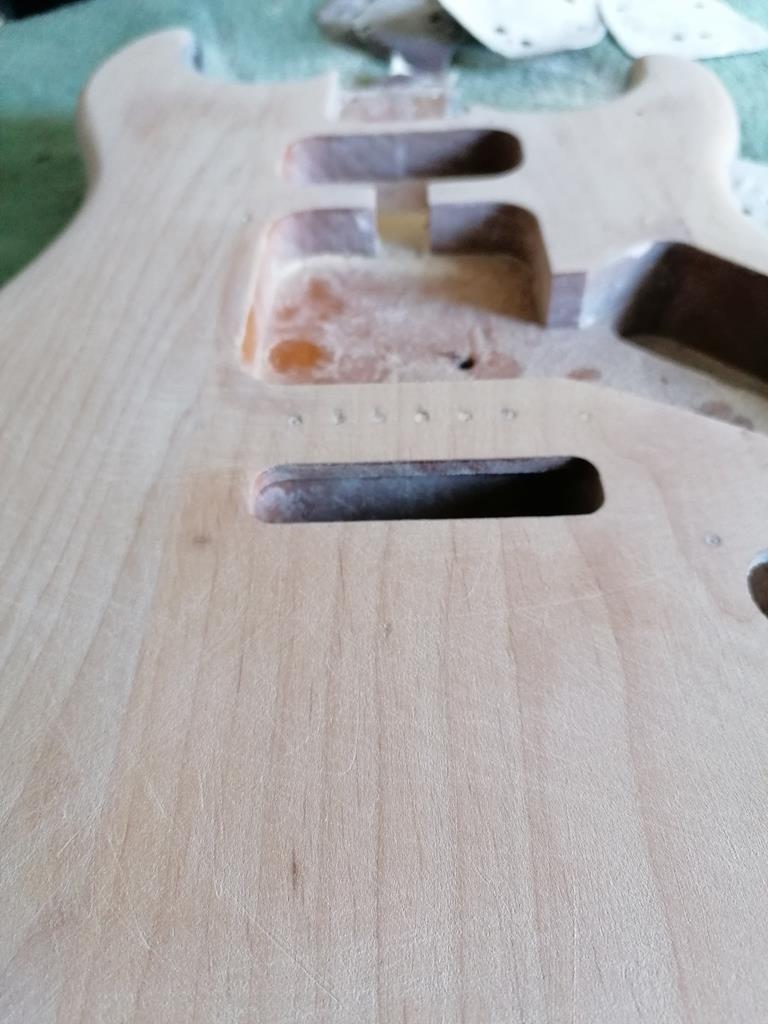 |
| |
|
|
|
|
|
Mar 13, 2020 14:07:06 GMT
|
It took about 3 and a half hours of sanding to get to this point. Still need to do the edges and there are a few white spots left, too. When I've done that I'm going to go over it with 120 grit. I've got a few packs of finer grit paper to hit it with including 1500 grit I think. I'm thinking that it doesn't have to be perfectly smooth as I'm not painting it but I'm no expert so please correct me if I'm wrong! I need to look at oil options too - I'm not sure if I want it to remain light or be slightly darker, but I definately want to see the grain. I'm also thinking of fitting a black scratch plate and white pots and pickup covers. Although I've been toying with a few different arrangements so we shall see. Firstly I'll need to finish sanding it! I'll wait till I have some feeling back in my arms for that... 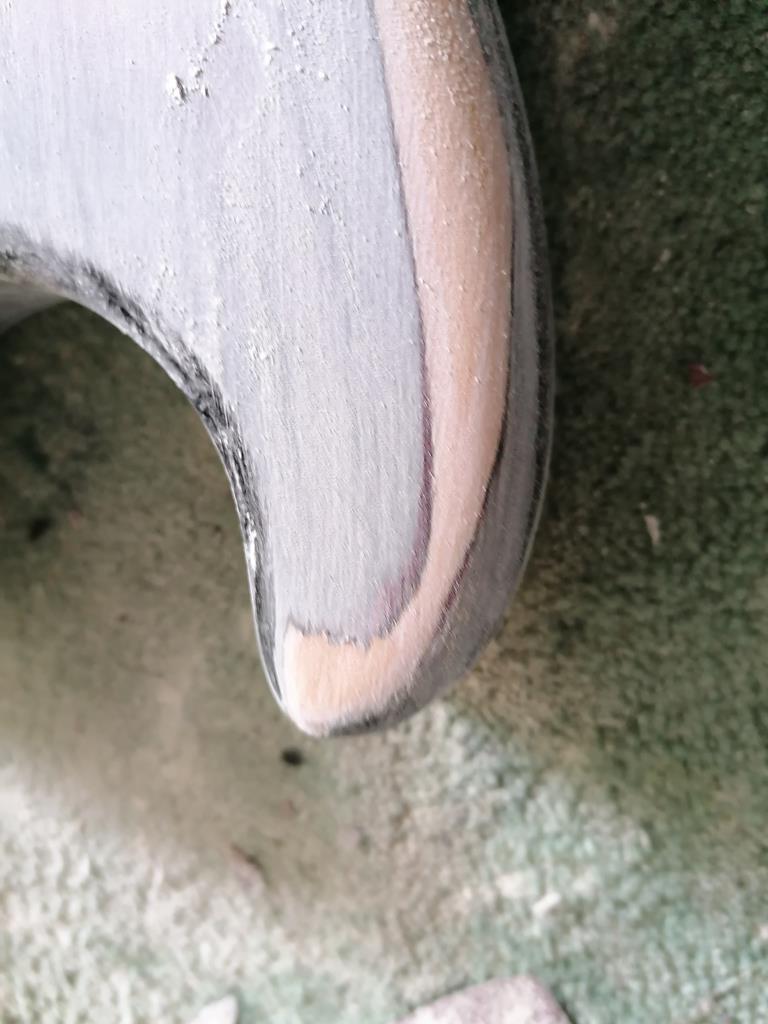 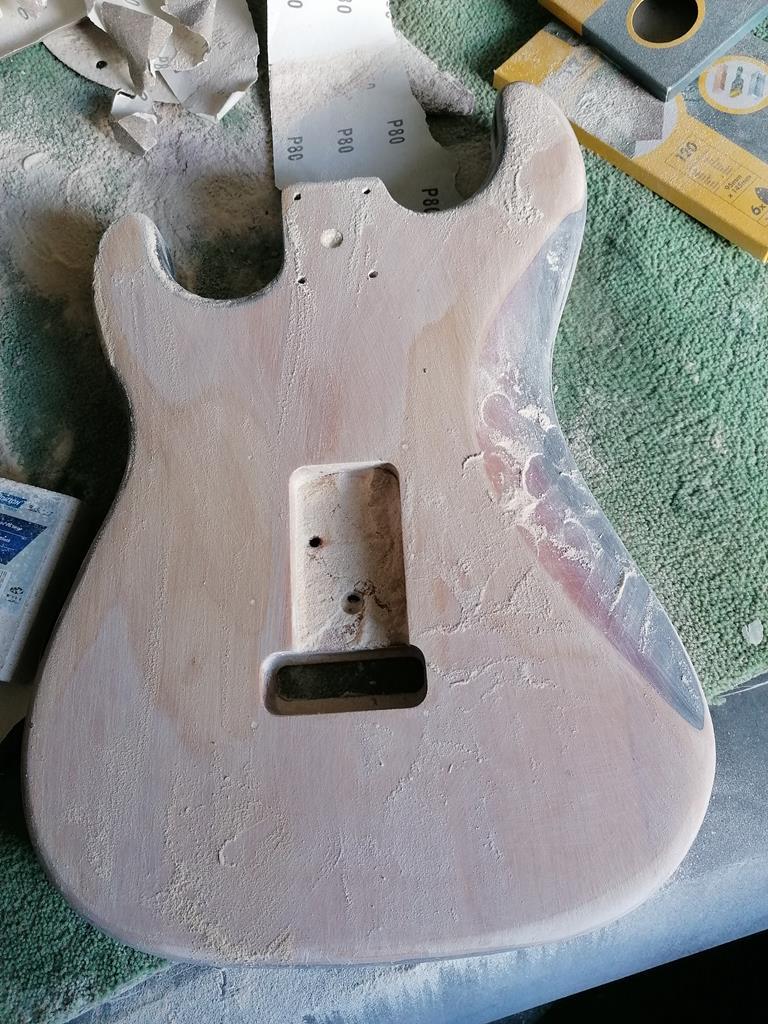 |
| |
|
|
|
|
|
Mar 13, 2020 14:11:59 GMT
|
Threw the pots and pickups through the dishwasher but it didn't touch the marker pen so I'll be getting some new ones I think. 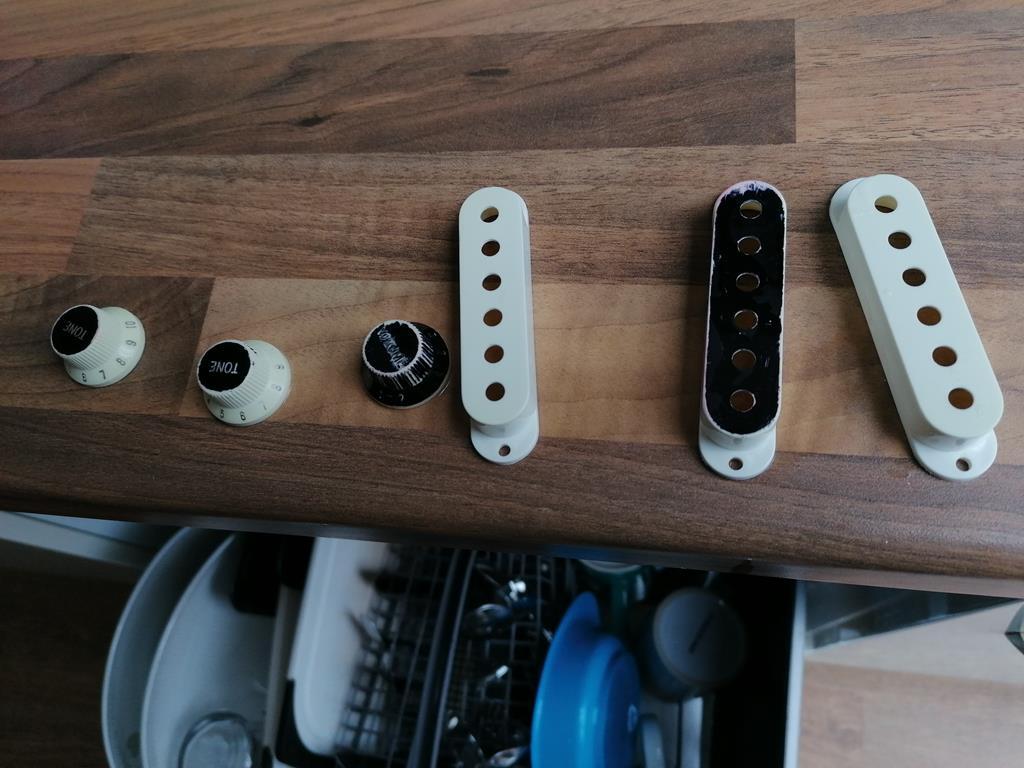 |
| |
|
|
|
|
|
Mar 13, 2020 14:39:17 GMT
|
|
If the chips give you memories I think I’d keep some of the past involved, like the bits still marked with the sharpie
Patina innit ? 😀
|
| |
|
|
|
|
|
Mar 13, 2020 16:34:18 GMT
|
If the chips give you memories I think I’d keep some of the past involved, like the bits still marked with the sharpie Patina innit ? 😀 I know what you mean but I fancy making it look decent. I won't bin the sharpie accessories for that reason and the old scratch plate is gonna hang in the workshop 👍 |
| |
|
|
|
|
|
Mar 13, 2020 16:35:54 GMT
|
|
Can't decide on colour for the scratch plate- wood will be oiled and I'd imagine a little darker than it is. Neck is dark. I'm torn between white, black, or that slightly yellowy strat tint. Anyone got any thoughts?
|
| |
|
|
|
|
|
Mar 13, 2020 16:47:50 GMT
|
|
Nice job, I do like wood! now you've got the worst of the original finish removed sand using a block of wood to hold the paper and sand in the direction of the grain other wise you will be amazed what marks show up when you put any sort of finish on it, if you can try the finish coat on a piece you wont see when its finished just in case you don't like it!
|
| |
|
|
|
|
|
Mar 13, 2020 16:51:32 GMT
|
If the chips give you memories I think I’d keep some of the past involved, like the bits still marked with the sharpie Patina innit ? 😀 I know what you mean but I fancy making it look decent. I won't bin the sharpie accessories for that reason and the old scratch plate is gonna hang in the workshop 👍 Fair enough, it’s YOUR guitar, it’s how YOU want it😀 Nice work, wish I’d learned to play when I had the opportunity |
| |
|
|
ChrisT
Club Retro Rides Member
Posts: 1,635
Club RR Member Number: 225
|
|
Mar 13, 2020 17:23:17 GMT
|
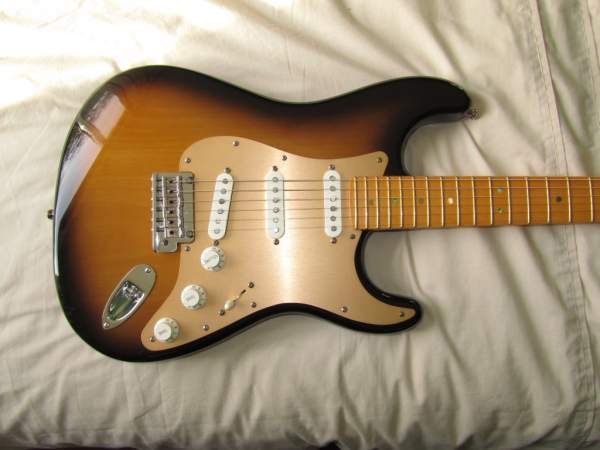
Nice project, do like a good guitar resto thread. Dark scratch plate to match the neck would work I think.... A bit like this |
| |
Last Edit: Mar 13, 2020 17:24:22 GMT by ChrisT
|
|
|
|
|
|