glenanderson
Club Retro Rides Member
Posts: 4,364
Club RR Member Number: 64
|
|
Apr 14, 2020 21:24:09 GMT
|
Update time. Has been a bit slower over the last few days. Sunday I had to do some family stuff, although I did get a few hours on it; yesterday and today I have been at work on earlies, so have done a bit when I got home. Have been largely tidying wiring, so not much to visually show for a load of time spent. The new fuel filter I’m going to use won’t fit where the old one did, so I have had to have a shuffle around with stuff on the bulkhead. Ideally I’d have put the filter towards the driver’s side, but there really isn’t space. I could just about squeeze it in, but would be dripping diesel on the loom joints every time I serviced it, and it makes everything very tight. Plenty of room on the other side though, so that’s where it’s gone. I have to make new fuel lines up anyway, so making them 1’ longer isn’t an issue. Moving the filter has allowed me to relocate the auxiliary fuses and tidy the wiring, which soothes my OCD. I’ve fitted a higher output alternator than the one on the old engine, so thought it prudent to run a second cable from the alternator to the battery post on the starter to ensure there’s enough current carrying capacity. I connected up the rest of the starter cables at the same time. As I’ve finally committed to fitting the double battery box, it seems a good time to revise my split charging setup (it was a simple relay triggered by the alternator charge light). I’ve ordered a dedicated voltage sensing split charge relay, and have run a new feed cable from the aux fuse box on the bulkhead, through to the new battery box in preparation. I’ve also fitted a new speedo cable, connected the heater pipework and repaired the boost signal pipe that runs from the turbo to the injection pump, because it’d chafed through at one point. I’ve really only got one picture worth sharing, so here you go.  Hopefully I’ll make a little more progress tomorrow. Thursday onwards I’m off again, so should be able to get stuck back into things then. Cheers, Glen. |
| |
My worst worry about dying is my wife selling my stuff for what I told her it cost...
|
|
|
|
|
|
|
Apr 14, 2020 22:39:35 GMT
|
|
Whats with the twin battery setup?
|
| |
|
|
|
|
|
|
|
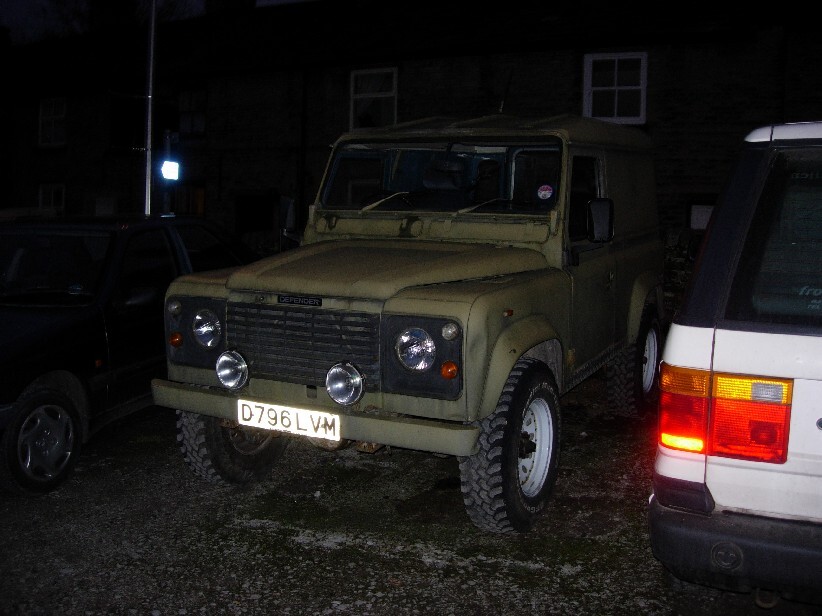
Missed this one until today. Great work and a great read. I do love an old Land Rover and you're doing this one proud. Ran a 2A 88" petrol which was also my business, transporting horses in a huge double trailer. It really wasn't a safe combination for motorways, so A and B roads at 30-40 mph all the way. What it was built for really!  Did thousands of miles in that thing and it only ever let me down once. That was adjusting arm for the dynamo snapping. Fortunately, I was just up the road from a blacksmiths, so fifteen minutes later I was on my way again. Even when I got a "proper" job on the railways in 1991, I continued to daily it on the commute from Macclesfield to Manchester for another couple of years. Loved every minute of ownership of that thing, but definitely cannot recommend changing a clutch, on your own, on a limestone chipping car park, from underneath! Latterly in the UK I ran an early, slightly ratty, but ever-so reliable 90 (2.5 petrol) alongside my 4.0L P38, and had a weekly commute from Cheshire to Swindon. Often, in summer, I'd take that over the Range Rover and again, avoid all motorways and just trundle down on a Monday and back on the Friday. Lovely runs!  |
| |
Last Edit: Apr 15, 2020 5:16:56 GMT by georgeb
|
|
glenanderson
Club Retro Rides Member
Posts: 4,364
Club RR Member Number: 64
|
|
|
|
Whats with the twin battery setup? One battery as a main supply for vehicle services, a second to run radio, accessory sockets, 240v inverter, interior lighting and independent diesel-powered night heater. That way, if I’m parked up somewhere, there’s no need to run the engine, or worry about flattening the main battery. At the moment I just have a pair of normal batteries, but I’d like to get two Optimas, one red, one yellow. That’s the plan when the existing ones finally die. |
| |
My worst worry about dying is my wife selling my stuff for what I told her it cost...
|
|
glenanderson
Club Retro Rides Member
Posts: 4,364
Club RR Member Number: 64
|
|
|
|
|
It’s at times like these I begin to recognise my eccentricities. It’s been astonishingly satisfying to revisit some of the jobs that I did many years ago in more constrained circumstances. Being able to put a bit more time and thought into the job, as well as having better access, practical experience of how things have behaved in service, and more resources than in the past is really rewarding. When this tranche of work is done, and it’s up and driving again, I’m going to rework the auxiliary instrument panels, column switches and radio setup. I may even do some cosmetic tittivating.
One thing that I have to make a decision about shortly is the exhaust. The current system is an off-the-shelf conversion from a Land-Rover specialist. It’s designed for the combination of engine and chassis that I have, and consists of a bespoke front and intermediate pipe, coupled to a standard V8 Land-Rover rear box. It’s worked well, the front sections have lasted nearly 13 years and the (very inexpensive) rear boxes about five years each. At about £300 it’s been good value. However, the intermediate section is now goosed, and a like-for-like replacement, whilst still available, is a chunk of cash I don’t really want to spend just at this minute. Particularly because there are elements of compromise in the design that I’m not massively happy about. The hangers, in particular, are awkward and clumsy, and their clamps have directly contributed/caused the failure of the intermediate pipe. It’s routing follows the stock system too, which is really tight - needlessly so - and it’s really difficult to keep it from rattling against various bits of chassis.
So I have three options:
1) Buy a new system the same from the specialist. They’re on the shelf and available, and I could fit it whilst the motor is in bits and access is good.
2) Throw the existing one back on, holes and all, and drive it somewhere to have a bespoke system made in stainless.
3) Patch and refit the existing one, and kick the can down the road for another year or so, until it falls off, then worry about it then.
I’m leaning towards option three at the moment...
|
| |
My worst worry about dying is my wife selling my stuff for what I told her it cost...
|
|
|
|
|
|
|
|
Option 4, build your own one (if you can weld?)
|
| |
|
|
jamesd1972
Club Retro Rides Member
Posts: 2,922  Club RR Member Number: 40
|
|
|
|
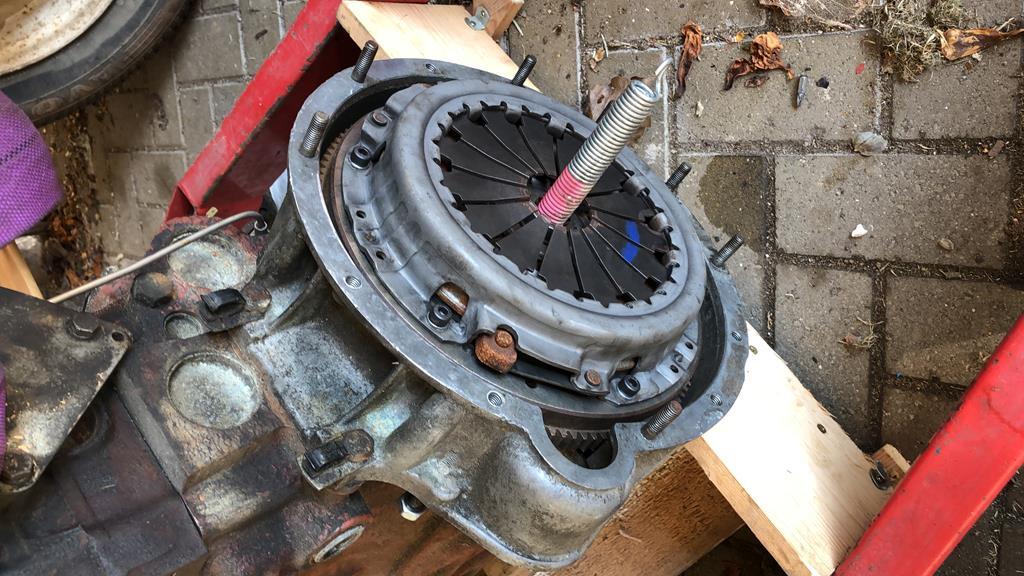
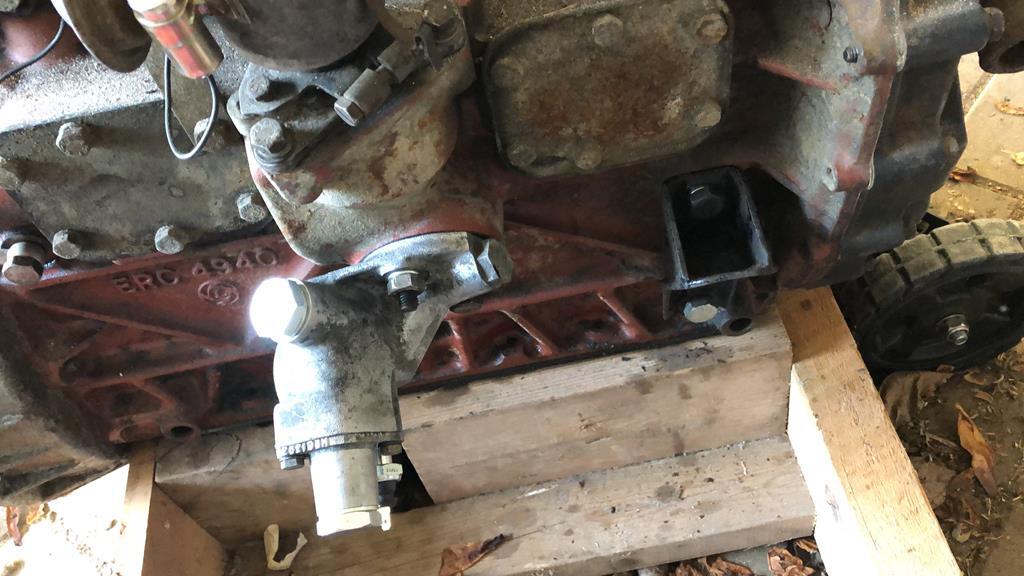
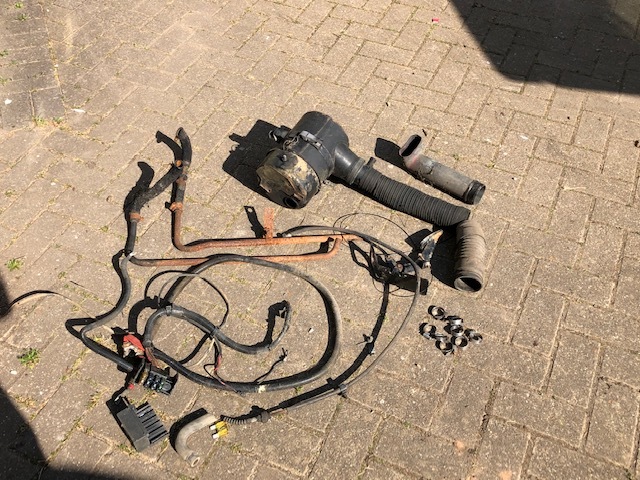
Hi Glen, nice steady work, may I ask what you did for your throttle pedal ? We need to swap to a cable operated one and current thought is to simply get one off the 90 td in the local scrapyard that just donated its oil filter housing. Thanks James Photo's below for interest - can add more if you want.   |
| |
|
|
glenanderson
Club Retro Rides Member
Posts: 4,364
Club RR Member Number: 64
|
|
|
|
Option 4, build your own one (if you can weld?) I can, but there’s better uses of my time. Buying the bits and tooling up to do it in stainless won’t be cheap. Doing it in mild steel, for a daily, is pointless I feel, because I’ll just have to make another, and then another, as time goes by. |
| |
My worst worry about dying is my wife selling my stuff for what I told her it cost...
|
|
glenanderson
Club Retro Rides Member
Posts: 4,364
Club RR Member Number: 64
|
|
Apr 15, 2020 10:37:08 GMT
|
Hi Glen, nice steady work, may I ask what you did for your throttle pedal ? We need to swap to a cable operated one and current thought is to simply get one off the 90 td in the local scrapyard that just donated its oil filter housing. Thanks James Photo's below for interest - can add more if you want.   I used a combination of standard Series 3 diesel cable and home made parts to connect the Series 2 linkage to the Tdi injection pump. I did it that way to keep the interior visually unchanged, to enable retention of the hand throttle, and because I’d got a bundle of the cables in stock. Using the 90/110 part is a good solution if you don’t mind the look and the cutting of the footwell (and loss of hand throttle if you have one). Here are some pictures of when I did the original conversion: First off, I drilled through a big bolt, then sliced down the middle of it:  Which fits on the cable thus:  I made this bit:  Which goes on here:  And extended a spare lever:  And the whole setup looks like this:  It's worked faultlessly and I've been pleased with it. What’s that you have going in? A 2.5? |
| |
My worst worry about dying is my wife selling my stuff for what I told her it cost...
|
|
|
|
|
Apr 15, 2020 10:51:38 GMT
|
Whats with the twin battery setup? Because (and don't let your wife read this) twins are better. Batteries, winches, turbos.. |
| |
1987 Supercharged BMW R1150 Citroen 2cv Hillclimb Monster
1995 Renault Master Mk1 Race Transporter
1994 Mazda MX5 Mk1 / NA Road Going Class Hillclimber
1991 UMM Alter II Crew Cab OM606 SuperTurbo Diesel MegaUMM Overlander
1992 UMM Alter II Station Wagon
1980 UMM Cournil - survivor - resto project
1979 Lomax 224
2014 VW T5.1 Transporter Kombi Highline
|
|
|
|
jamesd1972
Club Retro Rides Member
Posts: 2,922  Club RR Member Number: 40
|
|
Apr 15, 2020 11:05:22 GMT
|
Hi Glen, nice steady work, may I ask what you did for your throttle pedal ? We need to swap to a cable operated one It's worked faultlessly and I've been pleased with it. What’s that you have going in? A 2.5? Hi Glen, Many thanks for the comprehensive reply, its a 2.3 out of an early 110 so with the twin choke webber so one of the better carbs out there. No hand throttle and as a Series 3 less issue about the 'look' of the pedal. Will dwell, we would have to go from the drivers side with a cable so a pedal swap would keep it all of a piece and easy to replace in the future. Local scrapyard is open (!?) and has quoted 15 + Vat so thinking the quick and dirty wins ! On your exhaust, sounds like option of patch and save for bespoke stainless might be best but how does this compare on cost for the std conversion set up ? James |
| |
|
|
glenanderson
Club Retro Rides Member
Posts: 4,364
Club RR Member Number: 64
|
|
Apr 15, 2020 11:09:26 GMT
|
|
In your situation, I think going for the complete later pedal and cable setup would definitely be the best bet.
As far as my exhaust goes, a bespoke stainless one is going to be about £500.
|
| |
My worst worry about dying is my wife selling my stuff for what I told her it cost...
|
|
|
|
|
Apr 15, 2020 12:47:42 GMT
|
Whats with the twin battery setup? One battery as a main supply for vehicle services, a second to run radio, accessory sockets, 240v inverter, interior lighting and independent diesel-powered night heater. That way, if I’m parked up somewhere, there’s no need to run the engine, or worry about flattening the main battery. At the moment I just have a pair of normal batteries, but I’d like to get two Optimas, one red, one yellow. That’s the plan when the existing ones finally die. Thoroughly recommend Optimas, they are the bomb. Although retardedly expensive. I've got twin Yellow Top D31 in Little UMM with a zero voltage drop Sterling Power Alternator splitter (so it split charges intelligently and won't melt the split charge when winching). |
| |
1987 Supercharged BMW R1150 Citroen 2cv Hillclimb Monster
1995 Renault Master Mk1 Race Transporter
1994 Mazda MX5 Mk1 / NA Road Going Class Hillclimber
1991 UMM Alter II Crew Cab OM606 SuperTurbo Diesel MegaUMM Overlander
1992 UMM Alter II Station Wagon
1980 UMM Cournil - survivor - resto project
1979 Lomax 224
2014 VW T5.1 Transporter Kombi Highline
|
|
|
|
|
Apr 15, 2020 17:20:20 GMT
|
|
Glen, your work and writing are both second to none. I think that as GN teaches us about his specialties, so too could you smarten many of us up on Electrics.
I've got a question: does your diesel engine have glow plugs? Are they under the rocker cover?
Best, John
|
| |
|
|
glenanderson
Club Retro Rides Member
Posts: 4,364
Club RR Member Number: 64
|
|
Apr 15, 2020 17:54:47 GMT
|
Glen, your work and writing are both second to none. I think that as GN teaches us about his specialties, so too could you smarten many of us up on Electrics. I've got a question: does your diesel engine have glow plugs? Are they under the rocker cover? Best, John Thanks John, that's very nice of you to say. Vehicle electrics are one of my "things". If there's anything you think I can help with, just ask. If I do any more major wiring stuff I'll post up some proper pictures. Most of what I'm doing at the moment is just untangling, shortening and tidying up what's already there, which isn't conducive to wielding an expensive phone about in all the muck of an umpteen thousand mile diesel engine bay.  Yes, the engine has heater plugs. They're not fitted yet, which is why you can't see them. I've left them out so that, once the fuel system is connected and bled and I've filled up the oil, I can spin the engine over on the starter easily and make sure I've got oil pressure and the injectors bled up before I try and start it. I had an early finish today, but had to do the family shop, so I didn't get much done this afternoon. I've reconnected a few more services, fitted a new throttle cable, injector spill pipe and the fuel supply and return lines. I've got to get some more fuel hose in the morning to make up the feed lines from the lift pump to the filter, and back to the injector pump. With those done that's the fuel system finished. More tomorrow.  |
| |
My worst worry about dying is my wife selling my stuff for what I told her it cost...
|
|
glenanderson
Club Retro Rides Member
Posts: 4,364
Club RR Member Number: 64
|
|
Apr 16, 2020 22:36:09 GMT
|
This morning I made an essential trip to the factors to get some fuel line to run from the lift pump, up to the filter and on to the injection pump. With that crossed off the list, and the fuel system complete, I bled up the system as far as the pump.  The next job was to fill the engine up with oil. When I did the original conversion I chose to use the donor Discovery’s cooling pack, which incorporates the oil cooler into the radiator. So to complete the oil system, I had to refit the radiator/intercooler mounting frame, and then the rad and intercooler. The original radiator was a conventional soldered brass affair, which I had recored in 2007. Pretty much all the fins have disappeared, and considering how much it cost to have done I wasn’t massively impressed with its longevity. The replacement is a modern style of construction, with plastic tanks and an aluminium core. It wasn’t particularly expensive, but I have heard good things about them, so thought I’d try one out. I’d like a posh all alloy one, but they’re a bit rich for me at the moment. :lol:  Now that the oil wasn’t going to escape, I temporarily reconnected the battery, which allowed me to spin the engine over and make sure that I’d got oil pressure and to bleed the diesel up to the injectors. Having retightened the injectors, I then fitted the glow plugs. I’d left these out to make it easier for the starter to crank the engine over when I was priming the fuel and oil systems.  So, with oil, fuel and compression, there was nothing stopping me seeing if it would run. Better to identify any issues now, before getting it all back together. I did a short video of this: Yay!  With the reassurance that it didn’t immediately explode, I turned my attention to cleaning up and refitting the intercooler and radiator pipework. Some fresh antifreeze in the radiator, and a top up of the oil now that it had filled the filter and oil cooler.  And I cleaned and refitted the overdrive too.  So, that’s us up to date as of today. Back on it tomorrow.  |
| |
My worst worry about dying is my wife selling my stuff for what I told her it cost...
|
|
|
|
|
|
|
|
Very substantial progress made there!
Can I ask do you use a straightening tool on the longer runs of brake pipe?
|
| |
|
|
|
|
|
|
|
|
Good stuff. Nice amd orderly. John
|
| |
|
|
jamesd1972
Club Retro Rides Member
Posts: 2,922  Club RR Member Number: 40
|
|
|
|
Sounds happy ! Nice job. I managed to sneak to the scrappy and scored the throttle pedal and air filter needed as well as a high amp fuse box ready for later additions. Finding it difficult as mine (ours) is a shared project with a friend who is the careful patient one and when messing with modifying things two heads are better than one. 12 yr old boy has a good eye though. Thanks for sharing. James  |
| |
|
|
|
|
|
|
|
Your shiny dash panels gave you away, you weren't wearing adequate ppe for operating heavy machinery in that video!  |
| |
|
|
|
|


