stealthstylz
Club Retro Rides Member
Posts: 14,840
Club RR Member Number: 174
|
|
|
|
Thought using crushed walnut shell was the go to for blasting engines and gearboxes, any left behind will be eaten by the engine Ttfn Glenn Seems to more be used for those carbon clean things. The problem as with any blasting is it doesn't matter what the blast media is as it still doesn't account for all the curse word that's removed in very small pieces from the part and gets liberally spread around. Anyway as an aside - did a bit of a curse word up on this Honda B16 I built months ago and forgot to check the dowel depth before building so it came back in for a oil leak from the head gasket as it wasn't clamped properly. Lucky I did really (with hindsight) , its been fitted in a Mini and clearly hasn't had the inlet taped up enough for any fabrication work so was full of grinding dust. Wouldn't have lasted long. Cleaned it out as best I could and shortened the dowels and it's sorted now. 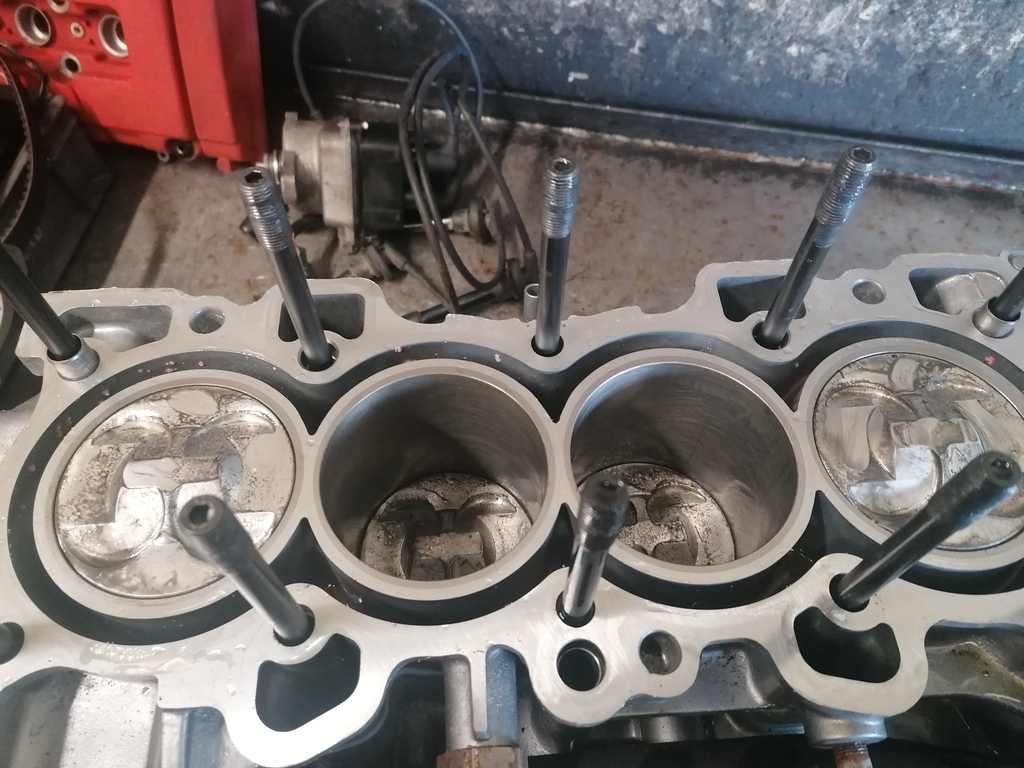 And also been cleaning this Standard Flying 8 engine up ready to go back together. 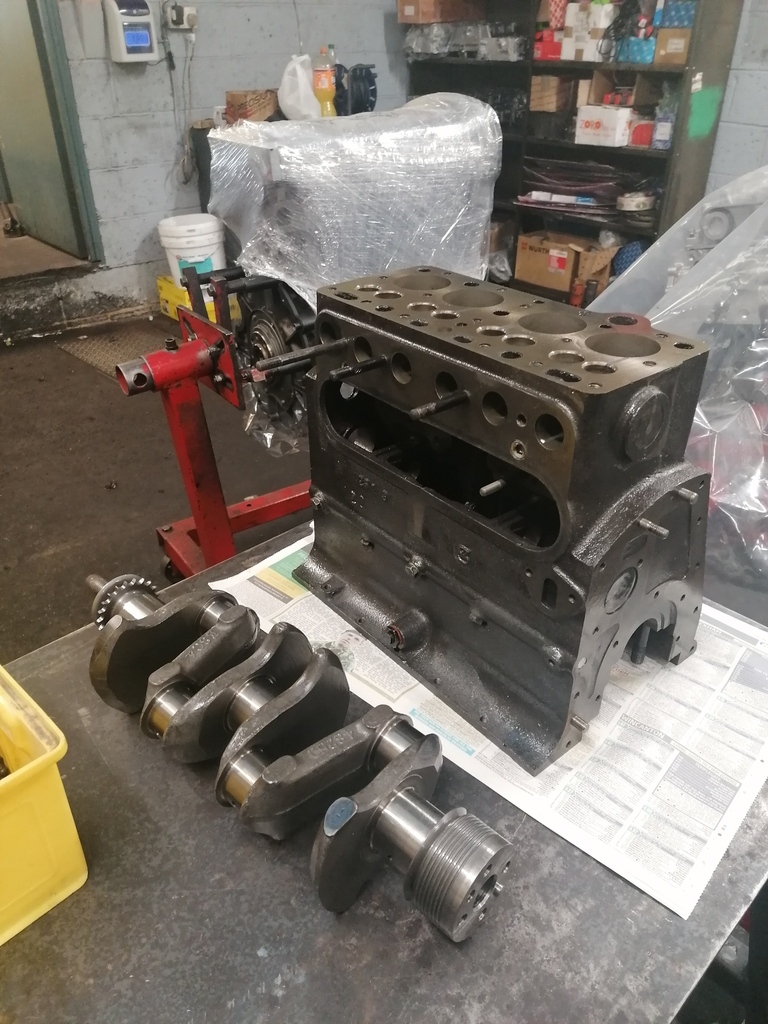 |
| |
|
|
|
|
|
|
|
|
|
|
This is great Matt, looking forward to more updates.
|
| |
|
|
|
|
|
|
|
|
About this time last year I was chasing a low oil pressure problem on my mk5 golf gti. Everyone I spoke to said the engine was toast, you said it was the balance shafts leaking. One new balance shaft assembly later my oil pressure was back to normal.
Cost me 2k to well known expert vag tuners yet you gave me the answer for free, so thanks very much, I was going to sell the car as spares or repairs.
|
| |
|
|
stealthstylz
Club Retro Rides Member
Posts: 14,840
Club RR Member Number: 174
|
|
|
|
About this time last year I was chasing a low oil pressure problem on my mk5 golf gti. Everyone I spoke to said the engine was toast, you said it was the balance shafts leaking. One new balance shaft assembly later my oil pressure was back to normal. Cost me 2k to well known expert vag tuners yet you gave me the answer for free, so thanks very much, I was going to sell the car as spares or repairs. Glad to hear it fixed it. |
| |
|
|
stealthstylz
Club Retro Rides Member
Posts: 14,840
Club RR Member Number: 174
|
|
|
|
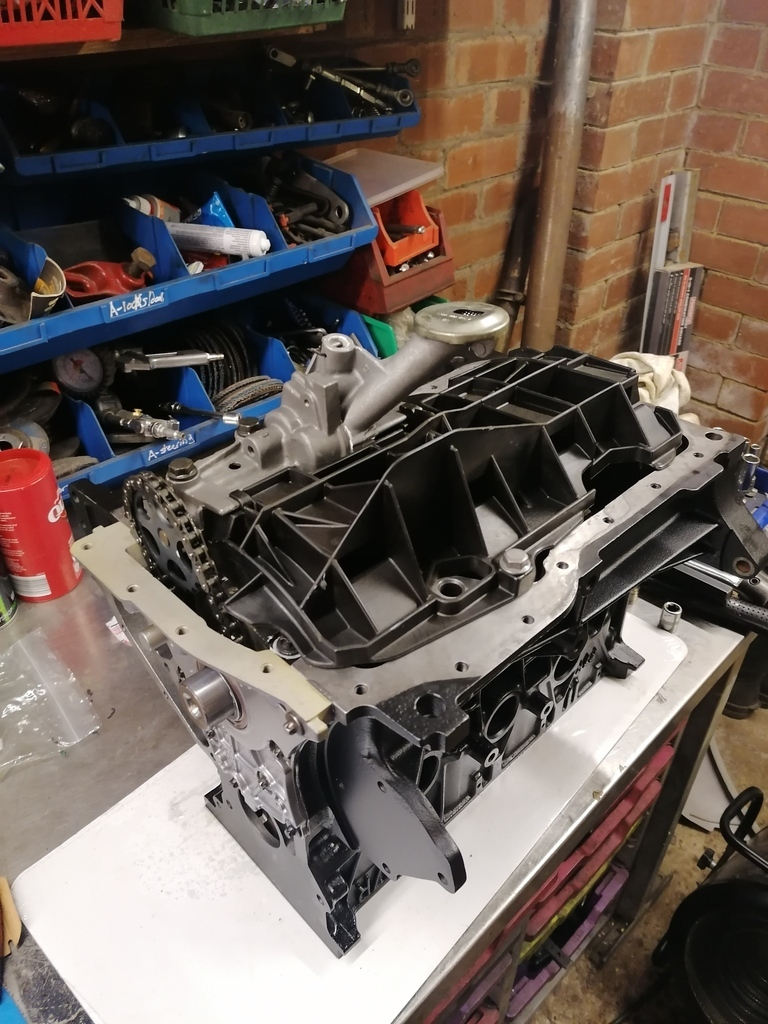
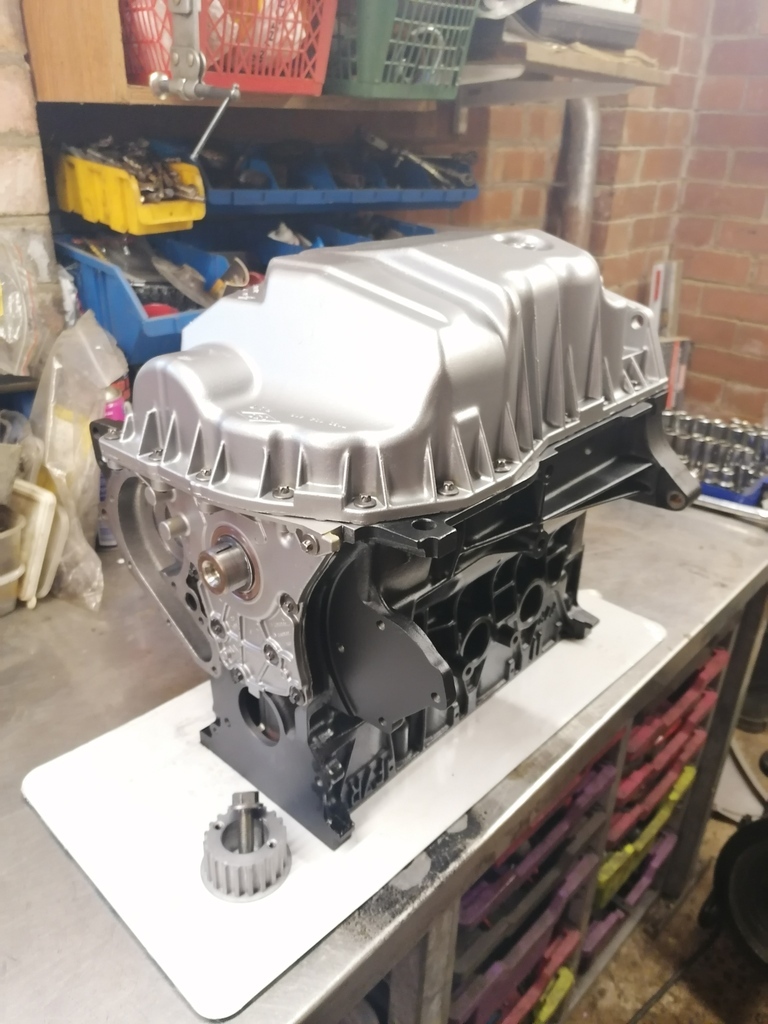
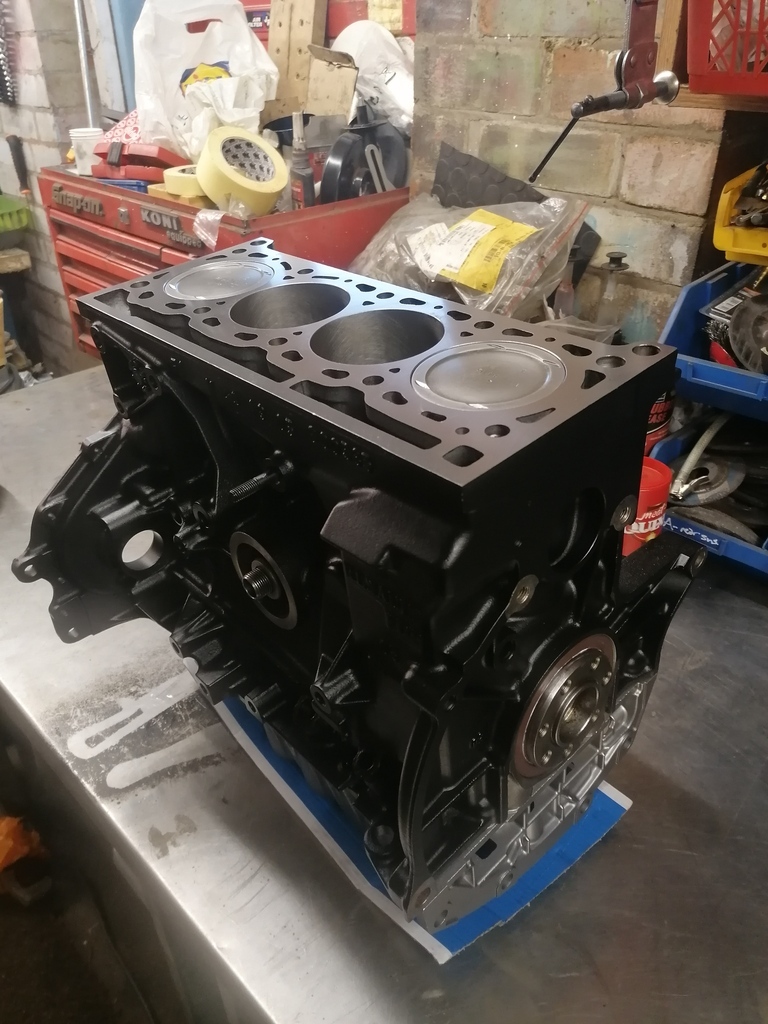
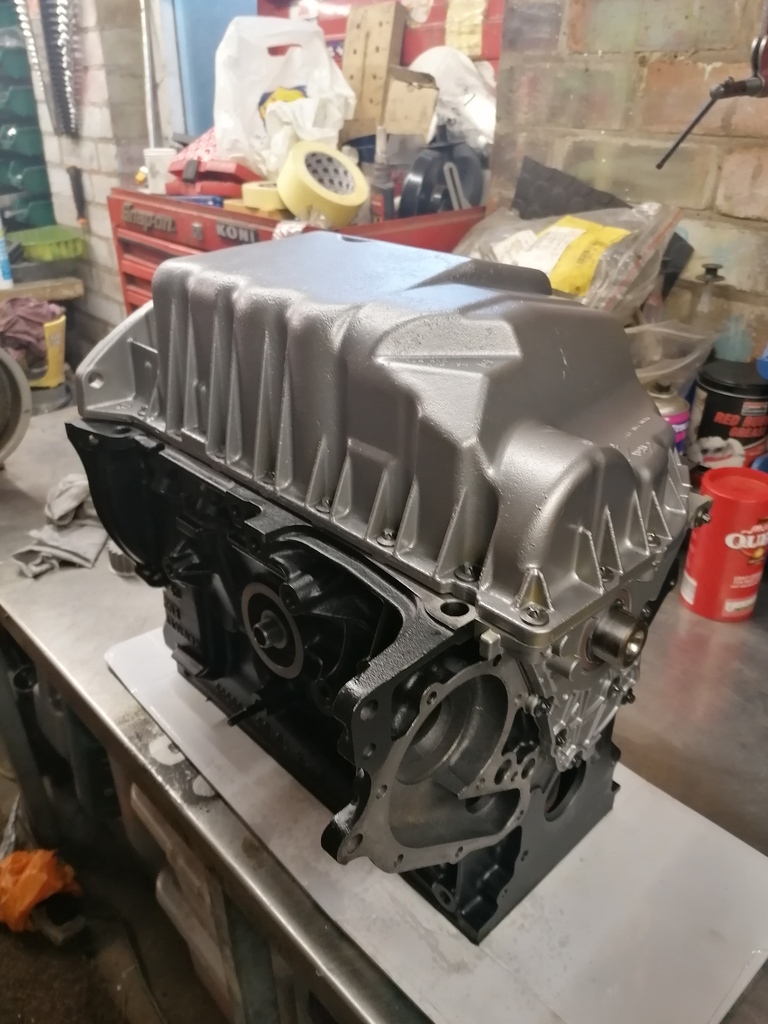
Managed to an an evening to put this together after work. Been sent the wrong rear crank seal so I can't (they're much easier/safer to fit to the crank before you drop it into the block on these as the housing is part of the rear main cap. Anyway - unwrapped. I managed to leave it overnight before wrapping it to dry out so no surface rust. Gave the bores a quick wipe out with some ATF on a rag but they were clean as a whistle. 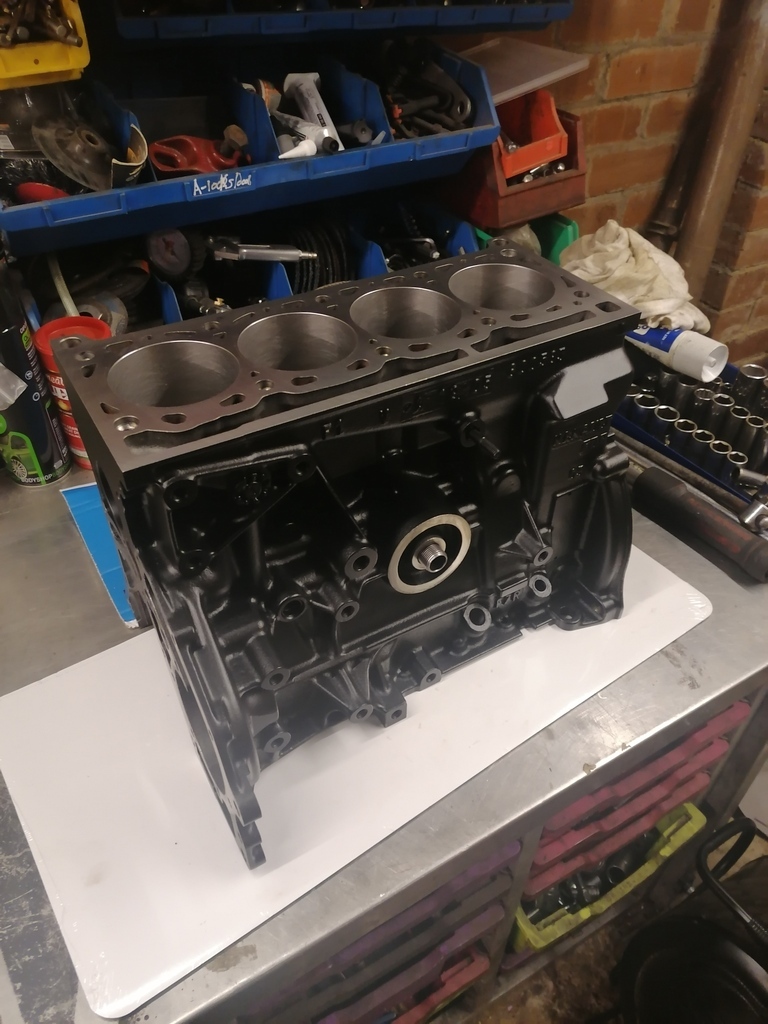 Fitted the pistons back on the rods in the correct orientation (marked pistons to match rods before removing them to clean). It makes no difference in reality as long as they're facing the right way. Most (but not all) pistons will have a raised or squared off section on the underside of one of the gudgeon pin bosses. I've not seen every engine ever, but every engine I've ever seen (with them) has this facing towards the flywheel. No idea what it's for or if that's its purpose but it's a good guide if the pistons aren't marked. A small tip for fitting pistons - once the rings are fitted and everything has a liberal smearing of oil pop something (in this case a 6" 1/4 drive extension) through the gudgeon pin then it'll prop it above the bore so you can set the rings in the right place and put the ring clamp on. See loads of people faffing around trying to hold everything and this is much easier. 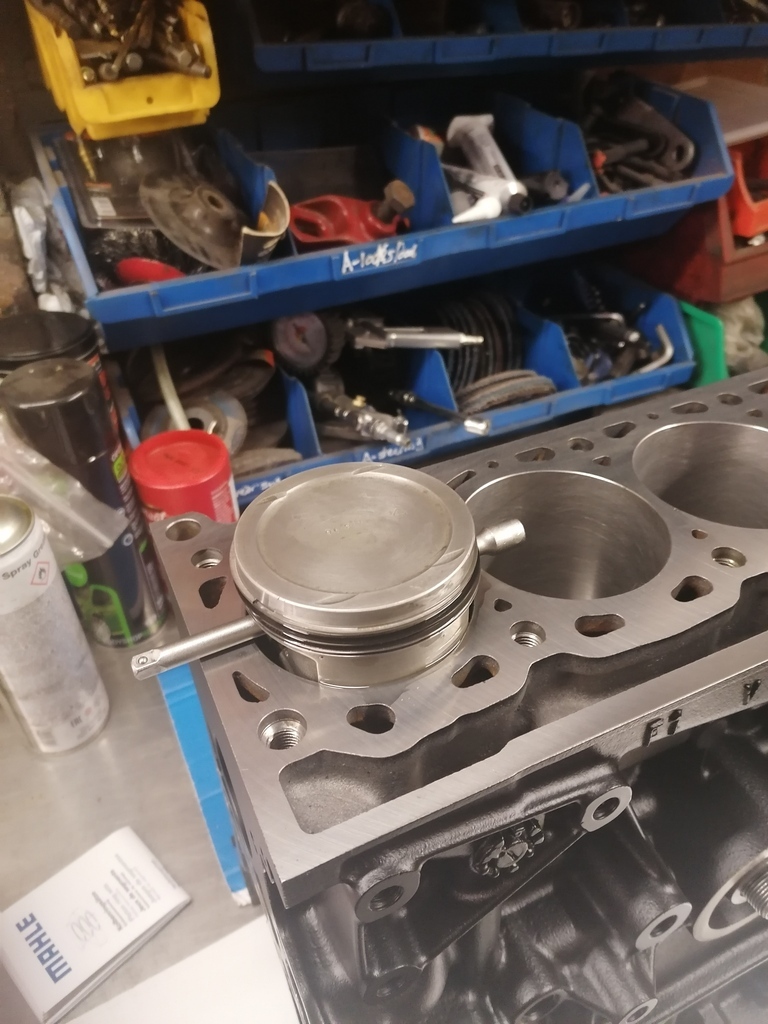 All 4 fitted 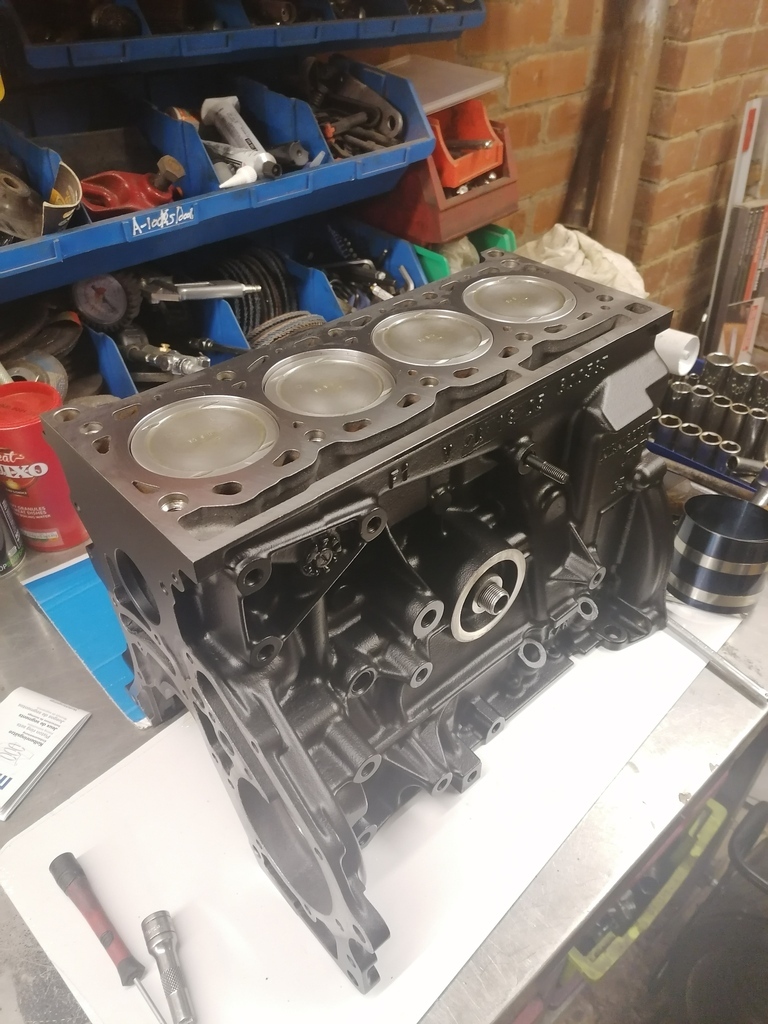 At this point I flipped it upside down ready to fit the crank. If you flip it onto cardboard you then get the ring sealing test/funny thing of barely been able to move the pistons up and down due to the suction/compression. Hopefully finish it off tomorrow night now with the correct crank seal. |
| |
|
|
adam73bgt
Club Retro Rides Member
Posts: 4,867
Club RR Member Number: 58
|
|
|
|
|
Really been enjoying reading this, I've got my MGB engine in bits waiting for the money to refresh/rebuild it again so I'm trying to learn all I can about engine rebuilding before the time comes!
|
| |
|
|
stealthstylz
Club Retro Rides Member
Posts: 14,840
Club RR Member Number: 174
|
|
|
|
No Renault progress as the crank seal didn't turn up. Did get the rotating assembly back together on the Standard Flying 8 engine at work. Absolutely no clue what torque settings to use so had a educated guess then kept tightening till the split pin holes lined up. I've done a fair bit of old toot before but the split pins is a first for me. Sometimes wonder how we won the war lol. 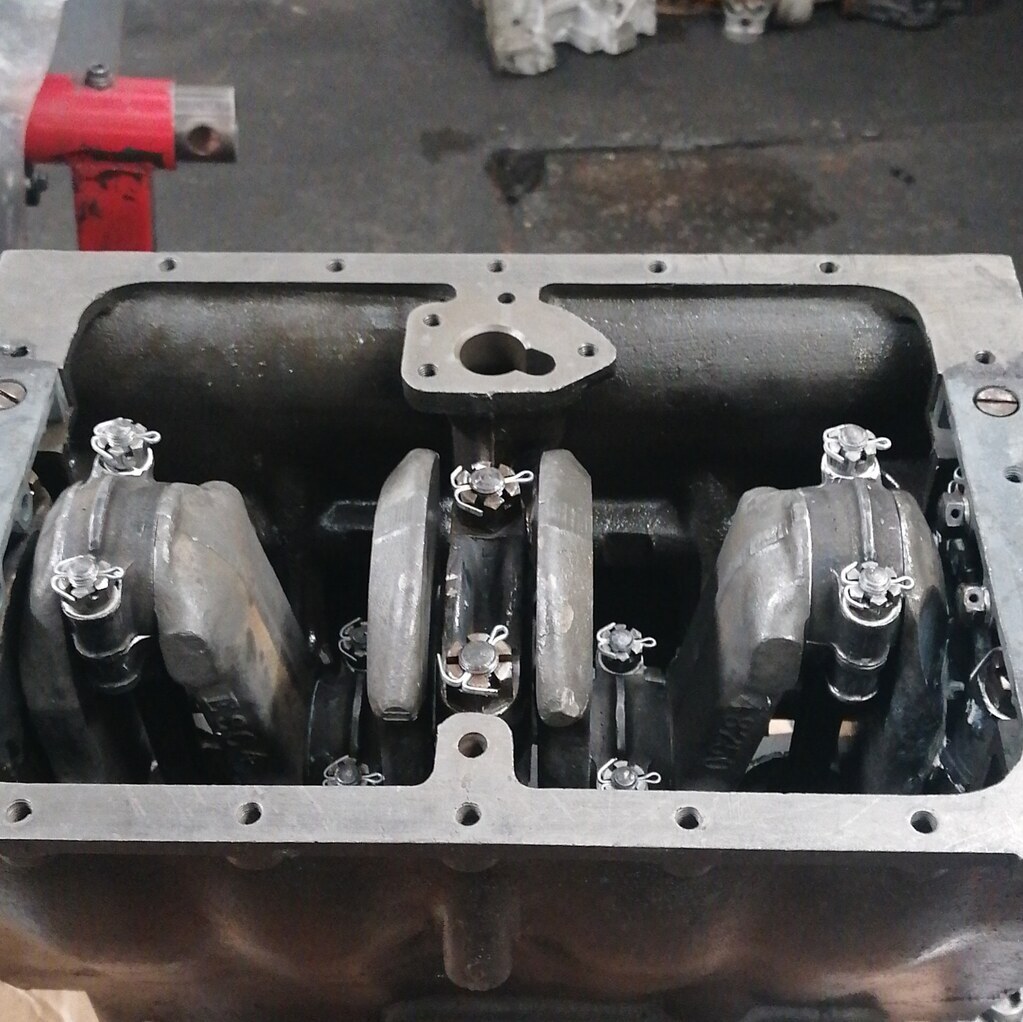 |
| |
|
|
|
|
|
|
|
|
Do you not have loads of old reference books of stuff like that ?
Or is it a fairly new business ?
Again , really enjoy seeing this stuff , i was going to get to do it at a motorsport place as a kid but it went bust before it could happen . Loved seeing the heavily modified heads and wanted to do it myself .
|
| |
|
|
stealthstylz
Club Retro Rides Member
Posts: 14,840
Club RR Member Number: 174
|
|
|
|
Do you not have loads of old reference books of stuff like that ? Or is it a fairly new business ? Again , really enjoy seeing this stuff , i was going to get to do it at a motorsport place as a kid but it went bust before it could happen . Loved seeing the heavily modified heads and wanted to do it myself . Not for engines from 1948 no lol. The customer supplied a printed out copy of the original repair manual with half the pages missing. It's about as much use as a chocolate teapot now though it's all specialised tooling. For instance there was a special forked tool to install the valve springs (side valve) which rather than a retainer and collets have a retainer that works a bit like a E clip. I just squashed the spring in a vice and tied them closed with lock wire so I could get the retainer in. |
| |
|
|
stealthstylz
Club Retro Rides Member
Posts: 14,840
Club RR Member Number: 174
|
|
|
|
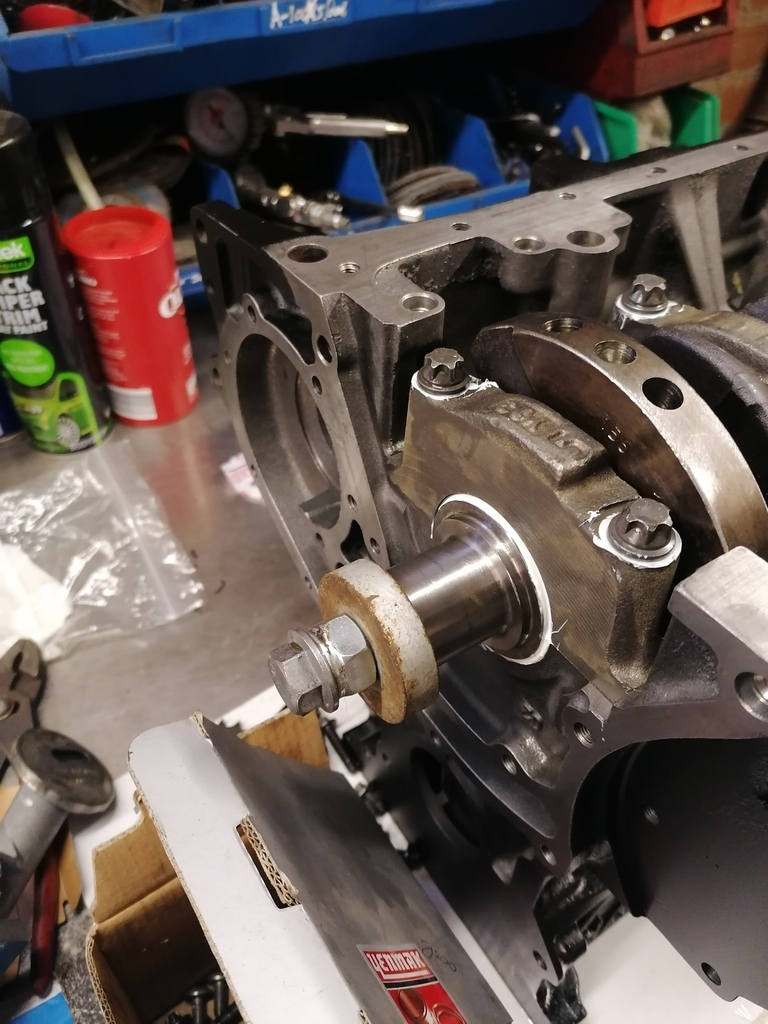
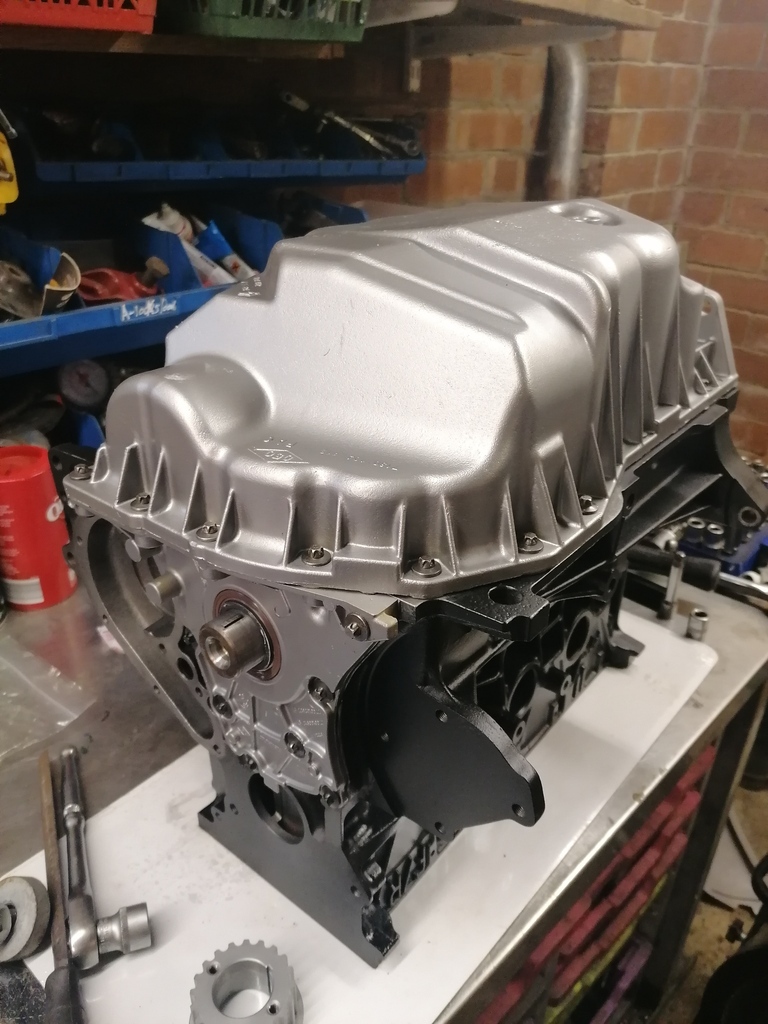
Managed to sneak an hour when I got home today so got the rotating assembly together. I use this stuff for on bearings. Cheap and works really well as I'll explain below. 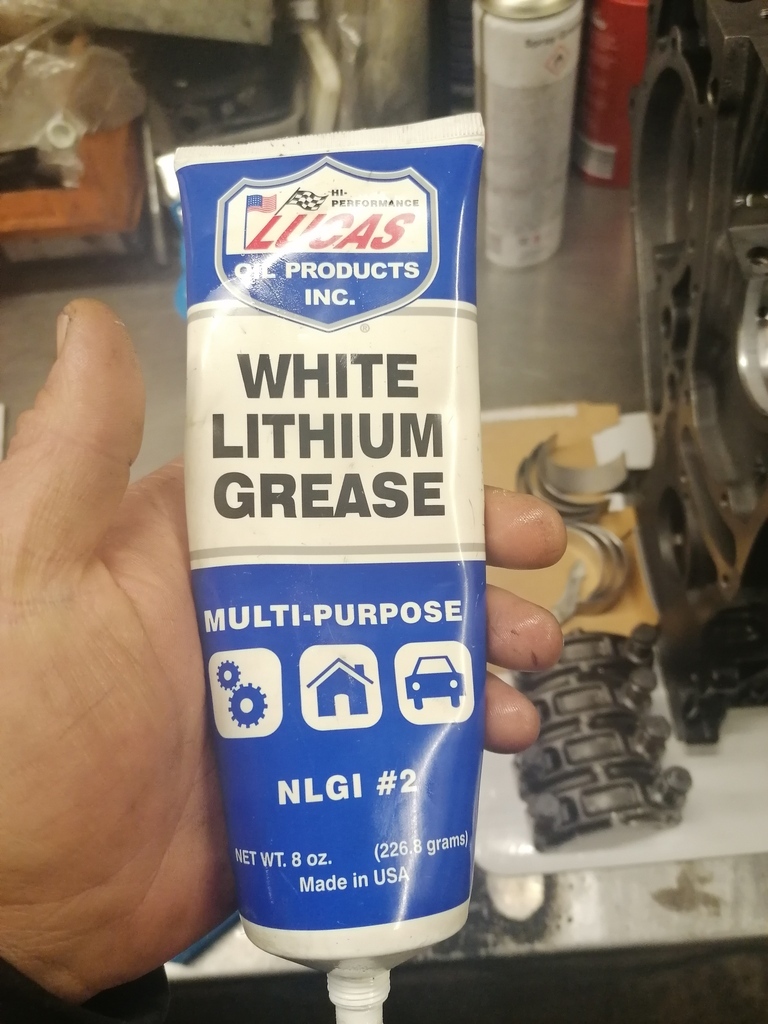 A couple of years back I built a Fiat 1.7 diesel engine for a camper van, that came in bits. As there were virtually no gaskets available I ended up making one for the oil filter housing and didn't have one to copy. I cut all the 'hole' bits into the gasket but didn't bother for one as it just looked like a strengthening web in the casting. The engine ran for about 30 minutes and then started tapping. When I stripped it back down a piston had seized but every other journal that had this grease on was still perfect. However there was absolutely no oil in the engine apart from the sump. Turned out I'd inadvertently blocked the oil return from the filter off, so it was making pressure at the gauge/switch but not actually been pumped round. A curse word up, but actually quite a interesting one in the end just because of how the grease performed. Anyway - crank seals. If they're PTFE (no spring) the running surfaces need to be dry as a bone. If they're anything else (with spring) always put a thin smear of grease or oil on the running surfaces. If you install them dry there is a tendency for them to get burnt on initial startup and then they leak. 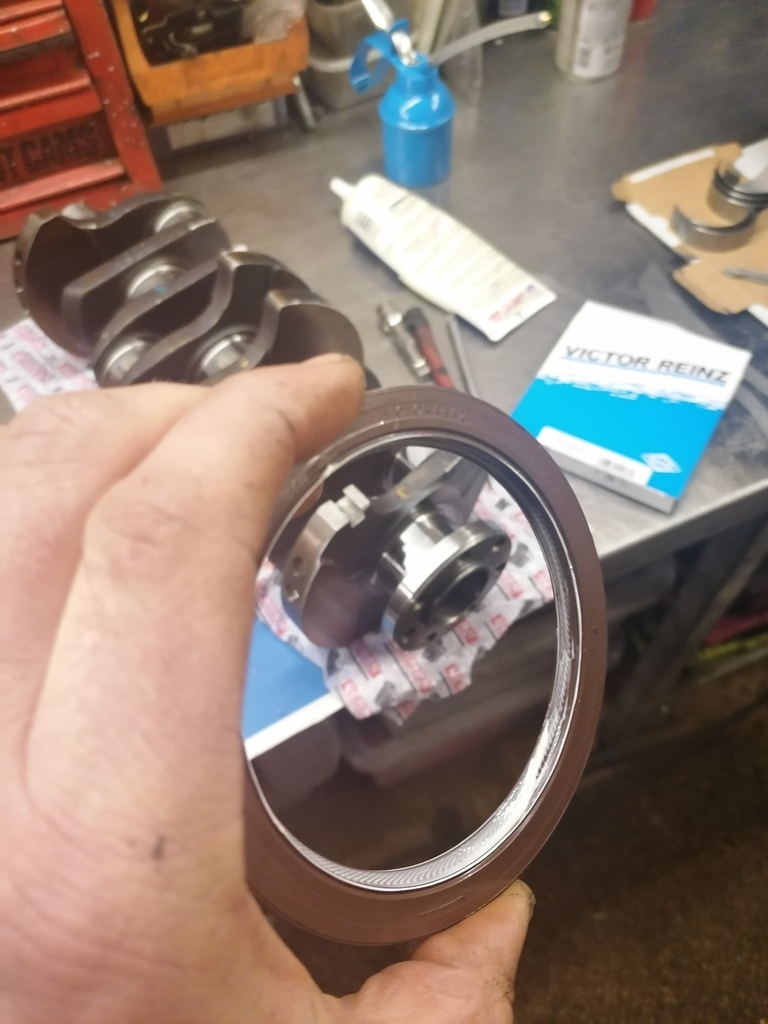 Aswell as on the bearing surfaces I also put a dab of grease on any bolt faces. Seems to make them torque up nicer (especially head bolts) 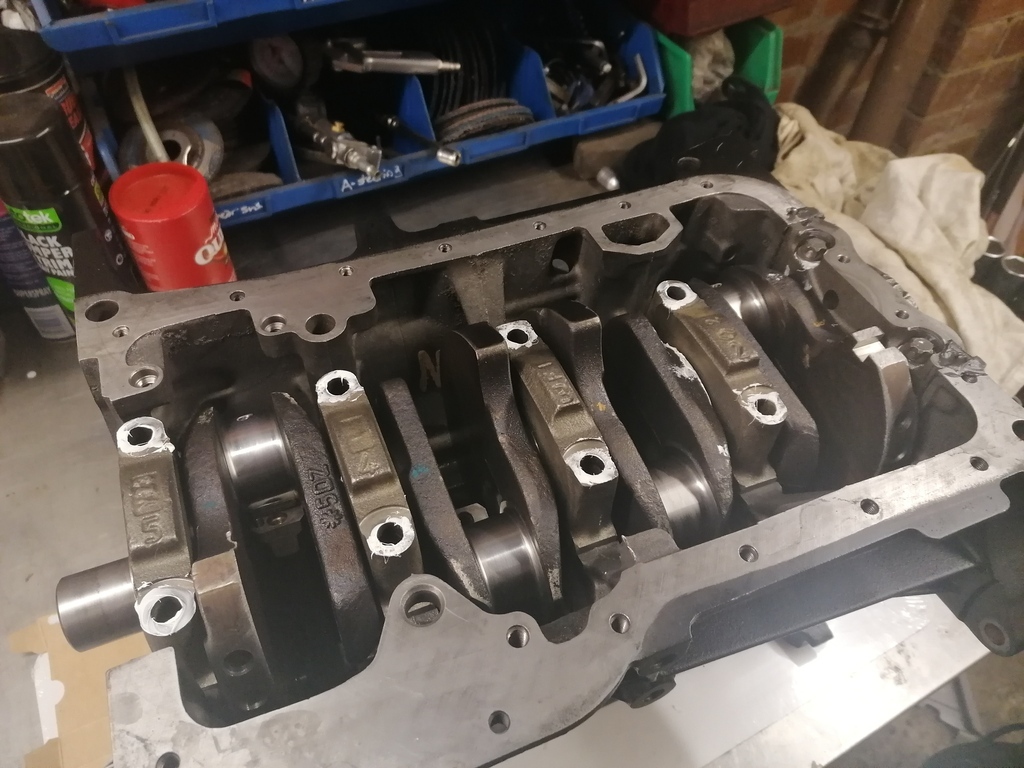 You can see here where I dotted the front cap as mentioned in the original post now that it's clean. 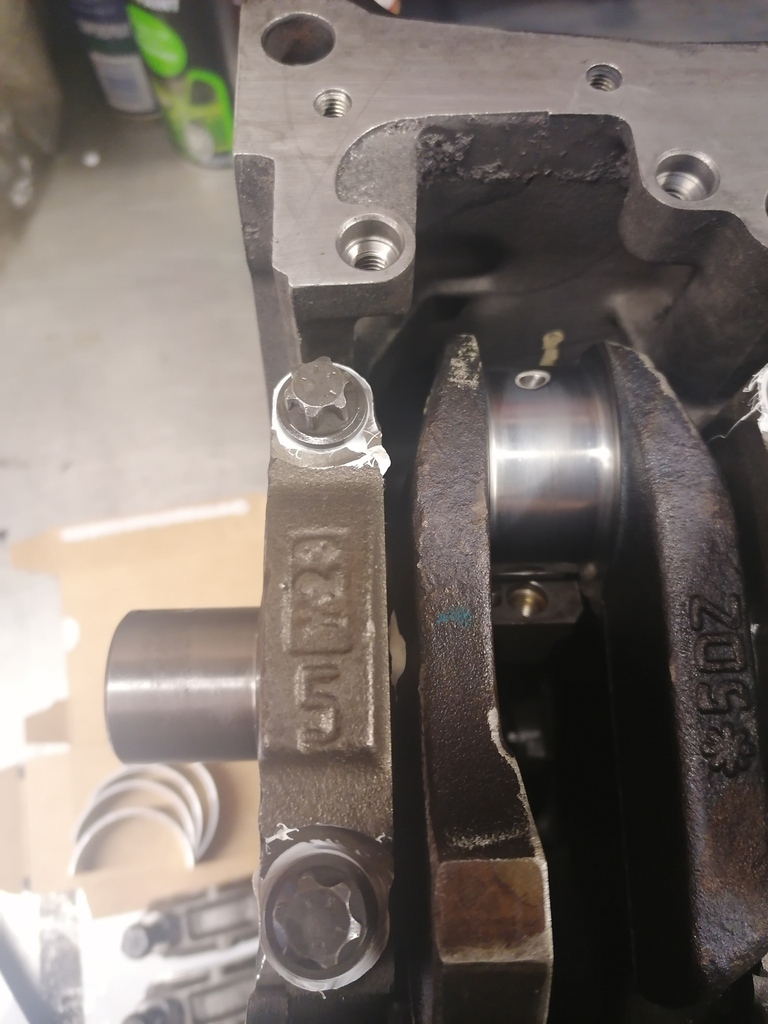 All done and torqued down 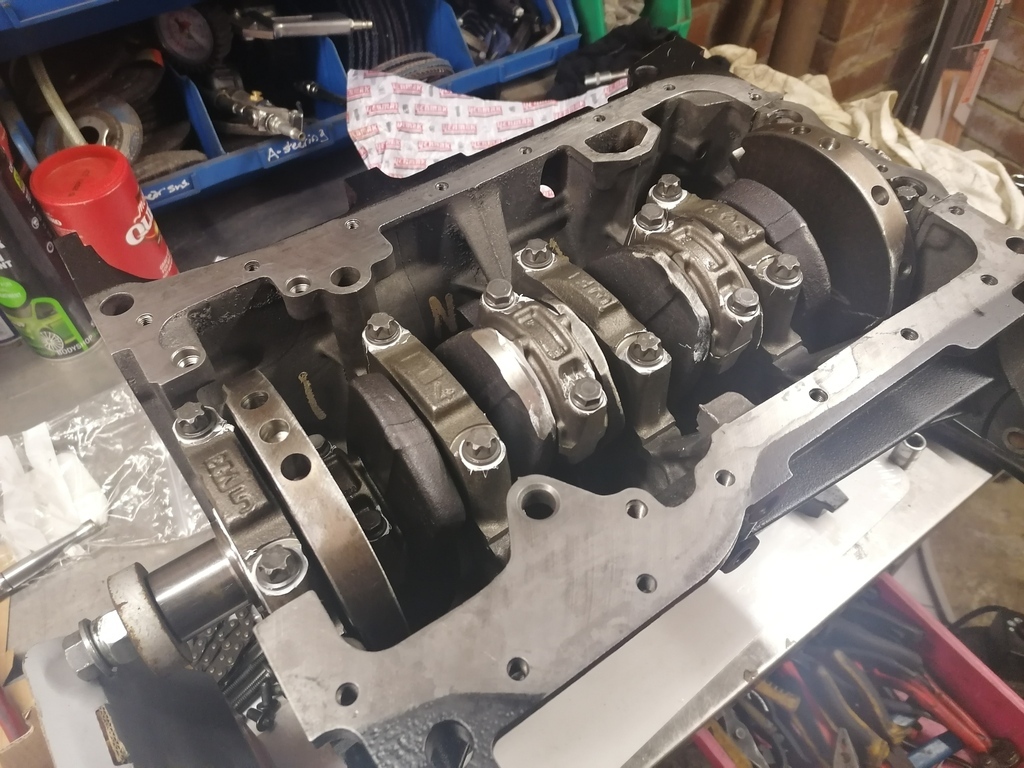 And finally a short video of the funny compression thing that happens when you build them on a bench. |
| |
|
|
|
|
stealthstylz
Club Retro Rides Member
Posts: 14,840
Club RR Member Number: 174
|
|
|
|
|
|
| |
|
|
Dez
Club Retro Rides Member
And I won't sit down. And I won't shut up. And most of all I will not grow up.
Posts: 11,712
Club RR Member Number: 34
|
|
|
|
|
Good thread this.
An insight into the witchcraft that goes on between me dropping off my knackered old sh1te and it coming back looking spanking 😂
|
| |
|
|
bstardchild
Club Retro Rides Member
Posts: 14,893
Club RR Member Number: 71
|
|
|
|
Good thread this. An insight into the witchcraft that goes on between me dropping off my knackered old sh1te and it coming back looking spanking 😂 ^ WHS - several things I didn't know that will be useful when I build my next engine |
| |
|
|
stealthstylz
Club Retro Rides Member
Posts: 14,840
Club RR Member Number: 174
|
|
Feb 11, 2021 12:57:35 GMT
|
Remembered to take photos something I mentioned. These are the squared off raised sections on pistons that always seem to point to the flywheel end.  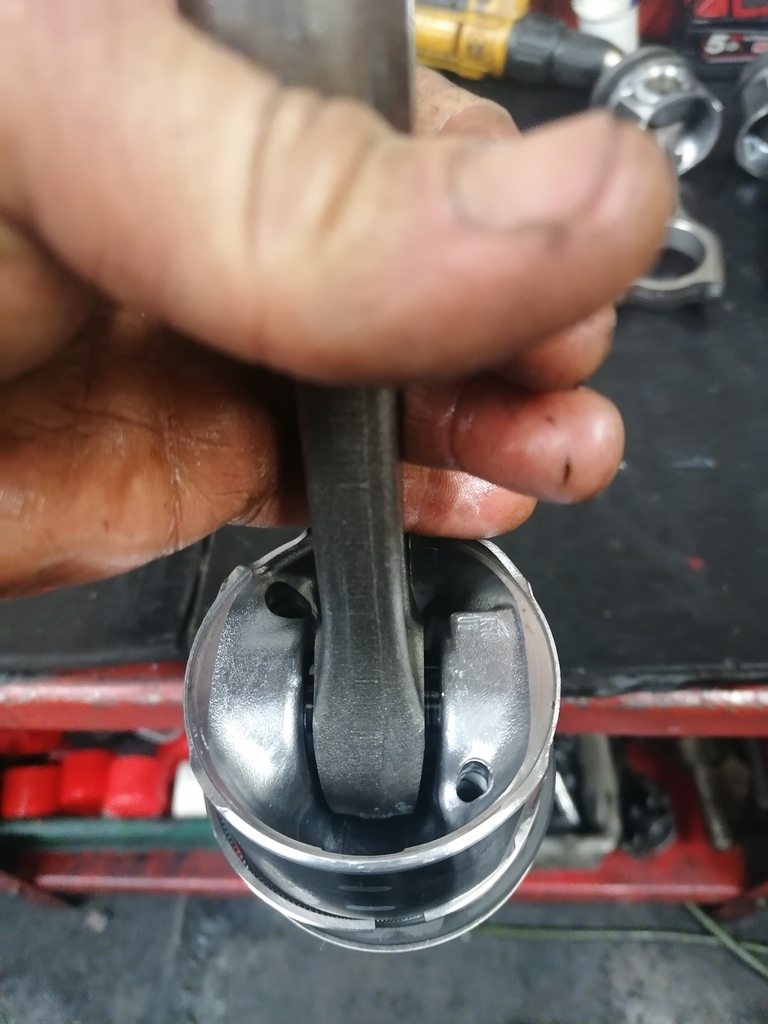 |
| |
|
|
stealthstylz
Club Retro Rides Member
Posts: 14,840
Club RR Member Number: 174
|
|
Mar 11, 2021 15:14:24 GMT
|
Dropped the F7R bottom end off at its new owner yesterday. It's going in this, or the block is. 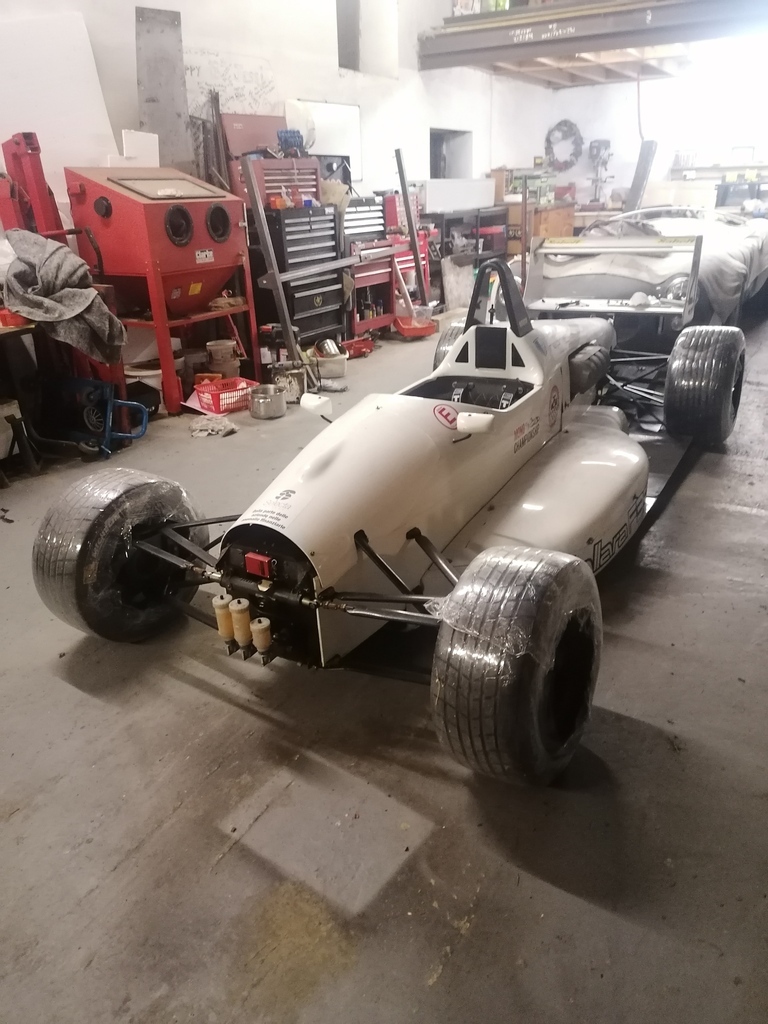 |
| |
|
|
stealthstylz
Club Retro Rides Member
Posts: 14,840
Club RR Member Number: 174
|
|
Mar 30, 2021 22:23:15 GMT
|
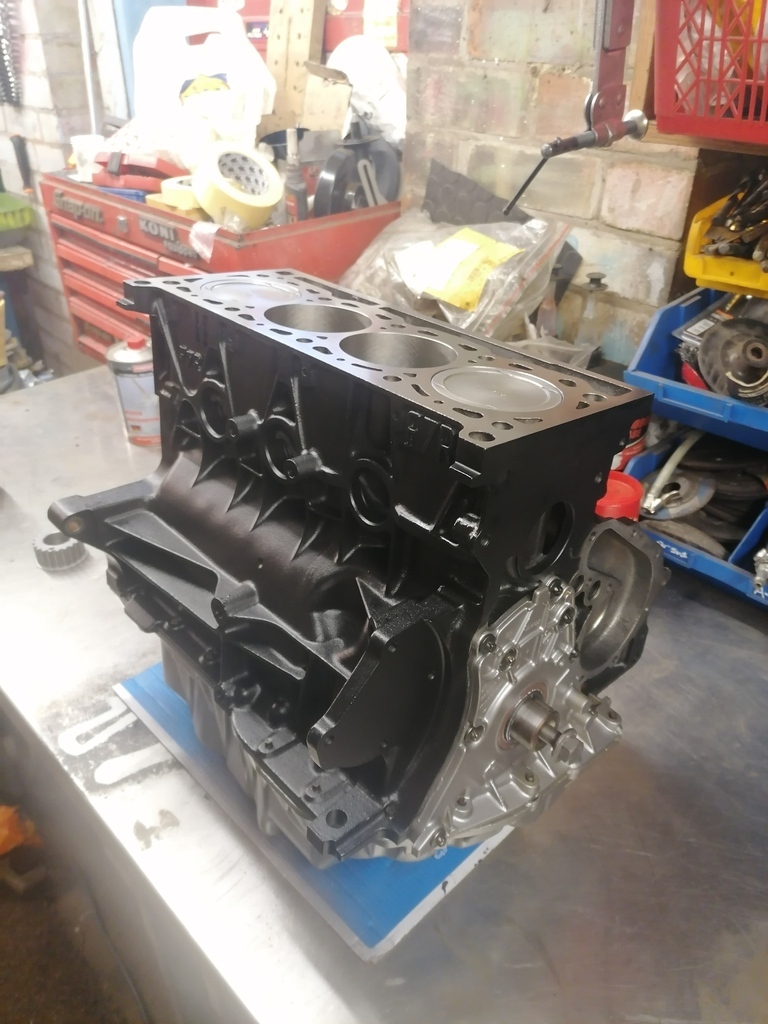
Built this nice road spec 2 litre Duratec for the son of my work colleague Chris (he does all the head work). 11:1 Supertech pistons, steel rods, balanced rotating assembly, Cosworth cams etc. Should make a nice useable 200 and a bit bhp. Externally was cleaned to within a inch of its life before paint, come up really well as they're always pretty corroded. 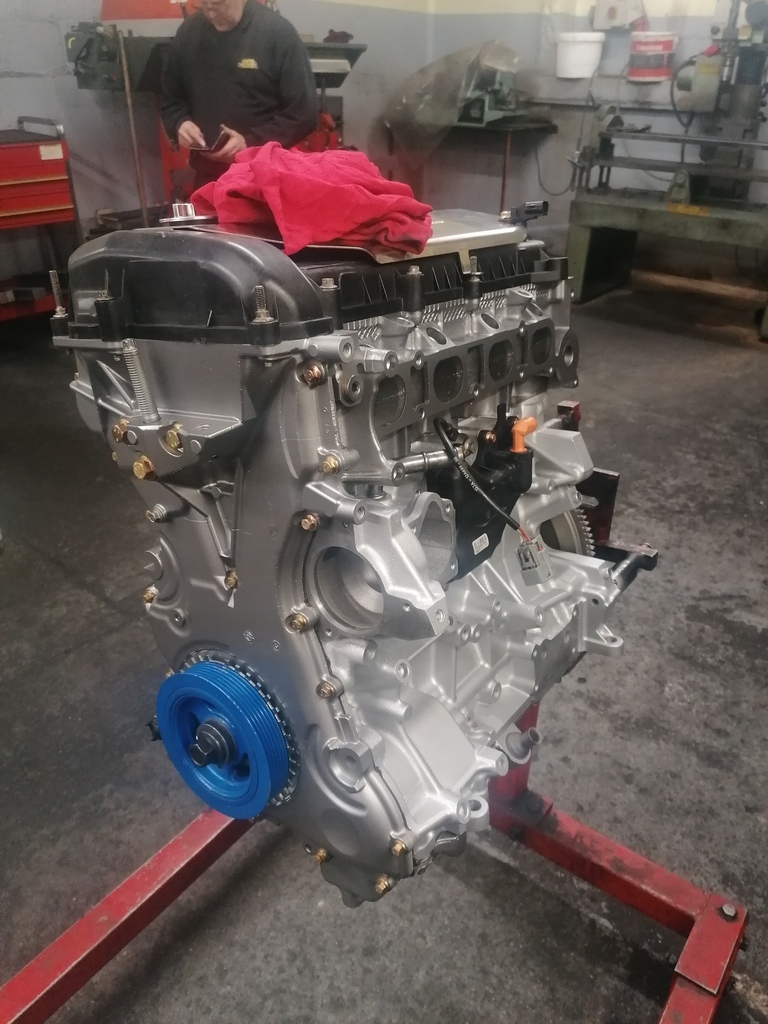 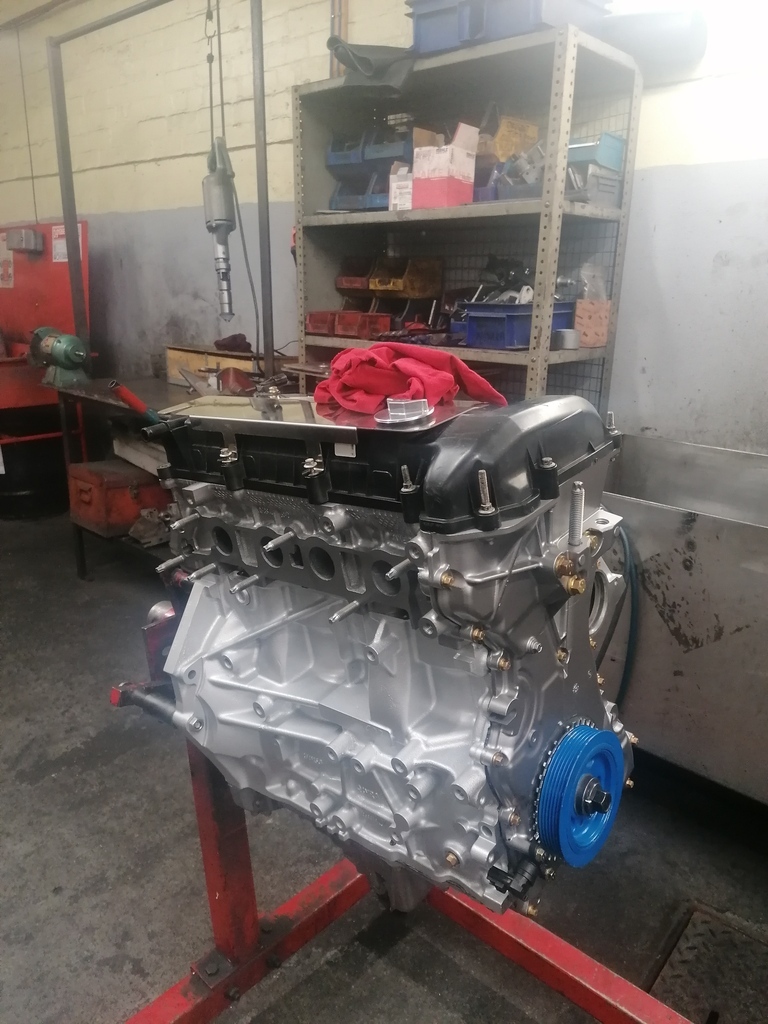 |
| |
|
|