adam73bgt
Club Retro Rides Member
Posts: 4,862
Club RR Member Number: 58
Member is Online
|
|
Jan 20, 2023 18:26:38 GMT
|
Time for a well overdue update on this, I've not forgotten about it or given up! I've been mostly trying to sort out my daily Crossfire, but there are a couple of developments on the bike front as well. Firstly, I've sent off the engine casings and various bits for blasting, should tidy them up nicely as the crankcases in particular were really quite corroded. I'm in two minds about whether to paint the crankcases once they come back, the bike isn't going to be a garage queen and only come out on the driest of dry days so I think I'll go with some silver vht paint on the crankcases and barrels just to help them stay looking good. The side casings I'll polish up as they're easier to get to and maintain. Aside from that I've mostly been shopping for bits, I've got a gasket set for the engine which should cover most of what I need, the camshaft is still being a bit elusive, the big end bearings only seem to be available in the USA now and I'm not sure what size I need as any paint or letter marking on my old bearings is long gone, so that's a bit of a challenge. I have got a timing advance unit now that doesn't look like it's been at the bottom of the North Sea 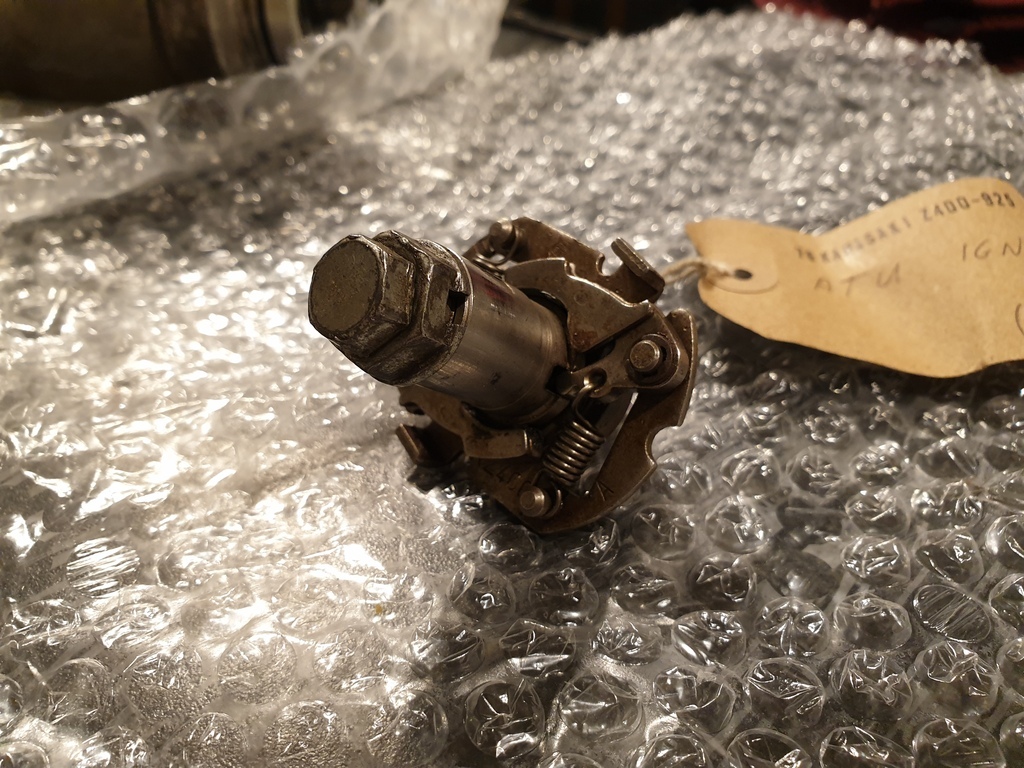 And I got a decently priced secondhand starter motor, which unfortunately turned up damaged as one of the cast mounting lugs had snapped off, the seller sent out a replacement with no quibbles but it was quite a little while later when I looked closely and realised I have two rather different starters  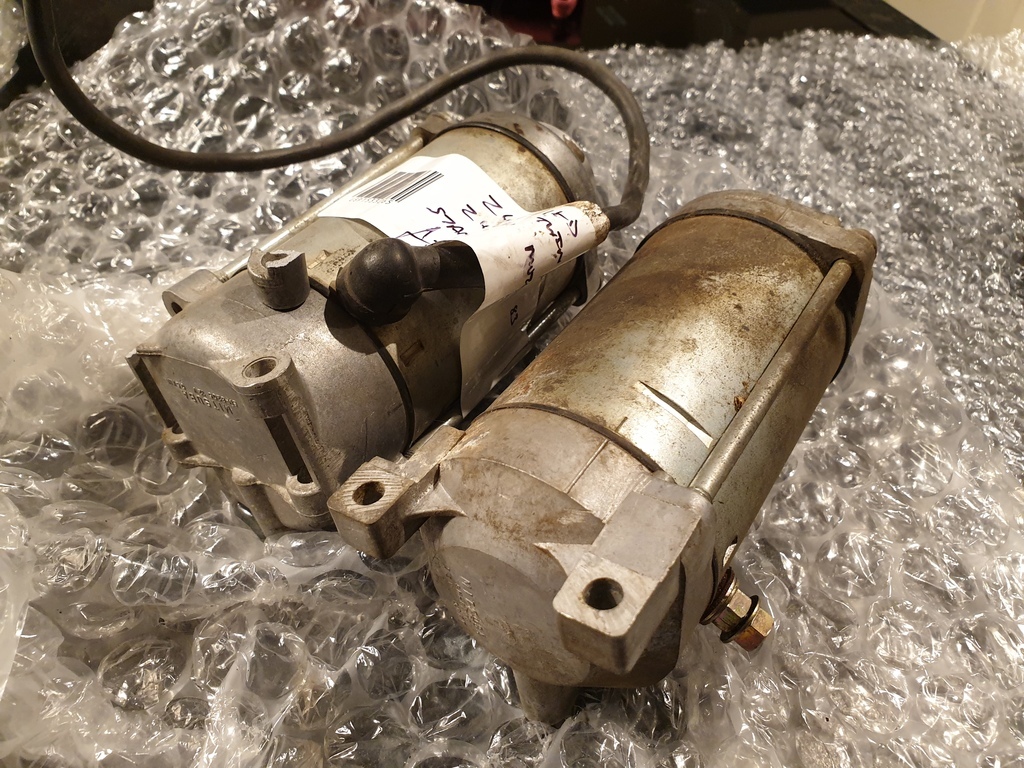 To be honest it didn't look too difficult to fix the lug on the first motor if it comes to that, I'm sure I'll be able to make one good starter out of the two anyway. More updates to come once the cleaned up engine bits get back! |
| |
|
|
|
|
|
|
|
Jan 20, 2023 19:06:16 GMT
|
|
I've used lumiweld to repair stuff like that, assuming you still have the snapped off bit
|
| |
|
|
adam73bgt
Club Retro Rides Member
Posts: 4,862
Club RR Member Number: 58
Member is Online
|
|
Feb 10, 2023 12:37:44 GMT
|
I've used lumiweld to repair stuff like that, assuming you still have the snapped off bit Yeah the snapped bit is hiding on top of the starter there, I've got some JB weld as well which should do the job if necessary  Update time, engine bits have come back from vapour blasting and look great 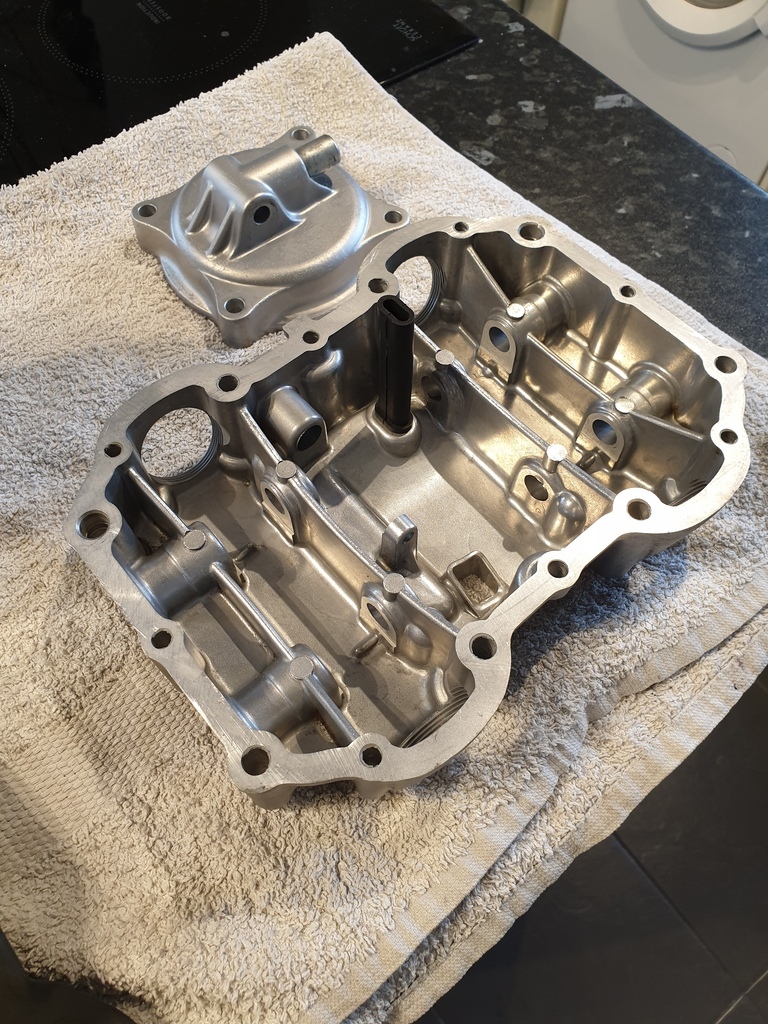 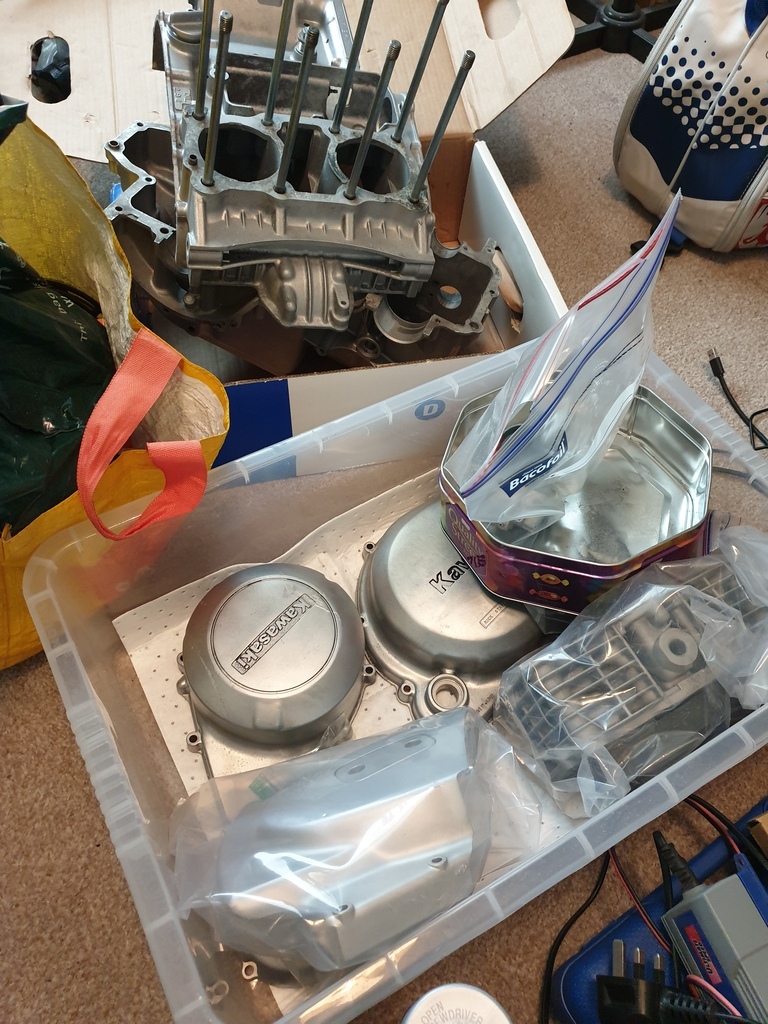 I've just started on the laborious task of cleaning up all the parts and making absolutely sure there's no media residue left anywhere. I've started from the top with the braeather and rocker covers, I've done one wash but will do it a few times to make sure they're spotless. I've then decided to go with painting some of the engine to make sure it stays looking good. Just going with a vht silver, the side cases will be polished up though as they're easier to access and keep on top of. Found a decal for the warning lights on ebay by chance, which tidies up the instruments a bit 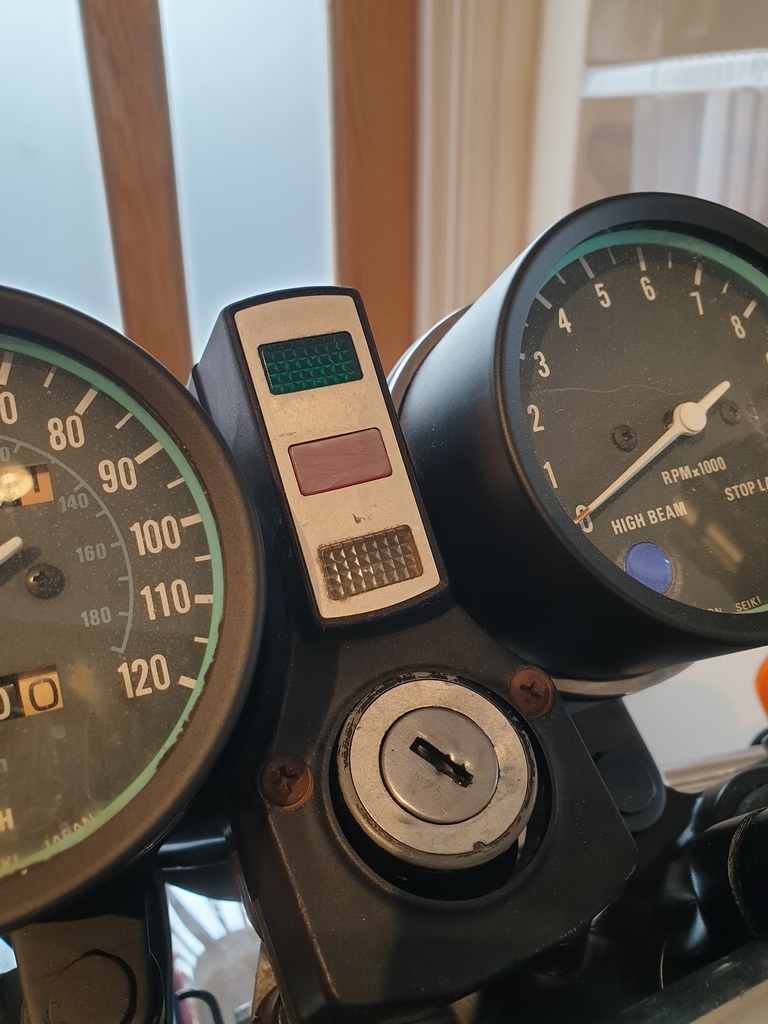 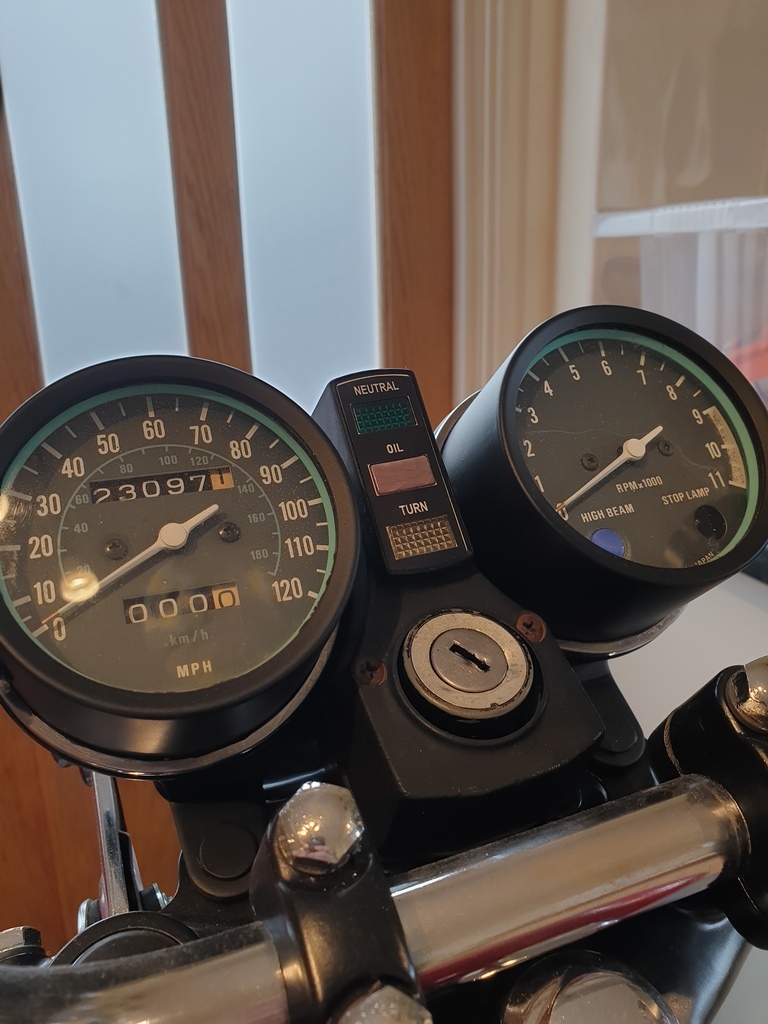 I also scored this rather larger item on ebay... 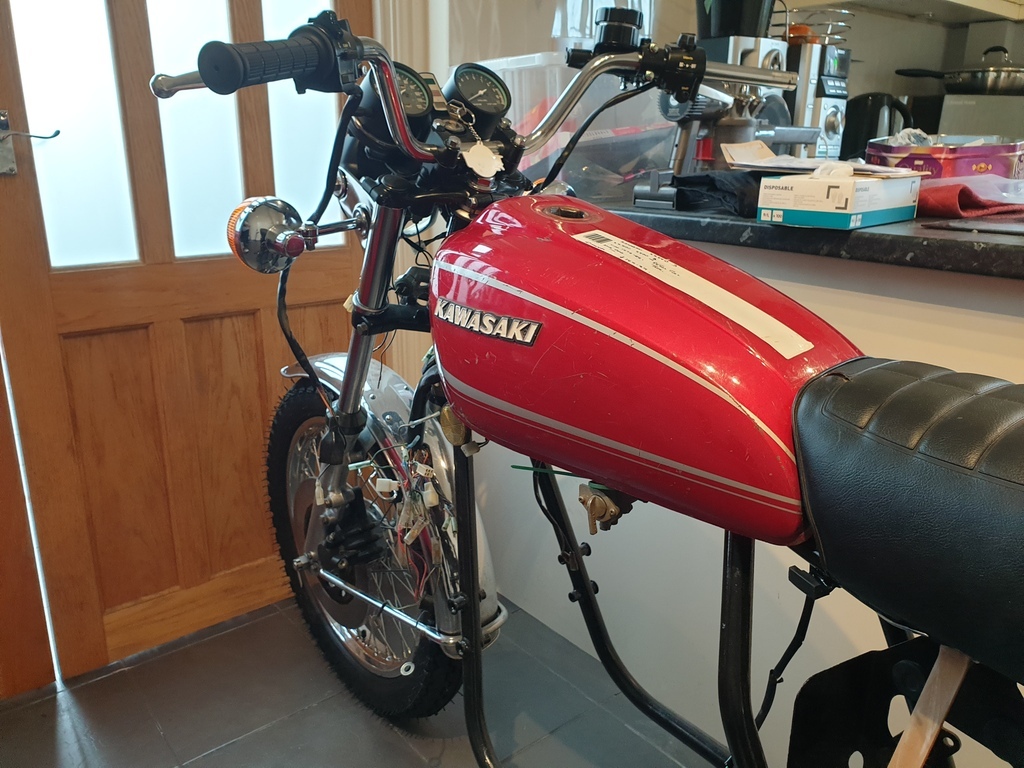 I've been uhmming and ahhing for a while about this, and after seeing a couple of late 400 specific tanks come up for sale, I reasoned that it was going to be much easier, and probably cheaper to just get another tank than repair mine. This one is spotless inside and I believe is technically from a 1978 B1 model as opposed to my 1979 B2. It's the same tank, just red, different stripes and it has the older style Kawasaki logos (which I prefer). It also comes with a fuel tap, which is good as I took my old one apart the other day and it has suffered from corrosion like the carbs had 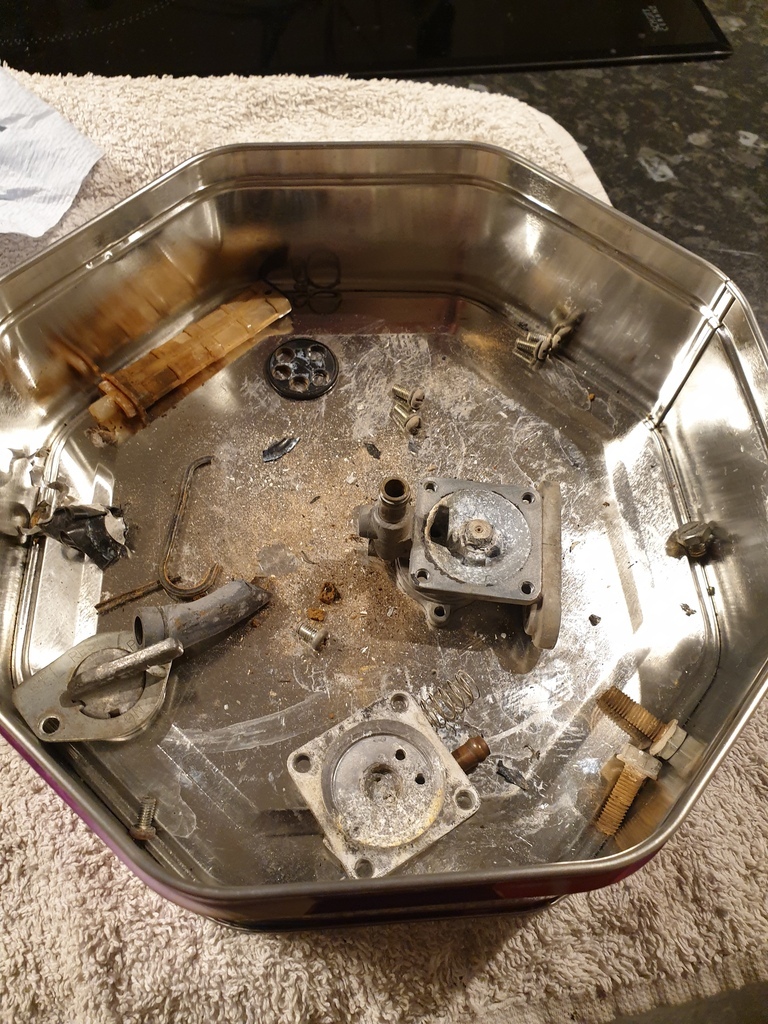 Possibly salvageable, but if the new one is good that will save me a headache. Also seeing the red tank on the bike has made me question what colour I want to go with. I have no particular qualms about moving away from the original colour as it's not a concours bike and all the painted panels need paint anyway, I've got a couple of ideas in mind anyway.. Anyway, focus for now continues on cleaning up and painting engine parts, and trying to source the bits I need to put it back together. It won't be long before the nice riding weather is back so I need to pull my finger out! |
| |
|
|
adam73bgt
Club Retro Rides Member
Posts: 4,862
Club RR Member Number: 58
Member is Online
|
|
Jun 12, 2023 20:50:36 GMT
|
I say this on all my threads but time does fly when you're not updating your build thread The KZ has had to take a little bit of a backseat with other projects but I am keeping it ticking along. Scored a major find a month or so ago when a NOS camshaft turned up on CMSNL, without that it was really difficult to see a way forward with the engine build as all the second hand camshafts looked worn out. As for actual updates with the bike, I've not done a huge amount; I've given the carbs a thorough cleaning and need to get a carb rebuild kit/remember what jet settings I was going to go with as a start point, similarly I've thoroughly cleaned the rocker cover, and the crankcases need a couple more cleans just to be sure they're spotless ready for the rebuild. I moved the bike out to the garage for now, was nice to see it in daylight properly again 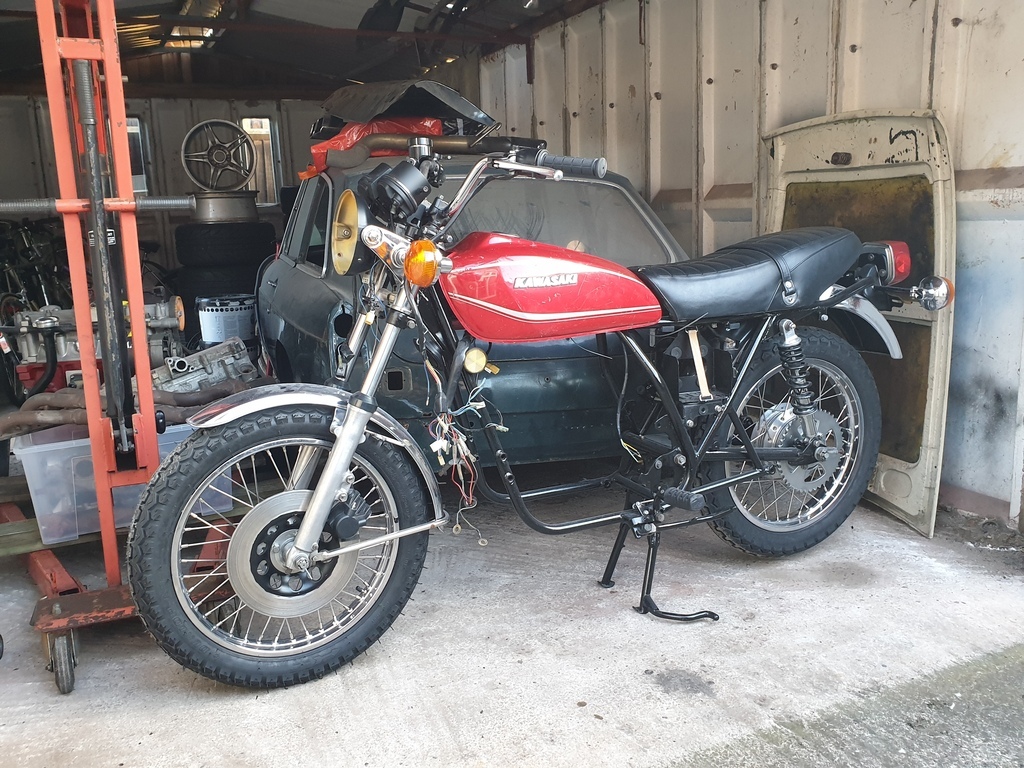 I got a tool to remove the stator from the crankshaft but haven't quite sussed out how to do it yet. I only want to take it off to properly assess the condition of the starter clutch 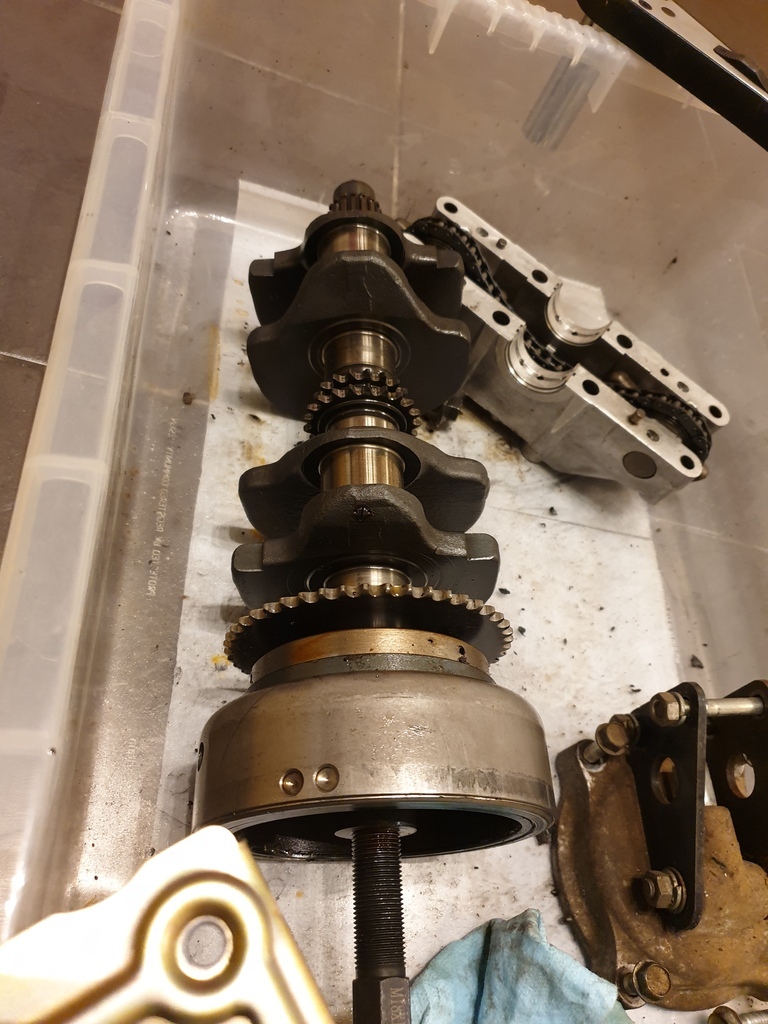 I know I said last time that I was going to paint the crankcases, and I have the paint to do it, but I'm a bit on the fence about whether it will stay looking good long term. In the meantime, I've started on the side casings that will be polished, as it's more familiar with me having done polished alloy wheels in the past. The casings are largely in decent condition, I'm going to work up from 240 grit, through 480, 800 then 1200 wet before polishing, should give a nice result. The alternator casing had the worst scrapes which have come out nicely with the 240 grit 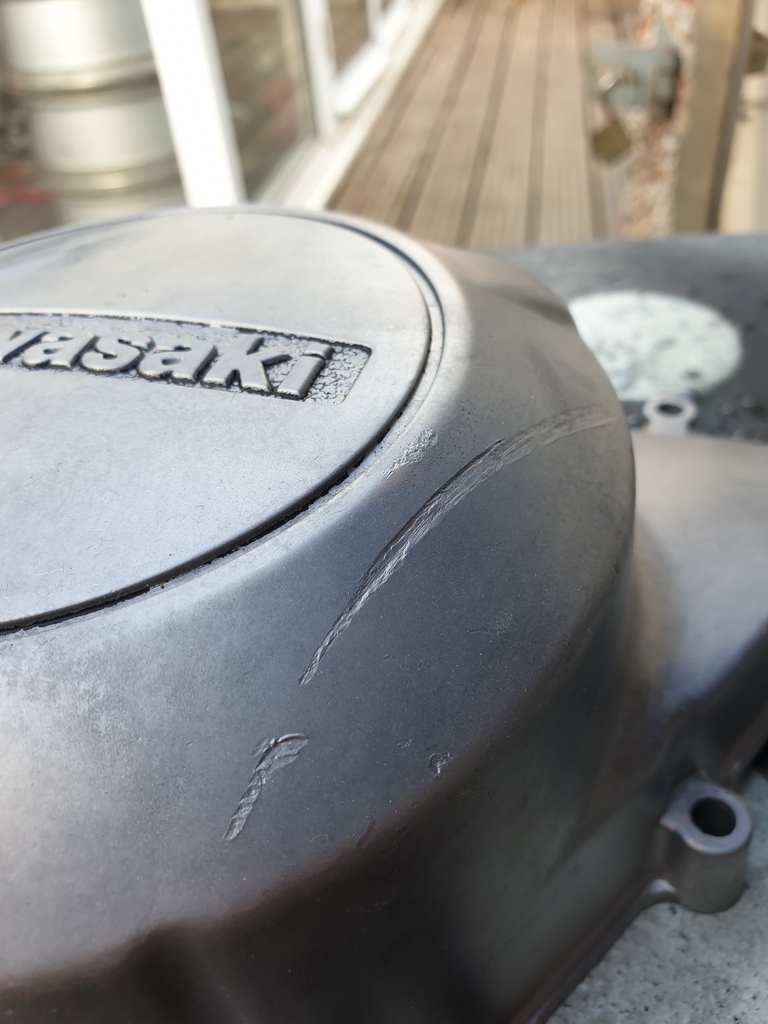 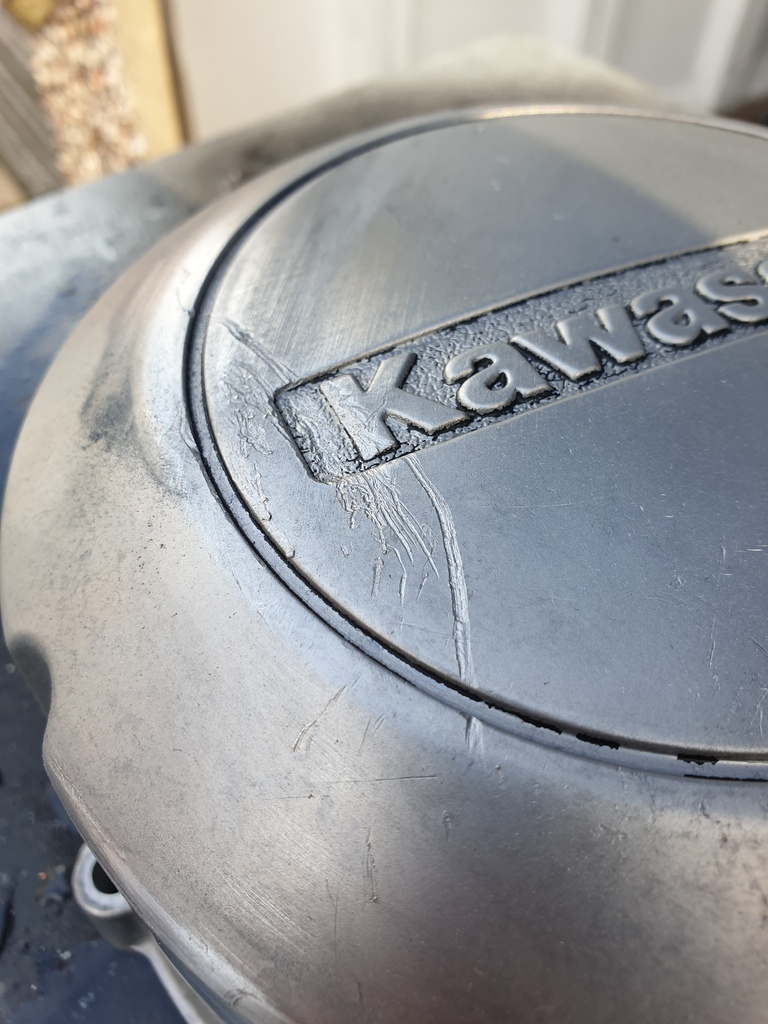 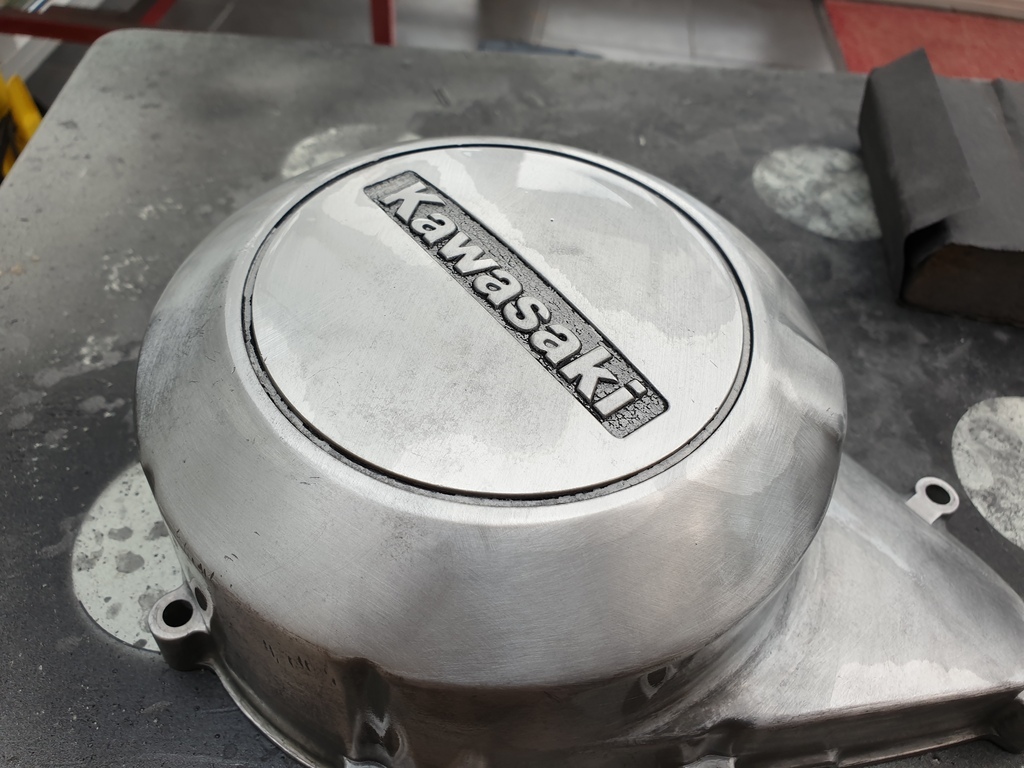 |
| |
|
|
93fxdl
Posted a lot
 Enter your message here...
Posts: 1,999
|
|
Jun 12, 2023 21:46:47 GMT
|
|
|
| |
|
|
|
|
|
Jun 12, 2023 22:07:41 GMT
|
Progress is progress and you're doing a cracking job! |
| |
1968 Mini MkII, 1968 VW T1, 1967 VW T1, 1974 VW T1, 1974 VW T1 1303, 1975 Mini 1000 auto, 1979 Chevette, 1981 Cortina, 1978 Mini 1000 1981 Mini City, 1981 Mini van, 1974 Mini Clubman, 1982 Metro City, 1987 Escort, 1989 Lancia Y10, 1989 Cavalier, 1990 Sierra, 1990 Renault 19, 1993 Nova, 1990 Citroen BX, 1994 Ford Scorpio, 1990 Renault Clio, 2004 Citroen C3, 2006 Citroen C2, 2004 Citroen C4, 2013 Citroen DS5. 2017 DS3 130 Plenty of other scrappers!
|
|
adam73bgt
Club Retro Rides Member
Posts: 4,862
Club RR Member Number: 58
Member is Online
|
|
|
|
|
"progress is progress" is what I keep telling myself of late, if I keep chipping away at it, I'll have a bike I can ride eventually 😅
That engine looks a bit different but similar, curious. I've seen a (more expensive) engine on eBay as well which was somewhat tempting, but then I've also seen a few finished and working kz/z400's turn up for less than I've got in mine... But where's the fun in that haha
|
| |
|
|
flyingphil
Posted a lot
Posts: 2,336
Member is Online
|
|
Jun 13, 2023 13:33:34 GMT
|
Hi Adam I've enjoyed reading about your KZ400 exploits...It must be something to do with BGTs as I also have been down the rideable bike route (too much American Chopper watching as well!) I bought this XJ600 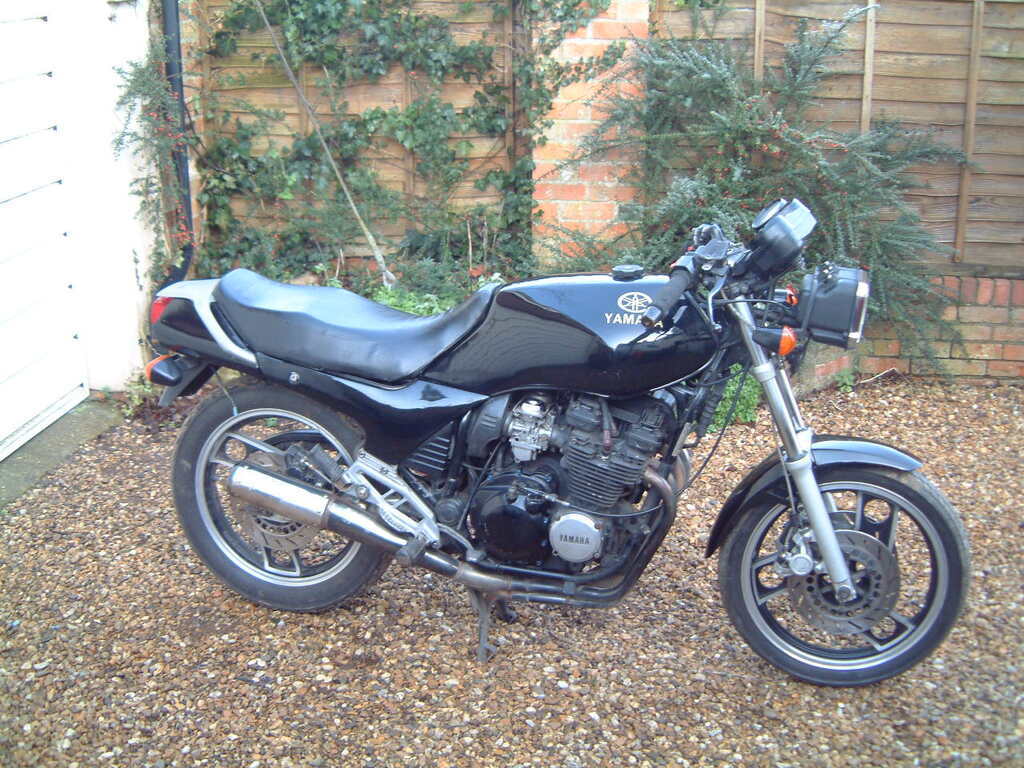 Which was slightly modified to this... 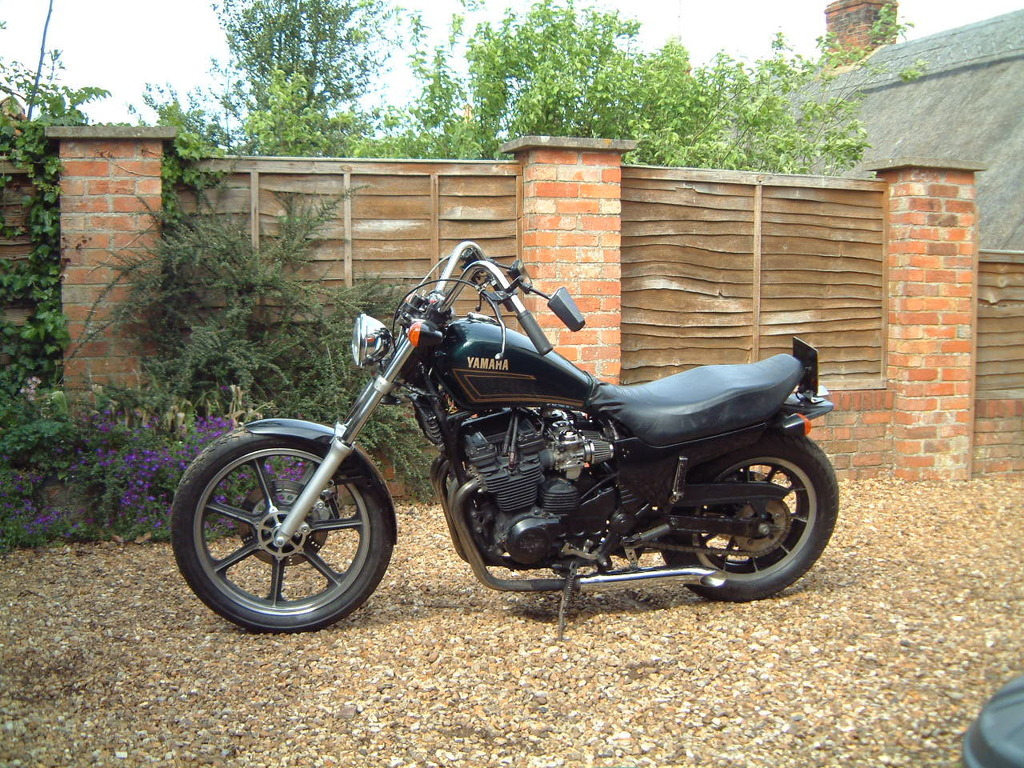 |
| |
|
|
adam73bgt
Club Retro Rides Member
Posts: 4,862
Club RR Member Number: 58
Member is Online
|
|
Jun 13, 2023 14:51:11 GMT
|
|
Nice looking XJ Phil! While I've been procrastinating and browsing bikes for sale, I have been looking at some 80s stuff as much of it is really in that unloved bit of the market with prices to match.
Historically I've not been a massive fan of cruisers, not that I've ever ridden one, closest was being a pillion on a Harley Davidson of some sort as a child when there was an open day at a dealer near us, but I've never quite got on with "the look". That said, I have found myself looking at a few of the cheaper Japanese V twin cruiser's as a potential base for doing something a bit fun...
I'm running a "one in, one out" rule at the moment to keep me out of trouble though!
|
| |
|
|
flyingphil
Posted a lot
Posts: 2,336
Member is Online
|
|
Jun 13, 2023 16:30:58 GMT
|
|
I did also buy a hardtail frame and an FJ 1200 in bits to make a proper chopper but never really got it together and sold it last year.
The XJ has suffered from not riding it since covid and I intend getting it MoTd and sold, as I am downsizing my toy collection.
I did ride a Harley V Rod from Bedford to the Isle of Wight a few years ago. Going round the roundabouts in Milton Keynes was "interesting", refuelling half way was necessary, and a high speed may have been attained briefly.
|
| |
|
|
|
|
adam73bgt
Club Retro Rides Member
Posts: 4,862
Club RR Member Number: 58
Member is Online
|
|
Jun 19, 2023 22:25:17 GMT
|
I did also buy a hardtail frame and an FJ 1200 in bits to make a proper chopper but never really got it together and sold it last year. The XJ has suffered from not riding it since covid and I intend getting it MoTd and sold, as I am downsizing my toy collection. I did ride a Harley V Rod from Bedford to the Isle of Wight a few years ago. Going round the roundabouts in Milton Keynes was "interesting", refuelling half way was necessary, and a high speed may have been attained briefly. Funny you should say that as I saw what appeared to be a very reasonably priced FJ1200 not far from me, and was almost tempted to go have a look but I'm being sensible and not getting lured into a 2nd bike... yet anyway Finished up the engine cases, from where I left off last time, I worked up to 800 grit paper on the cases, before using some paint stripper to get the last little bits of paint out of the logo engravings on the sides 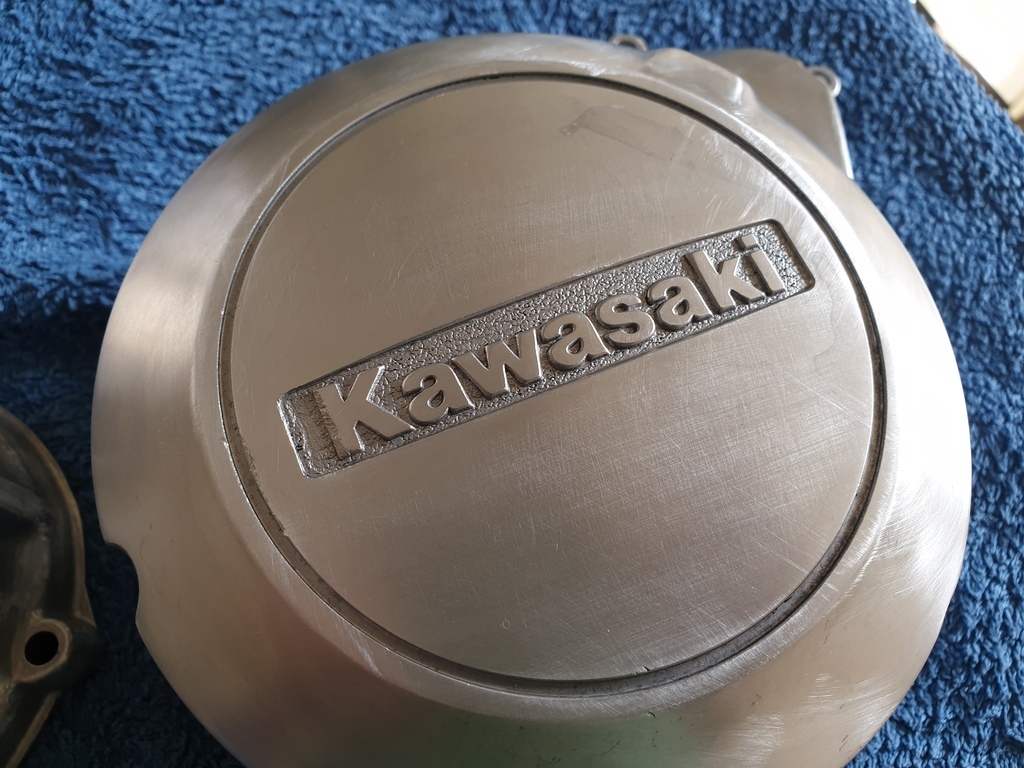  Then dropped in a couple of fairly heavy coats of gloss black engine paint, before letting it fully dry and going back over the top with some 800 grit on a block 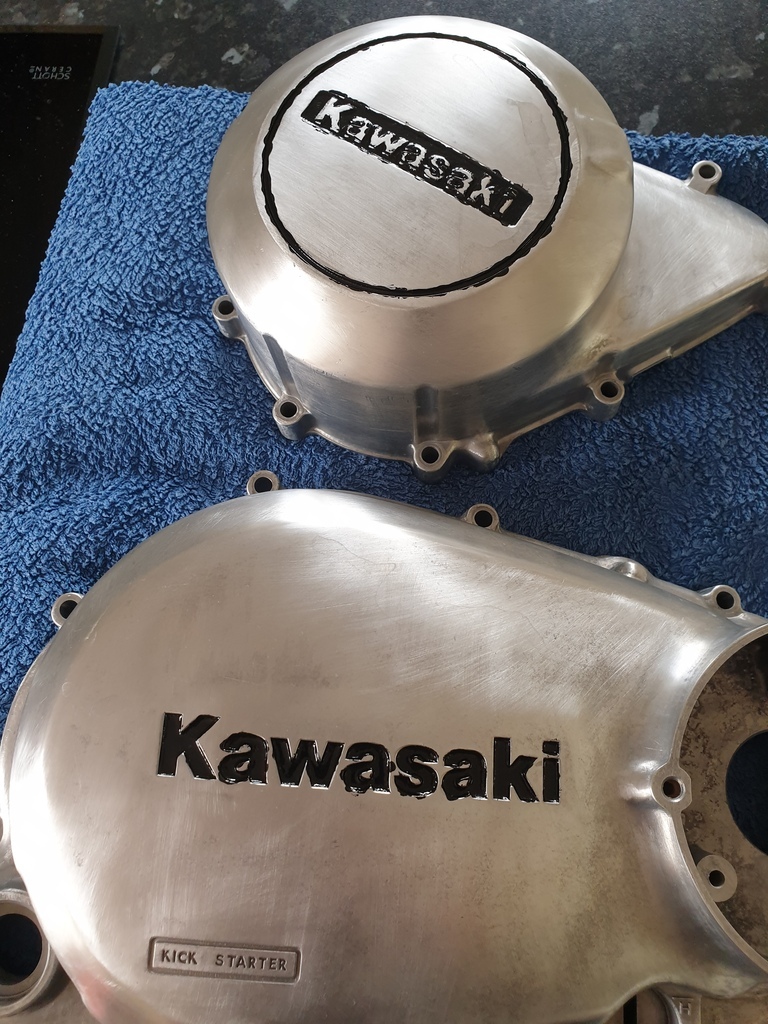 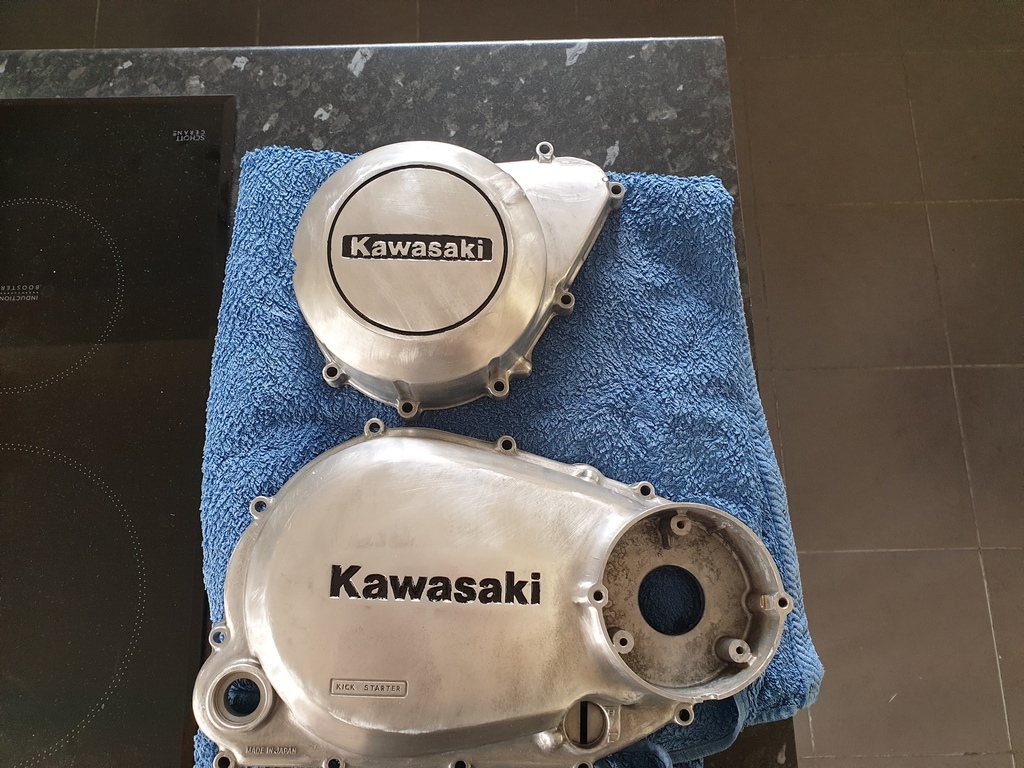 Really happy with how they've come out so cracked on with a round of wet 1200 grit sanding before a hand polish with some autosol and they've come up pretty nicely I reckon 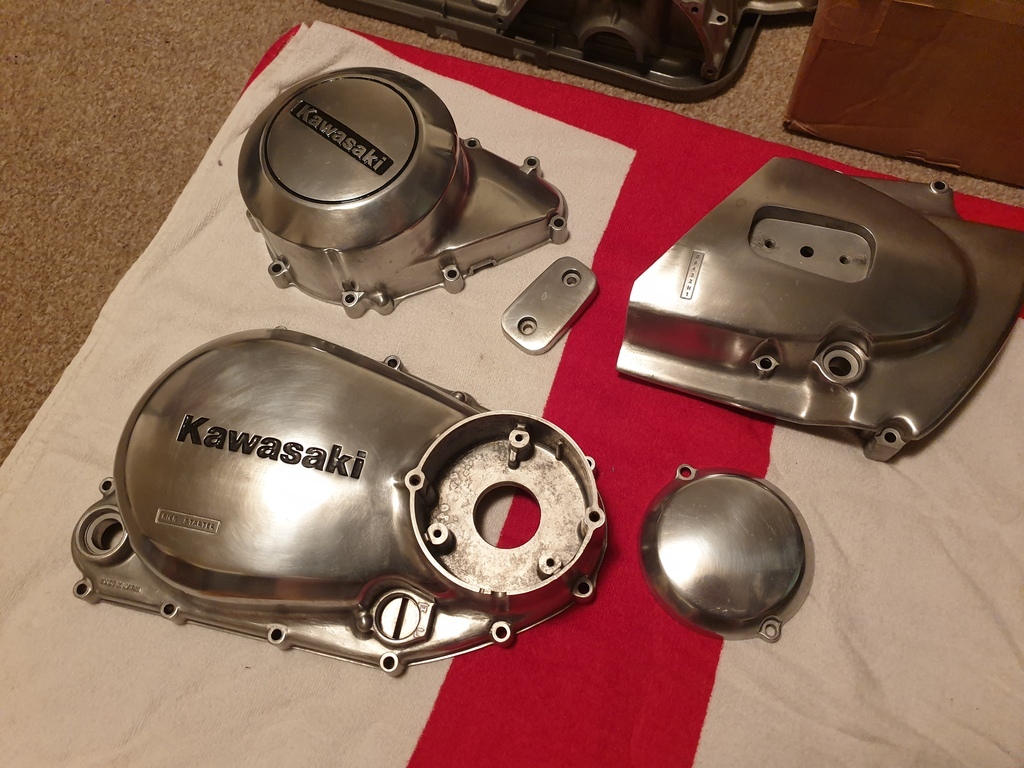 I could still go over them with a bit of a machine polish but I'm not overly convinced they need it. Now I'm busy cross referencing parts and checking I've got everything to carry on with the engine build |
| |
|
|
flyingphil
Posted a lot
Posts: 2,336
Member is Online
|
|
|
|
|
Excellent work on refurbishing those alloy parts Adam - Well Done!
|
| |
|
|
adam73bgt
Club Retro Rides Member
Posts: 4,862
Club RR Member Number: 58
Member is Online
|
|
|
|
Thanks Phil As ever been trying to balance my time between this and other projects, the rain we've had recently has meant less time outside working on the Crossfire and more time cleaning up engine bits for the Kawasaki! Got myself a little parts cleaner to aid this process 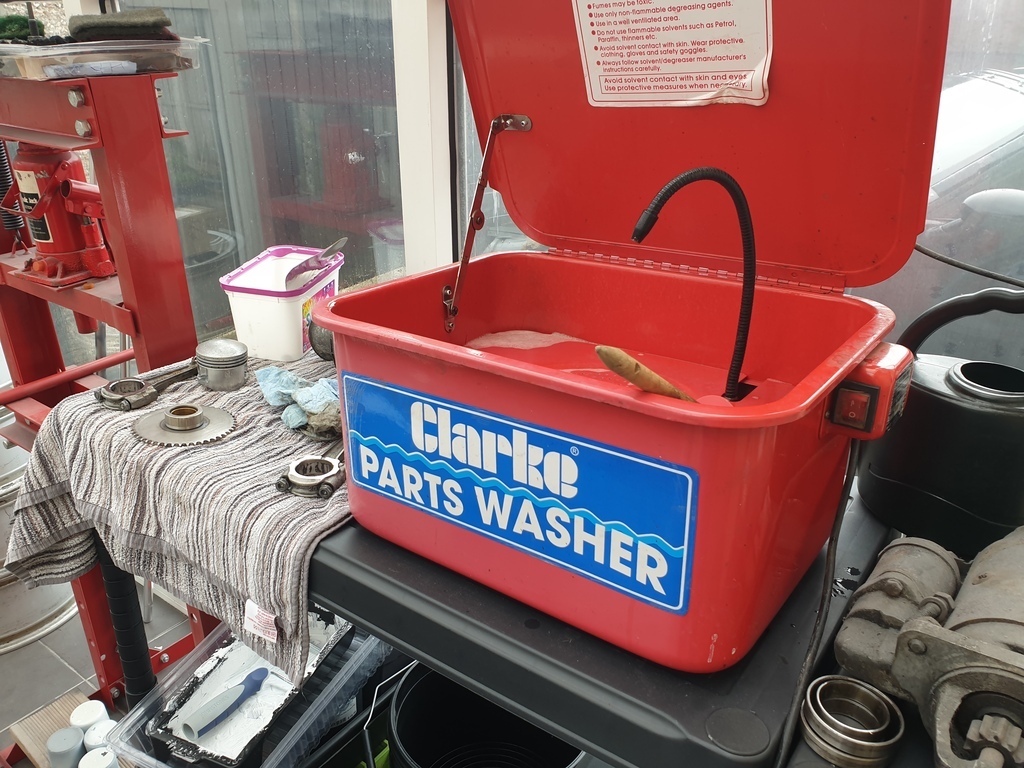 Using a water based degreaser it's ok but does struggle with the really burnt on carbon deposits etc. In any case, I started off with cleaning up the pistons which at first glance in the past I thought were fine. On closer inspection, one is really past it's best 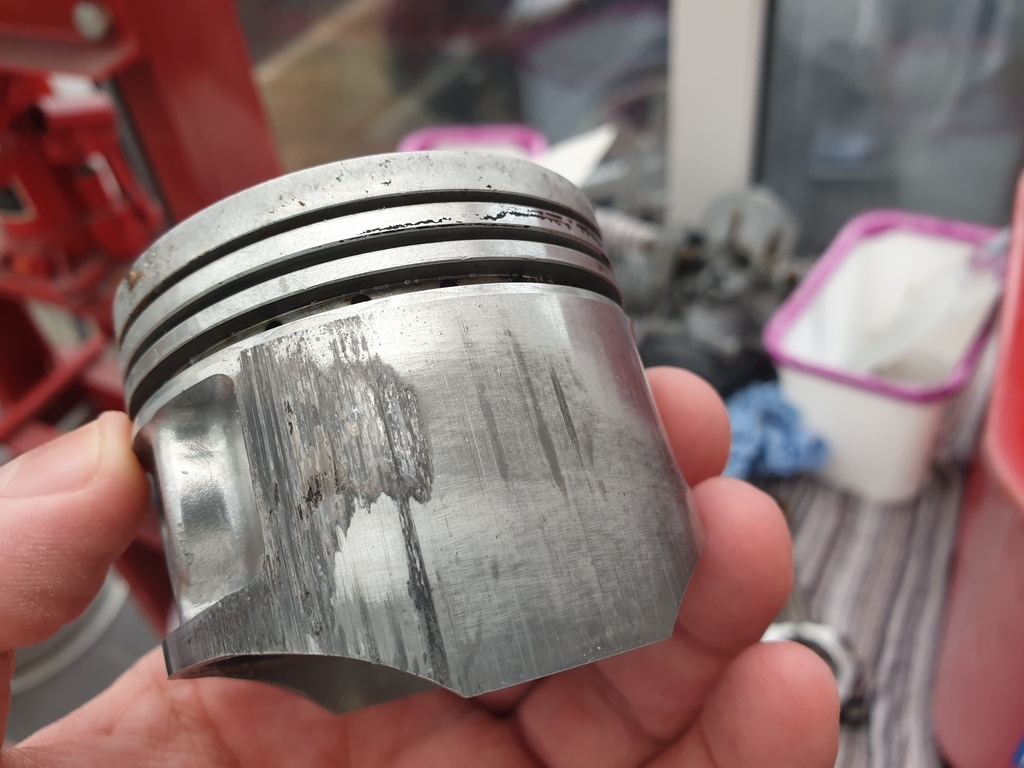 The other only has light scratches but this has deep grooves that can be felt. My bike being a '79 and a late model 400, the piston is another item that was only used for a couple of years or so. The earlier type pistons are quite plentiful, and later 440 pistons are too big, there is one NOS piston for sale that would be suitable but it's in Italy of all places, but I guess that's really my only option. In happier news I managed to get the rotor off the end of the crankshaft  With the intention of inspecting the starter clutch, I couldn't actually get the clutch to come off the back of the rotor but rather than force it and risk damaging something, I managed to get the parts of the clutch out with it in situ. 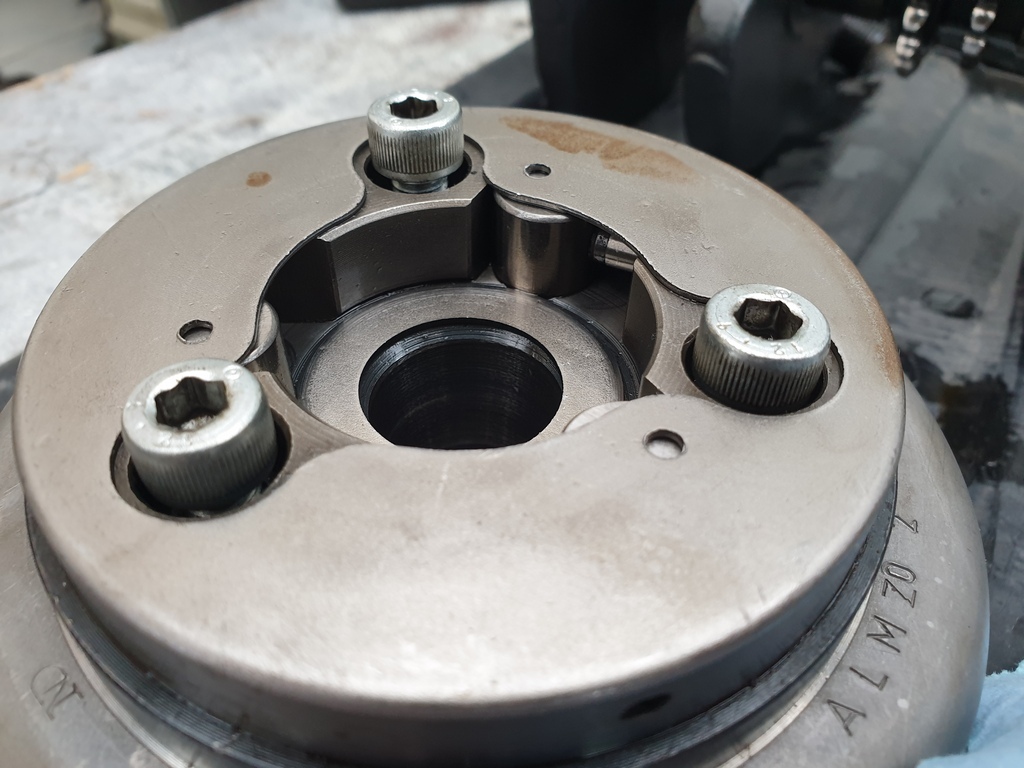 All the rollers and springs seemed in good condition so was a case of just cleaning off the old oil and re-fitting everything newly lubricated, saved me some money on a rebuild kit! The cleaning tank did come in handy with the next bit which was stripping down and cleaning the engine balancer weights assembly. 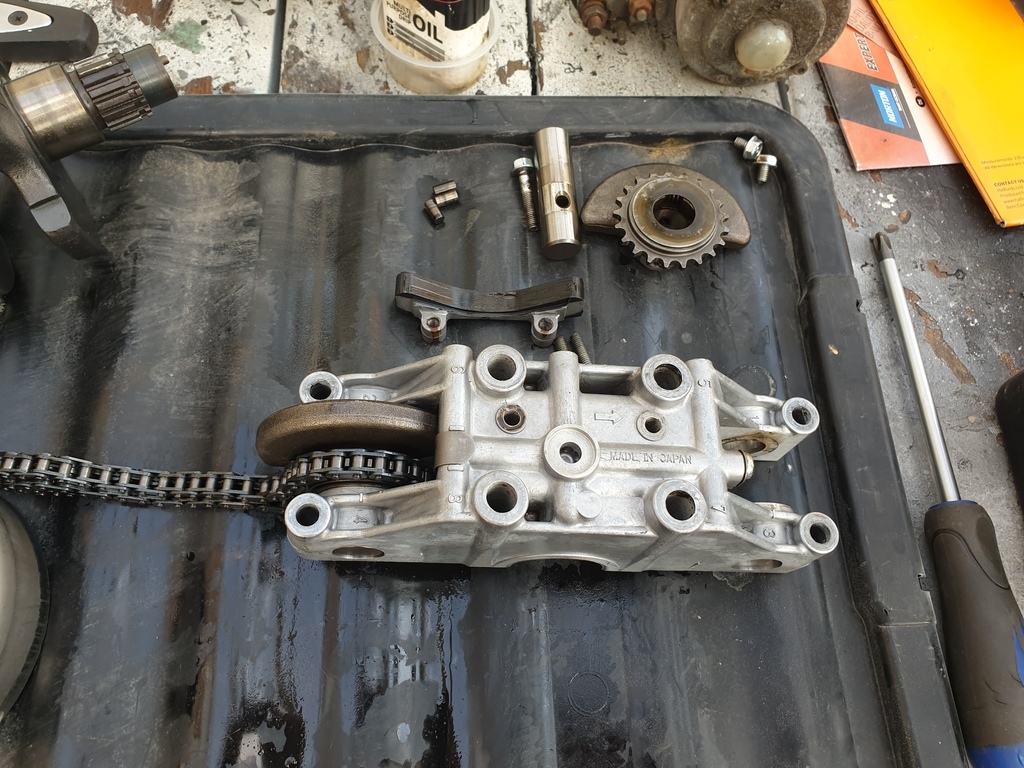 The chain and sprockets appear to be in good condition, there was some of the same sludge that was at the bottom of the sump though so made sure to clean it all off and clean out the oil passageways going to the bearings as well 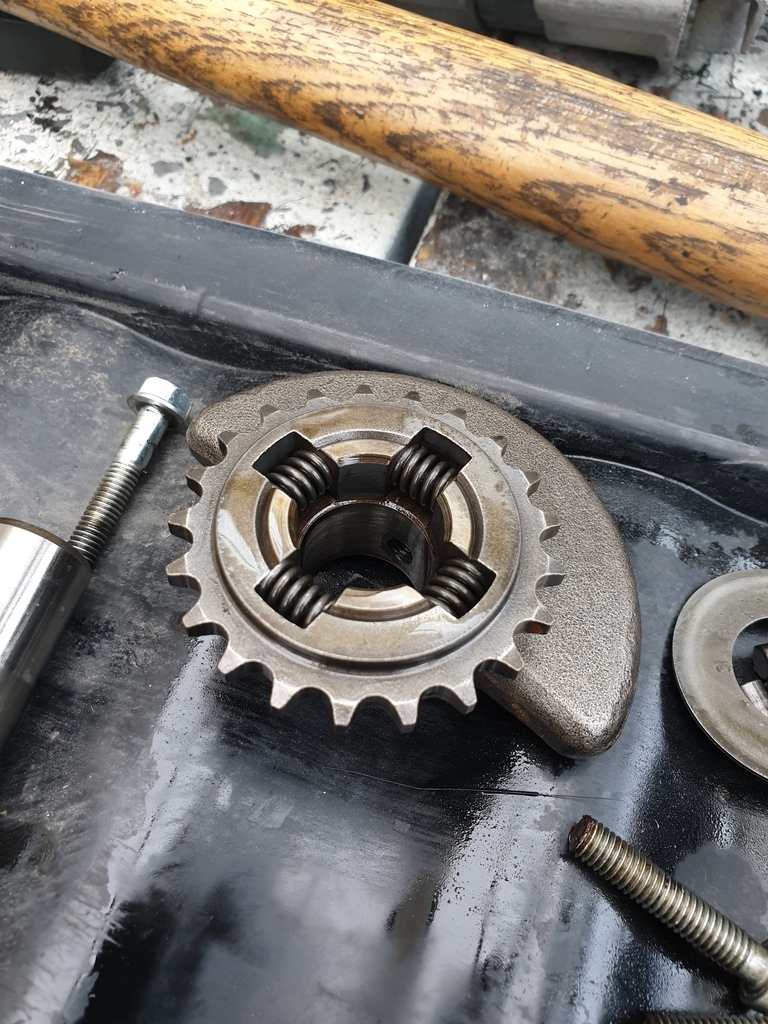  Fiddly getting the springs and bits back in but got there in the end, the rubber guides for the chain showed a little wear but new replacements either don't exist or are a bit pricey for what they are so these will do. 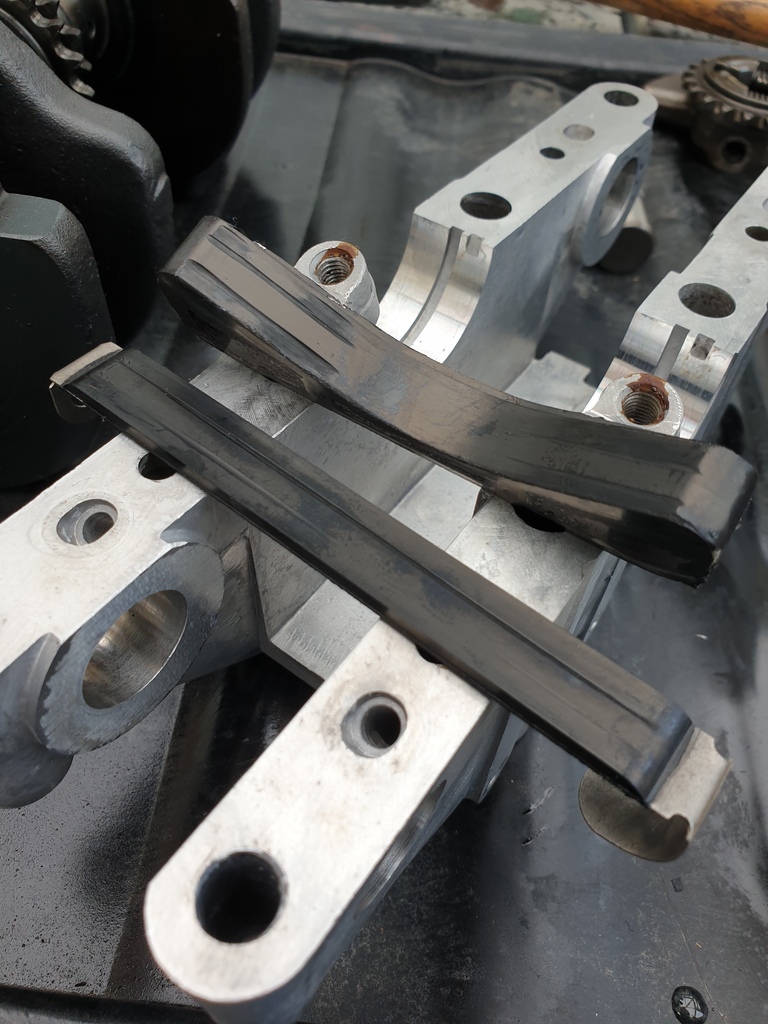 All back together with the weights timed up to each other, they'll need timing to the crank when I get to that point 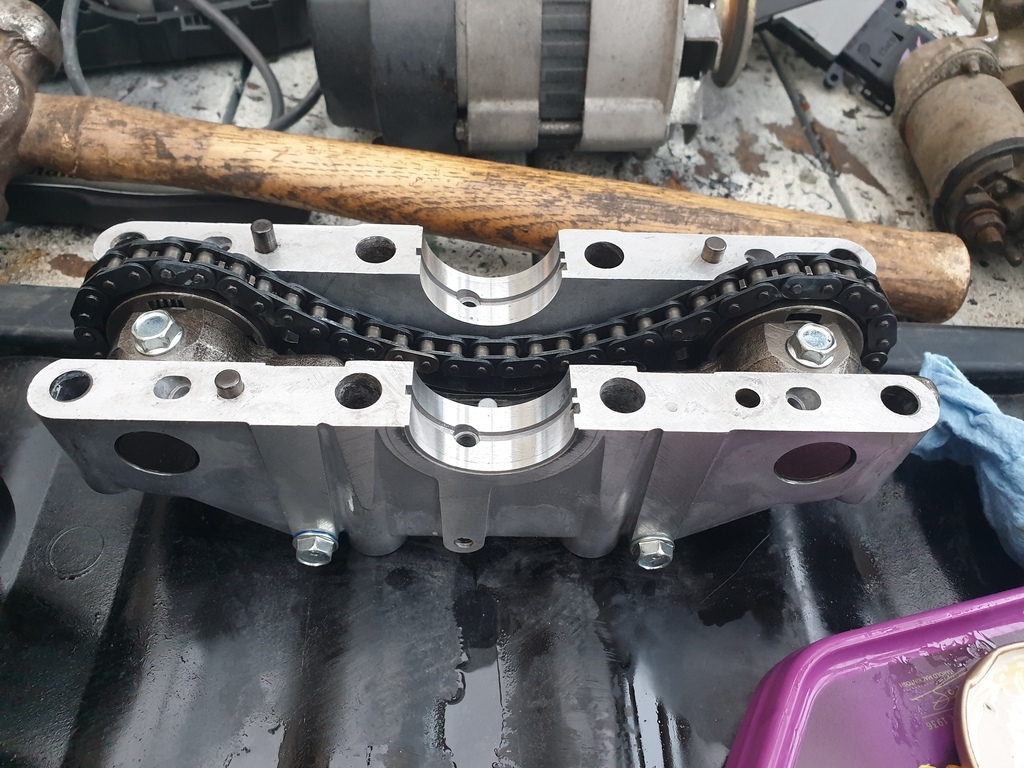 Next up I'm going to take the crankcases and crank back to the machine shop as I want to get the oilway plugs out of the crankshaft and crankcase lower to be sure there isn't any more of that sludge hiding anywhere. There's also a broken screw that needs extracting from the case as well as a couple of needle bearings that held one of the gearbox shafts which I plan to replace. Speaking of the gearbox, I'll run the shafts, gears and selectors through the parts washer, make sure all's well there, then can probably start to think about assembly... |
| |
|
|
|
|
|
Aug 14, 2023 11:27:52 GMT
|
|
If at all possible I would run some sort of air box, especially if you are intending running in the rain.
Glad you got a cam shaft sorted, I think powaroll or some variation of that name may have done them in the States back in the day.
That piston looks to have nipped up briefly so I guess you were correct about oil starvation at some point, it might go again but if you can get a replacement it would be better.
|
| |
|
|
adam73bgt
Club Retro Rides Member
Posts: 4,862
Club RR Member Number: 58
Member is Online
|
|
Sept 25, 2023 12:27:54 GMT
|
Been delinquent on updates again, bit the bullet in the end and got a replacement piston  The only one suitable for a 79 kz400 that I could find for sale anywhere! I put the kickstarter shaft bits through the parts washer to get them ready to go back on eventually 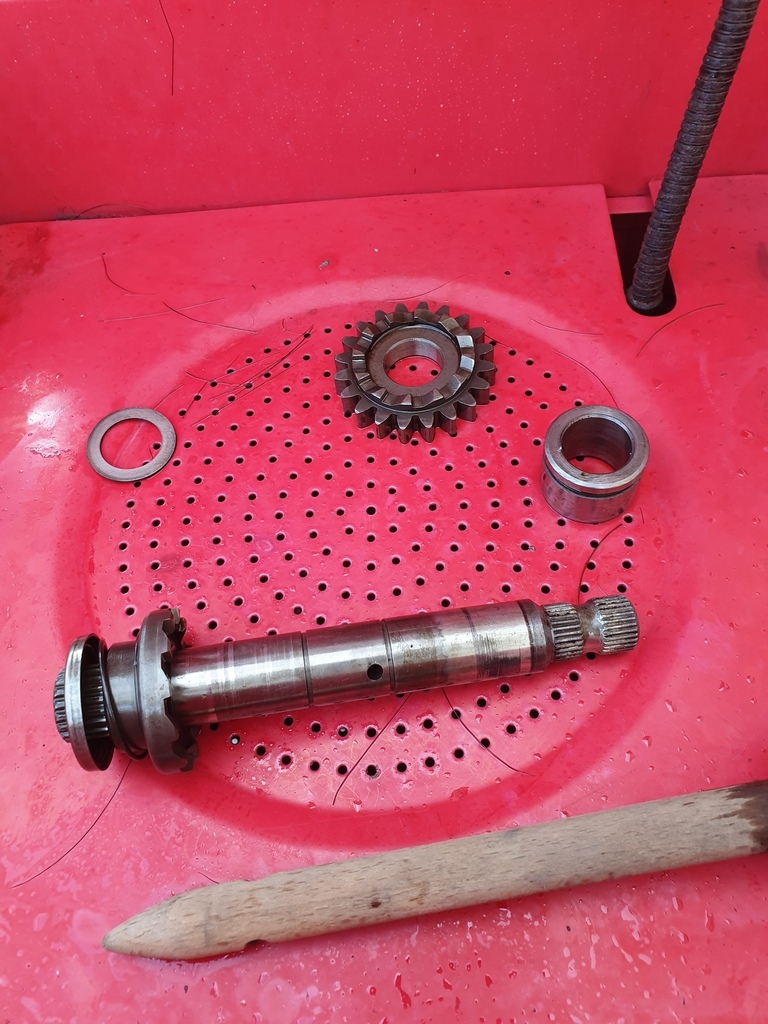 And I started cleaning the gear shafts as well, all the gears look in decent condition, one of the bearings at the end of the shaft had a bit of dirt in it from how it's been sitting, did my best to clean it out but might have to replace it, which would mean buying a gear puller as I don't have anything that will fit. Finally made the decision to paint the engine cases (aside from the ones I've already polished) I was going to leave them bare alloy but thought let's give them the best chance of looking tidy for years to come. 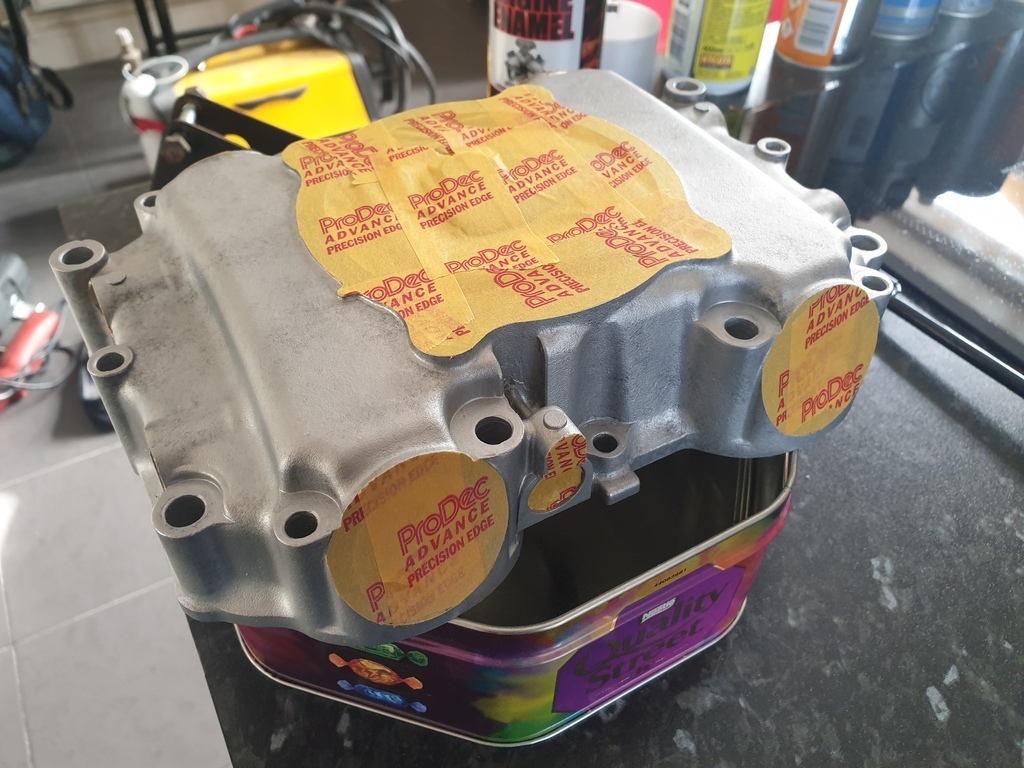 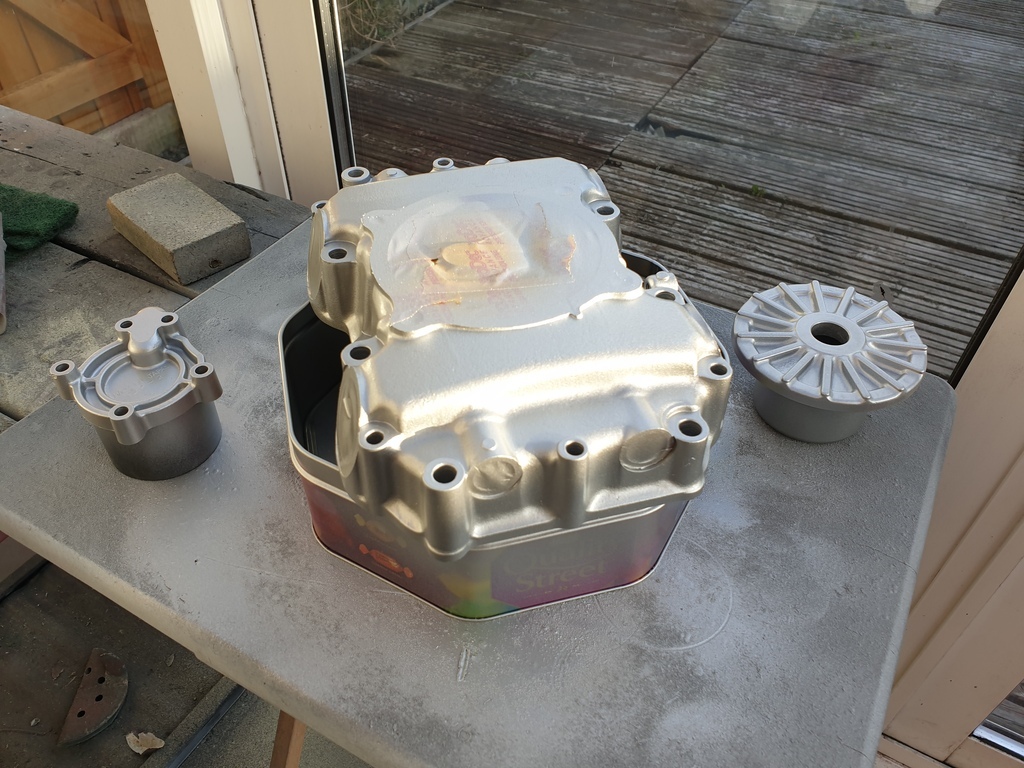 The vht silver is almost a perfect match for the bare alloy so it shouldn't look too out of place haha, I've been doing the proper procedure of curing them in the oven after it's dried as well so should be a durable finish. I've just got the head, barrel and crankcases to do now, it's been a bit of a task to get the gasket faces cleaned up on the crankcases and barrels as the old gaskets were well stuck on in places, but with wd40 and a razor blade, I'm getting there 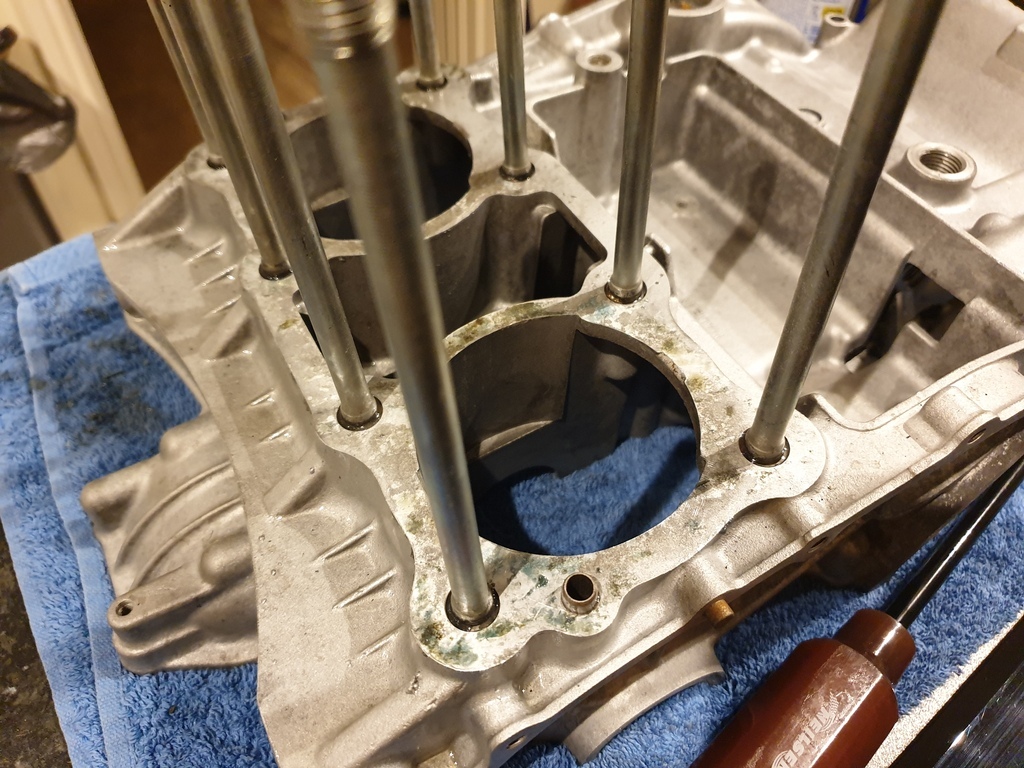 |
| |
|
|
flyingphil
Posted a lot
Posts: 2,336
Member is Online
|
|
Sept 26, 2023 16:18:49 GMT
|
Nice work! Always good when you can start putting things back together knowing they are clean and correct! I got my XJ600 through it's MoT then put it up for sale...The buyer got a bargain as no one else put a bid on it.  Still it had provided about 12 years of fun - but I was getting very aware of my body potentially sliding along the tarmac.... |
| |
|
|
jimi
Club Retro Rides Member
Posts: 1,806 
|
|
Sept 26, 2023 17:21:16 GMT
|
Which was slightly modified to this... I like that, very nice 😎 |
| |
Black is not a colour ! .... Its the absence of colour
|
|
adam73bgt
Club Retro Rides Member
Posts: 4,862
Club RR Member Number: 58
Member is Online
|
|
Sept 26, 2023 21:45:23 GMT
|
Nice work! Always good when you can start putting things back together knowing they are clean and correct! I got my XJ600 through it's MoT then put it up for sale...The buyer got a bargain as no one else put a bid on it. Still it had provided about 12 years of fun - but I was getting very aware of my body potentially sliding along the tarmac.... That's unfortunate but it sounds like you got your full enjoyment out of it, and hopefully the new owner appreciates the bargain they got! Spent this evening cleaning up the engine cases and I got round to checking the starter motor in the upper crankcase. I bought the starter ages ago and had put it to one side while I did other things. It had turned up with a cracked mounting boss which I was going to glue back in place. The seller had been kind enough to send a replacement when I pointed out that it had turned up broken, only for the replacement to be of a different design to the first starter motor! This would turn out to be a stroke of luck... The original starter I bought, roughly mocked up in position 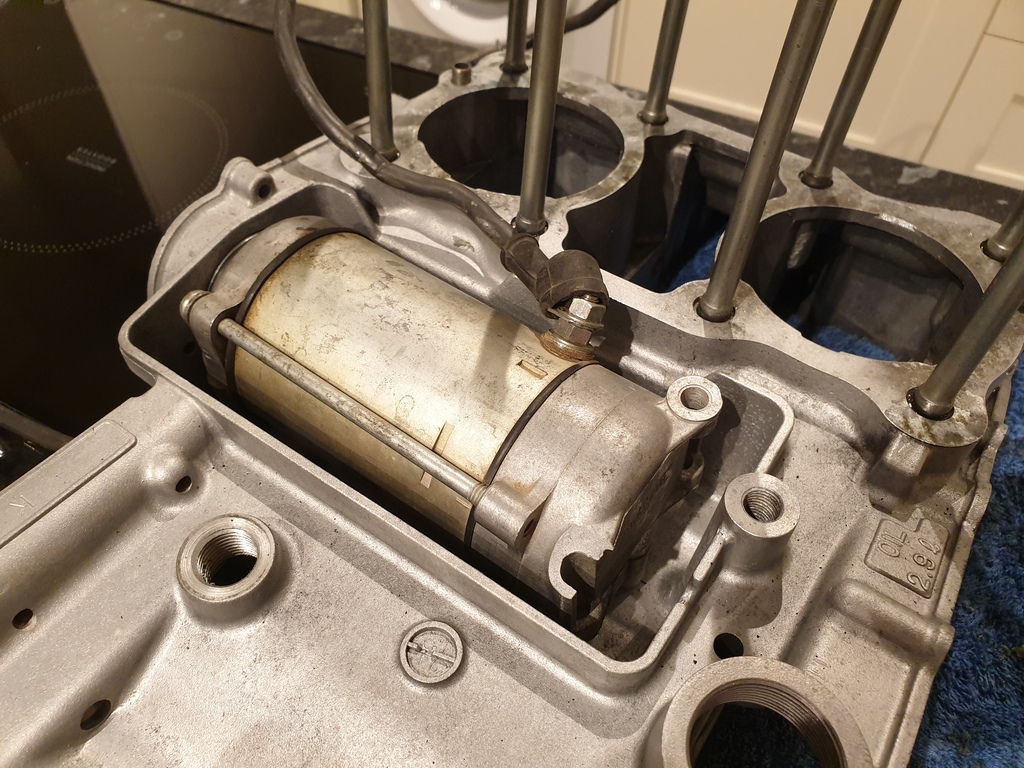 Fits fine, lines up with the mounting screws, but then I noticed there wasn't anything to screw the cover plate down to and the power cable wanted to head right into where the barrels would fit... Step in the replacement which had been sent 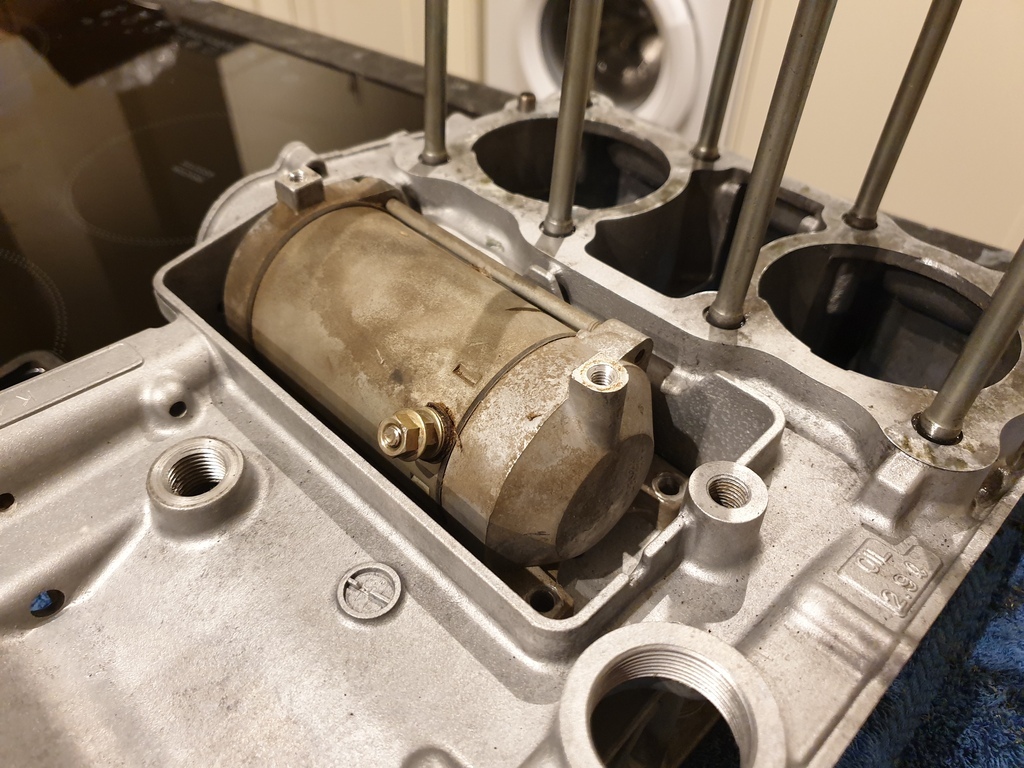 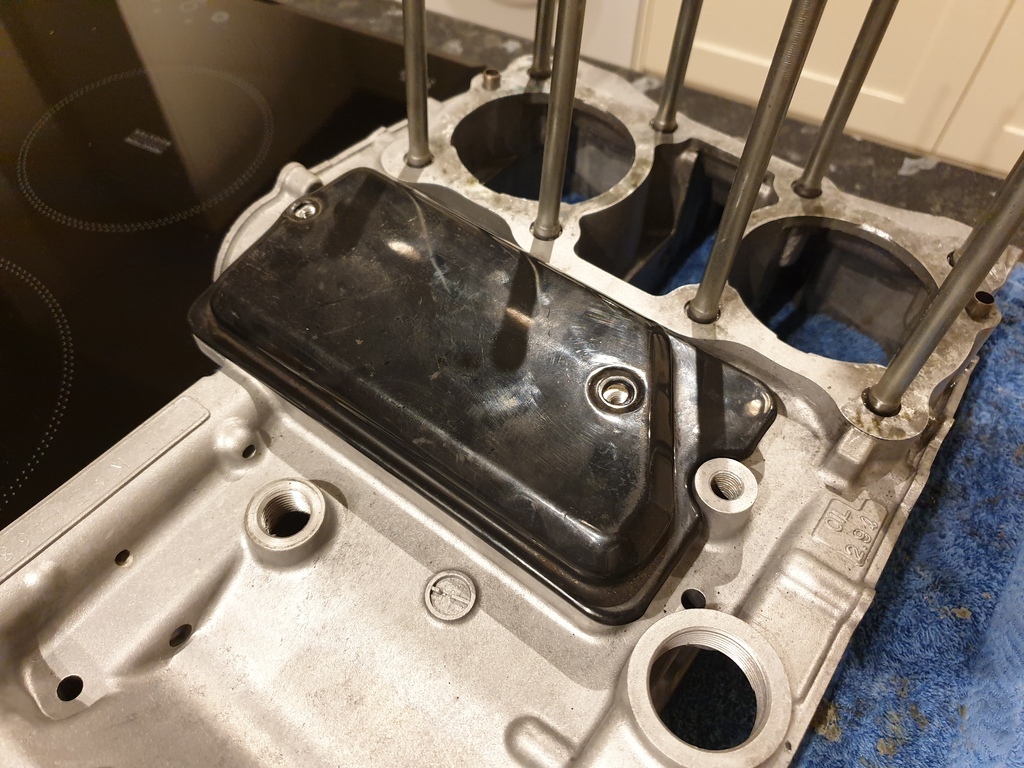 Fits perfect, power stud on the right side of the motor for the cable to slink down through the hole in the crankcase behind the motor, and a couple of bosses to screw the cover down to. That'll be the right cover then Guess I was lucky the first one I bought arrived broken! |
| |
|
|
adam73bgt
Club Retro Rides Member
Posts: 4,862
Club RR Member Number: 58
Member is Online
|
|
Oct 20, 2023 18:04:31 GMT
|
I've been progressing on this, slowly admittedly but it's my first ever engine build and I really don't want to screw it up After having given the engine crankshaft and cases a final proper clean out, I went ahead and installed the main bearings and used some plastigauge to check clearances 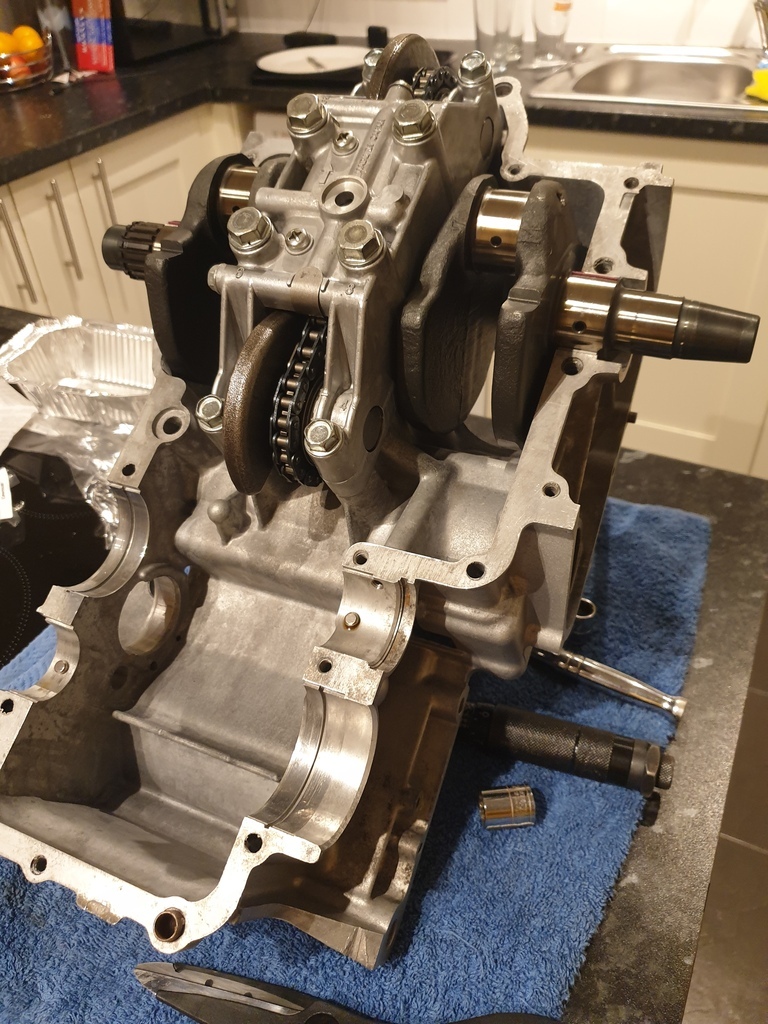 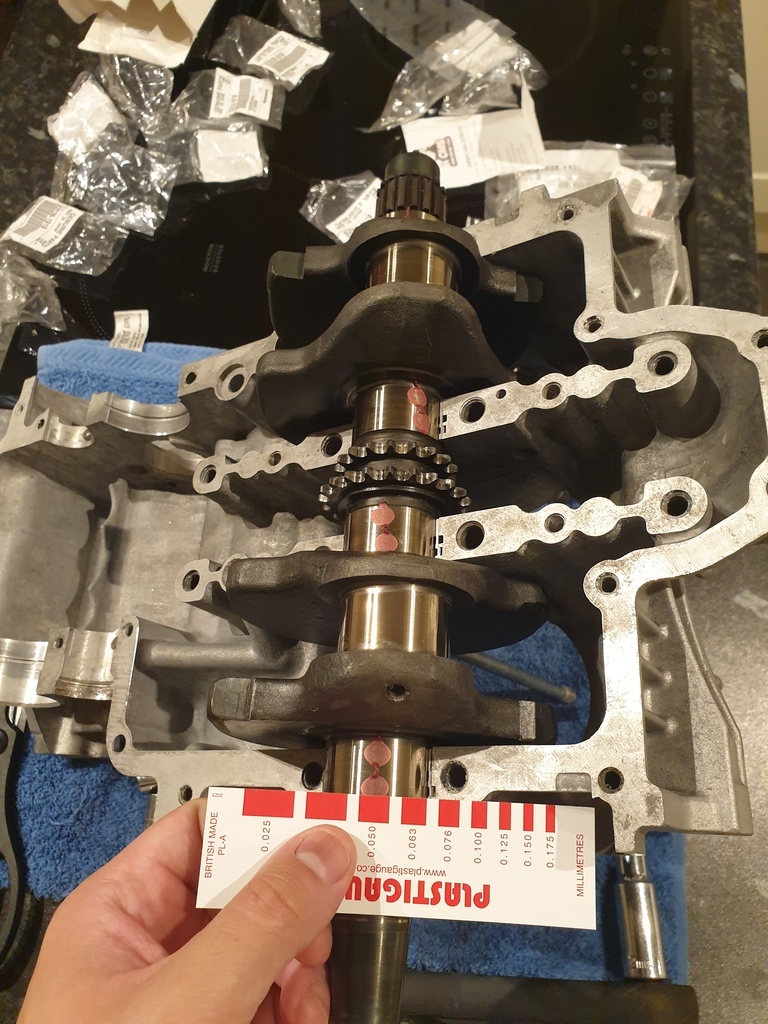 The big ends were a little tricky as the rods kept trying to move and screw up the reading but everything measured up well within factory tolerances so I'm happy with that! Took it all apart again to paint the crankcases, this involved some creative masking.. 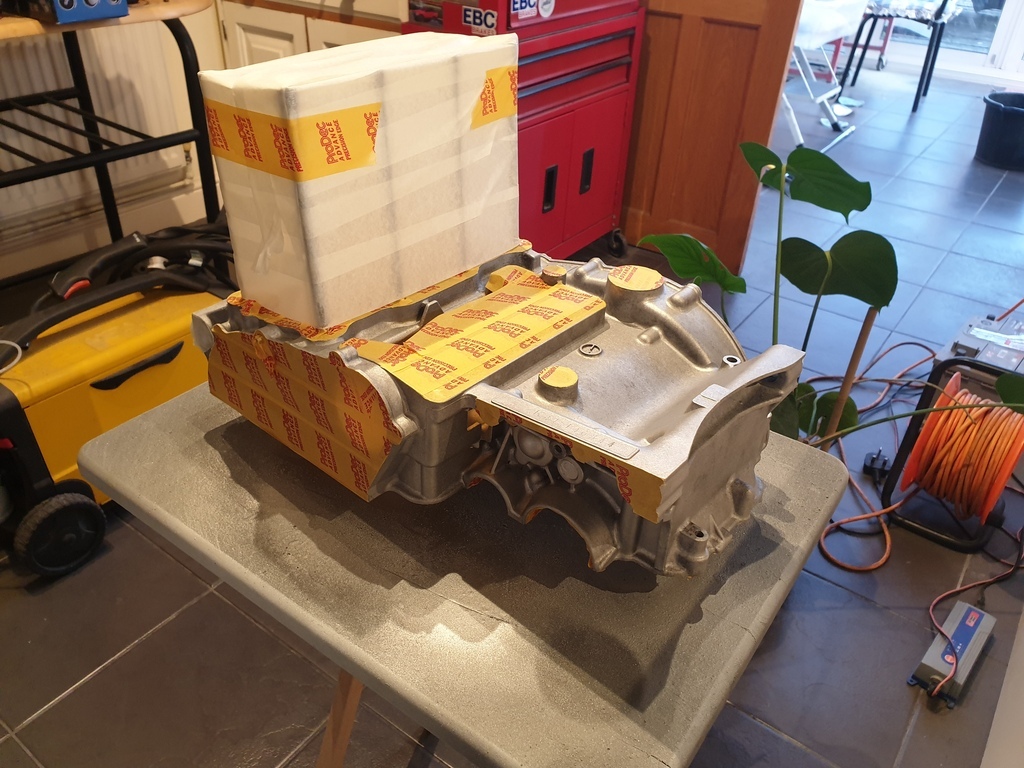 But got there in the end, since then I've been starting to build the crankcases back up with anything that's easier to do now while they're still split 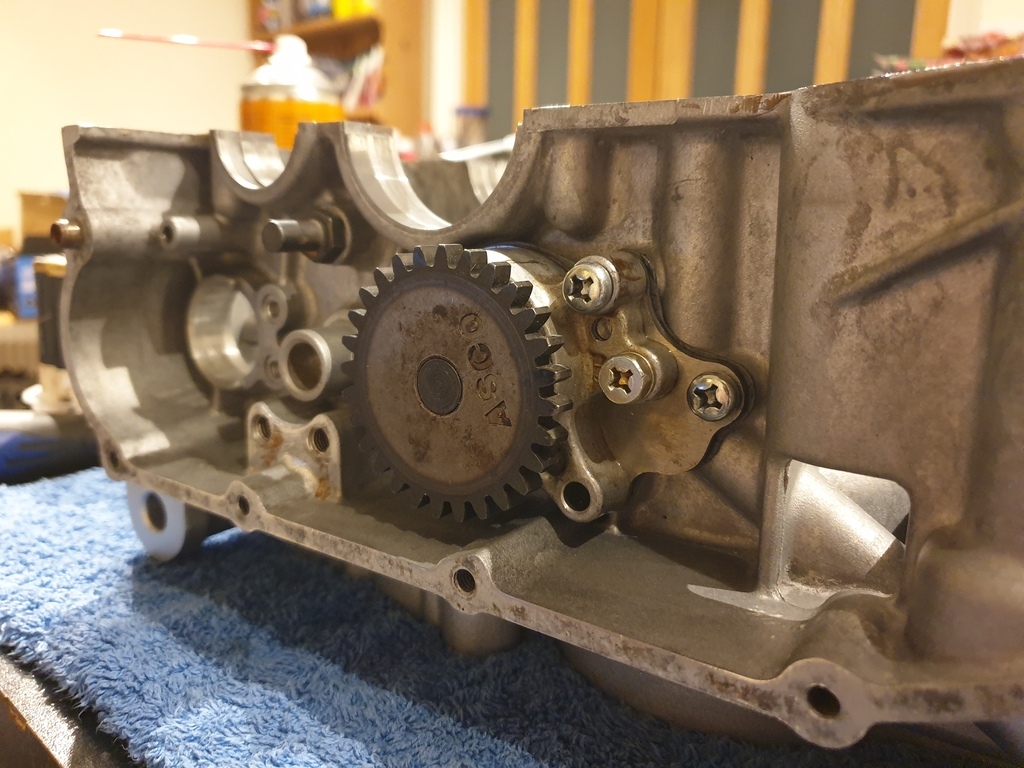 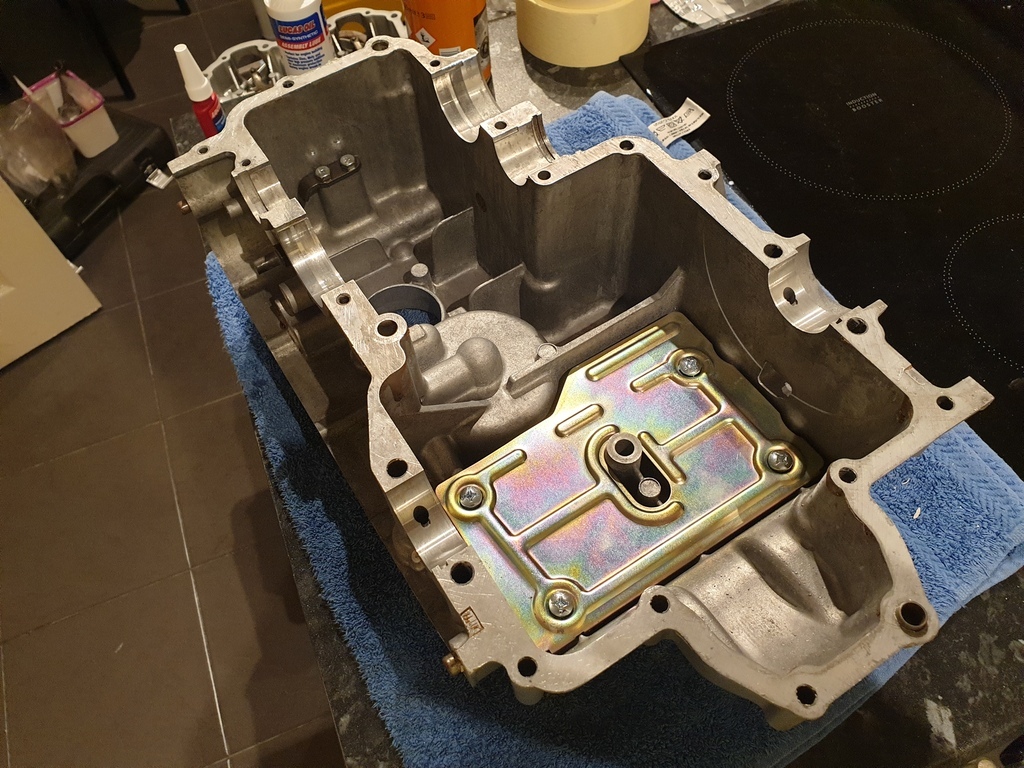 The NOS oil pump was a bit sticky with old oil so gave it a quick blast with some brake cleaner then some fresh oil and it's much happier. I'm held up at the moment as I need a couple of screws which I assume I'd rounded the heads off when disassembling but once I've got those, the kickstarter shaft can go in also. I've also dropped the crankshaft back at the machine shop as while I could get one of the oilway plugs back in, the thread on the other hole is a bit damaged so I'll leave that for them to sort 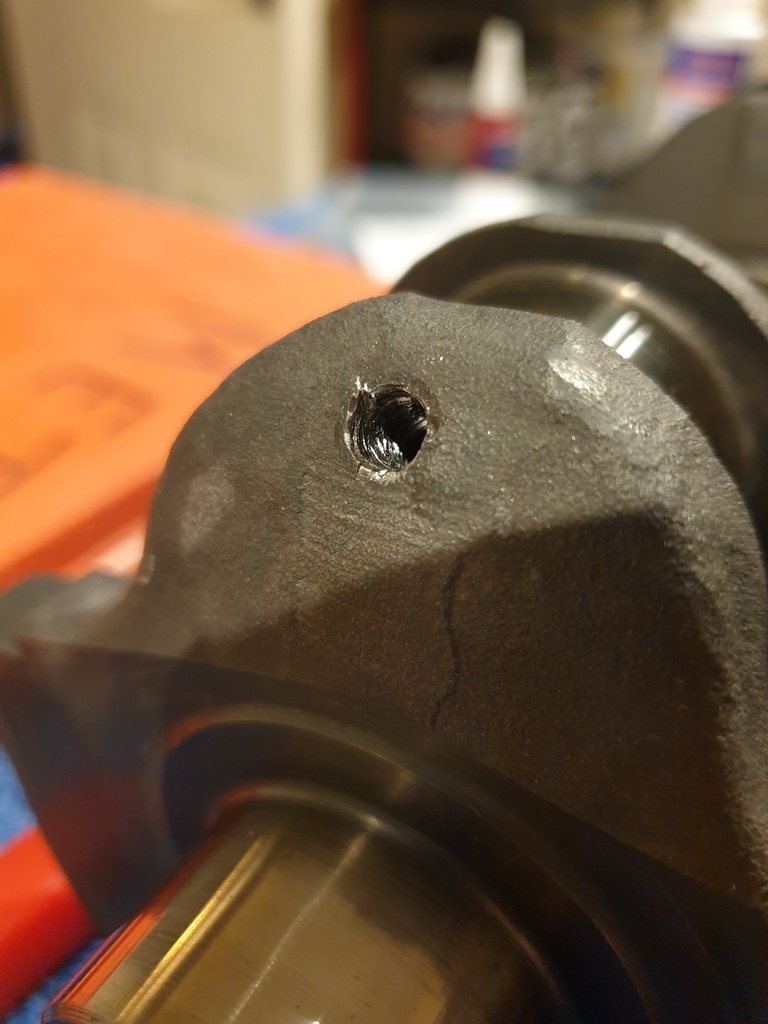 I've transferred the cam followers over to the painted cam cover as well, I had to do a bit of mix and matching to get the 4 best followers and pivots as some had wear or some scratches on the bearing surfaces 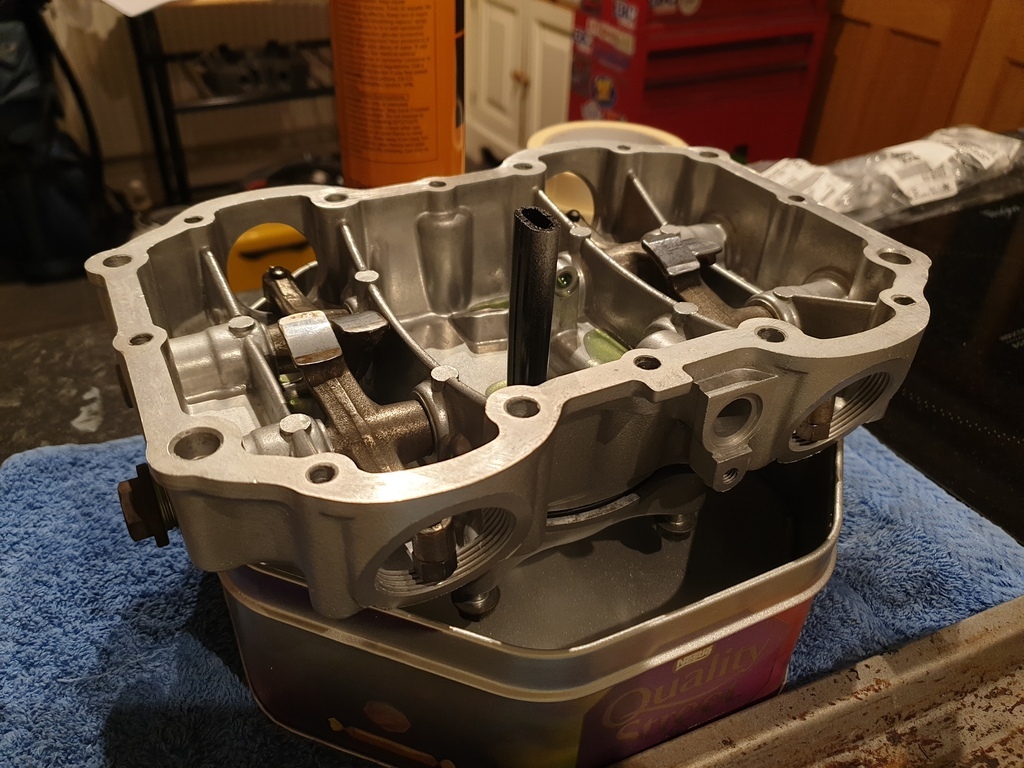 With the crank back I can get it mounted with the balancer assembly and it should start feeling like a complete engine not long after that! |
| |
|
|
adam73bgt
Club Retro Rides Member
Posts: 4,862
Club RR Member Number: 58
Member is Online
|
|
Oct 29, 2023 22:41:26 GMT
|
Had a little delay with getting the crankshaft mounted while I make sure I've got the oilway plugs in it fitted correctly. However there have been other jobs to get on with in the meantime. Fitted the fully cleaned gauze oil strainer in the lower crankcase along with a new oil filter  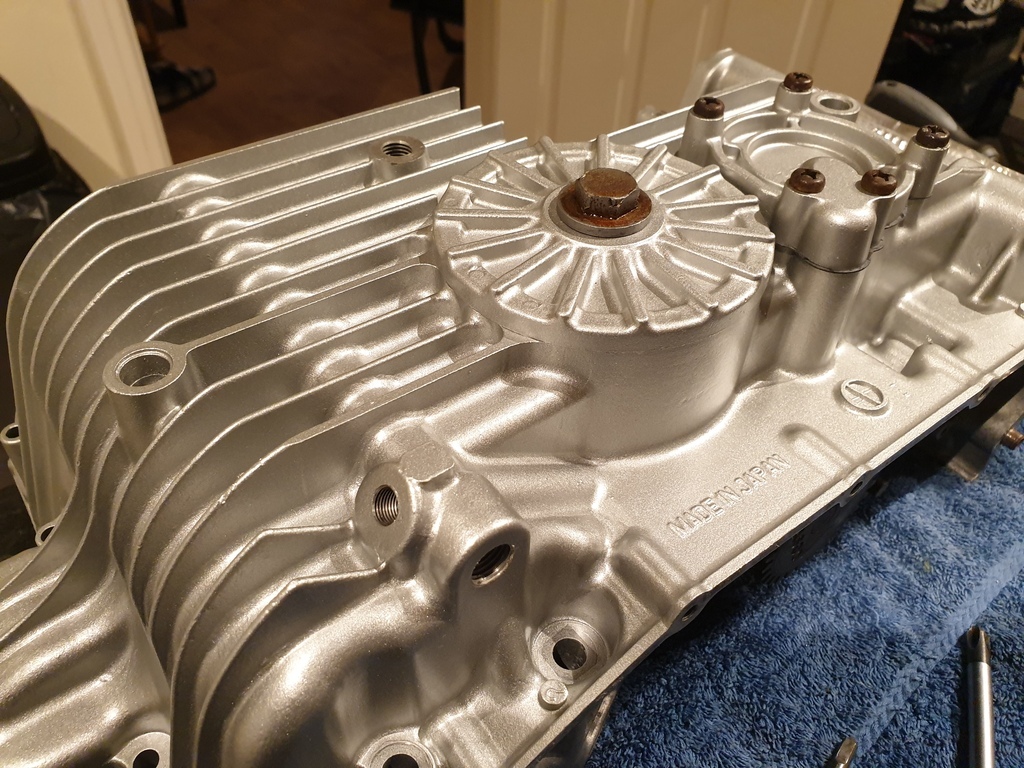 Assembled the tacho gauge drive, including a Suzuki genuine part O ring as it was the same size as the Kawasaki O ring which is no longer stocked 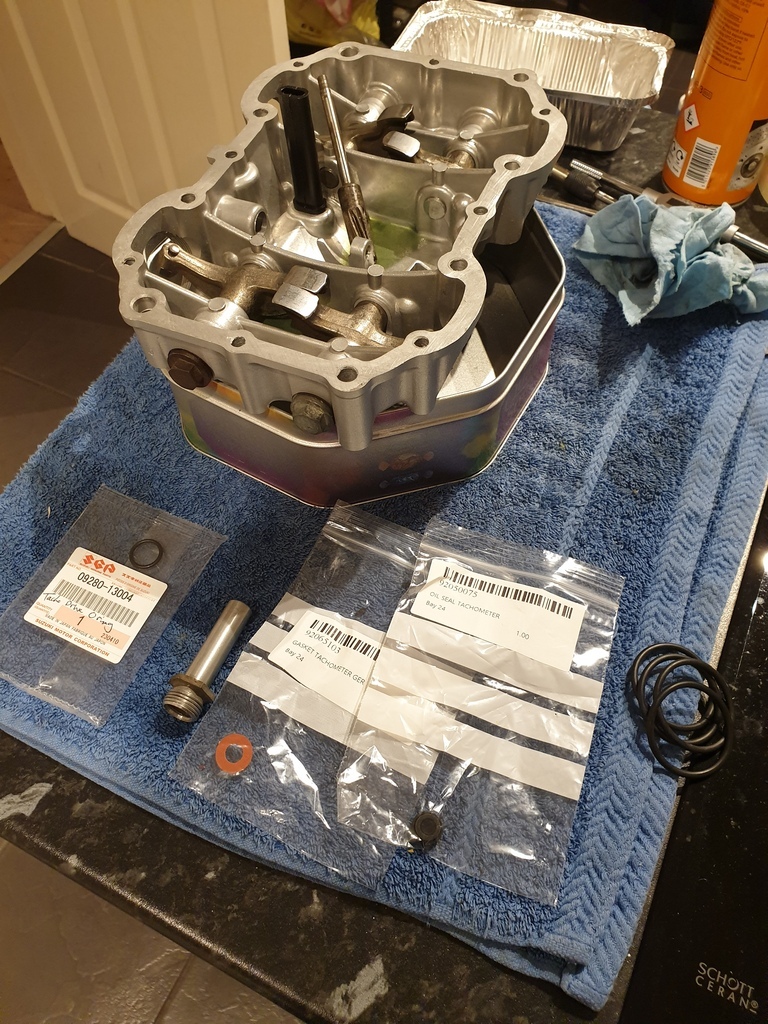 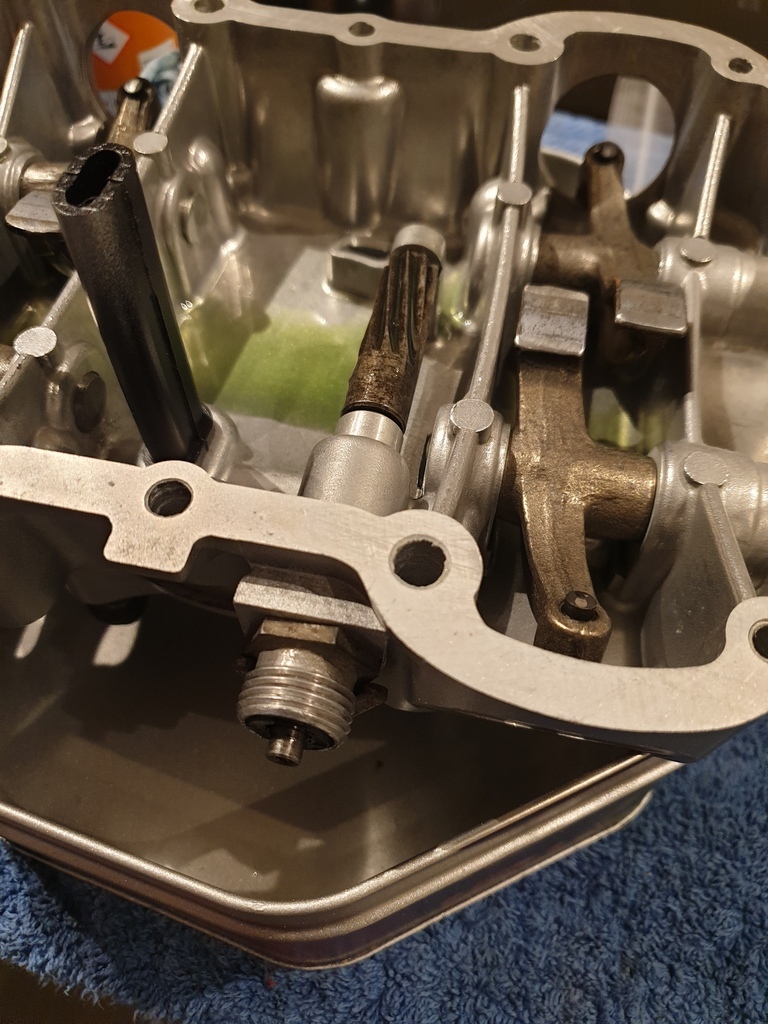 I tapped new roller bearings into the upper crankcase so that I could fit the shifter drum and forks, it took a little bit of back and forth checking the manual and online diagrams to make sure I got everything in the correct orientation ready for the gears 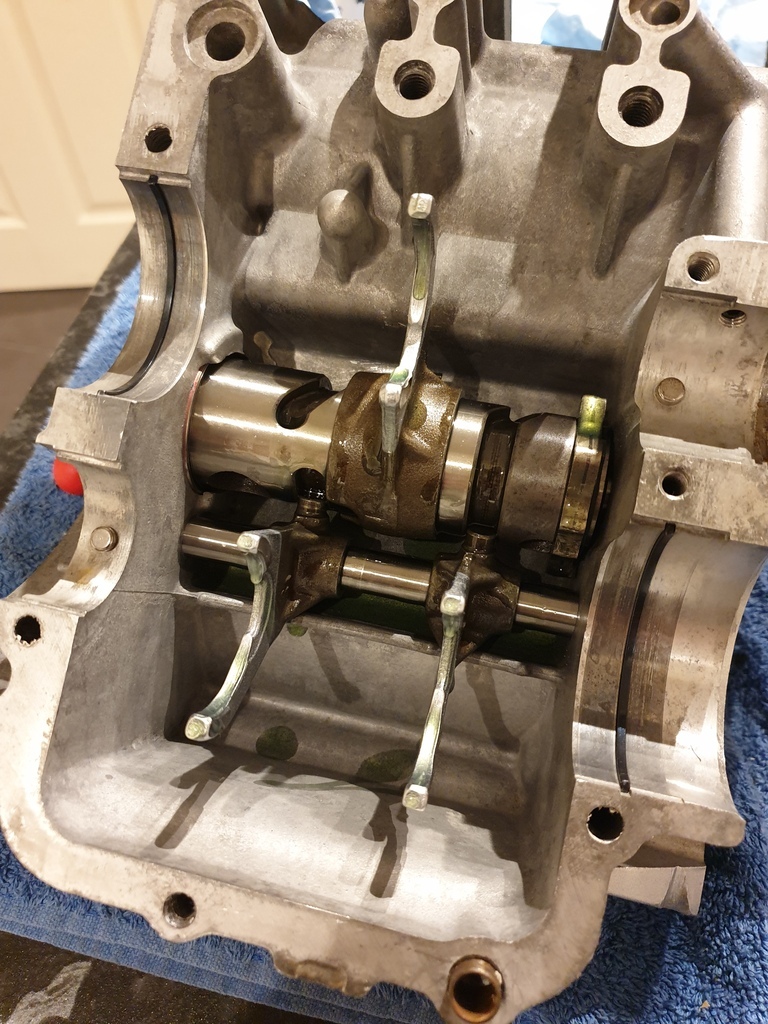 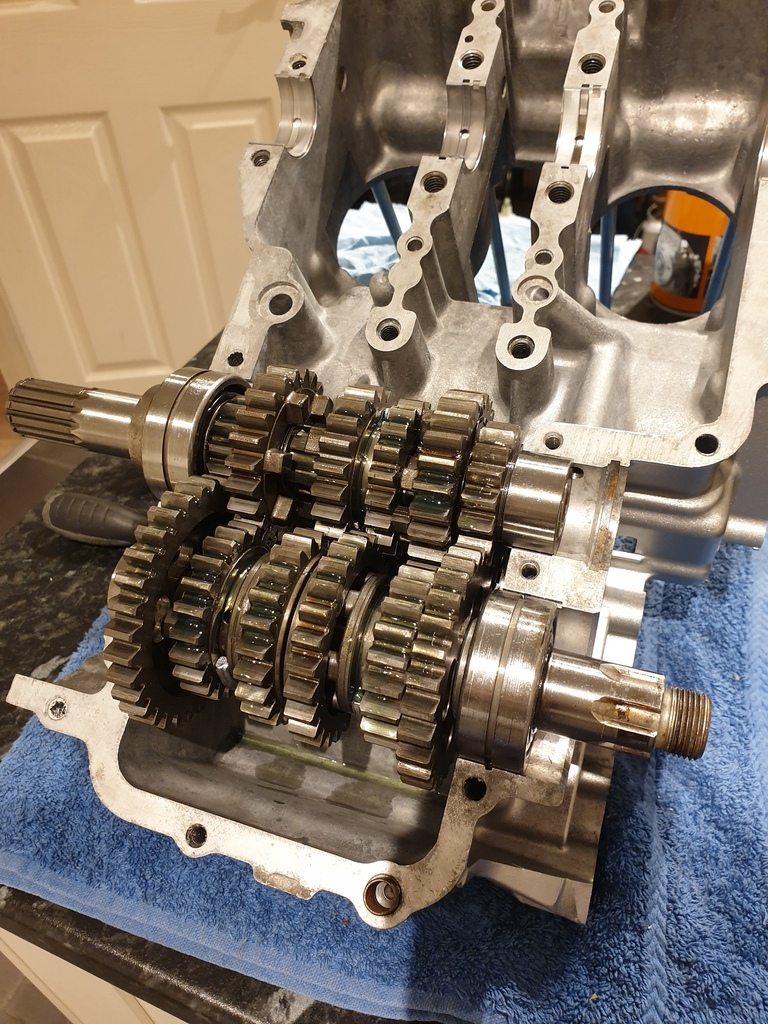 The upper crankcase is pretty much ready to go now. My new-to-me front cam chain guide arrived and got fitted, as well as installing a couple of O rings for the internal oil feeds. Another part that needed a bit of thought when fitting was the Kick starter shaft 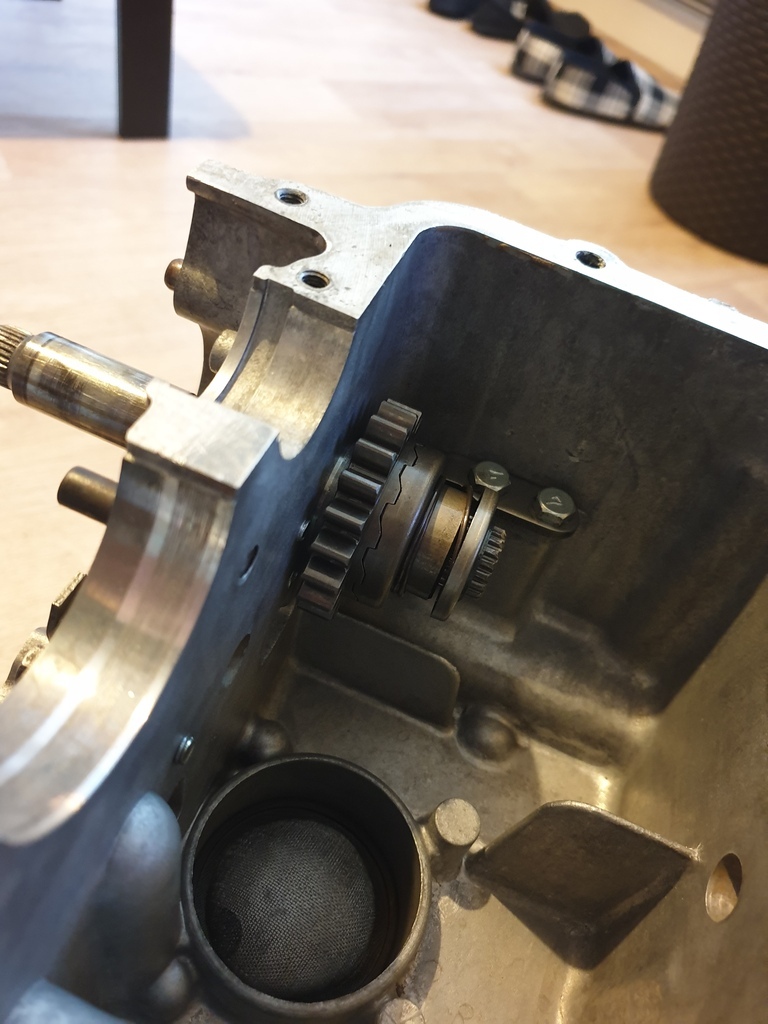 I had taken this apart to clean, but I'd neglected to clock the pawl to the shaft correctly which would have caused issues with installing the return spring, so glad I caught it now! Easy job to remove the circlip and re-clock the pawl to align small marks on the pawl and the shaft. While I was going through my box of engine parts, I also found the kickstarter lever itself which I hadn't cleaned up yet, so that got a clean and a new spring and ball bearing 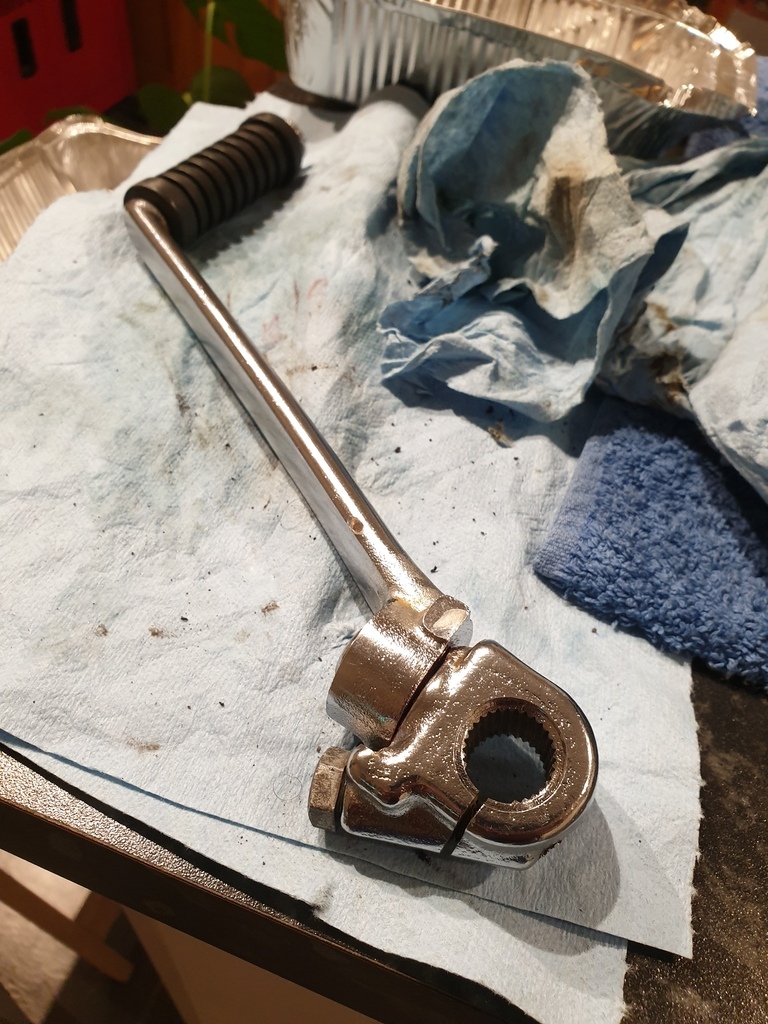 I'd almost forgotten the last bits of engine that need painting, namely the barrels and the head, so I got both of those taken care of today, ready for a bake in the oven tomorrow 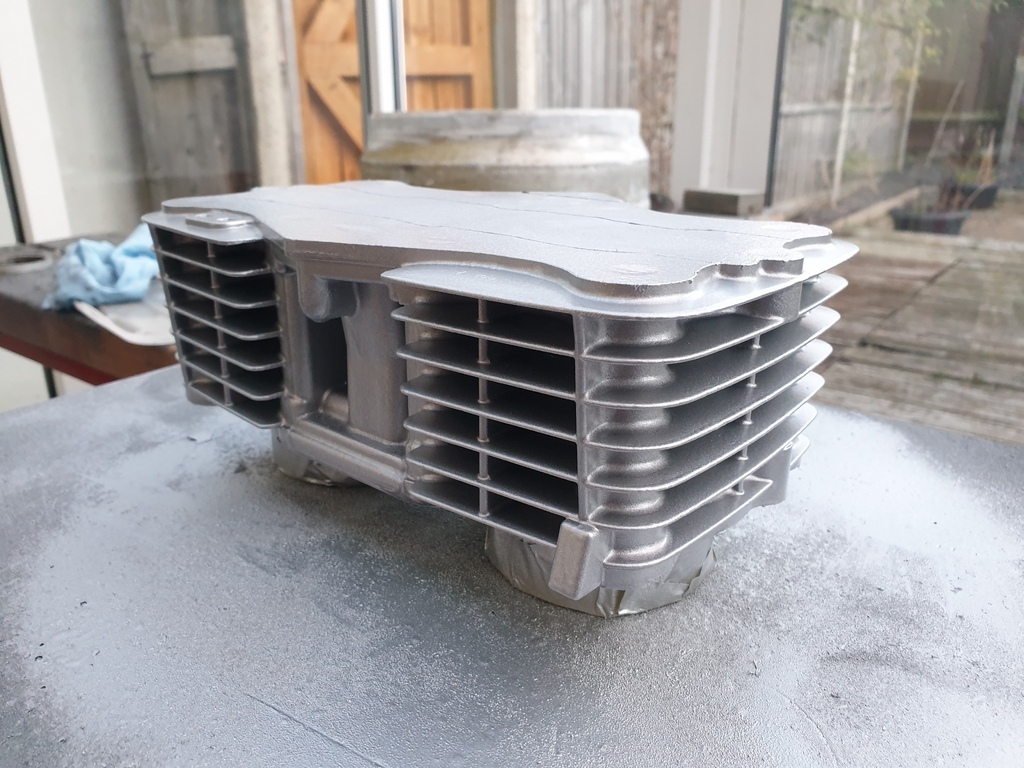  I can then check ring gaps etc. but the main bit I need to get sorted now is the crank then I can assemble the bottom end |
| |
|
|
|
|


 Still it had provided about 12 years of fun - but I was getting very aware of my body potentially sliding along the tarmac....