Its been a while since my last post, progress has been slow partly because its been rather chilly in the garage and partly because a large part of this next stage has literally been waiting for paint to dry!
The next thing I wanted to do was de-rust and protect the underside of the welded in panel that I'd treated inside in the bottom of the engine bay. I wanted to check it was securely welded in as well.
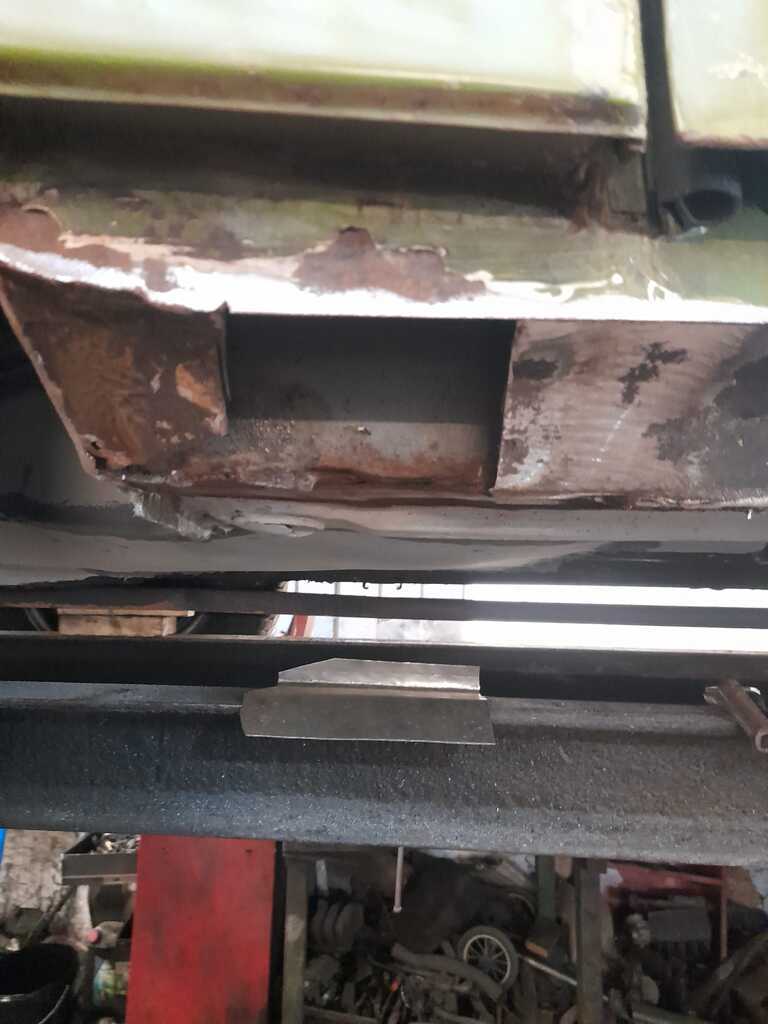
Here is the panel from underneath- it extends under where the passenger sits and the repair also goes up into the nearside wheelarch
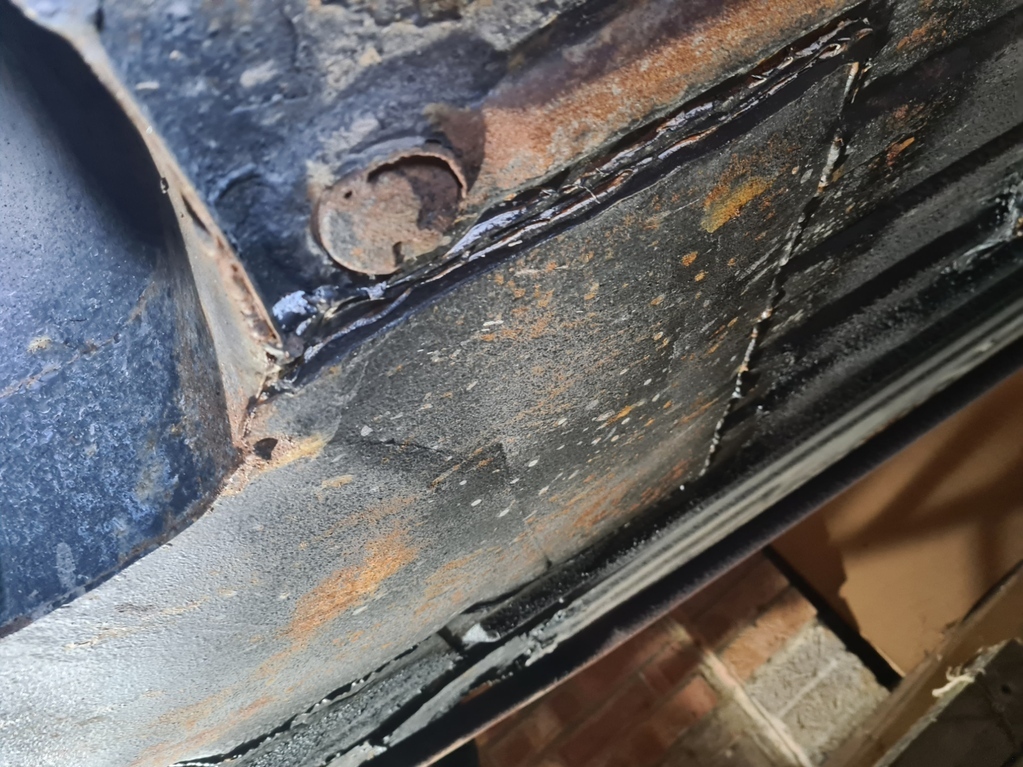
You can see surface rust on the repair piece and on some of the surrounding floor pan.
Its a shame the repair piece is not ribbed like the original, but upon inspection its a very solid repair- pretty thick metal and no flex at all.
But it has only got a thin coat of paint on it, so I want to do better than that.
This is my arsenal for applying protection
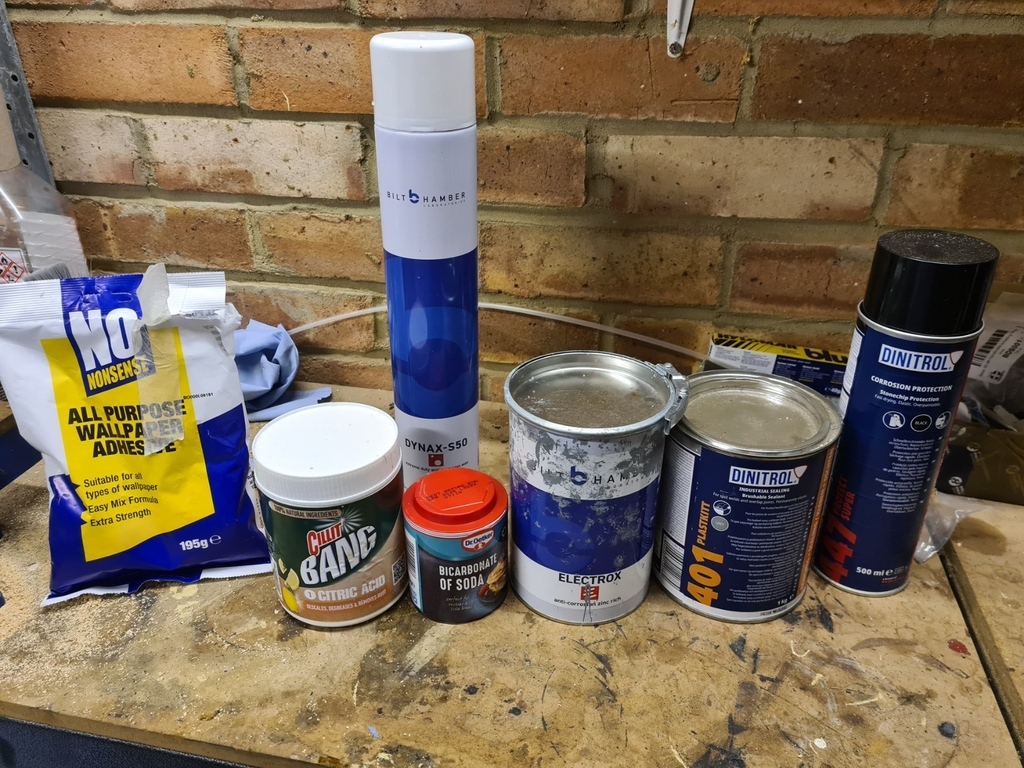
Walpaper paste and citric acid to remove the rust, bicarb to neutralise, zinc rich paint (Bilt Hamber Electrox) to protect and then seam sealer (Dinitrol 401).
Also underseal (Dinitrol 447) to finish it all off and wax (Bilt Hamber Dynax S50) to squirt into any cavities I found.
I have to say that judging by the weight of the Electrox tin, its easy to believe that its 90% zinc, its the heaviest tin of paint I've ever used!
First step is to raise the car, I'm going to be lying underneath, so did not fancy just using axle stands, so borrowed some ramps from my father:
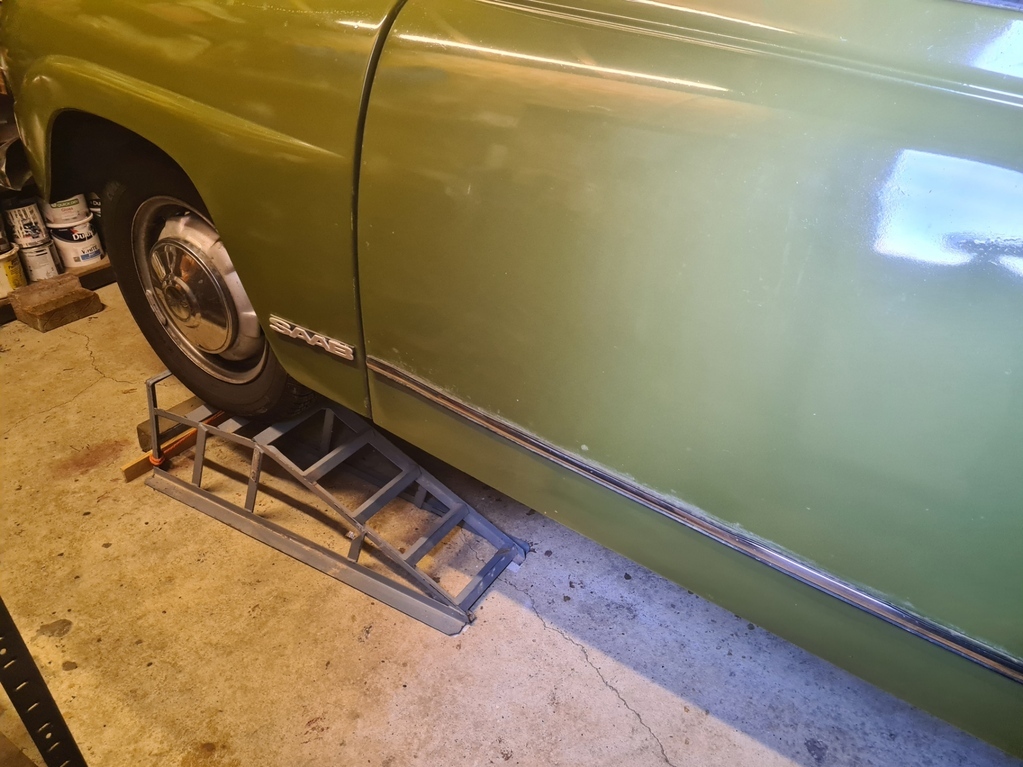
Ah, problem here in that the area I need to access is now blocked by the slope of the ramp.
Extended the jack with a piece of fence post and lifted the car a few cm's
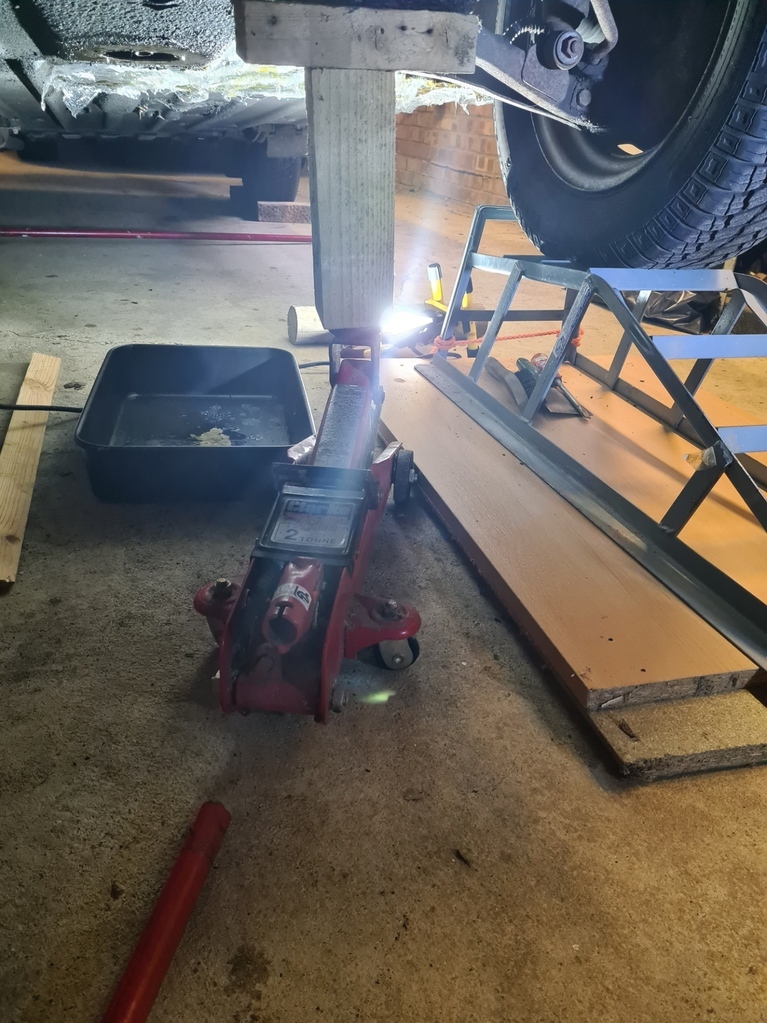
So I could spin the ramps around for better access (also raised the ramps a little more on some sheets of wood)
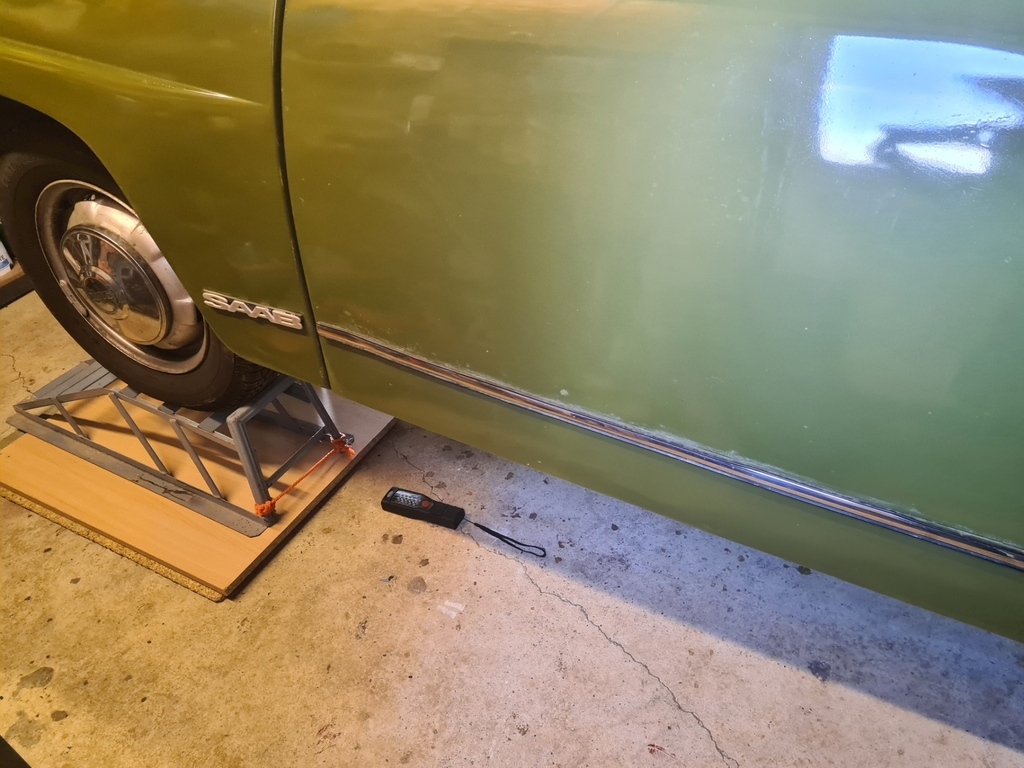
Cleaned up the panel so it can be protected, but while digging I found a hole- boo
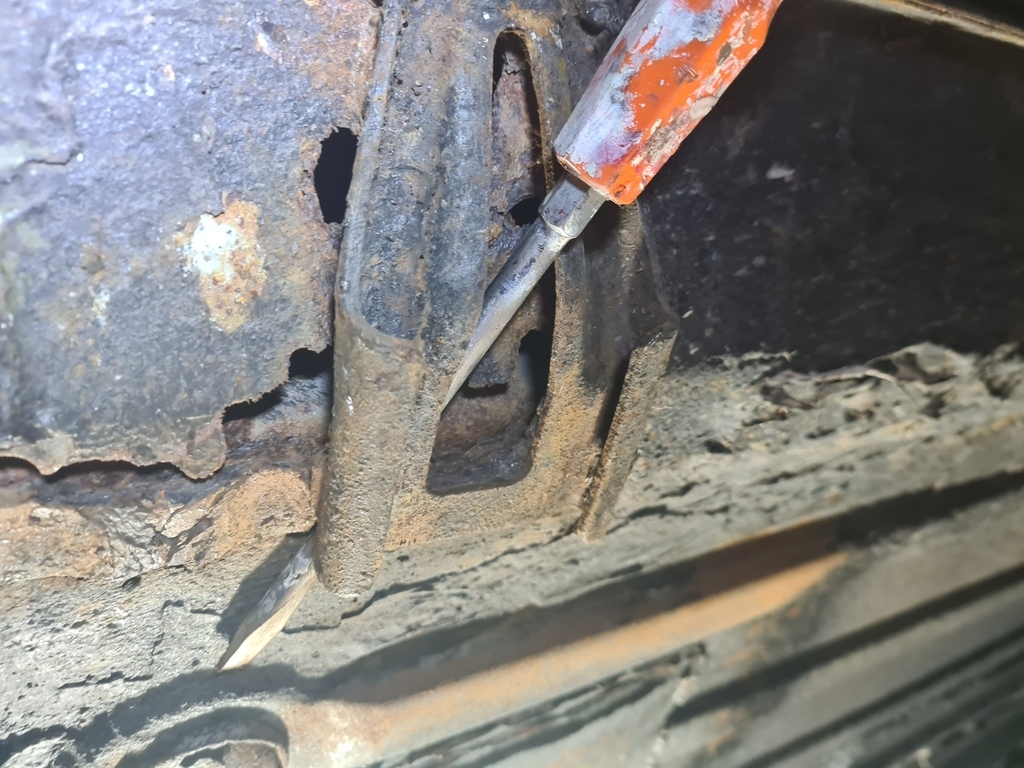
This is where the sill returns under the car and meets the floorpan. At that point there is a jacking point- I guess dirt and moisture has accumulated here and rotted through.
I'll need to get someone to weld that up for me, but for now I'll work around it, do everything else except hold off on the underseal until the hole has been welded up too.
Next step is to apply the citric acid/wallpaper paste magic potion
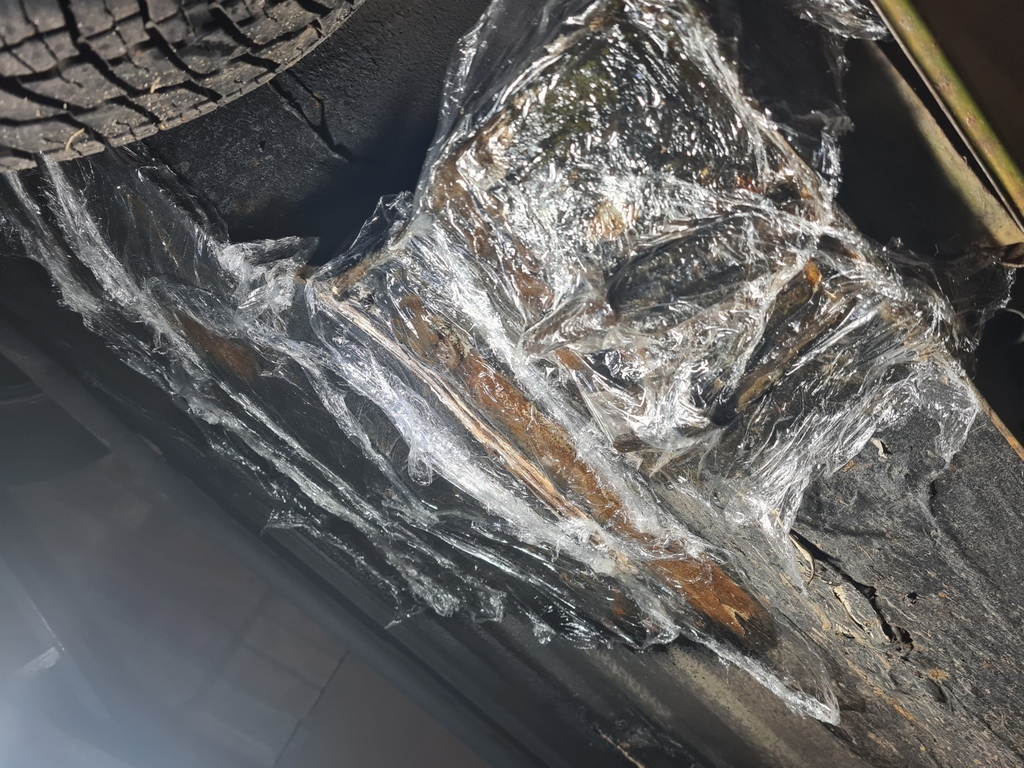
This is much harder upside down and it really wants to fall off, and I was pretty keen that it did not land on me!
Best method seemed to be apply some potion, get the cling film on quick and then massage it into the seams and areas of rust through the clingfilm.
Leave a few days and repeat, 2 coats did the trick, picture after first coat
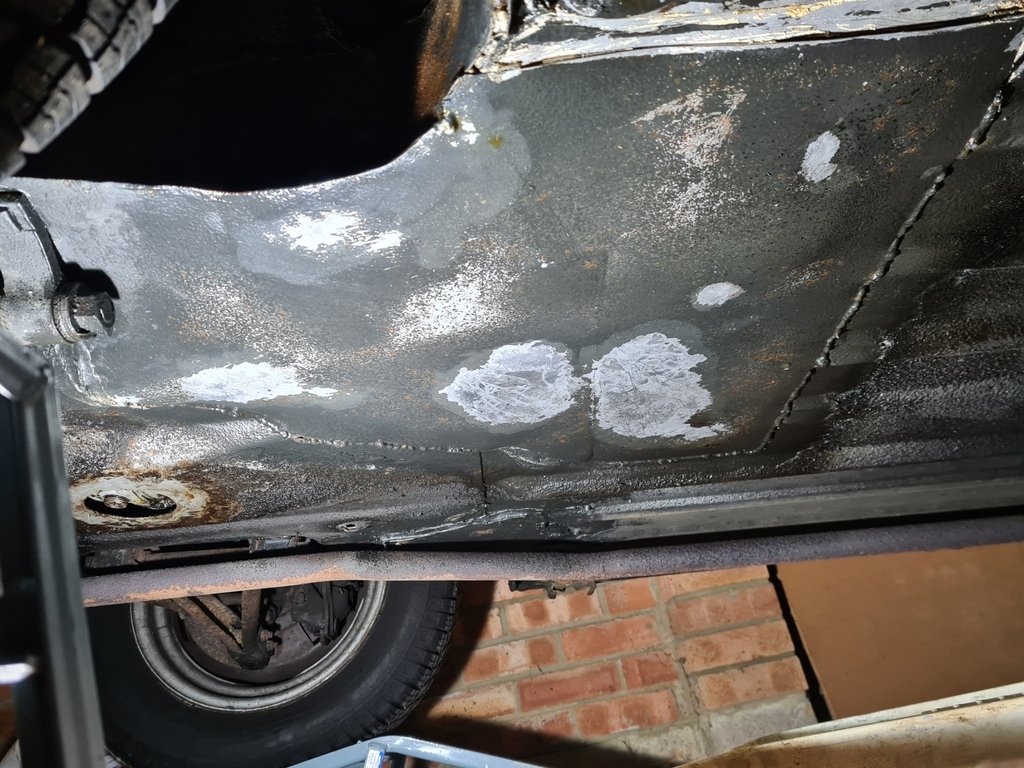
Then after two coats of the zinc paint and the seam sealer
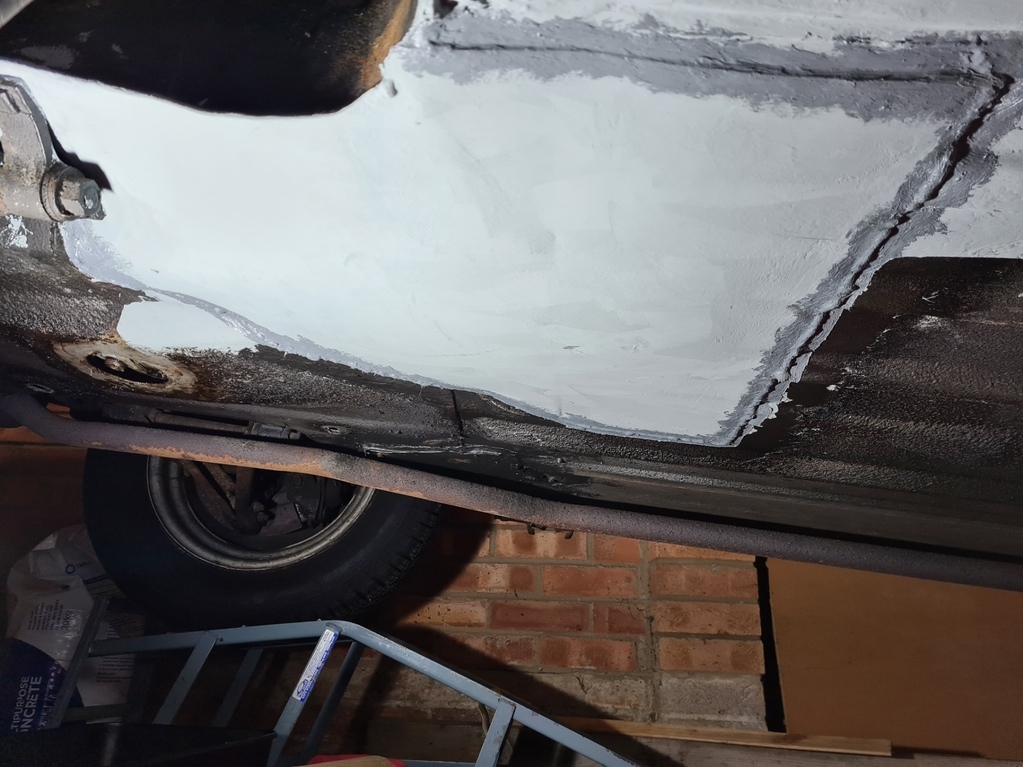
I got my timing wrong on this, as the second coat has to be applied either between 2 and 4 hours after the first, or wait 4 days. I was too slow, so had to wait 4 days.
Whilst the 4 days was passing, a diversion, I wanted to fit a rev counter.
Not because I'll be snatching racing changes on the red line (!), but because I think I am not revving the car enough- being too cautious and changing up too early, I'm used to modern cars these days, petrol or diesel turbos, where its all torque. I've rather got out of the habit of needing revs, so wanted a rev counter to see what its doing.
I also have a suspicion that the tickover is too fast, the V4 has quite an uneven beat, especially at lower revs, so I am not certain what I am listening for, but does feel its quite high at tickover, so it would be nice to see.
First thing was to find a hole in the bulkhead to pass the wires through
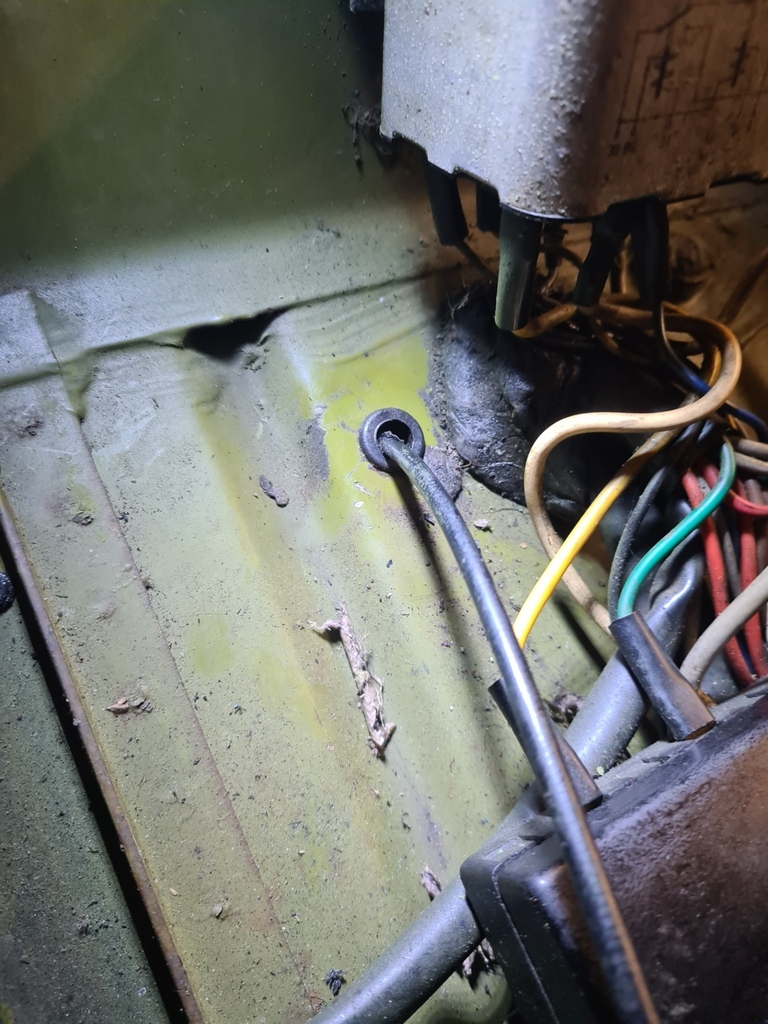
This is the choke cable coming through. There was already a very frayed and un-terminated permanent live passing through which was swiftly removed.
There was also no grommet, so I added one.
Wiring passed through
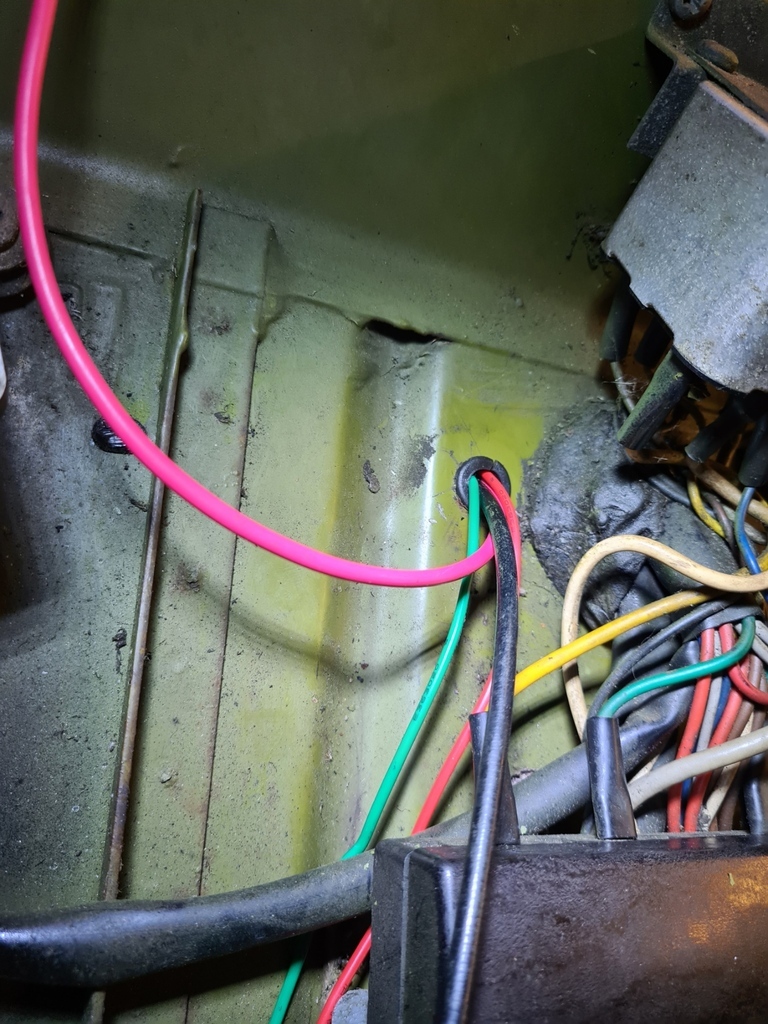
Small Green to the coil
Small Red to switched live
The bigger red is for future use to power a usb point in place of the broken cigarette lighter, but made sense to feed it through at the same time
Then fit the instrument
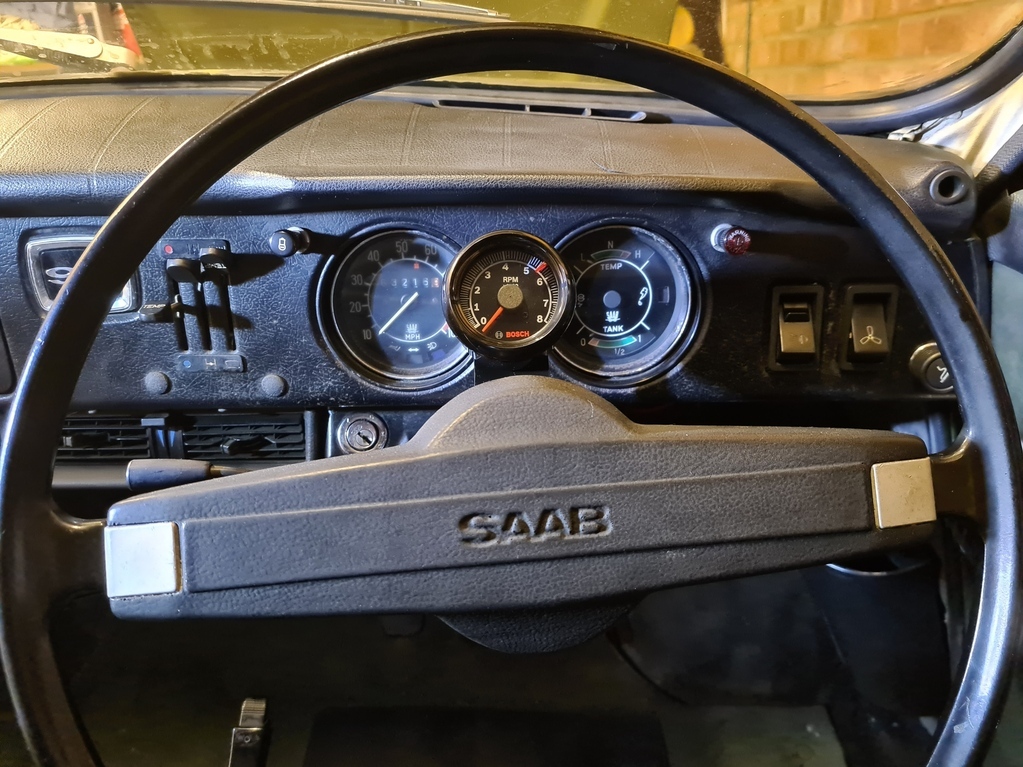
It came with a mount and is fixed to the steering column with a double sided sticky pad- fingers crossed it stays.
Wiring was OK, also needed an earth and a lighting feed, finding and breaking into a lighting feed behind the other instruments was the hardest bit to do, contortions under the dashboard.
Lets see if it works, I did not test it at this point.
Back to the rust removal and painting, next step was where the same repair came round into the wheelarch
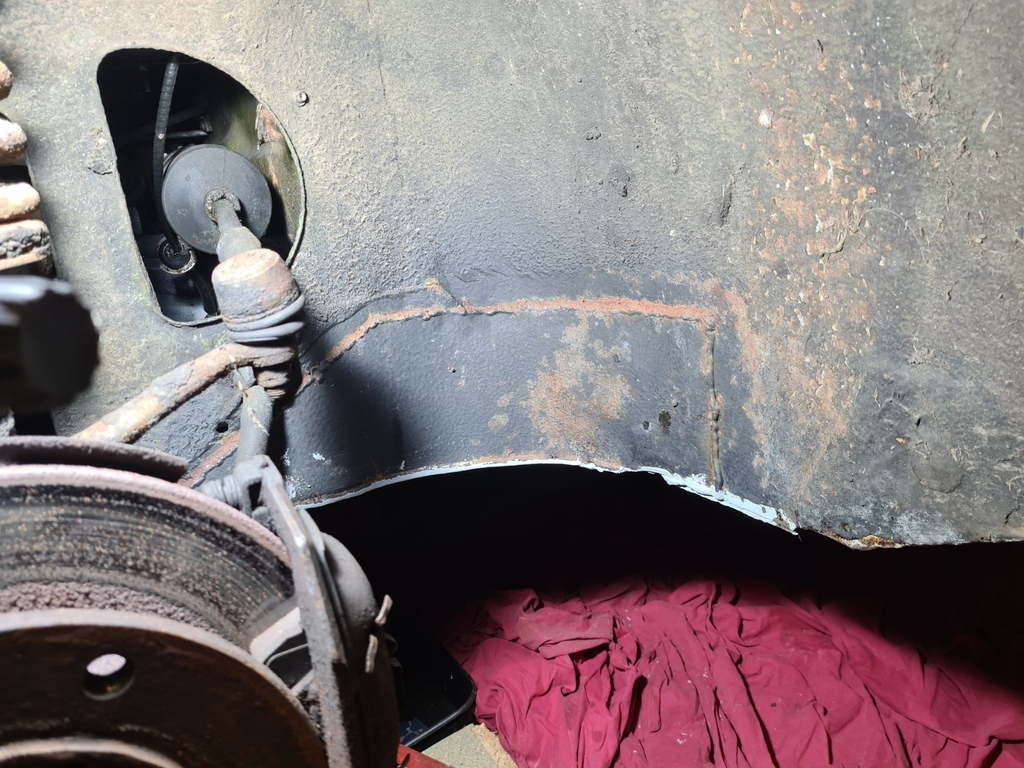
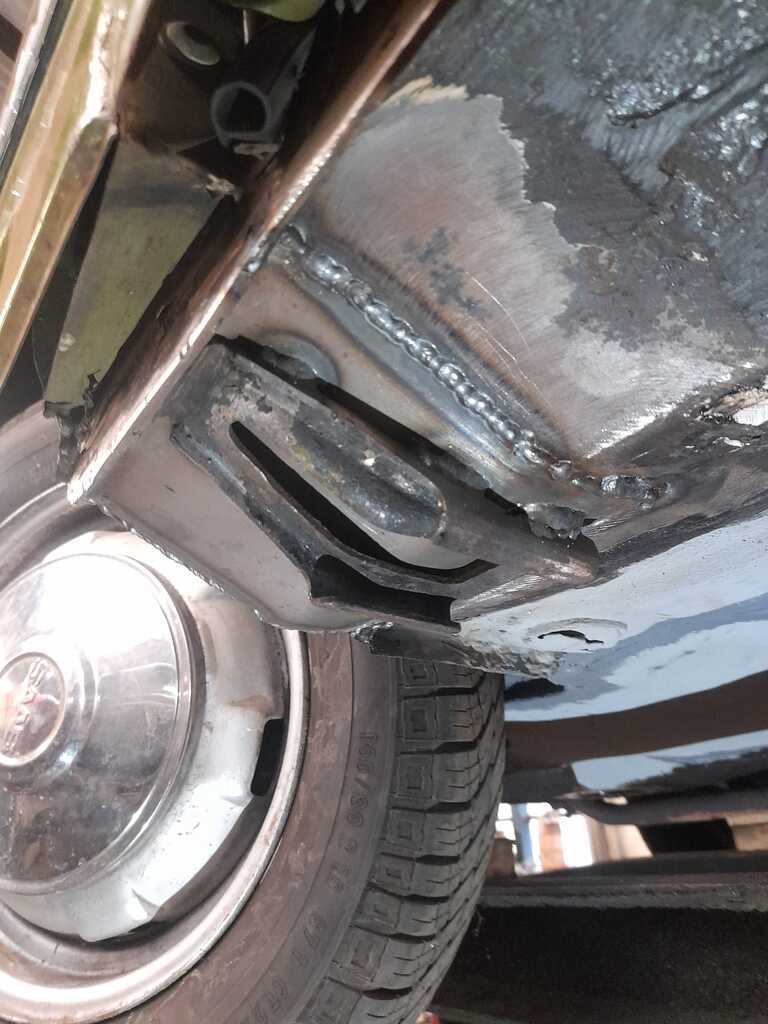
You can really see the rust starting to form on the welds, basically unprotected.
I needed the wheel off for this, but ideally still wanted it the same height as when on the ramps.
Managed to jack it a bit higher, got it onto 3 axle stands on this side and keep the other side still on the ramp.
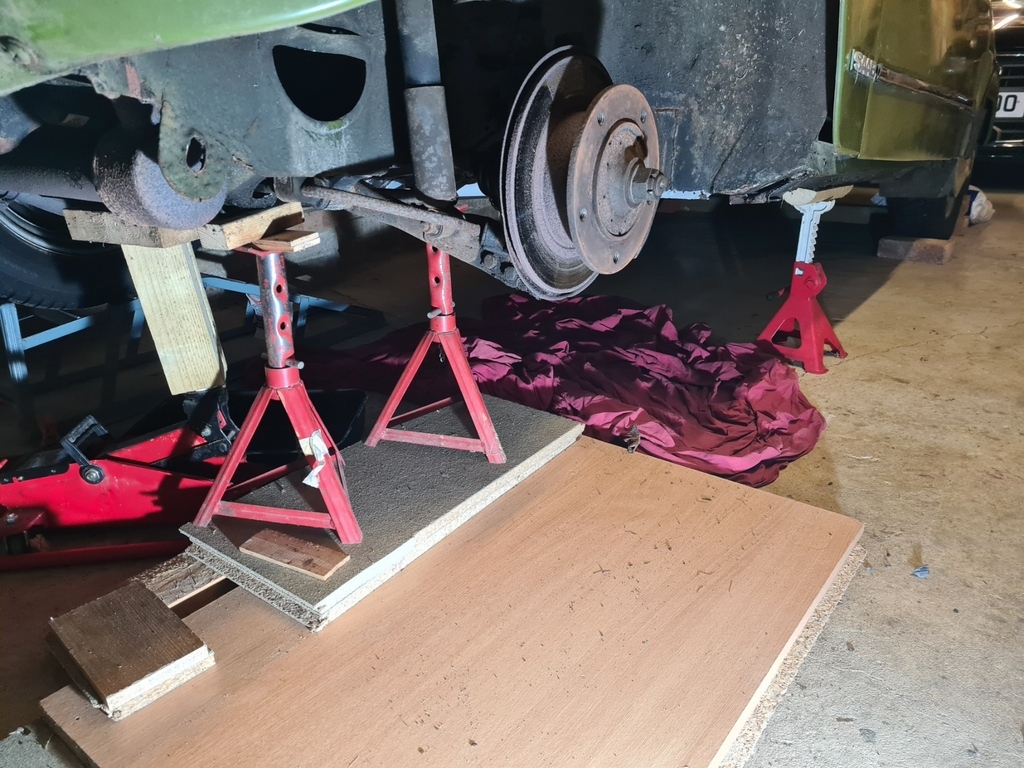
Still don't think I'd go underneath, but its very solidly supported now.
Also very firmly wedged behind the rear wheels with bricks and a bag of cement behind each- its really not going anywhere!
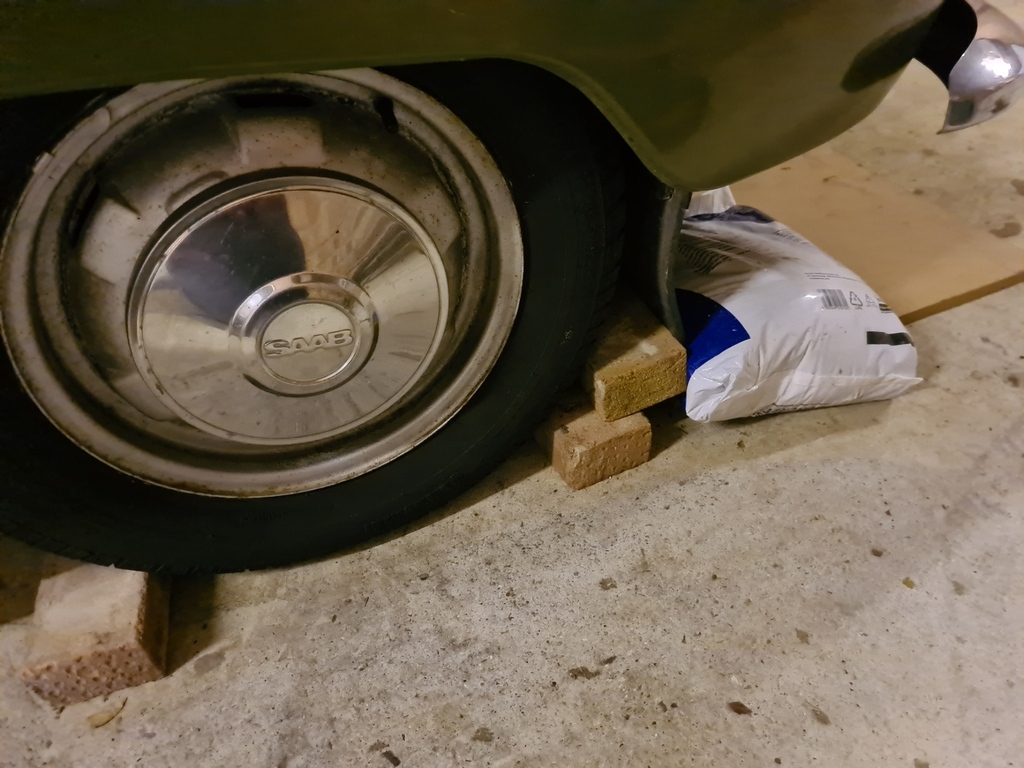
This pic shows the underside painted and the return into the wheelarch that still needs to be done
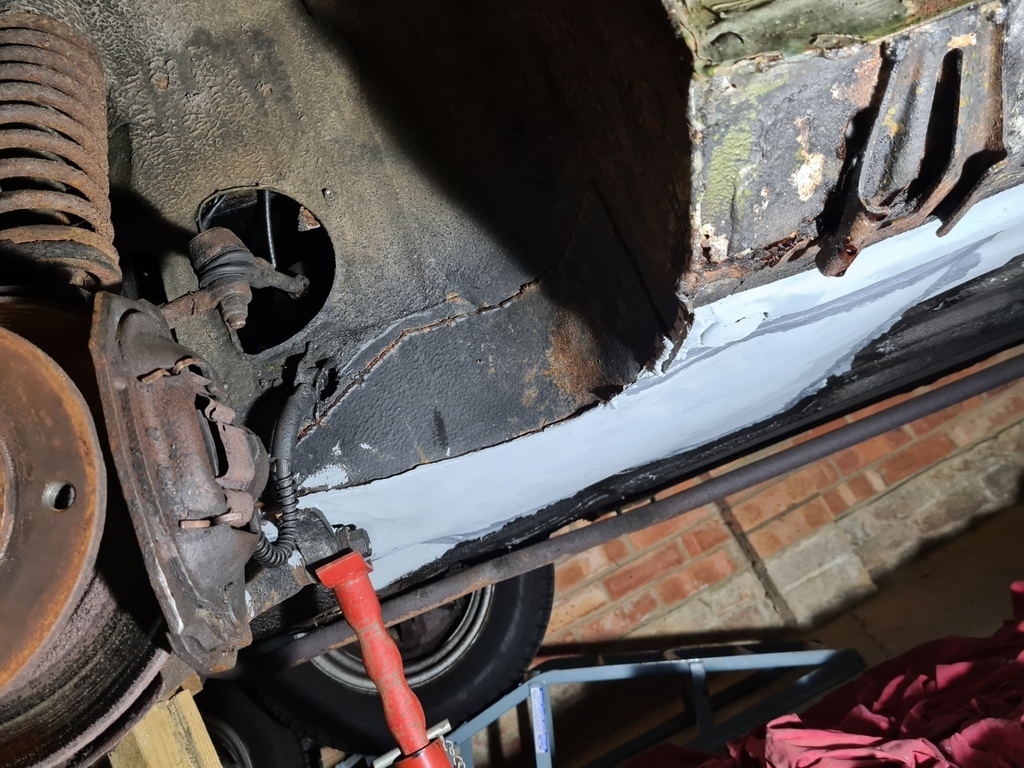
On with the magic potion
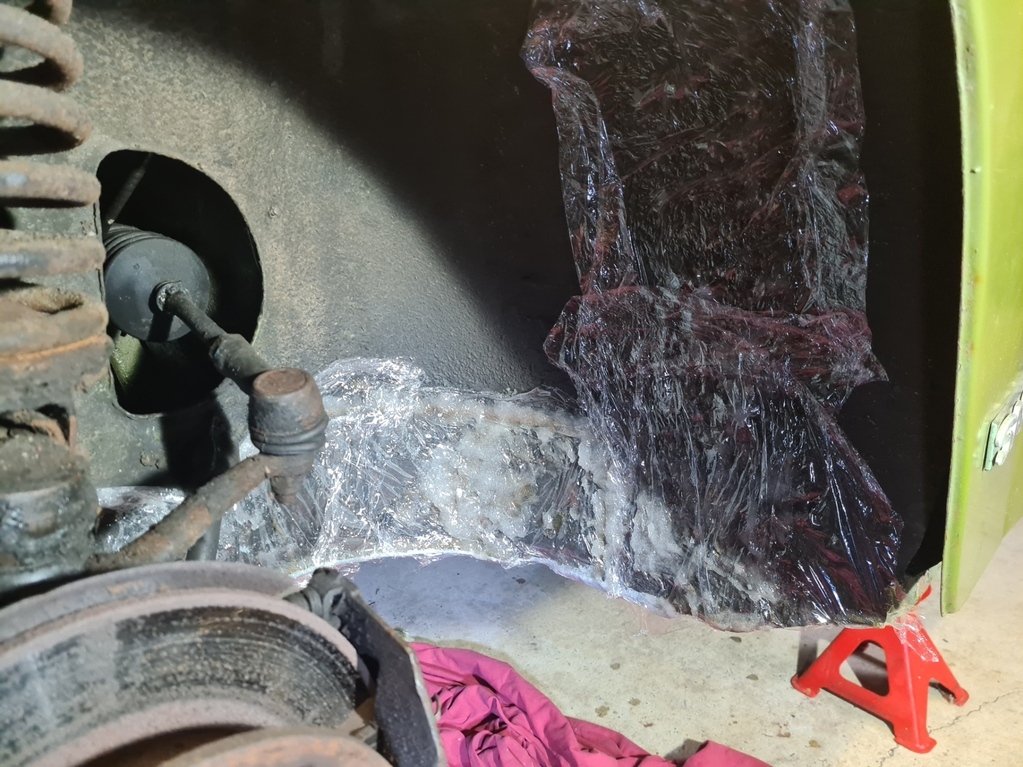
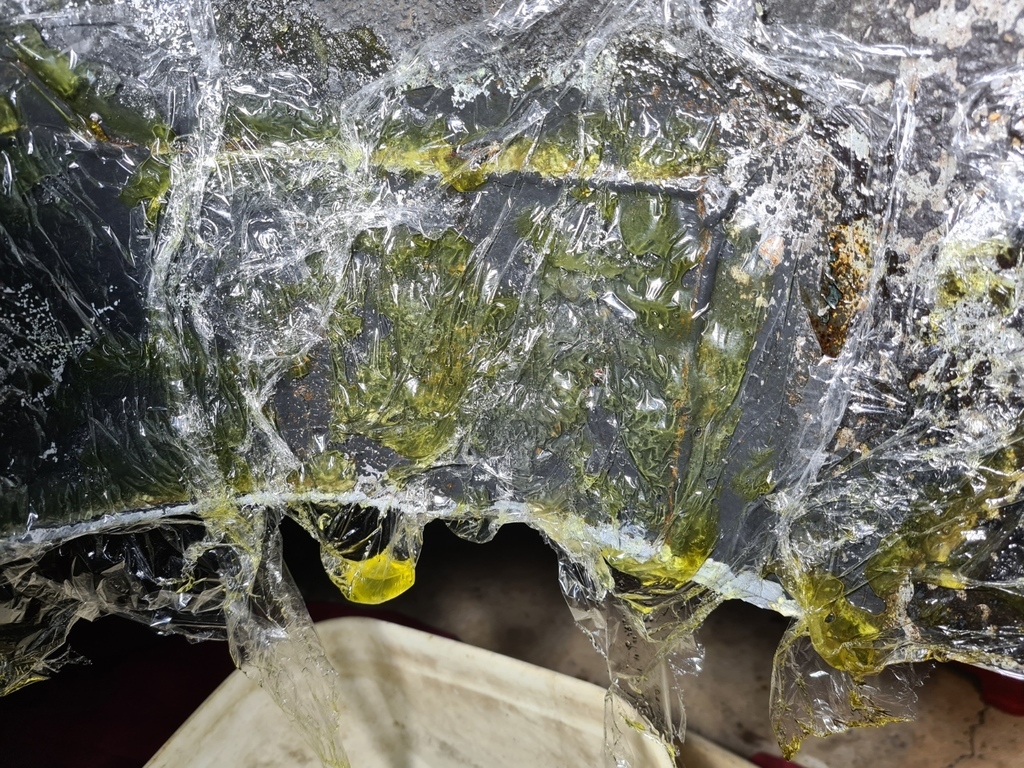
Did this twice again, in this pic you can see the potion turning green as it seems to draw out the rust
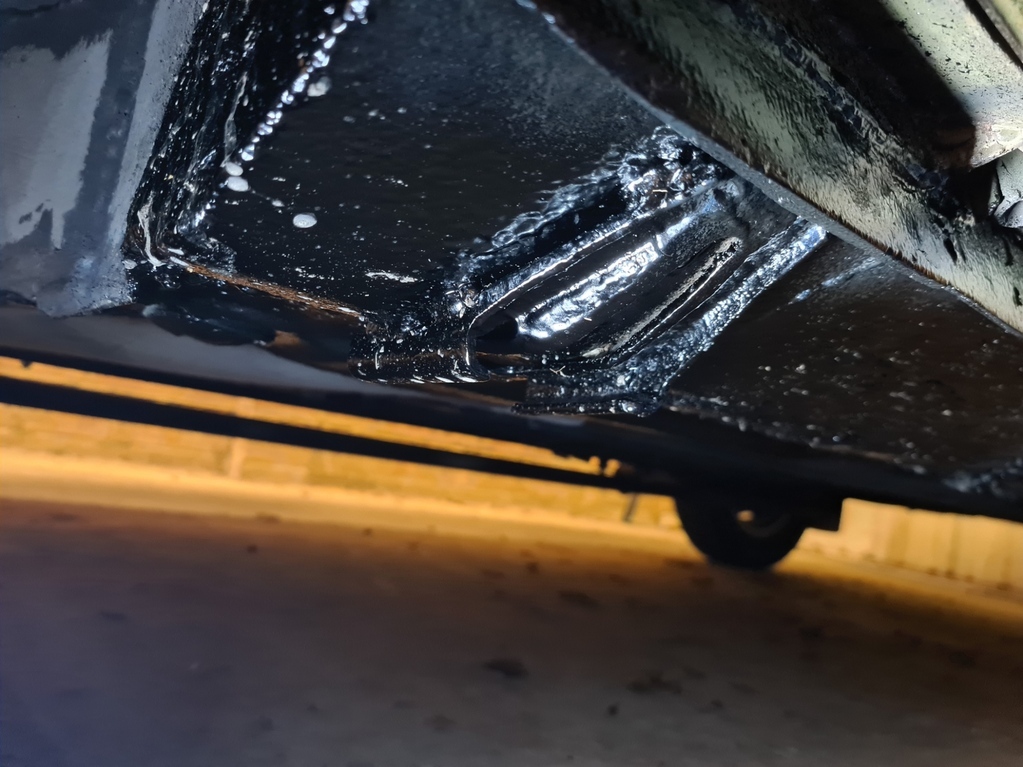
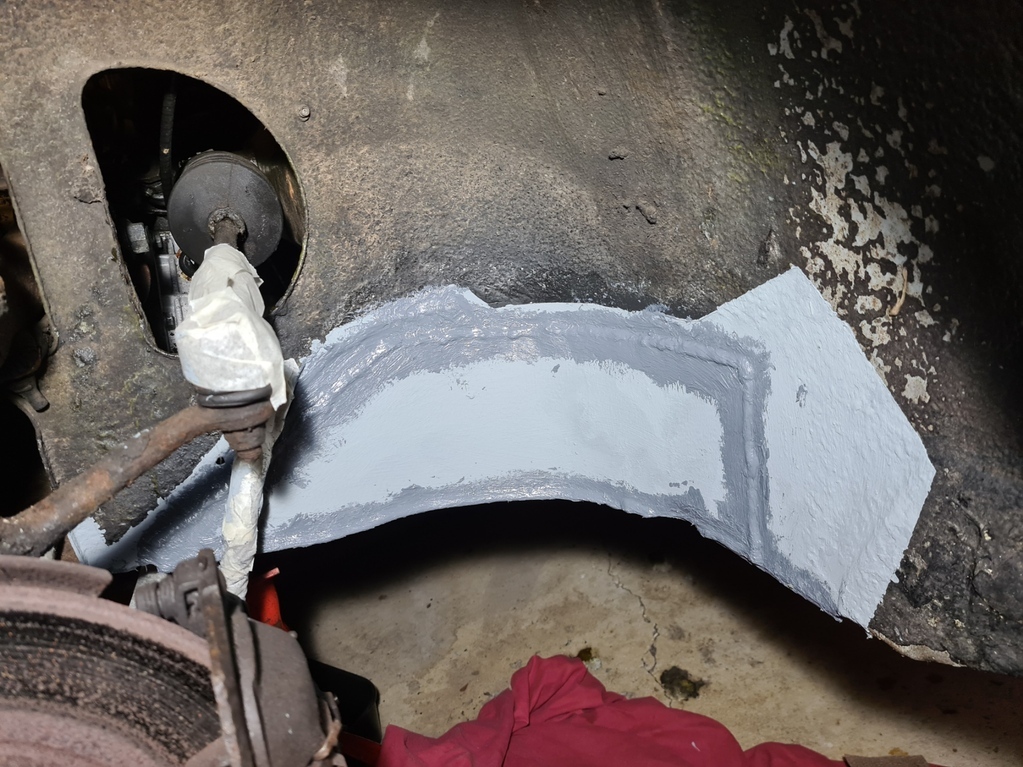
Then 2 coats of paint (within the 4 hour timeline this time) and 4 days later the seam sealer
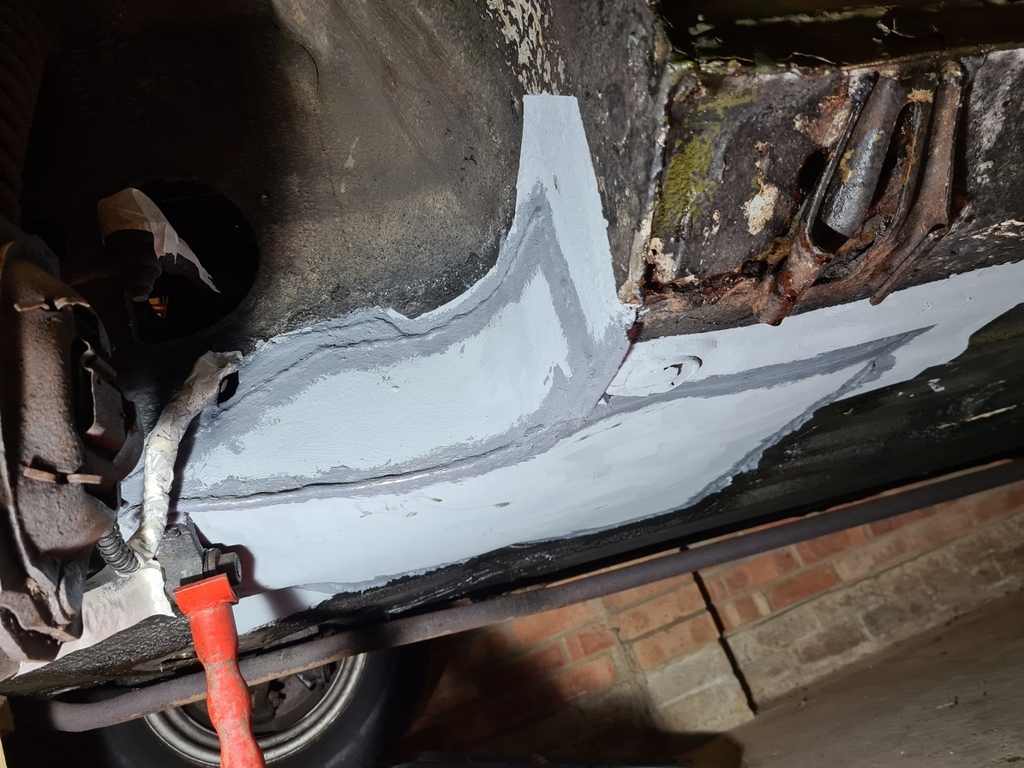
and shot of the whole task, you can also see the hole behind the jacking point, top right in the picture, so I have avoided that area completely for now, hopefully I've left enough good metal around it for a repair.
So with that done I could start up, drive off of the ramps and see if the rev counter worked
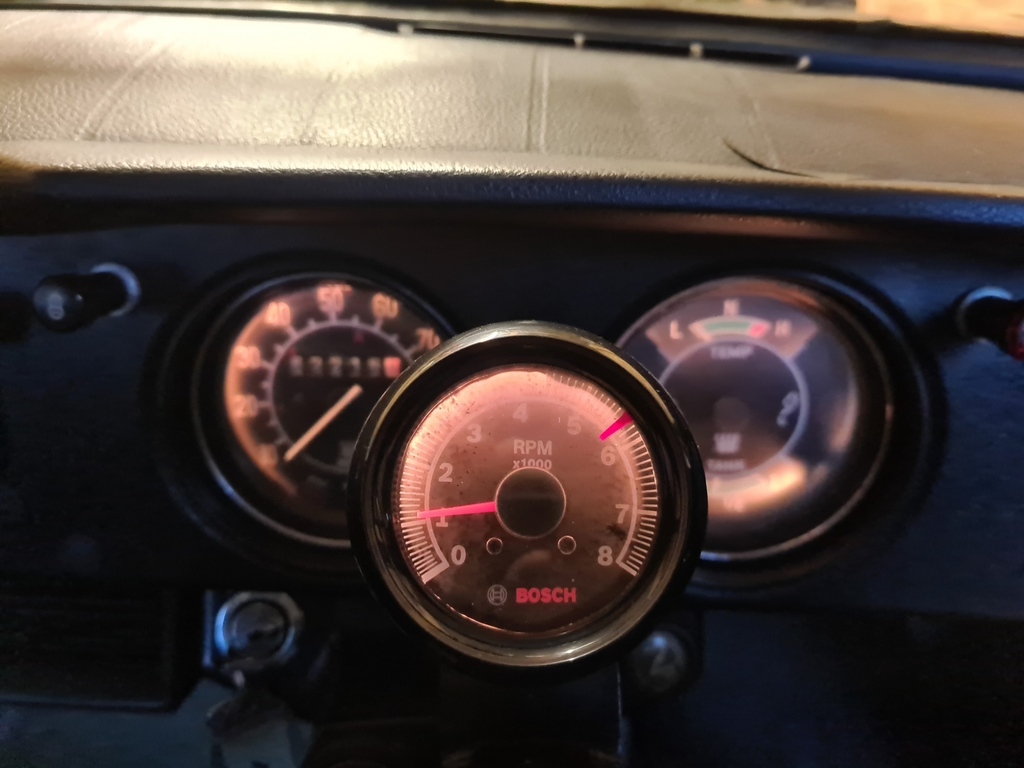
Certainly does which is good. It does seem to be a bit of a fast tickover, looks like about 1150rpm in this pic, I've got some instructions on how to adjust the tickover on this Weber carb, so I'll have a read and see if I can get it lower but stable.
I'm pleased with all of that, next job will be to find someone to weld up the hole in the back of the sill. Then I can underseal the whole area. I didn't find anywhere that needed the cavity wax, but did spot what looks like a bung in the end of the sill, so once welded I'll investigate if that is a way to get some protection into the inside.
Happy Christmas all!
Cheers
Nigel


