kh97
Part of things
 
Posts: 25
|
|
|
|
A couple years ago I Purchased my first oldtimer: This 1976 ford granada mk1 gia with a 2.8 collogne engine. 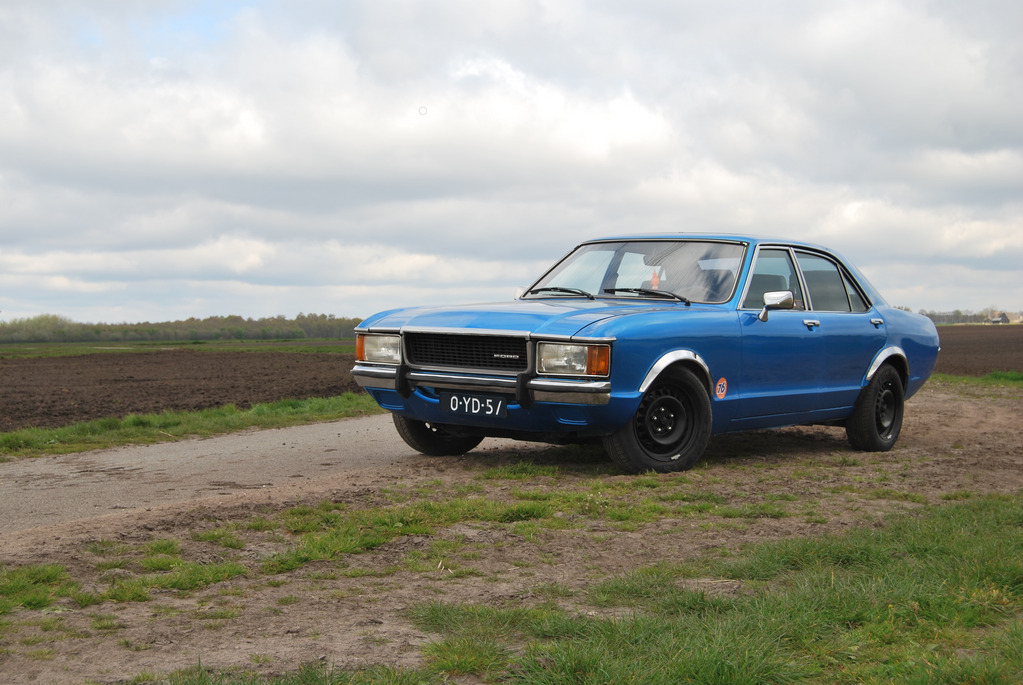 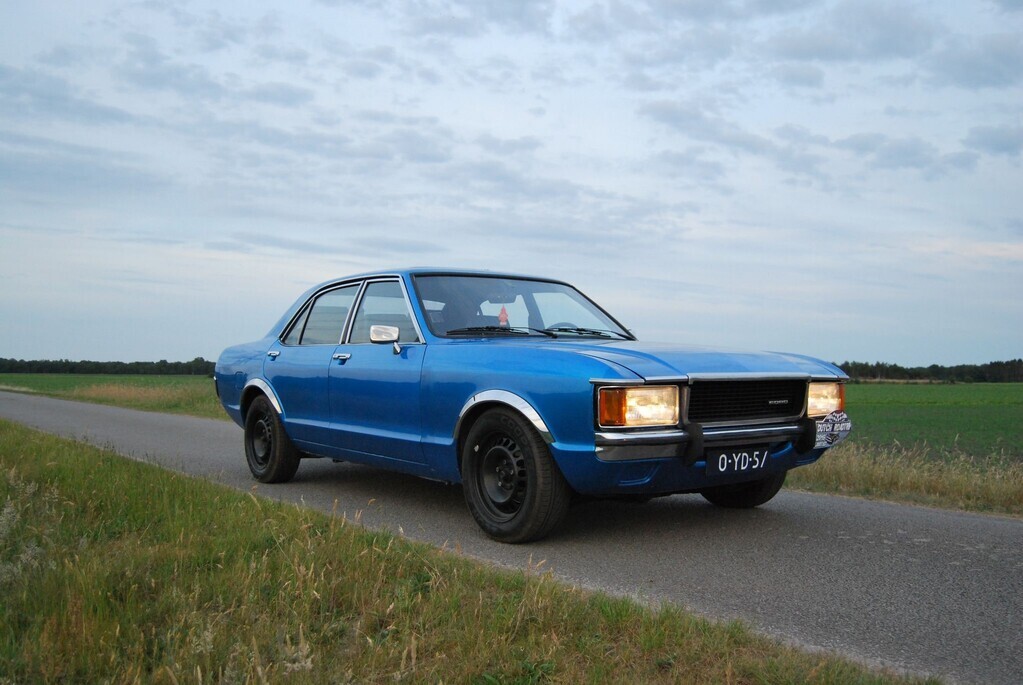 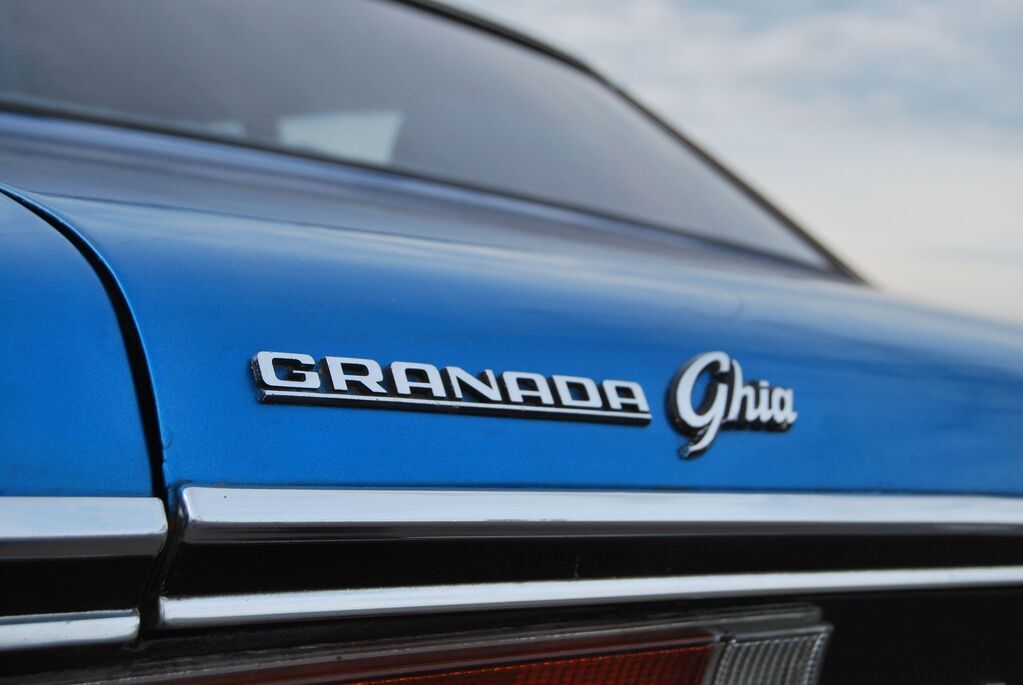 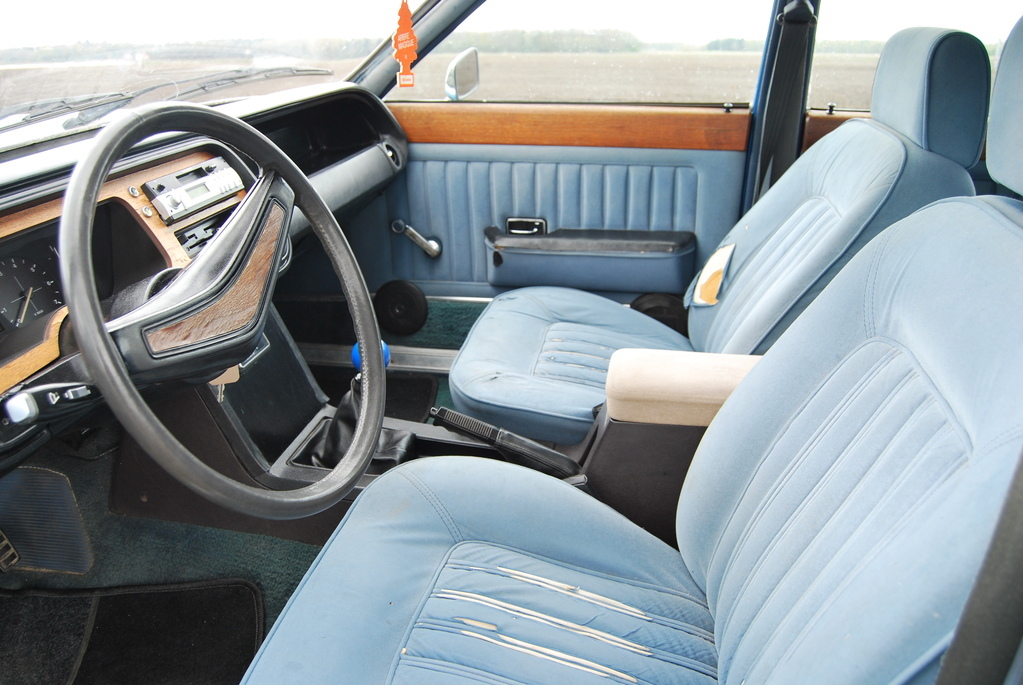 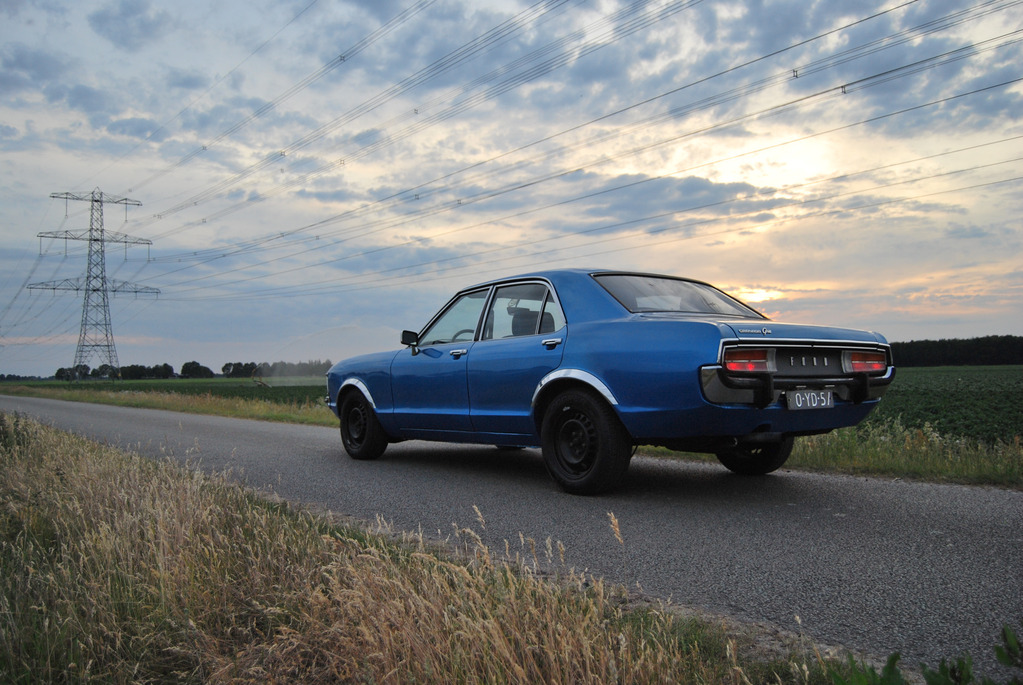 From a distance it looked to be in decent shape, but step a little closer and a lot of imperfections came in sight. I didn't care about the imperfections. As long as it would turn over and i could drive it. I did enjoy driving the car for a few years But i knew the car soon was not going to pass its inspection because of some rust issues. In October 2021 I parked the car to fix the worst rust spots and make it safe enough to enter the road again. At least that was the plan.... The car turned out te be patched up quite badly by welding plates over the rusty parts. I started to like the welding and metal fabrication, so i took the challenge and now we are about half way into the bodywork. Here's a summary of the pictures from the past 2 years: (unfortunately my phone died a few months ago, so i lost a lot of pictures of the proces. I hope i can revive some of them) Here i started preparing the place that is going to be home for the granada for the time it is being worked on. 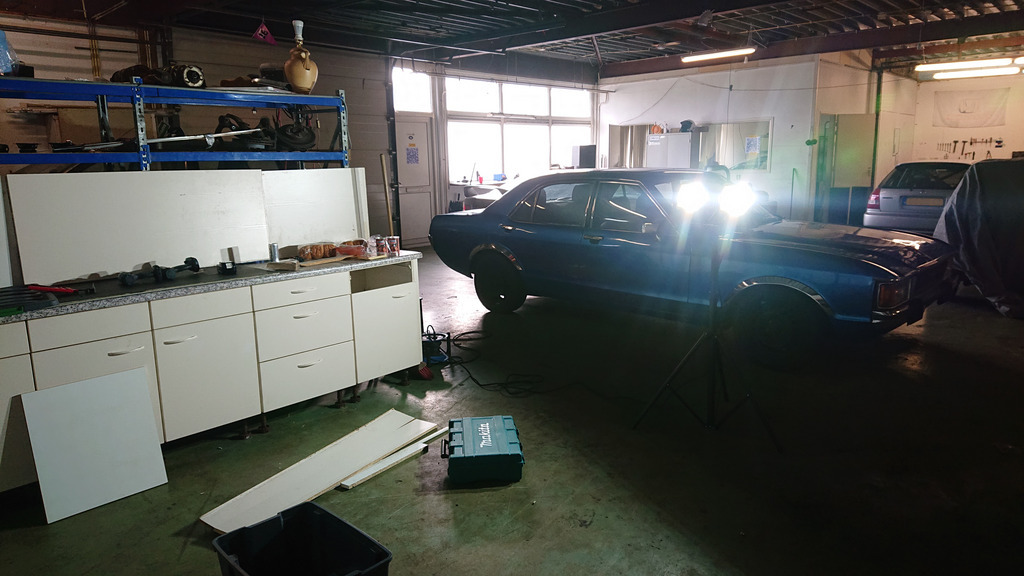 Started to remove the passengerside front fender since what's underneat is usualy pretty rusty. My car was no exception: 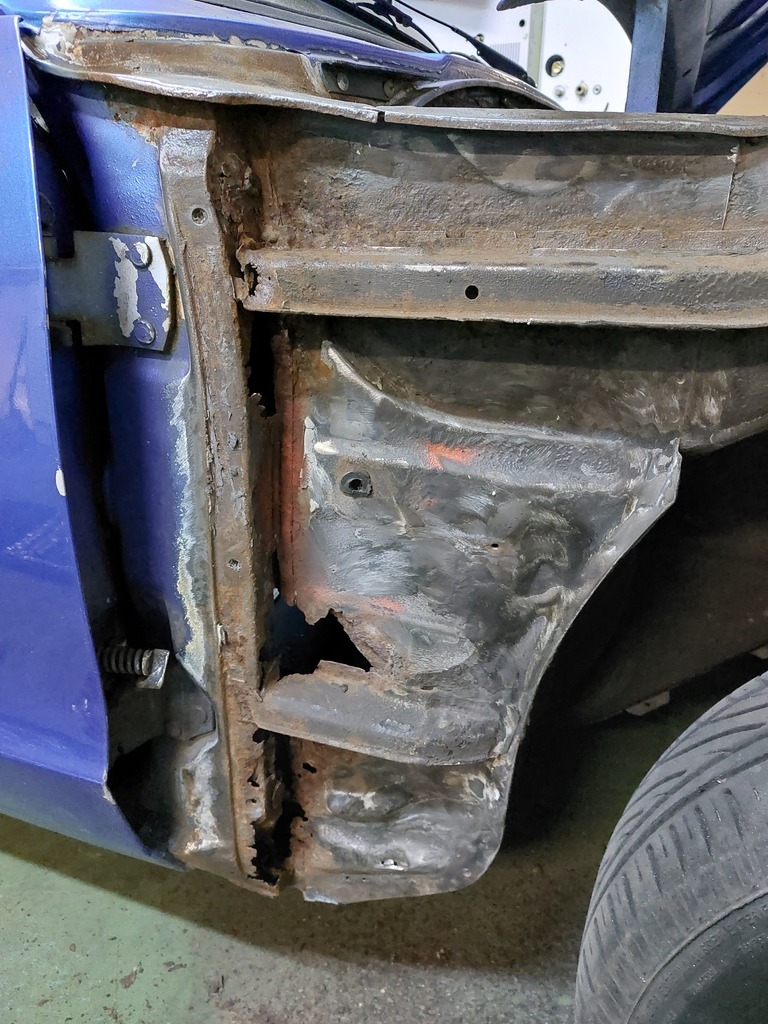 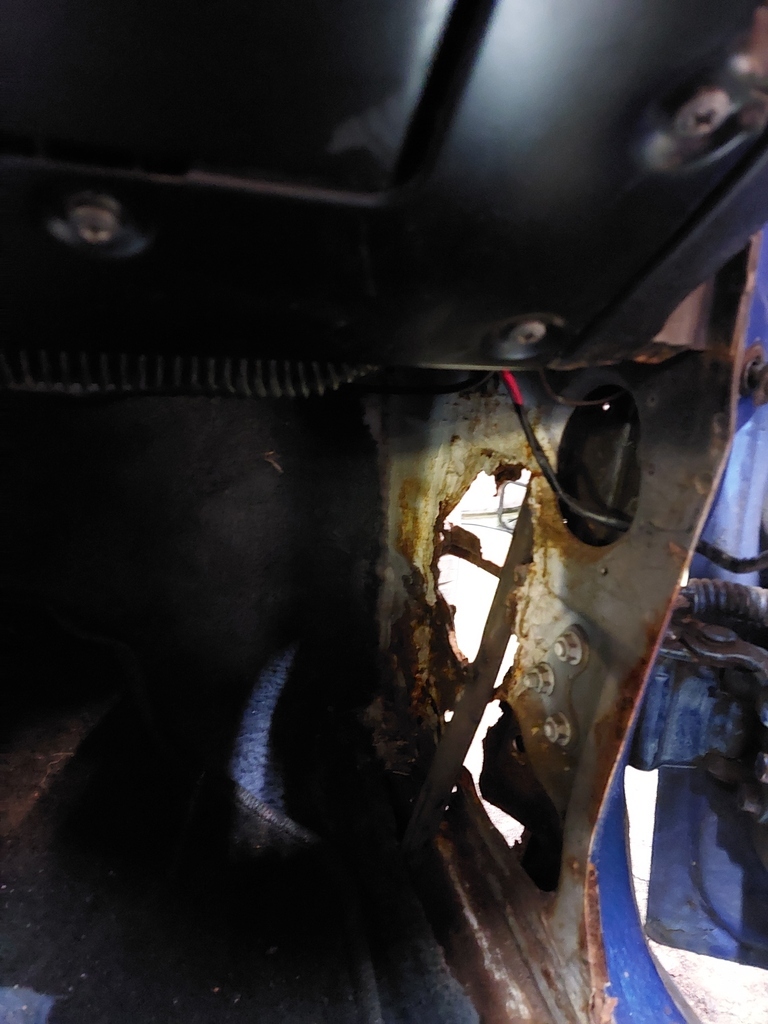 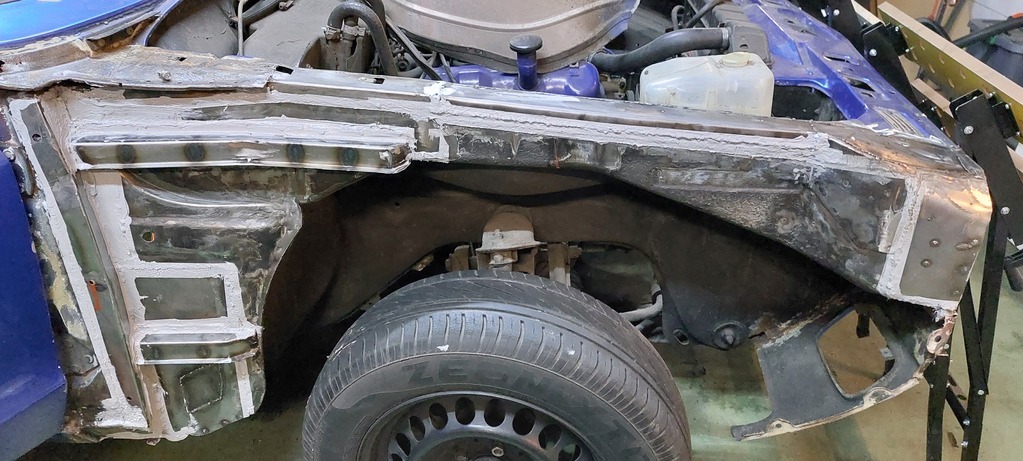 After a bit of work it looked like this. 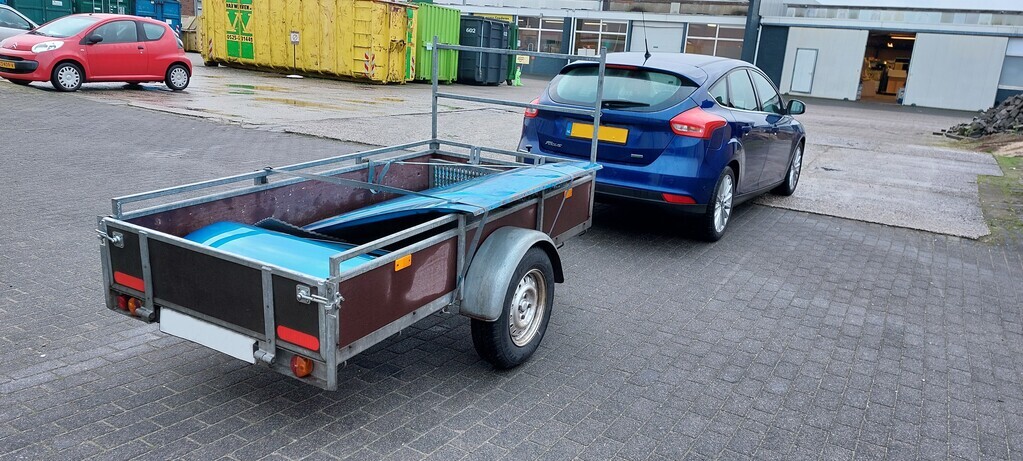 Meanwhile i traded my bonnet for an example in far better condition. The old one was going to be used on the banger racing track. 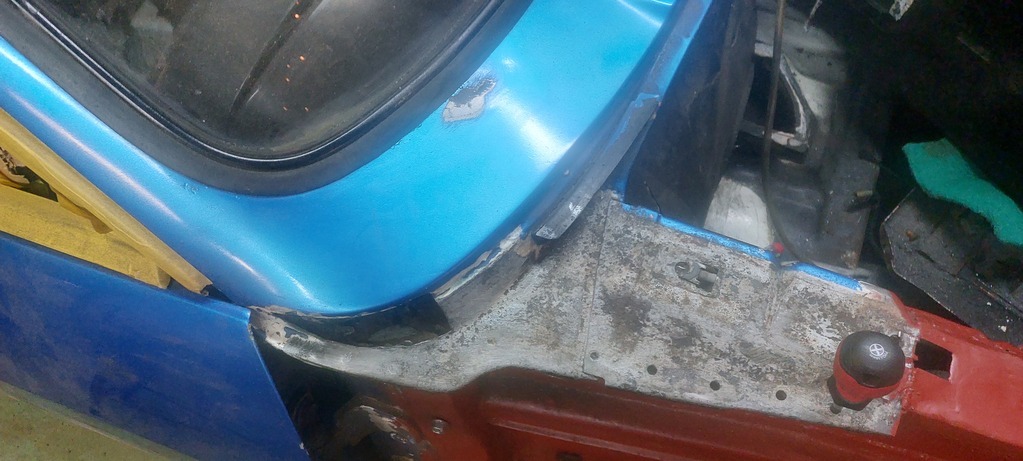 Little, but time consuming repair. 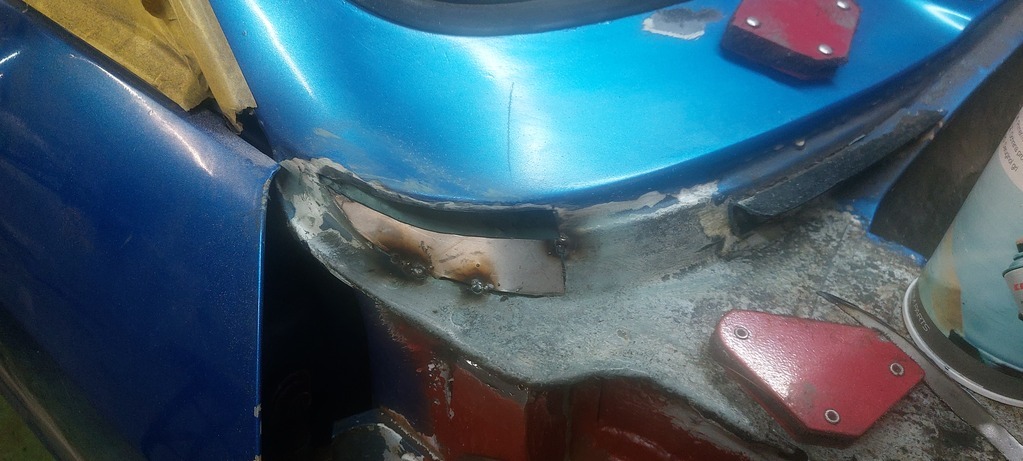 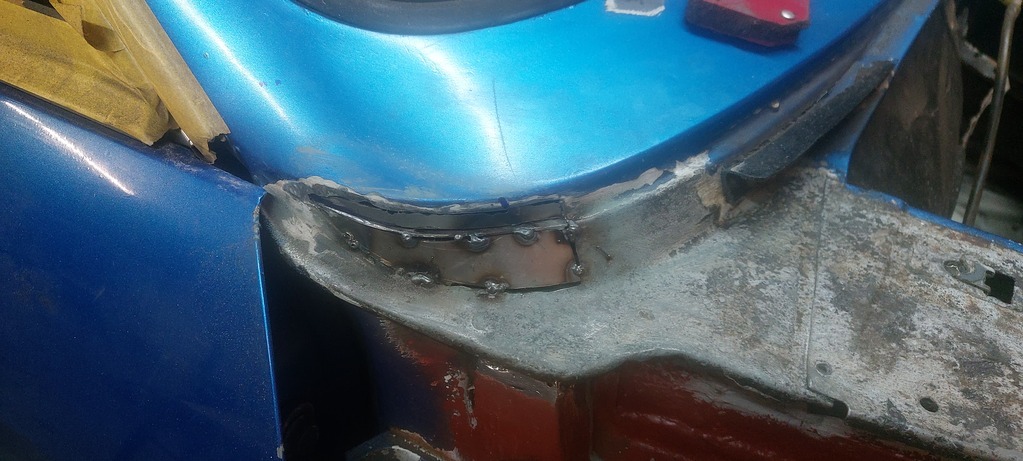 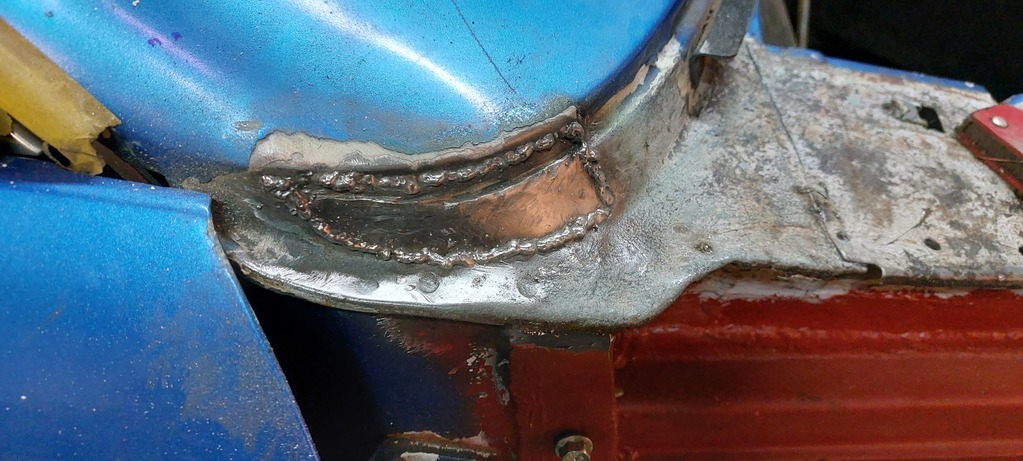 More little repairs: 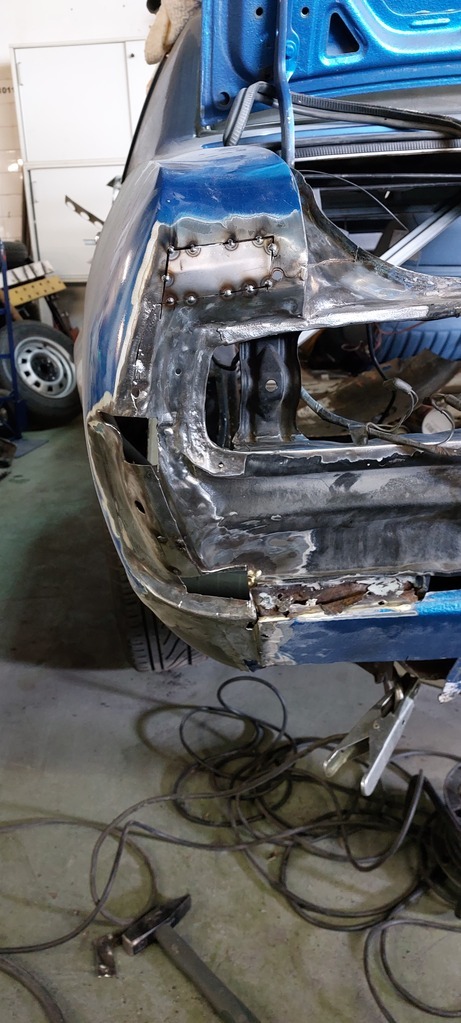 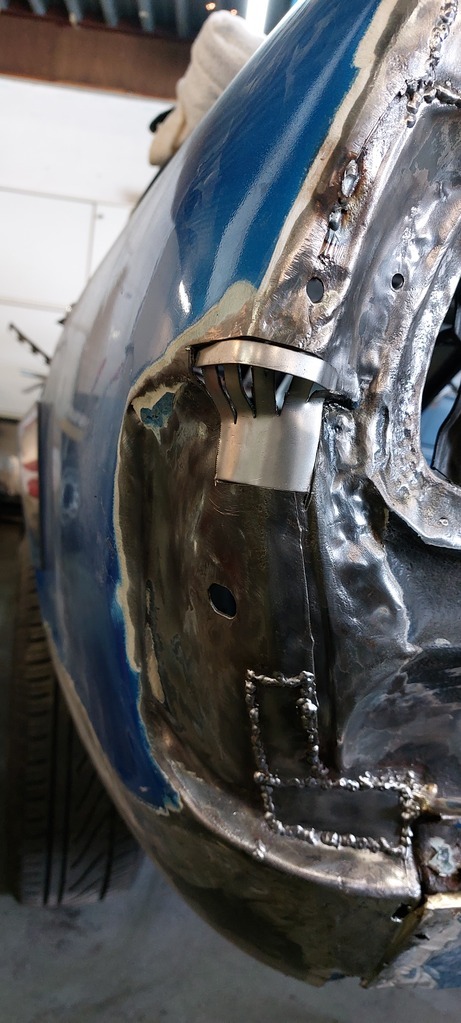 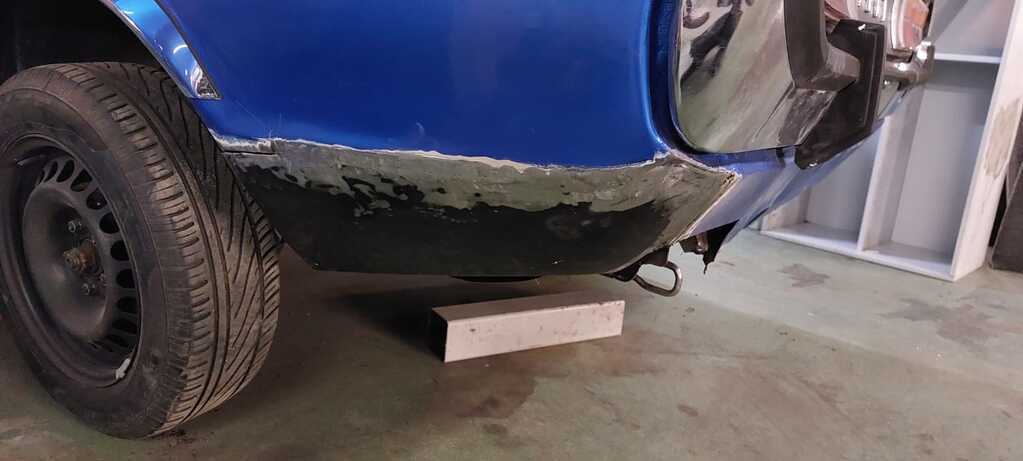 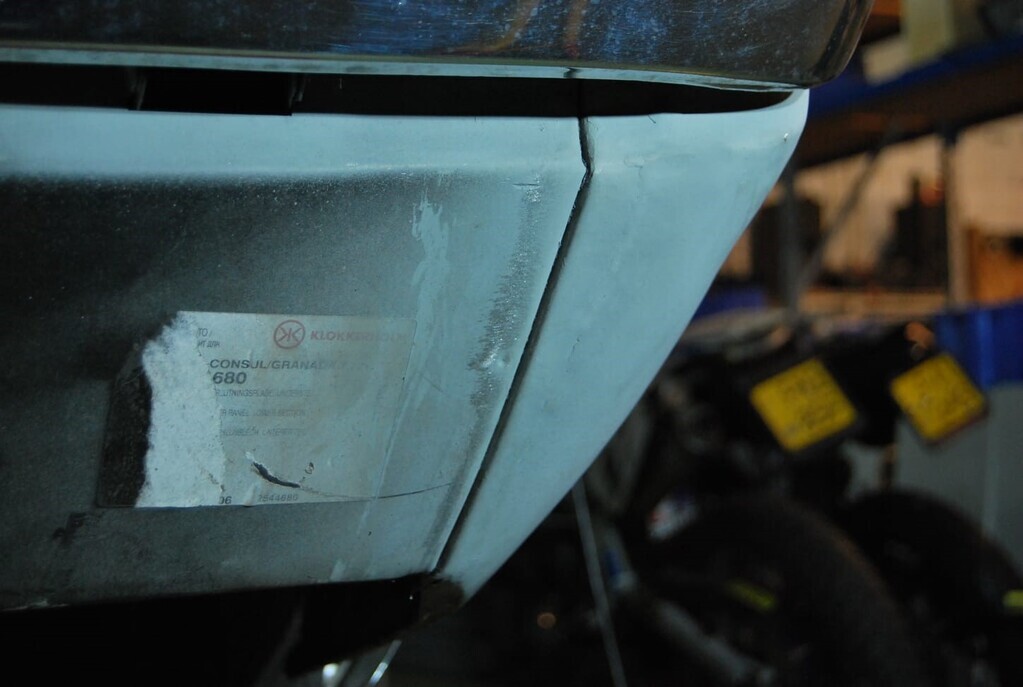 Rear panels welded in. Happy with how the seams turned out. 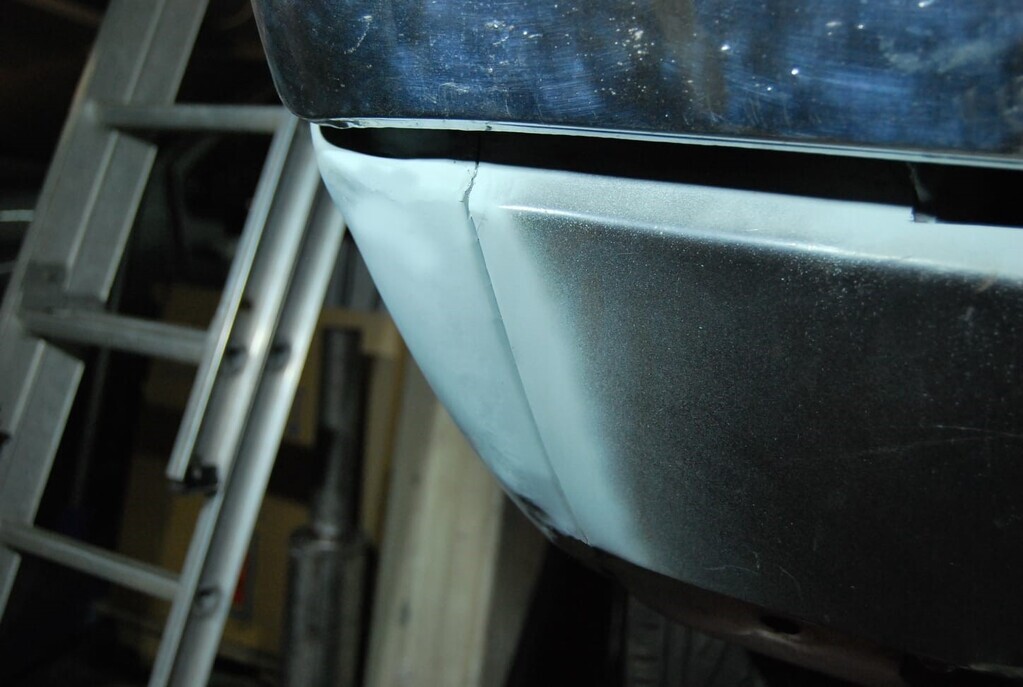 There was still a lot of work to do... Especially the floors and inner sills where in terrible condition and patched very bad. 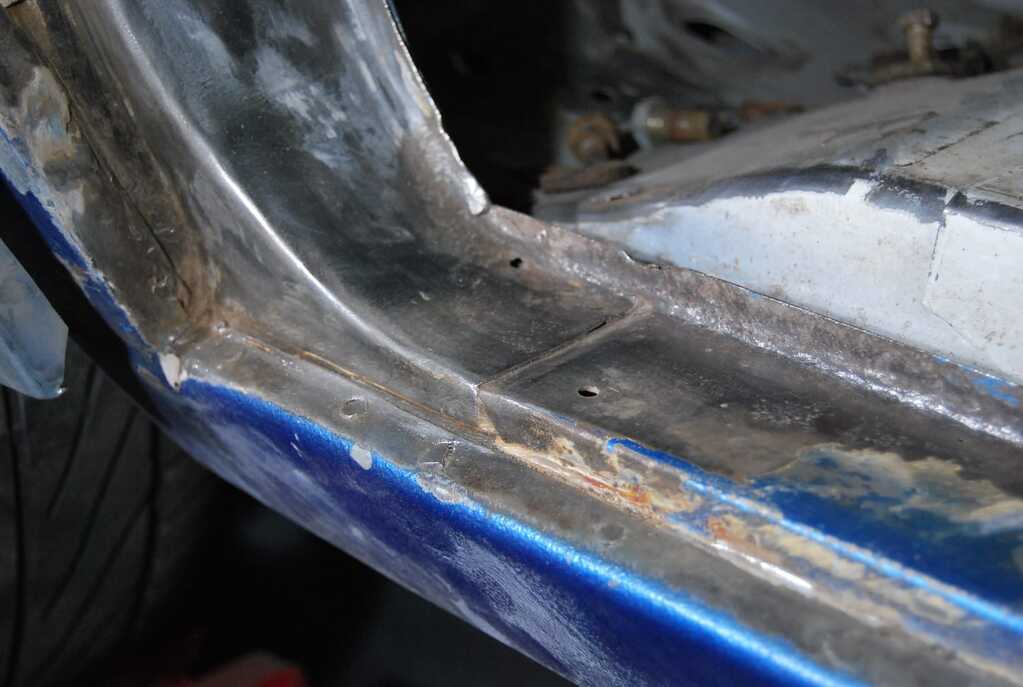 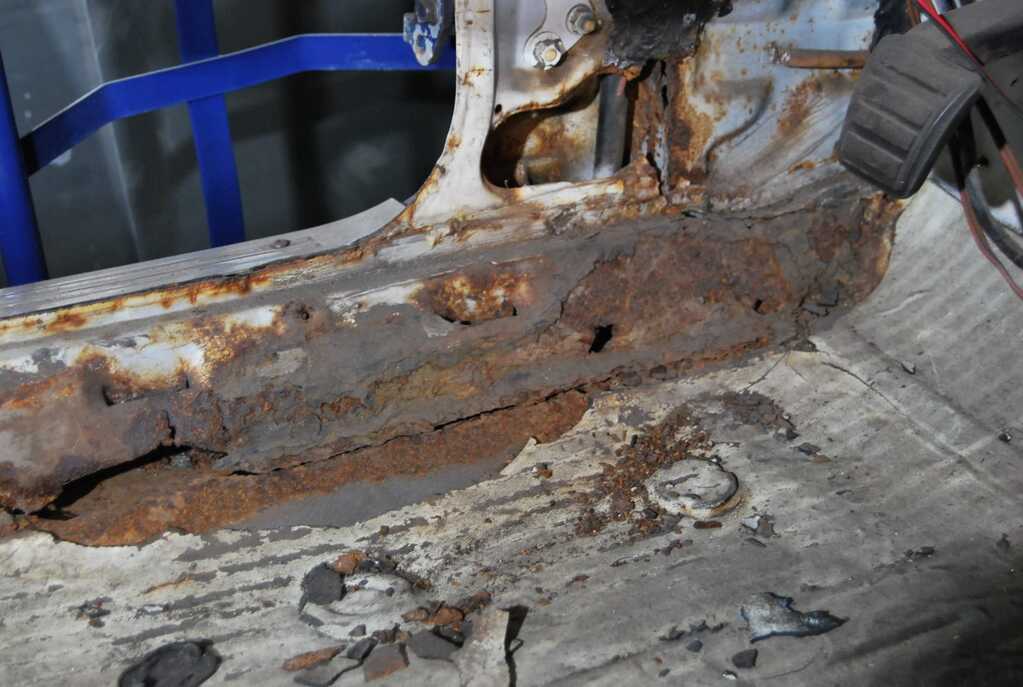 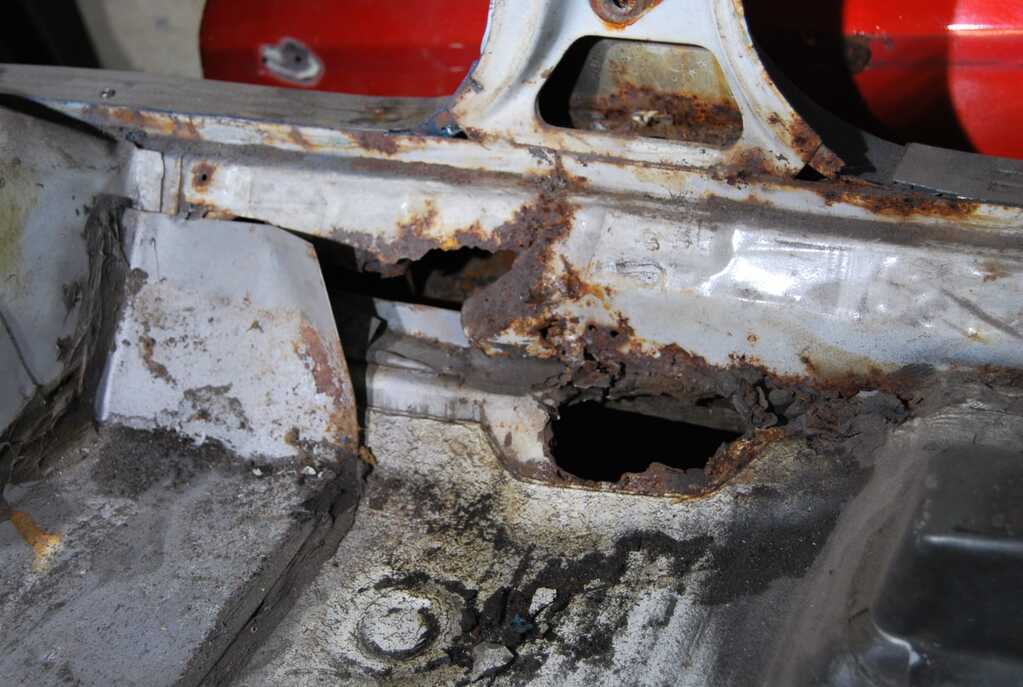 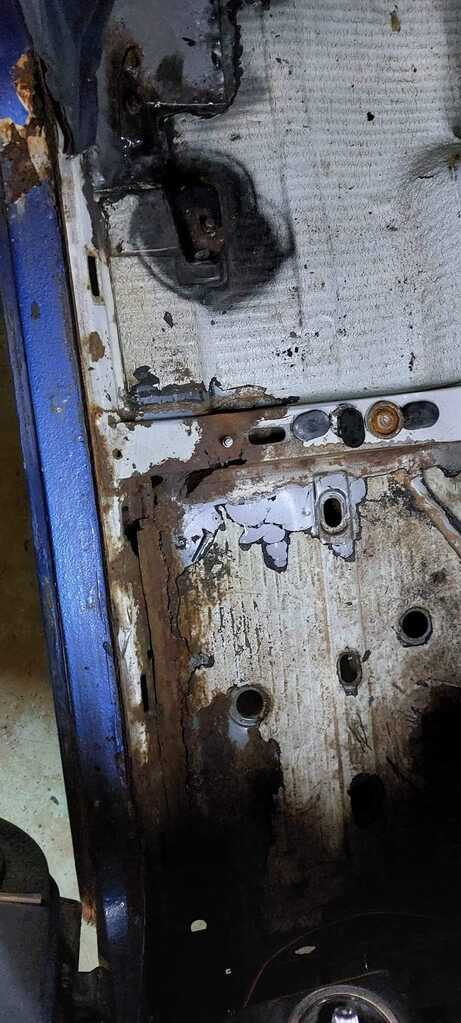 From this point i lost a lot of pictures. I welded in the passenger side inner + outer sill, rear wheel arch and the doors. Only these pictures survived: 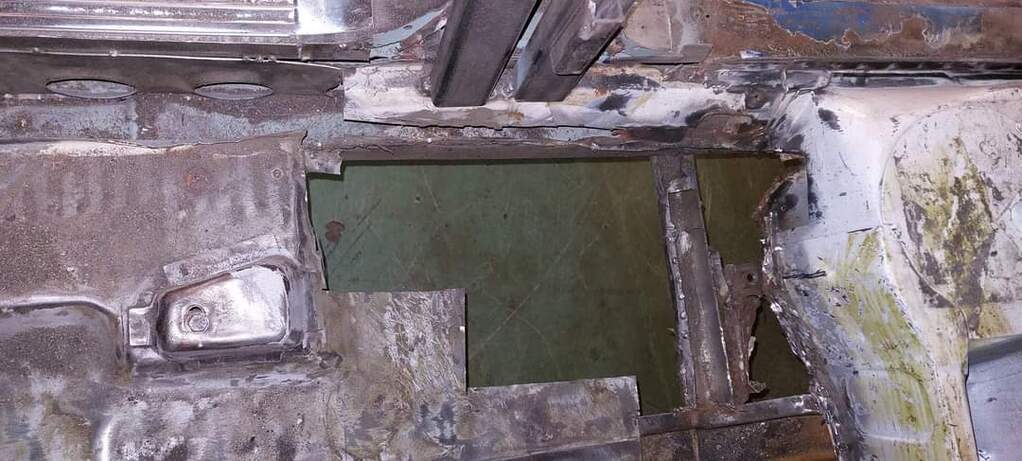 Someone replaced the original jacking point by a piece of scaffolding pipe that was cut in half.  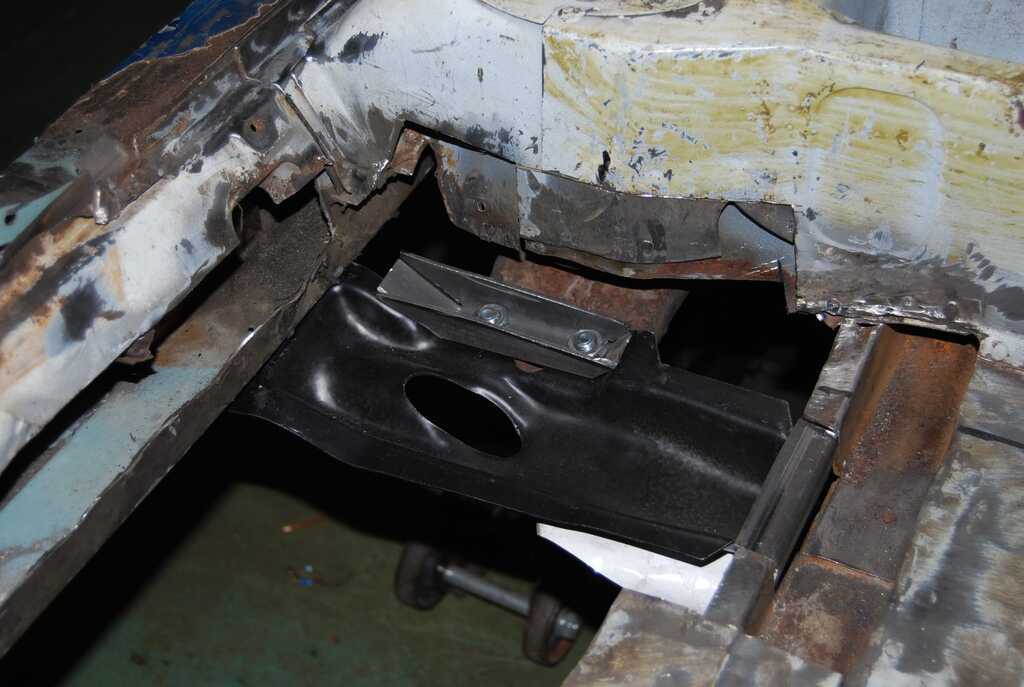 The jacking point that should've been there..... 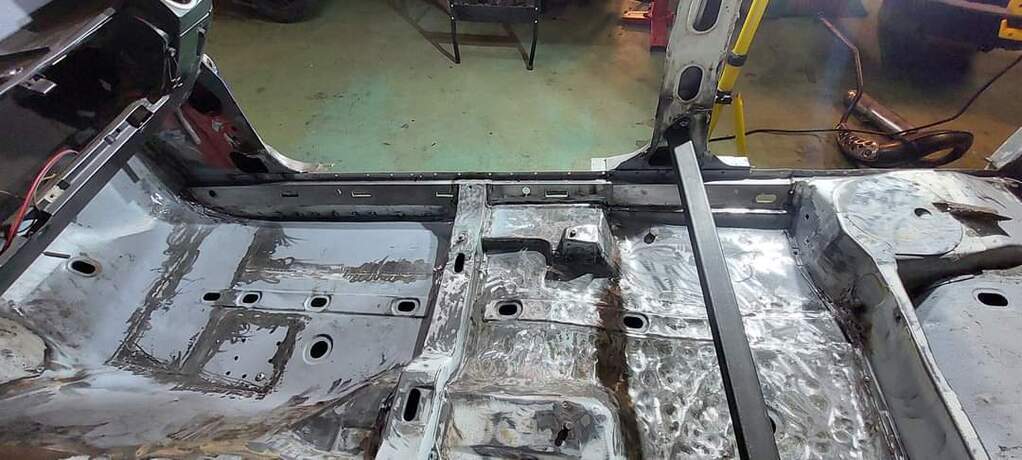 Having the passenger side floor looking like this felt realy good, dispite the fact i had to do the other side aswell. Hopefully i can post pictures of the drivers side soon. 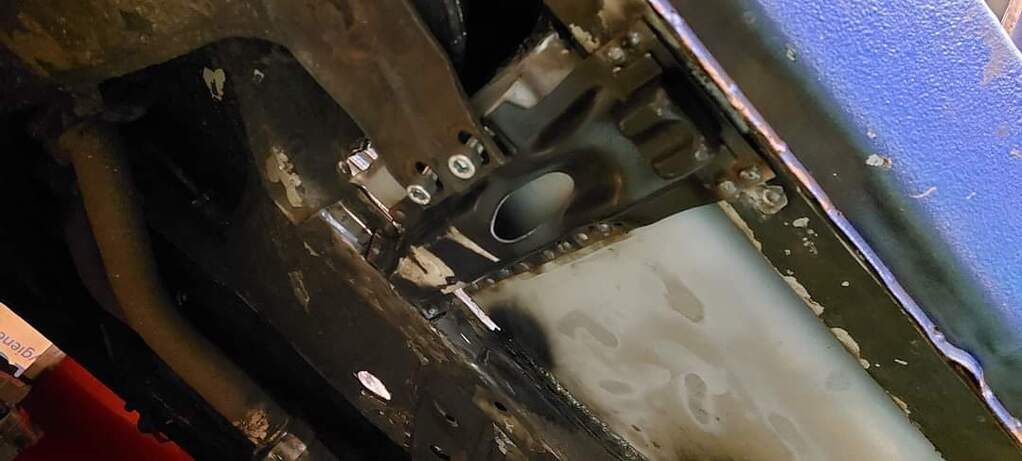 Somewhere in december 2022 I finished the bodywork on the passenger side. this meant i could rotate the granada and start with the car's drivers side. this felt like a huge milestone.  The first job to do was fixing up the body underneath the front side fender. before: 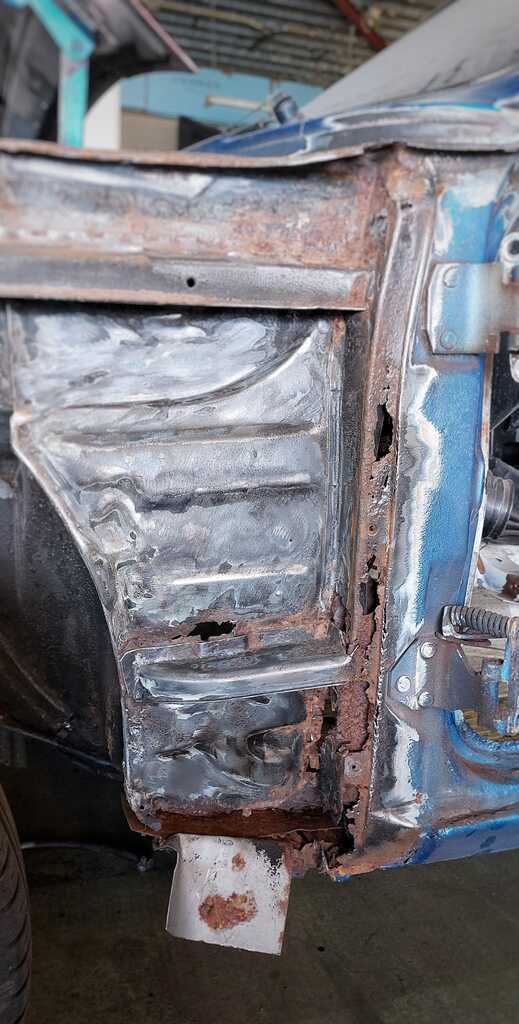 after: 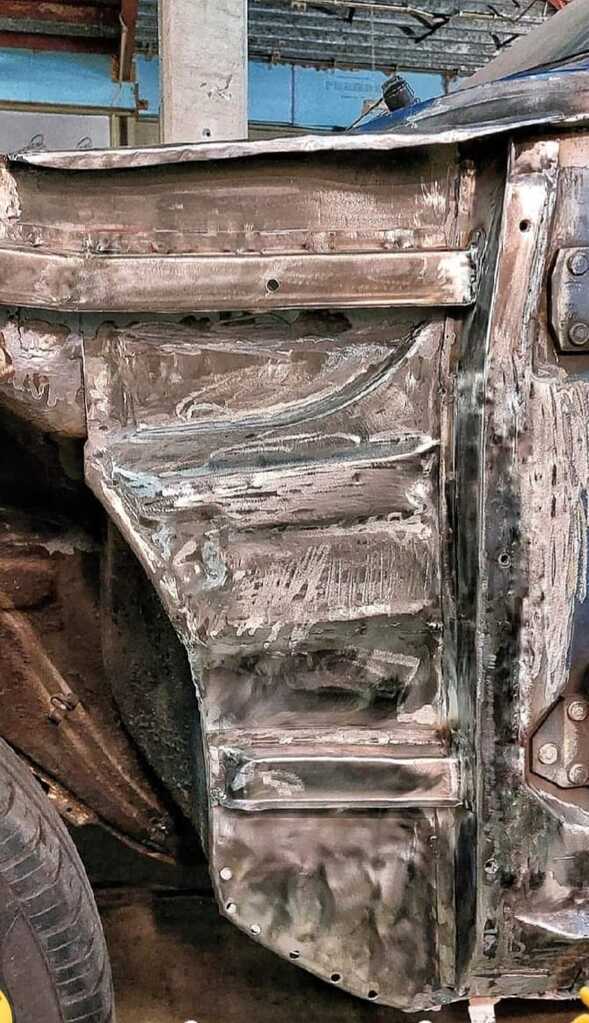 Currently i am working on the drivers side outer sill, but the door hinges are quite worn and have a lot off play. I want to weld on the Sill with the doors in the car to ensure correct gaps. This means i have to get new hinges first. Anyway i hope to make some progress soon, and keep posting it. |
| |
Last Edit: Nov 8, 2023 22:43:03 GMT by kh97
|
|
|
|
teaboy
Posted a lot
   Make tea, not war.
Posts: 2,126
|
|
|
|
|
You've put some serious work in there, excellent stuff.
|
| |
|
|
|
|
|
Nov 10, 2023 18:18:08 GMT
|
|
WOW ! Impressive work there, well done.
|
| |
|
|
|
|
|
Nov 10, 2023 21:30:45 GMT
|
|
Great work, and nice to see another Dutchman here!
|
| |
|
|
kh97
Part of things
 
Posts: 25
|
|
Nov 11, 2023 16:03:06 GMT
|
While waiting on hinges, i sorted out the framerail. Another typical rot place for granada's (what place isn't) The rail is a 2 mm thick rail with a thinner 1 mm coverplate spotwelded over it. Moist get trapped between the layers, and does create the perfect place for rust to occur. I used a little endoscope camera plugged in my phone to determine how deep i had to cut the framerail. Luckely it was not all the way gone. This was the worst place to weld because the car is not on a turnable frame, but on jackstands. While welding i got hot metal on my legs and with the grinding my face got as black as the night. Next time i do a project like this i'm putting the car on a turnable frame. This time i decided not to do this because i do not have enough space to put all the parts of the car somewhere. 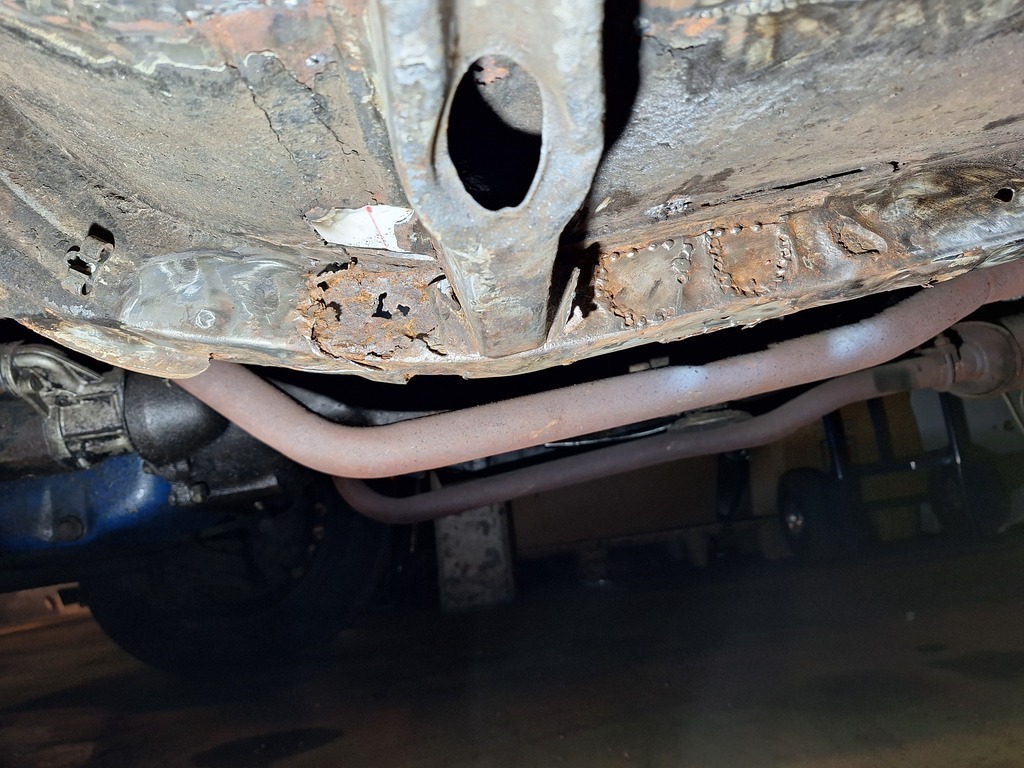 A previous "repair" 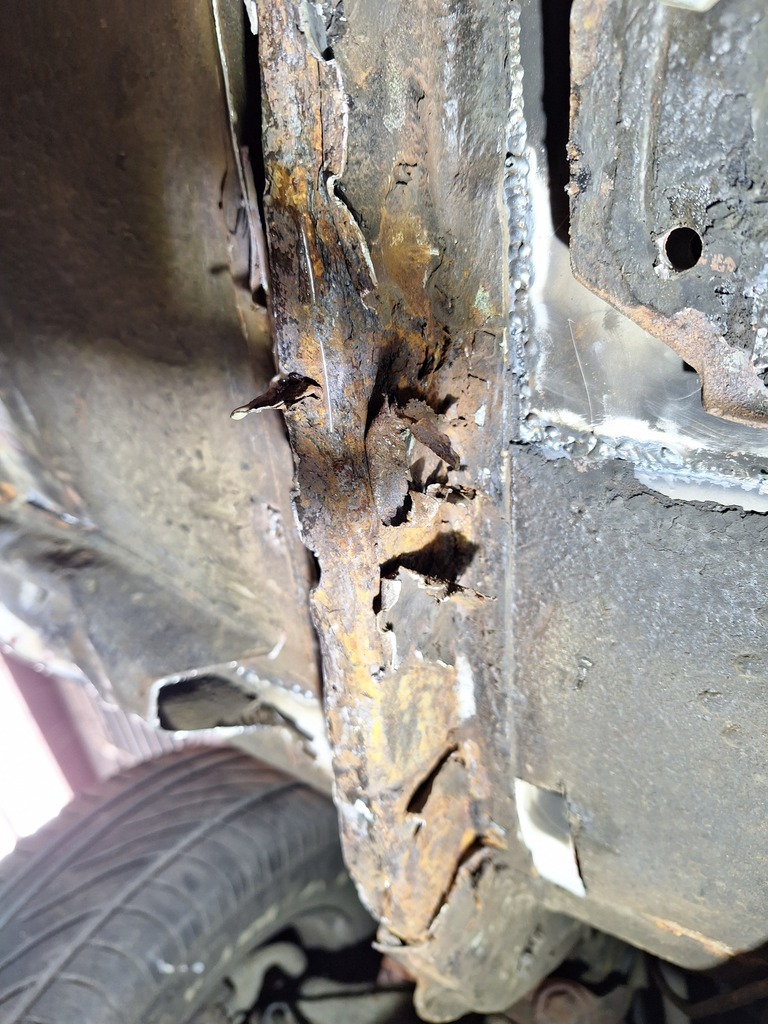 Here youncan see the 1mm layer seperating from the 2mm rail. It is a nightmare to remove all the spotwelds. 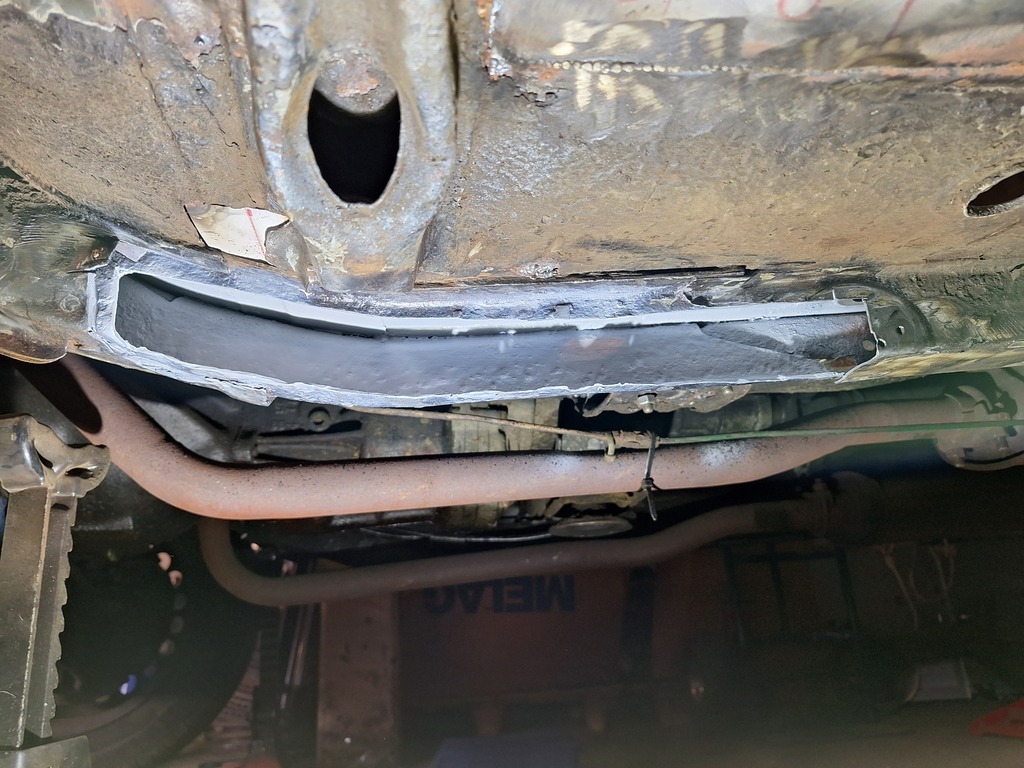 Rust out. 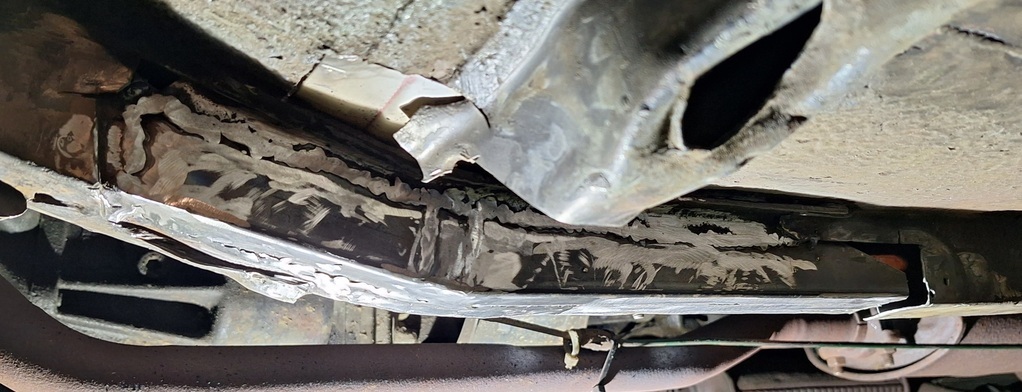 Fresh metal in. 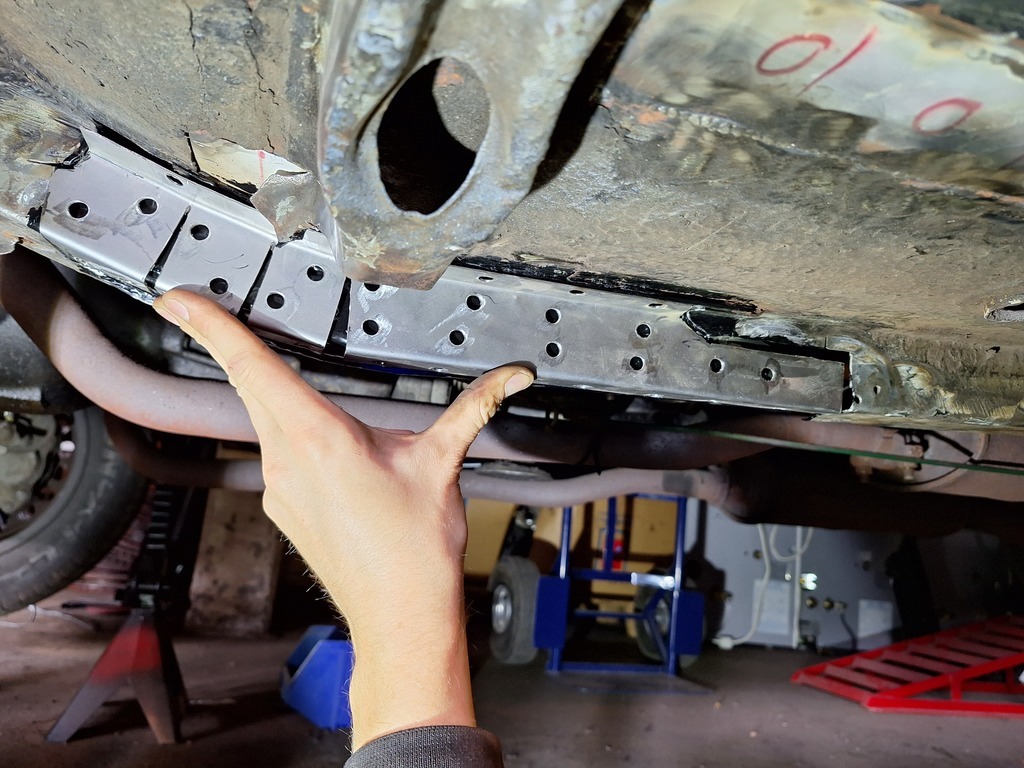 Second layer. 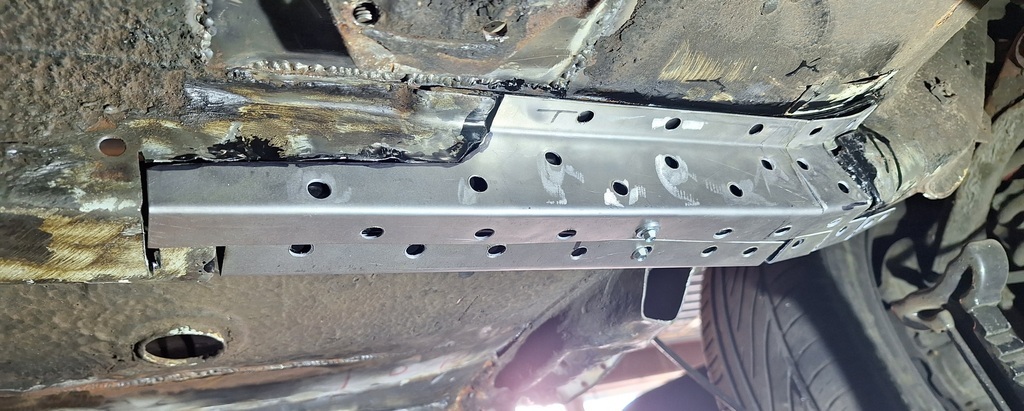 Second second layer. 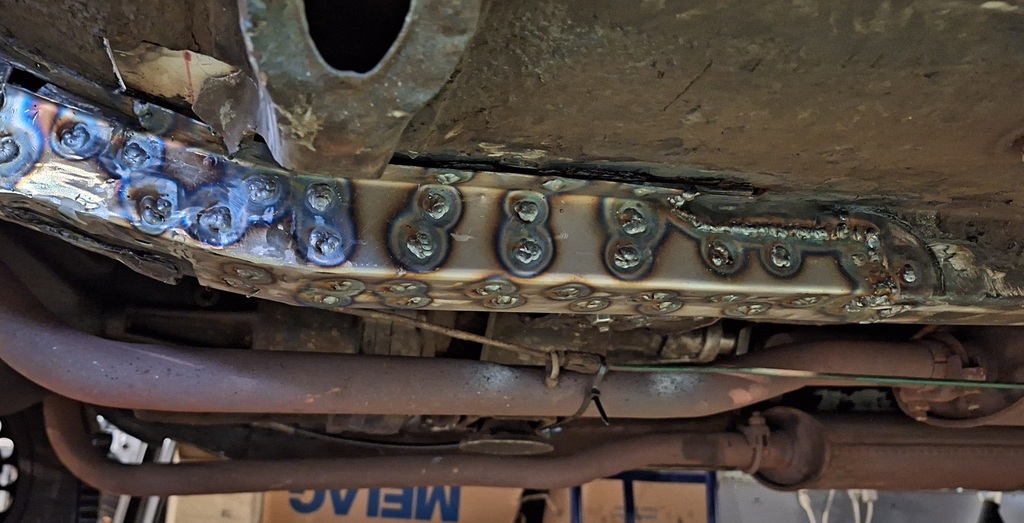 Spotwelding. 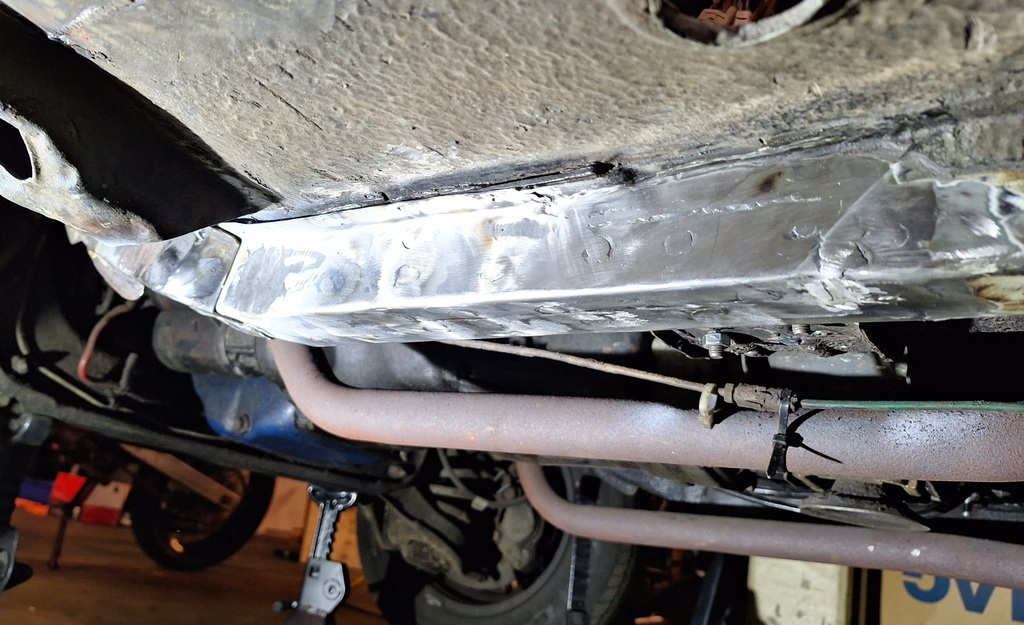 After a lot of grinding + another layer in the front to match the original look. 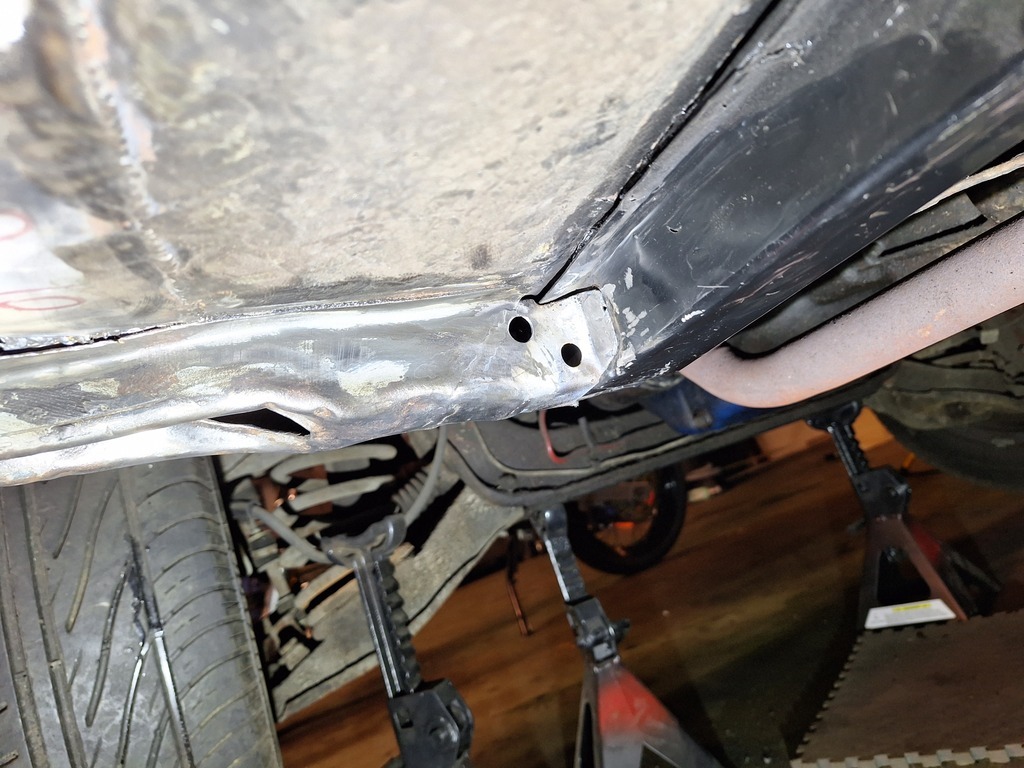 Repaired the jacking point i had to cut off to gain access to the rail. Realy pleased with the result. With a little bit of paint and undercoating the repair is going to look almost invincible. Next project: Trunk stiffener wich is also the mounting point for the diff. As you can see, this was als patched up before. 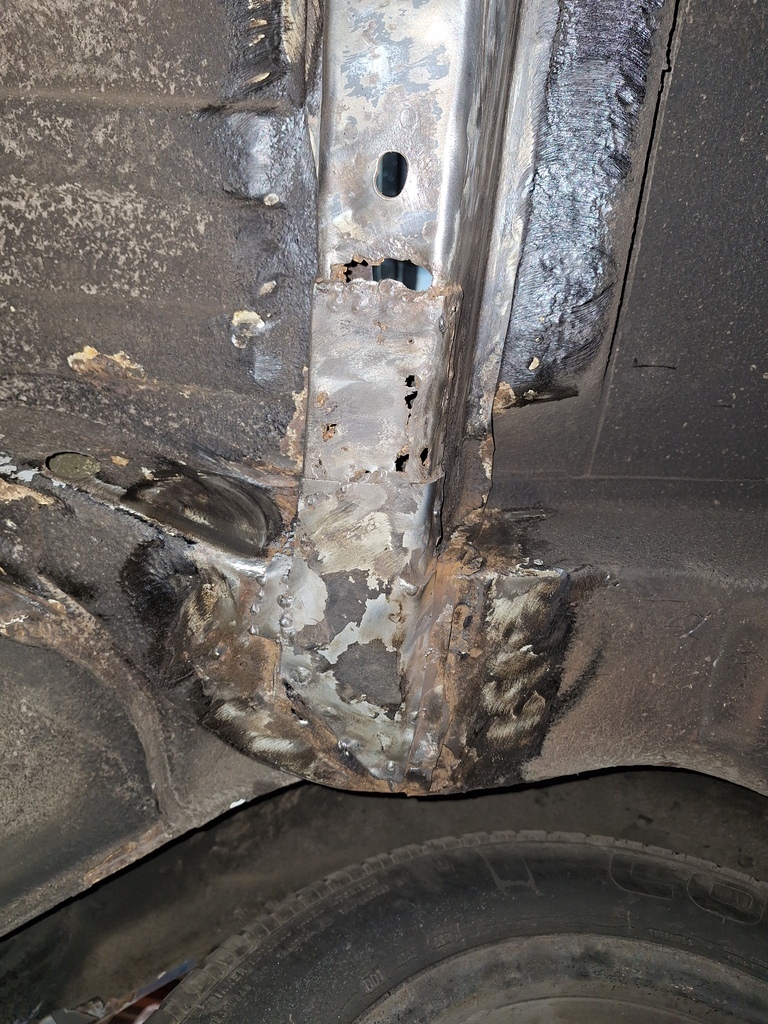 |
| |
Last Edit: Nov 11, 2023 17:24:38 GMT by kh97
|
|
|
|
|
Nov 12, 2023 13:02:57 GMT
|
While waiting on hinges, i sorted out the framerail. Another typical rot place for granada's (what place isn't) The rail is a 2 mm thick rail with a thinner 1 mm coverplate spotwelded over it. Moist get trapped between the layers, and does create the perfect place for rust to occur.  Looking good! Do you also struggle with these sort of repairs to an obvious rust trap to decide between recreating the original design like you did, or to just make it a single thicker (3mm in your case) layer to prevent having to redo this in the future? It's a decision I find difficult on my cars, so I'm curious about your opinion. |
| |
Last Edit: Nov 12, 2023 13:03:41 GMT by mkickert
|
|
kh97
Part of things
 
Posts: 25
|
|
Nov 19, 2023 19:30:35 GMT
|
|
I indeed thought about doing it in 3mm steel but from my experience it is harder to get full penetration, In this case ford used some kind of rubbery coating inbetween these layers, and at some points the 2 layers also had some space inbetween them. Because i wanted to make sure the repair was strong and the welds got good penetration i dicided to remake the layers.
Also 3mm is much harder to bend, I should have welded those flanges on a u profile to make it look somewhat like the original
In some cases i would indeed say just weld a 3mm box section to replace a stiffener.
|
| |
|
|
kh97
Part of things
 
Posts: 25
|
|
Nov 26, 2023 21:38:41 GMT
|
Attacking the differential mounting stiffener in the trunk. Just like all the other parts that have been welded before, there was a patch panel spot welded over the rust... This ment i had to drill out all the spotwelds of the patch panel before i even had access to the oringinal spotwelds. 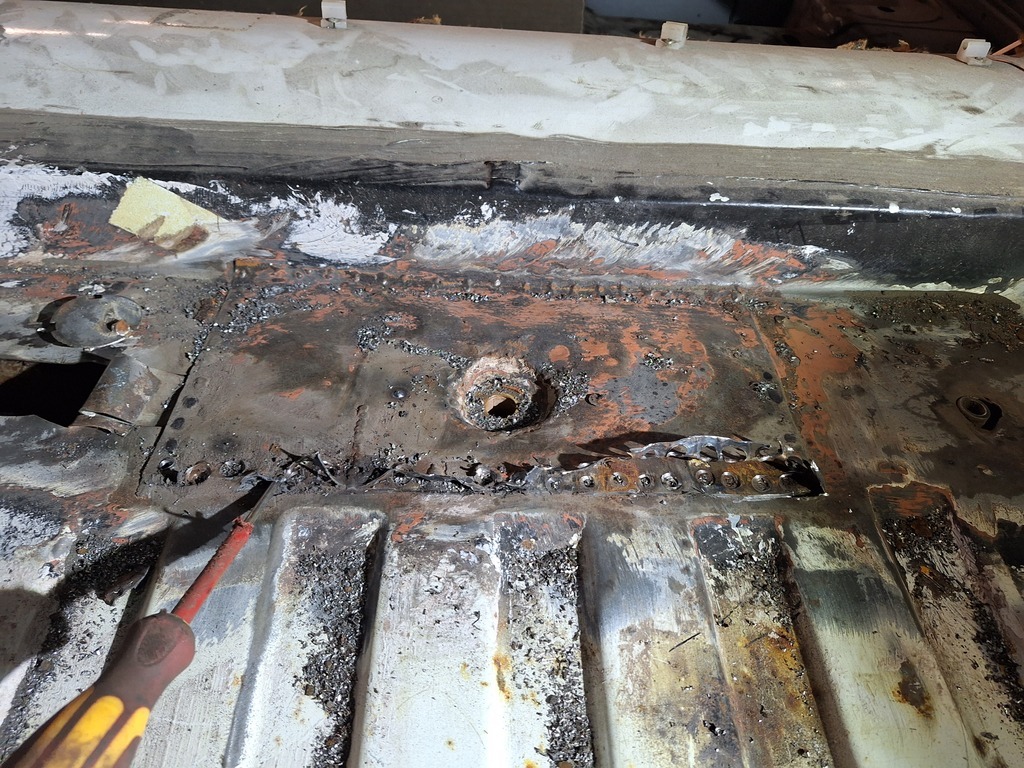 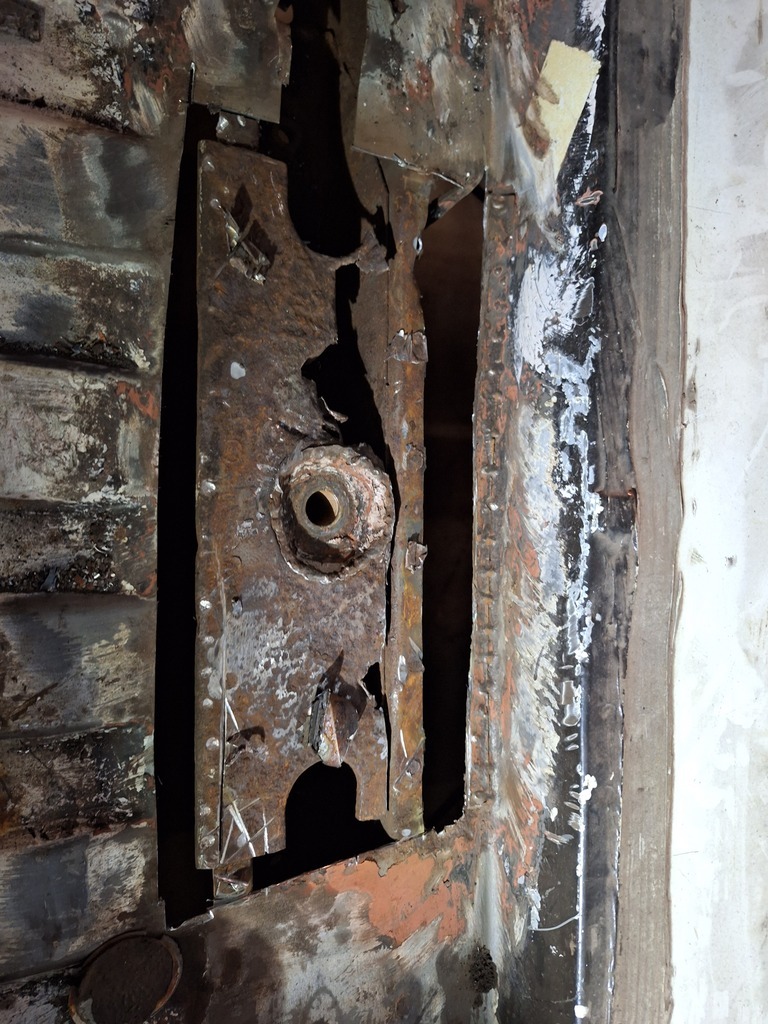 After a while. 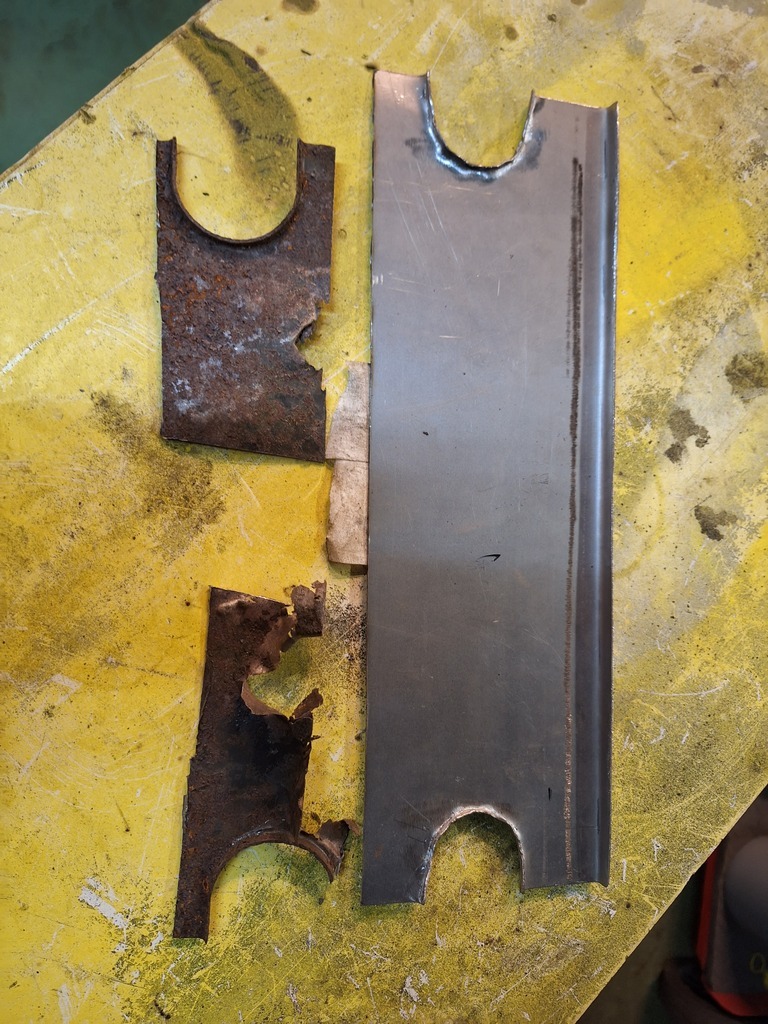 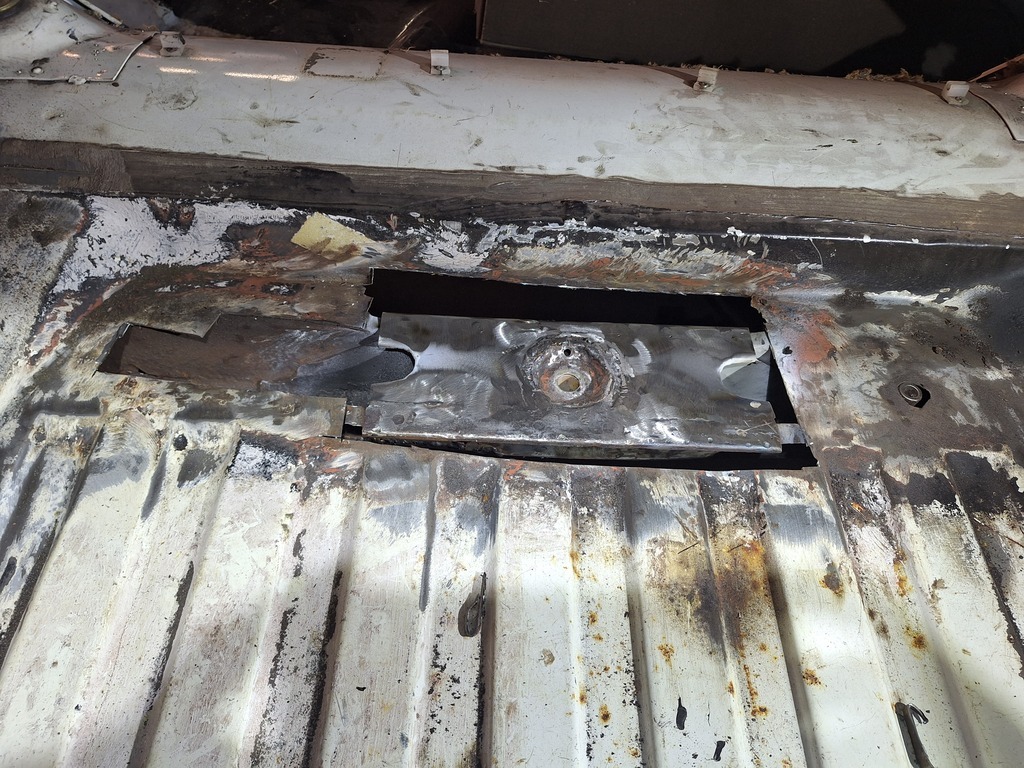 Starting to look like something. 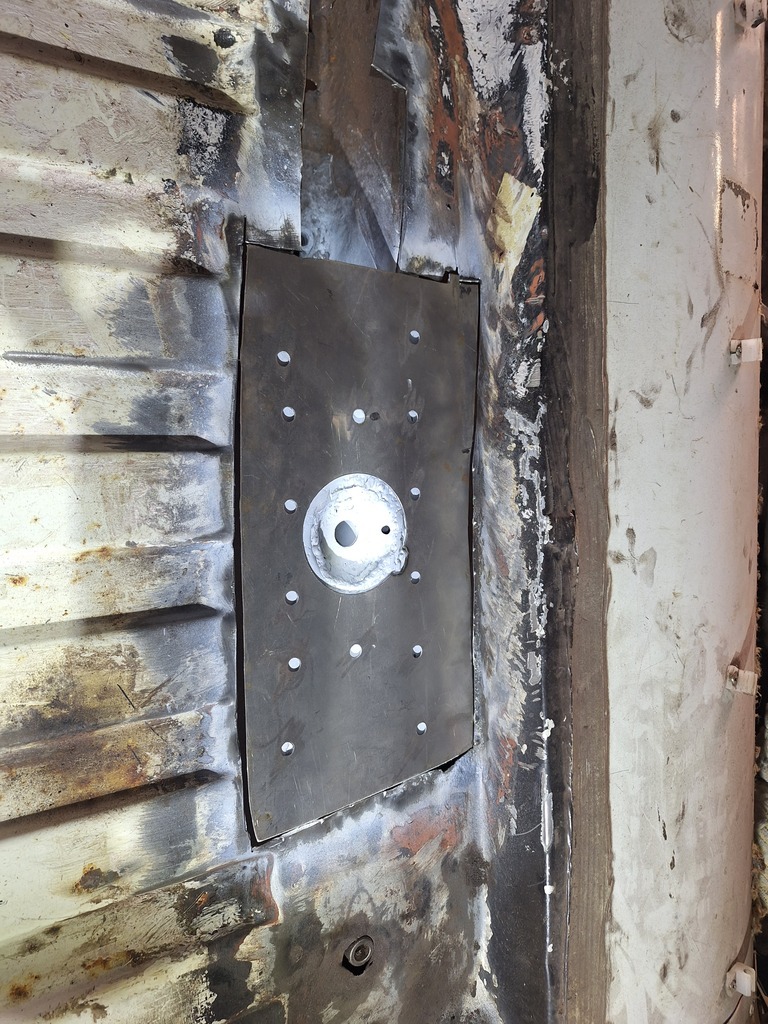 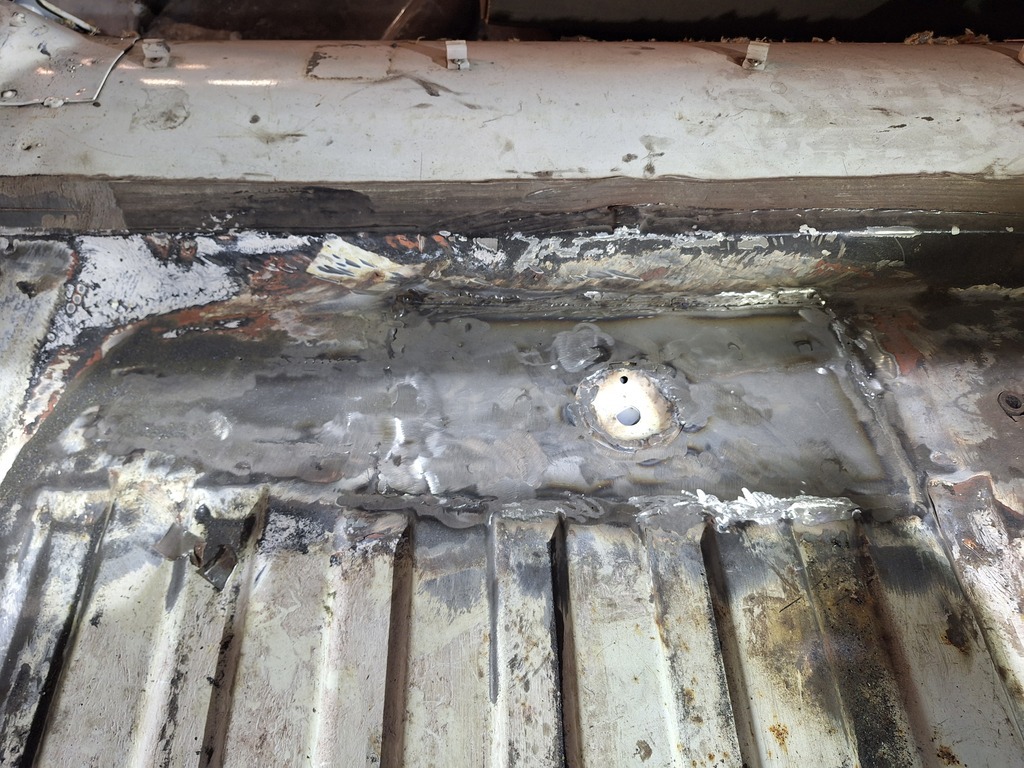 Top section done, next up the bottom side of the stiffener. But first: paint. 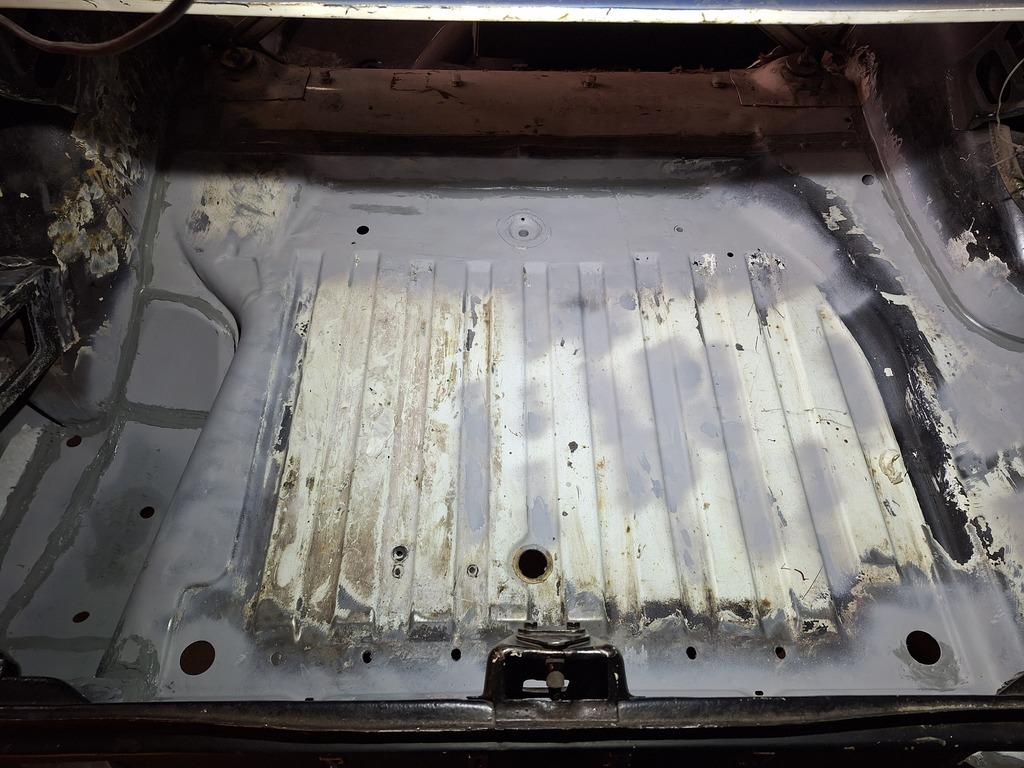 Seam sealing the trunk, and spare wheel area (wich was also completely replaced a year ago) Here you can see the original colour of the car, wich was white. About ten years ago the car was painted metallic blue, in a barn... Because of that i think the paintjob was kinda decent according to the circumstances. 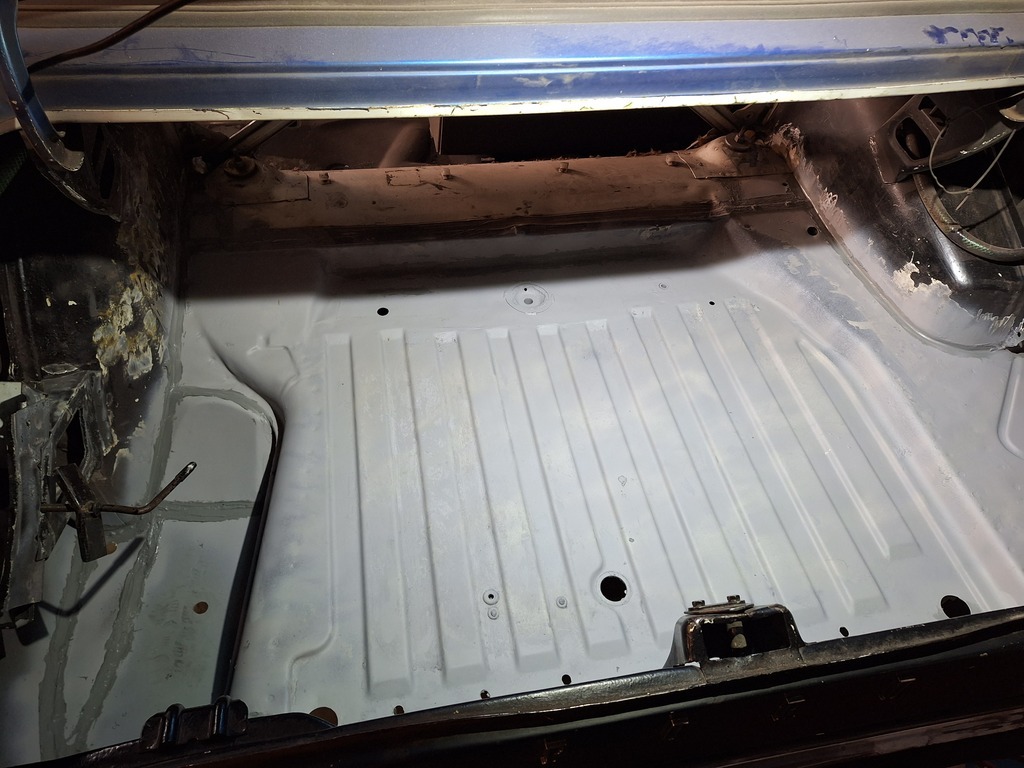 Epoxy primed the complete trunk. I wish i discovered this primer much earlier, it's laying down so much better than regular primer. Next job, the differential stiffener: 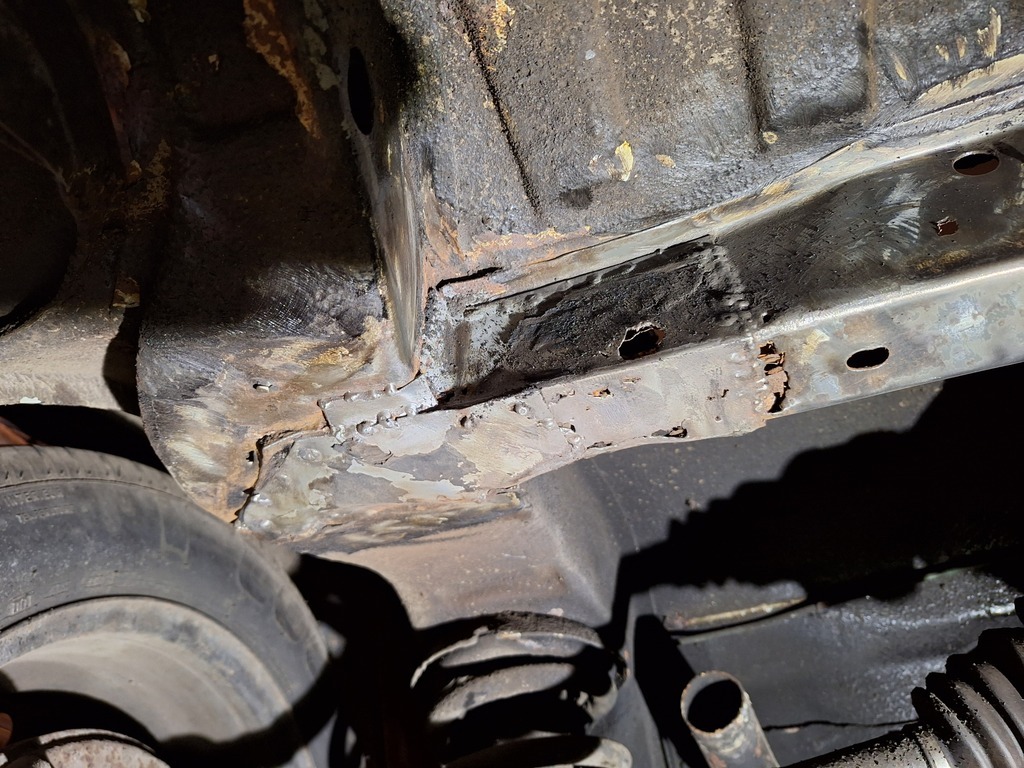 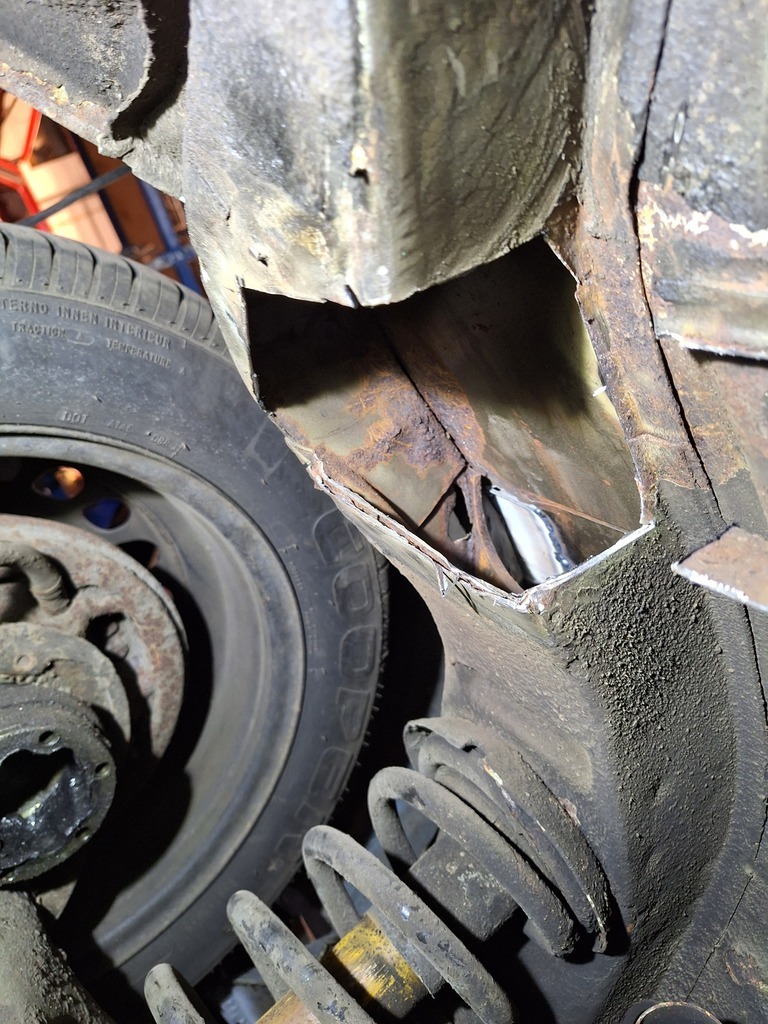 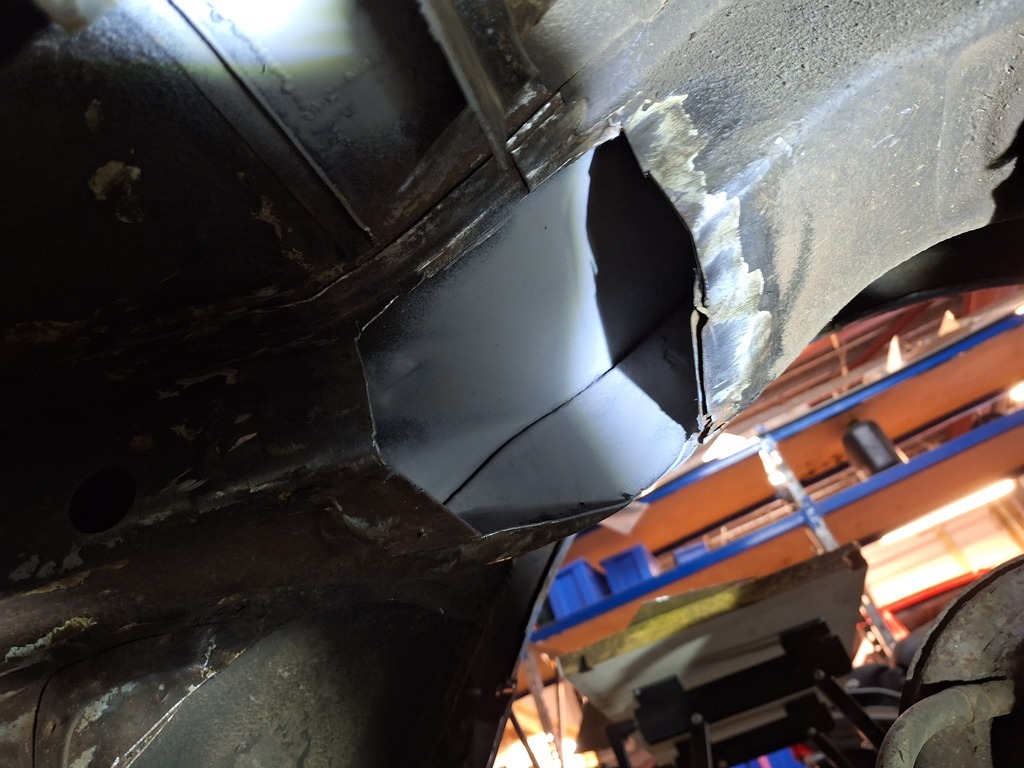 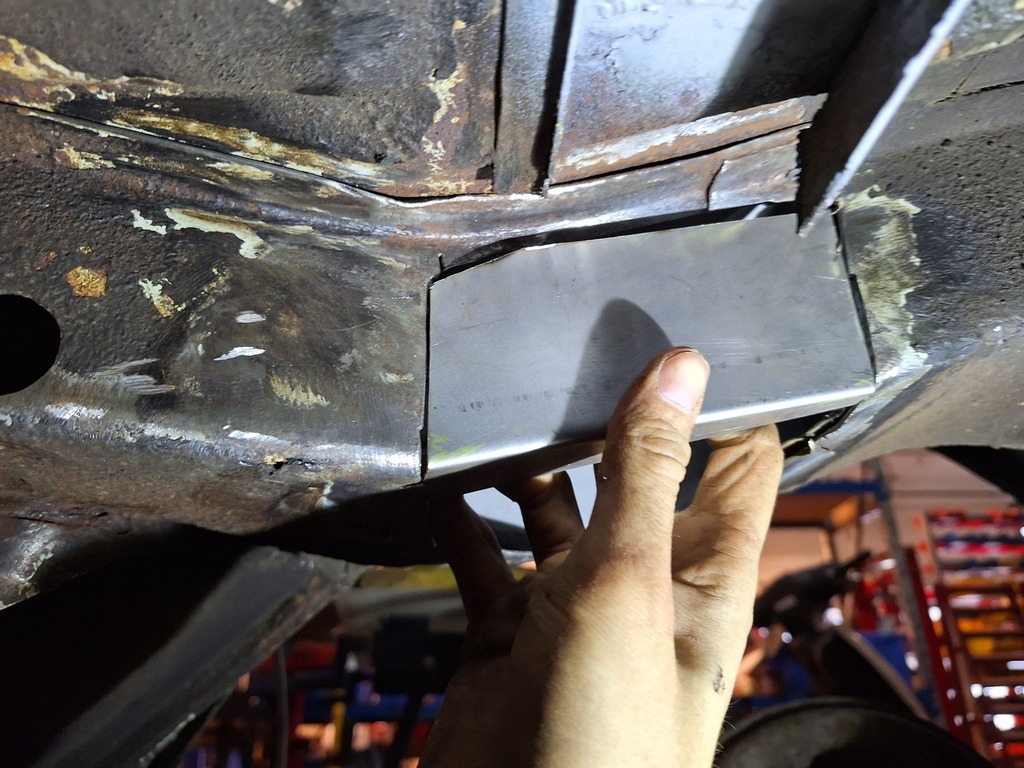 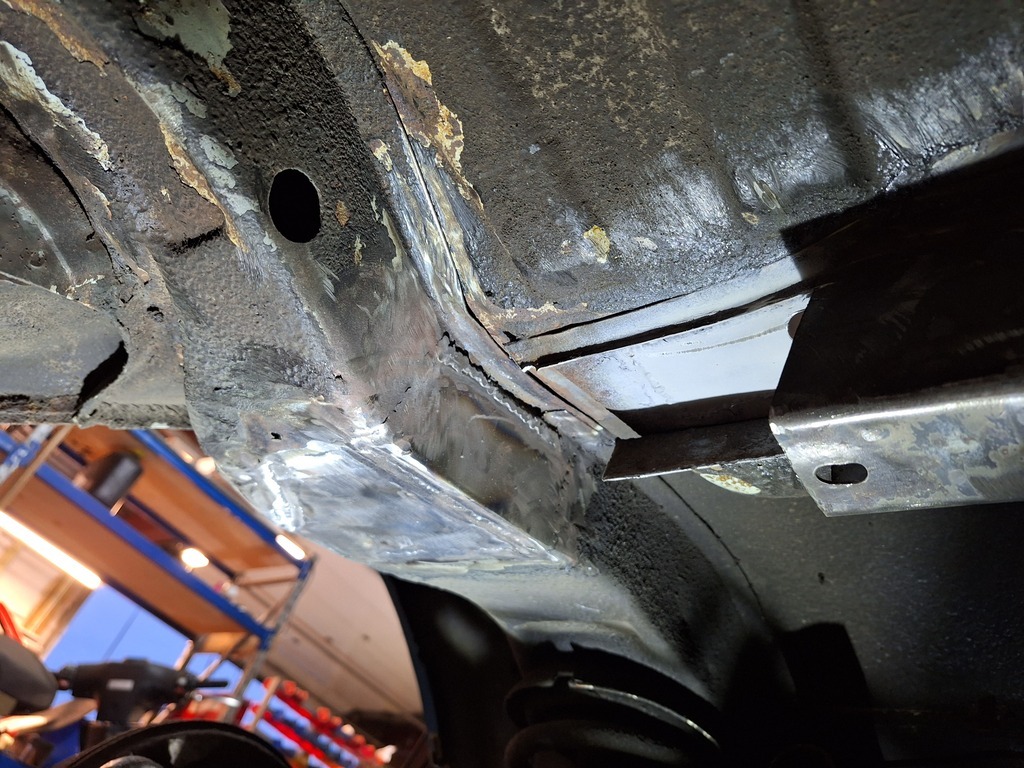 Rail closed again. 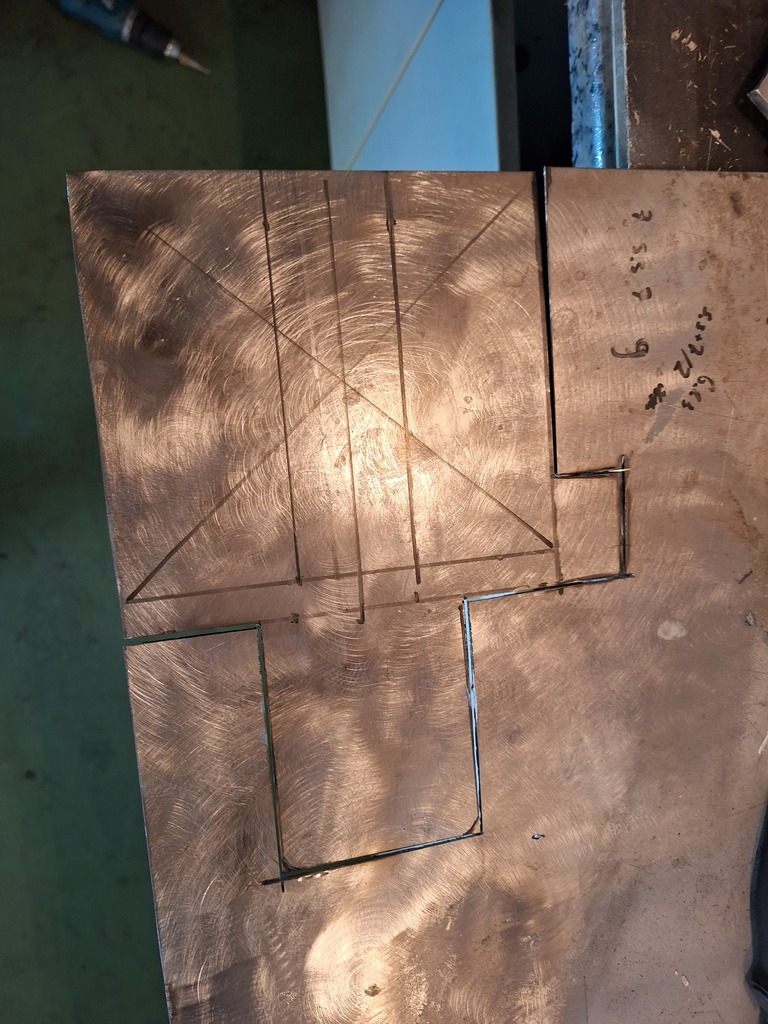 Here i tried to make the repair piece out of 1 panel, that didnt work out. 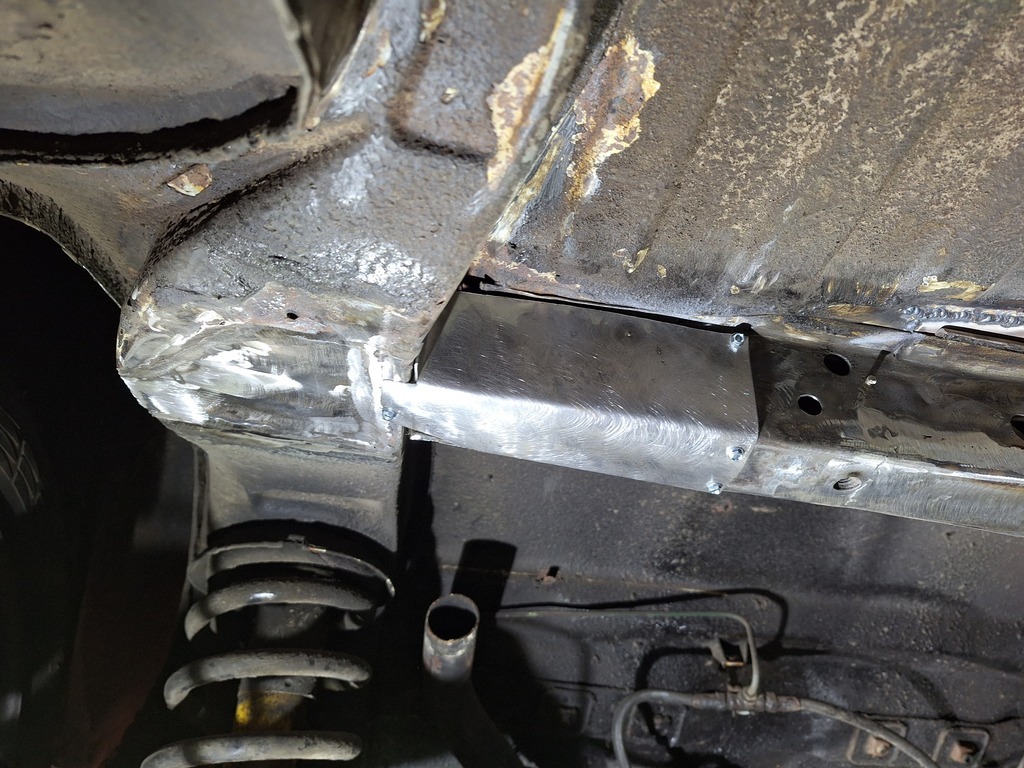 Not bad for a rough cut. 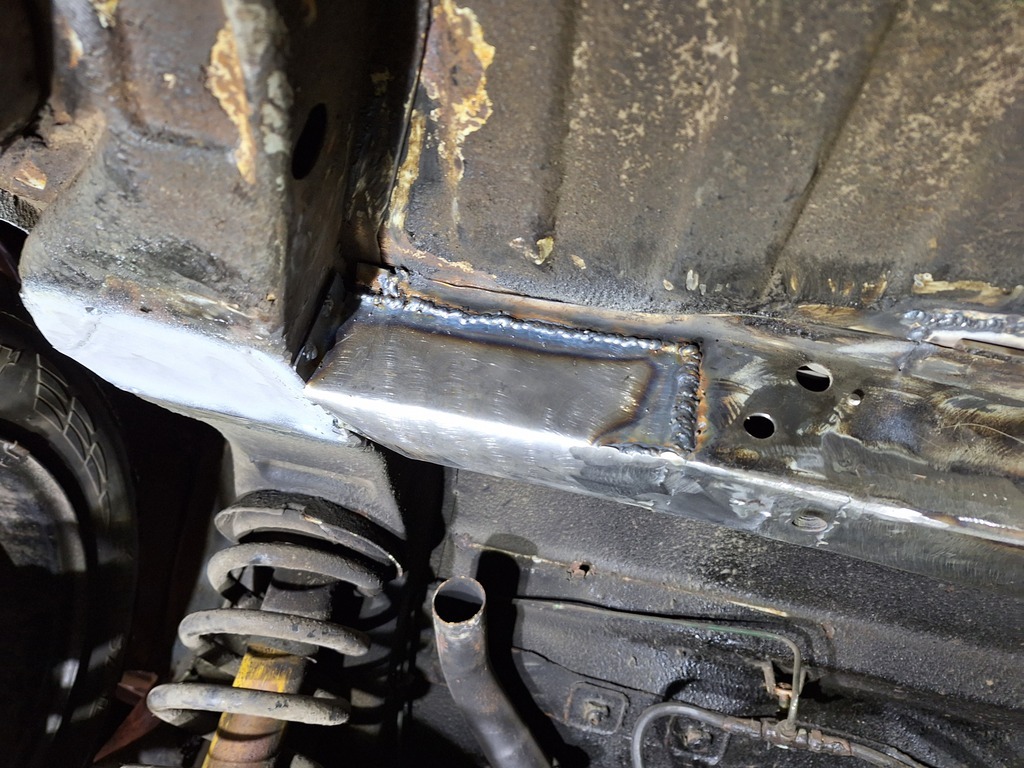 Yay, Welding in an awkward position. What's worse than that? Right! Grinding in an awkward position . 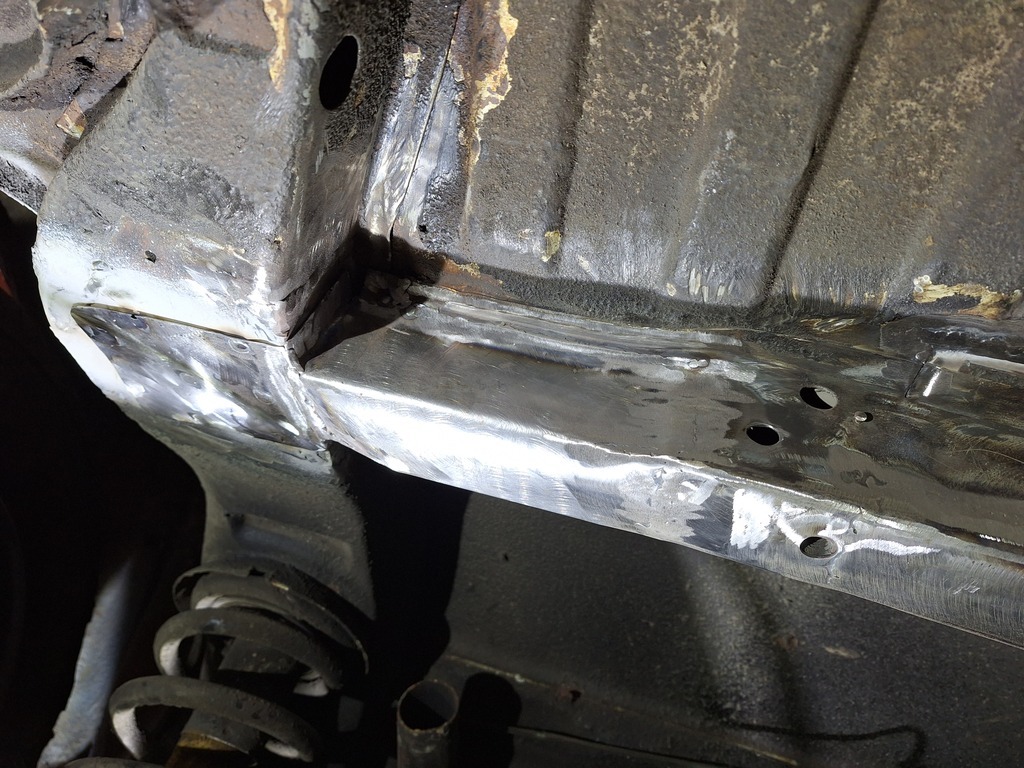 Stiffener end on top of the rail, to match the oringinal look. It does not realy help to add strength in this section, in my opinion. 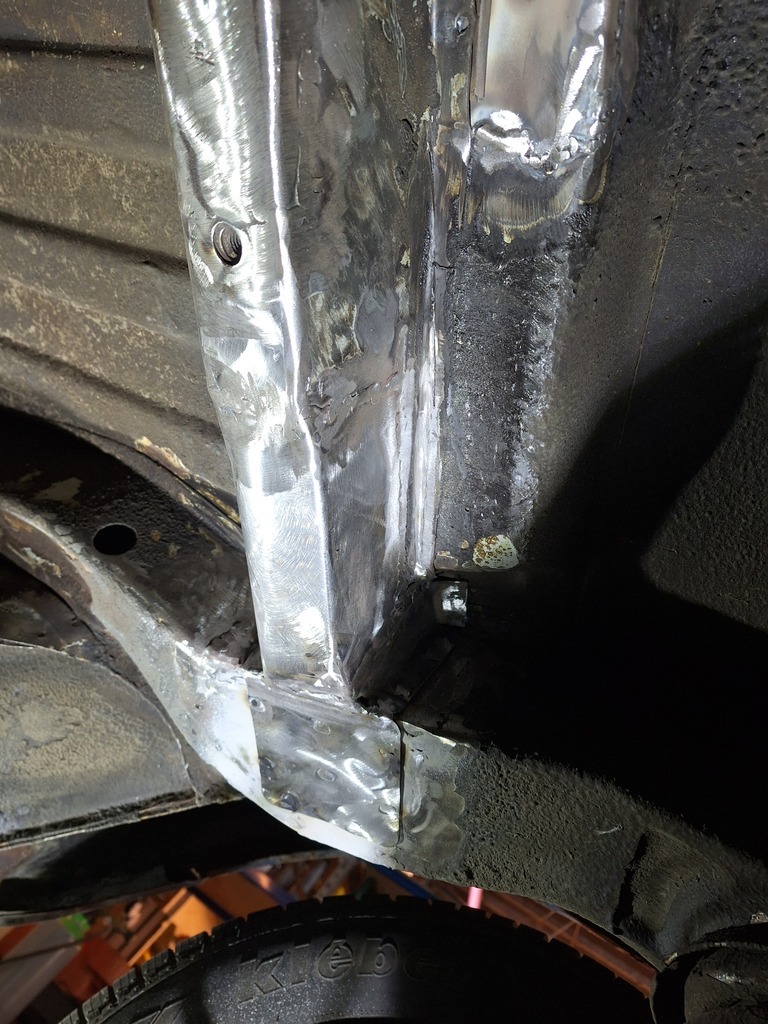 Now this stiffener is finished, most welding underneath the car is done and the list of things to weld is getting shorter. I think i'm going to start replacing the front valance, because I'm still waiting for the doorhinges. |
| |
|
|
|
|
|
|
|
|
This is really taking shape. I'm still amazed at the way you guys that can fab and weld turn a load of missing/corroded metal, into bodywork/brackets/etc. Fascinating.
Love the work, keep those updates coming please!
|
| |
|
|
jmotor
Part of things
 
Posts: 54
|
|
Nov 30, 2023 12:41:50 GMT
|
|
Bookmarked.
Do like seeing some metalwork happening. Tidy job you've done.
|
| |
|
|
|
|
kh97
Part of things
 
Posts: 25
|
|
|
|
Lets tackle the front end. but first, the engine and subframe had to come out. This is because of the front mounting points of the subframe where kinda crunchy. 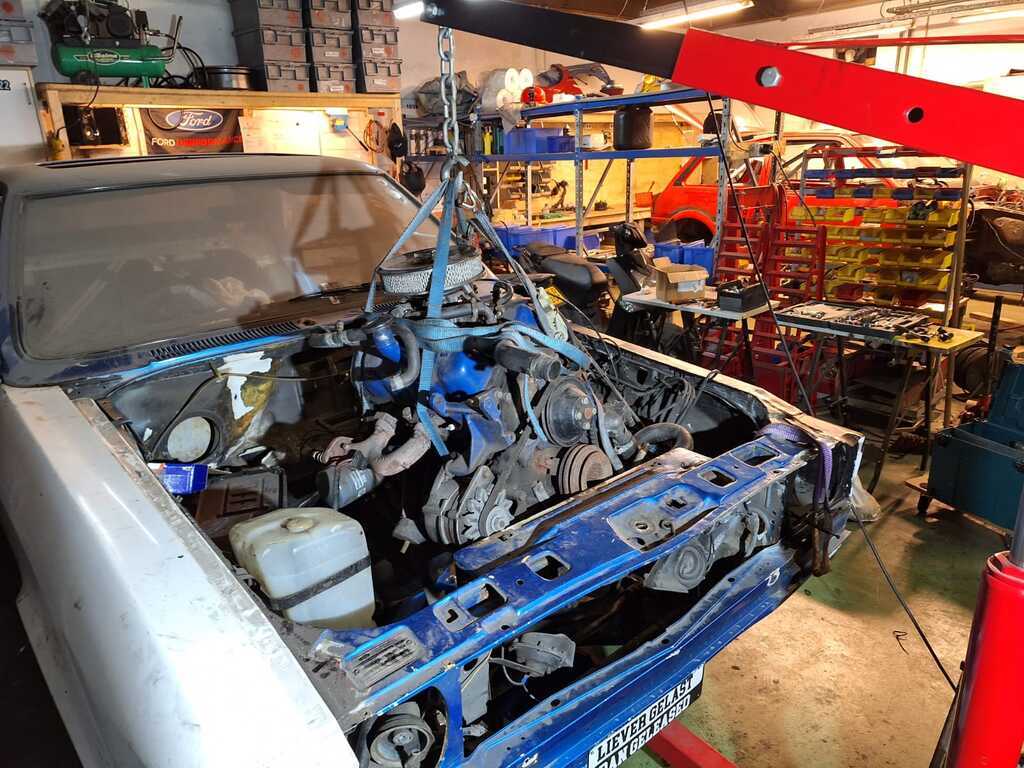 the 2.8 v6 came out smooth, plenty of room though. 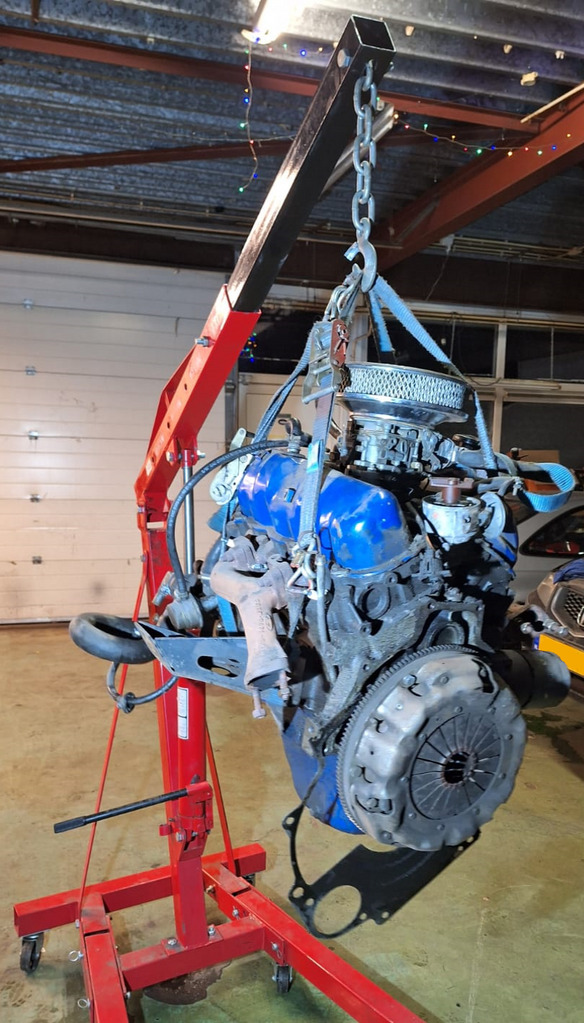 I have no idea what to do with the engine at all. It ran fine, but the oil pressure was kinda low. In the future i would like to swap it for something more powerful. But at this point i want to restore the bodywork and get the car running with the old drivetrain first. Making the car go faster is something to wory about when it is solid again. 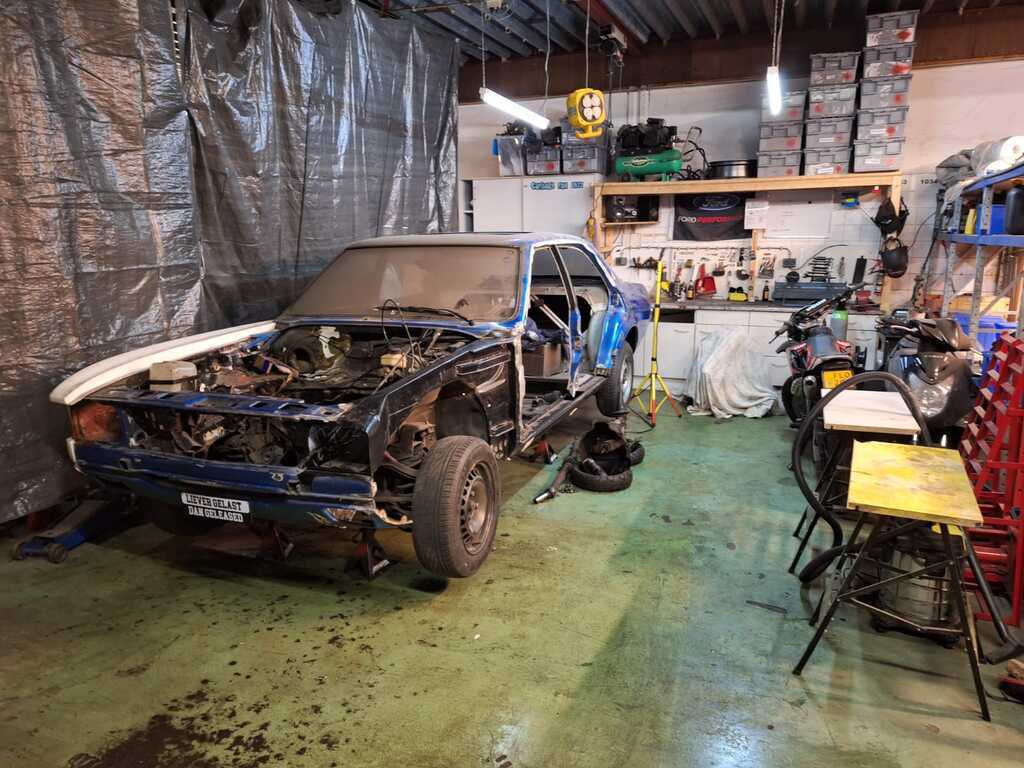 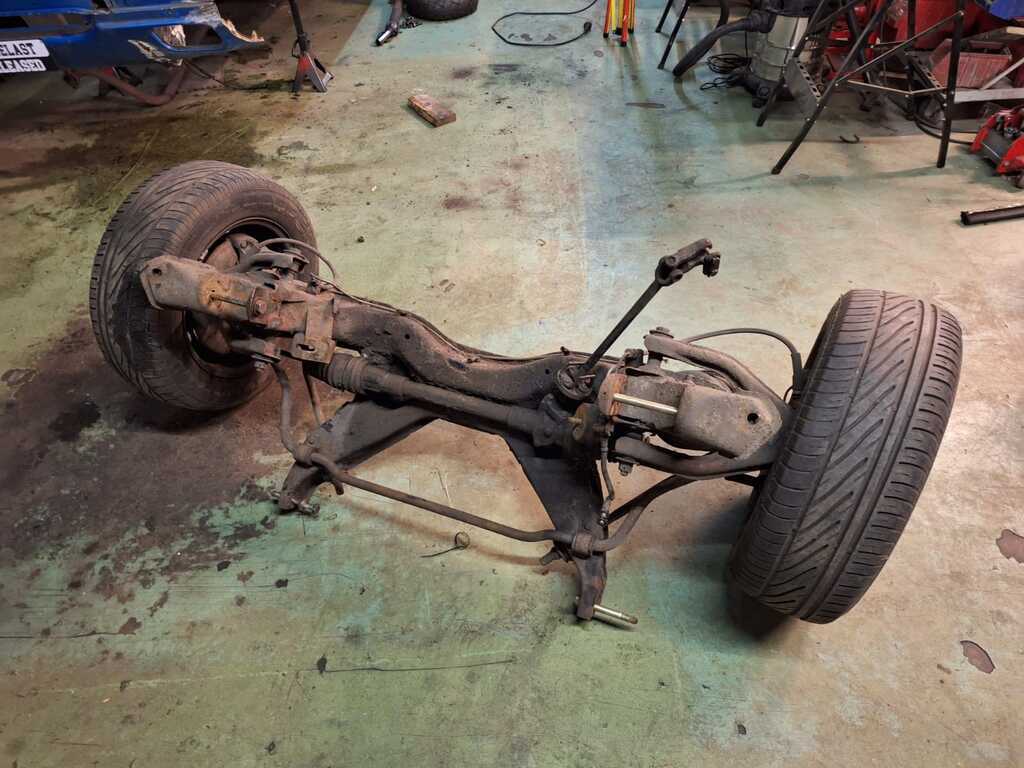 The subframe looks to be in very good condition, only a bit greasy. A high pressure cleaner will fix that. So we can see what we are dealing with. 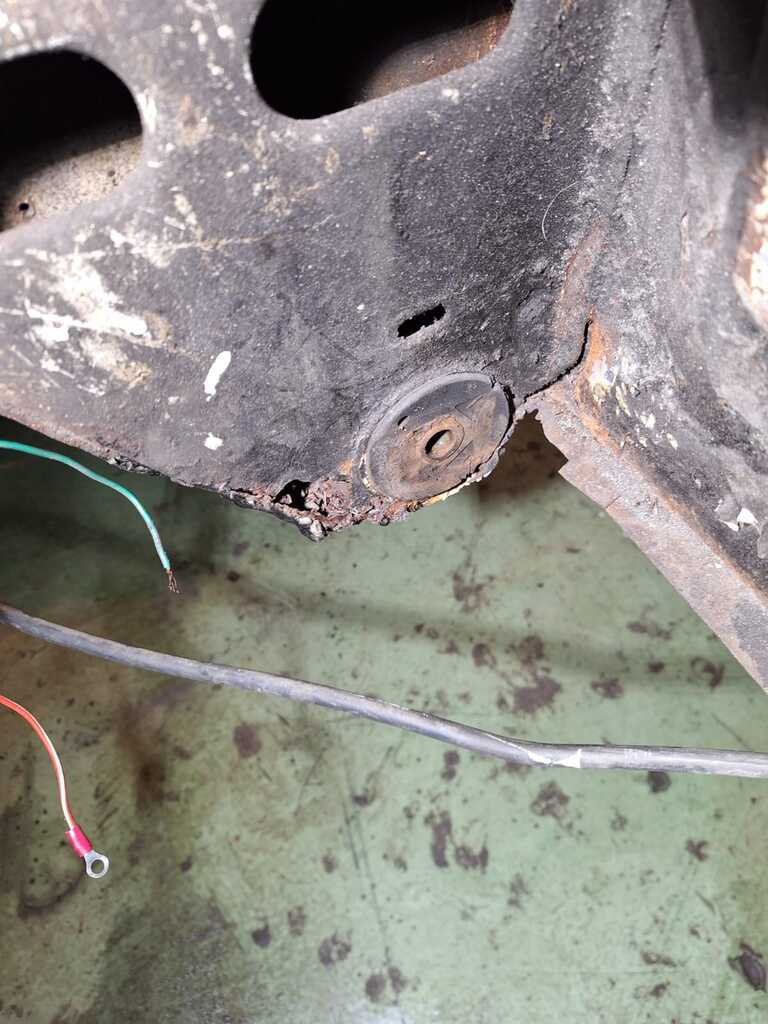 Yikes! With mounting points like this I don't think i wanted to hit a speedbump too fast..... 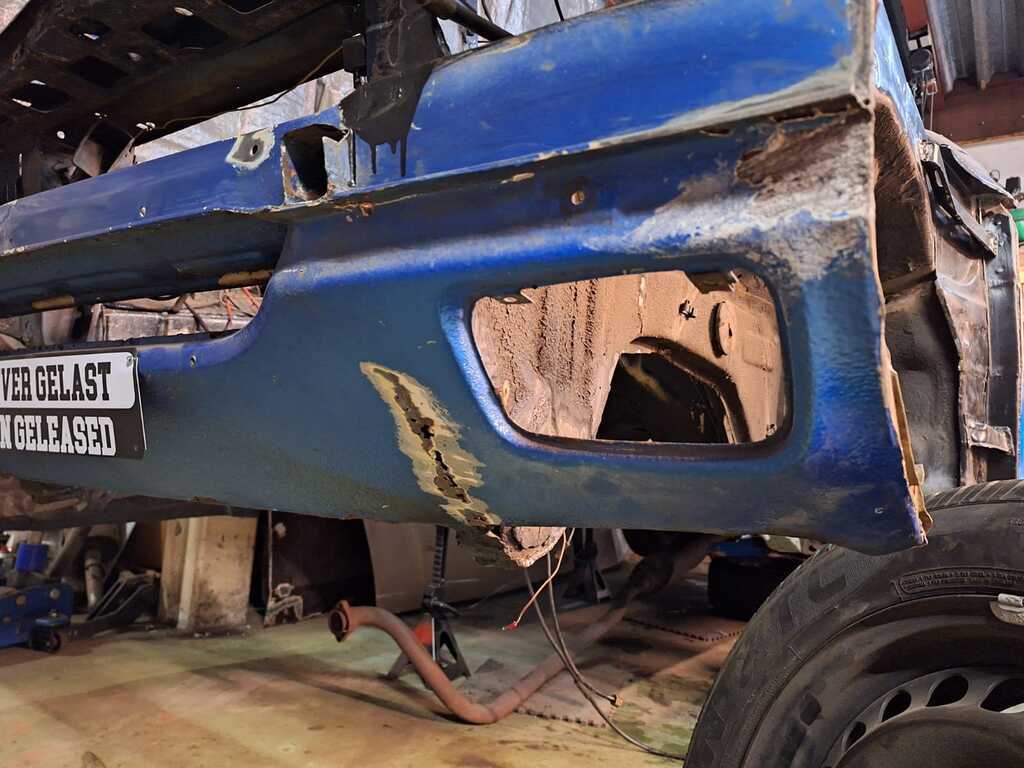 Typical rust for a granny. 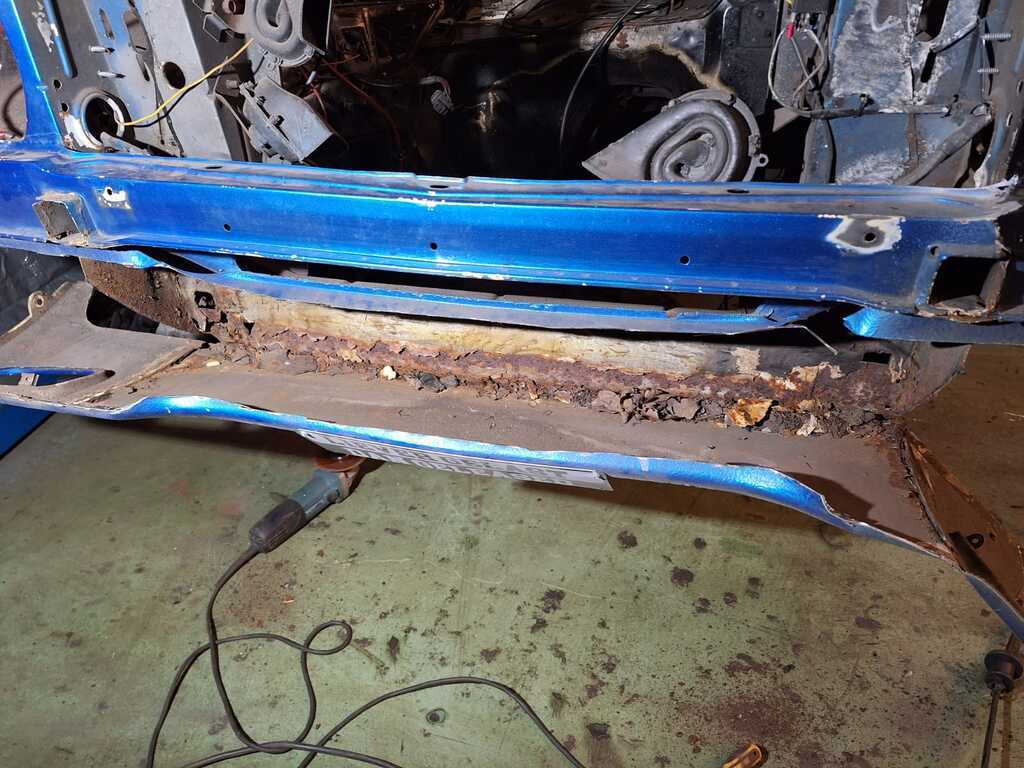 After removing the front valance i found some presents for "Sinterklaas". (a dutch hollyday on the 5th of december.) 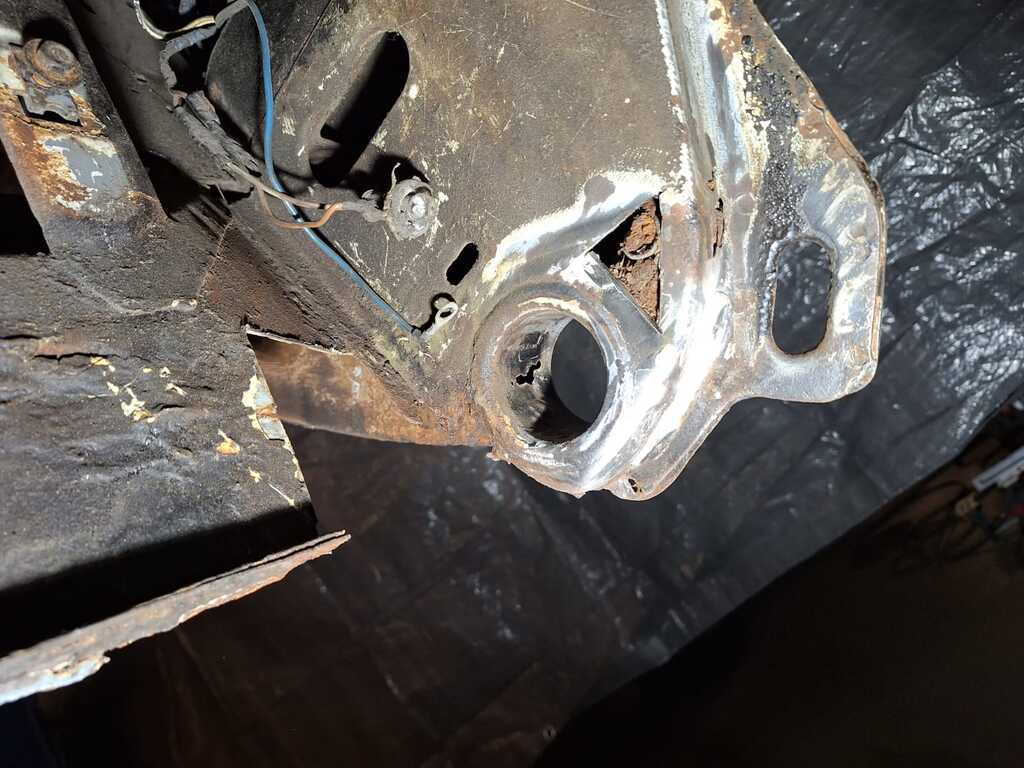 Here you can see the subframe mounting points where filling with dirt and moisture over the years which coused them to rot. 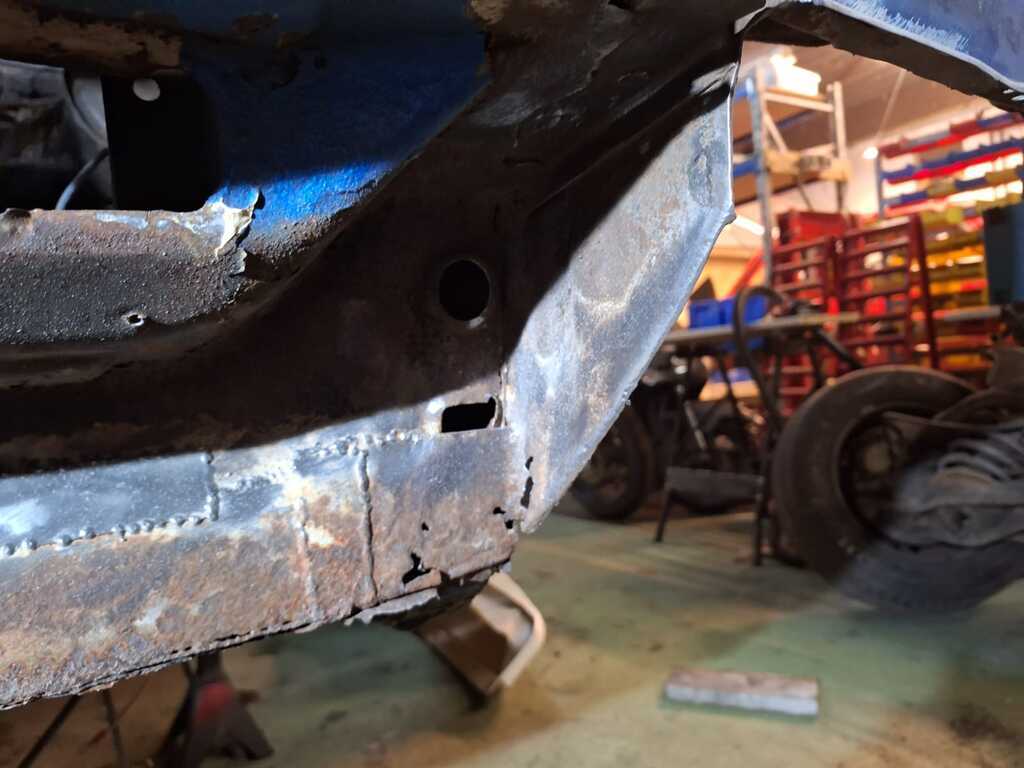 I was also suprised to see a patch behind the valance, wich means it was already removed and replaced once. As you can see, i've got enough to do the next few weeks...... Does anyone know the best way to upload pictures in a certain order? When i upload pictures they are mixed together. |
| |
|
|
spot
Part of things
 
Posts: 105
|
|
Jan 12, 2024 11:53:55 GMT
|
Interesting project which I've enjoyed reading. Your lower subby mount gives me the shudders as I have the same repair to do. 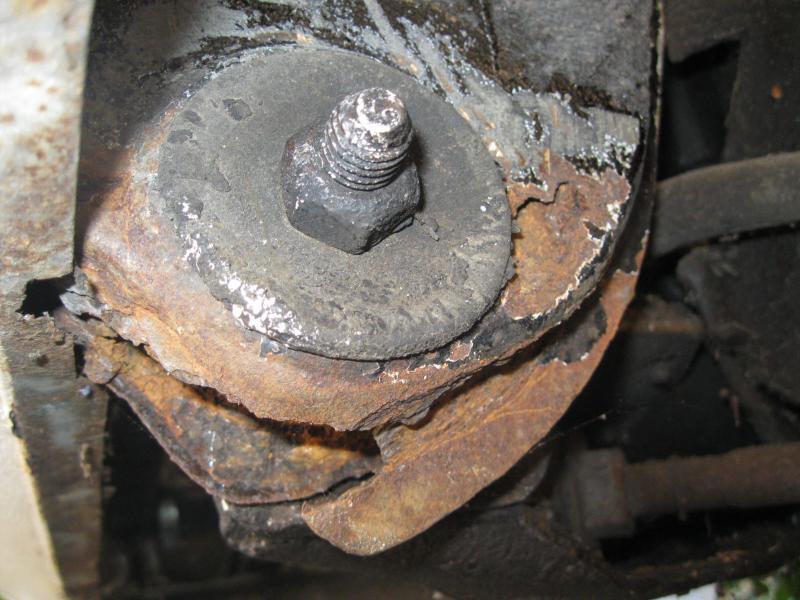 |
| |
|
|
kh97
Part of things
 
Posts: 25
|
|
Jan 16, 2024 21:11:22 GMT
|
It's been a while, lets post some progress: 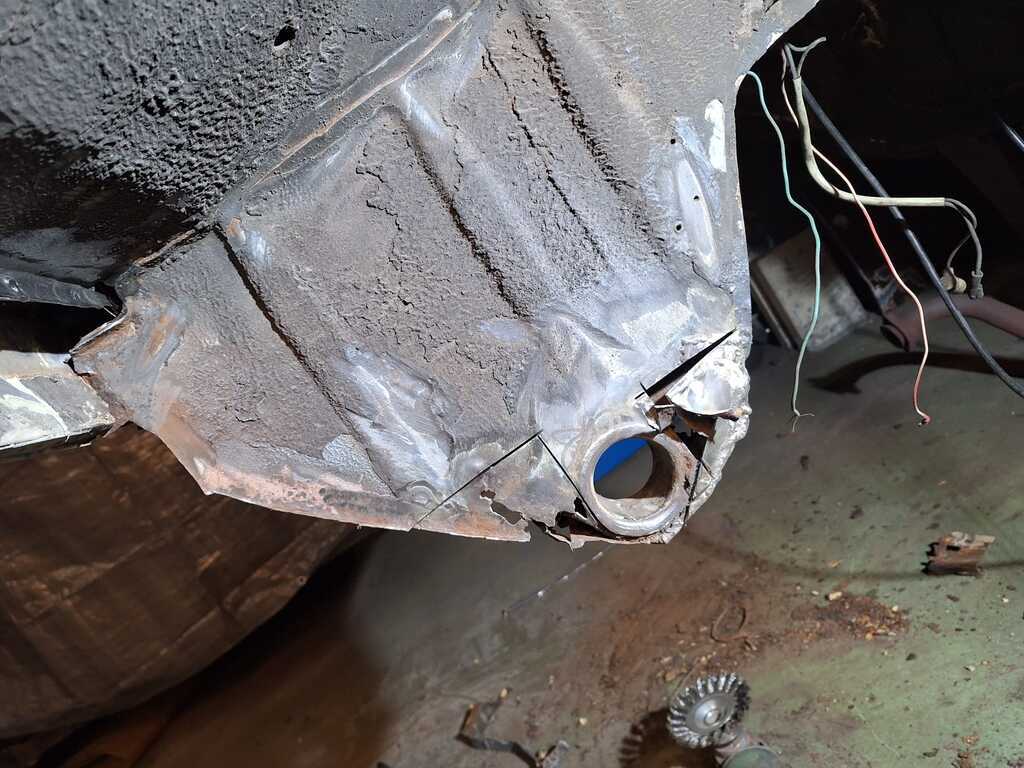 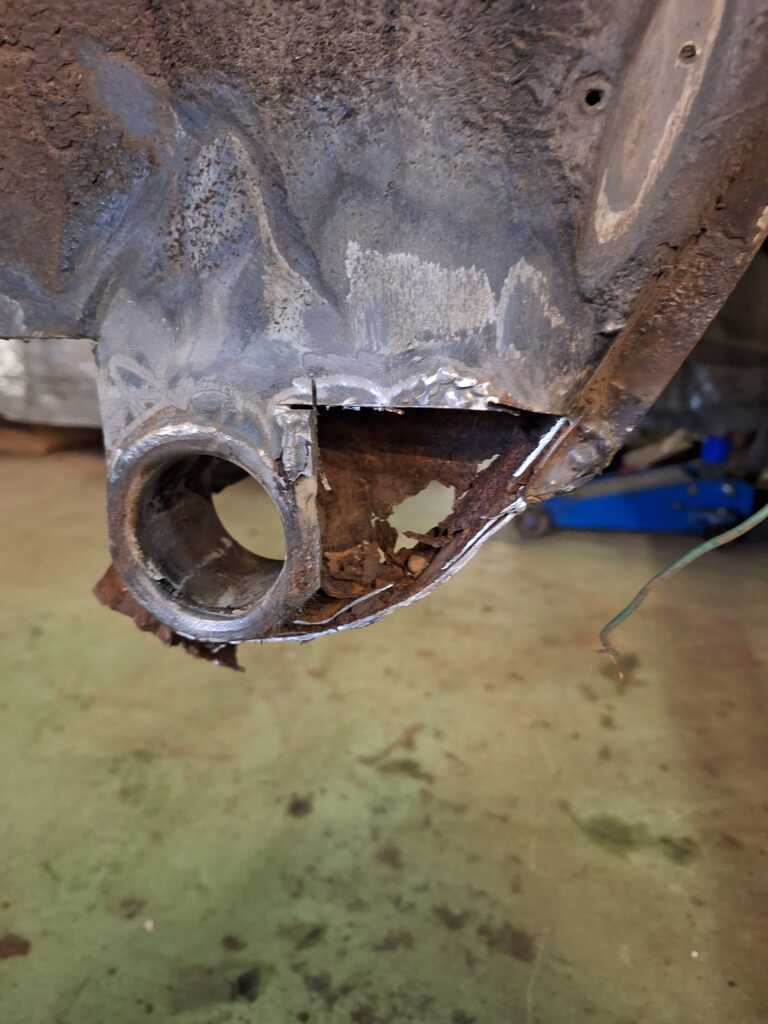 wonderfull.... 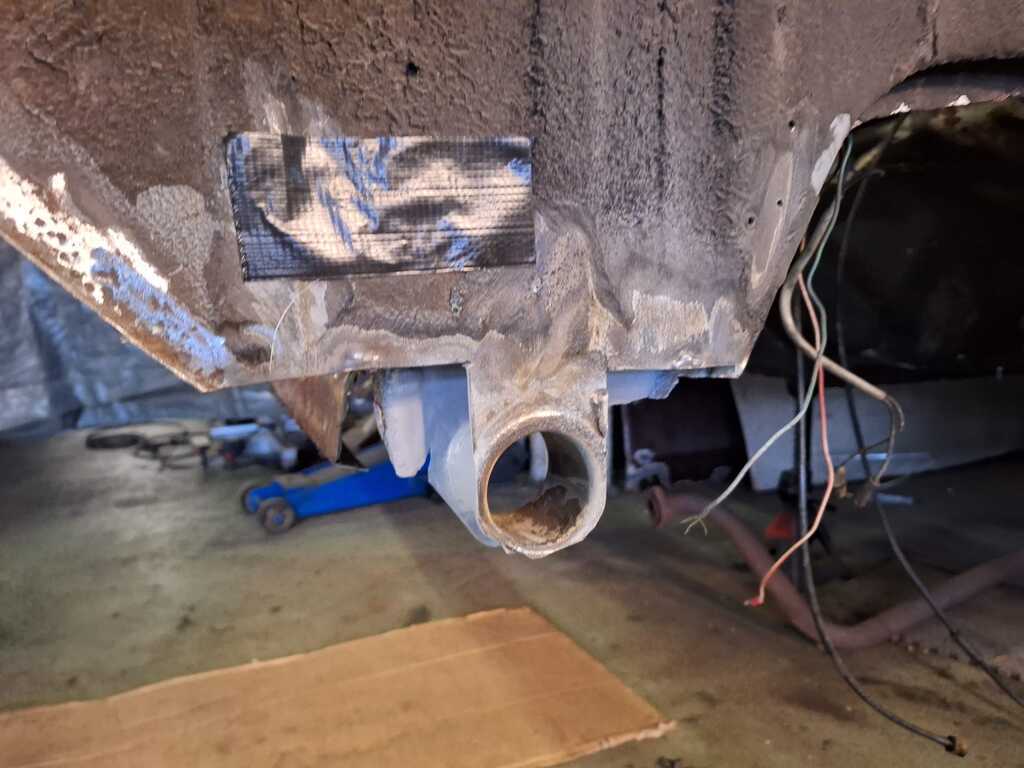 Luckily i could save the mounts for the bushings, so i did not have to mess with the alignment off the holes. 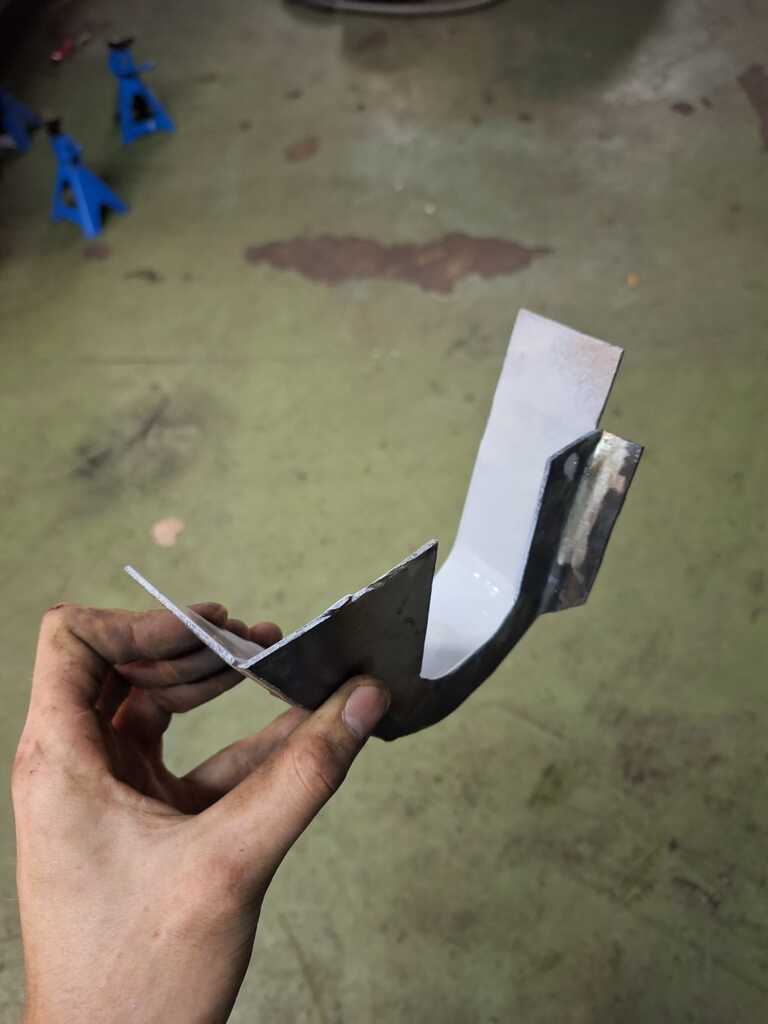 Slightly different than the original design, but it will hold. 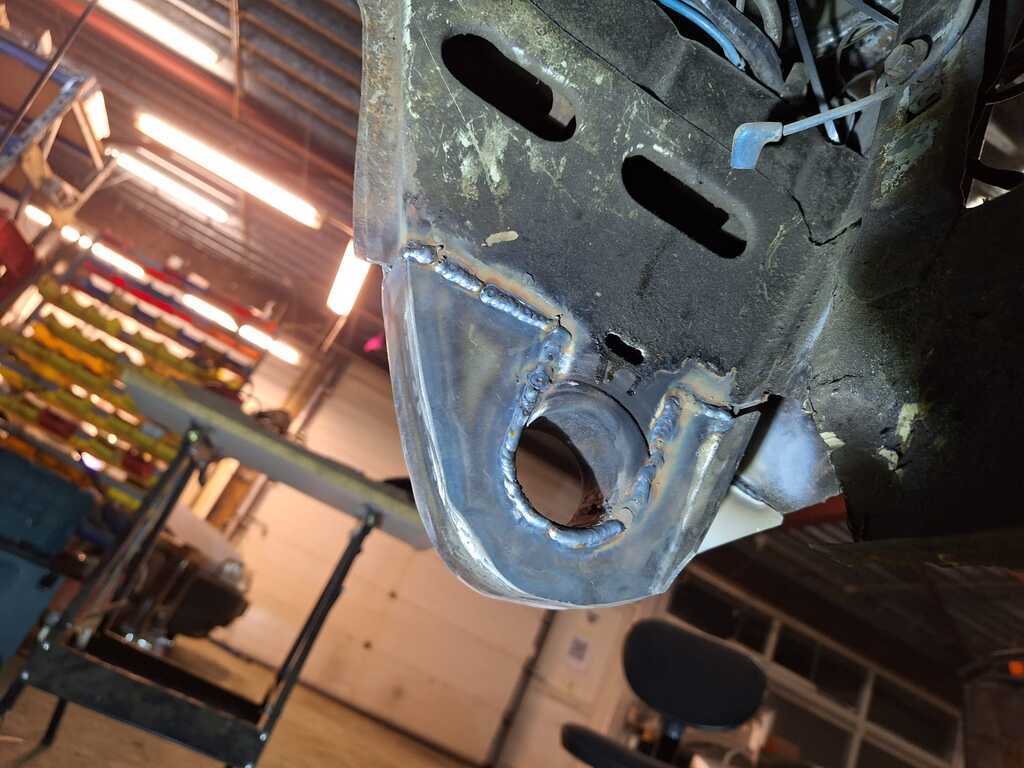 it's nice to weld 2mm plate instead of the 1mm, no worrys of burning trough 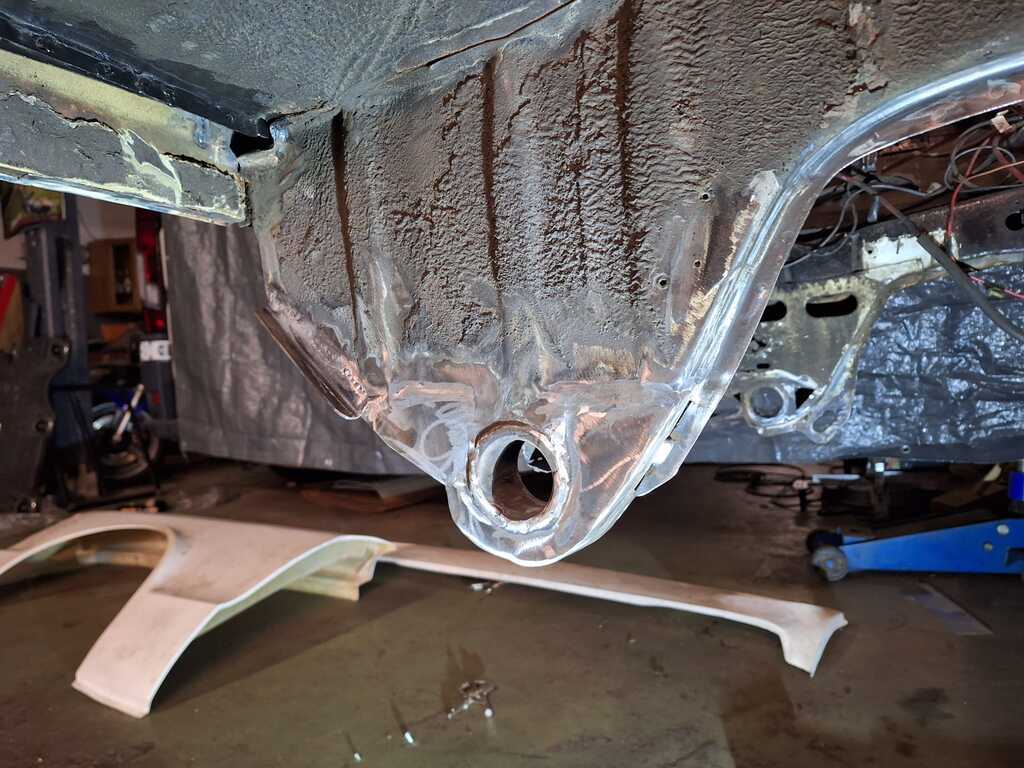 That's 1 of two done, added a lip for the front valance, and one to match the original look. 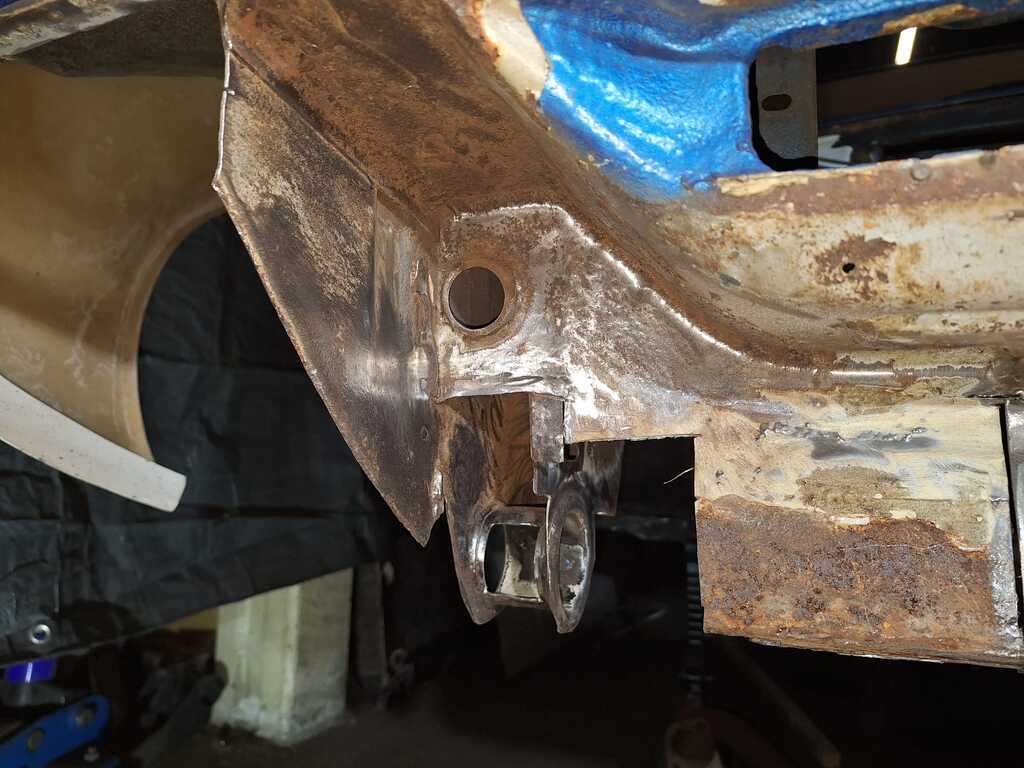 Started digging in the carnage on the other side  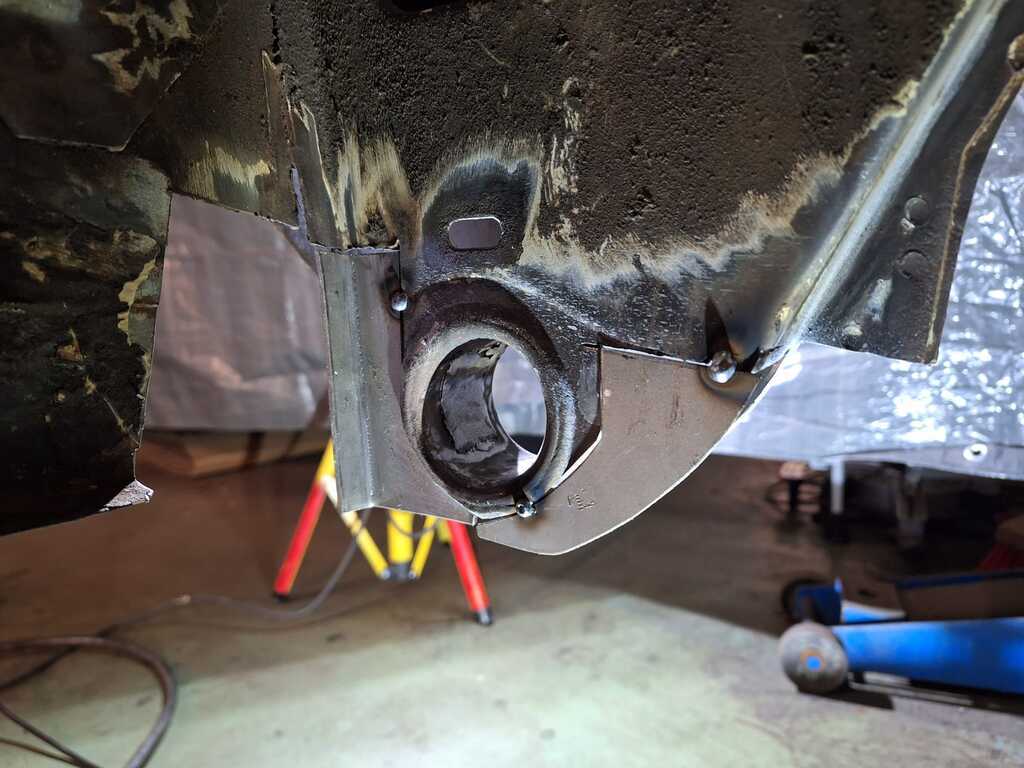 Starting to take shape again. 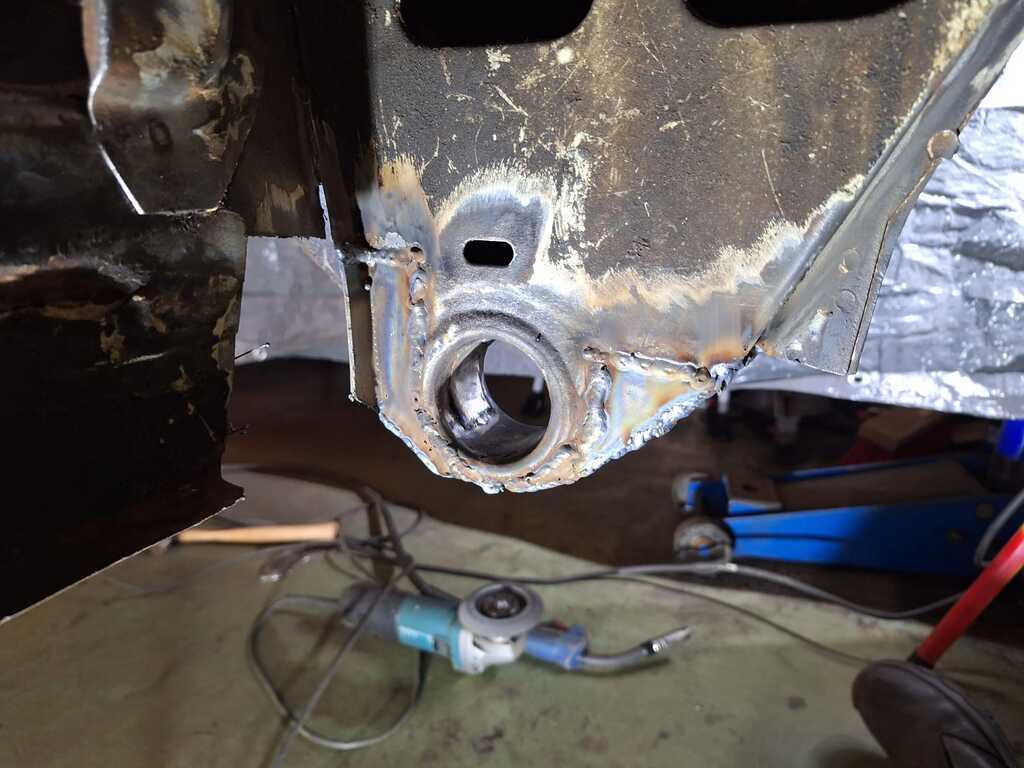 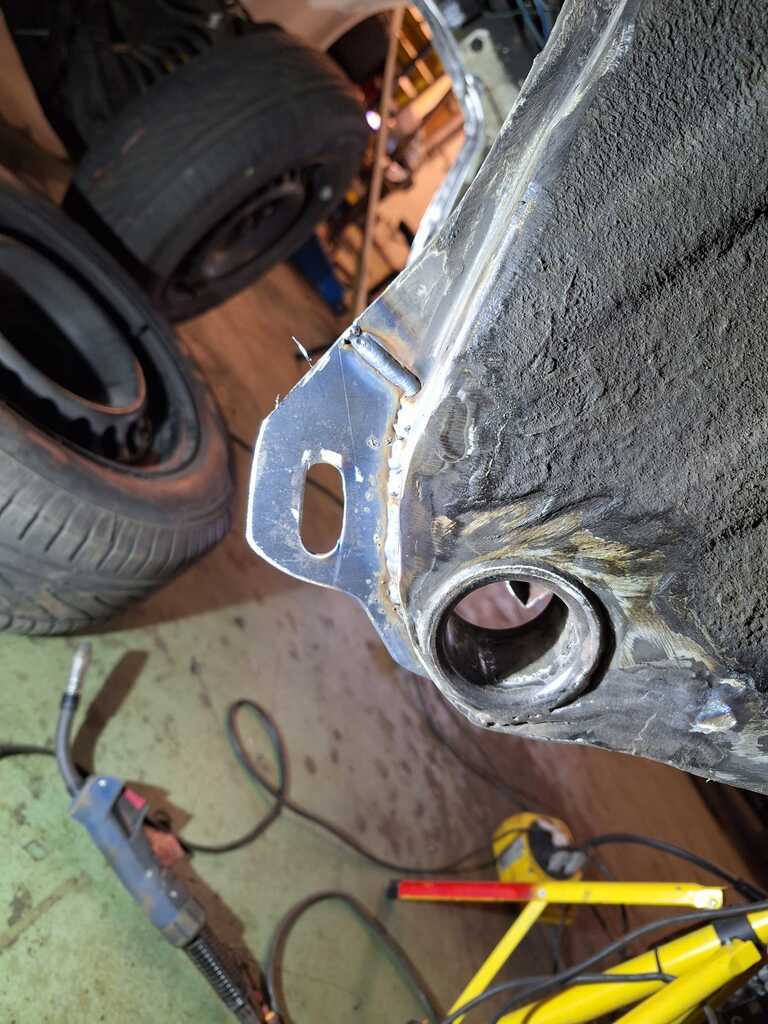 Tow hook in 4mm instead of 2x2. 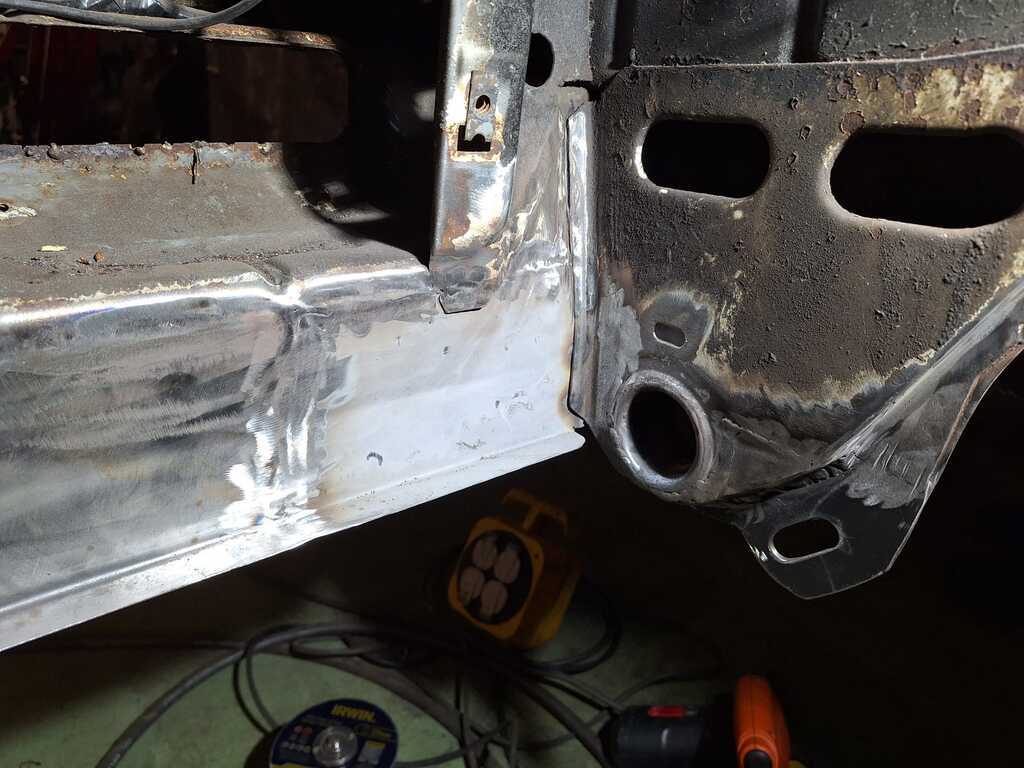 Here i've added the lip for the front valance. Looking pretty solid again . 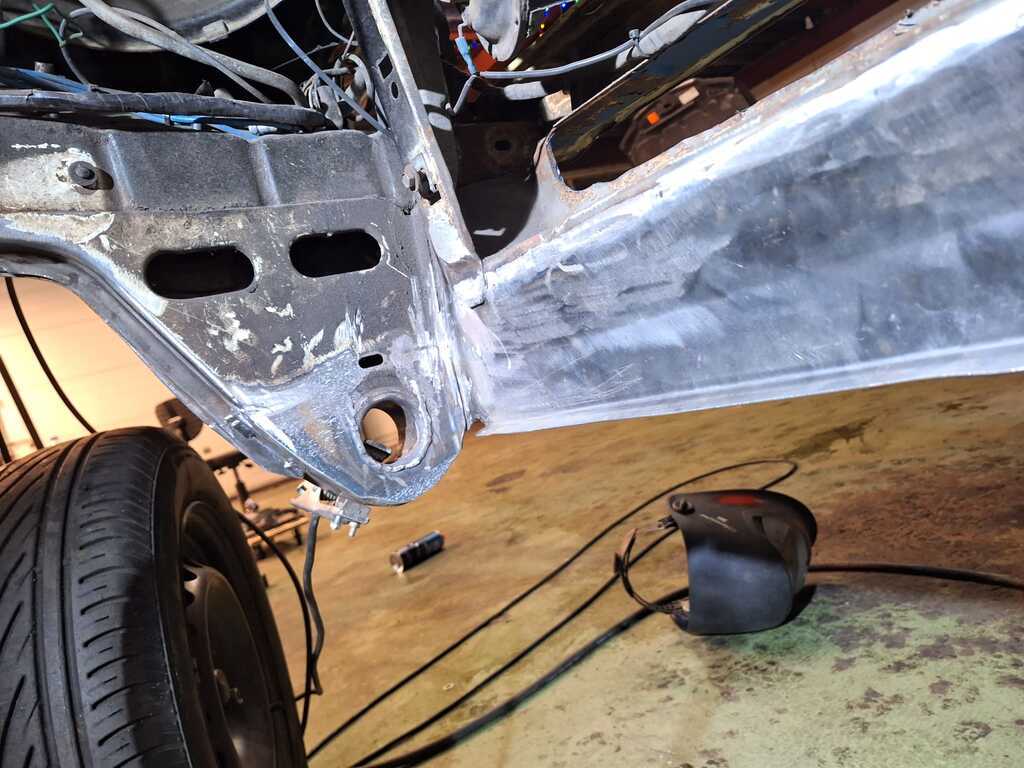 That's about it for the frond end. Most off the welding is done here since i have an aftermarked fibreglass front valance and wings at the moment. Maybe i can find steel variants in the maintime, but these are getting quite hard to find. At least ive got someting to work with. I also started grinding off the rust and priming all the steel parts beside the shell, including the subframe's and control arms. i's a verry messy job and also not the most entertaining. But i know it will be worth at the end. I only took a picture of these parts, but you get the idea. 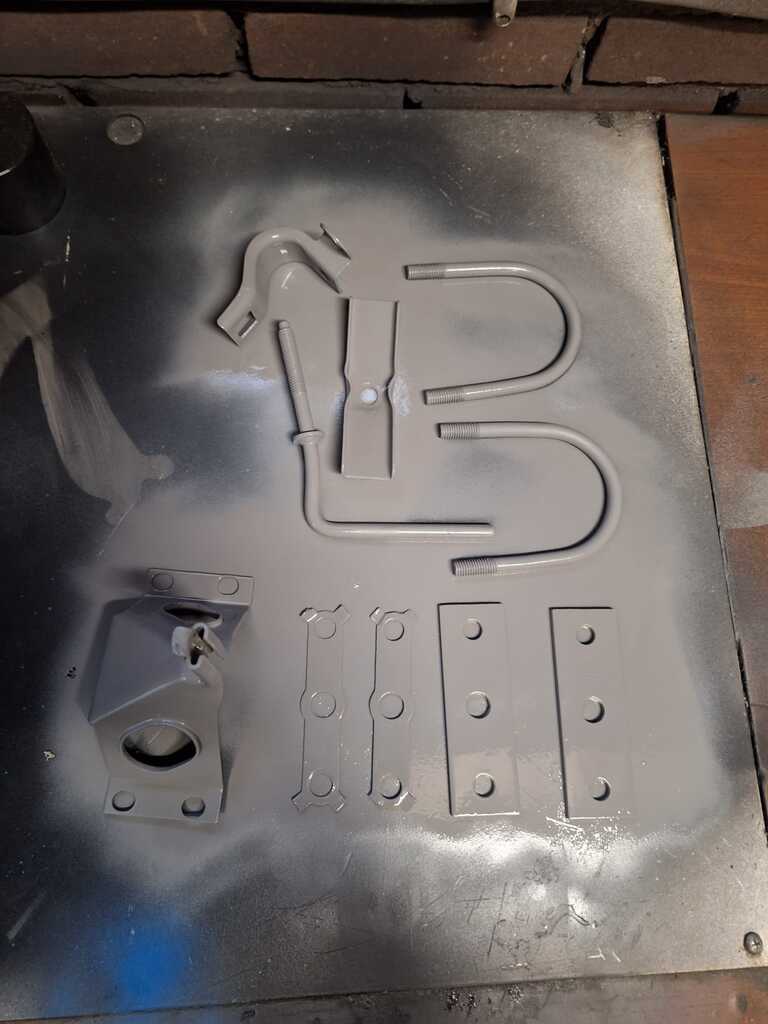 Once you look at the exhaust hanger bracket and see an elephant's head you cant untsee it.  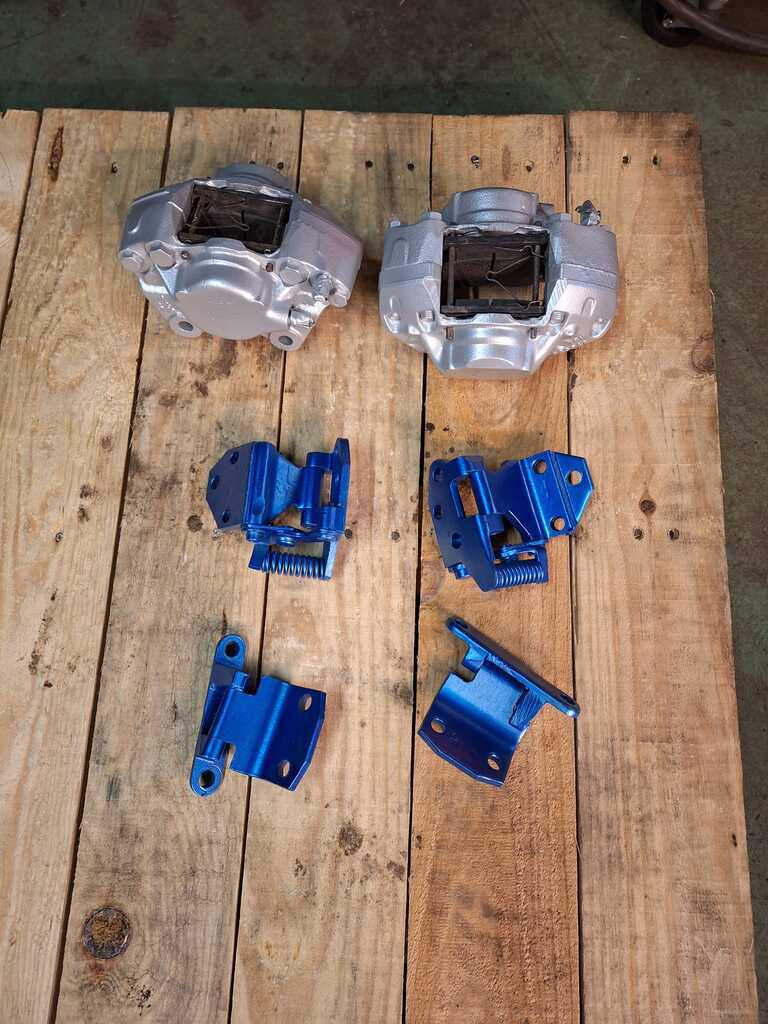 Also Finally a mate finished the doorhinges, these where very worn and needed new bushings. This means i can start fitting the drivers side doors and weld the sill.  |
| |
|
|
|
|
|
|
|
|
Brilliant fabrication and welding done,
Excellent thread, looking forward to seeing future updates on this project,
Bookmarked,
Nigel
|
| |
BMW E39 525i Sport
BMW E46 320d Sport Touring (now sold on.)
BMW E30 325 Touring (now sold on.)
BMW E30 320 Cabriolet (Project car - currently for sale.)
|
|
kh97
Part of things
 
Posts: 25
|
|
Feb 18, 2024 19:56:32 GMT
|
My neighbor cleaned up a little bit so i can finally see the passenger side of the car. Also an opportunity to make pictures of the work i did a year ago. 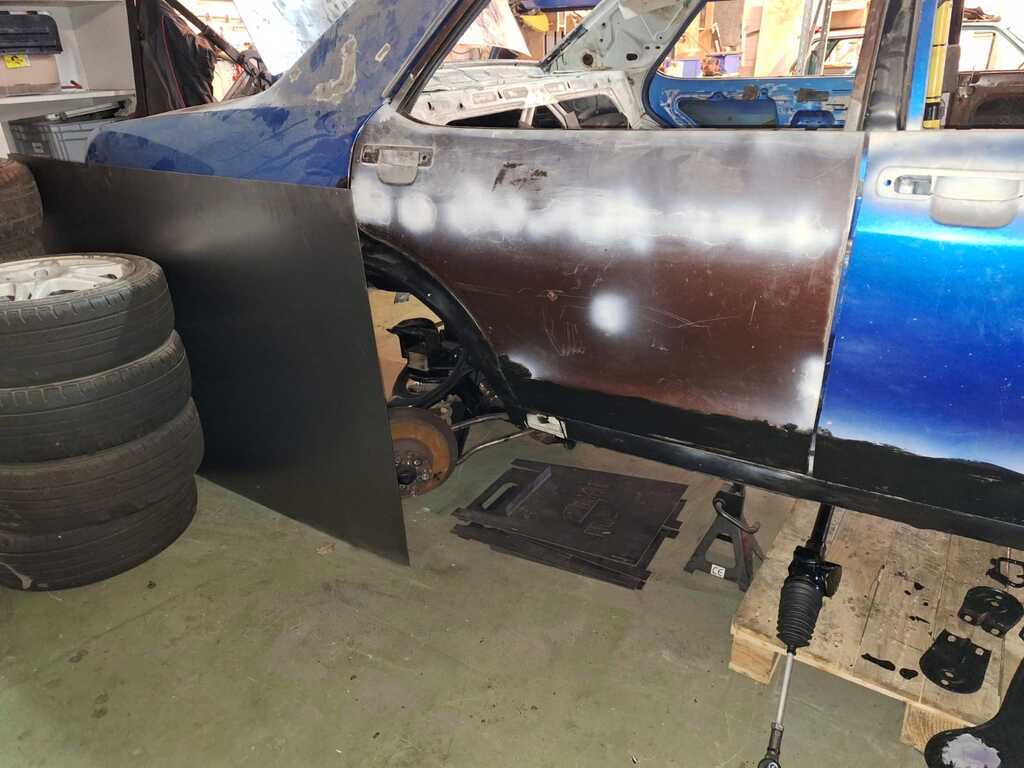 The black painted parts where replaced: rockers, lower doorskins, inner+ outer wheelarch and dogleg panels. 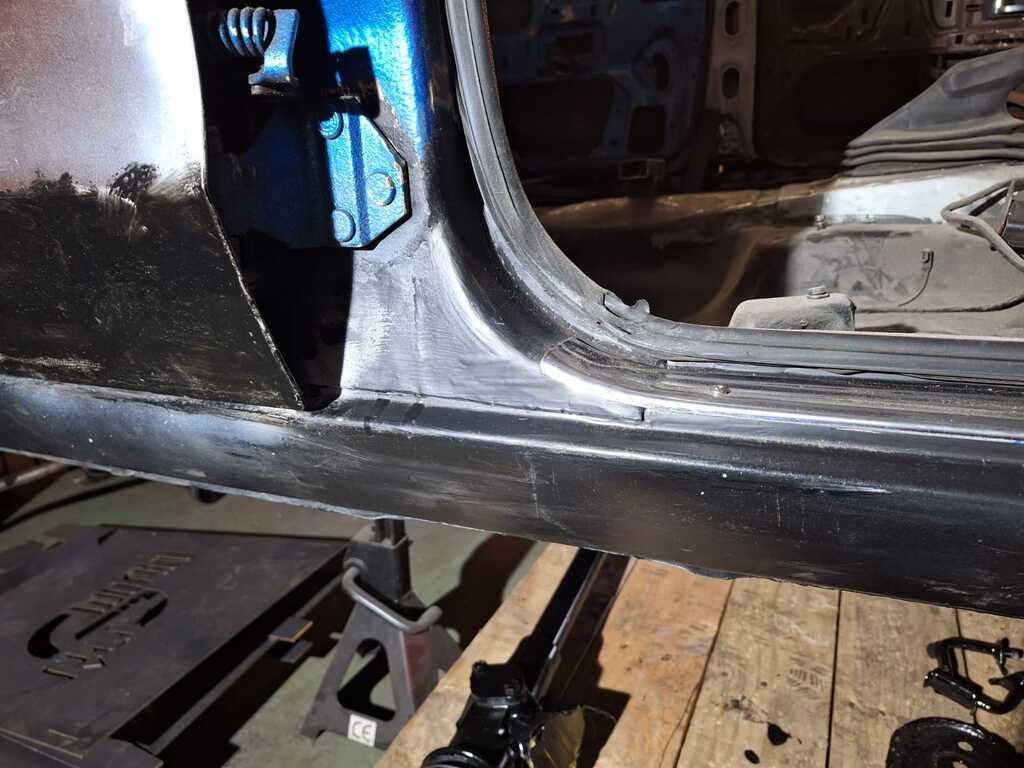 The dogleg panel sits over the rockerpanel, and the decorative piece goes over that. it's a big moist trap but i wanted to make it look like original. 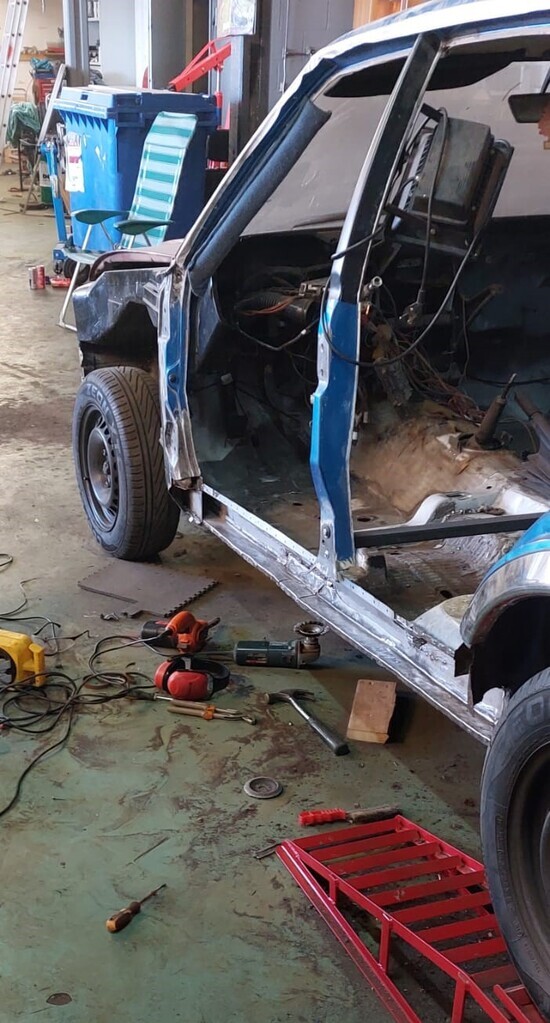 This is an older picture, i think it was from last summer. Here i started cleaning the inner sill. The lower parts of the sills where the only bits of sill that where in decent shape. it is kinda the opposite of most rocker panel repairs. The extention from the floor panel was already renewed by me. 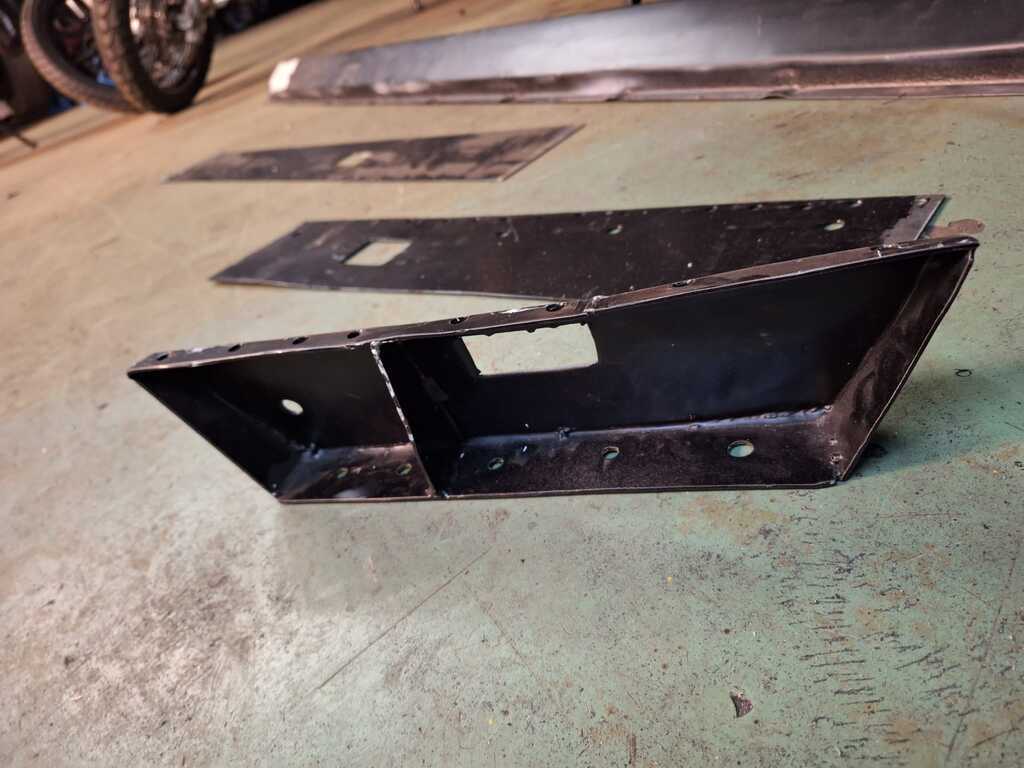 The person who previously welded in the rockerpanel did cut away this whole stiffener, so i had to remake the whole thing without having any part for refrence. luckely i could find some pictures of the part on forums and here  it's not completely identical to the original, but I'm sure it's just as strong. 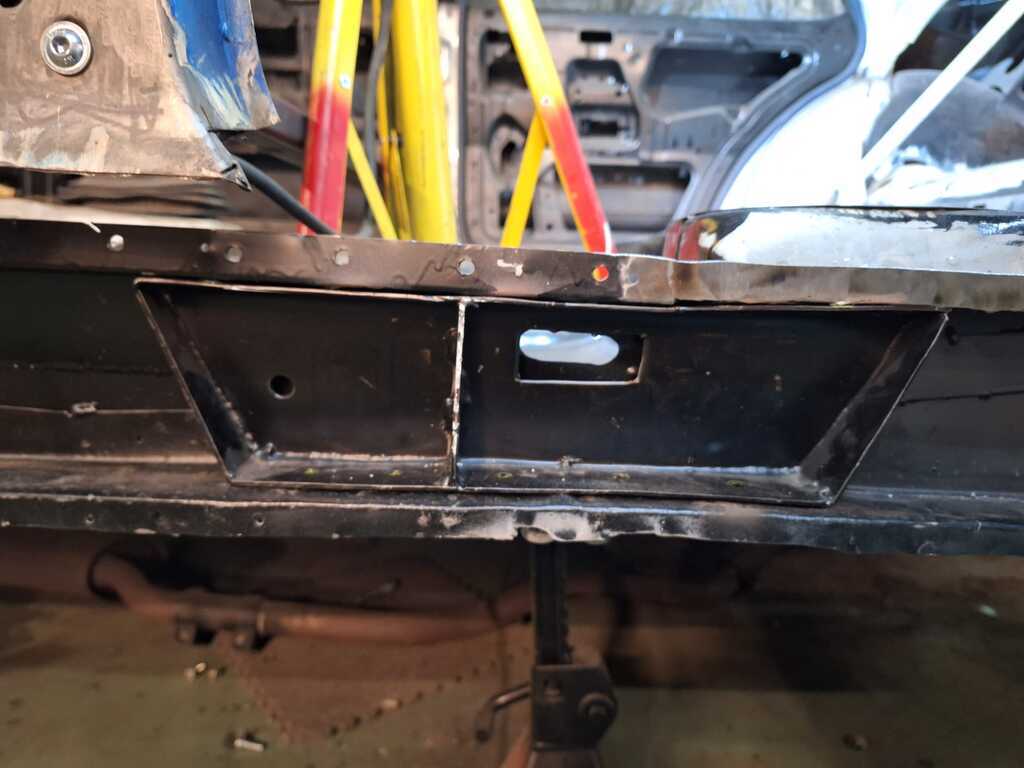 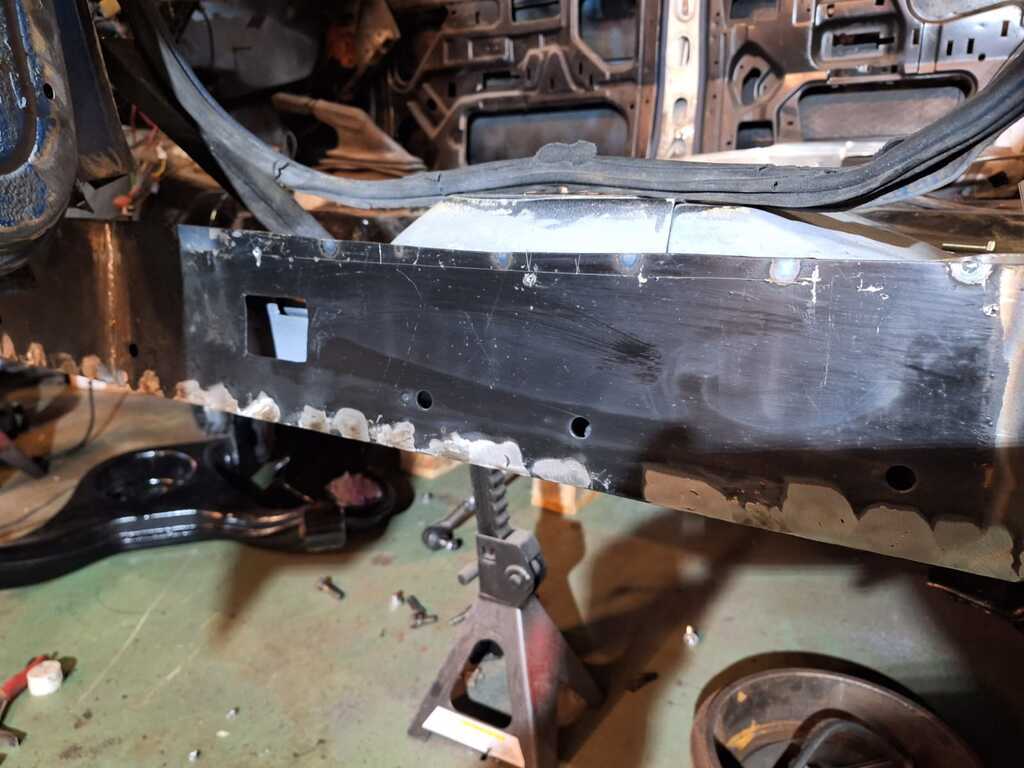 Welded on the 2mm inner sill plate. It does not look like the original piece wich has a lot of big holes in it, but i refuse to pay +/-100 euro (a side) for a simple panel like this. 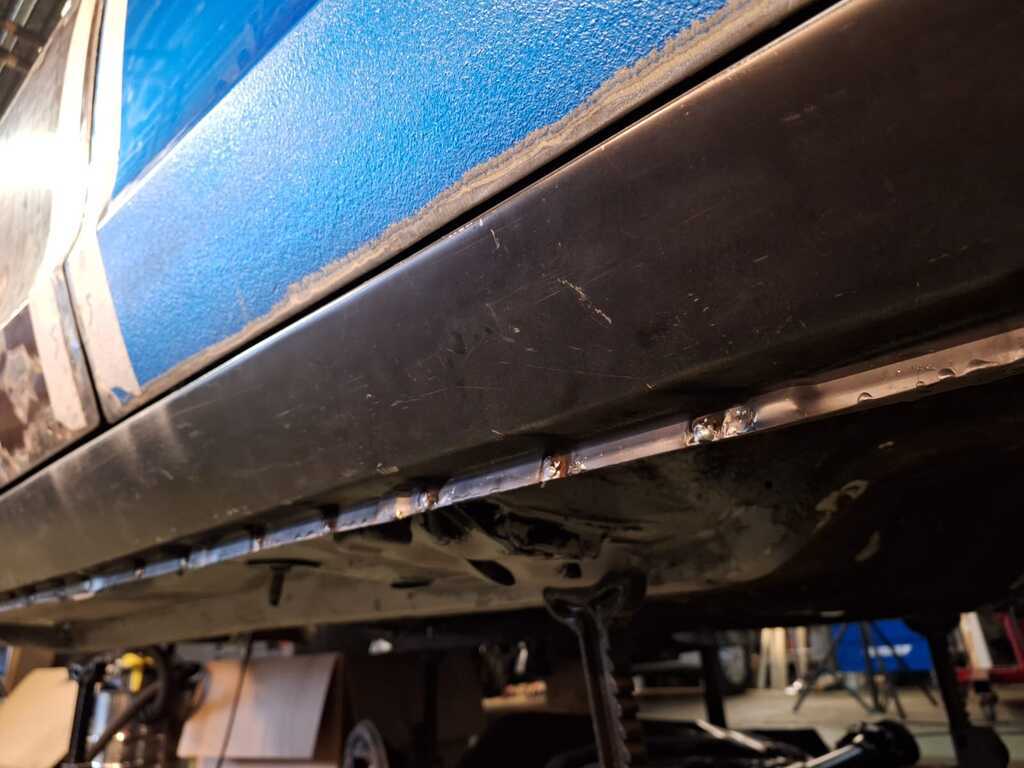 here the rockerpanel goes on... 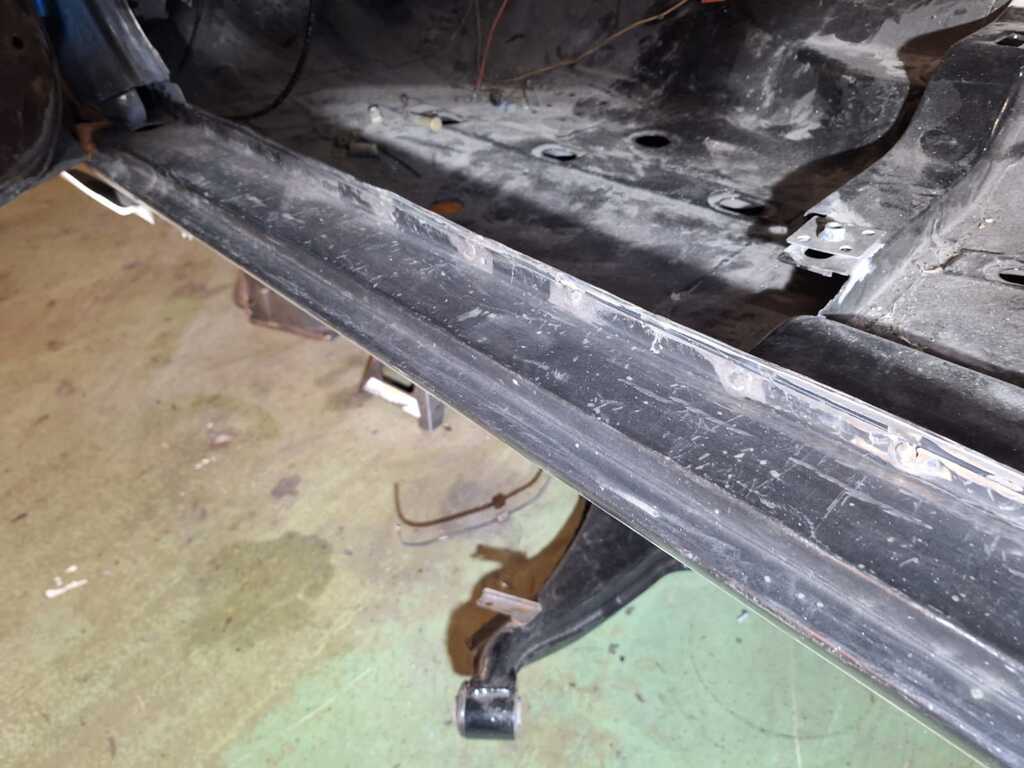 top view 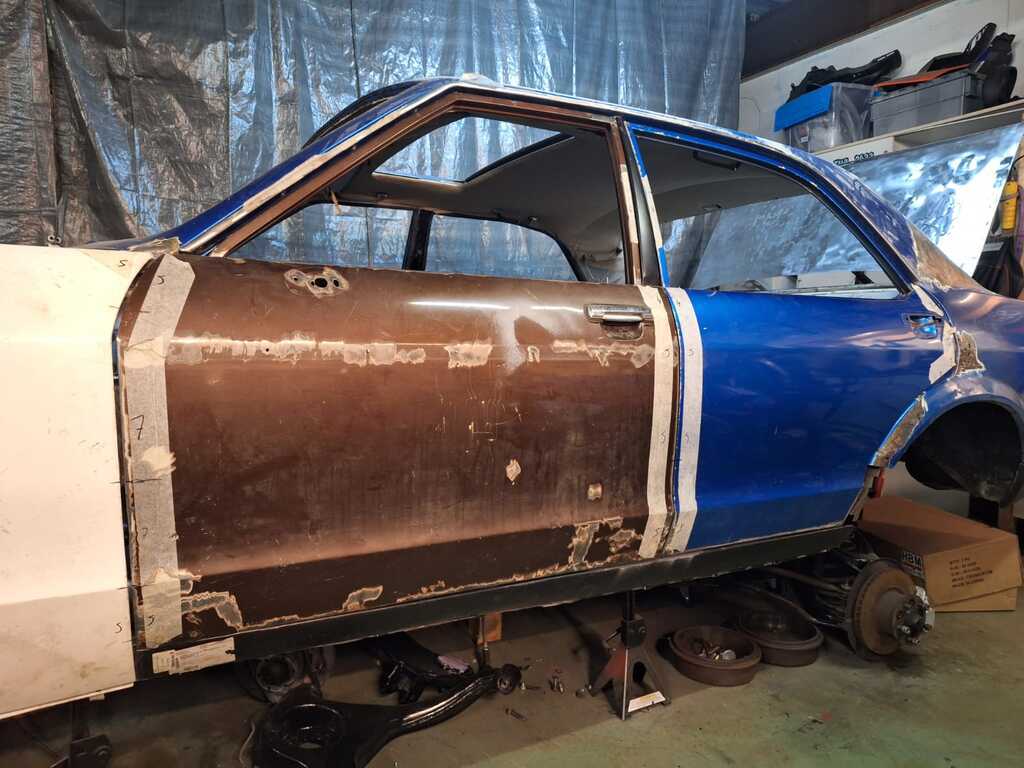 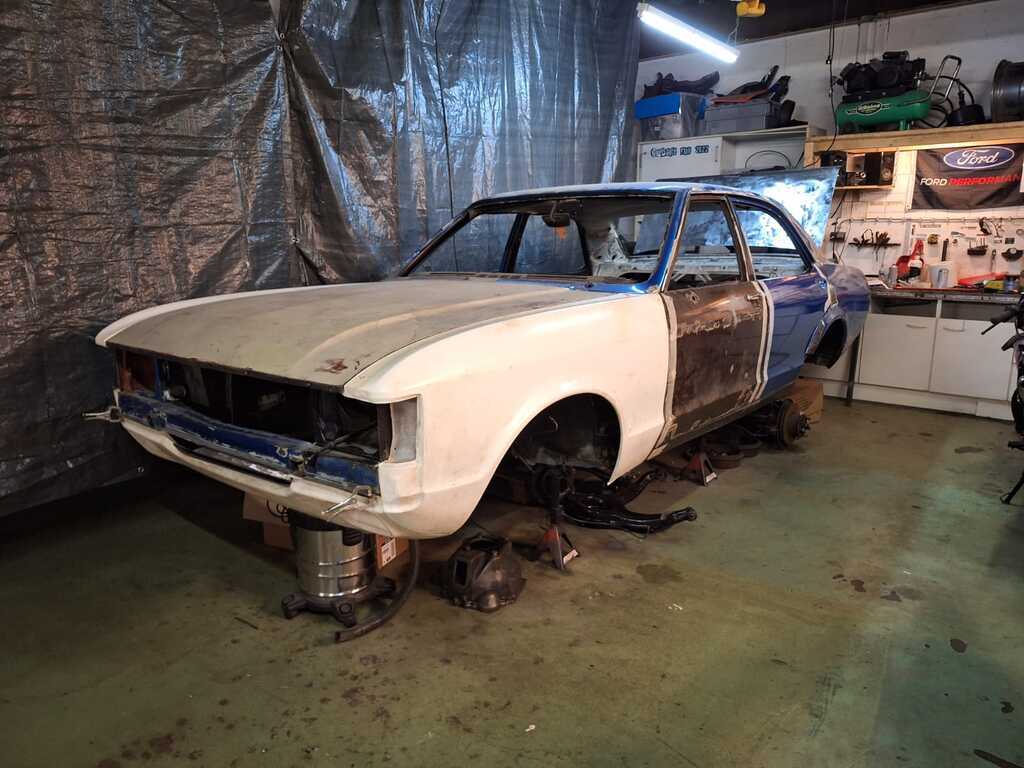 Starting to look like a car again. 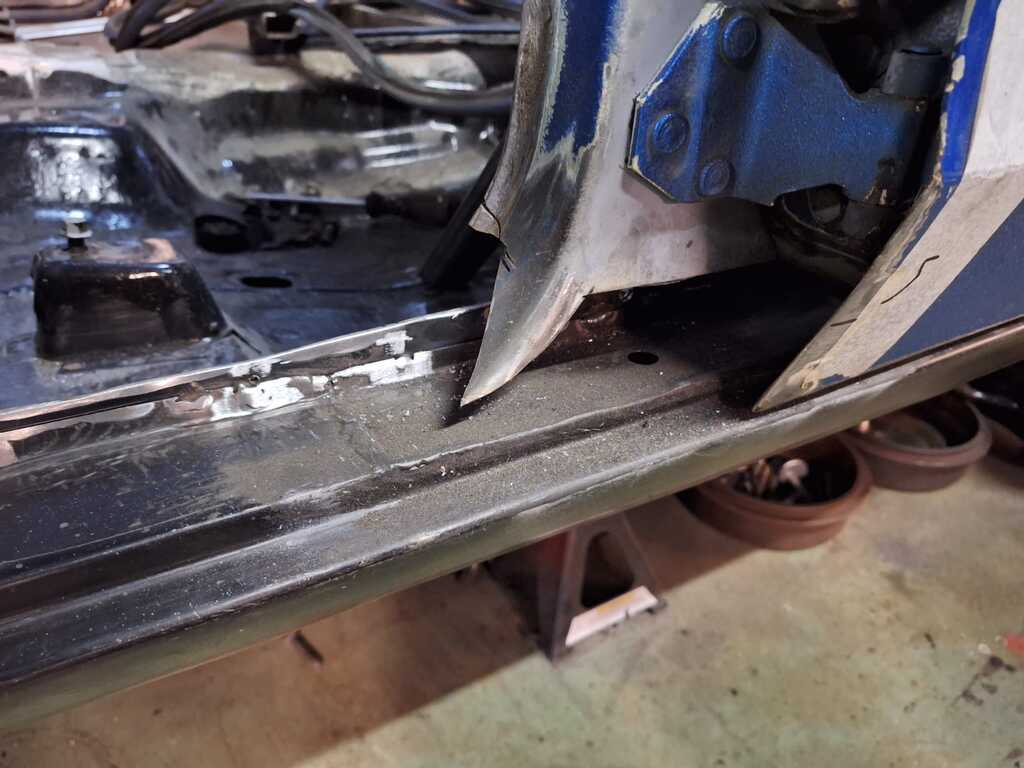 next job: the dogleg panels a lot of shapes, this means a lot of seperate pieces being welded to one complex piece. luckely i treated myself with a shrik and stretching divice, which makes the job less complicated. 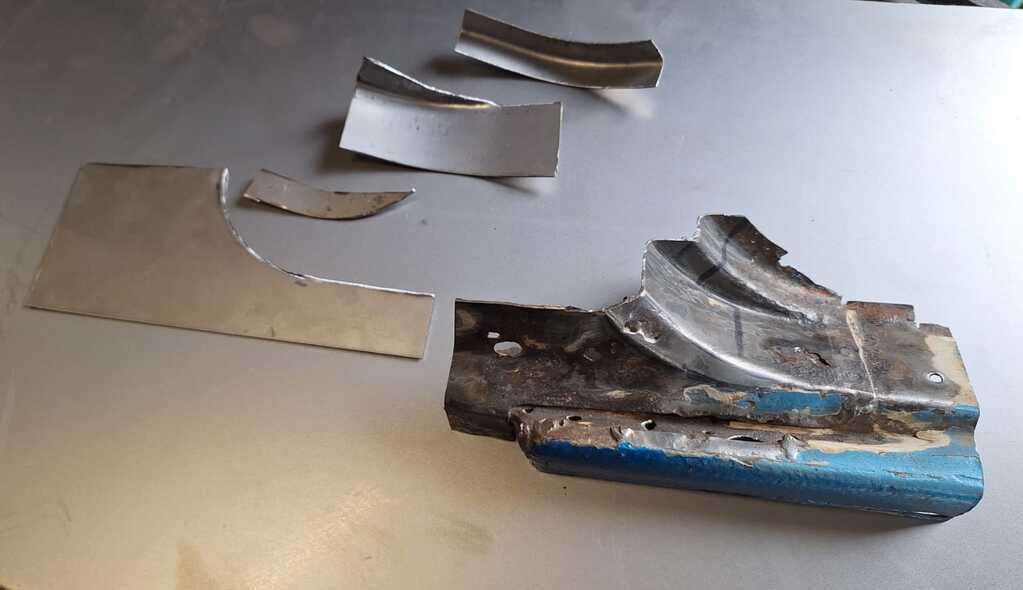 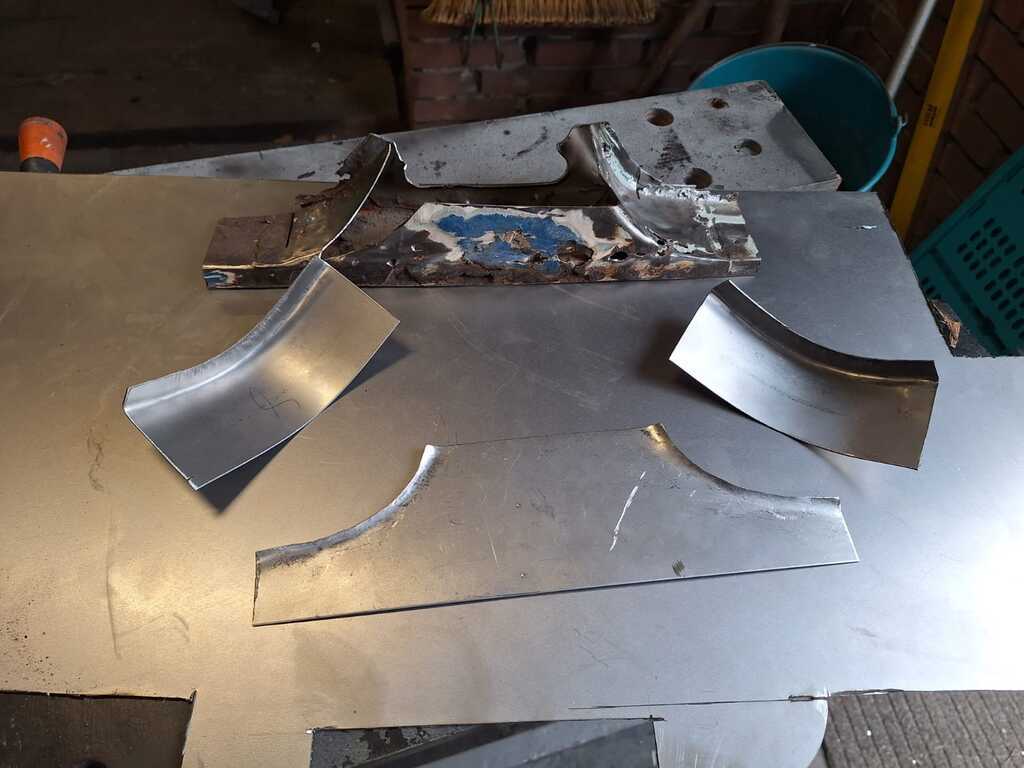 Hopefully i will find some time to weld this altogether next week. |
| |
Last Edit: Feb 18, 2024 19:59:11 GMT by kh97
|
|
|
|
|
Feb 19, 2024 11:45:07 GMT
|
|
Awesome skills. Looking forwards to the next update.
|
| |
|
|
|
|
|
Feb 22, 2024 11:14:37 GMT
|
|
Congrats for the buy and the some fine metal work done!
You got skills!
Its not usually to see granadas mk1 being fixed (I have a 2.0 granada mk1 myself), so its great to look into those details!
Thank you, waiting for the next update!
|
| |
|
|
kh97
Part of things
 
Posts: 25
|
|
Mar 25, 2024 20:11:02 GMT
|
Finally some progress pictures, I couln't work as much on the Granada as i wanted to do this month. Mostly because i accidently bought 2 motorcycles from my colleagues.  Now they are gone i have some more space to work on the car. 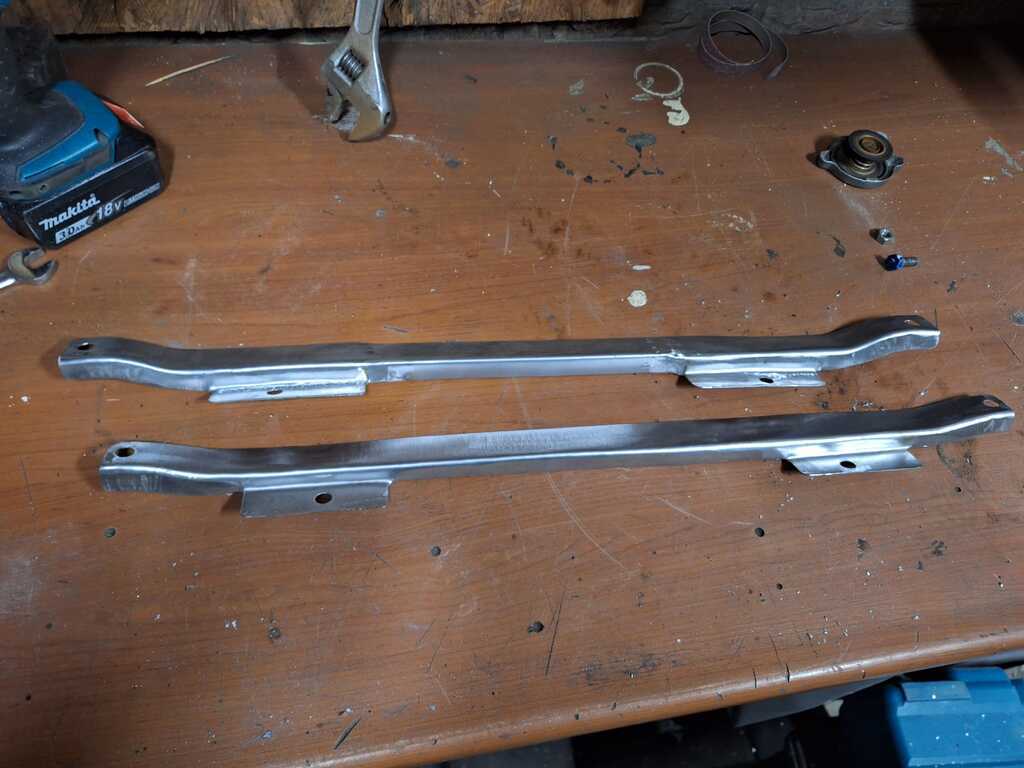 I started by fabricating some bracets for the radiator fan. Not really neccesary at the moment, but i wanted to play with the shrink and stretcher. 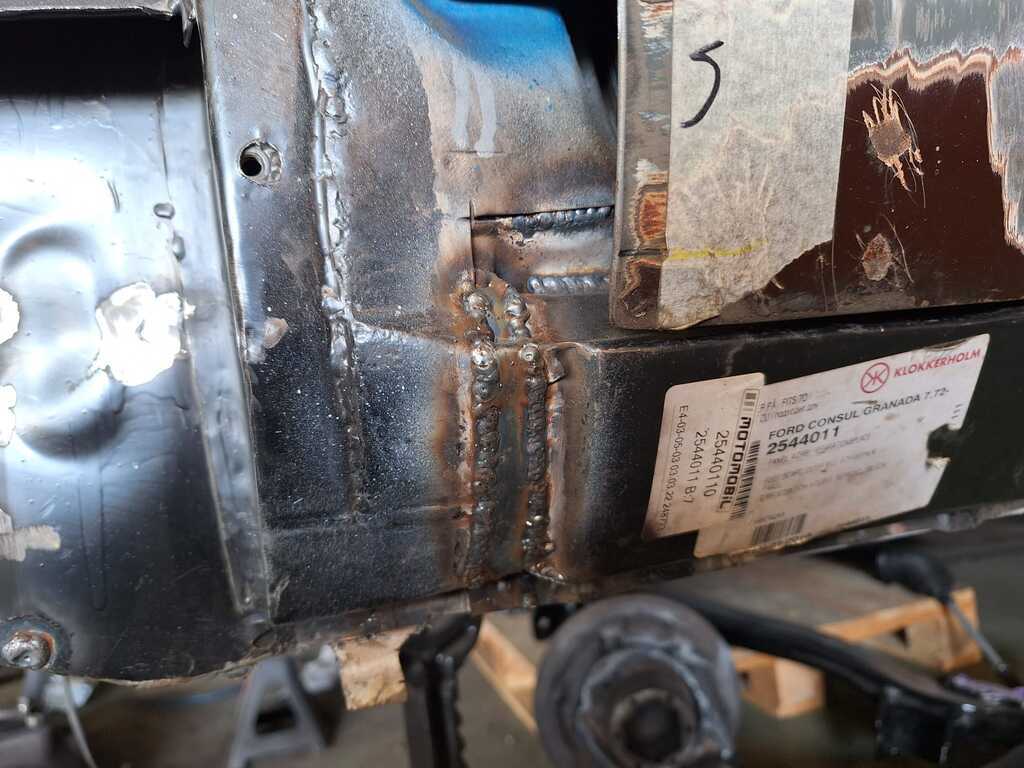 connecting the sill 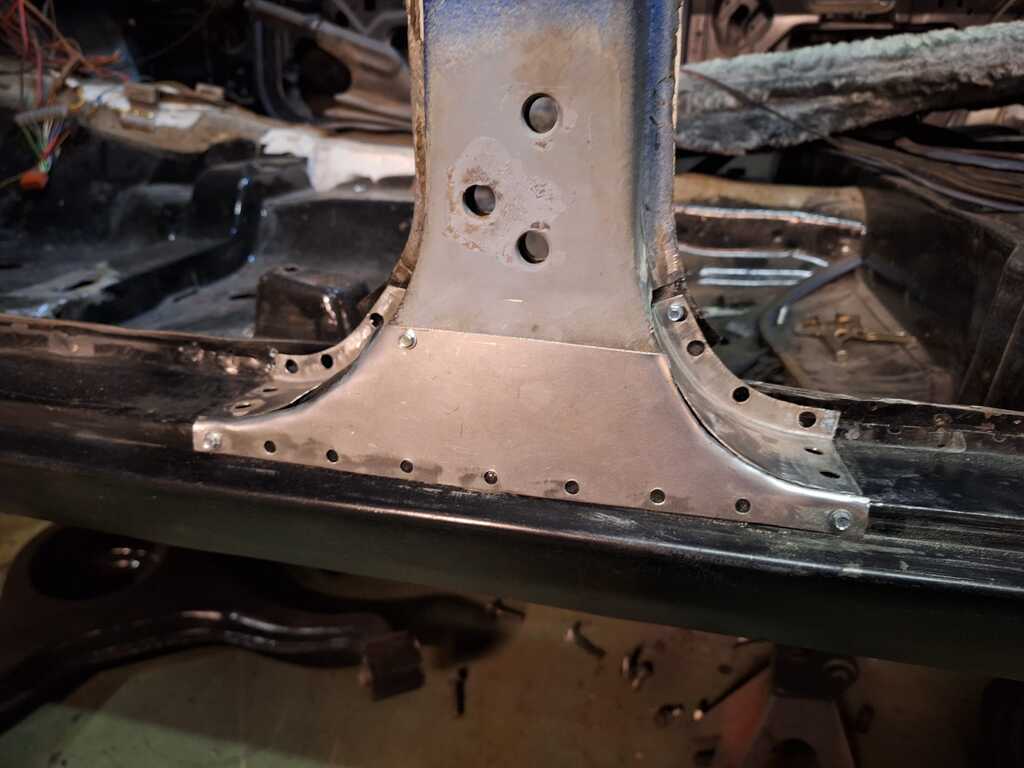 B-pillar work (i know i still need to cut the inner sill to the right size) 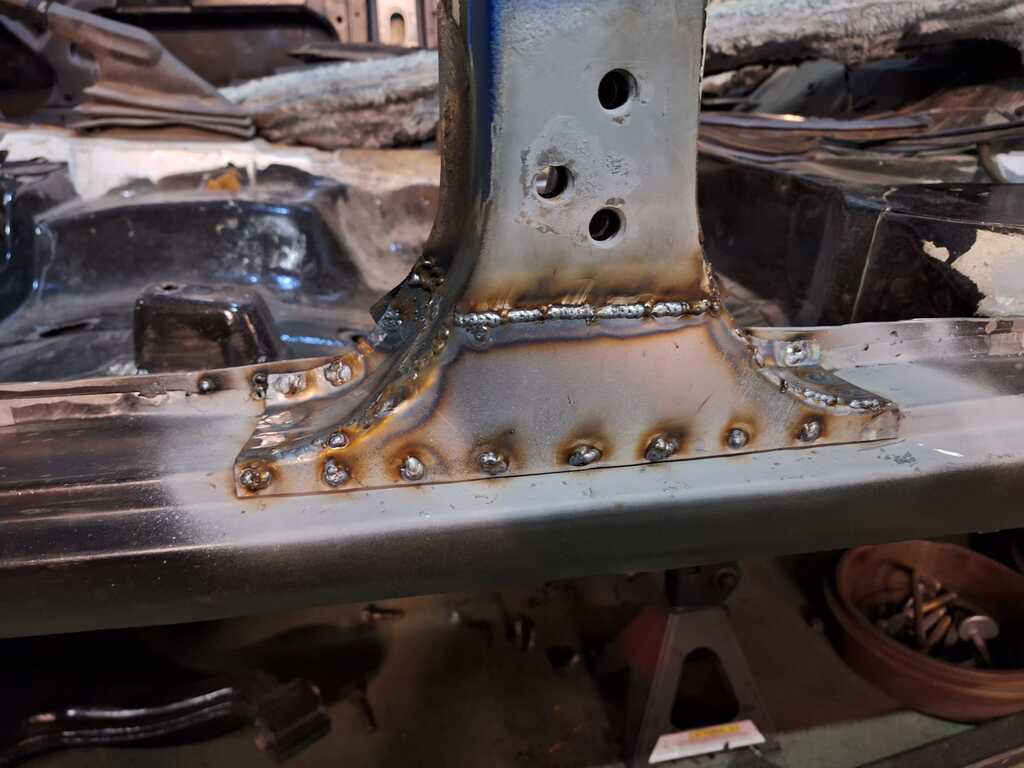 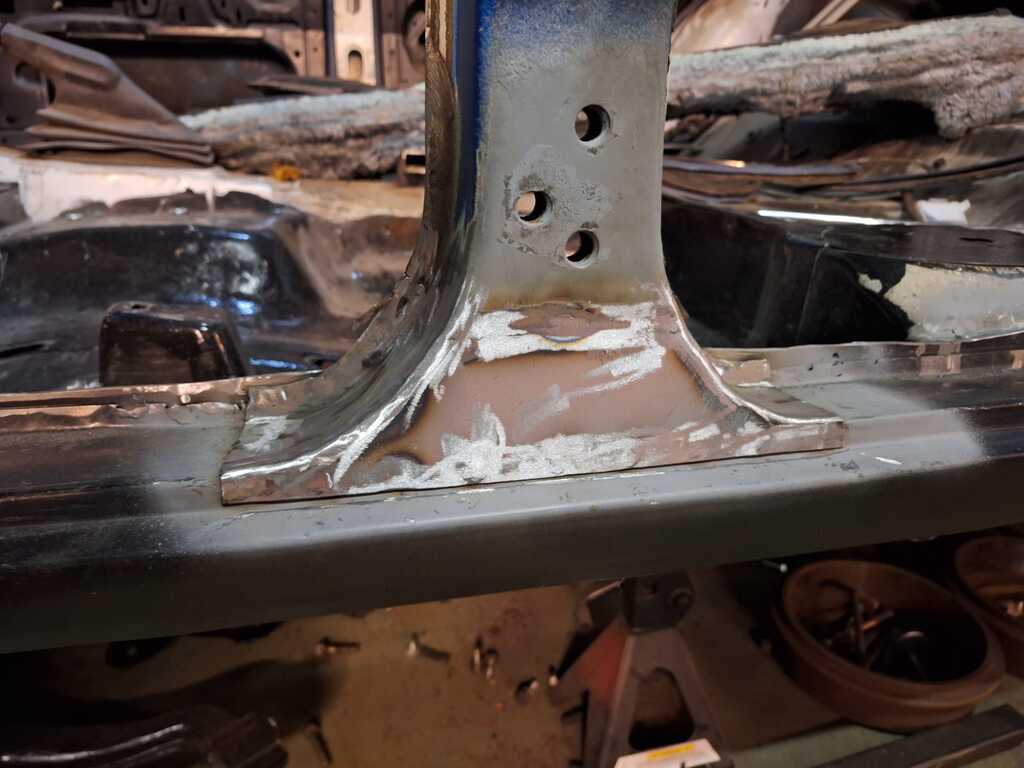 not to bad.... 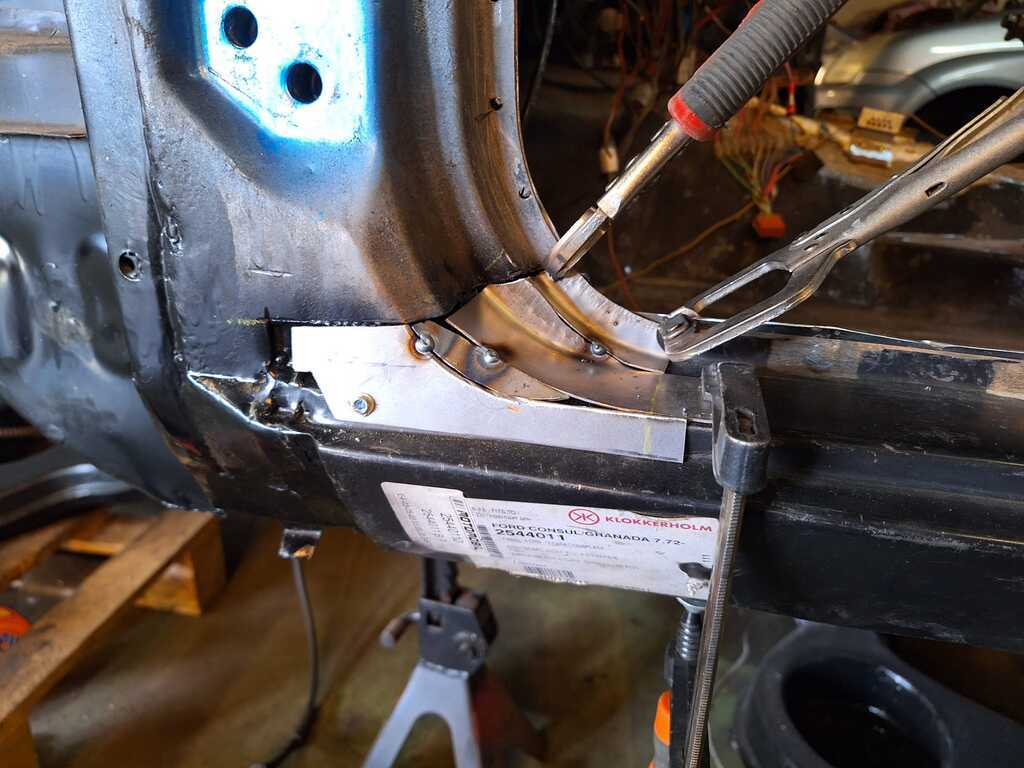 A-pillar 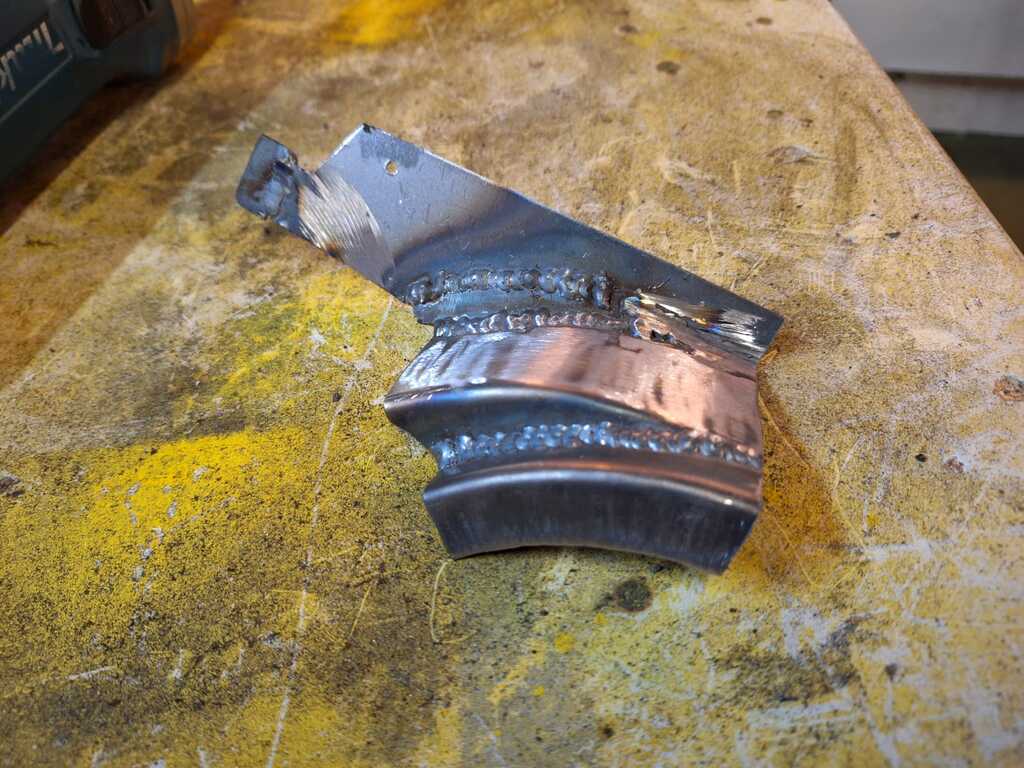 welding the inner and outside's so i could create a little chamfer when grinding. 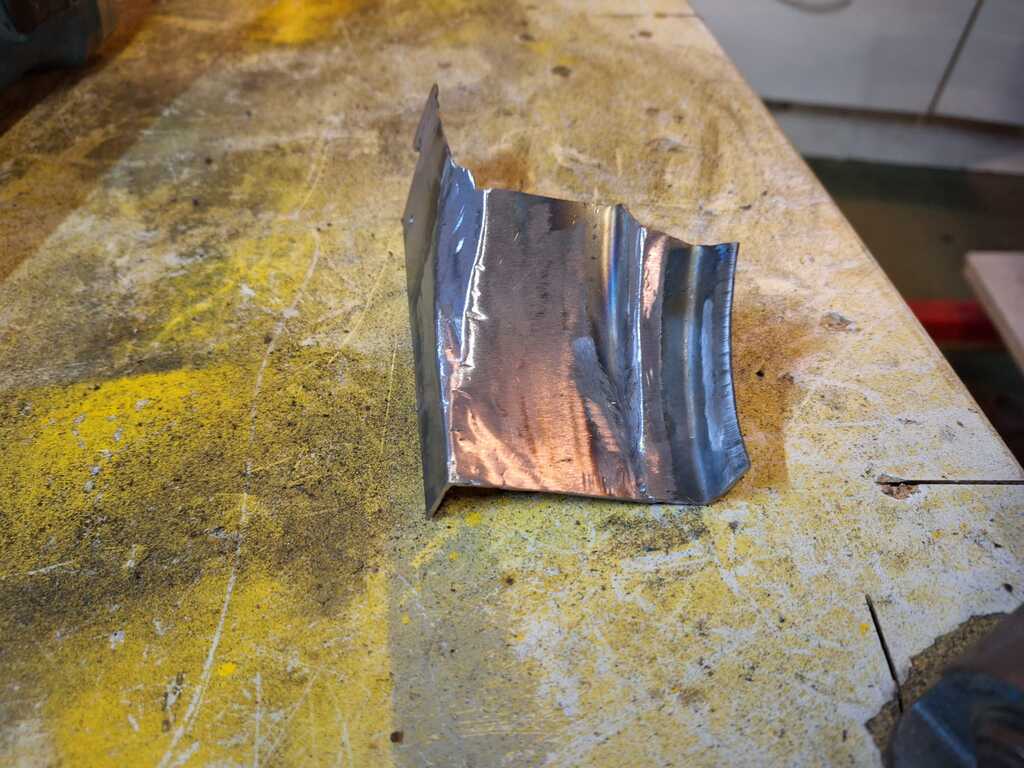 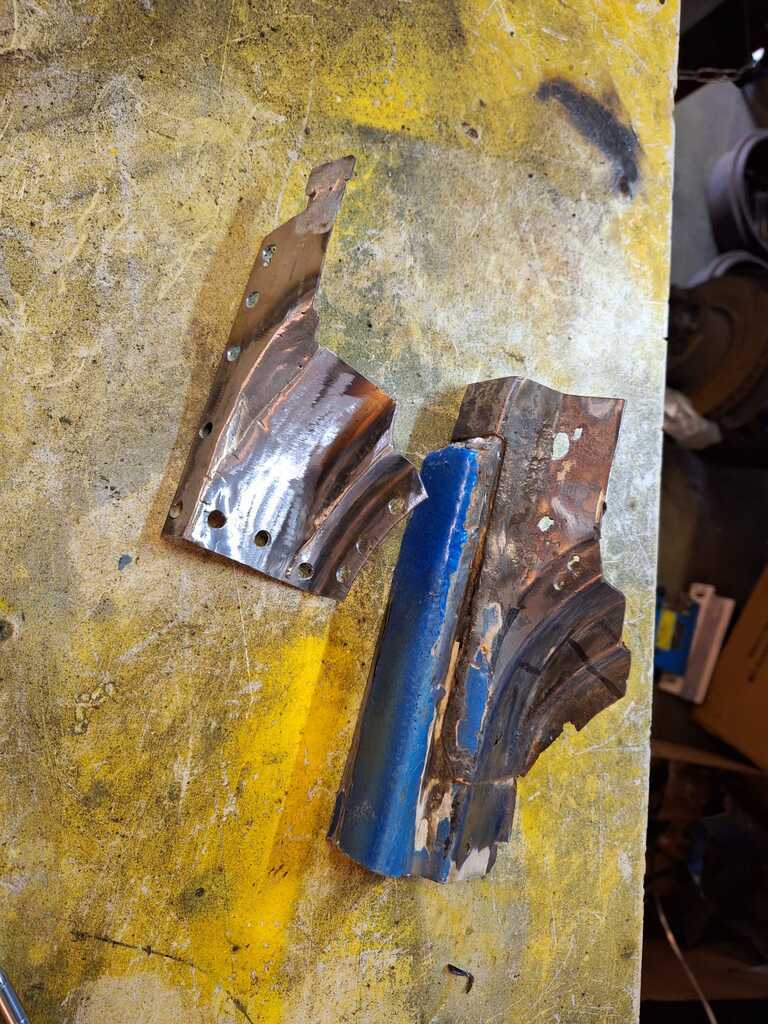 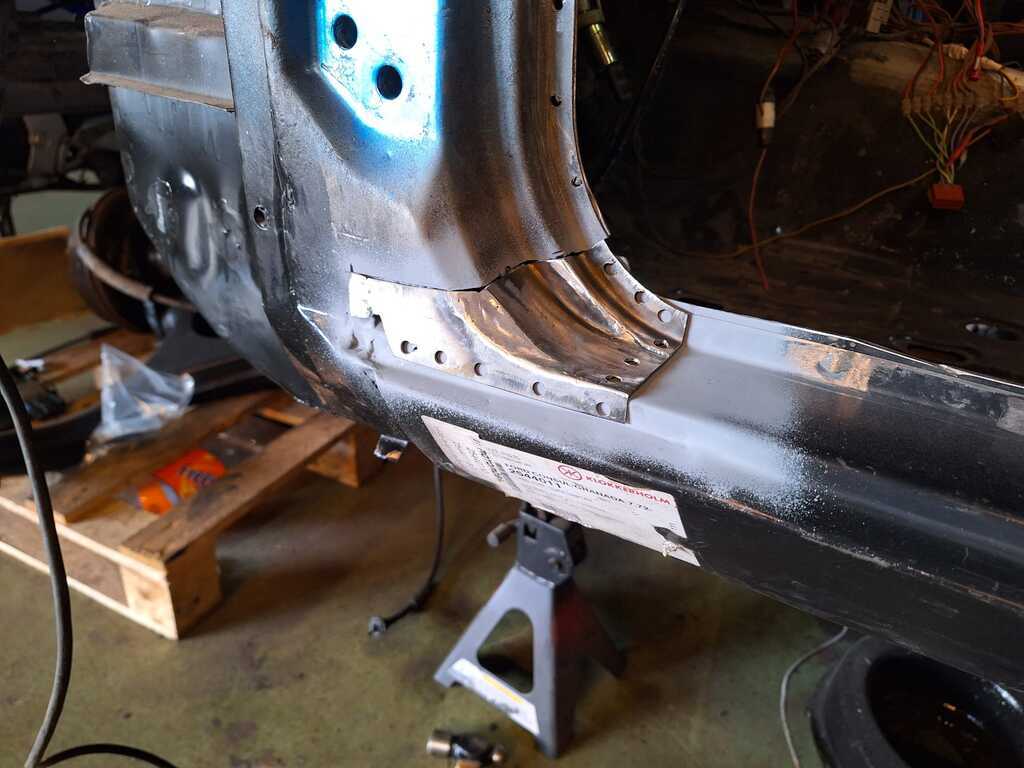 It did fit nice, no hammering or pulling neccesary. mostly these fidly repairs shrink because of the heat. 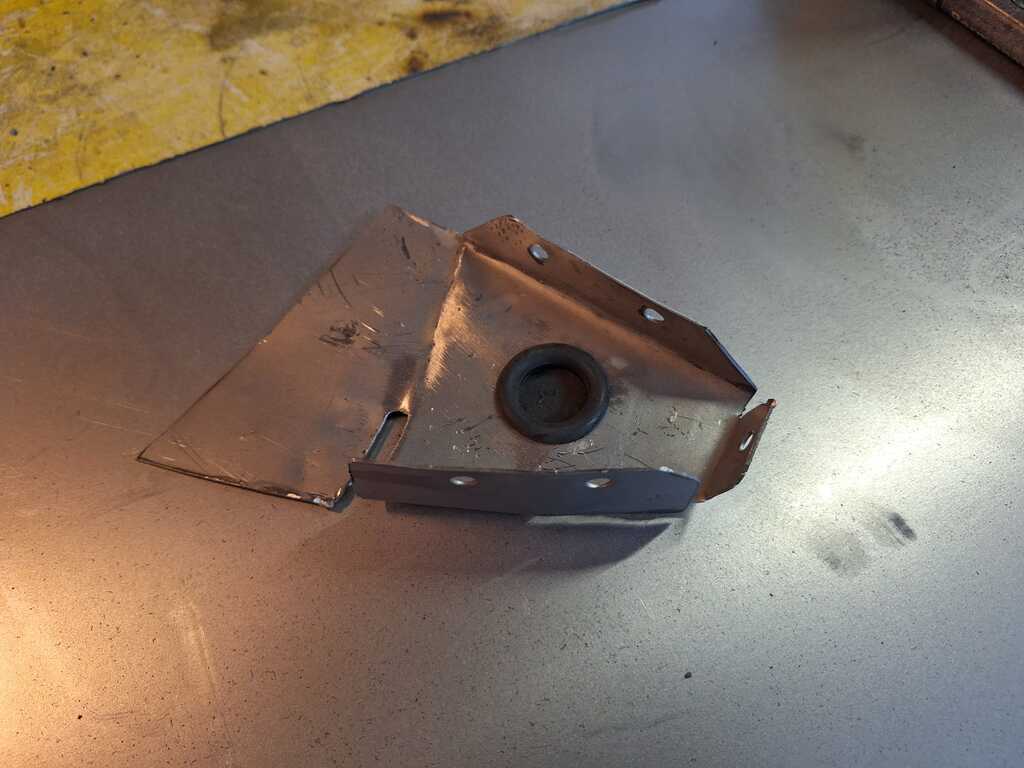 Here i started to make a Sill end cap panel 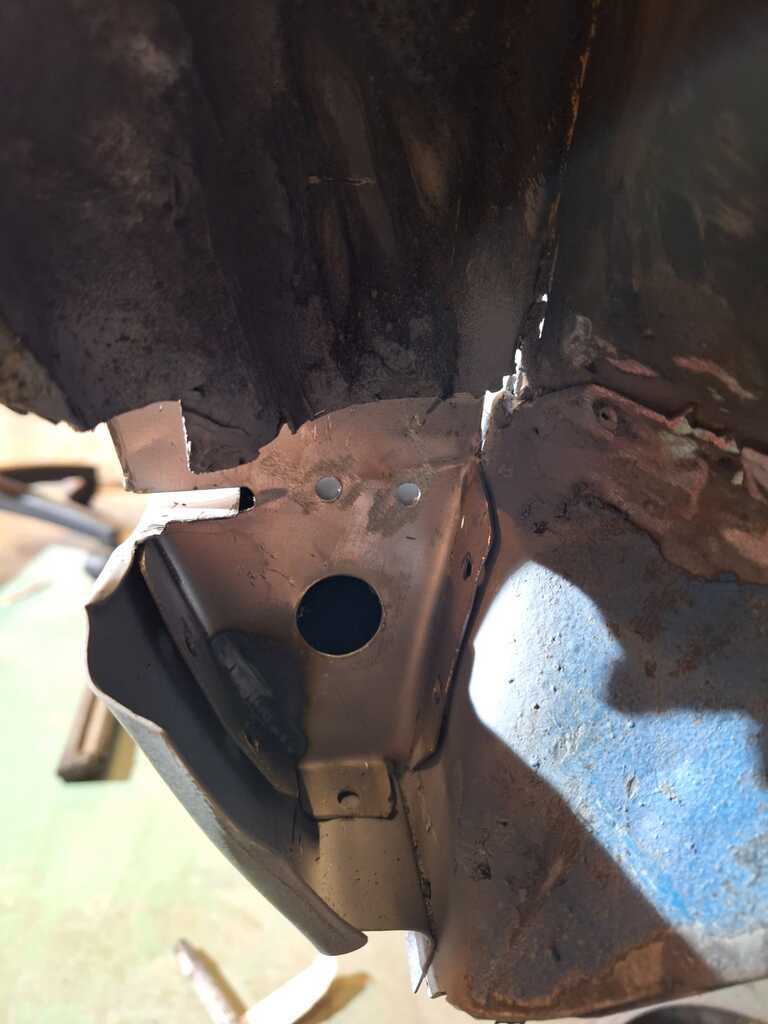 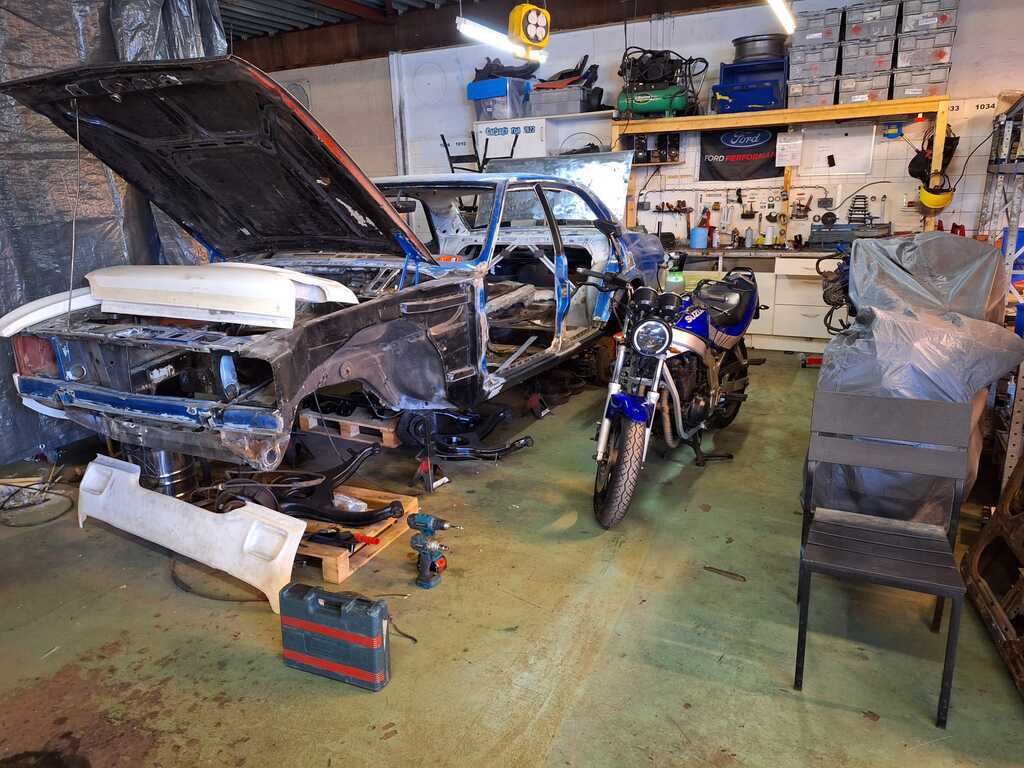 Hopefully i can finish all these little repairs on the pillars soon. After these repairs i saved one big repair to complete the drivers side. Everytime i walked past the car to pick parts, use the workbench or whatever reason, my eyes where always peeking to the rear wheel arch, because it was in such horrible condition. I realy wanted to poke a screwdrawer trough this place and see how much of the car would fall on the ground. Today was my lucky day and i could start digging in this mess. as you could see in the pictures, there is not much left. Lots and lots of prevous repairs with an awful amount of filler, to not make it look like swiss cheese. Ford filled these arches with foam in the factory to reduce noise..... and maximaize rust. 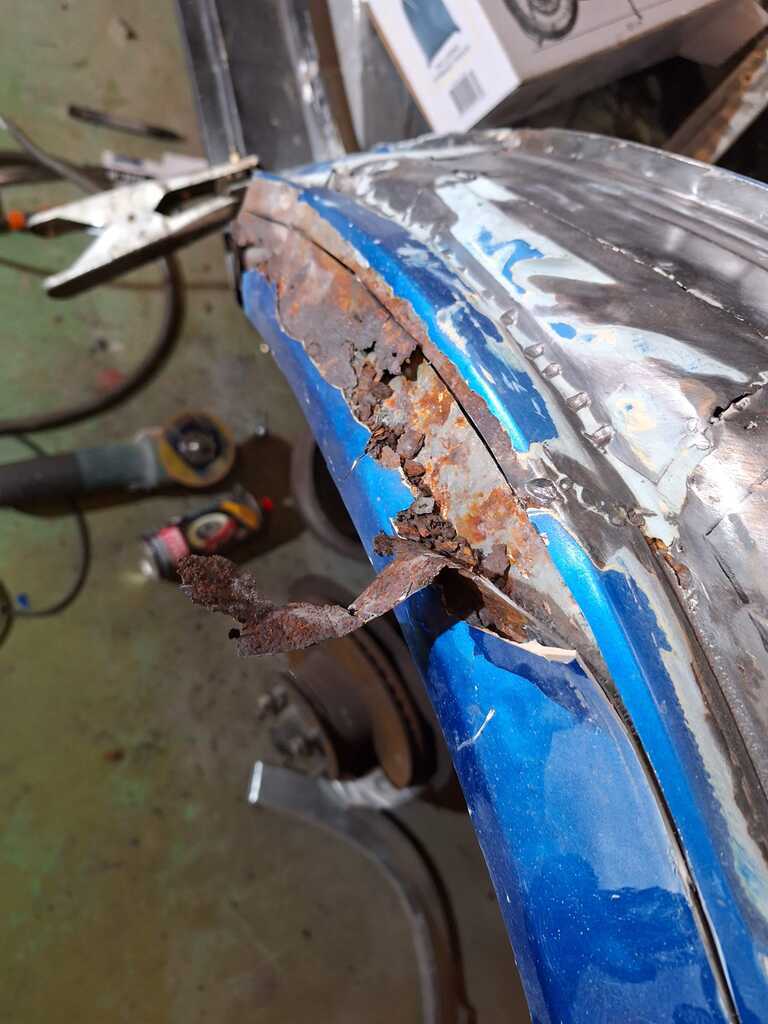 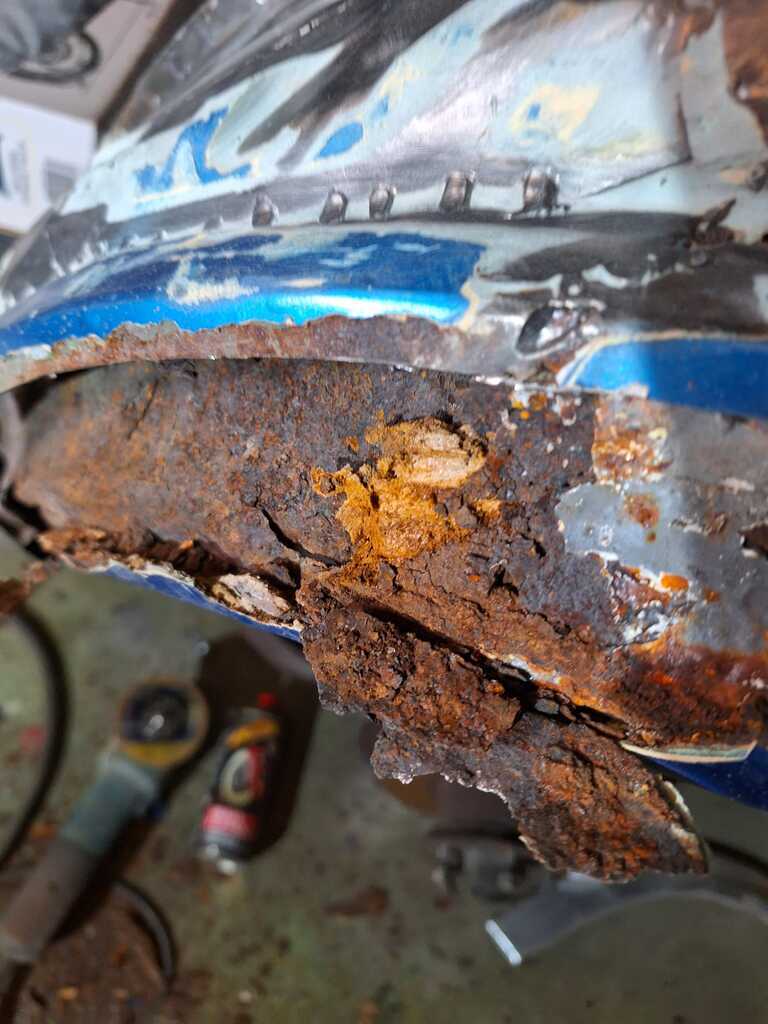 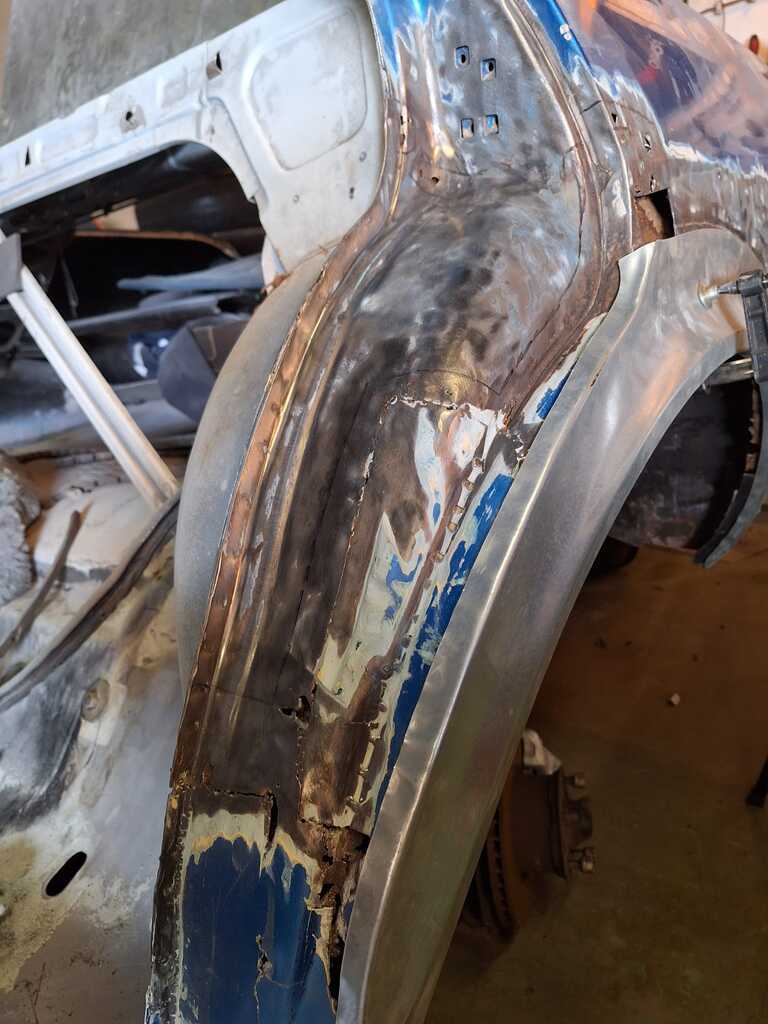 Looks like i have enough to do next months. In the next update i hope the drivers side is finished. |
| |
Last Edit: Mar 29, 2024 18:55:54 GMT by kh97
|
|
jaws
Part of things
 
Posts: 39
|
|
|
|
|
Great work,I wish I was as motivated as you. I'm doing a 77 mk1 ghia which wasn't nearly as rusty and struggled to find the willpower to finish it. It's painted and 75% back together, I've fitted a lexus v8 engine and box, but I wouldn't recommend that, it's a really awkward conversation.A small block chevy or ford is a lot less trouble and more powerful. Anyway best of luck with it.
|
| |
|
|
kh97
Part of things
 
Posts: 25
|
|
Mar 26, 2024 17:46:09 GMT
|
Great work,I wish I was as motivated as you. I'm doing a 77 mk1 ghia which wasn't nearly as rusty and struggled to find the willpower to finish it. It's painted and 75% back together, I've fitted a lexus v8 engine and box, but I wouldn't recommend that, it's a really awkward conversation.A small block chevy or ford is a lot less trouble and more powerful. Anyway best of luck with it. keeping myself motivated is certainly a thing. When i stay bussy with the project it is not a problem. But when other things get around, and i'm off the project it gets harder. I can image building a lexus v8 in a Granada is going to be a bit of a struggle. I have never heard of that swap before. it's unique for sure. |
| |
|
|
|
|


