Nathan
Club Retro Rides Member
Posts: 5,650
Club RR Member Number: 1
|
|
|
|
This great! Love these projects.....any chance if some pics of the fuel tank mods please? Matt The Tank mods are so simple, I did have to cut down the pump mounting bracket slightly as the MX5 tank is deeper. I have not installed a swirl pot into the tank as I will run an external one, also I'm trying to keep the components close to original. That way if I forget how something is configured it will be simple to sort if replacements are needed. Originally the sender unit etc from the MX5 is bolted to the tank, for ease and quick install I riveted this. The pump is fitted with a gauze (I did replace this) so I'm not worried about any debris etc, also its filtered further forward anyway. I have added some photos, there are in no real order as my phone does not want to play ball with the date stamping. As for the wiring, most of this is in the foot-well (as I mentioned before), also the rest is sitting in the hole used for the heater as that's been removed. I'm using a switch panel for the ignition side of things (the silly fake carbon look has been removed), may as well give it a little race look. Once the Prop is done, she will be ready to roll....I can see this conversion getting more and more popular, small things like the throttle linkage don't need fabrication. So the small time consuming jobs seem to already be done. Once the bugs have been ironed out, I plan to remove the engine and box then respray the bay etc...maybe the car (however the stressed paint look is growing on me). 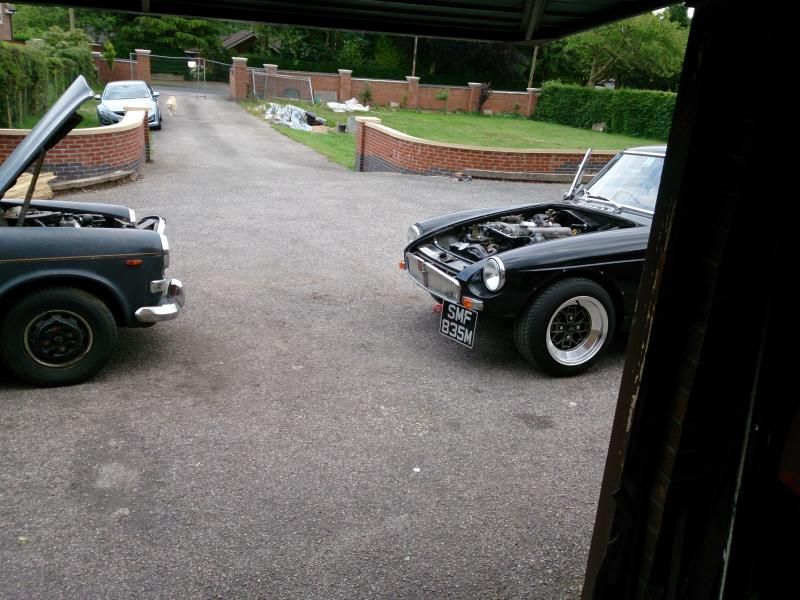 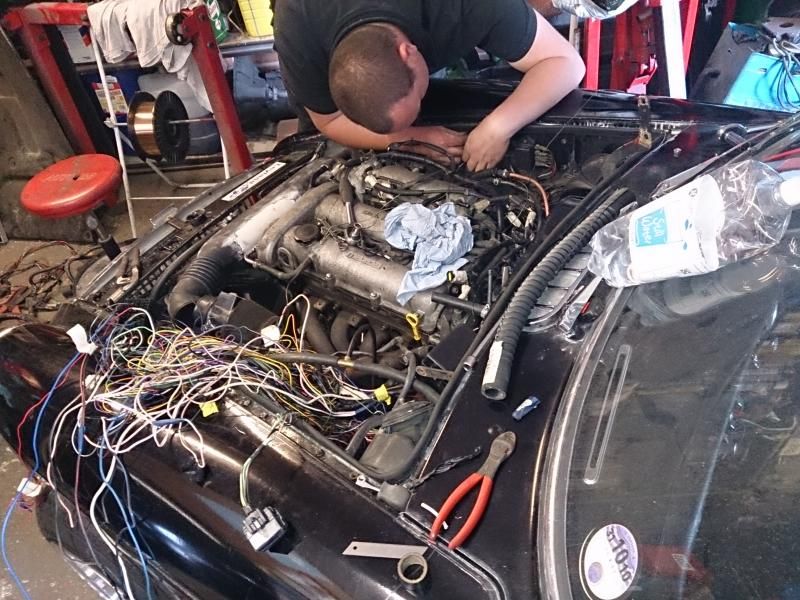 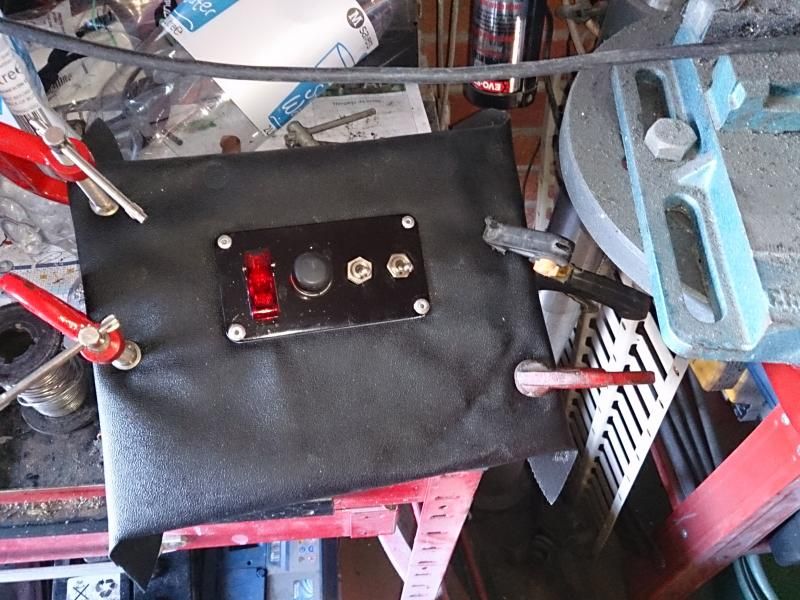 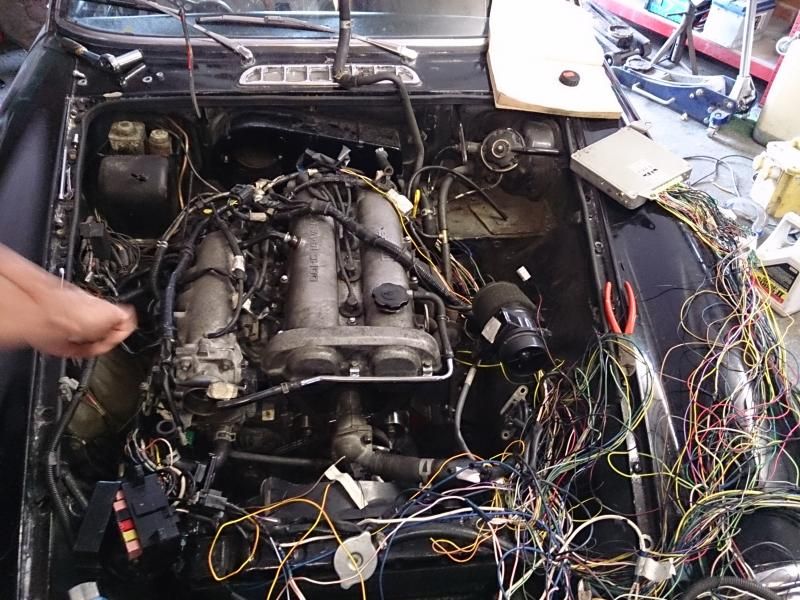 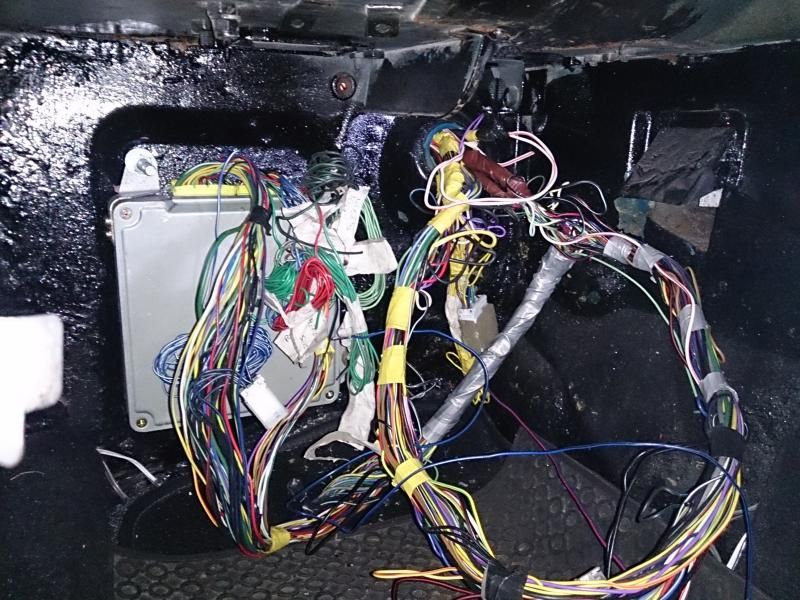 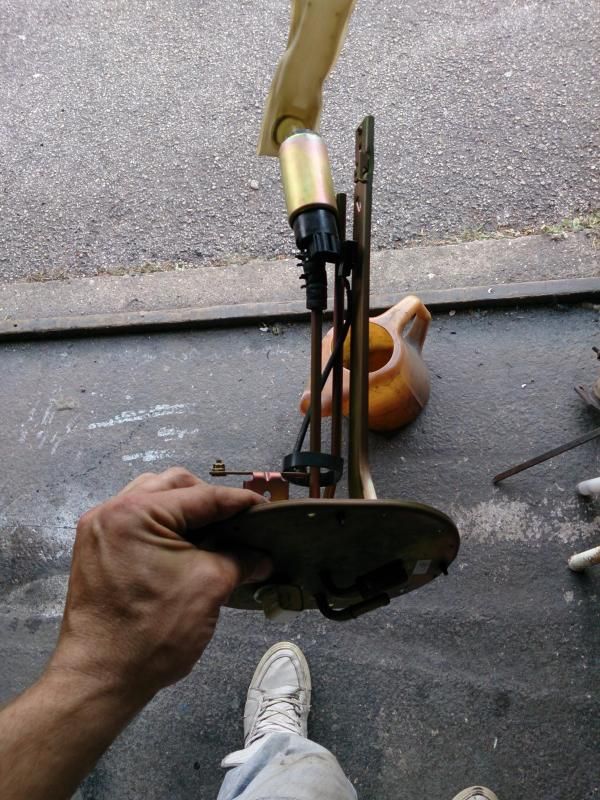 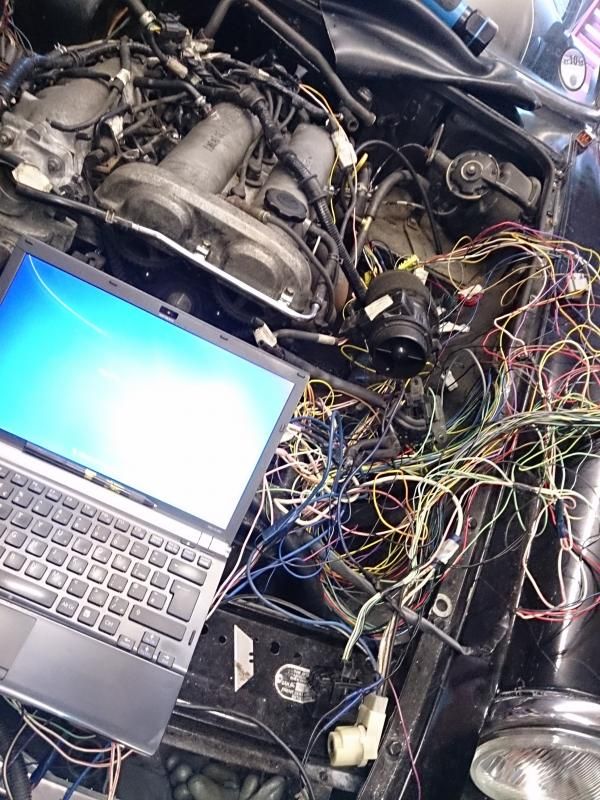 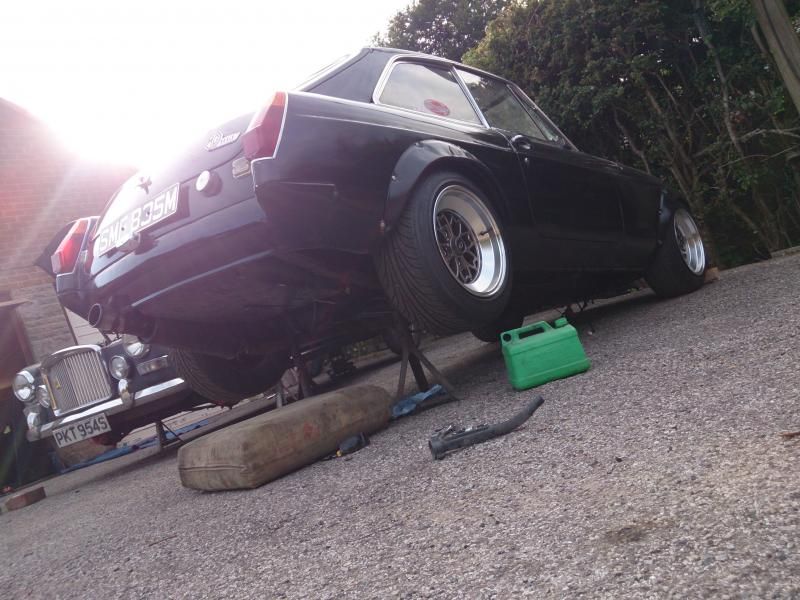 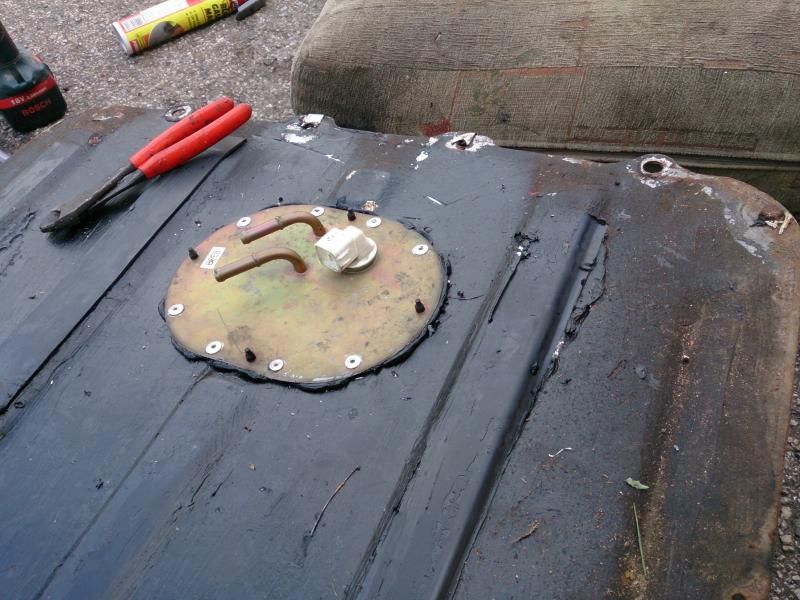 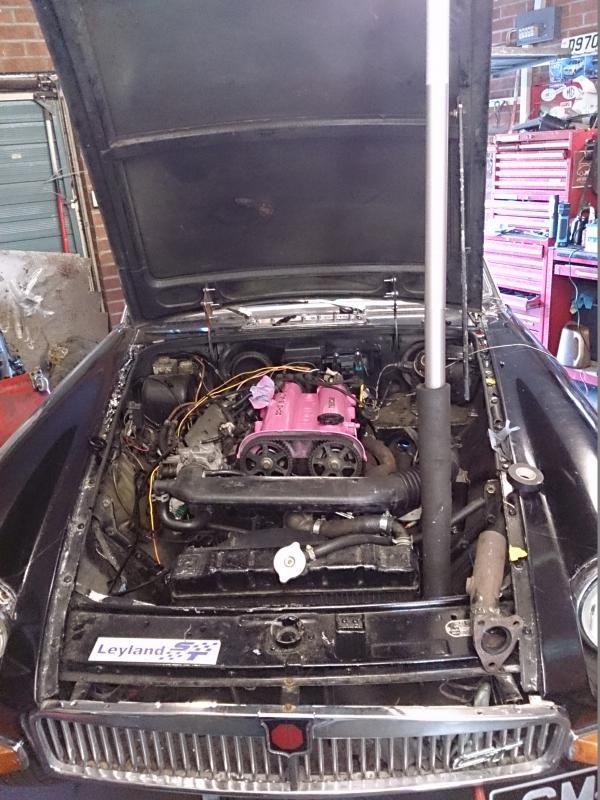 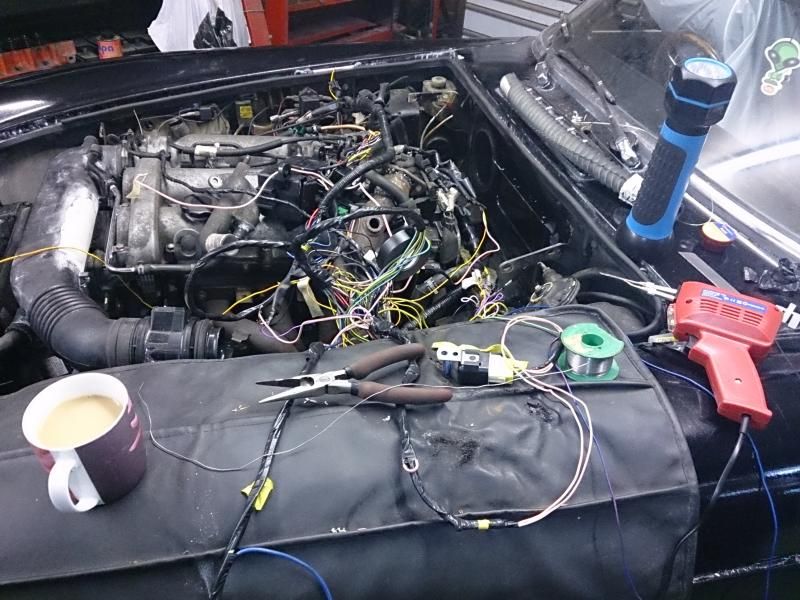 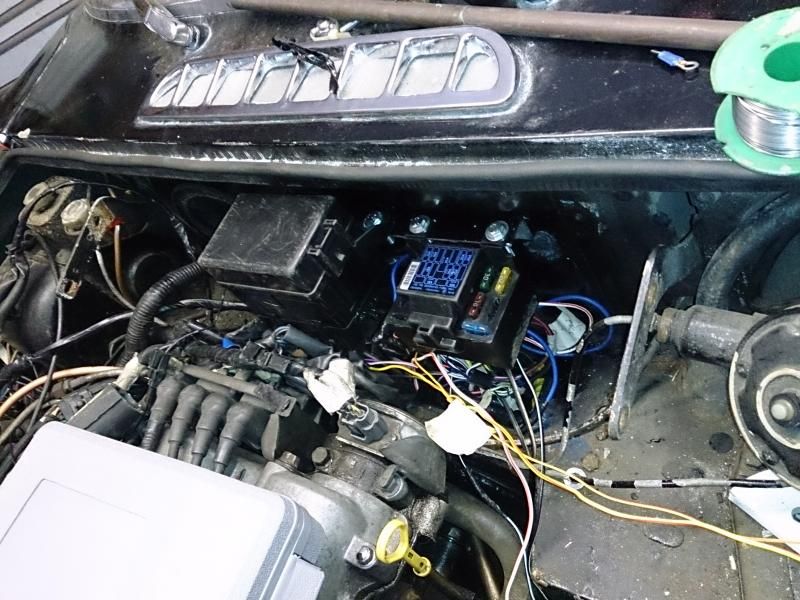 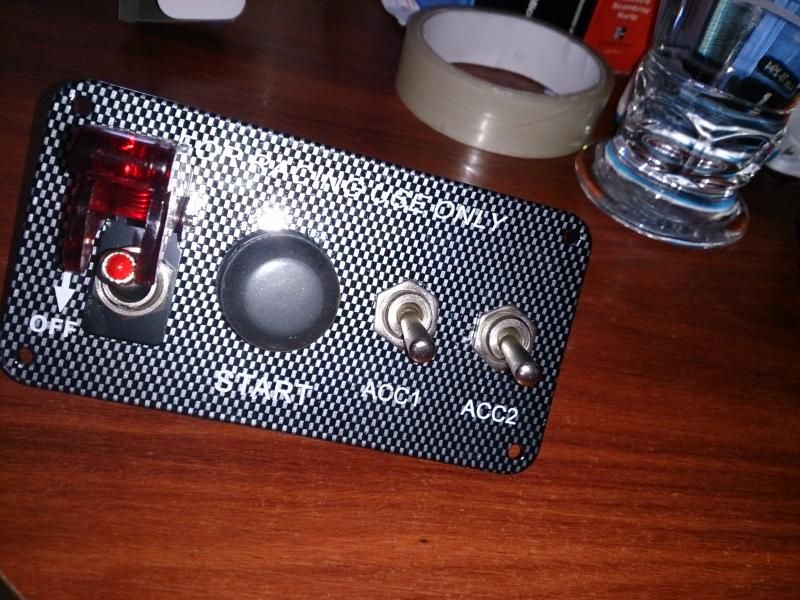 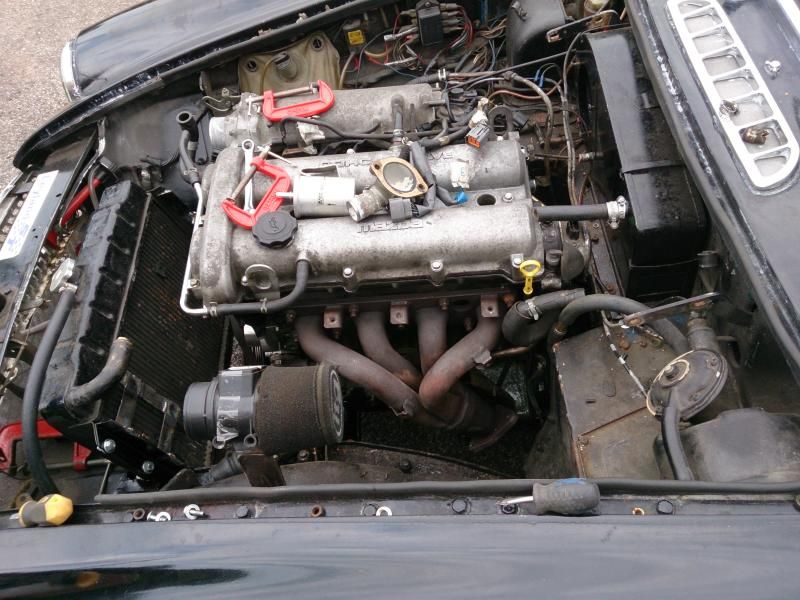 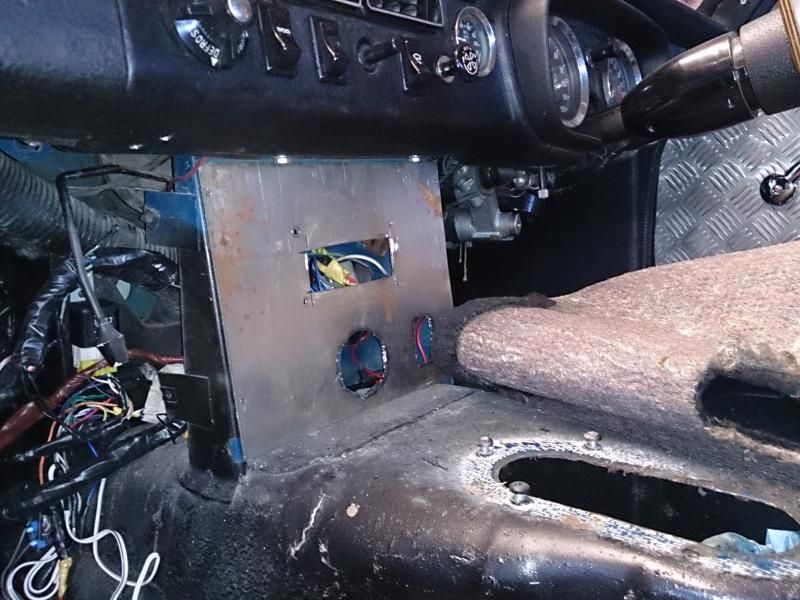 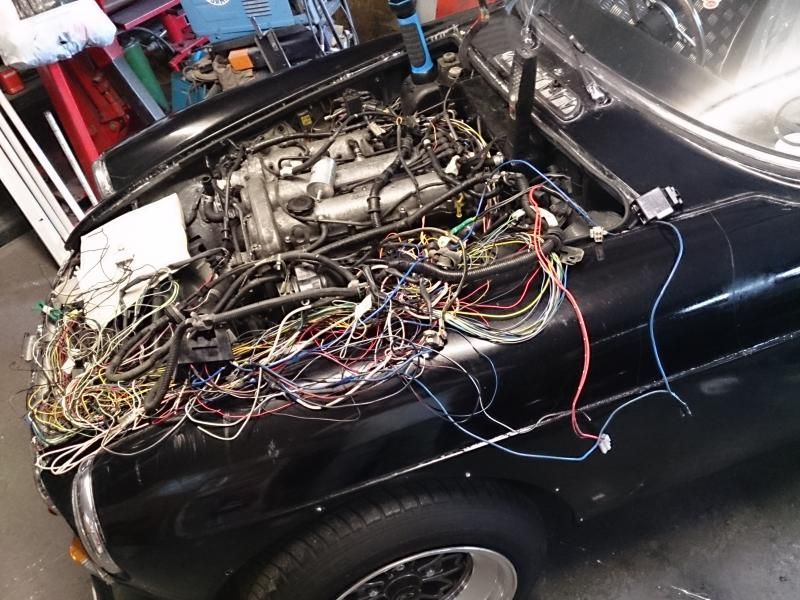 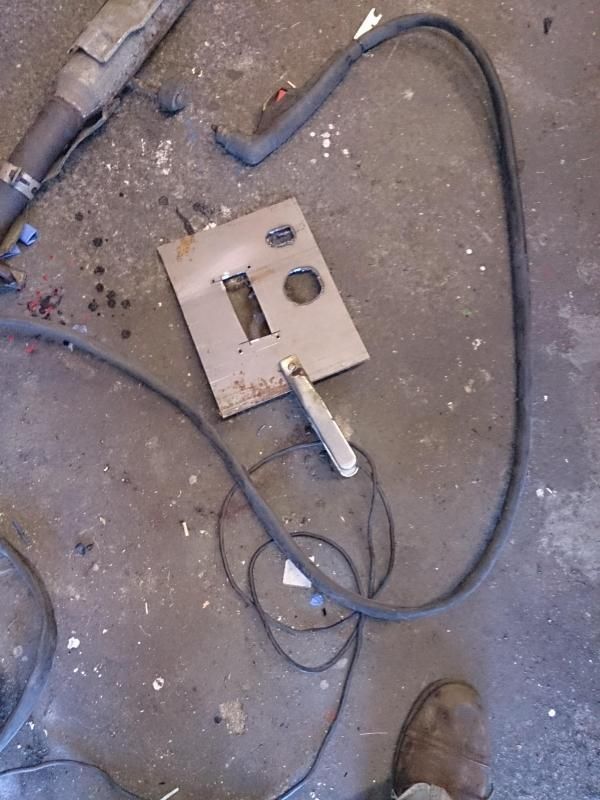 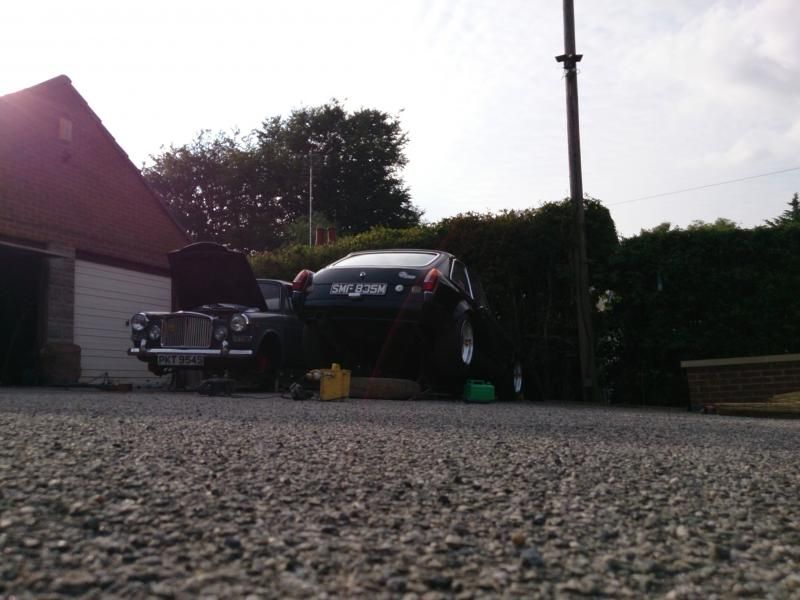 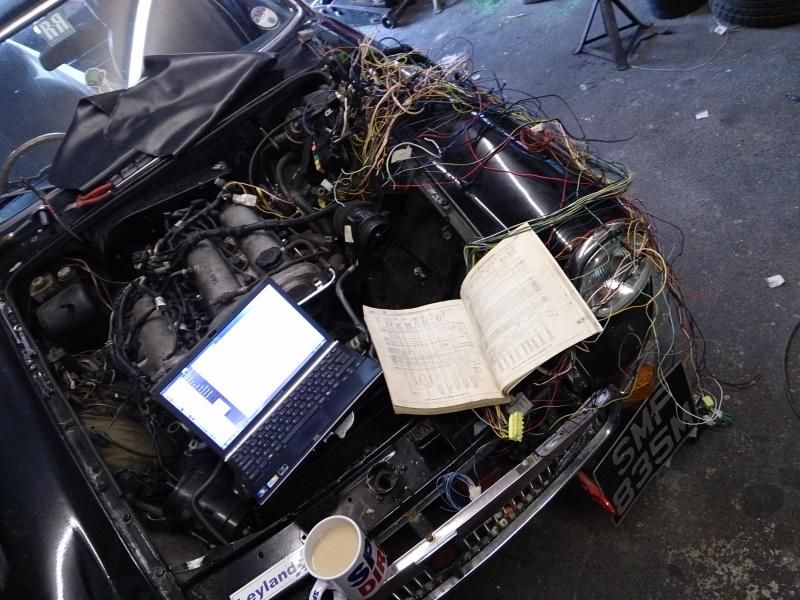 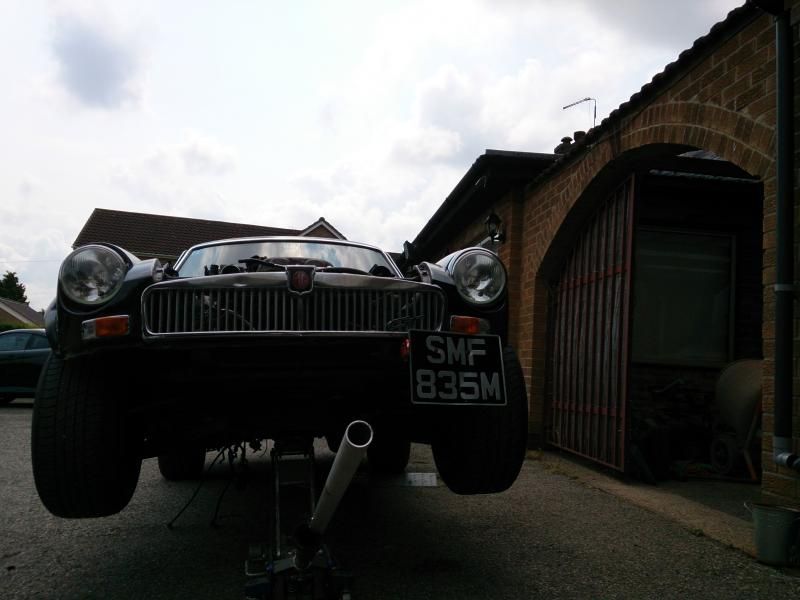 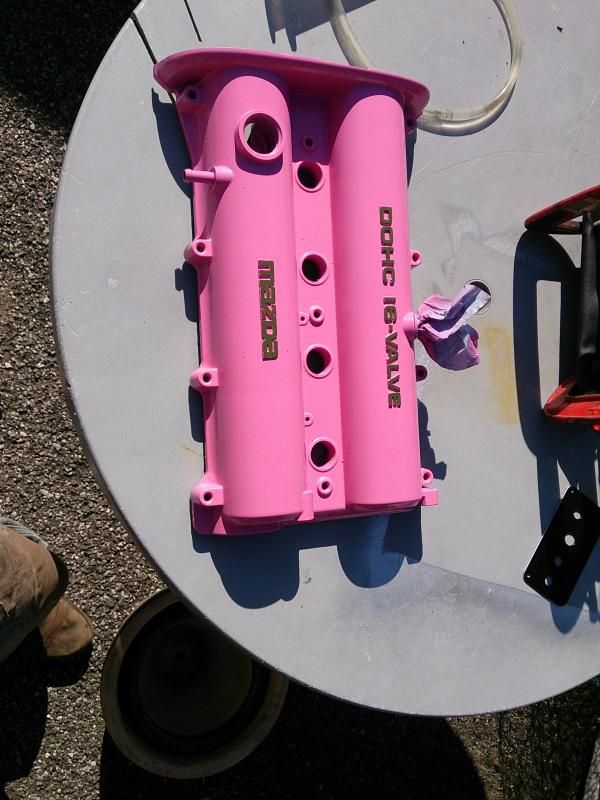 |
| |
|
|
|
|
|
|
|
|
|
|
Good job - coming along very nicely!
|
| |
|
|
adam73bgt
Club Retro Rides Member
Posts: 5,015
Club RR Member Number: 58
|
|
|
|
Nice work! the engine looks to fit quite nicely in there, wiring looks a bit of a nightmare though  I shall definitely be keeping an eye on this  |
| |
|
|
Nathan
Club Retro Rides Member
Posts: 5,650
Club RR Member Number: 1
|
|
|
|
|
I thought the same, to look at when starting out yes.
I started off by following each ECU terminal and removing things that were not required (Lights etc). I'm no wiring guy, it seemed daunting, but once you are stuck in with a good coffee and a good wiring diagram it soon comes together.
To be Honest there is still more wires in there than is needed, but I will use some of them for AUX components in the future.
|
| |
|
|
Nathan
Club Retro Rides Member
Posts: 5,650
Club RR Member Number: 1
|
|
|
|
It Moves!  Last weekend seemed to be one of the most productive in recent weeks. Clutch adapted. Throttle cable made (new skill learnt there). Wiring re-routed and tided. Switch Panel installed. New brake lines made and added. As you can see it's rough running, the exhaust is very much a "Work in progress" and thus the Lambda is not getting a correct signal. Also the return fuel line, which is actually the original engine feed for the B series is causing some issues. But it runs and moves Chuffed as a pig in s**t. |
| |
|
|
adam73bgt
Club Retro Rides Member
Posts: 5,015
Club RR Member Number: 58
|
|
|
|
Awesome progress! sounds like its not too far off being back on the road  |
| |
|
|
Nathan
Club Retro Rides Member
Posts: 5,650
Club RR Member Number: 1
|
|
|
|
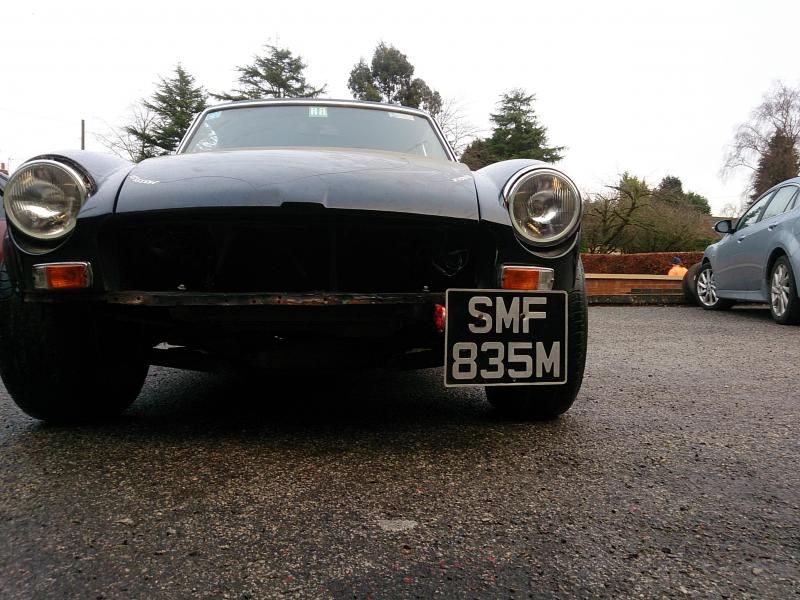
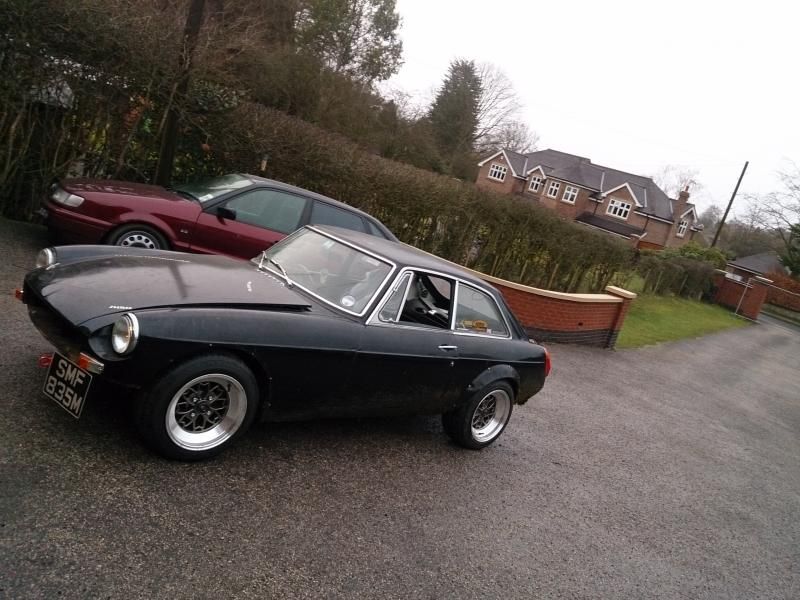
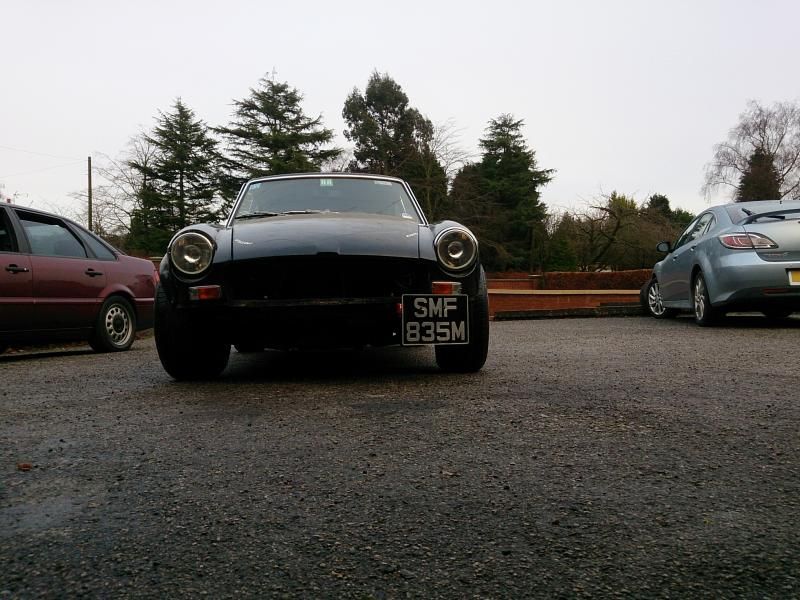
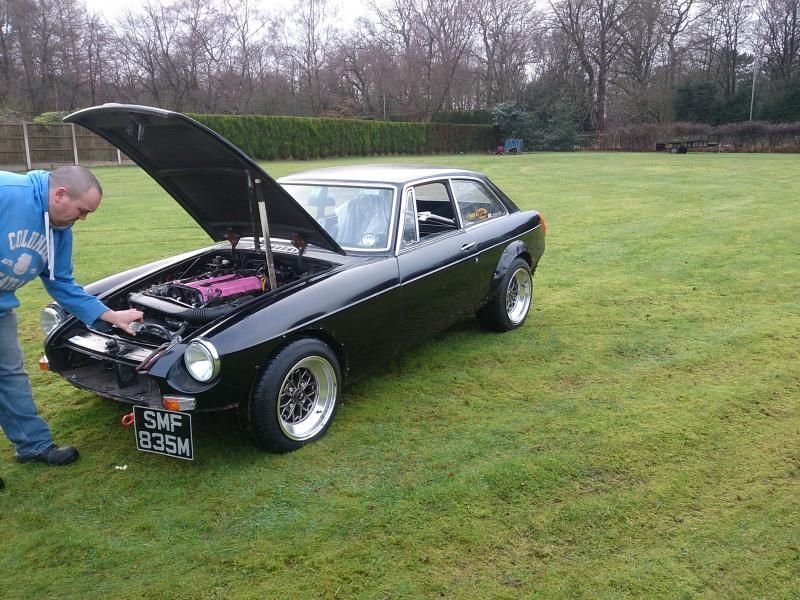
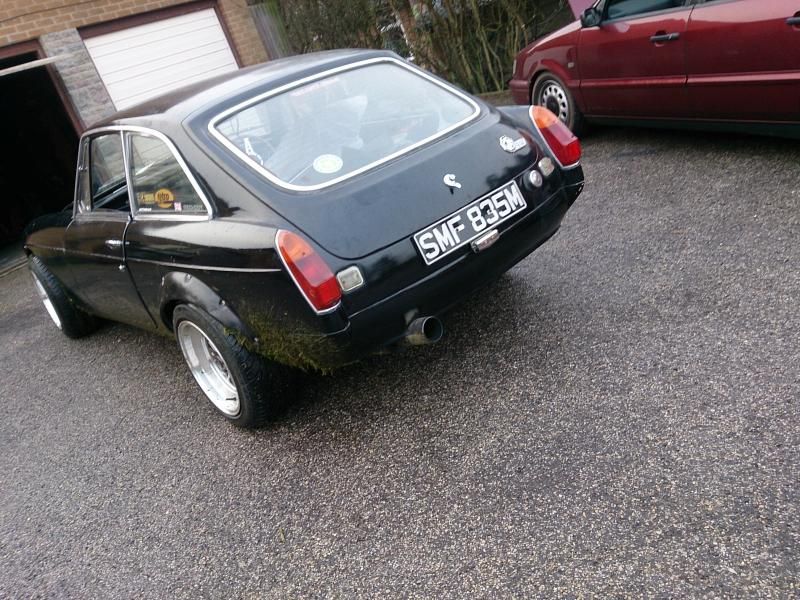
Wheeled it out last night for a few more shots. I have noticed that the arches are ruined, this whole install has been done without removing them thus leaning has caused some cracks. However as my mate says it does add to the look, I will probably repair them at some point but its way down the list for now. My apologies for the picture quality, my 14MP camera phone seems to imitate a 1.5MP camera. 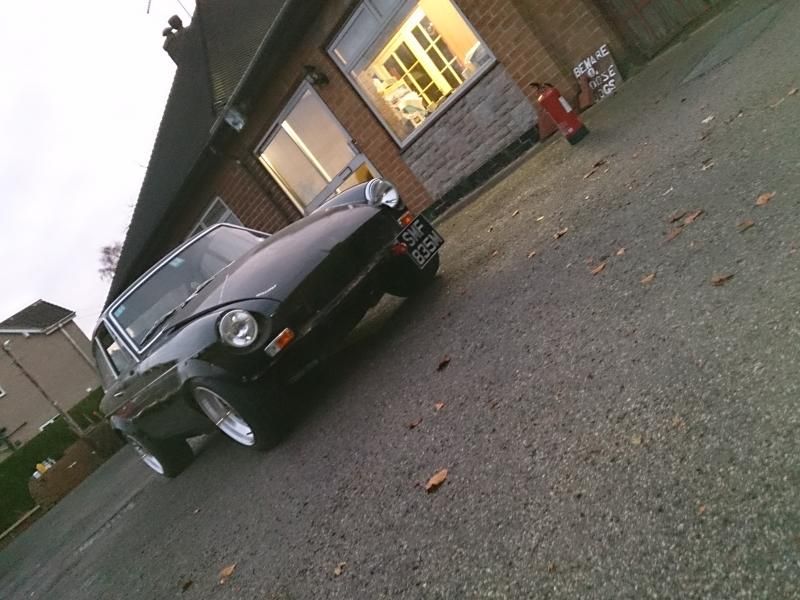 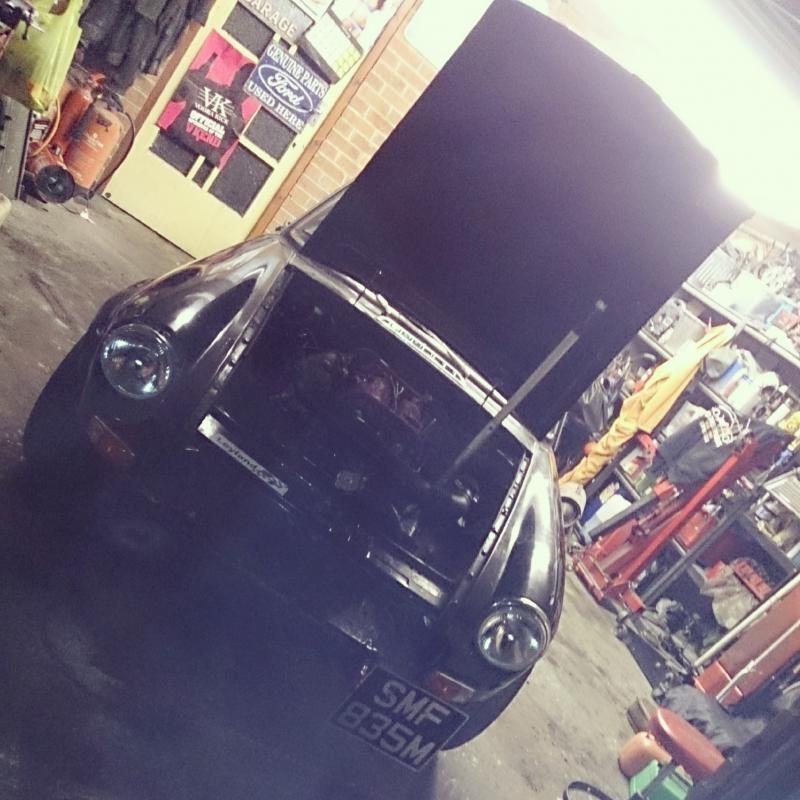 |
| |
|
|
|
|
|
|
|
|
Looks awesome, nice project!
|
| |
|
|
Nathan
Club Retro Rides Member
Posts: 5,650
Club RR Member Number: 1
|
|
|
|
A little more done this weekend, namely a test drive on the garden. I have managed to wire in all the dials (apart from speedo and oil pressure), so its getting there. Also finished off the switch panel and illumination including external lights. With the whole project I want the ability to be able to go back to standard, so I have kept the MGB and MX5 wiring separate...only 3 wires come from the MGB end to the MX5 power feed (Tacho, Main fuse feed for lights, back light for new dial). This also makes fault finding a lot easier as I don't have to look at the Lucas electric for anything MX5 based. I still need to run a dedicated return for the tank, currently it uses the original feed but this seems to be causing issues as its struggling to return. My guess is due to the return feed being placed at the bottom of the tank, so its struggling to push past the fuel. The MX5 method just drops the fuel in at the top of the tank, so I will connect this back up and cover over the original. The MX5 heat shield was in a sorry state so I decided to Wrap the manifold, I know this always causes a debate but I like the look so who cares! I then decided to take it on a test drive around the back garden, as you can hear from the video it has a hole in the temporary exhaust, the hole is just before the Lambda sensor and its also causing the ECU to raise the richness (The manifold was glowing bright orange after this test run), but it did motor along and as you can see it wants to go sideways :-). Overall it's getting there, the Prop is exactly the right length but I need a smaller diameter really (MX5 props are quite a bit thicker than MGB ones). I'm pleased with the power on the test run even though its running like a pig ATM. Next up is sorting the Exhaust, getting a speedo cable made and generally tidy it up. I ideally want to then remove the engine and tidy/repaint the bay as its taken a beating upon doing the install.  |
| |
|
|
|
|
|
|
Nathan
Club Retro Rides Member
Posts: 5,650
Club RR Member Number: 1
|
|
|
|
|
|
| |
|
|
|
|
luckygti
Posted a lot
   I need to try harder!
Posts: 4,912
|
|
|
|
Seconded. Brilliant stuff, I think you're right, this will become a very popular conversion, always good to be a pioneer  |
| |
|
|
Mark
Posted a lot
  
Posts: 3,829
|
|
|
|
Cracking work fella. I'm not a fan of the square front numberplate but the rest of it looks great.  |
| |
|
|
Nathan
Club Retro Rides Member
Posts: 5,650
Club RR Member Number: 1
|
|
Jan 14, 2014 17:24:28 GMT
|
Little update from this weekend. I am mainly getting the small jobs buttoned up, and replacing components that we know have failed. Upon the last test I noticed she is running very lean, on the MX lump it usually means a faulty connection to the Water sensor or the Lambda. I tested the Water sensor and its output was low but the wiring was fine, so instead of messing about I replaced it and got a new Lambda. These have been fitted but the cars not been tested due to the weather and the fact I ripped the garden up the weekend before :-). The Radiator venting too early looks to be solved by putting a 15Lbs cap on, but I could not test the fan as I broke it removing the lower radiator hose (fitted a new fan last night). I am hoping that and the new sender unit will sort the issue of the fan as we know the ECU is getting a temp signal and its activating the relay..... Most of the wiring is now mounted behind the centre panel I made, but you could see most of it from a side on view so I decided to make some side panels (this area would usually be covered by the standard console but I am going for a minimal look). Whilst I was doing this I decided to re-cover the centre section too (It was an OK job before but parts were bugging me), and fit a new temperature and oil pressure gauge (Oil pressure did not arrive so I filled the space for now with a old tacho again). All of the switches in the cluster have been replaced (the others were made from cheese I swear) and the whole centre section looks more sorted. I will take better pictures this weekend but you kinda get the idea. 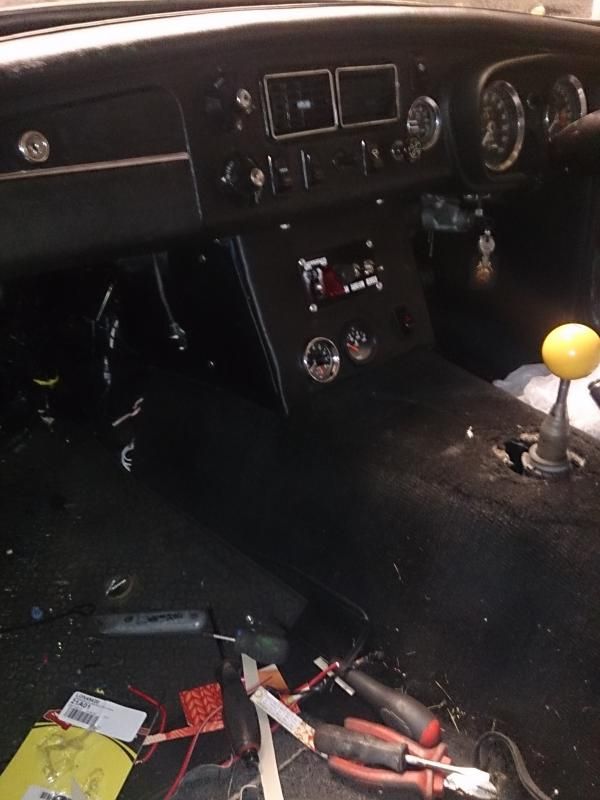 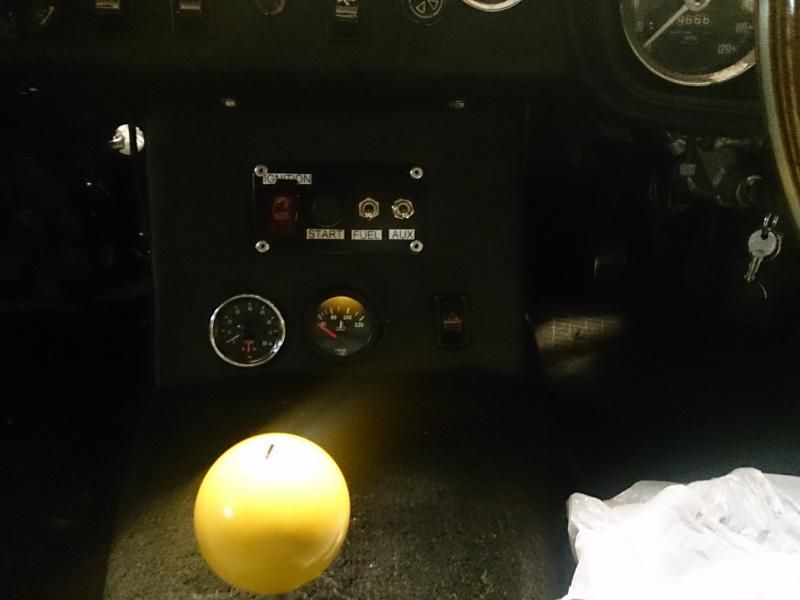 I was going to refit the front valence and external oil cooler, but noticed a small amount of welding is required (old repair rusted out), I left the valence here and had dirty thoughts about extending it down like that. Of course it would last about 5 mins on the open road but does look a little cool. 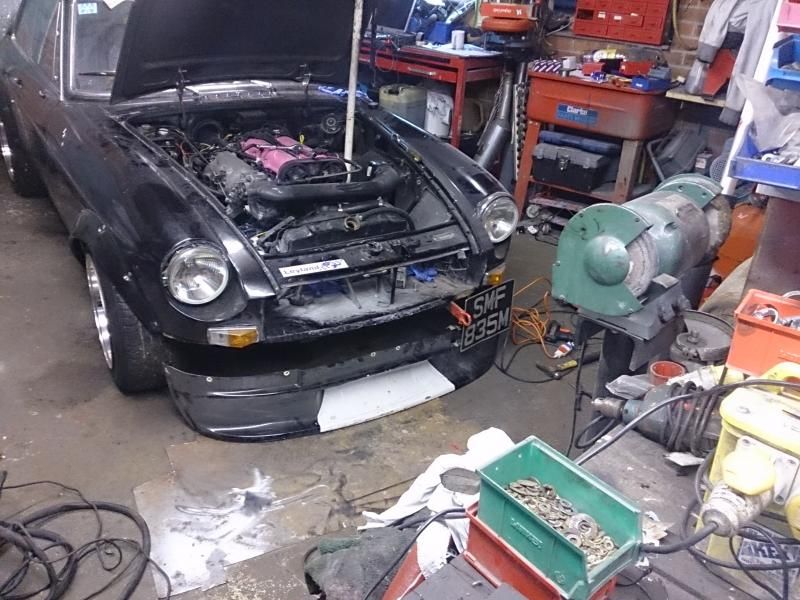 I'm hoping to get the last bits done and book her in for the MOT in Feb, oddly enough its only just lapsed :-). Cheers. |
| |
|
|
Nathan
Club Retro Rides Member
Posts: 5,650
Club RR Member Number: 1
|
|
Mar 10, 2014 11:57:27 GMT
|
Not much to add really apart from sorting little niggles. I had it running perfectly a few weeks ago, then suddenly whilst testing the Fan operation it died. Spark, Fuel etc, but it seemed as soon as the car fired the injectors would shut off. Not being used to cars running ECU's I knew this whole process would be a massive learning curve (and it has), I tried all the usual MAF, CAS, Coilpack etc. When the first crank and fire on the MX5 lump happens the ECU really has no control, it reads the Run signal from the tacho feed on the Coilpack, if no signal is received then the ECU shuts down and that's it. Oddly enough the tacho would not move when cranking and did stop working a few hours before total non-start symptoms. After checking and replacing everything I decided the last check (should have been the first) was the continuity of the tacho feed wire.....Yes no signal....Balls, fitted a temporary jumper wire in there and BOOOOOM its back alive! So since the above I have been putting the car back together, the arches which have been damaged during the transplant have been repaired and strengthened. This should also stop the creasing you can see on the rears as they were just too thin. I do have one more issue to resolve before the MOT, that is severe misfire when warm. It seems that once the car is up to temperature or after a while of usage hard throttle use creates sever misfire, gentle increases are fine and it will rev to redline. I'm ruling out (or changed) Coilpacks (2 new ones now), new leads (changed twice), new plugs, fuel filer, fuel lines, I am yet to pull codes but my early guesses point to the Water/Lambda sensor not switching the car from Warm-up to normal run maybe. Anyway have a nearly put back together picture for your viewing pleasure. 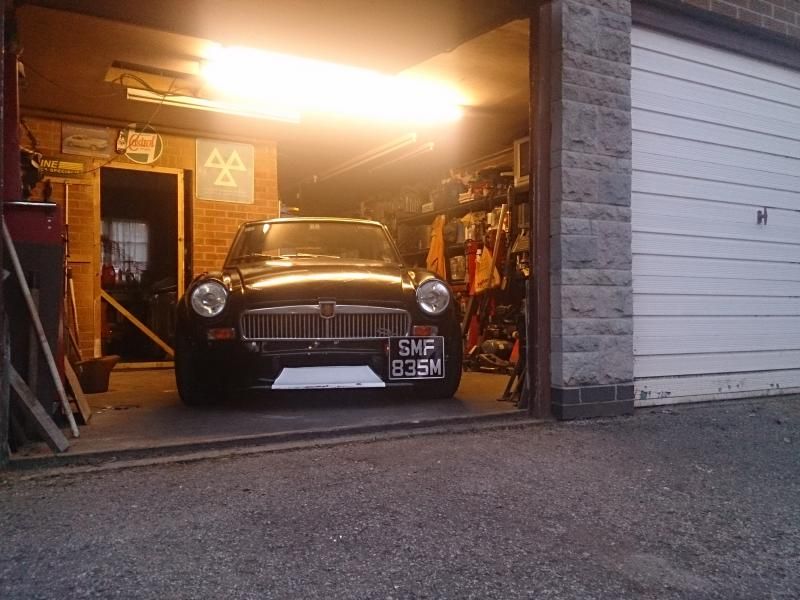 |
| |
|
|
niwid
Posted a lot
  
Posts: 1,755
|
|
Mar 10, 2014 16:27:53 GMT
|
Love this car. Keep going, you are very nearly there. Not long until 'one of the coolest mgbs evaarr' status is achieved  |
| |
|
|
ChasR
RR Helper
motivation
Posts: 10,318
Club RR Member Number: 170
|
|
Mar 10, 2014 18:58:11 GMT
|
It is great to see that the MOT is near enough in sight  . |
| |
|
|
|
|
|
Mar 10, 2014 19:14:15 GMT
|
Great work & good luck for the MOT handheld diagnostic readers are pretty cheap on fleabay these days (or borrow one off a mate, that's what i do  ) without the fault codes it could be a lengthy diagnosis |
| |
|
|
|
|
|
Mar 10, 2014 19:18:24 GMT
|
|
Just love what you are doing and it makes some great reading, really interested it how it goes once it is on the road. Great project .
|
| |
1992 Range Rover vogue tdi
1991 Westfield
1970 MG B GT
To infirmity and behond.
|
|
|
|


 I shall definitely be keeping an eye on this


