|
|
|
|
|
Visible progress today. The lamp came out of the acid bath, but it's not good news. The lampholder springs no longer work and the backplate is very corroded. I think it may be beyond saving. The cover housing is badly corroded but is probably saveable. 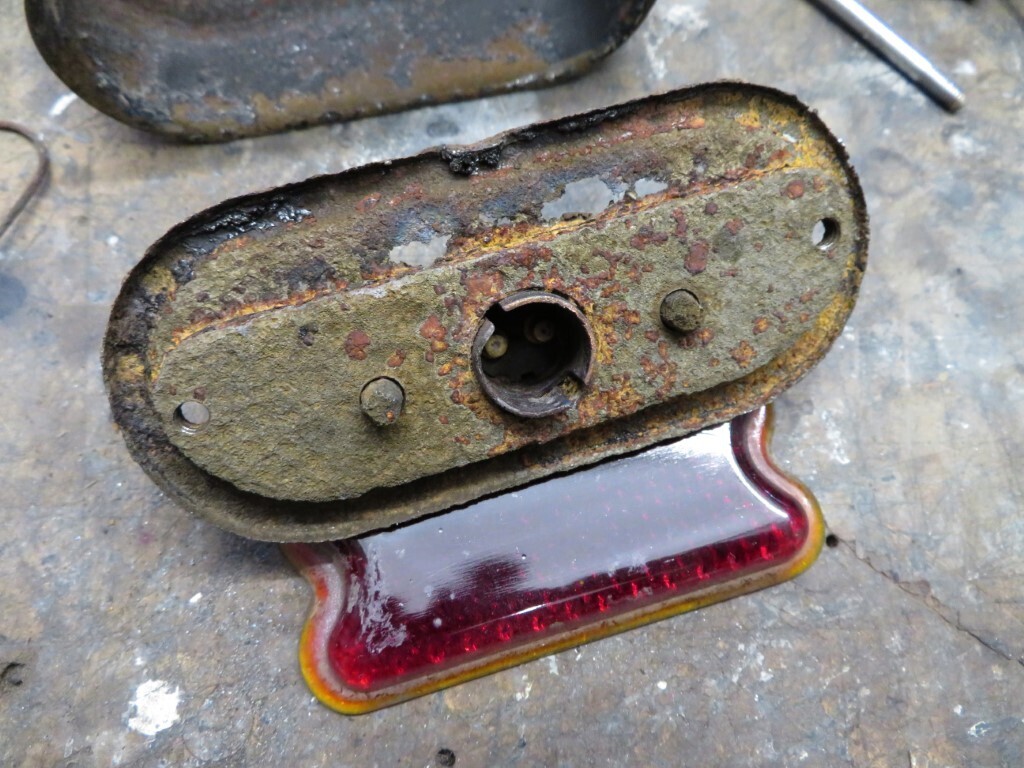 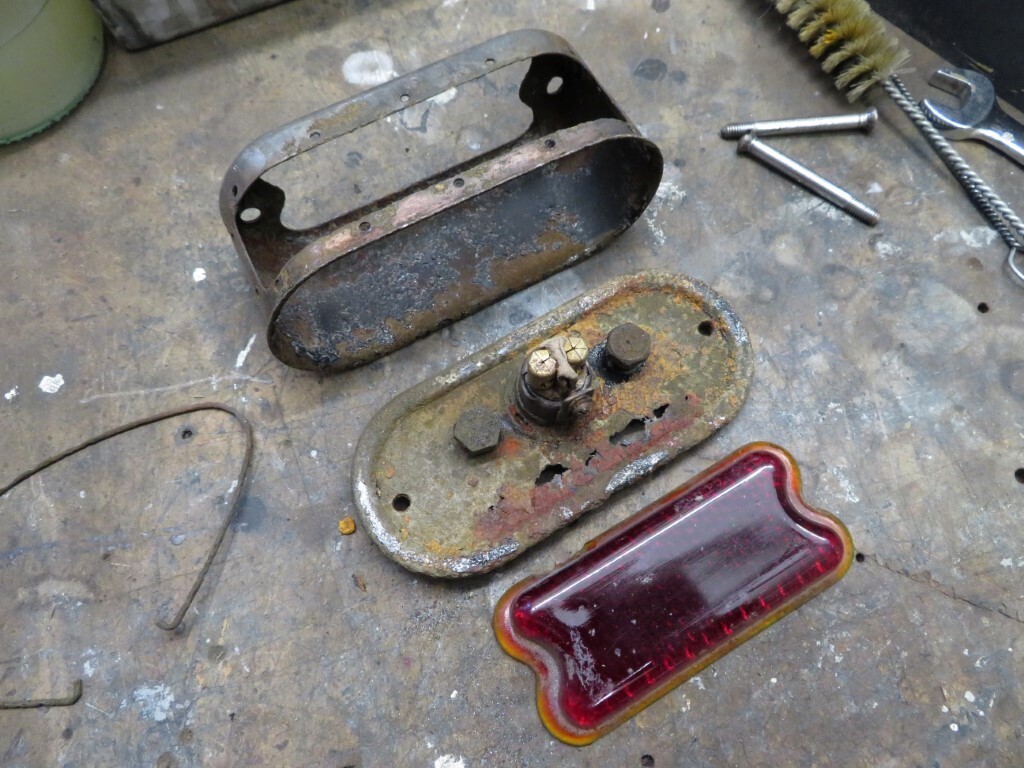 I finished off the boot floor stiffeners, welding upside down with 3mm metal to less than 1mm floor was not the most fun job, but the new welded made it mostly easy. 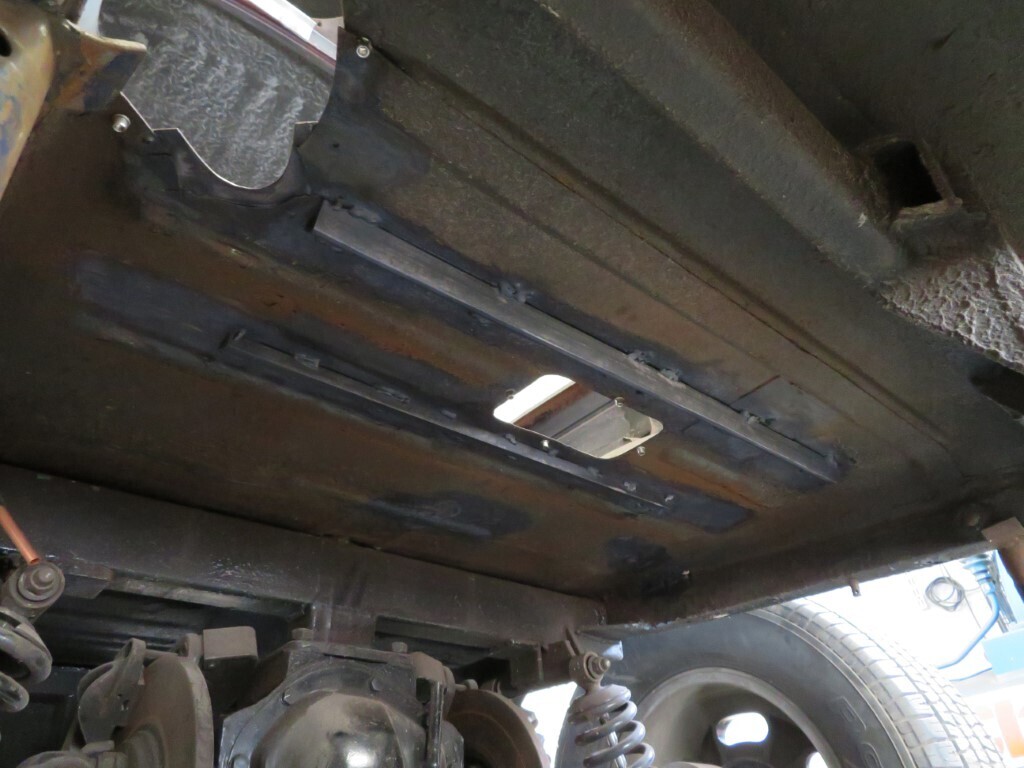 I then looked at the grill shell again, I had breifly tried it back on the car the other day which revealed it was a bit bent at the lower edges as well as having a kink in it on both sides. I managed to dress out almost all of the kinks and straighten out the sides so then it got stripped of paint. Needs the grill bars to be hand sanded as well as some of the corners. 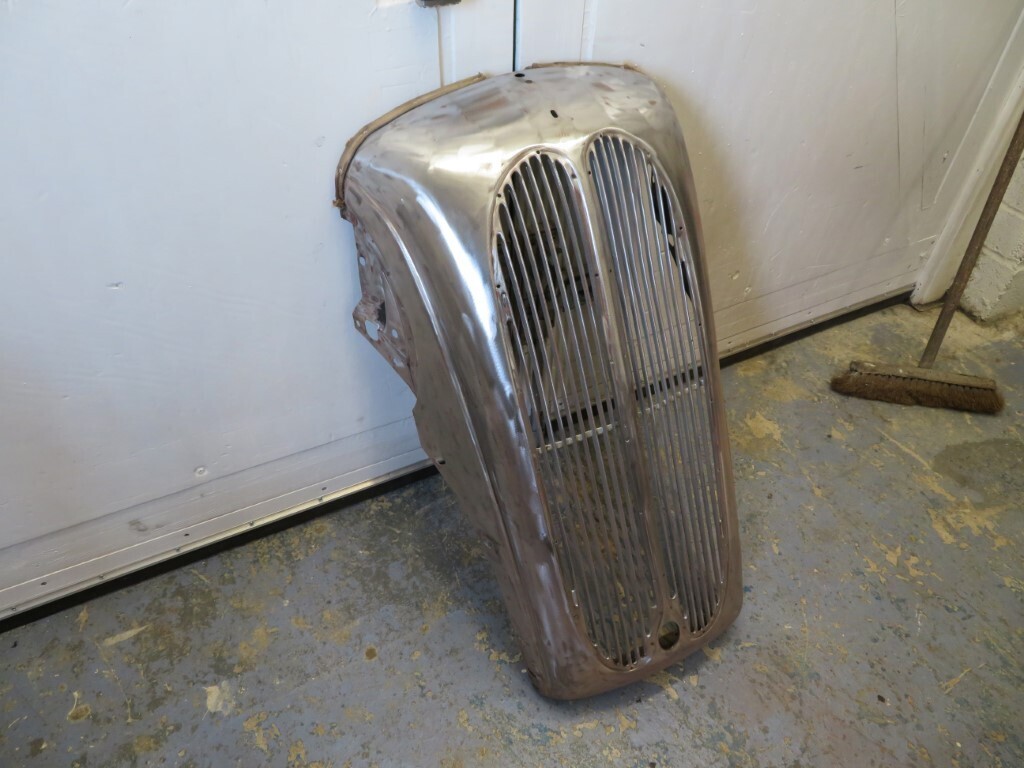 And then some fun stuff happened  boot floor gets a coat of epoxy primer; As do the door jamb switch recesses; I did the boot hump and bootlid gutter, as well as the window frame, this is so I can get the seam sealer applied to the body joint and also around the boot gutter repairs. I also did a small section of the lower valence where it's dented so filler can be applied. At the front the bulkhead is now in primer, as is the window frame and a small section of roof at the front - again there are 2 places filler is required in that part of the roof where the original wiper was mounted and where I welded up the aerial hole. The chassis also got a bit of coverage. 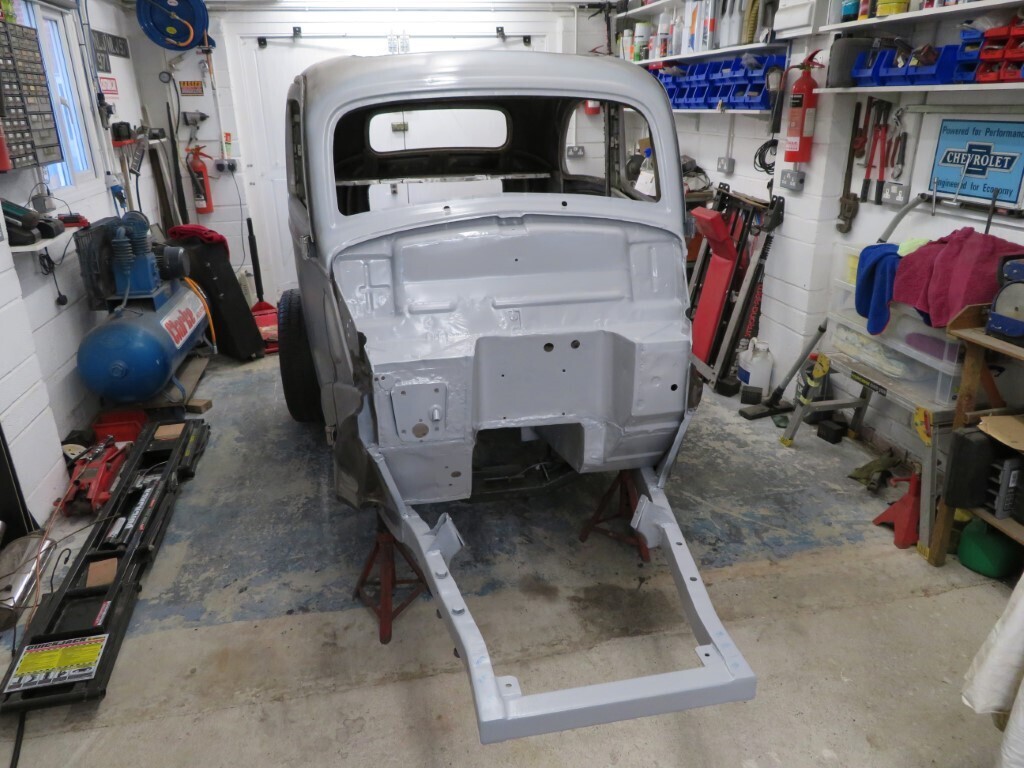
103.5 hours
|
| |
|
|
|
|
|
|
|
|
|
|
So do you apply filler & seam sealer on top of the epoxy primer rather than to bare metal?
|
| |
|
|
|
|
|
|
|
So do you apply filler & seam sealer on top of the epoxy primer rather than to bare metal? Absolutely. Epoxy primer to seal/rustproof the surface than everything else on top. Epoxy sticks like poo to a blanket. |
| |
|
|
|
|
|
|
|
Another good day on the car today. Had a chat with Pop Parts Plus and we scored a good backplate for the boot lamp for not too much money, so I can make one good one out of all the bits.
Phil came over again to help out, and his friend Andy popped over (in his Pop - sorry Andy, forgot to take a photo of yours) to check the car out and also to see Phil as it's been a while since they have seen each other. We looked at the seats in Andy's Pop, they are Mazda MX5 series 1/2 (not the tombstone ones) and Phil is quite interested in a pair of these - anyone know of a good condition pair in black? So....progress....I tasked Phil to strip the paint of the rear inner arches, he had made a good start on the first one but he had to go back home for a bit to see his family. He came back later so I had completed both arches by the time he had returned. You can see the repairs carried out by the rodshop before it came to me, he had replaced the bottom of both wheel arches. Again, covered in the bl00dy awful rubbery 5hit that we had to strip back off again. 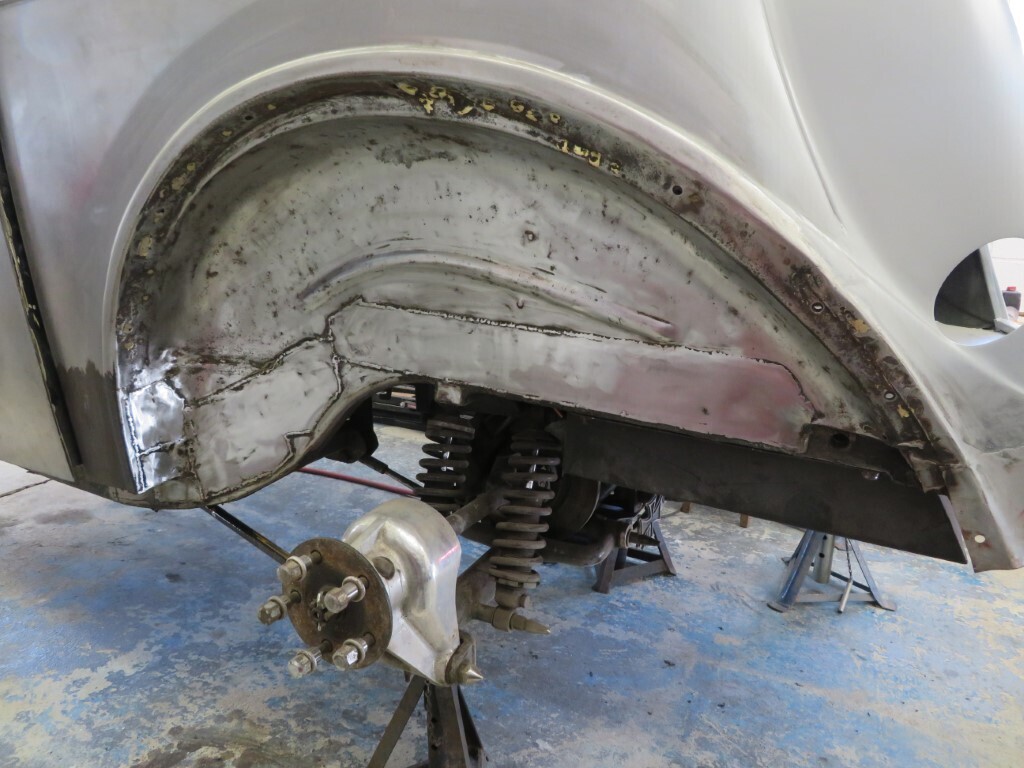 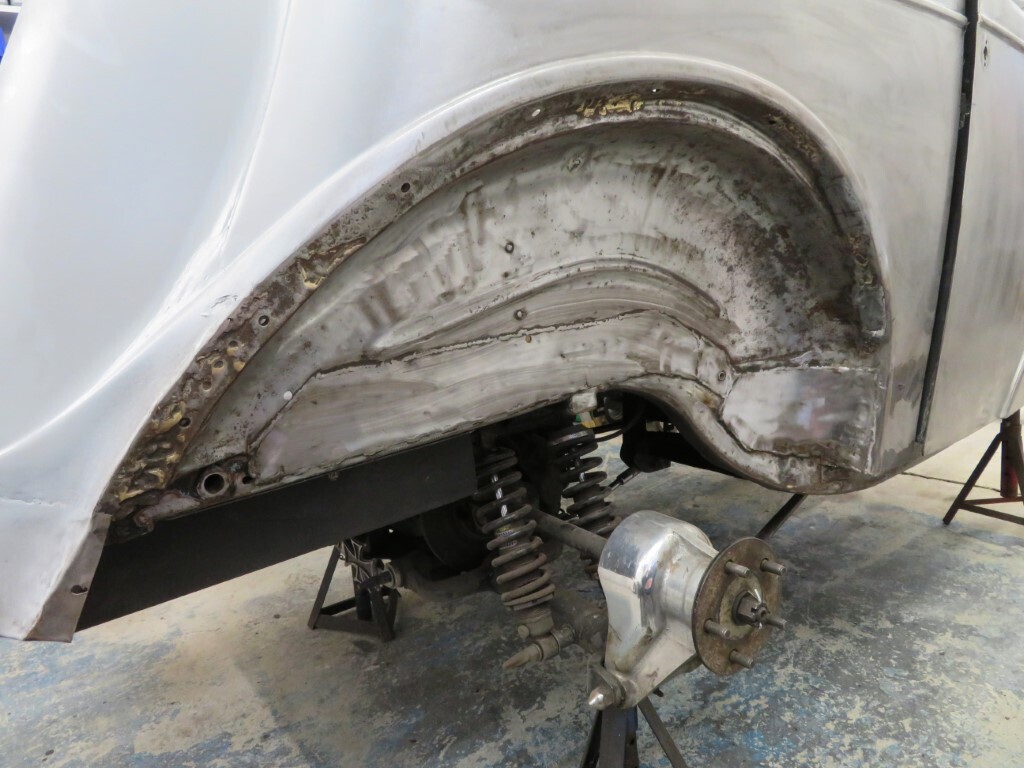 Only had to cut out a couple of extra patches - not the tidiest of repairs but braze once again is just about everywhere! I'm wondering if the original builder in the 70's had dipped the car in it! The expected rust was all repaired in the 70's by brazed on patches, these have lasted very well except for the 2 areas mentioned. 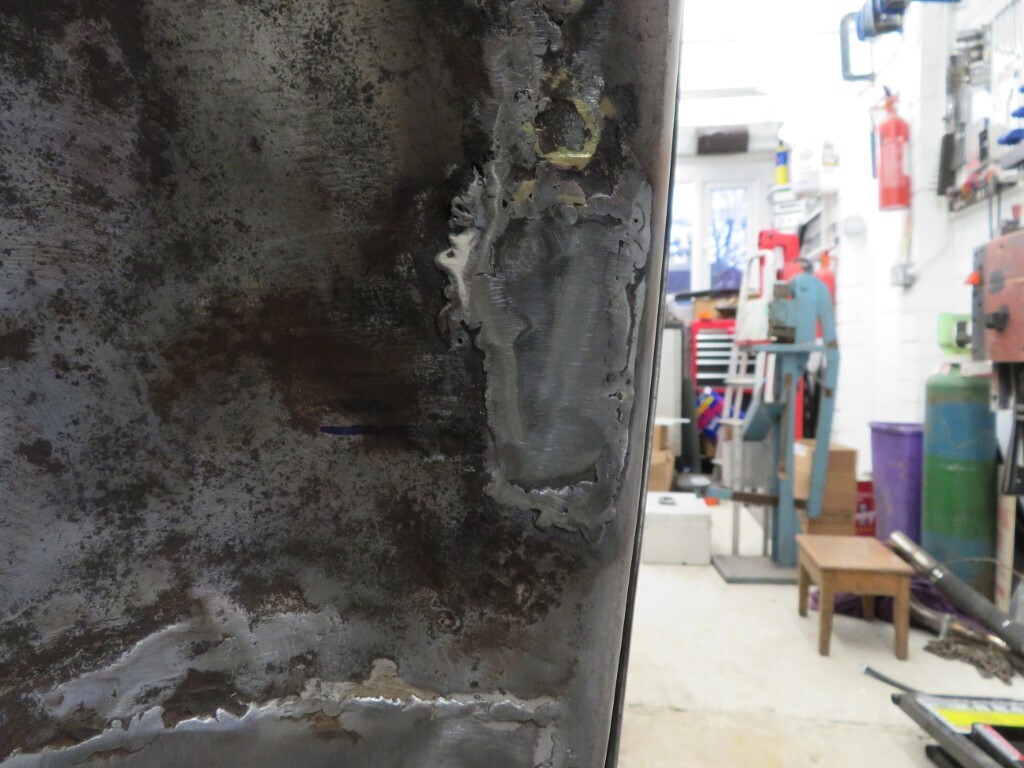 I then welded up a few more drill/screw holes we found in the rear arches while Phil wire brushed all the loose paint off the underside of the car, not a job I fancied  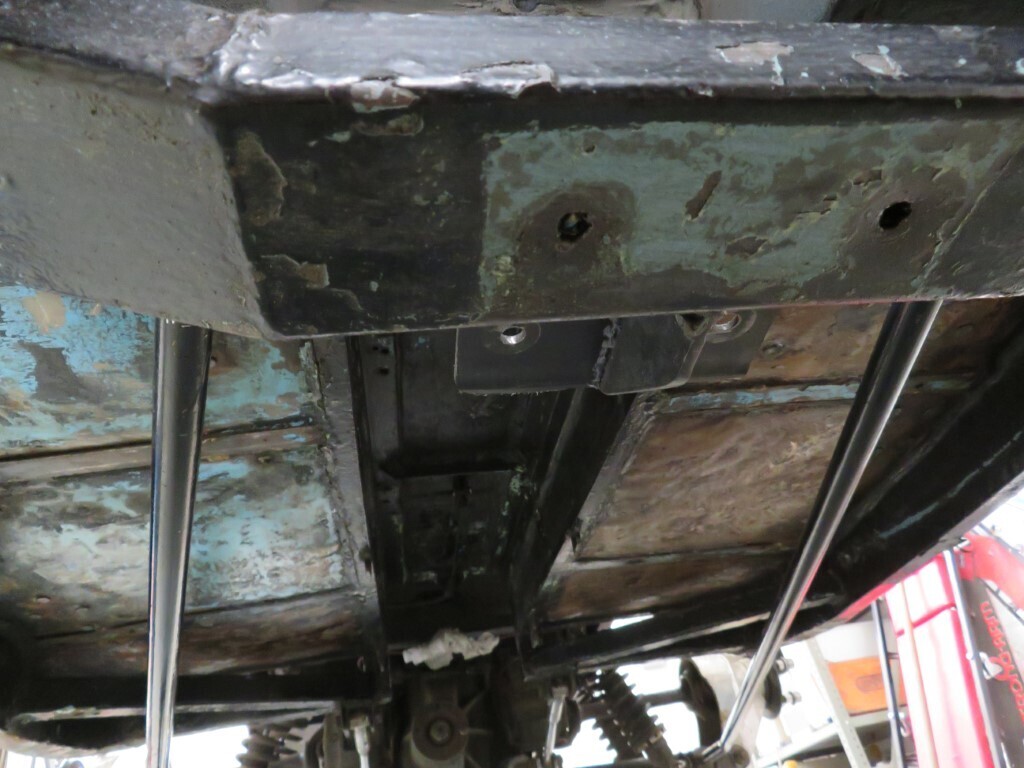 It still needs a bit more cleaning back and the chassis rails need doing before we can paint/stonechip the lot. Phil then stripped one of the front inner wings back while I templated the footwell for some new metal to be added this week. 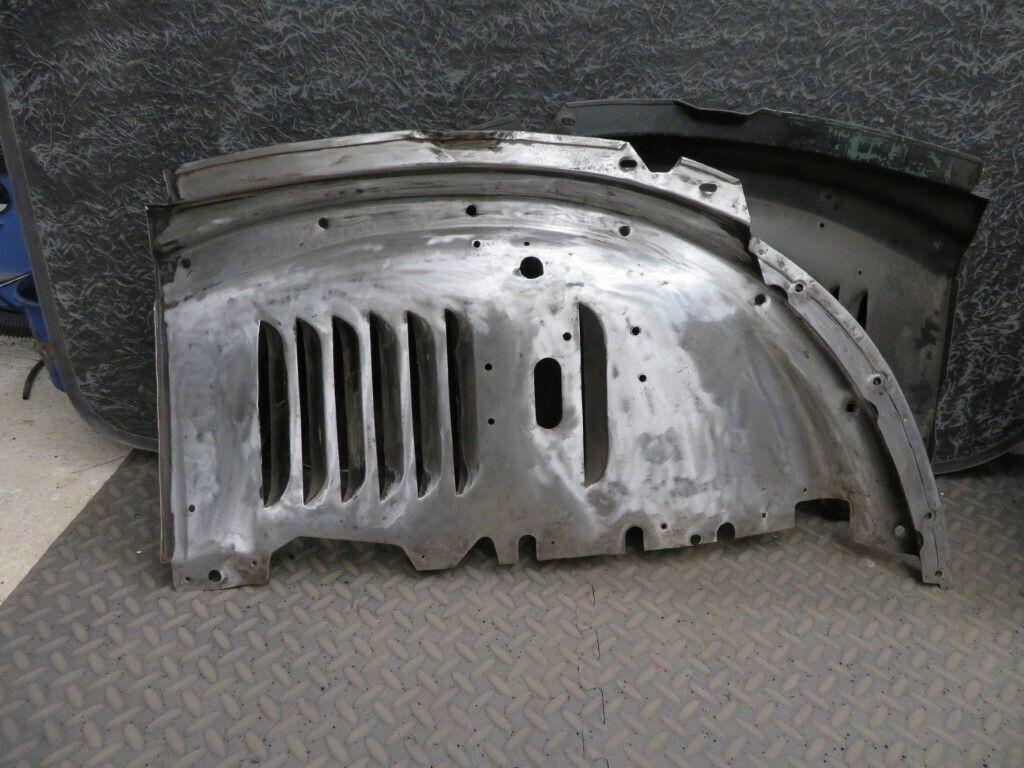 109.5 hours. |
| |
|
|
Norman
Part of things
 
Posts: 449 
|
|
|
|
|
Hi Mark, You are making good progress, you will easily be finished before me! A coat of primer makes a huge difference, i hope to get some on next week. All the best, Norman
|
| |
|
|
|
|
|
|
|
Not much to show for tonights work, last night I coated the inner wings with Hydrate 80 which has now cured. I've sourced some stonchip cartridges that I like so should pick those up tomorrow. 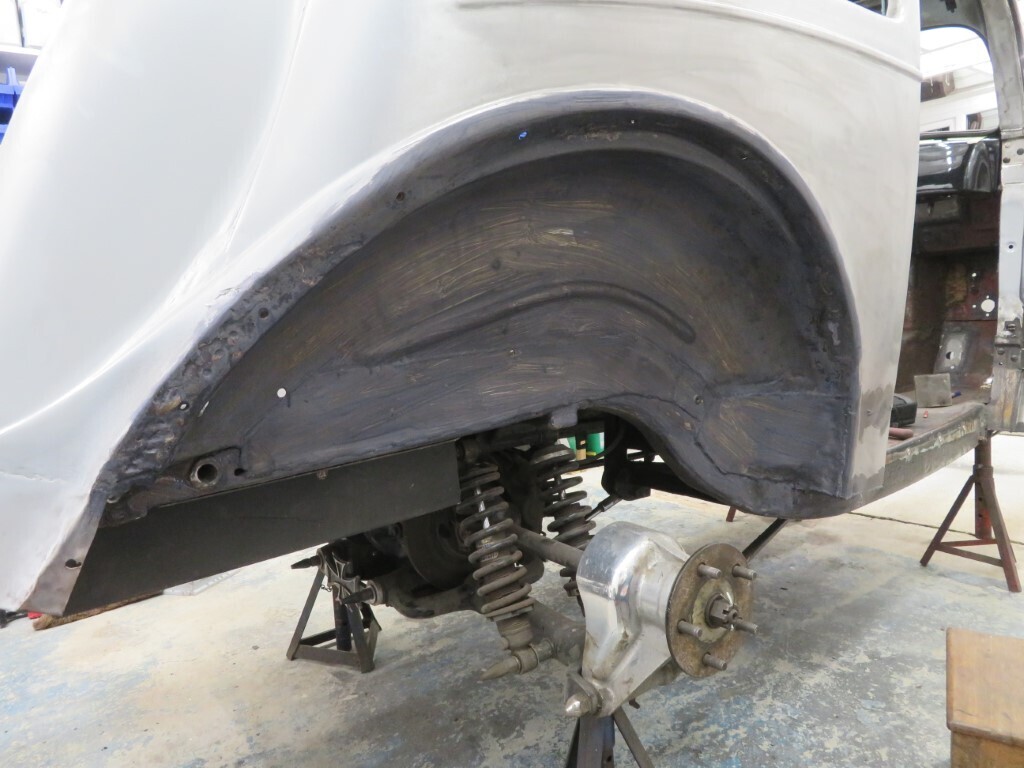 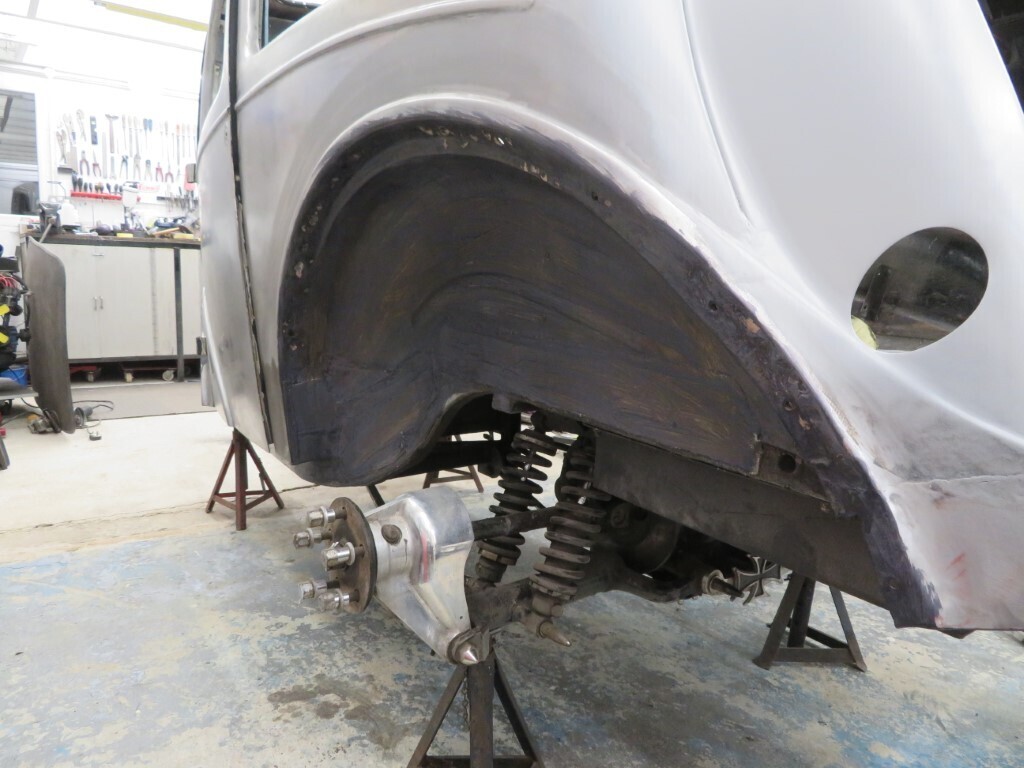 Tonight I've been sorting the upper fixings for the dashboard. Phil dropped the new window rubber around last night so I fitted that to see where the upper dash rail would sit. This is so we can see where all the fixings will go in the new steel section the rodshop fitted. Unfortunately the new section should have been a bit deeper, it also needed a lot more profiling to fit the dashboard so some hammer & dolly work later it was a far better fit. I had to make up some new steel tabs with rivnuts in them and weld them on to the new section so the screws would pick up on metal. 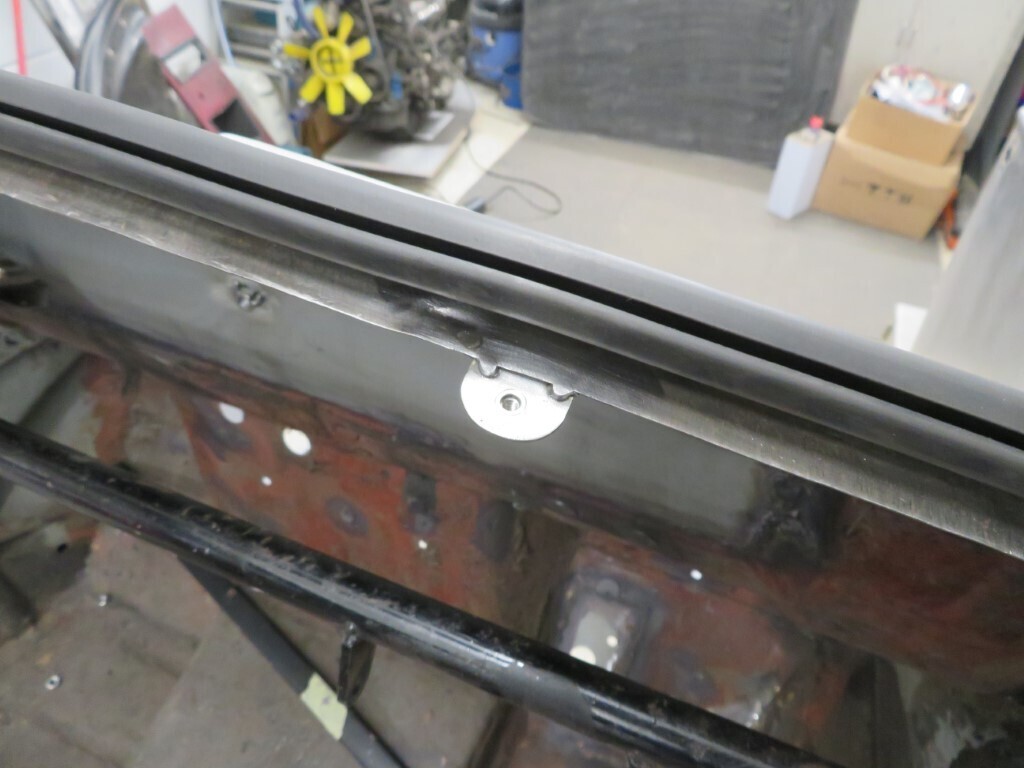 With so much of the original dash missing the lower screen panel is now quite flexible, I'll need to add a reinforcing strip somehow that will still clear the dashboard clocks. However, with the dash screwed in properly it's all pretty solid. 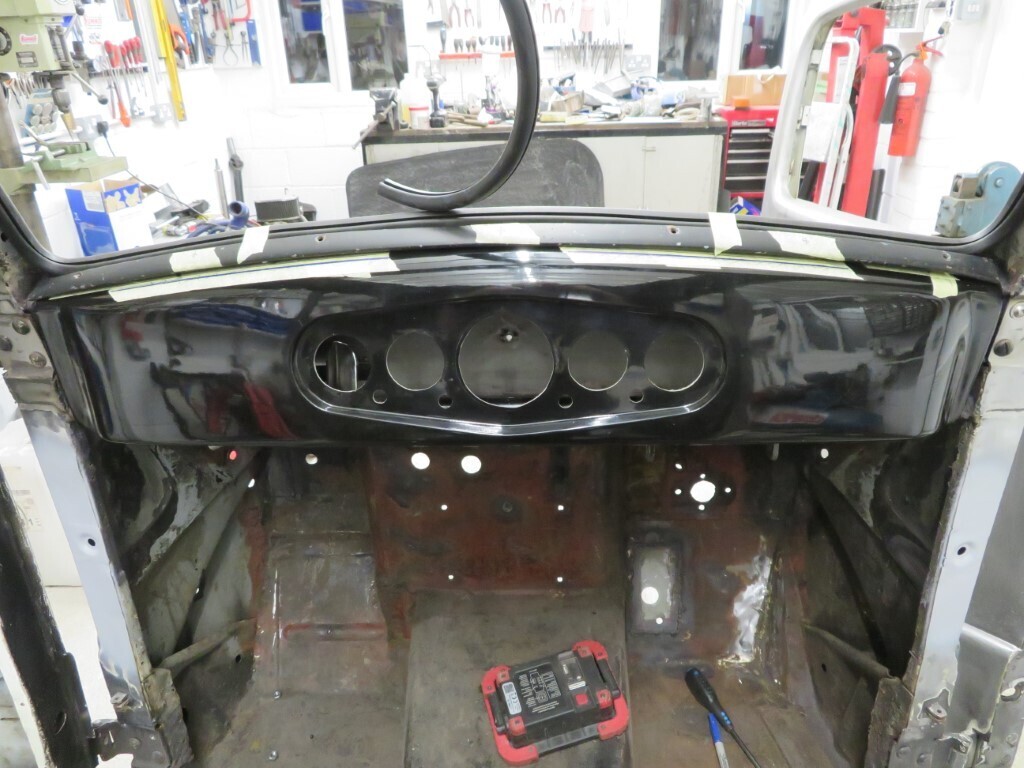 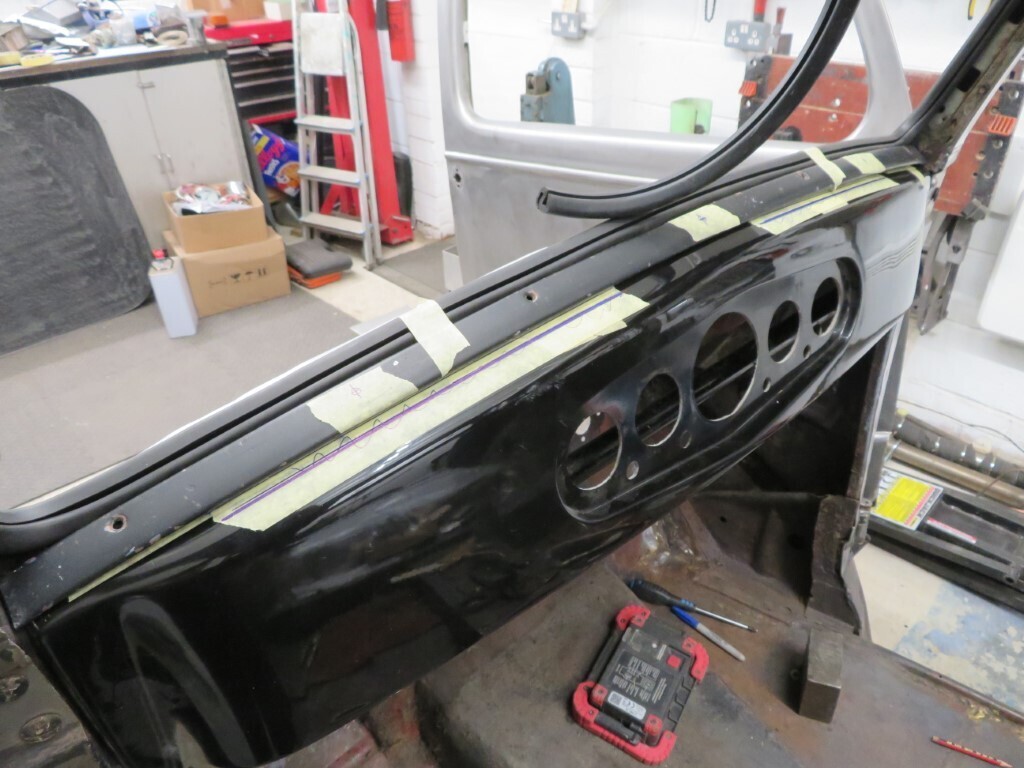 112 hours. |
| |
|
|
|
|
|
|
|
Tonight I have been mostly welding without a sparkly stick  Instead I was using this stuff; 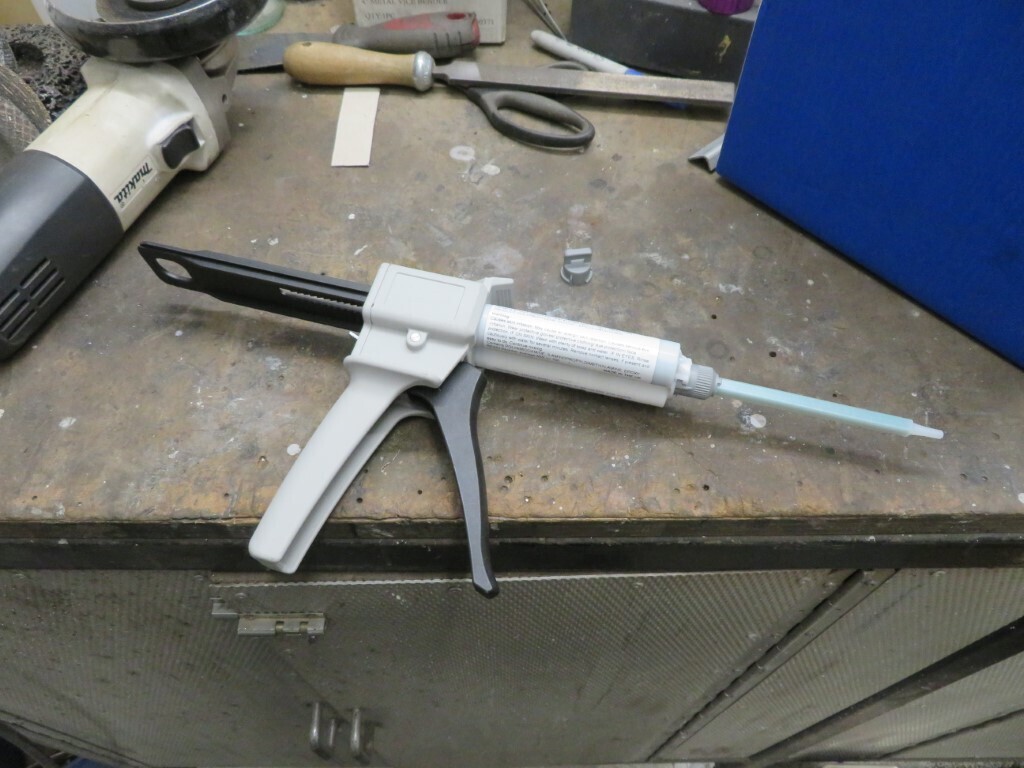 So after a lot of prepping of surfaces - which were tricky behind the roof braces - and wiping down with Acetone as recommended bits of metal got stuck together. Roof repairs passenger side;
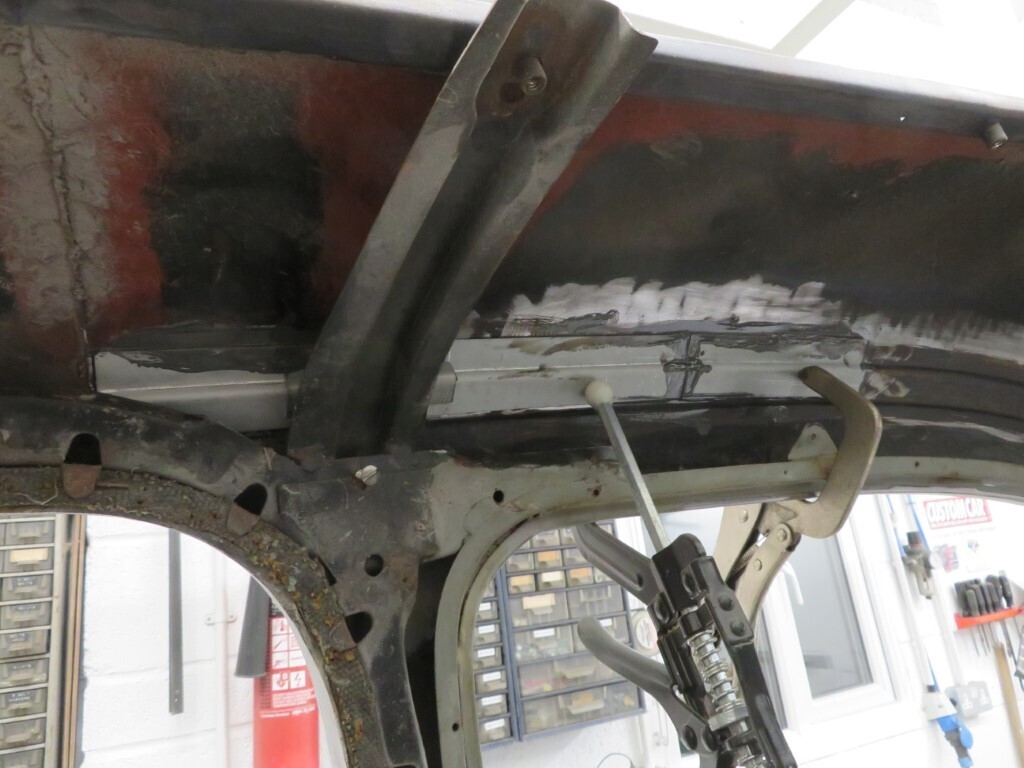
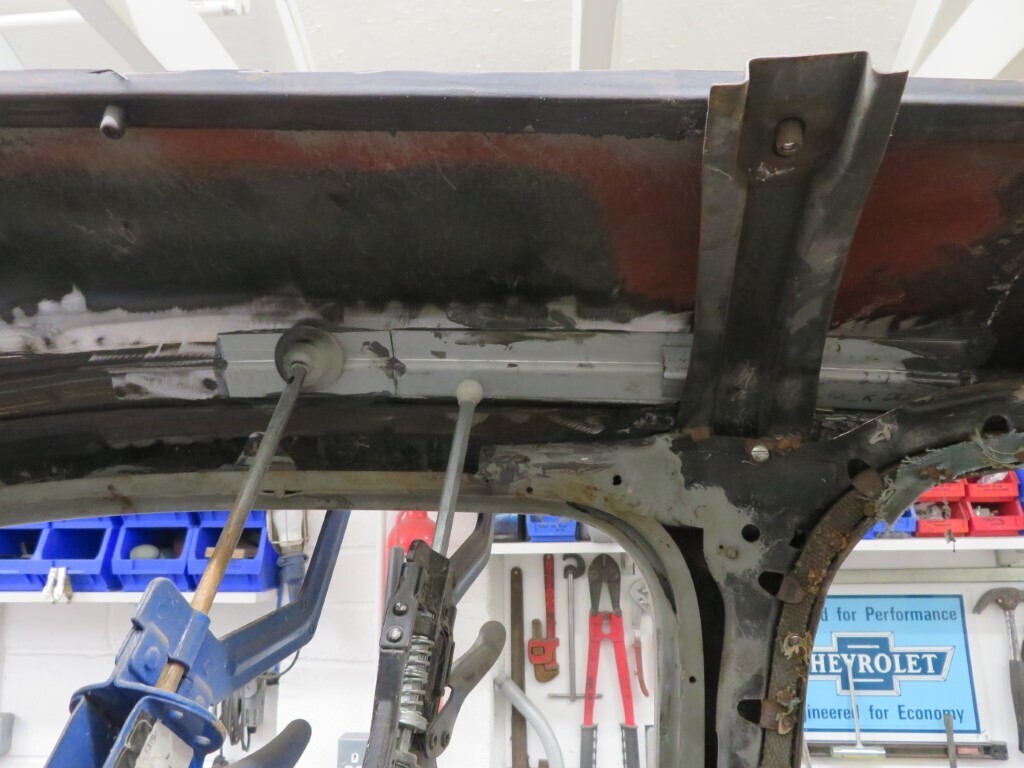 And drivers side. Both sides had metal wedges pushed in under the inner braces to hold it while it cures (24-48 hours depending on temps) as well as the clamps. I did do a couple of small bits around the roof gutter as well but I need to shape some metal properly for those repairs.
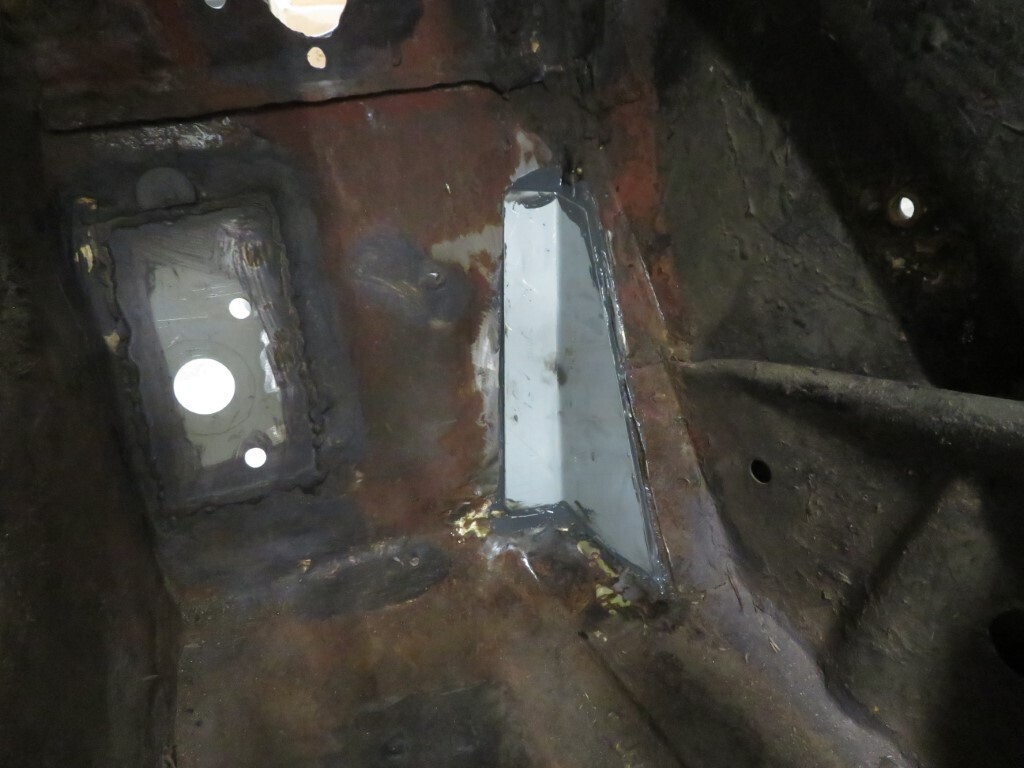
I bonded this bit in the floor as it's double skinned here, the outer is new metal by the previous rodshop but there were a couple of holes through to the engine bay, Not worth welding as it's all plenty strong enough, but this makes it all airtight, the holes were small but it was neater to do a big plate.
114 hours.
|
| |
|
|
|
|
|
|
|
|
You managed to type up a post, so I'm guessing you didn't glue your hands together.
Success!
|
| |
|
|
|
|
|
|
|
We sourced a new bootlamp backplate from Pop Parts Plus which arrived at work today, so had to go straight out to garage when I got home to clean it up. After some sanding and chasing of threads it looks good. 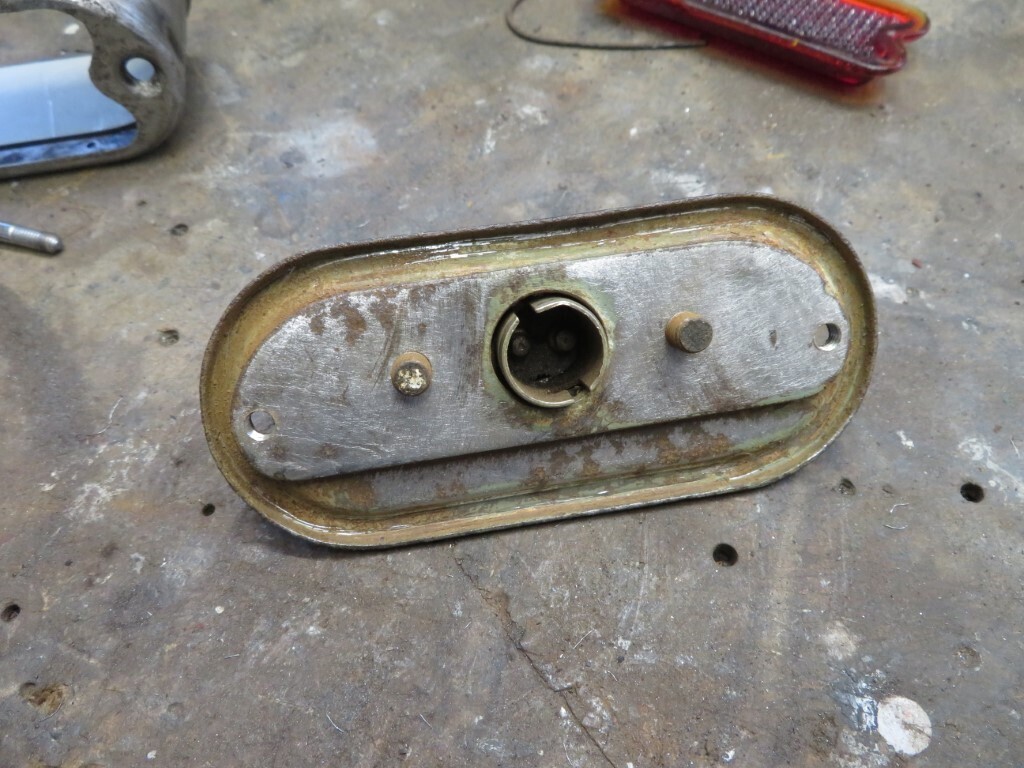 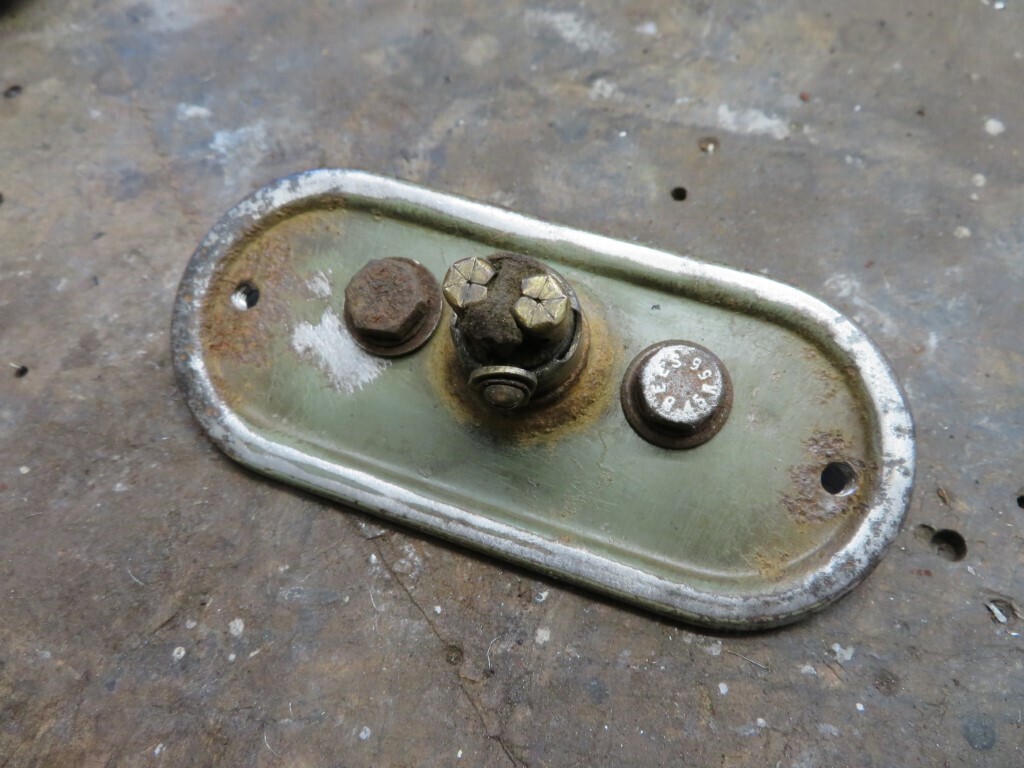 So that meant I had to clean up the cover plate from the other lamp as well  It's not bad but there is a small hole in the top that will need fixing. You can just see it in the middle by the little bump at the bottom. 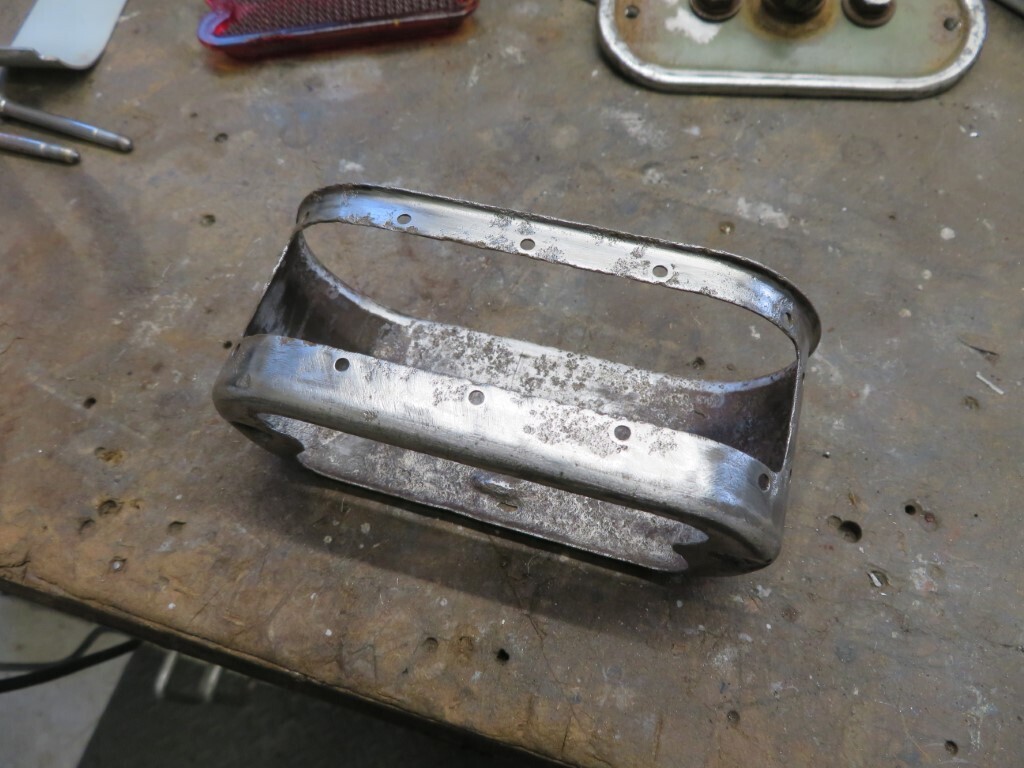 We want to fill in that big hole in the bottom as it's not required for how we will use it now, I was going to weld it up but it's really thin metal and would be quite tricky. So instead the new epoxy glue will be used instead. I made a new curved section of steel to fit inside and this will be bonded in as shown. 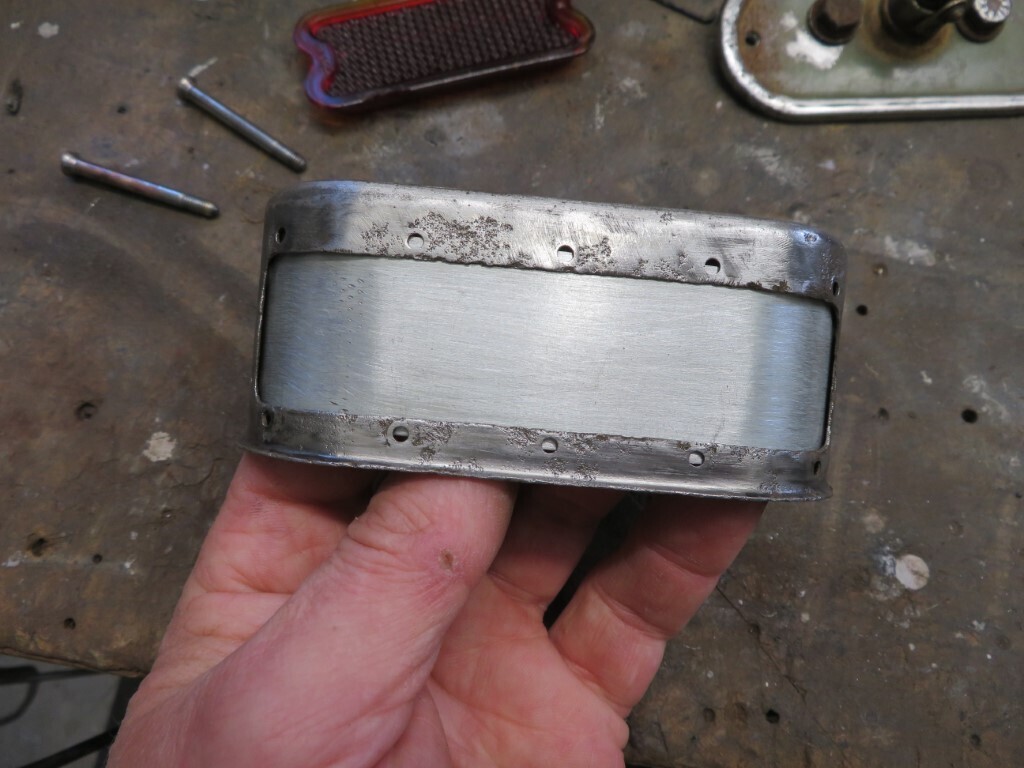 I might fill this or maybe leave it with the slight recess as a feature as it's underneath the lamp. It will have a tiny letterbox hole in it eventually for the number plate lamp, it needs closing off as we will be fitting a superbright red LED stop/tail lamp in it so we don't want a red number plate light. I had to assemble it to see how it looks, not too bad at all. It will need a little skim of filler over it to lose the corrosion pitting. 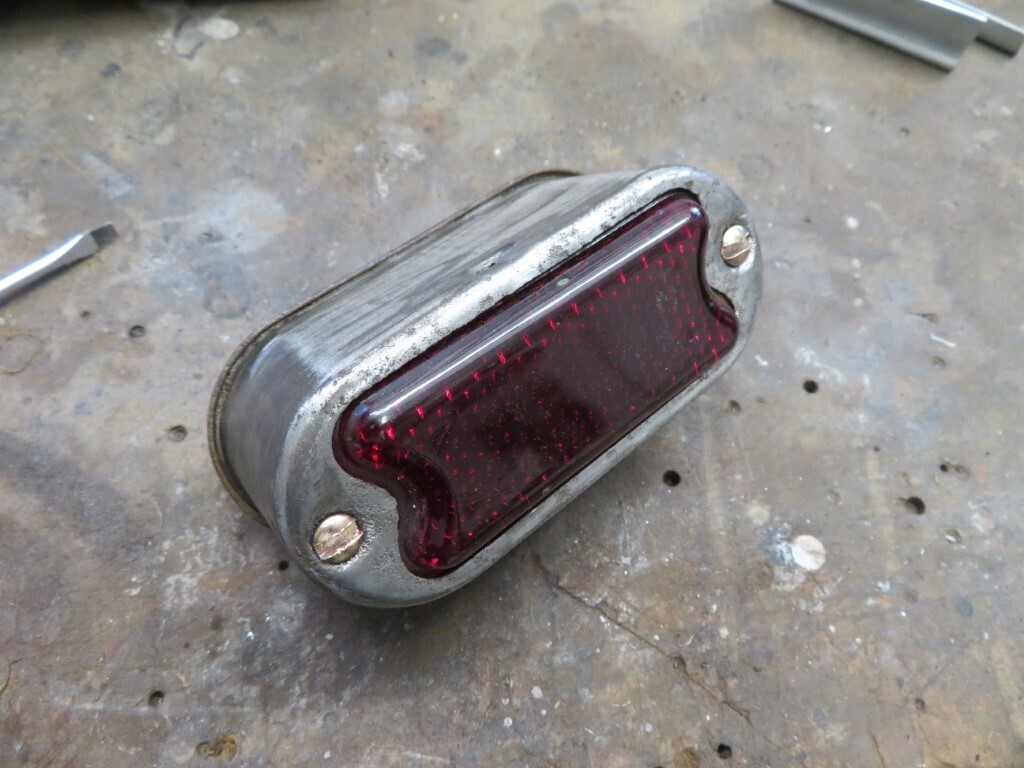 114.5 hours |
| |
|
|
|
|
|
|
|
|
Good progress Mark.
How do you find PPP for price. Last time I enquired it was a bit spendy!
|
| |
Proton Jumbuck-deceased :-(
2005 Kia Sorento the parts hauling heap
V8 Humber Hawk
1948 Standard12 pickup SOLD
1953 Pop build (wifey's BIVA build).
|
|
|
|
|
|
|
|
He was ok this time Paul, £20 plus postage for the lamp back plate.
Now old stock ones were £150!!!!!!
|
| |
|
|
|
|
|
|
|
screw heads lined up ... tick  |
| |
|
|
|
|
|
Apr 10, 2021 12:09:28 GMT
|
|
You noticed 😁
|
| |
|
|
glenanderson
Club Retro Rides Member
Posts: 4,341
Club RR Member Number: 64
|
|
Apr 10, 2021 12:56:58 GMT
|
It would have been more remarkable if you hadn’t. “Standards, dear boy, standards” as one of my old instructors used to say. |
| |
My worst worry about dying is my wife selling my stuff for what I told her it cost...
|
|
|
|
|
Apr 10, 2021 21:26:40 GMT
|
Well nothing very photo worthy today as work did not go entirely to plan. Phil came over again and we spent the first hour going over some options for things and cleaning the garage of grinding dust. We had just started work on the car when Tommy - another friend of Phils came over to give us some seats for the car. He had a good look over it and we ended up chatting for a while - he owns a Green Maserati powered Pop as well  As such it was fairly late in the day before we got going, Phil carried on stripping the underbody & chassis while I bolted on the rear wing on the drivers side to assess the amount of work required to get it to fit right. It turns out it's going to be a fairly major job! I then started grinding off the cage nuts and cleaning up all the bolt holes in the wing flanges. I had to add a couple of new patches of metal on the passenger side where rot had set in, and then I started welding in the new captive nuts for the wings. 119 hours |
| |
|
|
|
|
|
Apr 11, 2021 21:10:31 GMT
|
Today was one of those days where you do a lot of work but it seems you made little progress. I started by bolting the wings on so I could tack the new captive nuts and washers to the body. I had to take the wings off again to drill some new holes where the new steel had been added, then put them back on again to tack the nuts over those holes. I make no apologies for the untidy welding, not my best work - the metal is rusty & difficult to clean up and is also full of braze, it's not pretty but it is solid. Some of the captive nuts shown here; 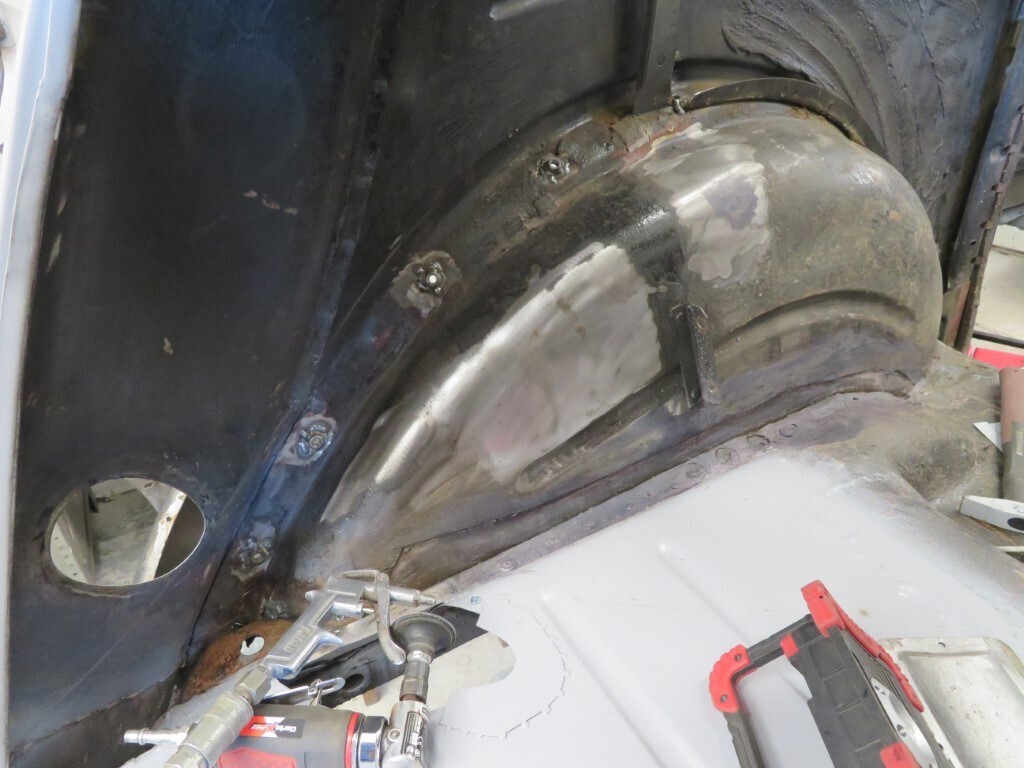 Unfortunately I also found several more holes in the wing flange that needed welding up, some went well and some needed the big ally block as each weld created a bigger hole without this. The rear wing corners are not that great, the drivers side - once I picked out all the putty stuff that was in there - was no longer fixed to the wheel arch  A bit too much daylight there...... 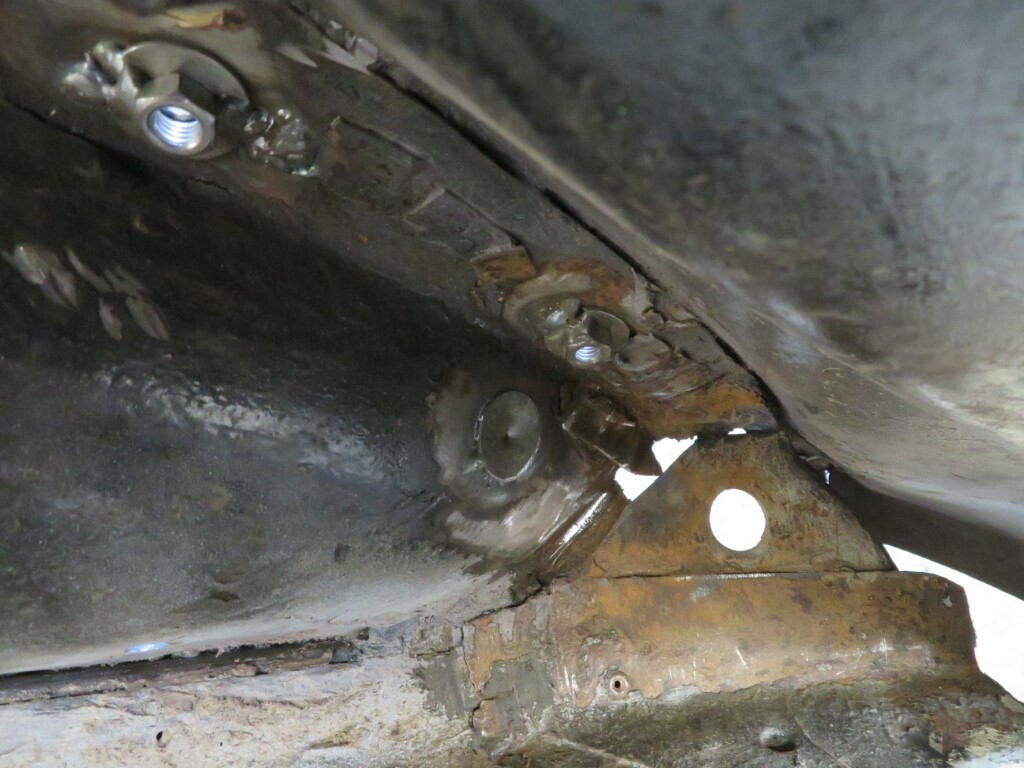 Some new bits of metal made up to tie it back together; 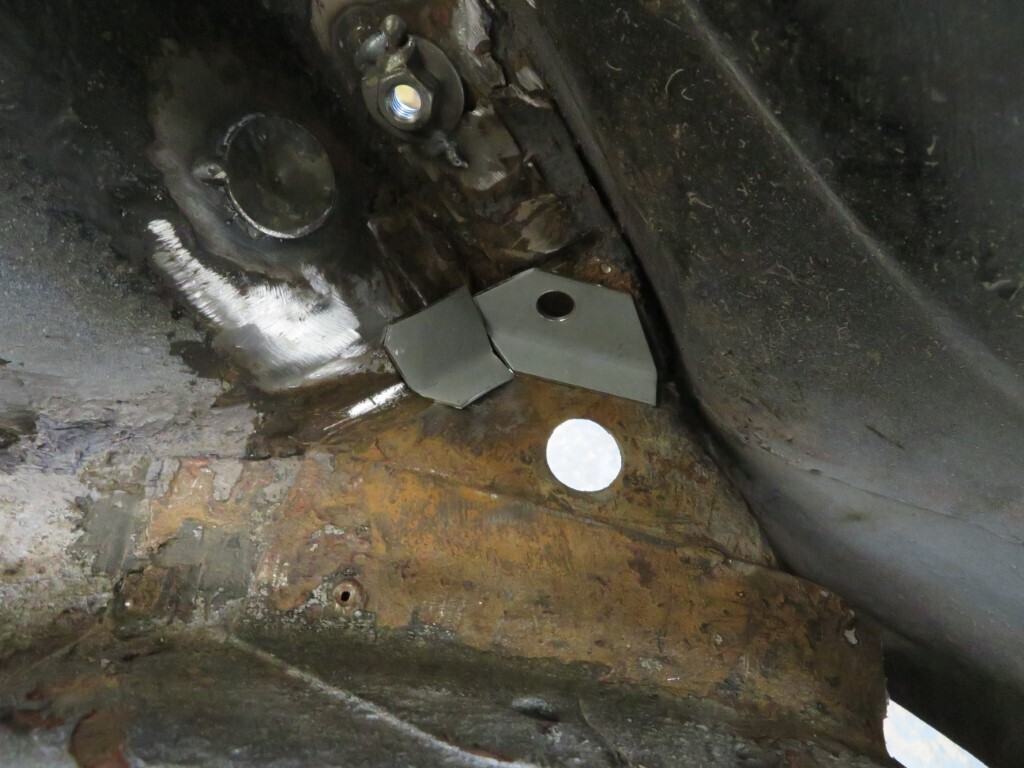 And welded up with a dose of hydrate 80 on it.  The wing corners still need closing off to the outside world, I chopped out the original metal underneath and will have to make up some closing panels soon. Hydrate 80 applied to all the wing flanges and other repairs; 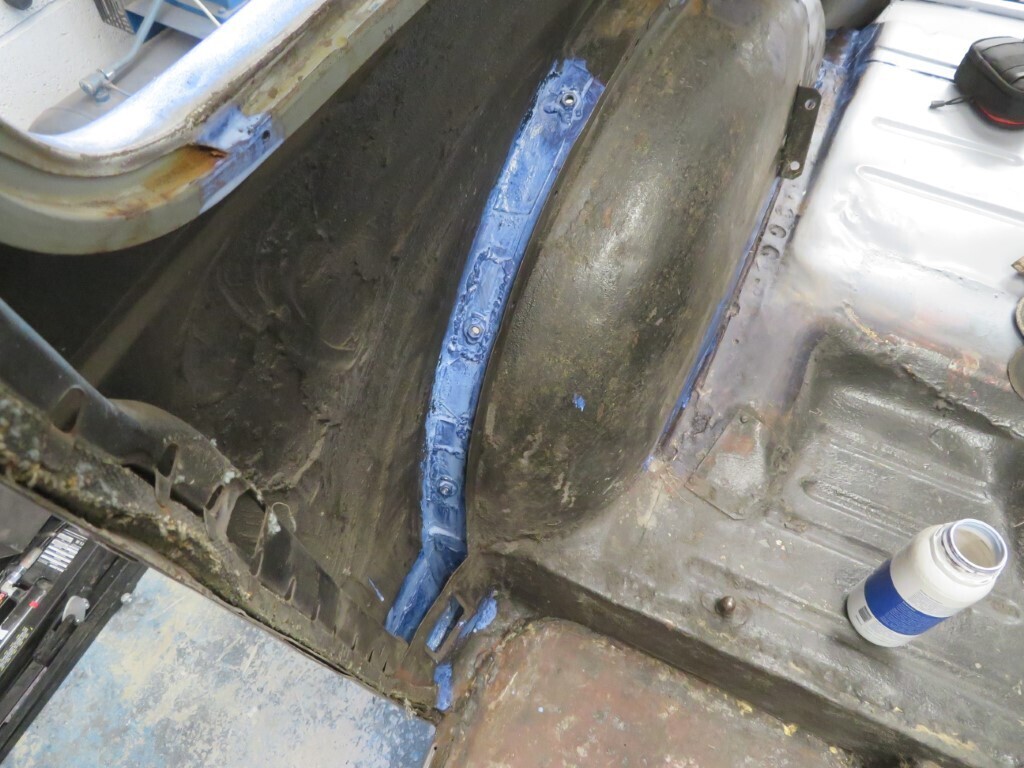 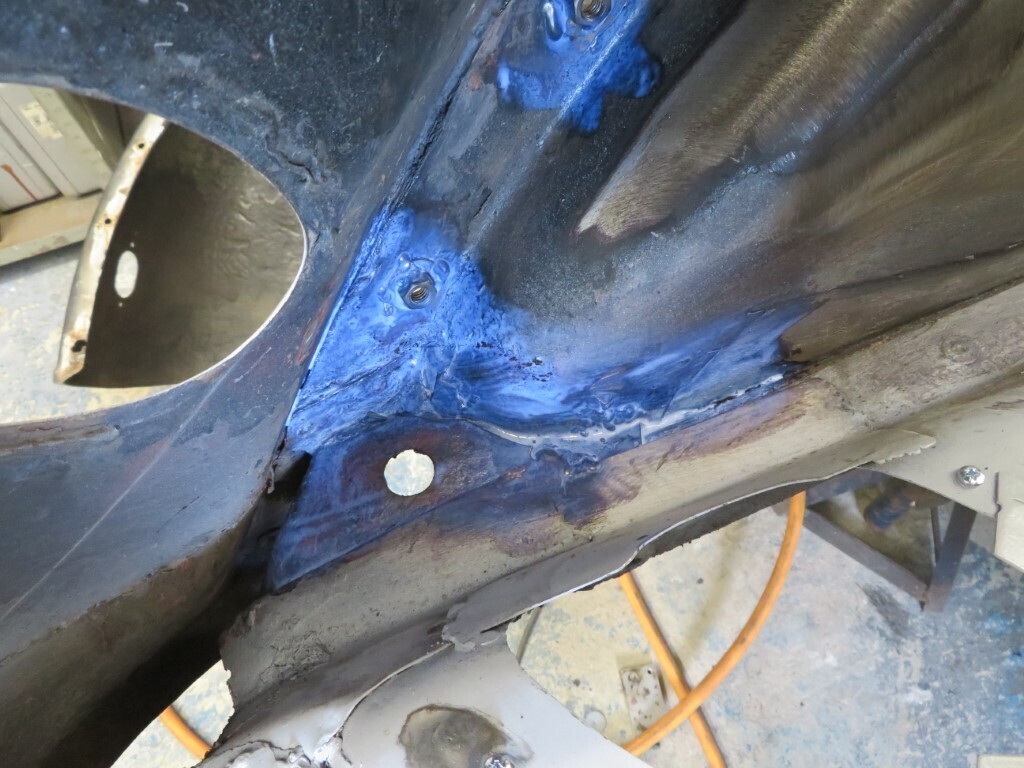 Then the wings went back on. The plan was to cut these around to get them to sit flatter as they curve back in towards the tyre and also to widen them to cover the tyres better. 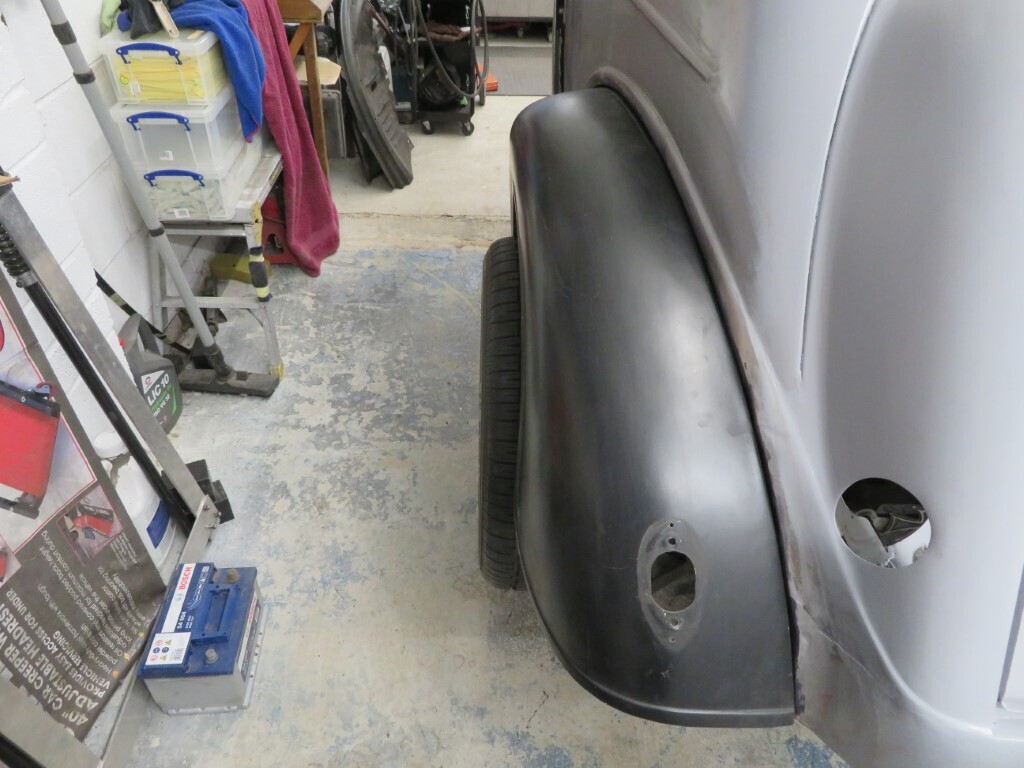 You can see how warped the drivers wing is here; 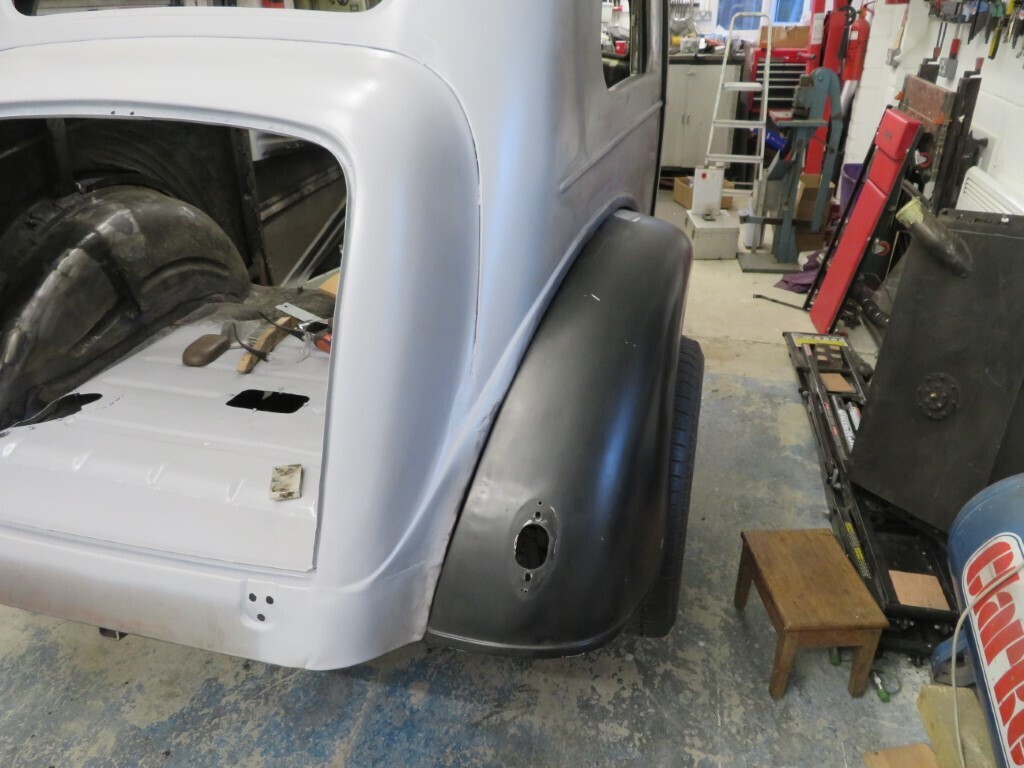 Having had a good look at these I need to have a chat with Phil about the best way forward. The amount of work needed to get them to sit right and cover the tyres is not viable compared to buying a wider set of wings that will be mostly correct bar a bit of tweaking to fit the body properly. The only issue with this is the wider wings (to me at least) look a bit too wide visually.
The other (better) option would be to narrow the axle and buy a new set of the same size arches, there is acres of room between the inner arch and the tyre so a viable option, but also a more expensive one. I'll speak with Phil tomorrow and see what his thoughts are on it. 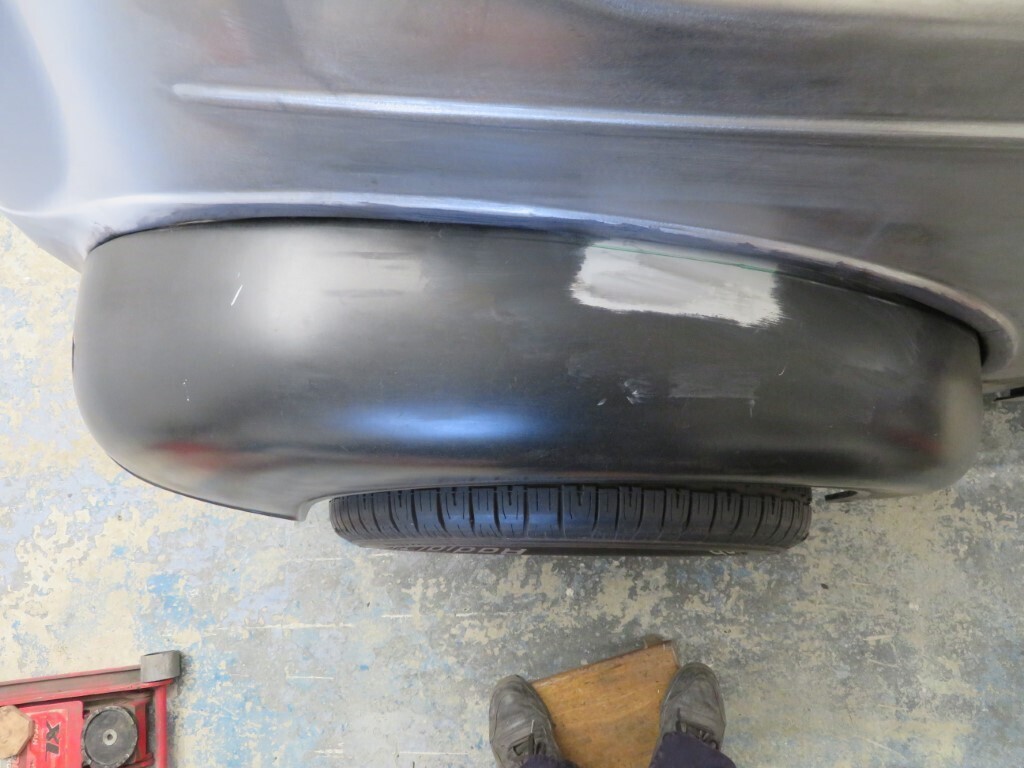 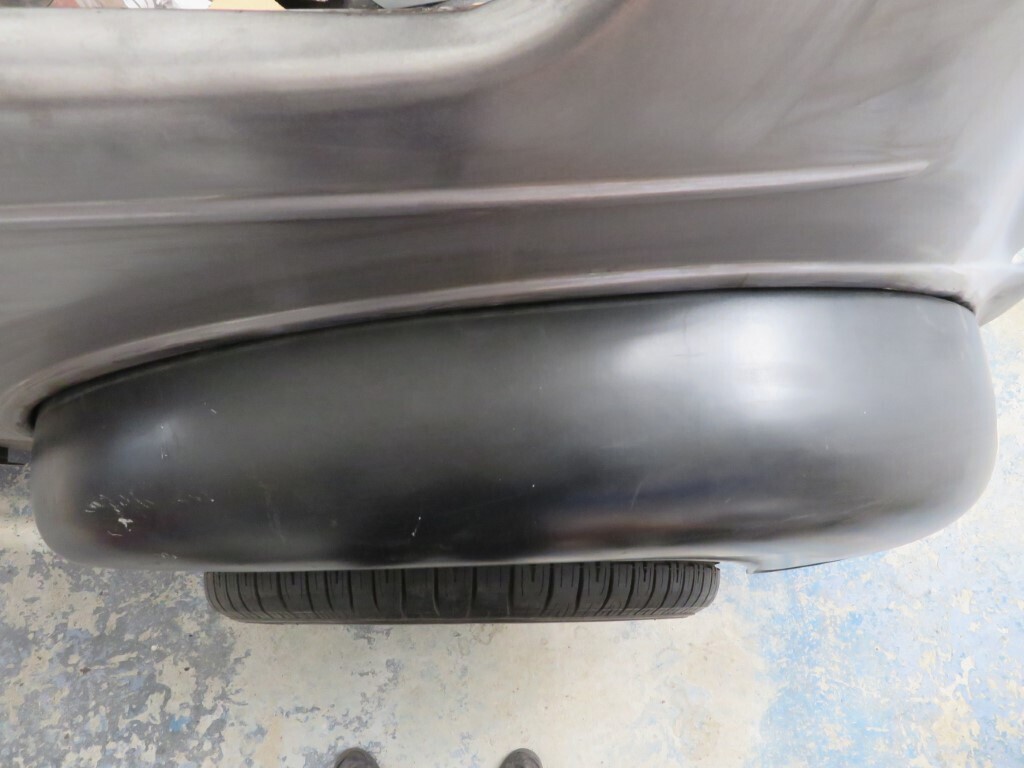 124 hours.
|
| |
|
|
mk2cossie
Club Retro Rides Member
Posts: 3,058  Club RR Member Number: 77
|
|
Apr 11, 2021 21:25:54 GMT
|
Is there not an option to keep the wings, and get rear wheels with a higher offset to tuck them under the arches? I hadn't noticed it has a Jag IRS with inboard brakes before  |
| |
|
|
|
|
|
Apr 11, 2021 21:31:42 GMT
|
|
That is certainly another option, but possibly (probably?) more expensive than axle narrowing. Also I think Phil is quite attached to his slotmags.
|
| |
|
|
|
|
|
|
|
|
i am am sure you thought of this ,mark , but could a baseball bat be used to roll them out enough ? alternately cut them long wise and add a 1" strip all the way along to widen them , i think that what we did on my freind 10 x 15 wheeled pop .
|
| |
|
|
|
|
|
|
|
|
Robert, they are glass wings - currently 4" oversize, but it would need the 6" oversize to over the tyres.
|
| |
|
|


 boot floor gets a coat of epoxy primer;
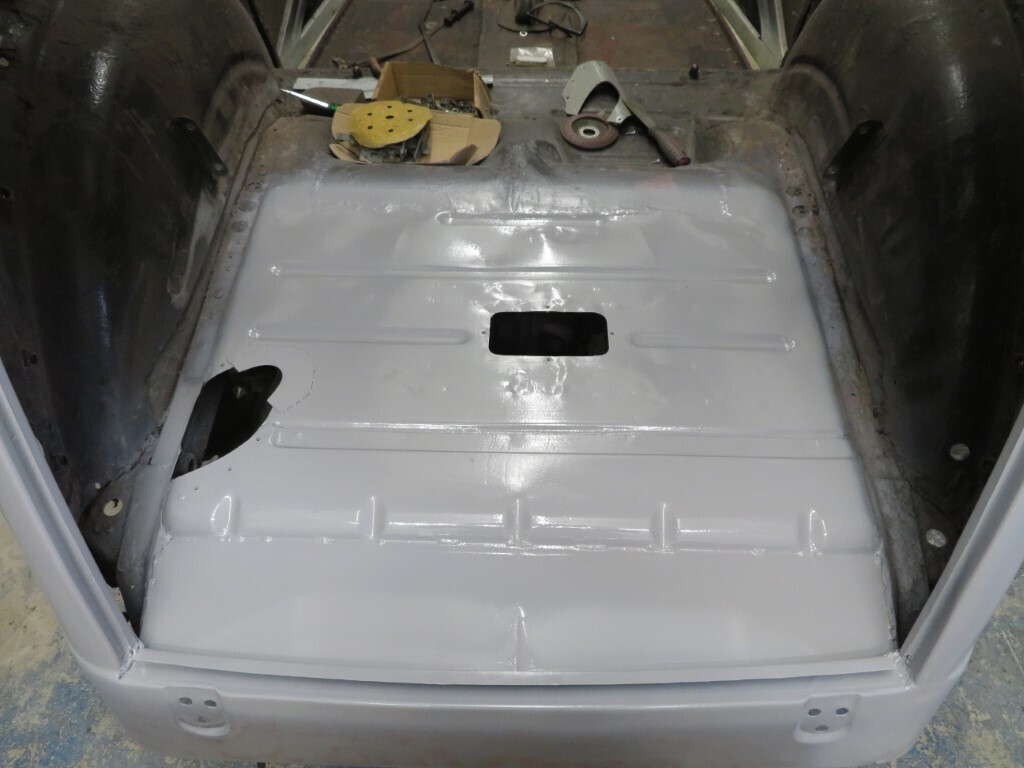
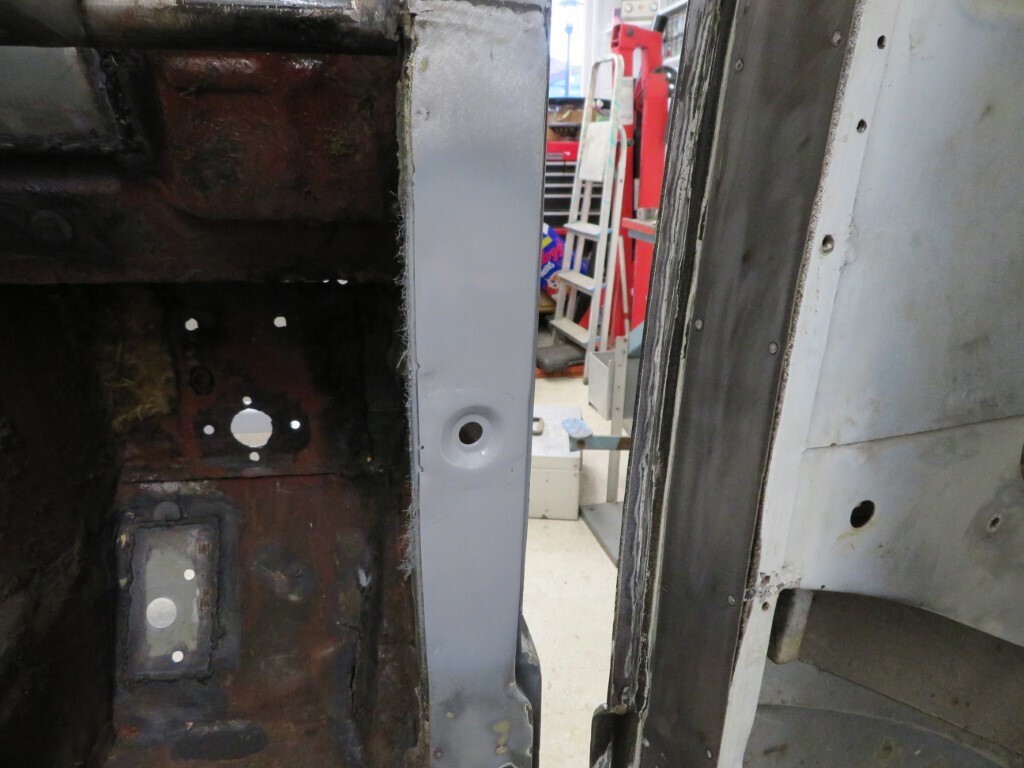
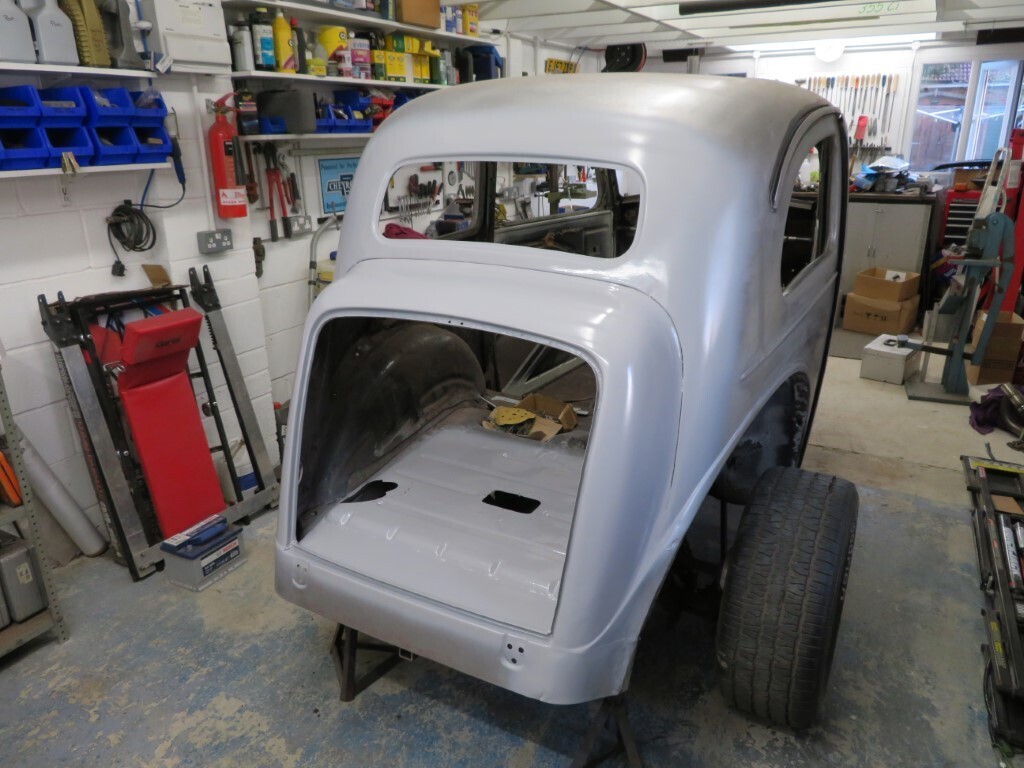


 boot floor gets a coat of epoxy primer;


 A bit too much daylight there......


