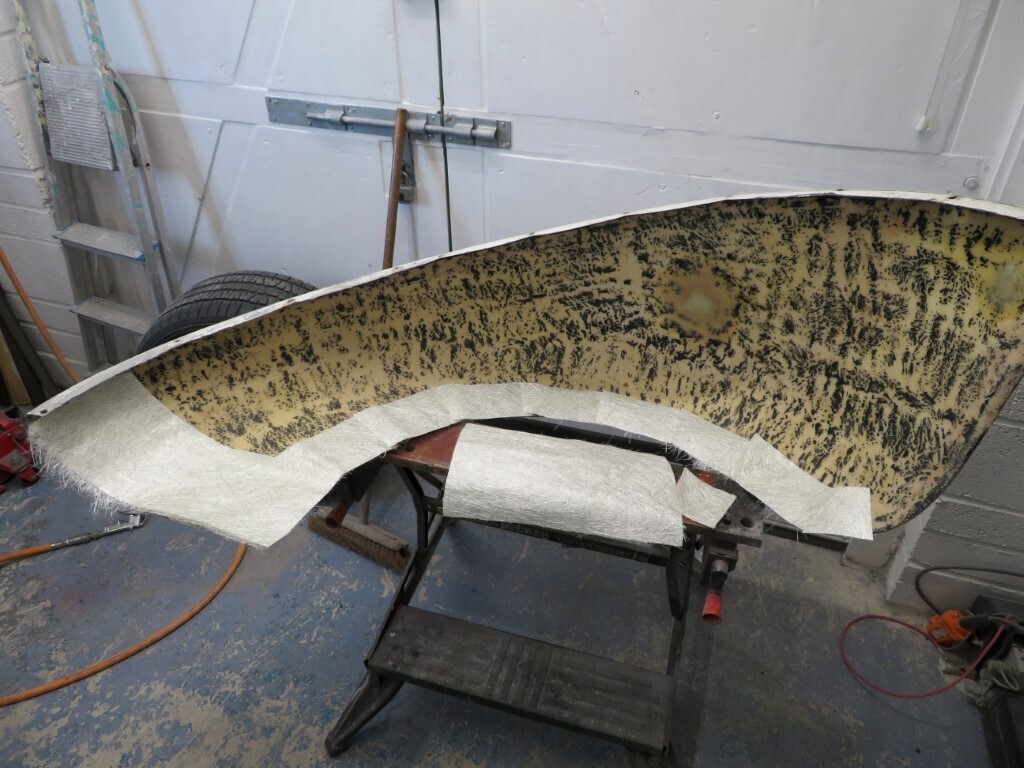
|
|
|
May 18, 2021 22:34:53 GMT
|
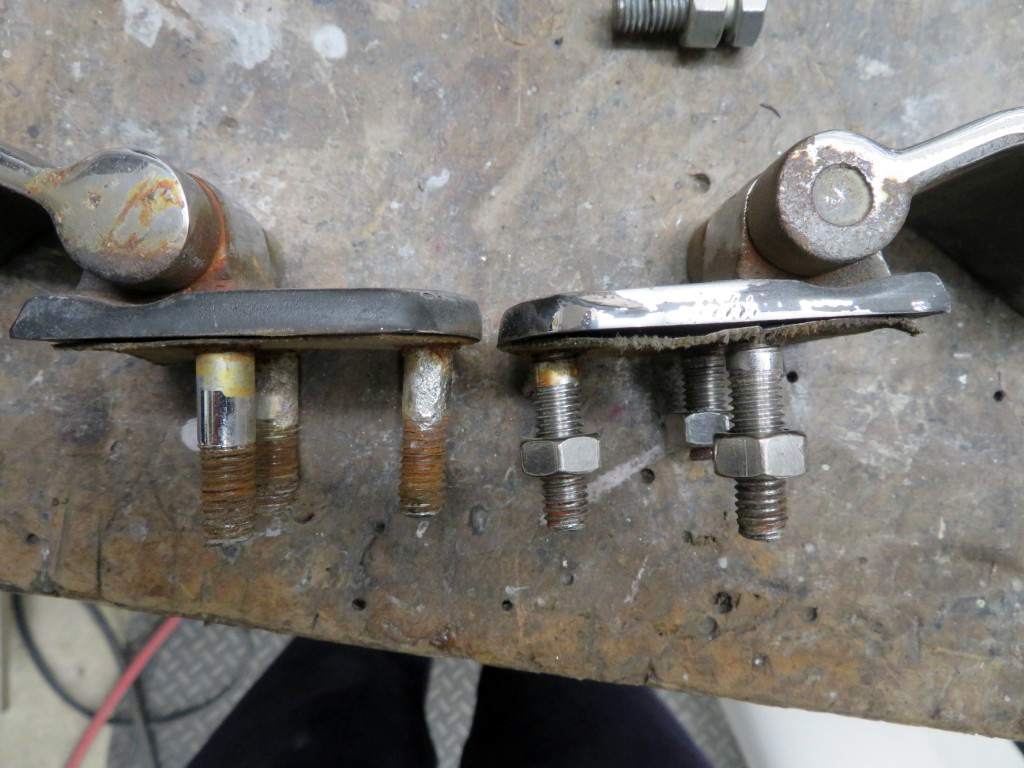
tonights progress. Checked the rear quarters where I painted them last night and blocked them down a bit. This revealed several very small dents in an area that I had not worked on yet and a few minor imperfections where I had been working. So almost there on that section  While I was doing the rear I removed the hinges from the bootlid - not as easy as it would seem as the bolts had nuts on the back and you can't easily get a spanner in there as the bootlid is only about 35mm thick. This wont be a problem going back in  left hinge done and the right one waiting to be done. 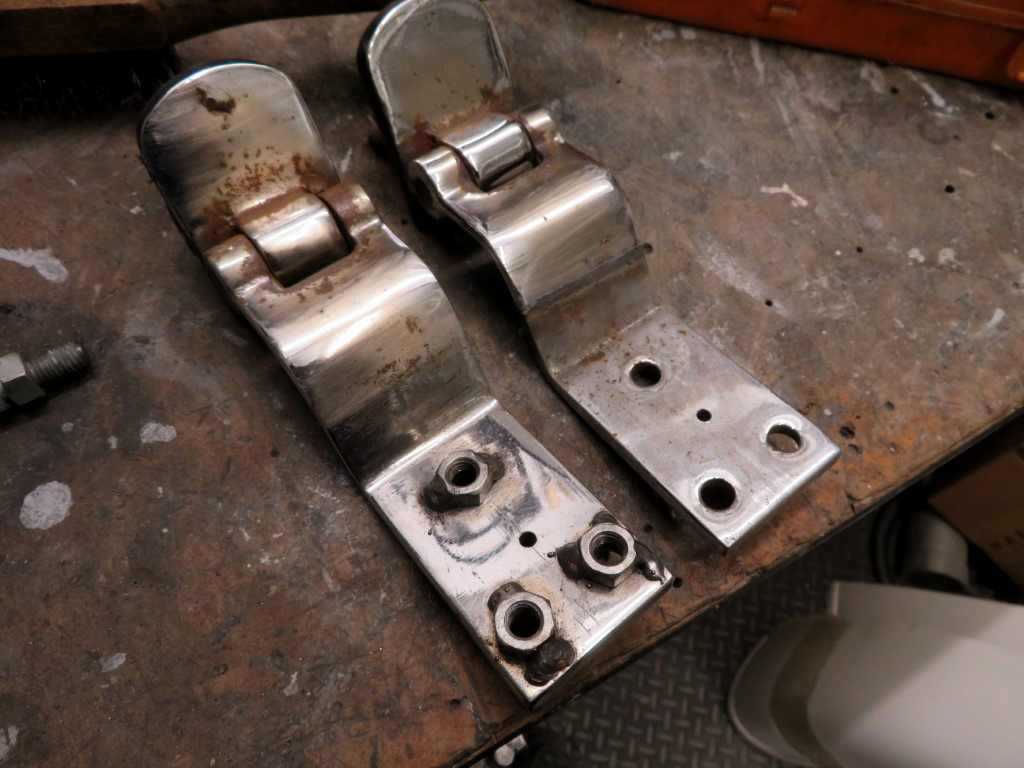 Hinges are chromed but have seen better days so they will be sanded back and painted before reassembly. The studs on them also are designed to go through the original double skinned panel, so are not threaded all the way down. Phil's car has a replacement panel that is only 18 swg steel so they were packed out with washers. I will bond 6mm aluminium stiffeners on the rear of the panel but I have also cut threads down the studs - a slow job as I could not fit the die tool on the die and had to resort to mole grips to slowly inch it round each stud. Right hand one done here.
 After doing those it was back to the itchy stuff. Wings were ground away on the outside where the holes were glassed internally yesterday; and 3 feathered layers of matt were glassed in; 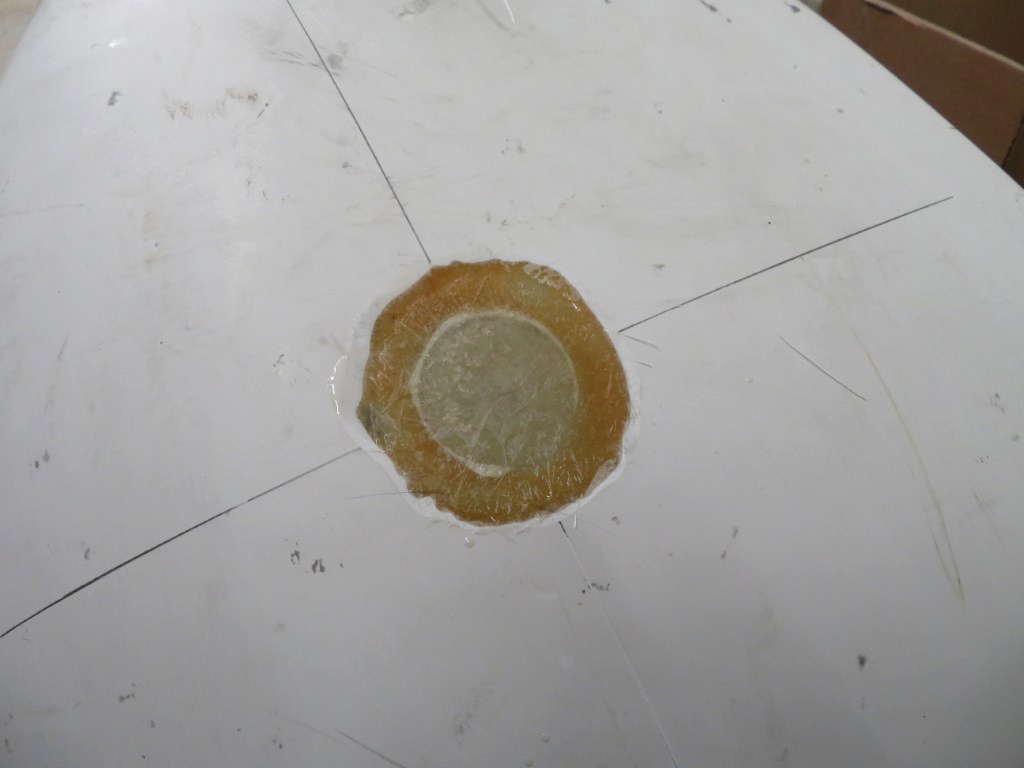 The rear wings got another 3 layers in the deeper recessed in the sides; and the dashboard got a couple of layers across the instrument area as well as several layers on the bottom edge where lots of holes had been drilled. The instrument area needs building up as its too thin for the instrument clamps to fix to so the clocks are all loose. Thickened up they will clamp tightly. 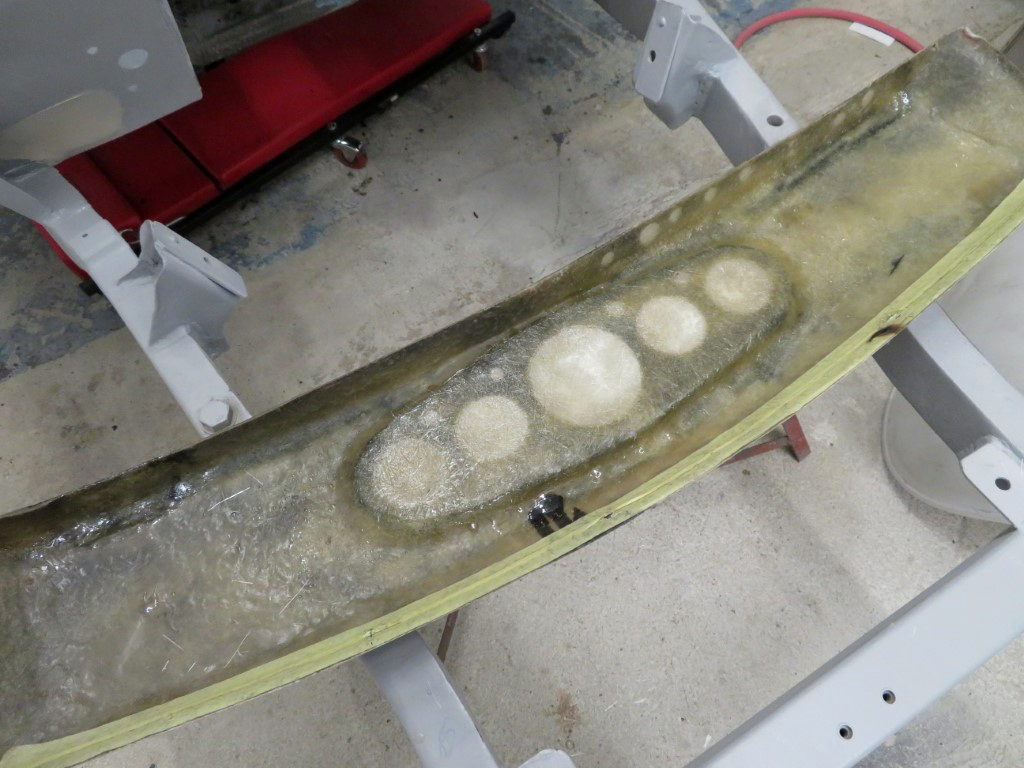 223.5 hours
|
| |
|
|
|
|
|
|
|
May 19, 2021 23:02:00 GMT
|
Not much to show for tonights progress as it was more filler work and fibreglassing. The headlamp bowl deletes got some flowcoat added; 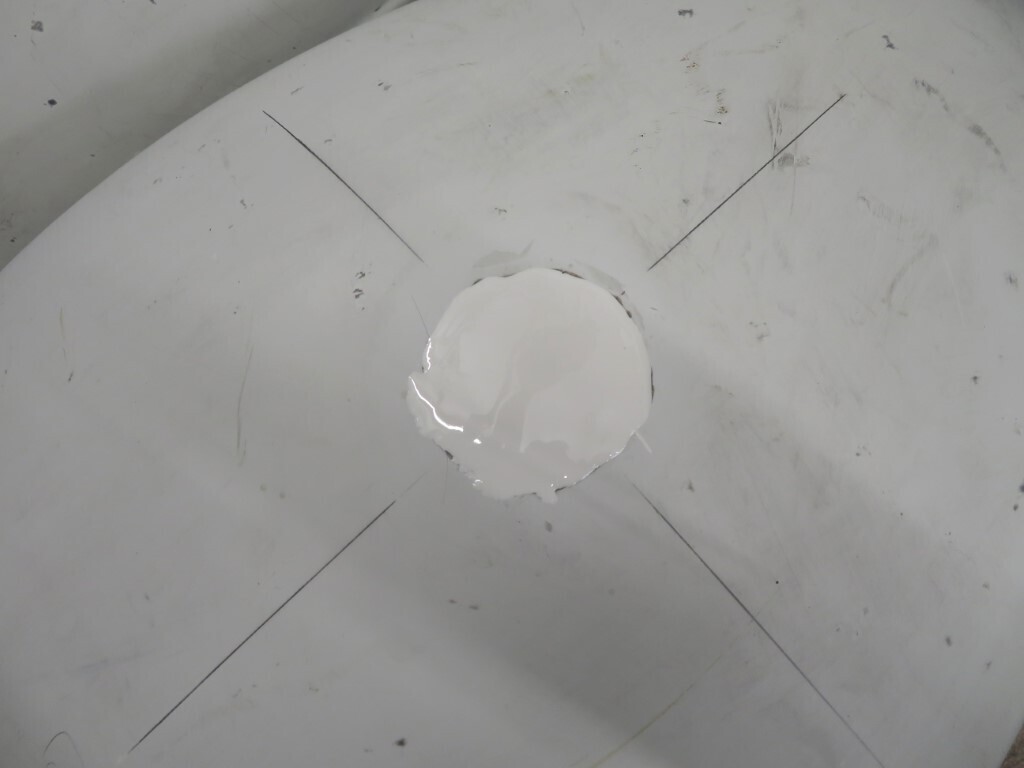 as did the rear arches - I left the edge where the bead is as this will need thin strips of glass built up to get the bead profile back before flowcoat is added. 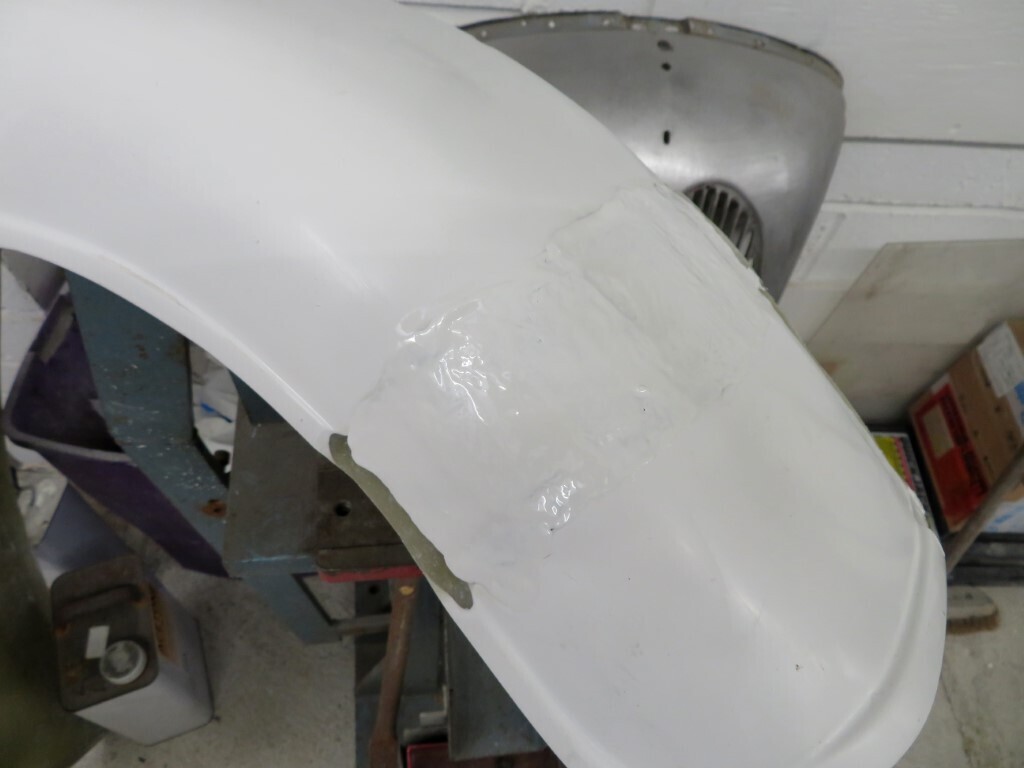 The dashboard got another 2 layers of matt added to the previous two and the indicator holes got glassed up on the outside. One wing got some reinforcment added in the front corner where it was broken, all four wings will get several extra layers of glass on them as they are quite thin - especially the front wings, they look raceweight to me. I finished cutting the threads on the other boot hinge and made up the reinforcing plates in 6mm aluminium plate - these will get shaped before they are bonded to the rear valence. 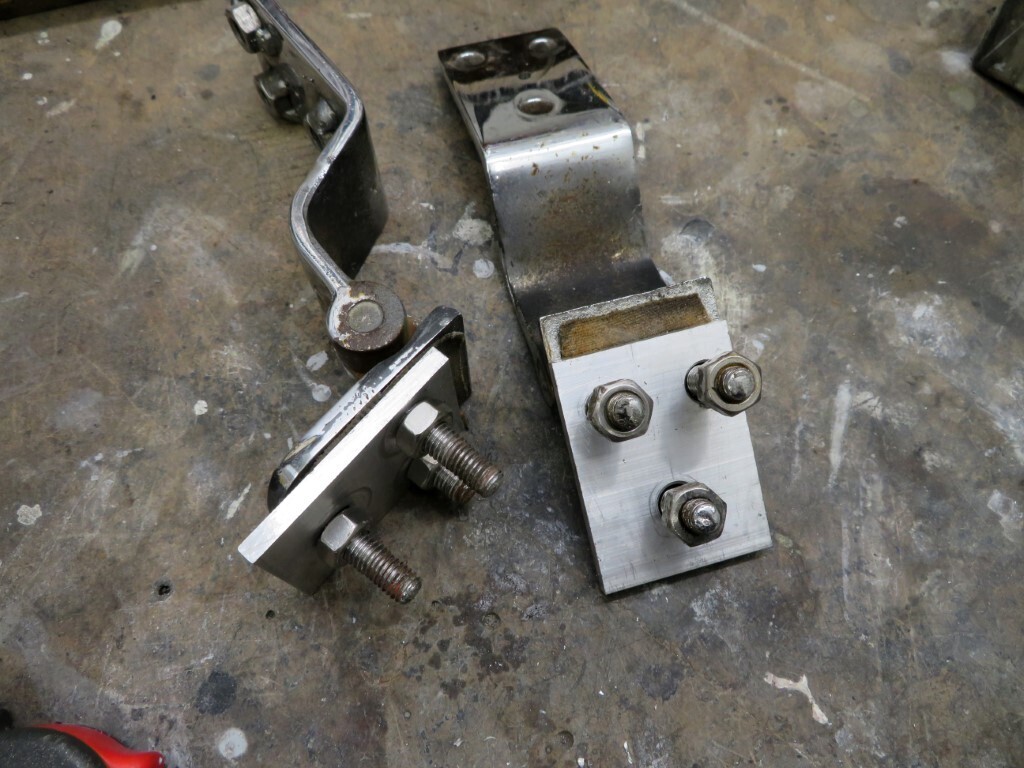 226 hours. |
| |
|
|
vulgalour
Club Retro Rides Member
Posts: 7,280
Club RR Member Number: 146
|
|
May 19, 2021 23:42:37 GMT
|
|
Now that you've filled all those holes he's going to need to put a bigger engine in it to restore the power:weight ratio.
|
| |
|
|
|
|
|
|
|
Or add more holes with nice swages.  |
| |
|
|
jonomisfit
Club Retro Rides Member
Posts: 1,788
Club RR Member Number: 49
|
|
|
|
|
9 out of 10 jonomisfits prefer swagey holes
|
| |
|
|
|
|
|
|
|
9 out of 10 jonomisfits prefer swagey holes And the 10th is an imposter! |
| |
|
|
|
|
|
|
|
|
The problem I've always had with those really thin panels is how to hold them in shape while adding the extra layers without turning the car upside down, I'll be interested to see what you come up with.
|
| |
|
|
|
|
|
May 20, 2021 12:25:36 GMT
|
|
Kevins,
Yep - gonna be a messy one for sure. Rear arches are stiff enough I can probably lay them up off the car, but the fronts will certainly need the first couple of layers done when fitted to the car.
I find partially wetting the mat before you put it on, together with painting the surface with resin first, then using the fluted roller just rolling the lot for a bit will get the resin soaked in quite well. Most people put too much resin on - you only need just enough to wet the fibres through - the strength is in the fibres- the resin is weak so more resin = weaker panel.
|
| |
|
|
|
|
|
May 20, 2021 13:27:04 GMT
|
|
You Sir, are another contributor whose skills are fantastic and whose standards I could, most likely, only achieve in my dreams,
Each update gets better and better,
Nigel
|
| |
BMW E39 525i Sport
BMW E46 320d Sport Touring (now sold on.)
BMW E30 325 Touring (now sold on.)
BMW E30 320 Cabriolet (Project car - currently for sale.)
|
|
|
|
|
May 20, 2021 19:18:47 GMT
|
|
Thanks Nigel - you will make my head swell, lol!
|
| |
|
|
Darkspeed
Club Retro Rides Member
Posts: 4,876
Club RR Member Number: 39
|
|
May 20, 2021 22:10:56 GMT
|
|
If you want to stiffen up anything glassfibre without loads of layup and weight - buy some "200gm Black Stuff" from easy composites and just lay it up with standard poly resin. If you want to make them more resistant to stones etc. Lay in some Kevlar into the vulnerable areas.
Just be aware that the shape it is when the laminate cures is the shape it stays.
|
| |
|
|
|
|
|
May 20, 2021 22:29:11 GMT
|
Blimey! thats expensive stuff Andrew. Interesting to note for the future though. I've got a couple of 5 metre rolls of thick matt here so I'll use those. Dash was sanded back and all the gauge holes re-cut, glass is now approx 5mm thick so no issues for the guages to clamp up nicely now. I've mostly been sanding tonight, good thing about glass fibre is it's easy to work with - bad thing about it is it's slow as it's a next day to work it process. It's also bl00dy dusty when you sand it. Wing support holes now glassed in; 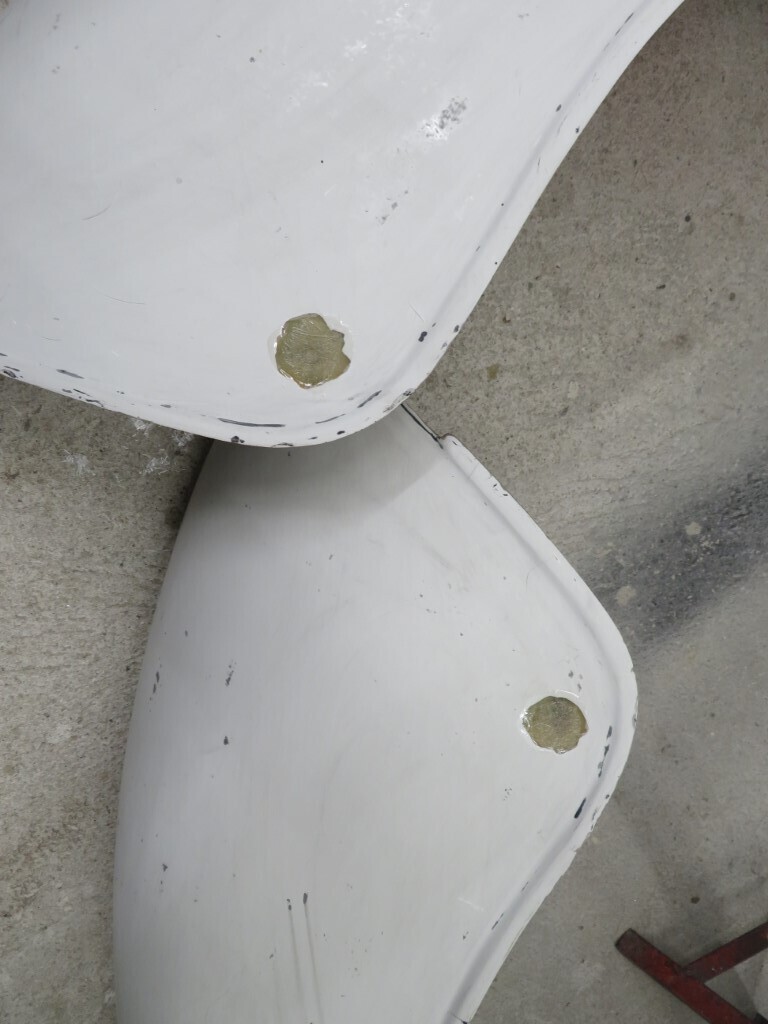 and the wing beads get some build up layers added; 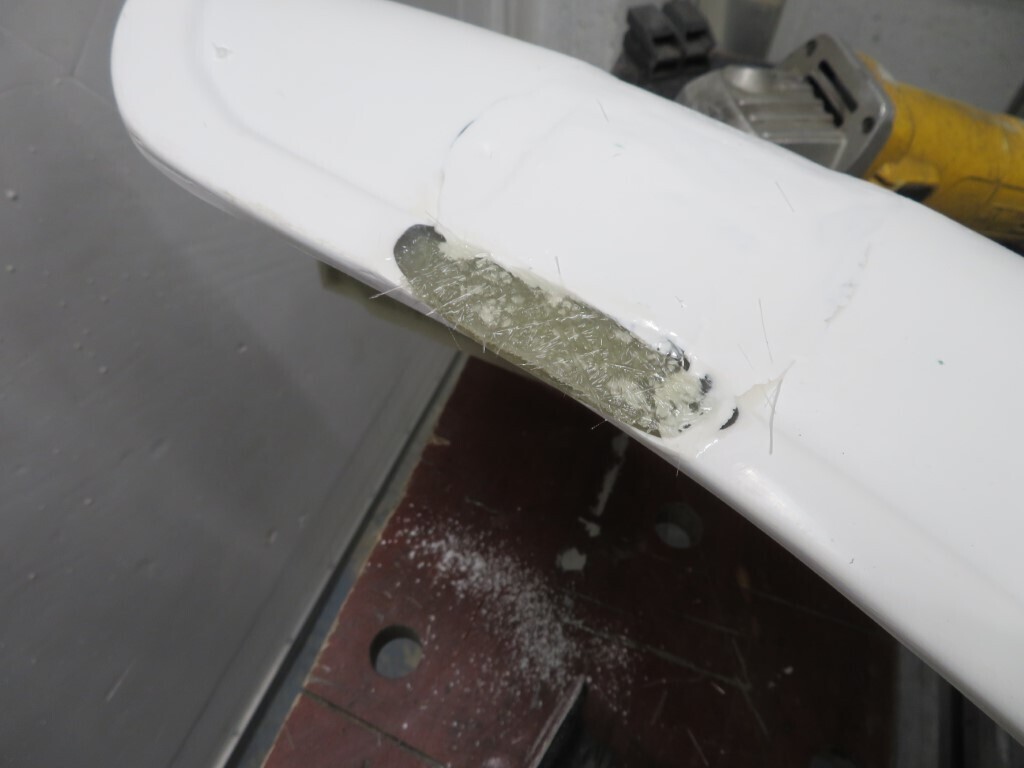 There are a lot of stress crack in the front wings that will need to be ground out and flowcoat put back in, such as these ones. The extra layers of matt to stiffen the wings should cure this in the future. 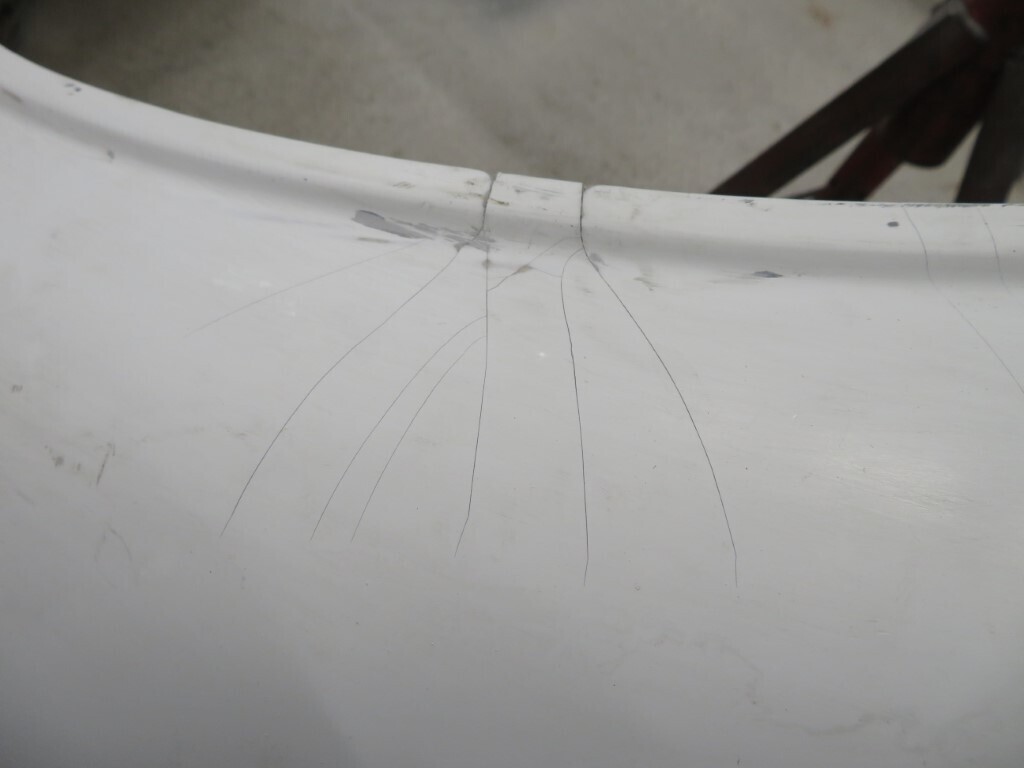 Rear quarters get the last bits of fine filler added (green stuff) 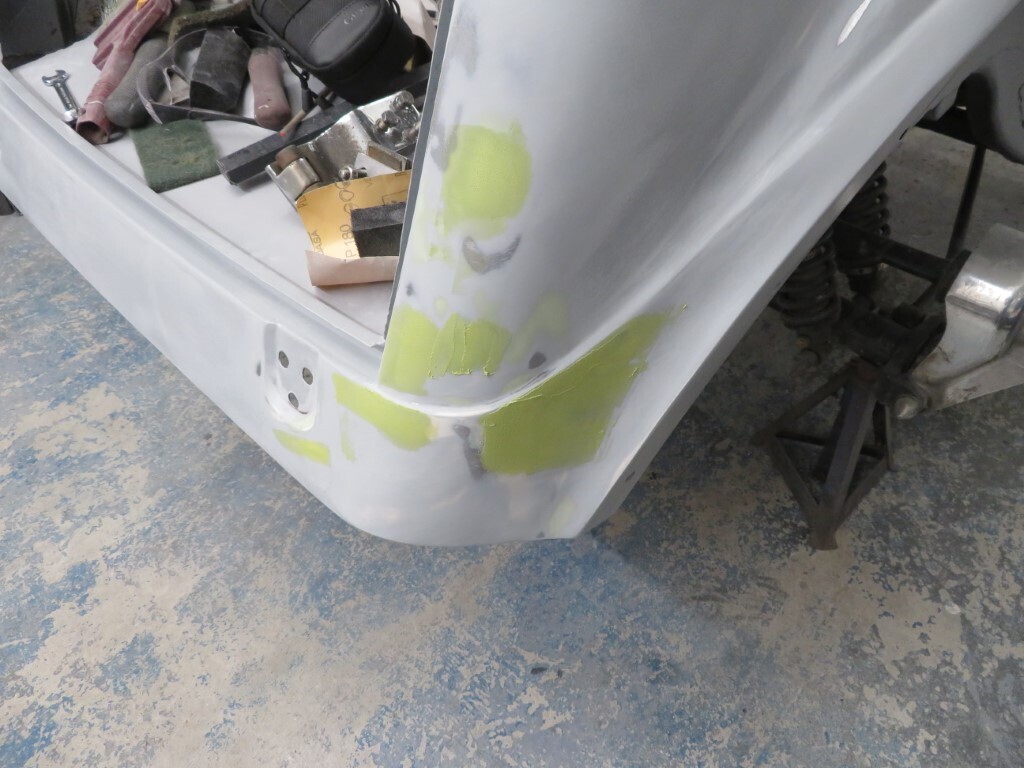 228 hours. |
| |
|
|
gazzam
Part of things
 
Posts: 735 
|
|
|
|
There are a lot of stress crack in the front wings that will need to be ground out and flowcoat put back in What is flowcoat? Heard the term before, but no idea what it means. You aren’t a long way off paint now? |
| |
|
|
|
|
|
May 21, 2021 12:22:56 GMT
|
|
Flowcoat is Gelcoat with wax mixed into it.
Gelcoat wont set if exposed to air so it has to be covered over. This is not a problem if laying up in a mould as you cover it over with the fibreglass matting.
Flowcoat is a ready made way around this, you mix it up just like resin and paint it on. The wax rises to the surface and it sets hard. You just have to make sure you sand the surface back 100% to remove the wax (you can't see/feel it)or nothing else will stick to it.
Still a fair way off paint - not even started on the doors or front sheet metal yet.
|
| |
|
|
glenanderson
Club Retro Rides Member
Posts: 4,345
Club RR Member Number: 64
|
|
May 21, 2021 21:36:11 GMT
|
|
Am I right in thinking that you can get flowcoat tinted so you don’t need to paint it?
|
| |
My worst worry about dying is my wife selling my stuff for what I told her it cost...
|
|
|
|
|
|
|
|
Yes Glen you can order it in different colours.
|
| |
|
|
|
|
|
May 22, 2021 22:19:48 GMT
|
More fibreglassing. Although I need the wings bolted to the car to check their shape before glassing up properly I think it's safe to reinforce some areas off the car. This is 600 gram matt so it should only need 2 layers as its very substantial. I'm adding only one layer here. The bits on the bench will go up around the front edge of the wing.
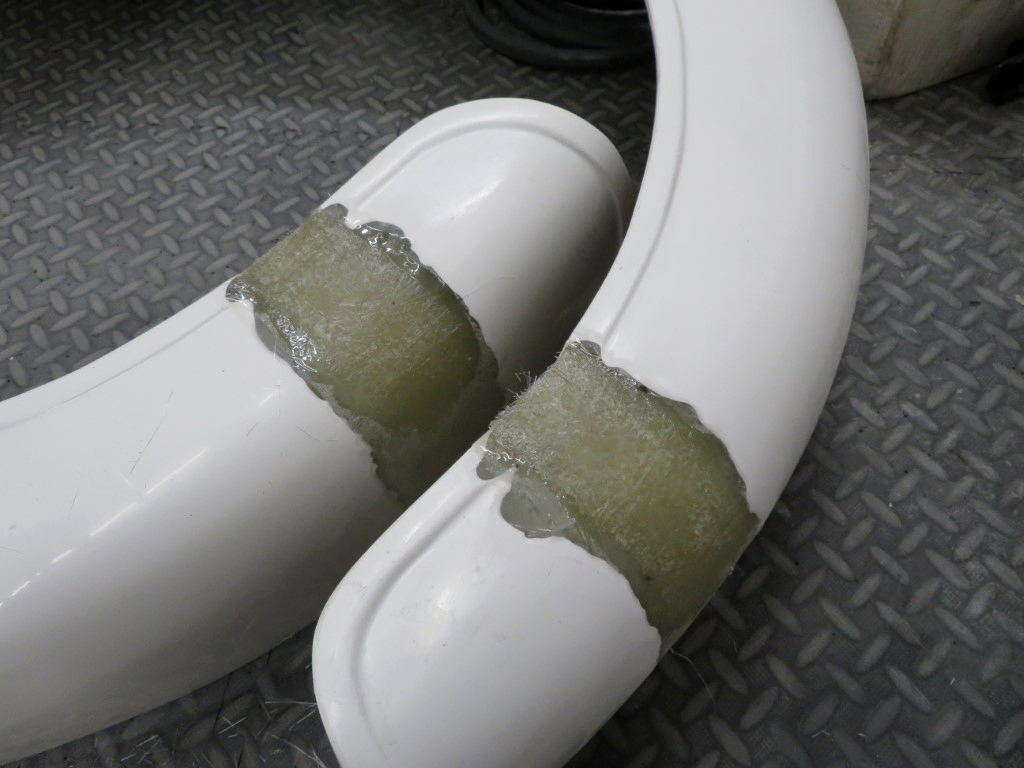
and glassed in; 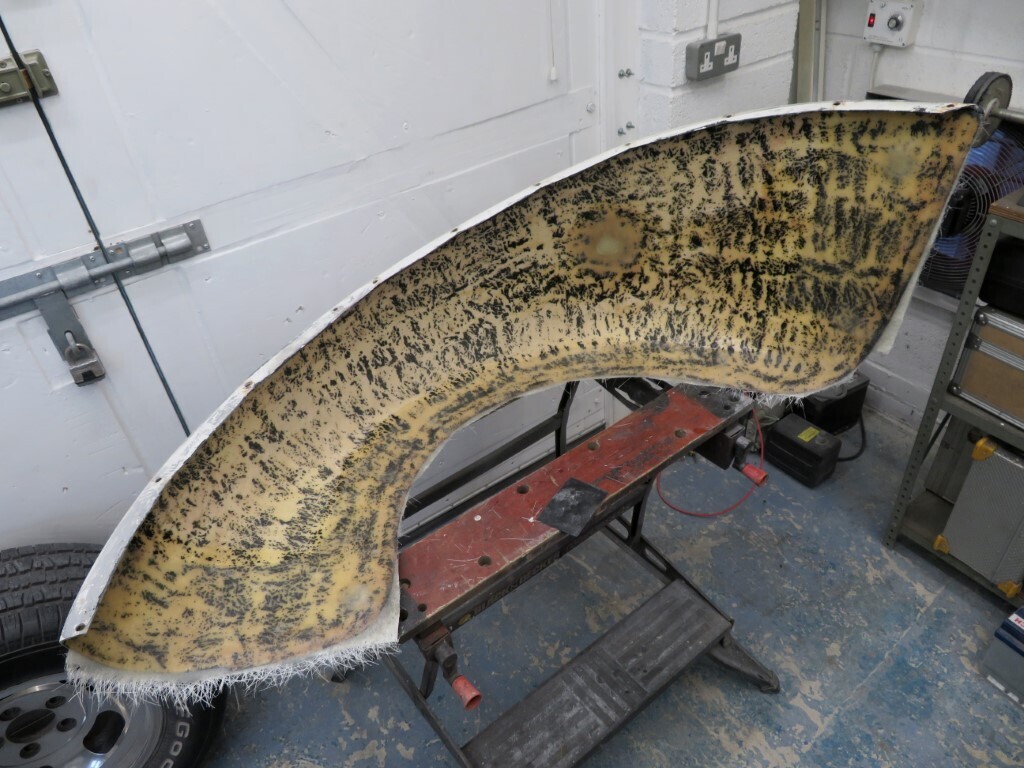 I started to make the new inner flange on the rear wings - packing tape is on the car as glass does not stick to this. You can see the lighter edge where the wing finishes by the bolts originally - I will extend it by about 20-25mm. 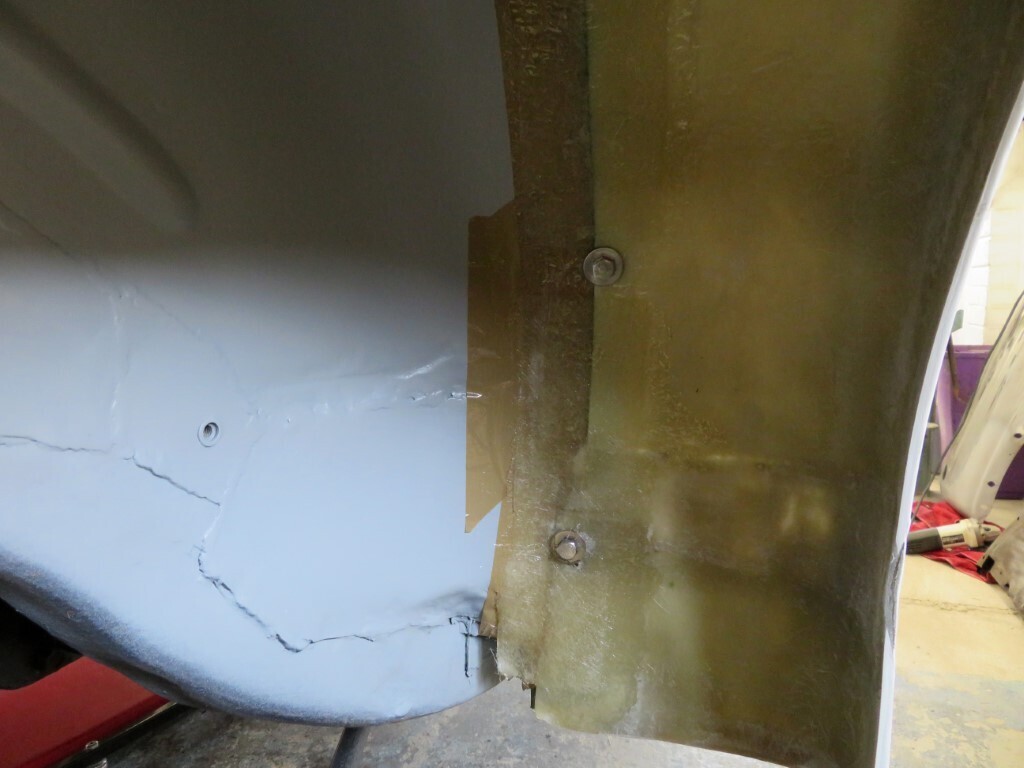 The outside of the wings are looking pretty good in just flowcoat - Phil can heave a big sigh of relief here. Whe we first bolted the new wings on and I said we would cut them in half & extend them he had a look of utter horror on his face   I told him this last week and he said 'did it show that much?' lol 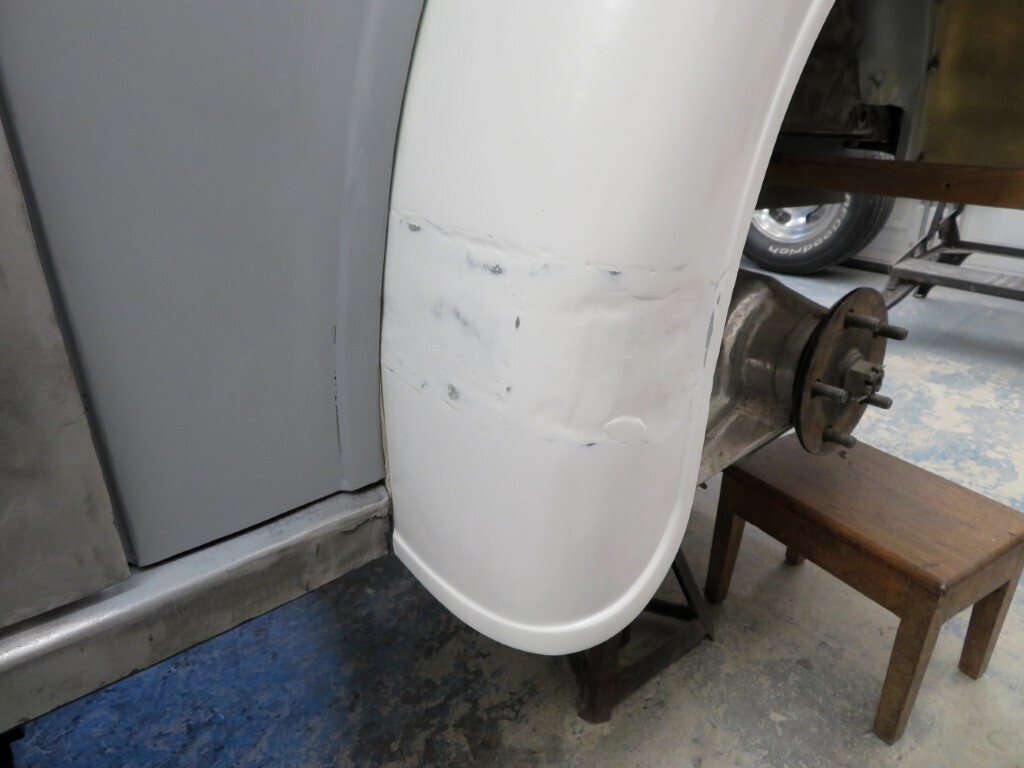 the remaining bit is filled with regular filler.
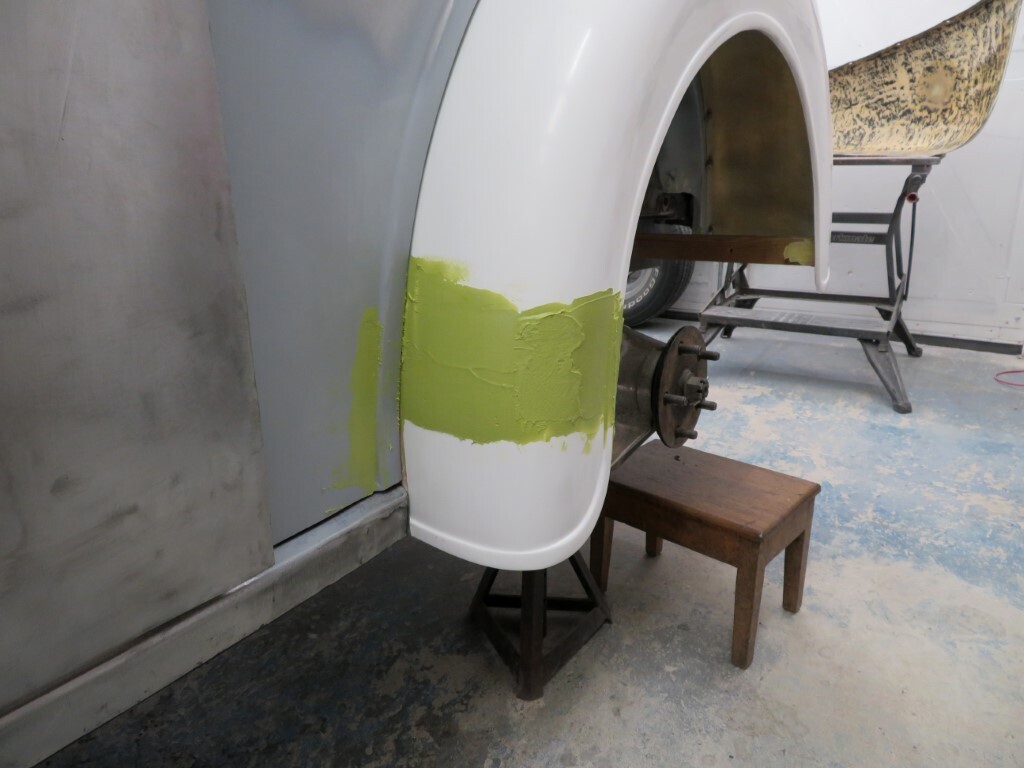 Filler sanded back and second filler layers added for the low spots - should be ready for primer soon. 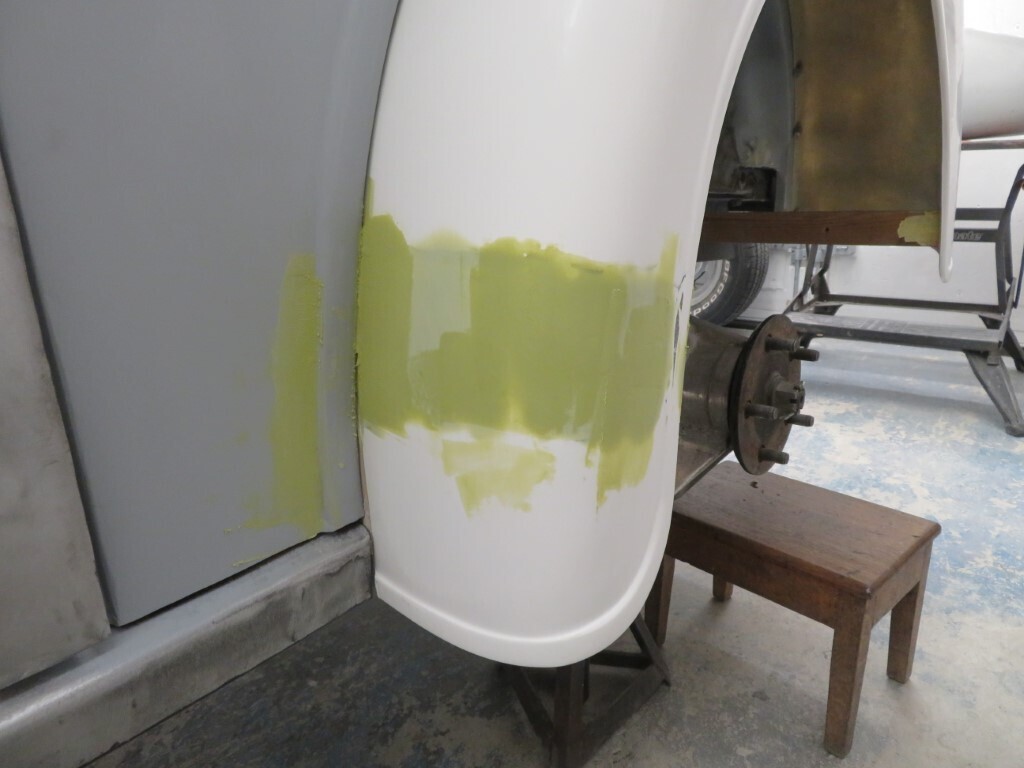 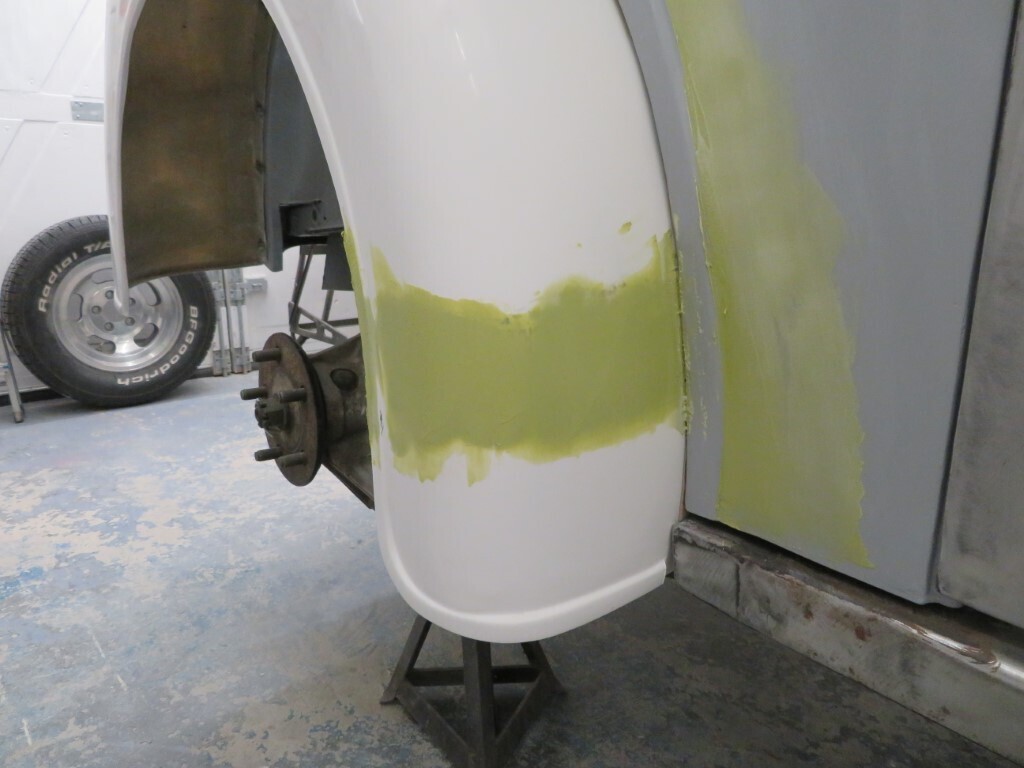 233 hours |
| |
|
|
Norman
Part of things
 
Posts: 449 
|
|
May 22, 2021 22:58:23 GMT
|
|
Looking good Mark, every day is a school day for all of us that are following the progress. All the best, Norman
|
| |
|
|
|
|
|
May 23, 2021 20:20:15 GMT
|
Not much to photograph today as it was mostly more fibreglassing & filling. I did take two of the four rear shocks off to see where the suspension arc travel goes - without any of the car built its almost solid with all 4 shocks fitted. I then used a plumb line to mark the floor where the inside of each wing is and then the outer flange of the axle faces. I then measured the wheel flange to the outside edge of the tyres. Wheel flange to tyre edge was 5 1/2" and the axle flange to the inside of the rear wings were......2 3/4" passenger side & 3 1/4" drivers side. Lol, you have to love these old cars, never the same side to side. Before anyone asks - yes the axle is central to the chassis - I checked that and all axle dimensions are good - the difference is in the actual bodywork and in the glass wings as well. As such I think narrowing the axle 5" will be the correct amount, this will leave the outer sidewall bulge approx flush with the inside edge of the arches with the tread section approx 1" inside the arch. I'll double check this with the axle removed and the tyres positioned on the floor lines to make sure it looks good and will clear the arches. 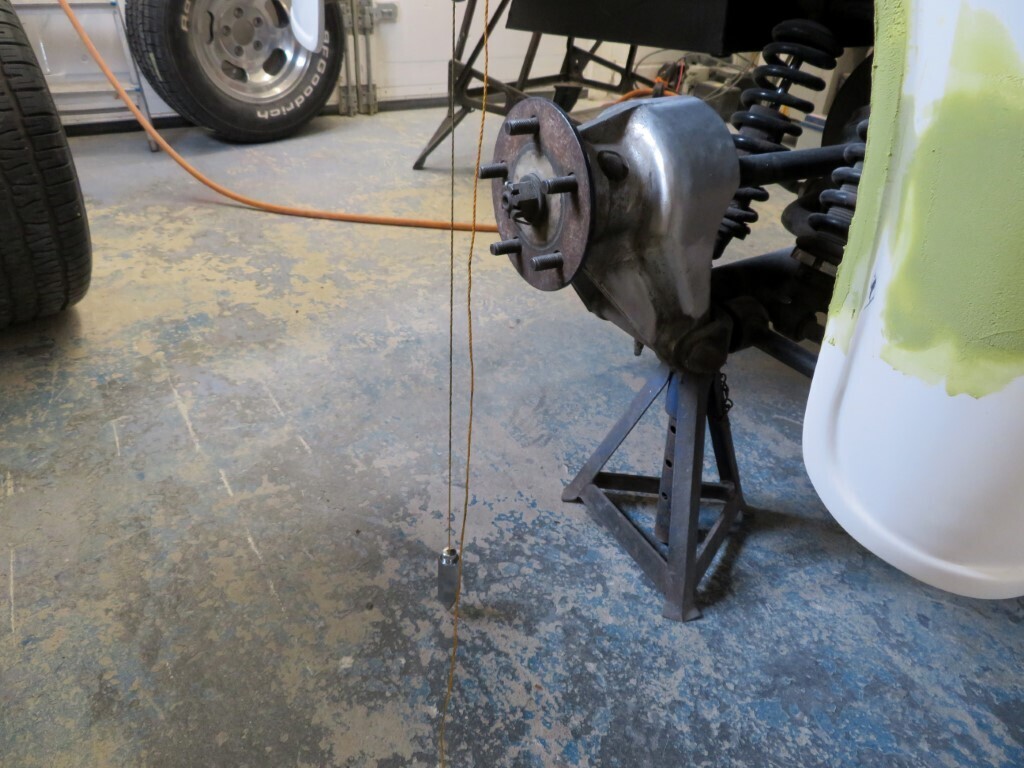 This shows the new flange first layer with the arch popped off the car. 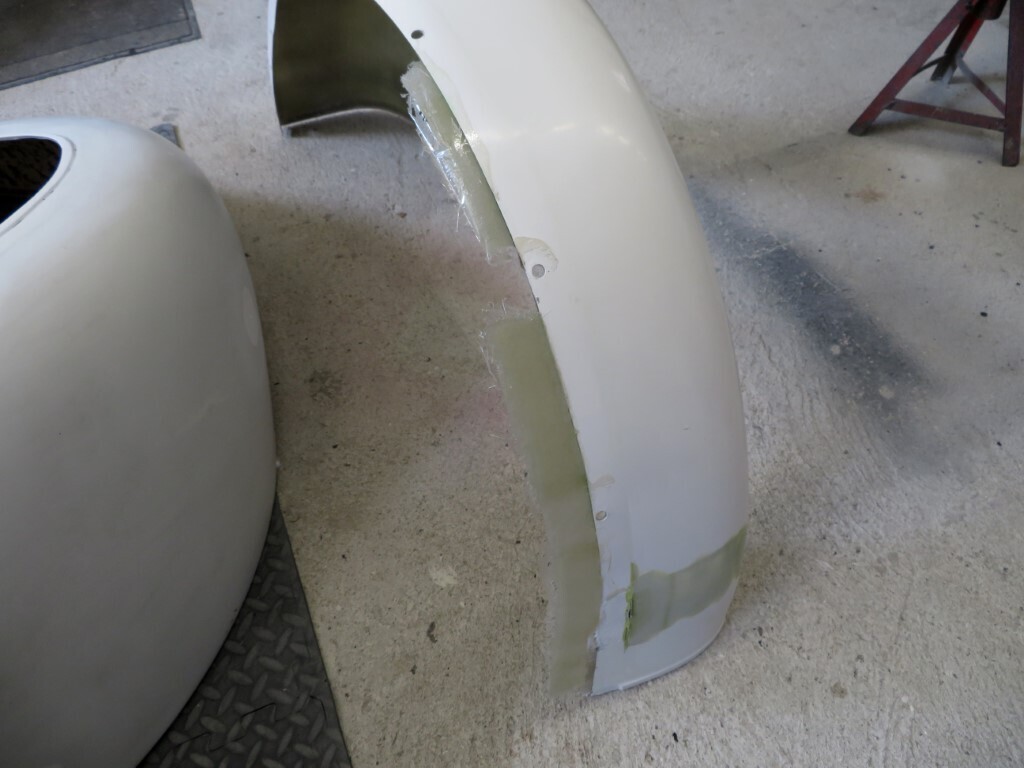 It went back on the car after the photo was taken for the next layers to be built up. The front arches also got another layer on the rear edge and under the headlamp fixing points. Then it was back to sanding filler & starting to sand the gutters in the roof prior to filling the recess where they are welded to the roof. Another job that needed doing was the drivers door top corner was a bit too tight to the body. I ground a wedge off about 180 mm long and about 5mm at the end of the door, this allows enough room for the weld bead to go back on. 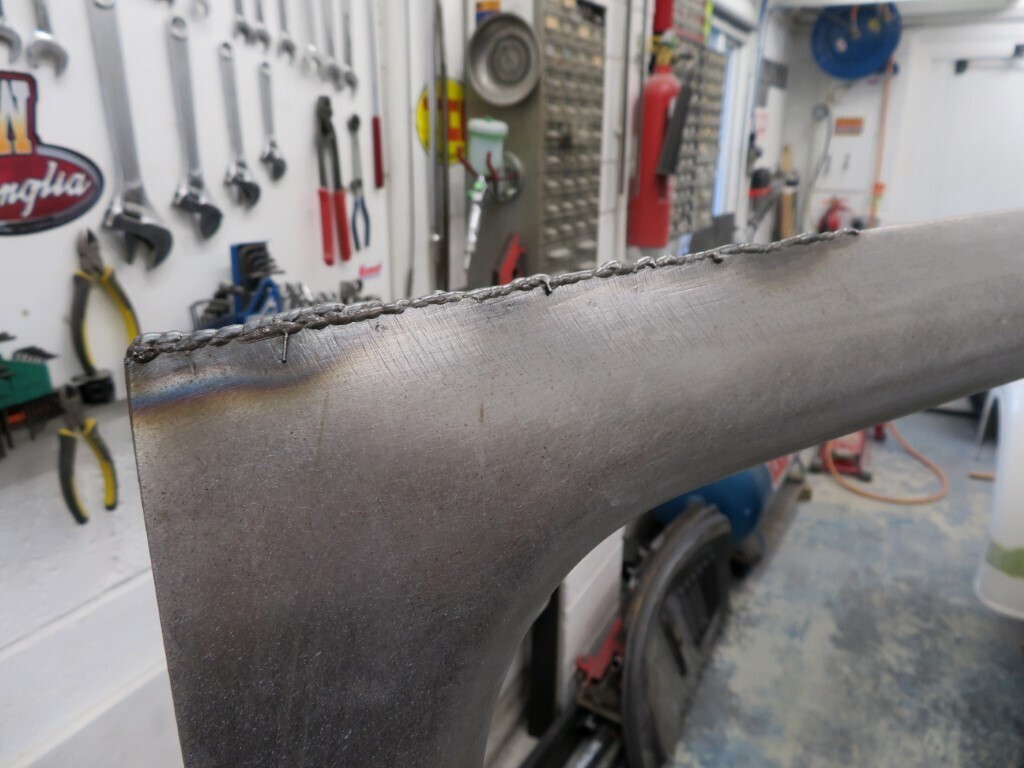 With the door shut; 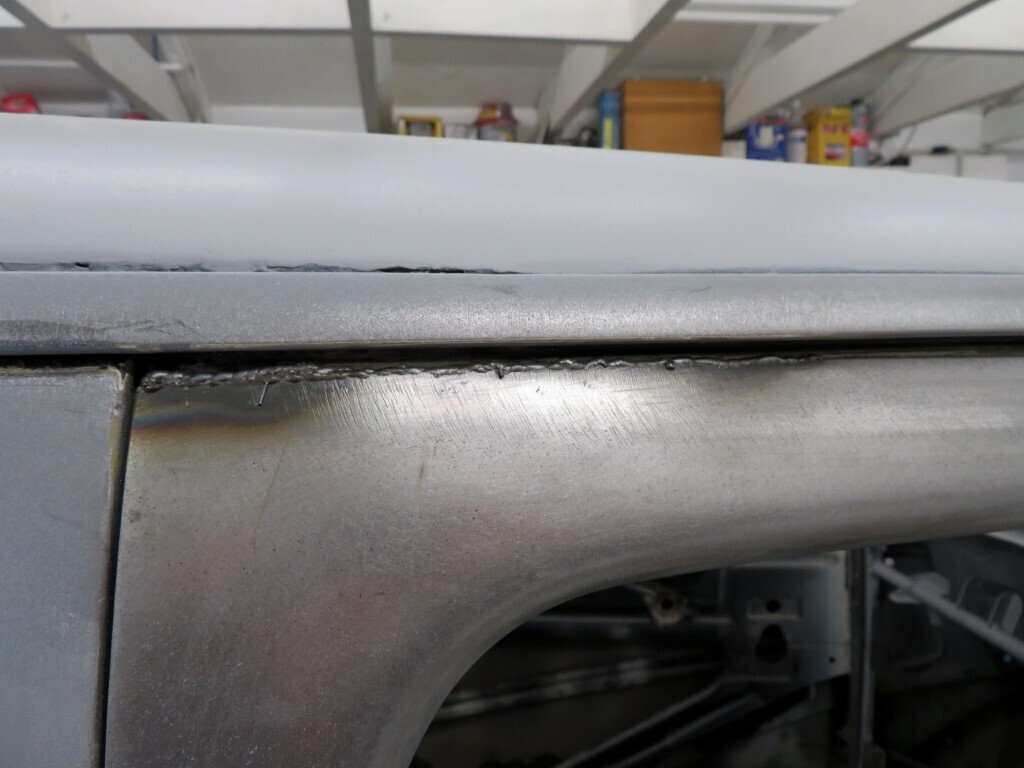 And after a lot of hand filing straight - much better gap. 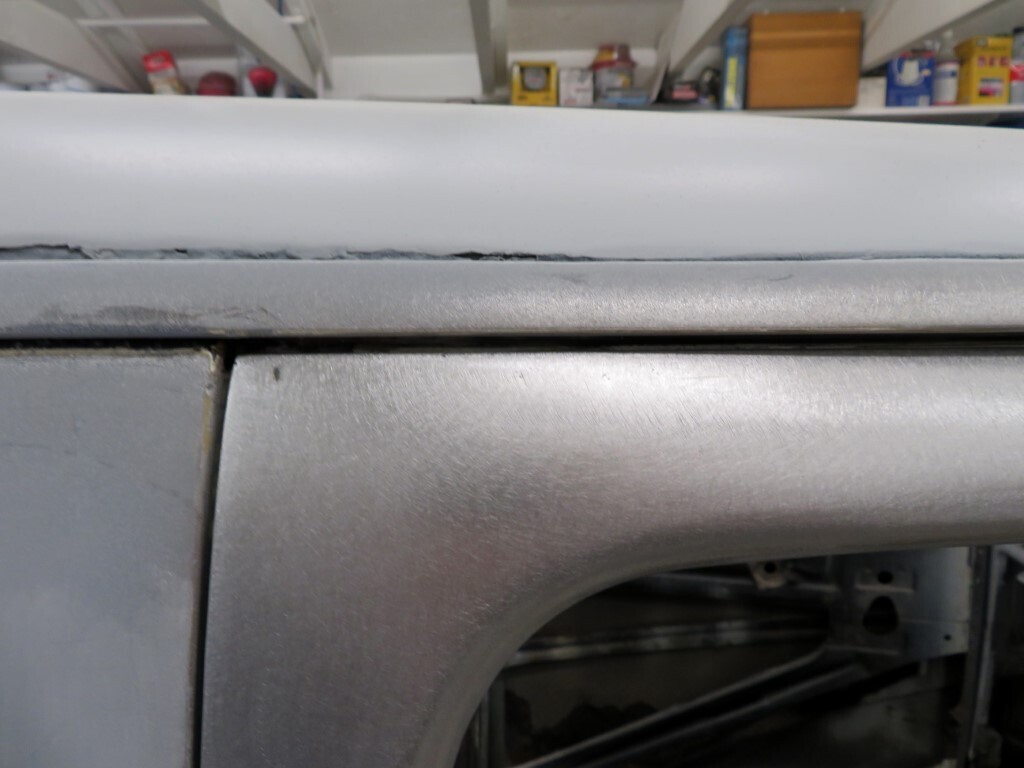 237.5 hours.
|
| |
|
|
|
|
|
May 24, 2021 22:39:56 GMT
|
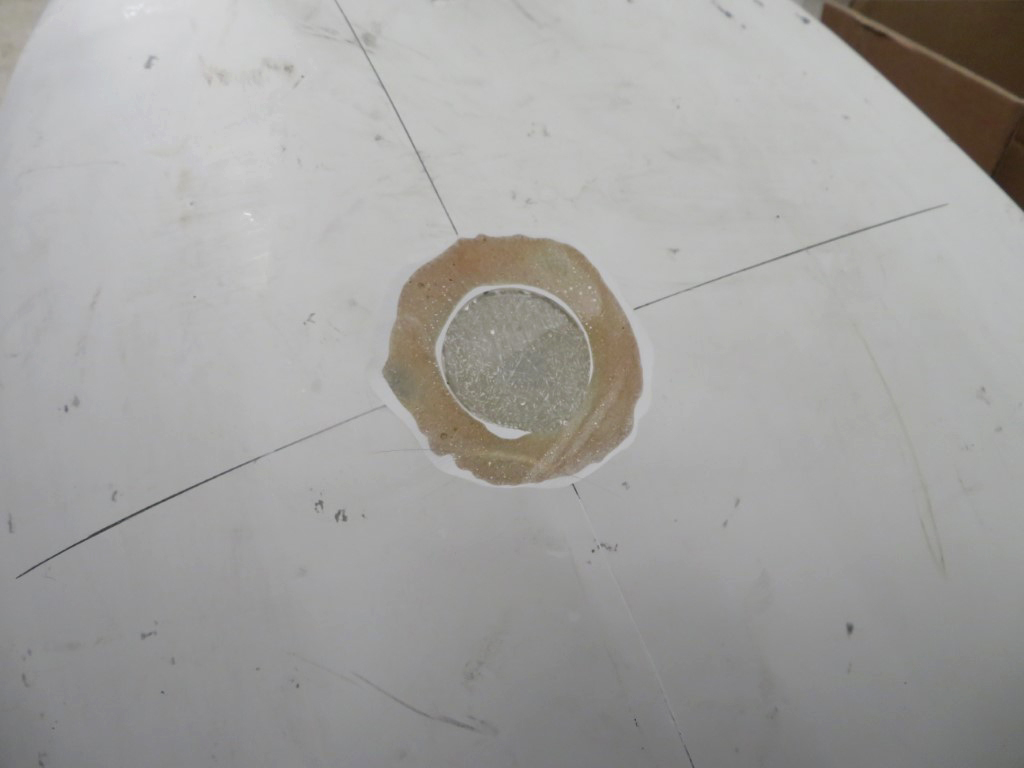
Well some days you spend time in the garage but when you finish you wonder just quite what did you do? Tonight was one of those times. I did some filler work (groundhog day, lol) and I unbolted the rear wings and trimmed down the new flange material and generally sanded the new matt back to feather the edges into the existing wing. New flanges shown here - more needs to be added at the top and it will need grinding back on this side as well so new matt can go on the outside so it's properly sandwiched on to the existing glass. 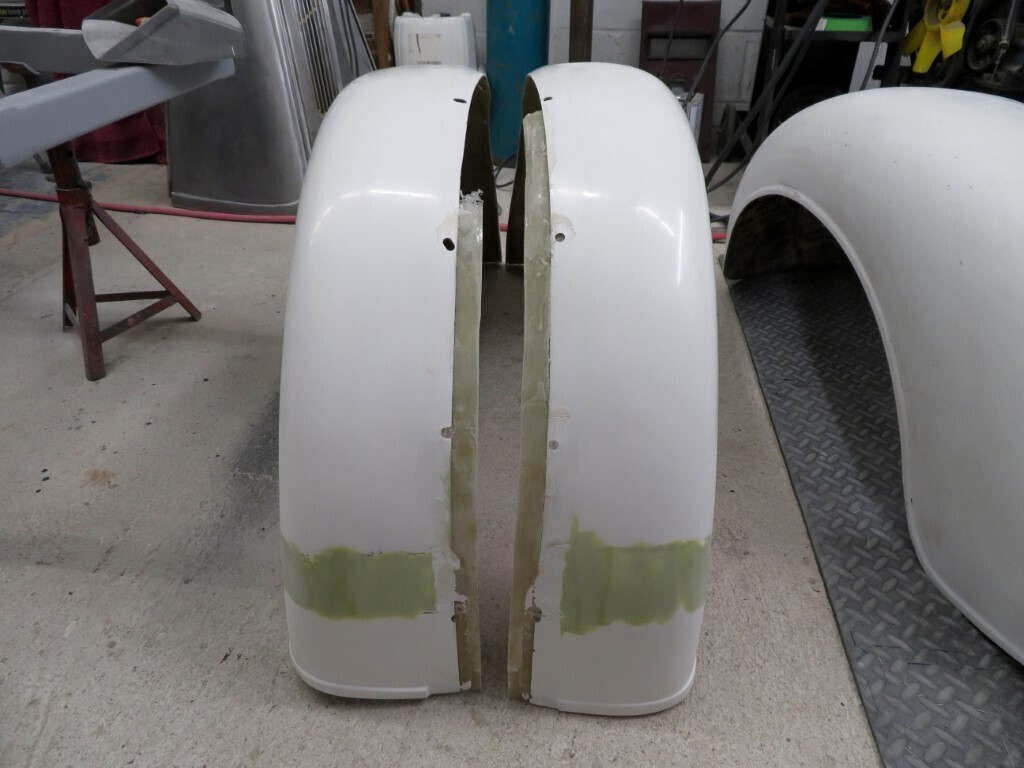 I sanded back all the filled areas of the front wings as well as sanding all of the excess new glass where it overhung the edges of the wings. The insides also were gone over with the DA to feather the edges into the existing fibreglass. No more wing support holes; 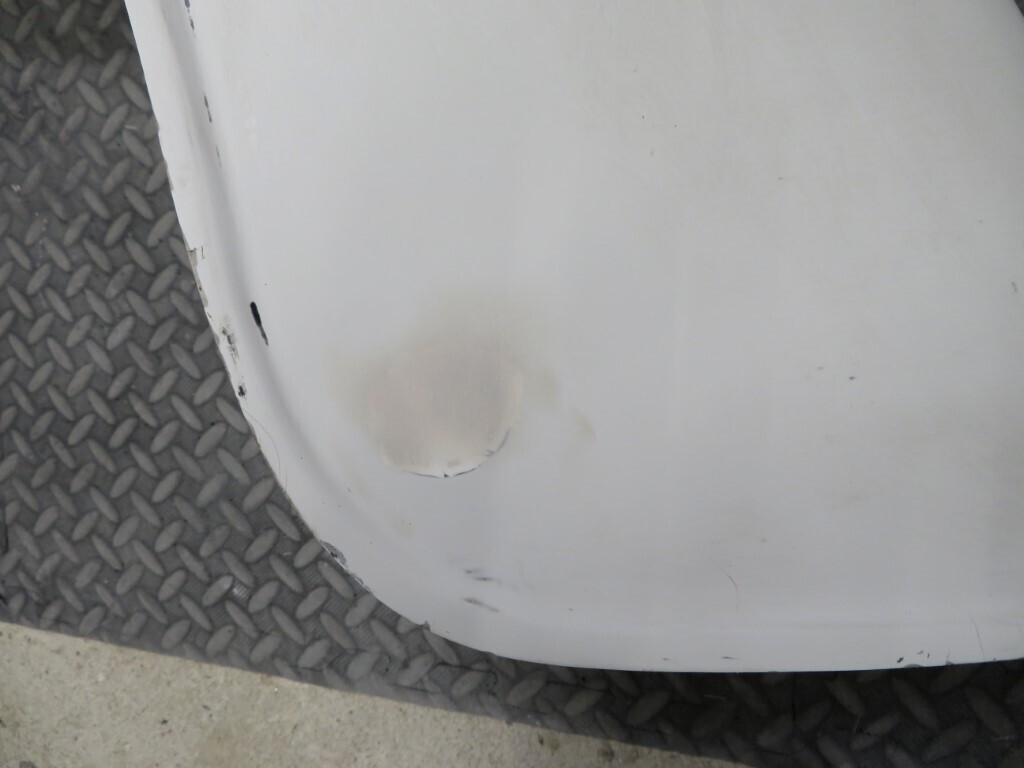 No more indicator holes; 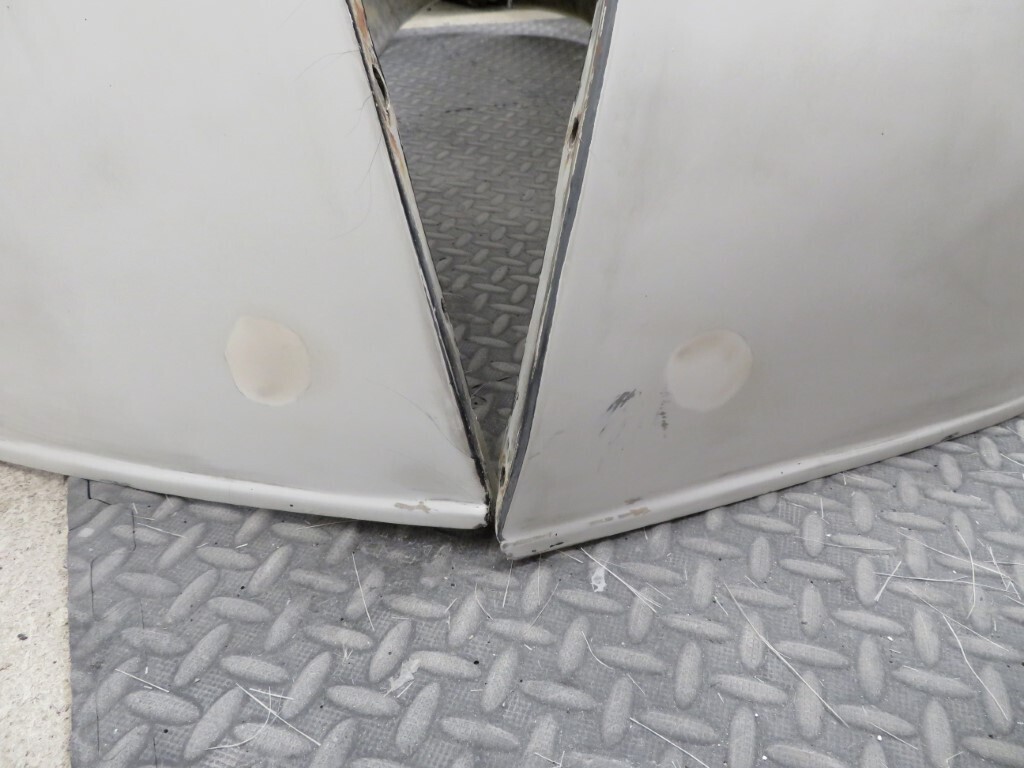 and no more headlamp recess areas; 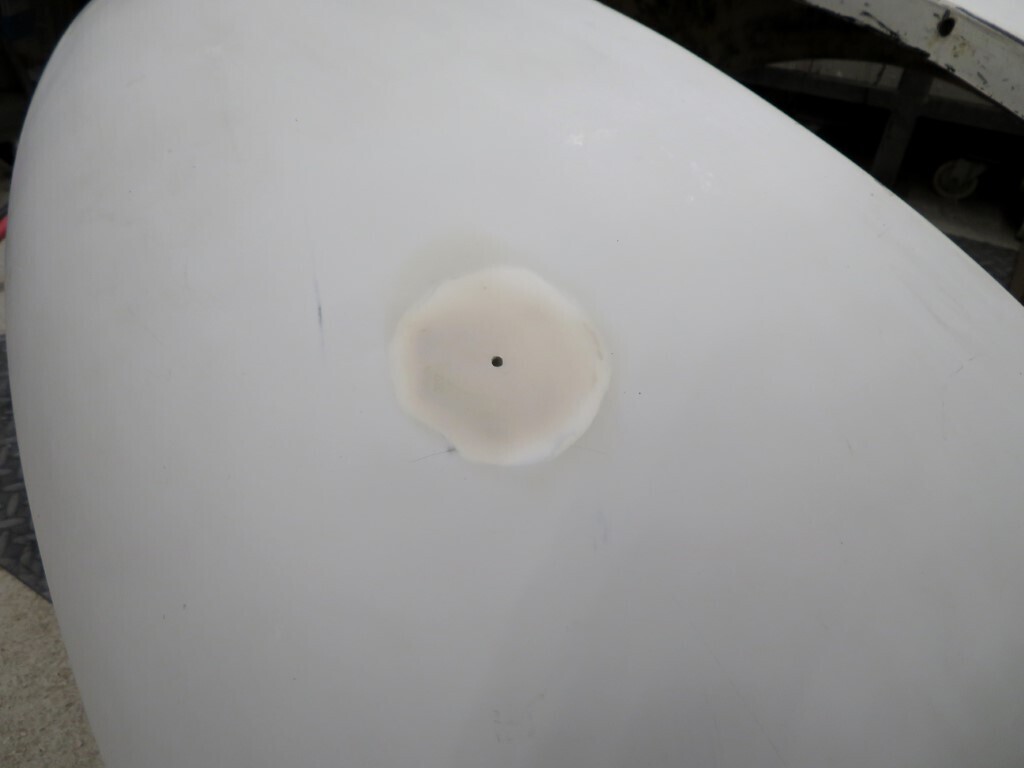 Hopefully tomorrow will be more productive. 240 hours |
| |
|
|





 left hinge done and the right one waiting to be done.
 left hinge done and the right one waiting to be done.


