ftz313
Part of things
 
Posts: 221
|
|
|
|
|
If it’s not firing but soaked the bore with fuel there’ll be a lot of fuel sitting on top of the piston. Take the plug out & leave it sitting with piston at top & hopefully it’ll evaporate off.
Another consideration is to run it with no fuel supply to carb so it’ll heat up through running & dry itself off (with plug out). 👍
|
| |
|
|
|
|
|
|
|
Feb 12, 2022 19:09:24 GMT
|
Yeah - definately got some weird carb problems going on. A few quick pics - got the car back down on its wheels today. Engine dressed with parts... 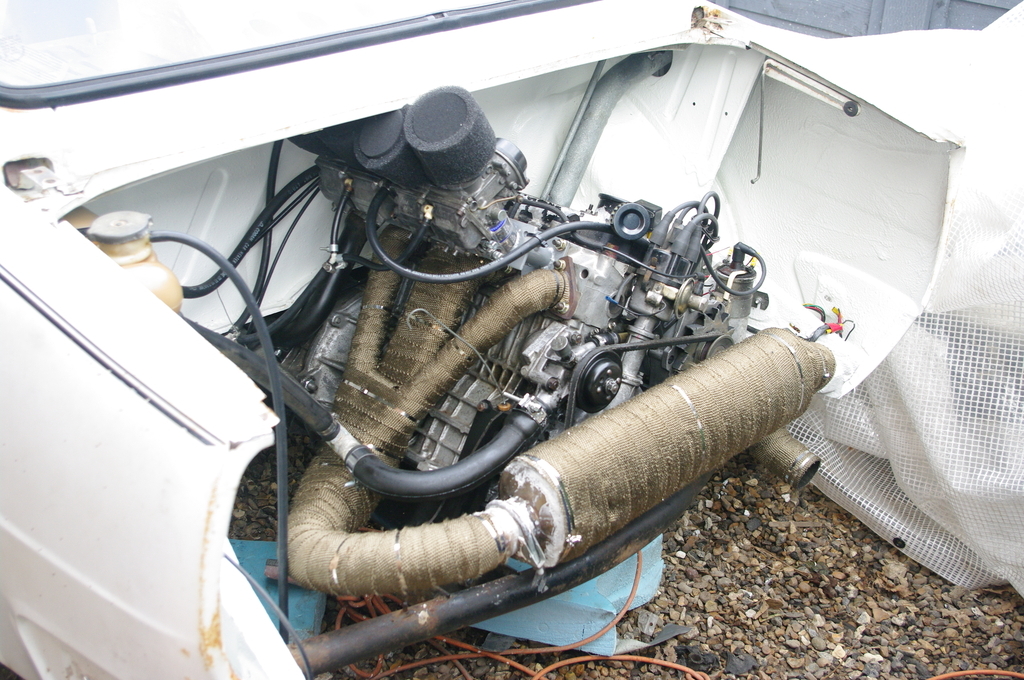 Underside rear showing new painted parts etc. 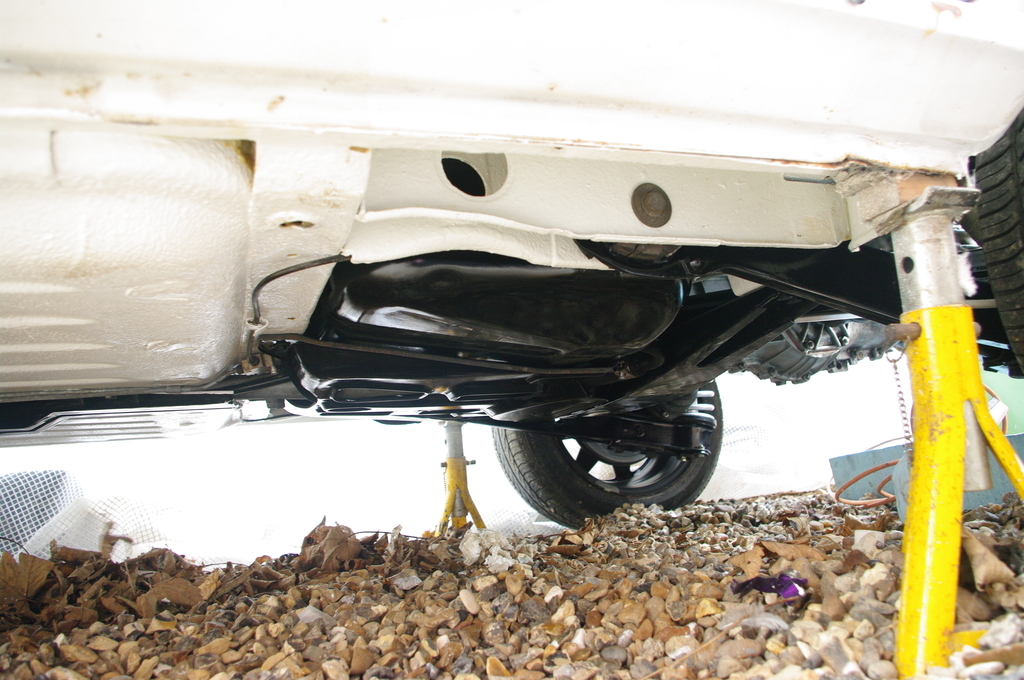 Wheels back on 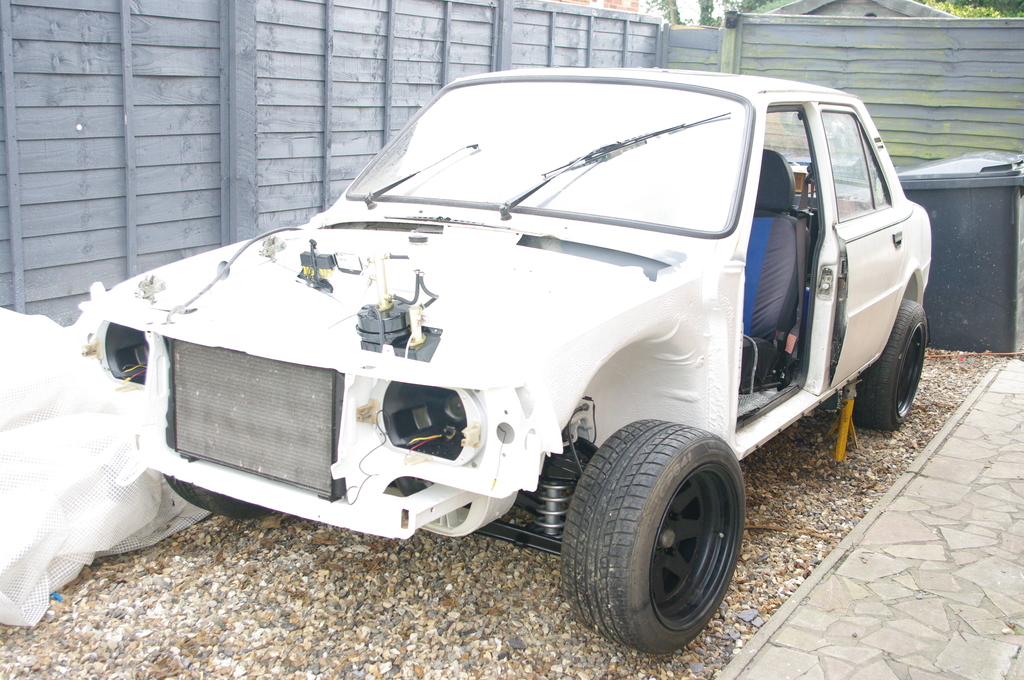 Once back on the ground, I tried to start it to move it around and was having problems. Despite running on 3 it was starting nicely first try. Well today, it wouldn't start. Tried to catch but never actually ran. After some fiddling it started but was only running on 2 cylinder - Nos. 3 and 4! After a while it started to run on 1, 2 & 3 with No.4 now not working. Odd. Got bored, so after a while turned it off again as it was running odd. Major panic time, as fuel was bubbling up out of the idle ports on No.1 & 2 and poring down the intake - so much so that the intakes were filling up! Fuel was also dripping down onto the hot exhaust! Cue panic, fire extingisher and flapping the throttle to get the fuel to drain down deeper into the engine - not ideal, but better that than spilling over onto the exhaust. Last week I ordered a carb rebuild kit, so will whip them off tomorrow and start stripping them down. In the meantime, I will also get on with re-fitting the front wings and other body panels. |
| |
|
|
|
|
|
Feb 12, 2022 20:25:51 GMT
|
|
The carb mounting angle looks to be quite steep which could cause the floats not to shut off the float valve and over supply. What main jet size is in there as in is it suited to your engine or off something bigger/fruitier etc.
The refurb kit may sort things as well as a good clean.
|
| |
Needs a bigger hammer mate.......
|
|
|
|
|
Feb 12, 2022 20:42:22 GMT
|
|
Carb angle is correct for these - they are off a Yamaha FZR600 which has them mounted at this angle. Floats shut off correctly (or at least SHOULD be shutting off correctly). I would like to run these at a lower angle, but much less than they are fitted, and fuel leaves the overflows before the floats lift up enough.
I believe main jets are as standard - not sure what that is. The needles in the vacuum slides at at their richest setting, and it is my plan to drop them two notches when I have them out. Idle mixture is set at 3 turns - Yamaha quote 2.5 to 3 turn for idle.
The FZR600 comes with 91bhp as standard, which is exactly the same power as this engine (have a dyno run from previous owner of this engine at 91bhp with a set of twin webbers).
I didn't used to have these issues - had minor problems with balancing before, but nothing like what happened today, so I can only assume something is actually wrong/broken. Hope the rebuild does the trick. Will see tomorrow if anything is obvious.
|
| |
|
|
|
|
|
Feb 18, 2022 21:46:20 GMT
|
|
Quick update - not sure I will get much done this weekend due to the weather, but I will if I can.
Rebuild kit turned up, so I finished stripping the carbs and found that the pilot jet for carb 4 was blocked with crud. Cleaned everything, checked all jets, blew out all passages with compressed air and rebuilt with new seals etc.
Fingers crossed that sorts out my problems. Will try and refit them tomorrow, weather depending.
|
| |
Last Edit: Feb 18, 2022 21:46:37 GMT by lewist123
|
|
|
|
|
Feb 19, 2022 18:16:23 GMT
|
|
Managed to re-fit the carbs today, and get it running. MUCH better. Carbs are roughly balanced, but could do with more time spent - I might purchase a balancing kit off ebay - you can get cheap dial ones for about £40, will probs be worth it.
Video proof...
I leaned out the idle to 5 turns on the pilot circuit and set the slide needles to their leanest setting and it seems to smell and run much better - need to fit some new plugs so I can keep an eye on the mixture (current ones are quite old and covered in carbon/soot as it has been running rich).
You can occasionally hear it drop one cylinder and then pick it back up again - I am sure that is just a balance issue now, but they all run sweet if you pick the revs up a bit.
Could definately do with setting the valve clearances as it is a bit ticky (infact quite a lot ticky) but I will leave the engine for the time being and focus on other things.
Thanks
Lewis
|
| |
Last Edit: Feb 19, 2022 18:18:21 GMT by lewist123
|
|
16grit
Part of things
 
Posts: 213
|
|
Feb 19, 2022 18:32:42 GMT
|
|
Nice to see this running. I had C158BYR one of the Skoda GB supplied GrpA / Trophy 130s and rebuilt the engine with Kent Grp A cam and the single Weber 45 it had come to me with. Fun thing. It's a real shame they are so thin on the ground these days, I'd have another in a heartbeat. Keep up the good work, have been following with interest.
|
| |
Last Edit: Feb 19, 2022 18:39:30 GMT by 16grit
|
|
|
|
|
Feb 25, 2022 19:31:18 GMT
|
Quick update - should have some more work done this weekend if the weather stays nice. A few pictures of sorting the carbs out... 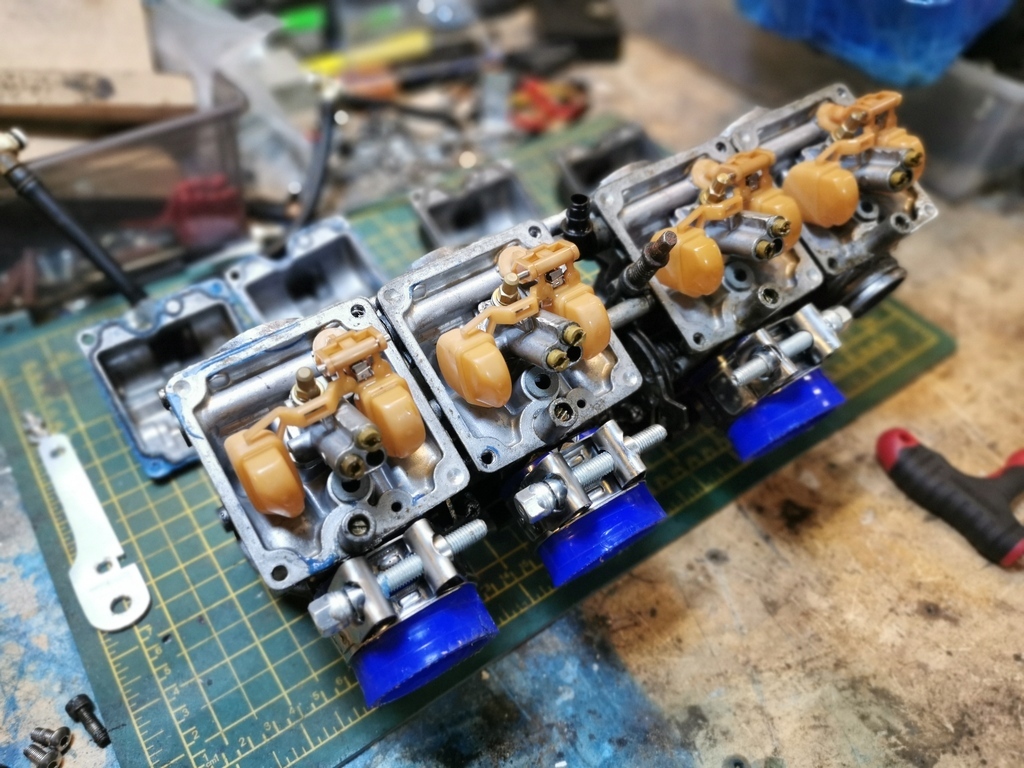 Seal kit 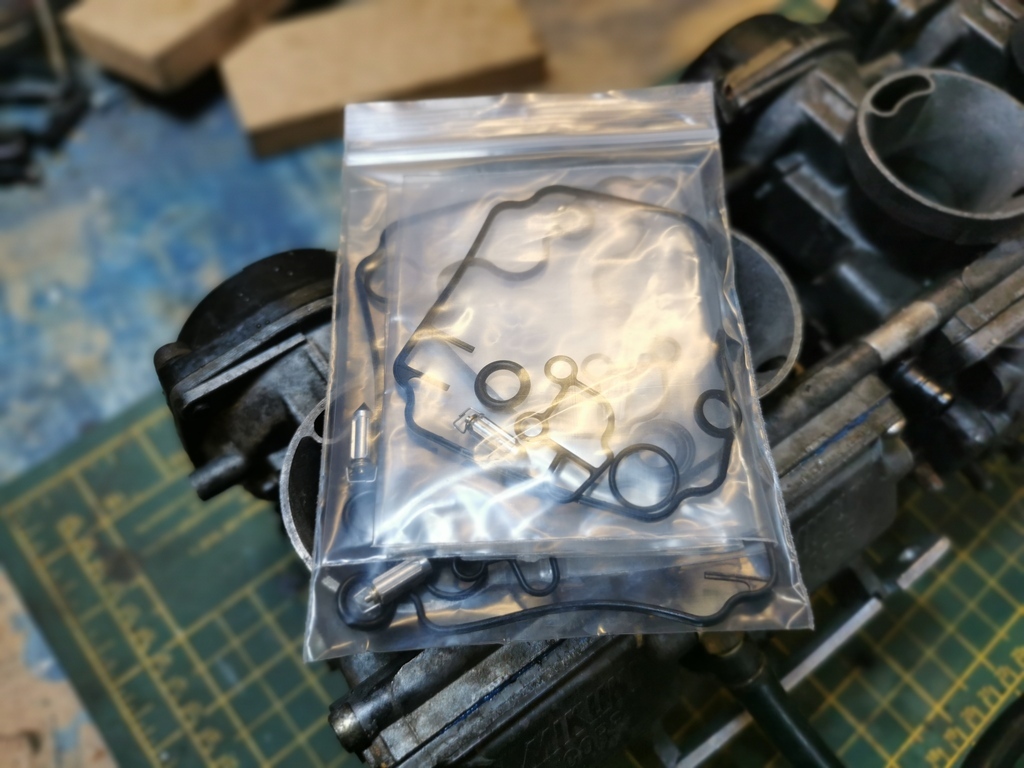 No.4 pilot jet (left) blocked, compared to a non-blocked one. Poked some thin wire down it, soaked it in carb cleaner and used compressed air to clear. 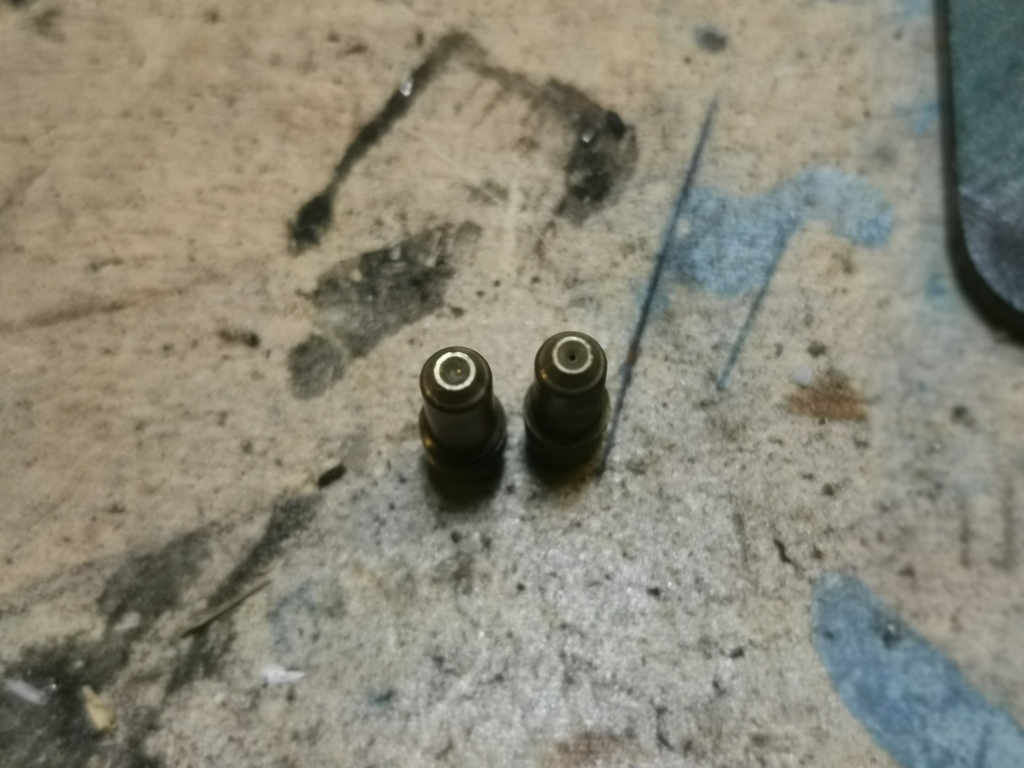 Reassembled. Made a bracket to adapt the stock throttle cable to the carbs so I can avoid having to use the old bike one grafted on to the end of the stock cable. 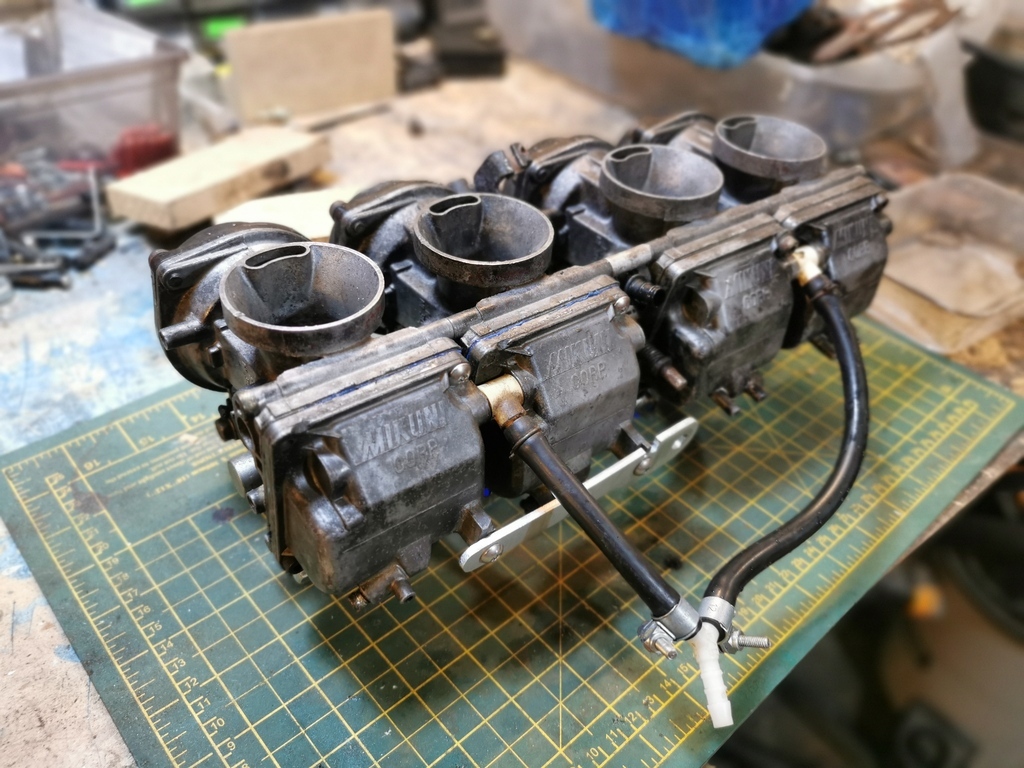 This was all from last week. On to today's work - time to refit the wings. Here is the car ready for wings... 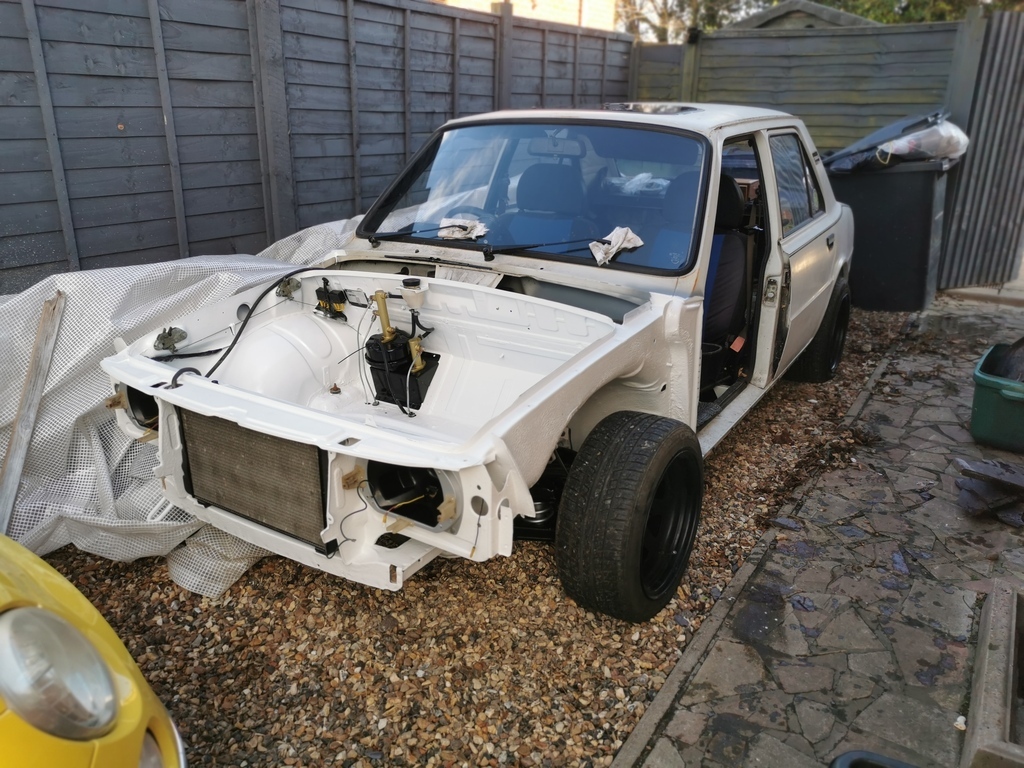 I laid the wings on and then temp re-fitted the bonnet so I could check things like allignment and panel gaps. 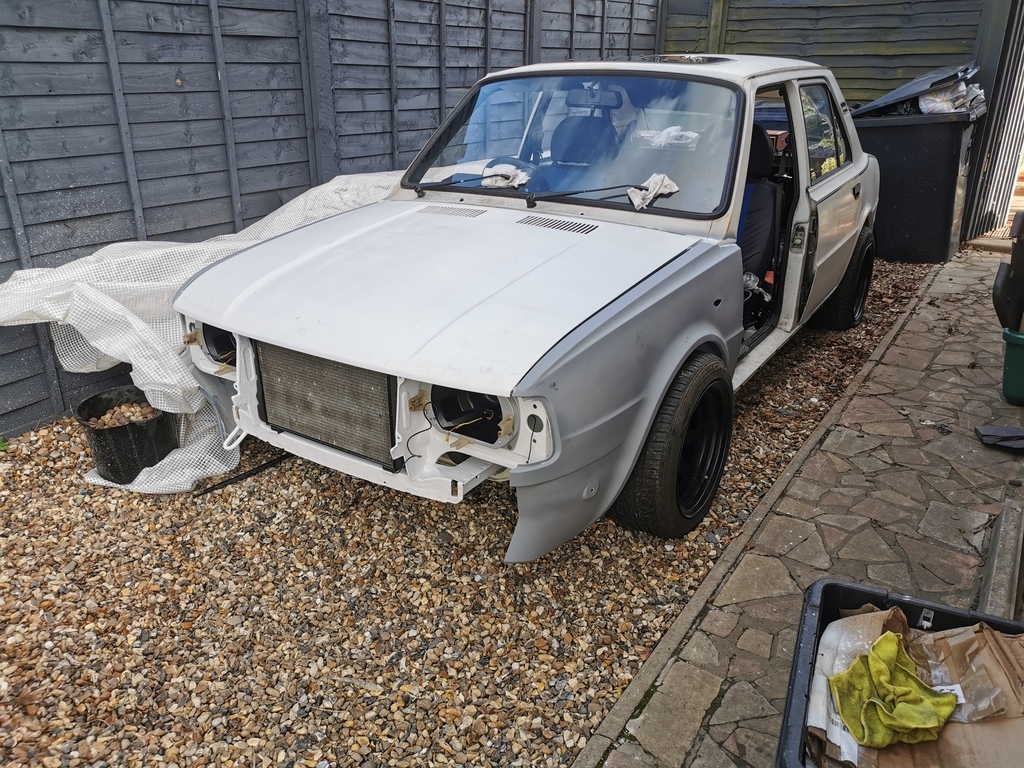 Then wings are both bolted and bonded. Heard good stuff about Tigerseal so used this to stick the wings on... 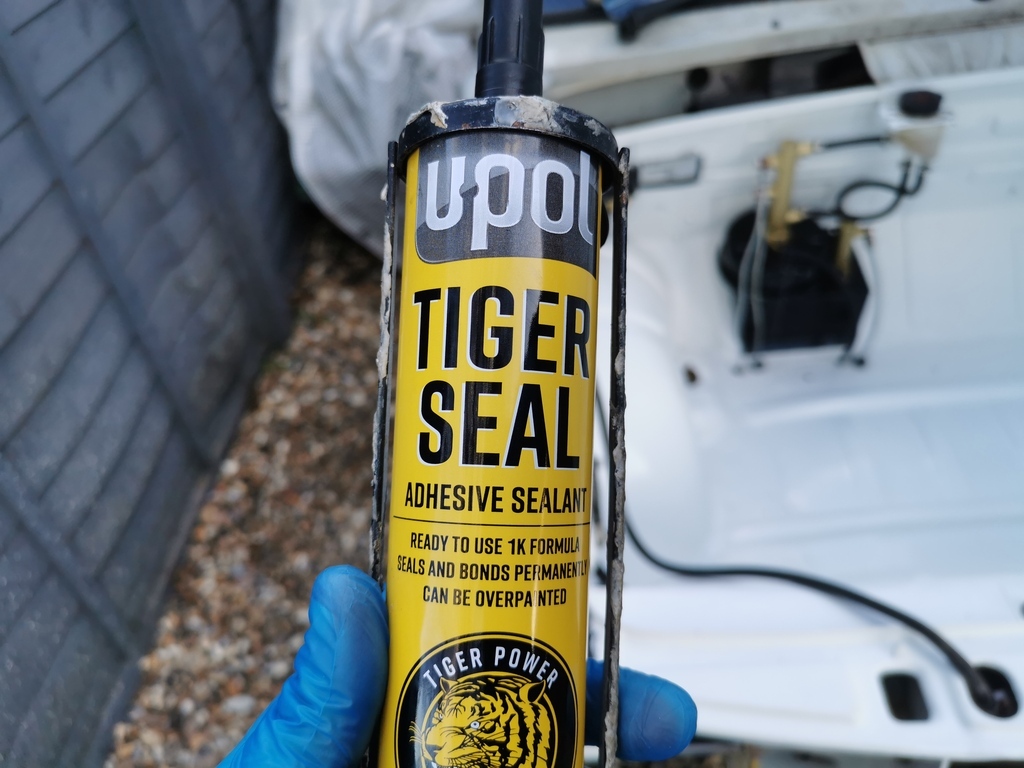 I finished re-painting the inside of the wings, making sure to get plenty of paint on the mating surfaces to try and keep rust at bay. 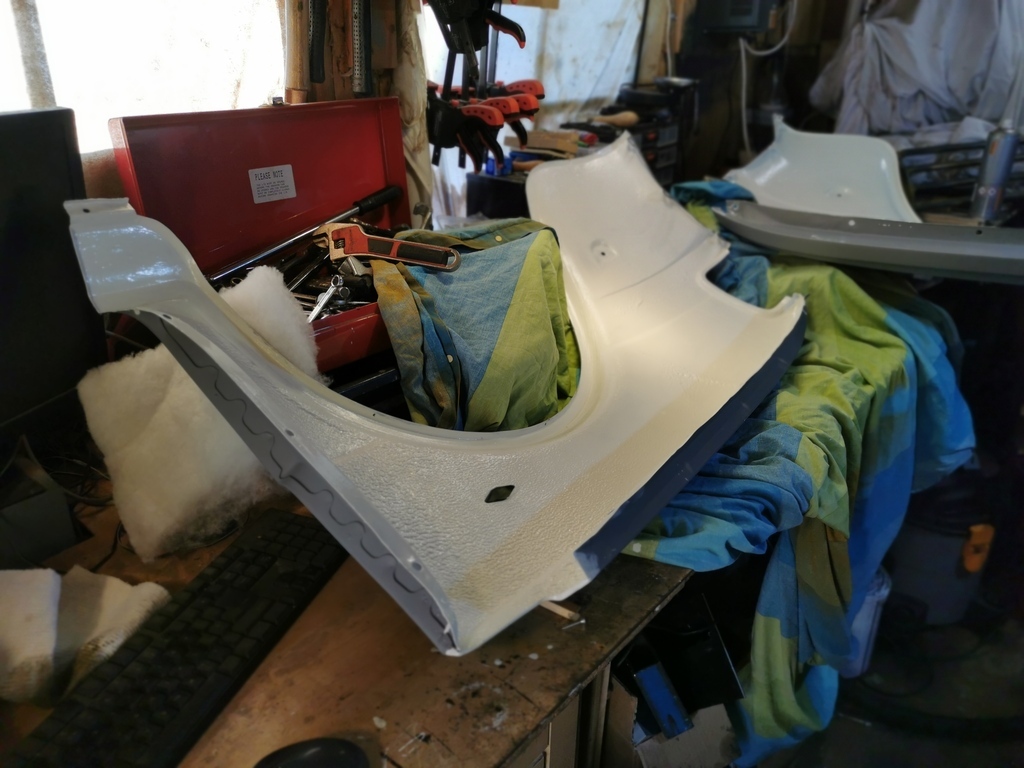 Some glue on the mating surfaces and bolted into place 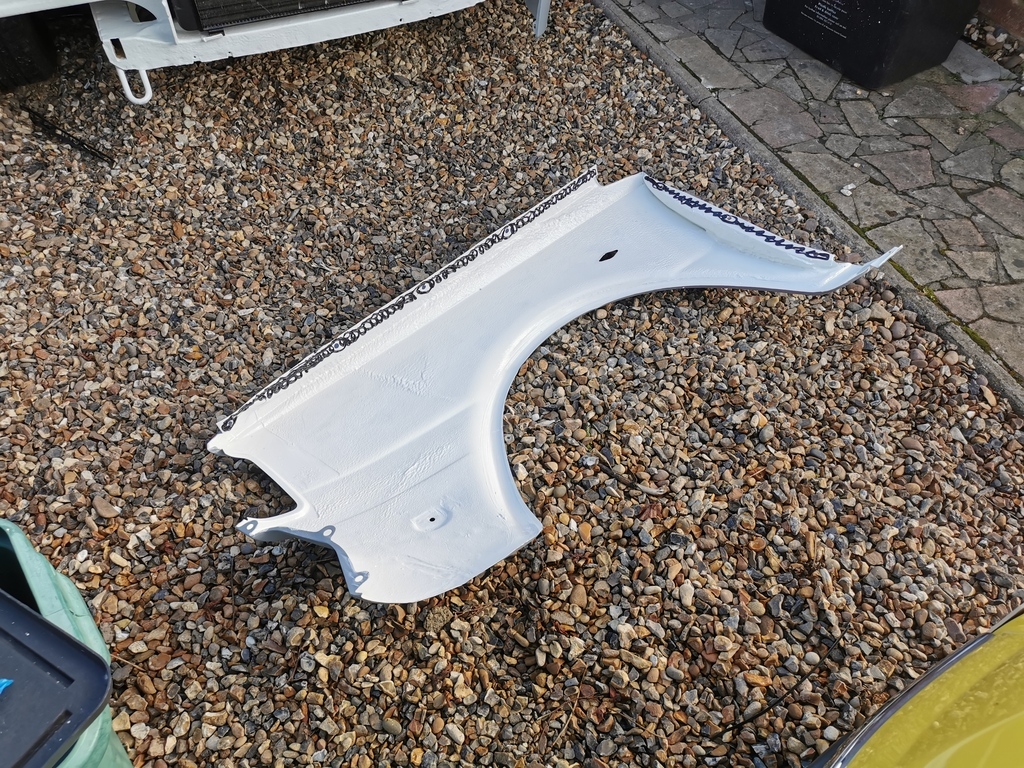 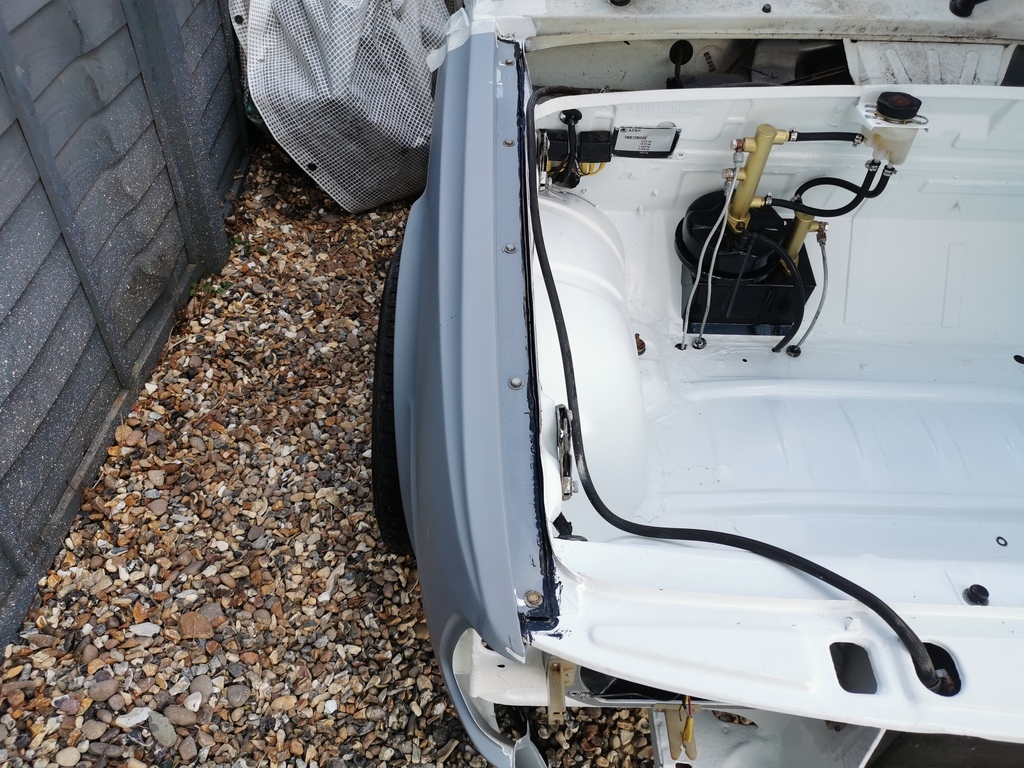 The panel gaps are filled with a bead of glue. I got a few coats of paint on the areas around the joint to help with rust, masked it off, filled with glue and then smoothed it off with a finger. Will probably need more work when I come to paint the car, but it will do for the time being. 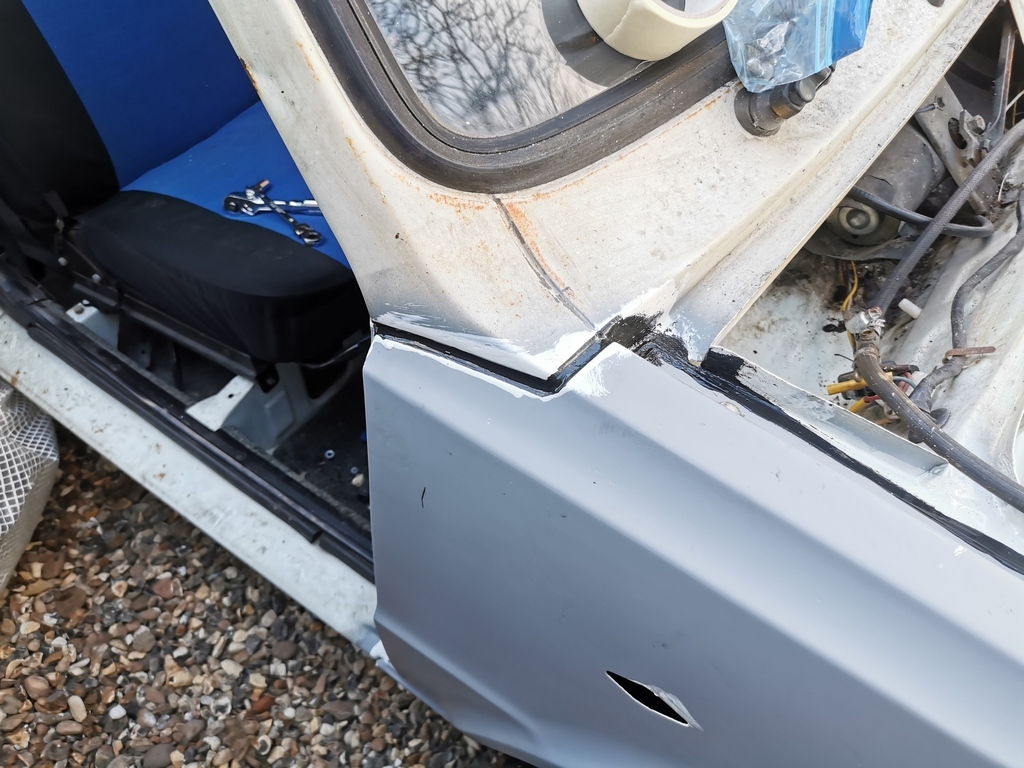 |
| |
|
|
perf
Part of things
 
Posts: 35
|
|
Feb 25, 2022 23:59:43 GMT
|
|
How much fuel pressure`?
Nice car. I have a 1985 Rapid
|
| |
|
|
|
|
|
|
|
|
The bike carbs are being fed from the standard fuel pump, so whatever pressure that is! It appears to work well, with the pump able to get fuel into the carbs easily, but the pump pressure doesn't overcome the float valves. Whether the pump can provide sufficient flow at full throttle, I am not sure. Will have to see when I can get it MOT'd and out on the road.
My fallback plan is to buy an electric bike fuel pump and remove the standard mechanical pump, although not sure if standard bike pumps will self-prime as I will probably have to mount it above the tank rather than below it. Bridges to cross at a later date!
|
| |
Last Edit: Feb 26, 2022 0:10:39 GMT by lewist123
|
|
|
|
jamesd1972
Club Retro Rides Member
Posts: 2,842  Club RR Member Number: 40
|
|
|
|
That’s looking great. Nice job on wings and carbs. When you get there have used one of these on the LR and it is doing a good job so far. From hazy memory I mounted one of the older school ones (noisy things) on the rear chassis leg on my rapid and it cured a lot of fuel related starting issues where the mechanical pump takes a couple of turns to get everything up to pressure. These are much quieter and you can only hear ours when running against a non running engine. You also know that any fuel line is the proper stuff from Merlin. www.merlinmotorsport.co.uk/p/facet-posi-flow-electric-fuel-pump-kit-1-5-4-psi-60104-fep04svJames |
| |
|
|
PhoenixCapri
West Midlands
Posts: 2,684
Club RR Member Number: 91
|
|
|
|
|
This is coming together very nicely, good on you for building something of this quality on the drive!
|
| |
|
|
perf
Part of things
 
Posts: 35
|
|
Feb 28, 2022 22:00:58 GMT
|
The bike carbs are being fed from the standard fuel pump, so whatever pressure that is! It appears to work well, with the pump able to get fuel into the carbs easily, but the pump pressure doesn't overcome the float valves. Whether the pump can provide sufficient flow at full throttle, I am not sure. Will have to see when I can get it MOT'd and out on the road. My fallback plan is to buy an electric bike fuel pump and remove the standard mechanical pump, although not sure if standard bike pumps will self-prime as I will probably have to mount it above the tank rather than below it. Bridges to cross at a later date! Why not fuel pressure regulator? |
| |
|
|
|
|
|
|
|
|
Hi all quick update - weather had slowed me down. Was OK when I was doing bit under the car as I would leave the tarp over it, wriggle under and work away sheltered from the rain. Now I need the car uncovered for work so any rain stops play.
Been hoovering up so odd jobs and will be doing that for a while - need to paint int he scuttle, sort out some surface rust inside footwells, re-blead the brakes again, install some of the lights etc.
I have flip-flopped again and decided i am going to paint it asap. I was putting some stuff on today thinking 'i am going to have to take this off again soon to paint' and decided it was stupid doing stuff twice. So I am now going to pivot round to painting works. Might need to wait a bit before really starting so the weather warms up a bit.
I have a 3x6m gazebo with sides, so when I know we are not due any more major wind I will stick that over the car and crack on sanding the body down.
|
| |
|
|
|
|
|
Apr 10, 2022 12:36:13 GMT
|
|
Hi Lewis
I have just purchased c158byr
|
| |
|
|
|
|
|
Apr 24, 2022 22:38:43 GMT
|
Sorry for the lack of updates over the last 6 weeks or so. I had a large and unusual project for work come up which has taken most of my time and mental capacity since early March - just coming to the end of it now and getting back to the car. Part of the company I work for deal with testing and certification of construction products (my normal day job is construction industry related, but not within these specific sectors). The short story is Brexit, UKCA marking (to replace CE marking in the UK) and testing and certification of structural fasteners. UKCA means lots of testing and certification of structural fasteners for the UK market and we have been expanding our testing services to cover them. Part of the testing requires two slightly unusual bits of test equipment - whilst they can be purchased off the shelf, they are bonkers expensive and a bit excessive for the specific scope of what we need them for. We were going to get an external fabrication company to make bespoke machines for us, but that fell through, so in the end work asked me to take on the project. It has been great fun - metal fabrication, problem solving, software and coding. Industrial equipment prototyping basically. It was something I wanted to do as a job (prototype/design type stuff), but like most people, I ended up falling in a different direction through luck, chance and good/bad choices. Anyway, updates on the car - I have been plugging away doing bits and bobs and now the weather has really picked up I am going to turn my focus to paint. Before doing the rest of the car, I wanted to get the scuttle panel done as it is quite fiddly and needed specific attention. Car as it stood in early March 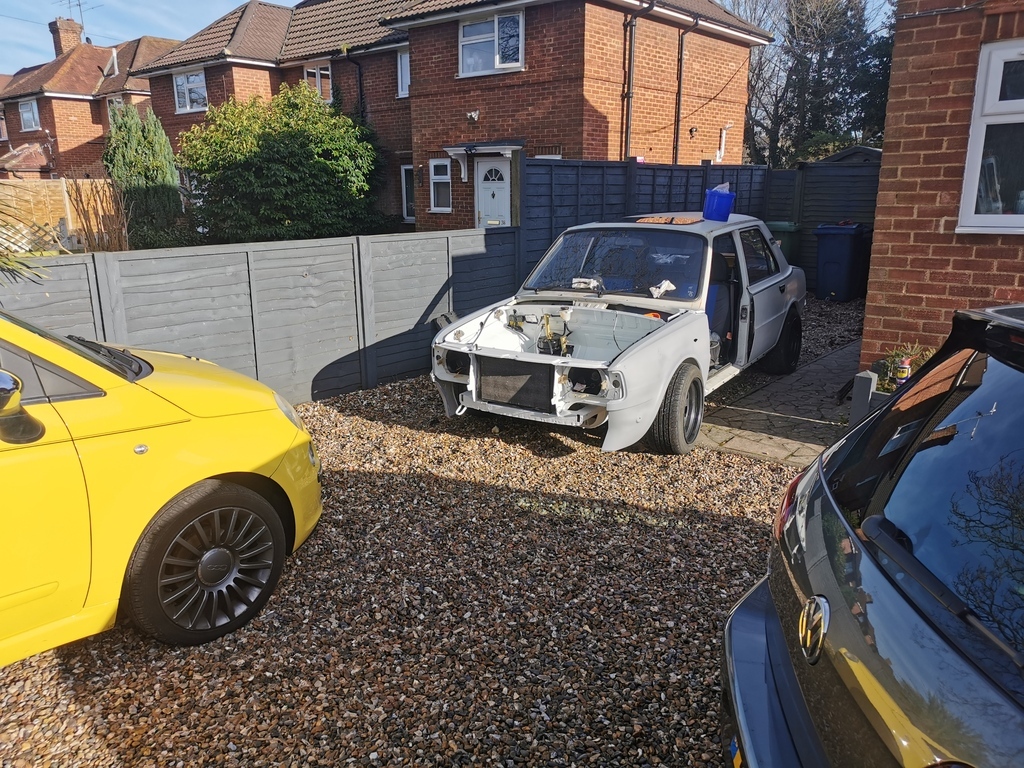 It was while I was re-fitting the doors and bonet that I decided to paint first - it felt silly building the car back up only to have to strip it down again to paint in the not too distant future. 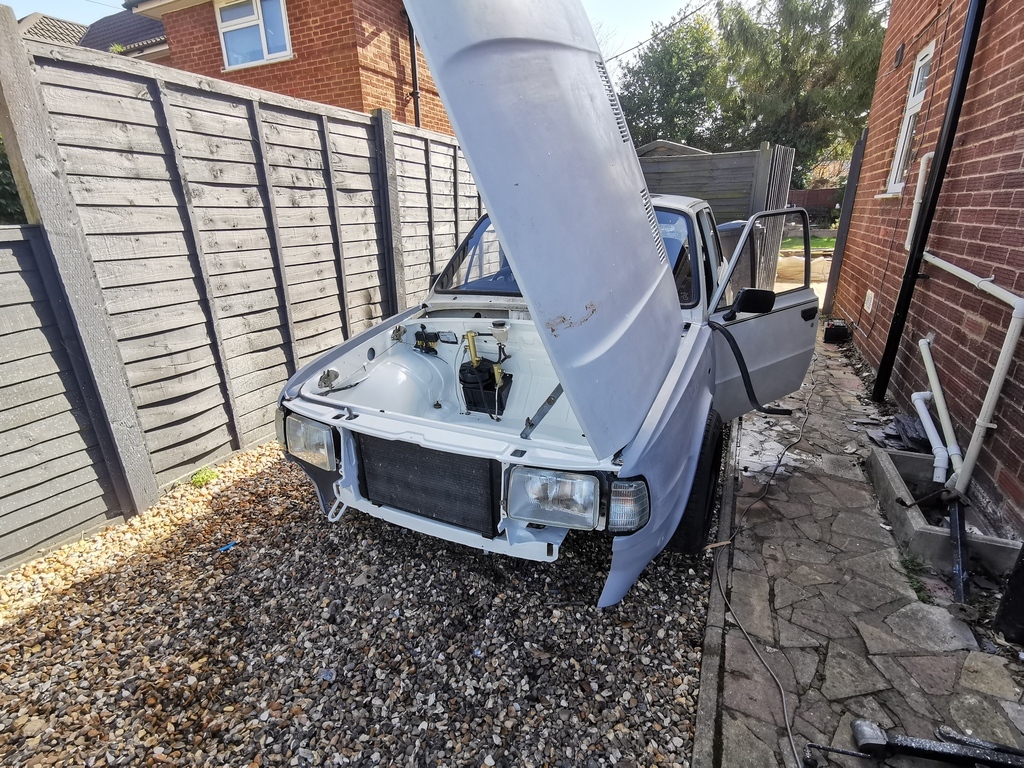 I did a bit of rust removal and painting to the pasanger foot well - still have the drivers side to finish 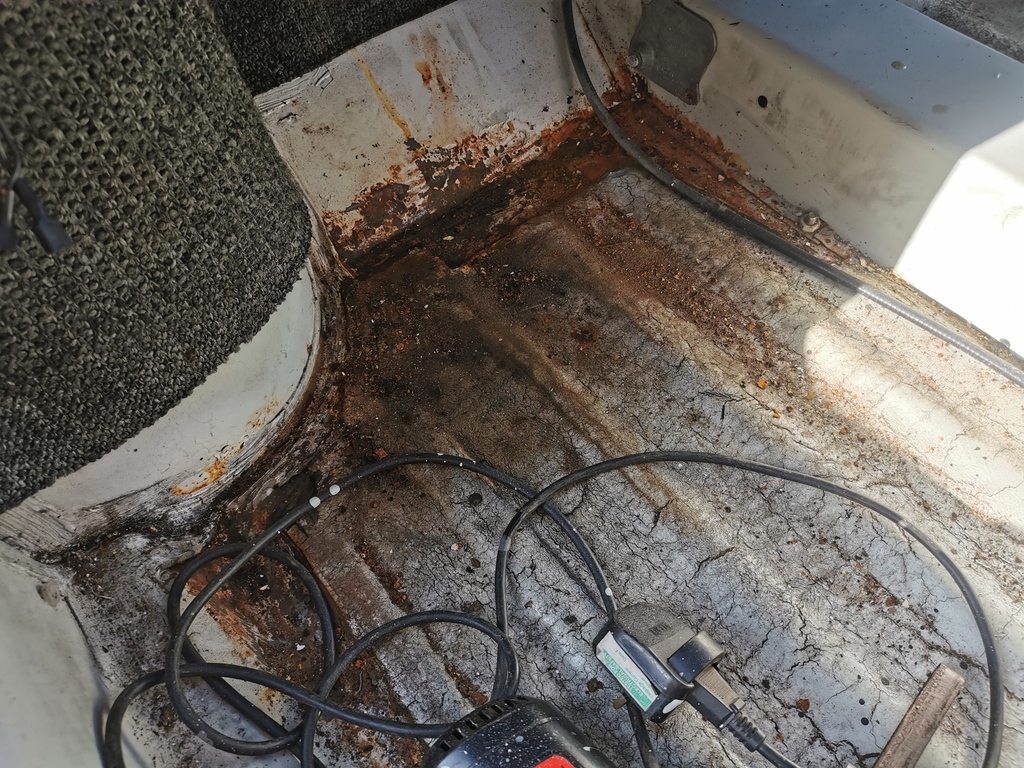 Wire wheel, rust remover, rust converter, zinc primer and then some paint - not my finest paint job but it will be covered with carpet so doesn't really matter. There are a few runs (brush painted to avoid overspray - If i have enough spare paint after painting the car (got 10lts when mixed) I will sand the runs out and re-do). 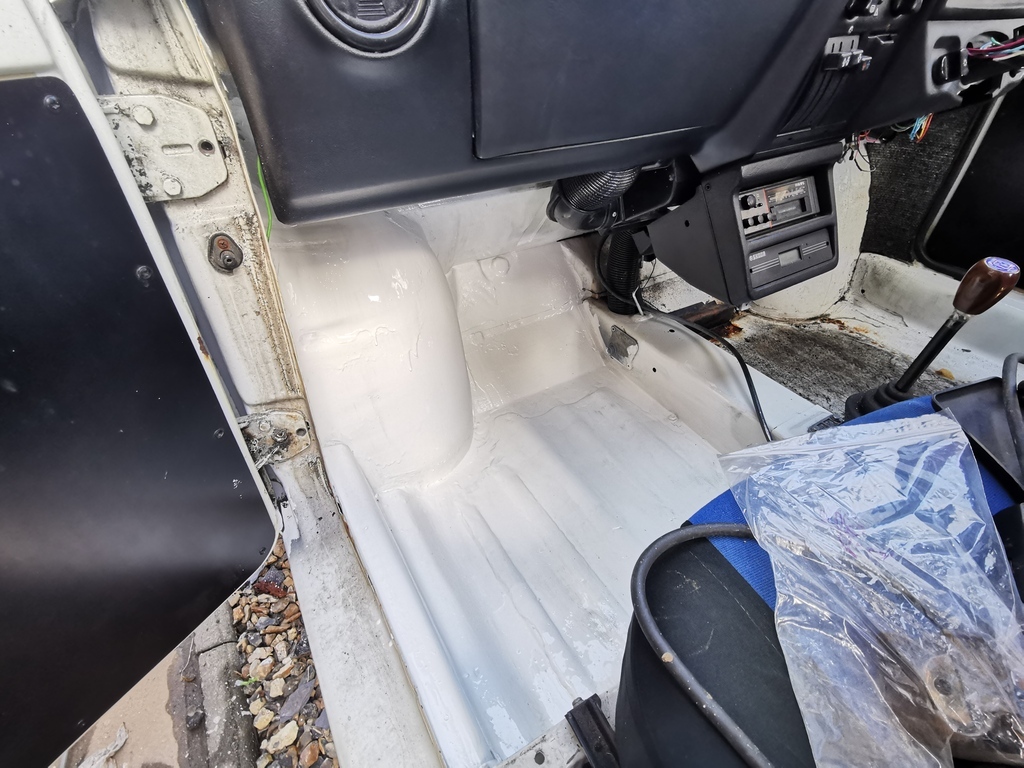 To get to the scuttle panel, I removed the wiper motor and a few other bits. I couldn't face removing the heater matrix, so masked it up and worked around it. 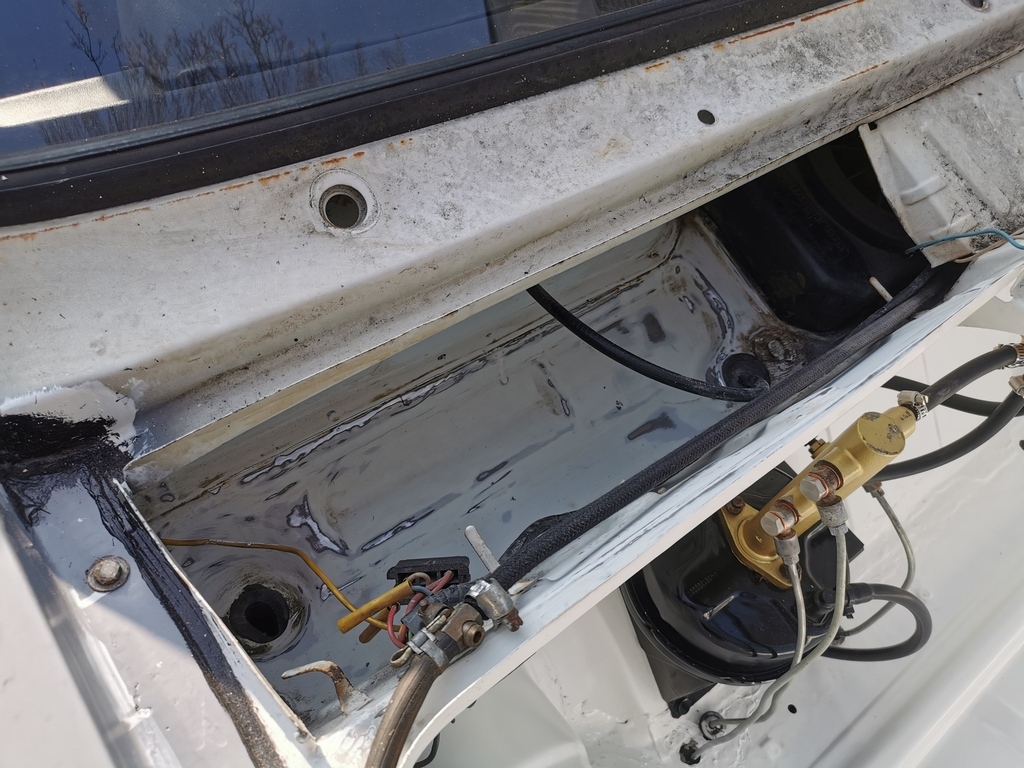 The scuttles weren't too bad, but like most of the car, some care and attention now would help protect it for the future. I purchased a little air random orbital sander, that along with a die grinder with little sanding pads and some elbow grease sanded and keyed the paint, removed surface rust etc. Really happy with the air sander purchase. It came with sanding disks and polishing pads - I als purchased a set of wet and dry disks up to 10k grit and tried polishing the rear light lenses (well a spare set). Not perfect but a million times better than before - no pics of them at the moment. 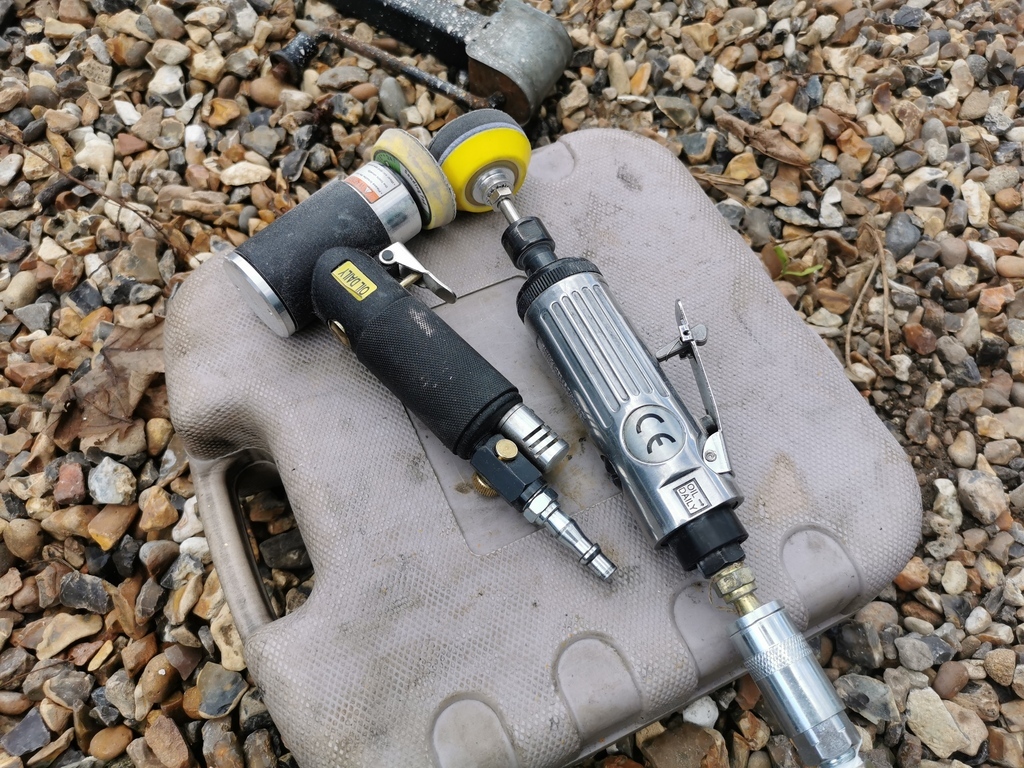 I had to dig out a bit of the seam sealer in one corner as there was rust coming through - found a nut buried in the seam sealer causing the problem - factory defect!. De-rusted, re-sealered it, primed and mostly painted - not got a picture of that yet. As with most of the car - some surface rust, but generally in great shape considering. I definately caught it in time - another 5 years of neglect and probably would have had a lot worse to deal with. I am probably going to try and take a week off soon to smash out sanding the body and getting the first coat of filler primer going. I am debating whether to remove the front and rear windscreens. I want to, but I am afraid of breaking them. I have a spare front screen, but I kind of want to keep that as a spare. |
| |
Last Edit: Apr 24, 2022 22:42:24 GMT by lewist123
|
|
|
|
|
May 27, 2022 20:43:18 GMT
|
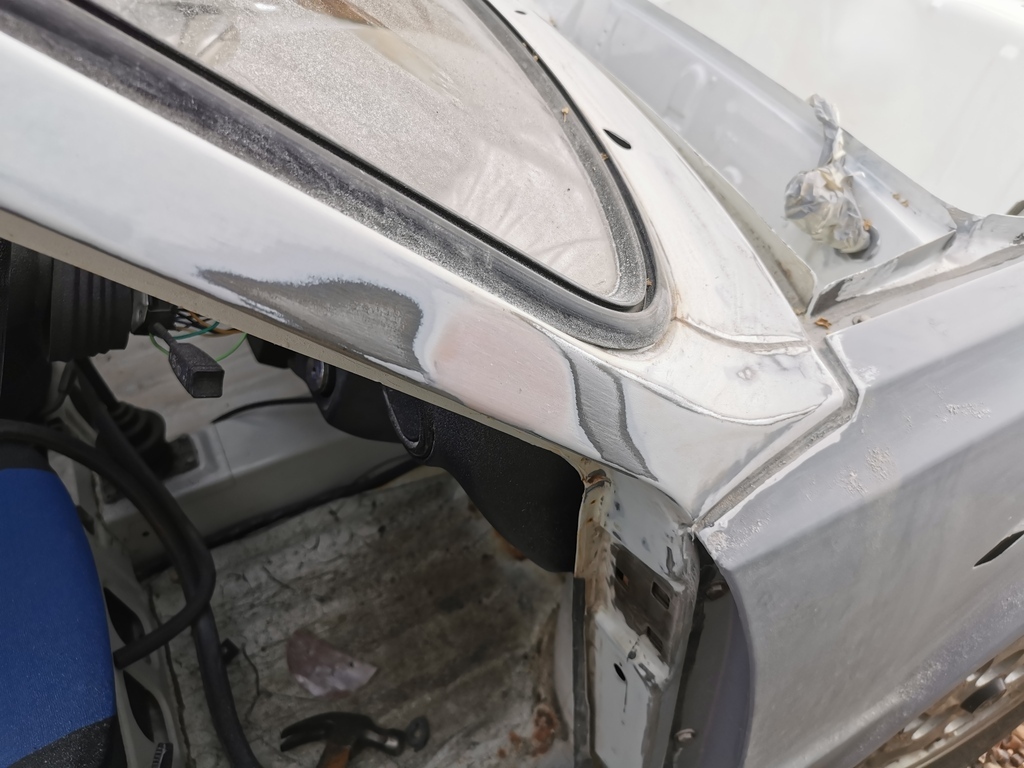
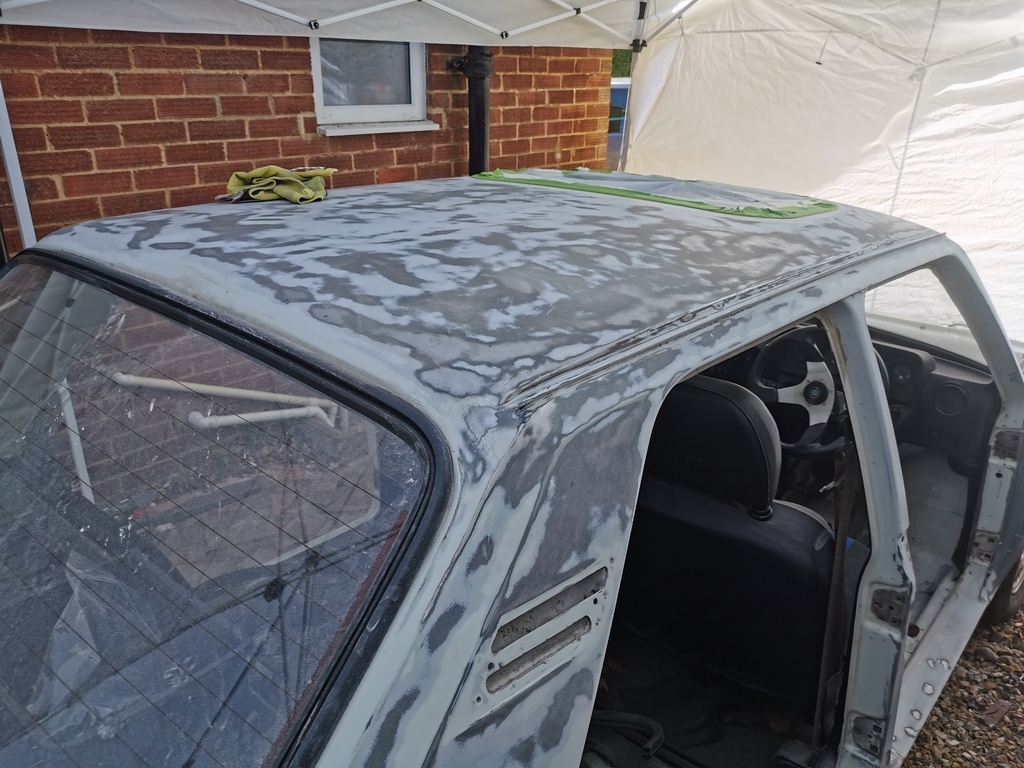
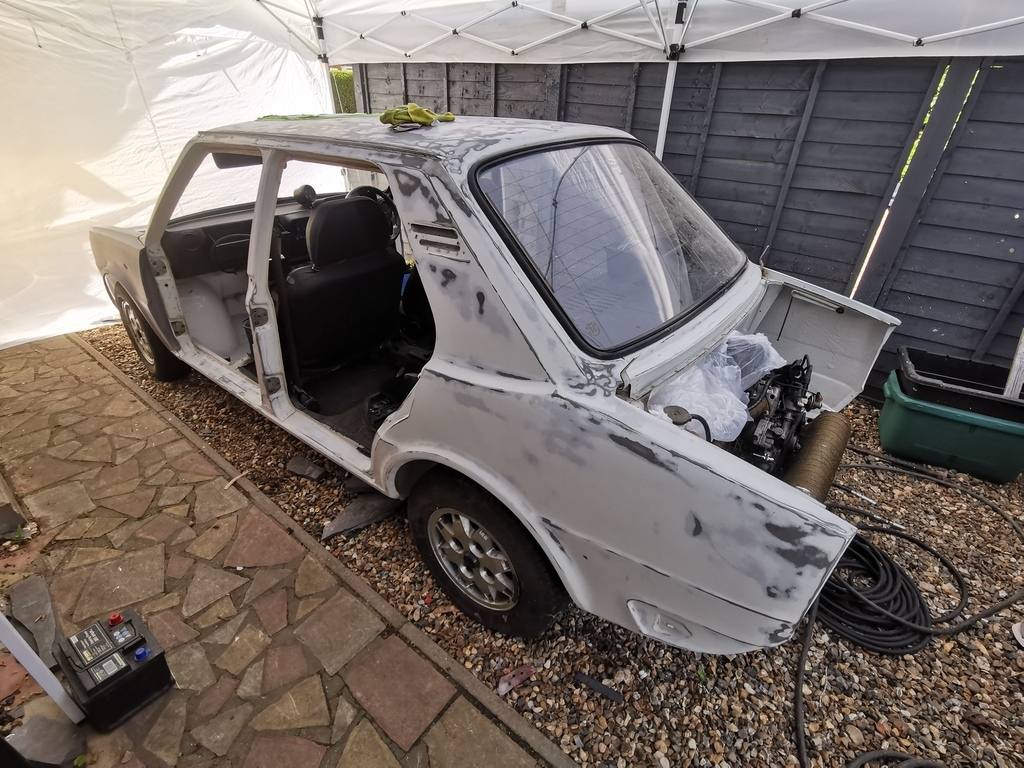
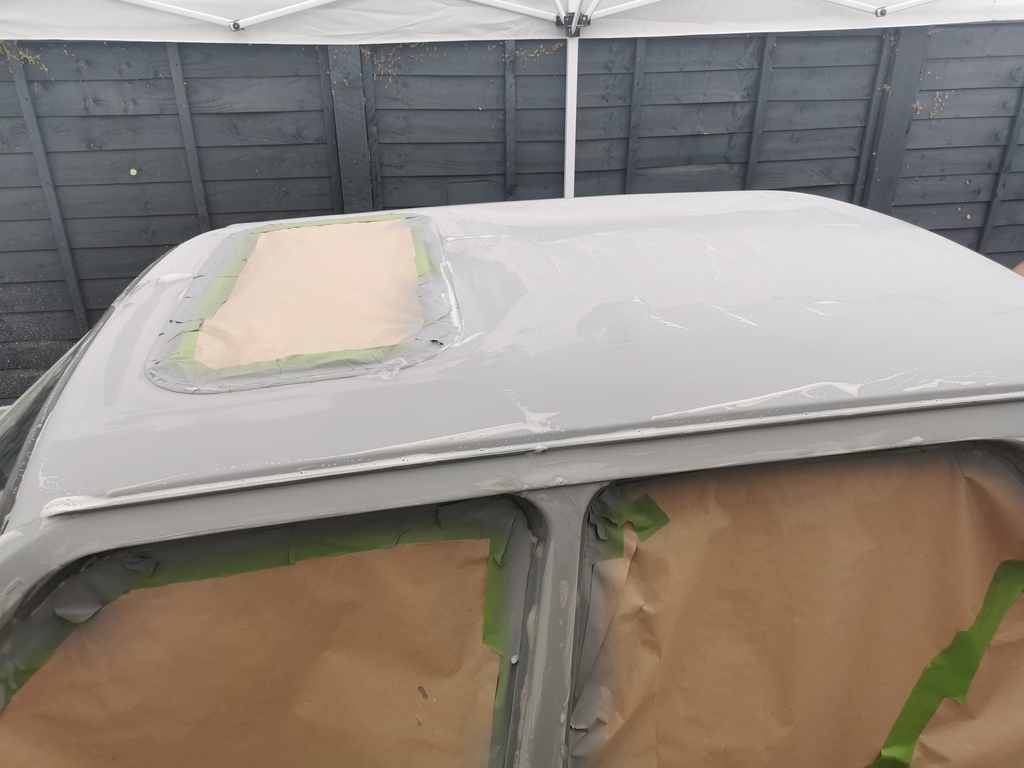
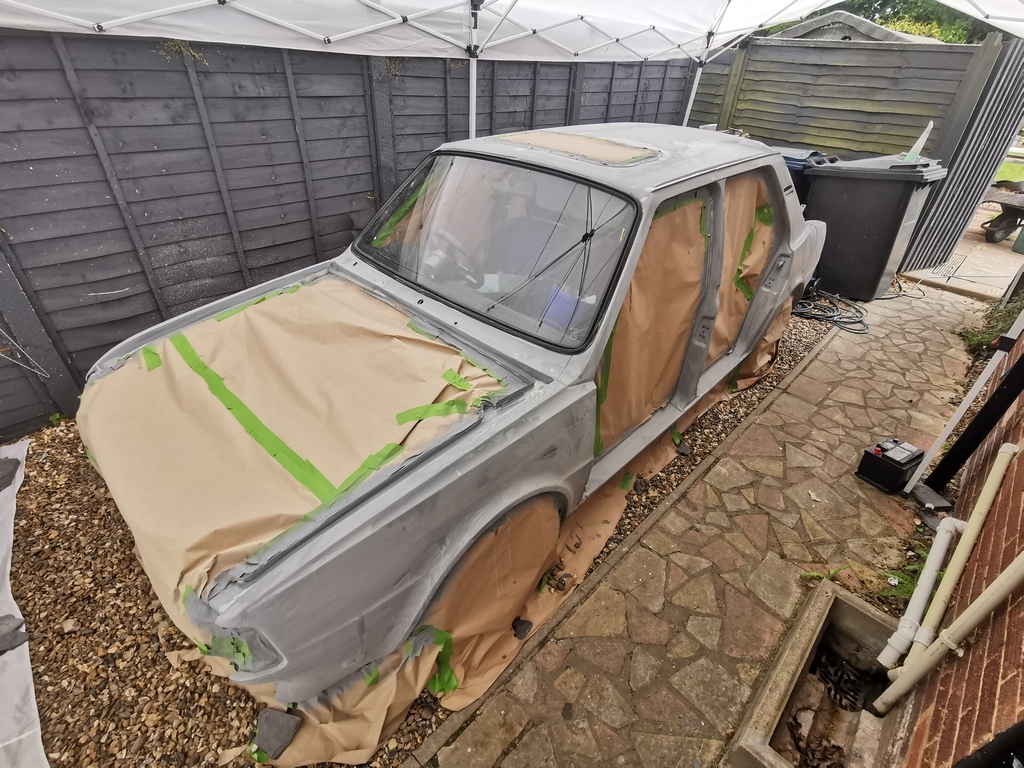
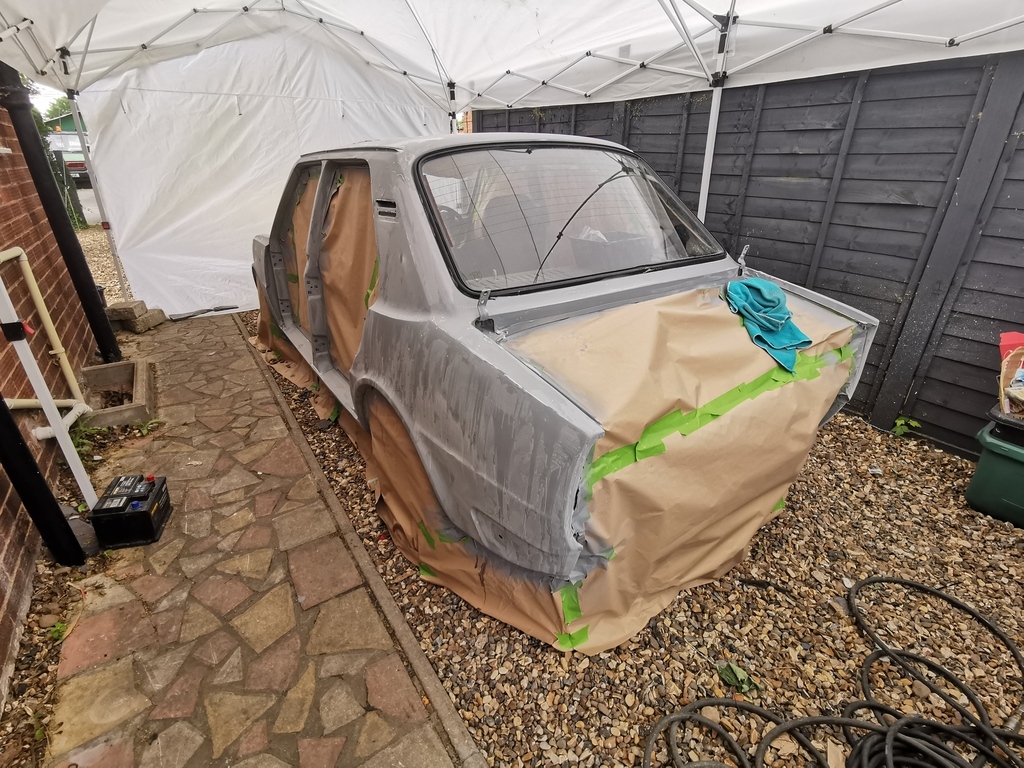
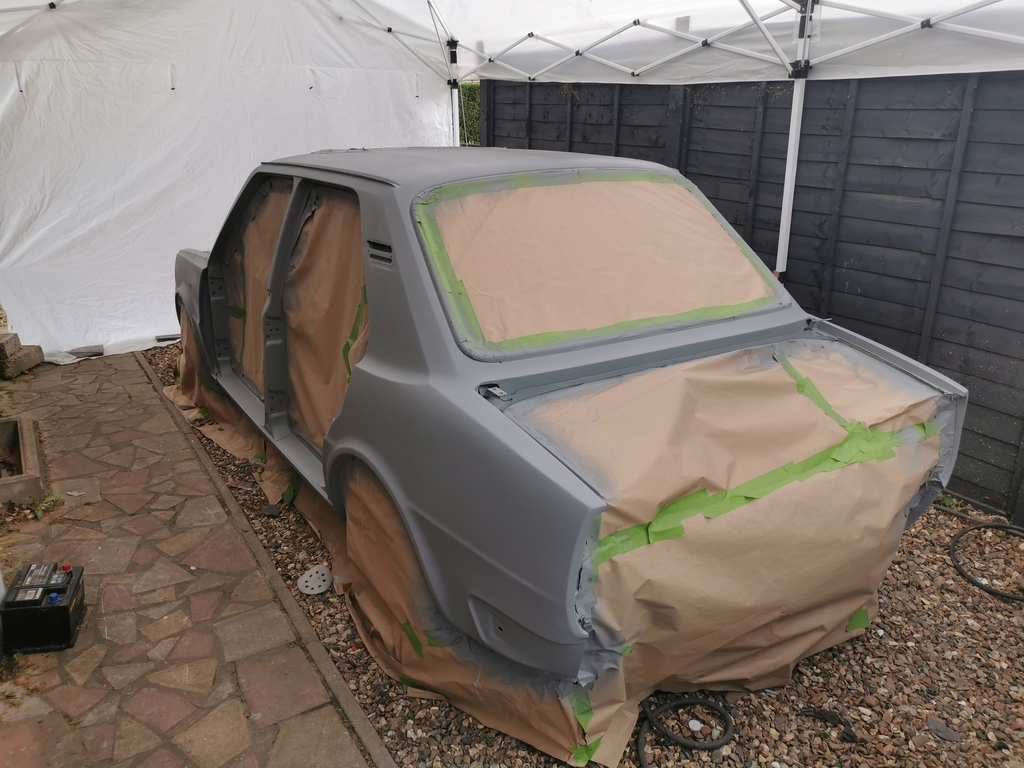
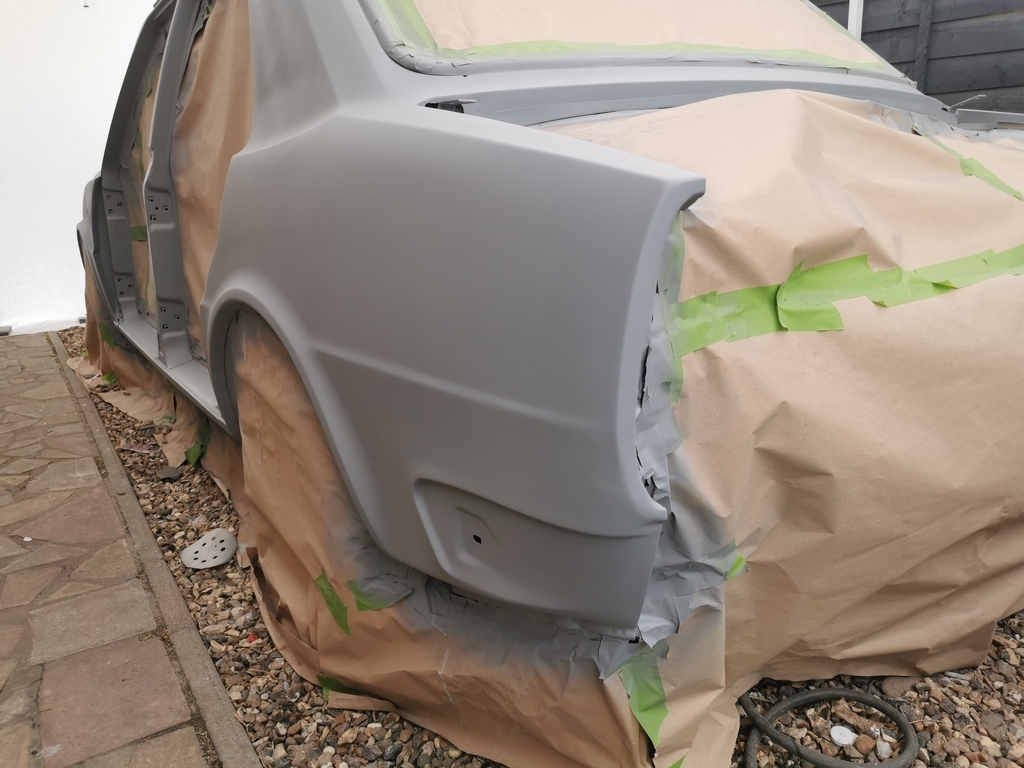
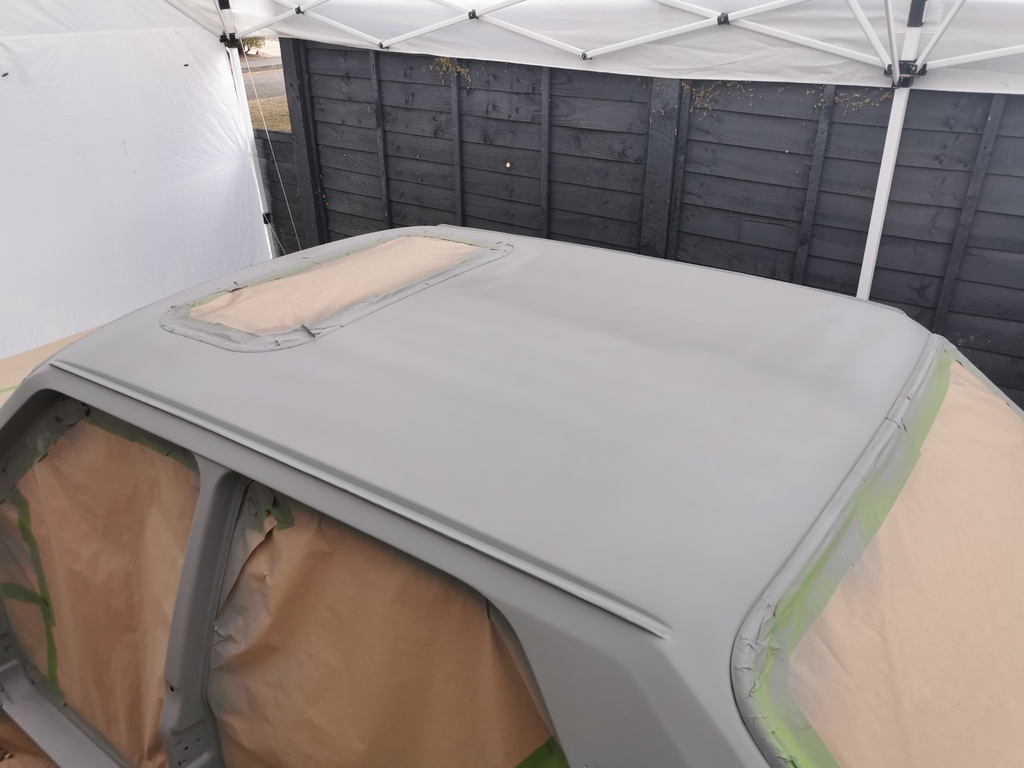
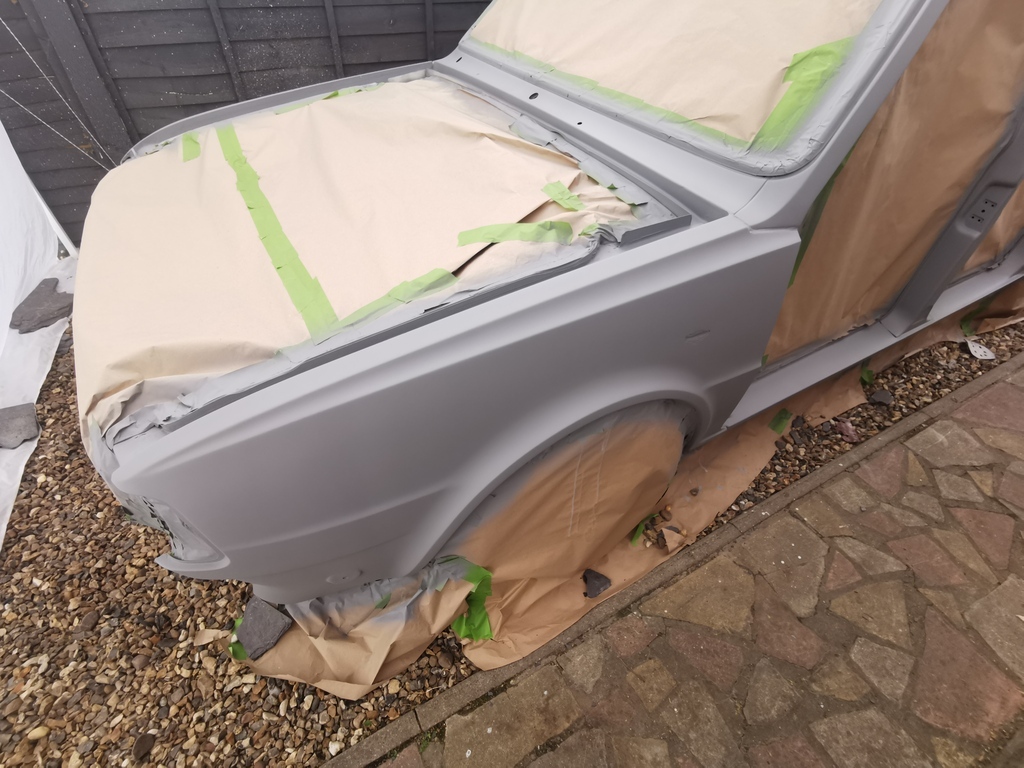
Paint update! Not many pictures, but I have been sanding down the shell and prepping for paint. I managed to get the first coat of primer on today and my plan is to wet sand tomorrow followed by another coat of primer and then try and get top coat on next week (I have the week off). Lots of boring sanding using 80 grit on an electic DA sander, along with doing the fiddly bits with my little air sander. I then wet over it all again using 120 grit to try and get a smoother surface finish. I tried to go deep enough to get through the cracked and crazed old paint. Had a few dents to fill as well. 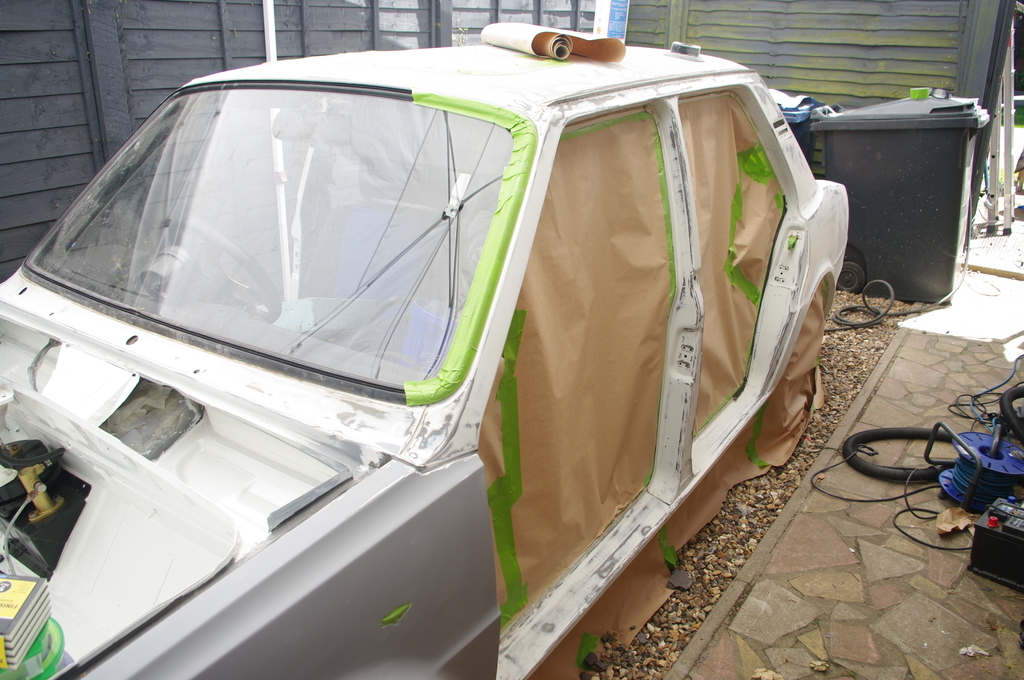 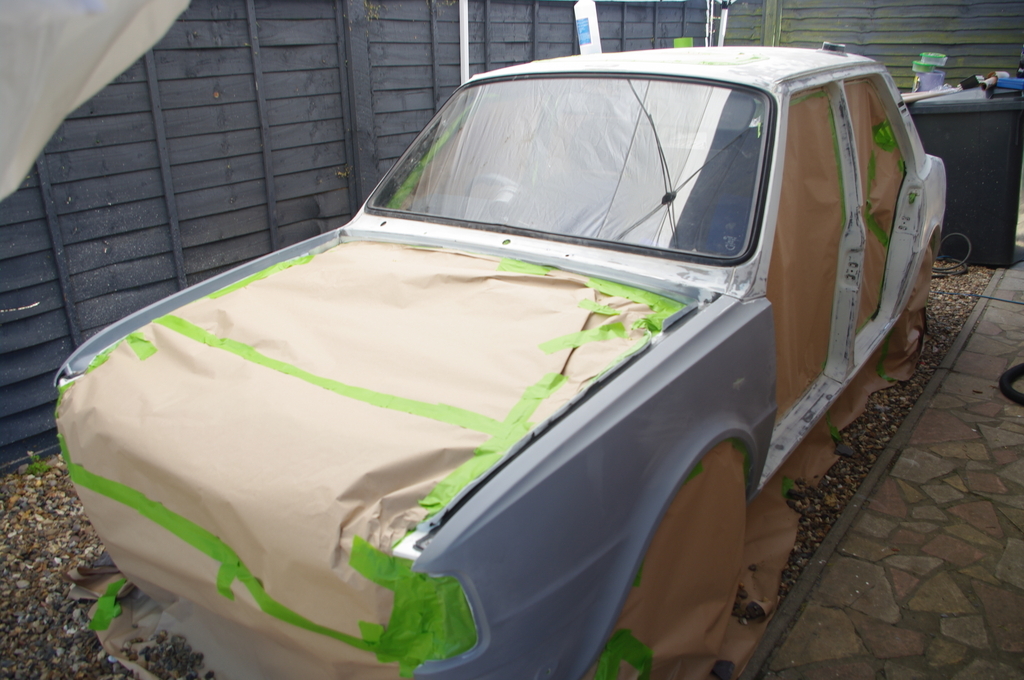 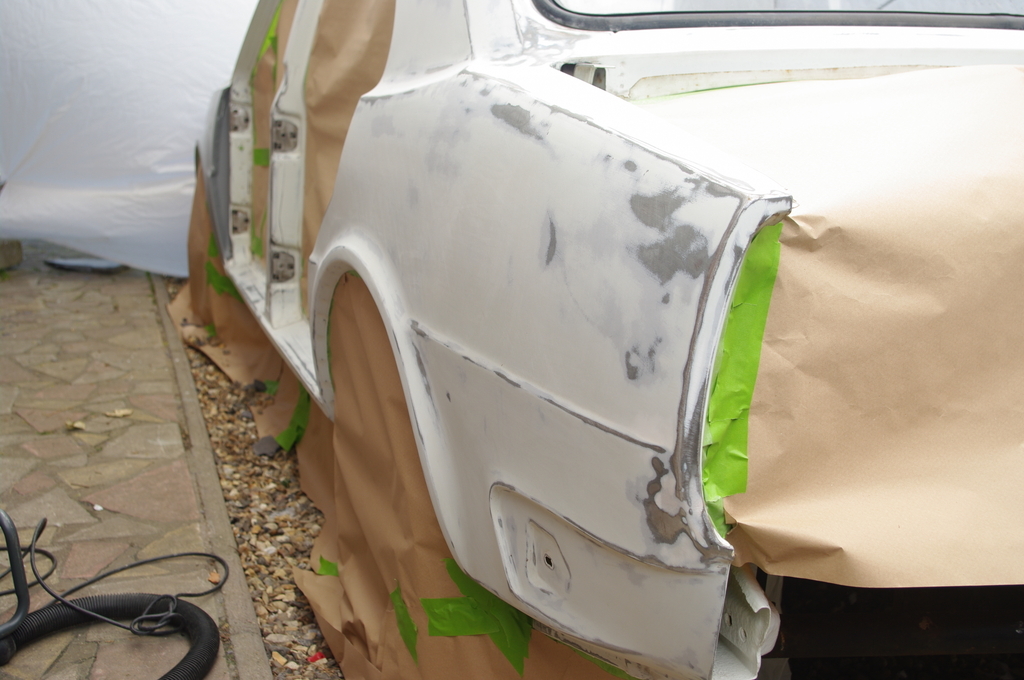 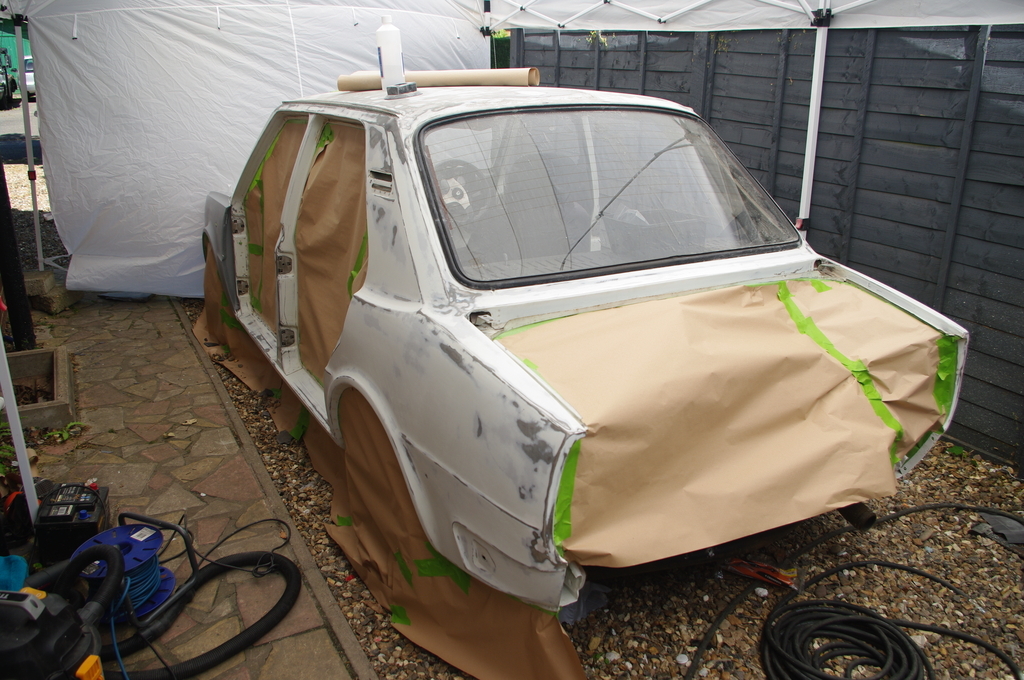 Once prepped and masked, I wiped down with celulose thinners to soften up the old paint, then hit it with two coats of celulose high build (mixed at 1.25:1). I plan to wet sand this using wet 180 grit on a block and I also got some 180 grit wet sanding sponges. Once flatted and cleaned I am going to hit it with 2 more coats of high build cut down to 1:1 to get a nice smooth base to again wet-sand at 240 and/or 400. Orderd a machine polisher which should turn up tomorrow. I think I am going to go with 6-8 coats of celulose top coat (white) and then wet sand at 2000 grit and polish. I did consider adding clear, but most guides I see on celly just say to wet sand at 2000 and machine polish. Once the shell is done, on to door, boot and re-coat the bonnet again (scratched it in storage). 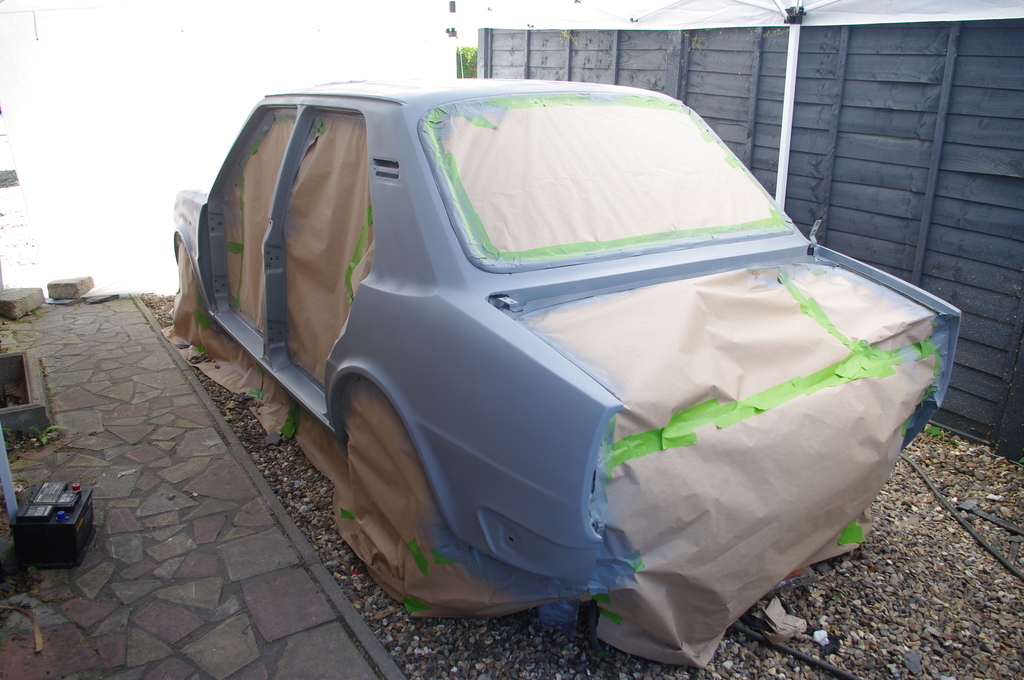 |
| |
|
|
|
|
|
May 29, 2022 20:20:38 GMT
|
|
|
| |
|
|
|
|
|
May 31, 2022 13:25:04 GMT
|
|
Awesome progress man! RRG?
|
| |
|
|
|
|
|
|
|
Lol - its a nice idea and I have certainly been thinking that. We shall see - no promises. It has been so long in the coming, I don't want to rush something and half-  it for the sake of a bit more time and effort  I managed to get some paint on it yesturday. 6 coats so far but I have noticed that its a bit thin in some places, like the lower portions of the sills and around front windsceen sides. Will mix some more paint up and hit those areas with a few more localised coats to build up the thickness for sanding and polishing. I have also started to sand and re-paint the spoiler and wheel arches in the shed. Making progress! 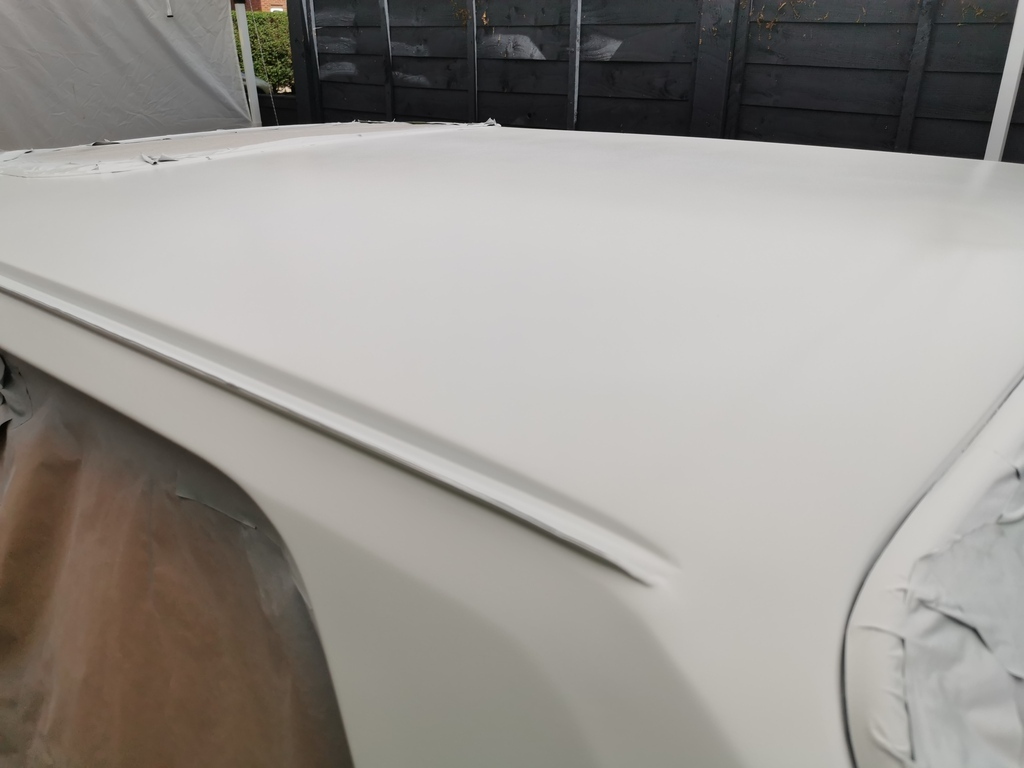 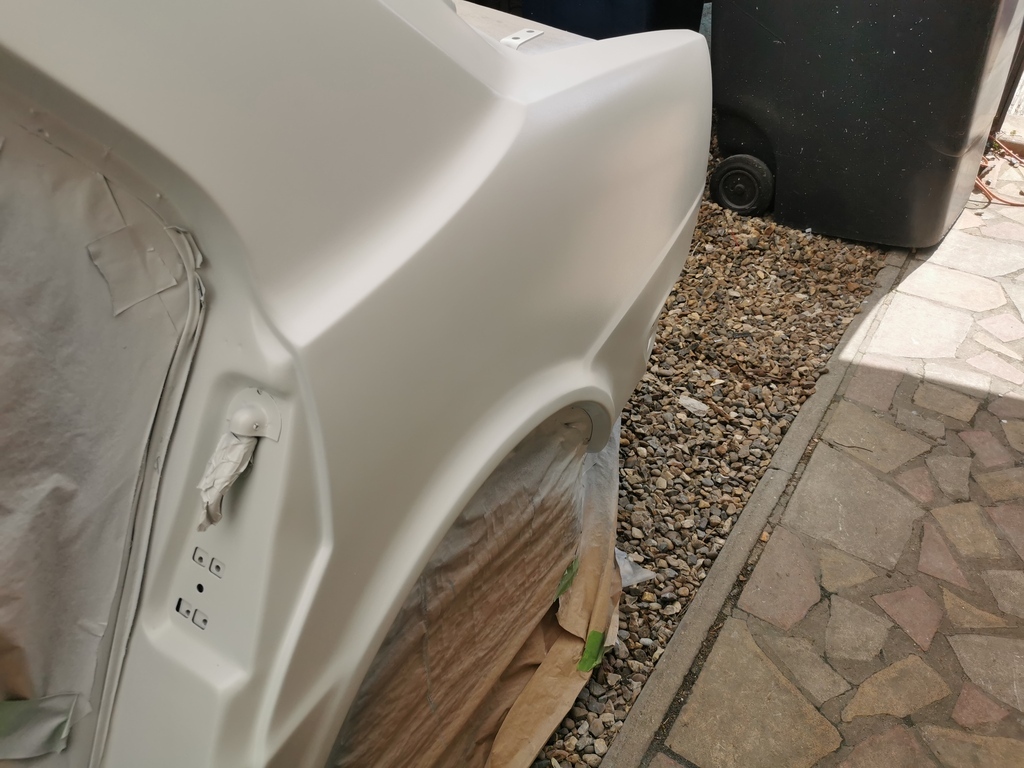 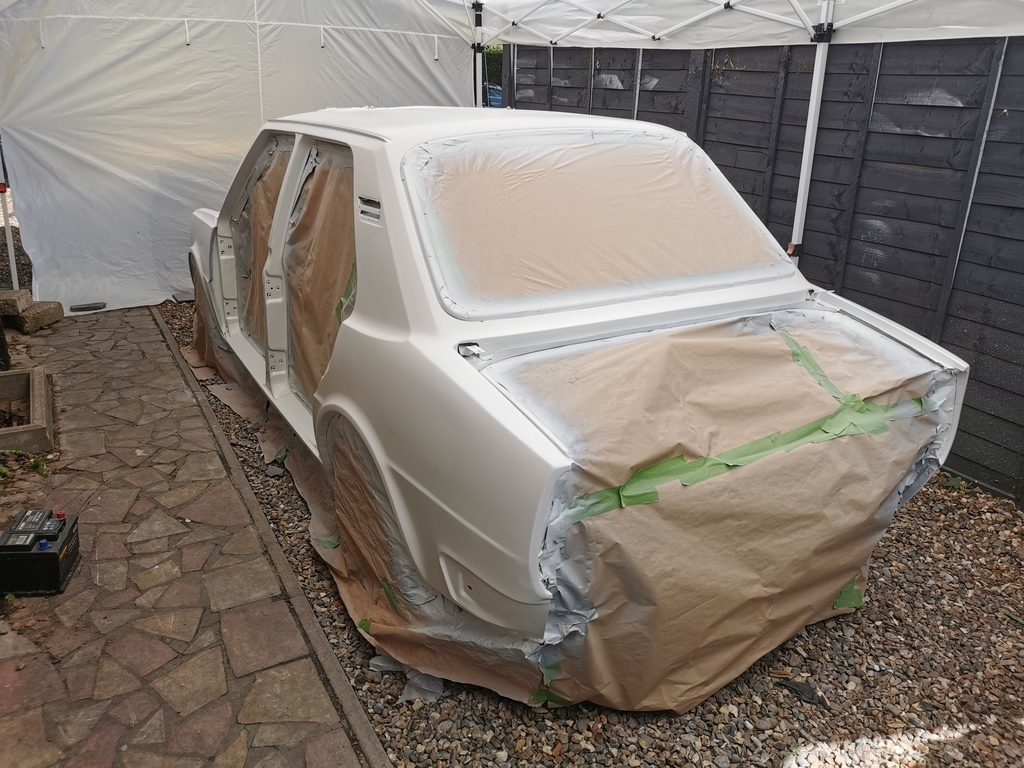 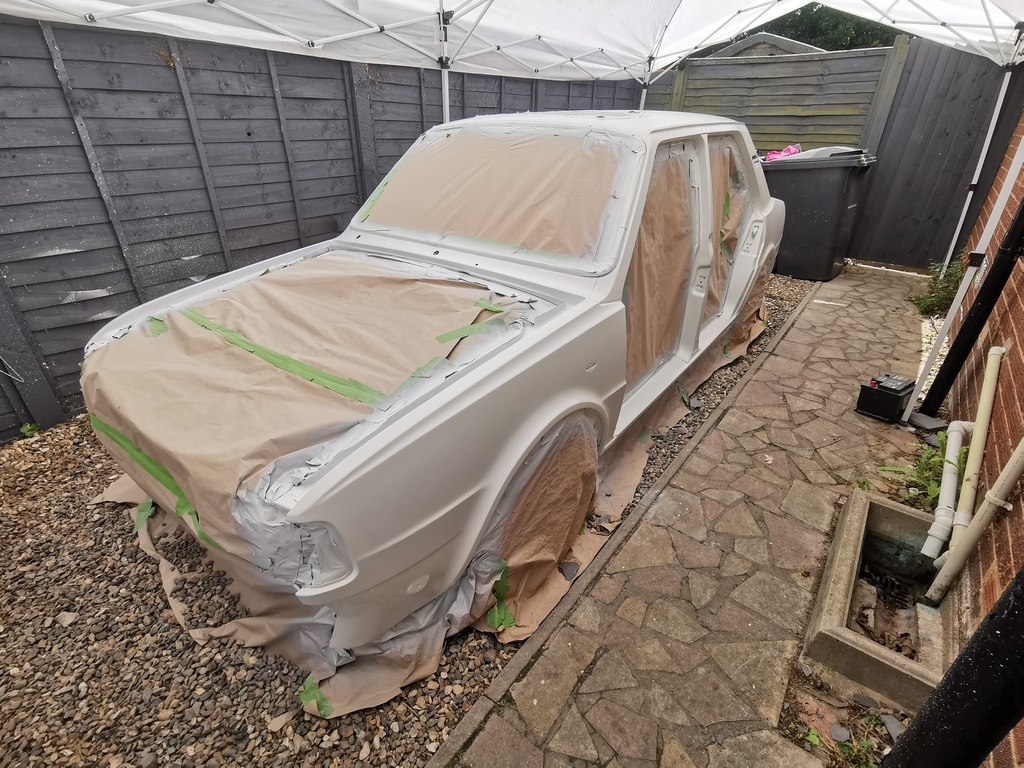 |
| |
|
|
|
|




 it for the sake of a bit more time and effort


