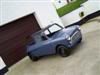
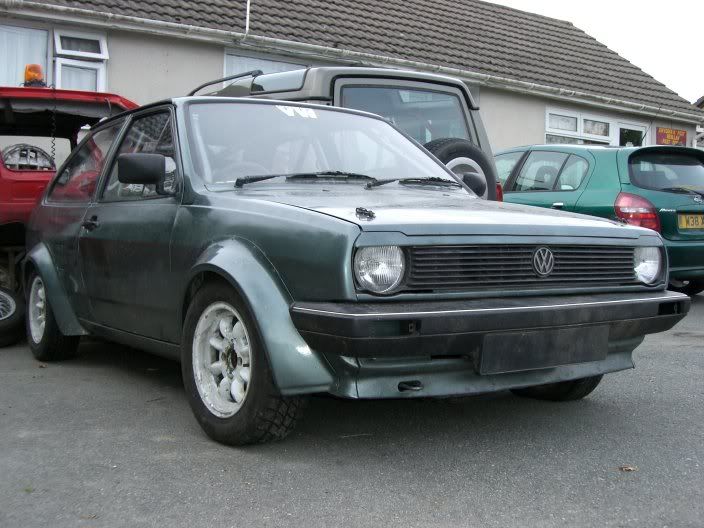
I bought this car back in october 2006 with the intension of building a 1400cc tarmac rally car. this is how she looked when I got her

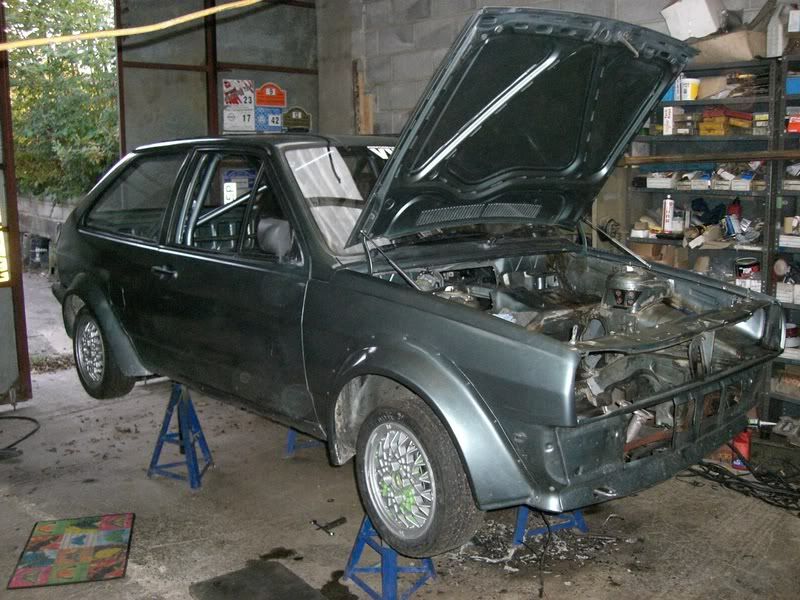
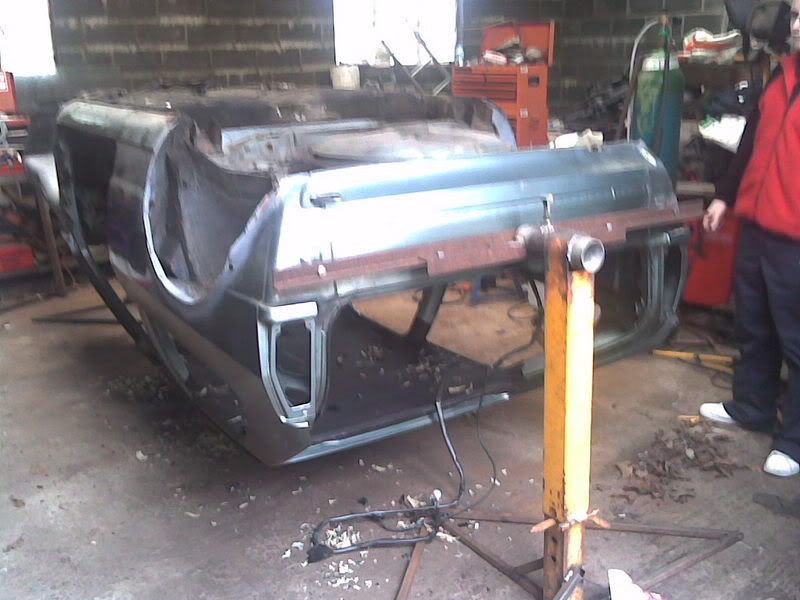
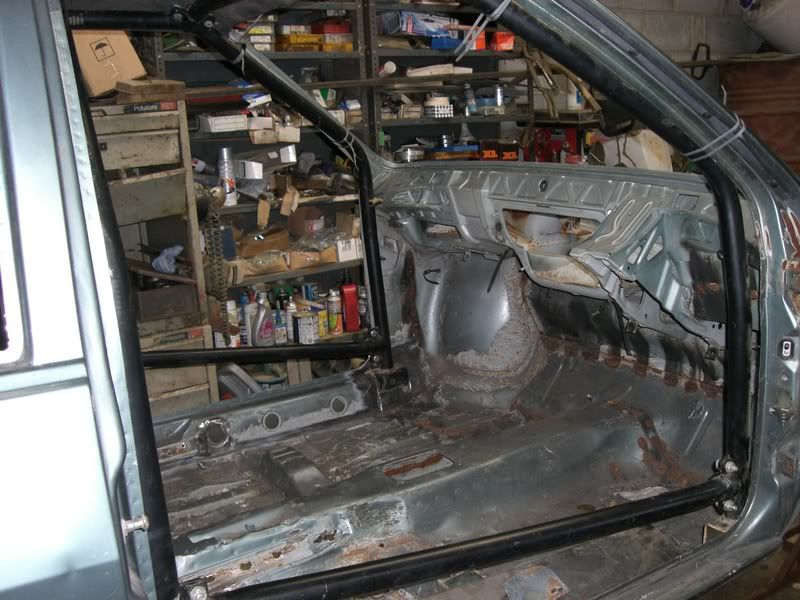
then I started to strip the car down for a full rebuild as it was a rolling shell the car had been built as a road/track day car so wasnt up to rally safety spec so I had to start again and cut out alot of the work done by previous owner.
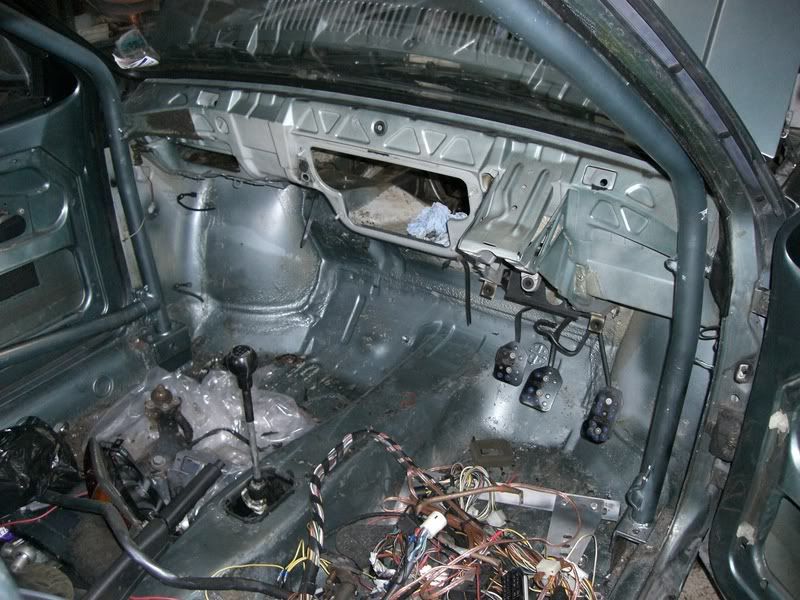

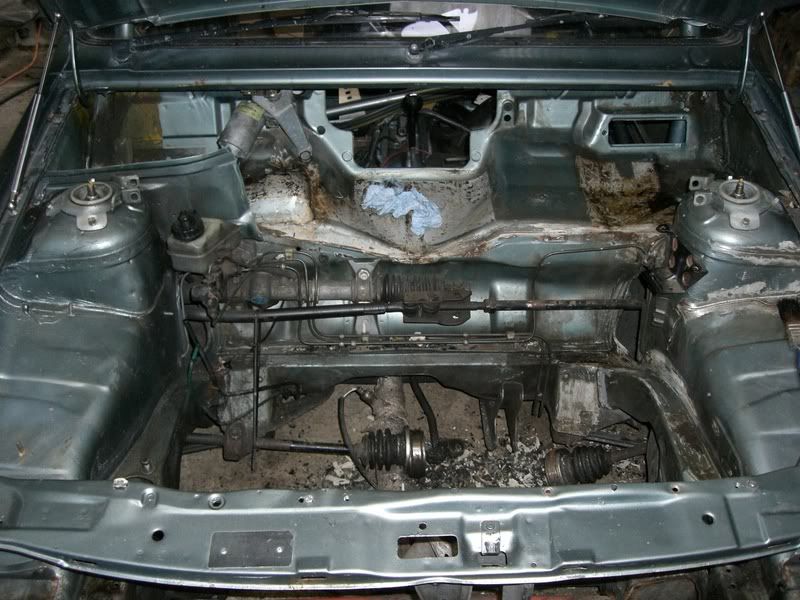
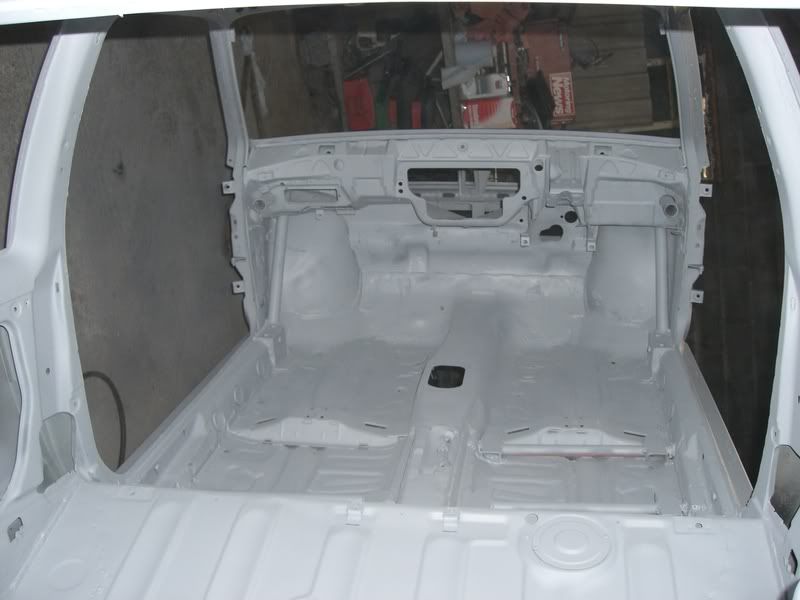
I also cut out the secondary bulk head to get more room around the engine and to get rid of some weight.

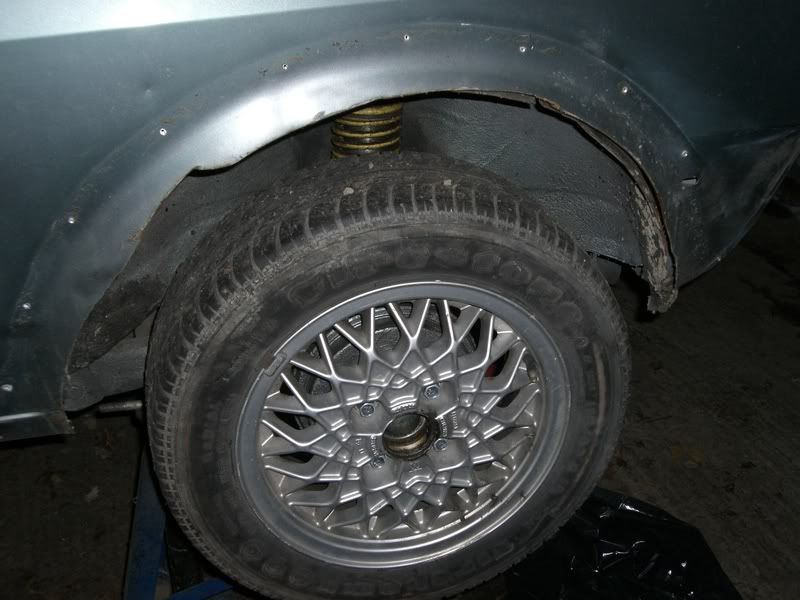
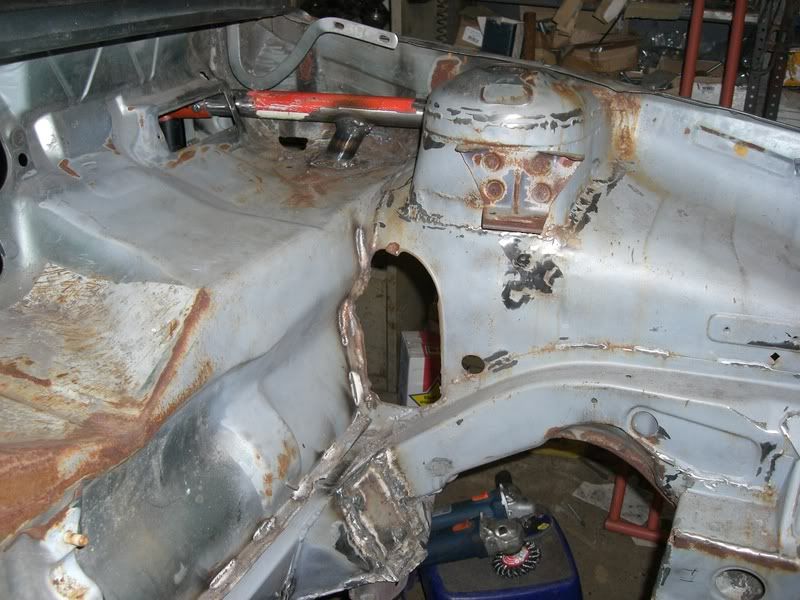
I removed the rear arches to find this
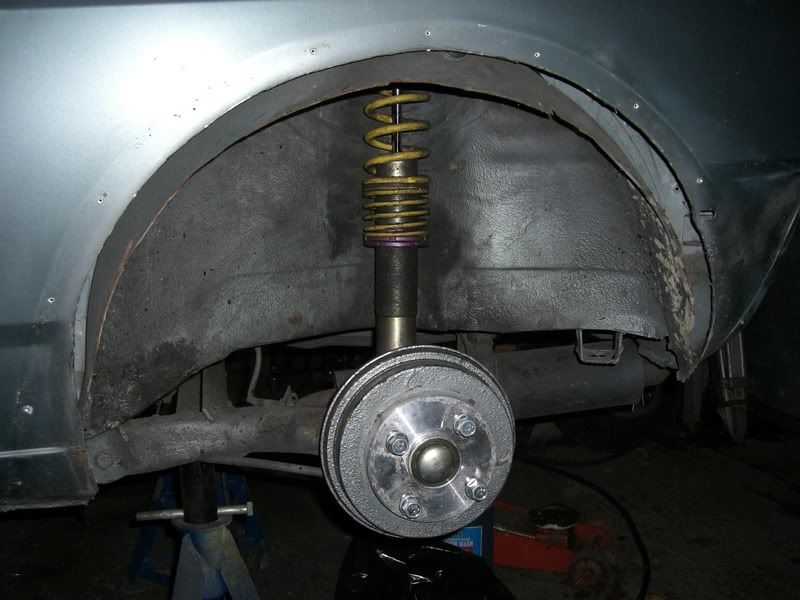
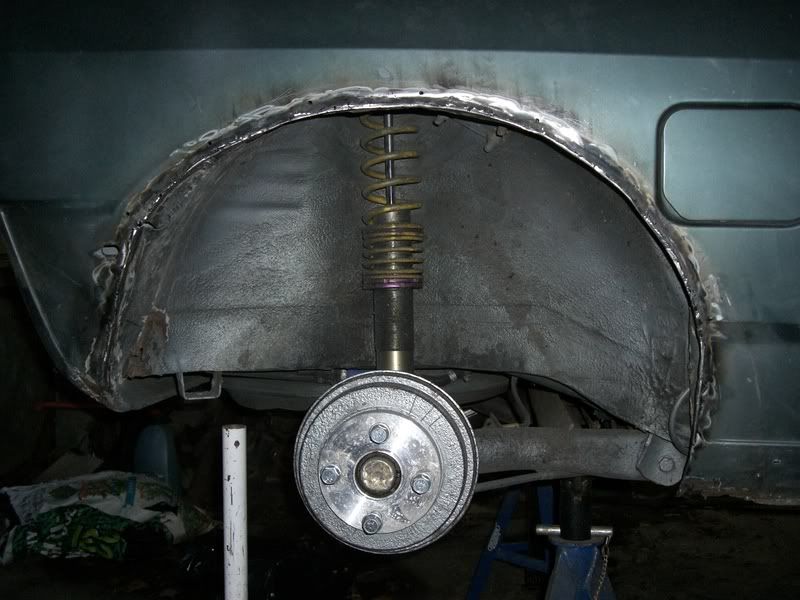
so I recut the arches and welded them back up properly
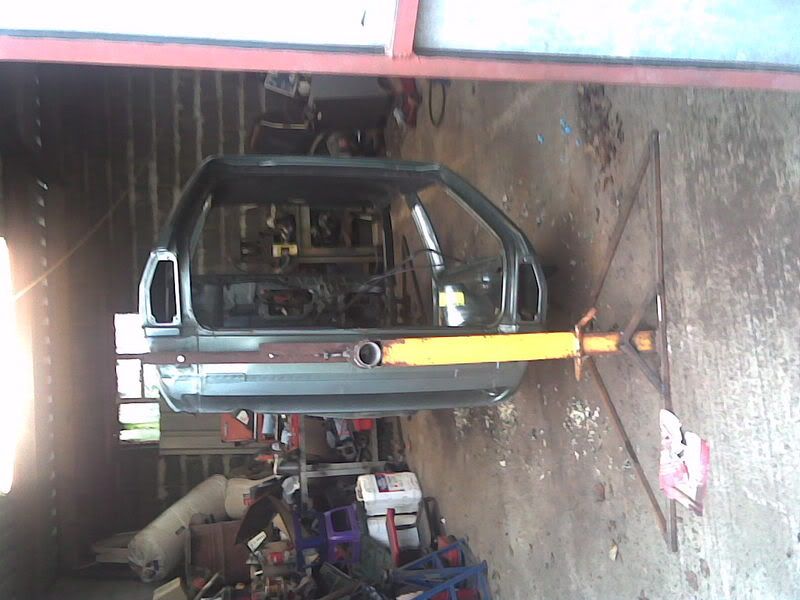
I then made this to make seam welding and strengthening the car easier

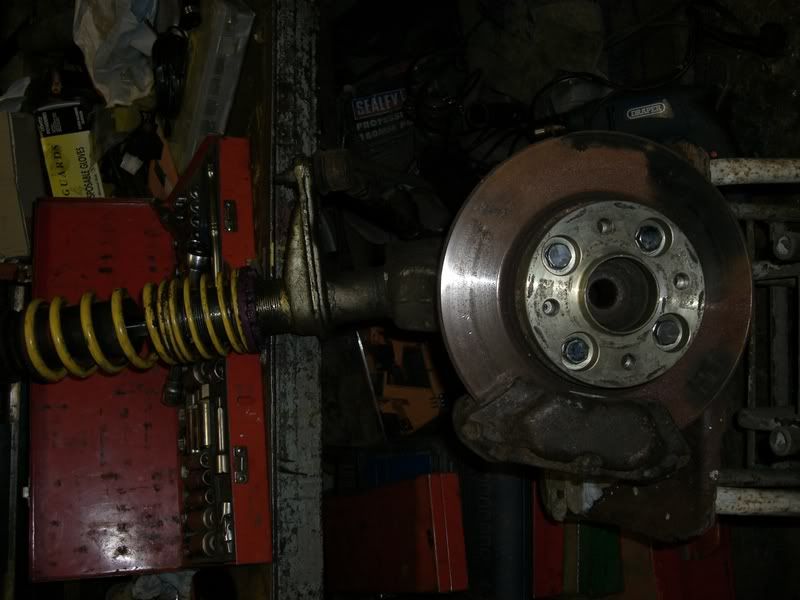
next was playing about with some volvo 4 pot calipers and some vw 256 discs and this is what I came up with
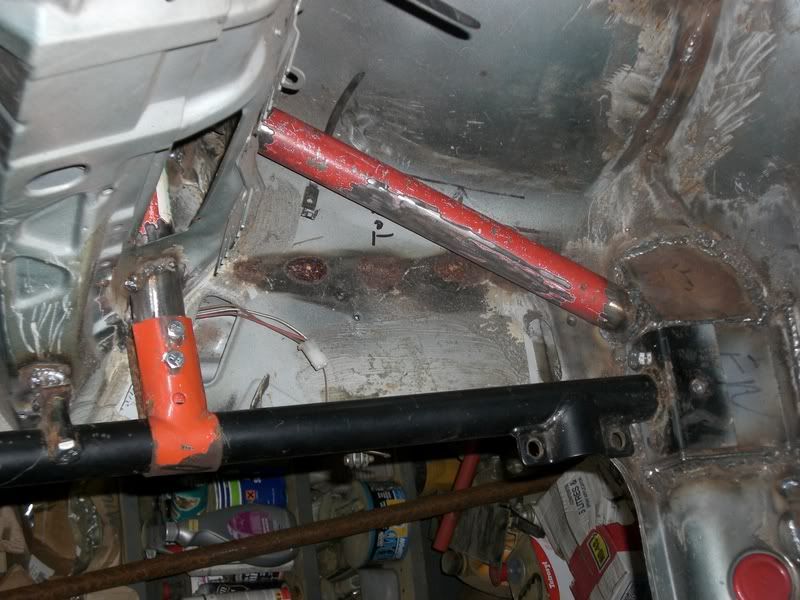
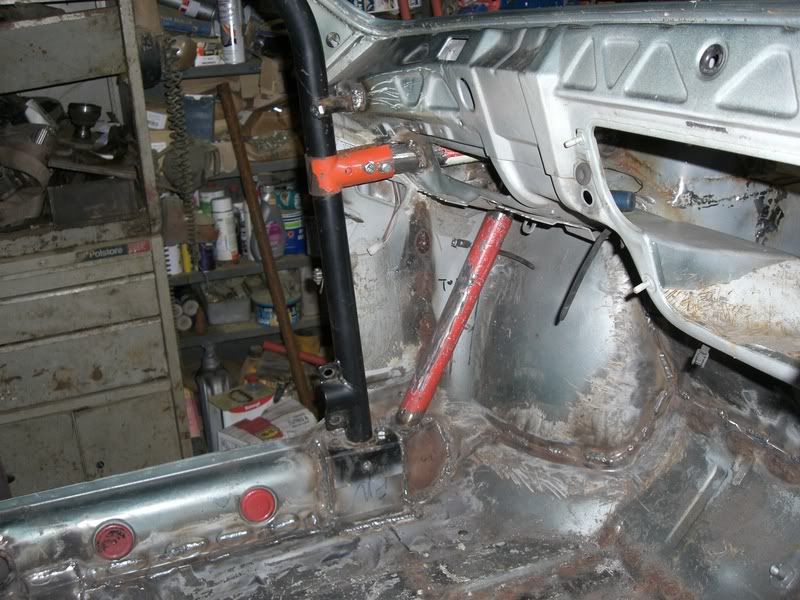
then it was time to fit the rollcage and make proper mounting points to the MSA spec


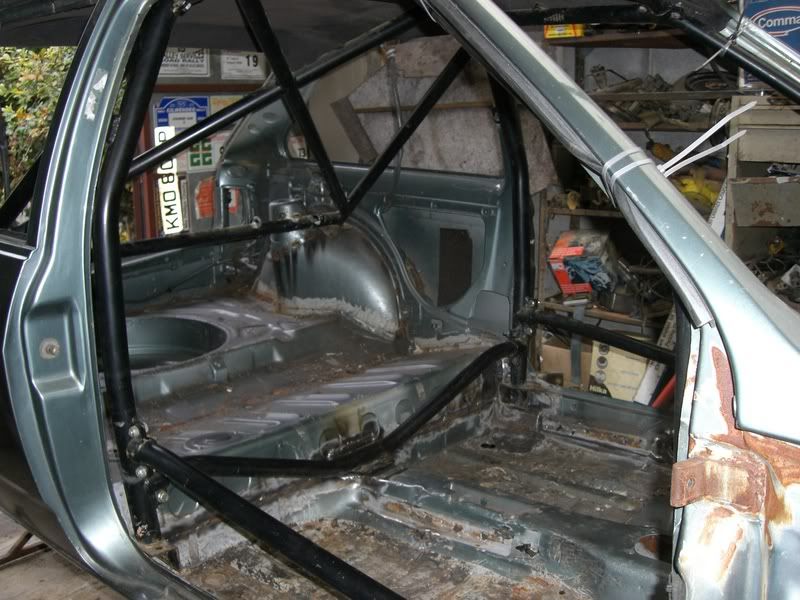

seat bars done to msa spec


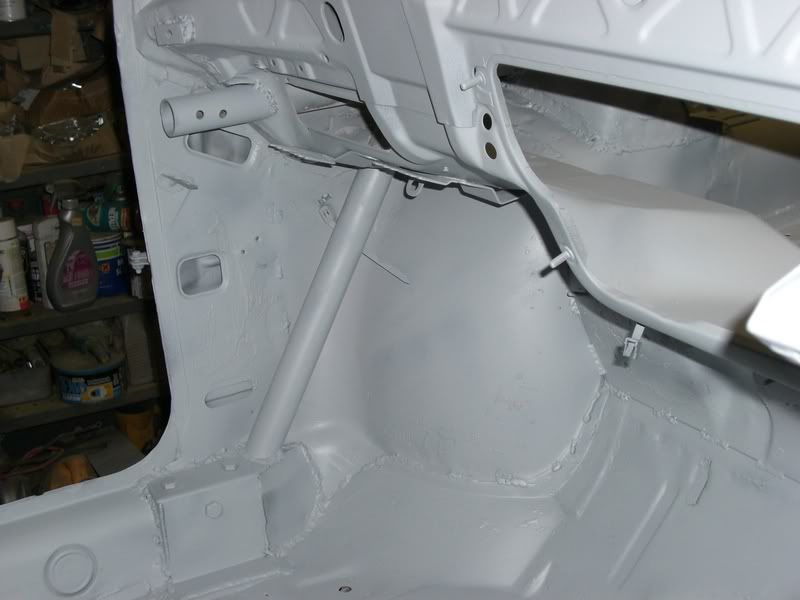
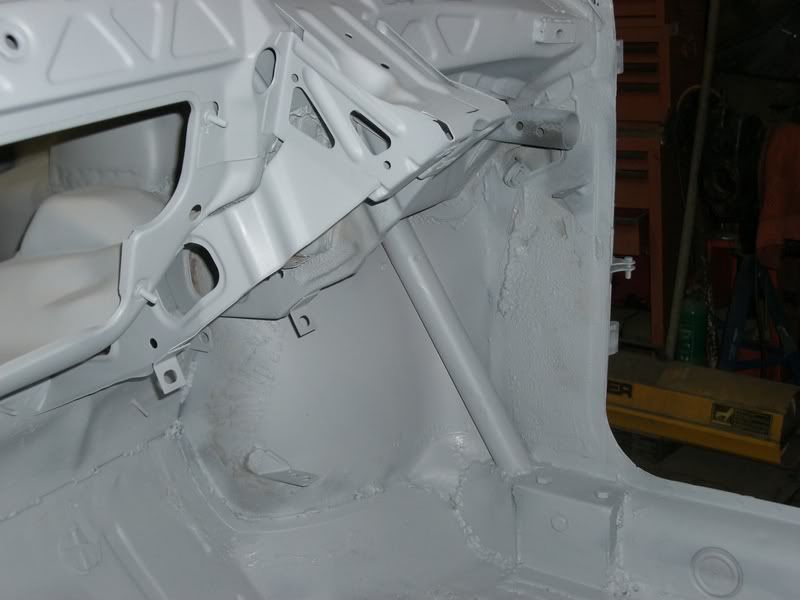
up to strut tops extensions from roll cage

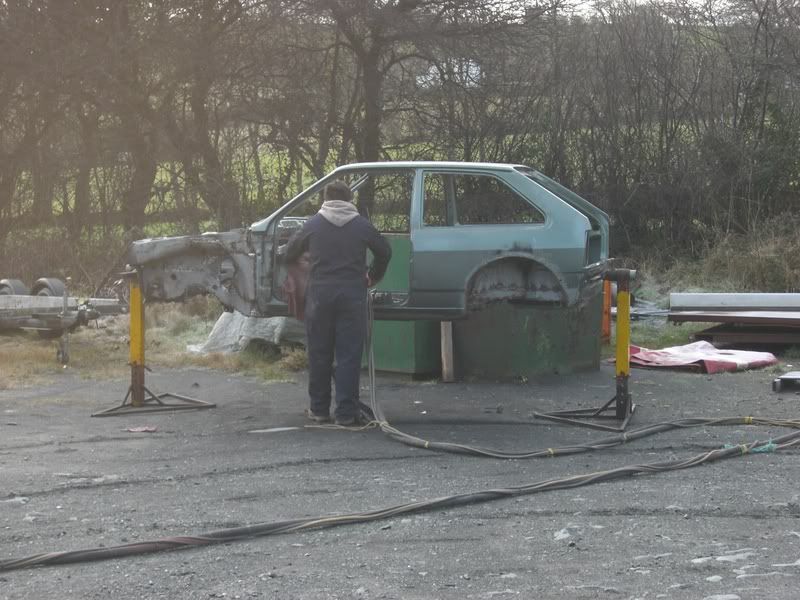
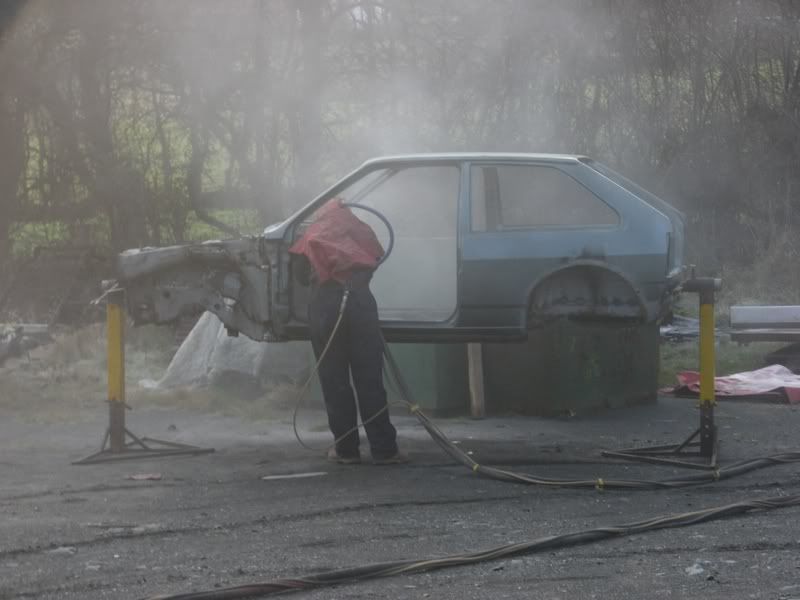
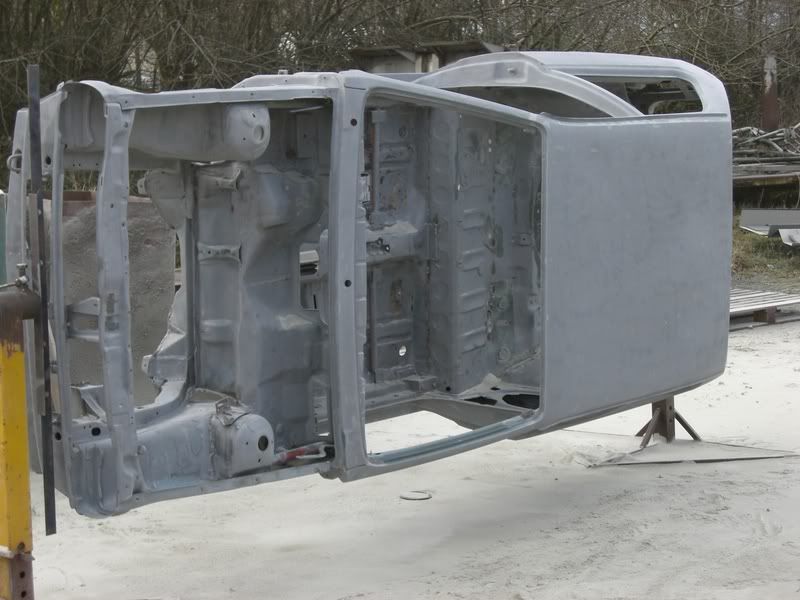
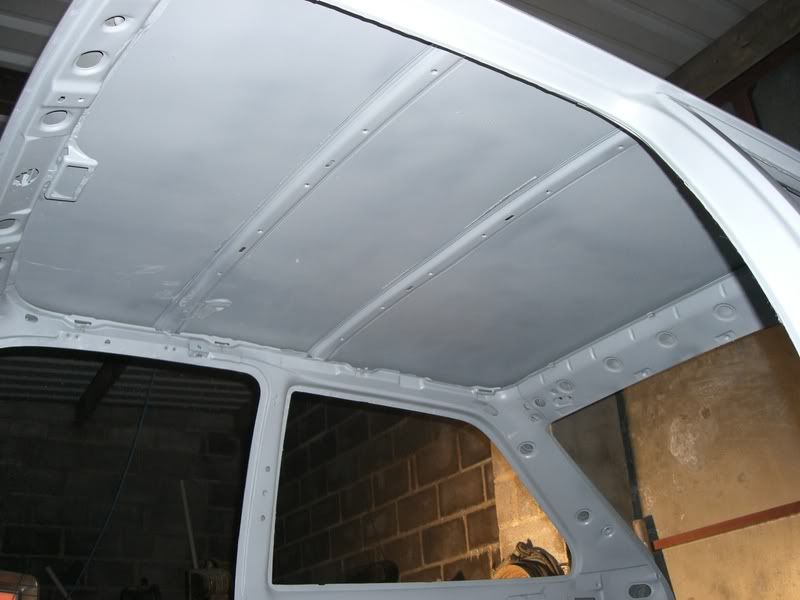
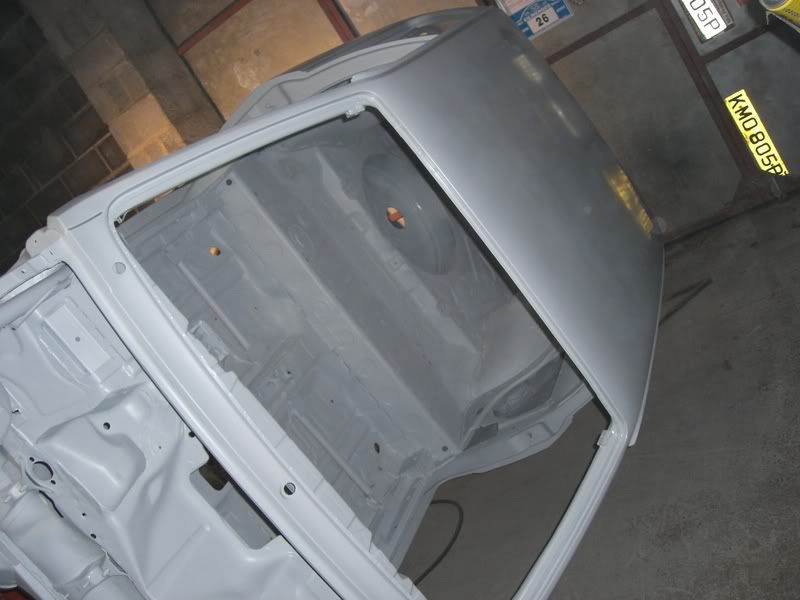
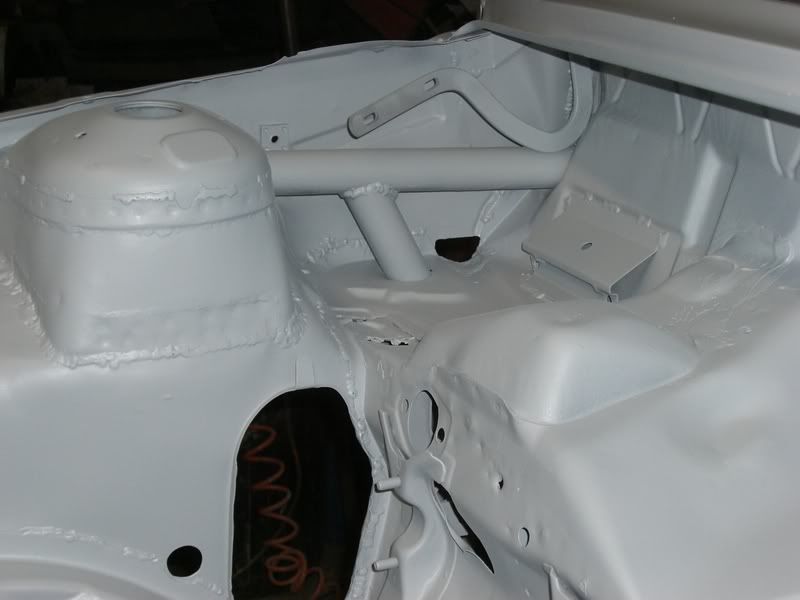
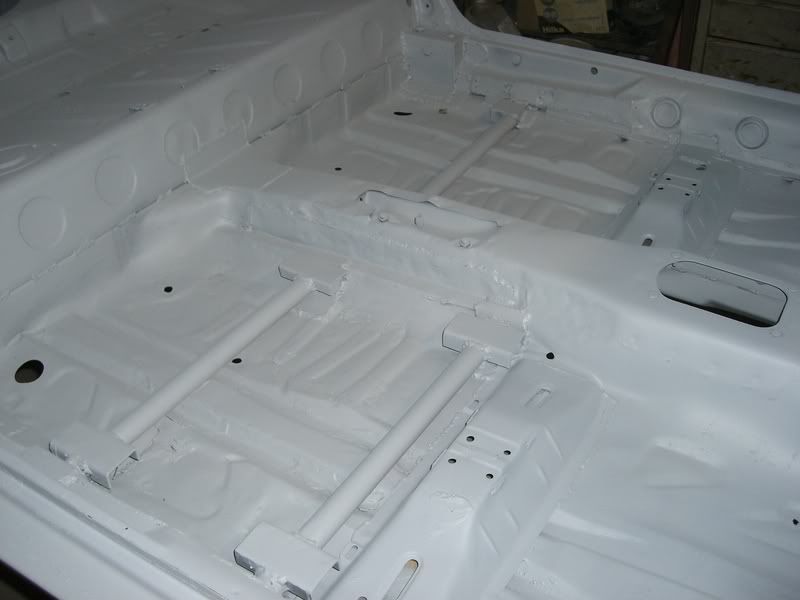
then it was time for sandblasting

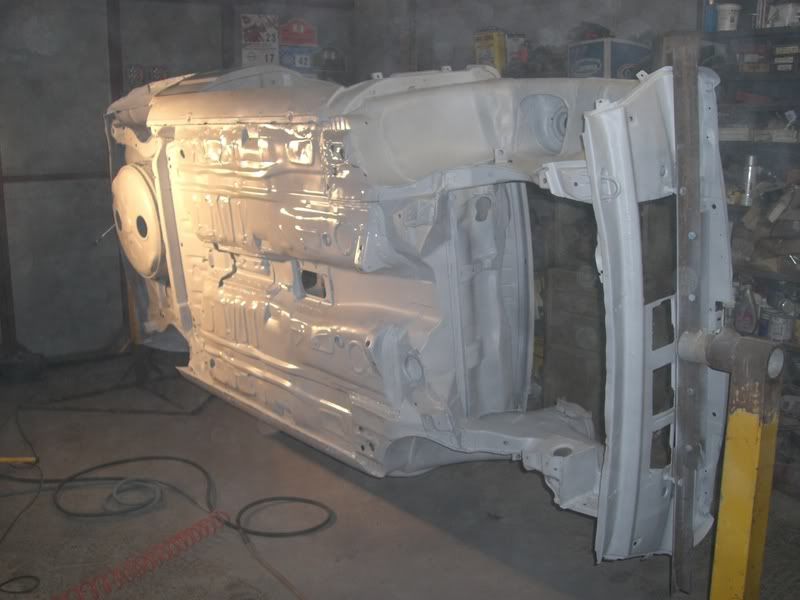
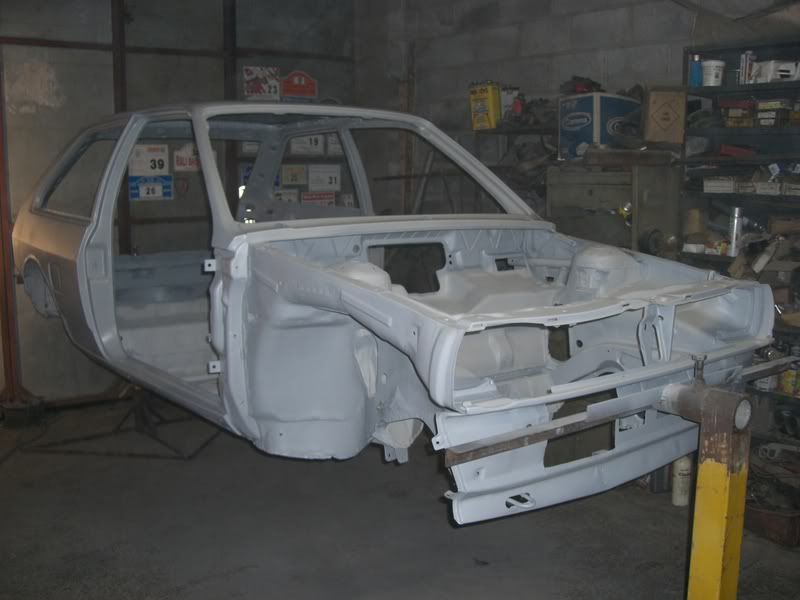
undercoat time


then had this made to fit in the spare wheel well

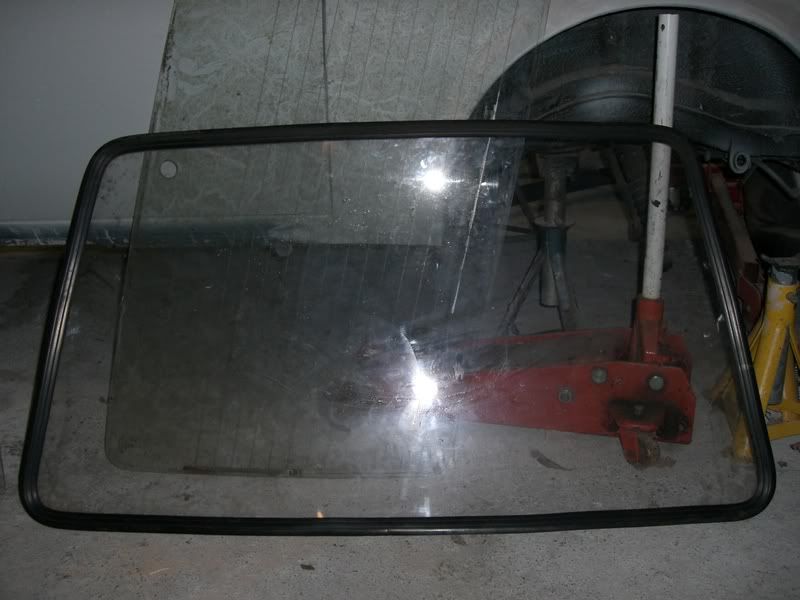
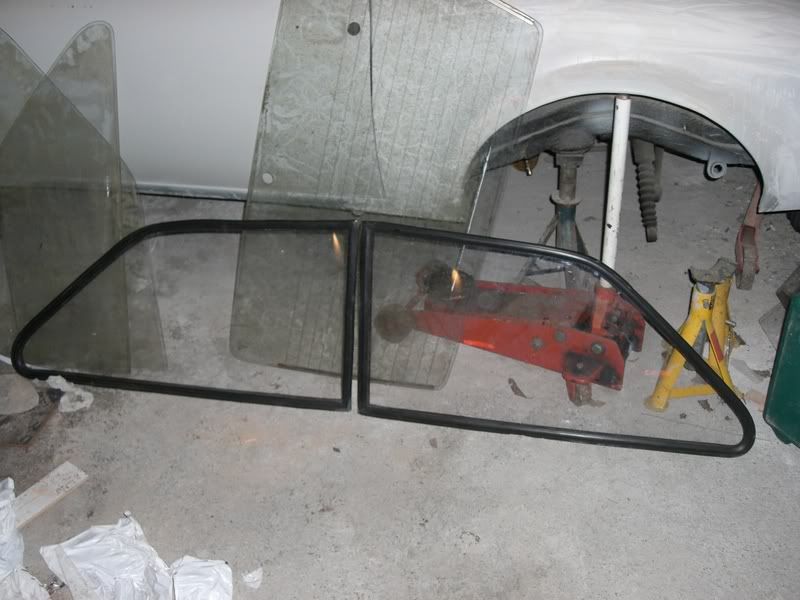
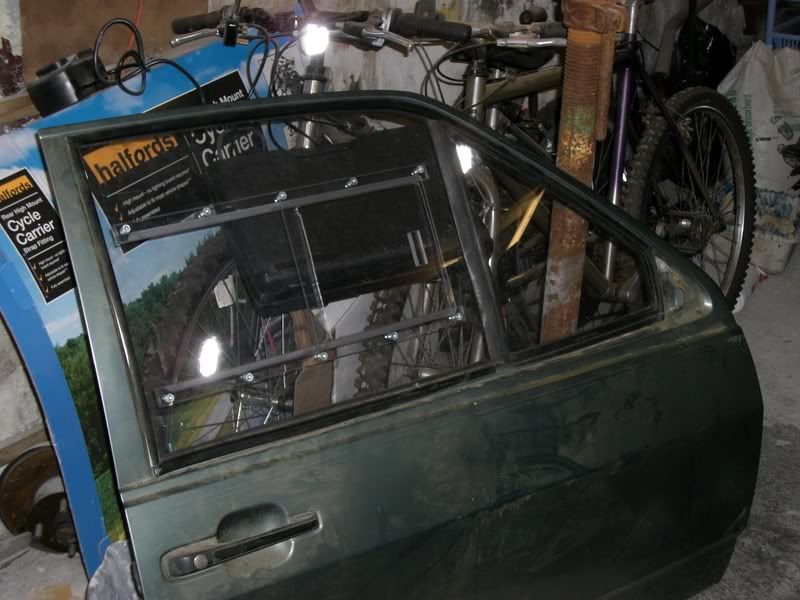
made the perspex windows
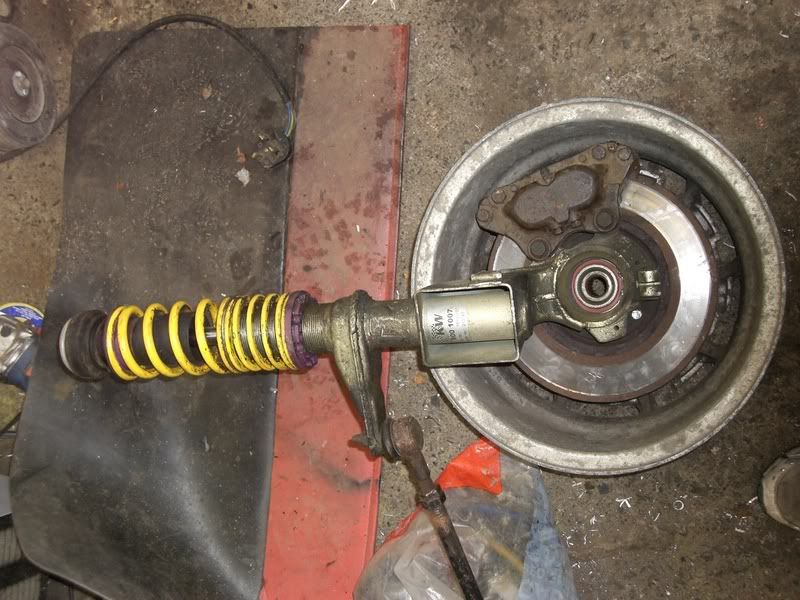
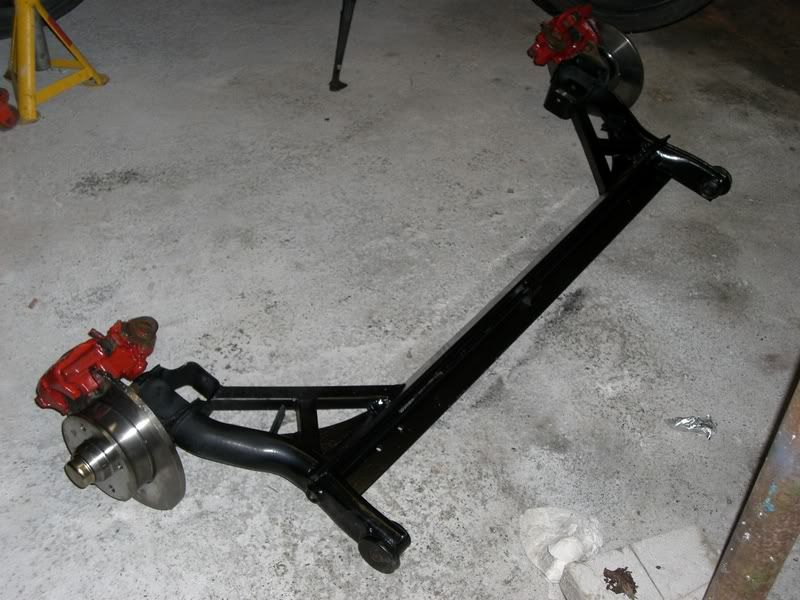
rebuilt and strengthend rear axle with disc beake conversion
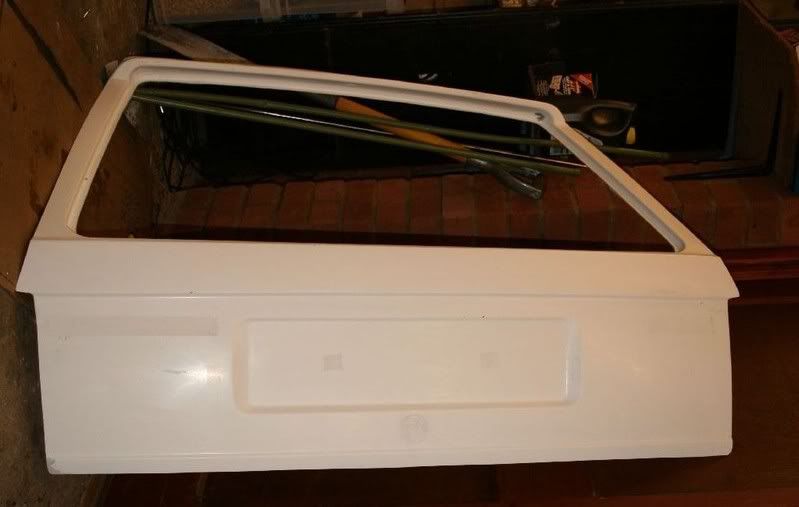
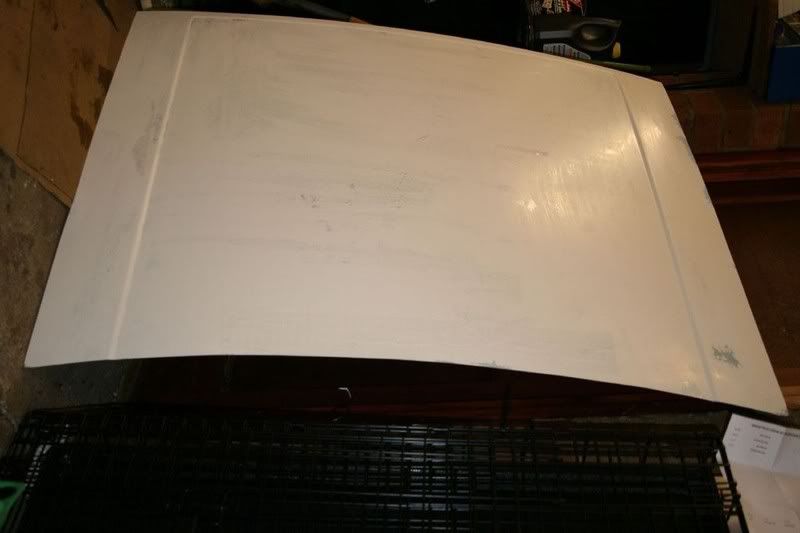
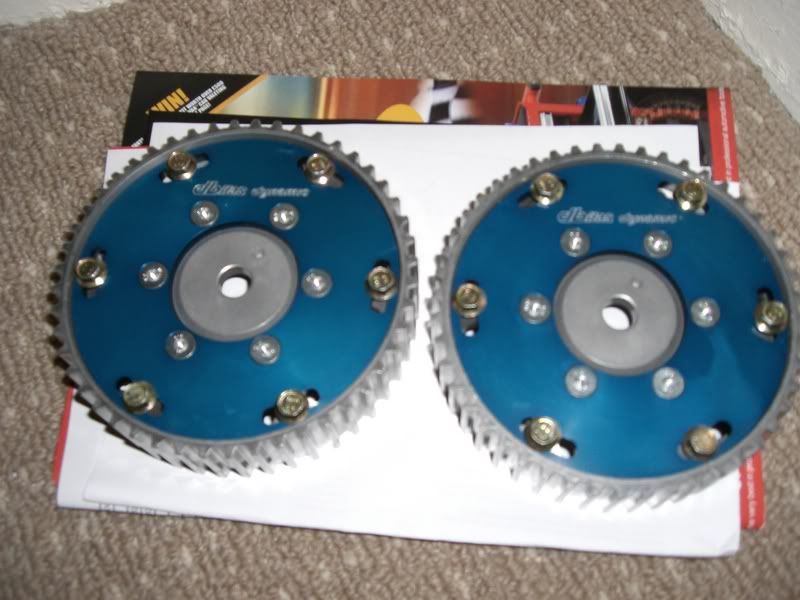
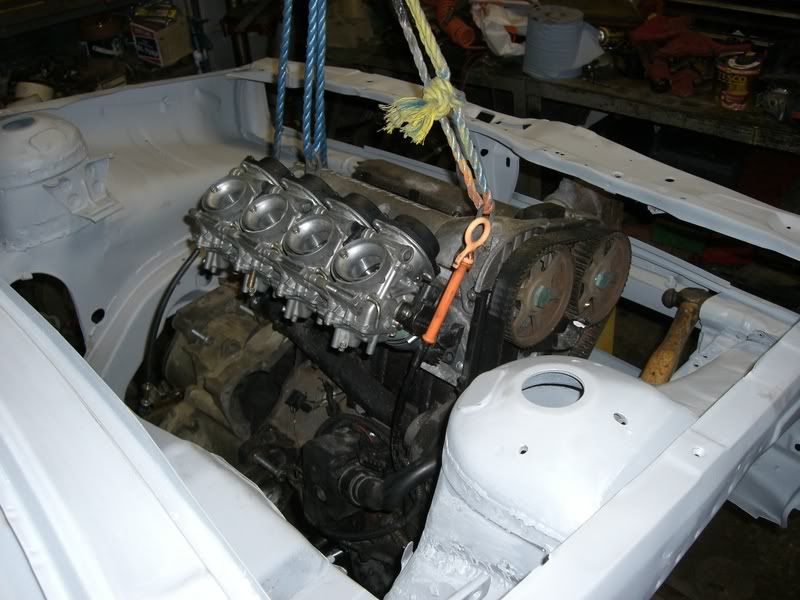
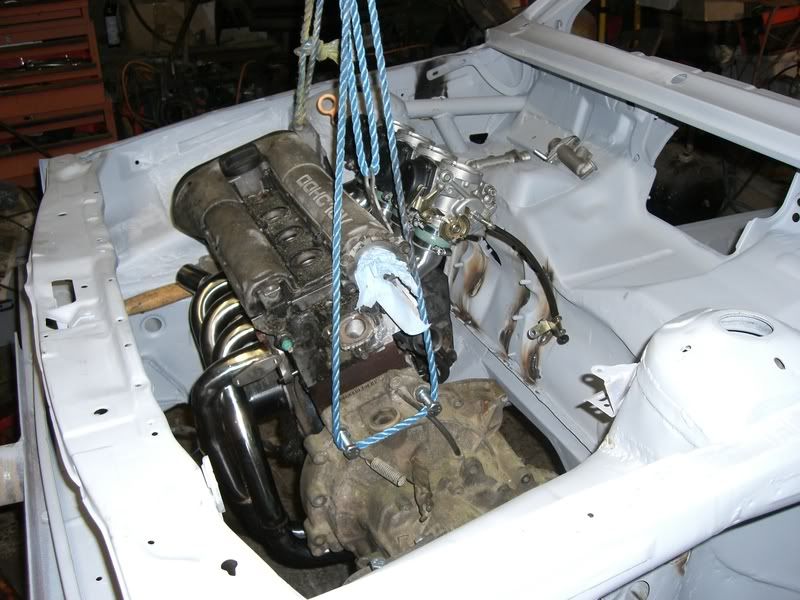
bike carbs,light weight panels,shrick camshafts,dblias verniers


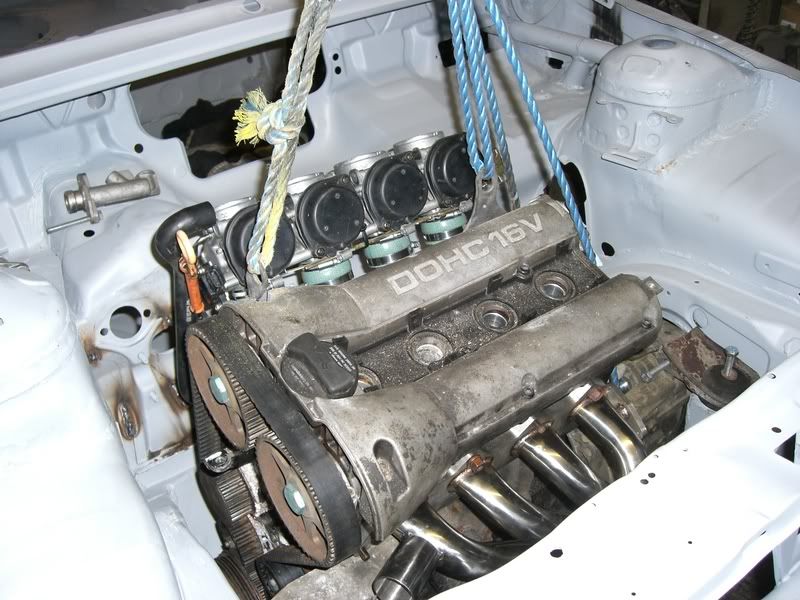
engine fitted to see how much room there is for the bias pedal box with the carbs on and exhaust fourbranch


so left to do is make the bias pedal box rebuild the engine and build the car back up.
hope you enjoyed the read.
then I started to strip the car down for a full rebuild as it was a rolling shell the car had been built as a road/track day car so wasnt up to rally safety spec so I had to start again and cut out alot of the work done by previous owner.
I also cut out the secondary bulk head to get more room around the engine and to get rid of some weight.
I removed the rear arches to find this
so I recut the arches and welded them back up properly
I then made this to make seam welding and strengthening the car easier
next was playing about with some volvo 4 pot calipers and some vw 256 discs and this is what I came up with
then it was time to fit the rollcage and make proper mounting points to the MSA spec
seat bars done to msa spec
up to strut tops extensions from roll cage
then it was time for sandblasting
undercoat time
then had this made to fit in the spare wheel well
made the perspex windows
rebuilt and strengthend rear axle with disc beake conversion
bike carbs,light weight panels,shrick camshafts,dblias verniers
engine fitted to see how much room there is for the bias pedal box with the carbs on and exhaust fourbranch
so left to do is make the bias pedal box rebuild the engine and build the car back up.
hope you enjoyed the read.