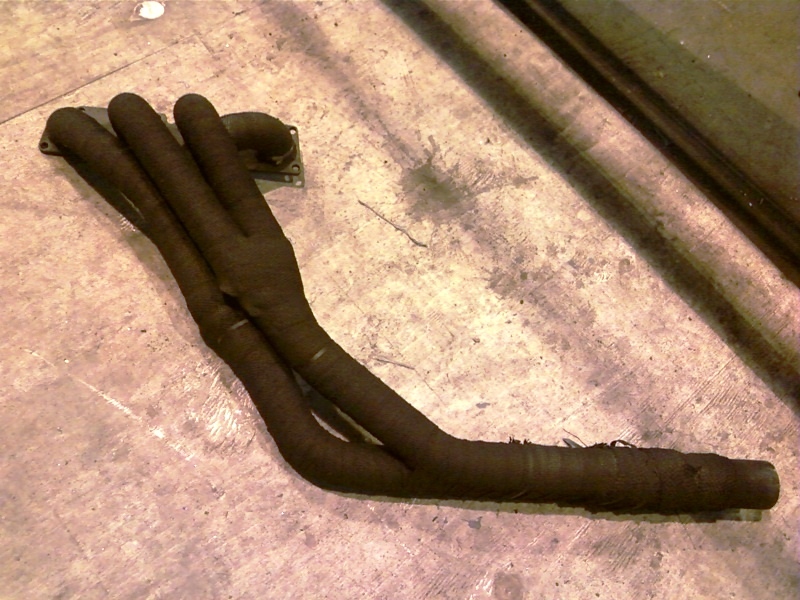
ChrisT
Club Retro Rides Member
Posts: 1,670
Club RR Member Number: 225
|
|
|
|
Thanks  Added a bit more to the subframe, moved the mounting bracket, cleaned it up and got some primer on....  Both with paint.....  New mounting point for driver's side frame meant making up a bracket with captive nuts for underneath the body, also cut out some large 3mm thick washers for the rear mounting bolts...  The washers then needed cutting down as there's a cross member just in front of where the bolts come through, also welded on some nuts to make fitting easier.....  And seats fitted.....  Not an easy job, all the bolts were hard to get to once the seat was in place and, despite using the original frames and mounting points for reference, the driver's seat is offset from the steering wheel slightly - might just be enough room to shift it over but I'll sort that later..... Got the Volvo calipers back on and fitted new pad retainers.....  Master cylinder's rebuilt and bled, just need to finish bleeding the brakes......... |
| |
Last Edit: Jul 8, 2017 7:05:27 GMT by ChrisT: replacing pb links
|
|
|
|
stevietuck
Posted a lot
   Never argue with idiots,they drag you down to their level then beat you with their expertise!
Posts: 1,350
|
|
|
|
|
Just found this and read from the start, car looks hard as nails. Any updates?
|
| |
|
|
ChrisT
Club Retro Rides Member
Posts: 1,670
Club RR Member Number: 225
|
|
|
|
|
Thanks, not a lot to update though, it's been sat in the garage for the last few years since i lost interest in it - or more accurately, lost interest in spending hours in a cold cramped garage working on it.
One day it'll be out and about again.....
|
| |
|
|
|
|
|
|
|
|
Dammit, saw this thread in my bookmarks and thought there was an update/revival :/
|
| |
|
|
stevietuck
Posted a lot
   Never argue with idiots,they drag you down to their level then beat you with their expertise!
Posts: 1,350
|
|
|
|
Get a heater and get back at it  |
| |
|
|
ChrisT
Club Retro Rides Member
Posts: 1,670
Club RR Member Number: 225
|
|
Jun 18, 2017 13:19:28 GMT
|
|
Wow, has it really been over 5 years!!!
Mojo back, got use of a place to work on it with power, expect updates soon.......
|
| |
|
|
ChrisT
Club Retro Rides Member
Posts: 1,670
Club RR Member Number: 225
|
|
Jul 22, 2017 13:10:44 GMT
|
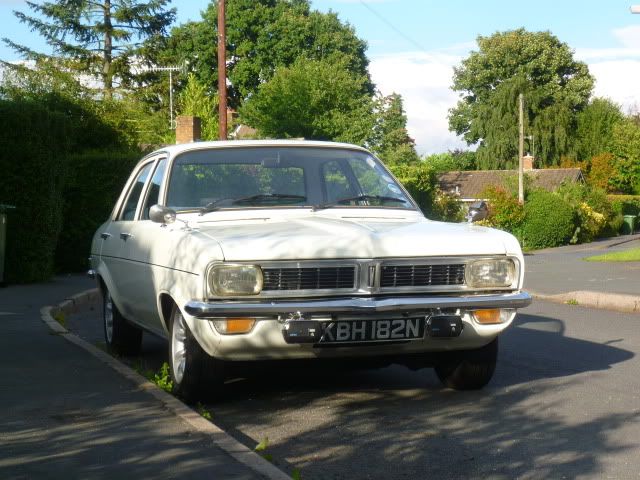
So, this morning this happened......  and a little later in it's new home for a while...  A garage at work with power and enough room round it to work on it  |
| |
|
|
ChrisT
Club Retro Rides Member
Posts: 1,670
Club RR Member Number: 225
|
|
Jul 24, 2017 22:17:21 GMT
|
First job, wash off 5 years of dust and see if soapy water will be enough to remove the oil stain on the front of the bonnet, somethings been leaking on it while it's been sat....  Next, make a list of what needs doing to get it back on the road, looks like there was a number of things I was working on. One of the last jobs I'd started was helicoiling the cam cap threads in the head as I'd stripped a few of them, the number of times the cams have been removed. Simple enough job but on refitting the exhaust cam it was very tight and hard to turn, even with the cam followers removed. All I can think is fitting the helicoils has deformed the sides of where the cam sits very slightly, hoping this can be sorted relatively easily....  |
| |
|
|
Sinky
Posted a lot
   Run Baby Run......Please!
Posts: 1,395
|
|
|
|
Wow Good to see this car back on track. One of my favorites  |
| |
2001 Volvo XC70 wagon
2003 Piaggio X9 Evo
|
|
|
|
|
Jul 26, 2017 15:48:13 GMT
|
|
Absolutely, this was one of my absolute faves back in the day before I had my RR hiatus. Nice to see it isn't just me that's abandoned their project for 5 years! Keep on at it please, you'll inspire me to do mine
|
| |
Project Diary1975 Viva / 1988 T25 Camper / 1989 Mini / 1991 MX5 / 1992 Mini / 1994 Saab 9000 / 1997 Saab 9000 / 2008 Saab 9-5
|
|
|
|
ChrisT
Club Retro Rides Member
Posts: 1,670
Club RR Member Number: 225
|
|
|
|
Thanks both of you  I think everyone needs a bit of a break from things now and again, just didn't think it would end up being 5 years though but you know how it goes, other things take priority (you should see my bass guitar and gear collection now  ) A bit of investigation work on the cam cap problem showed it was the 'location collars' (don't know the proper name) round some of the studs not quite located properly and thus the cam cap not sitting quite in the right position, this has been remedied so I can start putting the engine back together. Having to look back through this thread and other pictures to try and remember what other jobs I'd been doing. Why had the rad and thermostat been taken off, didn't need them out the way to Helicoil the head..... |
| |
|
|
|
|
|
|
|
|
Yay! One of my faves for sure.
Nothing wrong with a break, particularly if you are adding to you music gear collection.
|
| |
|
|
ChrisT
Club Retro Rides Member
Posts: 1,670
Club RR Member Number: 225
|
|
Jul 28, 2017 19:00:08 GMT
|
Decided the other day to replace the flexible silicone coolant hose (rad top and bottom) as I've never really liked them. Measured up what bends I need and diameter - 'knew' this to be 38mm as I've only recently been using the rest of the stainless pipe I'd used as hose joiners. So, today, with new hoses ordered, I decide to take the flexible hoses off the engine and realize they're actually 35mm, hoping my email reaches the seller before they're dispatched..... Looking about the engine bay near the master cylinder I noticed something a bit suspect, removed a few bits and found a bit of rust, which after a bit of poking looks like this.... 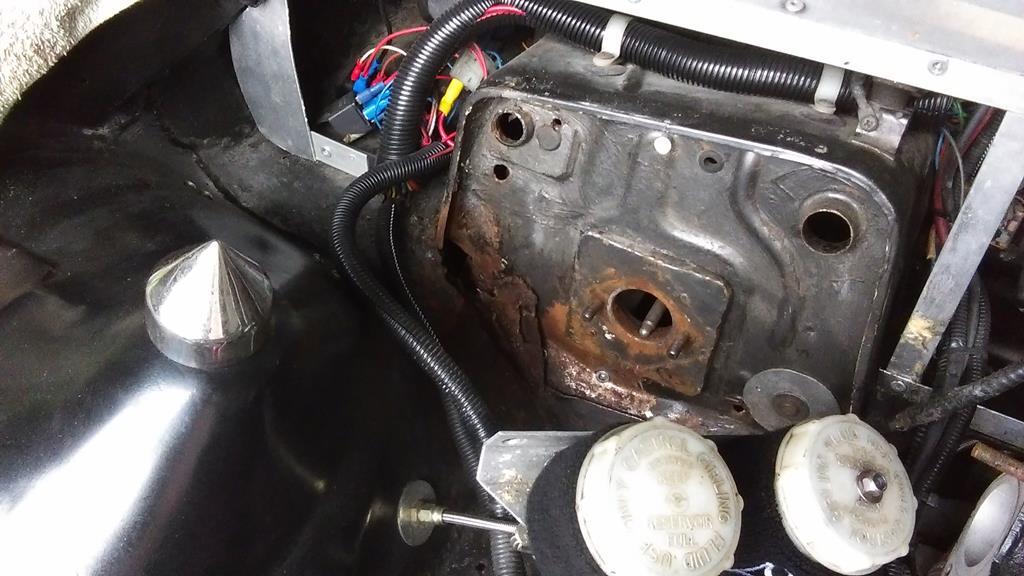 Shouldn't be too difficult to fix    Still going over the car seeing what needs doing, what jobs needs finishing off etc and noticed these rear quarter window trim bits..... 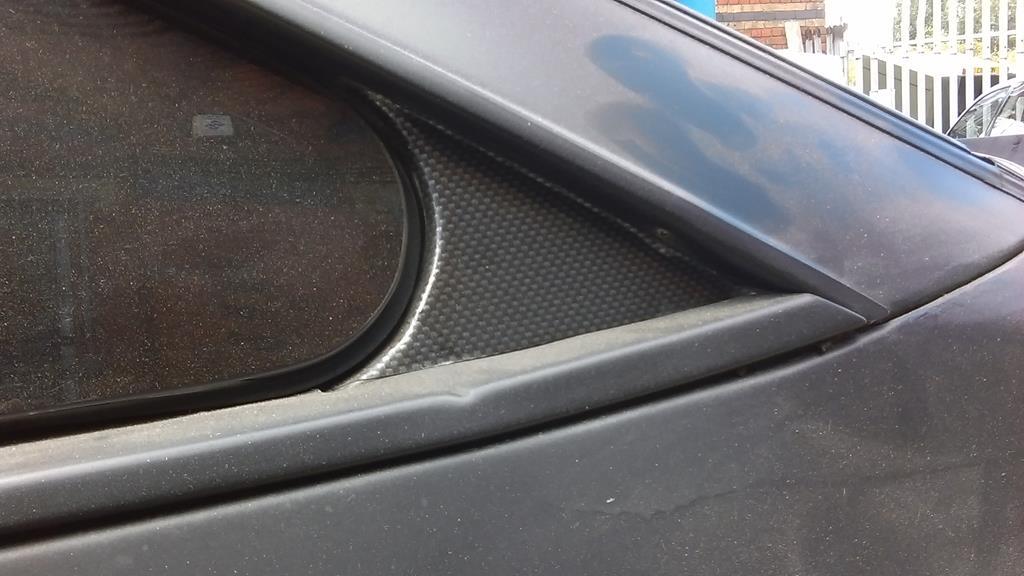 IIRC they were from a sheet of carbon fibre effect sticky back plastic free with Fast Car or Max Power (more likely the latter) back in the mid to late 90's, not the most convincing but having never seen the real stuff back then I wasn't to know, really ought to remove them..... |
| |
Last Edit: Jul 28, 2017 19:03:12 GMT by ChrisT
|
|
ChrisT
Club Retro Rides Member
Posts: 1,670
Club RR Member Number: 225
|
|
|
|
|
|
| |
|
|
|
|
|
|
|
|
Great car. Looks really mean. Reminds me so much of the max power and fast car era.
|
| |
|
|
ChrisT
Club Retro Rides Member
Posts: 1,670
Club RR Member Number: 225
|
|
Jul 30, 2017 15:39:56 GMT
|
A little bit done this afternoon, not my best work but it'll do the job and it won't be visible once everything's back in place..... 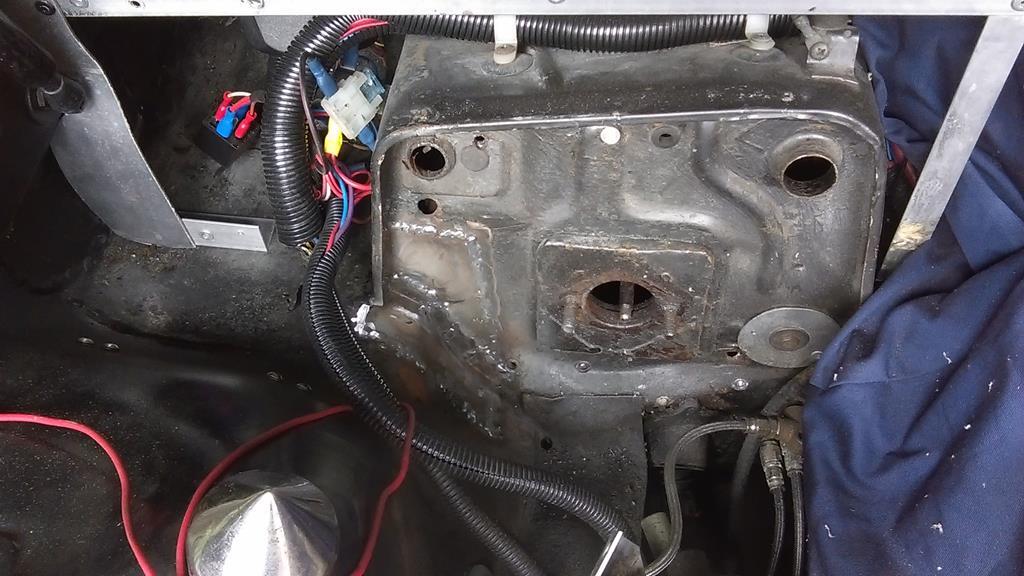 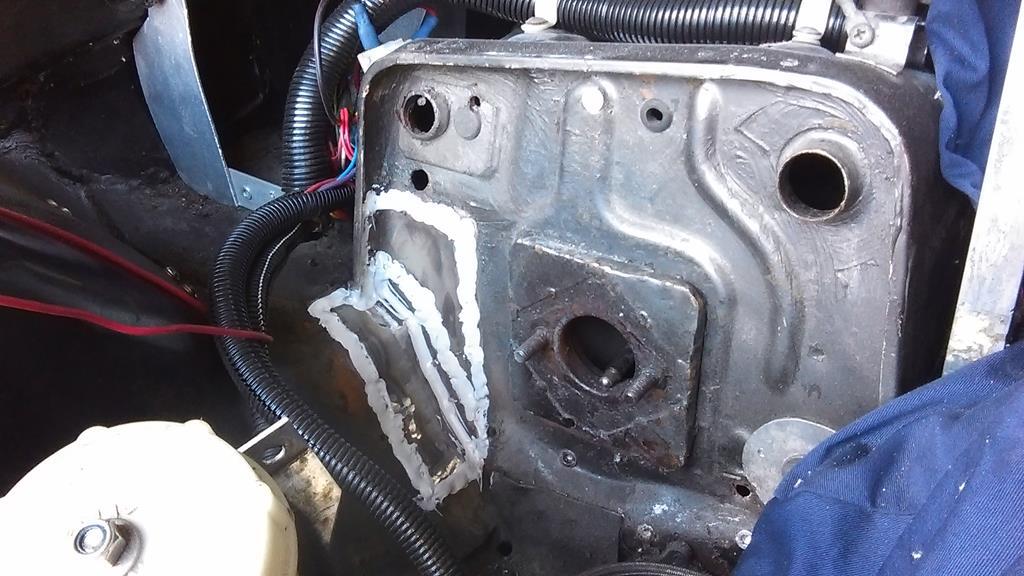 |
| |
|
|
ChrisT
Club Retro Rides Member
Posts: 1,670
Club RR Member Number: 225
|
|
|
|
The way the brake master cylinder is mounted wasn't very neat, was basically the front and rear of the brake servo welded together, decided to remake it.... 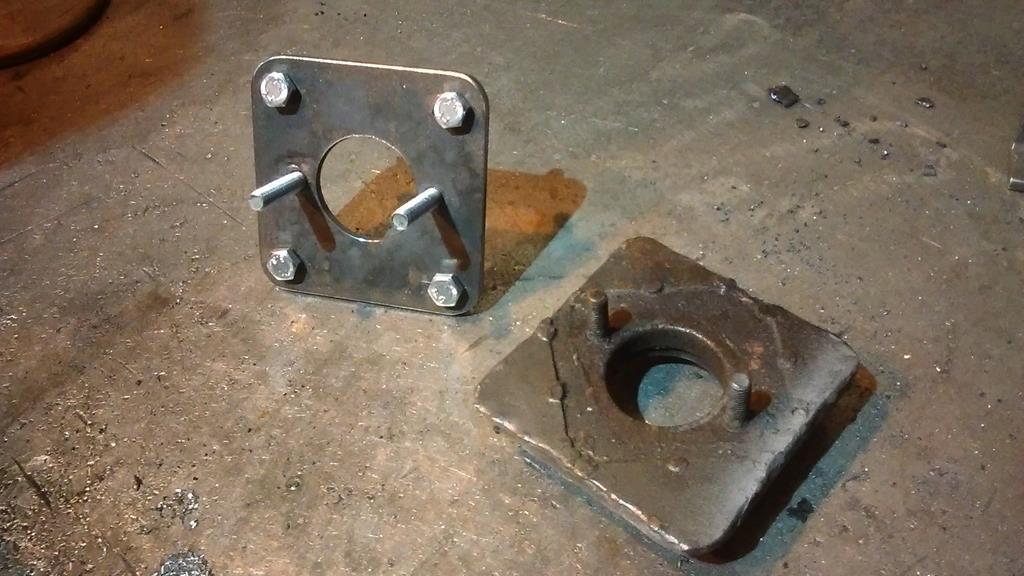 Also, the cover I'd made (many years ago) could be better too, so remade it in aluminium, with the help of a cardboard template. 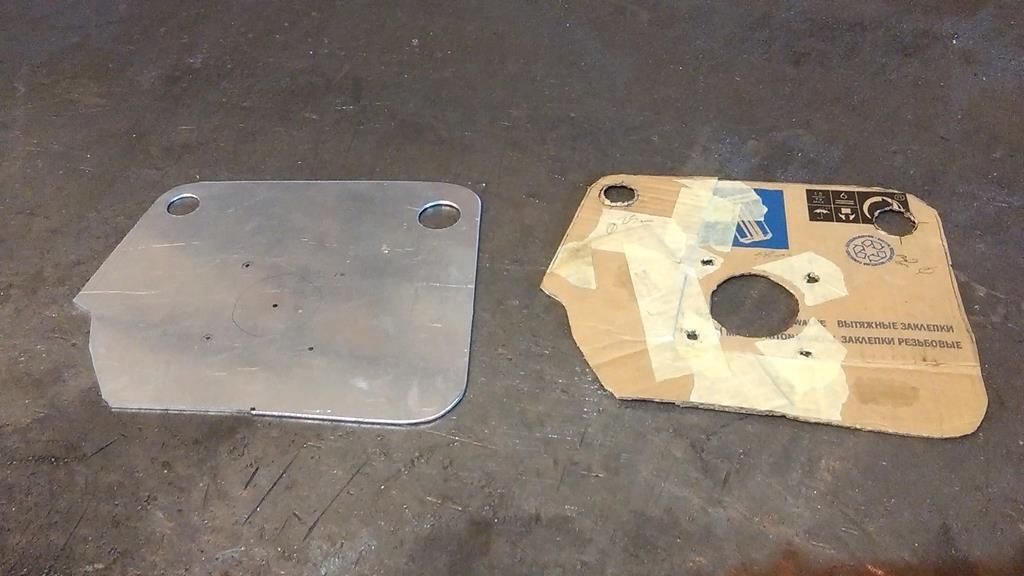 Handy hint, which might be old news to some but it's only just occurred to me, when making templates do it in sections which can be offered up in place easier than the whole thing could be and then tape them together once it's right. Neater 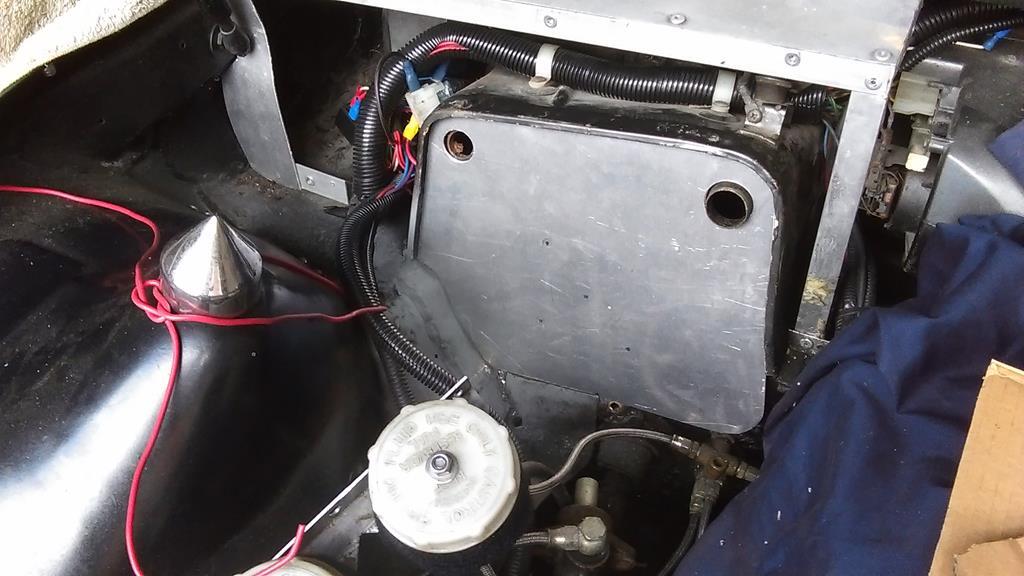 M/C mount fitted... 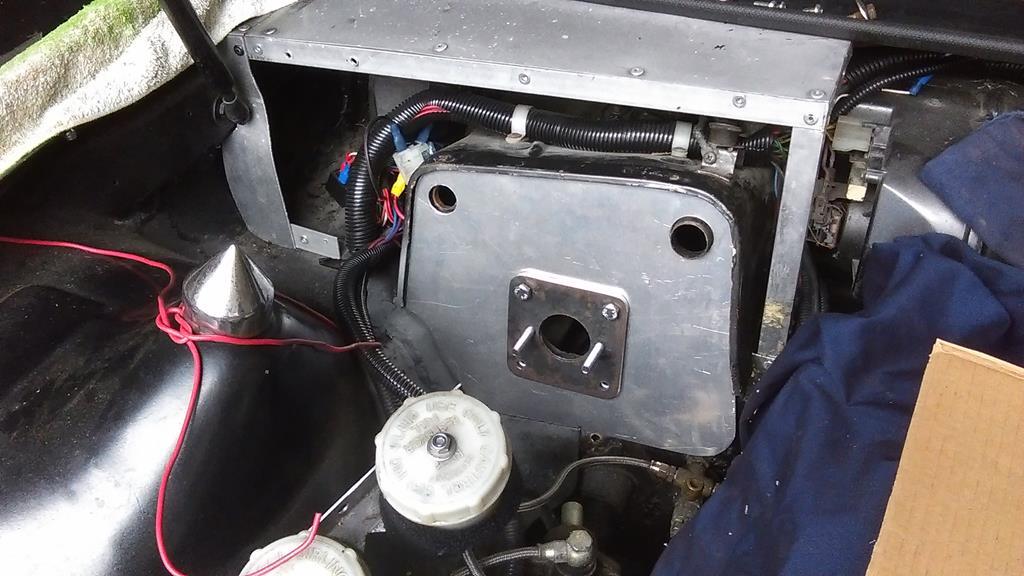 Got these in the post today too.... 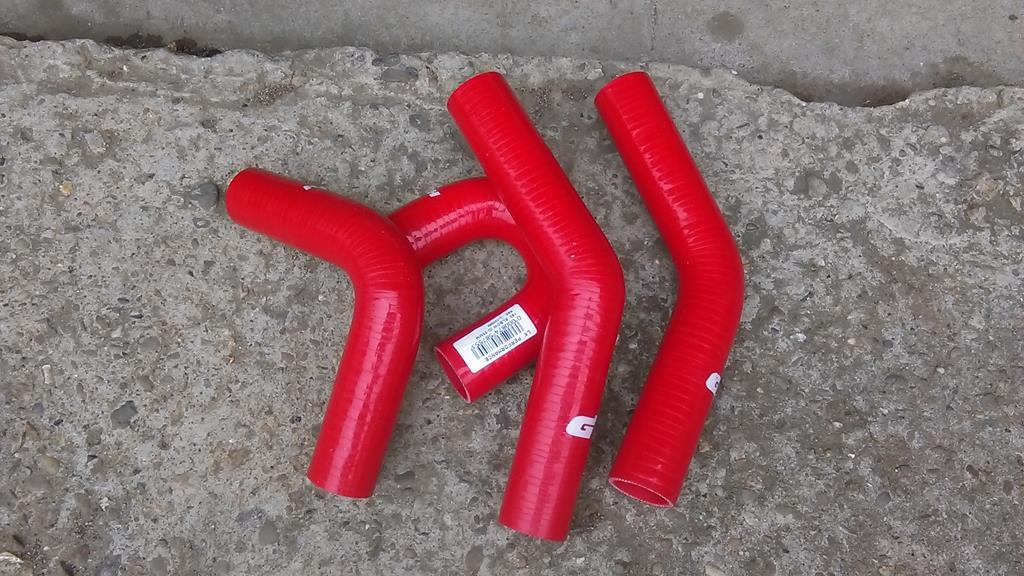 So with a bit of cutting and joining we get a bottom hose, much better looking, and flowing, than the flexi hose... 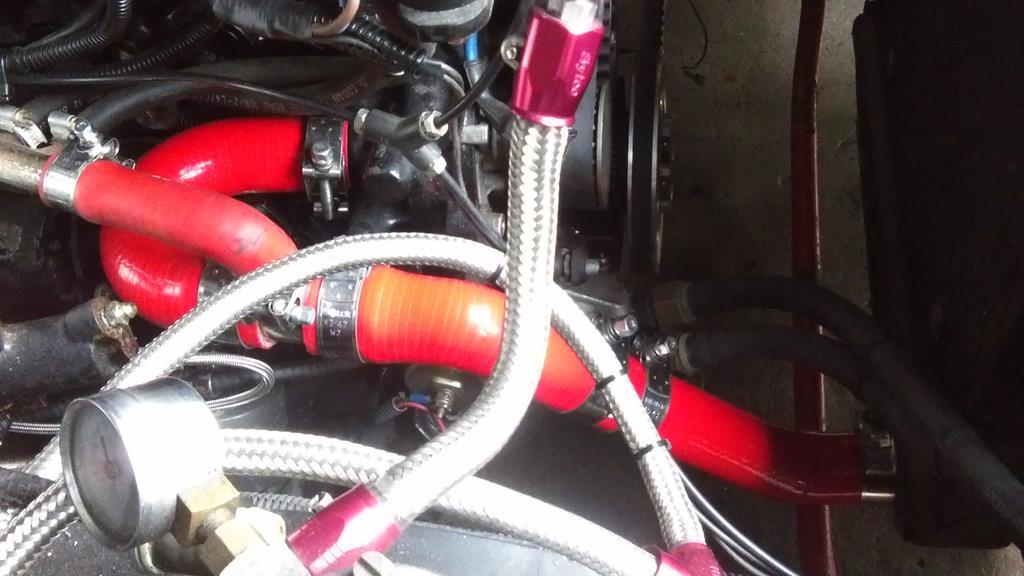 Top hose will take a bit more fabrication..... |
| |
|
|
ChrisT
Club Retro Rides Member
Posts: 1,670
Club RR Member Number: 225
|
|
|
|
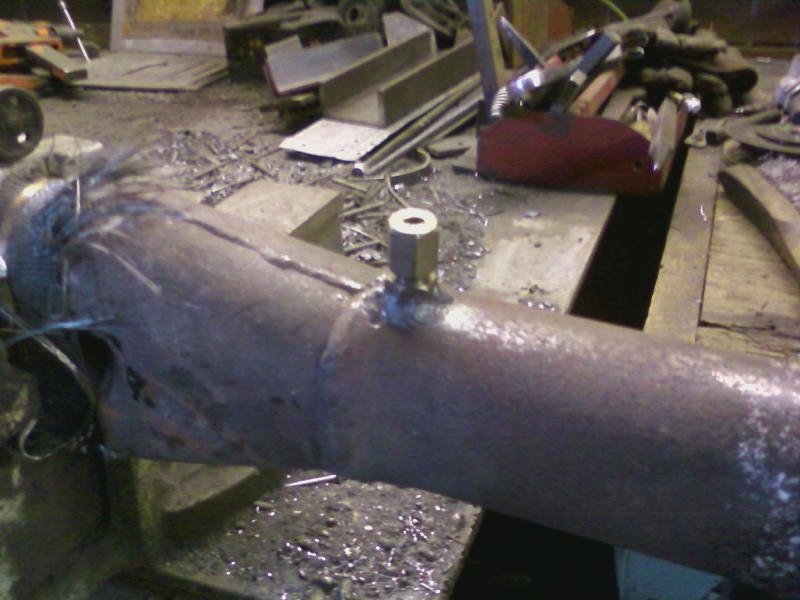
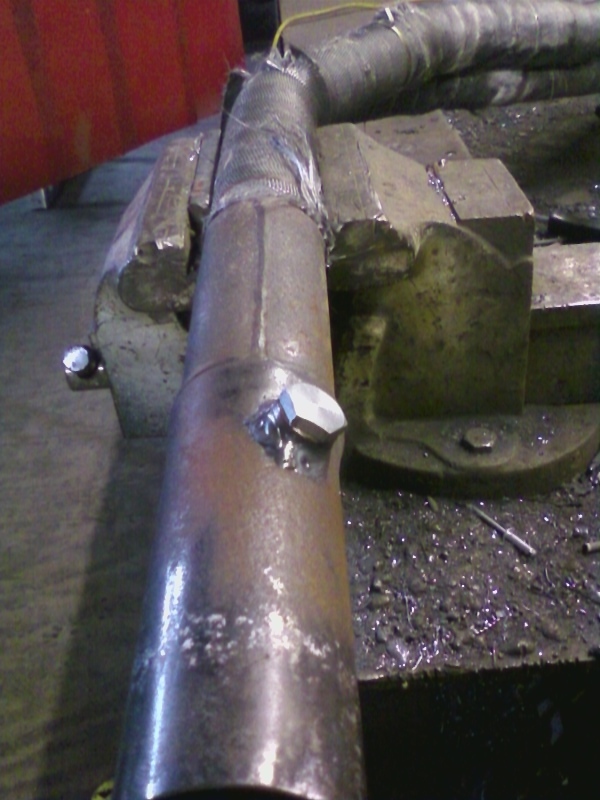
Top hose done, apart from welding a nut to it for the fan switch. 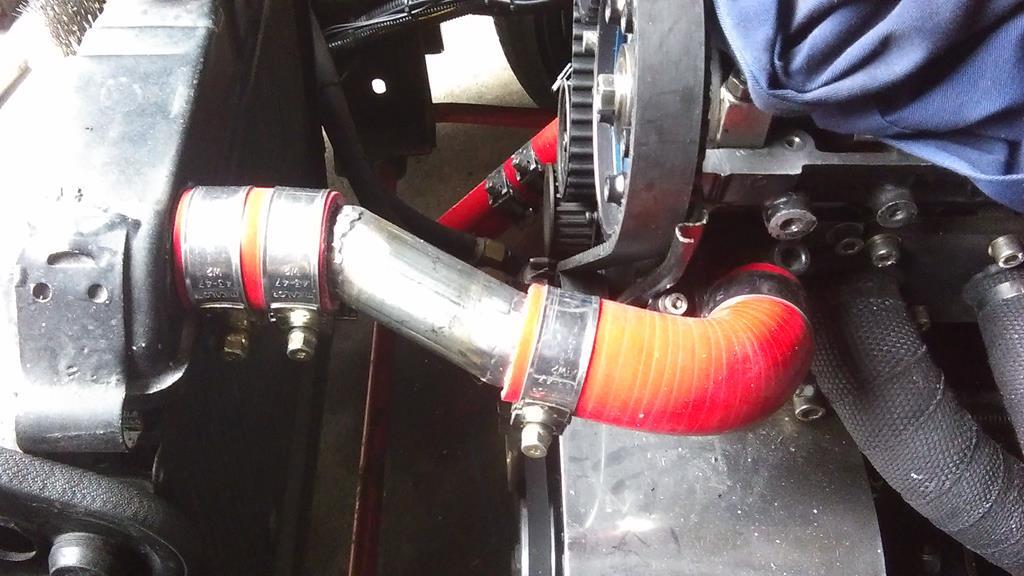 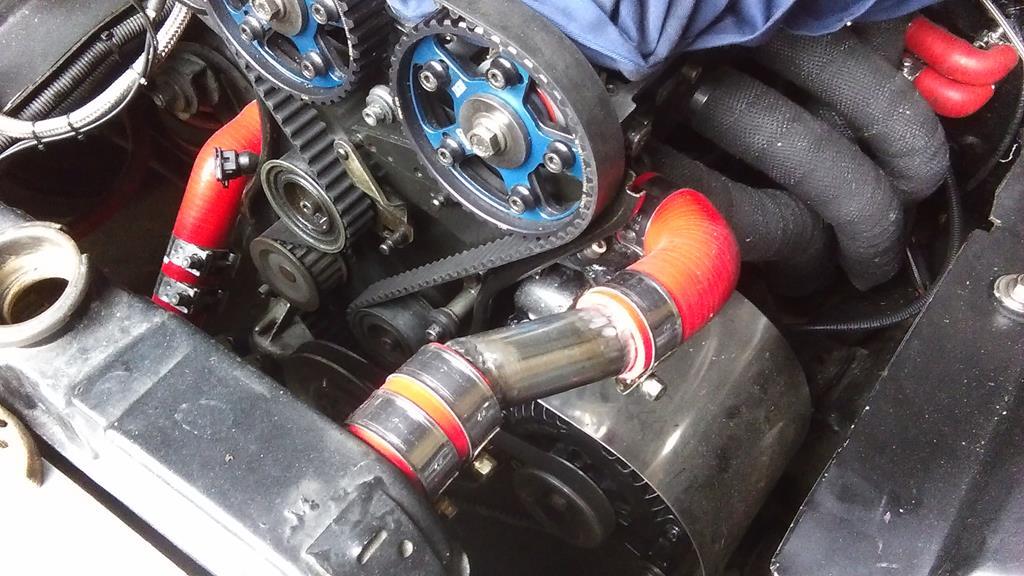 |
| |
|
|
ChrisT
Club Retro Rides Member
Posts: 1,670
Club RR Member Number: 225
|
|
|
|
A bit of paint, M/C mount will be fixed with caphead bolts when finished... 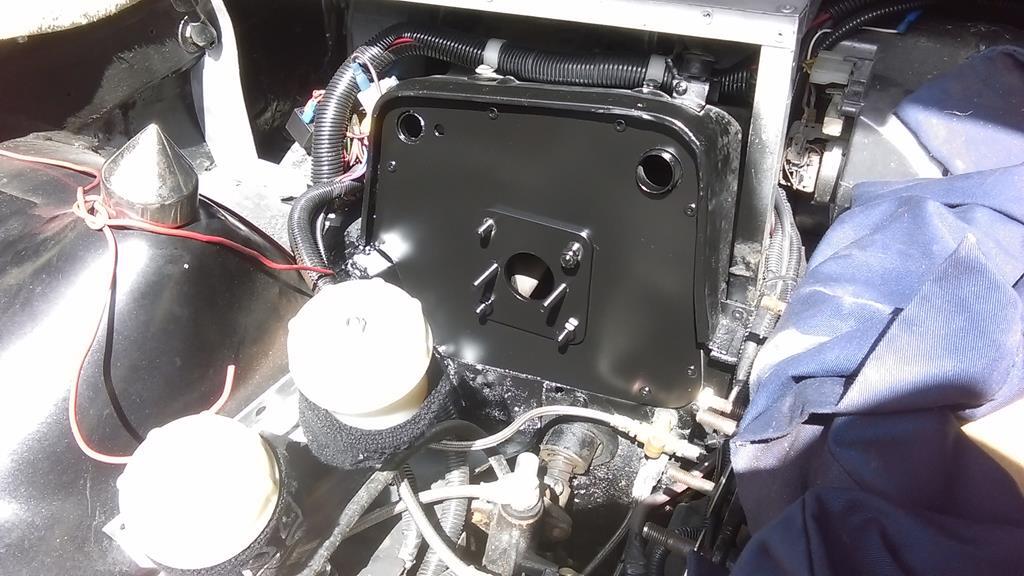 Hoping once it's fully dried it matches the rest of the engine paint better.... Also got the cam cover back on, has got new paint on it but being sat in the workshop for several years has taken it's toll. 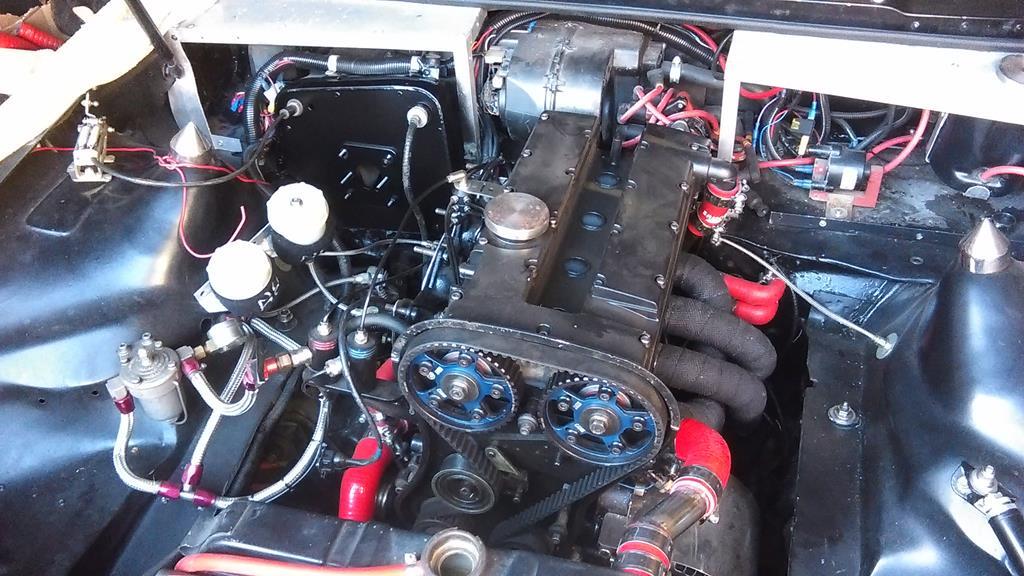 |
| |
Last Edit: Aug 4, 2017 19:36:33 GMT by ChrisT
|
|
ChrisT
Club Retro Rides Member
Posts: 1,670
Club RR Member Number: 225
|
|
|
|
Somewhat spoiled by manky master cylinder... 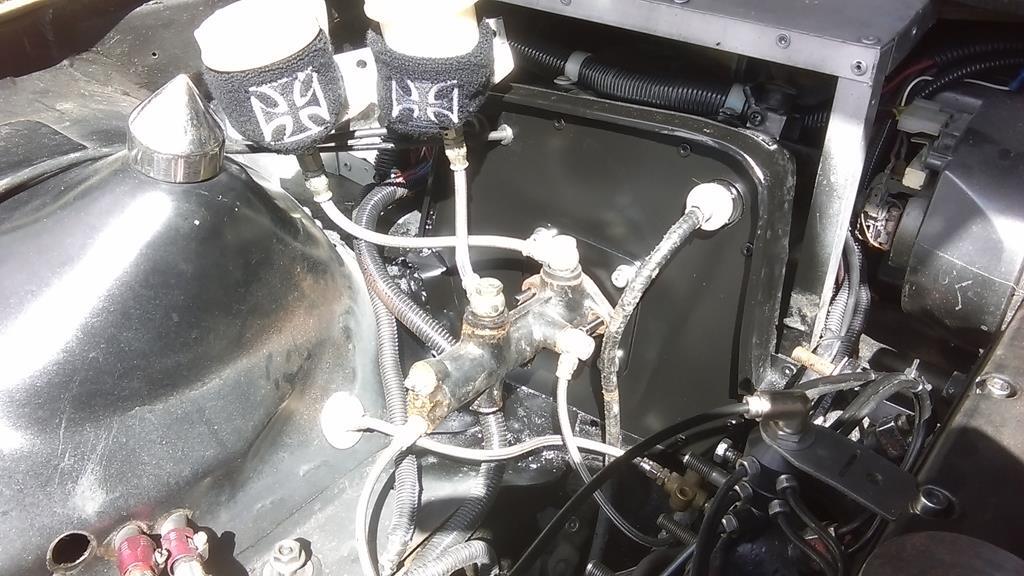 |
| |
|
|
|
|


 )
)


