ChrisT
Club Retro Rides Member
Posts: 1,670
Club RR Member Number: 225
|
|
|
|
Could you give us a potted history of the engine management? Weber alpha ignition only? still running a stock distributor right? It's getting engine position from stock XE crank trigger wheel and sensor? Not Hall sensor in dizzy? ignition amps are in the ecu, rather than external on coil Base plate like standard? It's Weber Alpha 3D ignition - inputs/outputs to CAS, TPS, air temp sensor, coil, tacho and 12V power. Engine position from stock crank sensor/wheel and Weber TPS. Std dizzy with nothing going to it but dizzy leads and as far as I know ignition amps must be in ECU as there's nothing on the coil, which also came with the Weber kit. Magnecor 8.5mm leads and NGK plugs - one grade cooler and short nosed for the high compression pistons. Air temp sensor on the air filter base plate. Took the circuit board out of the ECU and there's nothing visibly wrong with it - it's in the glovebox so not subject to engine bay temps or moisture. It's been working like this for many years, not changed anything related to the wiring at last rebuild. |
| |
Last Edit: Oct 24, 2018 5:55:12 GMT by ChrisT
|
|
|
|
|
|
|
|
|
|
Hmm, never dealt with alpha, only mbe dta and emerald. But remember alpha being deliberately DIY unfriendly. (sales ploy to benefit dealers I guess)
So I guess you can't get into the interface to see what crank signal or tps are up to, that would be my advice. 1 and 4 dropping out made my spider sense tingle as that's how wasted spark behaves (1 and 4 fired at same time, 3 and 2 at same time) i can't think how a problem with distinct pattern could develop unless their coil drivers were shared see.
|
| |
|
|
ChrisT
Club Retro Rides Member
Posts: 1,670
Club RR Member Number: 225
|
|
Oct 24, 2018 22:46:37 GMT
|
|
Have read elsewhere that alpha ecus aren't easy to work with without the right equipment.
Interesting thoughts, I have been wondering if it's worth sending it off to somewhere to be tested, there's a place in Nottm which is fairly close.
|
| |
|
|
ChrisT
Club Retro Rides Member
Posts: 1,670
Club RR Member Number: 225
|
|
Oct 27, 2018 16:51:01 GMT
|
Doesn't look like much progress being made but I'm getting there, slowly. There's been a lot of undoing of what I did earlier in the day/day before as I realize things like 'that red wire shouldn't be connected to that, it's the other red wire' and other such things..... 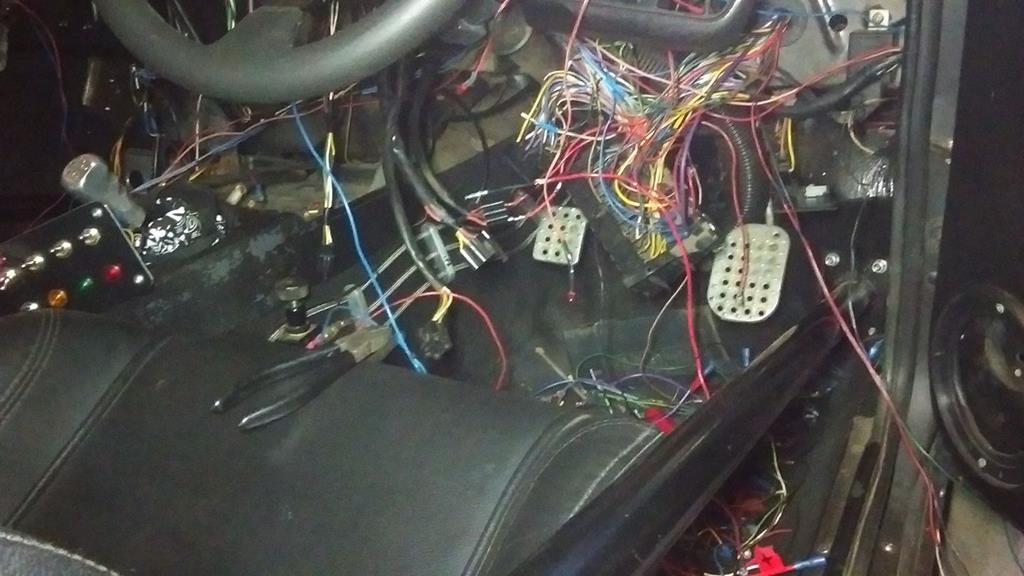 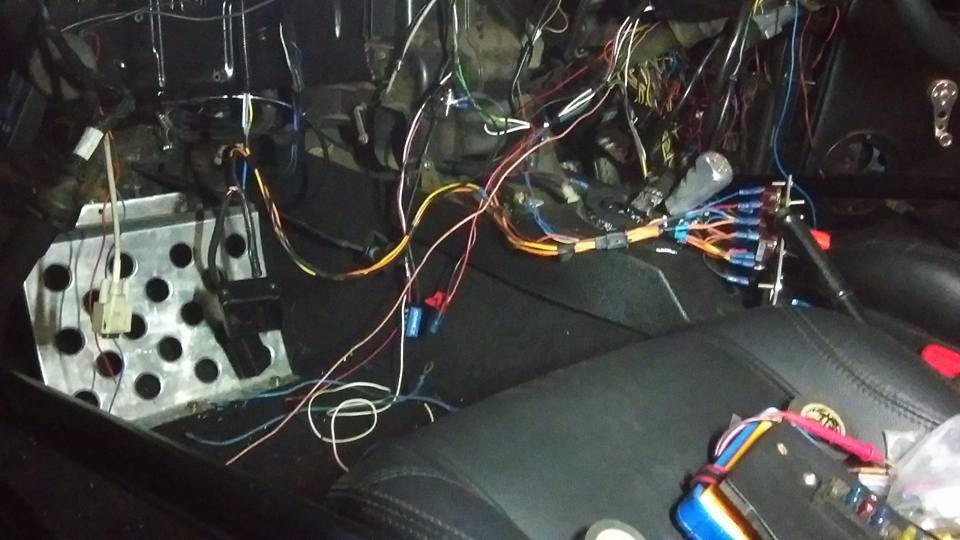 Been looking at loom tape to rewrap the wires but I think I'll struggle to do a decent job as access to a lot of it is tight, cable ties and spiral wrap or convoluted tubing I think is the way. Bought this the other day.... 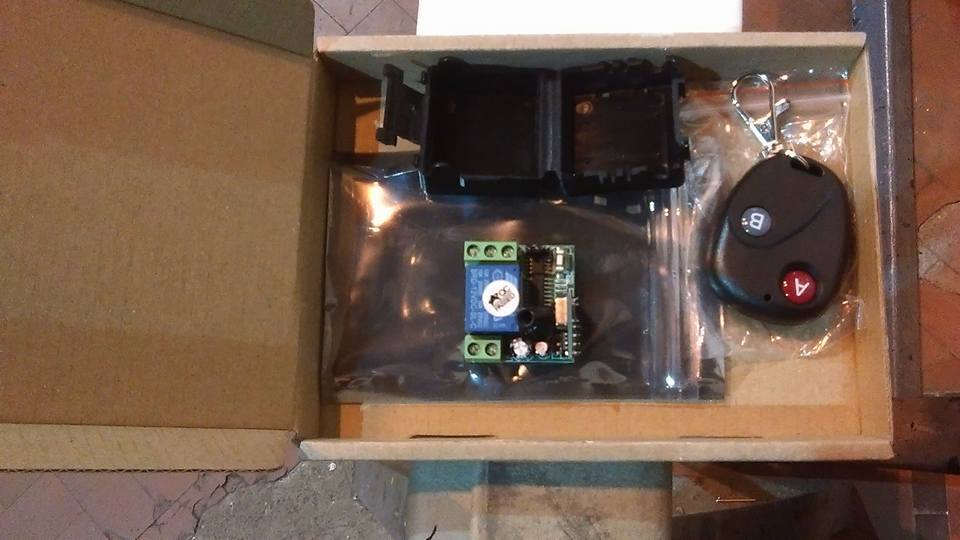 A 12v transmitter/receiver so I can remotely open the boot, mounted in the boot near the relay should do the trick - test wired it in place of the button in the dash and it works fine  Whilst half the dash and the wiring is out I cant help thinking it might be a good idea to get the top part of the dash out and repaint it, it needs doing in places and would be a lot easier out of the car, but then I got thinking maybe flocking would be a better option....... |
| |
Last Edit: Oct 27, 2018 16:51:58 GMT by ChrisT
|
|
ChrisT
Club Retro Rides Member
Posts: 1,670
Club RR Member Number: 225
|
|
Oct 28, 2018 17:14:28 GMT
|
A bit cold in the garage to do a great deal today but the top half of dash came out with minimal fuss - just 3 bolts once the instrument binnacle was out the way.... 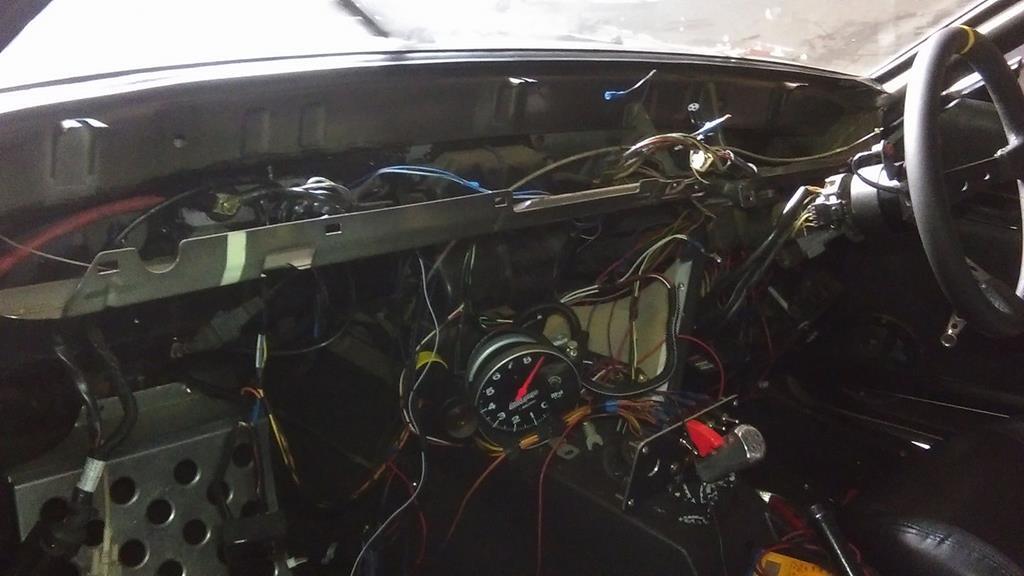 Should have done this earlier, it makes access to the wiring a lot better. Still tempted with flocking but my working methods aren't always the most thought out and I think I'll end up scratching/damaging the surface either refitting it or not long after..... |
| |
Last Edit: Oct 28, 2018 17:15:22 GMT by ChrisT
|
|
ChrisT
Club Retro Rides Member
Posts: 1,670
Club RR Member Number: 225
|
|
|
|
So, after deciding probably not to flock the dash I watched a few DIY flocking videos on youtube which lead to the arrival of this a few days later....  DIY flocking kit from Floc-king. Started dash prep, sprayed it black years ago so that needed to be rubbed down..  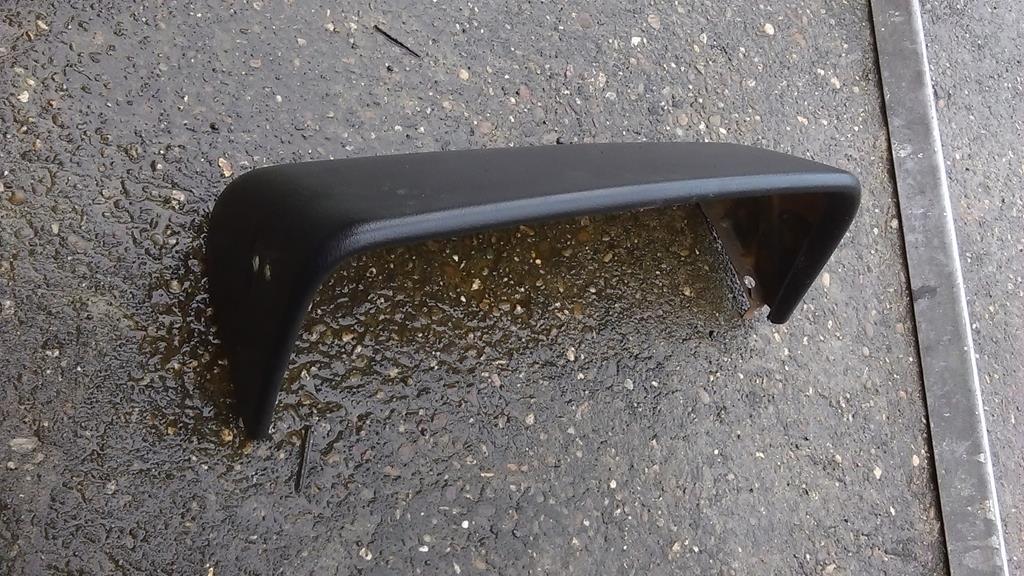 Most of it came off easily with wire wool... 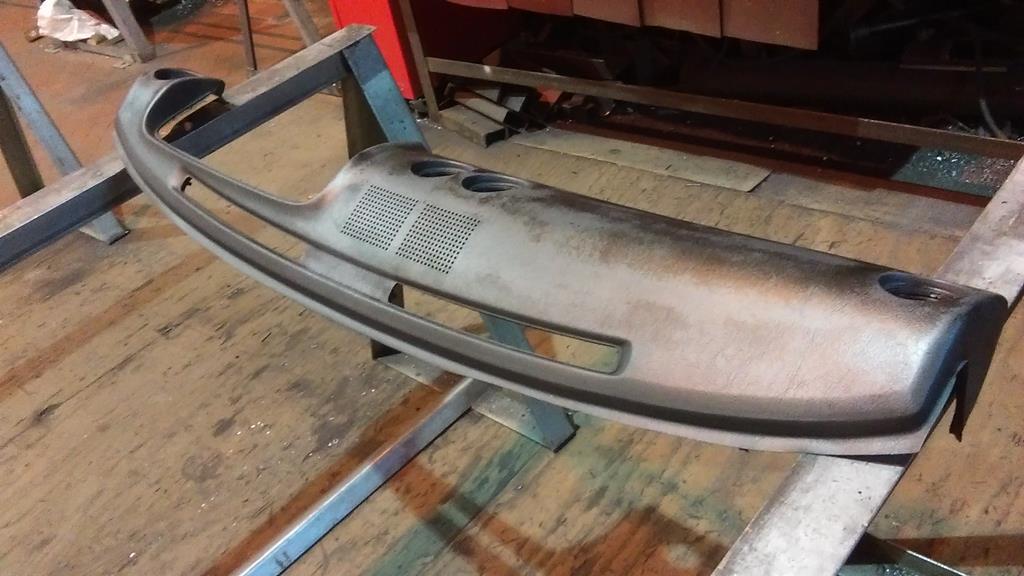 Same couldn't be said about the instrument binnacle, a lot of rubbing resulted in no difference, I must have bought a black one at some point as the finish is not paint.... 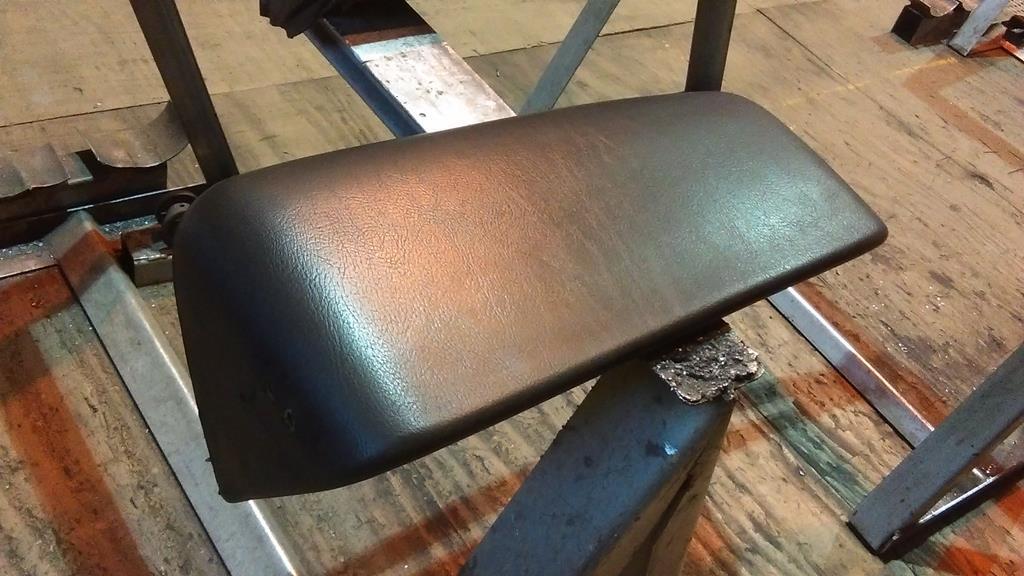 Realized I had a slight problem as to where to do the flocking, I can get an area in the workshop up to a suitable temperature but no way of keeping it warm long enough for the glue to cure. Am going to have to use the dining room while the mrs is out tomorrow..... |
| |
Last Edit: Nov 2, 2018 20:25:20 GMT by ChrisT
|
|
ChrisT
Club Retro Rides Member
Posts: 1,670
Club RR Member Number: 225
|
|
|
|
Dust sheets everywhere and dash prepped with panel wipe.... 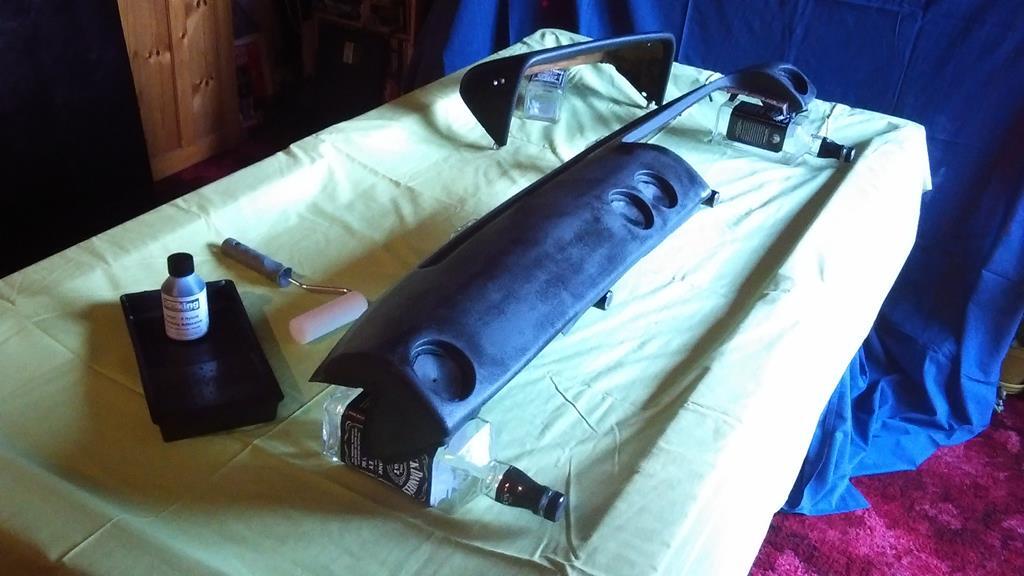 No pictures of the process as the glue only has a short window of workability once applied, thought I'd got a nice even coat on but once I started adding the flock it was obvious there were some areas too thin for it to stick to  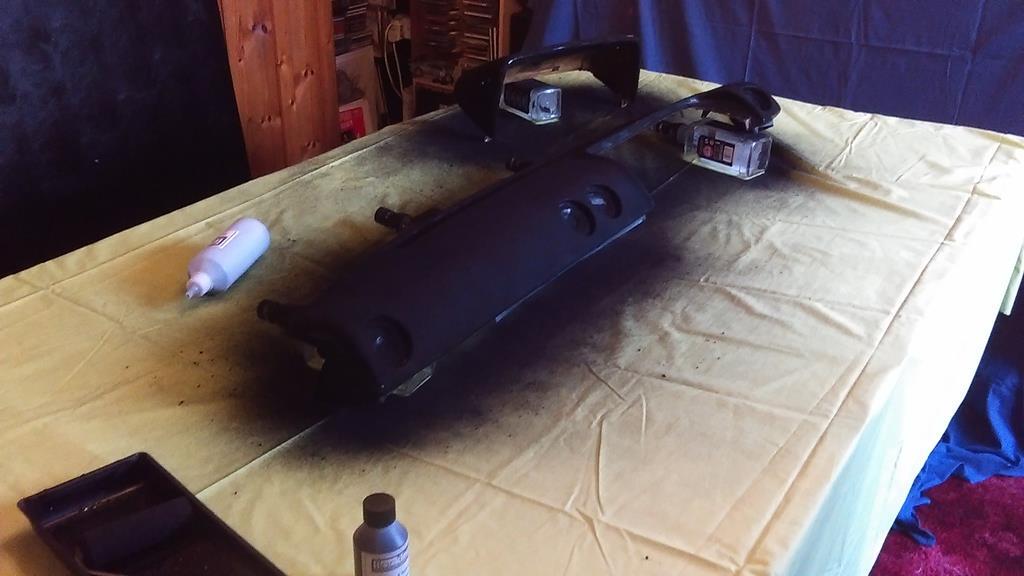 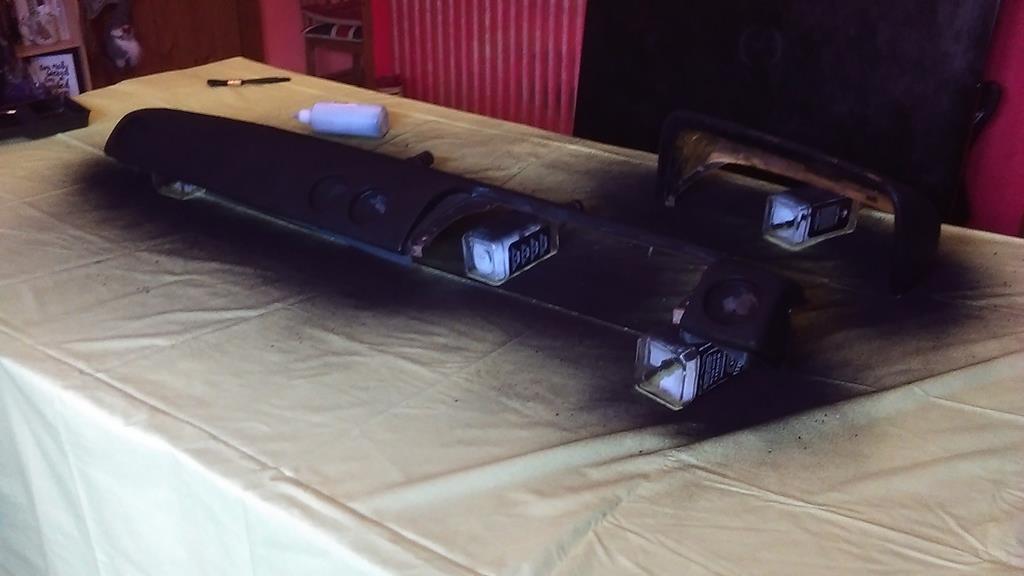 See what it looks like once dry and the excess flock taken off but I think it's going to be a mess. Touching up areas isn't easy but will need doing. |
| |
|
|
ChrisT
Club Retro Rides Member
Posts: 1,670
Club RR Member Number: 225
|
|
|
|
Had a think about the patchy flocking and thought this morning I would have a go applying glue to the bare areas and seeing if I could blend in the flock. Unfortunately, after brushing the loose stuff off, I realized it was a lot worse than first imagined, flock has barely stuck to the majority of it. 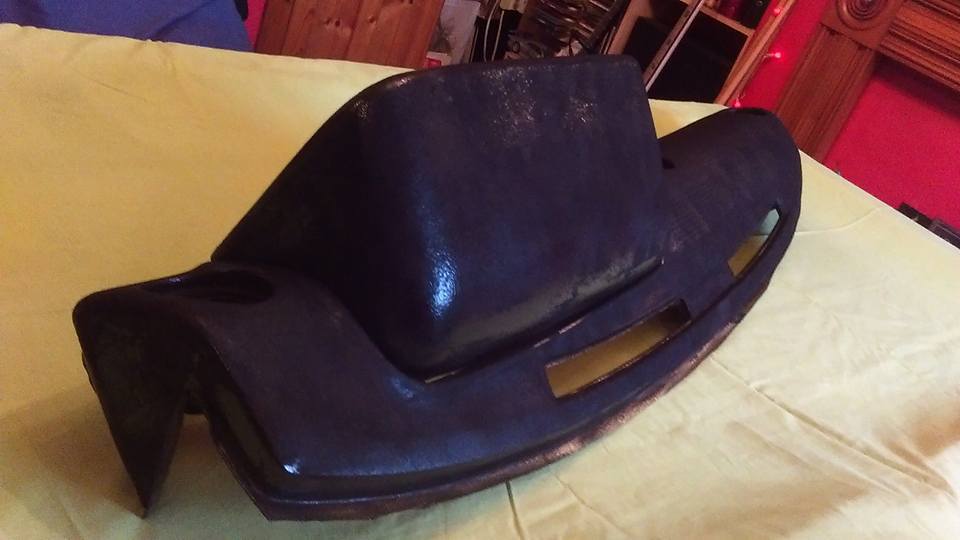  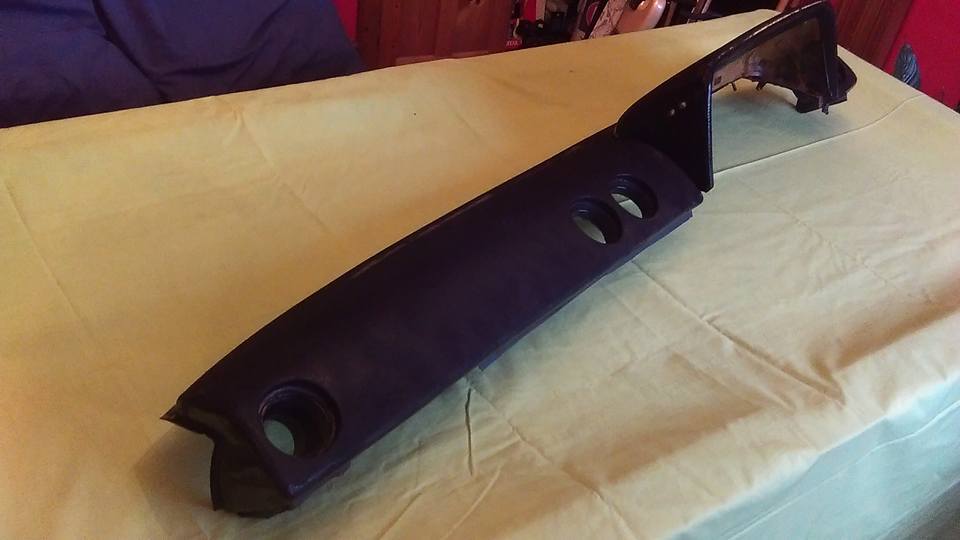 Obviously I'd not applied the glue anywhere near thick enough, thought I'd given it a good coating but it's hard to tell - the kit said there's enough to do 1sqm which is more than I needed, should have just used it all up but with only 15mins to apply and flock I didn't want to waste time. There's now more flock in the vacuum cleaner than there is on the dash. Hopefully I can remove what flock is left on it and then give the dash to someone who knows what they're doing... |
| |
Last Edit: Nov 4, 2018 12:18:32 GMT by ChrisT
|
|
|
|
|
|
|
|
Having use a similar technique on a model railway (for grass) I would say that you did not have a good static charge rather than not enough glue.
|
| |
|
|
Porsche
West Midlands
Kev from B'ham.
Posts: 4,725 
|
|
|
|
Having use a similar technique on a model railway (for grass) I would say that you did not have a good static charge rather than not enough glue. Or the five bottles of Jack Daniels that he drank before starting.   |
| |
Last Edit: Nov 4, 2018 12:51:10 GMT by Porsche
|
|
|
|
ChrisT
Club Retro Rides Member
Posts: 1,670
Club RR Member Number: 225
|
|
|
|
Having use a similar technique on a model railway (for grass) I would say that you did not have a good static charge rather than not enough glue. This was a really basic kit, no electrostatic applicator, just a squeezy bottle. |
| |
|
|
|
|
|
|
|
That's why it failed Chris nothing to make the fibers stand up on end Here is how to make your own applicator, ok it's for model grass but works the same way.
|
| |
|
|
ChrisT
Club Retro Rides Member
Posts: 1,670
Club RR Member Number: 225
|
|
|
|
|
Seen a few example of using something like that but there's plenty of guides on Youtube where people are just using a 'puffer' with no static charge which come out OK - I'm fairly sure it's the glue which was the problem, too thin and maybe the room being too warm for it also.
|
| |
|
|
|
|
|
|
|
|
Even if there wasnt a problem with the glue you will still get flat spots/ bald spots because the flock isnt being sat on end ie. it will look gash
|
| |
|
|
ChrisT
Club Retro Rides Member
Posts: 1,670
Club RR Member Number: 225
|
|
Nov 17, 2018 16:25:19 GMT
|
Ignoring the dasboard at the moment and working on a few other jobs, finished cutting out the centre console panel so the gauges and switches now fit, using countersunk rivnuts and stainless bolts to fix everything in place.... 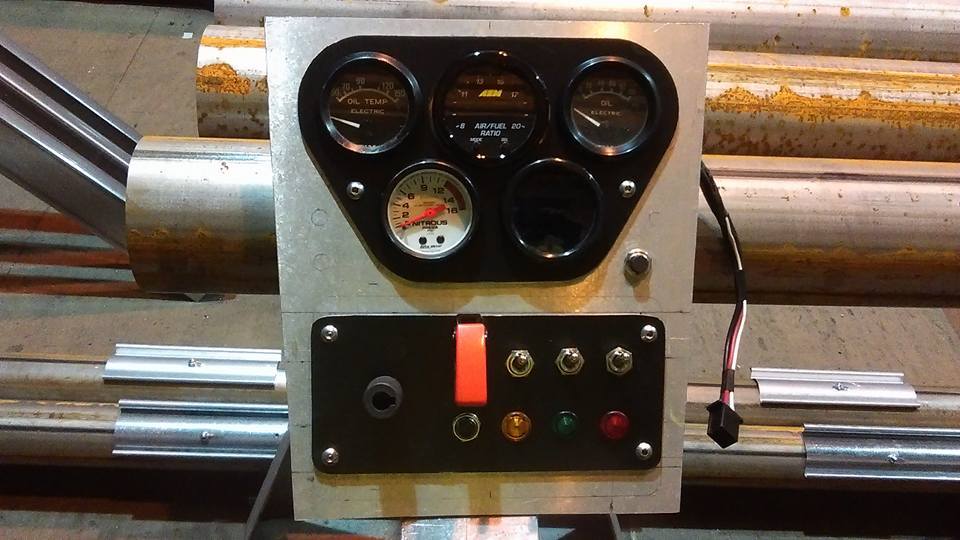 Decided to try some textured paint to finish it off, the is a couple of coats of Halfords own stuff, with matt black over the top, seems to give a good finish....  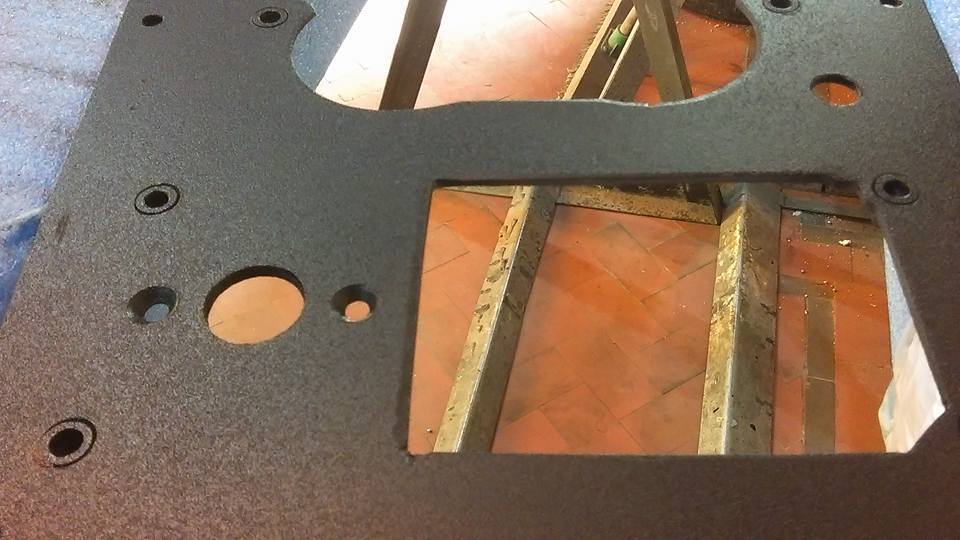 And in place.... 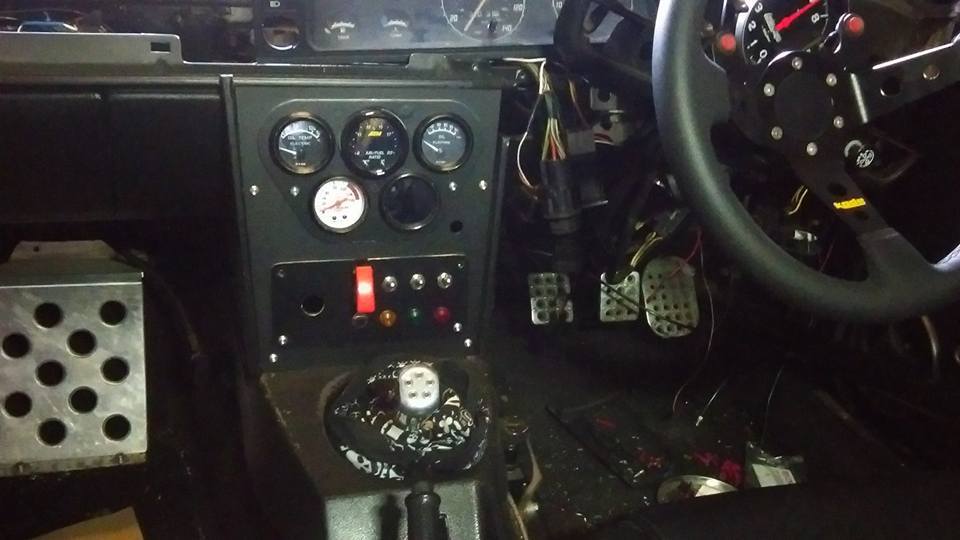 Where the rear view mirror attached to used to house the remote sensor for the boot solenoid but now I've replaced that I can do away with it and replace with something better.....  Find some chain, same size as used on the nitrous bottle hanger...  Cut a length, wrap it round a bit of 100mm tube and add a few welds... 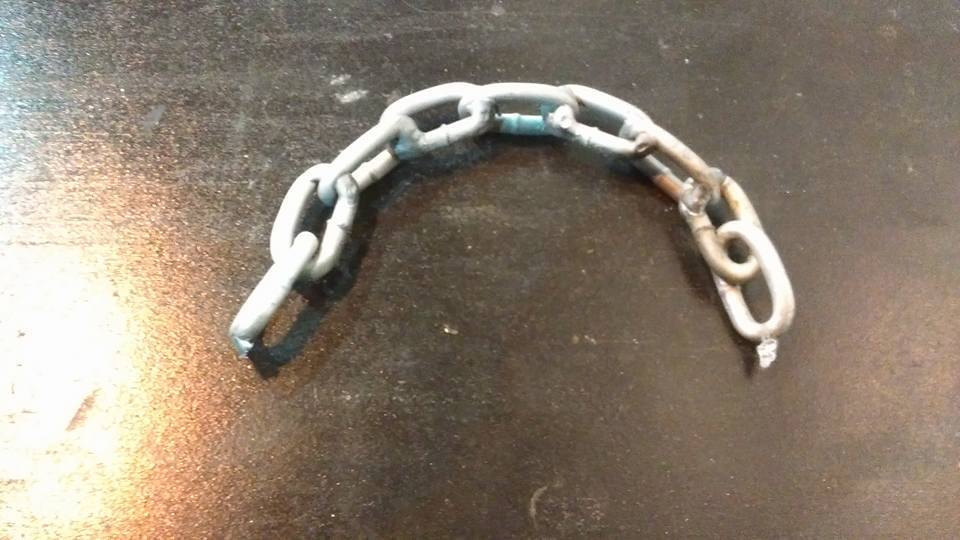 Bend ends slightly and make new plate to attach to roof.... 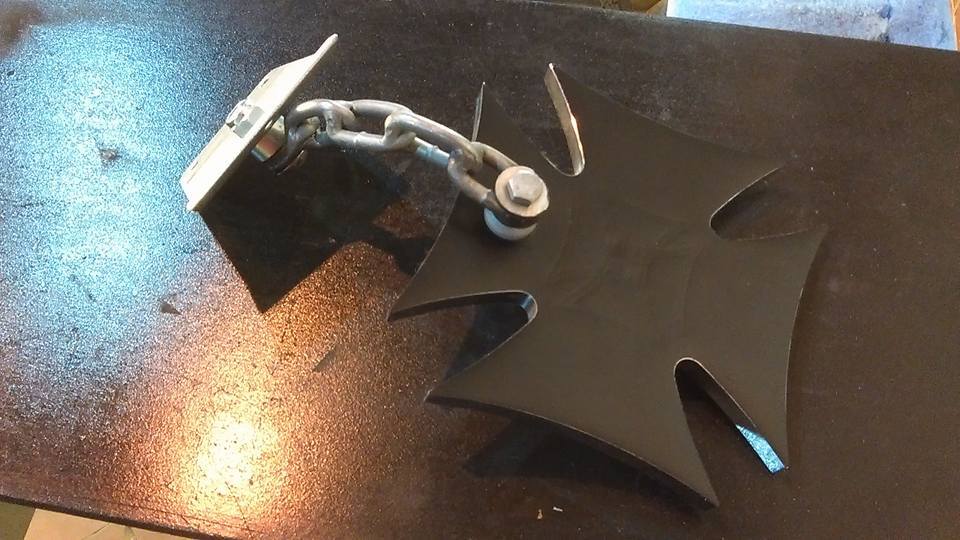 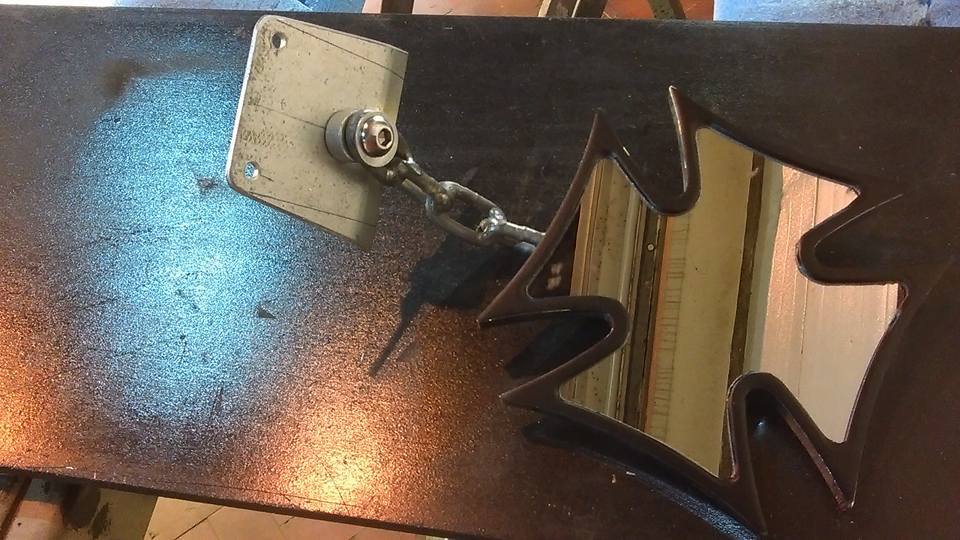 Should look better once painted black. Think it hangs a little lower than before so might remake using 75mm tube to form the chain.... |
| |
|
|
ChrisT
Club Retro Rides Member
Posts: 1,670
Club RR Member Number: 225
|
|
Nov 18, 2018 11:34:30 GMT
|
Also been working on the wiring, which I think is almost done now, checked a lot of the circuits and all seem to be working, gauges light up and switches seem to do what they should do. Temporarily fitted the remote receiver next to the boot solenoid relay, will tidy up when I get round to sorting the other wiring in the boot....  In the engine bay it's a bit tidier, with a few less wires, and the ones that are there I now know what they are for, which might make any future fault finding slightly easier.... 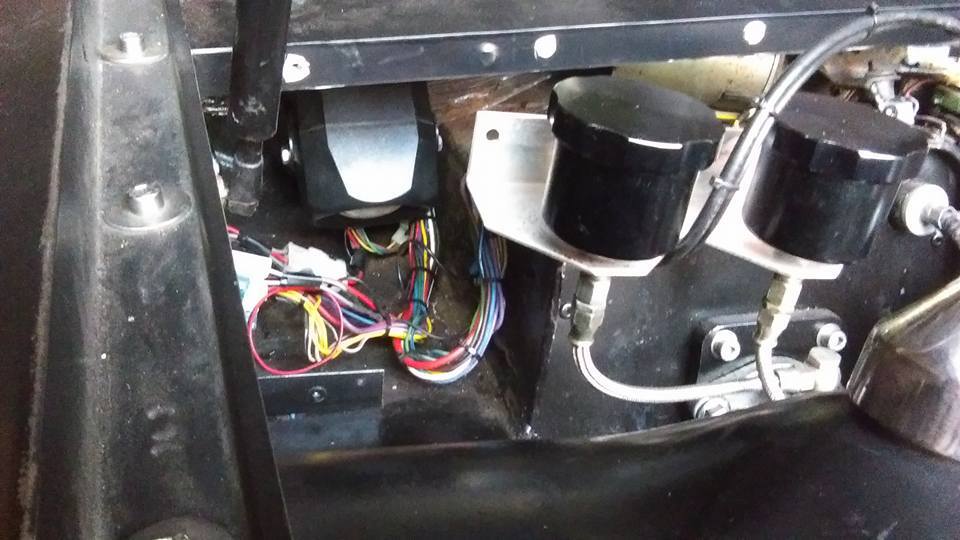  |
| |
|
|
ChrisT
Club Retro Rides Member
Posts: 1,670
Club RR Member Number: 225
|
|
|
|
Very minor update... Rewired the side repeaters as I didn't like the route the wires were, noticed how dull the bulbs were compared to the others so replaced with LEDs from www.classiccarleds.co.ukBefore (more orange that the pic makes out) 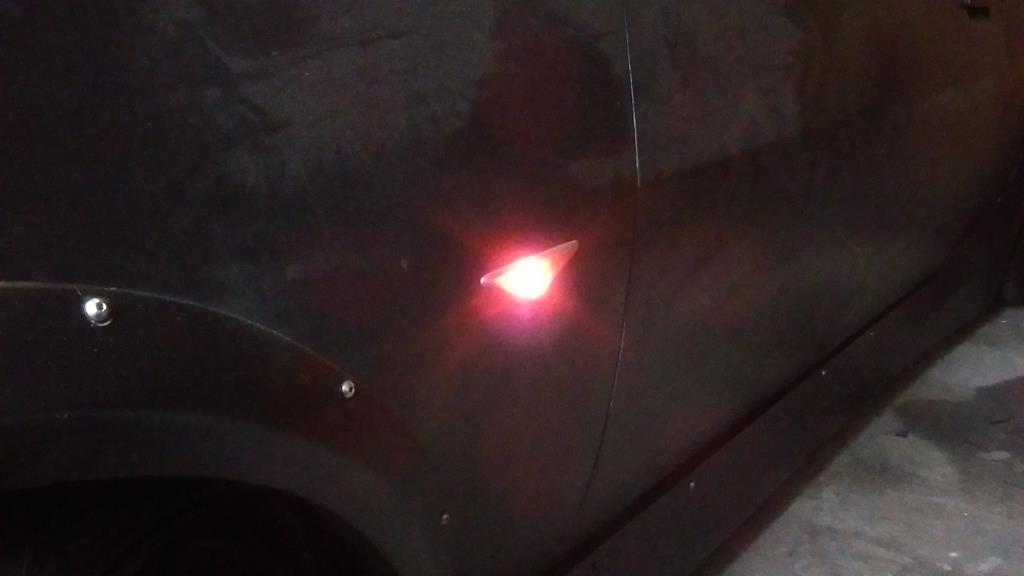 After 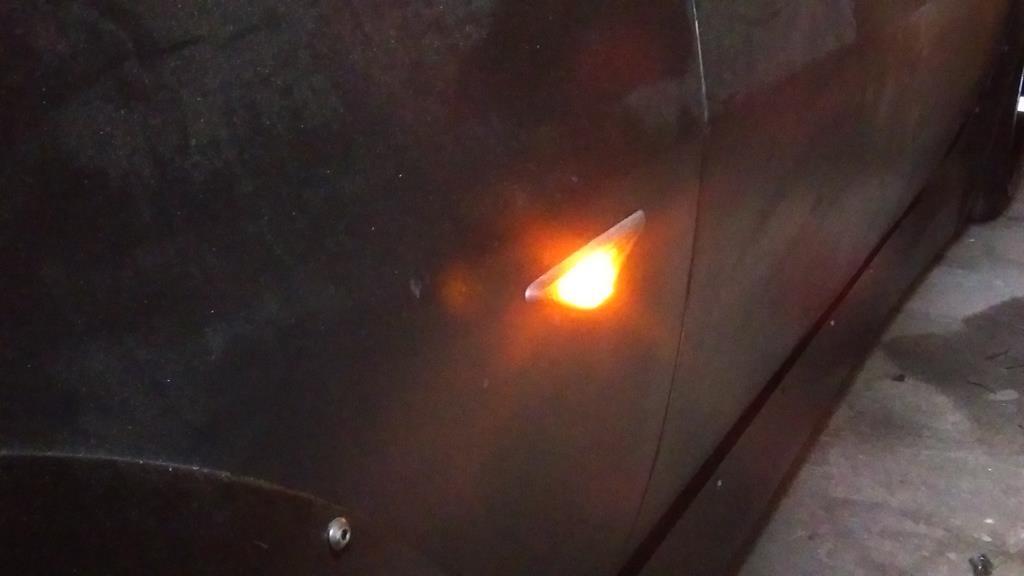 Wiring is about done so tried to start the car the other day, still exactly as it was before, which I expected... Have sent the ECU off to www.ecutesting.com to see if they can find anything wrong with it... Going to get the dash professionally flocked, just need to strip all the glue off first, petrol seems to do the trick. |
| |
Last Edit: Dec 2, 2018 14:33:07 GMT by ChrisT
|
|
ChrisT
Club Retro Rides Member
Posts: 1,670
Club RR Member Number: 225
|
|
|
|
ECU Testing have returned the ECU, they can't test it  Webcon UK can't help either  There's a localish guy that's listed as a Weber Alpha remapper so I've emailed him to see if it's anything he can look at..... |
| |
|
|
|
|
|
|
|
|
Can you not open the case of the ECU up and look over the PCB with a magnifying glass, sometimes it can be as simple as a dry joint or component failure, which is normally obvious as resistors normally burn out and capacitors can pop or leak, if you do be careful of personal static electricity as you don't want to make things worse!
|
| |
|
|
|
|
|
|
|
|
Maybe time to cut your losses and go for an Emerald or something?
|
| |
|
|
|
|


